Table of Contents [Show]
Hey all! I have gotten so many requests since I started releasing character guides for me to release a guide on how to teambuild, so here it is!
Bear in mind, this is just how I teambuild, so don’t take this as gospel or think that I’m suggesting it’s the only way to go about it, but it works well for me, at least! I really do hope that this helps you guys out there who struggle to put together a solid team.
If you guys have any comments or questions, please let me know 🙂 enjoy!
P.S., Please share your favorite team comps in the comments! I’d love to know whom you guys are using!
Overview
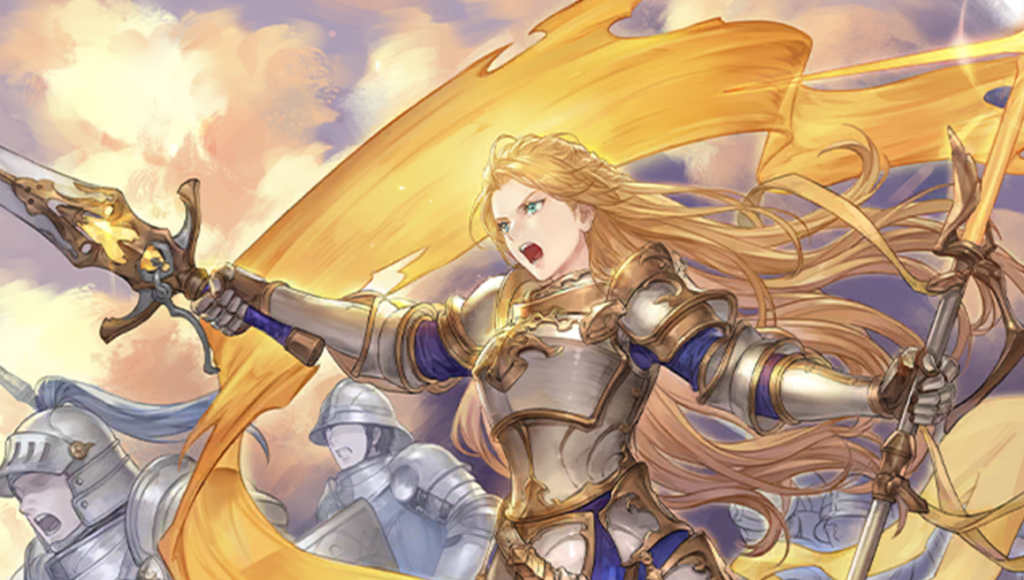
Teambuilding can be an overwhelming process for some—yes, you've pulled several top-tier characters, and you've been told they should be performing well in myriad situations, yet you just can't seem to get them to work the way they should. So to all of those who enter a level and simply choose the five strongest characters they own, or those who have only ever picked their five favorite characters, and those who just generally feel like they're missing something when it comes to putting together a team in SoC, this five-step guide is for you! In it, I will go over the general steps I follow when I'm putting together a team for most PvE content, with the hopes that you'll be able to extrapolate it to your own game and be more informed and confident when choosing whom to place on your teams.
Step I: Choosing the Core Character(s)
Usually, the first character I choose is my main damage dealer (or "DPS"). The reason I start there is because the goal of almost all levels is to defeat either a powerful boss, or all the enemy units, so in either case, you need to have sufficient damage output. When choosing your DPS, keep in mind the enemies you'll be facing, their weaknesses and resistances (probably not a great idea to bring a Destroyer to face a Watcher-heavy level, for instance), and so on. Much of the rest of your team, consequently, will be built around making this character (and any other DPS's on your team) shine, so your choice of first character is often the cornerstone of the rest of the teambuilding process. Bear in mind, this step might actually cover your first two (or even three!) characters, depending on the content/level. Whomever is on your "must bring" list is going to be chosen during this first step.
Example Core Characters
Step II: Establishing Needed Roles
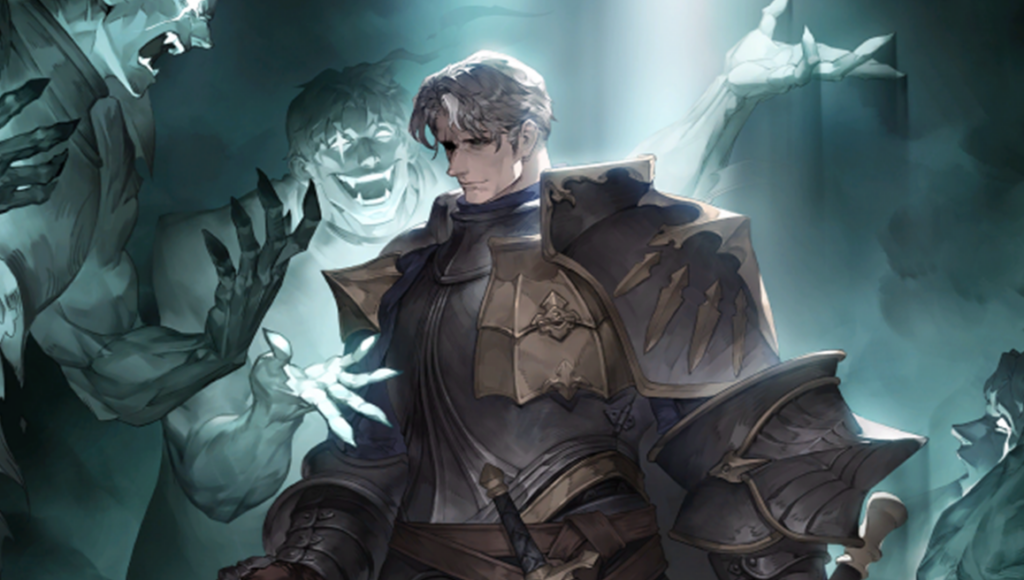
You have your primary DPS selected, but they aren't likely going to be able to do the job on their own. So now, before deciding on whom to bring, it's best to take a look at the enemies you're going to be facing, and figure out what your needs will be, accordingly. Will you be facing enemies who inflict lots of debuffs? Maybe you'll need someone to cleanse them. Are you facing down enemies who have powerful defensive buffs? Someone who can remove them will likely be helpful. Is the map full of Seekers? A Defender tank with [Assisting Cover] will probably mean the difference between winning and losing. This is the step where it pays to slow down and read; if you aren't confident in your ability to accurately assess the situation from a glance. After a while, you'll start to memorize what certain enemies generally do, and you won't need to stop to read descriptions and/or effects nearly as often.
Step III: Choosing Supports
For the most part, I like to bring a couple of DPSs, as well as a buffer, a healer, a debuffer, and a tank (though not all of these are necessary for all content—see Step II). Some characters, however, fill multiple roles, and that role compression makes them excellent choices for your team. Gloria, for instance, plays both the role of a buffer and a DPS, meaning you don't necessarily have to expend a team slot for a dedicated buffer. Similarly, Cocoa works very well as a buffer, a tank, and a healer all-in-one, meaning she can free up multiple slots on your team for other roles, etc. This is a large part of why you will almost always see these two characters at the top of tier lists—they almost always have the right tool for any job.
Something else that you'll generally want to bring is a character with a leader aura that covers your DPSs. It's definitely okay to have more than one leader aura on a team—the basic stat bonuses don't stack, but the additional effects do (as long as a given character benefits from both auras). This isn't a must, but it definitely helps provide some extra punch to your DPSs, which can make a difference in harder content.
Example Support Characters
Step IV: Selecting Your Tactics
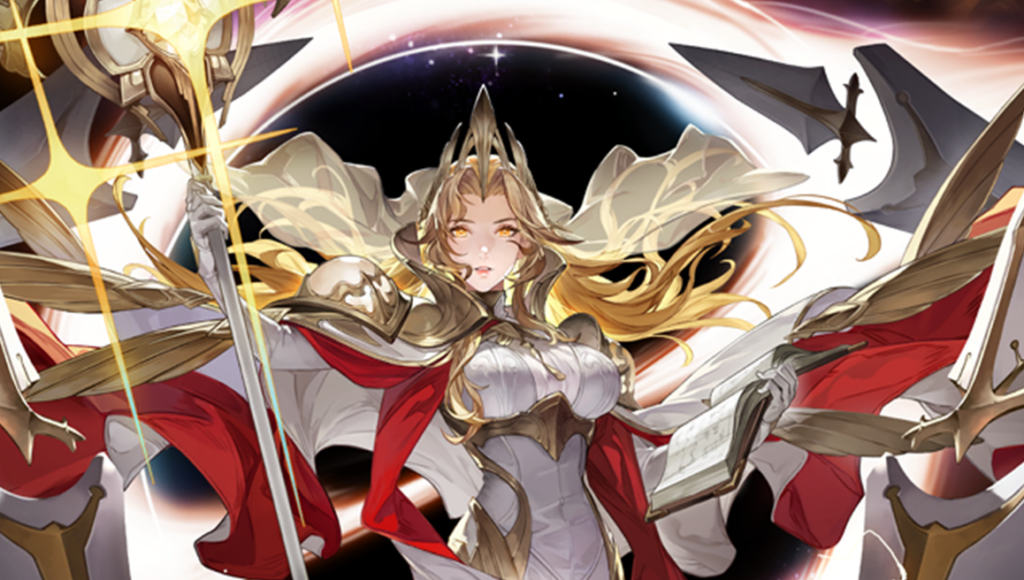
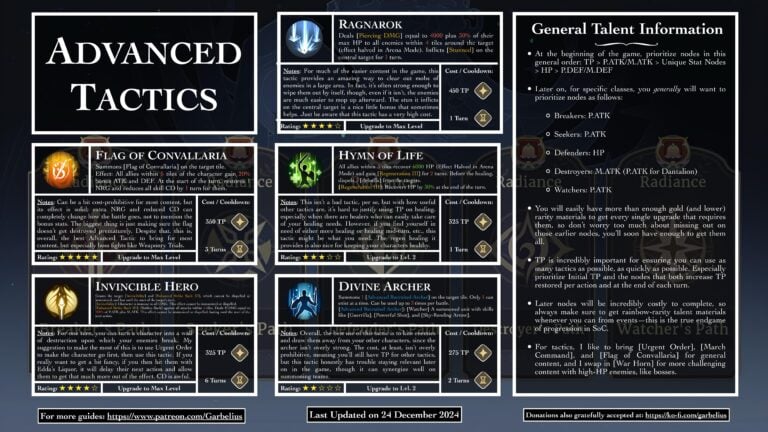
While it's not actually part of selecting your team, per se, selecting your Tactics can be absolutely critical. I tend to run Urgent Order, War Horn, and Flag of Convallaria for hard content, but just keep in mind that if you have a character with mobility issues, Maneuver Command might be the way to go, or March Command. If one of your characters is always in need of more NRG, Urgent Order can make all the difference. These can play a fundamental role in your strategy for the battle, and should not be forgotten!
Step V: Reviewing for Synergy
Before you click that "Ready!" button, make sure you know how your team is going to work, and that there's a definite strategy. Are the buffs your buffers providing going to overlap with each other pointlessly? Is your tank with [Assisting Cover] going to be jumping in to take hits you don't want them to take if you pair them with someone (looking at you, Safiyyah!)? The reason auto rarely works in this game, even with a solid team, is that it really demonstrates no ability to strategize or use the characters in ways that allow them to excel. Don't be like the auto mode! Read your characters' kits and use them strategically.
Some Things to Keep in Mind...
You’ll note that I’m spending very little time addressing the five different color Roles in game (Breaker, Seeker, Defender, Destroyer, and Watcher). I know there are probably players out there who want their team of five to have one character from each role, as it means they’ll have coverage against each enemy type. Give it up; you’re going to end up holding back your team’s potential by trying to force it, especially since the majority of your damage is going to be dealt by two or three members of your team anyway.
Similarly, teams that are specifically built around factions / leader auras are nifty, but rarely the best way to go. The only characters who really care about having a leader aura effect on them tend to be DPS’s, so trying to make sure your supports are covered by a leader aura is usually quite pointless, as it almost never enhances the support they provide to the team in any meaningful way. That’s not to say that they never work (for instance, an Iria team of Dantalion, SP Rawiyah, Safiyyah, Edda, and Inanna would be very good, with a focus on inflicting numerous debuffs), but your goal should be synergy, not everyone wearing the same armor or waving the same standard.
Example: My Main Team
These five characters comprise the main team I use to clear most content in the game. As you are about to see, there is a great deal of synergy between these characters (who also happen to be some of my favorites!). If there's one thing that you should take away from my team, it's that role compression really helps give a great deal of flexibility to how your team functions by providing you with many more tactical options in the various situations your team is bound to find itself.
AUGUSTE: DPS
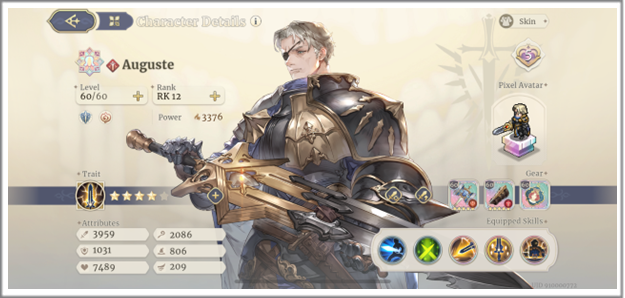
Auguste is my primary DPS. He does a ton of damage, and has a healthy mix of single-target and AoE attacks, making him versatile. In order to excel at his DPS role, though, Auguste will need a few things, which the rest of the team will provide him. Namely, these are a movement buff, an attack buff, a damage buff, a leader aura, plus the other things one would want on any team (more details below).
GLORIA: Buffer / DPS
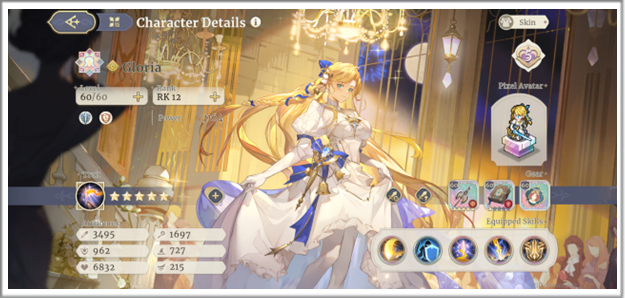
Gloria checks off more than a few boxes right off the bat. She brings her leader aura, which benefits both herself and Auguste, which is good, since she also acts in a DPS capacity once she throws her flag. Additionally, she has the ability to provide an aura to the entire team with her flag that increases their ATK and DEF by 15%, which stacks with other buffs. She can also provide a buff that reduces DMG taken and increases ATK for allies near her at the time of casting.
HOMA: Buffer / Debuffer / Healer
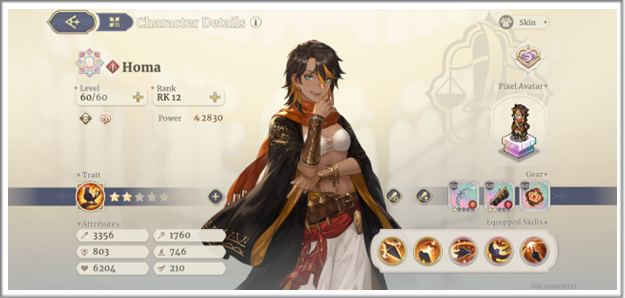
Homa is the next character I like to bring. She was basically built to support Auguste (though she works with pretty much anyone), providing him with a powerful ATK buff and an extra two tiles of movement, as well as a follow-up attack from her passive. She is also able to debuff enemies' PDEF by 50%, which causes them to simply melt before the physical onslaught. She also has the ability to do an AoE heal, in case it's needed to top off Auguste (or anyone else's) HP before they turn to maximize DMG output. By equipping her with the "Langley" set, you can further buff her healing. For anything the team needs her to debuff, attack, heal, or act as my team's debuff cleanser, if/when that's needed, although a Judgment Tarot would also work very well on her if I need increased DMG output on a certain enemy, like a boss.
COCOA: Buffer / Healer / Tank
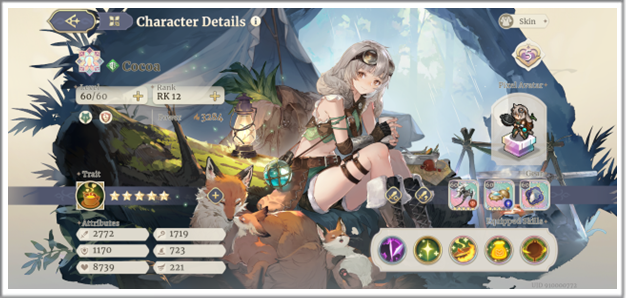
For my next character, I like to bring Cocoa, whom I chose as a five-star. Her healing process is Auguste's reaction skill, meaning he can very easily get the DMG buff he wants (she can provide a better one, yes, but it's a choice between getting [A DMG III] and getting [A DMG II], [Benton], [A Crit III] and [A Crit DMG I] if she uses her AoE heal on him. Also note that his self-heal from Warm Touch gives him [A DMG II] from his reaction skill anyway. Her ability to tank attacks and terrain also provides some very valuable utility, since then you can easily tell her to get tanked instead. Of course, she is the primary healer on my team. The Happiness buff she provides from her trait also does wonderfully for saving your team lots of NRG over the course of a fight.
SAFIYYAH: DPS / Buffer / Debuffer
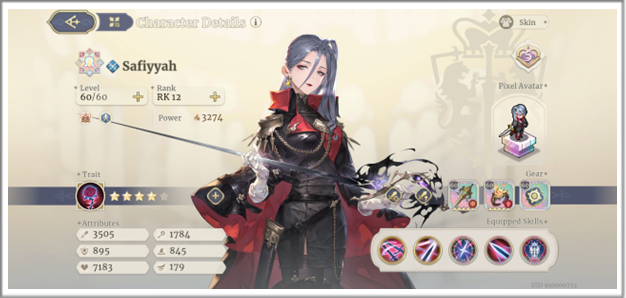
Safiyyah is, naturally, a DPS in her own right, but because of the way she functions, she simultaneously works well in a supporting role on the team. Her H.M. Commander skill (which I like to bring) causes her allies within 5 tiles of her (most notably, Auguste, Gloria, and her own summons) to gain 15% more ATK when attacking enemies marked with [The Hanged Man's Mark], meaning that enemies who get marked can be destroyed much more easily. Additionally, she has the ability to inflict multiple enemies with [Vulnerable II], which stacks with other defense debuffs, making the afflicted enemies that much easier to eliminate. Meanwhile, she herself is able to do gratuitous quantities of damage.
In Summary...
This team provides me with three DPS's of three different Roles, as well as the ability to provide multiple buffs to the team, while being able to handle debuffs and a great deal of damage, both through tanking and multiple sources of healing. Going into just about any fight with this team, I'm confident in my ability to handle whatever the enemy has to throw my way. Just remember to follow the steps I outlined in this guide, and you'll also be able to create versatile teams with the power and tactical diversity to help you win any fight!
