
Table of Contents [Show]
Introduction
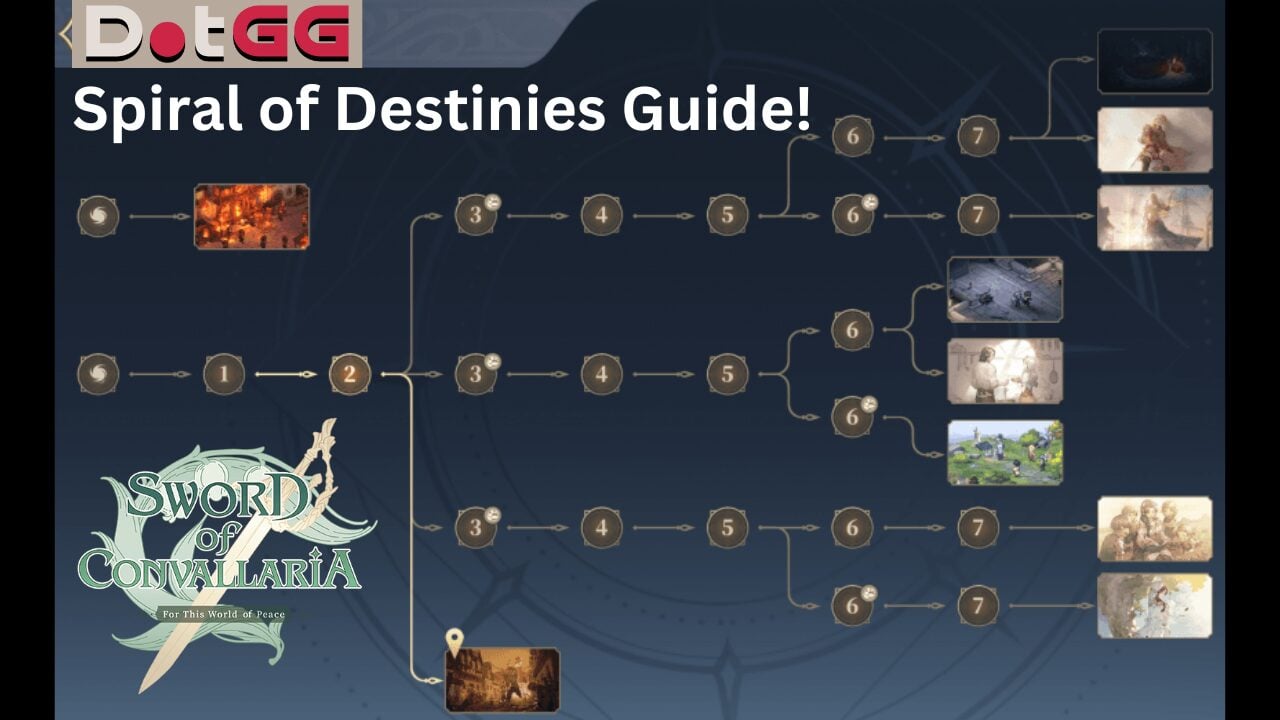
Welcome to DotGG’s Spiral of Destinies Basics and Tips, a no-gacha roguelike game mode within Sword of Convallaria. In Spiral of Destinies, you’ll manage resources, develop characters, and engage in tactical battles. This mode is designed for players who enjoy independent, roguelike gameplay.

It is distinct from the main game but allows you to bring three characters from the main mode into it. We'll explore the role of each facility, from the Haven to the Training Ground, and provide extra tips to help your playthrough.
Spiral of Destinies
Before embarking on your adventure in Sword of Convallaria's Spiral of Destinies, it's essential to grasp the game's core elements. This is the first part of our Spiral of Destinies Basics and Tips:
The protagonist ascends to the leadership of the Sword of Convallaria mercenary group, wielding the power to shape their destiny through pivotal choices. Similar to a console game, the narrative branches into multiple paths, allowing players to experience unique storylines based on their decisions.
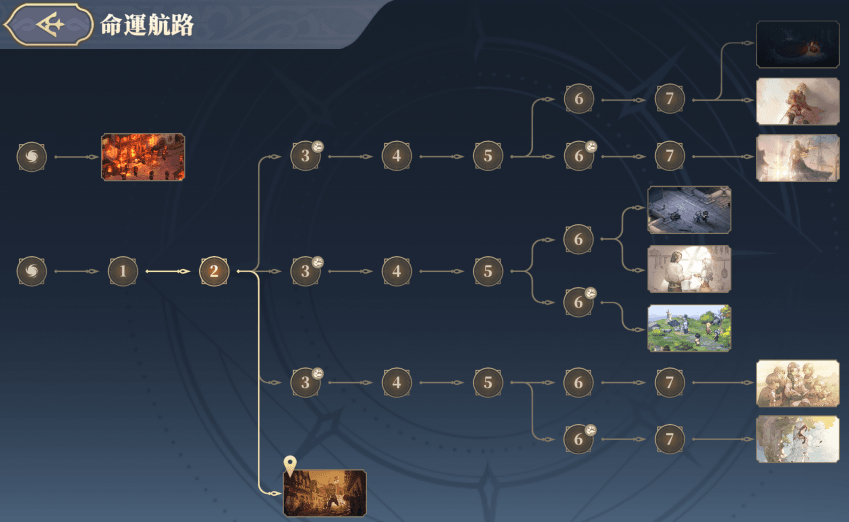
Spiral of Destinies introduces a unique twist on resource management. This roguelike mode offers ten distinct endings, each requiring a fresh start. Every reset wipes your progress, including resources. Mastering resource management becomes paramount for success. Carefully consider how you spend gold, materials, and experience points to optimize your chances of reaching all of the endings.
Facilities
In the "Spiral of Destinies" game mode of Sword of Convallaria, players have access to various facilities that enhance gameplay and strategy. Each facility has a distinct function, contributing to the overall progression and management of the game. Here is an overview of the available facilities and their functions:
1. The main user's interface
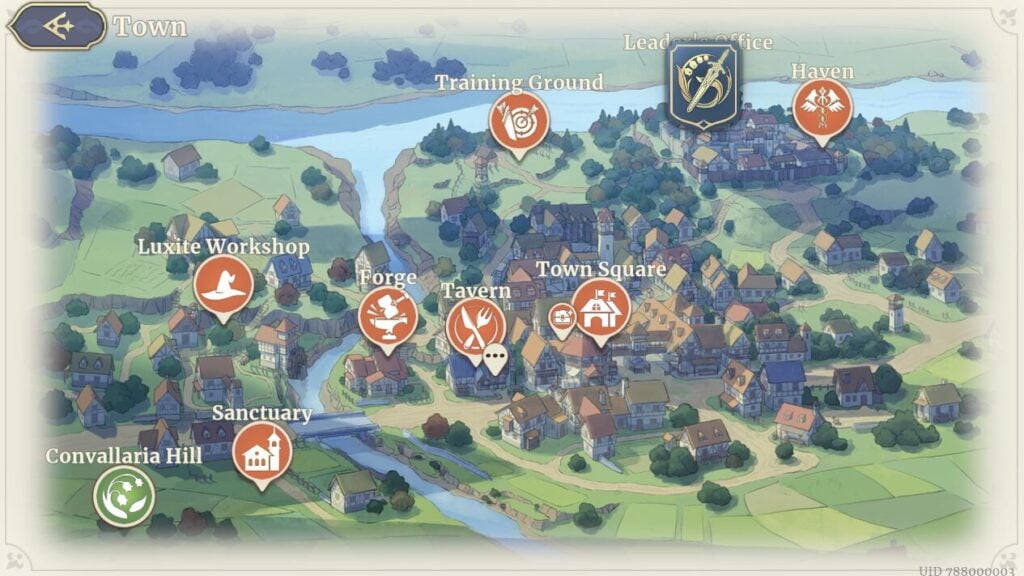
- Function: Central hub to access various game elements.
- Details: From here, players can access different facilities, see where are the merchants are, interact with characters, and monitor any events that can be triggered.
2. Sanctuary
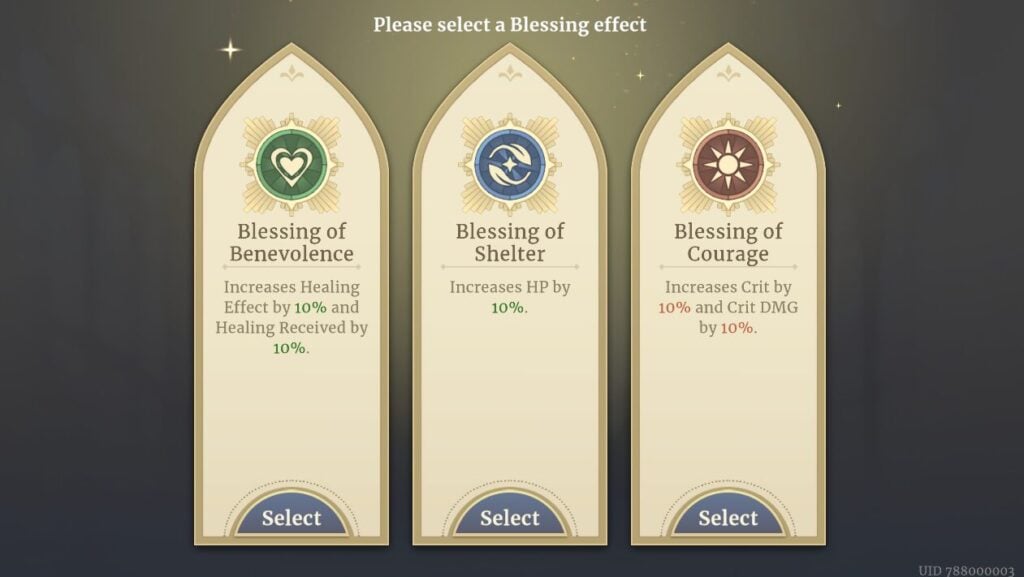
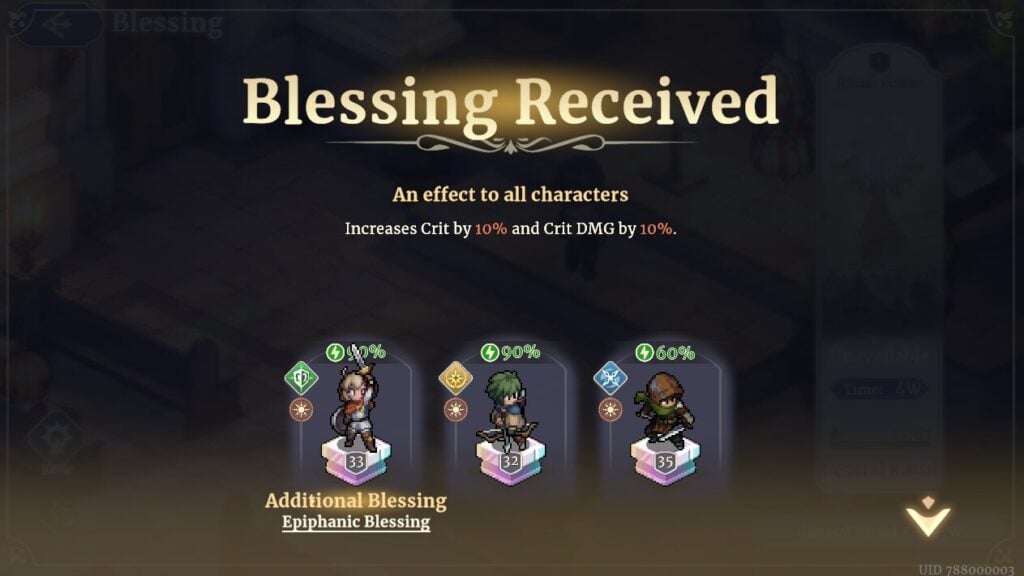
- Function: Provides blessings to units.
- Details: Players can choose three units to bless, granting them buffs such as increased HP shields or life steal. Upgrading this facility can increase the number of slots for blessings and the chance of receiving epic blessings.
3. Luxite Shop
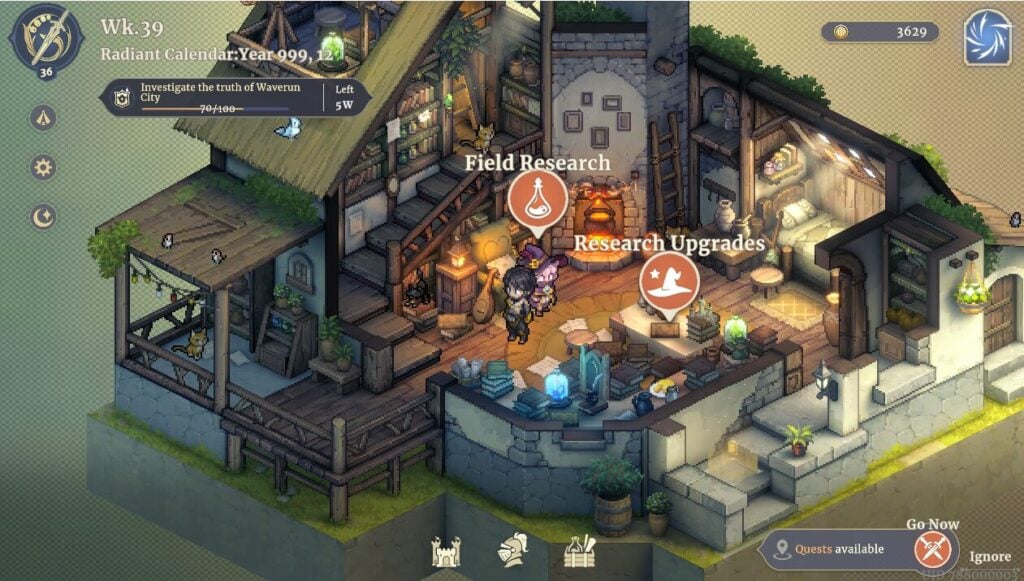
- Function: Offers tactical upgrades and quests.
- Details: Players can accept quests from Beryl, to earn currency used for research upgrades. These upgrades enhance tactical abilities used in battles.
4. Forge
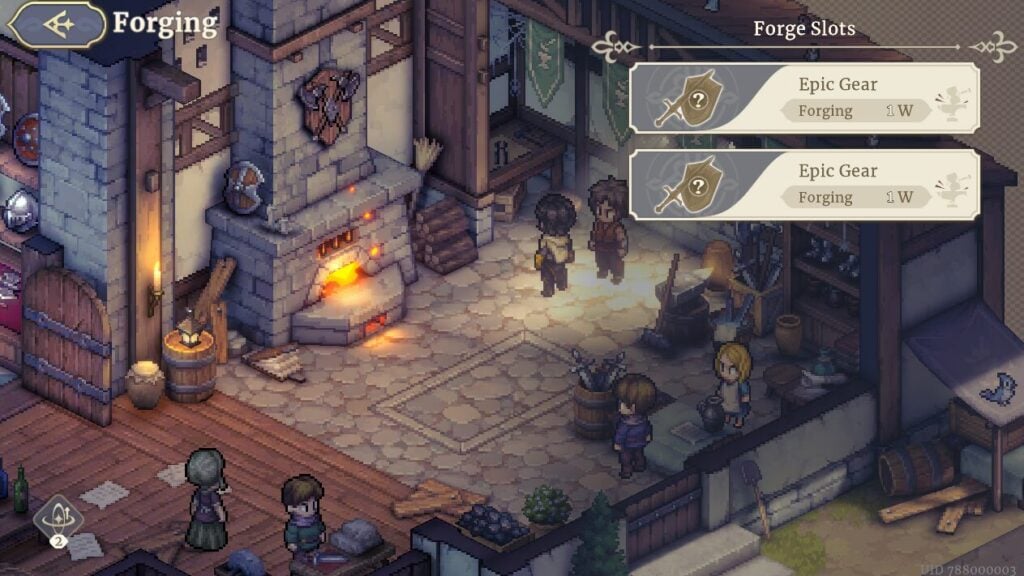
- Function: Crafting and upgrading gear.
- Details: Players can use blueprints and materials to forge weapons and gear. The forge can also produce high tier gears and create materials needed for more gears or trading.
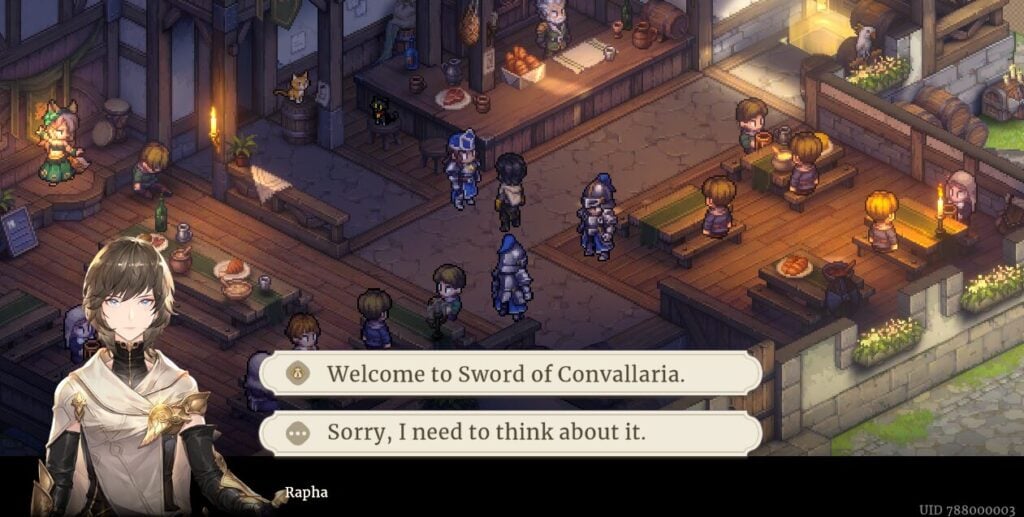
5. Tavern
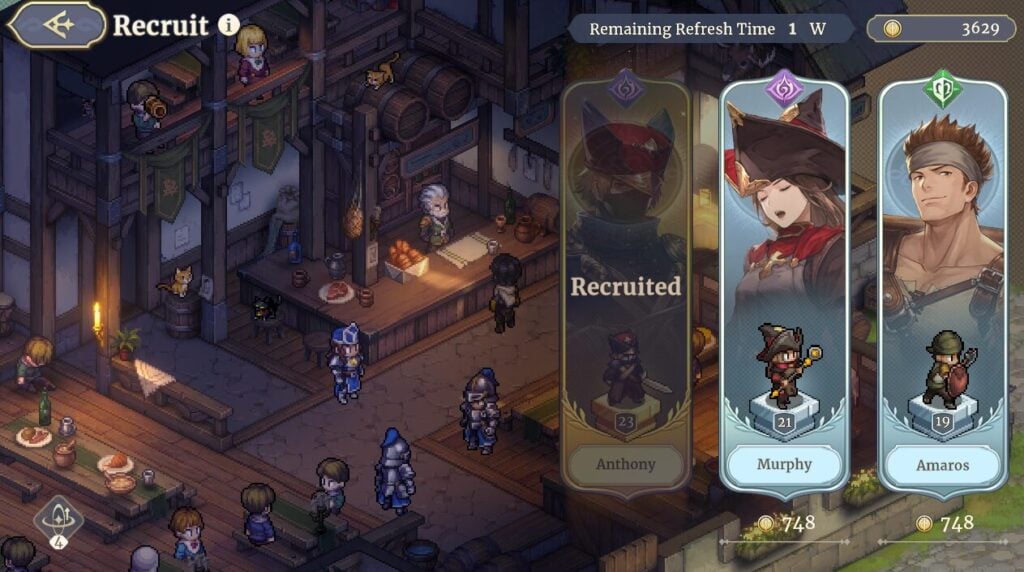
- Function: Recruitment of characters.
- Details: Players can recruit new characters, including legendaries, based on the faction supported. The tavern refreshes its pool of available characters periodically.
6. Training Ground
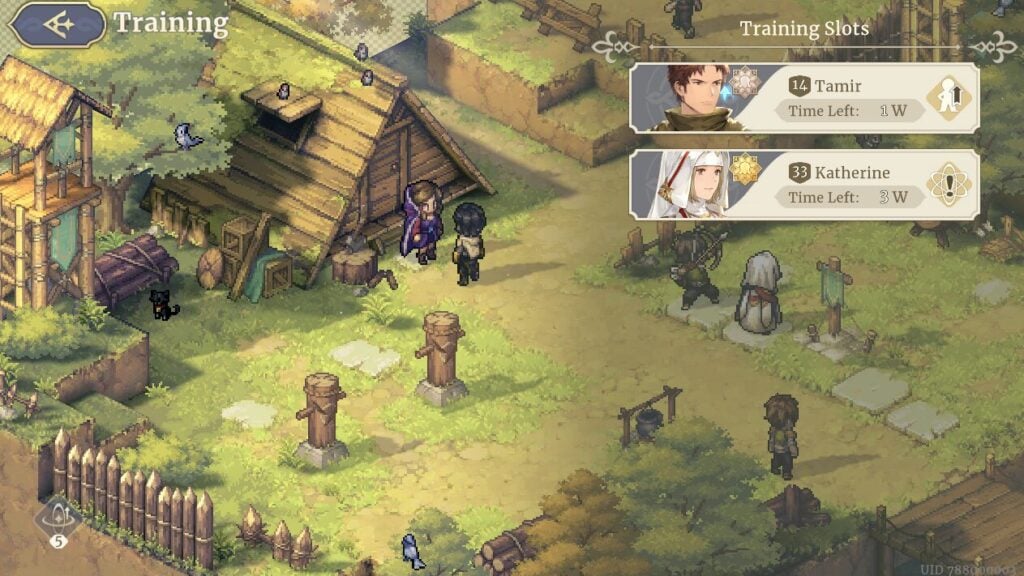
- Function: Skill training and leveling up characters.
- Details: Players can train characters to gain new skills or increase their levels. Skills can be assigned randomly or selected based on manuscripts purchased from vendors.
7. Town Square
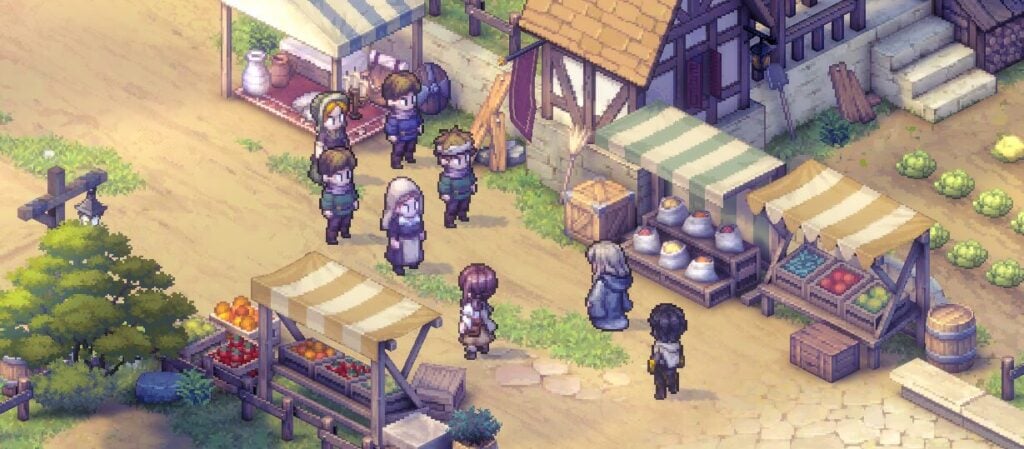
- Function: Central marketplace and event location.
- Details: Vendors here sell blueprints, materials, and gear. Players can also sell excess items and view facility upgrades. The square often hosts storyline events and quests.
8. Leader's Office
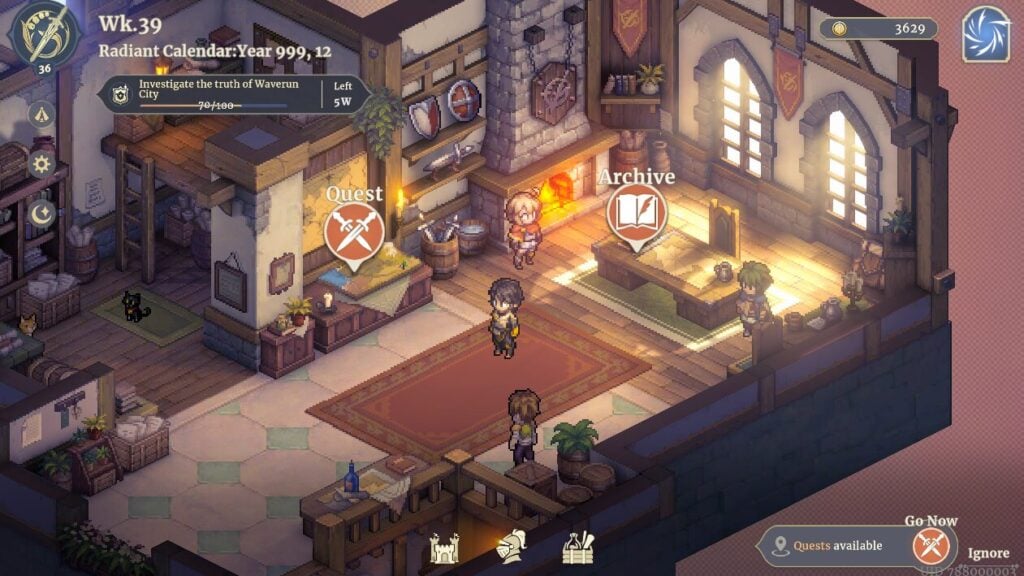
- Function: Initiates battles and quests.
- Details: From the office, players can start event battles, regular quests, and dispatch missions. This facility also allows players to review faction relationships and ongoing storyline developments.
9. Haven
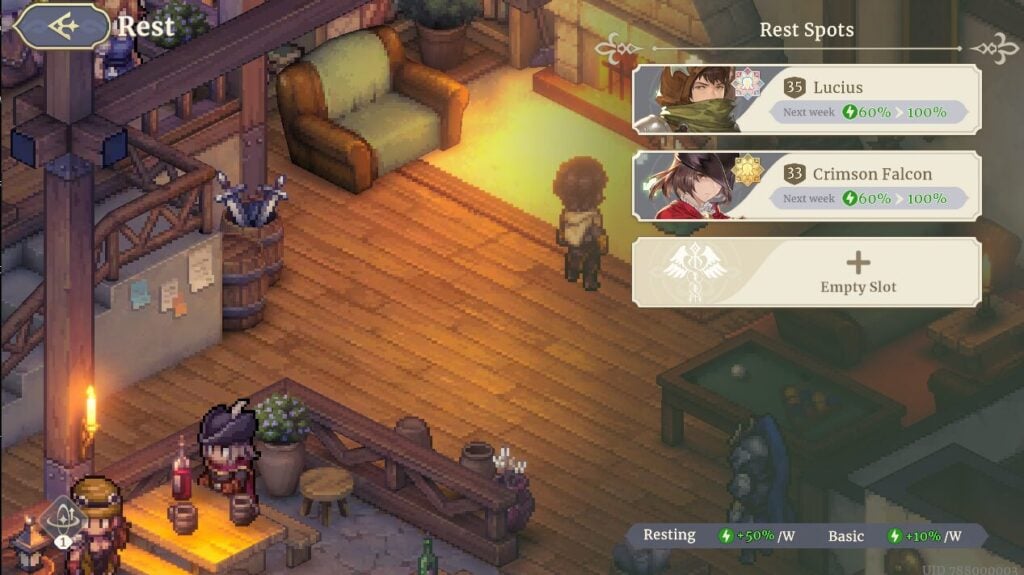
- Function: Rest and recover stamina for characters.
- Details: Characters lose stamina in battles and need to rest to recover. Upgrading the haven increases recovery rates and the number of characters that can rest simultaneously. Resting is crucial for maintaining a strong and active roster.
10. Archives
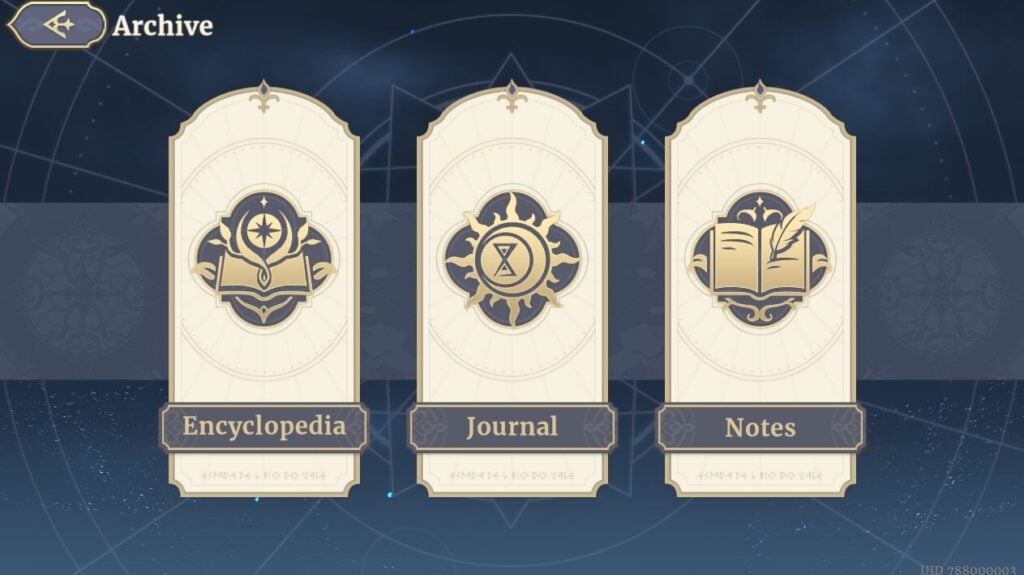
- Function: Keeps track of game lore and player decisions.
- Details: Contains information about the world, events, and factions. The Journal section allows players to review past decisions and storyline progress. This facility helps players stay immersed in the game’s narrative.
11. Dispatch
- Function: Assigns characters to missions for rewards.
- Details: Players can send characters on dispatch missions that yield resources like wood or gold. Meeting the requirements for dispatch missions can be demanding, but the rewards include valuable resources, trinkets and weapons.
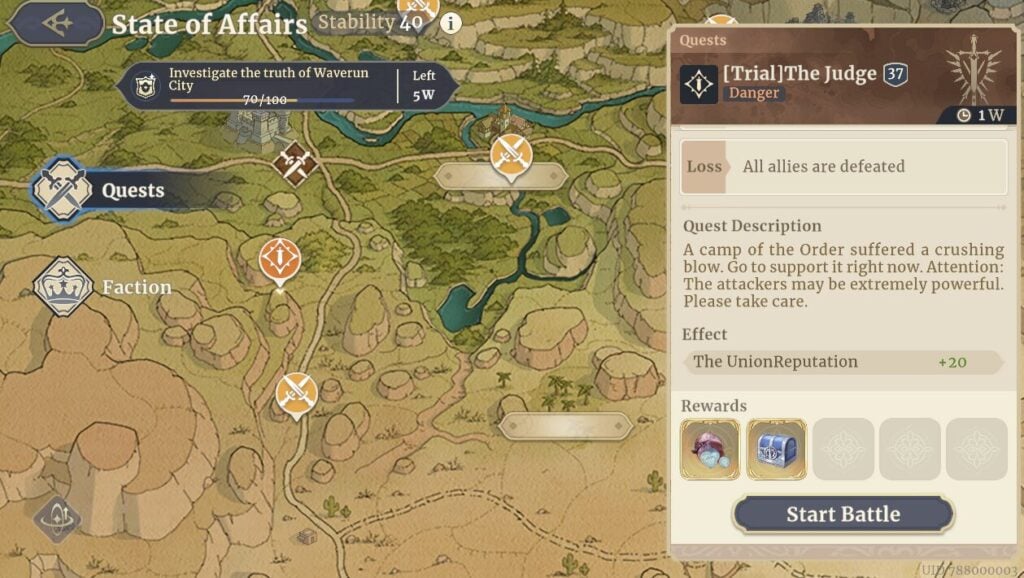
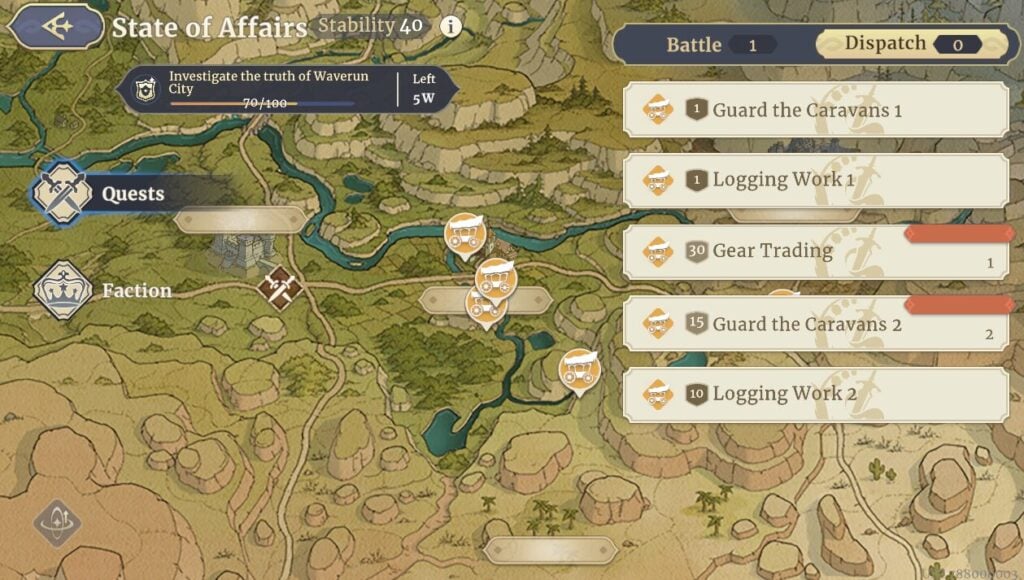
12. Quests

- Purpose: Quests are the driving force behind progression in Spiral of Destinies, propelling the storyline forward in each roguelike attempt.
- Details: Completing quests offers various rewards, including:
- Building favor with different factions
- Acquiring gold
- Stabilizing the region
- Granting battle experience to level up characters
- Unlocking additional content and rewards
Tips for Spiral of Destinies
I won't claim to be the best Spiral of Destinies player, but I believe these tips will be invaluable for new players. This is the second part of our Spiral of Destinies Basics and Tips:
Resting your mercenaries can be tricky
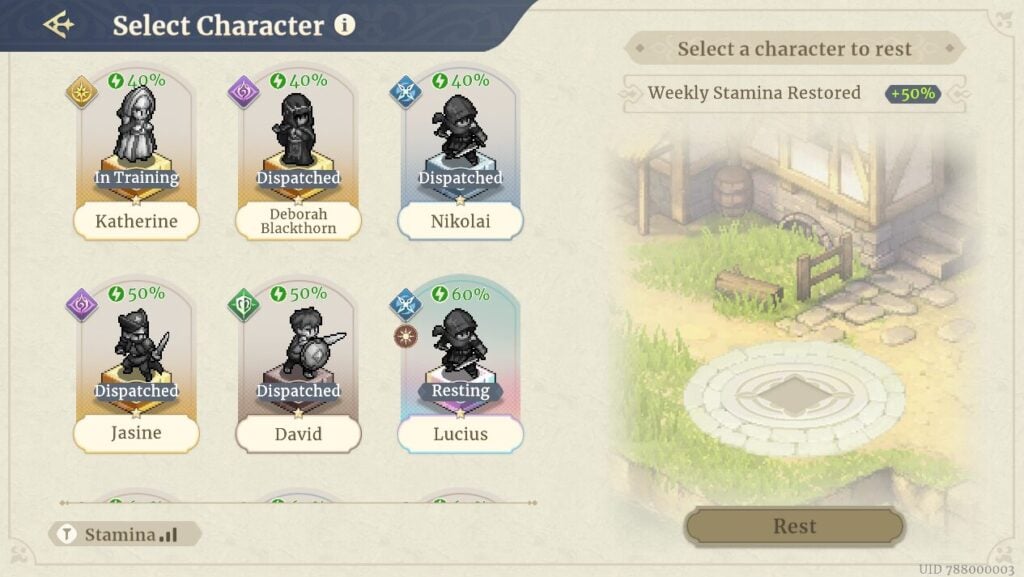
- You can't rest characters undergoing training
- Dispatched characters can't rest
- Weekly stamina restored at the "Haven" is +50% (before upgrades)
- It's best to allocated which units are to be rested at the "Haven" before doing your quest to avoid mistakes
- Boosting your Haven's capacity allows for faster stamina recovery, ensuring your team is always battle-ready. Collect upgrade materials early on and efficiently manage character rest times.
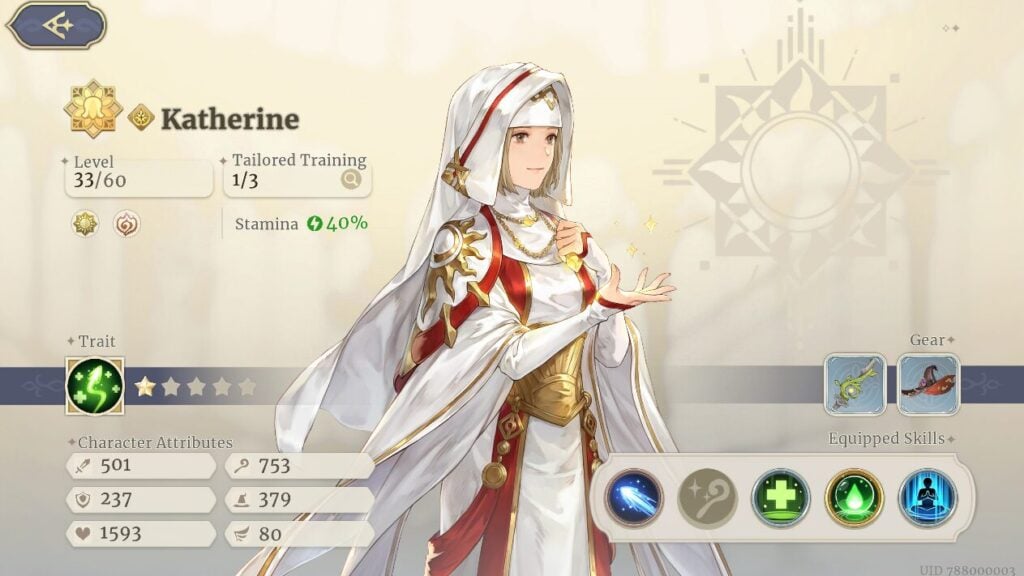
There are no "resets" for 'Tailored Training'

- Each character gets to have a maximum of 3 tailored trainings
- Make sure you train your characters to excel in specific roles
- Don't waste resources on 'weak' tailored trainings that does not compliment the character (example: you don't give a healer's training to an assassin)
- Utilize the Training Ground and skill manuscripts to create a well-rounded team
Obtain Thunderstruck!
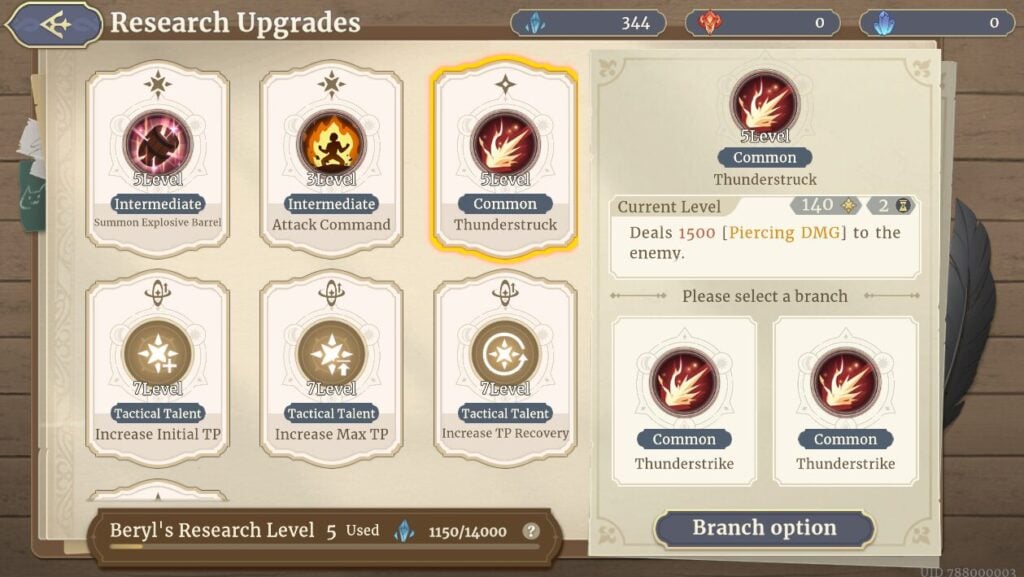
- This skill literally will carry you through various battles
- Thunderstruck is a must-have tactic since it's essentially a one-hit instant-kill for most enemies. Max it to level 5 as soon as possible
- Restart some cycles if needed to get this skill
Make sure you have a bunch of Lvl.30 characters for 'Gear Trading'

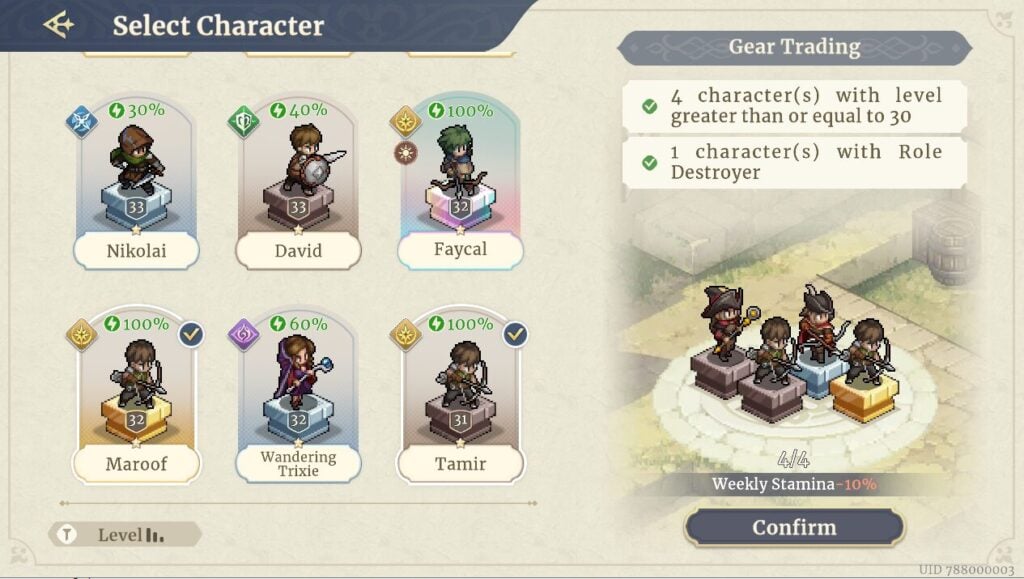
- When you unlock the Gear Trading Dispatch mission, make sure you allocate your mercenaries to it immediately
- Train your mercenaries at the Training Ground to the required levels and make sure you can rotate the dispatch units when their stamina depletes to a low percentage
- This dispatch mission will give you a guarantee Epic Gear
- You can either use the gear or sell it for a reasonable price and use the golds to conduct high level trainings, etc
Always prepare some gold for powerful recruits
Recruiting talented units can be a game-changer. Here are some useful recruits:
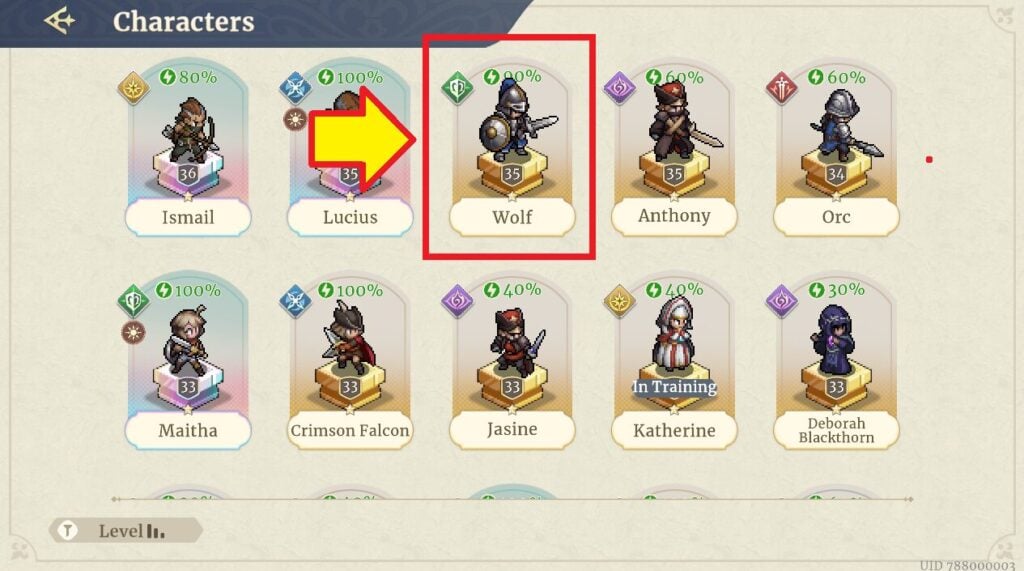
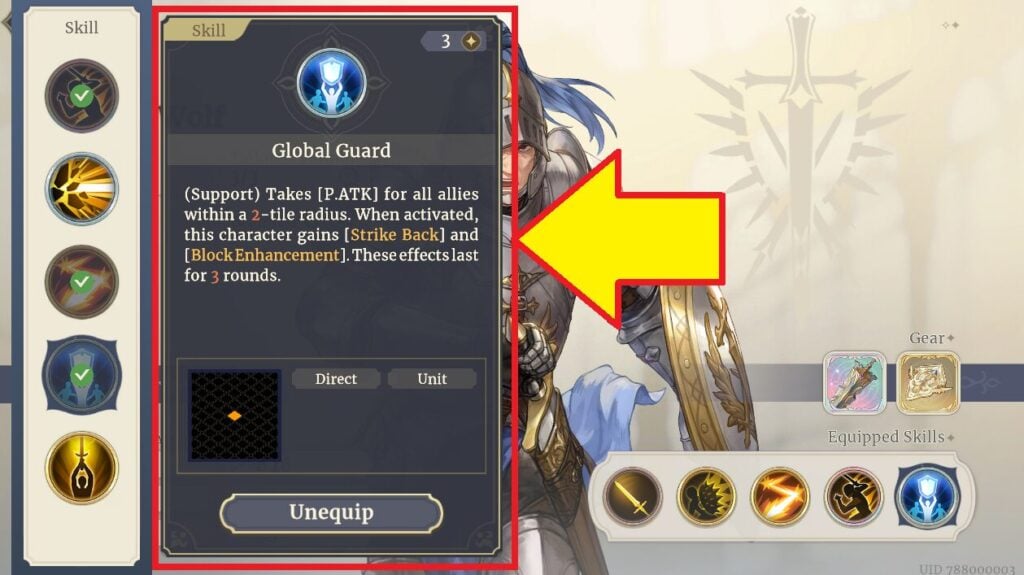
- A guard with a skill to swap units when attacked. Save some cash from dispatch missions to recruit him - I got him and his name was Wolf (might be different for you)
- An SSR Pharmacist in the Tavern will join if you select the first option when asked about war. However, the free healer from the Papal state might be a better option.
- A blue assassin requiring 40 Luxite Crystals to recruit. Her skills are powerful as her basic attack is based on how many tiles she moved before attacking.
- A dancer with a swapping skill. You can recruit her freely by selecting the second choice related to imagining her sister.
- A level 30+ axe girl in the Tavern asking for compensation. Select the choice that mentions you're the leader to recruit her for free.
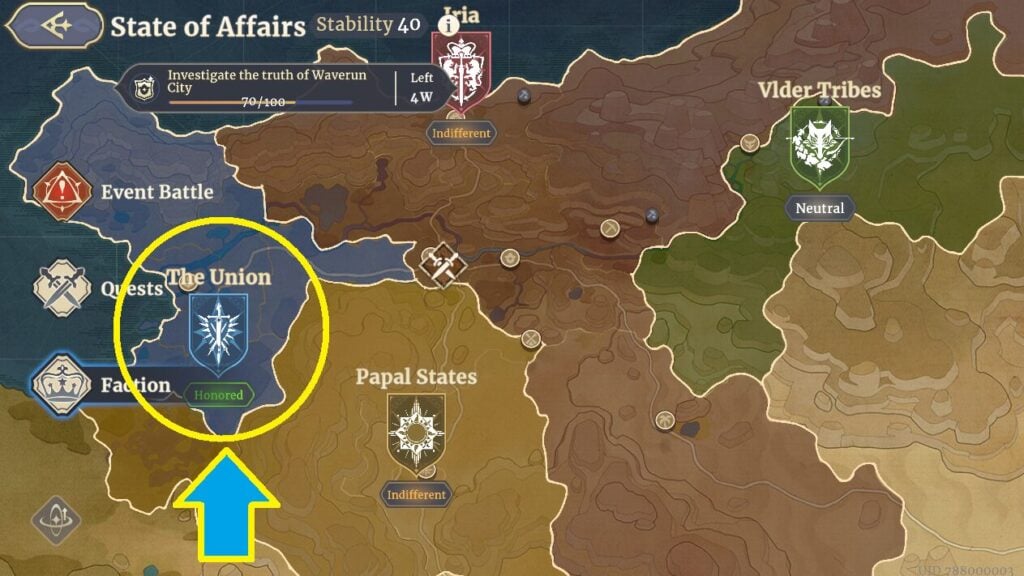
- If your impact with the Union is high, someone in the Haven will ask for 2 Luxite Radiants. Giving them these will later result in the Union sending Torres, an SSR Red lancer who is very powerful.
Closing
Thank you for reading our Spiral of Destinies Basics and Tips! We hope these tips and insights have been helpful. To stay updated on future guides, strategies, and game news, be sure to follow us Discord and join the Reddit community too!