Table of Contents [Show]
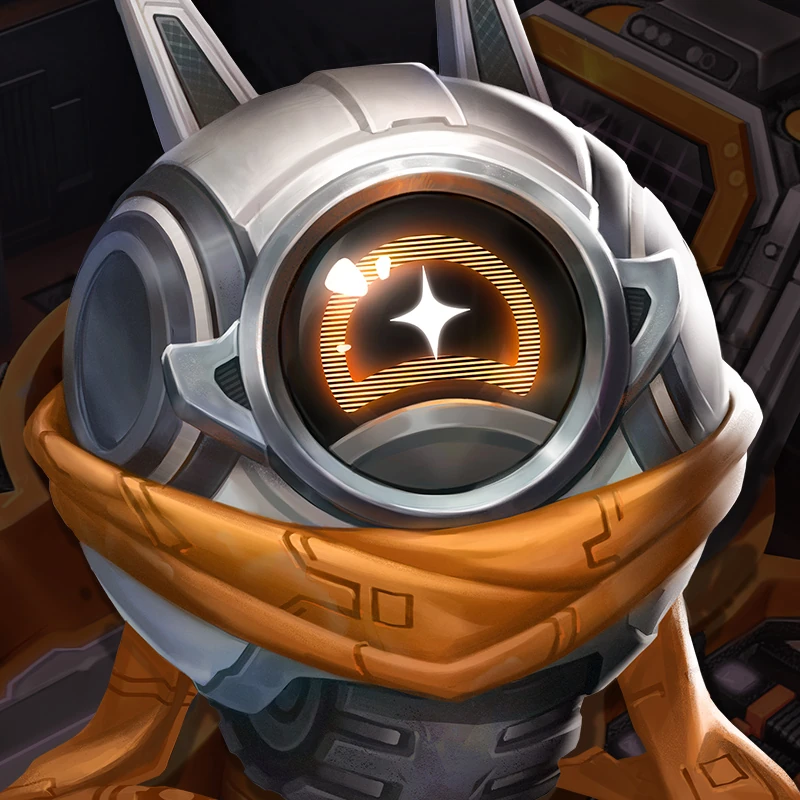
Learn how to play Dooley in The Bazaar with this in-depth hero build and strategy guide!
The Basics

I would consider Dooley to be quite a reliable character in The Bazaar, one you can expect to get to four wins consistently with. Unfortunately, Dooley also feels like the worst one to reach 10 wins, due to being worse than Vanessa in terms of damage output, and worse than Pygmalien in terms of scaling. One could say Dooley is the best when it comes to disrupting its opponent, but considering how fast a PvP fight can end in the later days, it is hard to rely solely on this to complete a gold run.
Due to this situation of being average at everything but great at nothing unless the odds are in our favor, Dooley is widely considered the worst character in Patch 0.1.7.
To write this guide, I spend quite some time playing Dooley, trying to find how to optimize our chances of routinely reaching at least 7 wins. I would be lying if I said it is an easy task, especially if we run into a lot of Vanessa early on, as they tend to be quite strong in the first days. Yet, there are a few things we can focus on to have a decent shot. My secret formula is a mix of survivability, disruption and damage scaling.
Let's explore!
Dooley Builds Tier List
| Build | Early | Late | Projected Score | Rating |
|---|---|---|---|---|
| Power Drill | Below Average | Great | Inconsistent | B+ |
| Tech Items | Good | Below Average | 4 to 7 Wins | B |
| Double Core | Average | Average | Inconsistent | C+ |
| Mono-Weapon | Good | Below Average | 0 to 7 Wins | C |
Starting Kit and Core
I've already said it in the Vanessa guide but I believe it applies to Dooley as well : Thanks to B1&B2, we can focus on bronze items that we will mass upgrade for a power spike. I absolutely don't mind starting with a Bronze rarity kit if it means having a skill rather than just items.

With this opportunity to upgrade our items, I will favor skills early on, as a good skill can carry us through the first fights. Plus, although our Core will be a huge pointer as to what we want our build to achieve, skills will represent another direction we can use to know which items to prioritize.
Obviously, the skills granting our items bonus damage, shield or burn will be a great help to bolster our power. However, here's a skill I believe can carry a build through at least the first days.

Regeneration and Burn are a great pair, as the first keeps our health high while the second digs into our opponent's life bar. If I find Heat Lover early on, I'm willing to forego my Core and focus on a burn build.
Due to the presence of this skill, I will naturally favor certain Cores. At the moment, here is my top three :

Not the best long term option as Weapon builds tend to outspeed us once refined, while Pygmalien produces a lot of shield we can't burn through fast enough a lot of the time. Yet, this is the best core to dominate early, and gives us a clear direction for the entire run, on top of allowing plenty of fast items to serve as support.

Kind of the opposite of the Ignition Core, our start won't be ideal here, but once upgraded, we become a critical hitting machine.

A decent middle ground to the previous two. I believe the Ignition Core is better to win early, while the Critical Core has a better scaling capacity. Yet, this allows us to play sort of a Vanessa type of gameplan, looking to mega buff a multicast weapon.
I don't have anything specific against the other cores, I simply believe they aren't good enough at what they do, while also not allowing enough flexibility to adapt if the perfect build wouldn't happen.
Early Stages
There are a few directions we can explore with Dooley when it comes to setting up the foundation of our build. Obviously, our core will dictate a lot in terms of what is good or isn't.
Focus on Tech items.

I believe this one is stronger with the weapon Cores, but we could use a super fast Arc Blaster to make our Ignition charge quickly too. Plus, we can hope for a burn enchantment down the line.
Here, follow the instructions on Arc Blaster and load on Tech items to charge it as much as possible.
Power Drill for the win

Hard to leverage early on, the Power Drill can be a great support item to the Ignition Core if you surroung it with Haste, Slow and Burn items. Note you can also build this one with the Companion Core.
Here, you will have tobe more specific than if you just go with Tech items, but it nets greater results when it works out.


These two items are super important in this build, both to charge the Power Drill, but also to add some disruption to the build. These two are also great in Tech builds, or in general really.
Use your Core as support


Rocket Launcher with the Ignition Core or Pulse Rifle with the Weaponized or Critical ones, the goal here is to use our Core ability to buff items to the right to make either of these two lethal weapons. Here, we are basically playing a Mono-Weapon Vanessa type of build, except we have to do it through other means.
Double Core

There are several items and skills in Dooley's arsenal which buff our core. Then, we could go for a double core strategy, aimed at maximizing those buffs. Plus, the Combat core is pretty strong in the first days if you can build its shield count early in a match, especially in this metagame with little poison except for enchantments.


I consider these two to be super important for this strategy to work, but this is quite a flexible direction to explore. Indeed, the Rays now make sense to consider, Motherboard can replace GPU if you couldn't find it, and both your Cores have the Tech type if you want to build around that.
Once we picked a direction, our focus is to maximize its efficiency, and progress to level 10 to grab that so important enchantment. As usual, our first goal during those early stages is to quickly be ready to take on elite monsters to maximize our goal and experience income.
Here some generic items and monsters I like to target, as they tend to be quite good in most situations:


Day 1
- Pyro if you picked Ignition Core
- Kyver Drone or Fanged Inglet with a Weapon Core
- Banannabal with the Armored Core.
Day 2
- Giant Mosquito's skills are fine with most cores
Day 3
- Tempest Flamedancer can give you a Fiery Cutlass for the Mono-Weapon direction
- Eccentric Etherwright's skill is great in any build
Day 4
- Outlands Dervish's Skill is solid for a Weapon Core
- Ahexa has the Solar Farm for a Burn build while Hellbilly has Left Handed for a Weapon build
- Prince Marianas is great if you picked up Cool LEDs
Day 5
- Gorgon Noble and Trashtown Mayor have skills we always want to pick up with any build
- Infernal Envoy and Harkvian Rocket Trooper are decent back up options for Burn or Weapon strategies.
Racking Up PvP Wins
We have a good disruption kit available with Dooley, which can make certain match-ups very favorable, such as Isochoric Freezer potentially shutting down a Mono-Weapon Vanessa. Yet, apart from specific interactions we could leverage, we tend to be the weaker character in the late game.
Then, once we enter those stages of a run, Dooley's weakness tend to resurface, as we can sometimes feel helpless against Pygmalien's scaling ability, or Vanessa's insane damage output. Then, if we want to keep developing as the other two are, I tend to take risks, and look for high rolls more often than not.
More than anything, I have found Dooley to be quite slow to start in a fight, with the other two heroes constantly landing the first blow, or starting their loop before mine would. Then, I am willing to take a lot of risks in order to find ways to slow down my opponent, or grant haste to my items.
Here are some monsters with good skills to help with that goal:


Also, it kind of feels like Tempo knew Dooley would be in a dire situation, they added a monster specifically for that character. Absolutely every loot here is great for a burn build :

The other important thing to consider when running Dooley, is your build's ability to scale into the later stages. Depending on which build you went for early on, you might want to maximize your chances of winning the next fight, rather than plan for the long run. The Power Drill or Ignition Core have a decent scaling capacity if paired with good disruption or survivability, However, a Tech or Weapon build tends to struggle to keep scaling well enough to compete on the long run.
Let's start with the importance of reaching level 10 to get our key item enchanted. This is a huge difference maker, as that enchantment will typically bring us the second success factor of our strategy, be it survivability or damage.
Typically, an enchantment wants to support the same direction your build is designed for. Yet, because Pygmalien is much better at surviving, while Vanessa deal more, or faster damage, Dooley typically is left with playing hybrid builds, based around burn or scaling weapon damage or critical chances through the match.
Because of it, unless we focus on one aspect and hope to not face the better hero in that area, we need to find a sweet spot in the middle.
For example, I found that burn builds can get through Pygmalien's shield if we manage to survive the first one or two big hits coming at us. In that regard, a shield enchantment can provide that needed survivability.
Against Vanessa, we can freeze or slow her weapon to buy us some time, but might still lose too much health with the first hit, and not disrupt her enough to not have to be able to tank a second one.
Then, because the game entices us to build for damage early on, as this is typically how we will be able to beat elite monsters or win our early fights, I found heal and shield enchantments to be quite strong with Dooley.
If you went for the Armored core, or managed to build a super disruptive carpet around Power Drill, you can reverse that logic and enchant to burn or poison your opponent, giving you that scaling source of damage.
Let's close this section with some items you can only unlock late in your run, and could be good enough to swap for, or include in certain builds:


Closing Words
Dooley can feel great at times, for example when you keep Vanessa's sole weapon frozen for the entire fight, or manage build so much Regeneration through Heat Lover the only way to lose is through a one-shot kill.
Unfortunately, these perfect scenarios don't happen often enough for Dooley to feel like a menace in the current patch. Instead, this hero will require you to think flexibly, and be much more precise with your build than Vanessa or Pygmalien ask for.
I have managed to climb a bit while testing for this article, so I woudln't not recommend Dooley if you enjoy the character. Yet, this one is definately more challenging than the other two at the moment.
I hope this guide was helpful, and I wish you luck in The Bazaar! If you have any questions or if you're looking for coaching, feel free to reach out on Discord @den_ccg.
Good Game Everyone.
