Table of Contents [Hide]
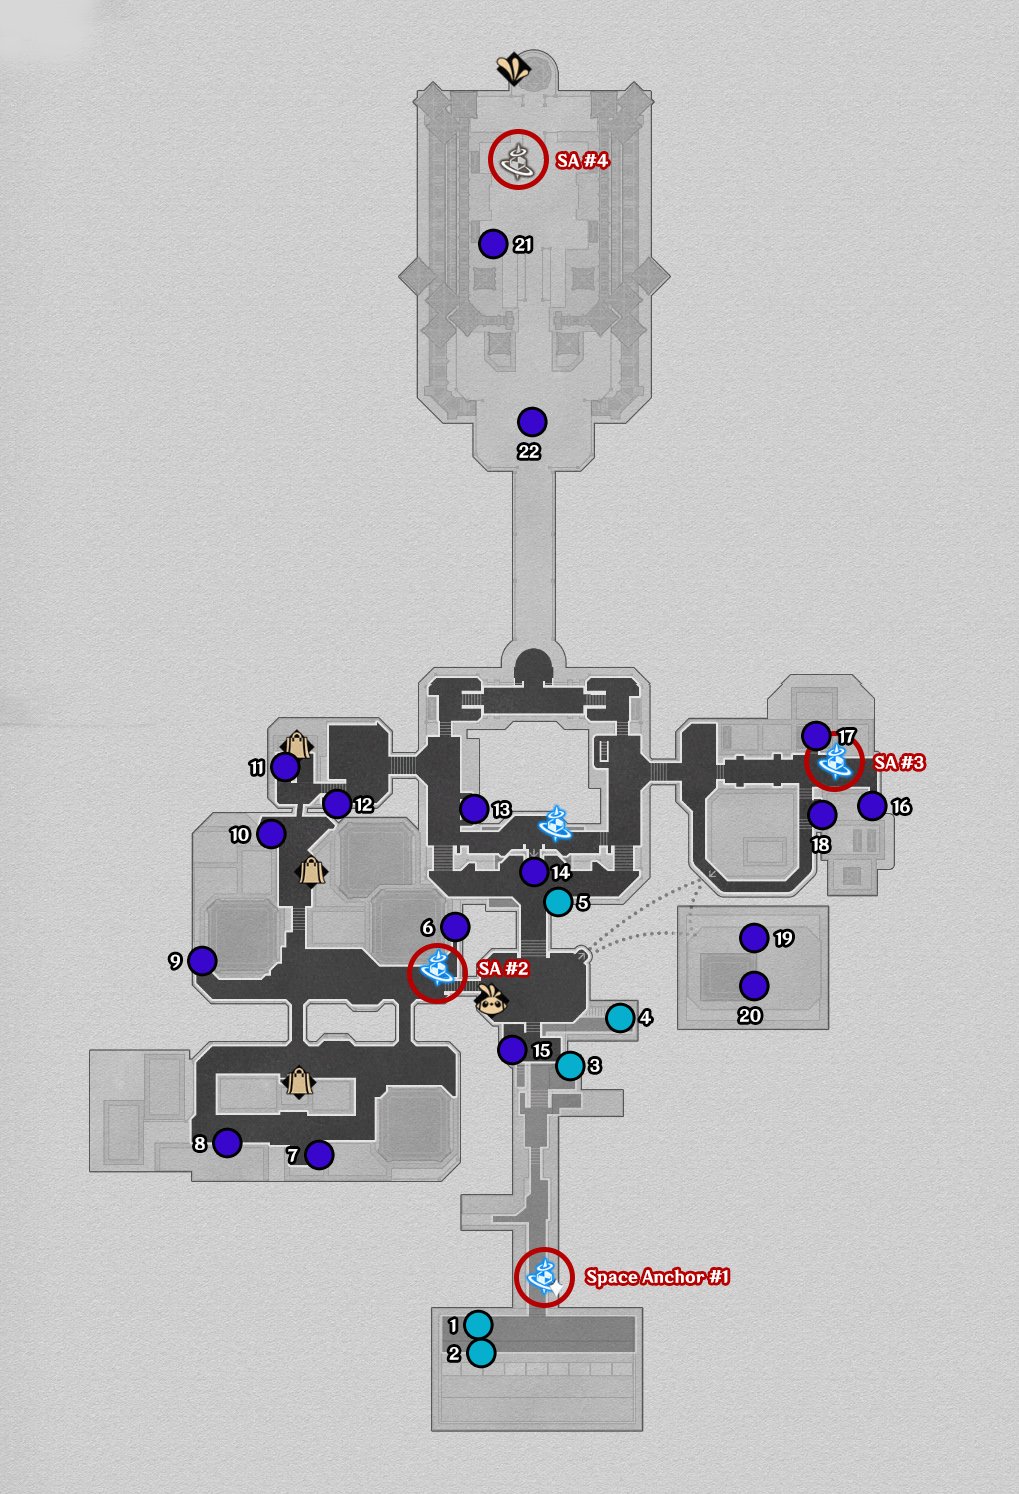
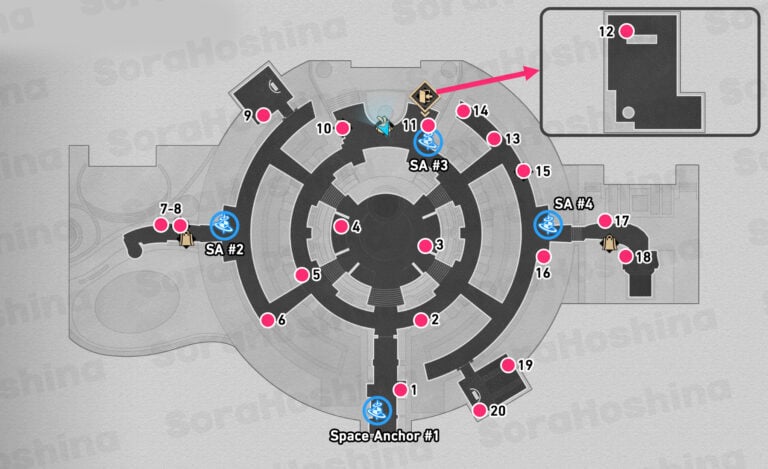
In Dreamflux Reef, there are no 3D rooms (thank god for this) so you shouldn't have a hard time doing it. However, there are few locked areas. Even so, you can check all the icons of space anchor, treasure chest, origami birds, etc in the official interactive map. In total, there are 22 treasure chests in this area, including puzzles, Lordly Trashcans.
All Treasure Chests in Penacony (Dreamflux Reef)
First Floor (F1) Only
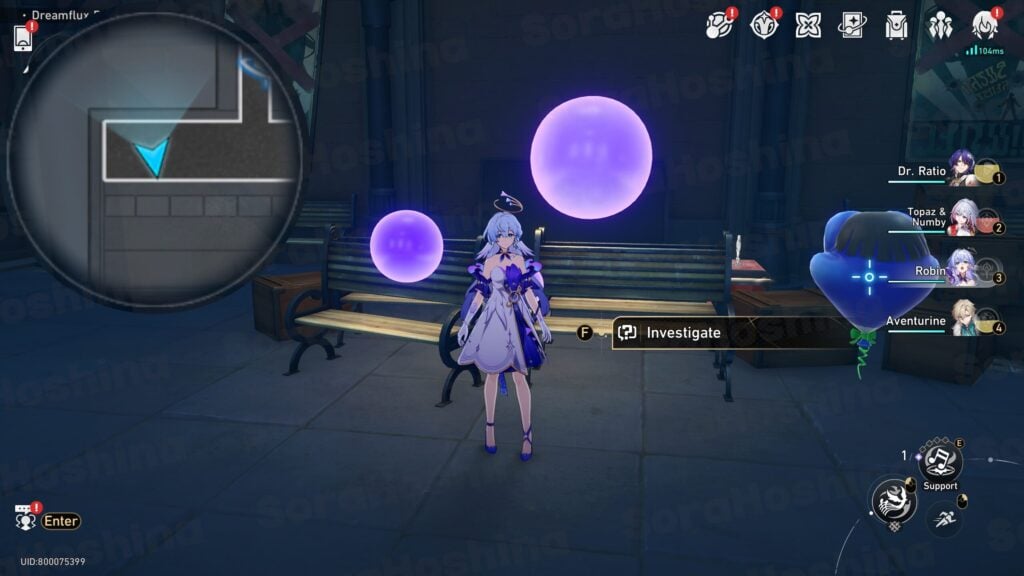
TREASURE CHEST 1 (LORDLY TRASHCANS)
Teleport to space anchor #1 and head southwest to the bunch of boxes. Investigate the purple bubbles for the Lordly Trashcans. The right options are (Option 2 > Option 2 > Option 2)
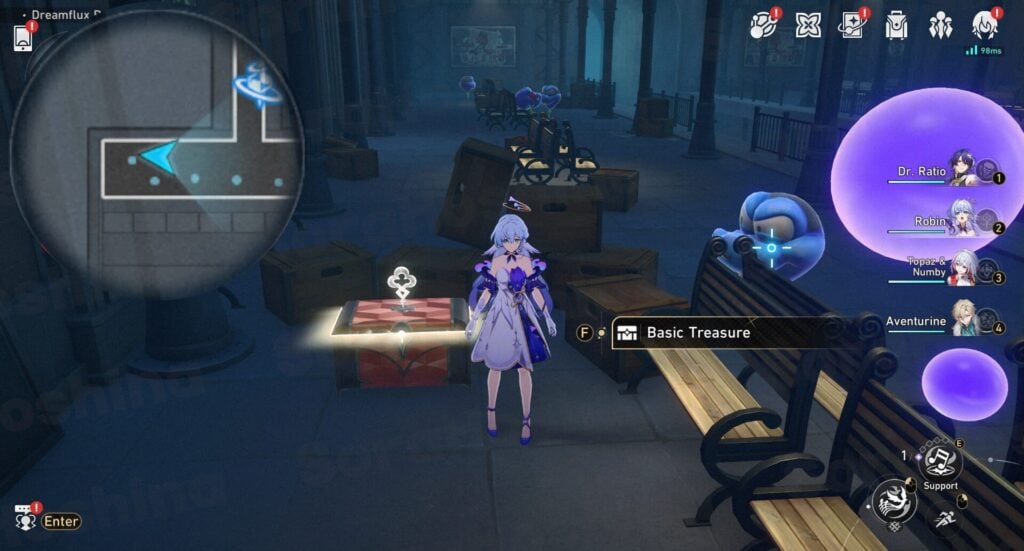
TREASURE CHEST 2
Teleport to space anchor #1 and head southwest to the bunch of boxes. The chest is behind those stacks.
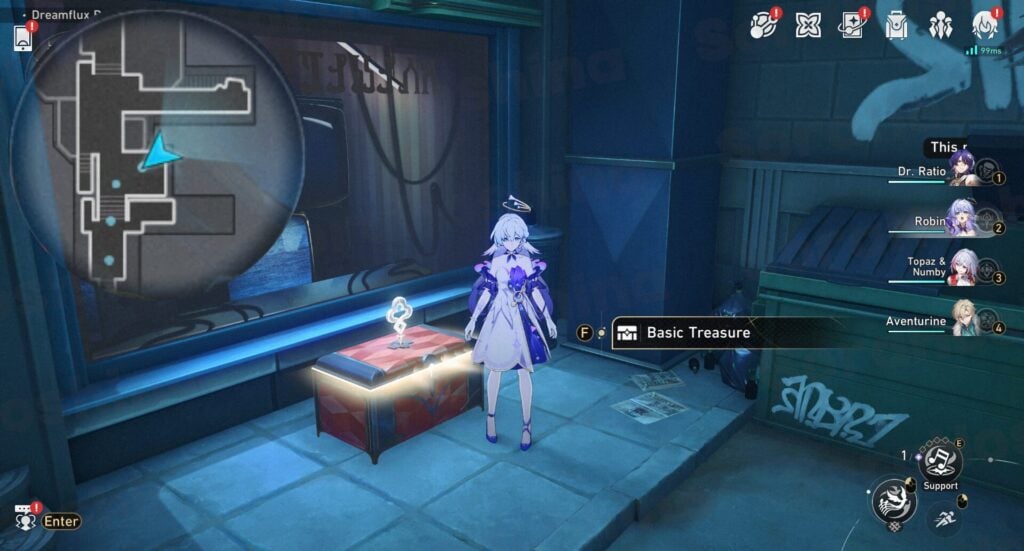
TREASURE CHEST 3
Go north and keep walking until you see two NPCs behind a fence gate to your right. The chest is near those 2 people.
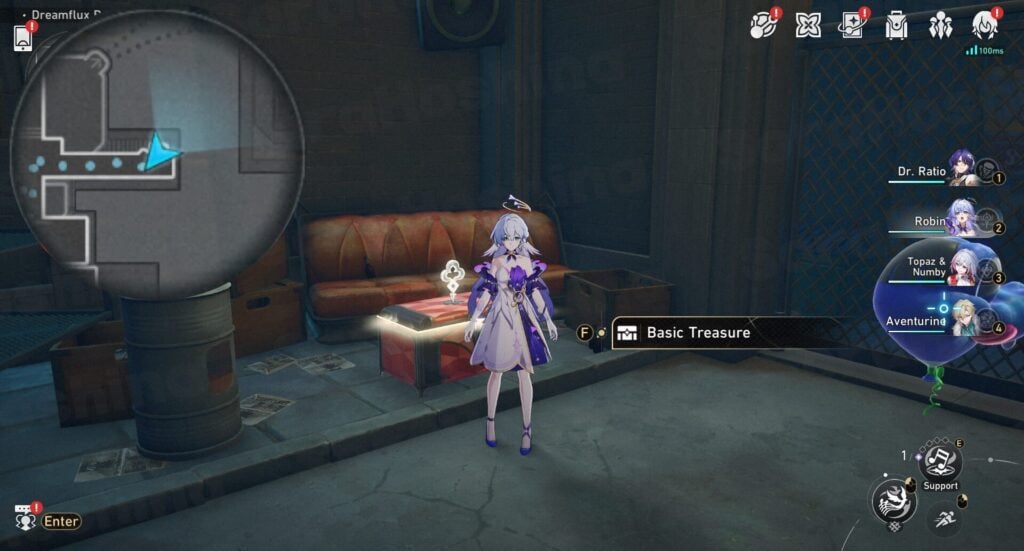
TREASURE CHEST 4
Keep walking north and turn to your right for another creepy alleyway. The chest is in front of a red sofa.
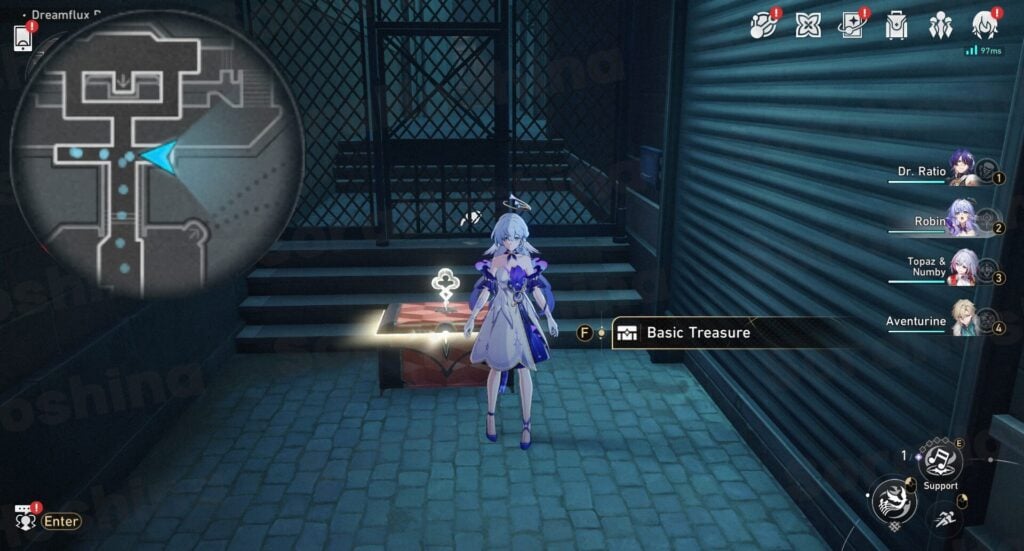
TREASURE CHEST 5
Keep walking north and turn to your right once again but this time for a short path with the chest right in front of you.
Second Floor (F2) Only
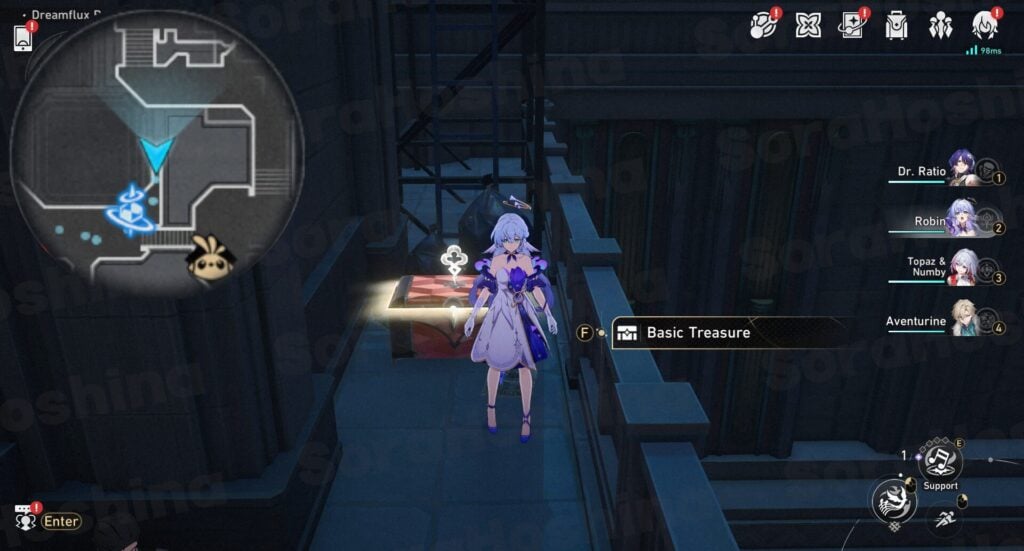
TREASURE CHEST 6
Teleport to space anchor #2 and look to your right for a small hidden path. Walk inside there to find a chest past an NPC.
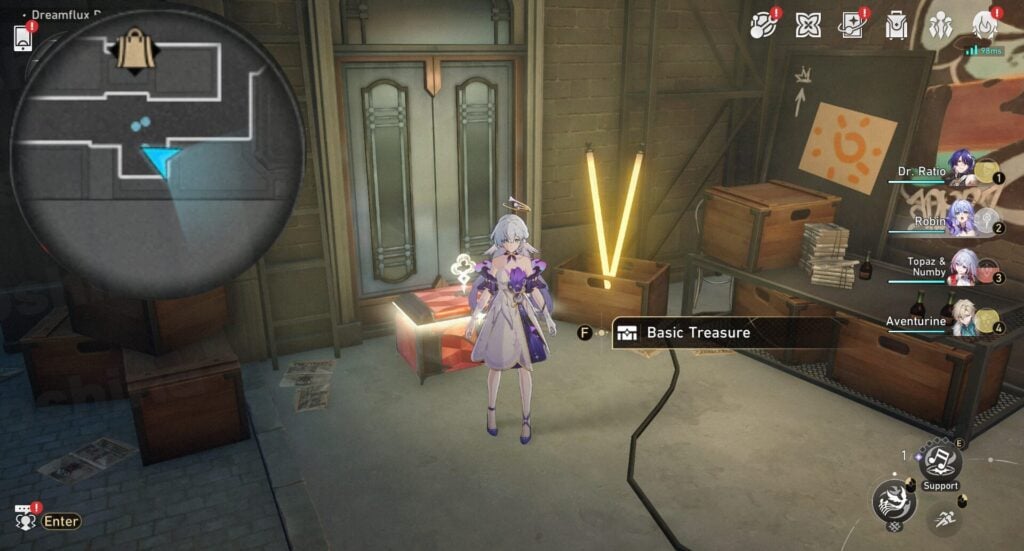
TREASURE CHEST 7
Teleport to space anchor #2 and head southwest until you see a hanging spot for the wannabe 'Dreamflux Gang' with a huge graffiti on the wall. The chest is in front of a door.
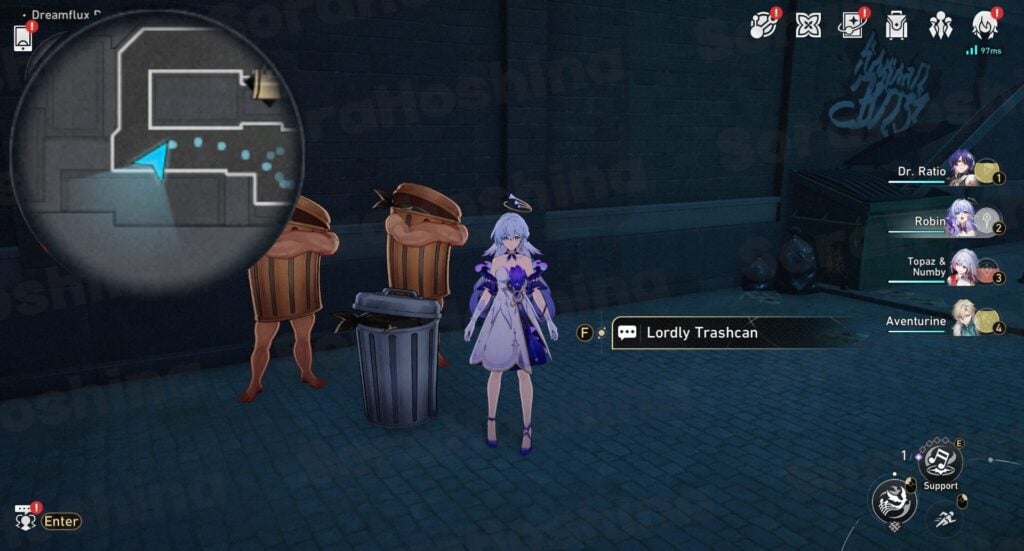
TREASURE CHEST 8 (LORDLY TRASHCANS)
Walk west a little bit to see 3 trash cans. Interact with the Lordly Trashcan and choose the correct option (Option 3 > Option 4). If you choose the wrong one, you will fight the trash can, but will still get the reward if you defeat it.
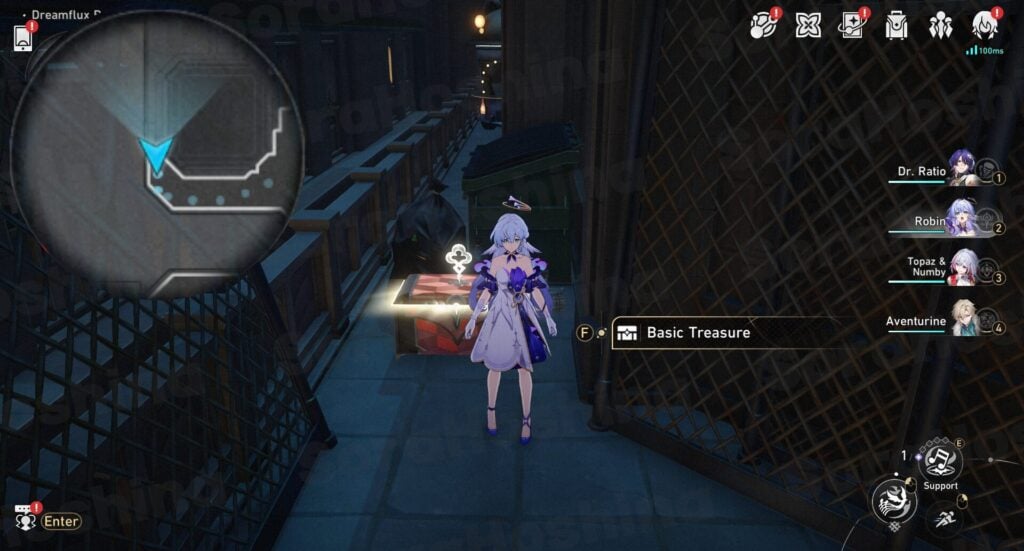
TREASURE CHEST 9
From the space anchor #2, keep walking west until the end of the road.
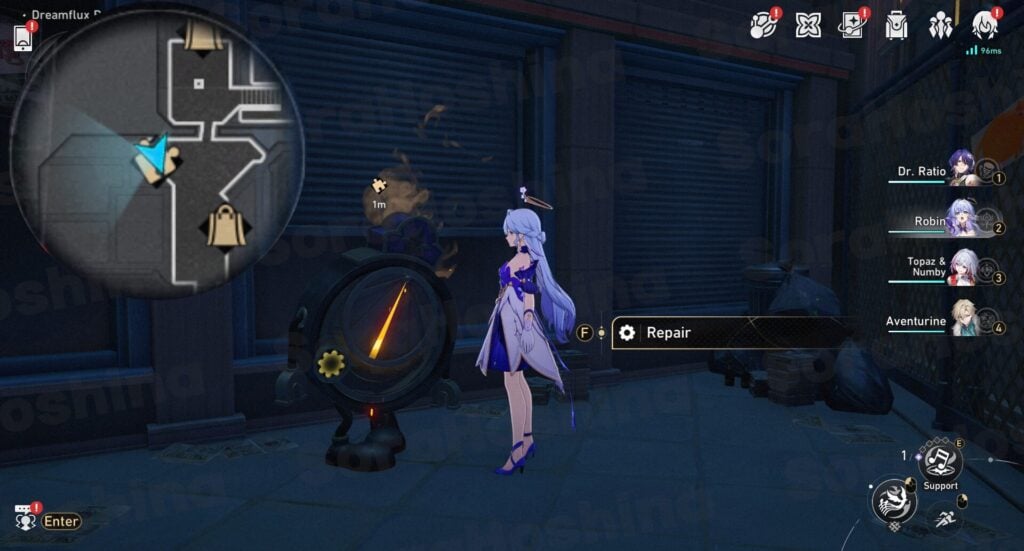
TREASURE CHEST 10 (DREAM TICKER)
Walk north past Nancy (Music Shop Proprietress) and look to your left for tall fences.
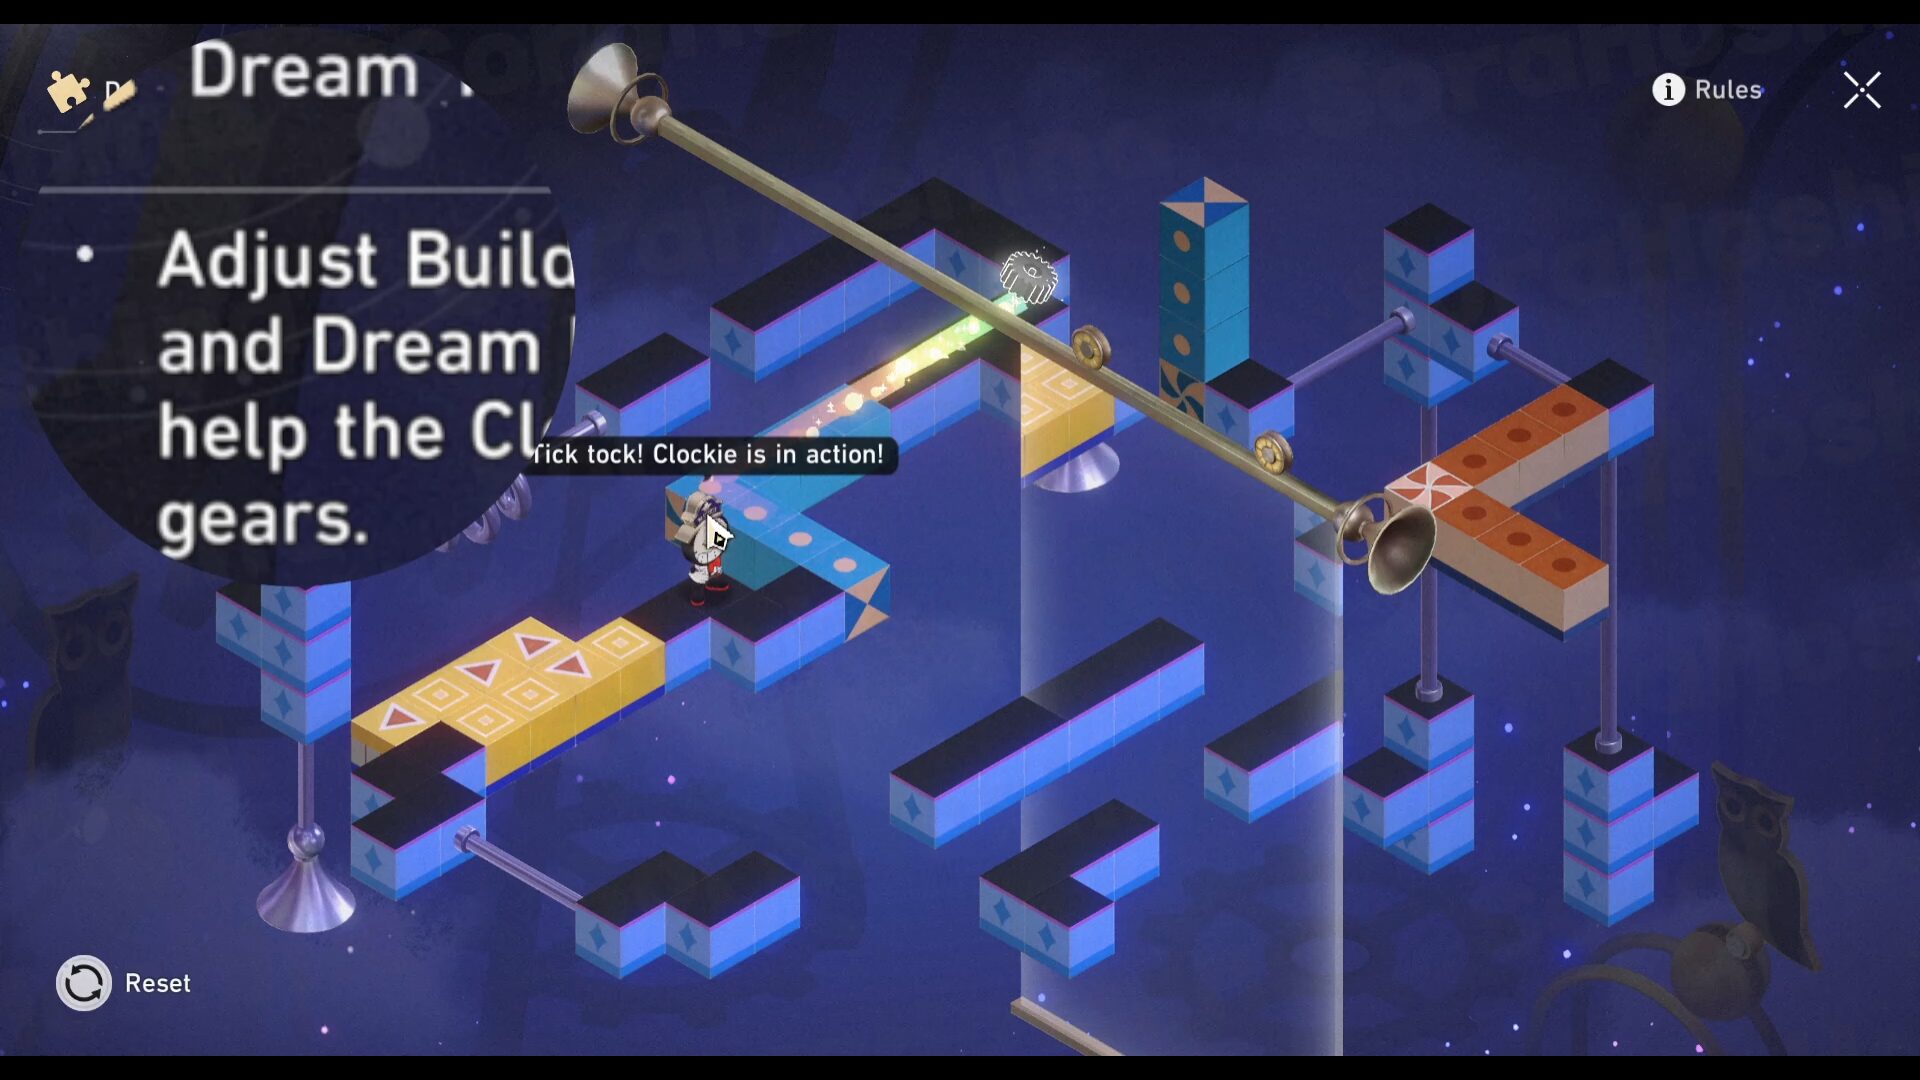
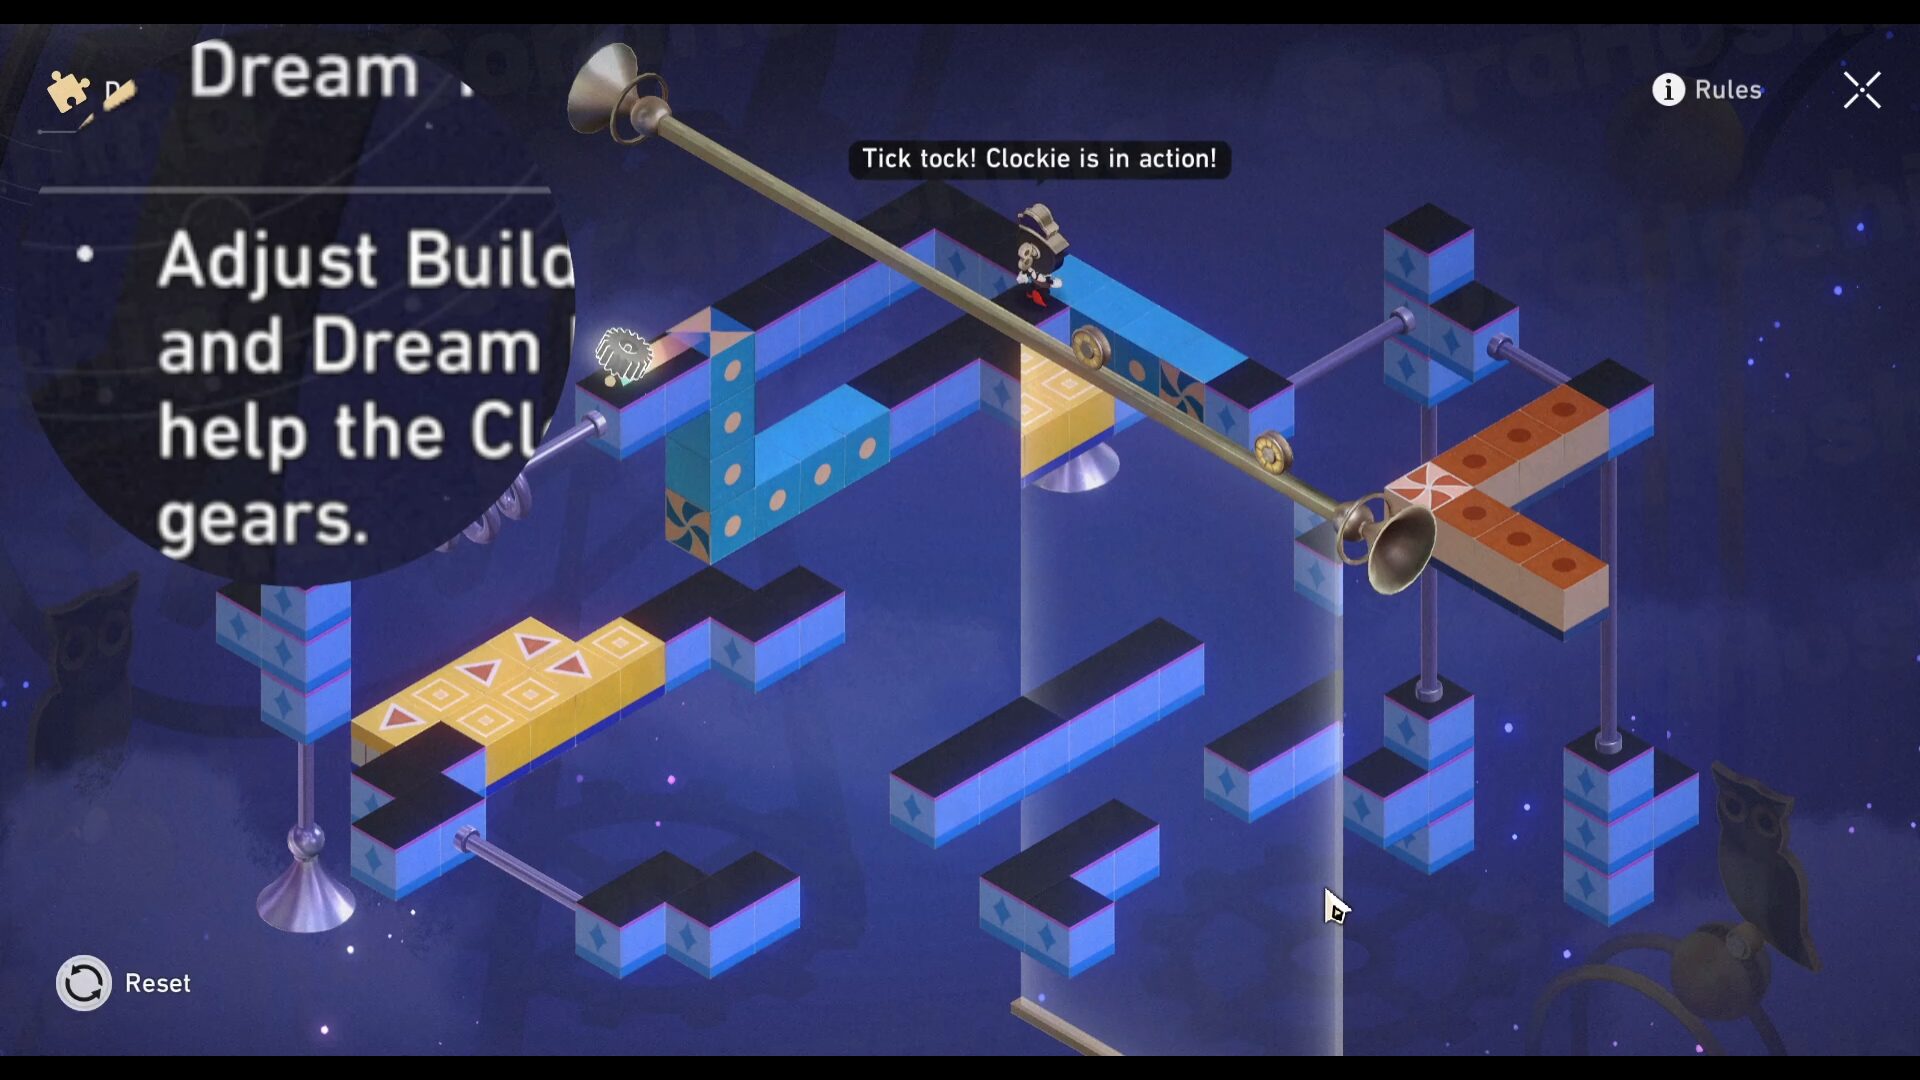
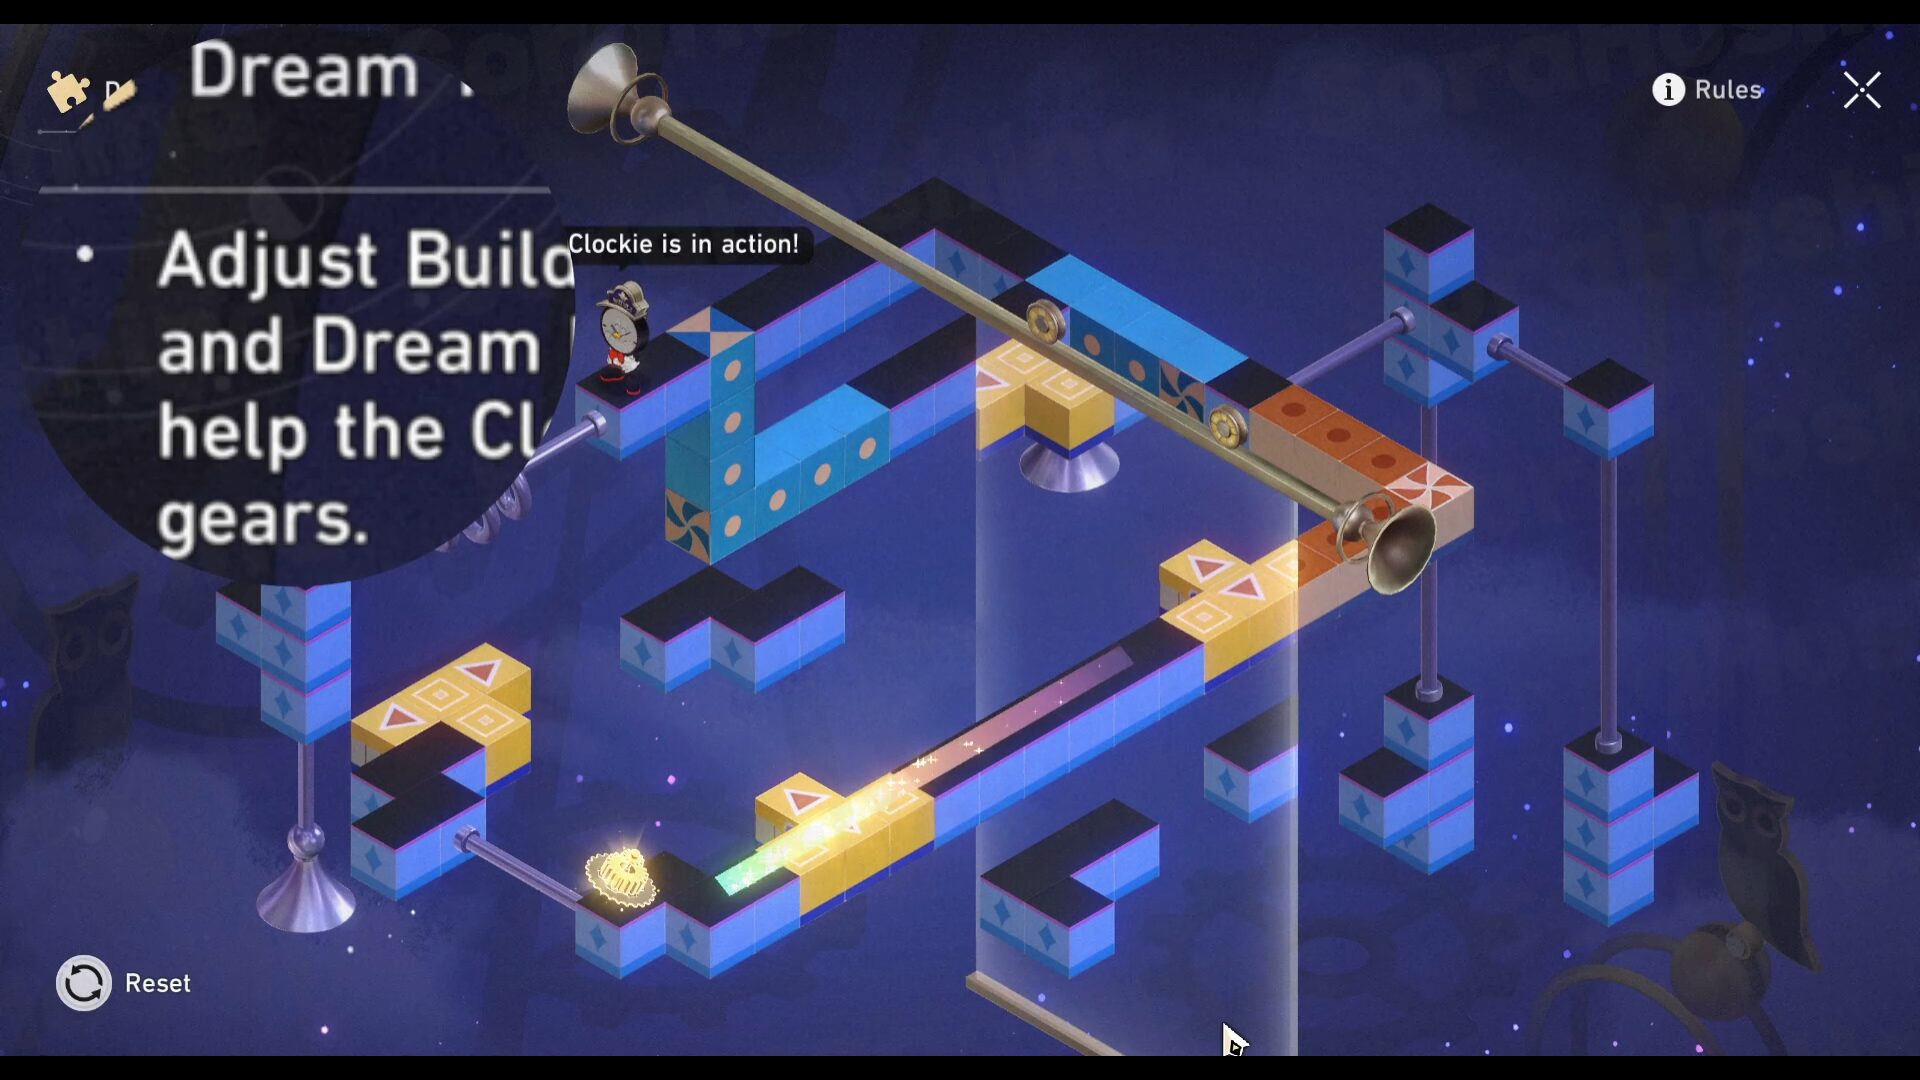
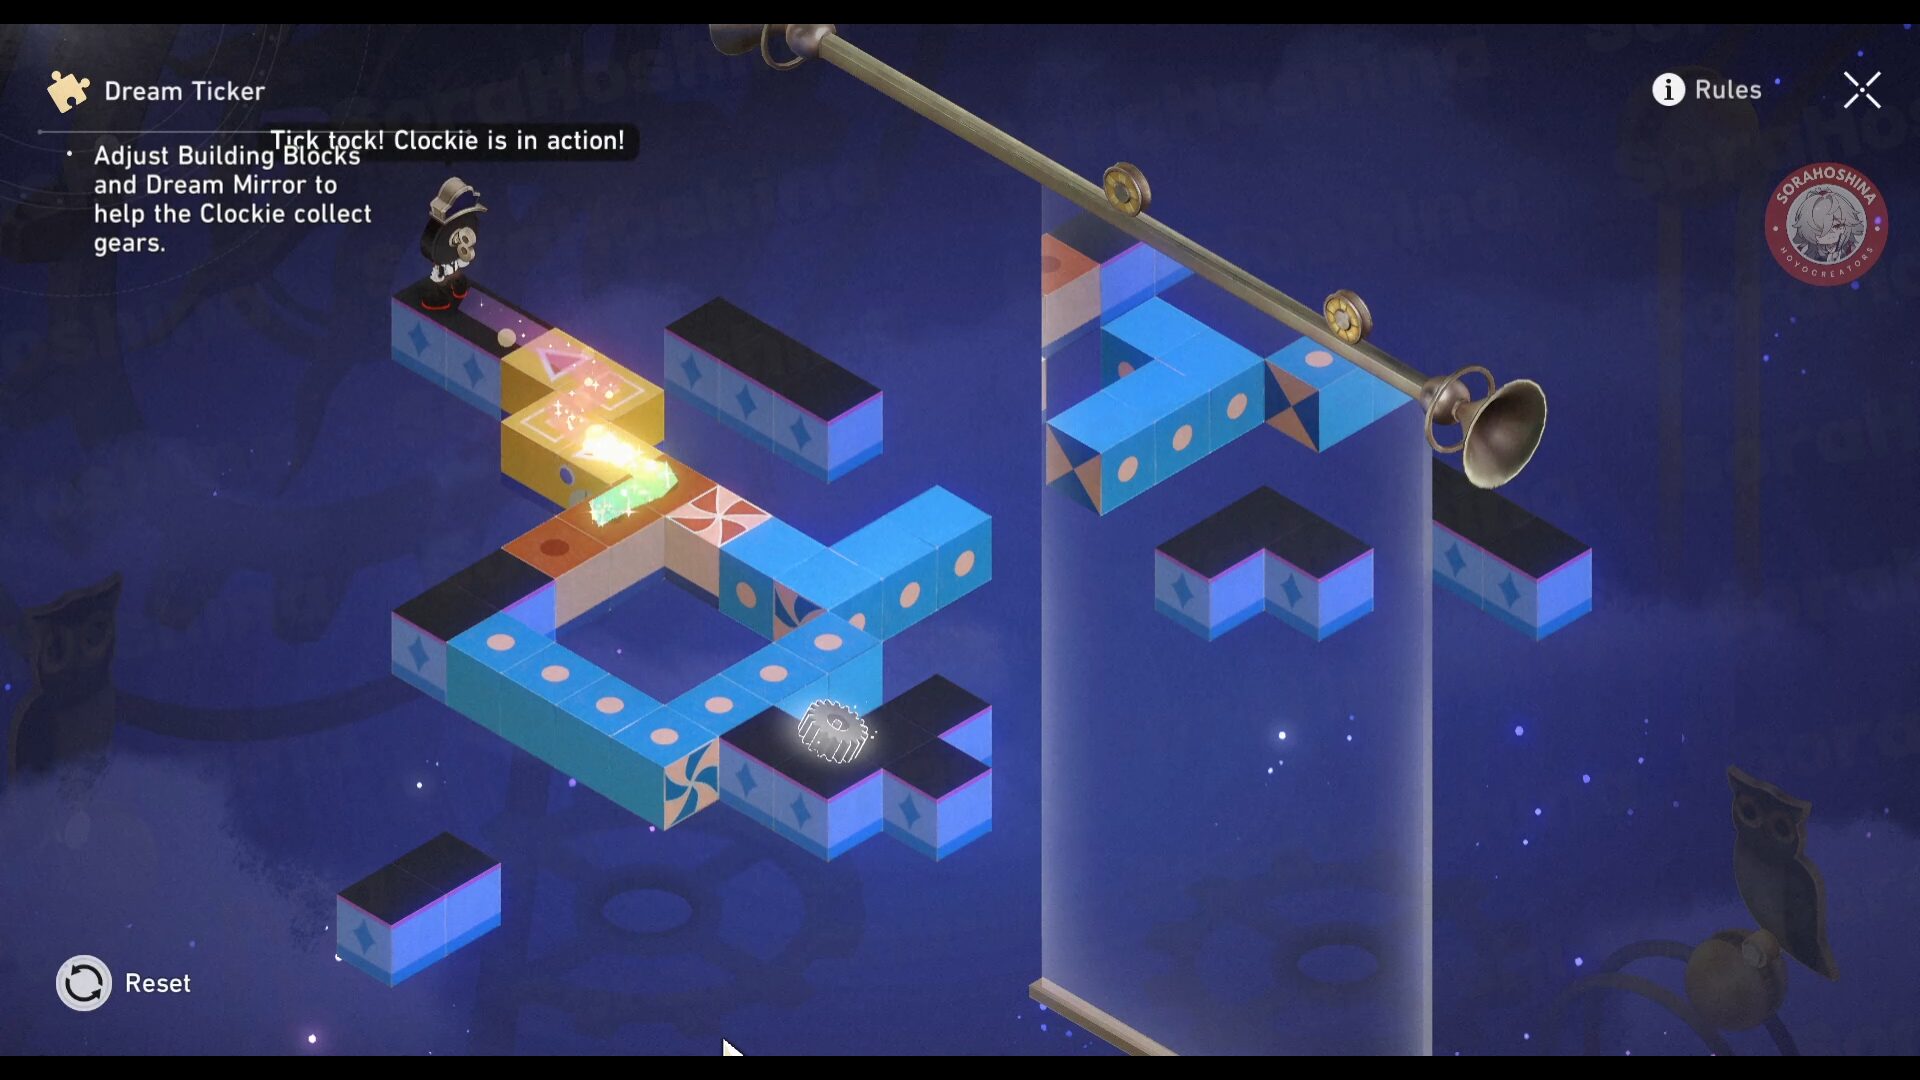
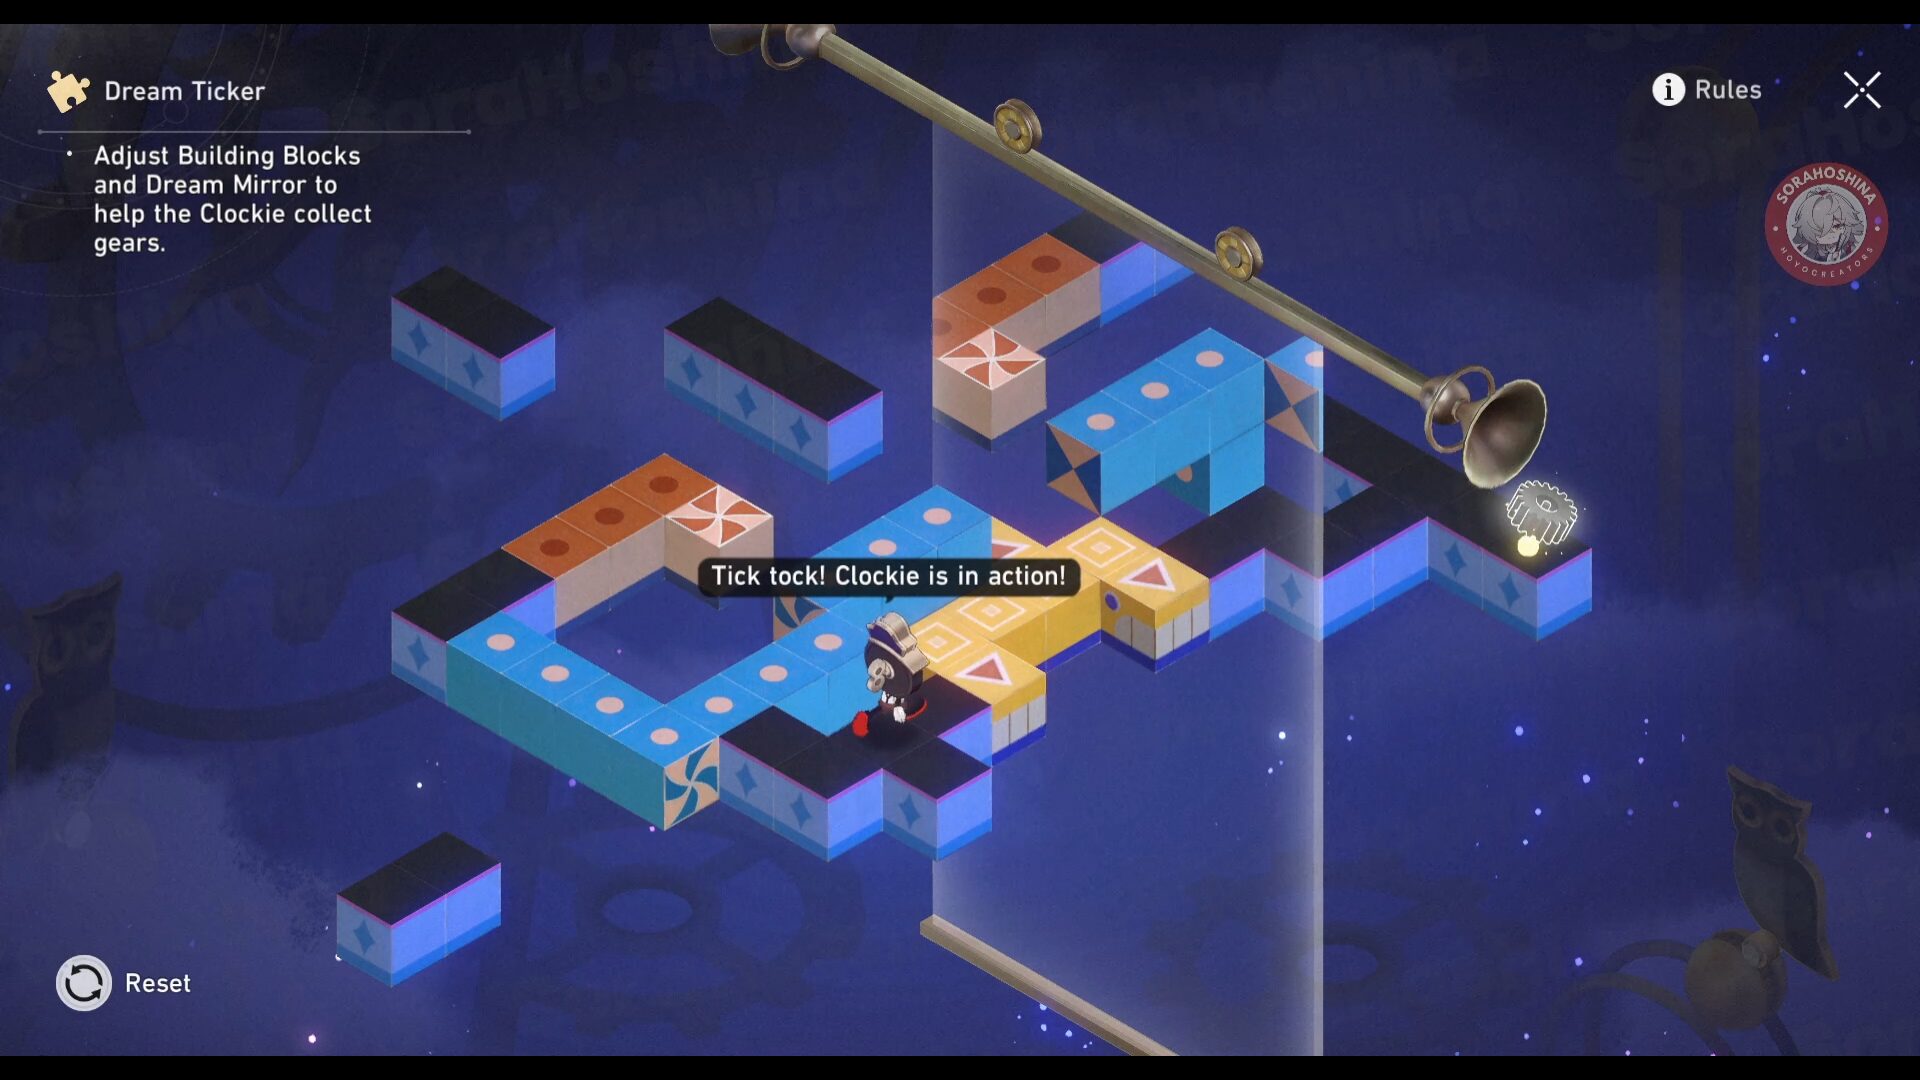
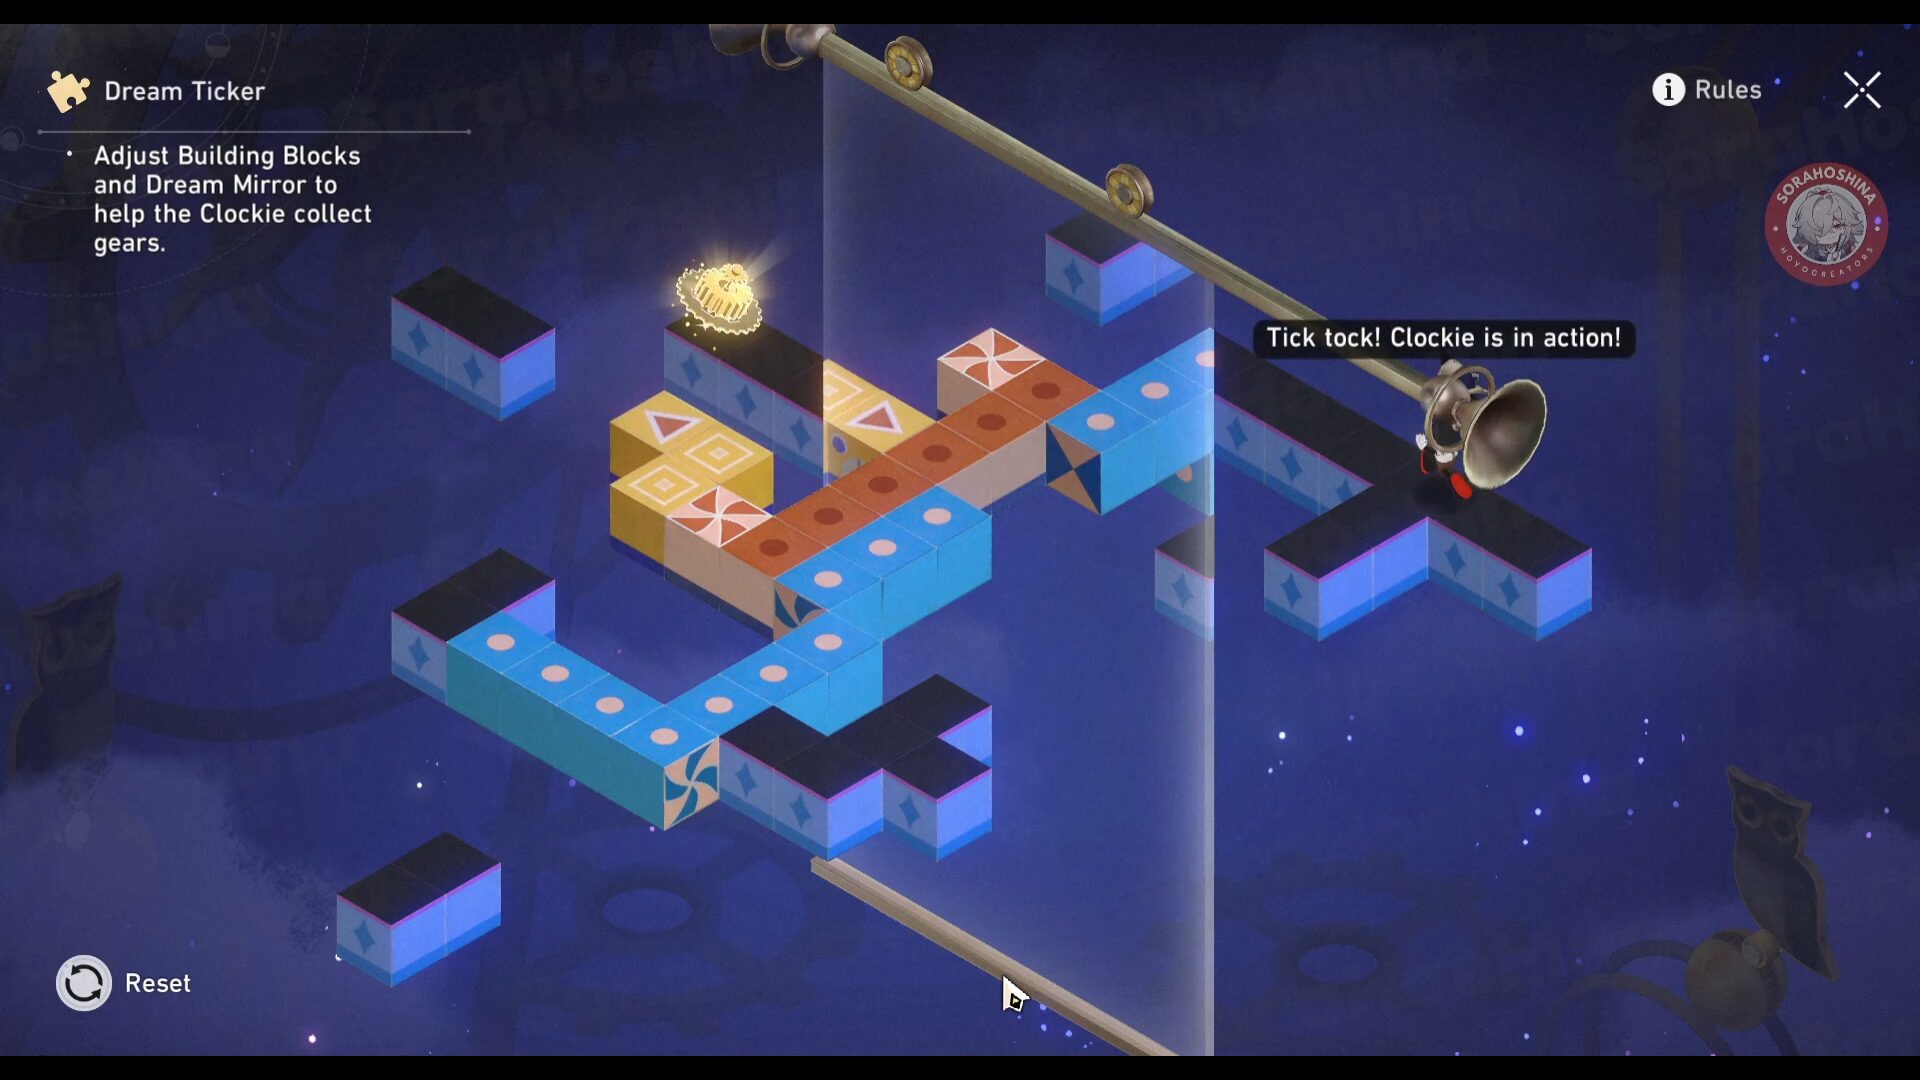
The Dreamticker puzzles are getting harder in the new areas so here's how to solve the puzzles (Sorry for the zoomed-out circle, forgot to turn that off):
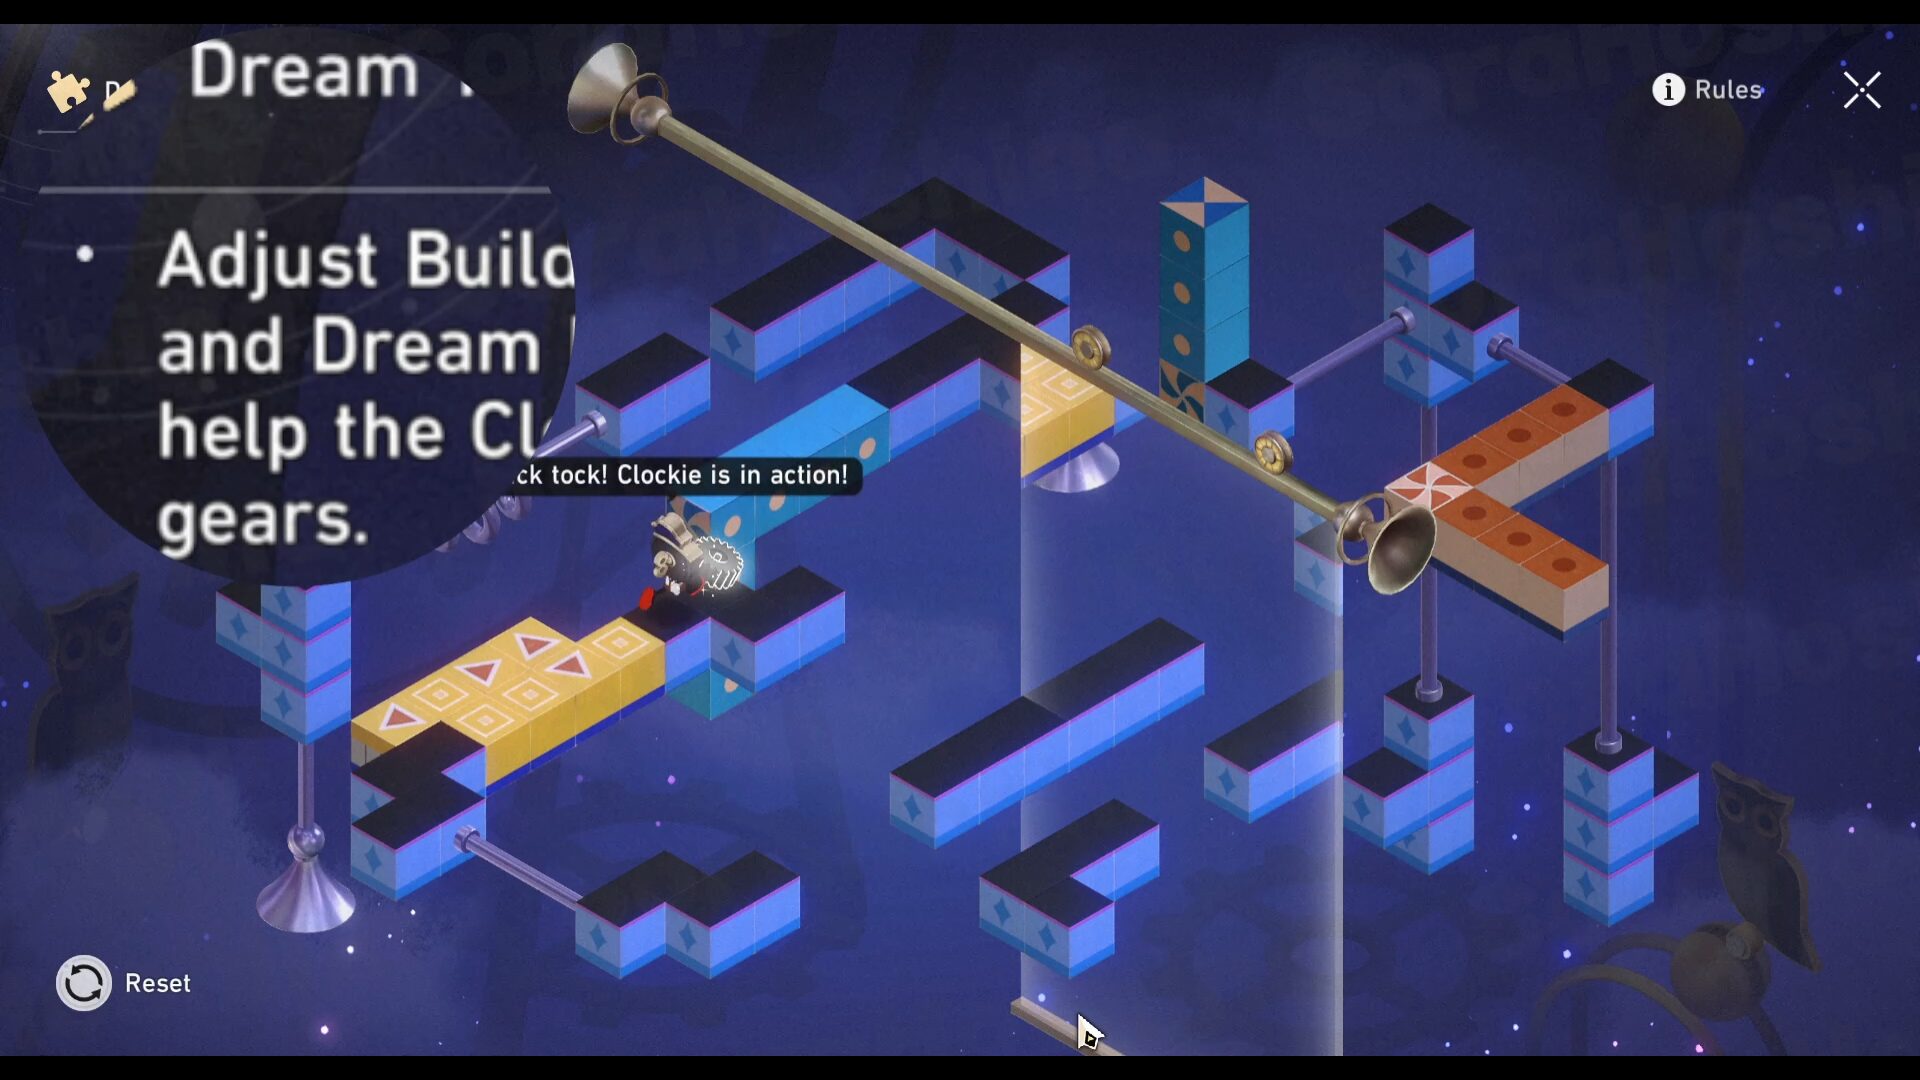
TREASURE CHEST 11
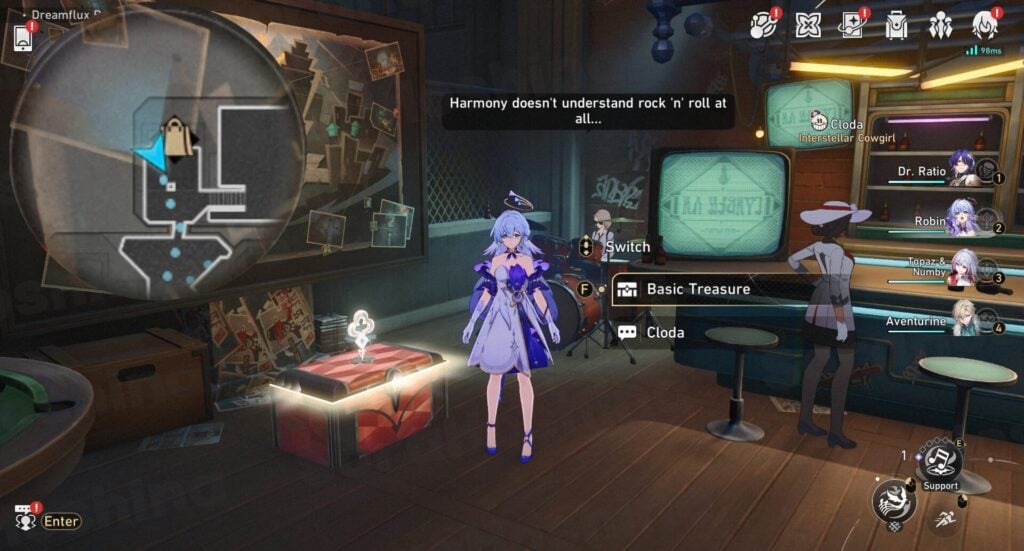
Keep north to the bar with Cloda (Interstellar Cowgirl) inside it.
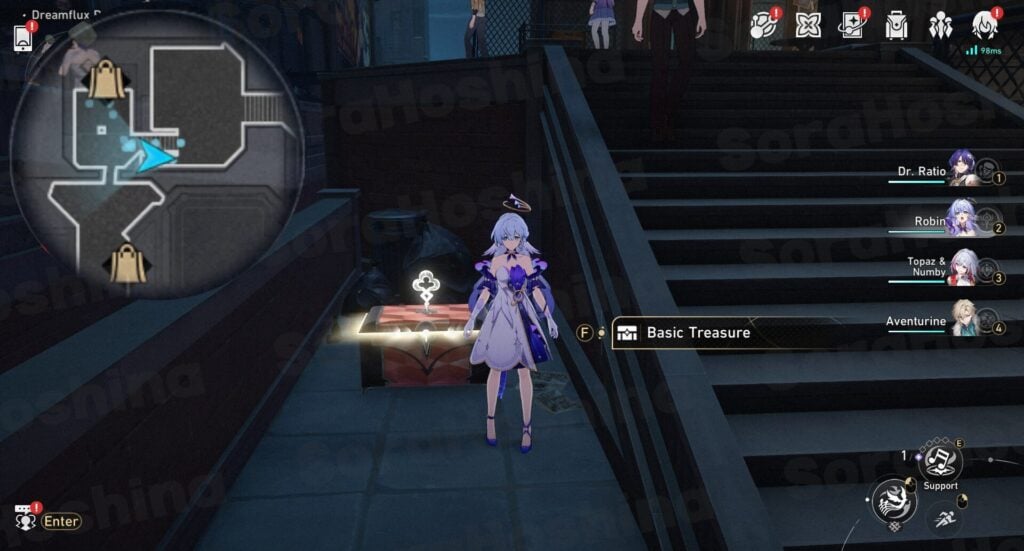
TREASURE CHEST 12
Get out of the bar and walk down the stairs. Right after that, look to your right for a small space with the treasure chest.
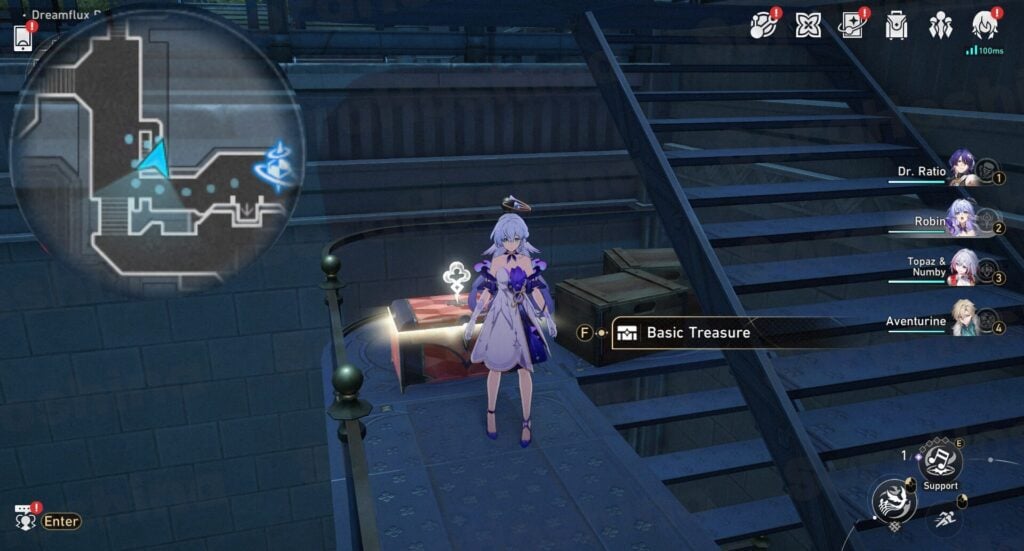
TREASURE CHEST 13
Teleport to space anchor #2 again and after arrival, walk on the path to your left and then head right (northwest). You can see a staircase leading down.
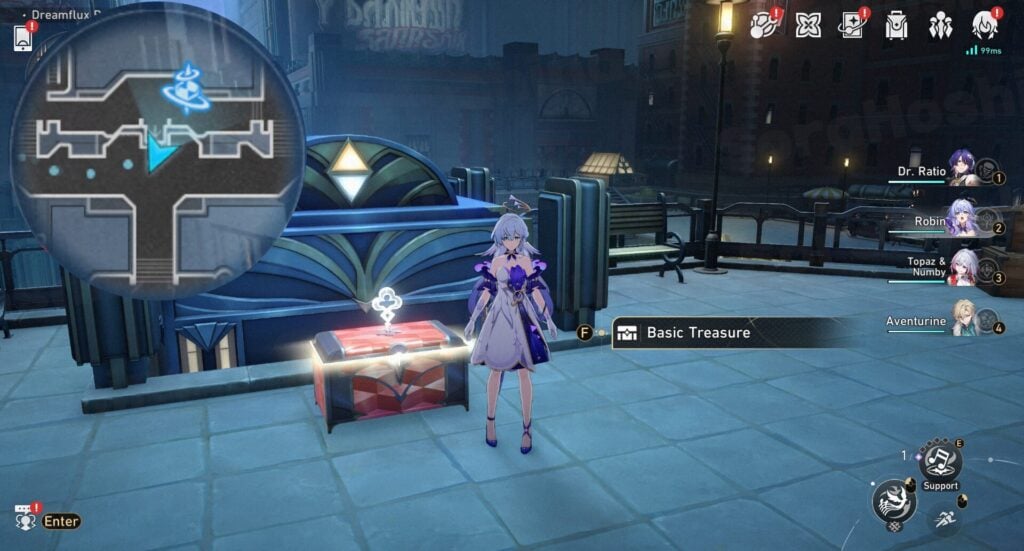
TREASURE CHEST 14
Walk south to the platform above the space anchor and you can see the chest right behind the elevator.
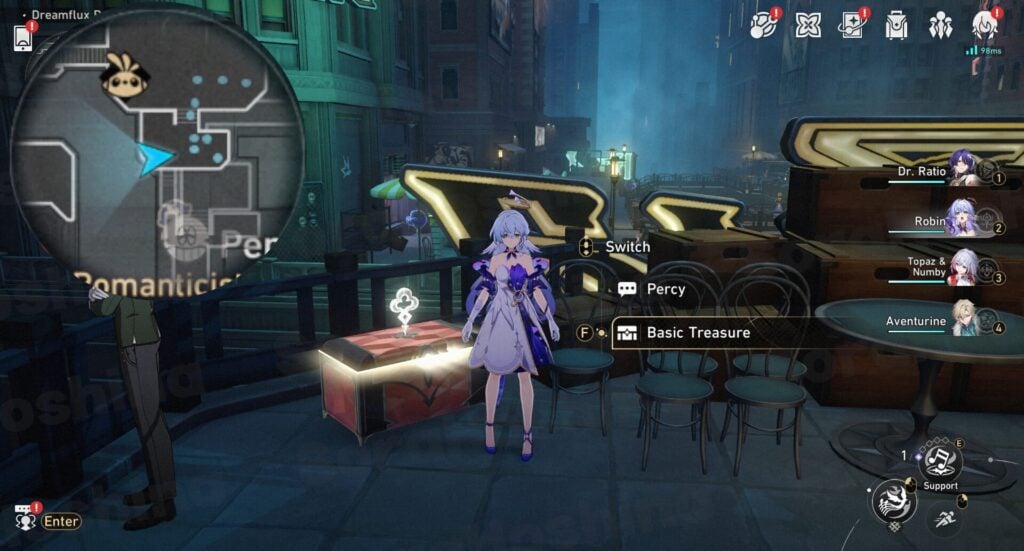
TREASURE CHEST 15
Go to the most south to the edge of the map. The chest is near Percy (Romanticist Dreamweaver).
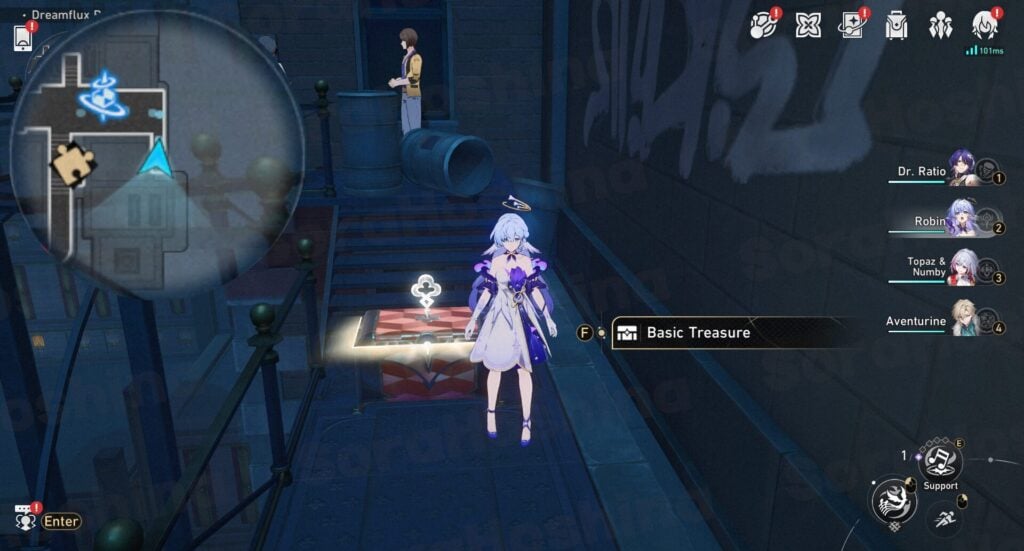
TREASURE CHEST 16
Teleport to space anchor #3 and turn around to the right for a hidden chest.
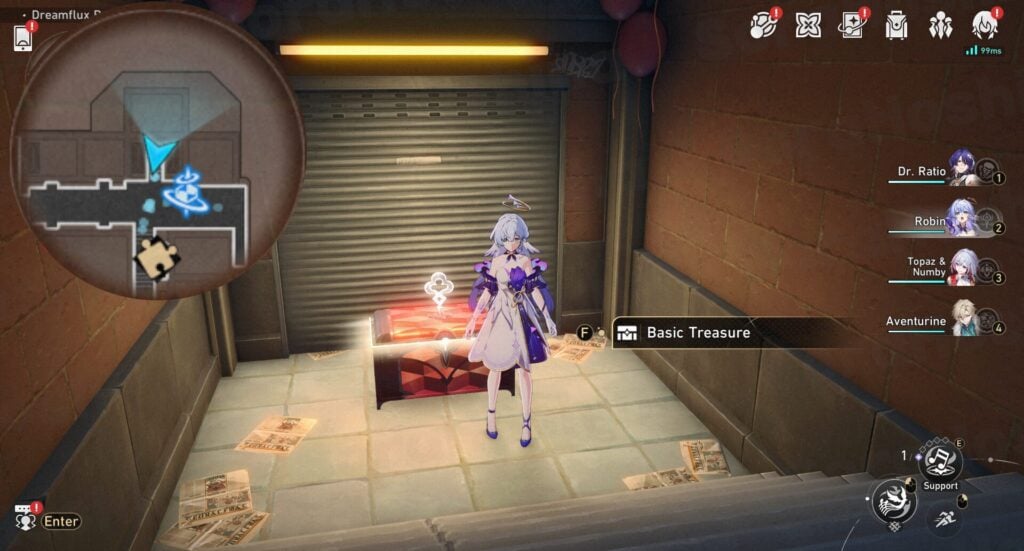
TREASURE CHEST 17
Go back to the space anchor and immediately turn right for another chest.
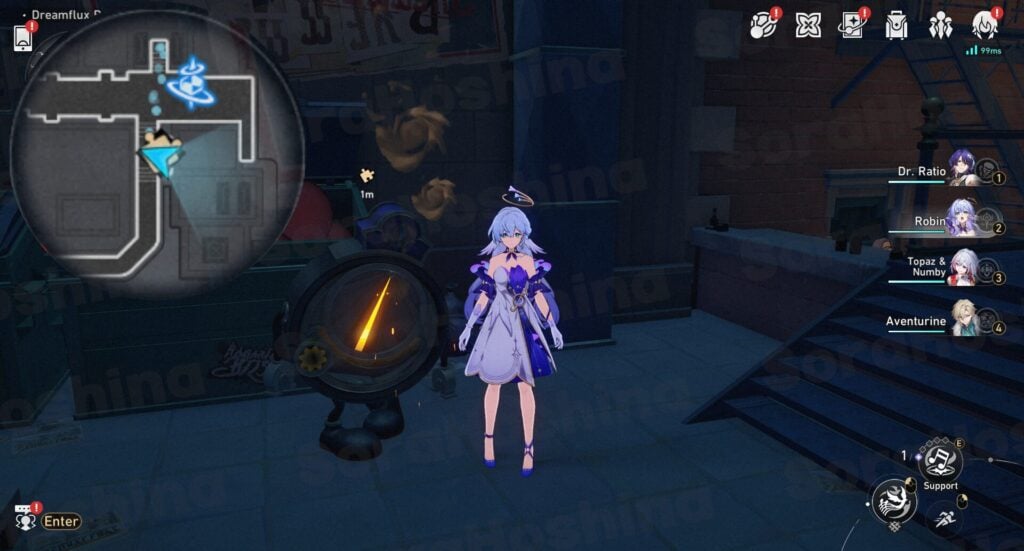
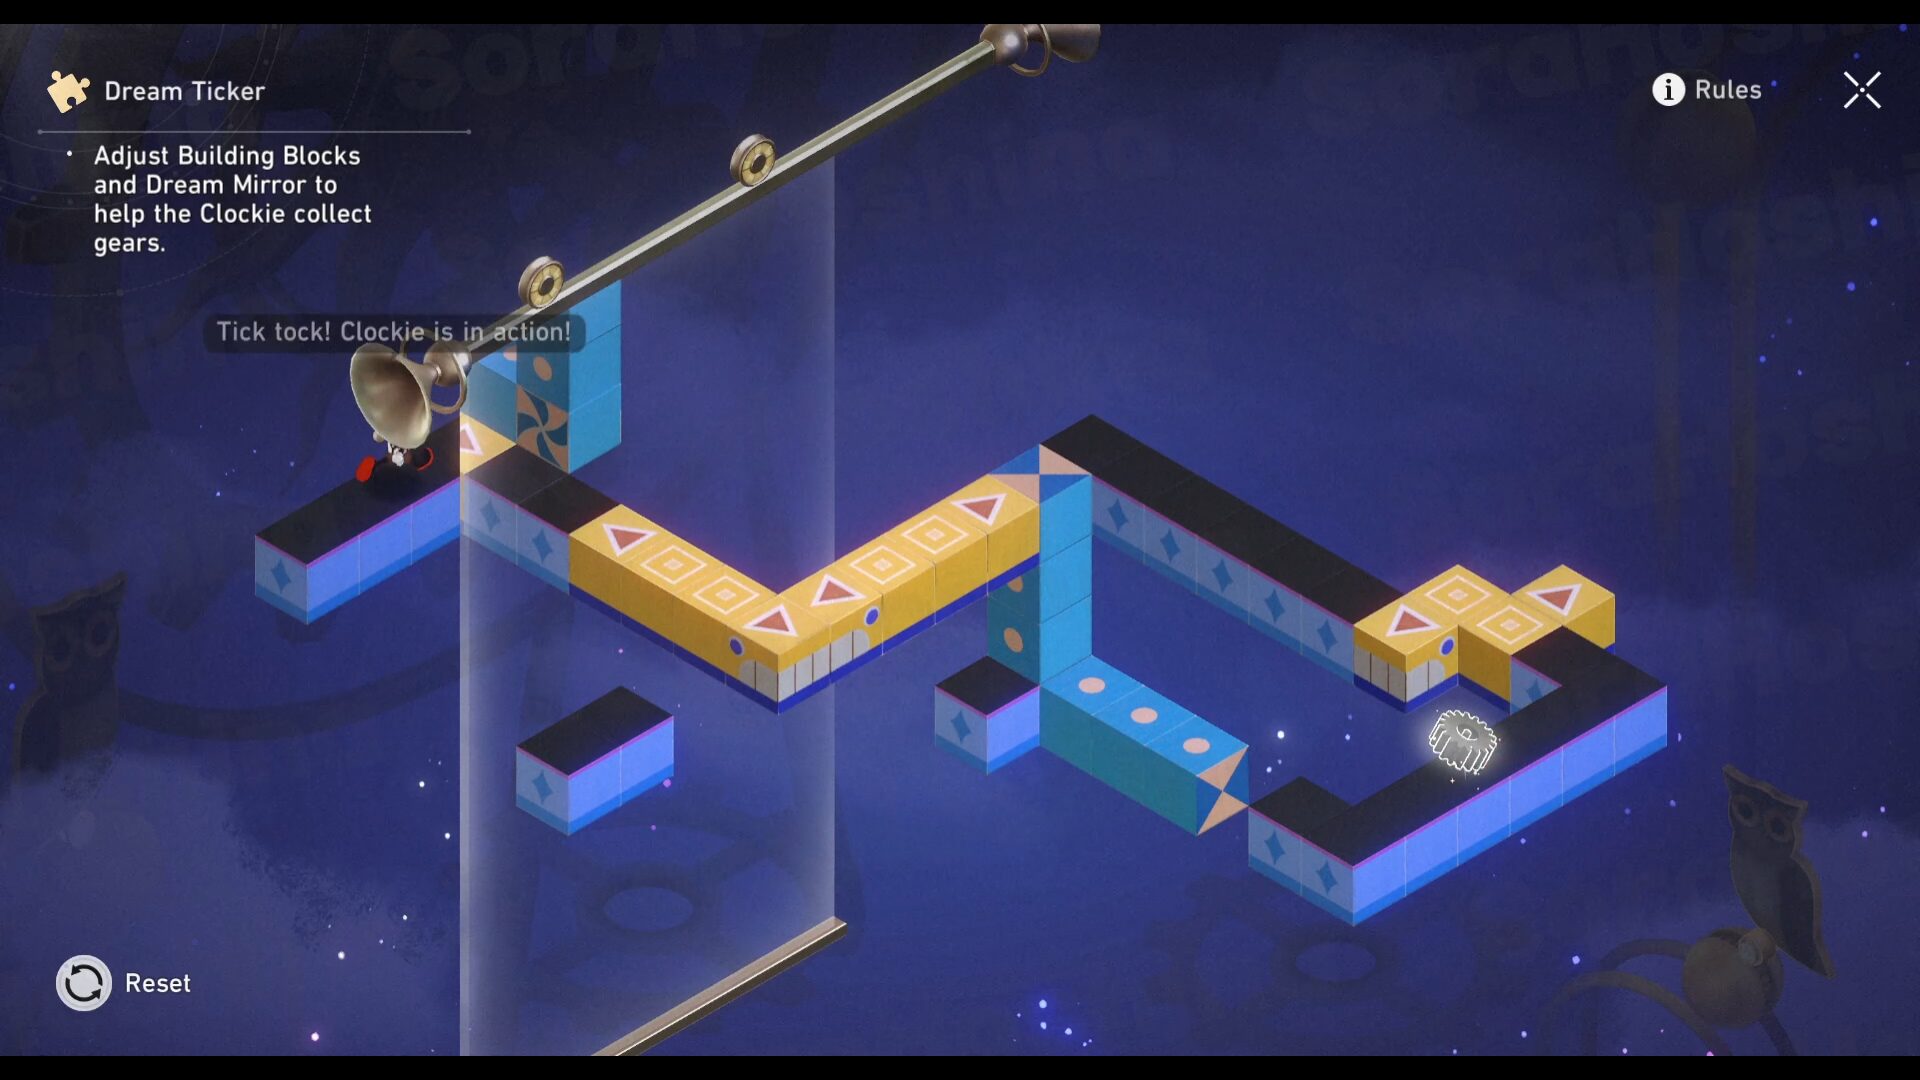
TREASURE CHEST 18 (DREAM TICKER)
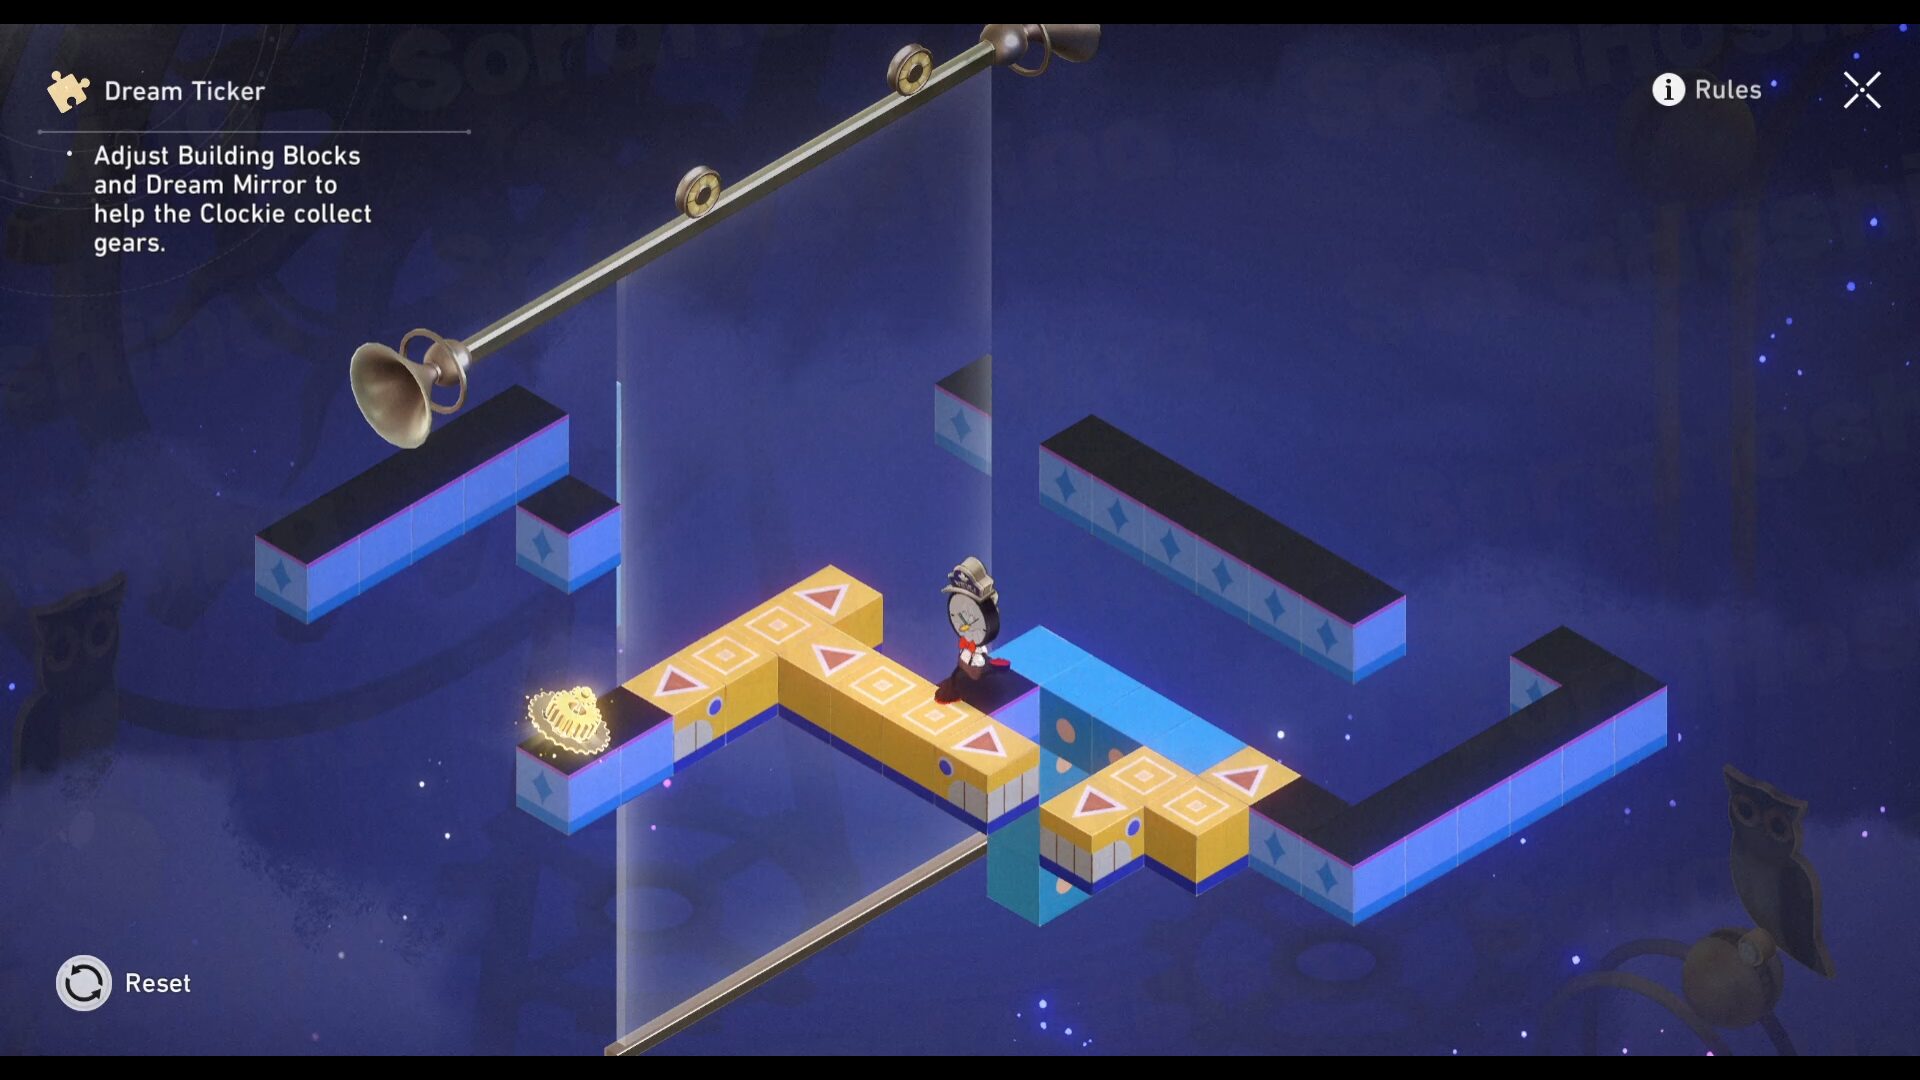
Turn south for a Dreamticker puzzle. Here's how to solve the puzzles (adjust the blocks and mirror to follow the image below):
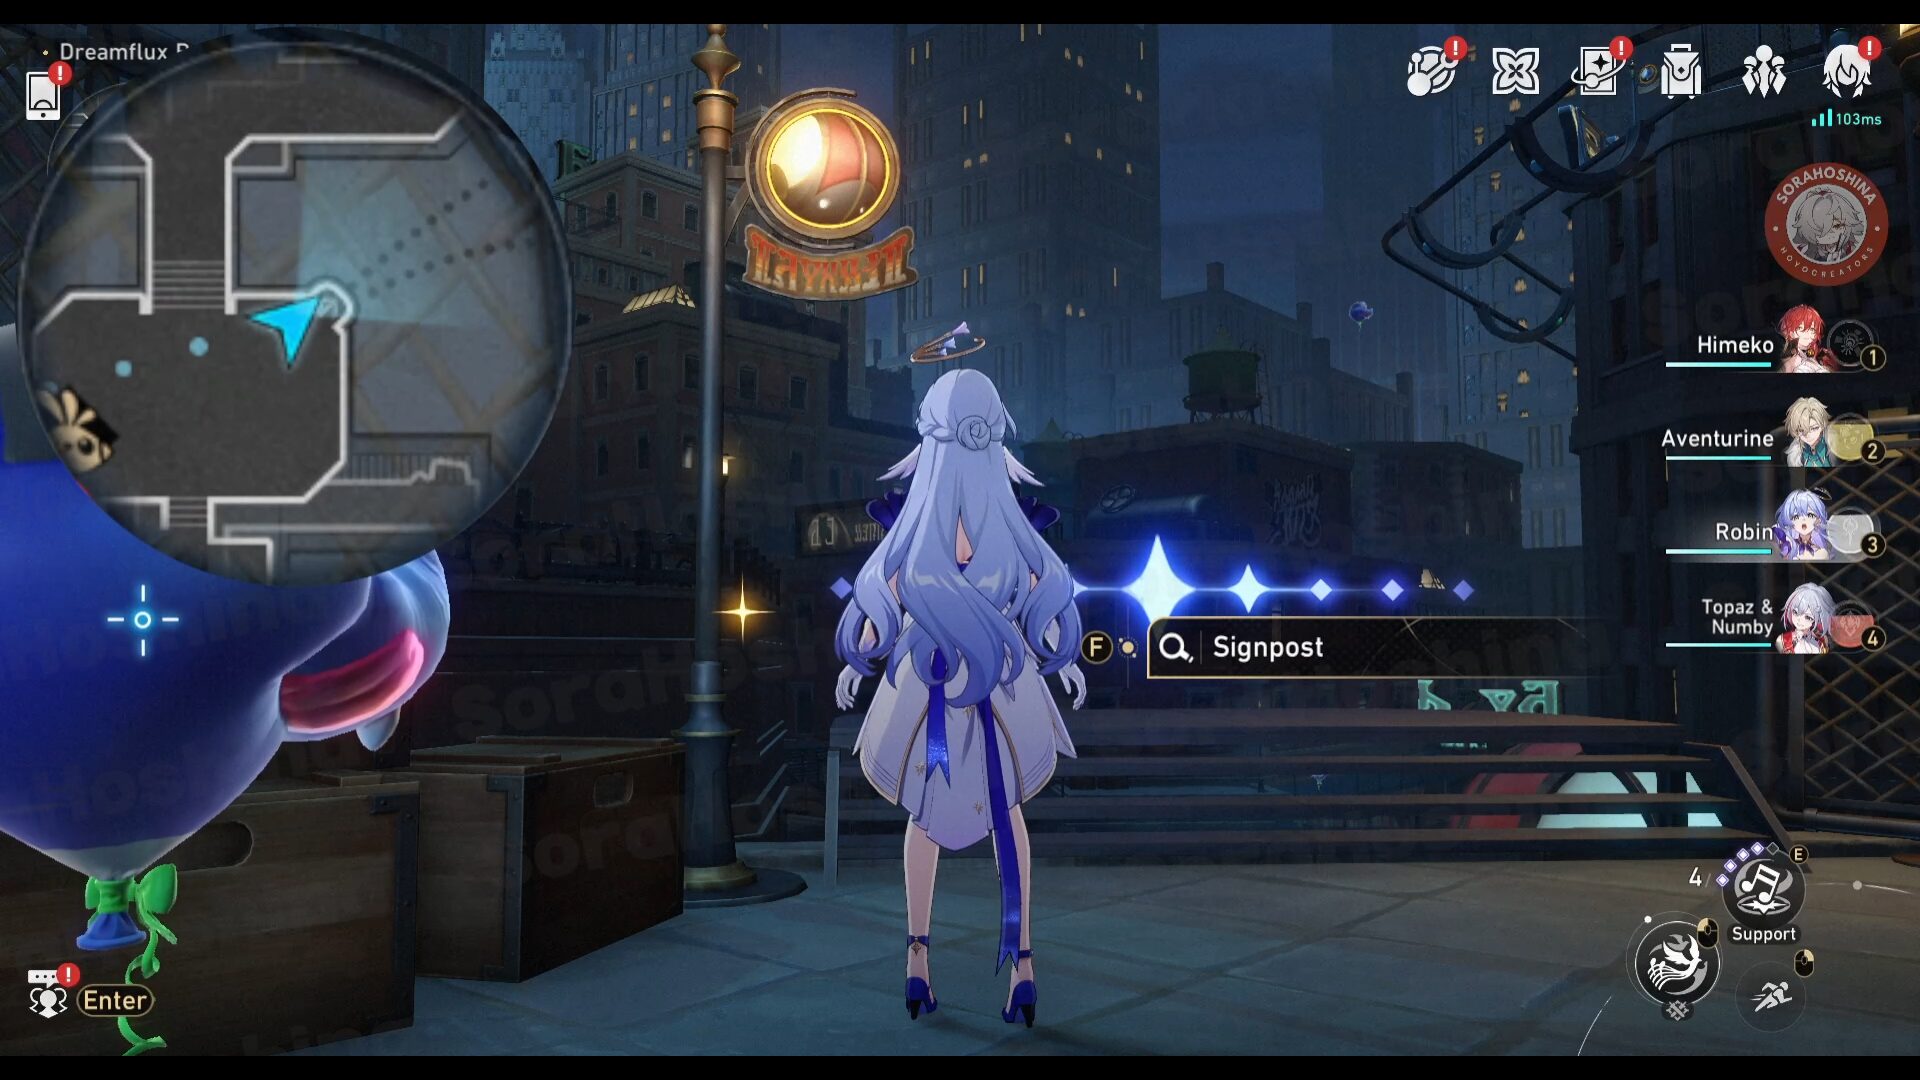
Teleport to space anchor #2 and head east to the signpost. Use 1 Aideen Token on the signpost to unlock a hidden area. Then, you can choose to go to the Rooftop.
TREASURE CHEST 19
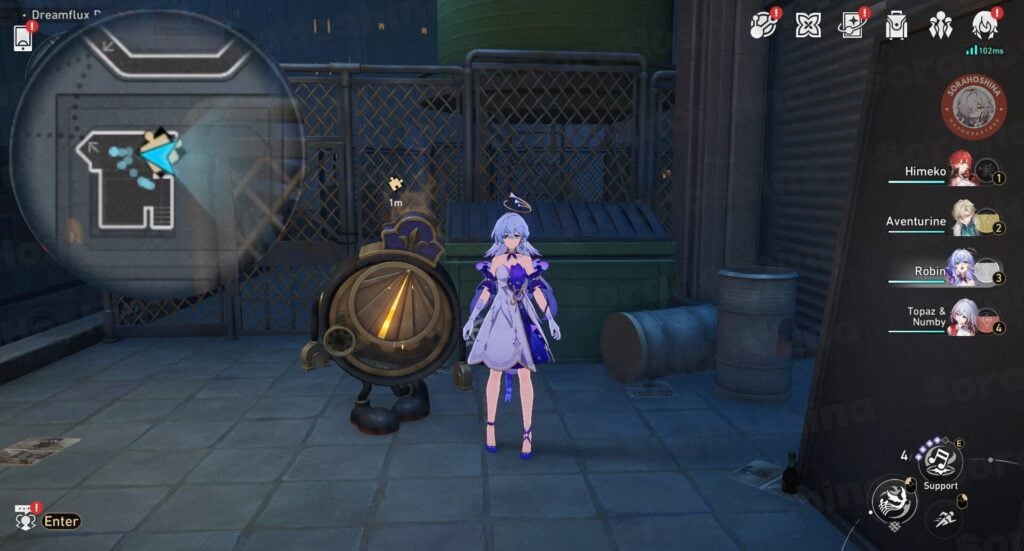
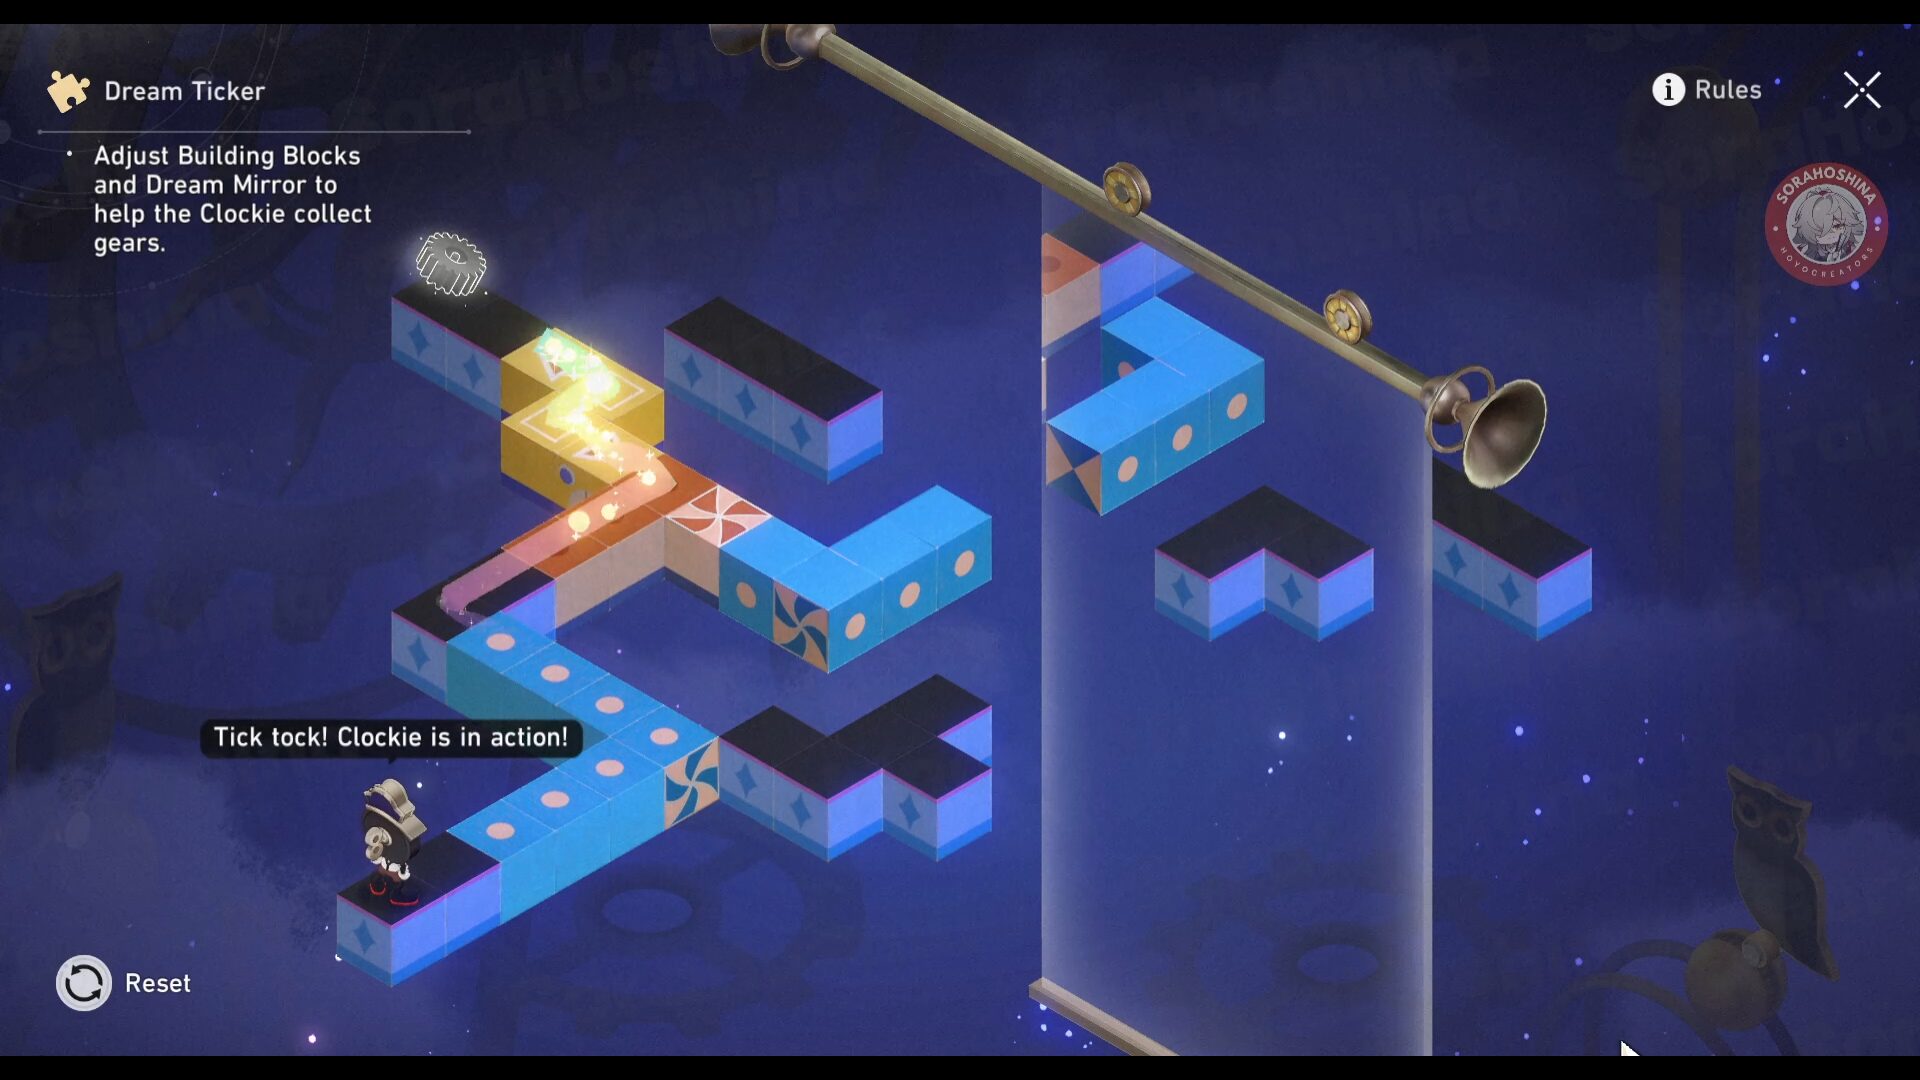
Use the Spheroid near the signpost to reach a hidden area. Walk forward and complete the Dream Ticker puzzle.
TREASURE CHEST 20
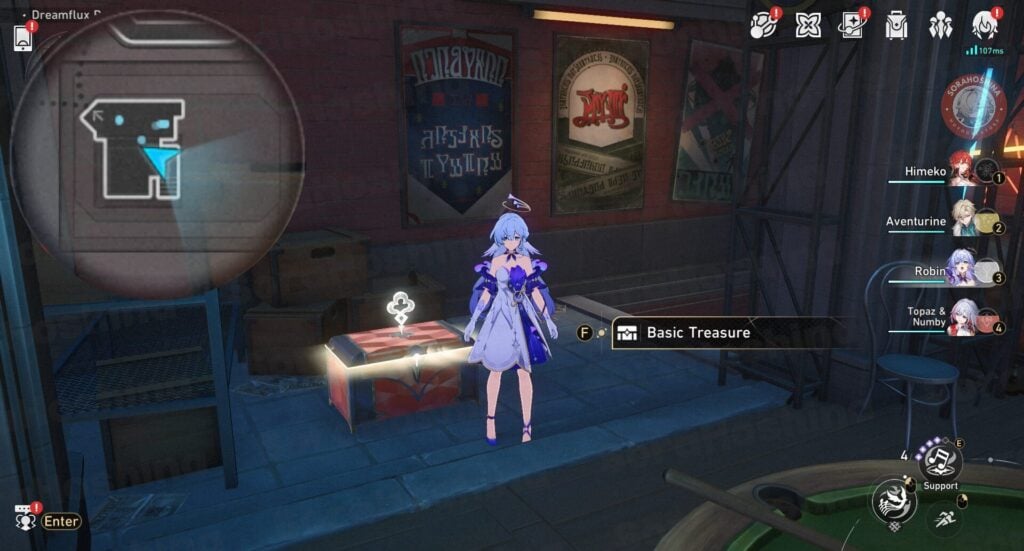
Walk further inside and you can see another chest.
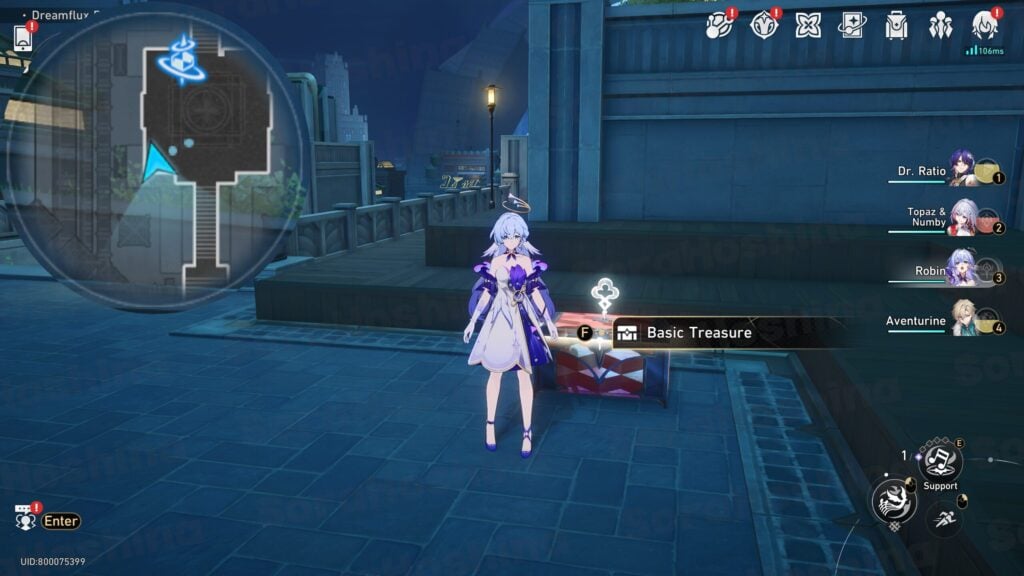
TREASURE CHEST 21
Teleport to space anchor #4 and turn around for the chest.
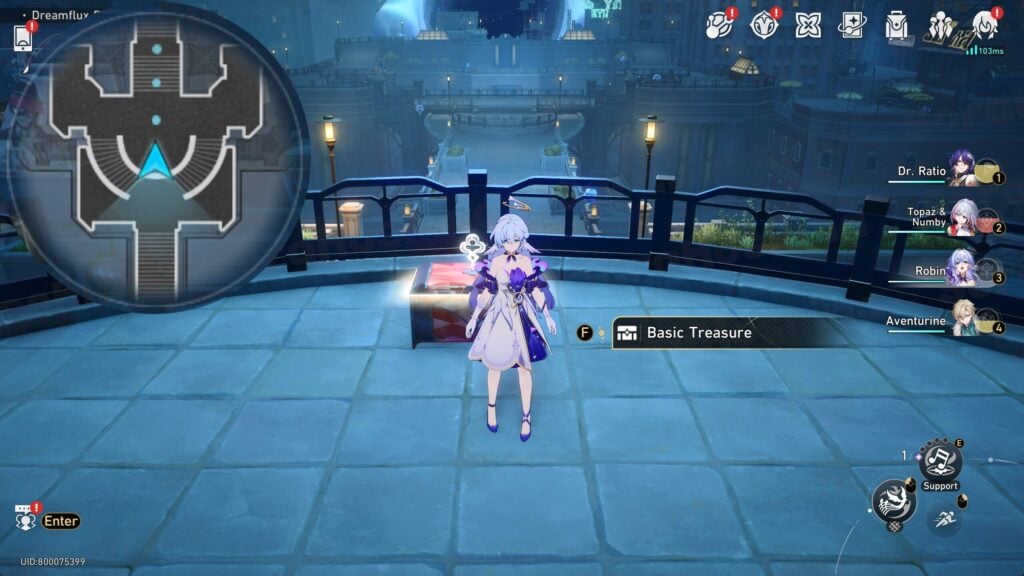
TREASURE CHEST 22
Go down the stairs for the last chest.
