Table of Contents
Memory Turbulence

At the start of every wave of Cycle, summon 1 Trotter onto the field. The Trotter will be immediately defeated when it is Weakness Broken.
After the Trotter is defeated, Advance the attacker's Action Forward by 100%, then apply Memory Imprint to all allies. Every stack of Memory Imprint then apply Memory Imprint to all allies. Every stack of Memory Imprint increases the target's ATK by 15% and Break Effect by 30%, up to a max of 5 stack(s).
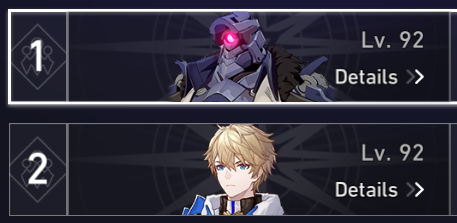
Enemies Lineup
First Half

Second Half

Team Recommendations
First Half
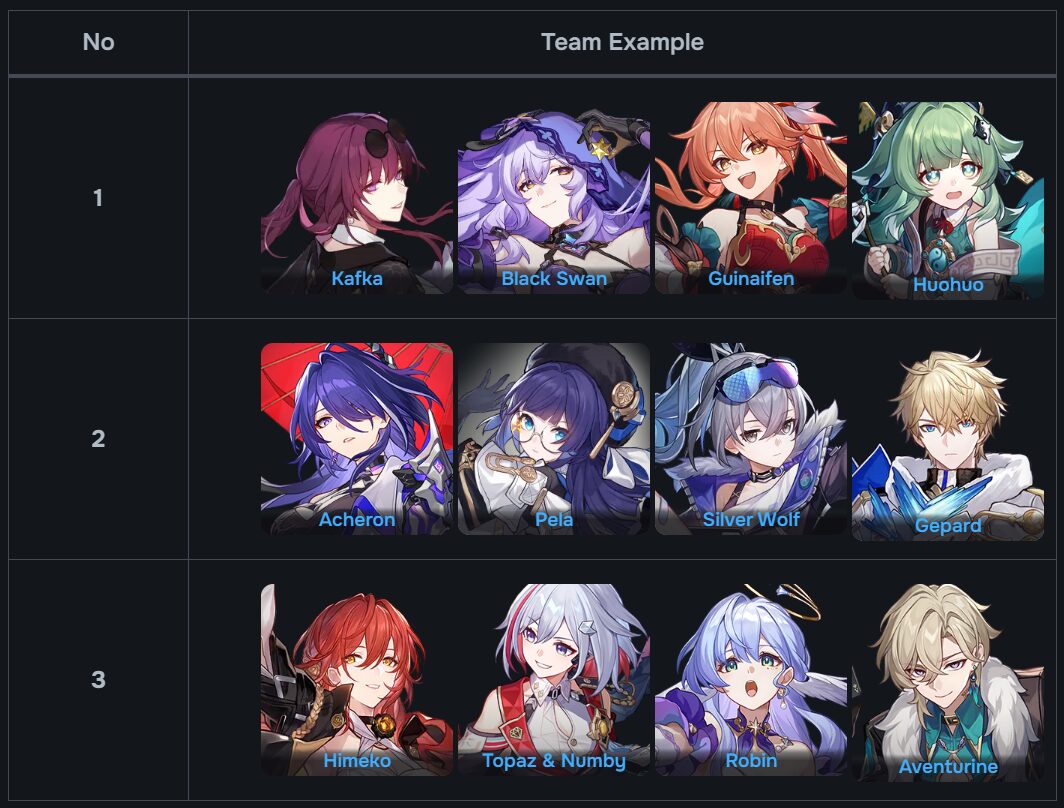
Recommended Elements: Wind & Fire
Ice characters aren't really recommended here because there's an elite enemy with high Ice RES. In addition, DoT perform extremely well here because of the appearance of the Dreamjolt Troupe's Beyond Overcooked elite enemy.
Second Half
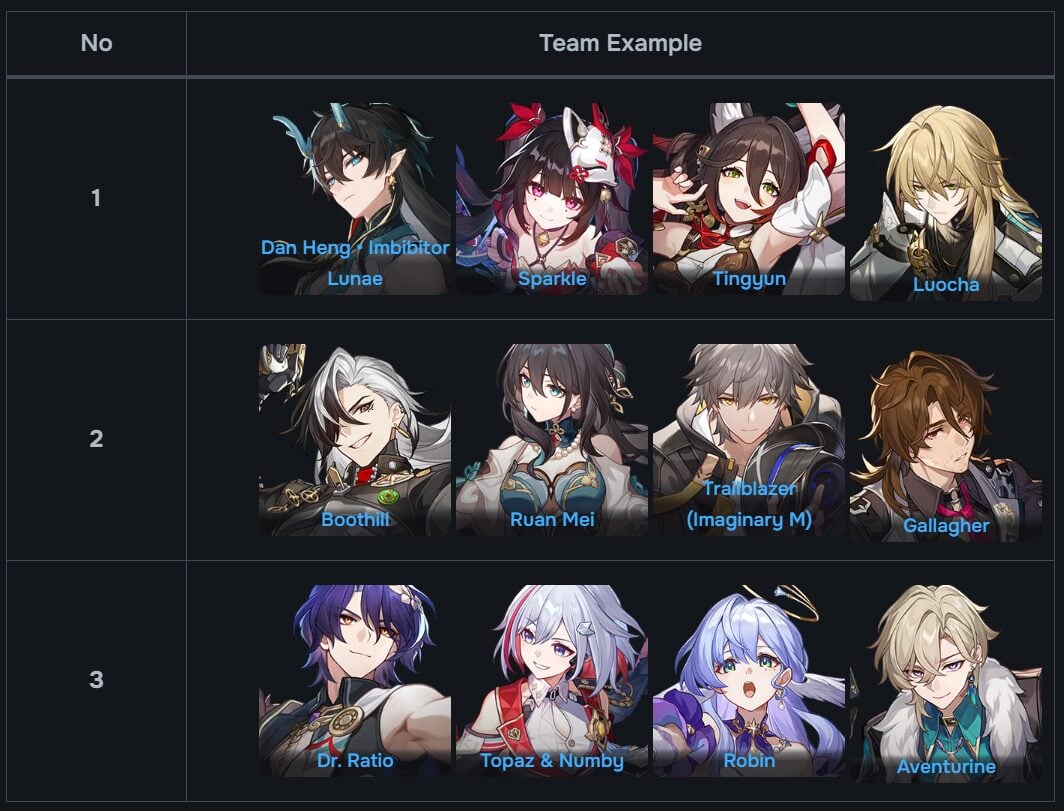
Recommended Elements: Imaginary & Physical
Lightning can also be considered as one of the recommended element, if we're excluding one elite enemy with Lightning RES. But if you don't want to take that risk, Imaginary would be the best option. It's also recommended to bring Pela/Luocha (or anyone that can remove a buff from an enemy) since you'll be facing Disciples of Sanctus Medicus elite enemy with the Vigor Draining buff.
Observation
First Half: Svarog & Dreamjolt Troupe's Beyond Overcooked
- In the first wave, there are 2 elite enemies. Between those 2, I would focus on the Ice Out of Space enemy. The Ice Out of Space is just a normal enemy with decent skills and pretty high HP, nothing special to note. The only notable thing is that your characters might get Frozen every so often with its Everwinter Rain, but we can’t really help with that except by waiting until your characters recover by themselves (or you use a cleanser) - even better if you have high RES so the character won't get Frozen in the first place.
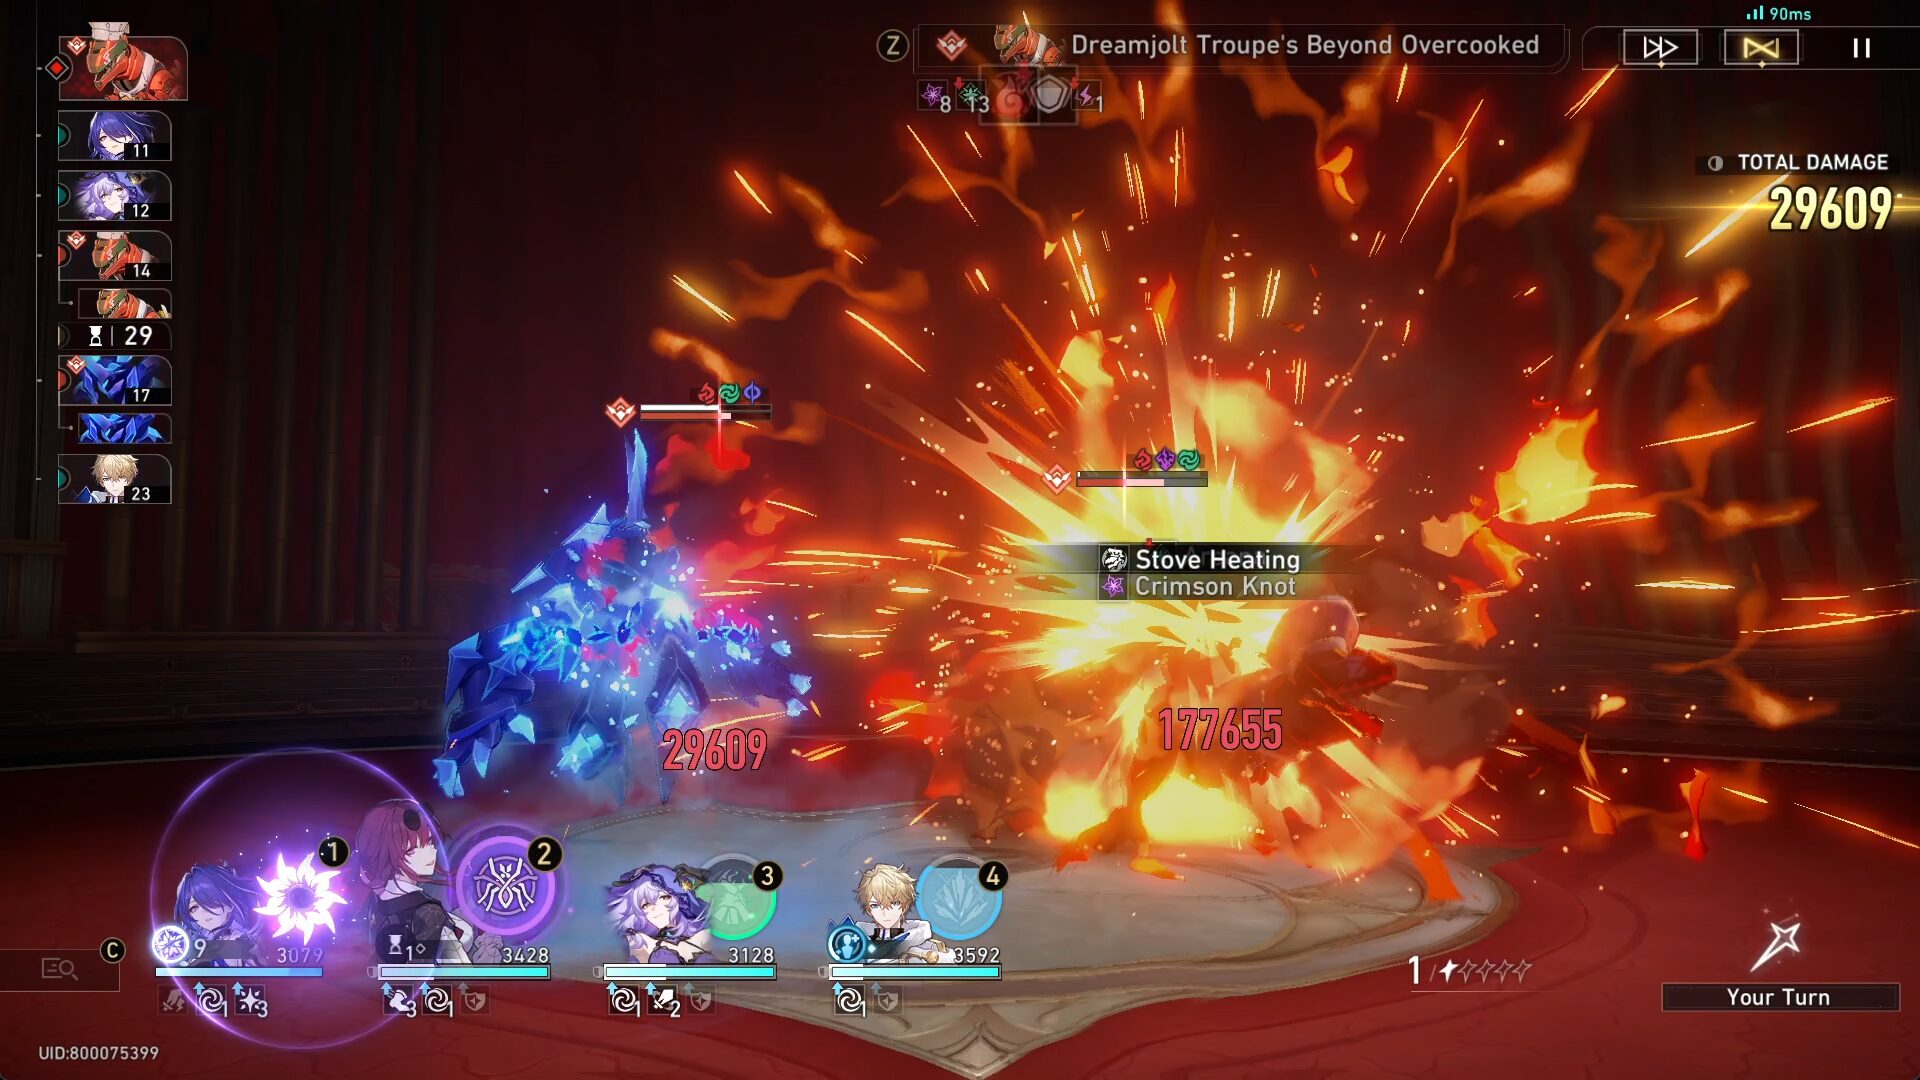
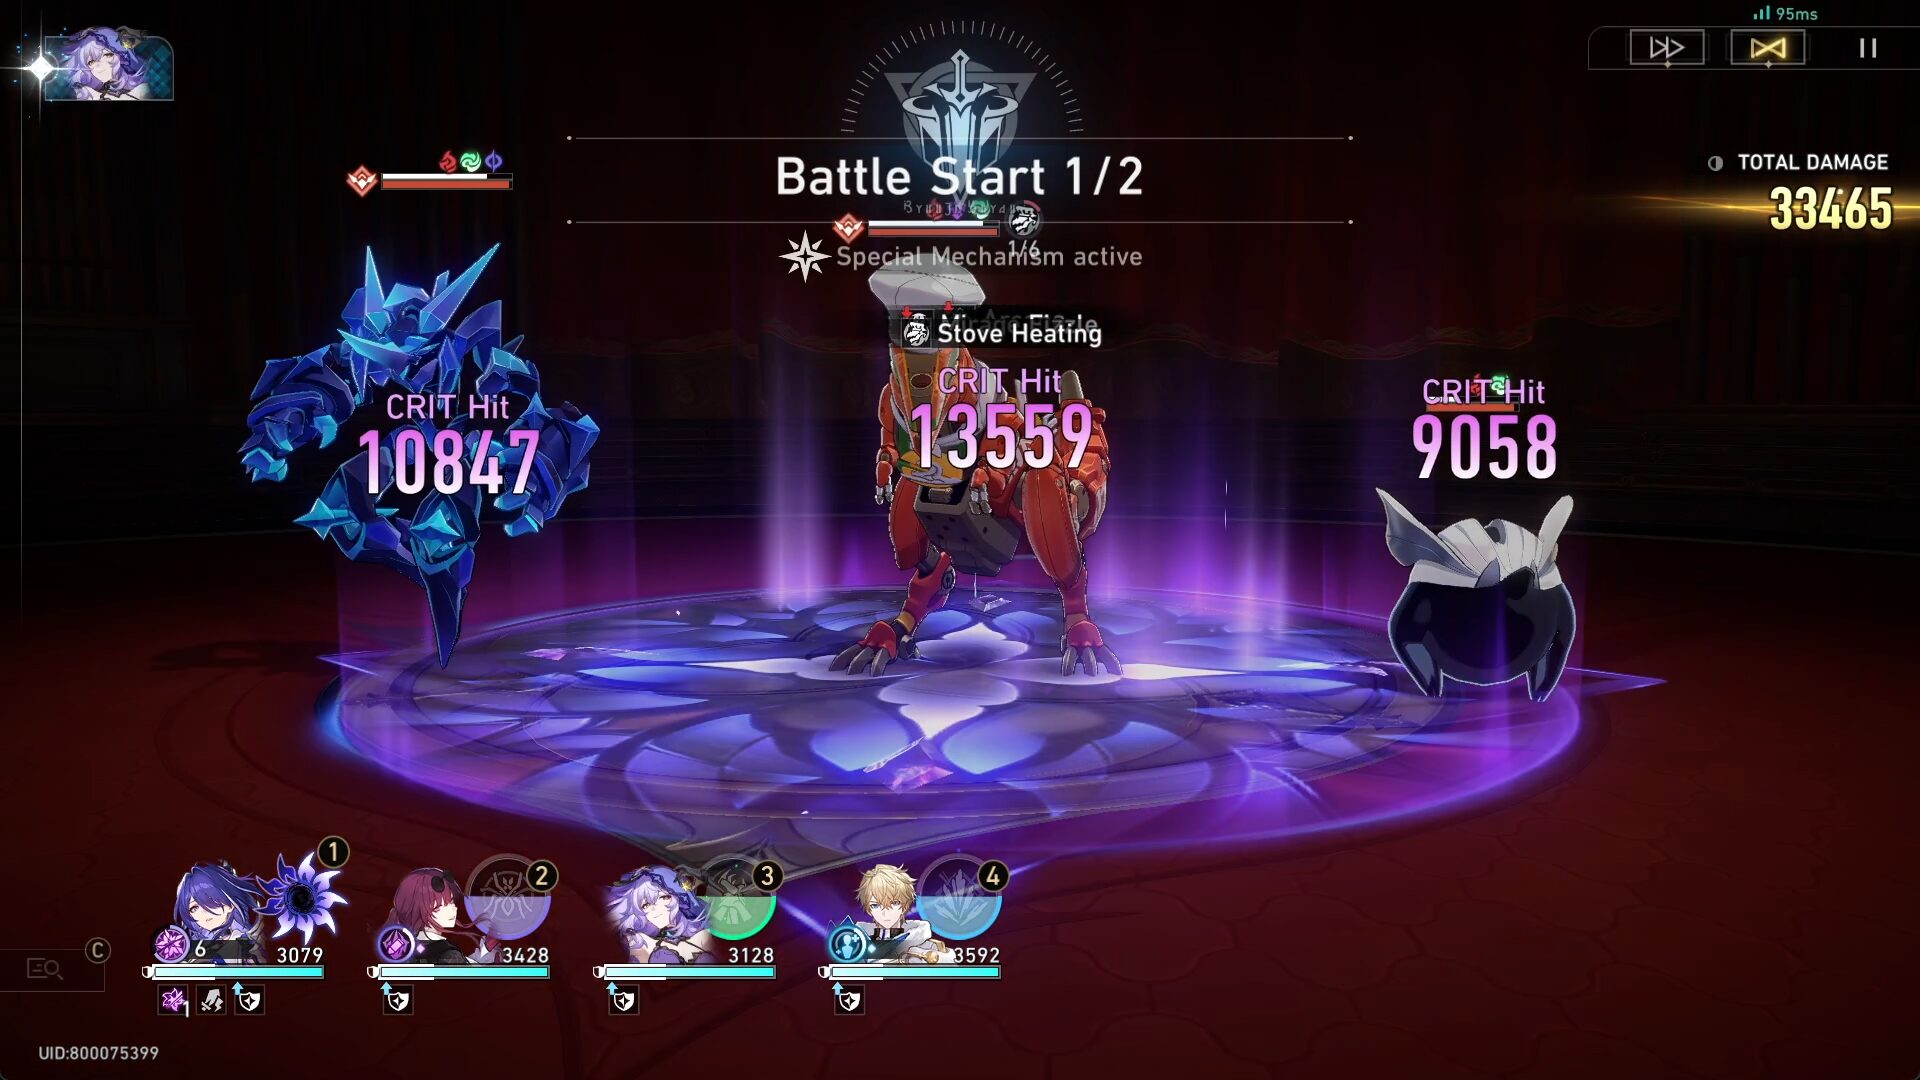
- The Dreamjolt Troupe's Beyond Overcooked is pretty easy to deal with. The most important skill would be where it will gain stacks once being attacked. After it gains 6 stacks, it will enter Ignite Stove (let's just say it was its second phase).
- In this form, if it gains another 6 stacks (by being hit or attacked), it will use Kitchen Mishap: Deals Fire DMG to all of its friendly units (the enemies) and decrease its own DEF.
- But if it does not gain another 6 stacks, it will use Flaming Stir-Fry: Deals Fire DMG to all targets (your team).
- All you need to do is focus all your firepower on the T-Rex instead of other enemies so it will continuously gain stacks and use Kitchen Mishap and deal damage to its own allies.
- This is where Black Swan shines the most as her Arcana stacks can instantly (well, not instantly, but you know what I mean) increase the stacks of the T-Rex's Stove Heating stacks. If you don't have her, Sampo is a great alternative as there's a chance for his Skill to bounce on the same enemy (T-Rex), thus increasing the stacks too.
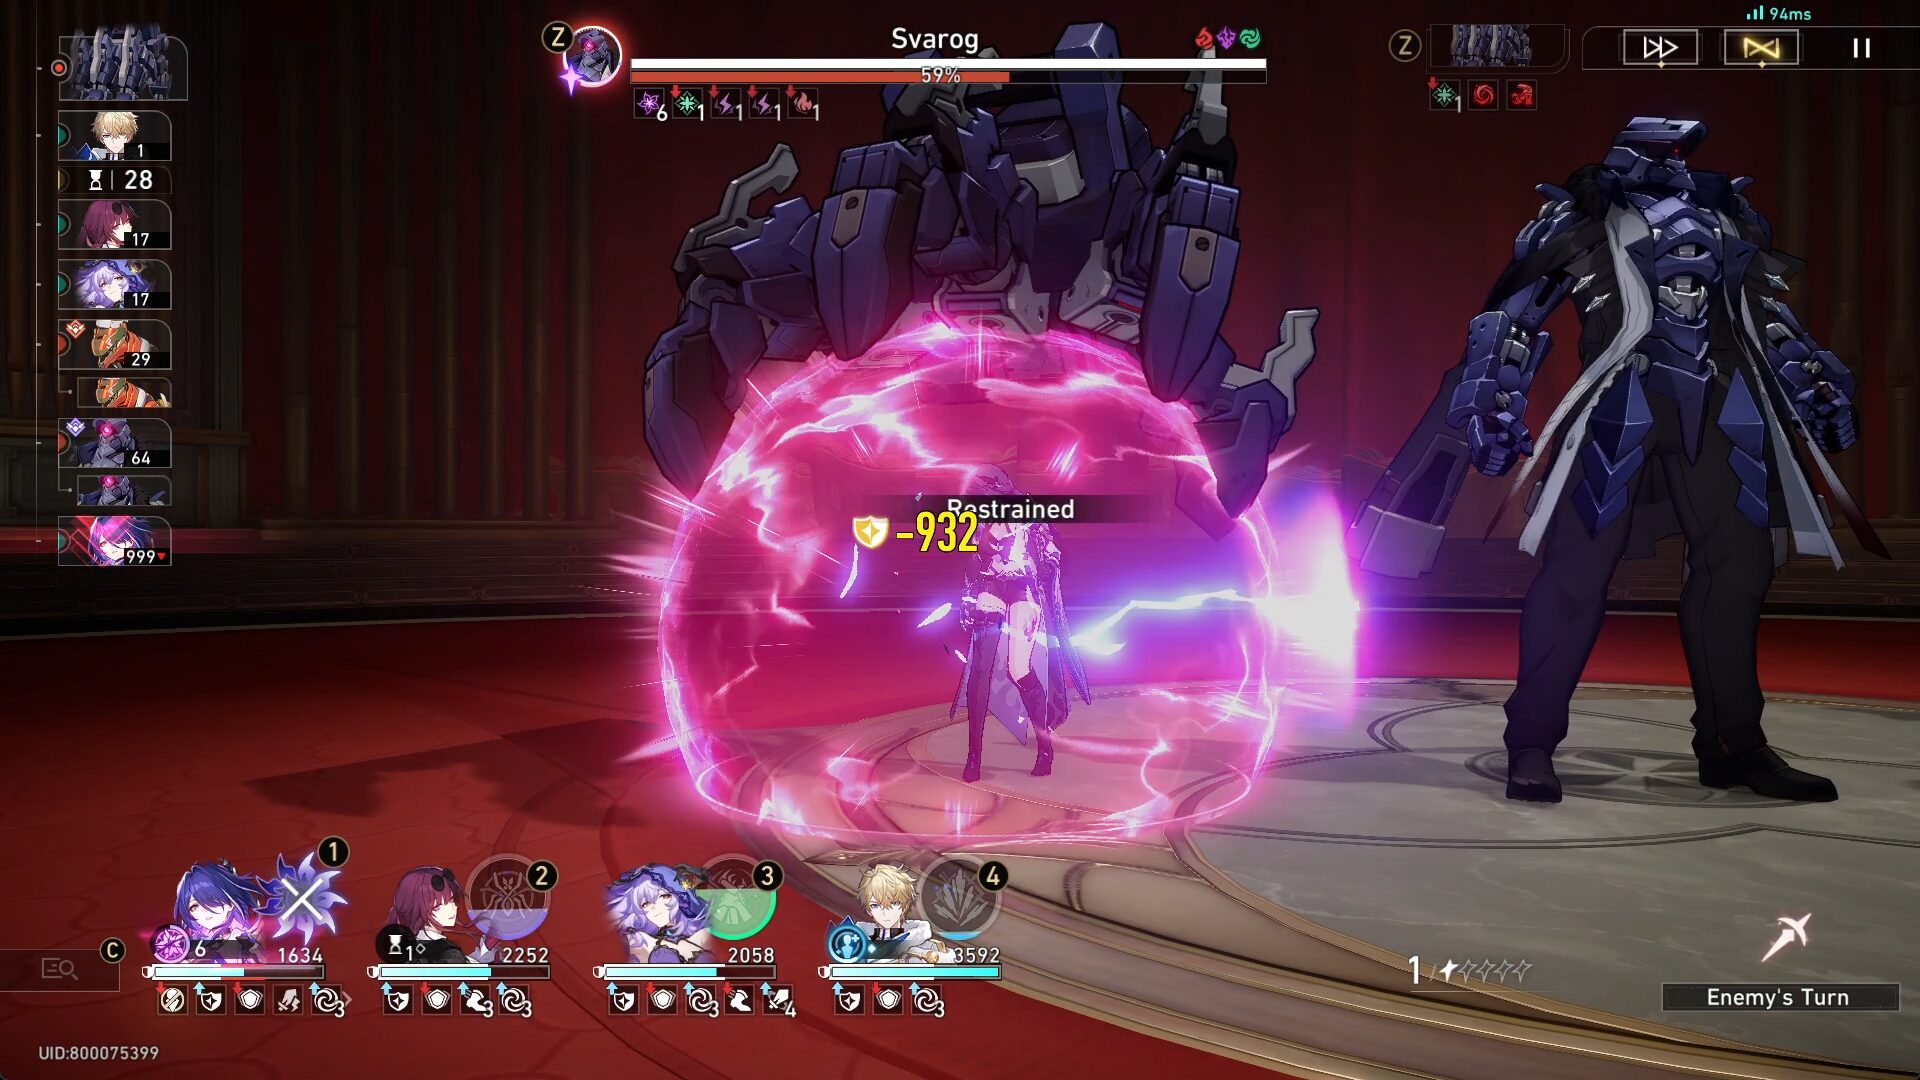
- In the second wave, there will be Svarog and another T-Rex. I recommend using the same strategy as before where you just keep attacking the T-Rex to increase its stacks. Its explosion deals quite a huge damage to itself and the surrounding enemies.
- However, when Svarog summons the Auxiliary Robot Arm Unit, immediately switch your target and focus on attacking that one. This mob is bad news because it can trap one of your allies in its grasp. Unless you have a super strong DPS, then you can only count on Weakness Breaking this enemy with Lightning/Wind/Quantum so it can release your character.
- But even after that, focus on defeating it until the HP is 0 or Svarog may make it enter Overload mode that will deal massive damage to a single target in the next action.
Second Half: Gepard & Aurumaton Spectral Envoy
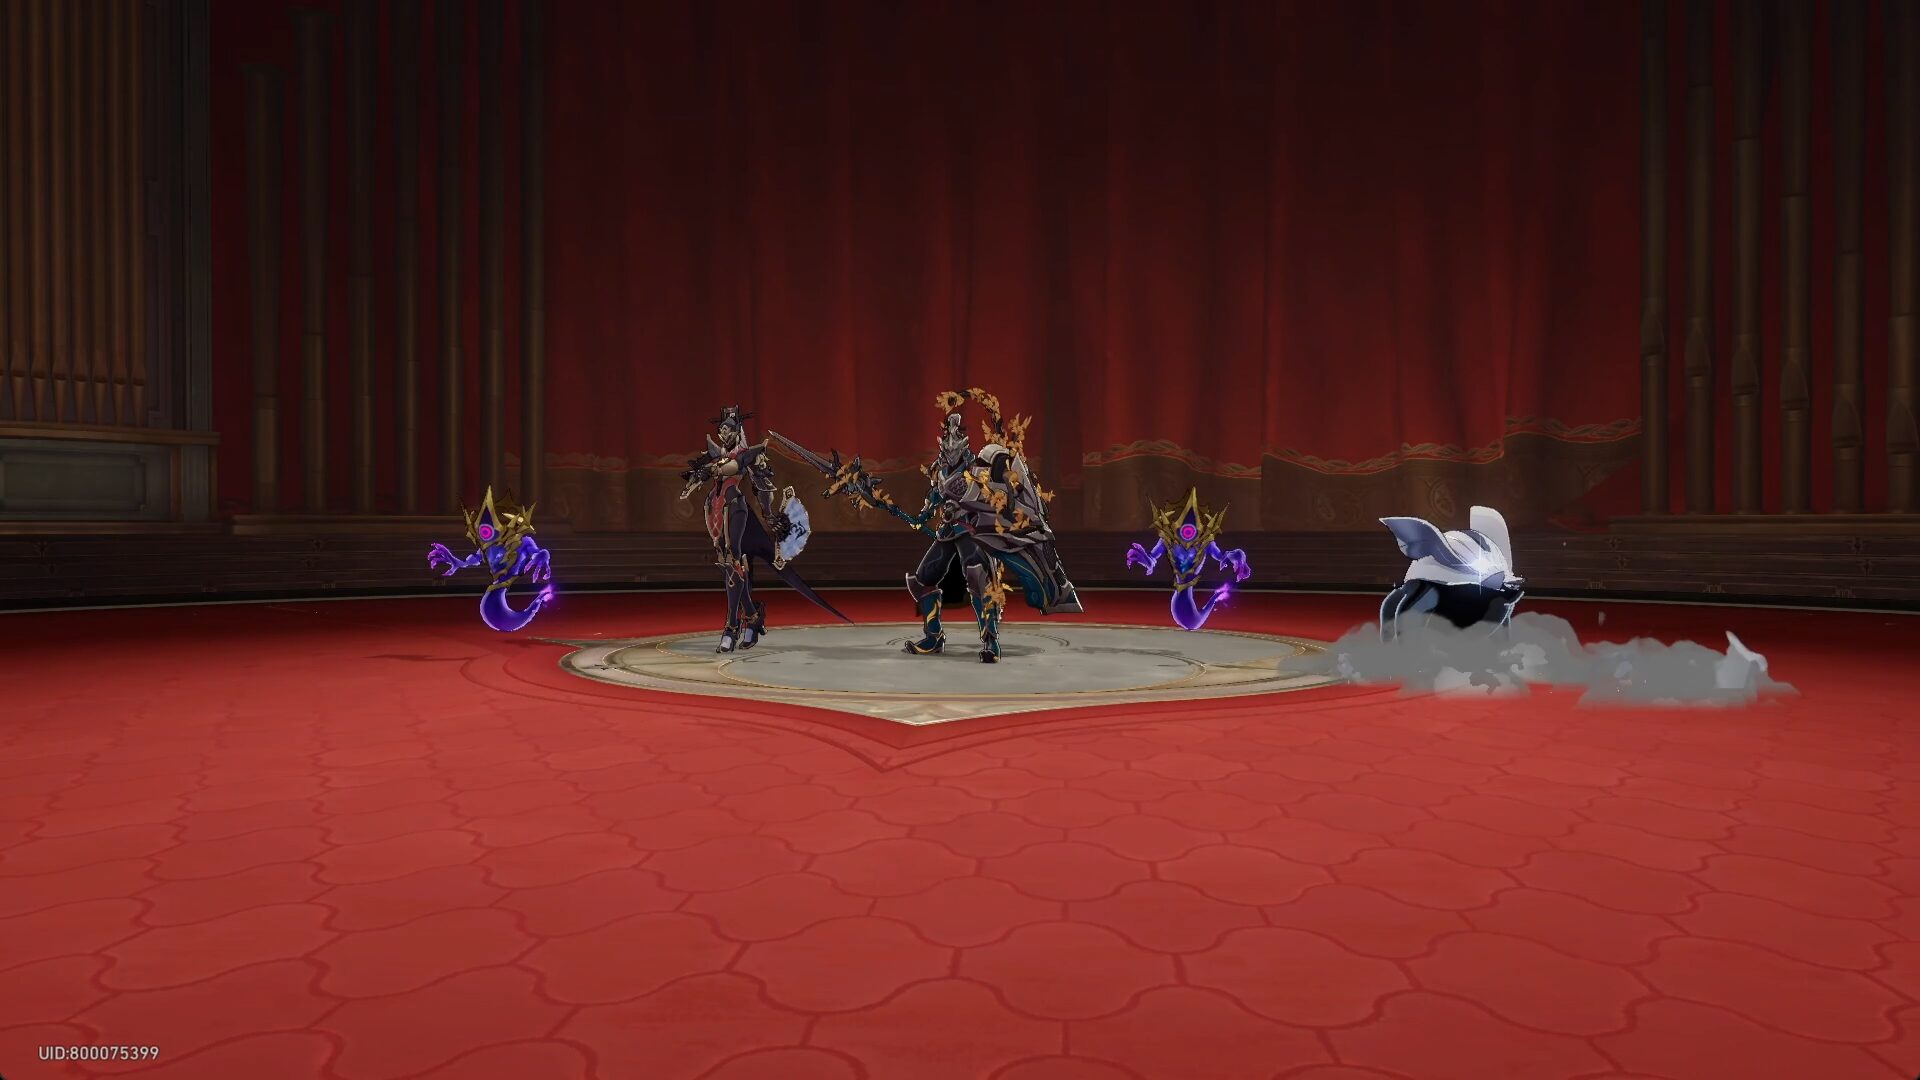
- In the first wave, there are 5 enemies initially, but the small Meme enemies will enter the body of those 2 elite enemies.
- In short, it will possess an enemy and apply Deception's Crown state: Dispels the target's control effect and restoring their Toughness. Additionally, they will restore HP after being attacked but additionally gain Physical and Fire Weaknesses, and take increased Break DMG.
- Both elite enemies are pretty annoying in this half, but I would focus more on the Disciples of Sanctus Medicus to avoid him summoning more mobs.
- If you're new, when the Mara-Struck boss summons 2 more soldiers, use Pela's Skill (or any character's kit that can remove a buff from an enemy) to remove the hit recovery buff of the Disciples, otherwise, that elite enemy can absorb a LOT of HP and make him pretty invisible since he keeps healing.
- If you don’t have Pela (or any character that can remove a debuff on enemies), another option is to defeat the two Mara-Struck Soldiers that he summons until they die for the first time. After they use their Rebirth skill (revive and restore 50% HP), it won’t matter anymore, and move on to the next Mara-Struck Soldier. Only after the 2 Mara-Struck Soldiers are gone will the hit recovery buff on the elite enemy disappear.
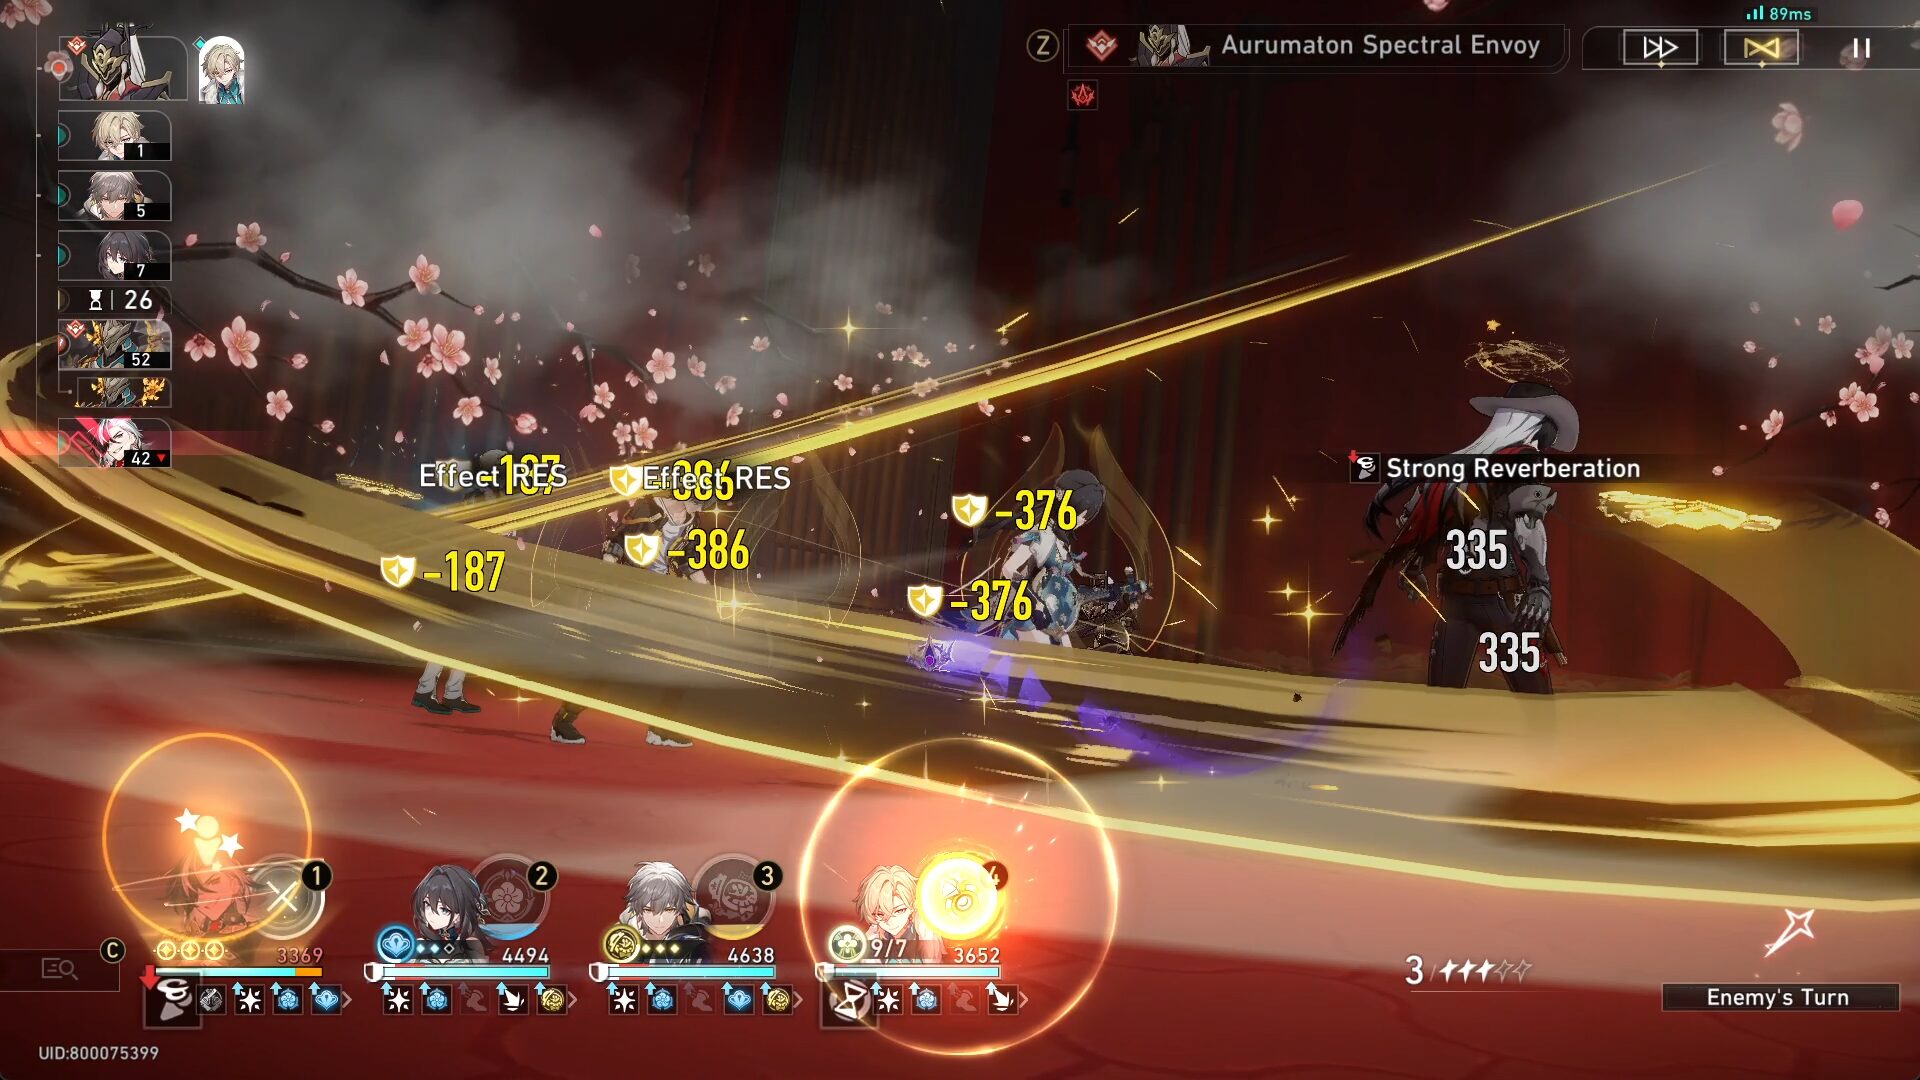
- After that, you can focus on the Aurumaton Spectral Envoy. You really don't want to give her a chance to inflict Reverberation debuff on any of your characters.
- After targets afflicted with Reverberation receive an attack, they enter the Strong Reverberation state and then have the Reverberation state dispelled. Targets with Strong Reverberation cannot take action.
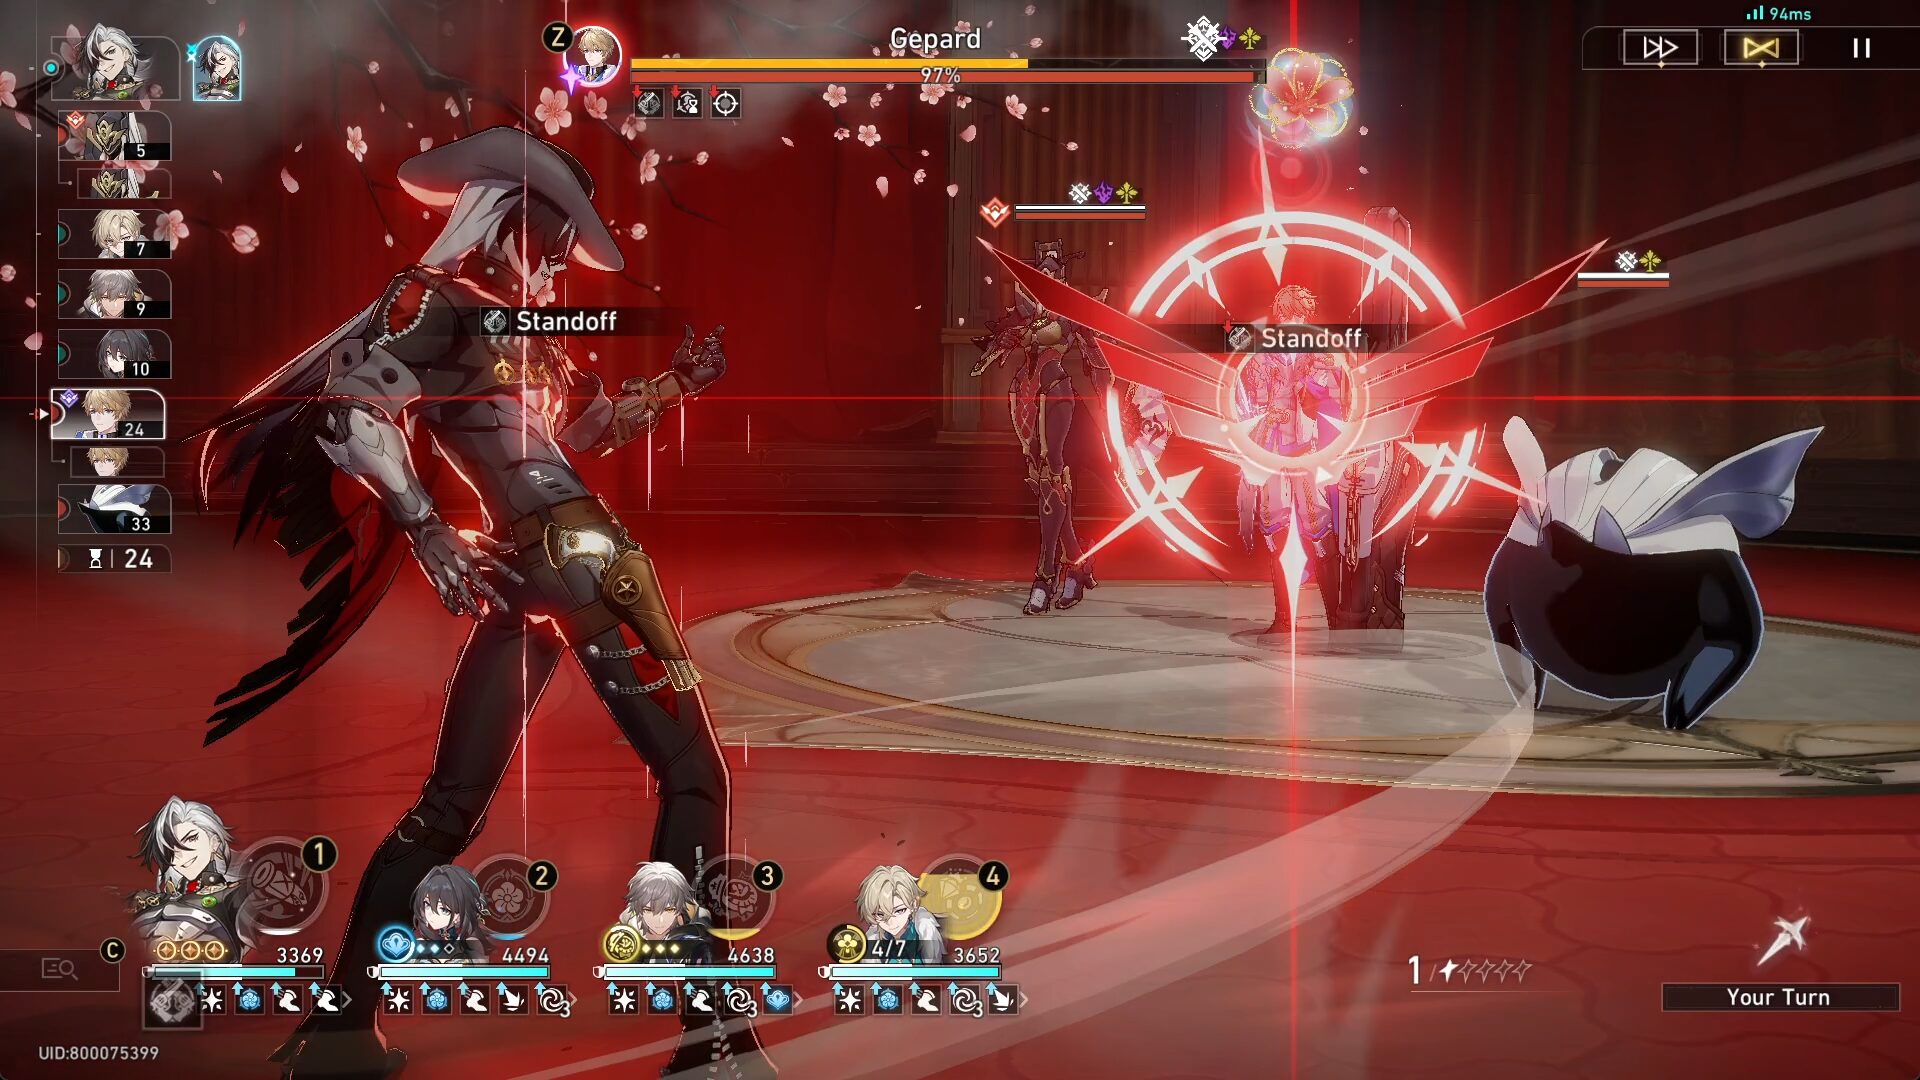
- In the second wave, aside from summoning a Silvermane Soldier/Cannoneer, Gepard will also provide a shield to his ally. That Barrier nullifies the next received attack, so make sure you use Normal Attack/Skill on the shielded enemy to remove the Barrier first before you use any Ultimates.

Sora
Articles: 368More Articles

Honkai: Star Rail Version 3.0 Special Program Livestream Overview
Honkai: Star Rail 3 New Redemption Codes from 3.0 Livestream

Honkai: Star Rail Redemption Codes – January 2025

Honkai: Star Rail Fugue Character Guide

Honkai: Star Rail Pure Fiction Technicality Entrapment Guide
Honkai: Star Rail Jing Yuan Character Guide

Honkai: Star Rail Apocalyptic Shadow V2.7 Gusty Primate Guide
Honkai: Star Rail Which 5-Star Standard Character Should You Choose?
Honkai: Star Rail Sunday Character Guide

Honkai: Star Rail All 26 New Achievements in Version 2.7

Honkai: Star Rail Cosmic Home Decor Guide (Event Guide)

Honkai: Star Rail New Dialogue Inclinations (For Achievements) in Version 2.7
Honkai: Star Rail Stellar Jades Calculation in Version 2.7
Honkai: Star Rail Version 2.7 Special Program Livestream Overview
Honkai: Star Rail 3 New Redemption Codes from 2.7 Livestream
Honkai: Star Rail Apocalyptic Shadow V2.6 Sovereign Control Guide
Honkai: Star Rail Rappa Character Guide

Honkai: Star Rail Sound Hunt Ninjutsu Inscription Event Guide
Honkai: Star Rail All Treasure Chests in Penacony (Penacony Paperfold University College)