Table of Contents [Hide]
Introduction
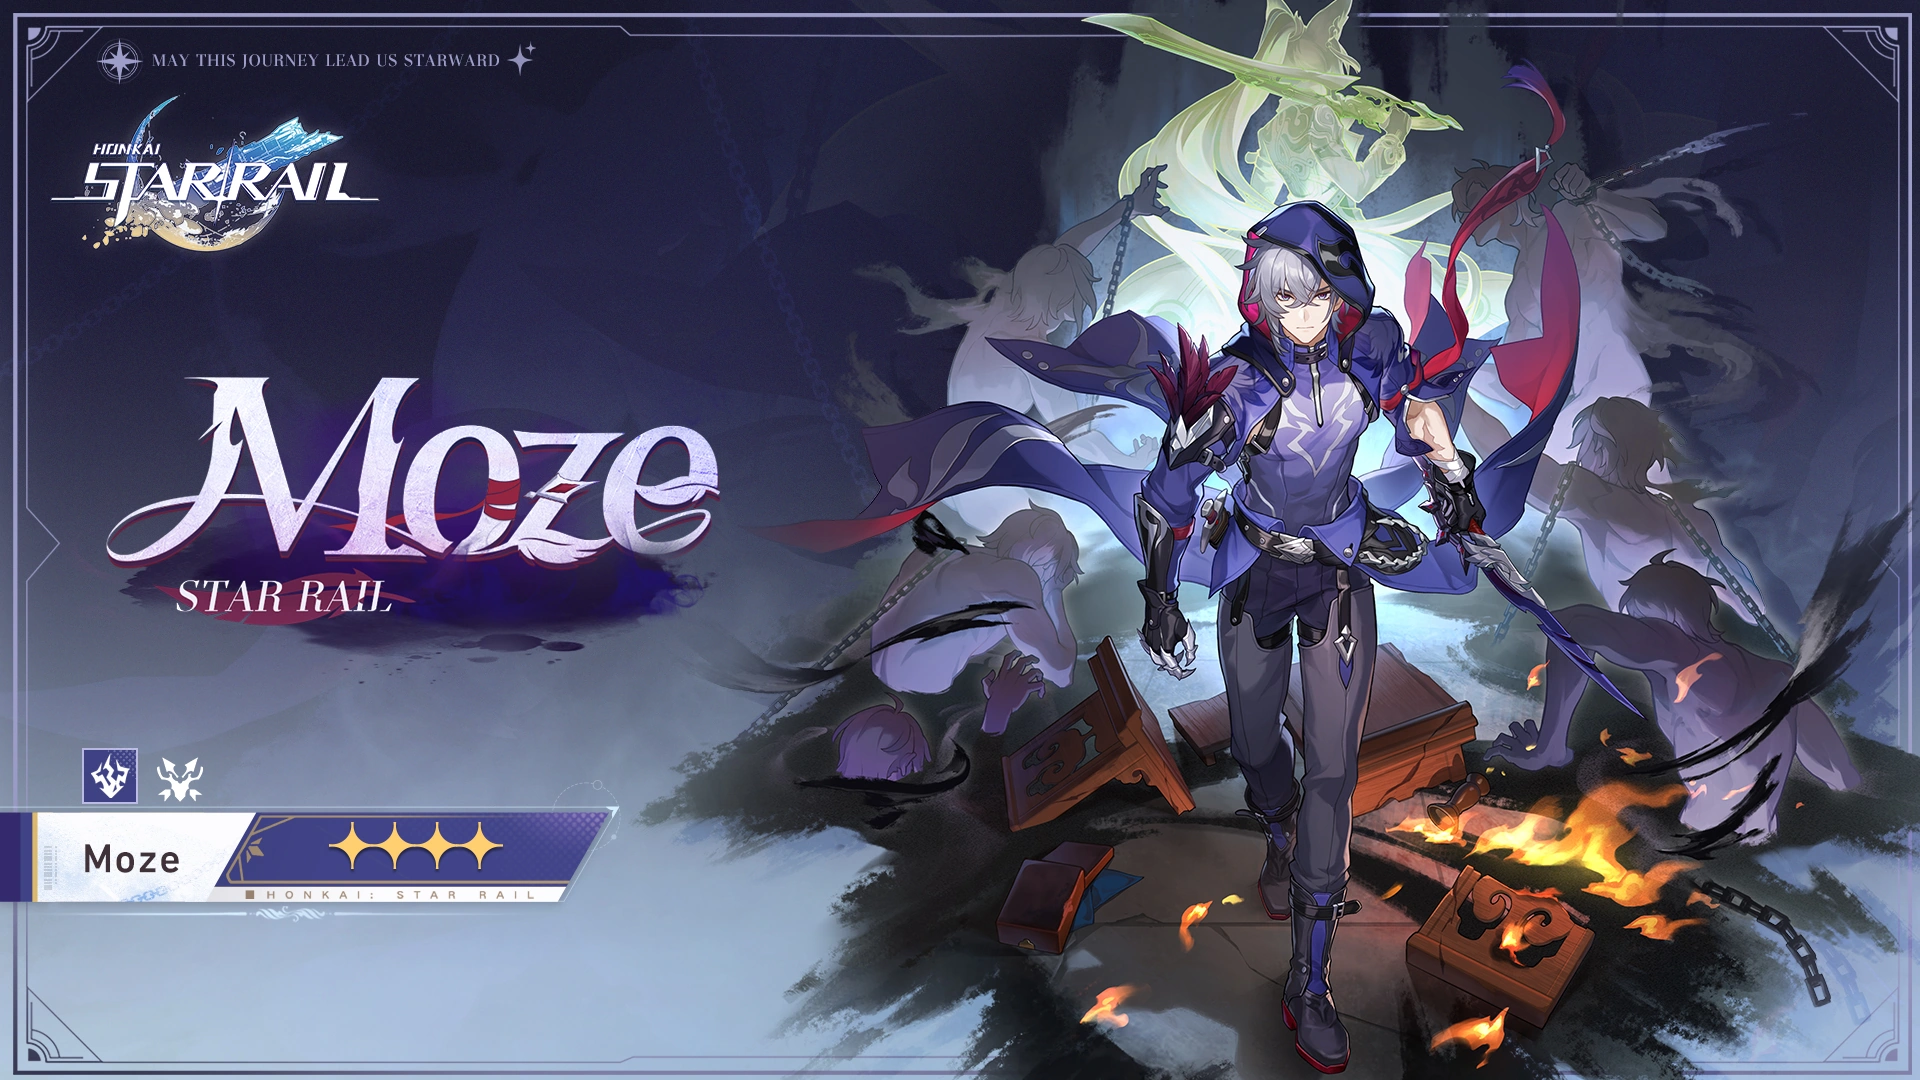
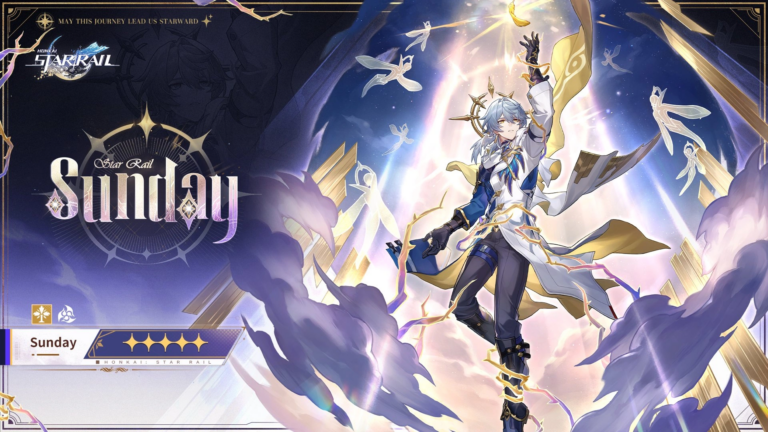
Moze is a DPS character who possesses the capability to launch follow-up attacks on Prey-marked enemies. Once Moze marks an enemy as Prey, he enters the Departed state. Upon the Prey being attacked, Moze launches follow-up attacks against them.
Skills Overview
Basic Attack - Hurlthorn

Deals Lightning DMG equal to 50%—110% of Moze's ATK to a single target enemy.
Skill - Fleetwinged Raid
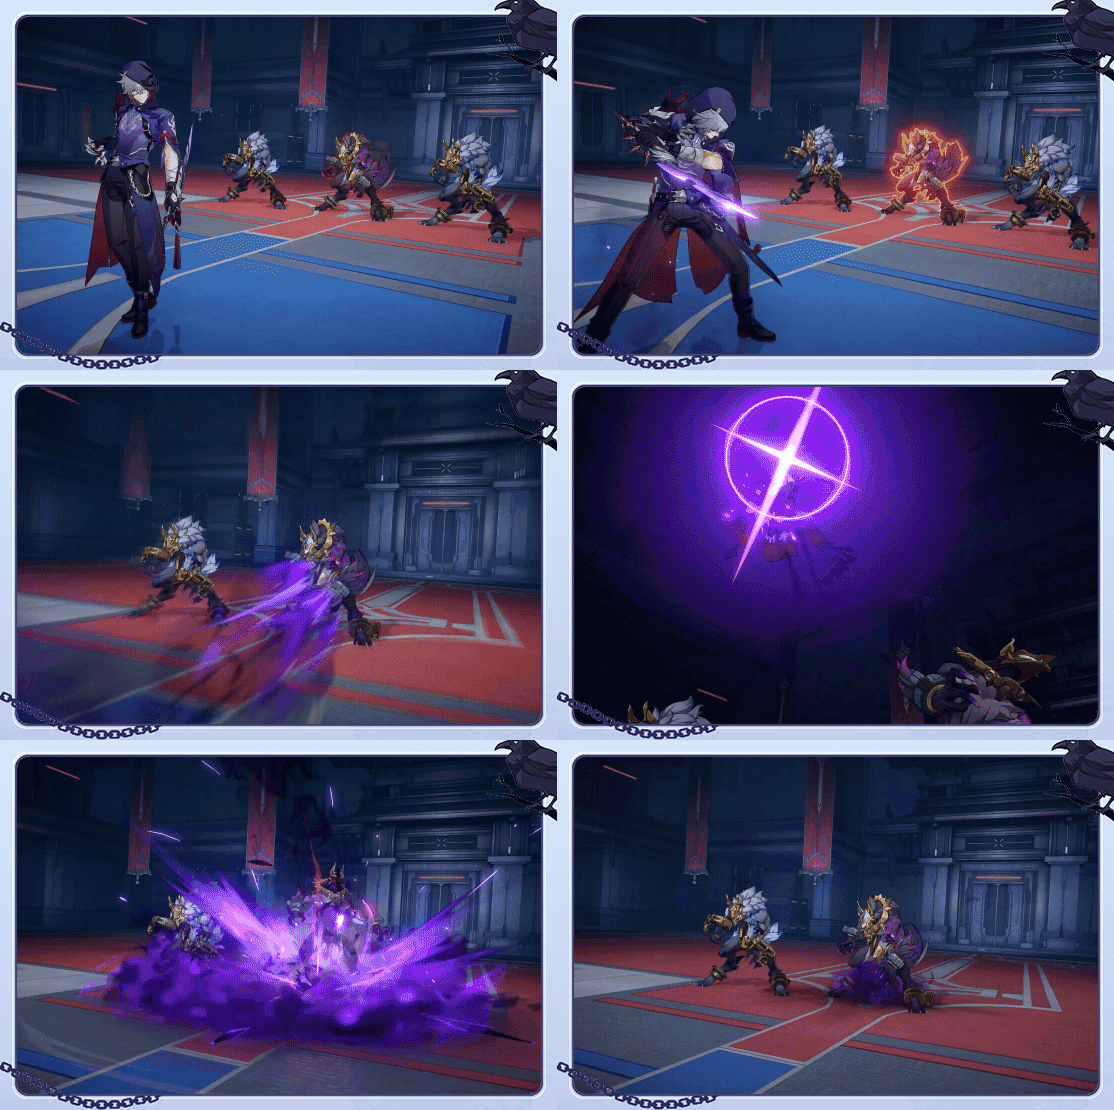
Marks a designated single enemy target as "Prey" and deals to it Lightning DMG equal to 75%—165% of Moze's ATK, and gains 9 points of Charge.
When there are no other characters on the field that are capable of combat, Moze cannot use his Skill and dispels the enemy's "Prey" state.
Ultimate - Dash In, Gash Out
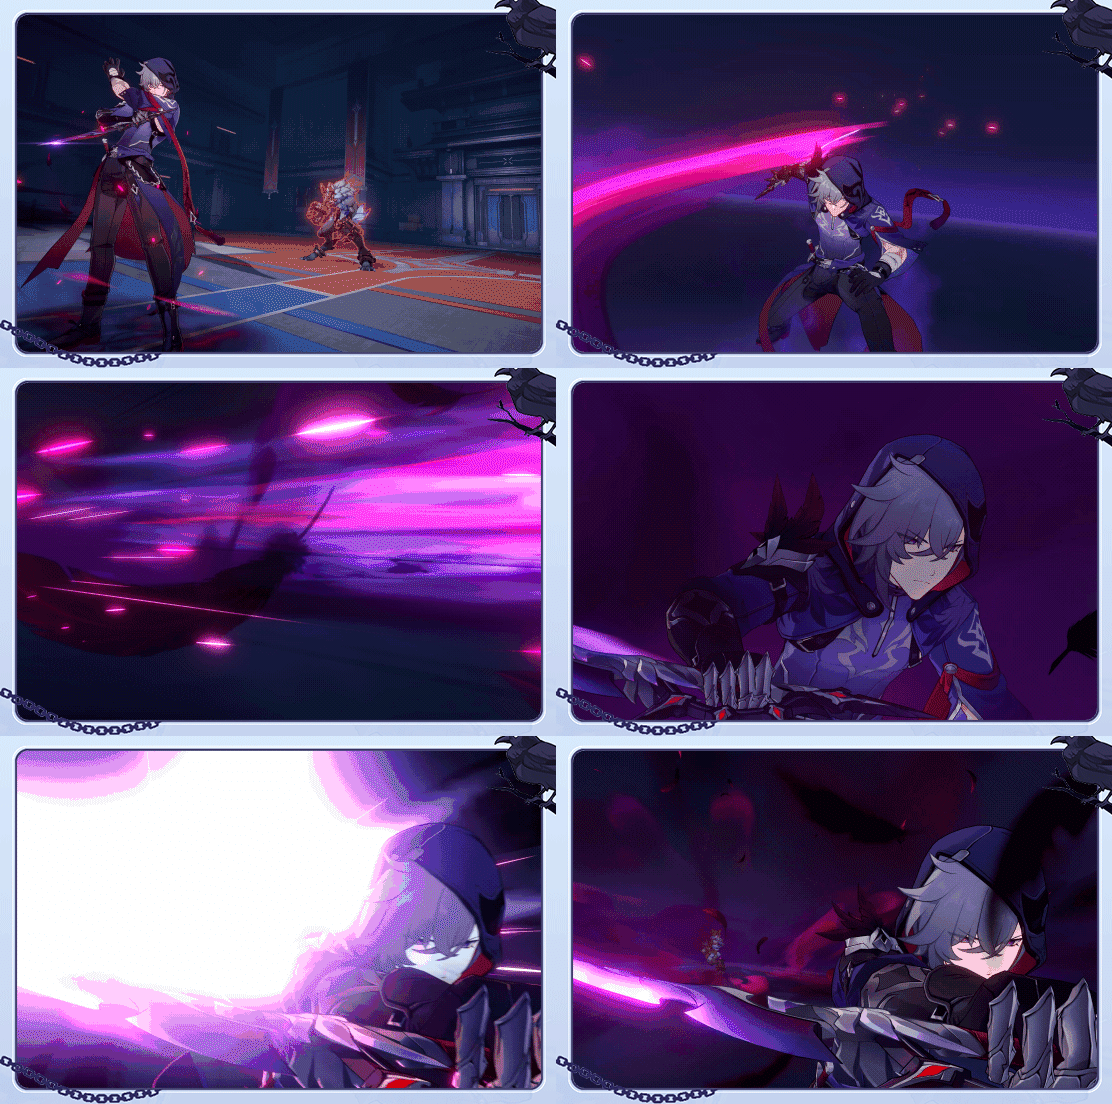
Deals Lightning DMG equal to 162%—291.6% of Moze's ATK to a single target enemy, and launches the Talent's follow-up attack against this target.
If the target is defeated before this follow-up attack is used, then launches the follow-up attack against a random single enemy instead.
Talent - Cascading Featherblade

When "Prey" exists on the field, Moze will enter the Departed state.
After allies attack "Prey," Moze will additionally deal 1 instance of Lightning Additional DMG equal to 15%—33% of his ATK and consumes 1 point of Charge.
For every 3 point(s) of Charge consumed, Moze launches 1 follow-up attack to "Prey," dealing Lightning DMG equal to 80%—176% of his ATK.
When Charge reaches 0, dispels the target's "Prey" state and resets the tally of Charge points required to launch follow-up attack. Talent's follow-up attack does not consume Charge.
Technique - Bated Wings
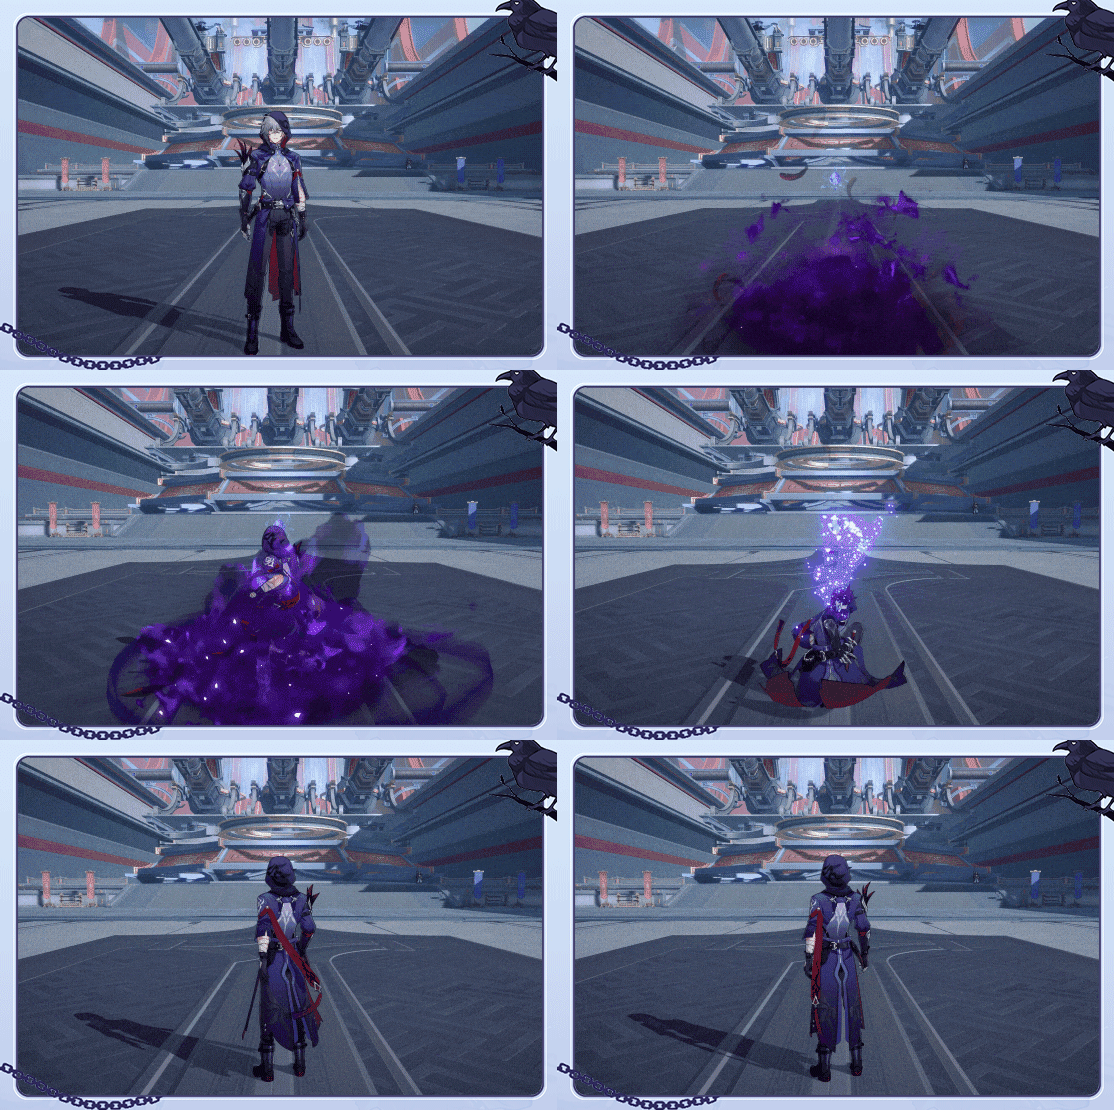
After using Technique, enters the Stealth state for 20 second(s). While in Stealth, Moze is undetectable by enemies. If Moze attacks enemies to enter combat while in Stealth, increases DMG by 30%, lasting for 2 turn(s).
Ascension 2 - Nightfeather
After using the Talent's follow-up attack, recovers 1 Skill Point(s). This effect can trigger again after 1 turn(s).
Ascension 4 - Daggerhold
When Moze dispels his Departed state, his action advances by 20%. At the start of each wave, Moze's action advances by 30%.
Ascension 6 - Vengewise
When dealing DMG by using Ultimate, it is considered as having launched a follow-up attack. The follow-up attack DMG taken by "Prey" increases by 25%.
TLDR
Our Shadow Guard has a pretty unique skill set. Once Moze uses his Skill to mark a target as Prey, he will enter the Departed state. When he's in the Departed state, he won't even show up in the Action Order (unless he's doing a Follow-Up attack).
Okay, let's go back a tad bit. First of all, his Basic ATK is really basic so you don't really need to focus on it. But remember that he can only use his Basic ATK when he is NOT in the Departed state.
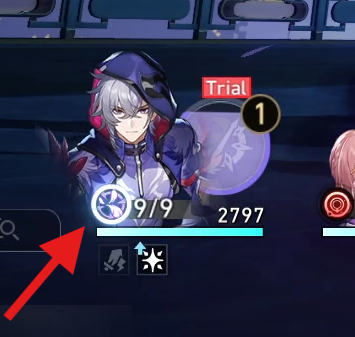
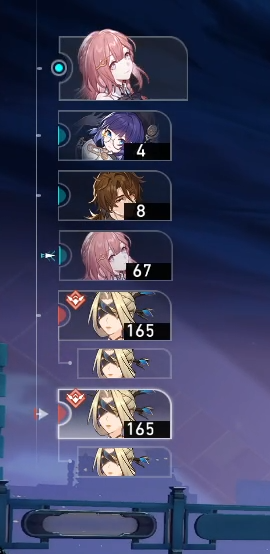
Then, his Skill. By using his Skill, he will do the following:
(1) Mark an enemy target as Prey
(2) Gain 9 points of Charge (See the first image above)
(3) Moze will enter the Departed state
As mentioned before, once Moze enters the Departed state, he won't be in the Action Order (See the second image above). Instead, you can only summon him to fight by his Talent.
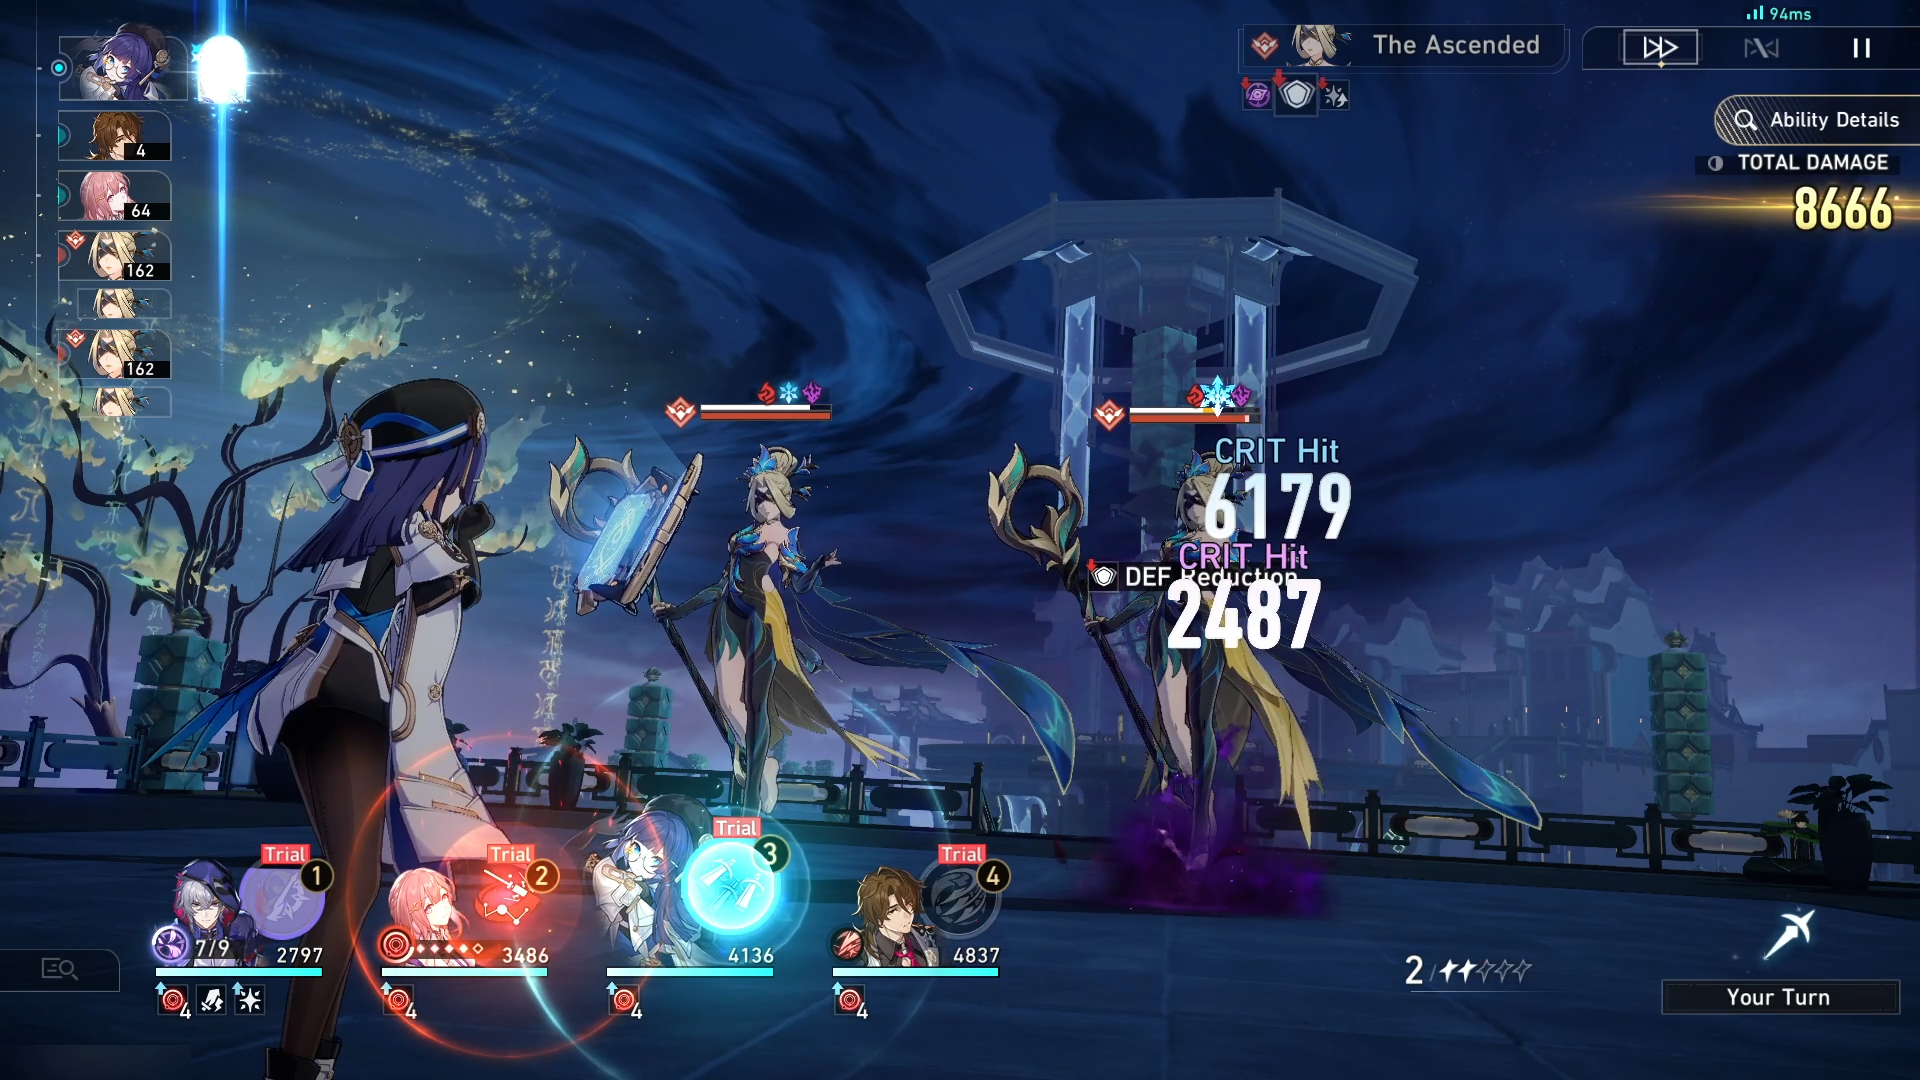
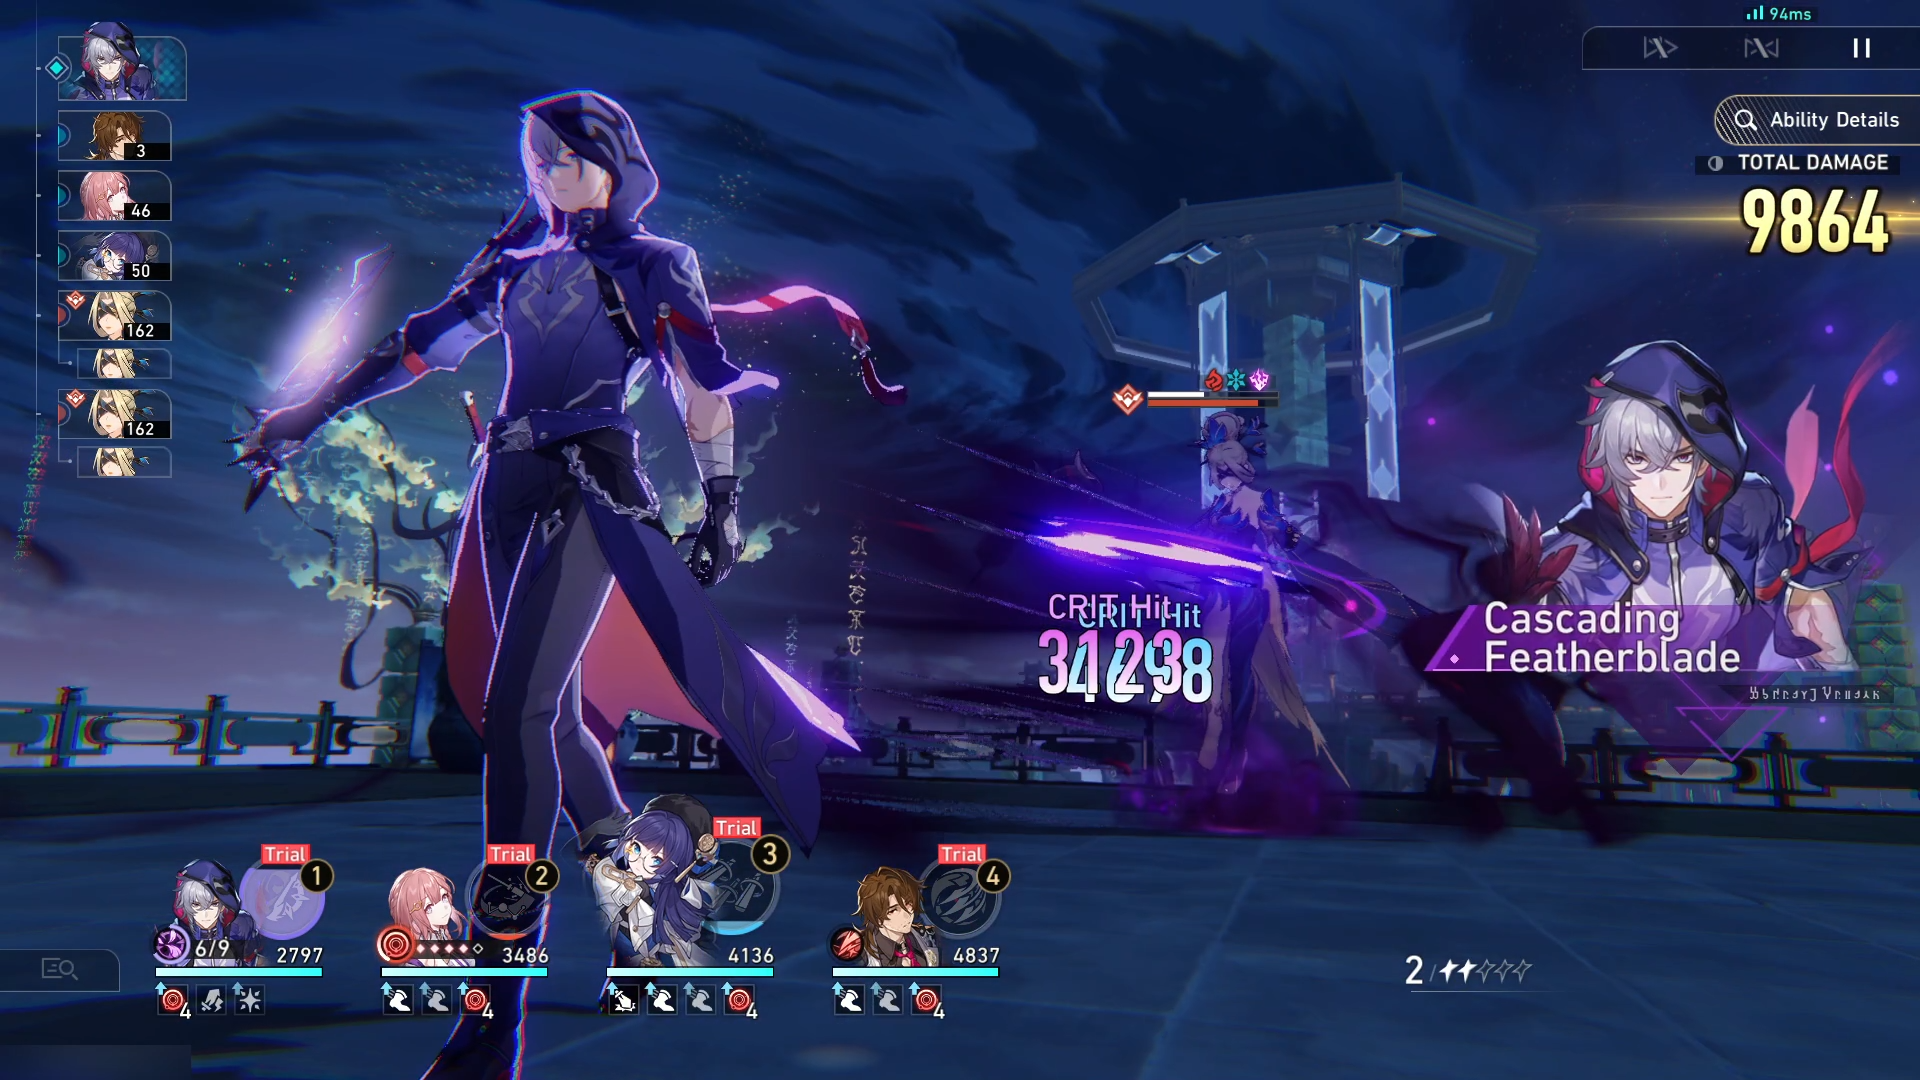
Now about his Talent, remember the 9 points of Charge from his Skill? Yes, it's related to the Talent.
● Each time an ally attacks the "Prey", Moze will deal 1 instance of Lightning DMG and consume 1 point of Charge.
● For every 3 points of Charge consumed, Moze will launch a follow-up attack to "Prey".
In other words, Moze will deal a follow-up attack when the Charge points are at 6/9, 3/9, and 0/9 before ending the Departed state. When the enemy is defeated, Moze will get out of the Departed state and all Charge points will reset.
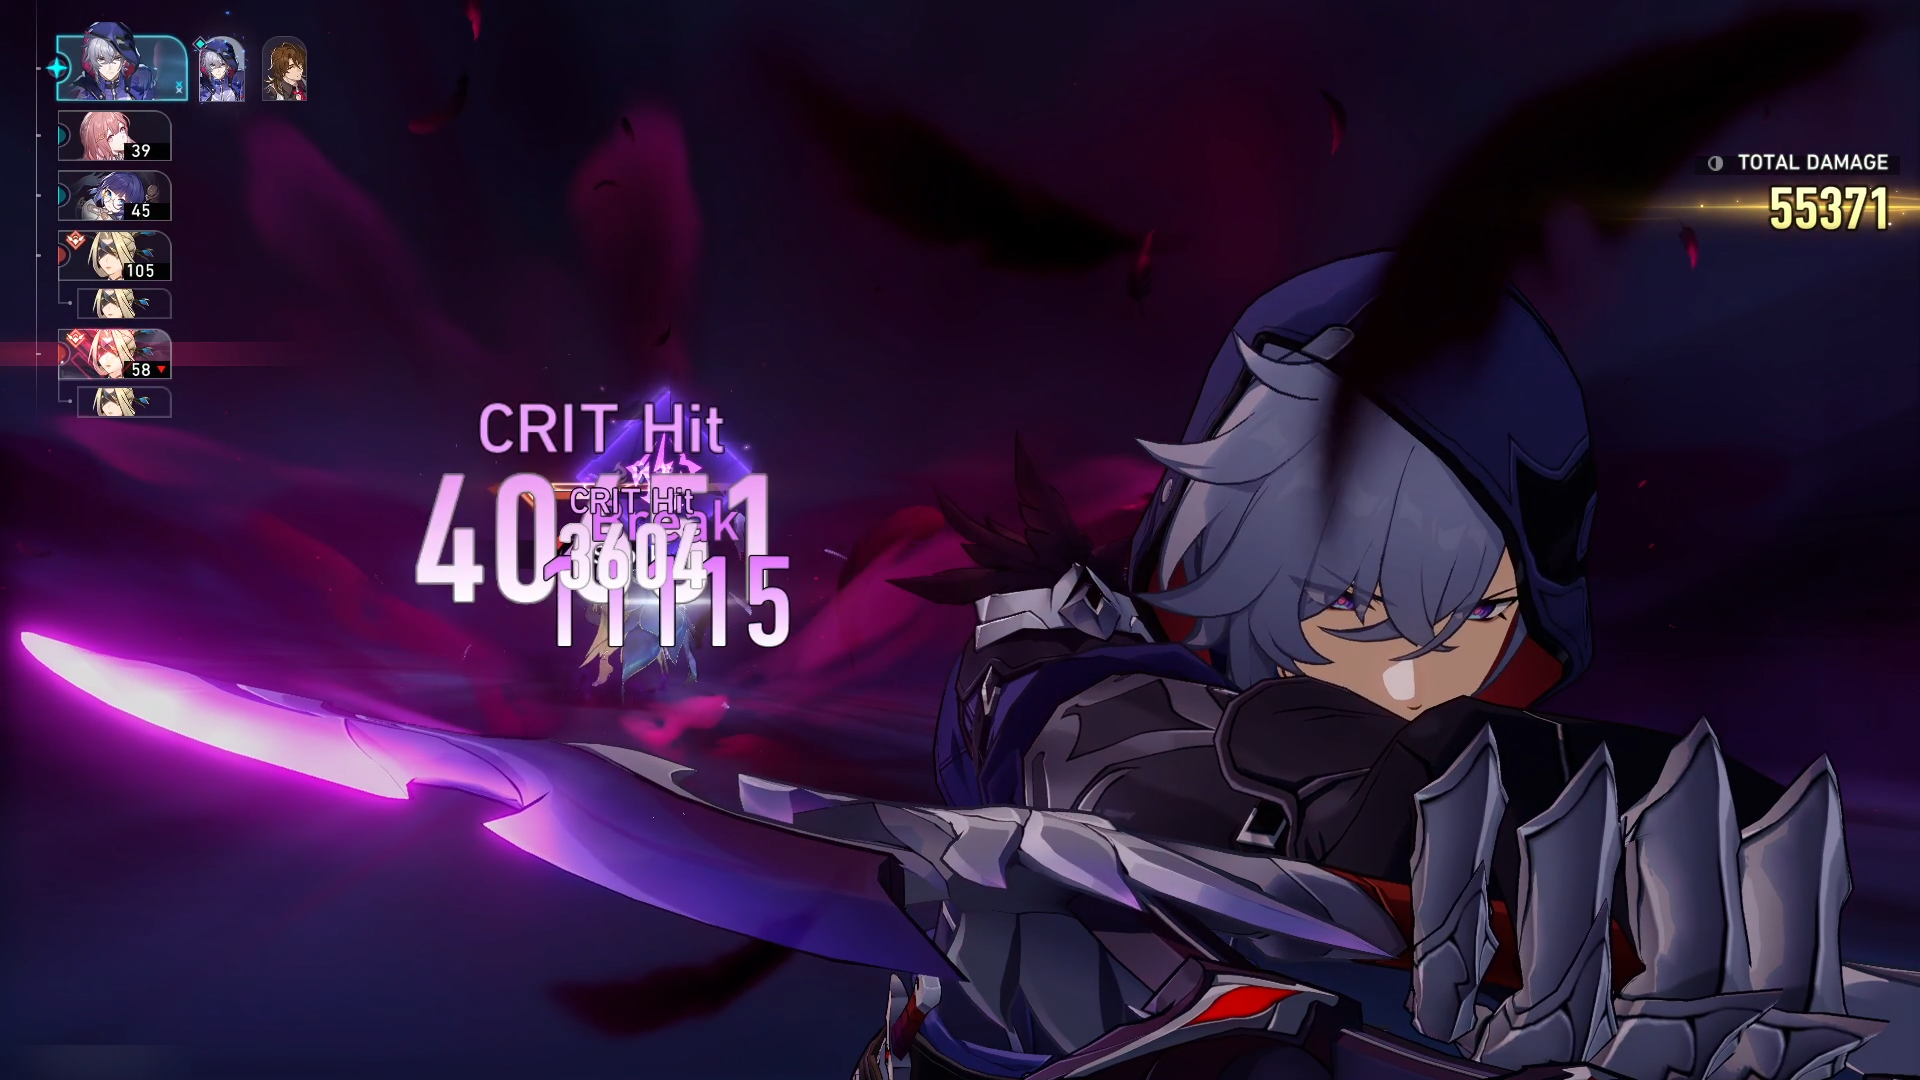
Lastly, his Ultimate. Moze can activate his Ultimate both inside the Departed state and outside of the state. As long as he has the Energy, you can trigger her Ultimate whenever (like every other character).
His Ultimate deals Lightning DMG and also the Talent's follow-up attack (does not consume Charge point).
Traces Priorities

Talent = Ultimate > Skill > Basic ATK
Recommended Light Cones
- Worrisome, Blissful (5⭐)
- Baptism of Pure Thought (5⭐)
- I Venture Forth to Hunt (5⭐)
- Cruising in the Stellar Sea (5⭐)
- Swordplay (4⭐)
- Final Victor (4⭐)

1) Worrisome, Blissful
Increase the wearer's CRIT Rate by 18~30% and increases DMG dealt by follow-up attack by 30~50%. After the wearer uses a follow-up attack, inflicts the target with the Tame state, stacking up to 2 time(s). When allies hit enemy targets under the Tame state, each Tame stack increases the CRIT DMG dealt by 12~20%.

2) Baptism of Pure Thought
Increases the wearer's CRIT DMG by 20~32%. For every debuff on the enemy target, the wearer's CRIT DMG dealt against this target additionally increases by 8~12%, stacking up to 3 times. When using Ultimate to attack the enemy target, the wearer receives the Disputation effect, which increases DMG dealt by 36~60% and enables their follow-up attacks to ignore 24~40% of the target's DEF. This effect lasts for 2 turns.
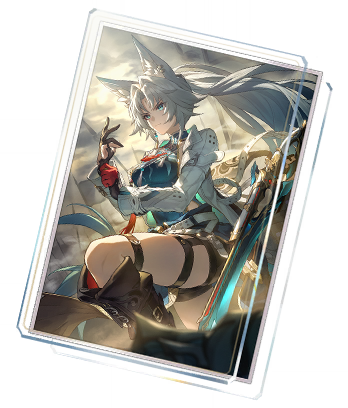
3) I Venture Forth to Hunt
Increases the wearer's CRIT Rate by 15~25%. When the wearer launches a follow-up attack, they gain 1 stack of "Luminflux" to a max of 2 stacks. Each stack of "Luminflux" enables the Ultimate DMG deal by the wearer to ignore 27~39% of the target's DEF. When the wearer's turn ends, removes 1 stack of "Luminflux."

4) Cruising in the Stellar Sea
Increases the wearer's CRIT rate by 8~16%, and increases their CRIT rate against enemies with HP less than or equal to 50% by an extra 8~16%. When the wearer defeats an enemy, their ATK is increased by 20~40% for 2 turn(s).
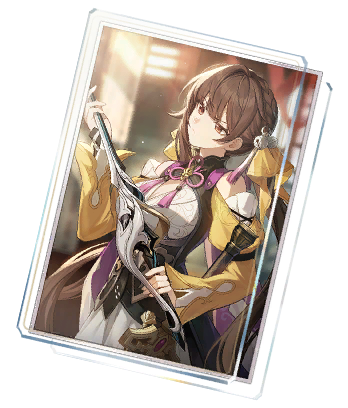
5) Swordplay
For each time the wearer hits the same target, DMG dealt increases by 8~16%, stacking up to 5 time(s). This effect will be dispelled when the wearer changes targets.
6) Final Victor
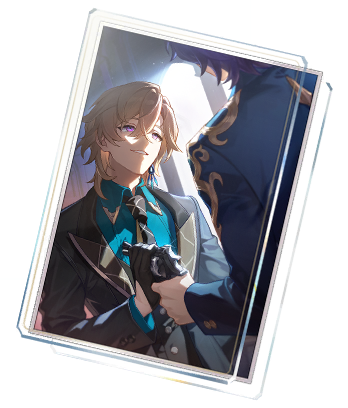
Increases the wearer's ATK by 12~20%. When the wearer lands a CRIT hit on enemies, gains 1 stack of Good Fortune. This can stack up to 4 time(s). Every stack of Good Fortune increases the wearer's CRIT DMG by 8~12%. Good Fortune will be removed at the end of the wearer's turn.
Recommended Relics & Planar Set
- Relics
- Pioneer Diver of Dead Waters
- The Ashblazing Grand Duke
- Band of Sizzling Thunder
- Planar Set
- Duran, Dynasty of Running Wolves
- Izumo Gensei and Takama Divine Realm
- Inert Salsotto
Cavern Relics

Relic Set (Pioneer Diver of Dead Waters)
2 Piece: Increases DMG dealt to enemies with debuffs by 12%.
4 Piece: Increases CRIT Rate by 4%. The wearer deals 8%/12% increased CRIT DMG to enemies with at least 2/3 debuffs. After the wearer inflicts a debuff on enemy targets, the aforementioned effects increase by 100%, lasting for 1 turn(s).

Relic Set (The Ashblazing Grand Duke)
2 Piece: Increases the DMG dealt by follow-up attacks by 20%.
4 Piece: When the wearer uses follow-up attacks, increases the wearer's ATK by 6% for every time the follow-up attack deals DMG. This effect can stack up to 8 time(s) and lasts for 3 turn(s). This effect is removed the next time the wearer uses a follow-up attack.

Relic Set (Band of Sizzling Thunder)
2 Piece: Increases Lightning DMG by 10%.
4 Piece: When the wearer uses their Skill, increases the wearer's ATK by 20% for 1 turn(s).
Planar Ornaments

Planetary Set (Duran, Dynasty of Running Wolves)
2 Piece: When an ally uses follow-up attacks, the wearer gains 1 stack of Merit, stacking up to 5 time(s). Each stack of Merit increases the DMG dealt by the wearer's follow-up attacks by 5%. When there are 5 stacks, additionally increases the wearer's CRIT DMG by 25%.

Planetary Set (Izumo Gensei and Takama Divine Realm)
2 Piece: Increases the wearer's ATK by 12%. When entering battle, if at least one other ally follows the same Path as the wearer, then the wearer's CRIT Rate increases by 12%.

Planetary Set (Inert Salsotto)
2 Piece: Increases the wearer's CRIT Rate by 8%. When the wearer's current CRIT Rate reaches 50% or higher, the wearer's Ultimate and follow-up attack DMG increases by 15%.
Main & Sub Stats Priority
| Main Stat Priority | Sub Stats Priority |
|---|---|
| Body: Crit Rate / Crit DMG Feet: ATK% Planar Sphere: Lightning DMG Boost Link Rope: ATK% | Crit Rate / Crit DMG ATK |
SPD: 113
Crit Rate: 70%+
Crit DMG: 140%+
ATK: 2800+
Team Recommendations
Follow-Up Synergy Team
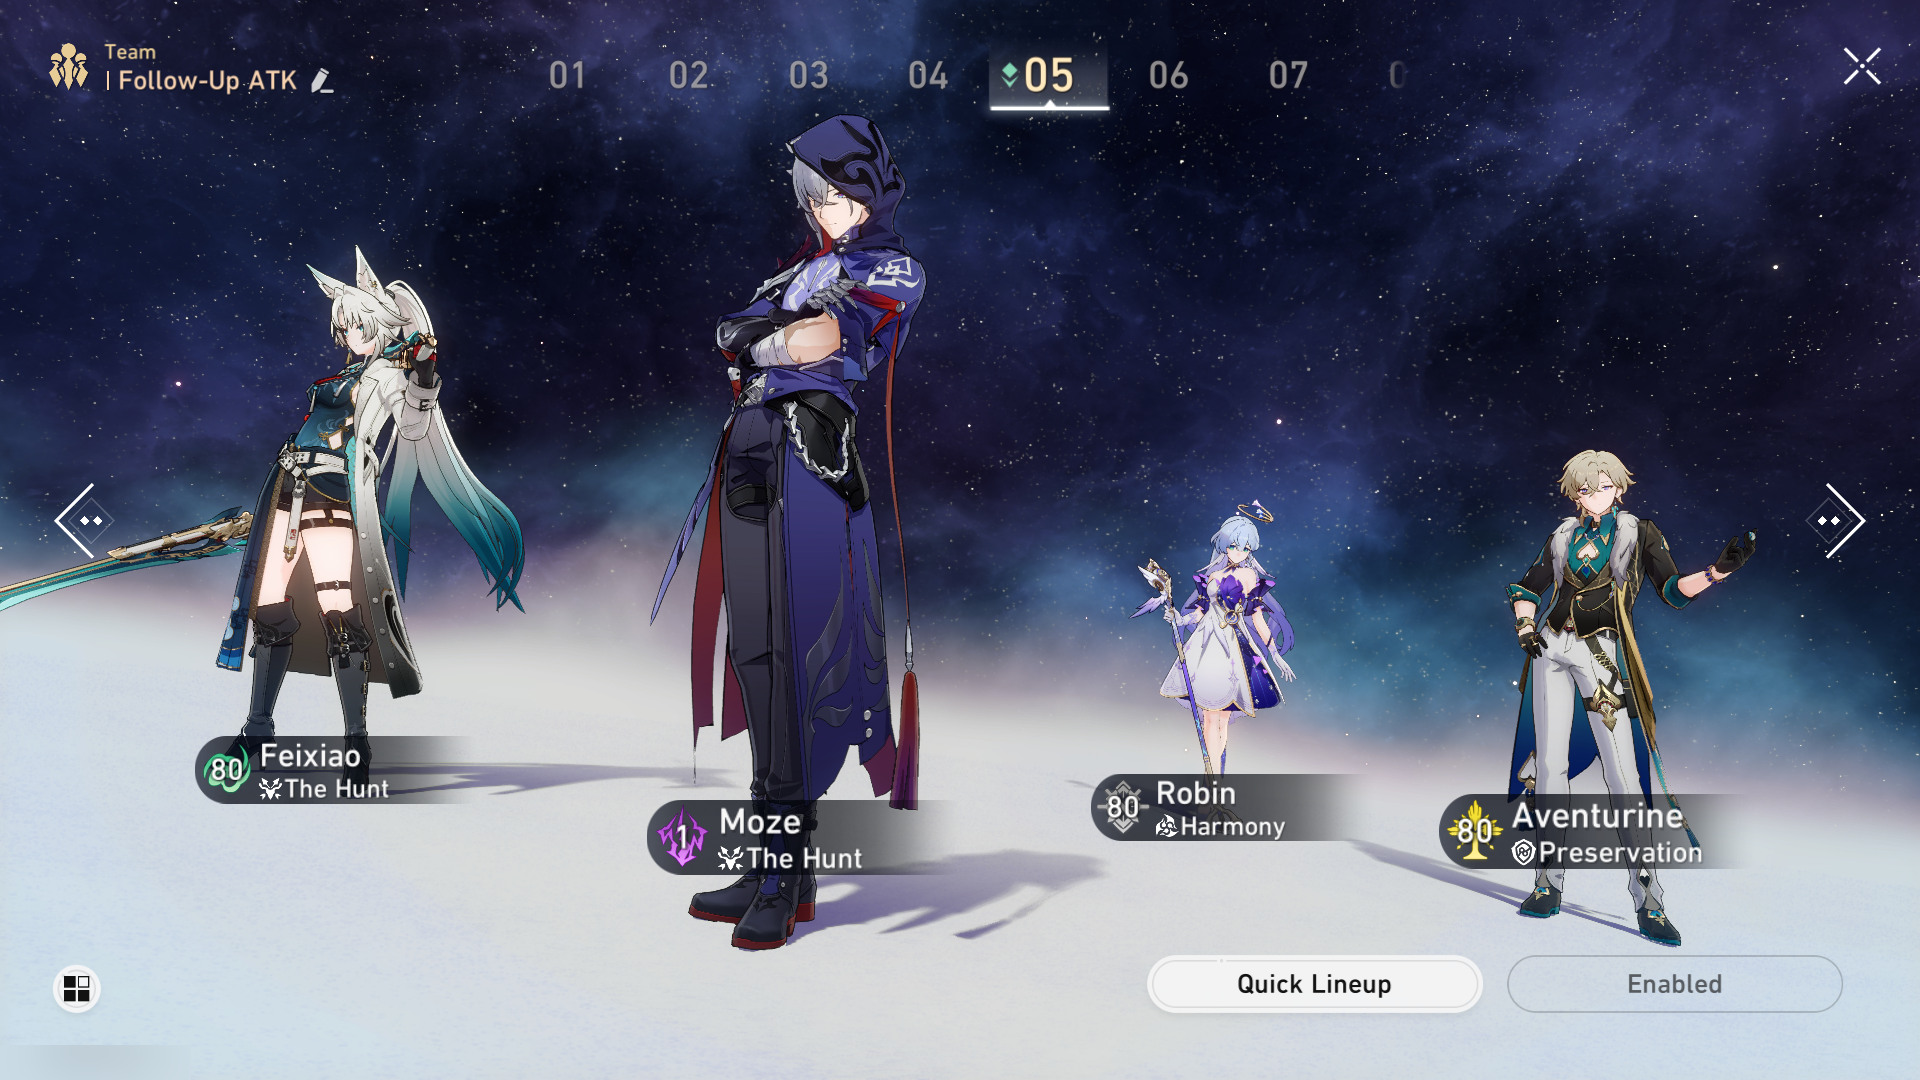
Feixiao / Dr. Ratio: Main DPS
Moze: Sub-DPS + Support
Robin: Buffer (Can be replaced with Ruan Mei)
Aventurine: Sustain (Can be replaced with other sustains)
Counter Synergy Team
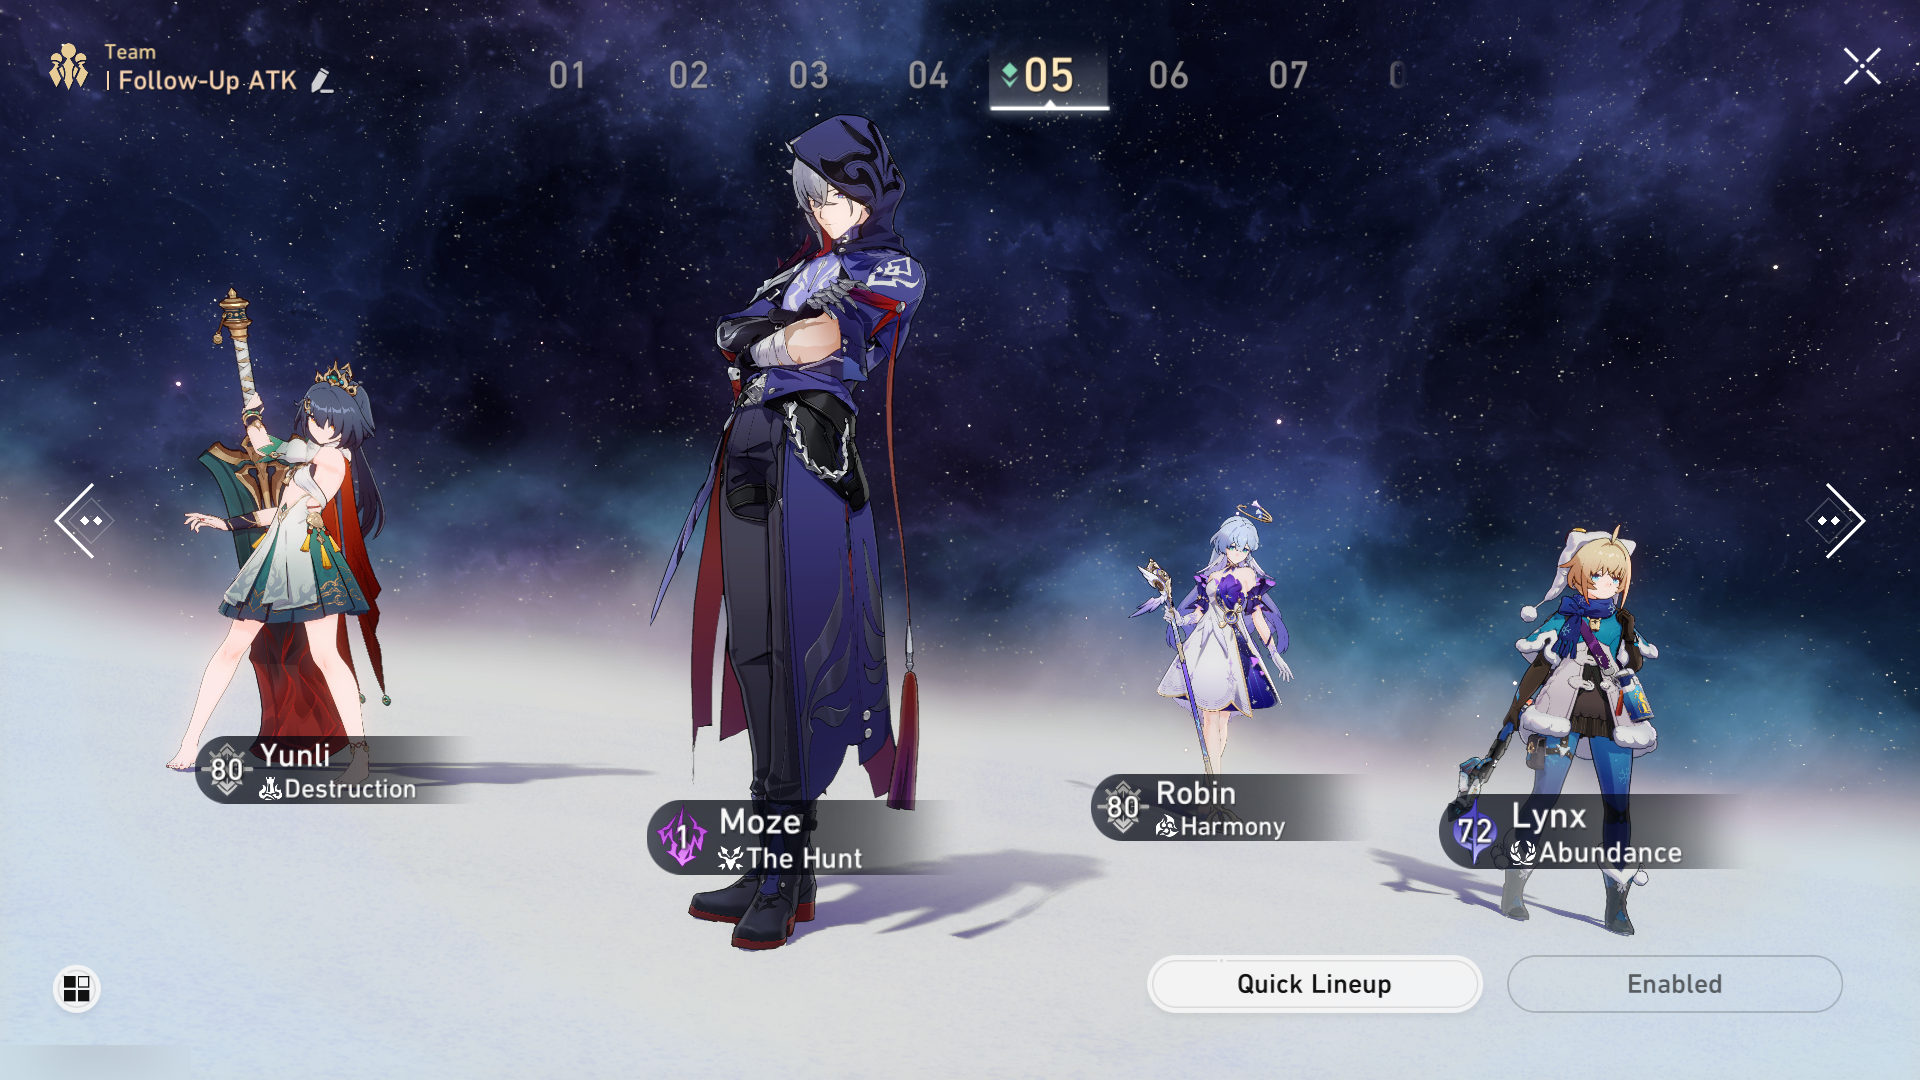
Yunli / Clara: Main DPS
Moze: Sub-DPS + Support
Robin: Buffer (Can be replaced with Ruan Mei)
Lynx: Sustain
Eidolons
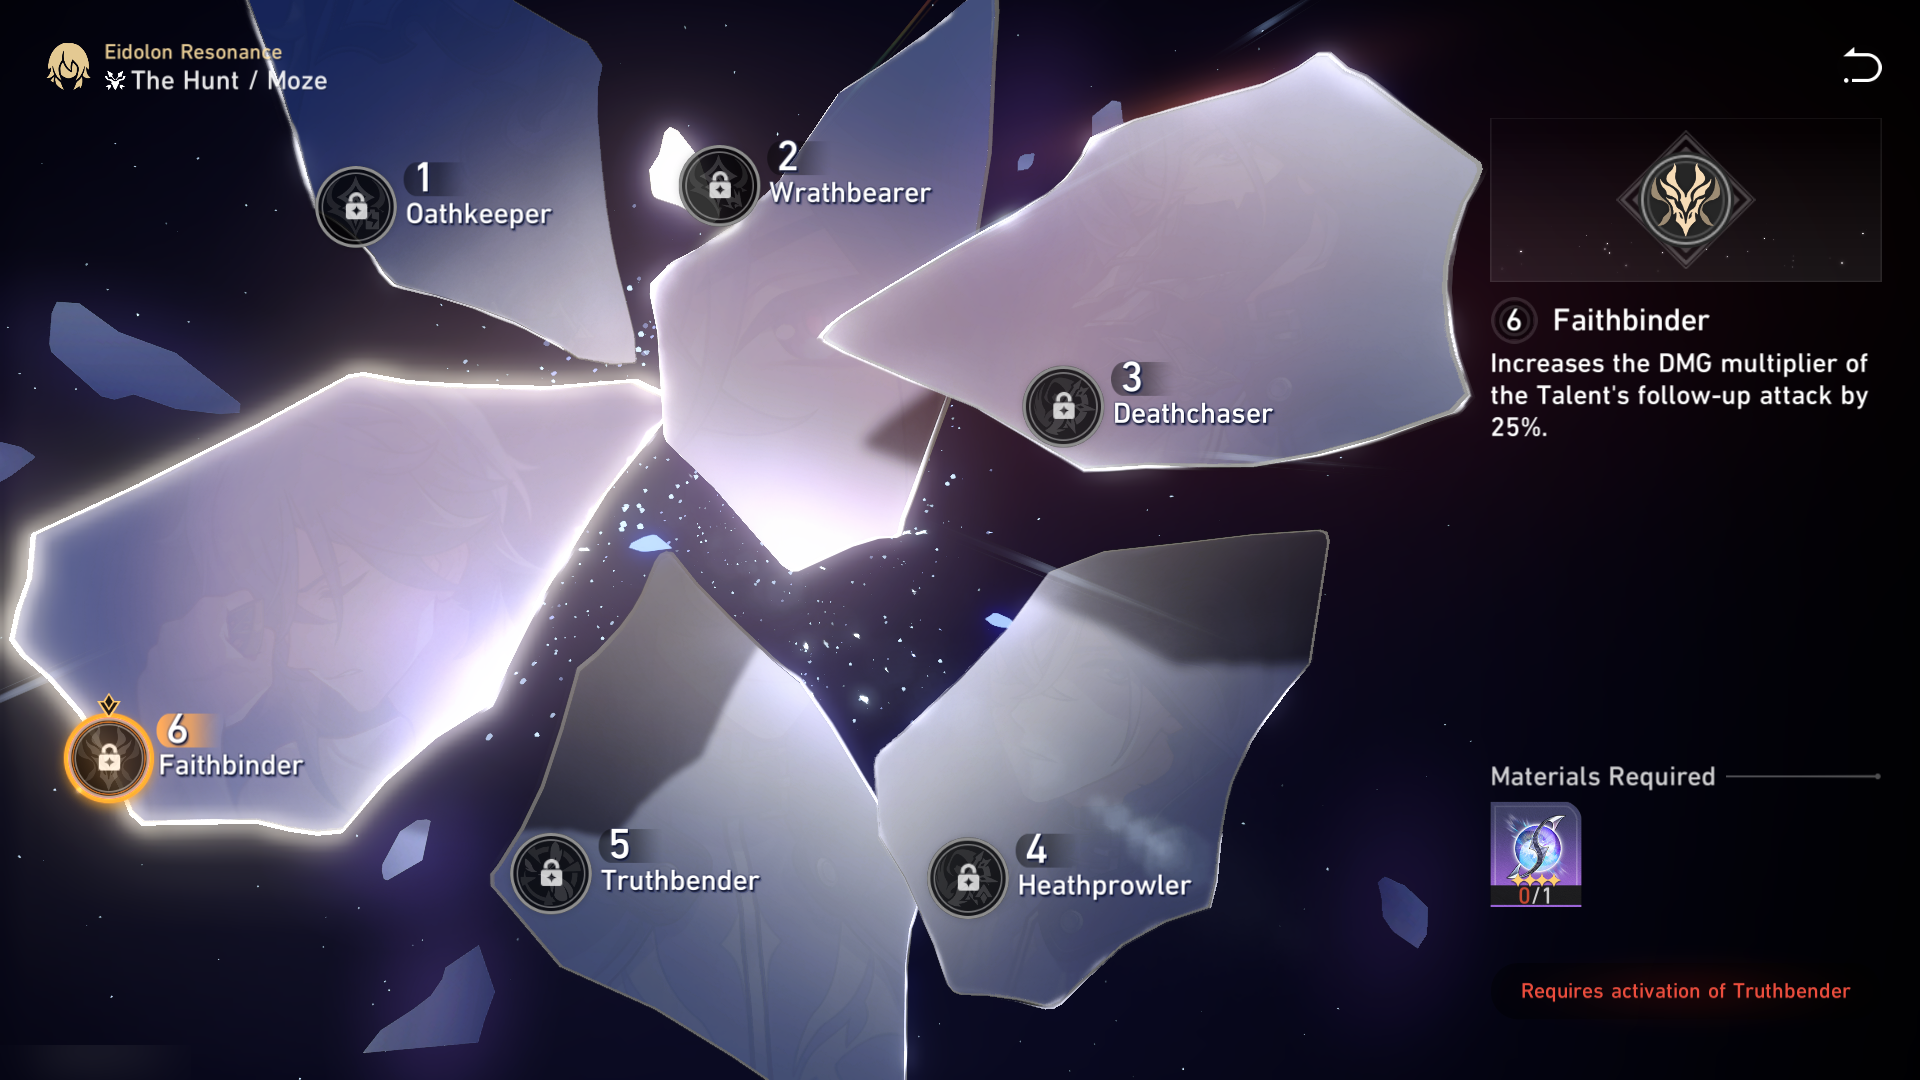
Best Eidolons: E1, E2, E4 & E6
E1: Oathkeeper ⭐
After entering battle, Moze regenerates 20 Energy. Each time the Additional DMG from his Talent is triggered, Moze regenerates 2 Energy.
E2: Wrathbearer ⭐
When all allies deal DMG to the enemy target marked as "Prey," increases CRIT DMG by 40%.
E3: Deathchaser
Ultimate Lv. +2, up to a maximum of Lv. 15.
Talent Lv. +2, up to a maximum of Lv. 15.
E4: Heathprowler ⭐
When using Ultimate, increases the DMG dealt by Moze by 30%, lasting for 2 turn(s).
E5: Truthbender
Skill Lv. +2, up to a maximum of Lv. 15.
Basic ATK Lv. +1, up to a maximum of Lv. 10.
E6: Faithbinder ⭐
Increases the DMG multiplier of the Talent's follow-up attack by 25%.
