Table of Contents [Hide]
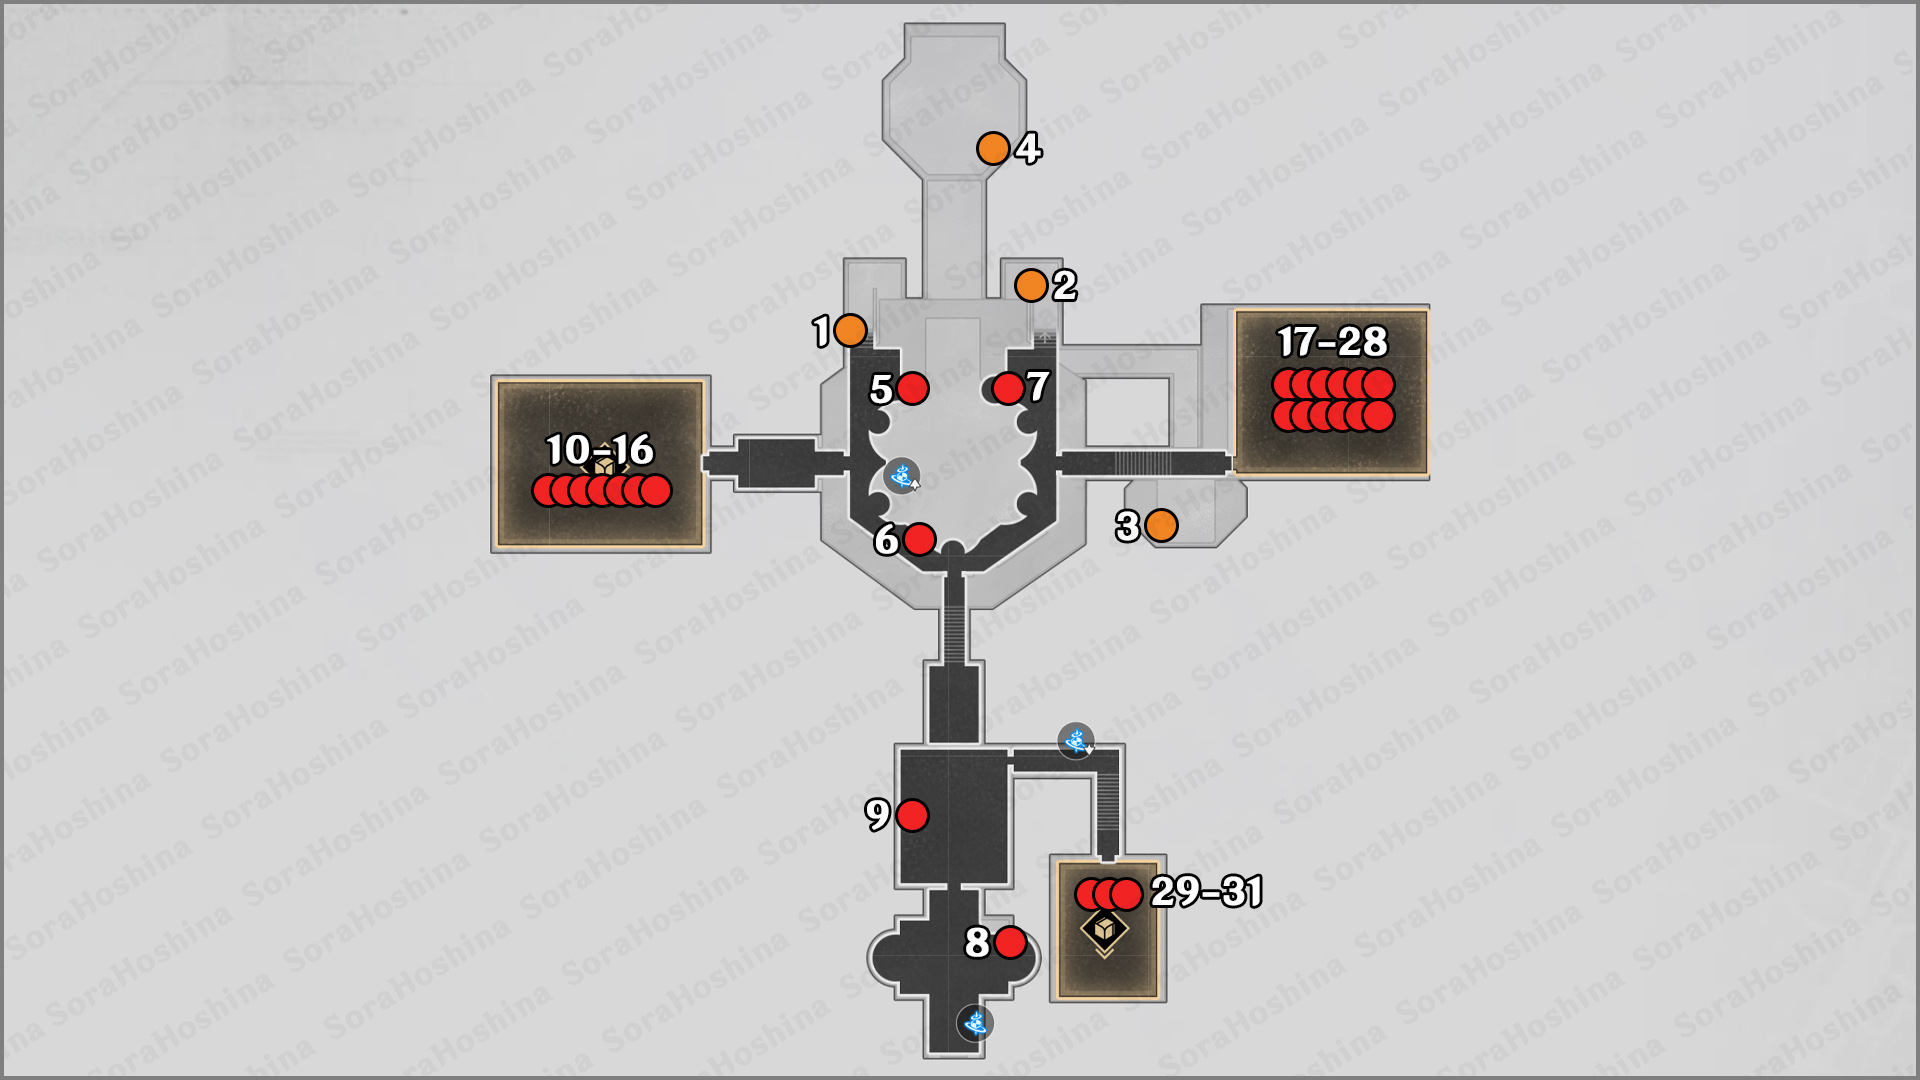
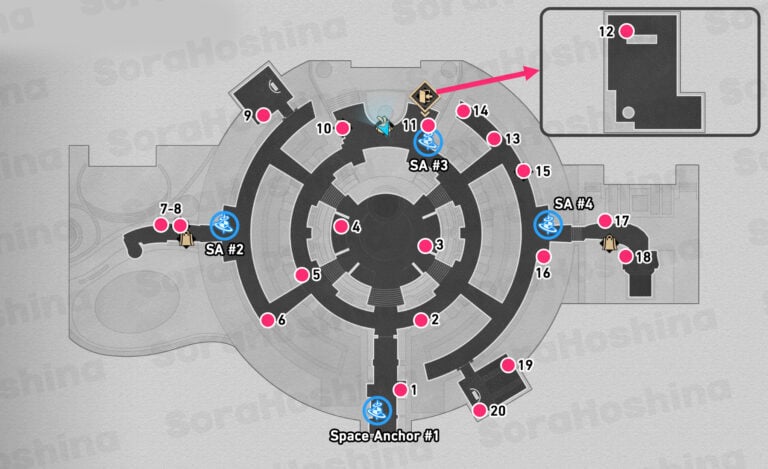
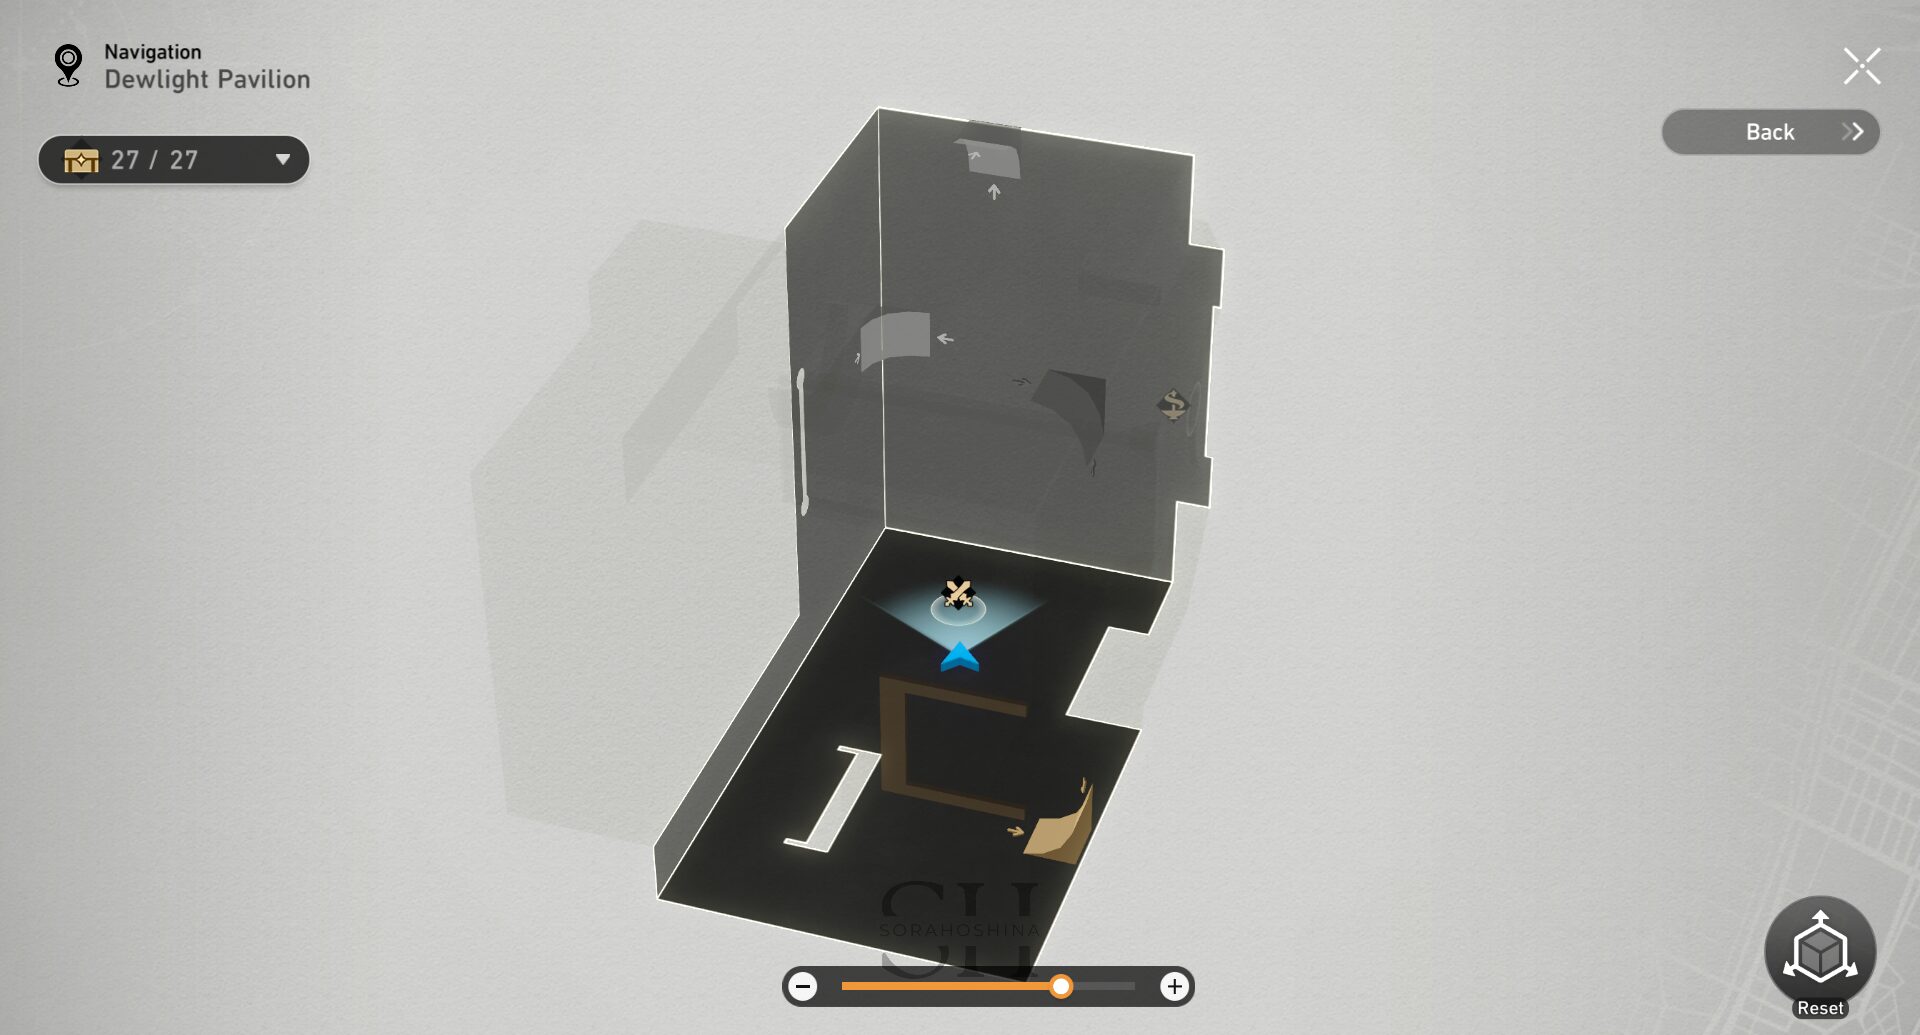
In Dewlight Pavilion, there are 3 3D rooms that can be maneuvered into walking on the wall/ceiling so it could get confusing, but you can check the official interactive map here to see the full layout and position of the chest (of course, this 3D map is also available in-game). In total, there are 46 treasure chests in this area, including puzzles, Lordly Trashcans, and from the Outsourcer Adventure Mission.
All Treasure Chests in Penacony (Dewlight Pavilion)
First Floor (F1) only
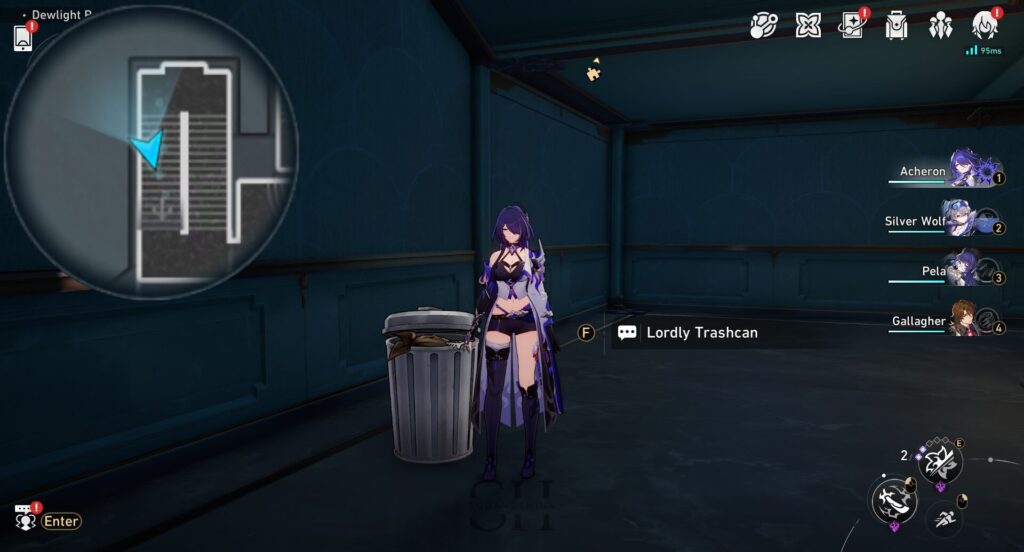
1. Interact with the Lordly Trashcan and choose the correct option (Option 2 > Option 2). If you choose the wrong one, you will fight the trash can, but will still get the reward if you defeat it.
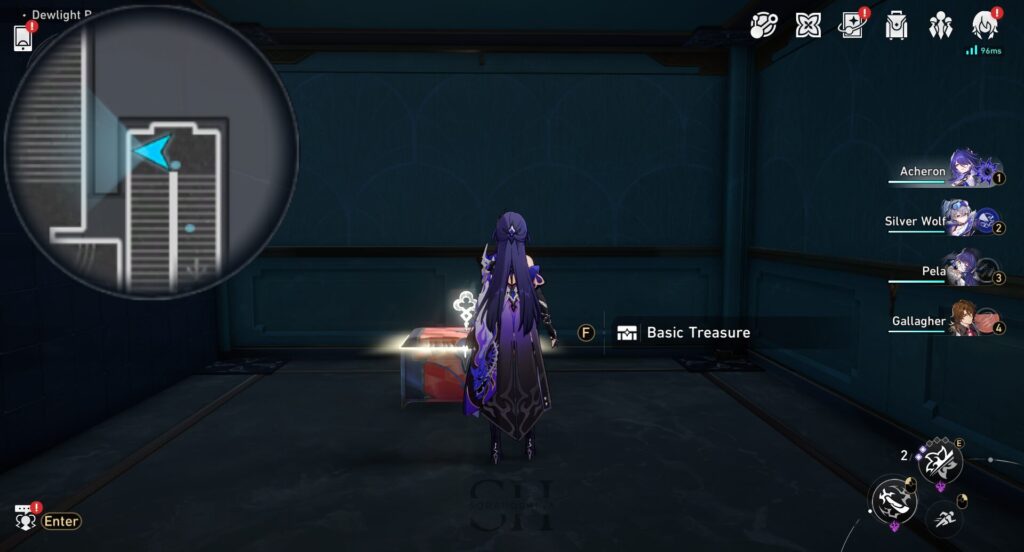
2. Under a staircase (east side) that leads to the second floor.
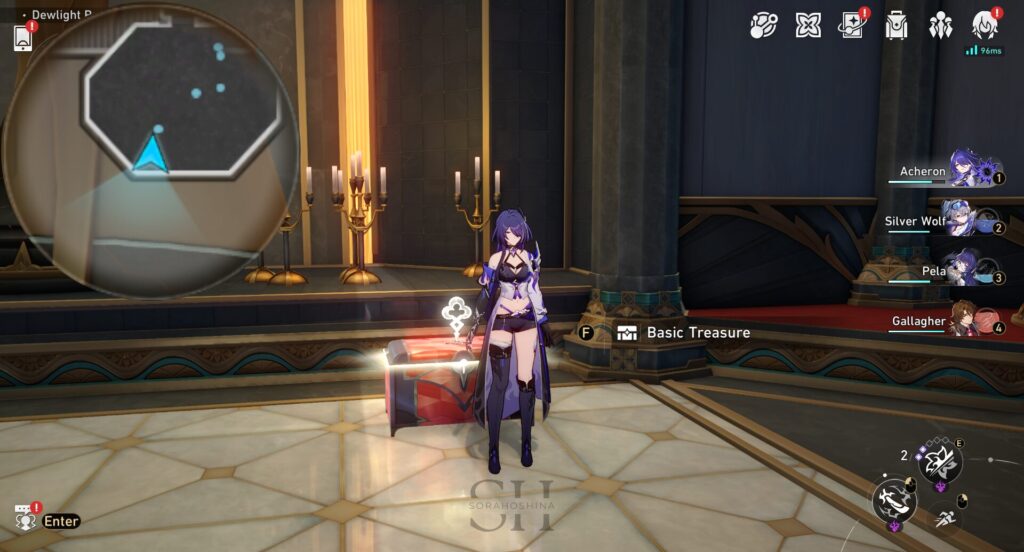
3. Inside the octagon-shaped room east in the Dewlight Pavilion. There are a lot of enemies in this room.
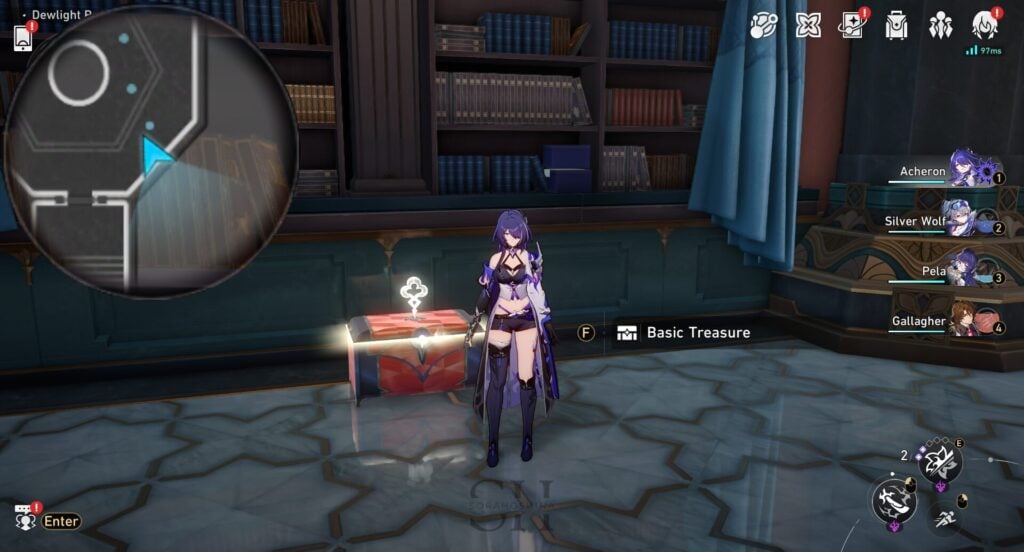
4. Inside the octagonal room north of Dewlight Pavilion.
Second Floor (F2) only
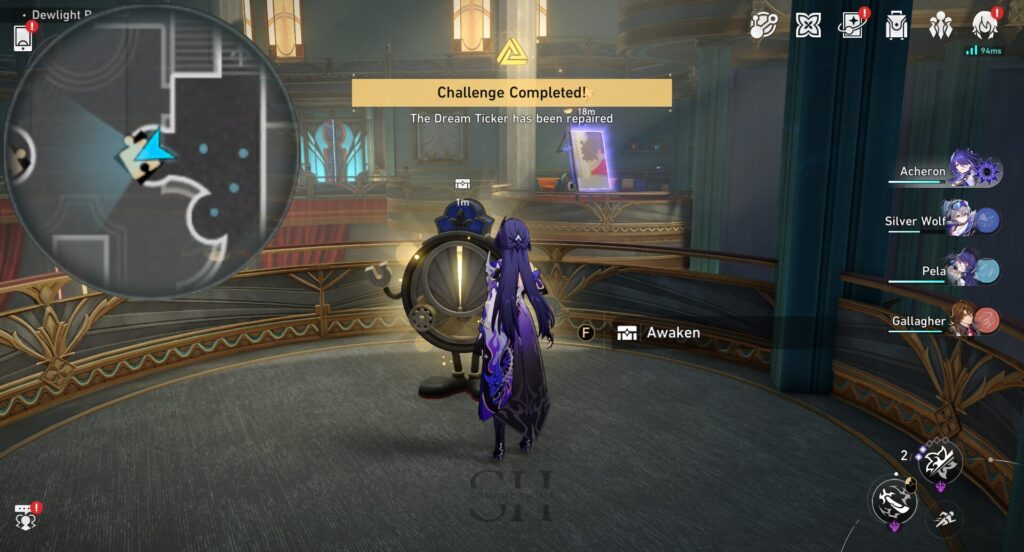
5. Complete the Dream Ticker puzzle to unlock the treasure chest.
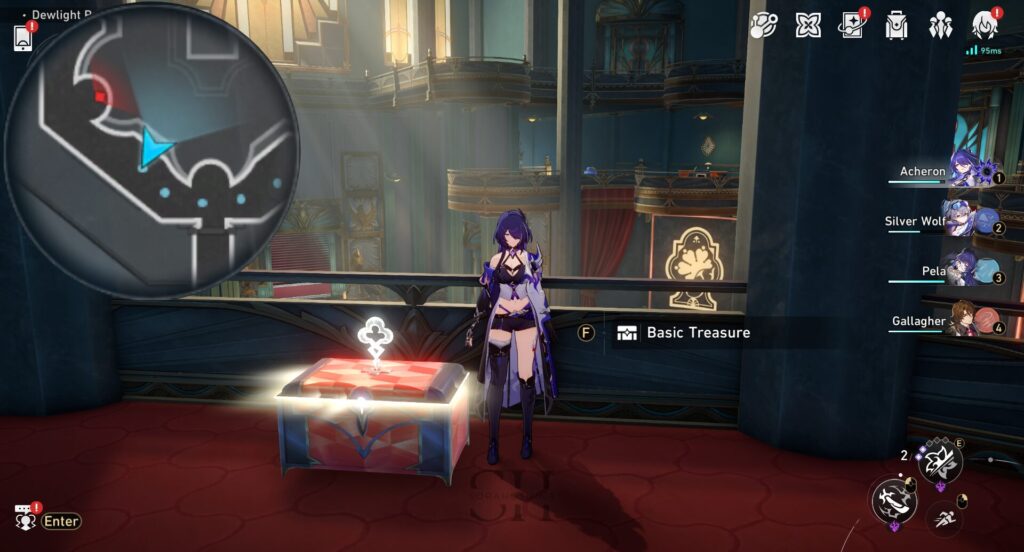
6. On the corridor of the second floor.
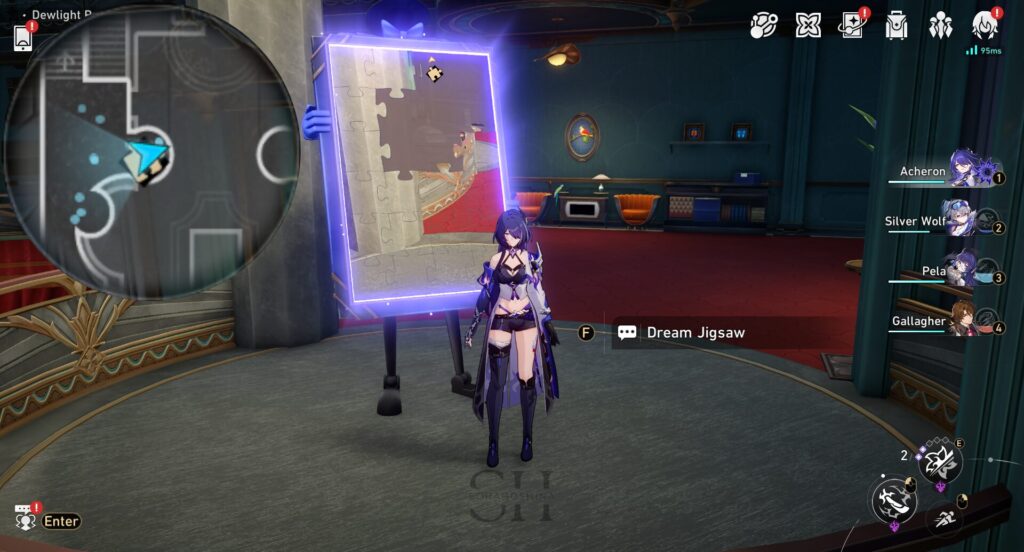
7. Complete the Dream Jigsaw puzzle to unlock the treasure chest.
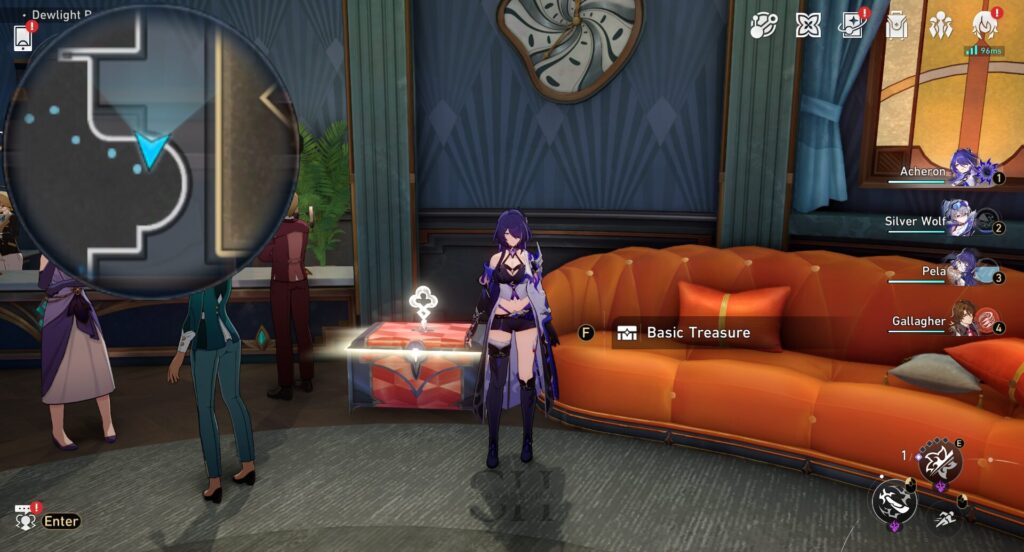
8. Near the Reception Counter.
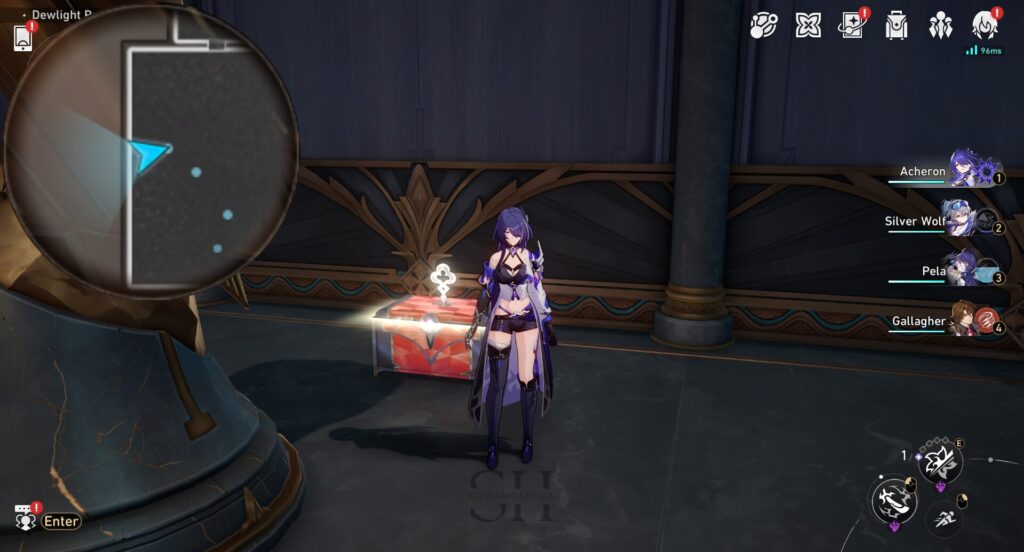
9. In a room past the Reception Counter.
3D Room (West of Dewlight Pavilion)
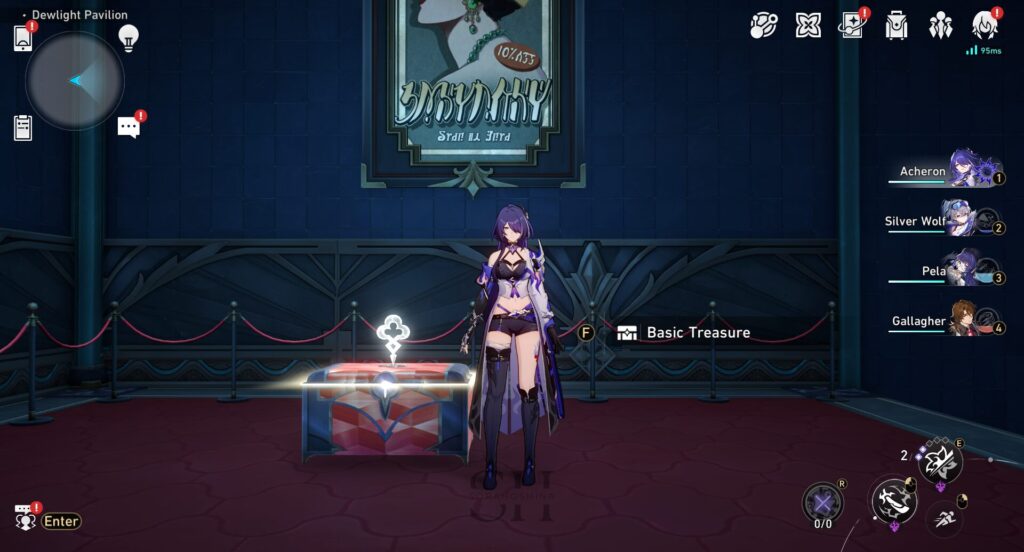
10. Once you enter the room, look to your right.
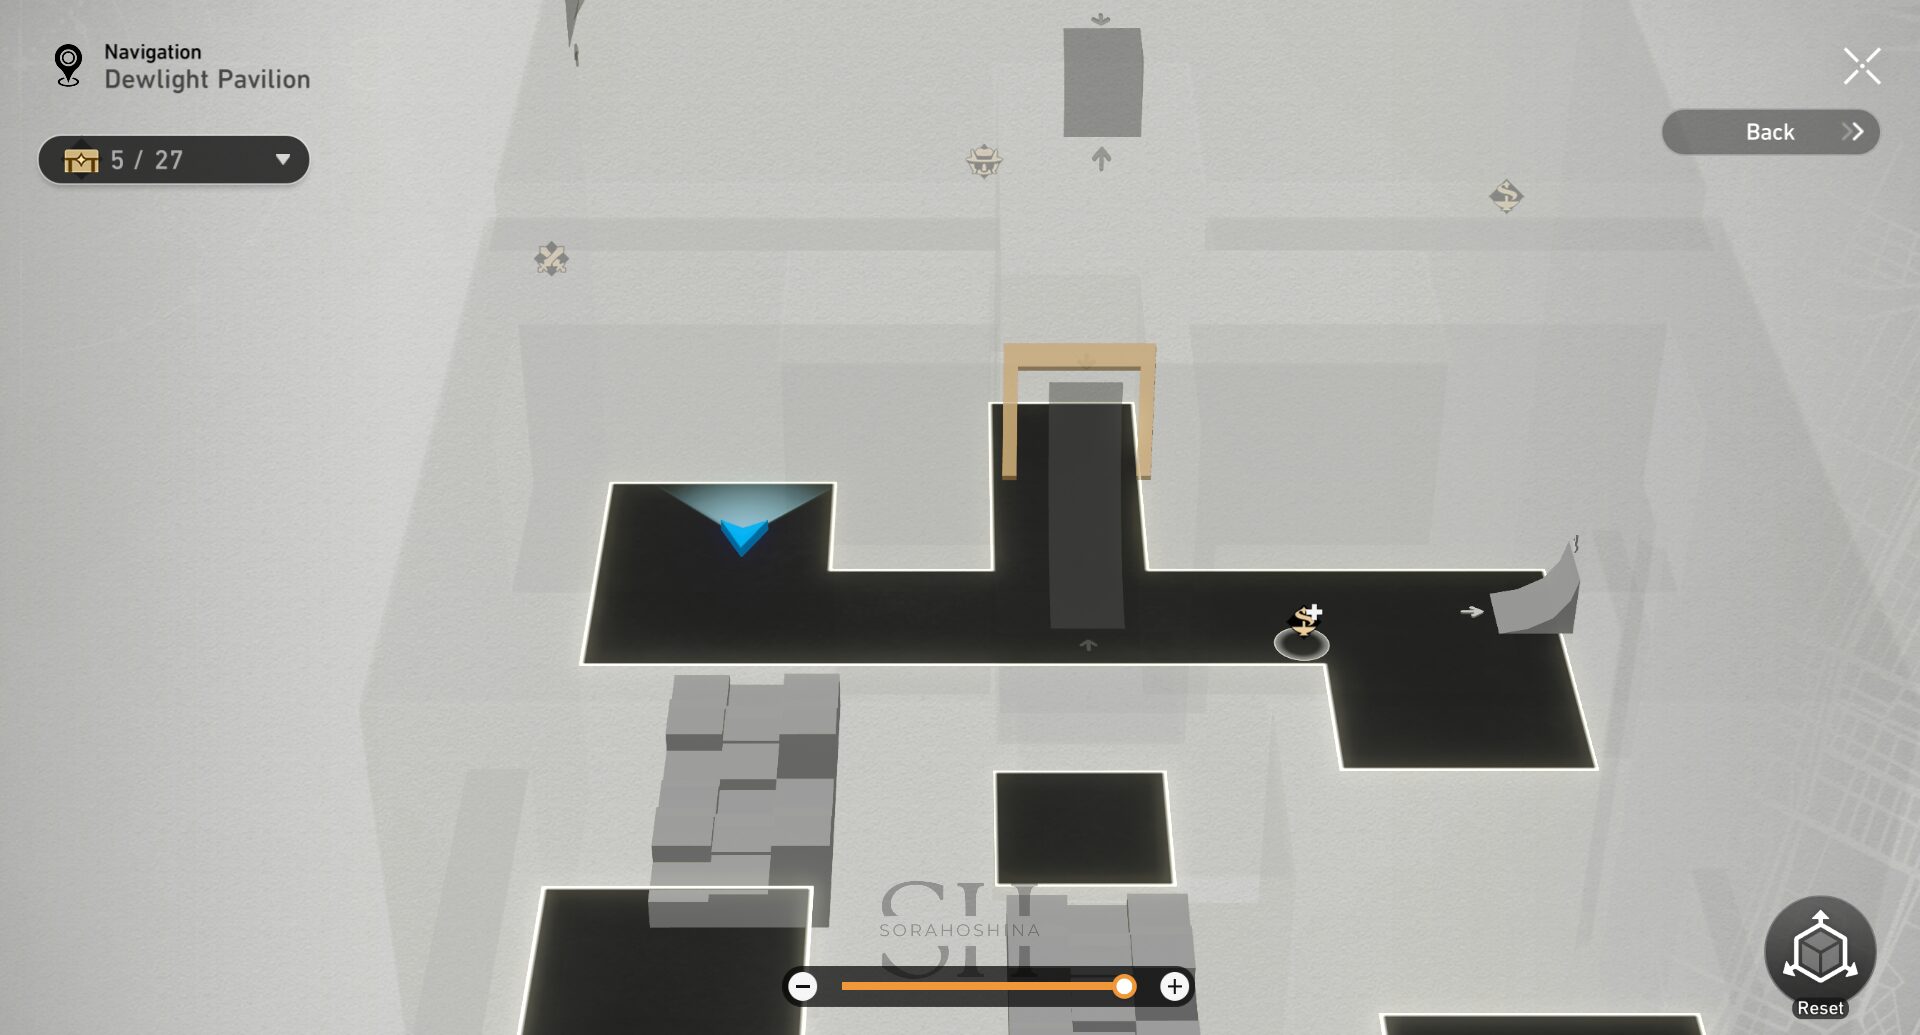
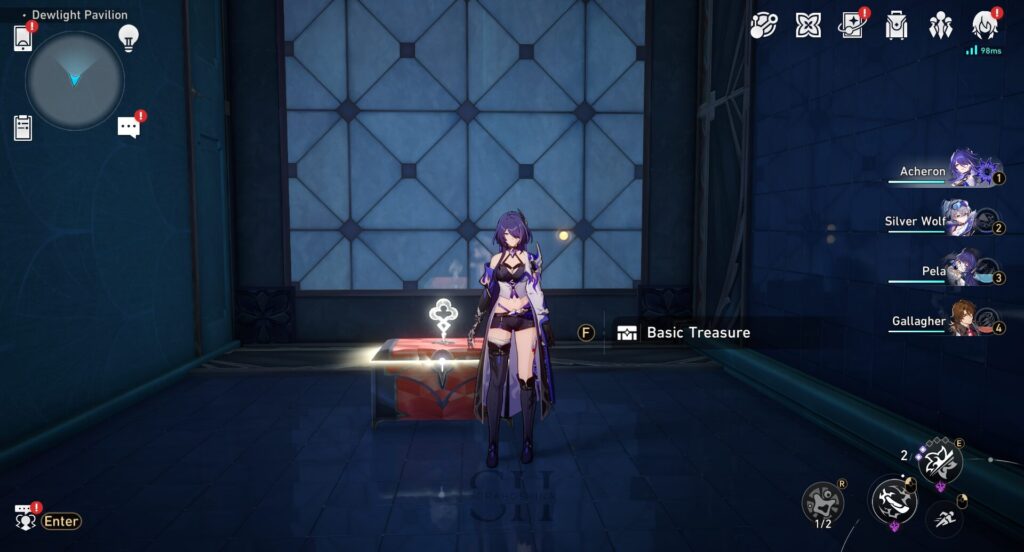
11. Use the Bubble Charge and look to the only Bubble Bridge there. Once you cross the bridge, look to your left.
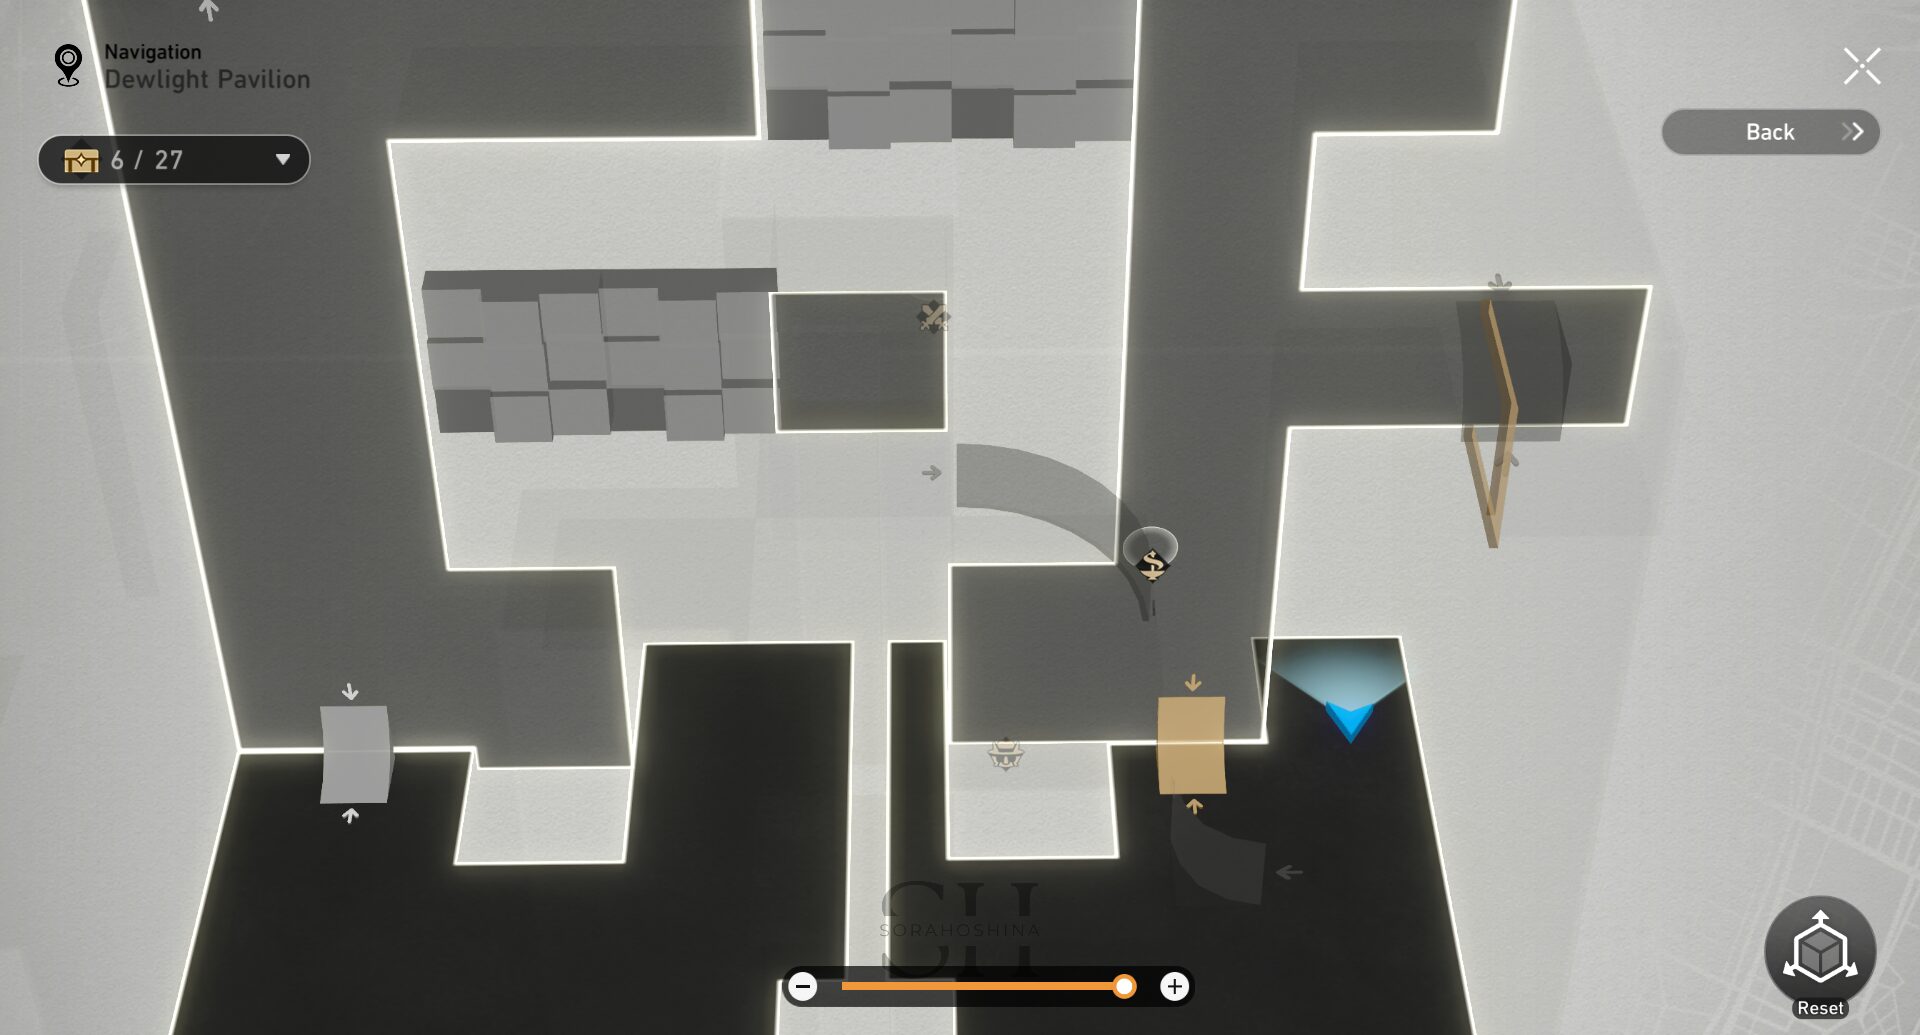
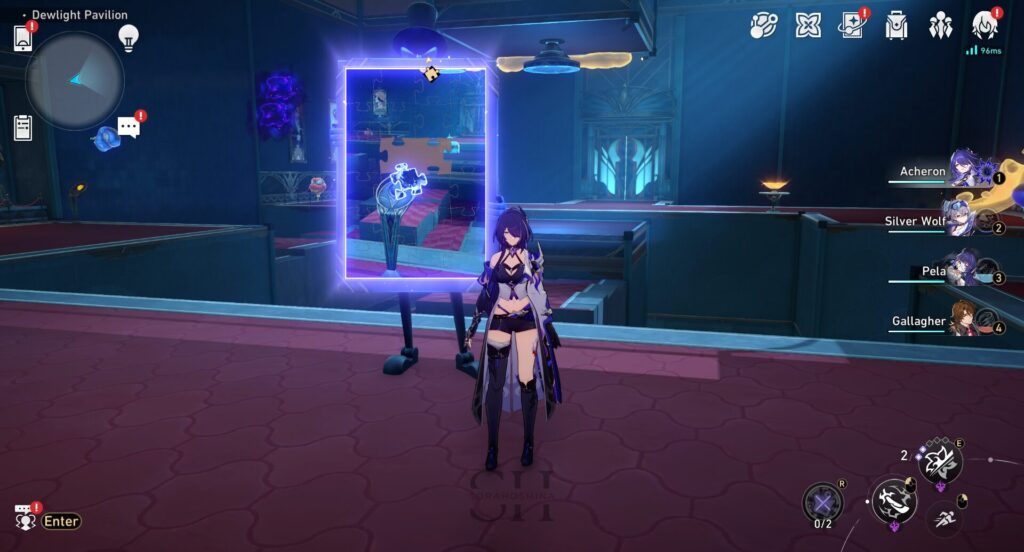
12. Cross another Bubble Bridge and complete the Dream Jigsaw puzzle.
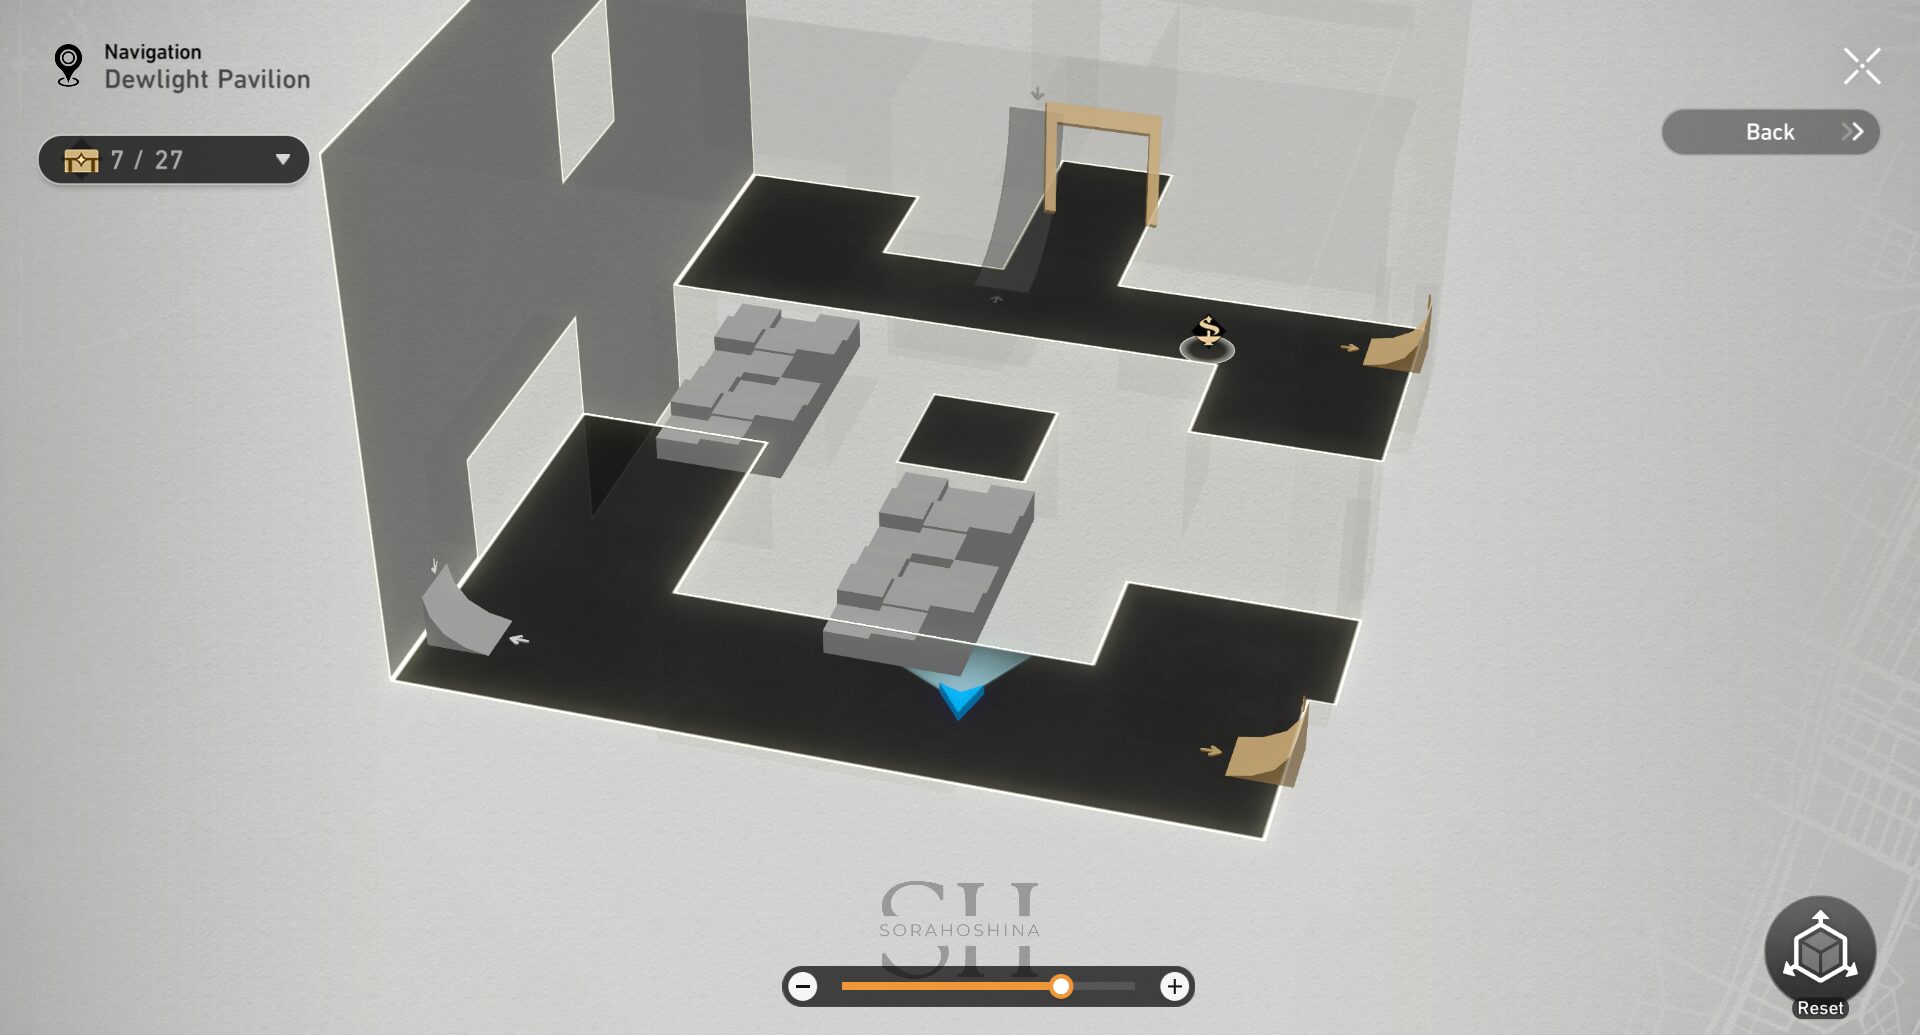
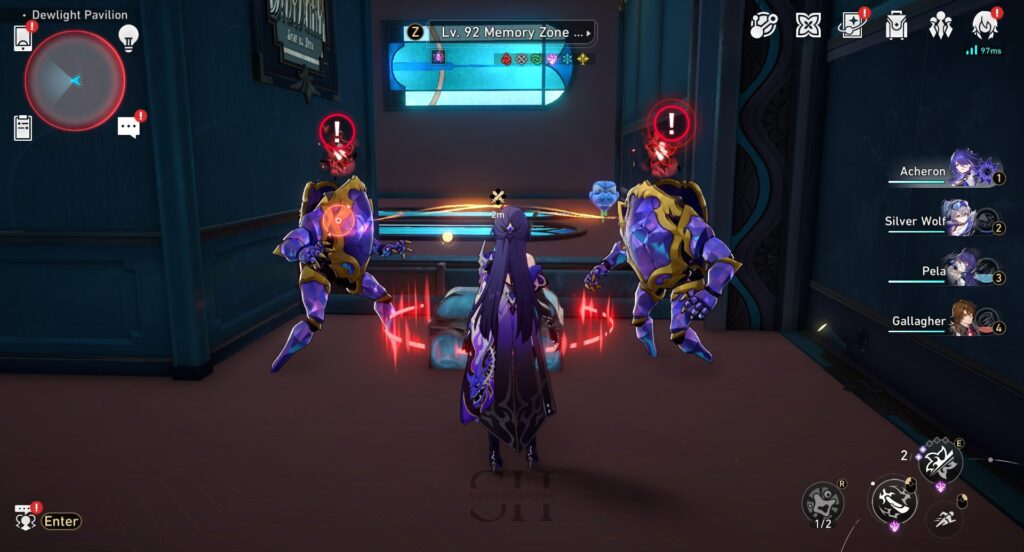
13. Cross the Bubble Bridge on the left side of the previous Dream Jigsaw puzzle and defeat the enemies.
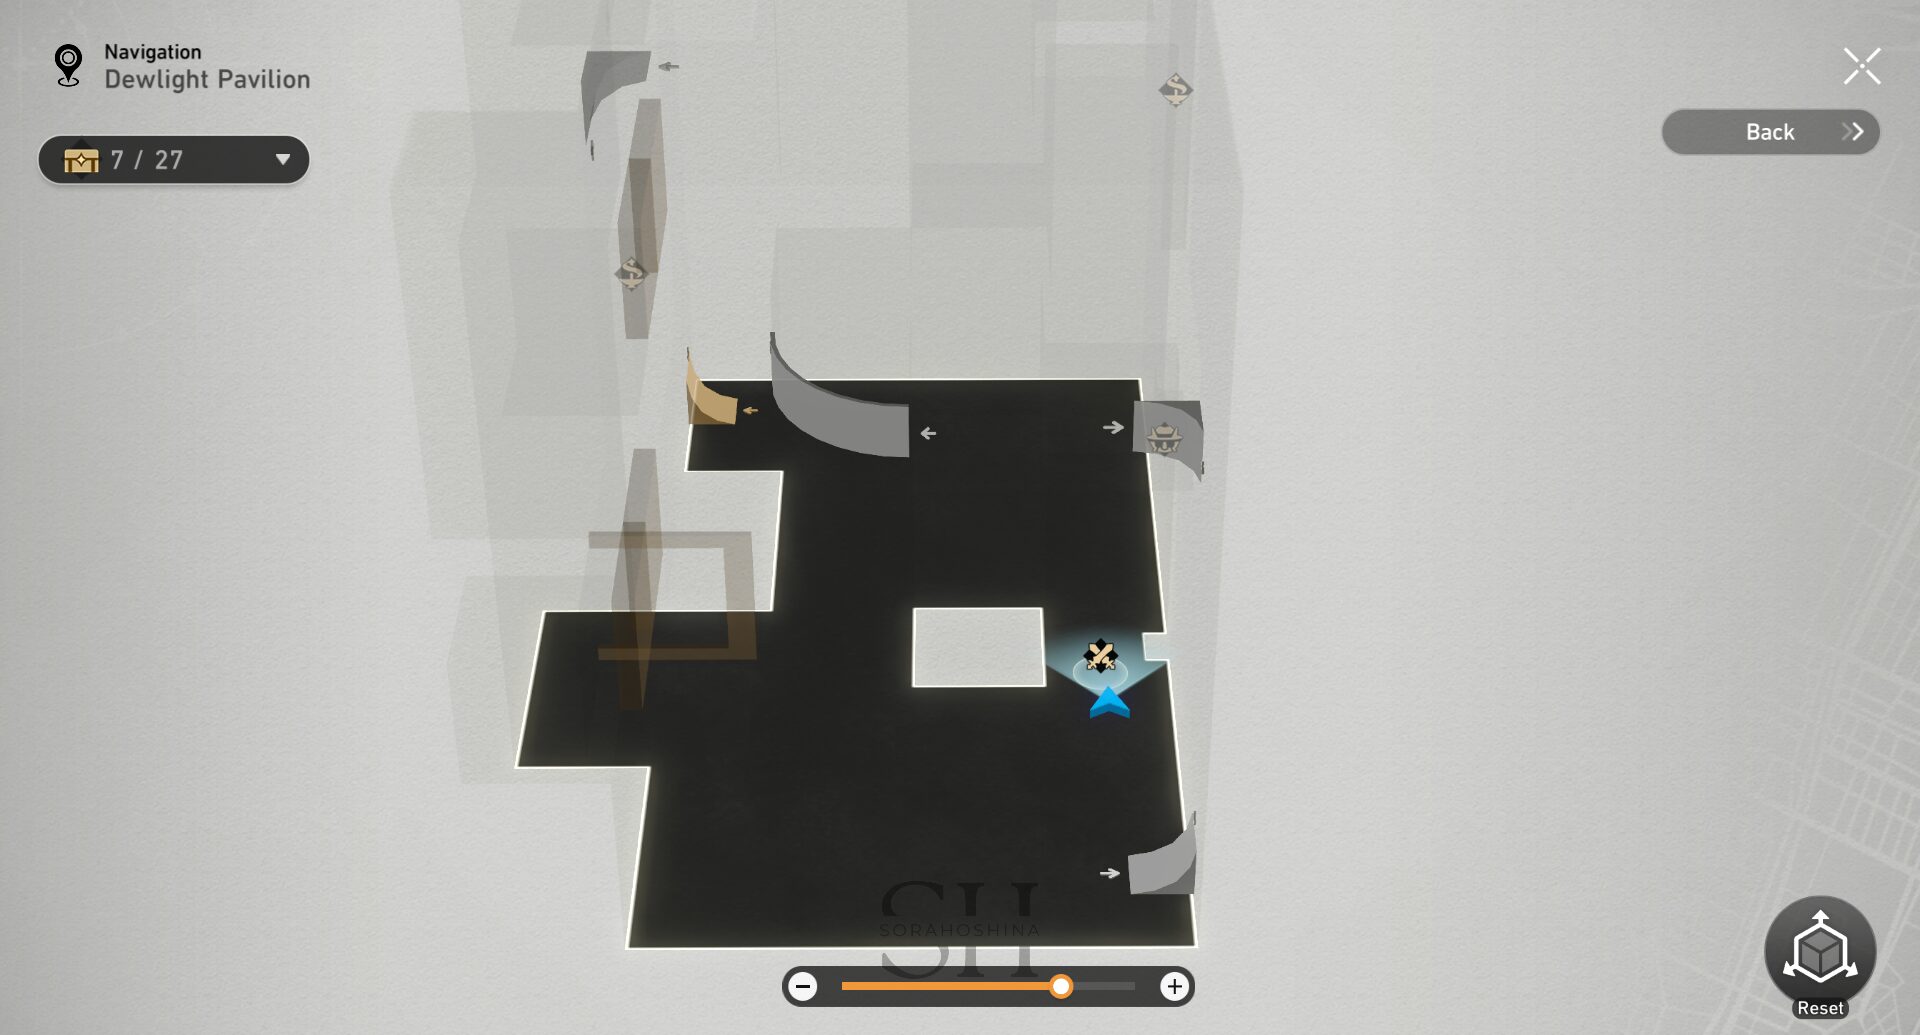
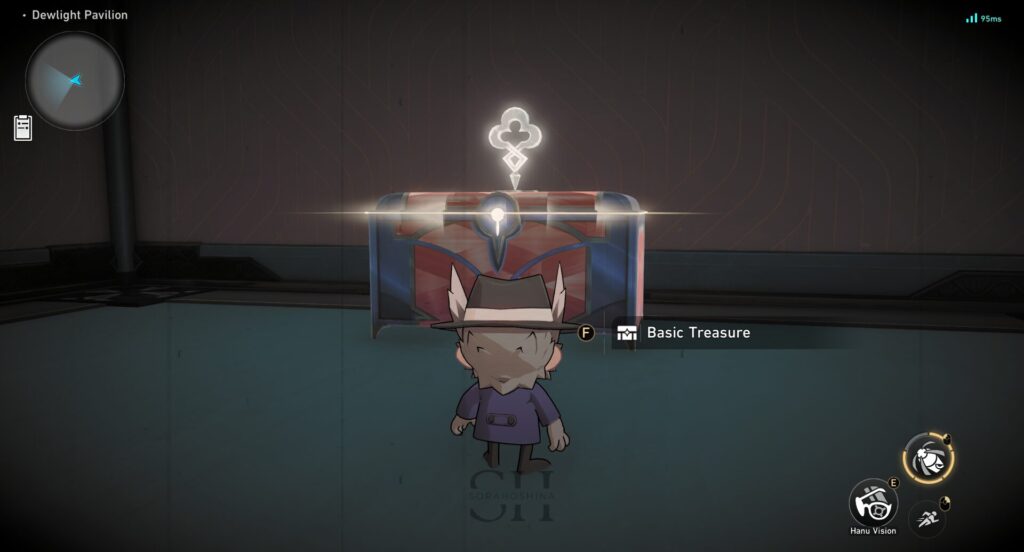
14. Use the Hanu Launcher and aims it at the colorful box in front of a wall. The wall will break alongside the box and you will see this chest.
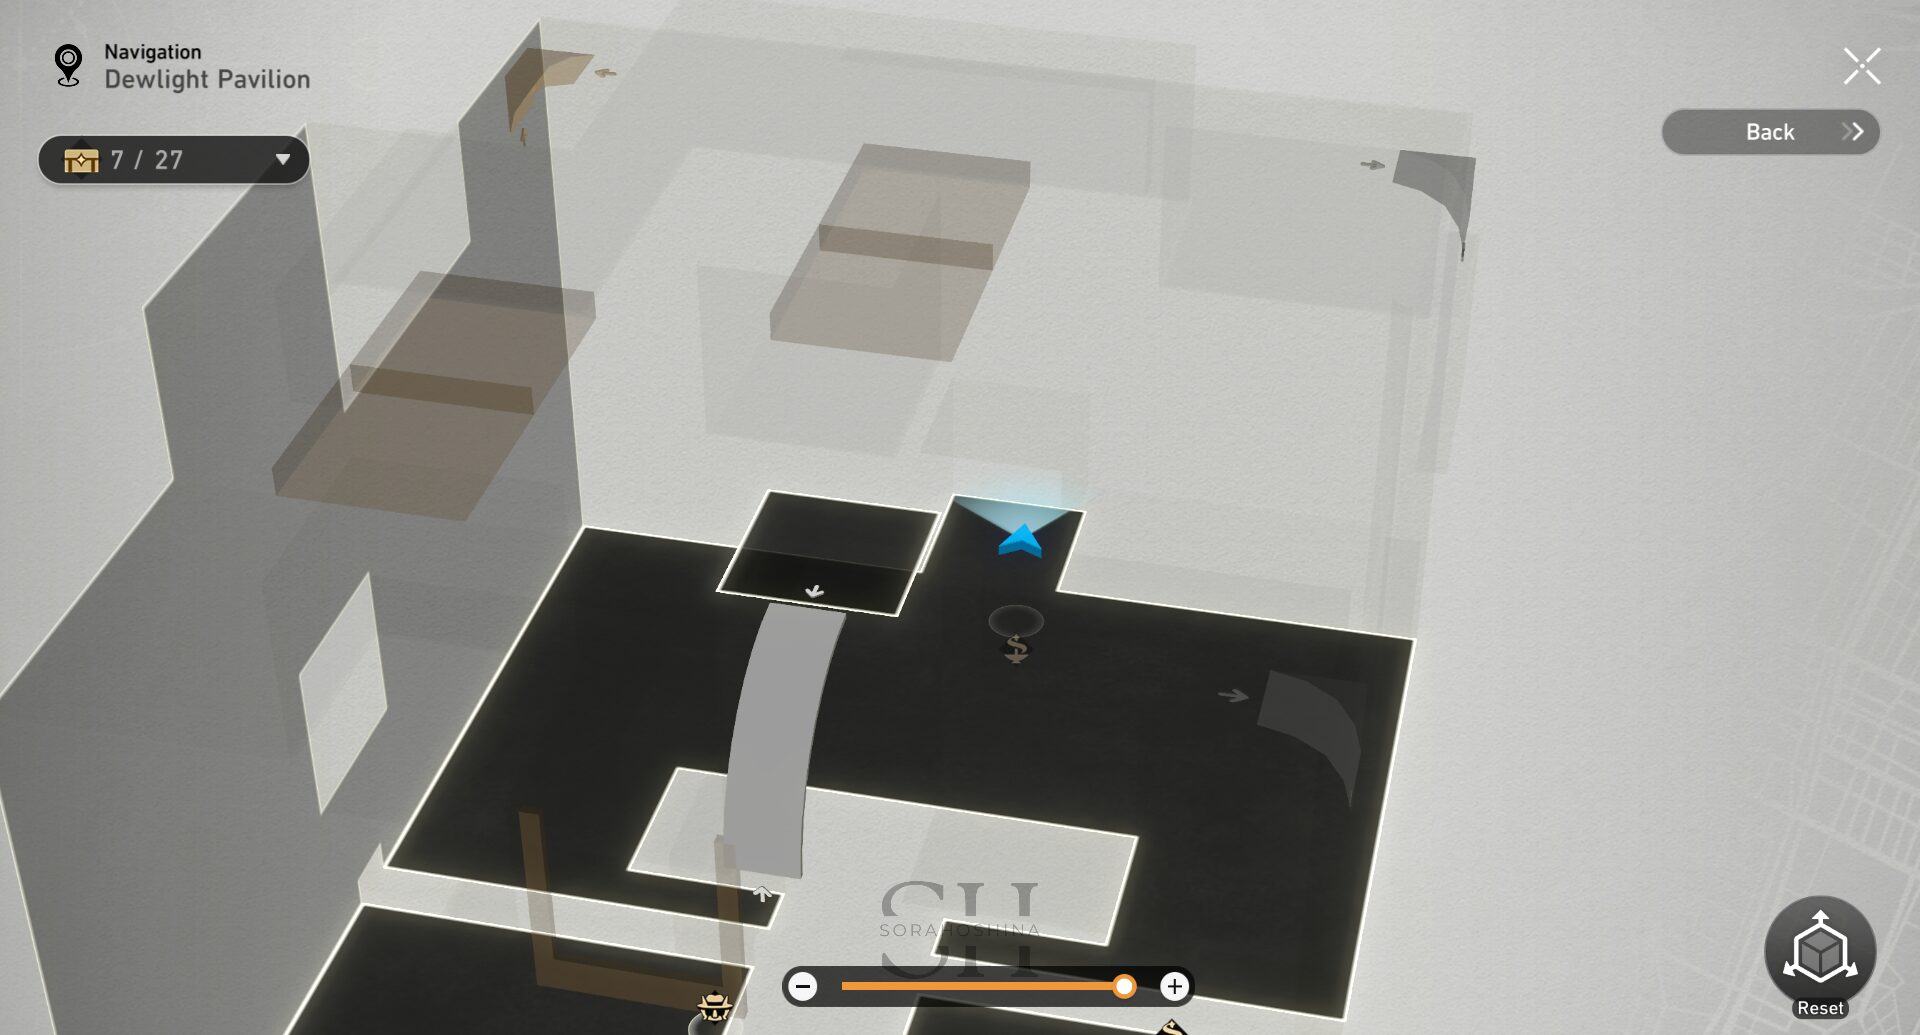
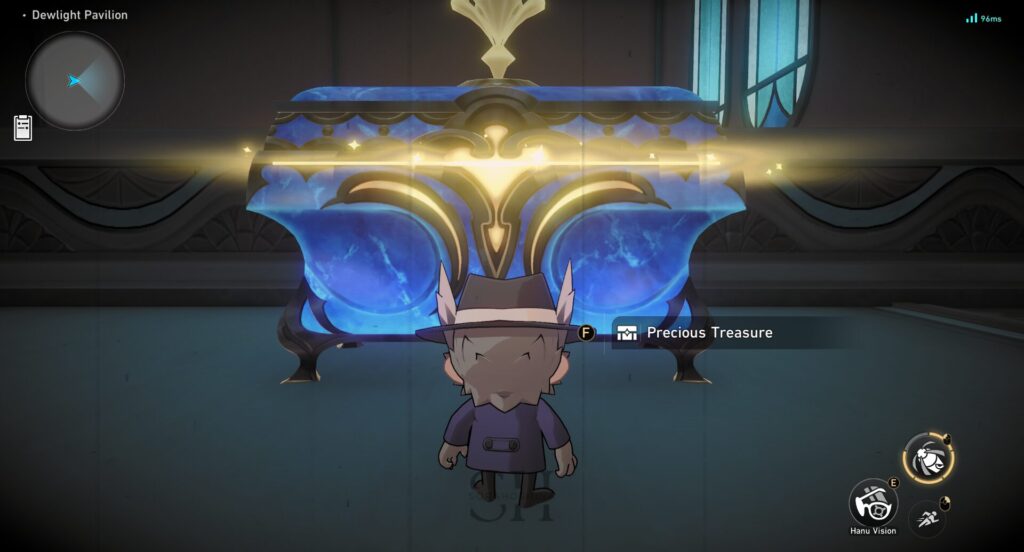
15. Defeat all the enemies with Hanu Launcher to reach this treasure chest.
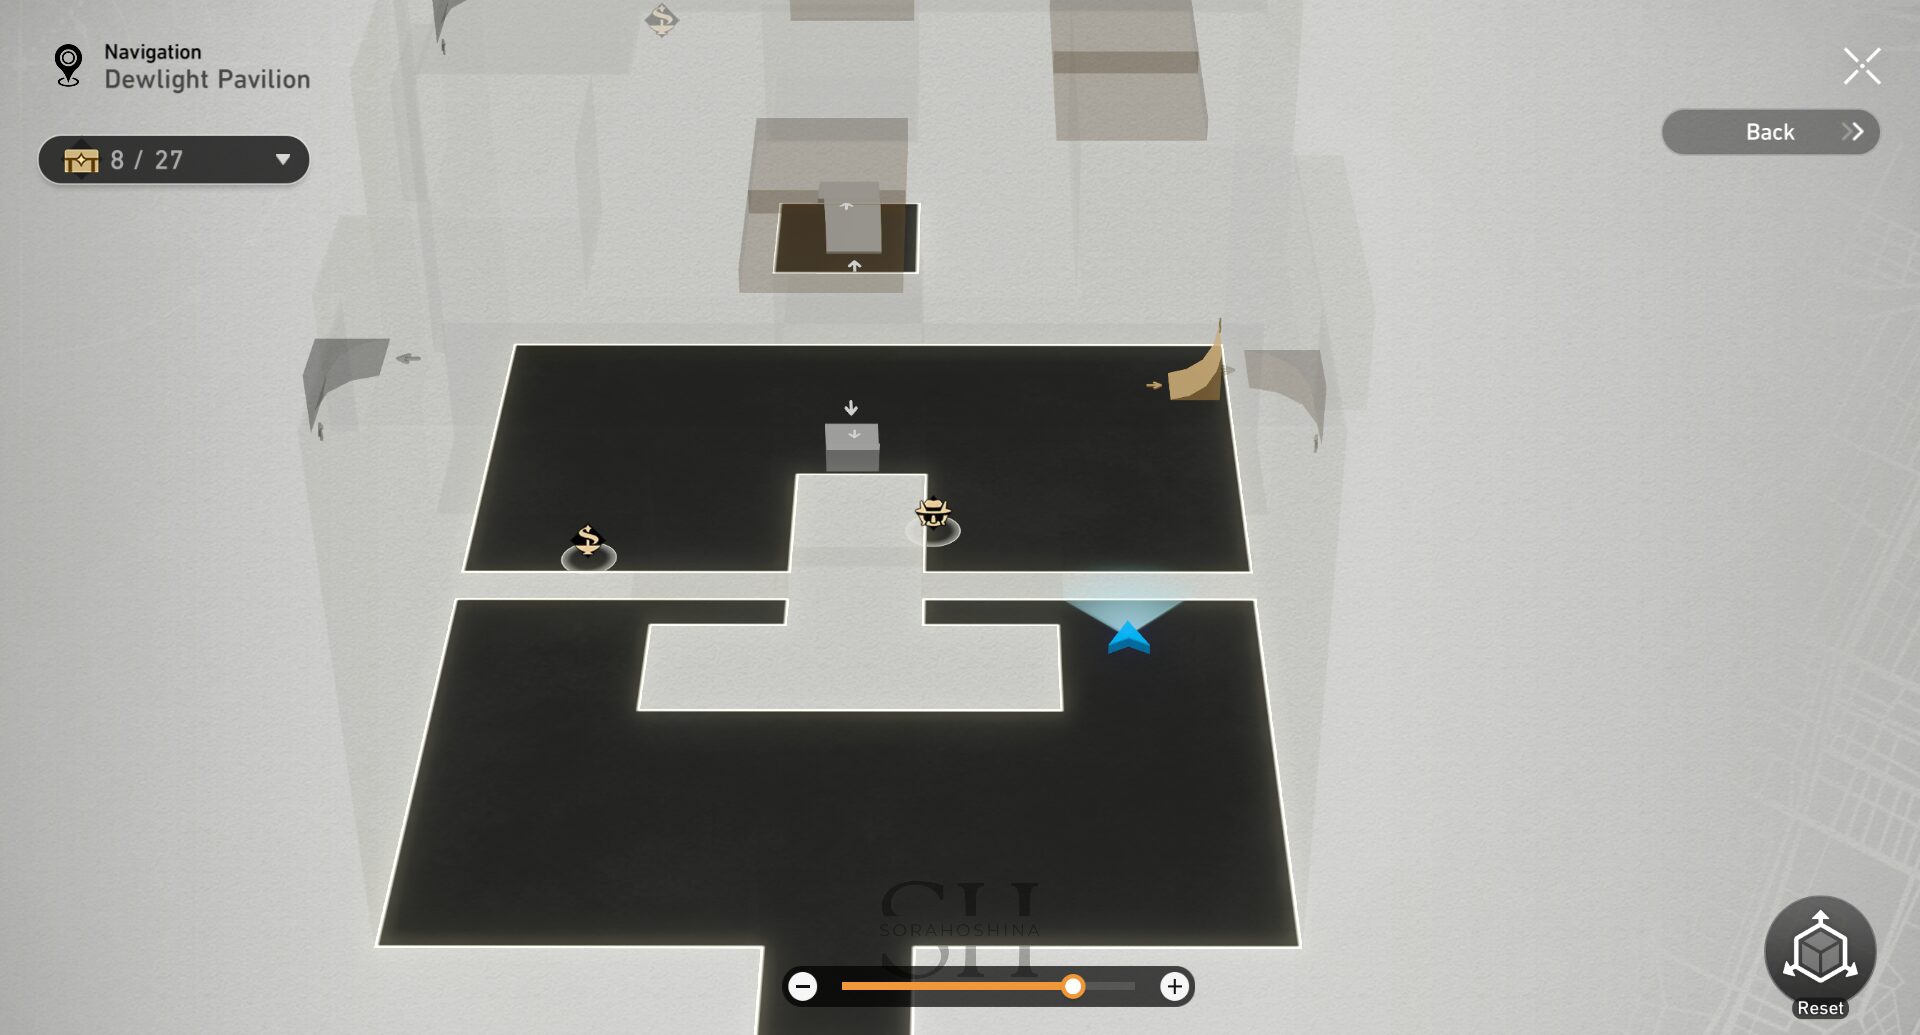
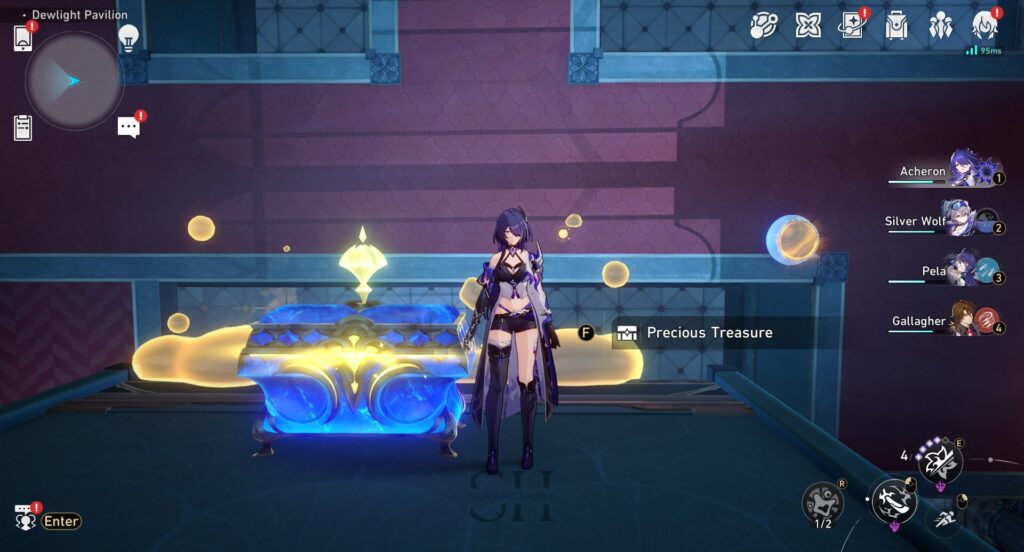
16. Cross the Bubble Bridge near the Hanu's Adventure TV.
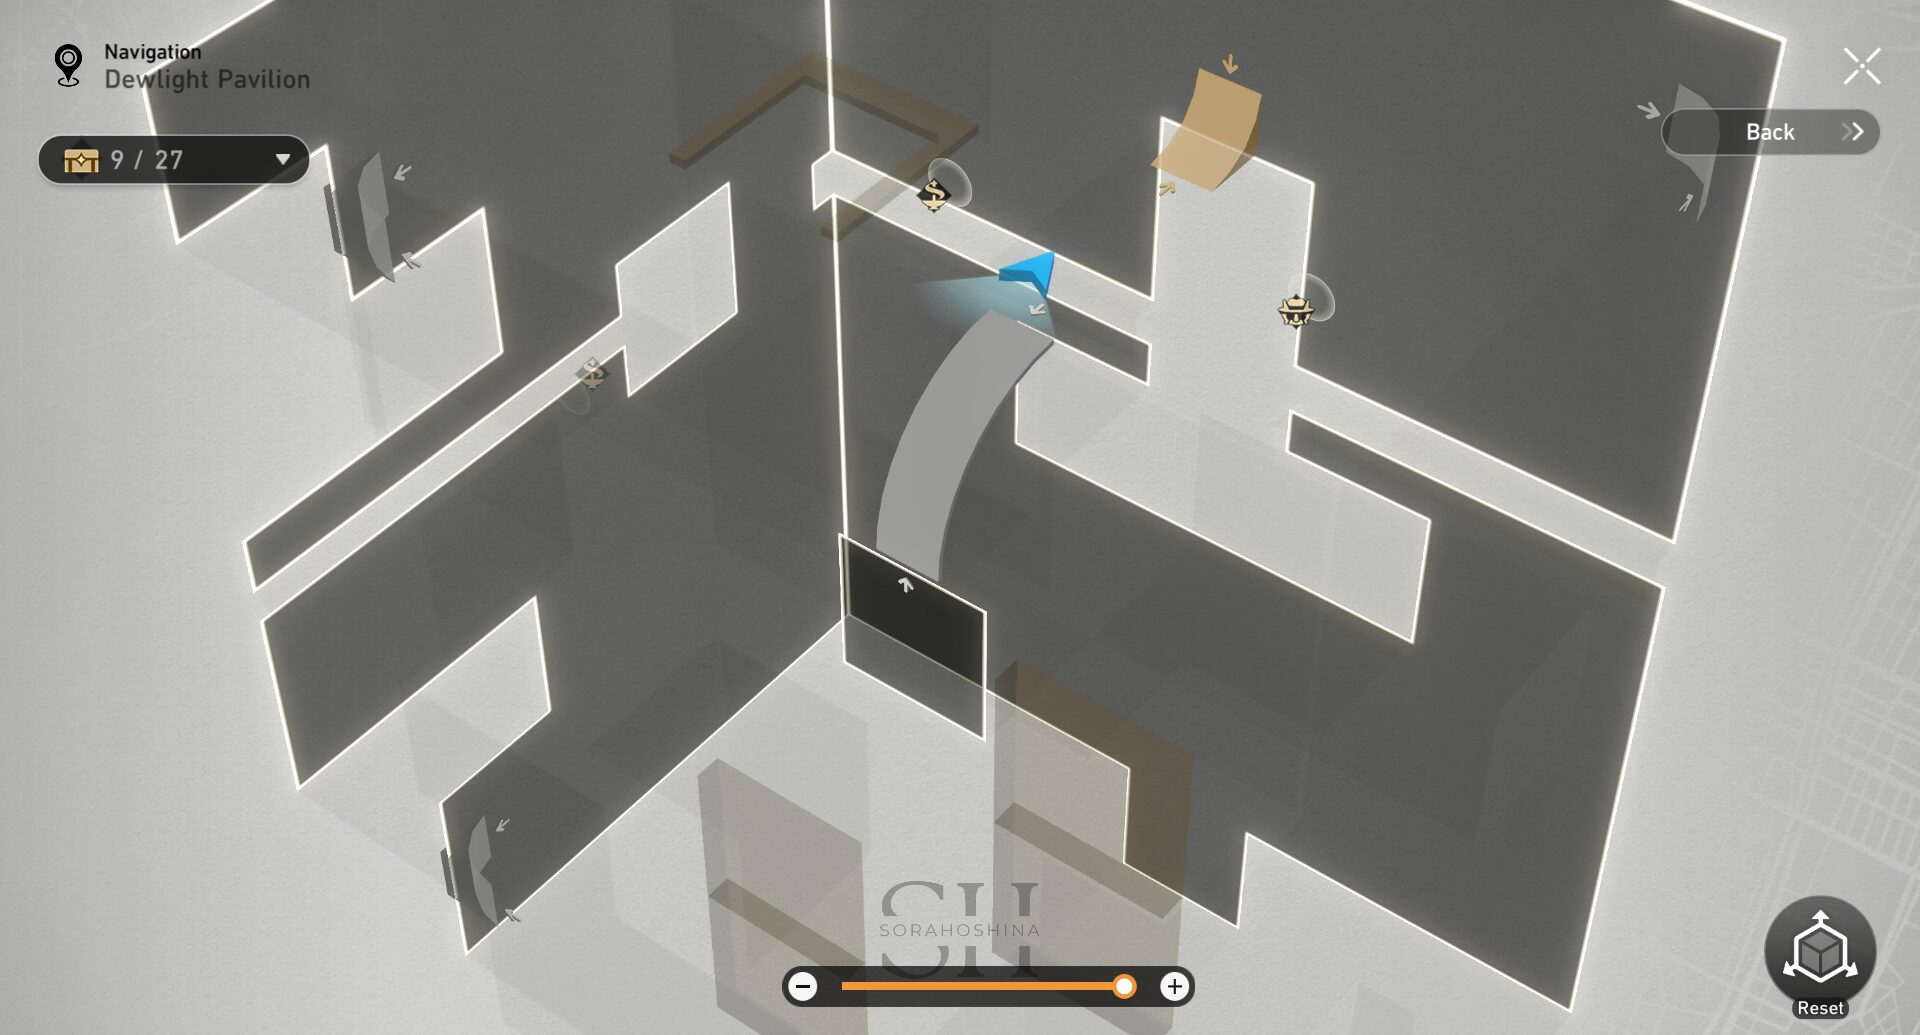
3D Room (East of Dewlight Pavilion)
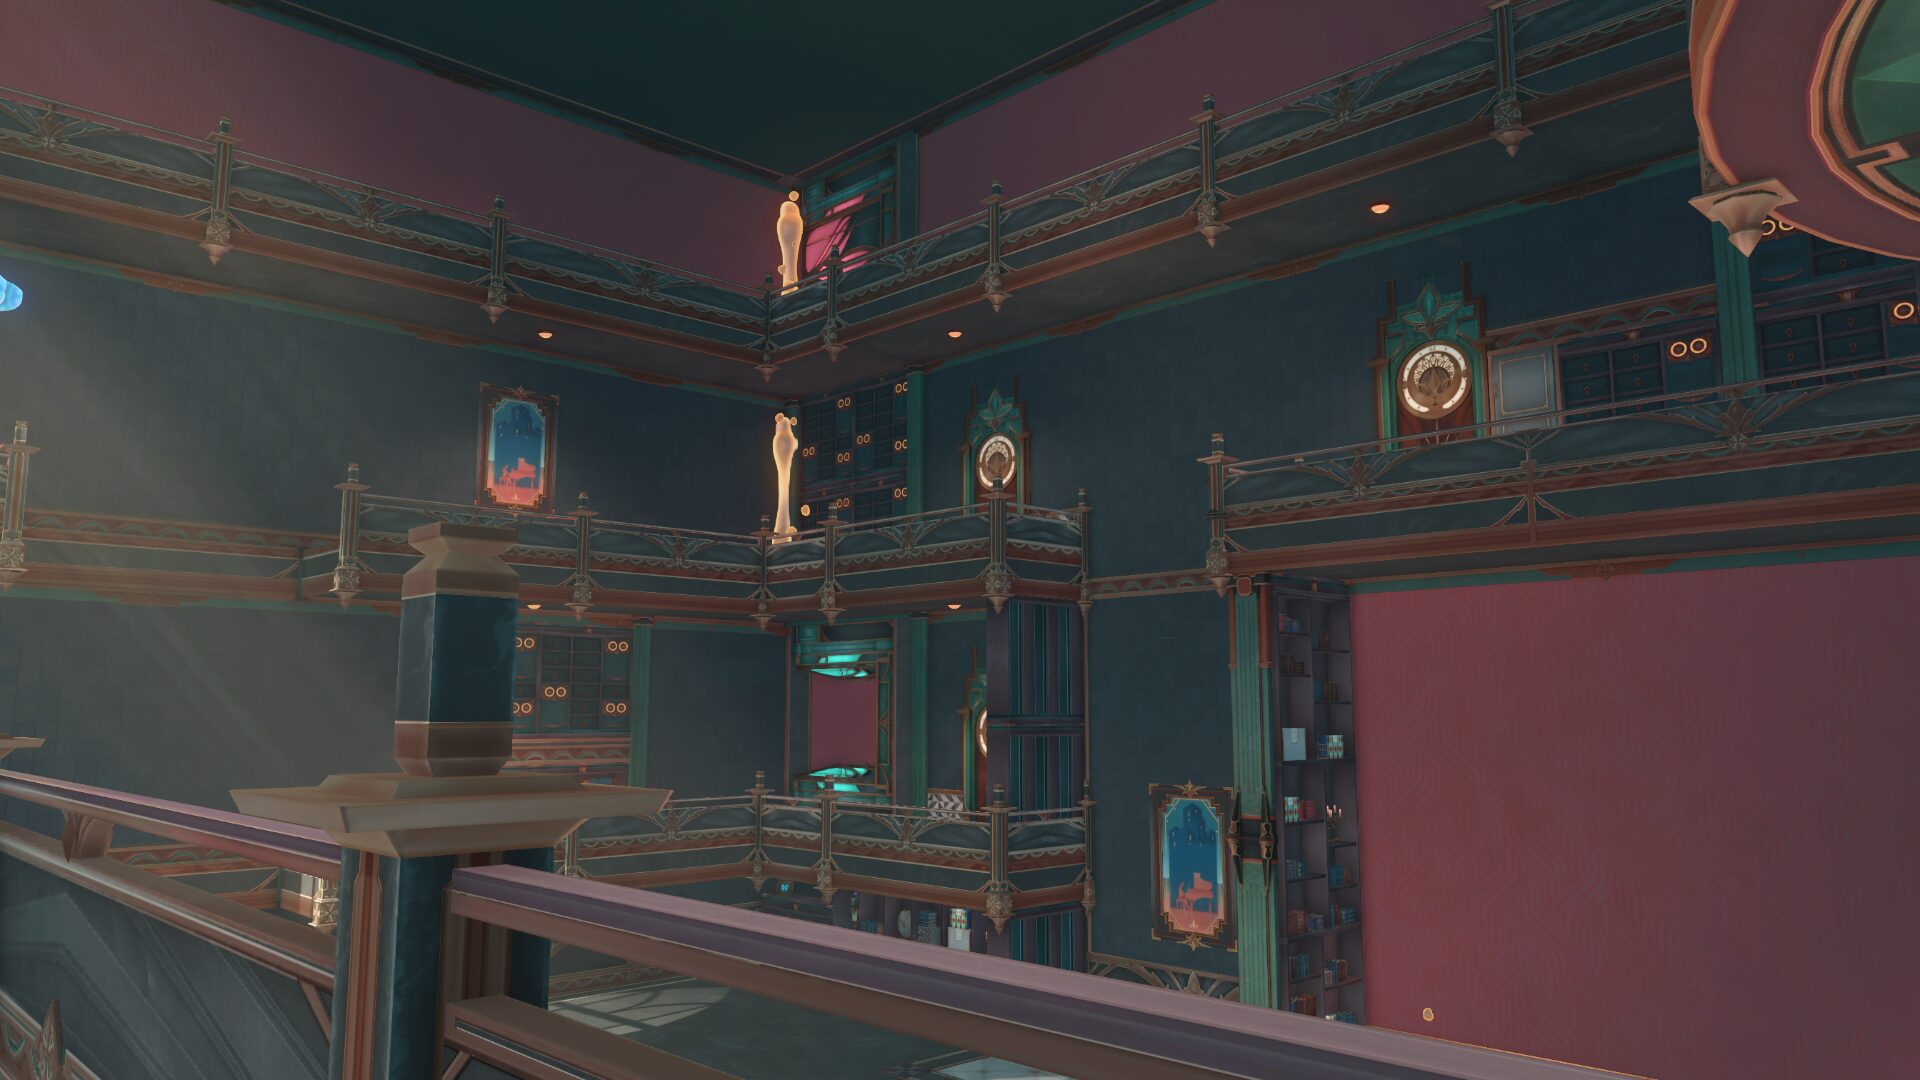
The first 9 treasure chests in this room has been covered in another post called Outsourcer Adventure Mission | All 9 Treasure Chests and Route. Thus, I will skip those chests in this guide. Please refer to the post mentioned if you didn't get all of them yet!
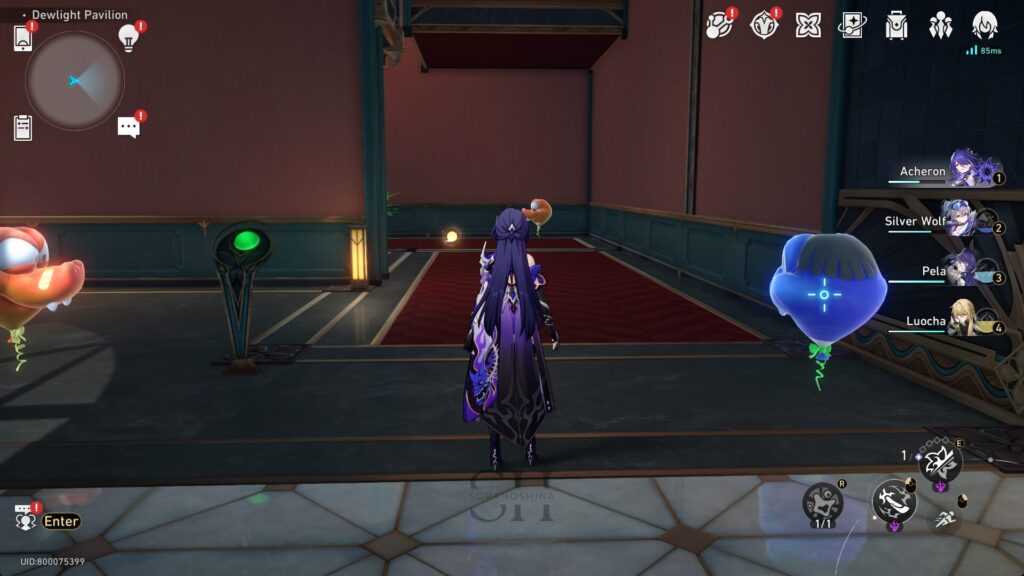
Once you enter the room, look to your right to see a switch that can help fix the unstable road. Keep walking there and look to your left to find another Bubble Charge station.
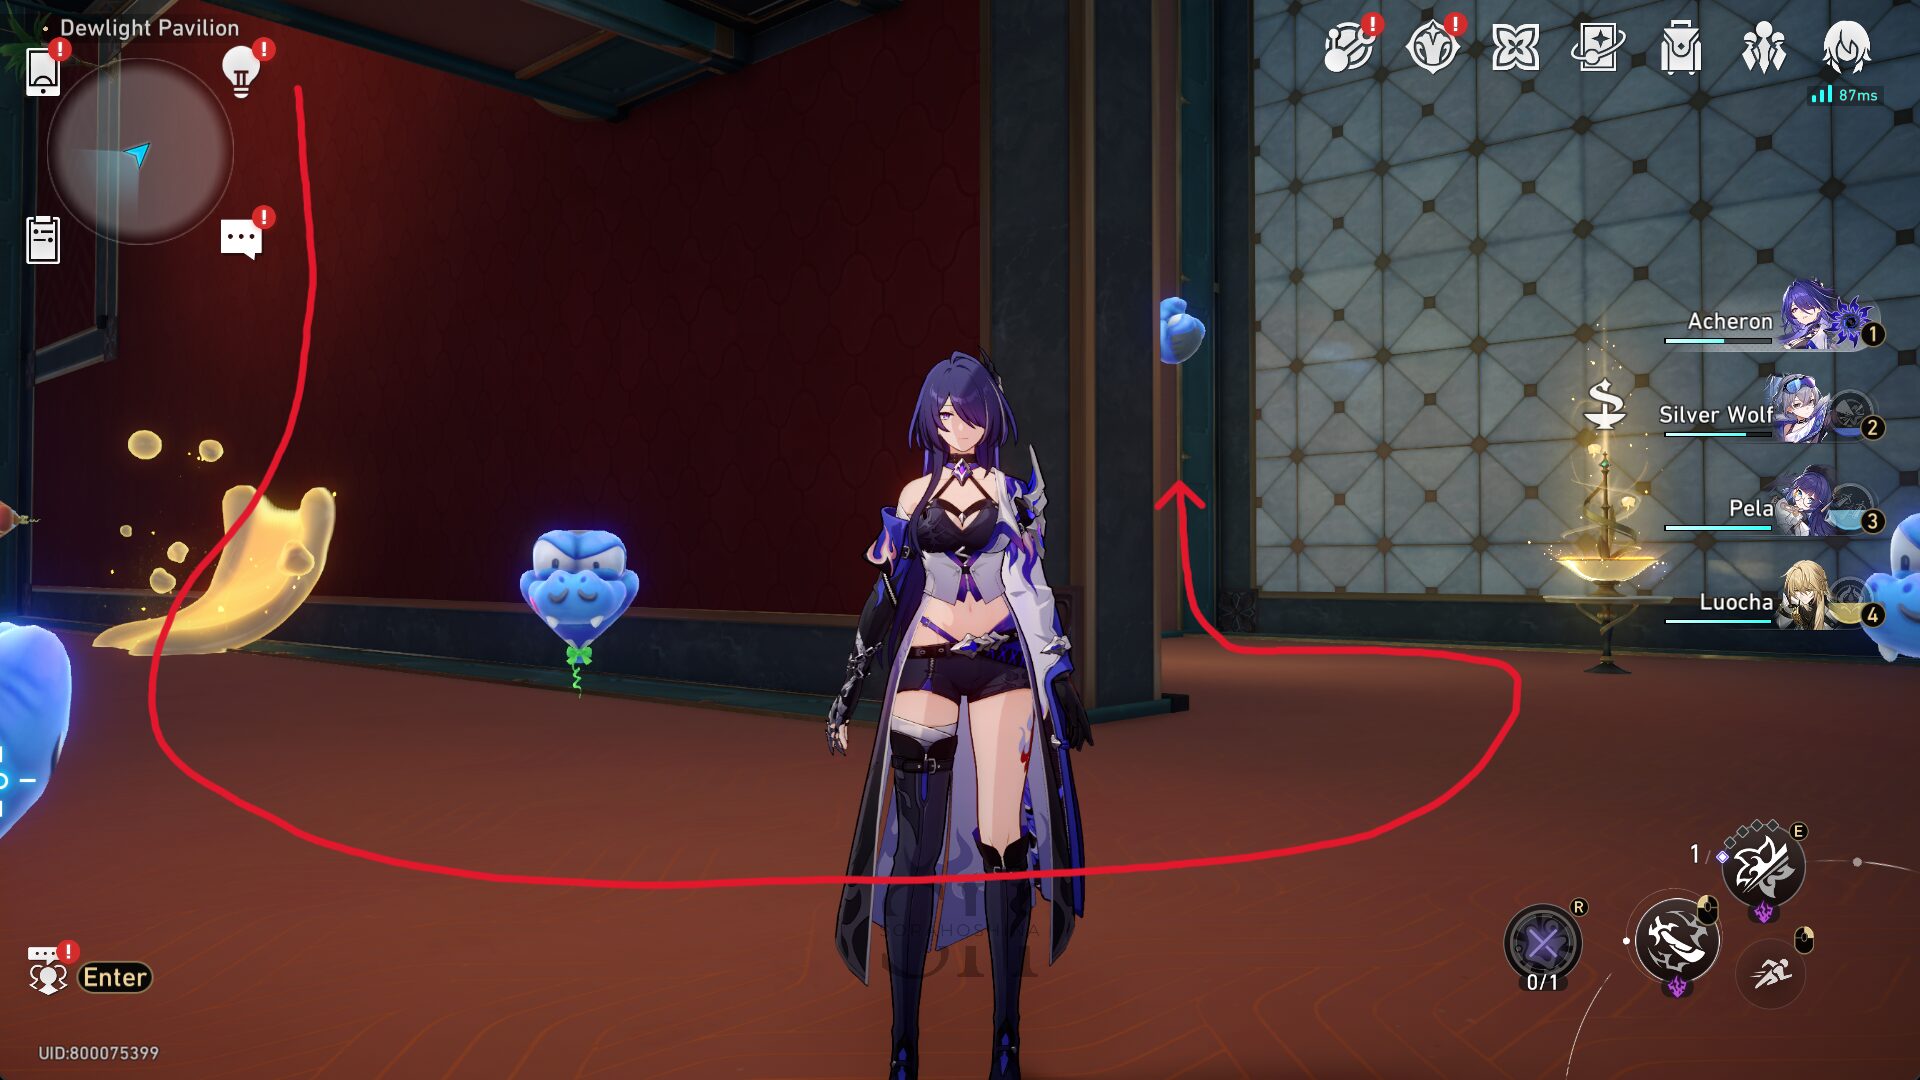
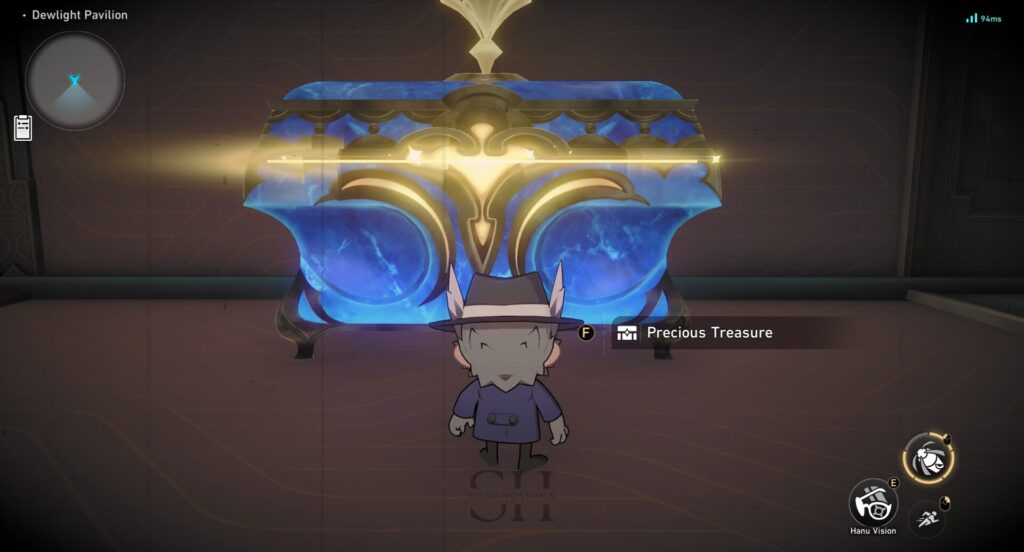
26. Use Hanu Launcher to defeat all enemies.
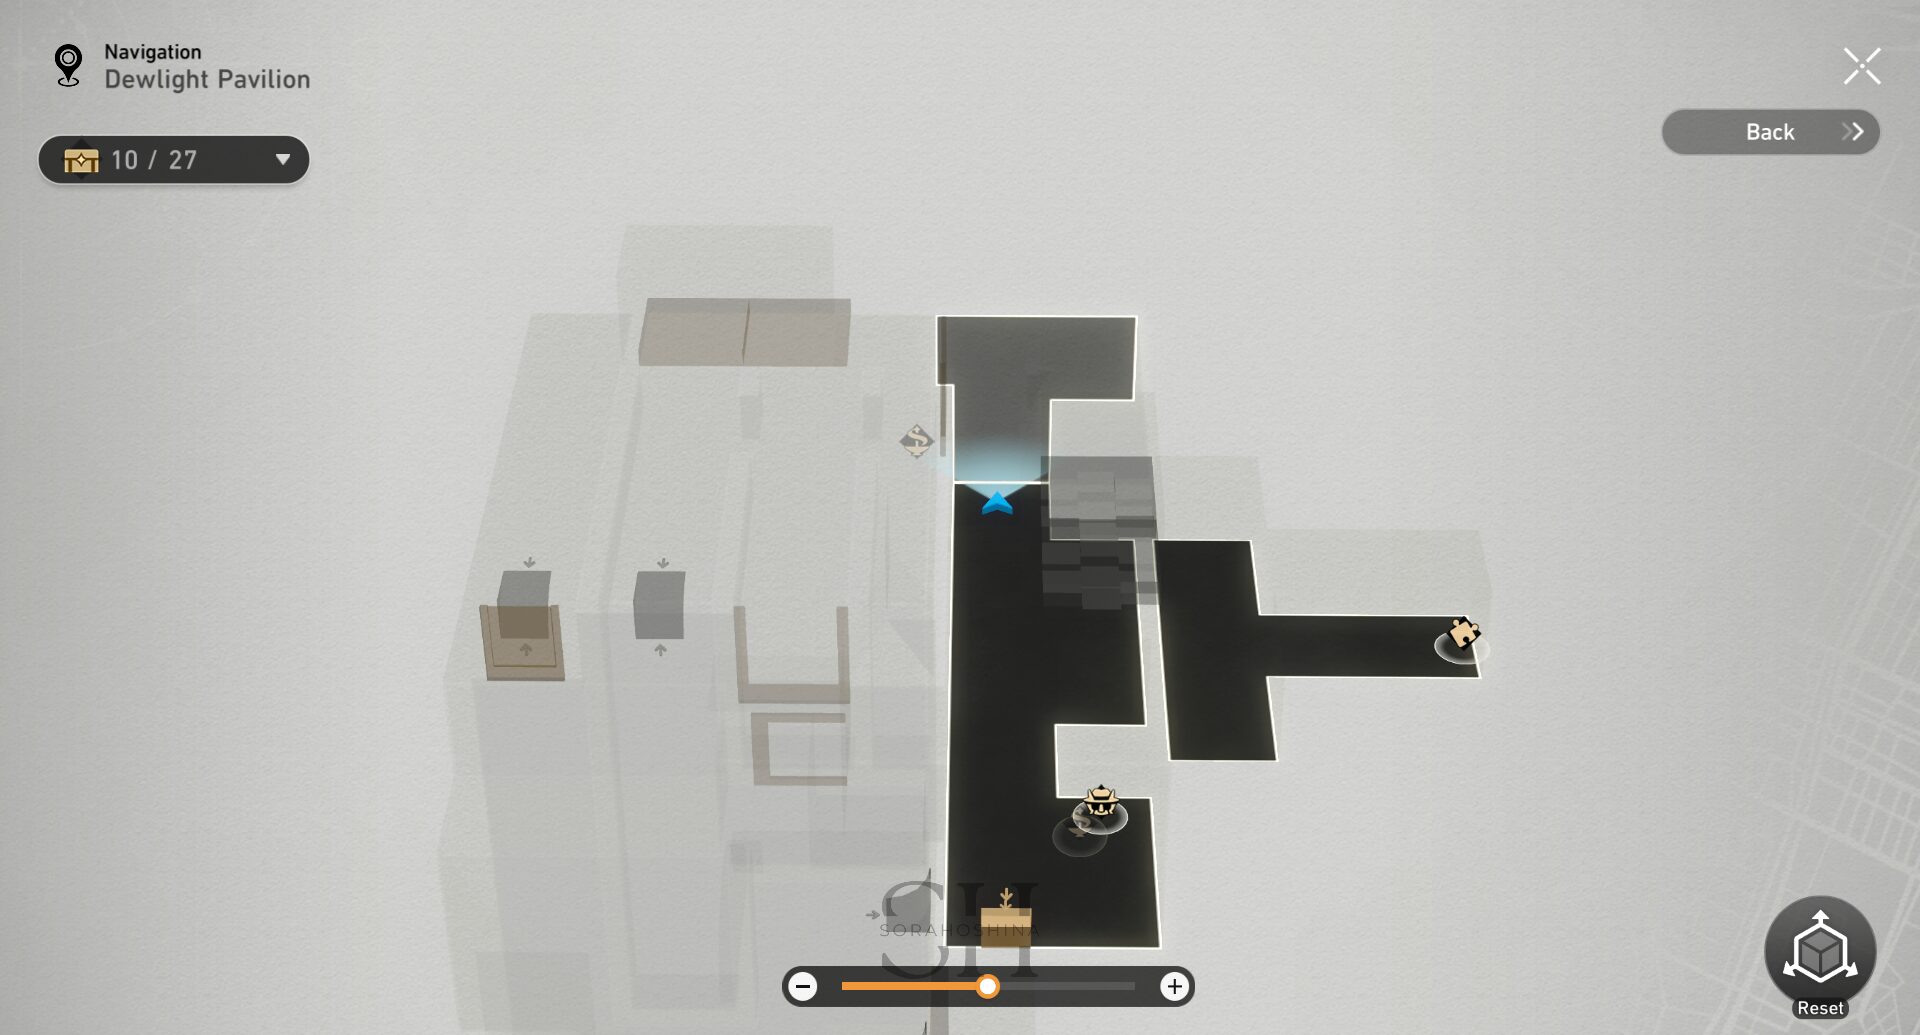
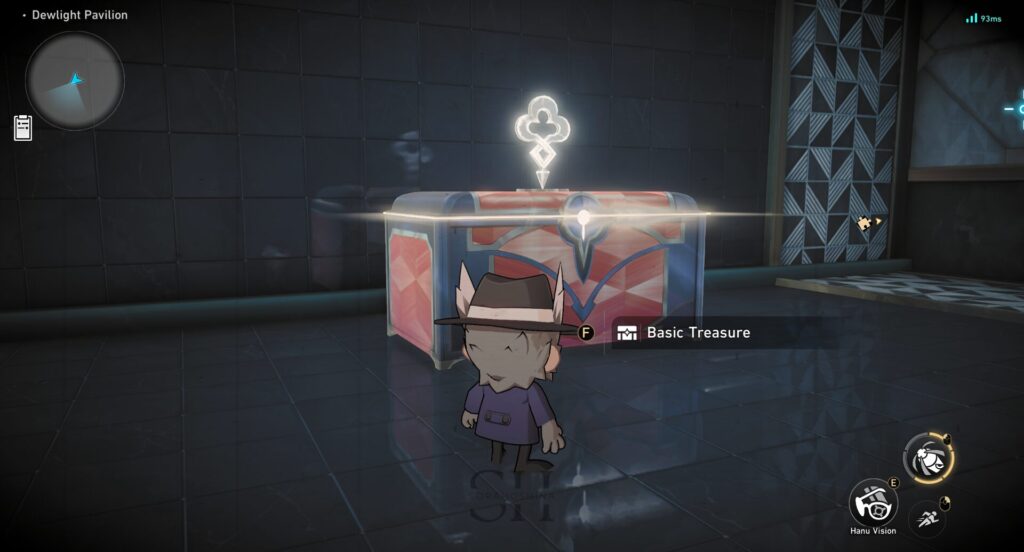
27. There will be a small hole you can go through, use Hanu Launcher to destroy the wall and uncover the hidden passage.
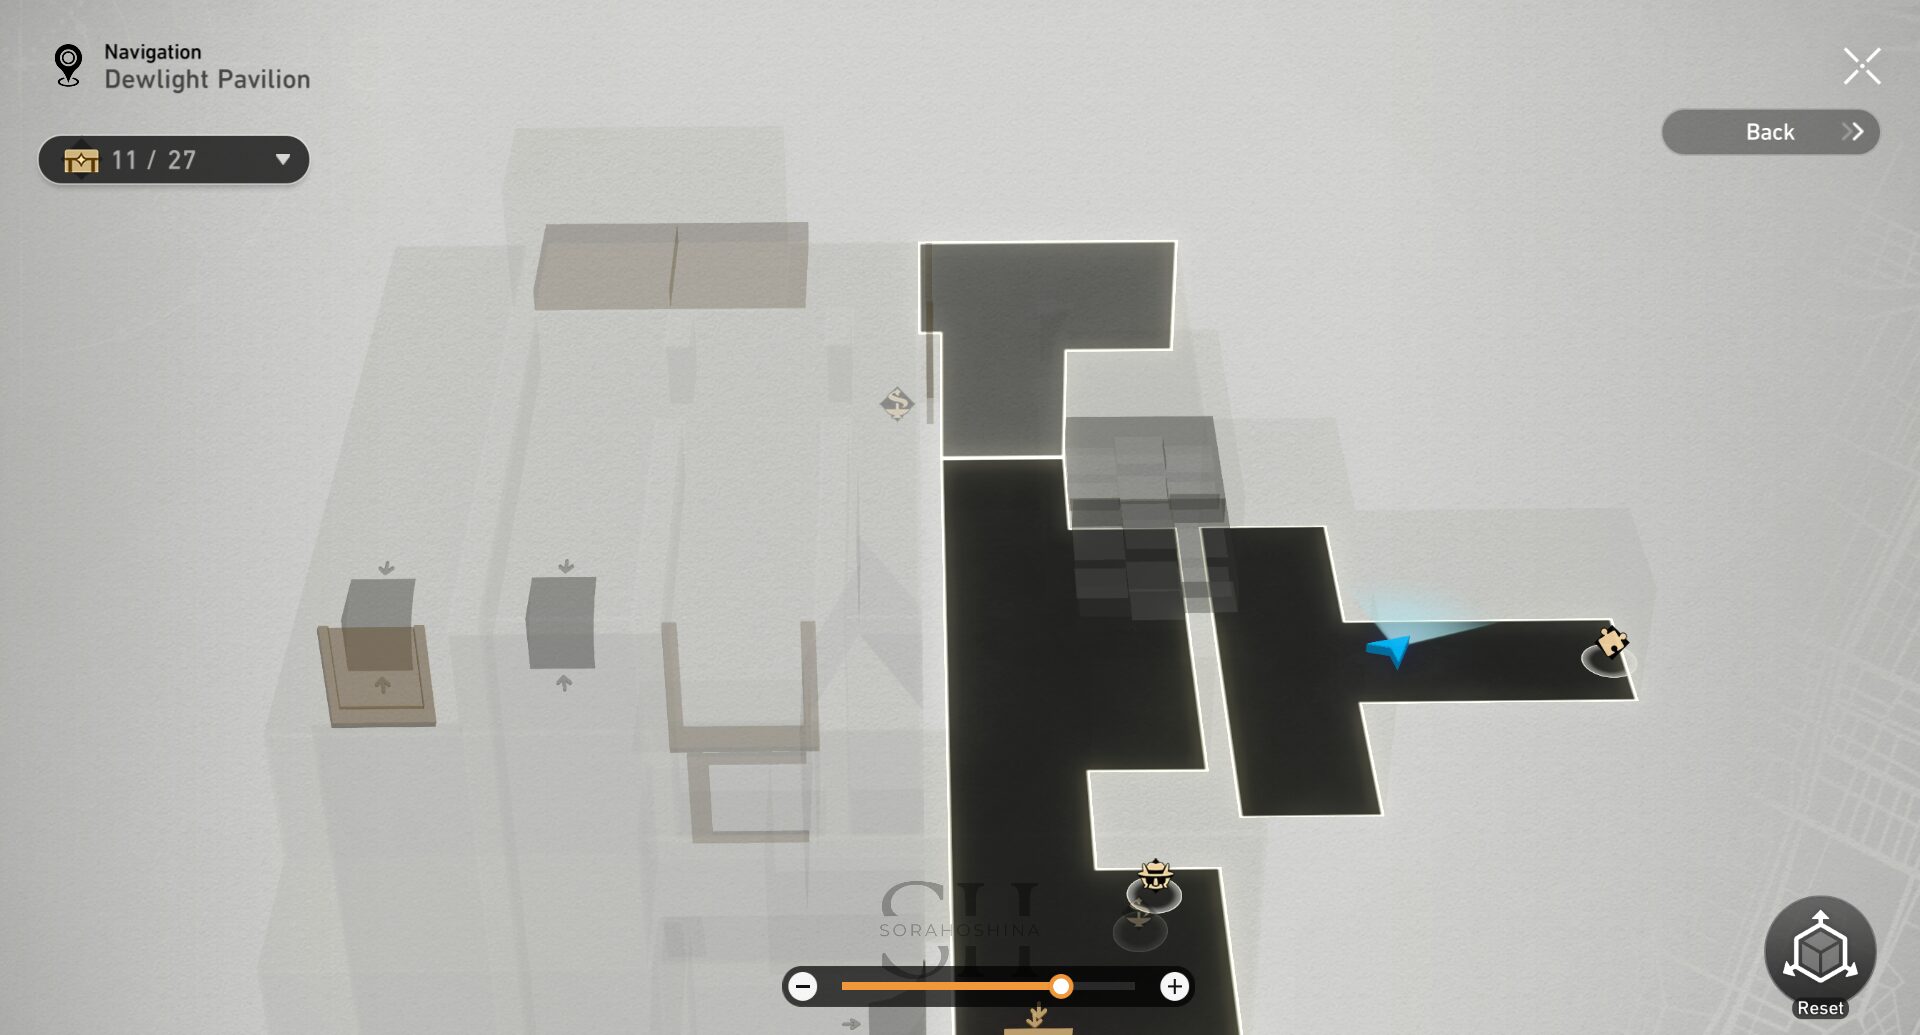
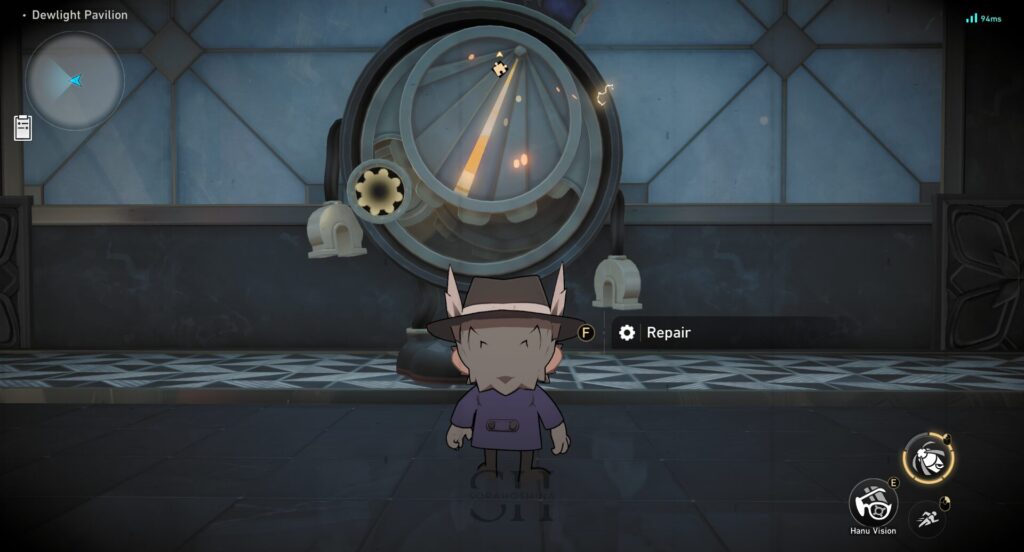
28. Use Hanu Launcher once again to destroy the wall and uncover the hidden passage with a Dream Ticker puzzle.
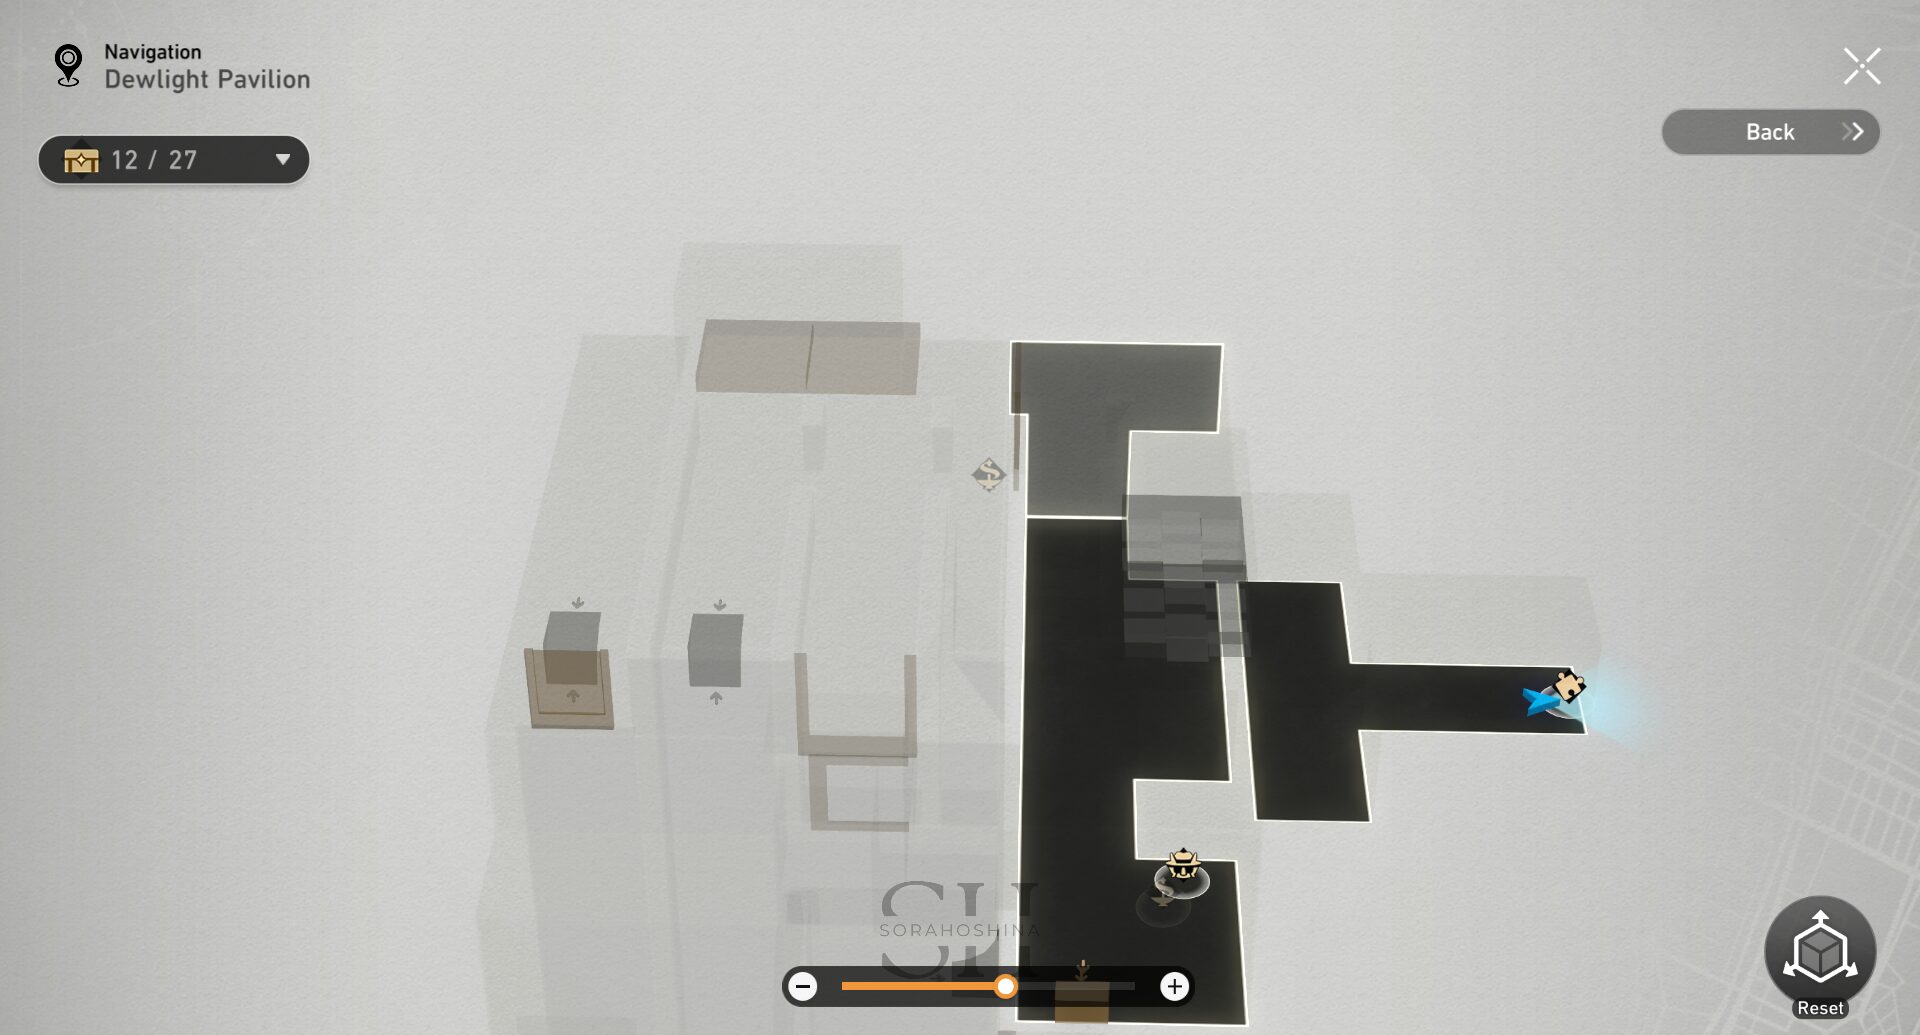
3D Room (South of Dewlight Pavilion)
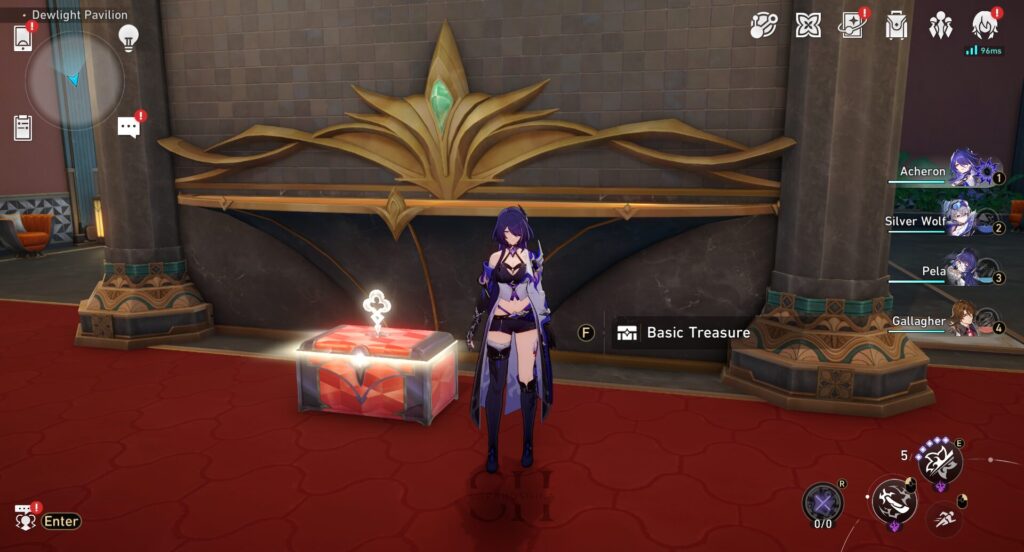
29. Once you enter the room, it's right behind the huge wall in front.
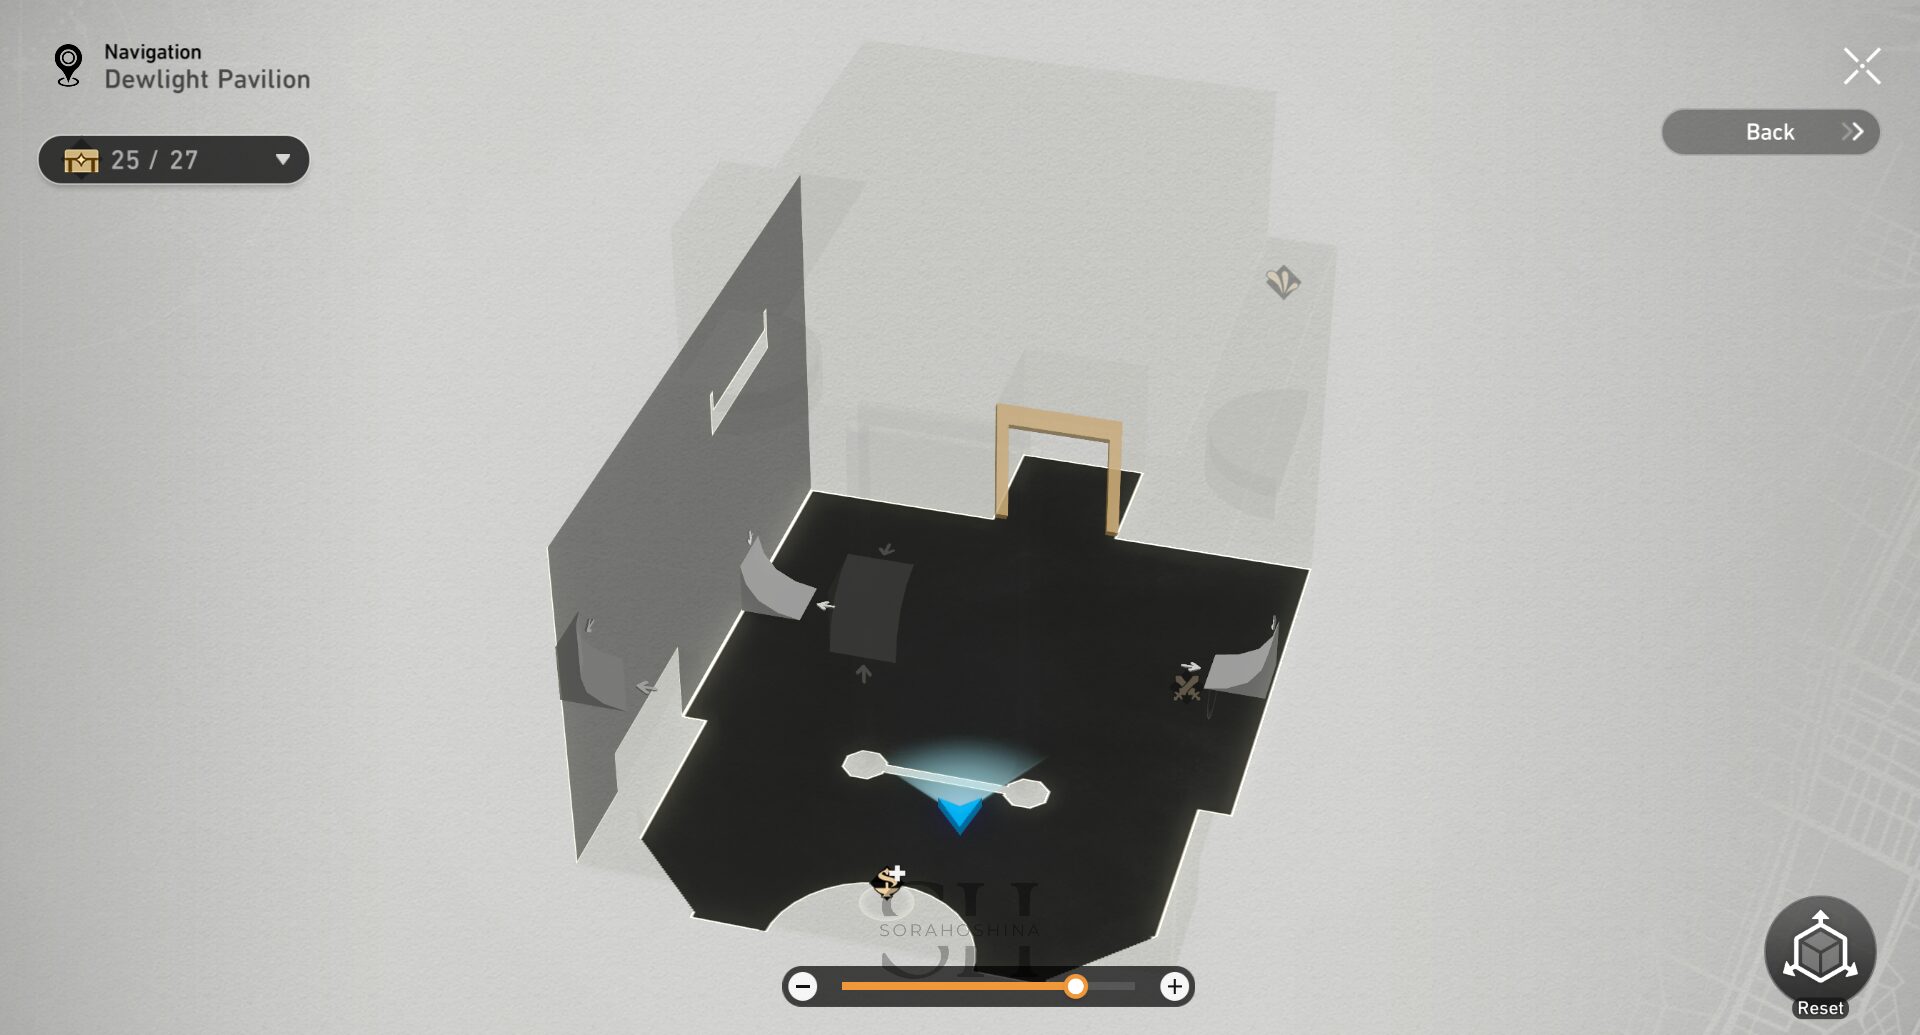
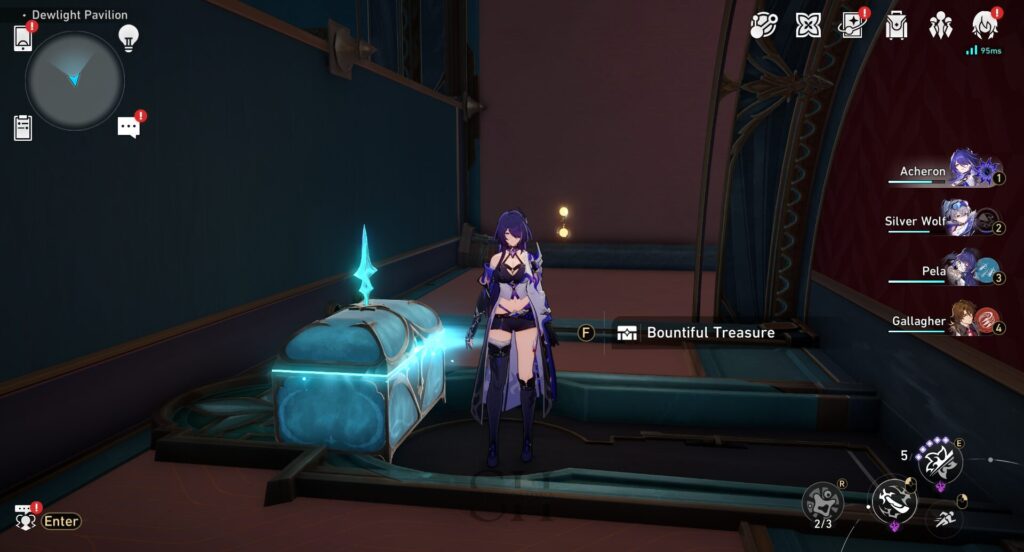
30. Cross the Bubble bridge on the right side and the chest is behind a balcony (surrounded by enemies).
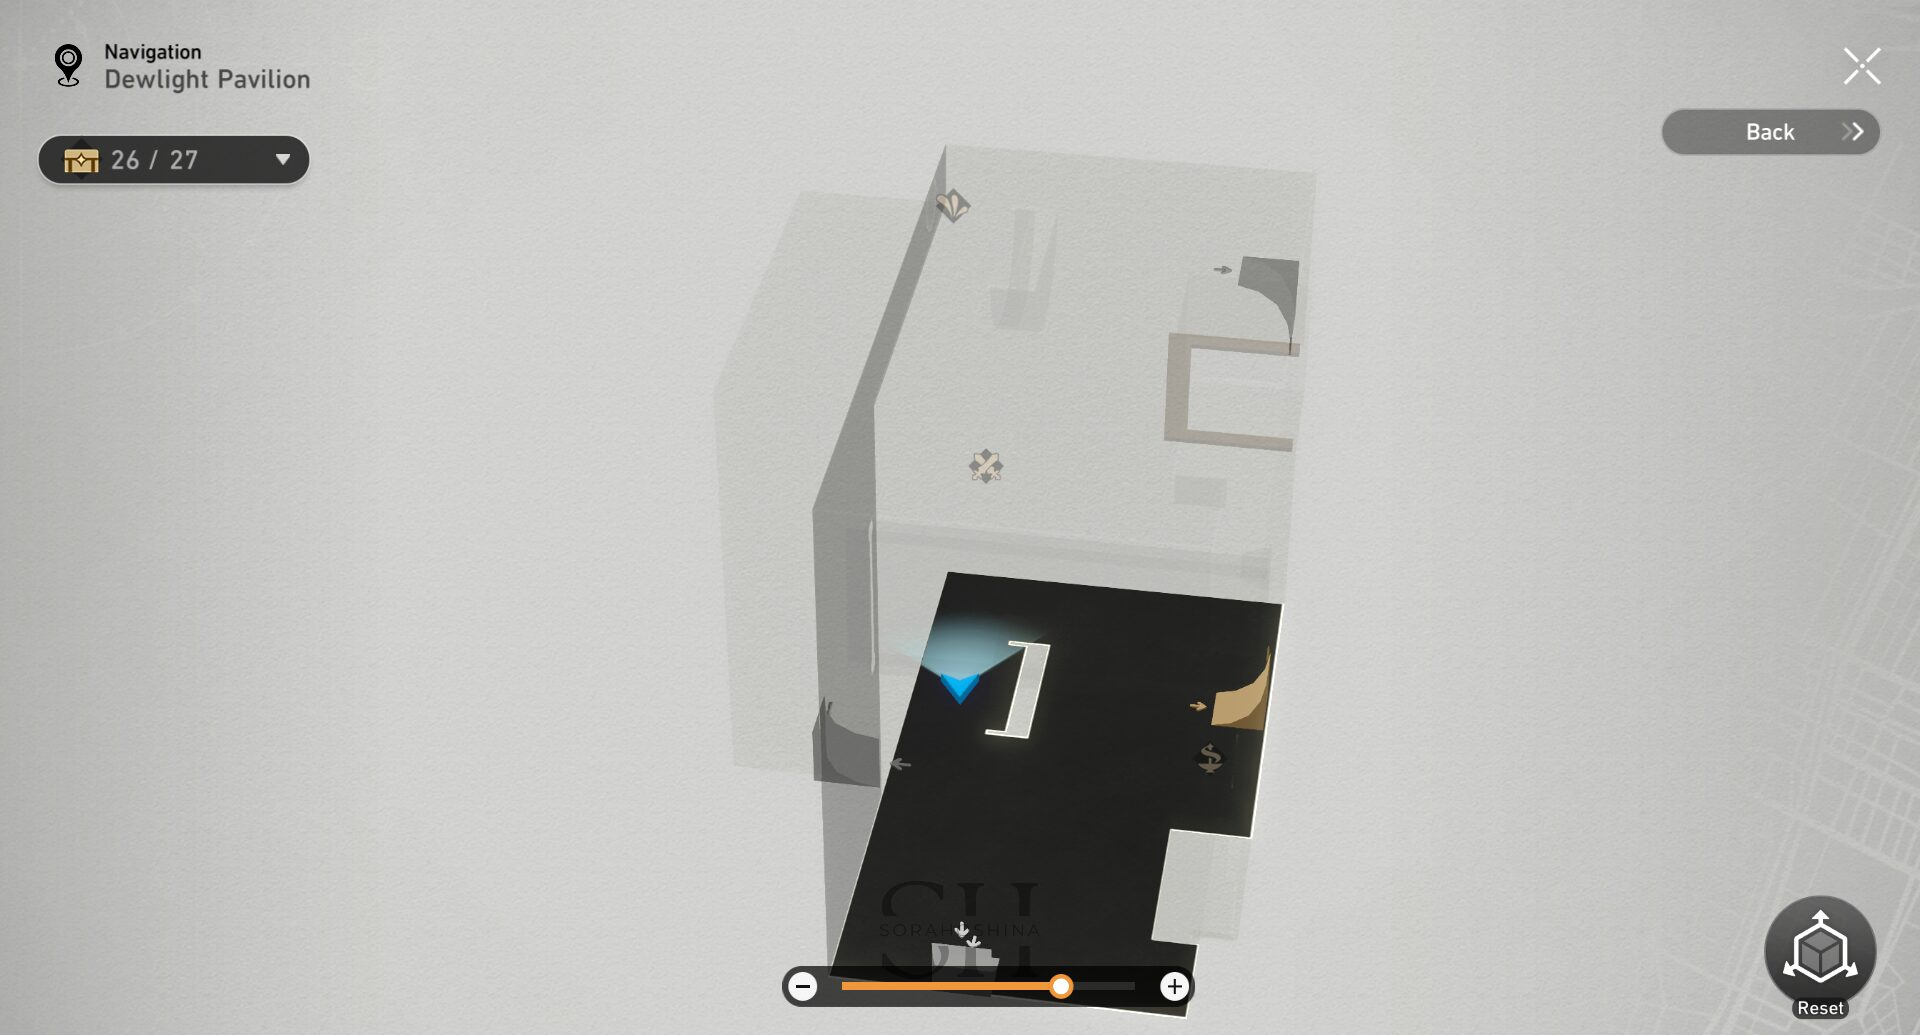
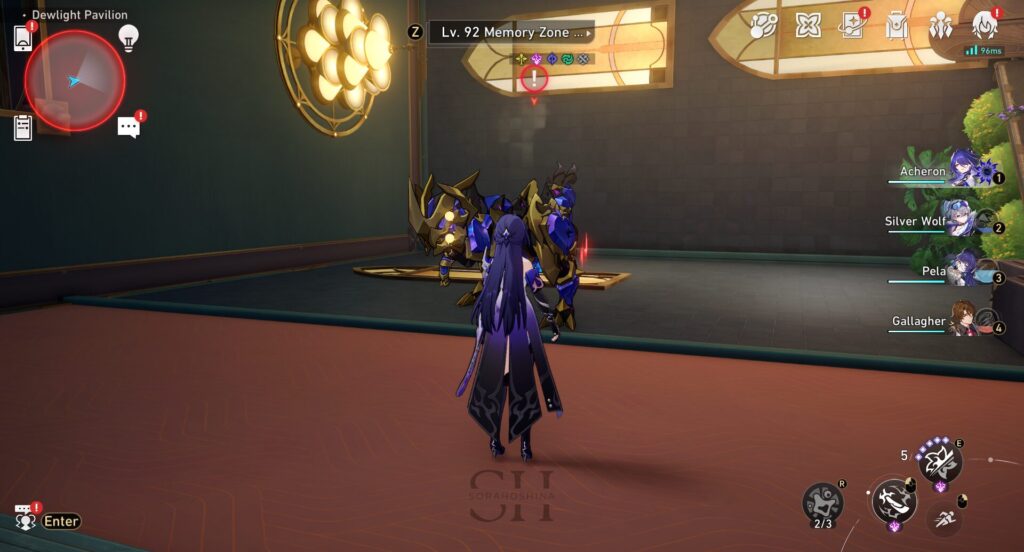
31. Cross the Bubble bridge on the left side and defeat the Formidable Foe.
City Sandpit
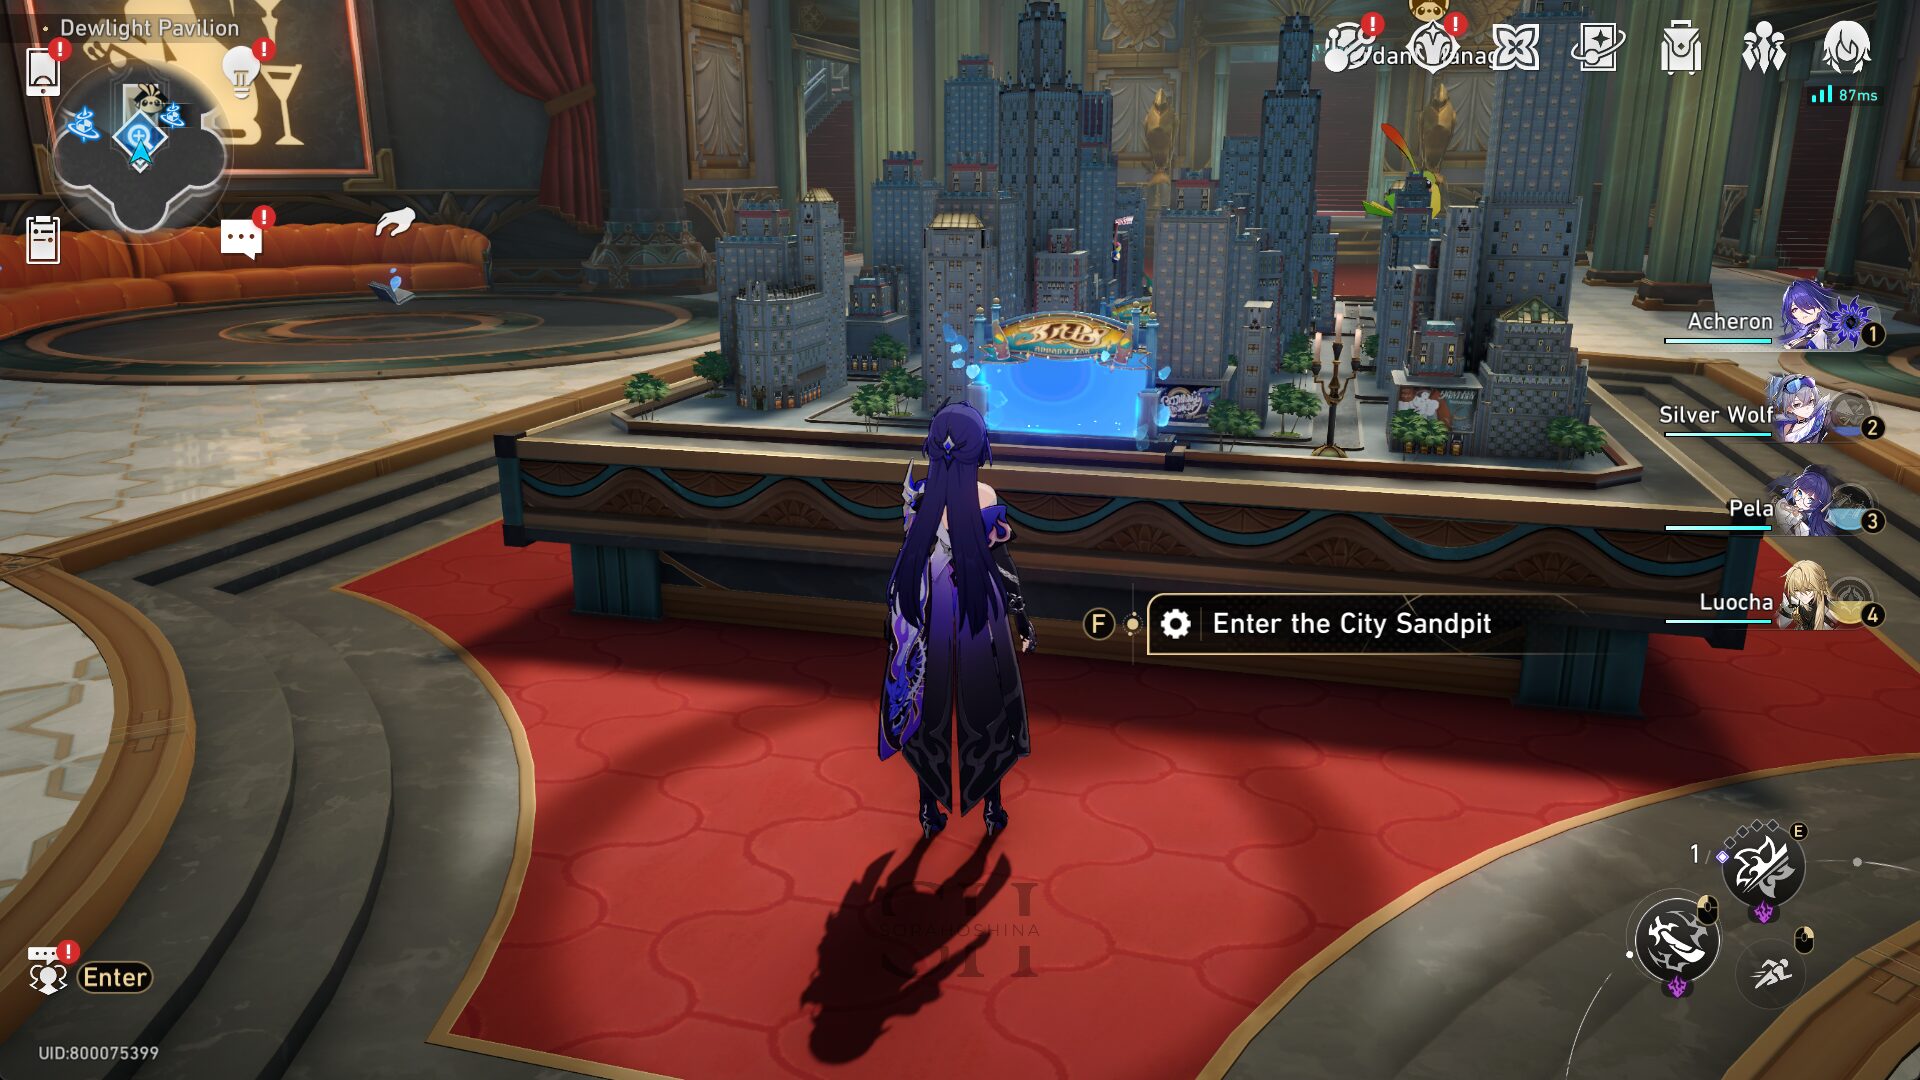
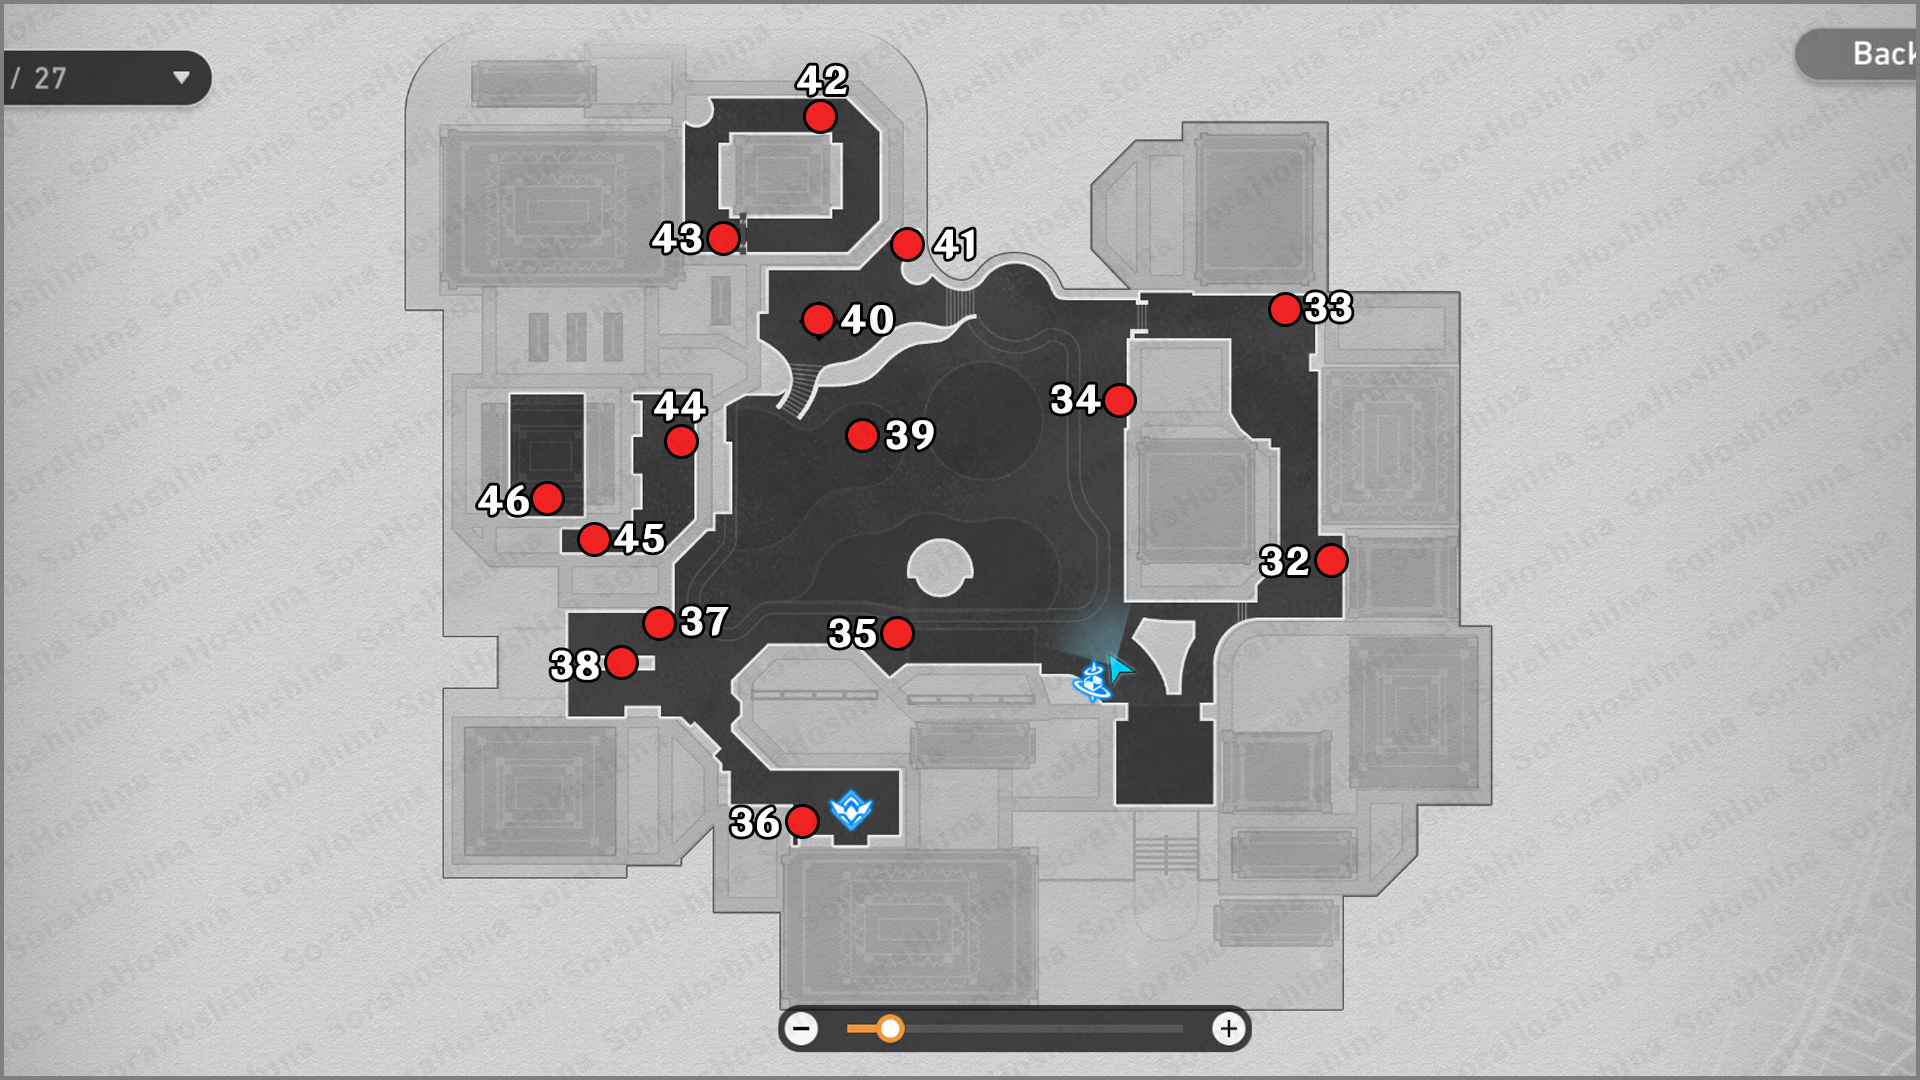
You can enter the City Sandpit by interacting with the small city sandpit in the F1. Pretty sure you need to complete the Trailblaze Mission first before you can go here.

Here's the treasures' location once again if you don't want to scroll up~
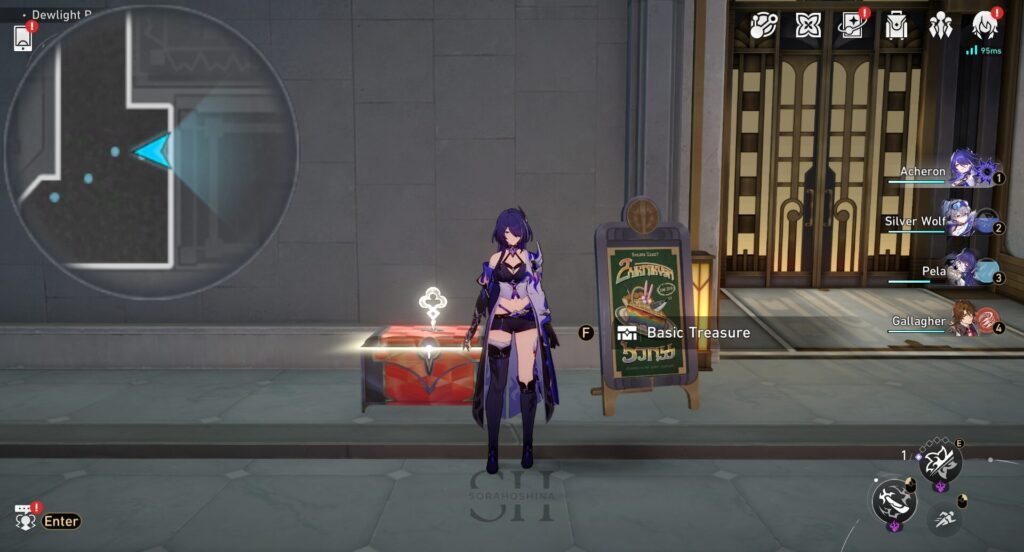
32. Once you enter the City Sandpit, go to the right path and you will see the chest.
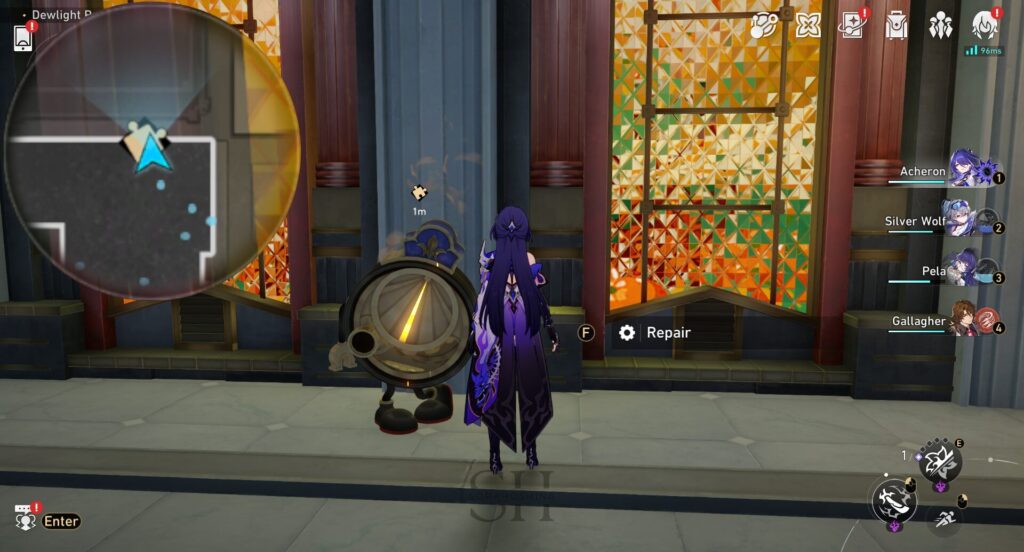
33. From the previous location, keep walking forward and solve the Dream Ticker puzzle.
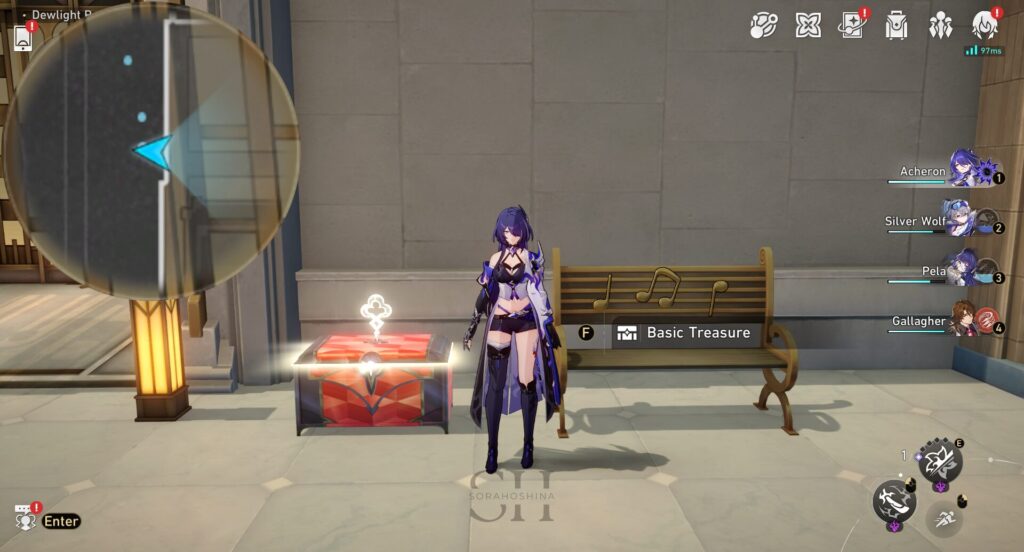
34. Beside the long chair.
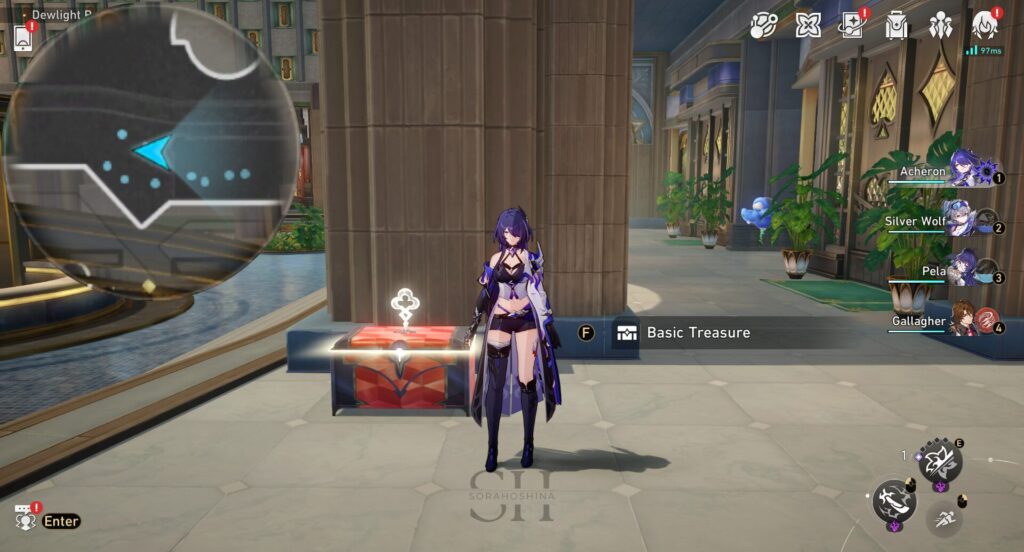
35. Not-so-hidden behind a pillar, near the fire hydrant.
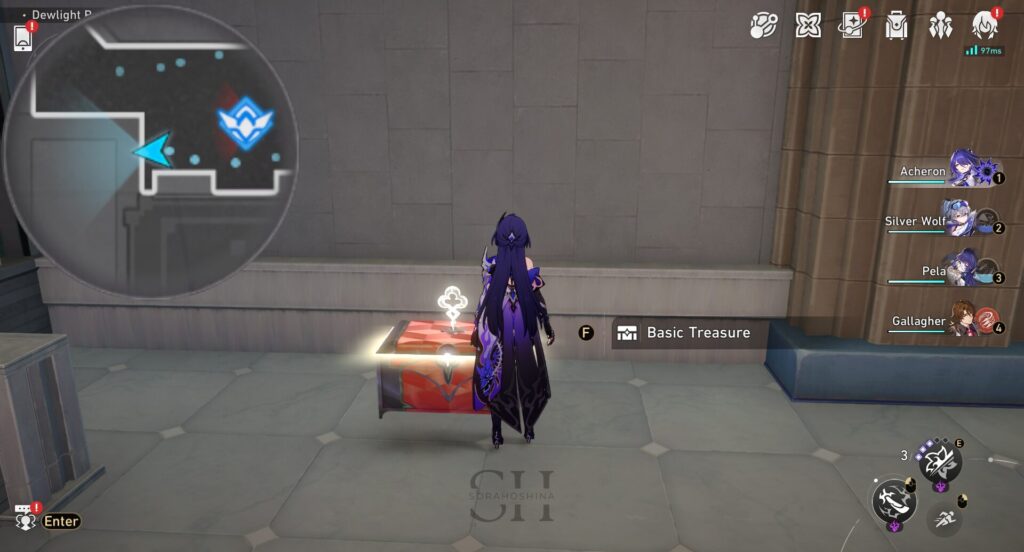
36. Near the Stagnant Shadow: Shape of Ire.
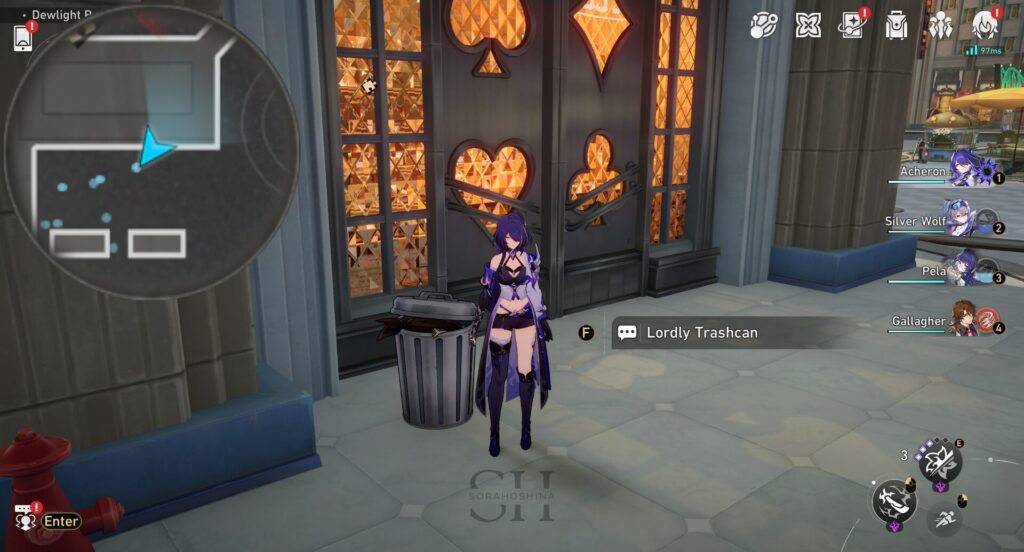
37. Interact with the Lordly Trashcan and choose the correct option (Option 2 > Option 2). If you choose the wrong one, you will fight the trash can, but will still get the reward if you defeat it.
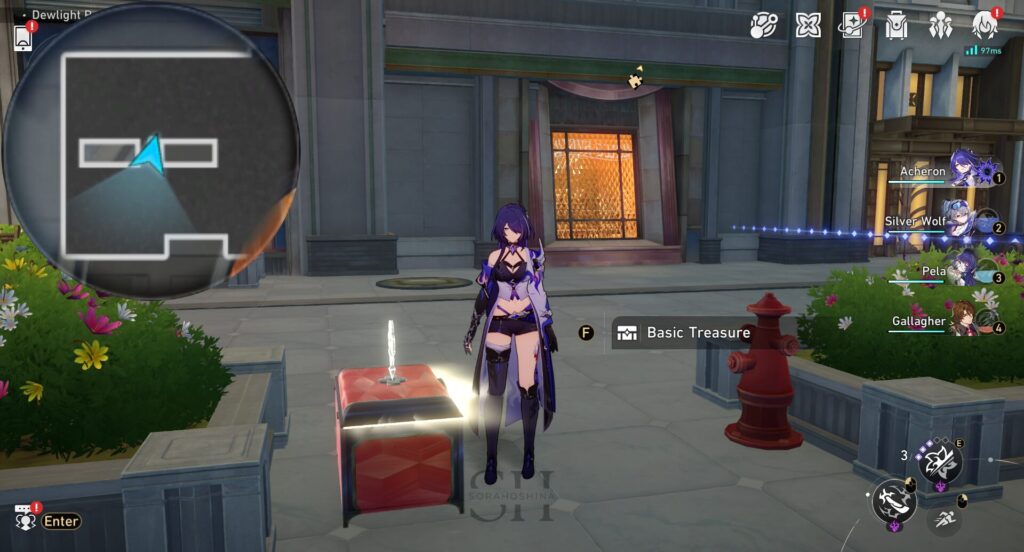
38. Between the 2 bushes.
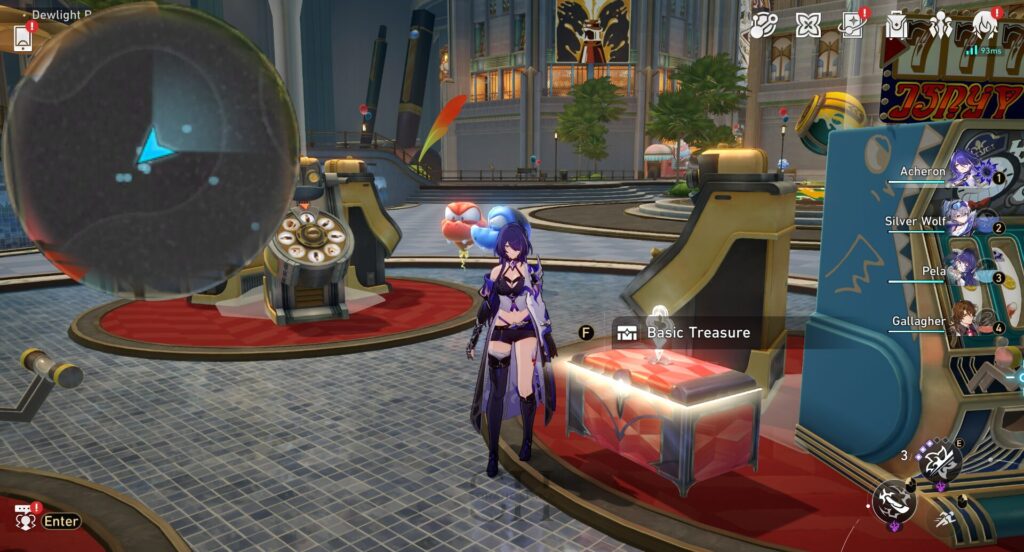
39. At the center of City Sandpit near the slot machine games.
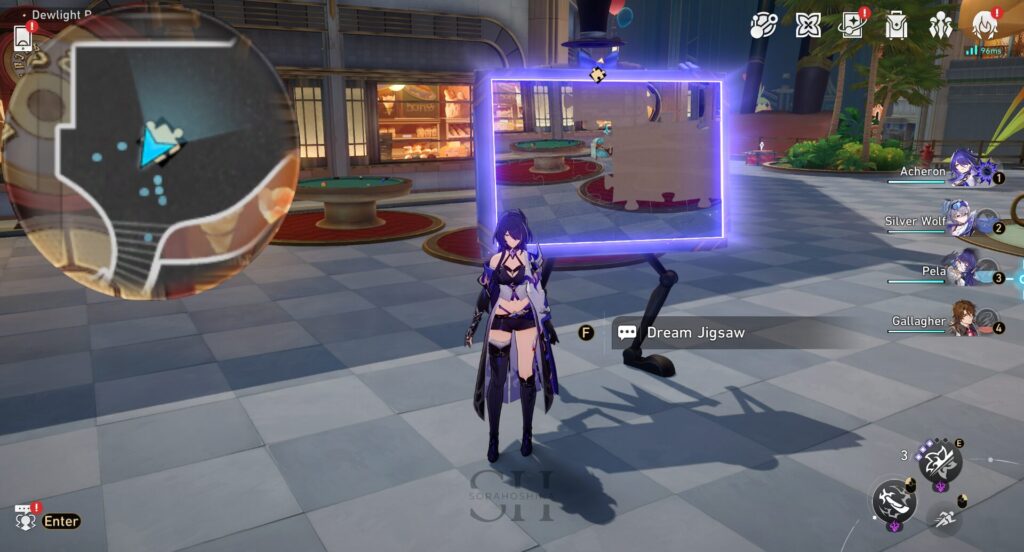
40. Complete the Dream Jigsaw puzzle to unlock the treasure chest.
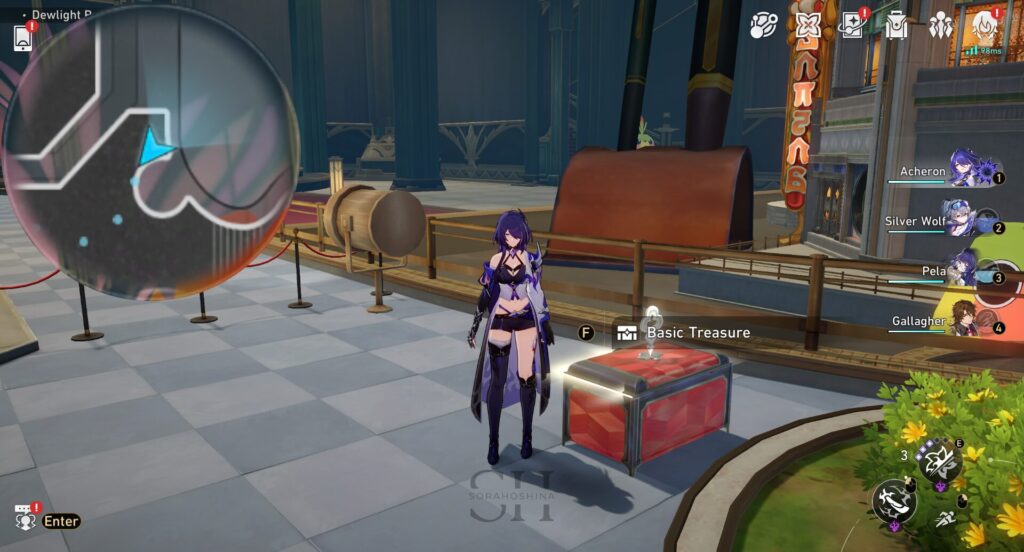
41. Beside the bushes.
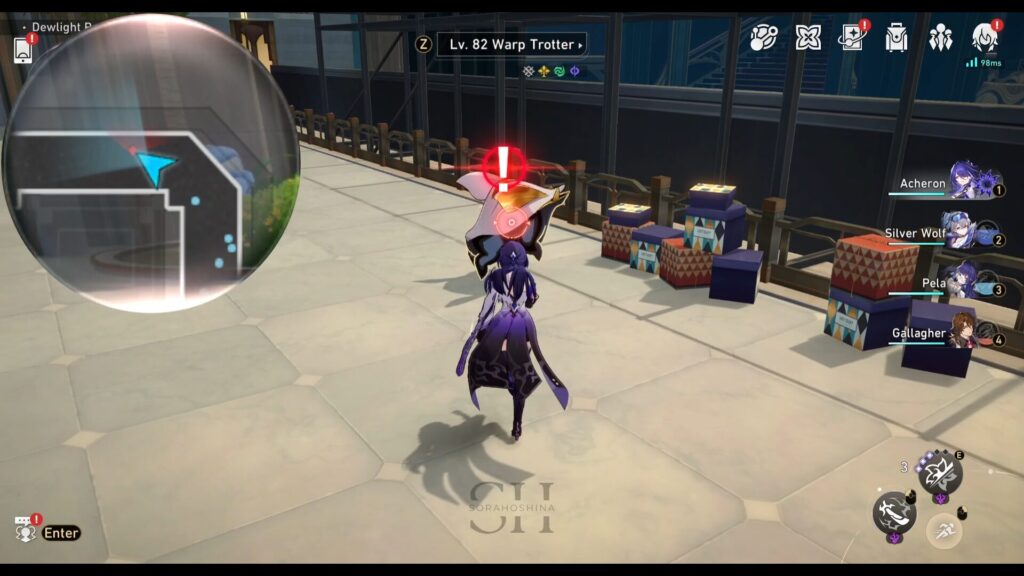
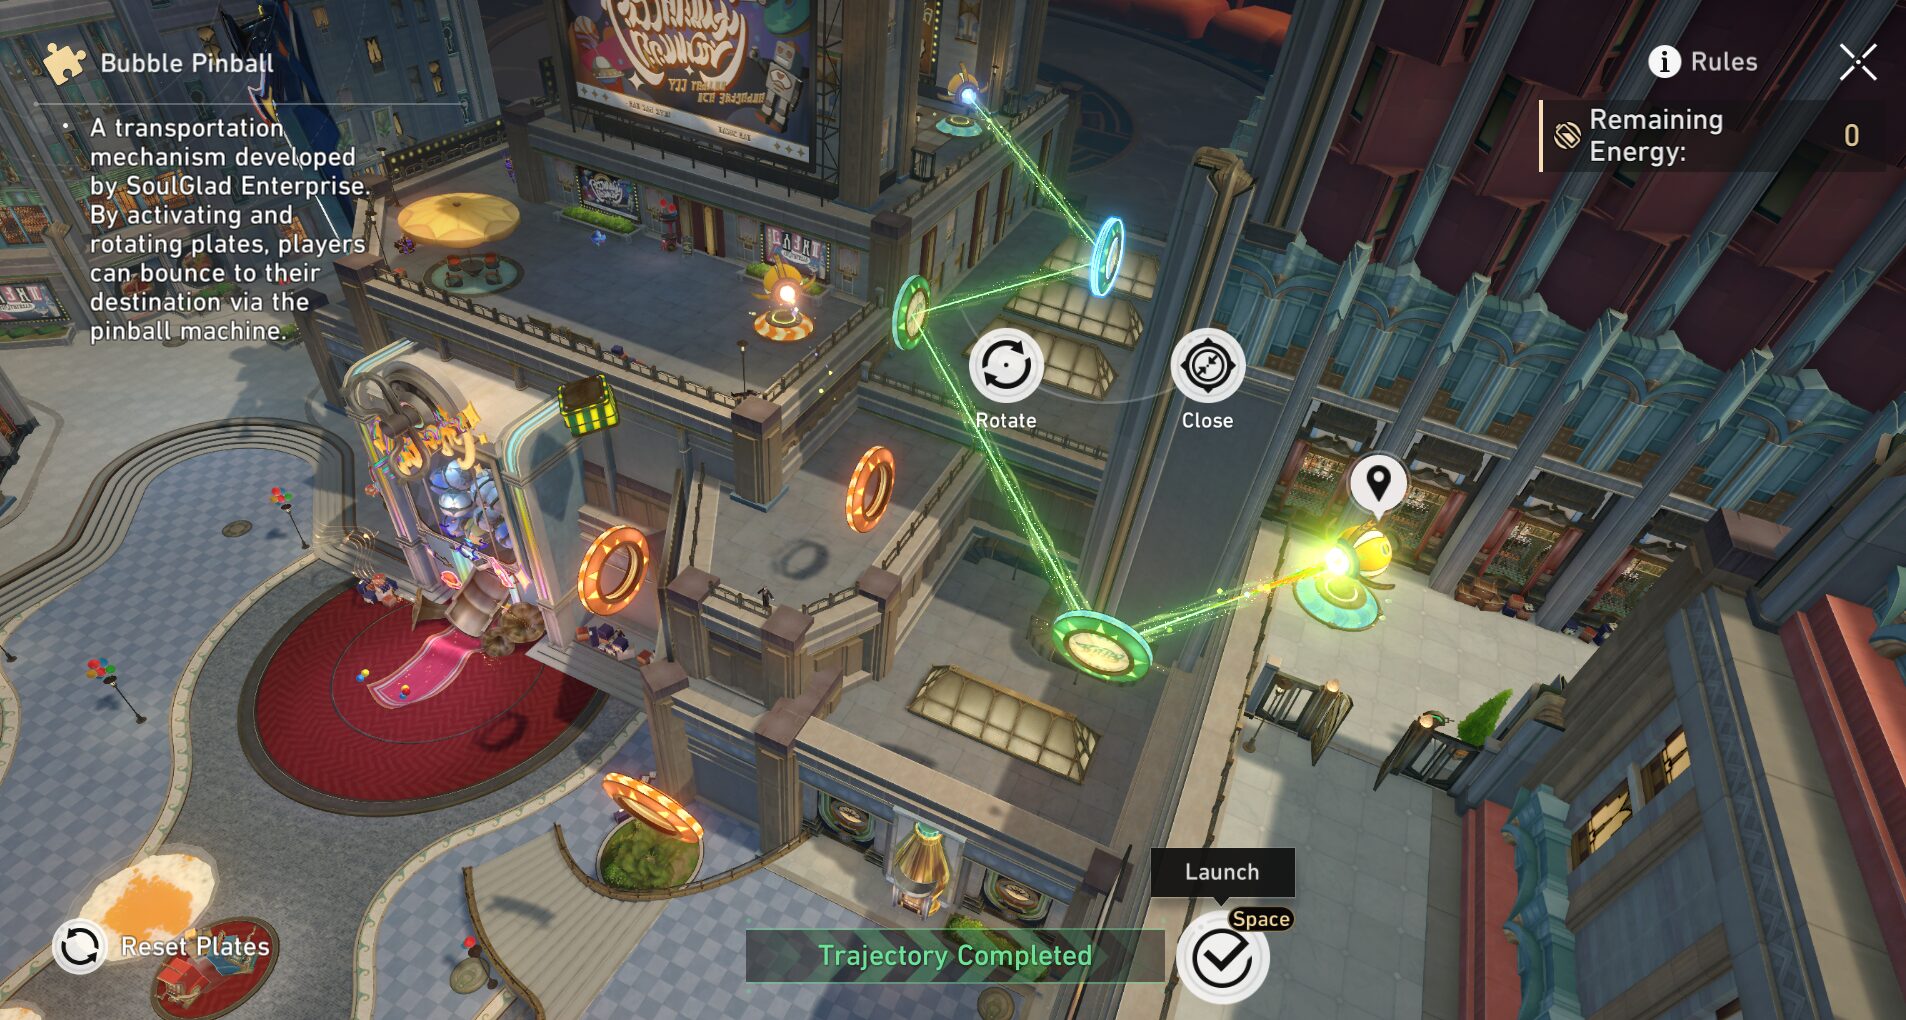
42. Use the Bubble Pinball Machine near the slot machines to reach the top floor of the building.
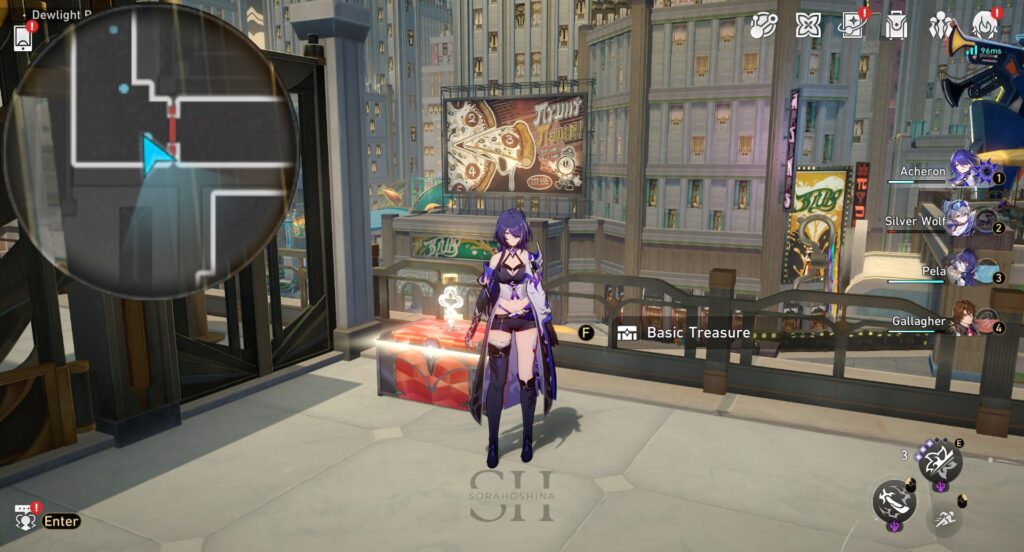
43. Beside another Bubble Pinball Machine.
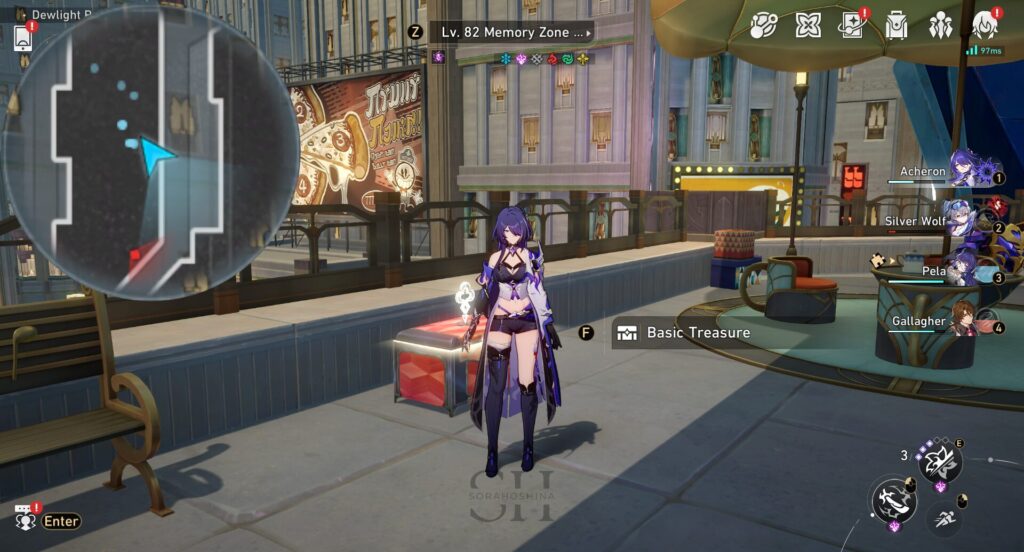
44. Use the Bubble Pinball Machine near the previous chest to reach the top floor of another building.
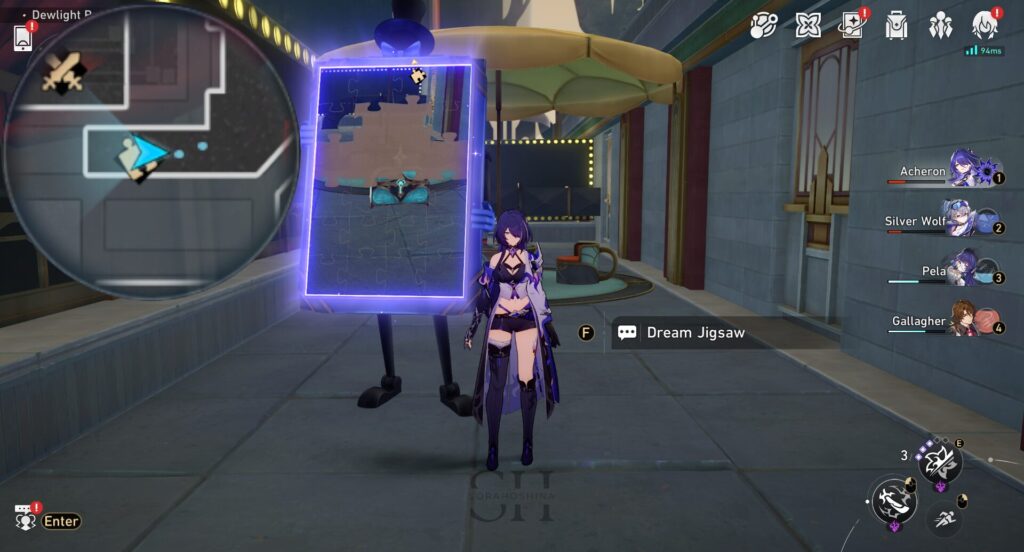
45. Complete the Dream Jigsaw puzzle to unlock the treasure chest.
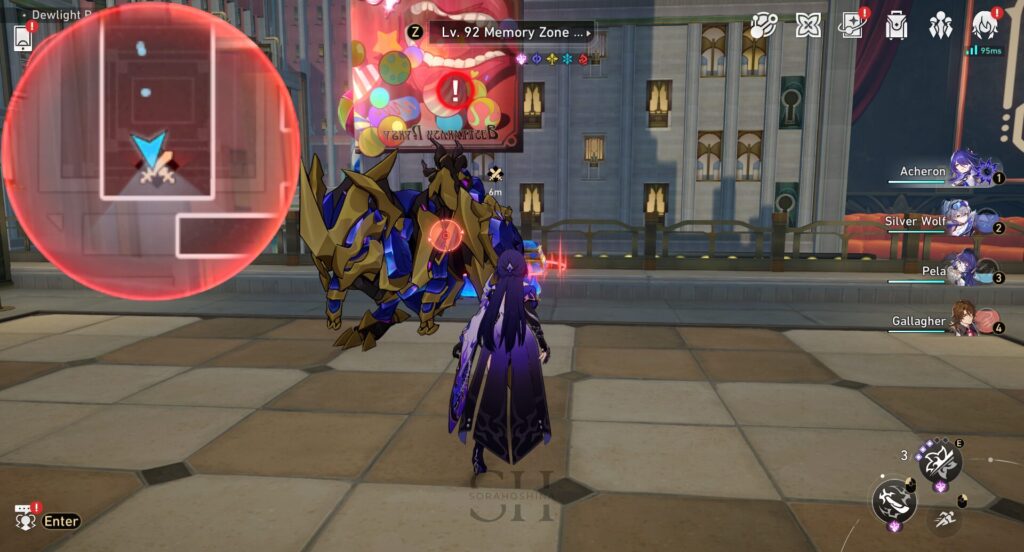
46. Go to the top of the last building using the Bubble Pinball Machine and defeat the Formidable Foe.
