Table of Contents
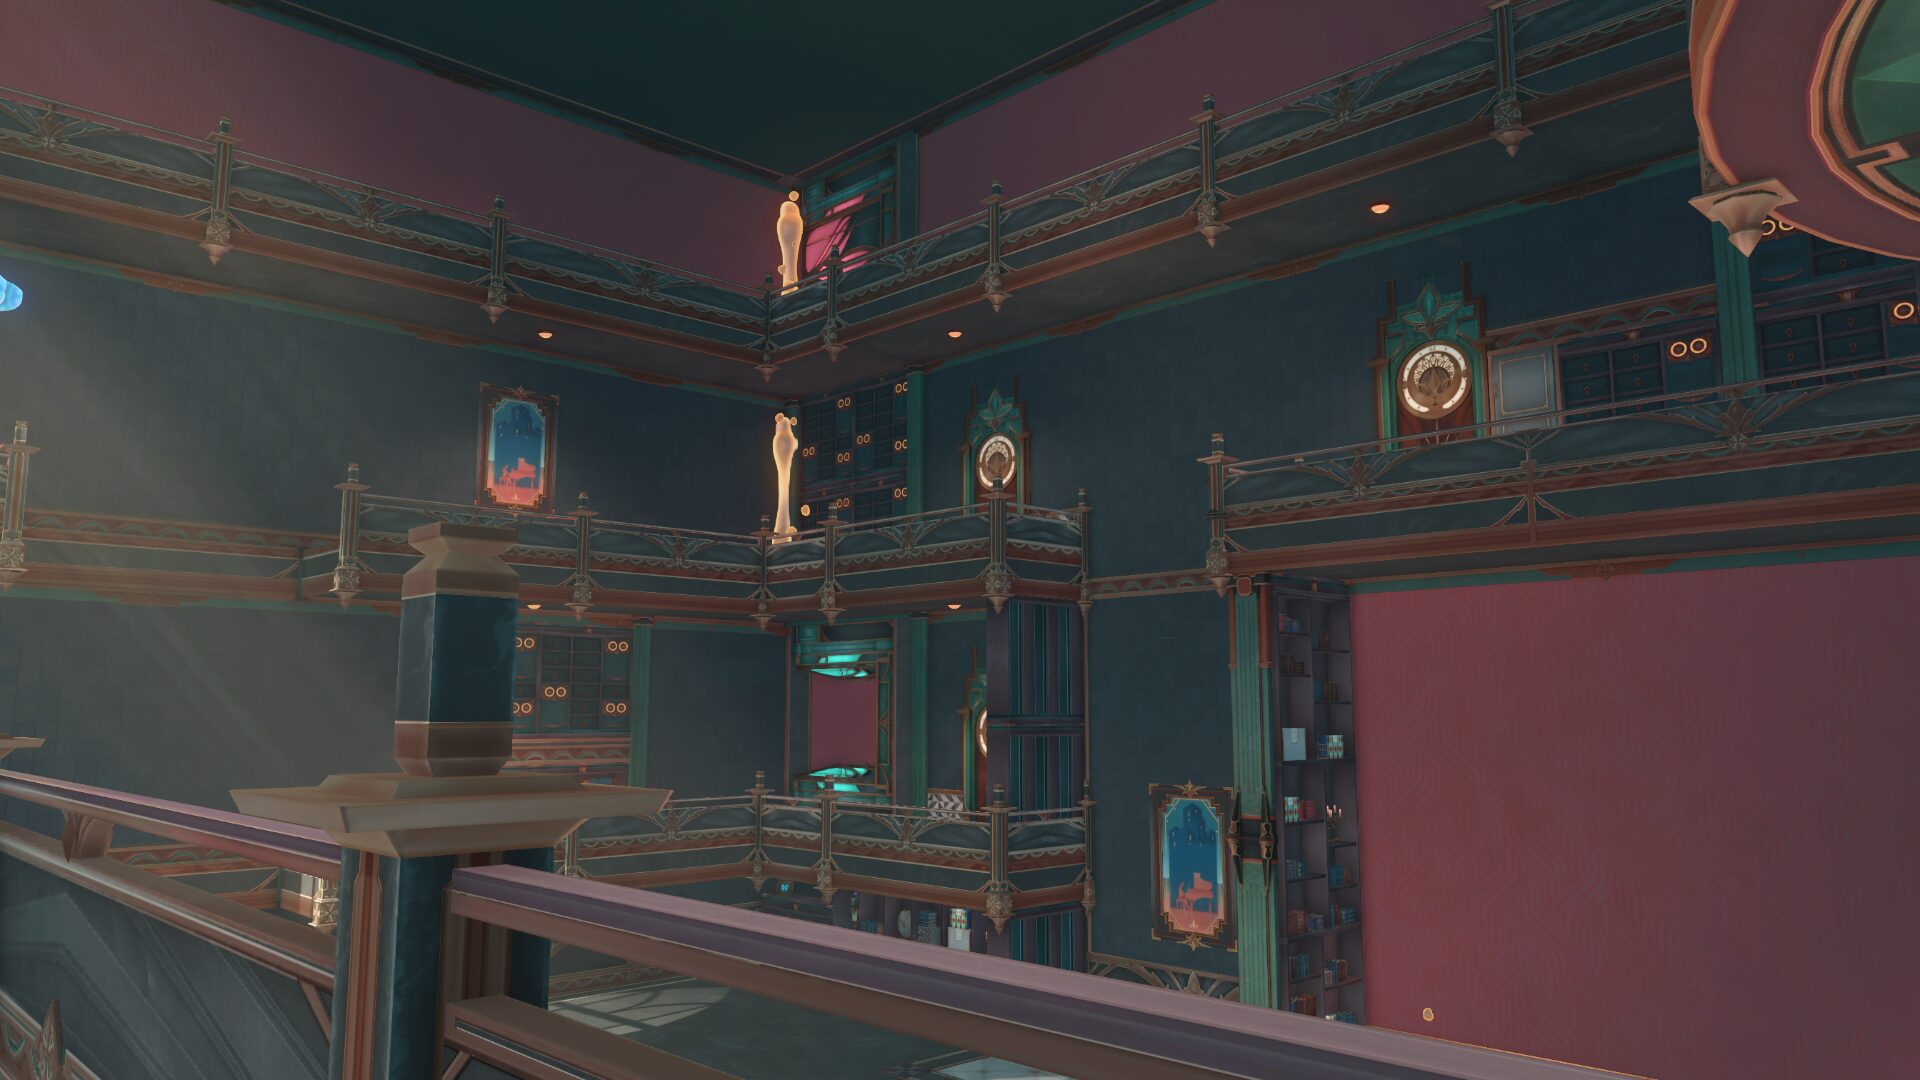
After completing the new Trailblaze Mission in version 2.1, you can start a new Adventure Mission to unlock a locked room in the Dewlight Pavilion. Inside it are 9 treasure chests and after completing the mission, you will gain a hidden achievement called 'Dreamweaving Industrialization.'
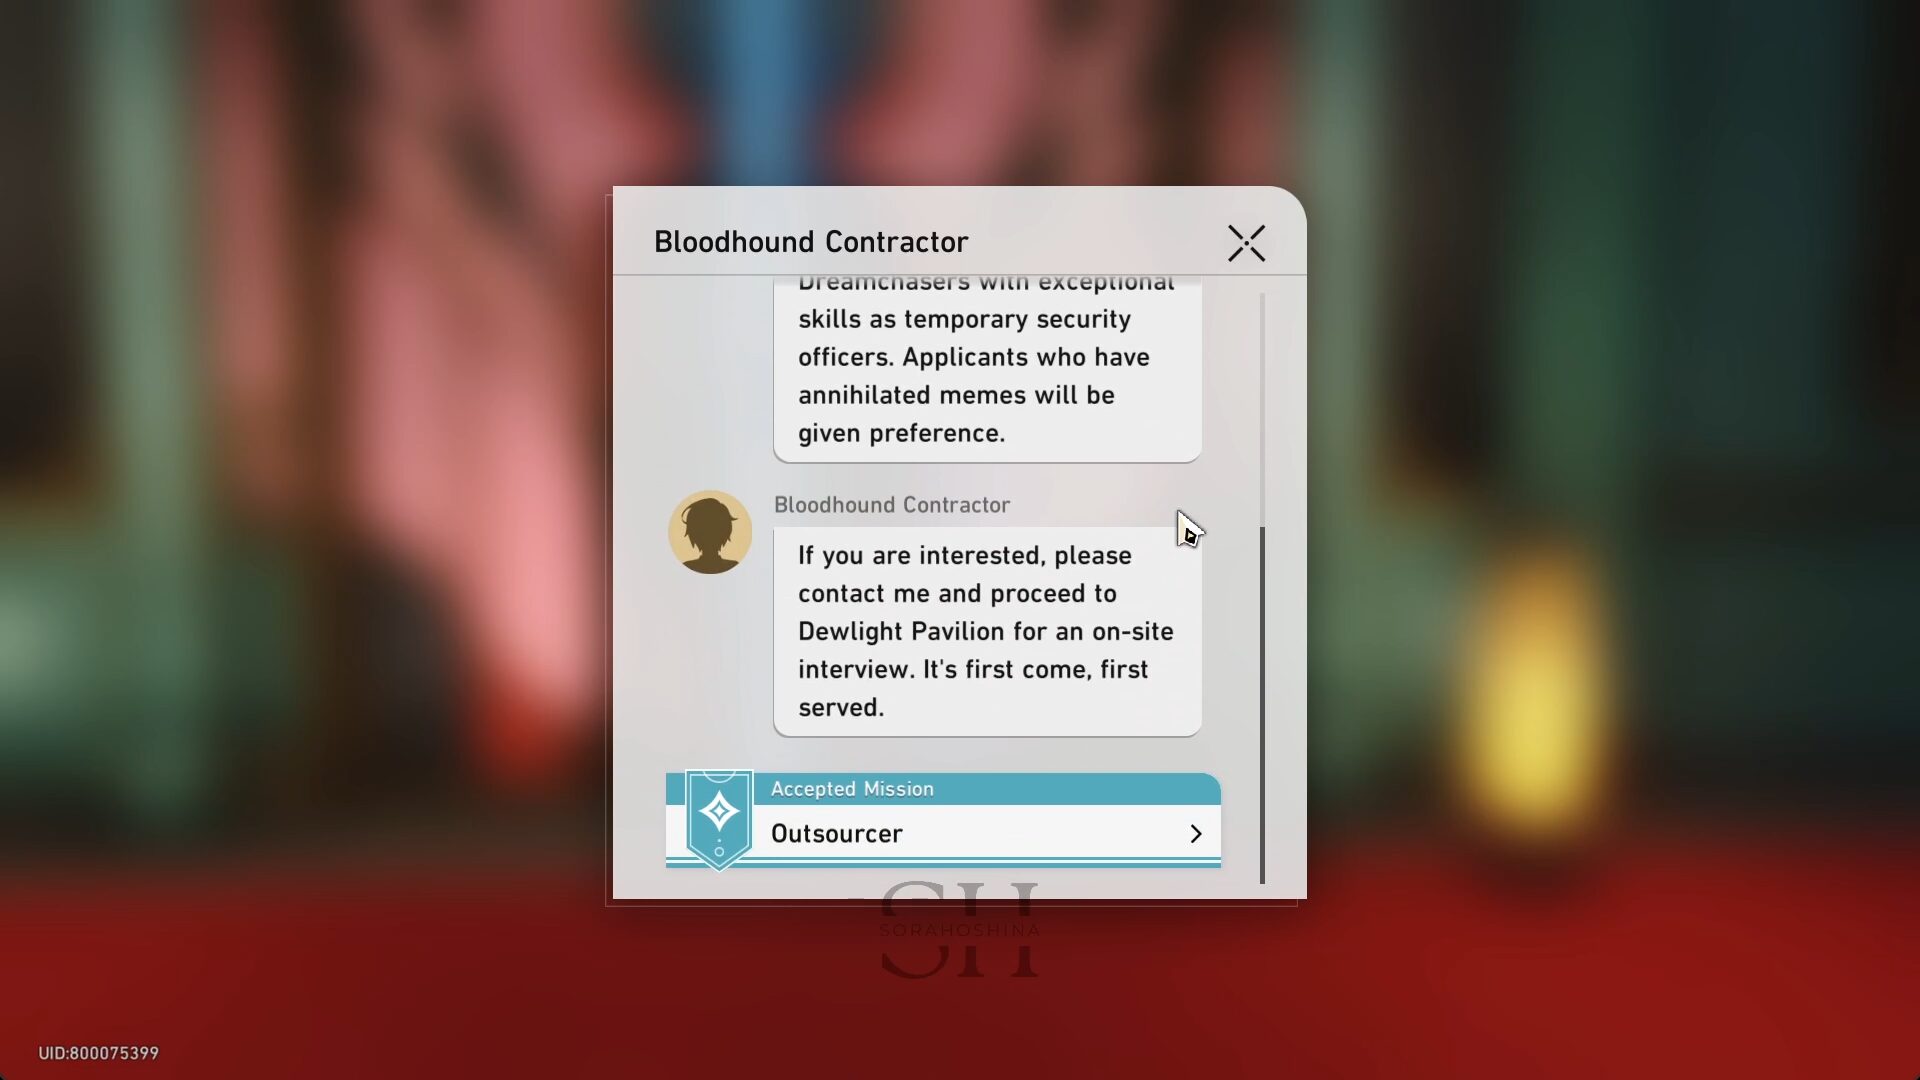
First of all, as I mentioned before, complete the new Trailblaze Mission 'The Devil in Velvet' first. Then, open your message and read the message from the Bloodhound Contractor to start the Outsourcer mission.
First Round
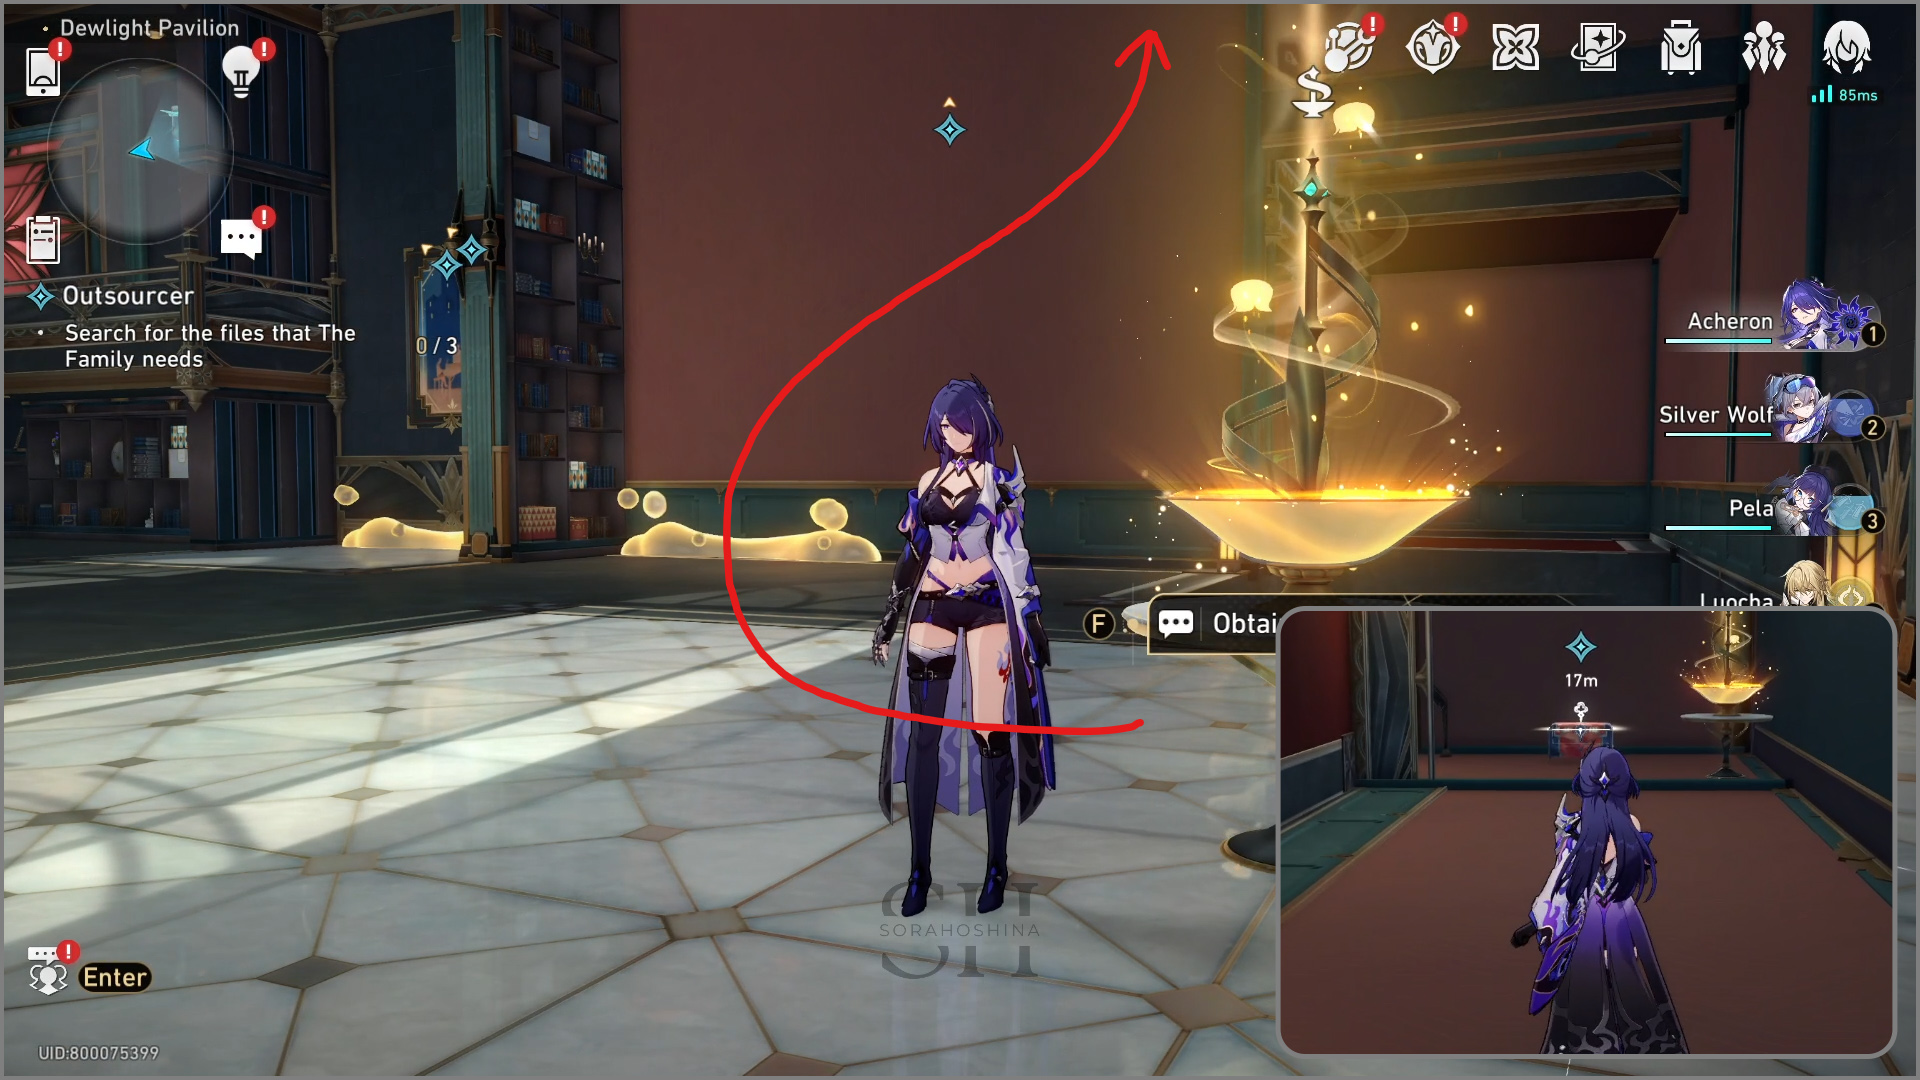
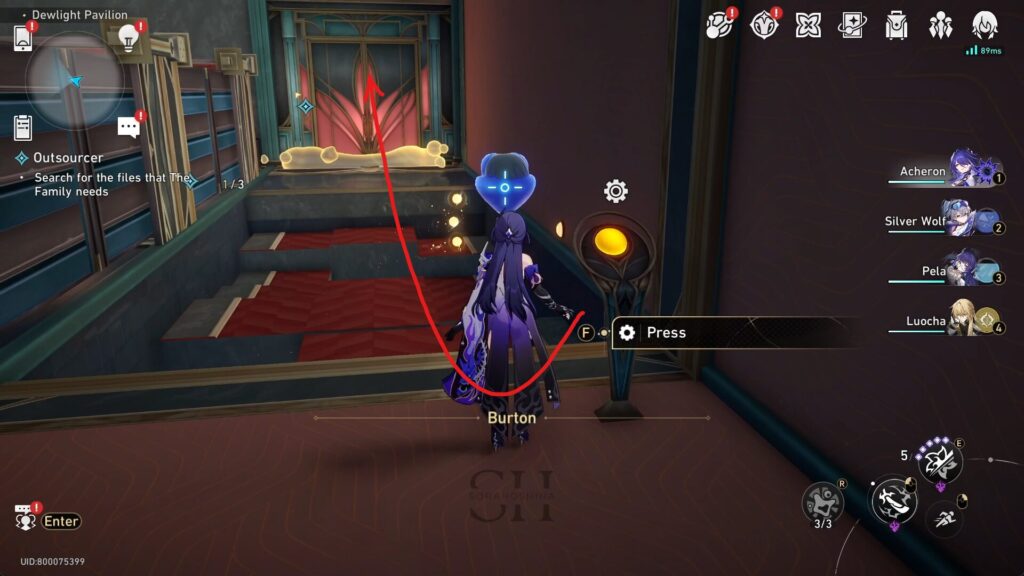
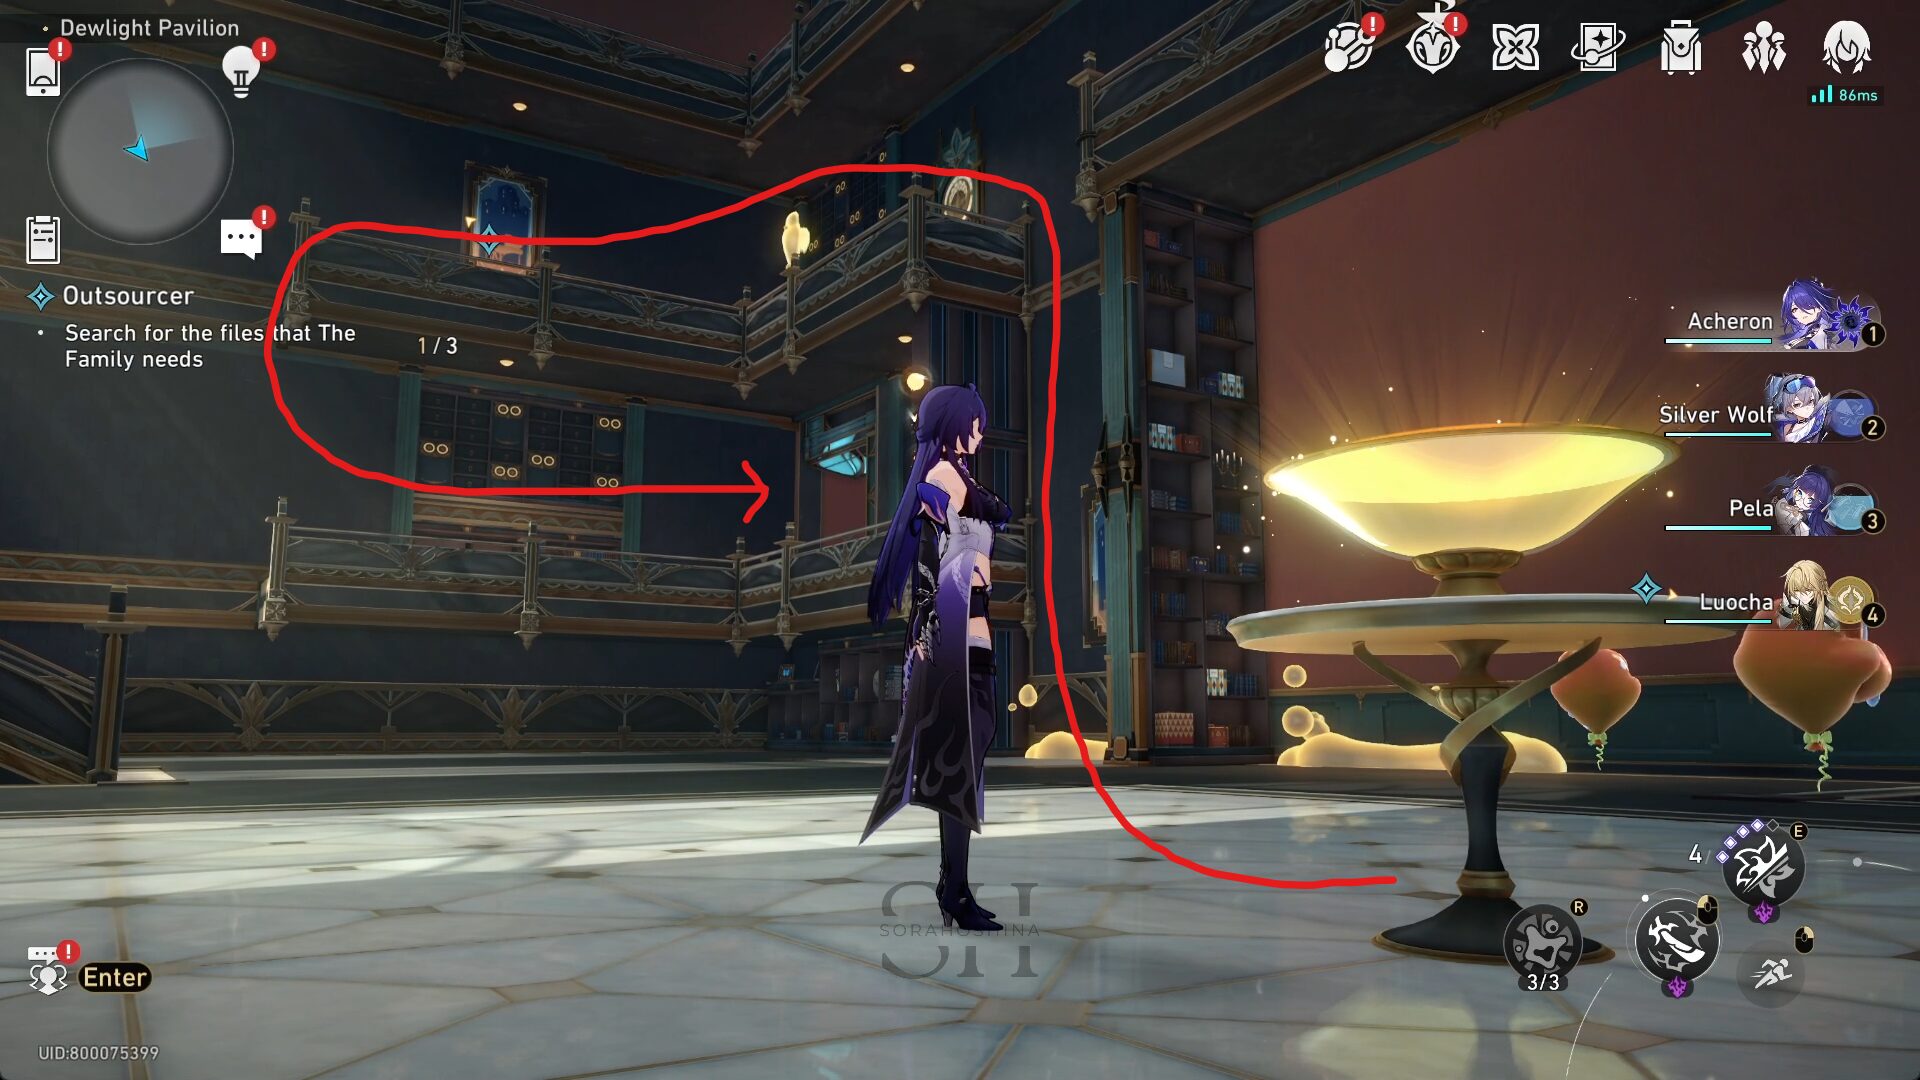
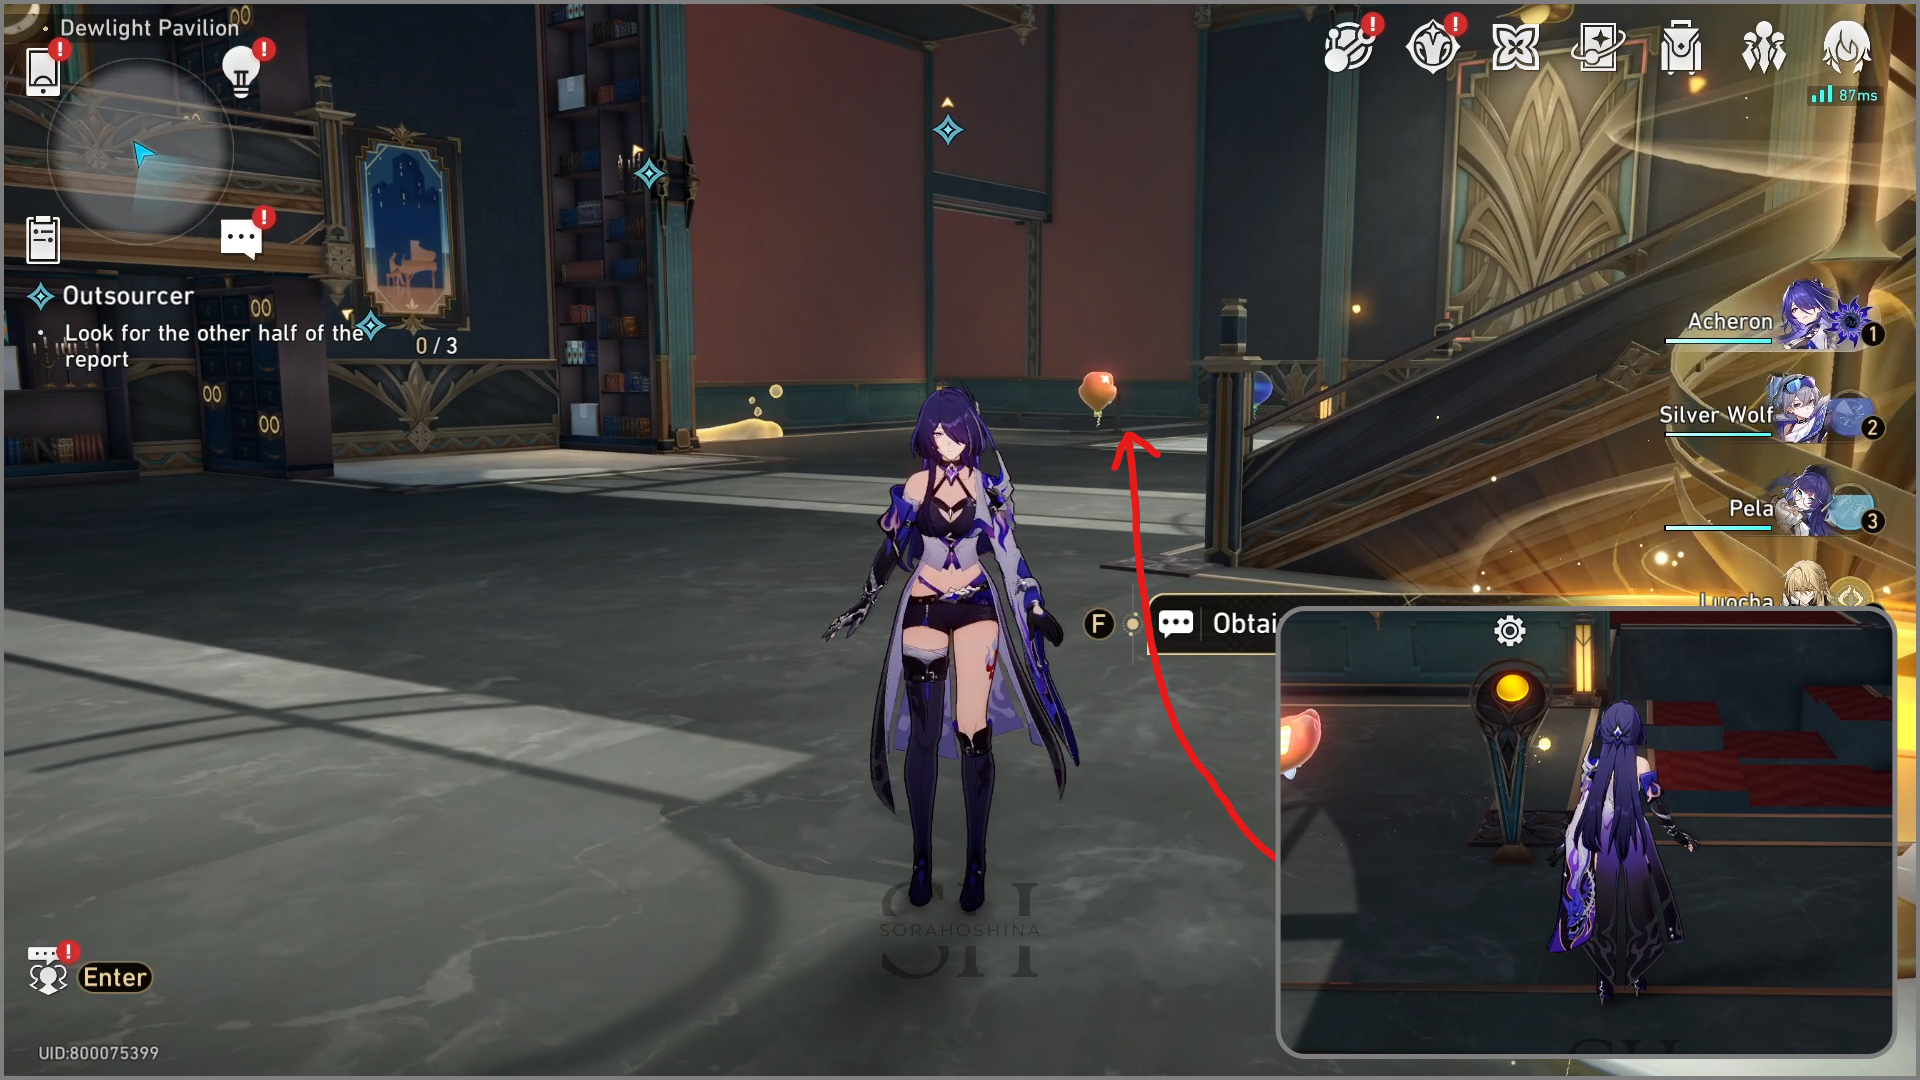
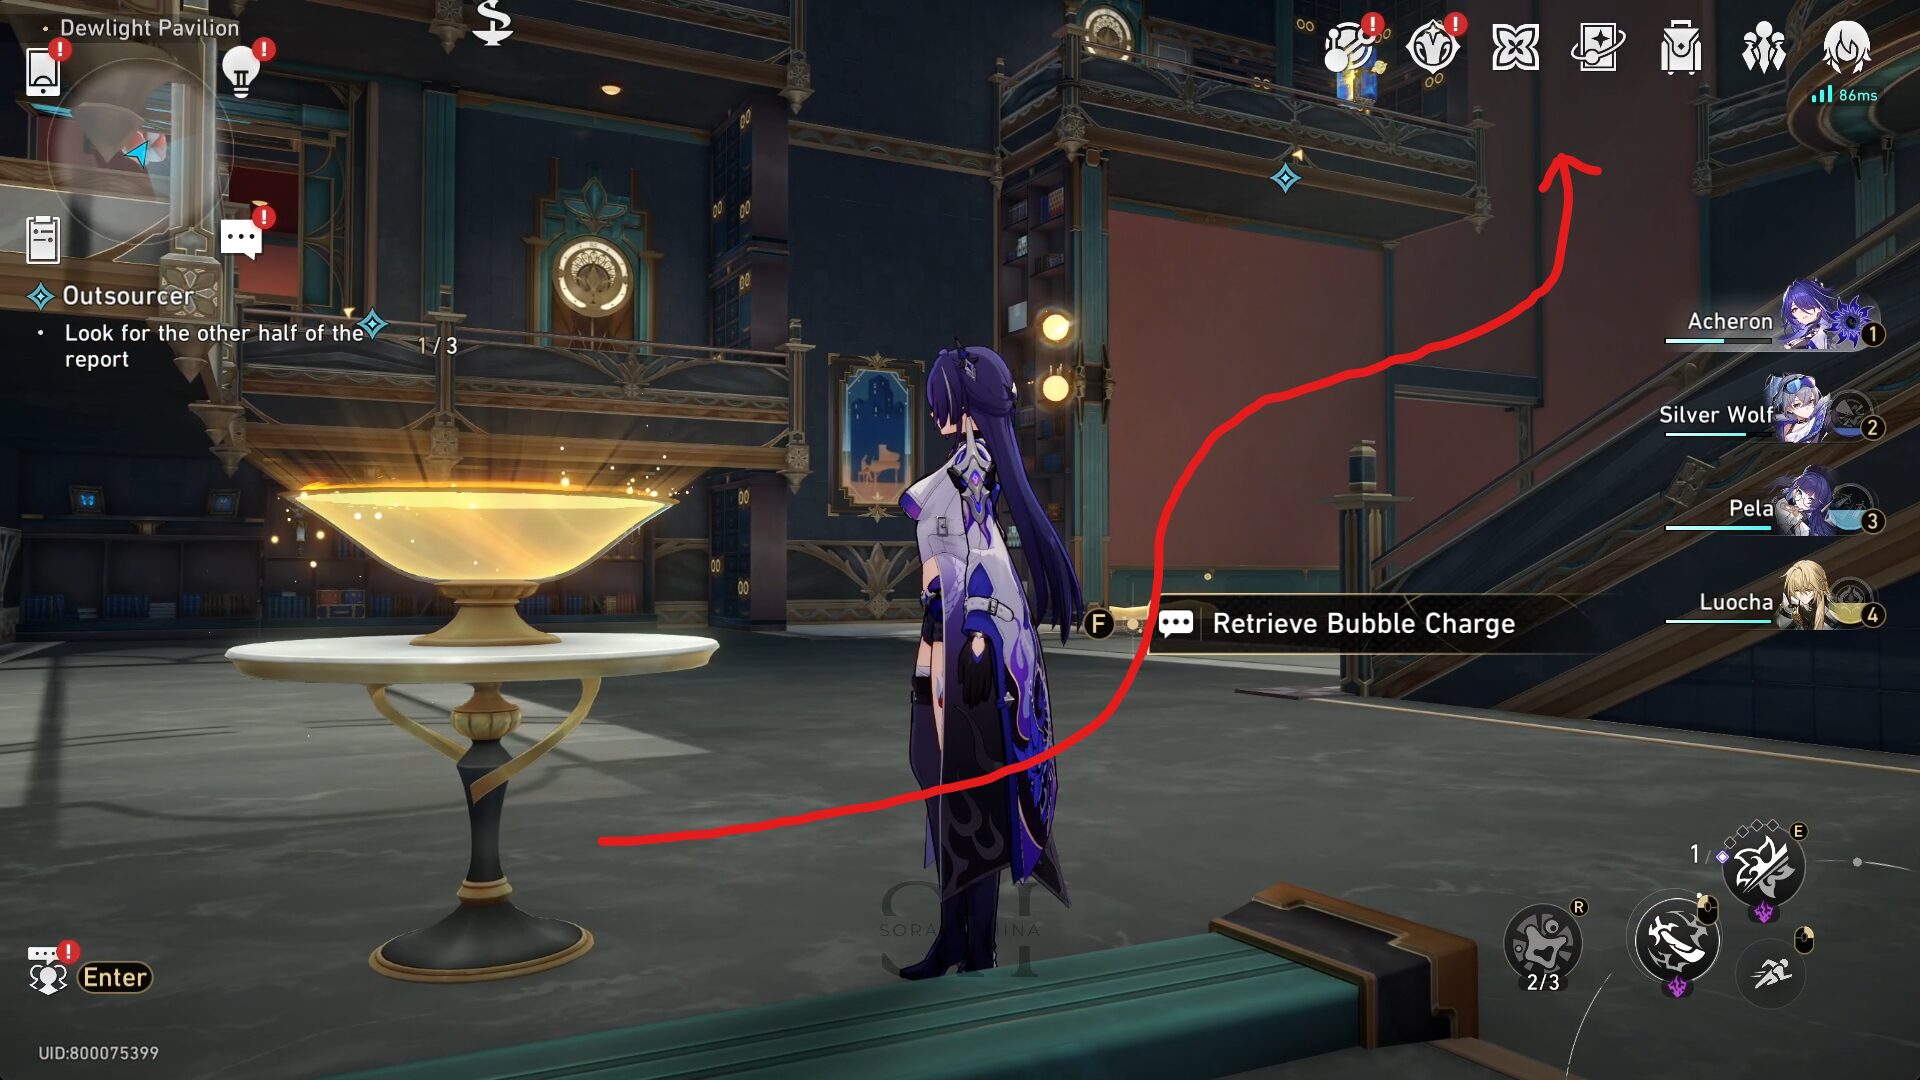
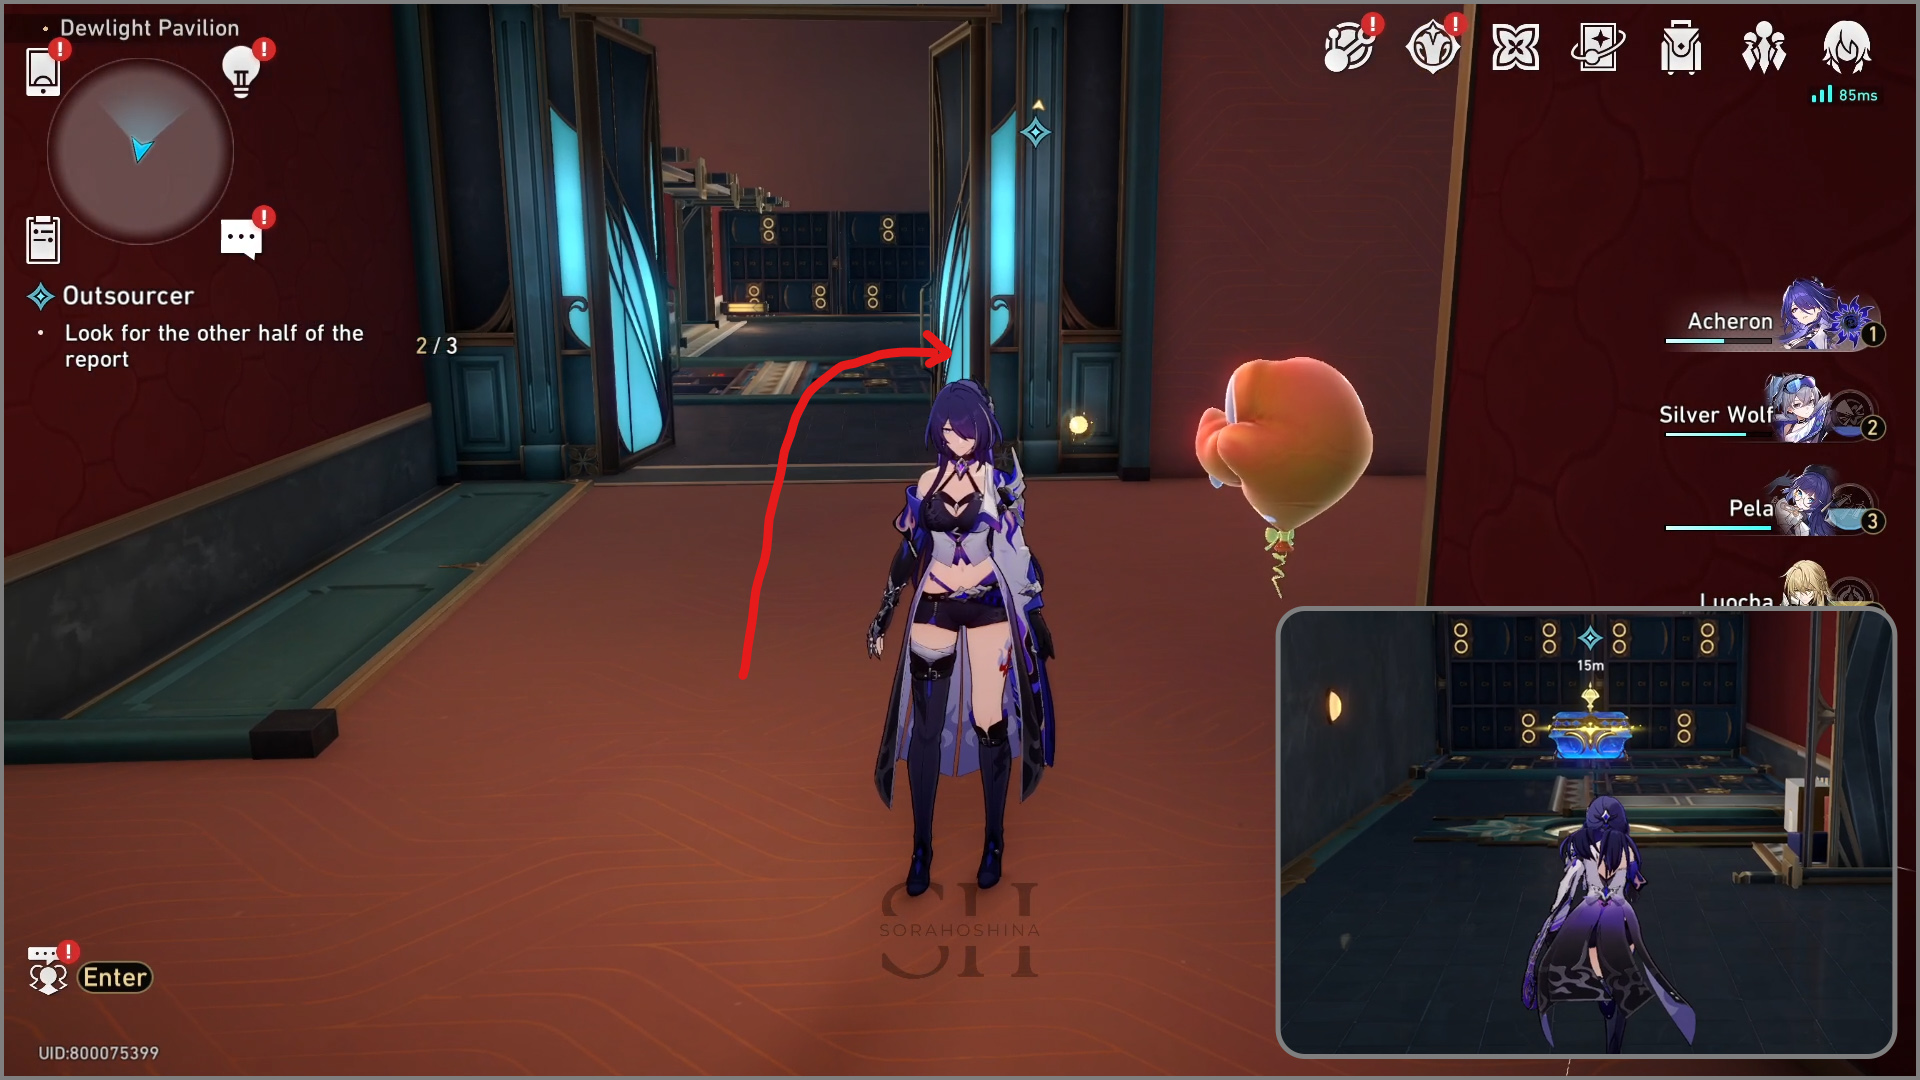
1) First, go to the right side of the room and get the Bubble Charge.
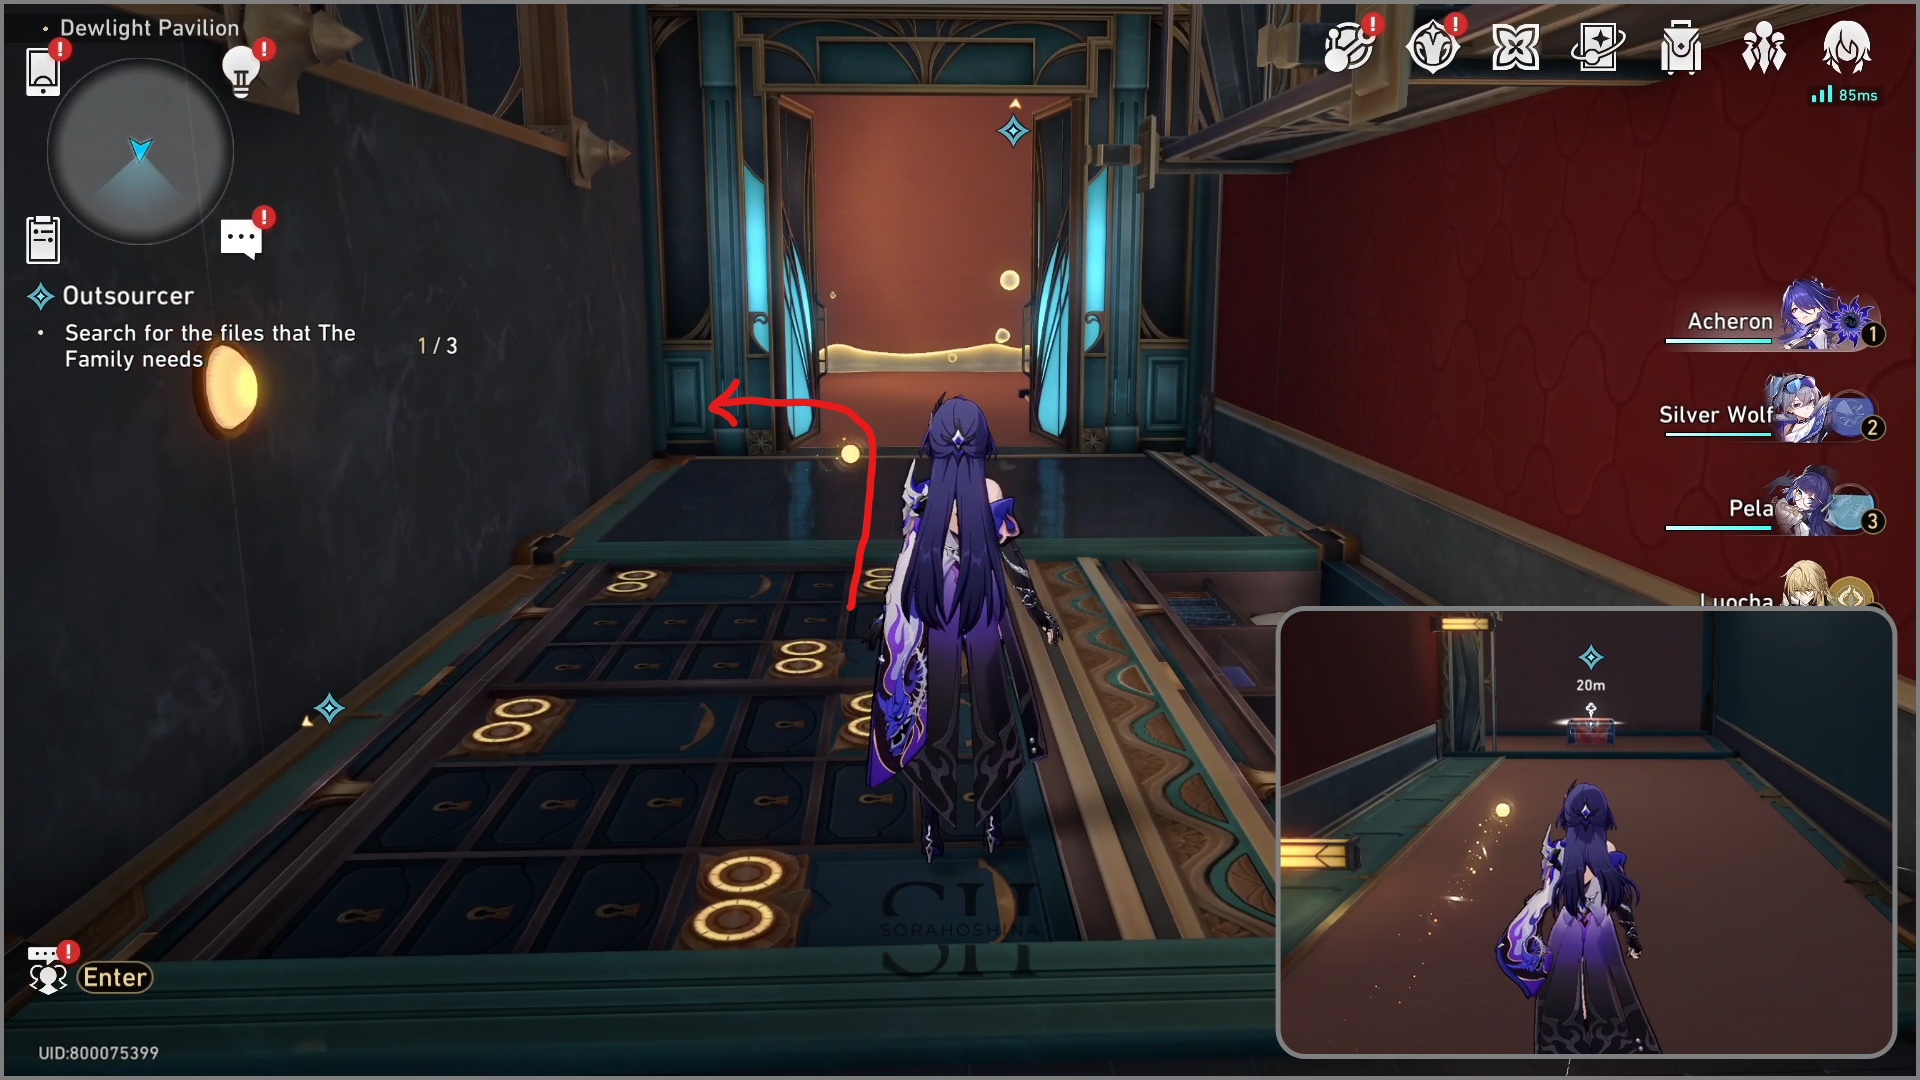
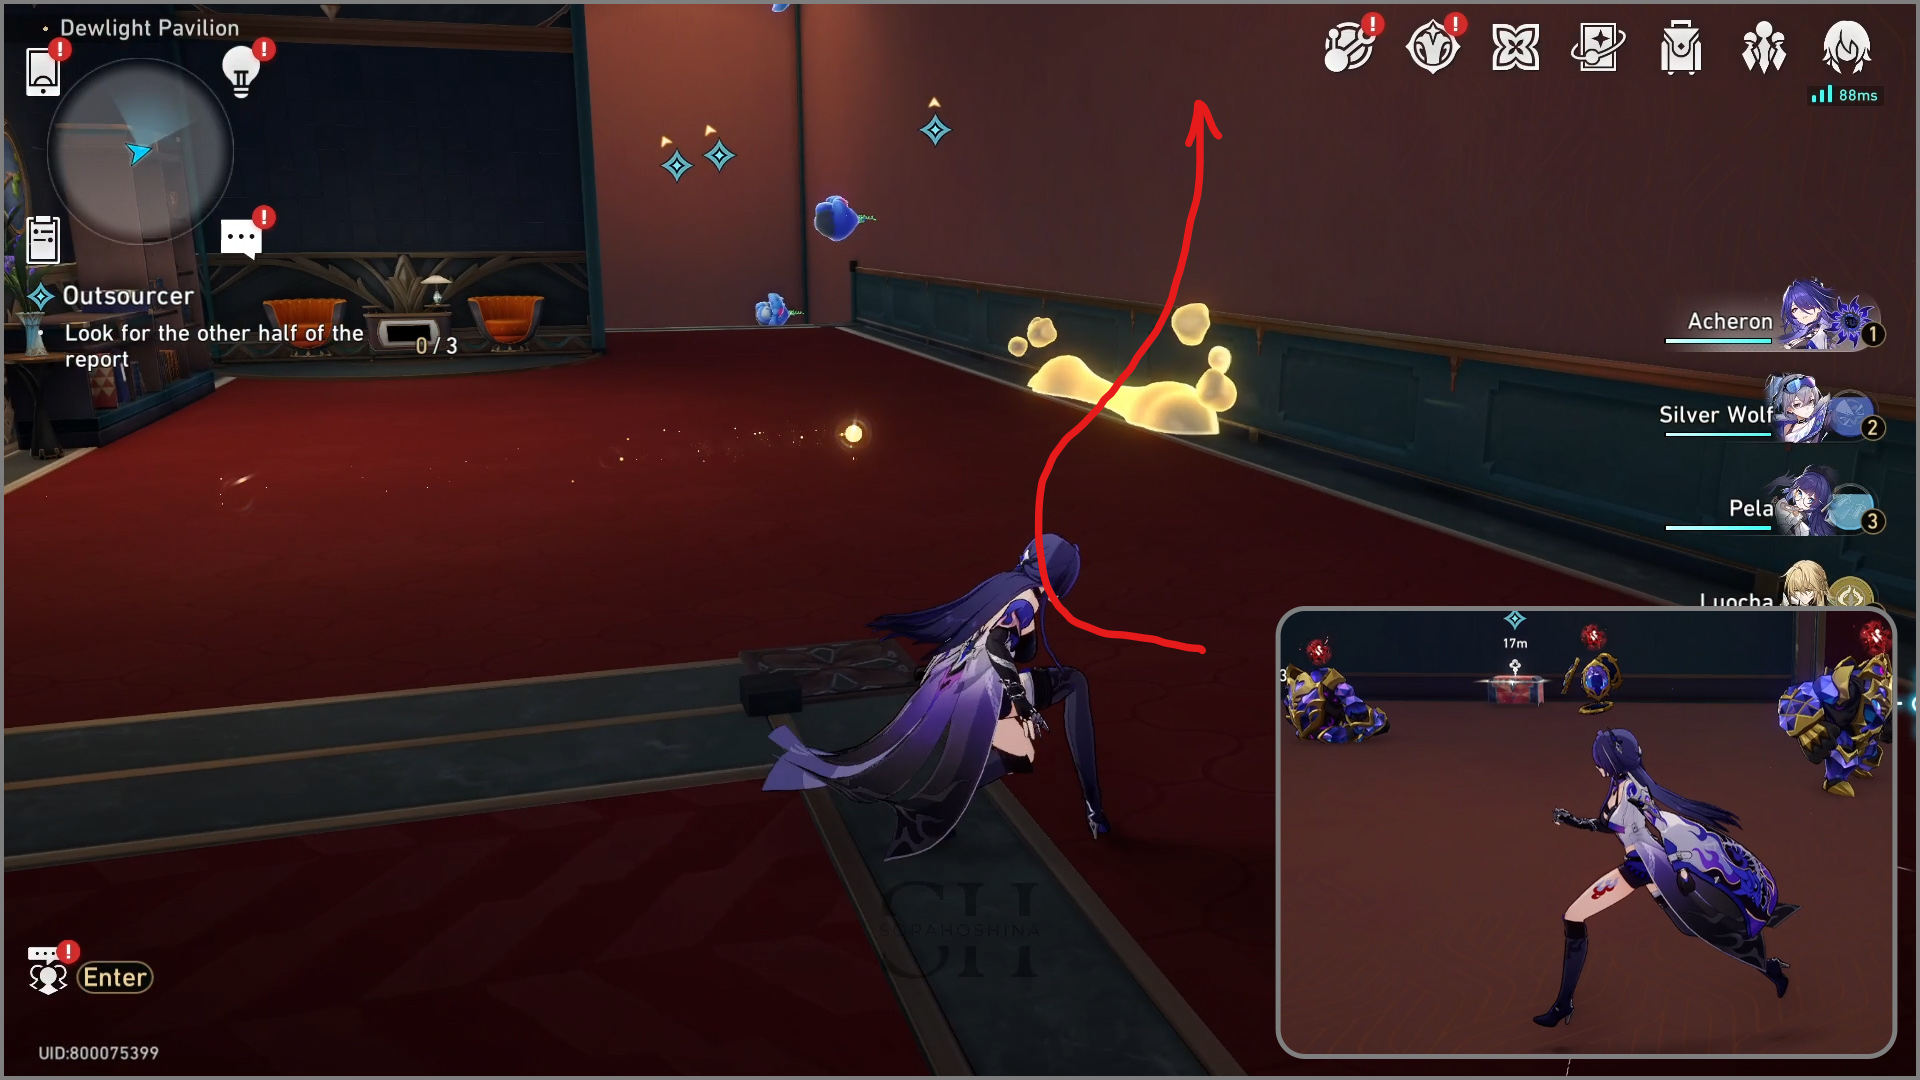
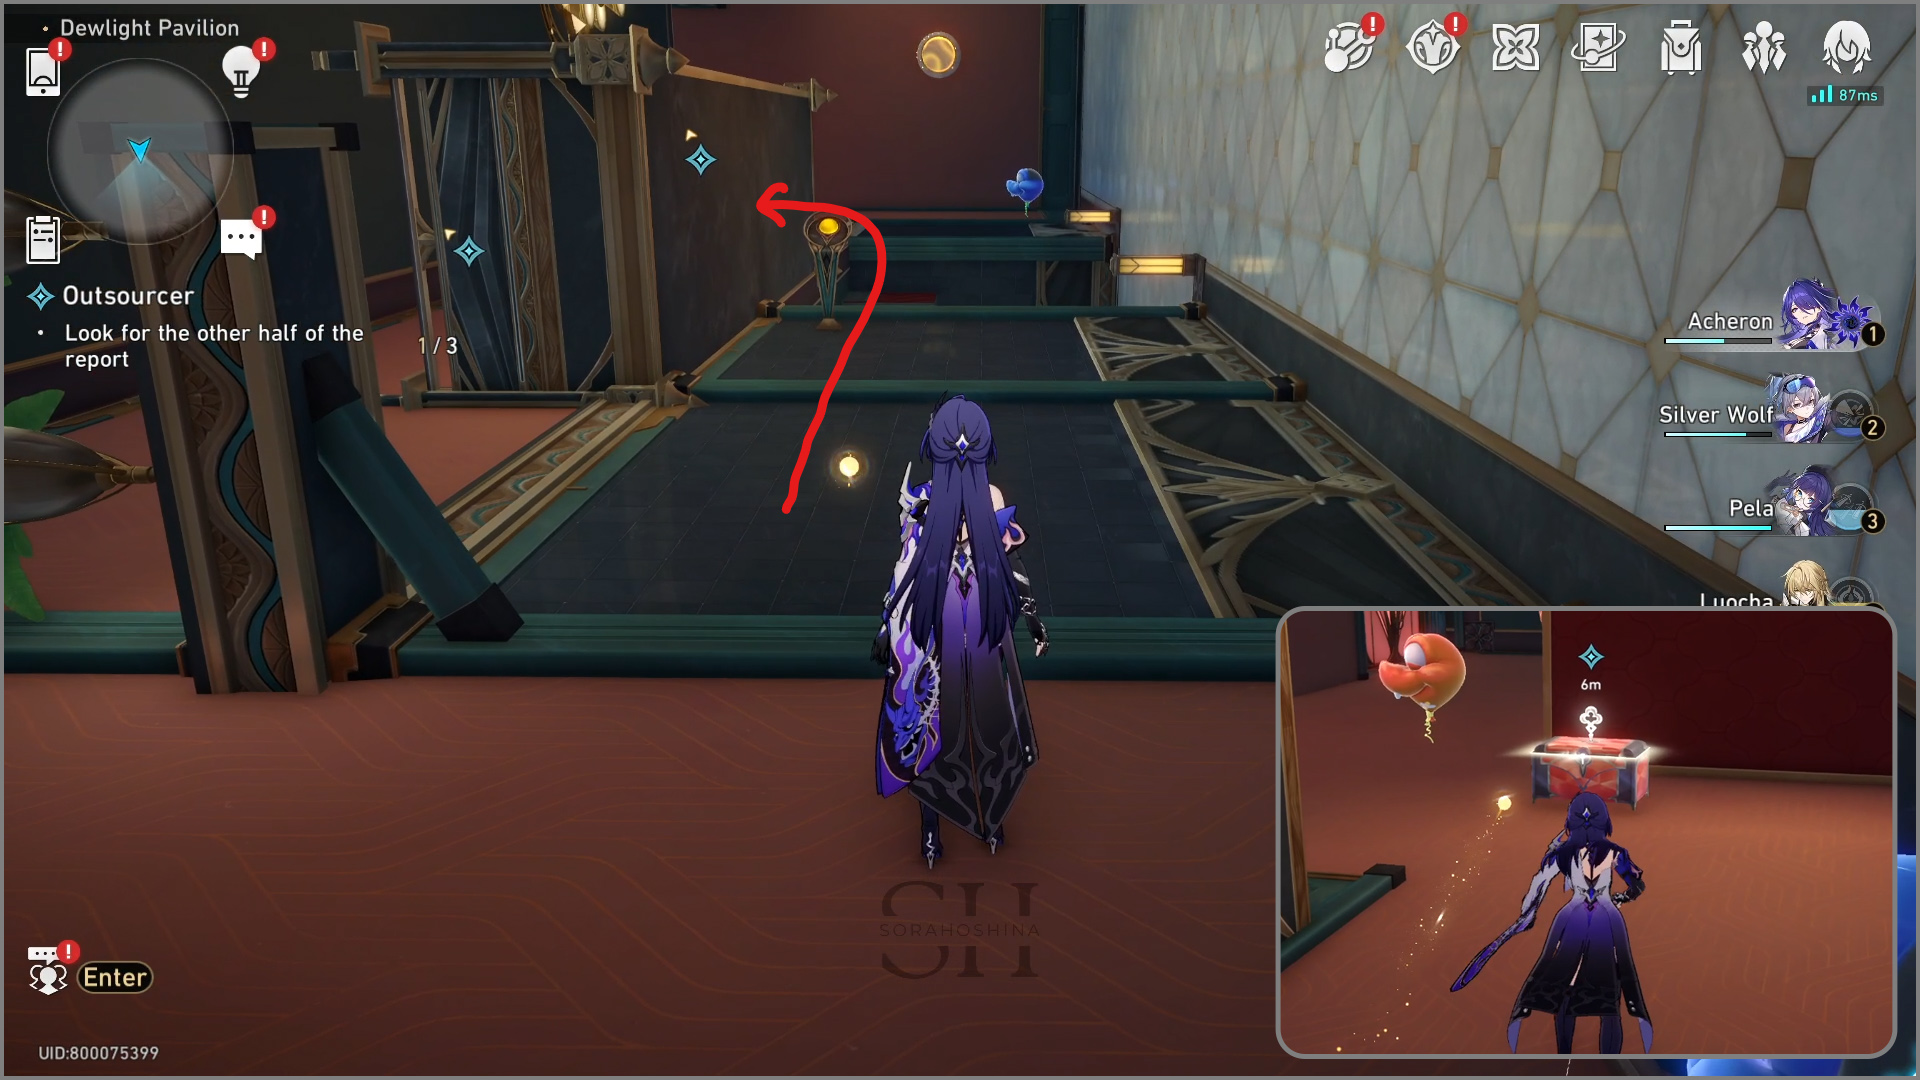
2) Then, go to the bridge on the right side (not the left one), and follow the road until you see the first treasure box.
3) After opening the treasure chest, recharge the Bubble Charge again and activate the switch to fix the road. Go through the bridge and you will reach the bottom floor again.
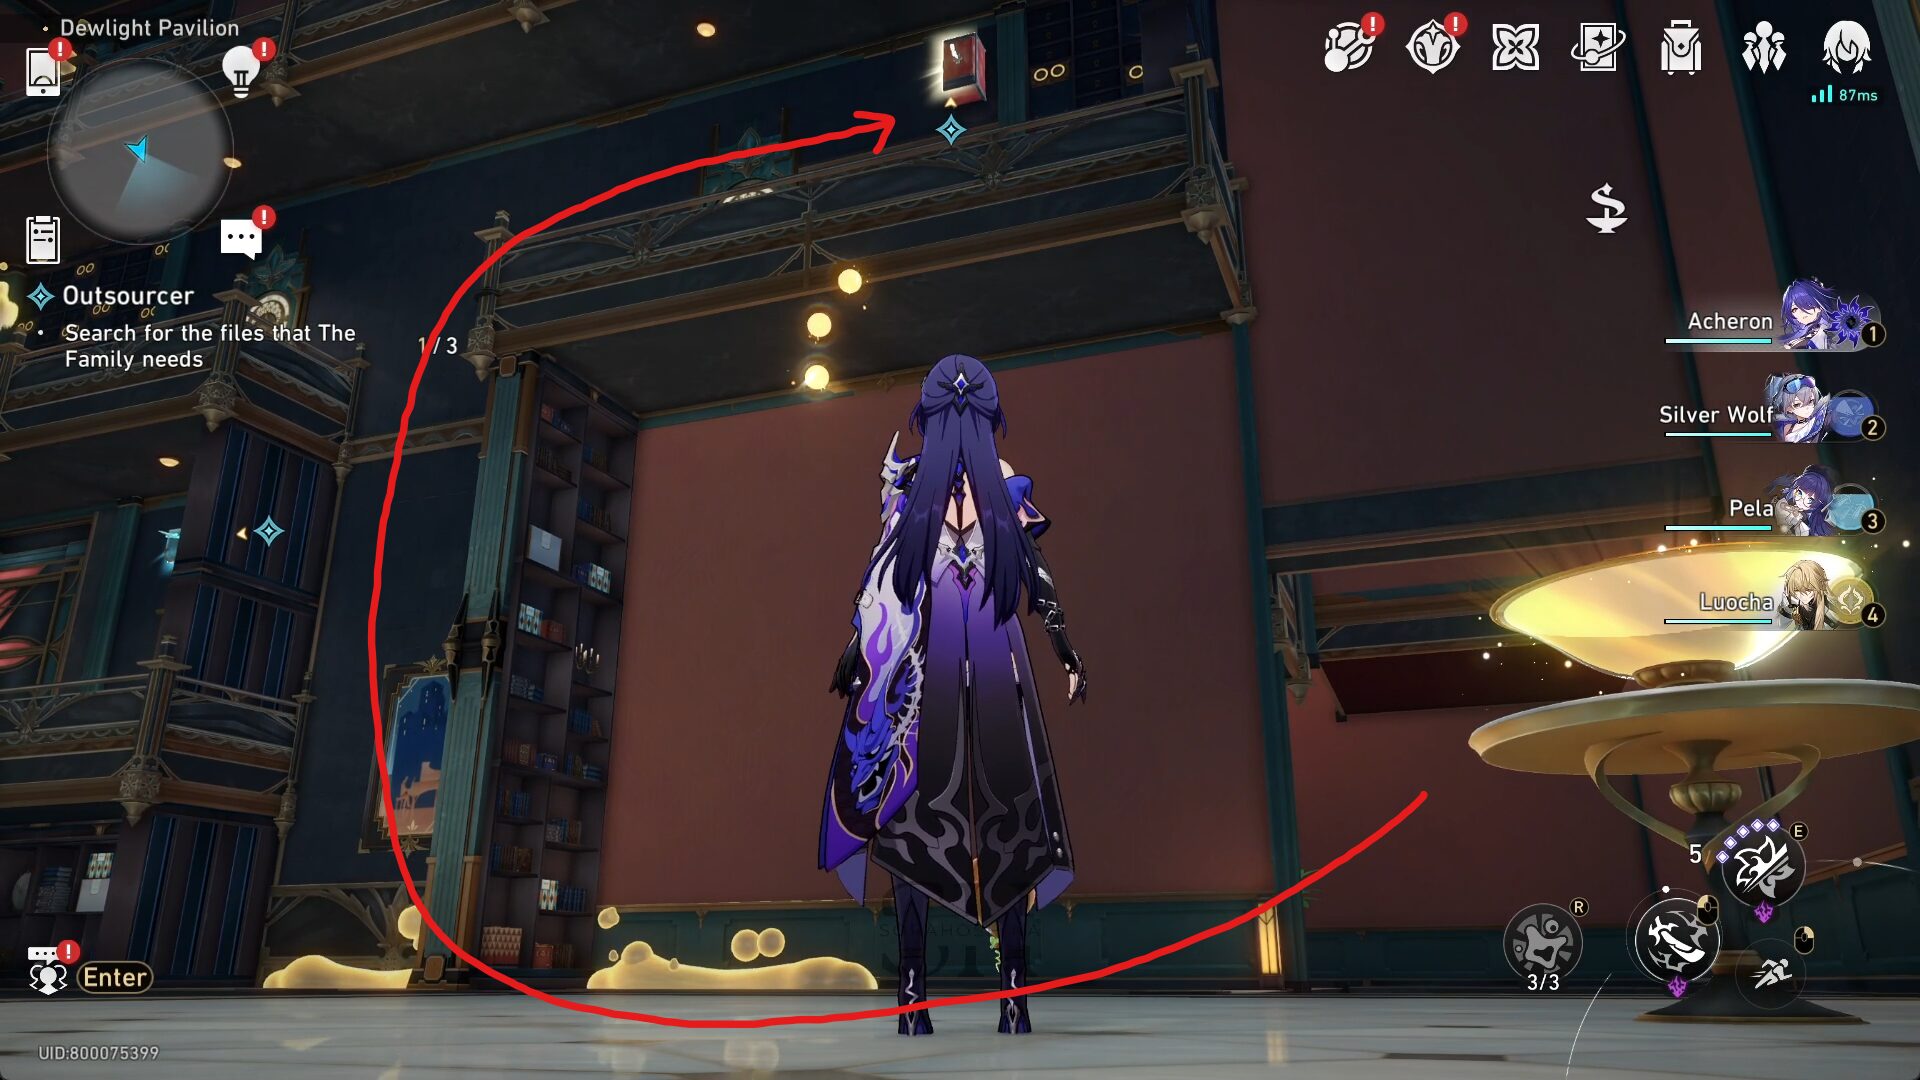
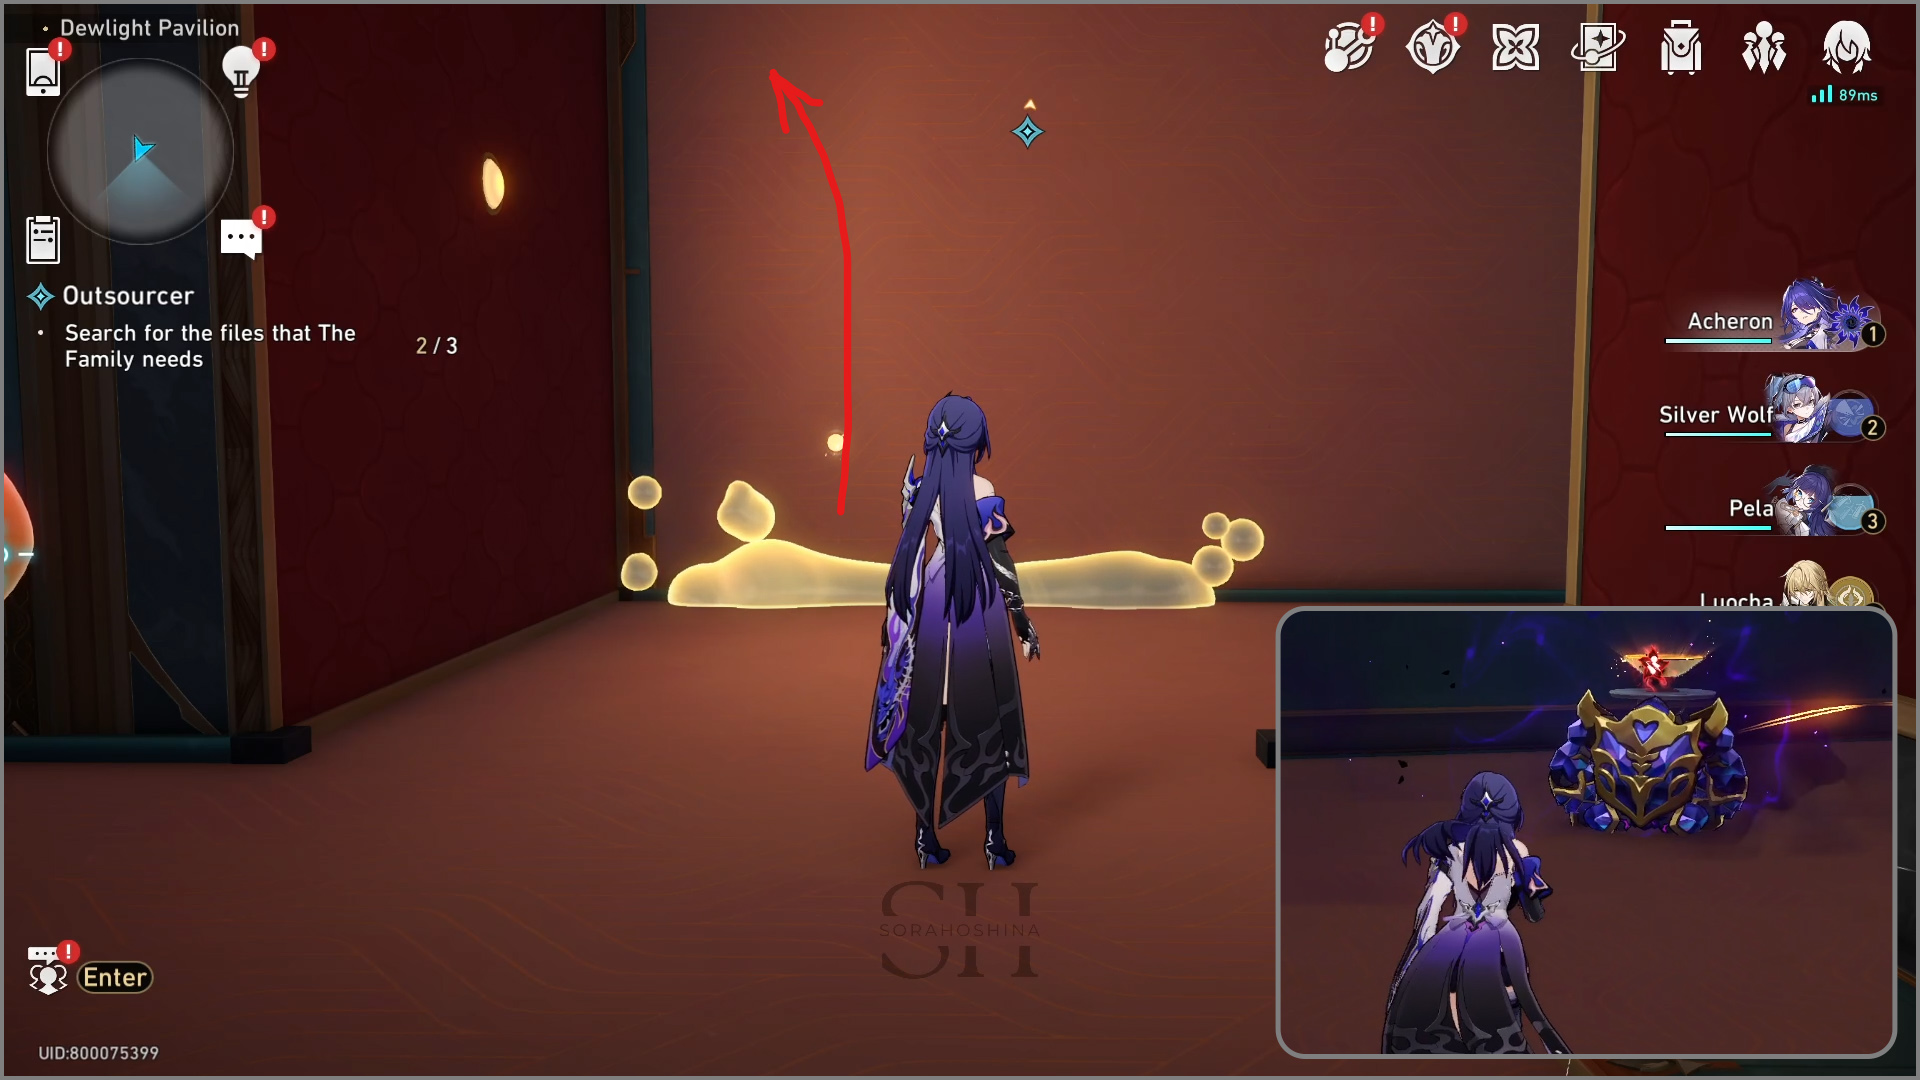
4) Go back to the Bubble Charge at the bottom floor, and this time, go to the bridge on the left side. Keep walking and turn right to get the next treasure chest.
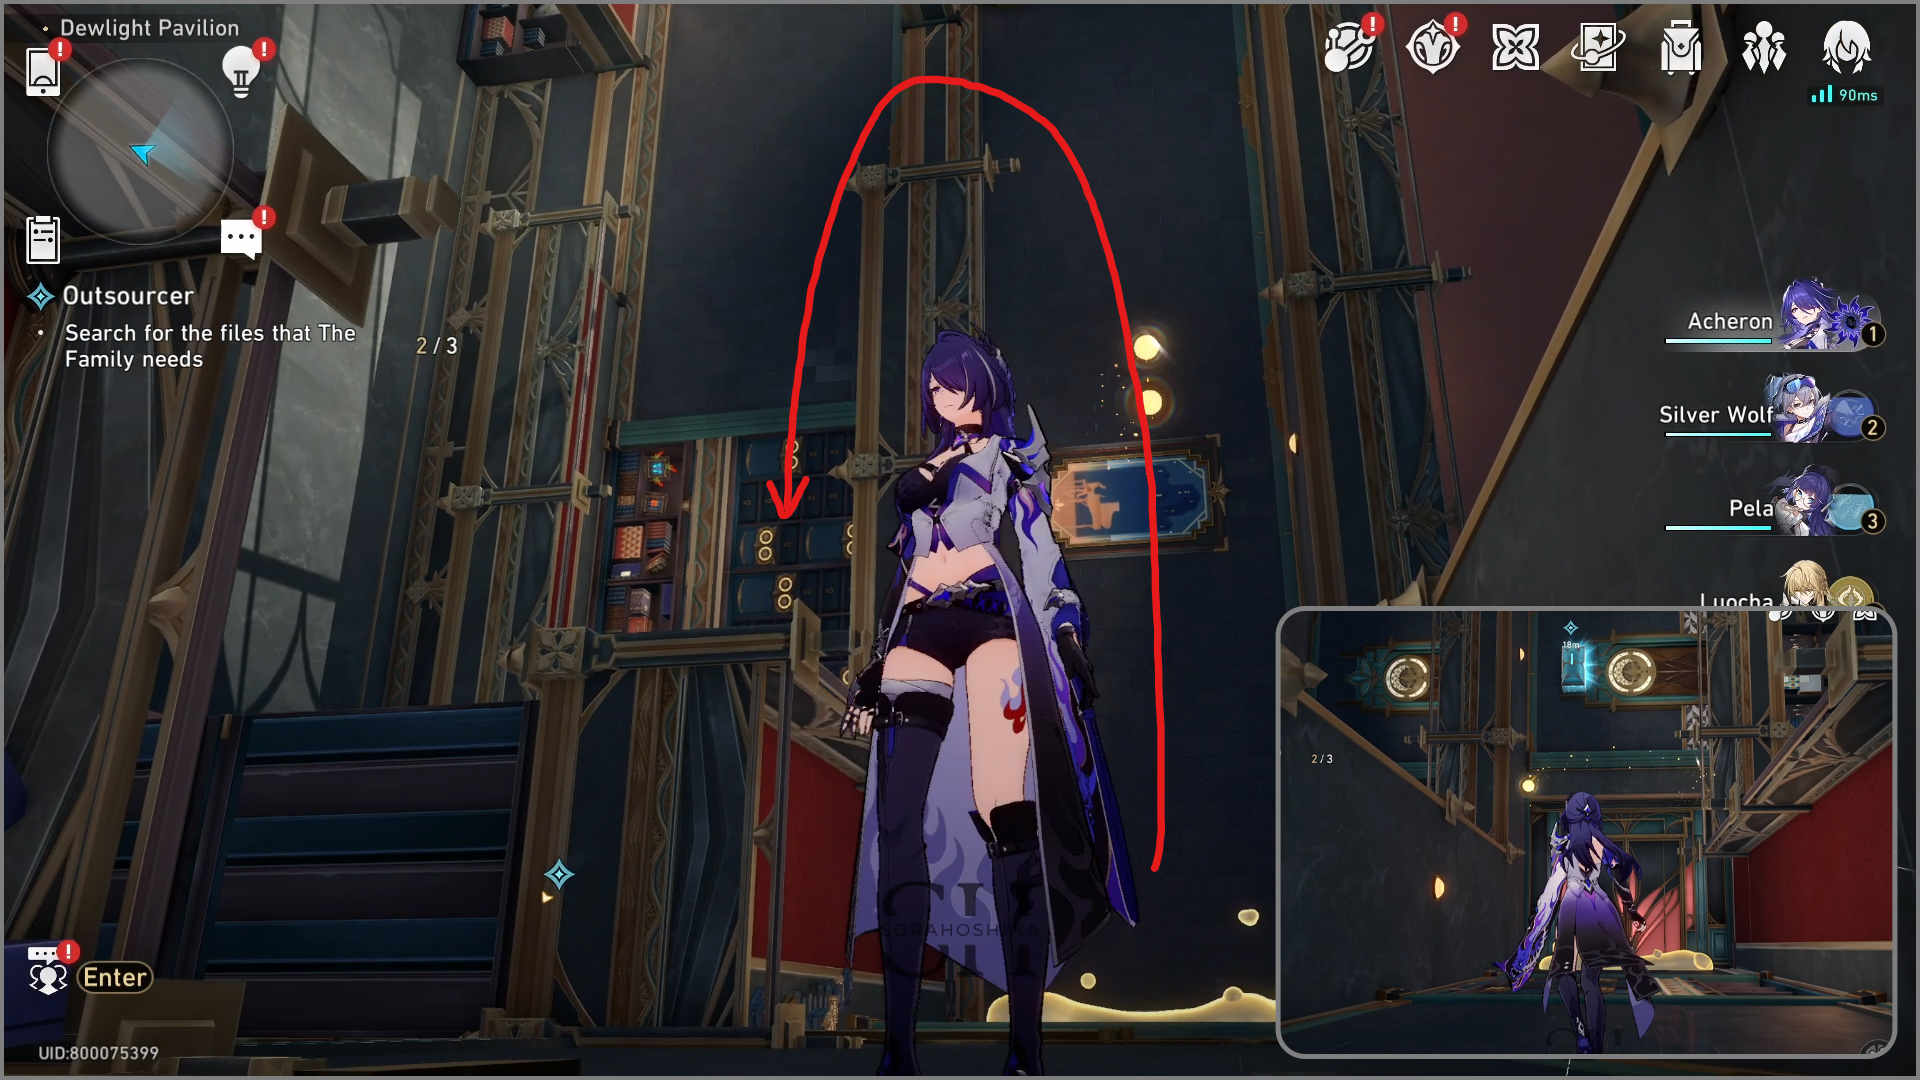
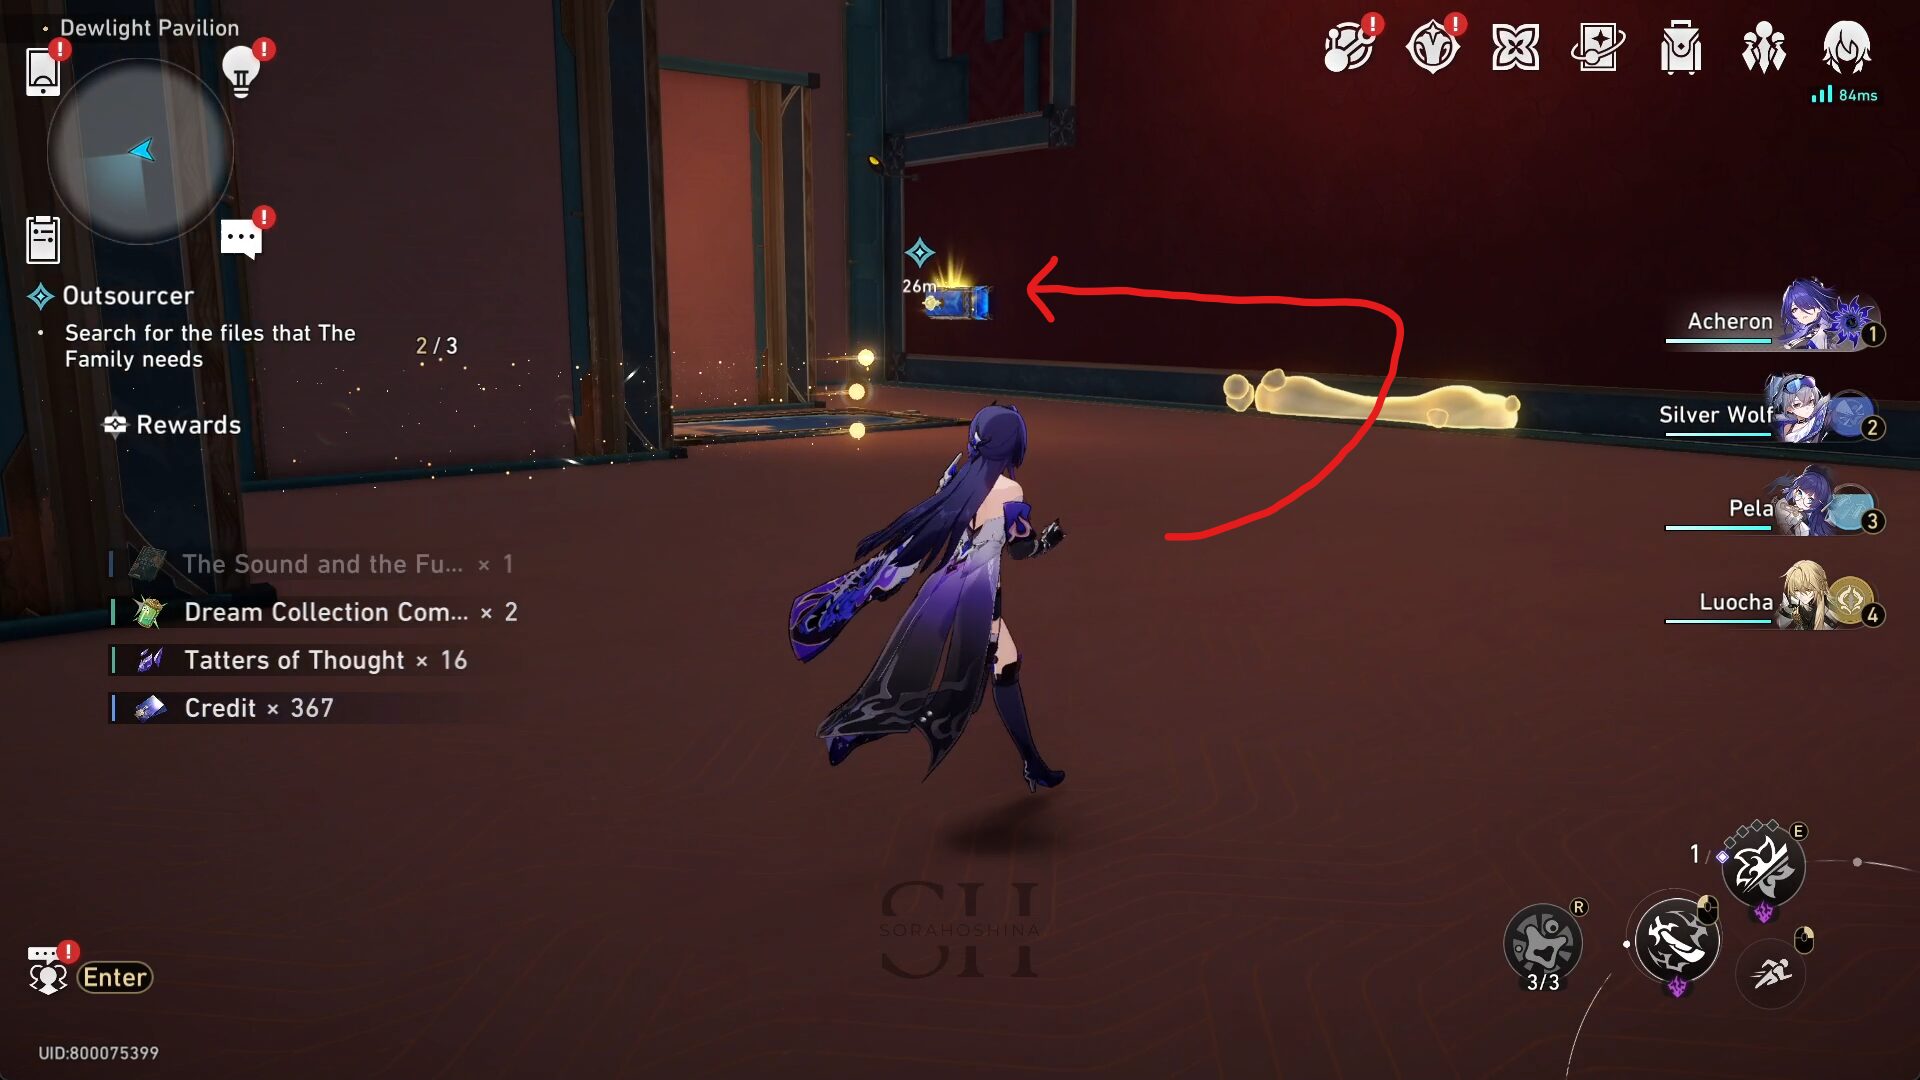
5) After you get to the 2nd chest, look to your left to see another bridge. Cross it and go around the left again to see another bridge, cross it to get the last treasure chest for this round.
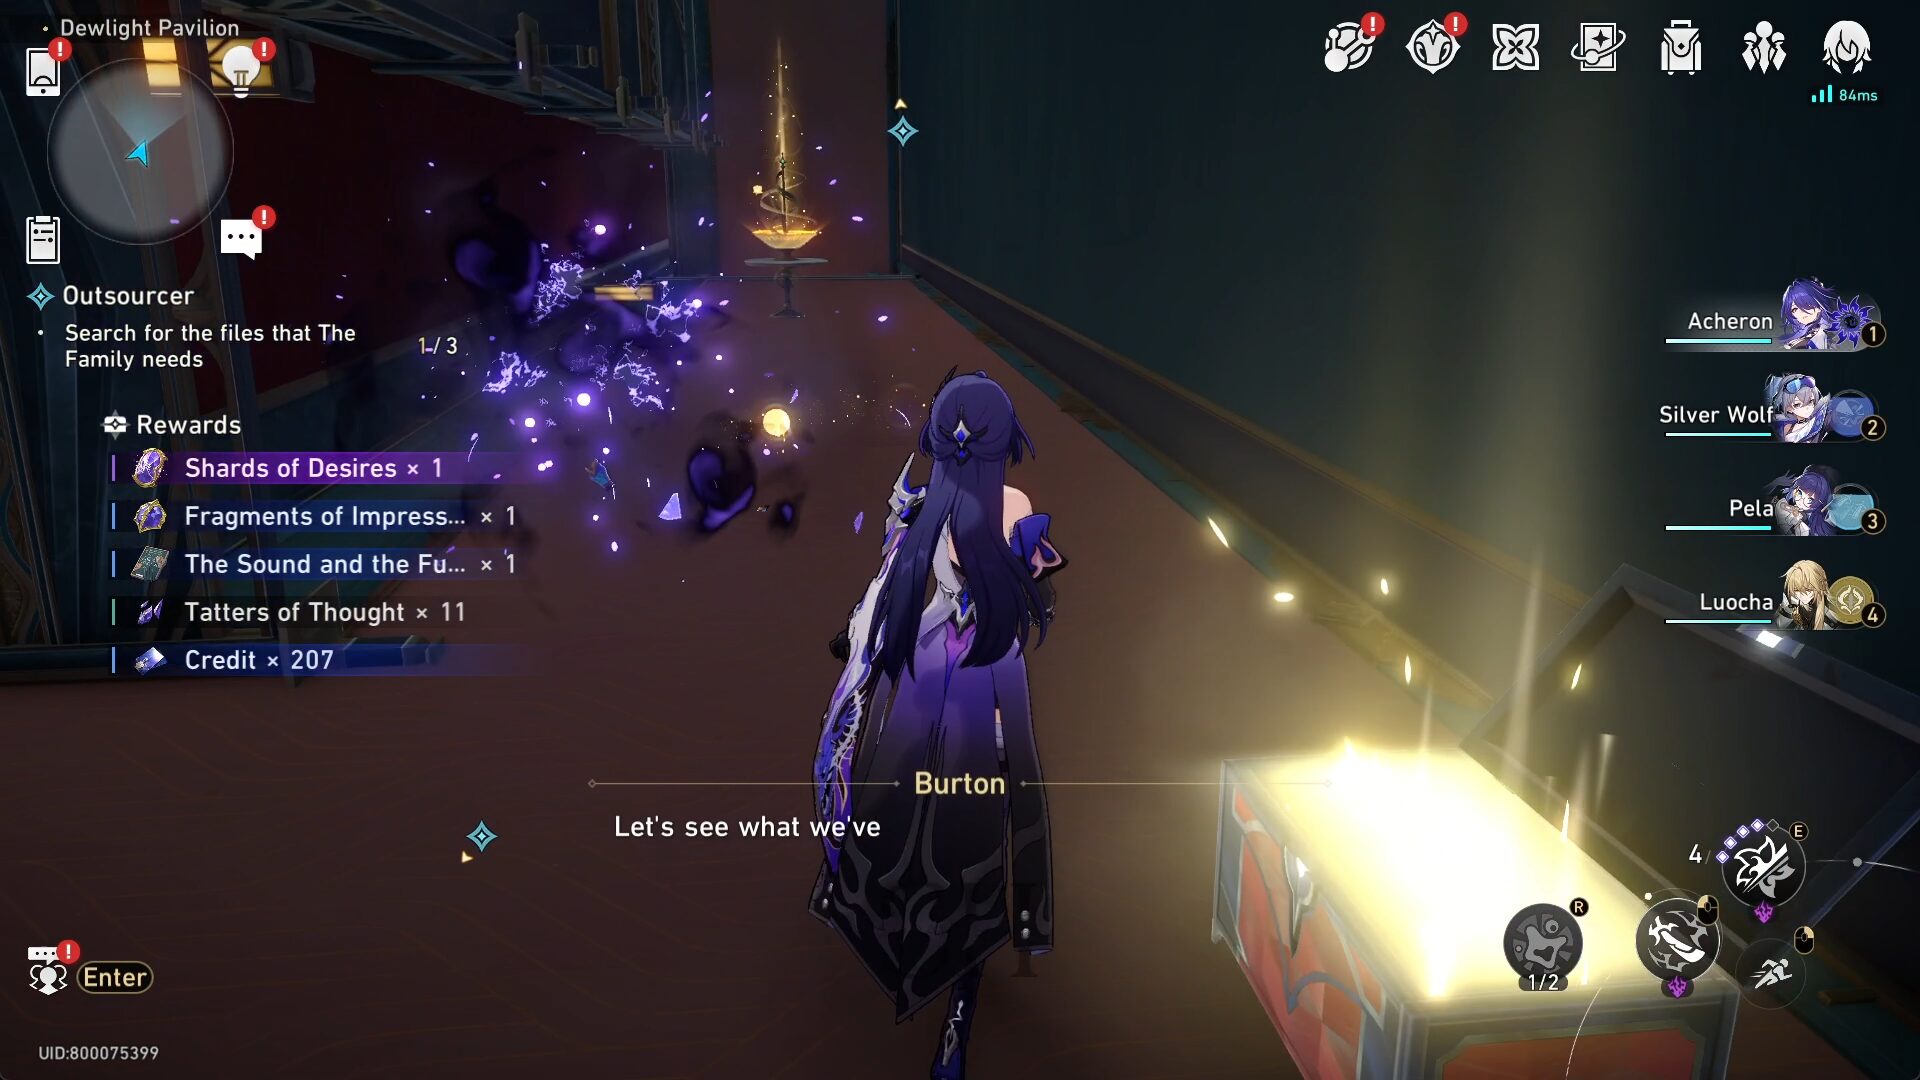
6) Talk to Burton and the first round will be completed.
Second Round

1) Once again, go to the right side to obtain Bubble Charge.
2) Then, go to the bridge on the right side and continue walking until you see the treasure chest.
3) After opening the treasure chest, go to the left and replenish your Bubble Charge to the maximum (3 Bubble Charges).
4) Go back the same way and return to the bottom floor.
5) Go to the bridge on the left side and keep walking left until you see a door.
6) Enter the door and walk to the left (don't go to the bridge in front of you first, come back after taking the fifth treasure box). Once going left, keep walking until you see the treasure chest.
7) Now, you can go to the bridge from before. Once up there, go to the left and replenish your Bubble Charge. There are many enemies here so it's safer to defeat them all first.
8) Go to the bridge on the right and you will get the sixth treasure chest. Talk to Burton to end this round.
Third Round
1) This time, go to the left side of the room and get the Bubble Charge.
2) Go to the right side of the room (where there are many balloons there) and activate the switch to fix the road.
3) Go to the bridge on the right side and fight the enemies that were surrounding the treasure chest.

4) After getting the chest, look around the area with many balloons and replenish your Bubble Charge. Then, go back to the bridge on the left (you came through this way).
5) Return to the bottom floor and replenish your Bubble Charge again. Then, go to the bridge in front of you.
6) Keep walking (it's a one-way road) until you see another switch. Activate the switch to fix the road and go around the left to get the eighth treasure chest.
7) After getting the previous chest, look to your left to see an open door and walk past it.
8) Go around the right to see a bridge. Cross it to get the last treasure chest.
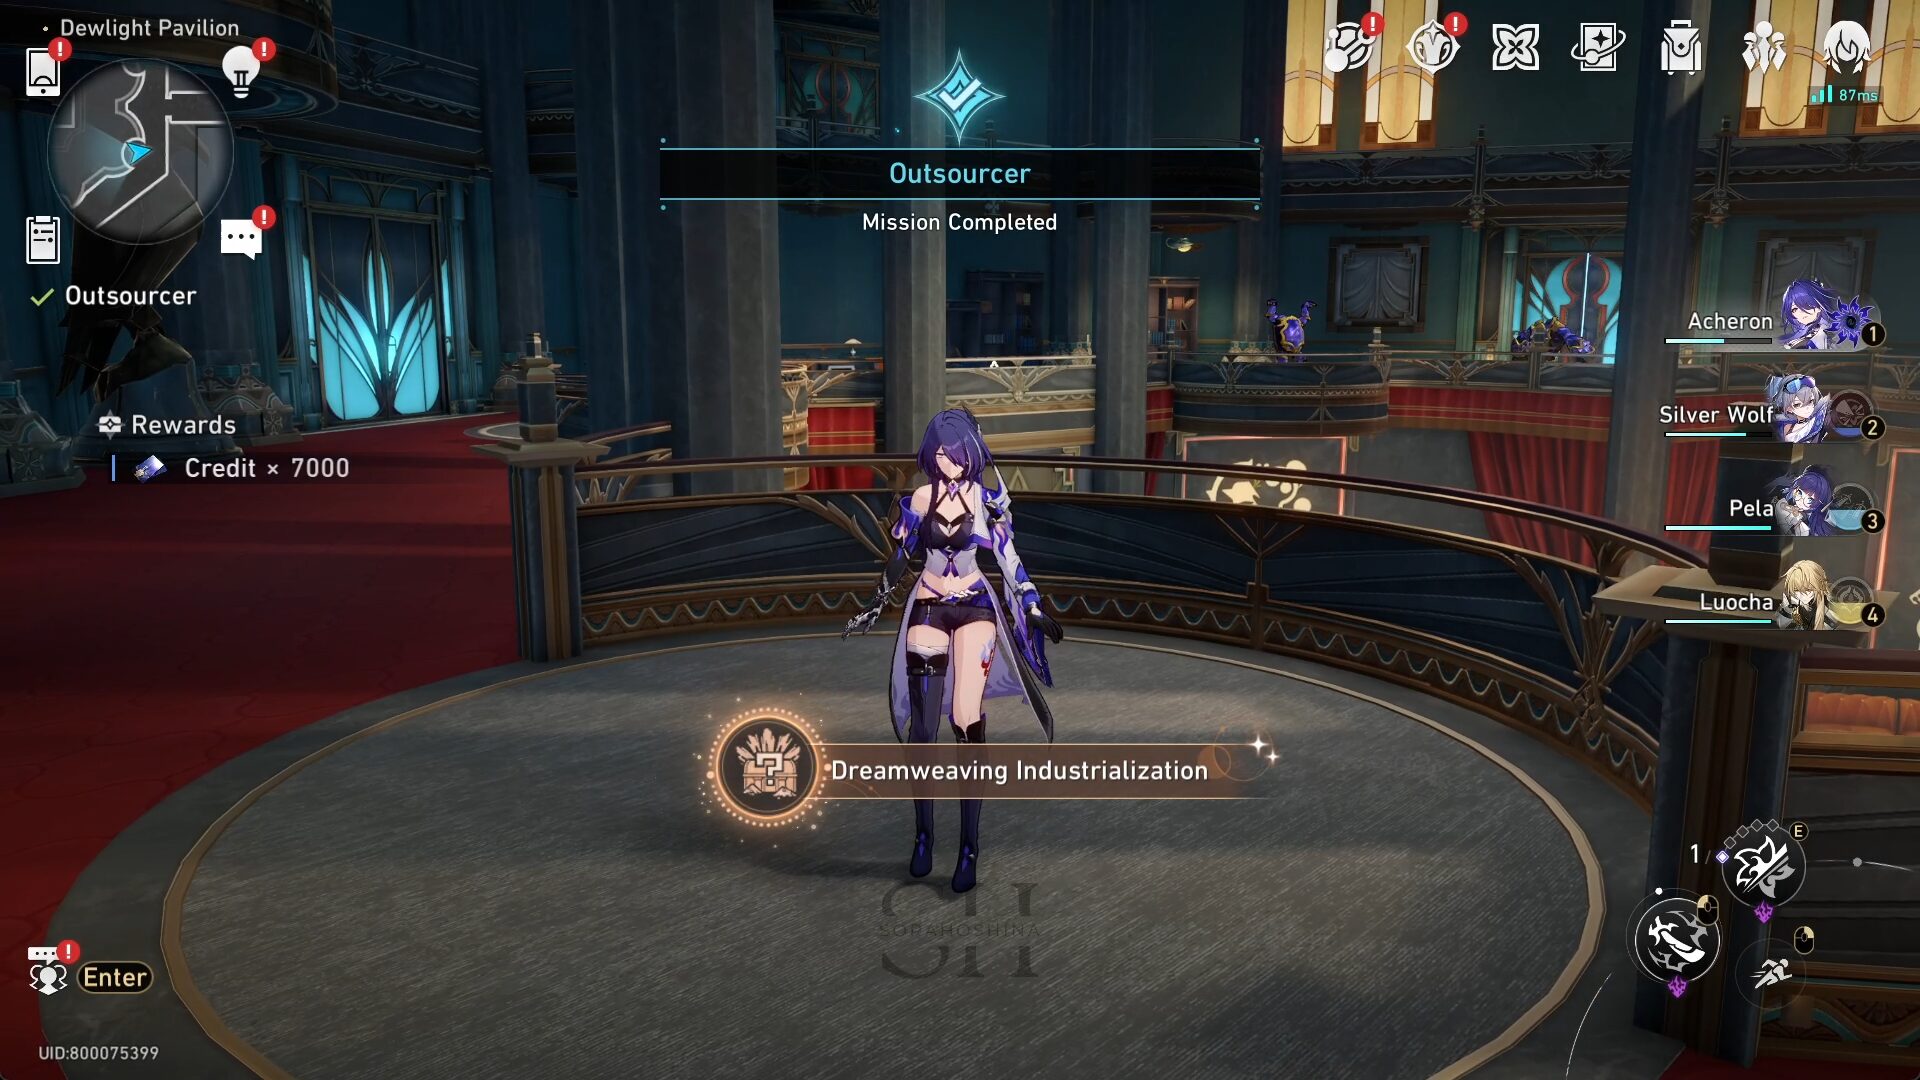
9) Talk to Burton one last time to complete the quest and get the achievement 'Dreamweaving Industrialization.'

Sora
Articles: 233More Articles
Honkai: Star Rail Stellar Shimmer Event Guide
Honkai: Star Rail Redemption Codes – July 2024
Honkai: Star Rail Version 2.3 Tier List (July 2024)
Honkai: Star Rail Jade Character Guide
Honkai: Star Rail Boothill Character Guide

Honkai: Star Rail Xueyi Character Guide
Honkai: Star Rail Misha Character Guide
Honkai: Star Rail Gallagher Character Guide
Honkai: Star Rail Ruan Mei Character Guide

Honkai: Star Rail Firefly Character Guide
Honkai: Star Rail Memory of Chaos Stage 12 Guide (V2.2 – A Song’s True Theme)
Honkai: Star Rail Memory of Chaos Stage 11 Guide (V2.2 – A Song’s True Theme)
Honkai: Star Rail Memory of Chaos Stage 10 Guide (V2.2 – A Song’s True Theme)
Honkai: Star Rail Memory of Chaos Stage 9 Guide (V2.2 – A Song’s True Theme)
Honkai: Star Rail Memory of Chaos Stage 8 Guide (V2.2 – A Song’s True Theme)
Honkai: Star Rail Memory of Chaos Stage 7 Guide (V2.2 – A Song’s True Theme)
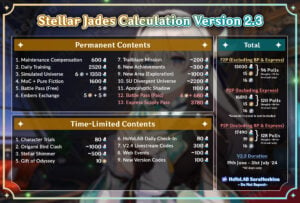
Honkai: Star Rail Stellar Jades Calculation in Version 2.3

Honkai: Star Rail Version 2.3 Special Program Livestream Overview
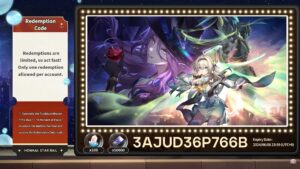
Honkai: Star Rail 3 New Redemption Codes from 2.3 Livestream