Table of Contents
There is one new Xianzhou Luofu area called The Shackling Prison with tons of new treasure chests. You can check all the icons of space anchor, treasure chest, origami birds, etc in the official interactive map. In total, there are 38 treasure chests in this area, including puzzles and Lordly Trashcans.
All Treasure Chests in Xianzhou Luofu, The Shackling Prison


Video Guide
F1 Only

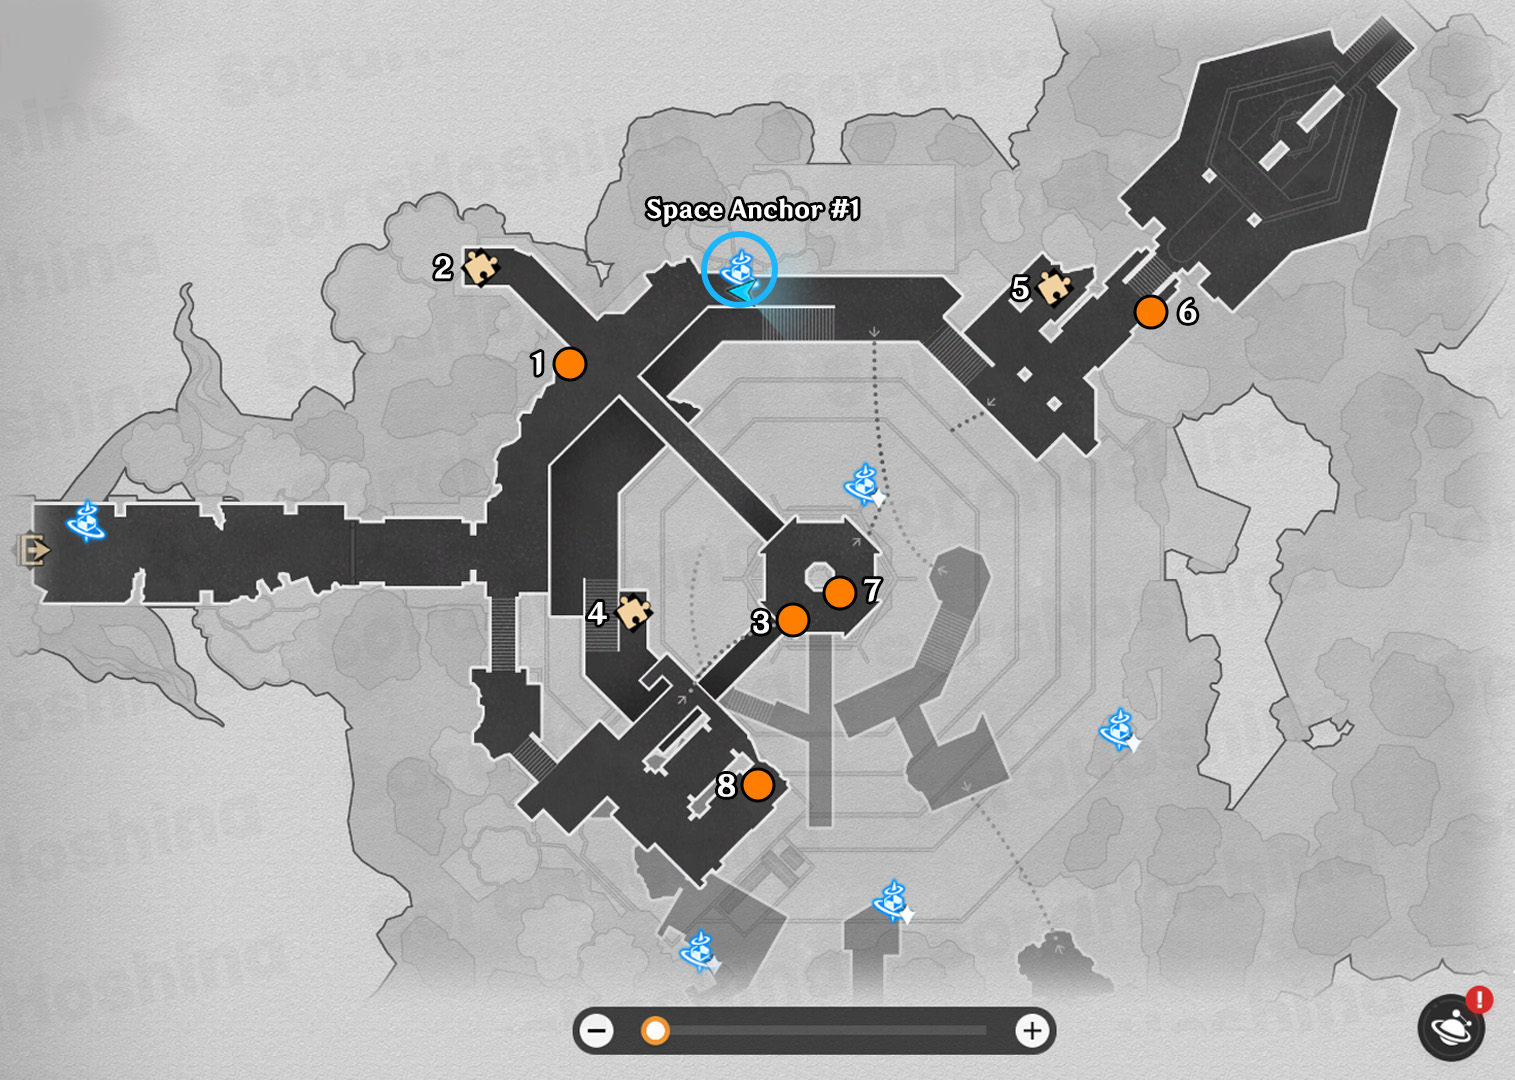
TREASURE CHEST #1
Teleport to space anchor 1 and head southwest towards a treasure chest beside a light source.

TREASURE CHEST #2
Enter the path to the northwest and you will see a brand new Haxenexus puzzle. This time, you need to stack cubes to match the floating ones. Stack the cubes to follow the image below:


TREASURE CHEST #3
Teleport to space anchor 1 and head south to the lower platform using the stairs. Go to the middle of the lower platform to find the treasure chest.

TREASURE CHEST #4
Go back to the stairs before and interact with the cycrane. The solution for the Abacus Jade puzzle can be seen below. Solve the puzzle and follow the cycrane to spawn a chest.

- Select button 1 and rotate left 2 times
- Select button 2 and rotate left 1 time

TREASURE CHEST #5
At the previous location where you claim the cycrane's chest, go north toward a puzzle. Stack the cubes to follow the image below:


TREASURE CHEST #6
Go around the corner to find a long stair. There's another chest beside the stairs.

TREASURE CHEST #7
From the previous location, turn around and use the teleporter to reach the upper platform (southwest).


TREASURE CHEST #8
Use another teleporter near the previous chest that heads to the southwest then go to the edge of this area for another chest.

B1 Only


TREASURE CHEST #9
Teleport to space anchor 1 and go to the nearest teleporter to reach B1. Once arrive, go down the stairs and you can see a chest at the end of the corridor.


TREASURE CHEST #10
Turn around and go to the small room on the right. There's a chest before the teleporter in this room.

TREASURE CHEST #11
Teleport to space anchor 2, look to the south, and use the mechanism to reach the small platform to the west.

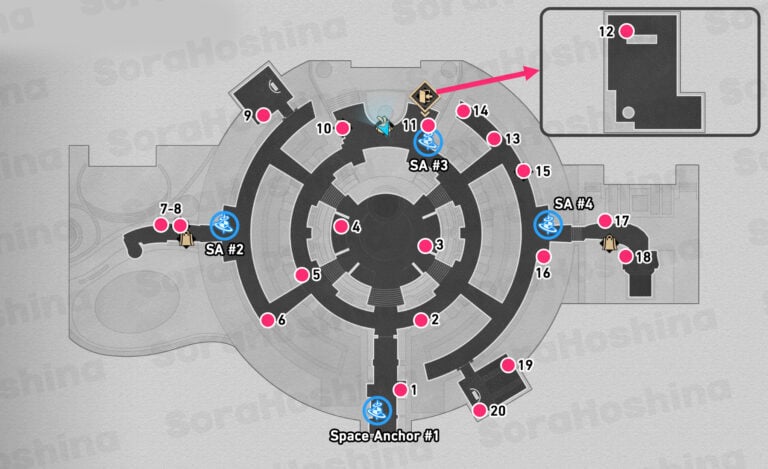
TREASURE CHEST #12
Head southeast towards the back of the huge containers and get another chest.

TREASURE CHEST #13
Teleport to space anchor 2 and head north for another Hexanexus puzzle. Stack the cubes to follow the image below:


TREASURE CHEST #14
From the previous spot, go up the stairs on the west and get a treasure chest on top of the container.
B2 Only


Teleport to space anchor 3, head north to the middle area of the prison, and use the lift to go to the Transitory Hold floor (B2).

Once you reach B2, turn around and you can find a cycrane. All the chests in B2 will use this cycrane.

TREASURE CHEST #15
Once you use the cycrane, ascend a little bit and look to the south for the first chest in this area.

TREASURE CHEST #16
Get out of the cycrane and enter it again. Descend a little bit and you can see a mechanism. Use the mechanism to open a hidden chamber that has a treasure chest in it.

TREASURE CHEST #17
From the previous location, head back to the previous mechanism to switch the path Harry Potter style and open another hidden chamber for another treasure chest.

TREASURE CHEST #18
Go back to the middle area towards the mechanism. Use the mechanism to switch the path and look to the north for a different chamber. Head inside there and go to the left side for a chest.

B4 Only


TREASURE CHEST #19
Teleport to space anchor 4 and right after arrival, you will see a cycrane. Interact with it to control the cycrane.
Once you turn to the bird, fly straight (to the northwest) and you will see a chest.

TREASURE CHEST #20
Next, look to the south and ascend to the top for a chest on top of the pillar.

TREASURE CHEST #21
Get out from the cycrane mode and go downstairs to Hoolay's prison. You can see another chest on the side of the area.

TREASURE CHEST #22
From the previous spot, go to the Warp Trotter in the middle area.
B3 Only


TREASURE CHEST #23
Teleport to space anchor 5 and head northeast to the teleporter to reach the north area. After arrival, take the treasure chest near the rubble.


TREASURE CHEST #24
Go back to the teleporter to reach the northeast area and get another chest near the Bosirin enemies.

TREASURE CHEST #25
Teleport again to space anchor 5 and use the mechanism to switch the bridge's path to the east area. Cross the bridge and solve the Hexanexus puzzle. Stack the cubes to follow the image below:


TREASURE CHEST #26
Ahead of the Hexanesux puzzle is a Formidable Foe. Defeat it to unlock the treasure chest.

Teleport again to space anchor 5 and look to your left. If the bridge isn't there, use the mechanism to let down the bridge.

Once you cross the bridge to the upper platform, use another mechanism to make the bridge go upwards.

TREASURE CHEST #27
Cross the bridge and get the treasure chest right in front of you.

TREASURE CHEST #28
Walk ahead and solve another Hexanexus puzzle. Stack the cubes to follow the image below:


TREASURE CHEST #29
Go down the bridge and head to the lift in the center. Walk around the lift for another chest.

Go back to the lift and use it to go to the Transitory Hold floor (B2). Once arrived, turn around and use the teleporter in the image above. This will lead you to B3 once again.

TREASURE CHEST #30
Go down the stairs and check the side of the stairs for another treasure chest.

At the previous location, head northeast and use the mechanism so the bridge will lead you upstairs.

TREASURE CHEST #31
In the 'office,' turn left for a treasure chest.

TREASURE CHEST #32
Go to the right side of the 'office' and solve the Hexanexus puzzle. Stack the cubes to follow the image below:

Hexanexus: Remake Part 2

After you solve all the Hexanexus: Remake puzzles in The Shackling Prison for the first time, you will get a message from the Hex Club. He will give you a mission and you can follow the navigation to meet him.
Once you meet him, all the Hexanus: Remake puzzles will refresh so you'll have to solve all of them again for another set of chests. All the locations are marked on the map so you won't miss it. The solution for each puzzle can be seen below.
TREASURE CHEST #33


TREASURE CHEST #33
Look to the north of the prison and you can see the first puzzle. Stack the cubes to follow the image below:

TREASURE CHEST #34 - #36


TREASURE CHEST #34
Teleport to space anchor 5 and go to the area in front of you using the bridge. Stack the cubes to follow the image below:


TREASURE CHEST #35
Teleport to space anchor 5 again and use the bridge on your left twice to reach the upper platform with the Hexanexus puzzle. Stack the cubes to follow the image below:


Go down the bridge and use the lift in the middle to go to the Transitory Hold floor (B2). Use the teleporter on the left to reach B3 again.

TREASURE CHEST #36
Once you reach B3, go down the stairs and look to the left for the 'office.' Stack the cubes to follow the image below:


TREASURE CHEST #37 & #38


TREASURE CHEST #37
Teleport to space anchor 1 and head west for the second last Hexanexus puzzle. Stack the cubes to follow the image below:


TREASURE CHEST #38
Teleport again to space anchor 1 and head east for the last puzzle. Stack the cubes to follow the image below:


Sora
Articles: 368More Articles
Honkai: Star Rail Version 3.0 Special Program Livestream Overview
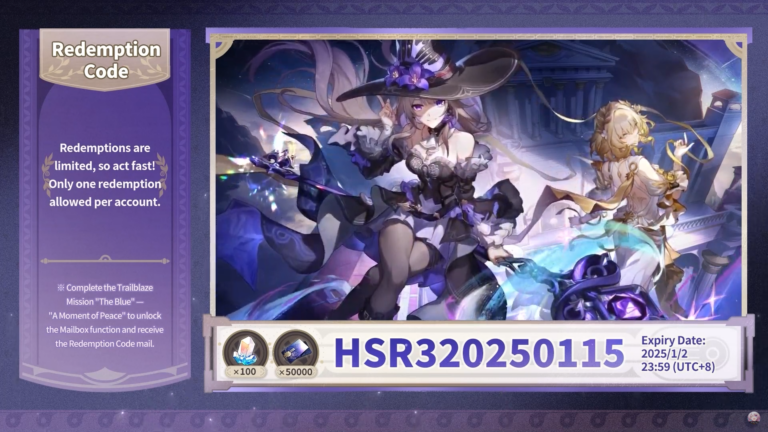
Honkai: Star Rail 3 New Redemption Codes from 3.0 Livestream

Honkai: Star Rail Redemption Codes – January 2025
Honkai: Star Rail Fugue Character Guide

Honkai: Star Rail Pure Fiction Technicality Entrapment Guide
Honkai: Star Rail Jing Yuan Character Guide

Honkai: Star Rail Apocalyptic Shadow V2.7 Gusty Primate Guide
Honkai: Star Rail Which 5-Star Standard Character Should You Choose?
Honkai: Star Rail Sunday Character Guide
Honkai: Star Rail All 26 New Achievements in Version 2.7

Honkai: Star Rail Cosmic Home Decor Guide (Event Guide)
Honkai: Star Rail New Dialogue Inclinations (For Achievements) in Version 2.7
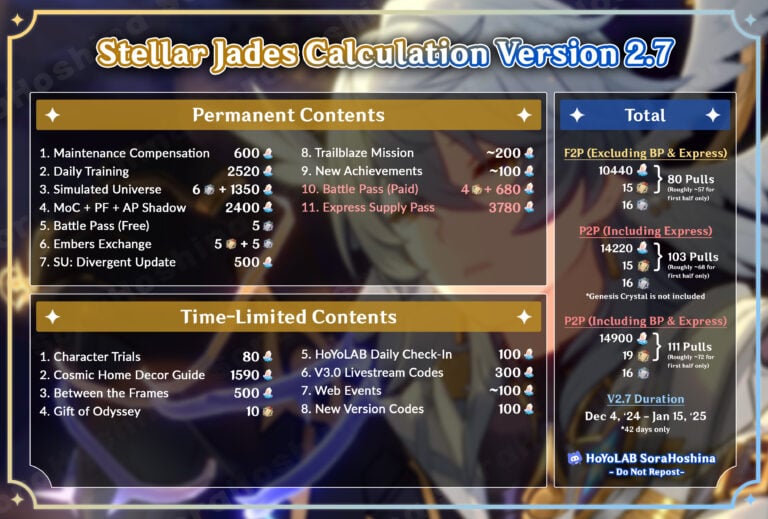
Honkai: Star Rail Stellar Jades Calculation in Version 2.7
Honkai: Star Rail Version 2.7 Special Program Livestream Overview
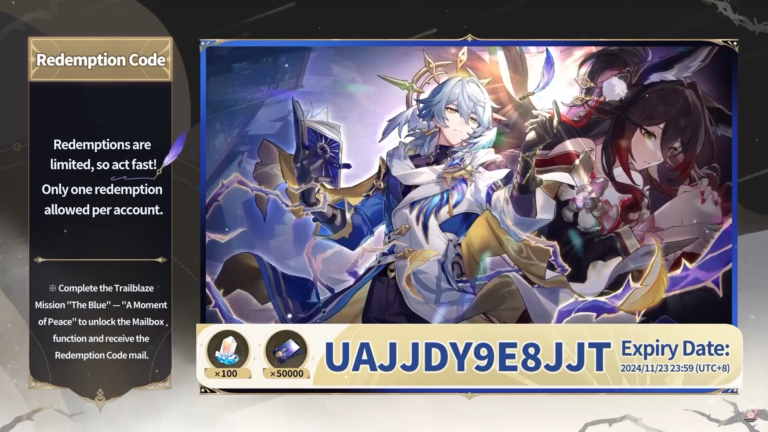
Honkai: Star Rail 3 New Redemption Codes from 2.7 Livestream
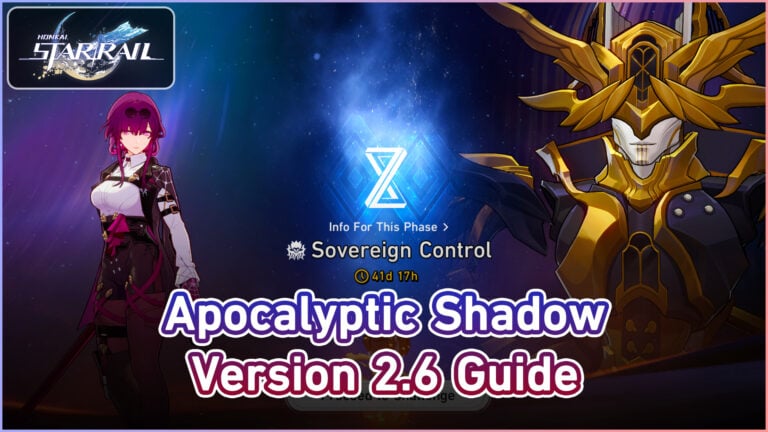
Honkai: Star Rail Apocalyptic Shadow V2.6 Sovereign Control Guide
Honkai: Star Rail Rappa Character Guide
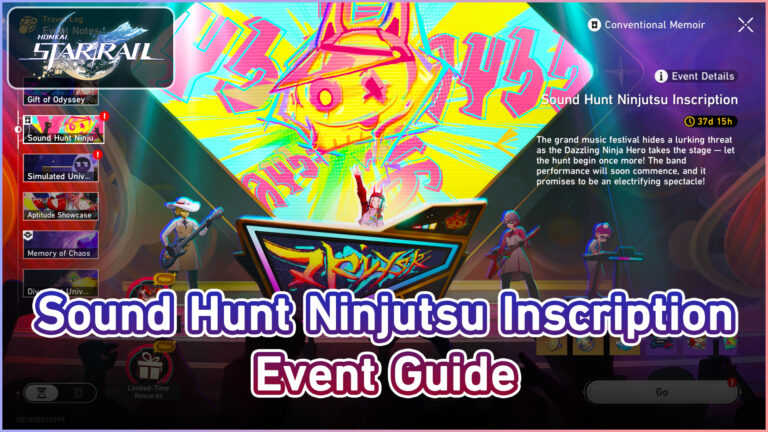
Honkai: Star Rail Sound Hunt Ninjutsu Inscription Event Guide
Honkai: Star Rail All Treasure Chests in Penacony (Penacony Paperfold University College)