Table of Contents
A gigantic Titan born within Duchess Orlova, first witnessed at Suzdal Launch Base.
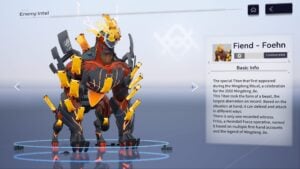
Lament of Yehrus (nicknamed “Disco Ymir” due to its appearance) or just Yehrus for short, is a large stationary boss that debuted in chapter 12, part 2 of the main story. It may look imposing, but its gameplay actually turns out to be quite simple.
Back to Neural Simulation overview
Behaviour and Attacks
Yehrus has two phases, but largely share the same move set.
Basic Attacks
Dark Vortex
Yehrus summons two cubes that slam into the ground and explode into smaller bullets. The cubes don’t seem to actually target you and the bullets don’t do a lot of damage, so this ends up being a freebie attack that you don’t have to worry about.
Ice Tears
Yehrus casts four targeted attacks that stagger on hit. These can be avoided with a well-timed dodge. At higher difficulty levels the number of attacks is supposedly increased to six, but this doesn’t seem to actually happen.
Sniping Squall
Yehrus targets your current location, then repeatedly bombards it with staggering ground-targeted attacks. These attacks come out quite quickly, so it’s recommended to avoid being caught by them in the first place. At higher difficulty levels, Yehrus will target you twice.
Summon Gurah
Yehrus summons groups of Gurahs (the ball-shaped titans) to attack you. This can be in two forms.
Three Gurahs are summoned. Two launch a cluster of bullets, while the third fires a laser that staggers on hit. After they leave, the attack is repeated but from the opposite side of the arena.
A row of Gurahs are summoned with each firing a laser in front of it that staggers on hit. At higher difficulty levels, the Gurahs will fire three times.
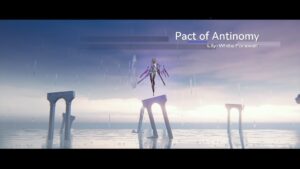
Pillars
Once Yehrus reaches 75% HP, it will become invulnerable and summon several pillars after a delay. These pillars have parts HP, and all need to be broken before the fight can continue. Once all pillars are broken, Yehrus will enter a break state for a period of time before resuming combat. Make sure to target the glowing “crown” while it’s downed for optimal damage. This portion of the fight actually turns out to take the longest for most players, so being able to quickly break all the pillars is important to getting good times.
As a general rule, starting from one side then sweeping to the other is preferred as this prevents you from having to waste time doubling back. Half of the pillars are on the ground, while half are on elevated platforms. Since the pillars on the platforms don’t allow you to break them if you aren’t on the same platform as them (thanks Seasun), it is recommended to not have to return to ground level once you jump up to a platform via a jump pad. Below is an example of optimised pillar break pathing.
The pillars always spawn in the same location, so you can pre-aim at the location where one will spawn.

Starting on the bottom left makes this easy as you can target this root.
Phase 2
Yehrus retains the same move set as in phase 1, but with some changes:
- Sniping Squall releases two extra targeted bombardments
- Dark Vortex summons one additional cube
As well, Yehrus gains a new attack.
Crashing Star
Yehrus slams a star into the arena, causing a global stagger and releasing a swarm of bullets. At higher difficulty levels, this will also create an expanding zone on the ground level that deals damage over time if stood on.
Strategy
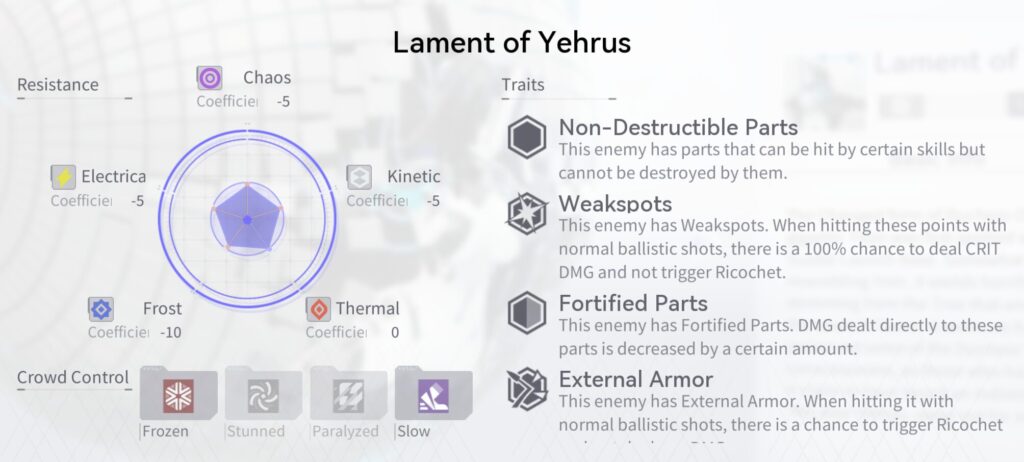
Some of Yehrus’ attacks can be pretty scary and annoying to deal with. However, Yehrus is also… really squishy. It quite possibly has the least effective health of all Neural Sim bosses, and its extremely large weak spot (its head or the glowing crown in phase 2) makes bursting it down before it can even do any of its particularly annoying attacks not just viable, but the reality for most players. When you also consider the very generous period of time where Yehrus is downed after the pillar phase, it ends up being quite a trivial fight, with phase 2 often not even taking place due to how fast you can shred through the remainder of its health bar. Sometimes the best defence is a good offence, and this is certainly one of those cases.
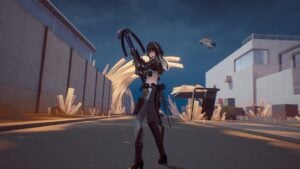
So with Yehrus effectively being a disco ball punching bag, optimising your raw damage output and efficiently breaking pillars will be the top priority for almost all players as defensive utility will not be needed. Yehrus has two targetable parts in phase one, and three in phase two. These provide extra targets for Chenxing - Ethereal Cloud to scan which makes her a great choice here, but any strong DPS will do well enough. As well, make sure you have a proper pillar breaking setup; they have parts HP so it might be worth checking the overview on parts breaking in the general Neural Sim guide.
Pillar Skip
With the pillar phase taking up half or more of the runtime of fast Yehrus clears, being able to skip it would be a massive time save. As it turns out, it’s possible, but requires certain specific conditions to be met, and a lot of luck.
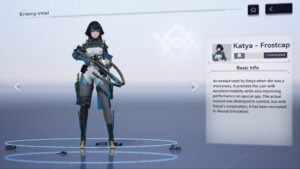
If you push Yehrus past its 75% HP trigger while it’s frozen, there’s a small chance that it’ll perform Crashing Star once it unfreezes (presumably because some part of the game thinks you’re already in phase 2). If this happens, the pillar phase never happens, and you can directly proceed to phase 2. A highly invested Katya turns out to be really good at the setup for this due to her ability to freeze Yehrus on her own. However, the odds of this are extremely low, on top of requiring said freeze setup. I wasn’t able to get it to happen at all, and a personal friend of mine and fellow speedrunner (whose example run is shown below) reported only two successful skips in an entire hour of attempts.
Attempt this at the risk of your sanity.