Table of Contents
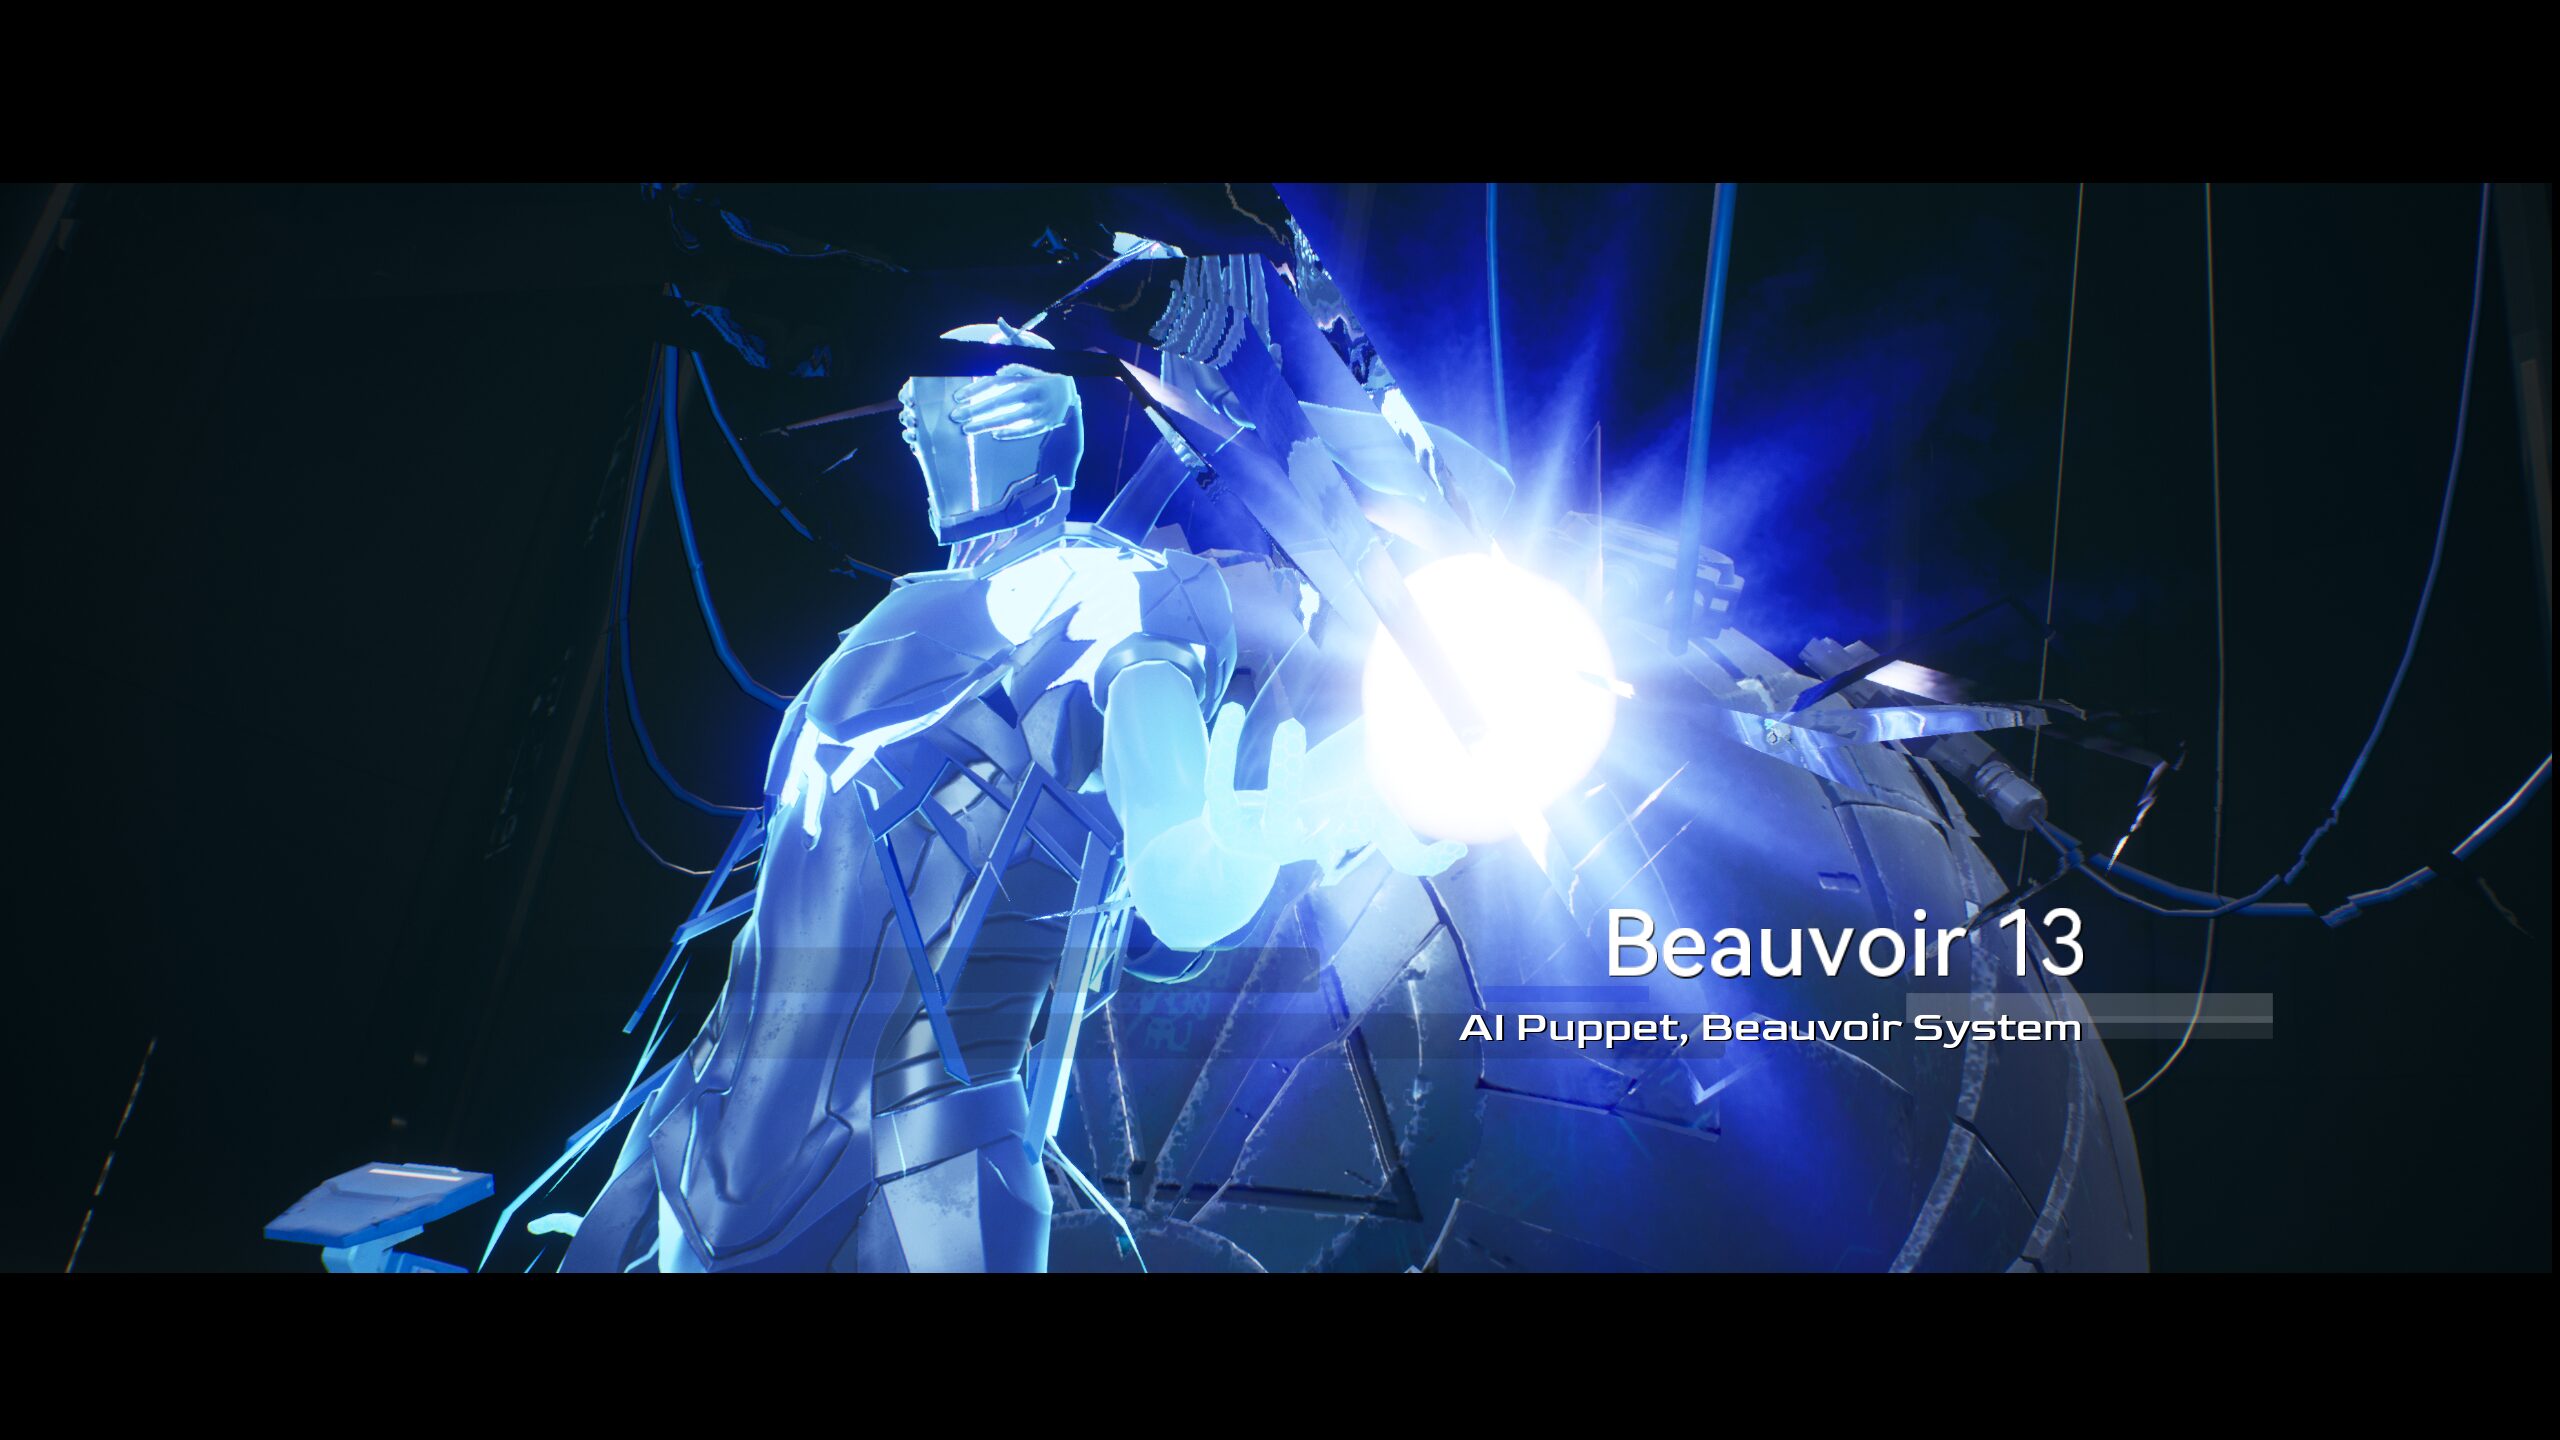
One of the nodes of the AI puppet, the Beauvoir System. It's serialized as node 13. No further information about it is known.
Beauvoir 13 is one of the first bosses players will encounter, being featured in chapter 2 of the main story. It shares many attacks and its overall appearance with Sartre, but is simpler overall, making it one of the least threatening bosses in the game.
Back to Neural Simulation overview
Attacks and Behaviours
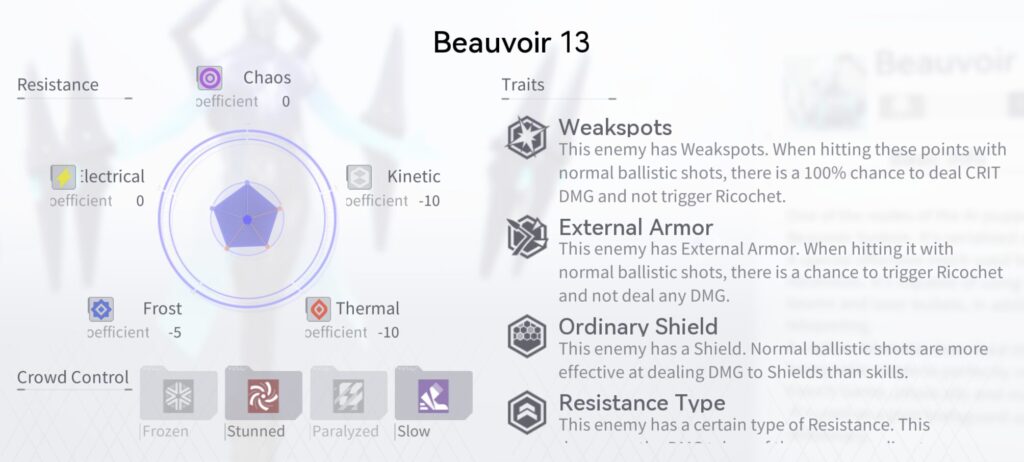
Beauvoir has three phases, with it gaining new attacks as you move into later phases. It also starts the battle with an HP shield.
During the battle, Beauvoir will regularly teleport around the map. At higher difficulty levels, this will also cause two flares to be fired towards you from the original location.
It’s worth noting that sometimes Beauvoir will teleport without performing an attack, and the duration that it stays there before teleporting can vary. Beauvoir can also teleport behind the pillars in the map, preventing you from shooting it. You can take this opportunity to catch your breath, or you can reset the fight to not lose DPS.
Phase 1
Penetrating Light
Pretty much the same as the attack that Sartre uses. It summons a field of lasers that deal a small amount of damage, but do not stagger. After a delay, larger white lasers will fire where the blue lasers were, dealing damage and knocking back operatives.
Casual players: Once the first set of lasers appear, that’s your cue to run out of the targeted area.
Speedrunners: This attack could cause you a lot of headaches, as it knocks you back and is probably the only attack you’ll be seeing it do most of the time (Beauvoir really likes using this attack for some reason). It may be necessary to adjust your timings to avoid getting knocked back. Consider using a support skill when it fires the lasers to not drop DPS while still getting ability rotations off.
Nuclear Light
Just a stream of bullets. Sidestep it or ignore it altogether. This is a complete freebie.
Down
Upon decreasing Beauvoir’s HP to 85%, it will enter a downed state where you can freely attack it. Once it recovers, it regenerates its HP shield and enters phase 2.
Phase 2
Beauvoir gains two new attacks.
Homing Flares
Beauvoir fires three flares towards you. At higher difficulty levels, it will also fire “fans” of homing bullets towards you as well. Yes, those are not actually the main attack. This attack does not stagger, and the individual damage of each projectile is low enough that you can afford to take a few hits in order to maintain DPS.
Blocking Laser
Beauvoir charges up, then fires a large laser at you that does a large amount of damage and knocks you back on hit. At higher difficulty levels, Beauvoir will fire three in a row, which can make it difficult to recover in time to dodge followup lasers if you get hit by one. You can actually sidestep this, but it’s worth getting the dodge timing down for this if you find yourself dealing with this attack a lot.
Down
When Beauvoir’s health reaches 55%, it will once again enter another downed state. Like with the first down, Beauvoir will regenerate its HP shield once it recovers before moving to phase 3.
Phase 3
Beauvoir gains one final new attack.
Simulated Thunderbolt
Beauvoir fires a lighting bolt into the air that splits into ground-targeted attacks that stagger on hit. At higher difficulty levels, the number of attacks increases from 3 to 5, and each attack will have its targets increased from 3 to 5 as well.
Casual players: While Beauvoir is using this attack, he can’t do anything else. That means you can focus on looking at the ground to see where the attacks will land so you can avoid it.
Speedrunners: While Beauvoir is using this attack, he can’t do anything else. That means you can freely attack it as long as you make sure to get your dodge timings right. Your character will also glow red if you’re in the area of effect of an attack, meaning you can skip having to check where attacks will land and avoid unnecessary dodges if you pay attention to that.
Strategy
No, really.
Beauvoir is known as the punching bag of Neural Sim bosses for a reason. Its highly telegraphed, low-threat attacks and the lack of any mechanics that gate the speed at which you can kill it (arguably the biggest difference between Beauvoir and Sartre, who has multiple invulnerability triggers) means that you can go full offence with very little regard for any defensive strategy. The fact that Beauvoir regains its HP shield after every down further incentivises fast kills that don’t ever see Beauvoir get back on its feet when downed. It’s by far the easiest boss to get a fast time on if you have the damage for it, and all you really have to do is keep your foot on the gas pedal while making sure to not die outright.
Beauvoir’s HP shield naturally means that gun damage DPS options will have an advantage, and this is yet another boss that’s food for the standard boss nuking team comp of Yao - Winter Solstice, Mauxir - Shadow Ka, and Tess - The Magician. But whatever you choose to bring, remember that this is a boss where you can go full damage and not really get punished for it.