
Table of Contents
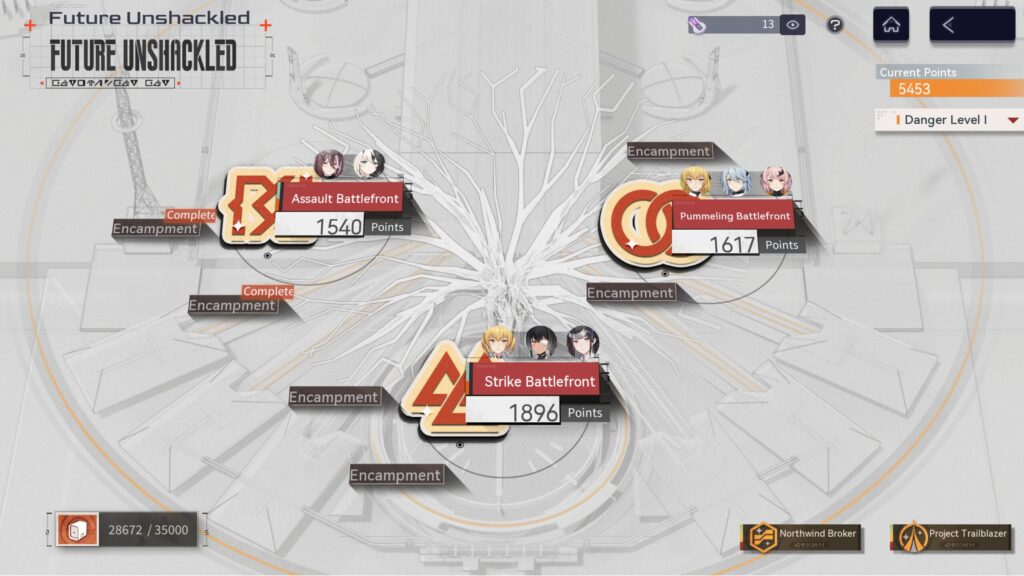
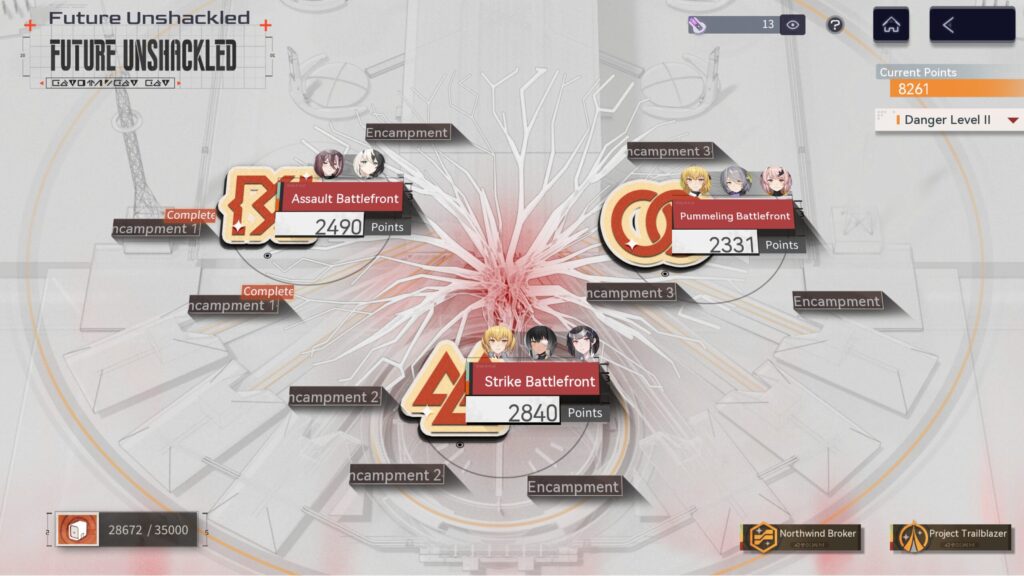
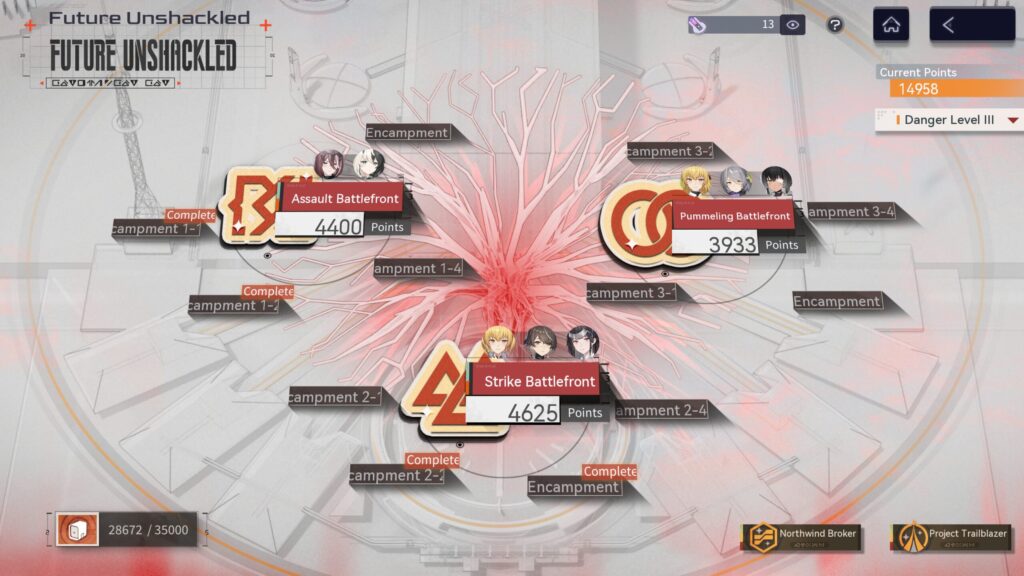
Future Unshackled is a "Strike Battlefront" game mode where you are tasked with clearing three stages at three different difficulty levels to obtain points based on your best score. You can also clear a series of mini-stages that will give a one-time points boost and different buffs for the associated main stage. Increasing your points total will grant rewards, with the final reward being unlocked at 35,000 points. This iteration of the Strike Battlefront event is arguably the most difficult one yet, as it requires players to have two built DPS operatives (previous iterations let you get away with one or even no DPS operatives of your own). For those without high-end setups, this can be a daunting task, so this guide will assist you in making your journey to hitting 35,000 points and getting the unique profile frame as painless as possible.
One important note: this guide does NOT expect you to have an armory full of SSR operatives and weapons. What this guide DOES expect is that the characters, weapons, and logistics pieces you use are max levelled. This means that if you're brand new to the game, maxing out this event might not be possible. That said, give it a shot anyways and see how high you can go.
You Will Need
This is about as low as I could really go while still staying relatively sane. If you have better options available to you, use those.
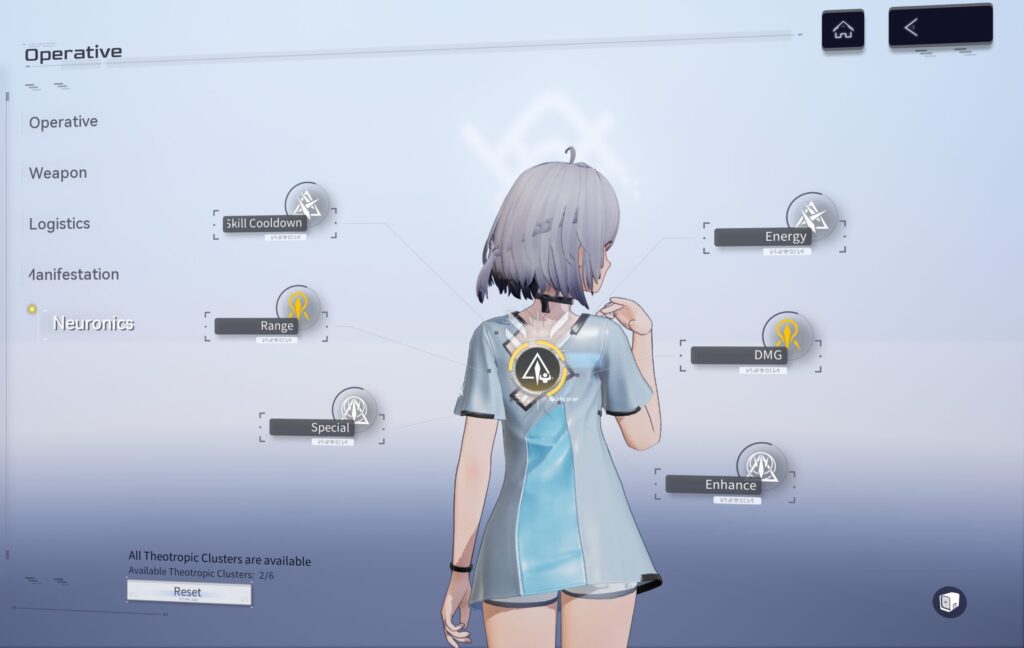
DPS Operatives
Unfortunately, there are no known bugs that let you cheese any of the stages, and of the three trial units given, only one is a DPS. This means that you'll have to bring two of your own.
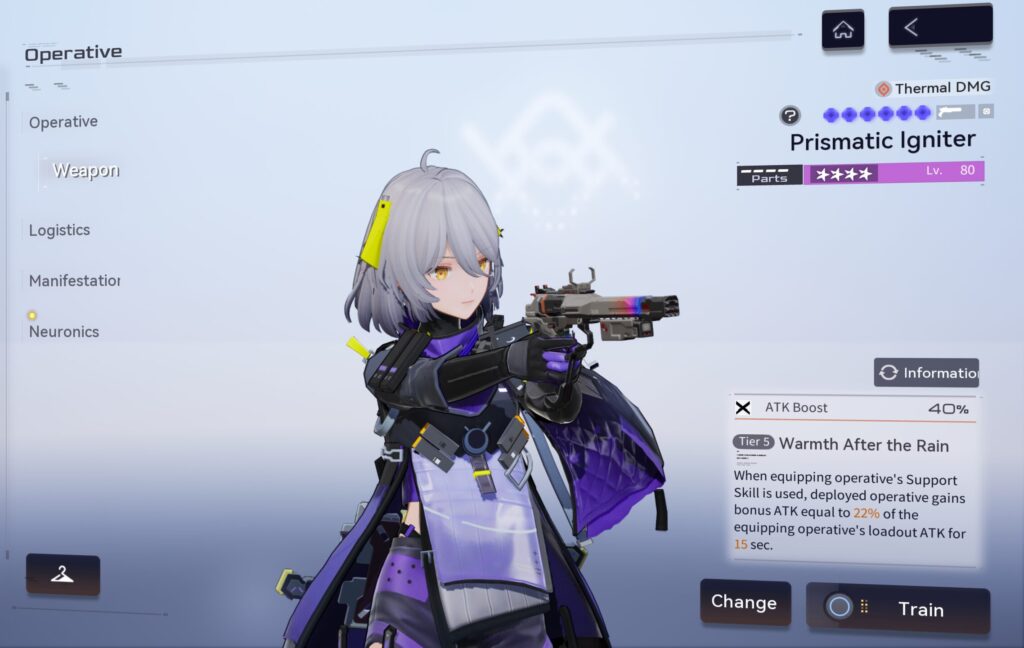
An important thing to keep in mind here is that you don't have to run the exact same setup as I show here. These are just to give an idea of the strength needed from your DPS pick. Any other pick that has equivalent or better performance should do just fine as a replacement. I would however recommend that you stick to ballistic damage-based operatives though, as they are much better suited to the job here. I went with Fenny - Lionheart and Fenny - Coronet, as both are relatively easy to obtain operatives (Lionheart is a freebie and Coronet is a standard banner character that could also be picked from the SSR selector) that are decently well-suited to the stages they'll be fighting. Maybe this really is a Fenny game.
DPS #1 (The "Better" DPS)


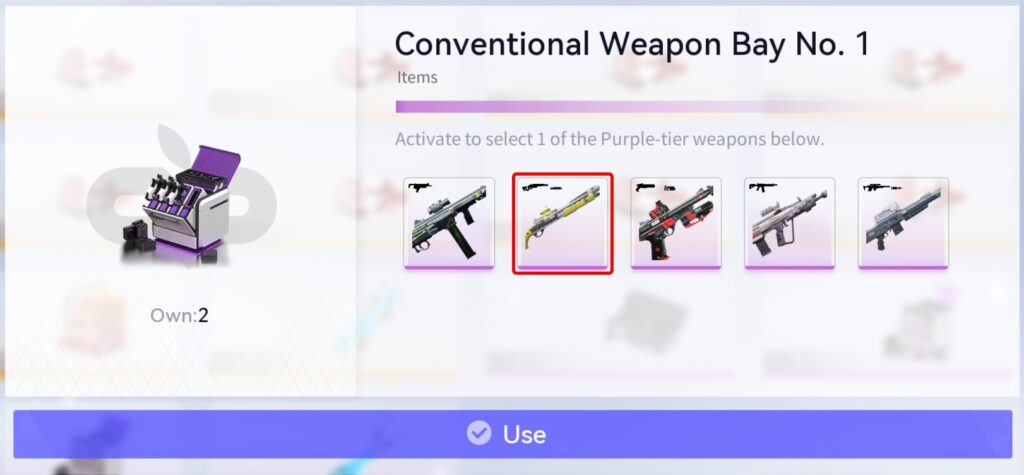
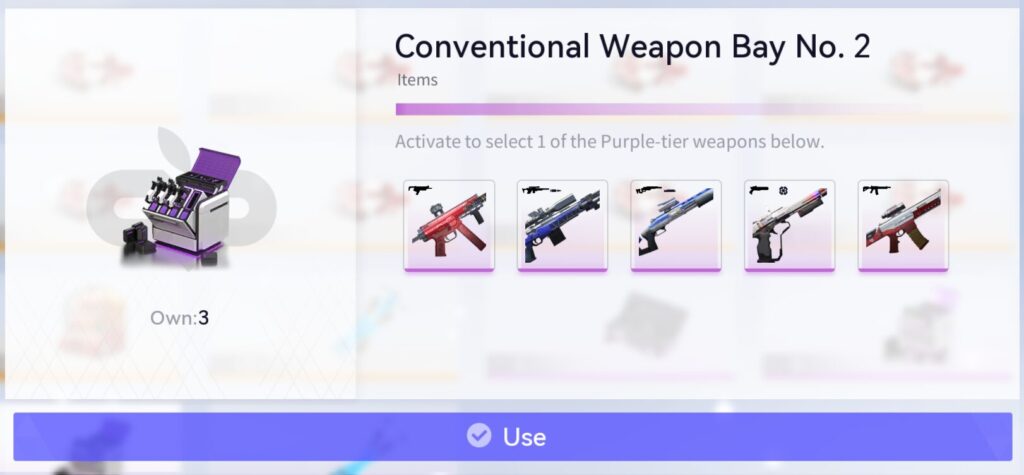
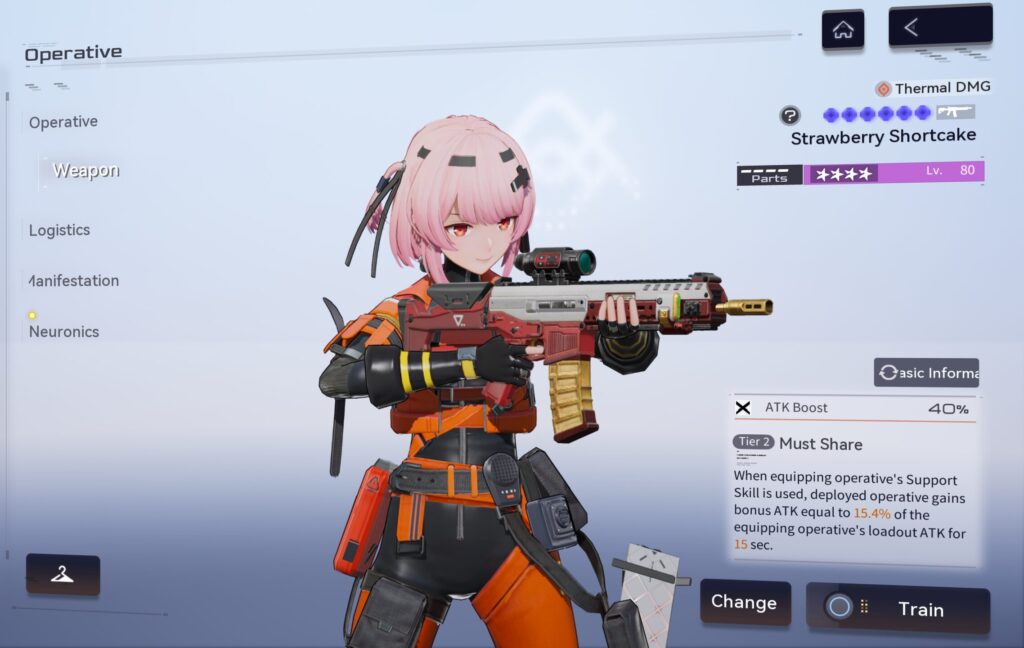
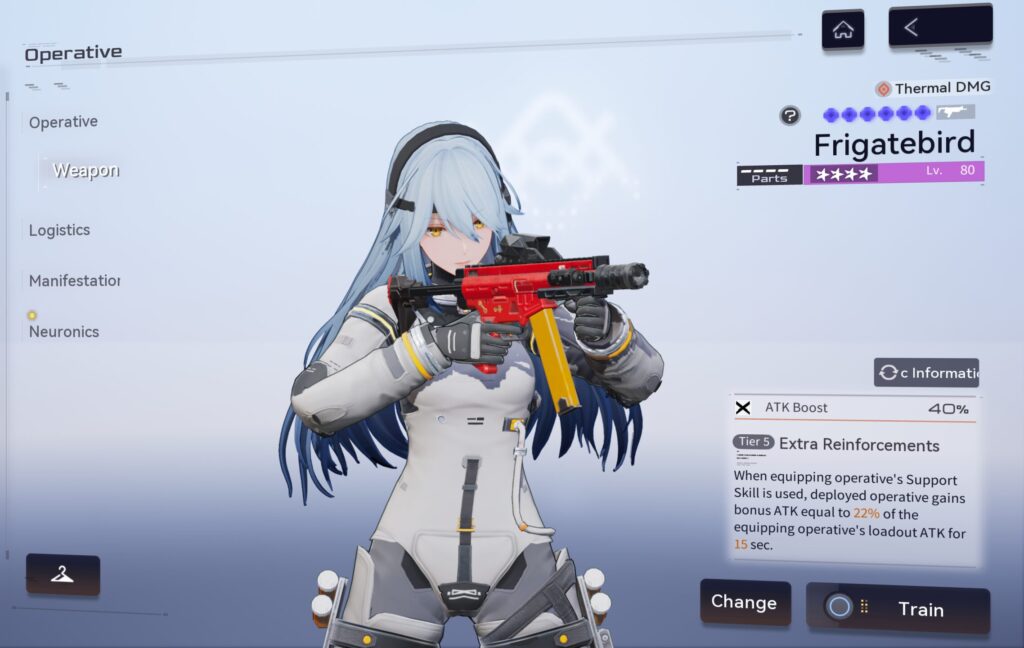
Our first DPS, and it should the best one you have. I chose to use Fenny - Coronet, and it's the only non-trial SSR operative used in this setup. For those who also don't have Discordance like me, but can't just use a nerfed Sunny Payback to pretend you do, it can be obtained from one of the weapon boxes you should have received at some point.
This operative will be used for the Pummel stages, so if you plan on using your own substitution, make sure it's an operative suited for longer-duration fights.
DPS #2 (The "Less Good" One)
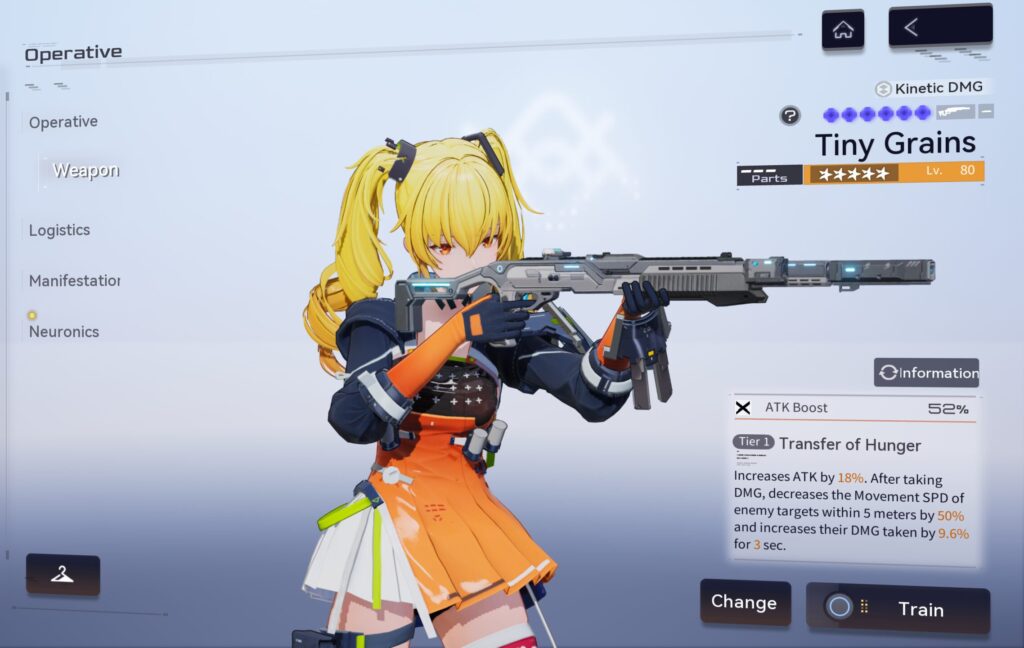
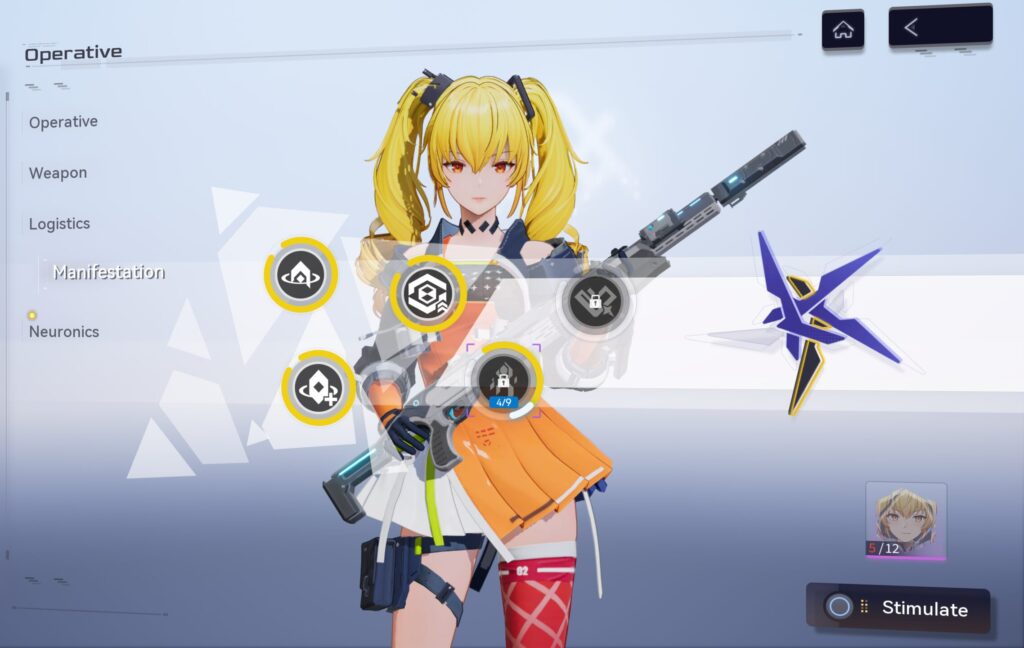


Your second best DPS. I use Fenny - Lionheart but again, you can substitute your own higher-end alternatives. It will be used for the Strike battlefront, so more burst-heavy operatives can do well here.
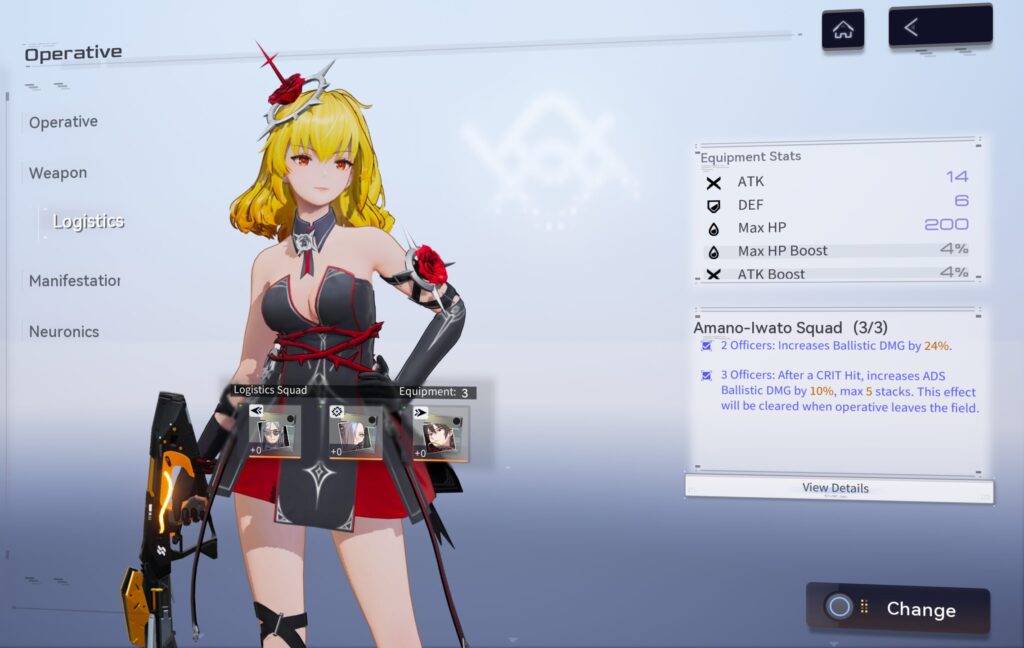
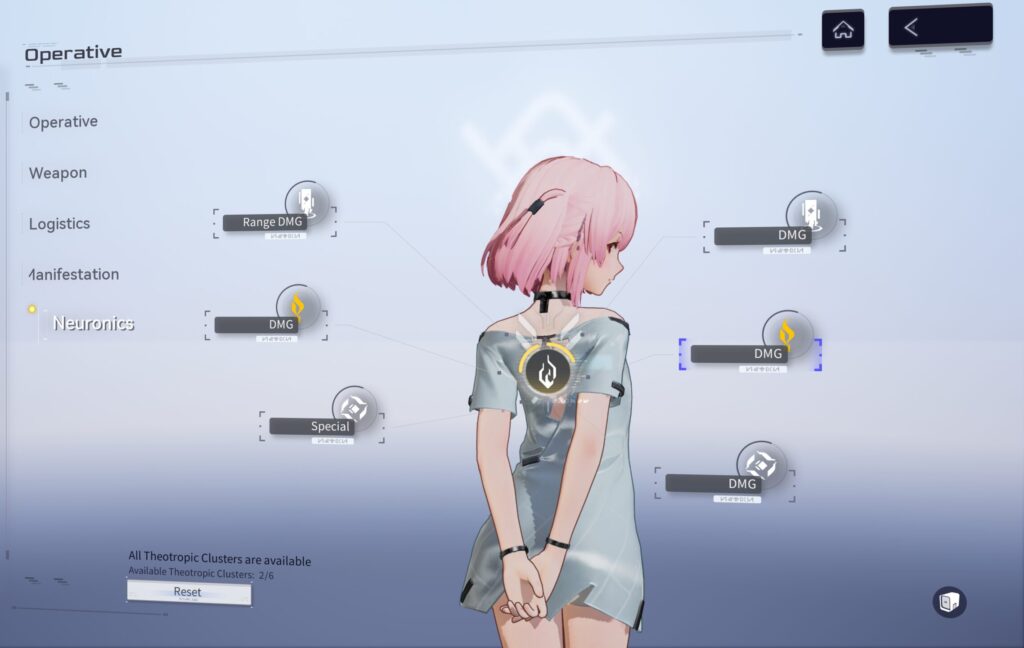
Support Operatives
A good DPS is nothing without supports backing them up. All supports here will be using their respective SR support weapon, which can be obtained through weapon boxes that you should have gotten as a new player:
Amarna Applier
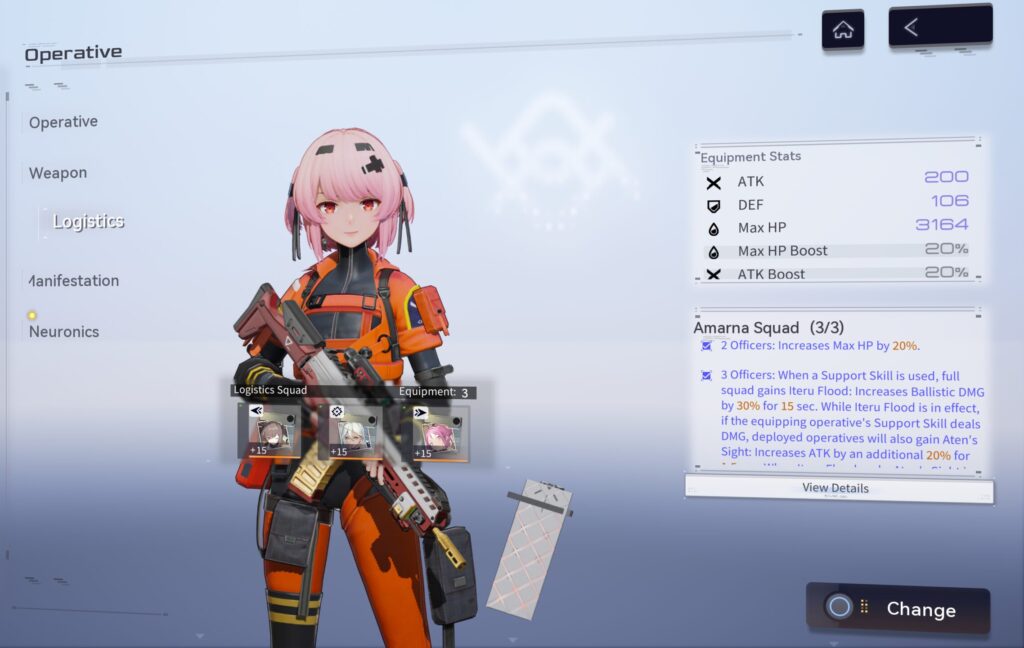
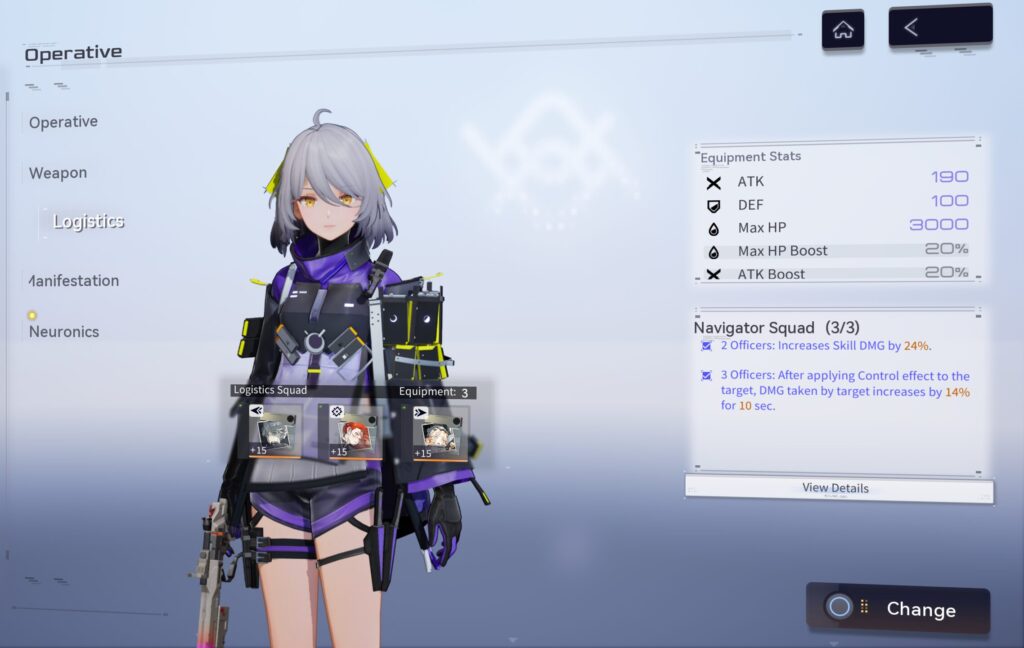
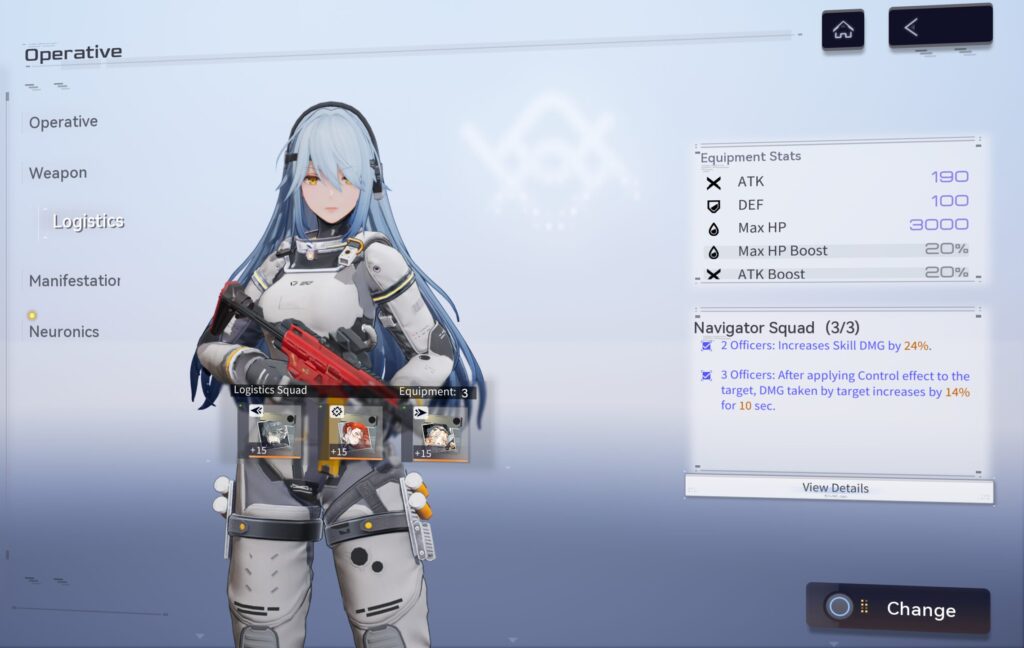
Amarna Squad is a very good logistics set, and Fritia's main use here is abusing it as hard as possible. You'll be using her for Pummel 1 and 2. The aptitude effect her support skill provides refreshes the second part of Amarna's effect every time it hits, so you basically get full uptime on it. If you have your own Mauxir - Shadow Ka however, you can just use that instead.
Slow Bot
A slowed enemy is an enemy that's less annoying to fight. With Navigator Squad, it's also an enemy that takes more damage. You'll be using Acacia - Redacted to apply Slow in Pummel 2 and 3.
Even More CC

For Pummel 1, you'll be up against Teumessian which makes Lyfe - Wednesday a great pick there as she can apply Paralyze. This will let you skip one of Teumessian's invulnerability triggers and give you more time to DPS.
You'll also be using Cherno - Those Two as a second source of Slow for Strike 3. She shares gear with Lyfe, as these two will never be both used on the same difficulty level. No manifests needed, either. If you have your own Mauxir - Shadow Ka though, you can probably just use her instead.
Healer


Yao - Quiet Quitter is used in Strike 1, 2, and 3 since those provide extra score for having as much health as possible remaining at the end of the stage. You can also use Chenxing - The Observer or your own Eatchel here.
First Encampments
You'll eventually do every single encampment since they're all extremely easy and literally free points, but the ones you want to do first are these:
These will provide the buffs needed to achieve the necessary scores on each stage. You can clear the other ones to obtain even more buffs, but your mileage may vary for their usefulness.
Clearing Stages
Target scores here are just a recommendation. If you can score extra high on one set of stages, that means you can lower your score requirements for the others. Achieving the target scores for every stage will put you at 25,300 points, excluding any encampments you've already completed. If you only did the ones recommended in the previous section, you'll have 28,300 points or more.
Assault
Mow down waves of enemies for points. The more you kill, the more points you get.

This is all you need. Really. Of course, you can bring in a third support as appropriate. Target scores here are:
- Assault 1: 1500 points
- Assault 2: 2400 points
- Assault 3: 4400 points
It's definitely possible to get even higher scores than these with more practice, but I settled on these scores as a reasonable middle ground that hopefully won't require too much grinding.
Strike
Kill the specified enemies as fast as possible while staying as healthy as possible. Points are awarded based on the clear time and how much health you have at the end.
For Strike 1 and 2, you'll be using this setup:

But for Strike 3, you'll be replacing the trial Mauxir with your own Cherno as the Mauxir will be needed for Pummel 3. If you have your own Mauxir, you can use that in either stage, with the trial Mauxir stepping in for the other one.

This is why Strike 3 has two of its encampments completed; the extra CC duration and damage amp against CC'd enemies lets you put out a high score without Mauxir.
The scores here you should be aiming for are:
- Strike 1: 1800 points
- Strike 2: 2800 points
- Strike 3: 4600 points
Pummel
Do as much damage to the boss enemy in three minutes to get points. Each Pummel stage uses a slightly different team setup:

For Pummel 1, you'll want Lyfe - Wednesday to cancel one of Teumessian's invulnerability triggers.

For Pummel 2, you'll bring Acacia - Redacted instead to slow down Gavin and give you windows to reload, shoot, and just not be harassed in general.

For Pummel 3, both Redacted and the trial Mauxir are here, as being keeping Esther slowed or having a stationary target available to shoot instead of trying to follow Esther as she flies around the map will drastically improve your ability to deal damage.
This is definitely the hardest of the three if you don't have a decked out squad, so the target scores here are a little lower:
- Pummel 1: 1600 points
- Pummel 2: 2300 points
- Pummel 3: 3900 points
Finishing Up Encampments
If you've reached the target scores, and only completed the recommended encampments, you'll have 28,300 points or more now. All that's left for you to do is to clear out the remaining encampments as your victory lap. This means another 6,900 points (nice) to put your total score at a minimum of 35,200 points. Surprise! This guide actually has an extra 200 points of wiggle room, so you don't even have to hit every score target. If you weren't able to hit the target scores, try running the battlefronts again, as the new buffs you've gotten might help squeeze out the last few points you need.
Once you do reach 35,000 points, collect your profile frame and be proud of yourself. Good work, I knew you could do it.