Table of Contents
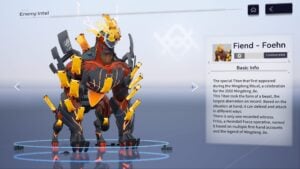
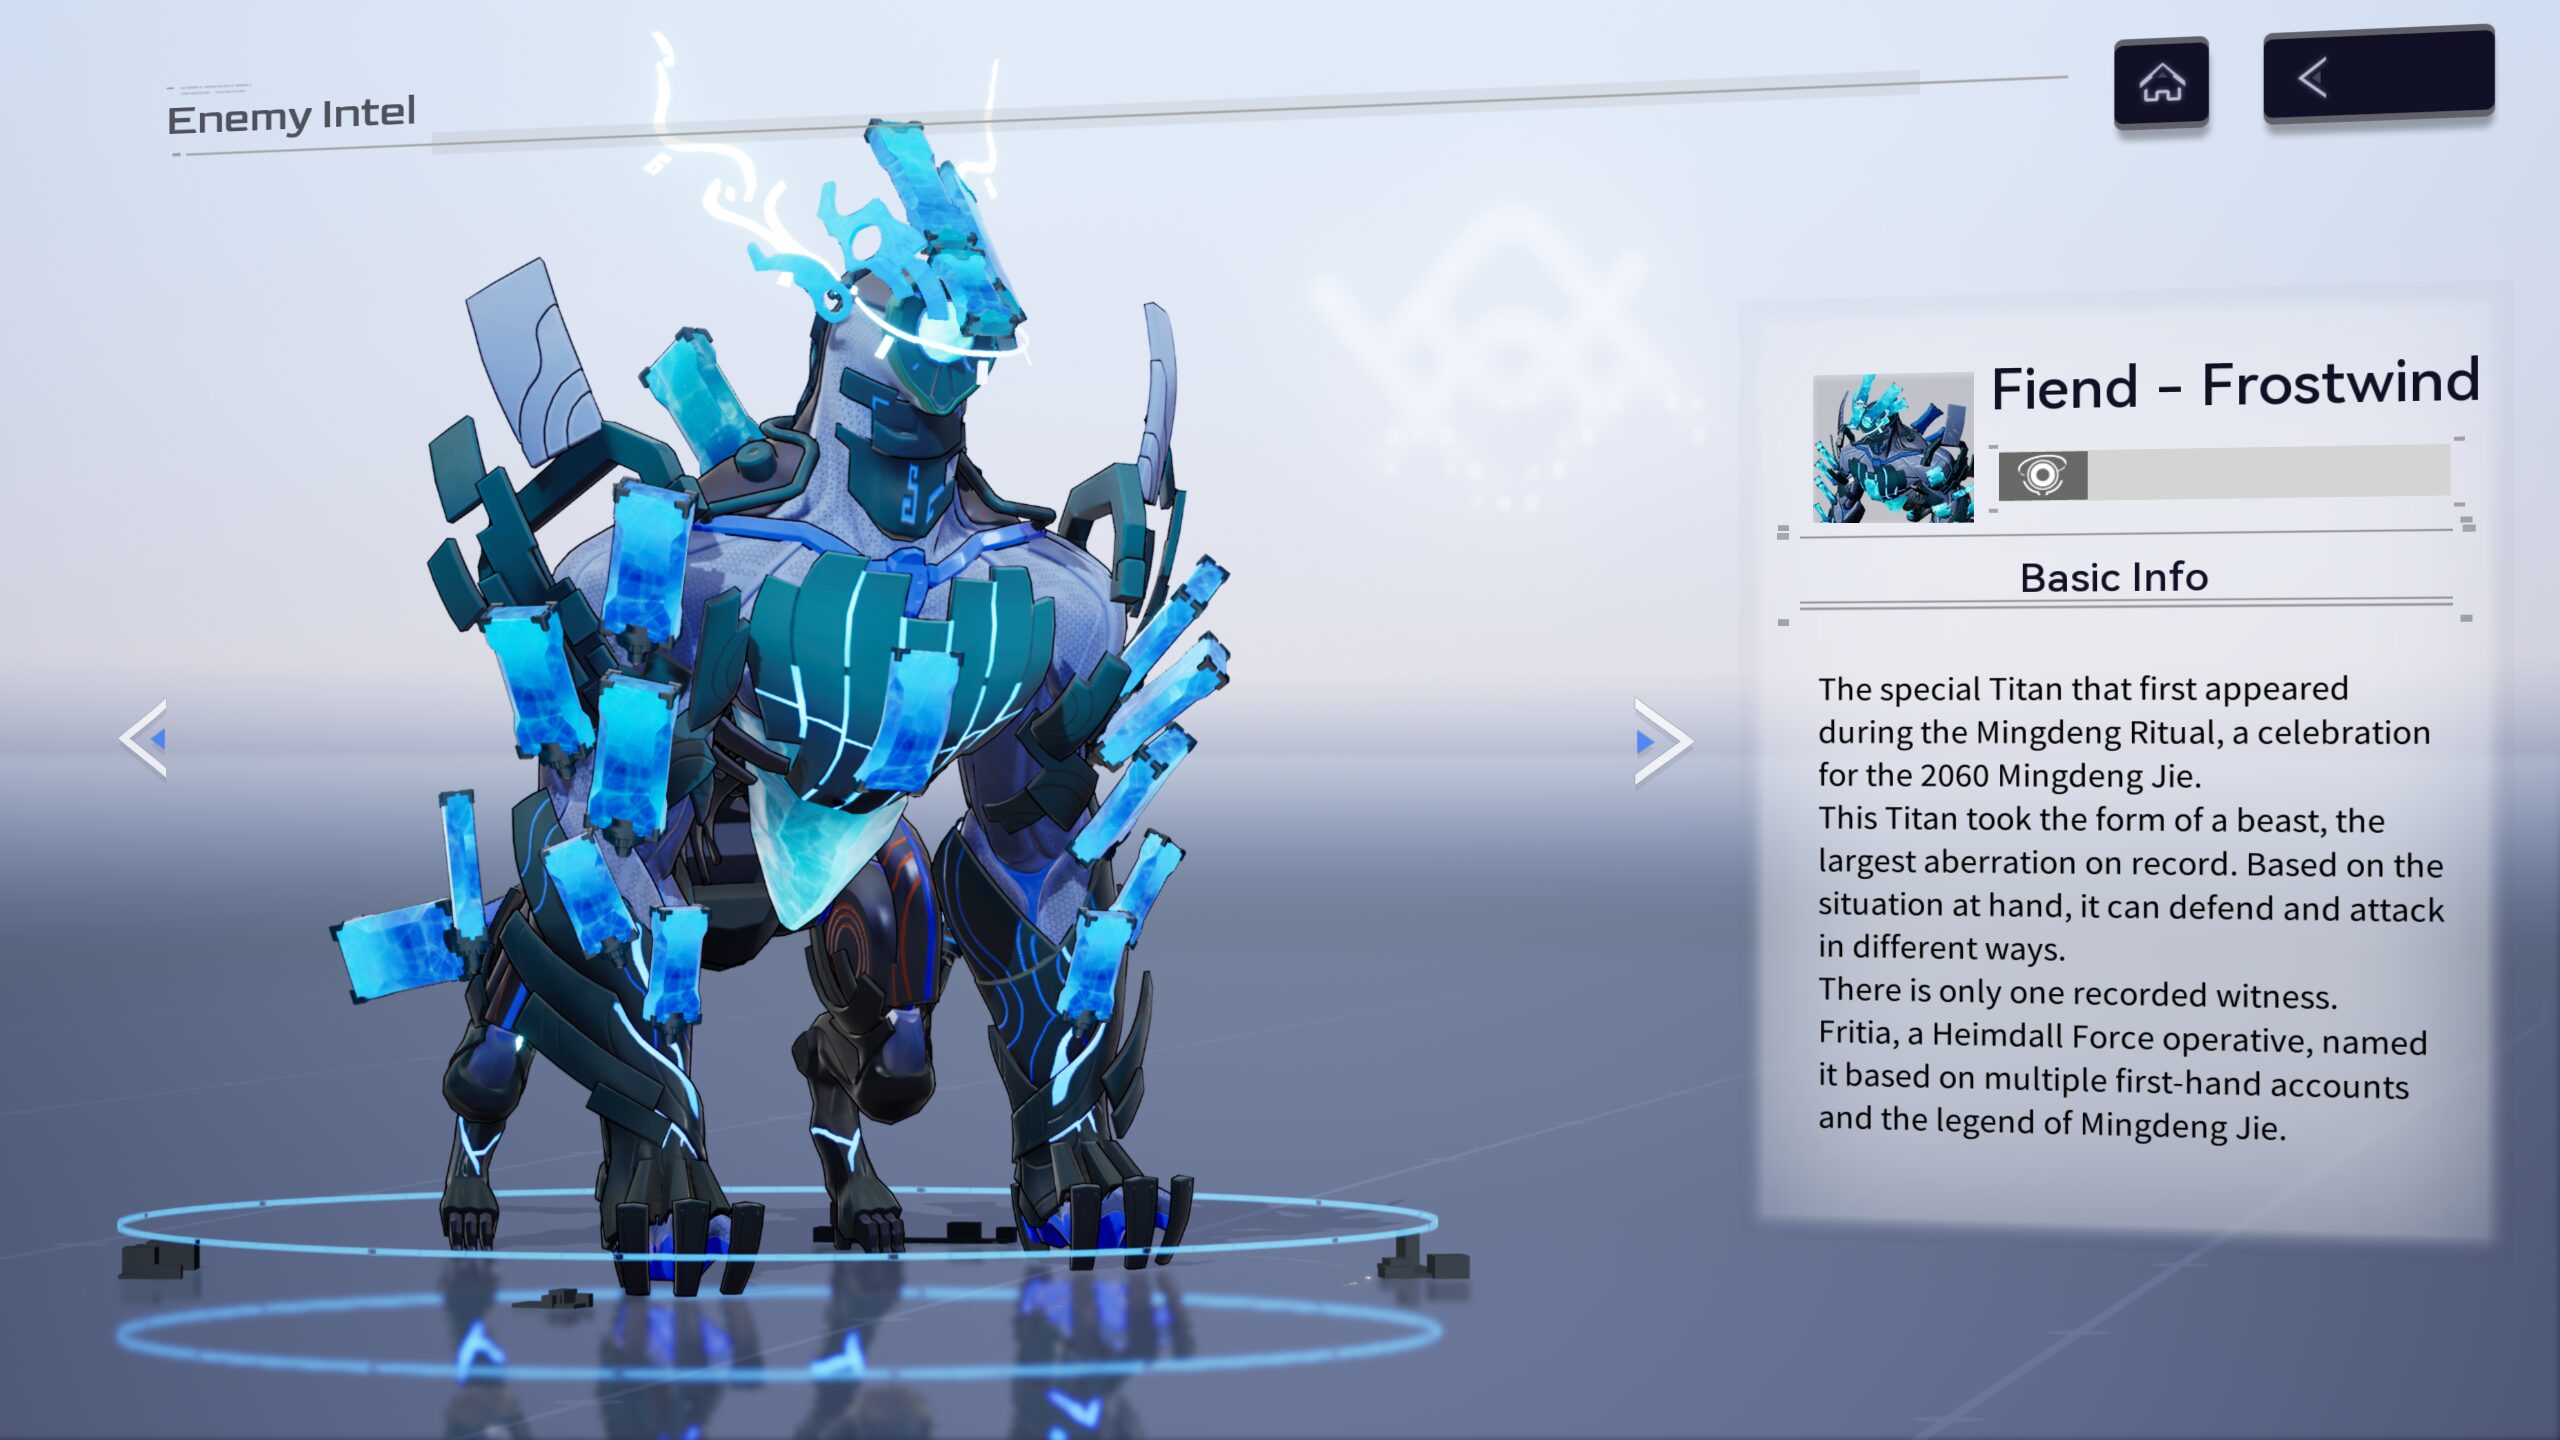
An unknown Titan that first appeared at the 2060 Mingdeng Ritual. Resembling a beast, this Titan can release bursts of Frost Energy when in the Frostwind state.
Fiend is a set of Titan bosses with variants in different elements. This guide covers the Frost-element variant, commonly referred to as “Ice Fiend.” Compared to its Thermal-element sibling, Ice Fiend is much less in-your-face, but has its own special attacks that can be just as frustrating to deal with.
Oh, and it’s insanely bugged. More on that later.
Behaviour and Attacks
Ice Fiend technically has three “phases,” but they all play the same so there’s no need to distinguish between them.
Basic Attacks
In combat, Ice Fiend can jump around to reposition itself.
At higher difficulty levels, this will also spawn four missiles that do not stagger.
It has an alternate version of this attack that lands more forcefully, knocking you back if caught in its area of effect. As well, it summons a falling icicle that will stagger on hit. After it falls, it leaves an icy zone that will do damage over time when standing on it.
Tracking Barrage/Icehammer Barrage
Ice Fiend summons the same icicles from its jump attack to continuously drop on you. Once it finishes the initial cast of the ability, it can continue on to perform other attacks. At higher difficulties, the duration at which these icicles fall is increased by 25% and its specs are enhanced. However, if Ice Fiend reaches an HP trigger (more on this later), the attack will end early.
Casual players: You’ll get plenty of advance warning before an icicle falls, so make sure you get out of the circle before that happens! Try to conserve as much stamina as you can, only sprinting or dodging if absolutely necessary.
Speedrunners: Ideally, you’ll push Ice Fiend to an HP trigger or kill it outright before too many icicles get to drop. You can dodge around for a bit while you do this, but if you’re really struggling, resetting to get a run where it doesn’t do this move shouldn't be too painful as it doesn’t seem to be a super frequent attack.
Minefield
Ice Fiend launches a field of mines that do damage on contact but do not stagger. After a period of time, these mines detonate, once again dealing damage but still not staggering.
Casual players: If you can dodge backwards, that’s usually the fastest way to get out of the minefield. You can also time your dodges to avoid the initial and follow-up damage.
Speedrunners: These don’t do that much damage and they don’t stagger, so just tank it and keep attacking. Of course, if you can get out of the minefield without sacrificing DPS, it doesn’t hurt. Literally.
Missile Volley
Ice Fiend summons a large volley of missiles that don’t stagger, but can deal a huge amount of damage if they all hit - enough to take out a fully-levelled operative from full health! Fortunately, dodging the brunt of the damage is as simple as a quick sidestep as long as you’re paying attention.
Darting Icicles
Ice Fiend summons two lines of ice spikes that converge towards you. Being hit deals damage and staggers. At higher difficulties, two more lines of spikes will be summoned, making it quite a bit more difficult to dodge.
Keeping your distance will usually desync the lines, making them easier to dodge, though you may still need to dodge twice to evade everything.
Swipe
Fiend swipes twice with its front paws, then jumps forward, dealing damage and knocking you back if hit. For whatever reason, it’ll do this attack even if you’re out of range of the initial two swipes, so this actually ends up being a free DPS window more often than not.
HP Triggers
At 70% and 40% HP, Fiend will turn invulnerable and summon four pillars. These pillars must be destroyed in order for Fiend to exit its invulnerable state.
These pillars can be damaged and destroyed as soon as they begin to be summoned, including while they’re still in the ground (attacking that early without a clear visual indicator can be risky, so cheat the timing at your own risk). If the pillars are not destroyed fast enough, then a large map-wide explosion will occur, dealing huge damage and knocking you back. You get a lot of time to destroy the pillars though, so this probably will never happen unless you’re doing it on purpose.
These HP triggers can’t be cancelled or skipped, so the best you can do is to get it over with as quickly as possible.
Strategy
Compared to Fire Fiend, Ice Fiend seems to respect your personal space a lot more, which is great. Also like Fire Fiend, it has a large number of flakes sticking out of it. These all count as weak spots (in addition to its head), and are additional targets for Chenxing - Ethereal Cloud to attach slips to as well as for Haru - Absconditus’ abilities. Thus, these two operatives are the preferred choice of DPS for obvious reasons and what the bulk of this section will be focused on. Additionally, both of these operatives can also quickly deal with pillar spawns, with Chenxing being able to attach slips or use her ultimate to quickly shred through the pillars, and Haru being able one-shot them with her ultimate casts if buffed up enough.
It’s also worth noting that these flakes can fall off after taking enough damage. This shouldn’t be an issue with Chenxing as the scanning area is pretty generous, but with Haru you should keep this in mind and target areas where the flakes haven’t been taken out.
There are still some other things to keep in mind, because:
Ice Fiend is a Buggy Mess
Seasun. Why. How do you break Fiend more and more every time you run it? I swear I’m going to have to go back to these guides every time one of the Fiends goes on rotation so I can update the list of bugs to be aware of.
Re: Resistance Reduction
For whatever reason, resistance shred effects like from Acacia - Kaguya’s support skill only apply to Fiend’s head weak spot and not any of the flakes. This doesn’t really change how you play it, I just wanted you to know so you could be as annoyed as I am about it.
Re: Chenxing - Ethereal Cloud
Chenxing’s slips will not work if you just cast them randomly. This is a bug that’s existed since at least December 2023, but has not been fixed.
To ensure your slips work, make sure you get two marks on Fiend’s head (there’s a flake up there you can mark) like so:
Also sometimes when you apply Slow to Fiend then use your standard skill, the slips won’t activate until after the Slow ends.
I genuinely have no idea how or why this happens and it frustrates me greatly. Seasun, please fix.
Team Building

Most DPS picks will do fine enough here, but Chenxing - Ethereal Cloud and Haru - Absconditus stand out as overperformers due to the reasons listed earlier. Sniper operatives like Marian - Swift and Yao - Winter Solstice may find it difficult to effectively clear pillars, however. Though in Yao’s case, she turns out to be able to brute force through it and not really care too much given enough investment. Fritia - Hush can also find it awkward dealing with two forced breaks from lasering Fiend to death.
An important note to keep in mind if you choose to use Haru is that she performs much better here when using Star Ocean as opposed to 16-Psyche. This is not because I'm bitter and want to get what value I can out of my 50/50 losses, but because the large number of targets that Haru hits with her abilities will all trigger Star Ocean’s bleed effect, dealing quite a bit of damage despite 16-Psyche dealing more on the initial hit. A pleasant side effect of this is that the bleed damage is not counted as being dealt to any flakes hit, but directly to Fiend, which means that you get to attack flakes for longer before they fall off.
(Yes, that's probably another bug, but I’m not reporting this one since it’s beneficial to you, the player.)
As far as supports go, you really only have two options for applying Control effects to Ice Fiend. Since it’s a Titan, it’s supposed to be vulnerable to Freeze, but I guess being the ice variant of Fiend negates that. Sure, okay. As a result, Fiend is only vulnerable to Slow, with Cherno also working fine if your Redacted is occupied elsewhere. Enya is particularly useful here due to having good to decent enough synergy with both of the ideal DPS picks, as well as the zone created by her support skill letting you ignore the staggers that most of Fiend's attacks come with. Casual players may want to consider a healer if they struggle to avoid some of Ice Fiend’s attacks, particularly Icehammer Barrage. It can be a legitimately difficult attack to handle if you’re forced to deal with its full duration, and a slower clear is better than no clear at all.