Table of Contents
Similar to the original run of this event, it will feature a Combined Operation where players can fight Wakamo (Swimsuit) and Hovercraft. This event does not put a heavy focus on its Event Currency but instead allows you to farm any of the last 4 stages to secure Tech Notes or Blu-ray of the school needed.
Currency Drops:
Since this event only has 1 currency feel free to farm any of the last 4 stages, if you only care about the Currency
- Material Box: Stage 9, Stage 10, Stage 11, Stage 12
Since stages will be dropping Tech Notes and Blu-rays, it is important to prioritize farming what you need. Stages
Tech Note and Blu-ray per stage
- Beginner and Normal: Stage 1, Stage 2, :Stage 3, Stage 4
- Advanced: Stage 5, Stage 6, Stage 7, Stage 8
- Superior: Stage 9, Stage 10, Stage 11, Stage 12
- Hyakkiyako, Arius, and Valkrie: Stage 1, Stage 5, Stage 9
- Gehenna and Millenium: Stage 2, Stage 6, Stage 10
- Trinity and Abydos: Stage 3, Stage 7, Stage 11
- Gehenna and Red WInter: Stage 4, Stage 8, Stage 12
Shops, Gacha Box, and Omikuji
Material Box and Supply Box

Material Box will be the main event currency you will be farming alongside Tech Notes and Blu-rays from stages. This currency will be used in Supply Boxes which will feature 8 unique boxes that contain 20 Ayane (Swimsuit) Elephs. Boxes also feature different rewards for boxes 1/3/5/8 having Activity Reports and Wolfsegg, while boxes 2/4/6/8 have Enhancement Stones and Mystery Pieces. After the first 8 boxes have been cleared, boxes 9+ will only have 3 Ayane (Swimsuit) Elephs, Activity Reports, and Wolfsegg.
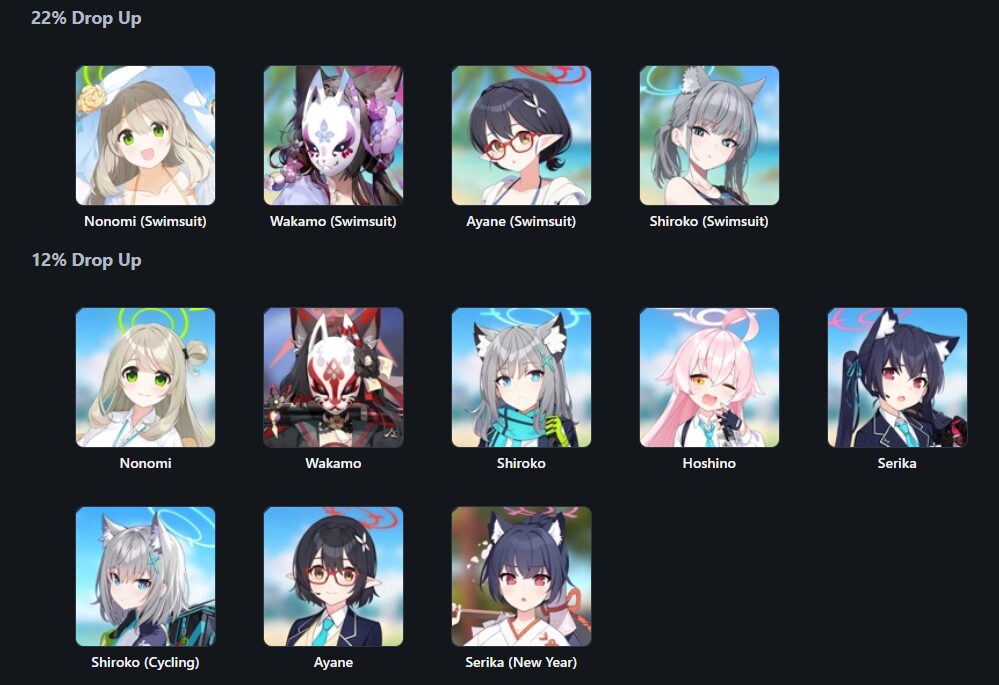
Characters with Events bonuses:
Combined Operation
This event will have a returning feature Combined Operation, which will be two separate encounters Wakamo (Swimsuit) and Hovercraft. Both of these encounters will have a server-wide HP pool. Once it is defeated, you may fight the boss one more time to obtain the final rewards.
Here are a few things to take note
- There are 3 difficulties for both encounters
- Tickets generate every 30 mins and cap at 40
- If you are unable to defeat the boss, the next run will retain the same amount of HP
- All 3 difficulties have their own HP bar (If you are unable to defeat the Very Hard boss at 30% HP and decide to do Normal/Hard, you will have to start over at 100% HP but Very Hard will still retain 30% HP)
- Tickets will NOT be refunded if you forfeit
- Unlike raids, you are able to bring the same team to challenge the boss again
- Borrowing students reset daily and any the used unit can only be borrowed once a day