Table of Contents
Introduction
Welcome to our Last Epoch Primalist Build Tier List. The contents of this guide were sourced from Bina's Last Epoch Master Spreadsheet, where he details the builds that have been used and tested. The builds are tested against the following categories: Speed, Corruption, Arena, Tankiness, Single Target, Cycle Start, and Hardcore.
Tier List Explanation
S-Tier:
- What They Are: The best of the best. These builds outshine others in strength, flexibility, and effectiveness in almost every game scenario.
- Why Use Them: Perfect for players who want to excel in the game, tackling the toughest content with ease.
A-Tier:
- What They Are: Really powerful, just a notch below S Tier. Great at certain things, but not as universally adaptable.
- Why Use Them: Great for those who want a potent build that can handle most challenges without needing the absolute best.
B-Tier:
- What They Are: Dependable and effective, B Tier builds are good but lack the edge to push them to the top. They're balanced, offering a mix of damage and survivability but not excelling in any particular aspect.
- Why Use Them: Ideal for players who prefer reliability or are still mastering the game. They're good all-rounders.
C-Tier:
- What They Are: Average builds that can get the job done but might struggle with higher difficulty levels or efficiency. They might have notable weaknesses or require specific setups to shine.
- Why Use Them: Good for experimenting or for players who enjoy a challenge. They might also cater to unique, niche playstyles.
D-Tier:
- What They Are: The least powerful builds that are generally outclassed by other options. They might be fun or interesting but don't expect top-tier performance.
- Why Use Them: Best for casual play, trying something different, or self-imposed challenges. Not recommended for competitive or high-difficulty content.
Last Epoch Primalist Build Meta Tier List
S Tier
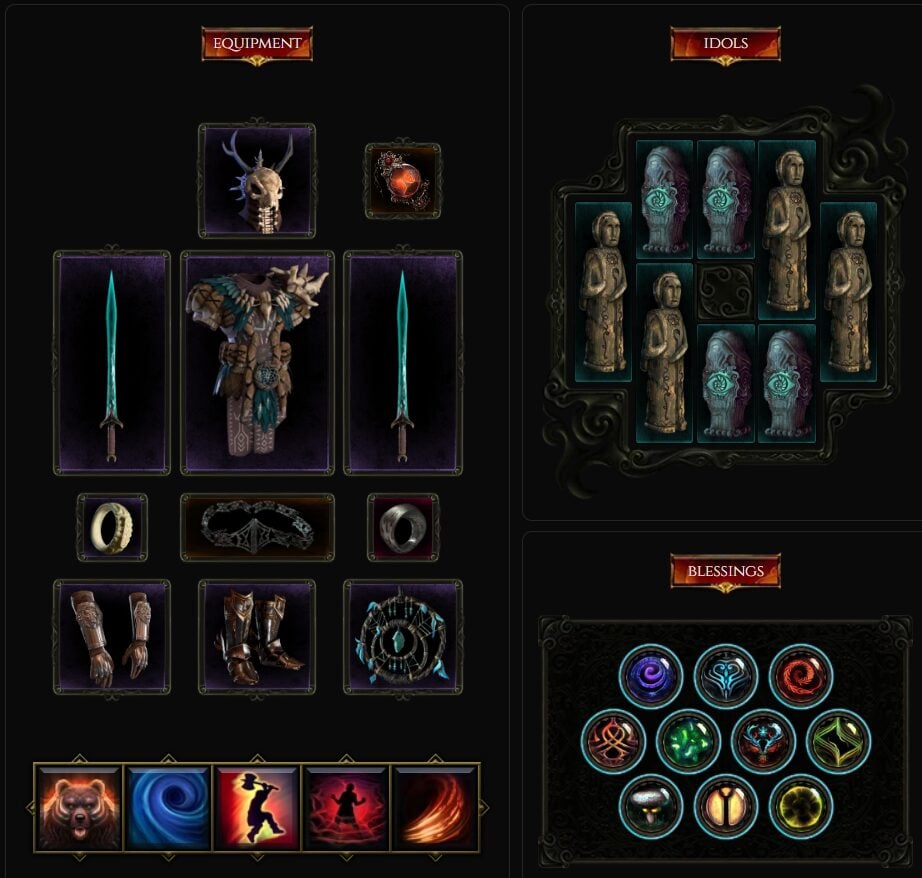
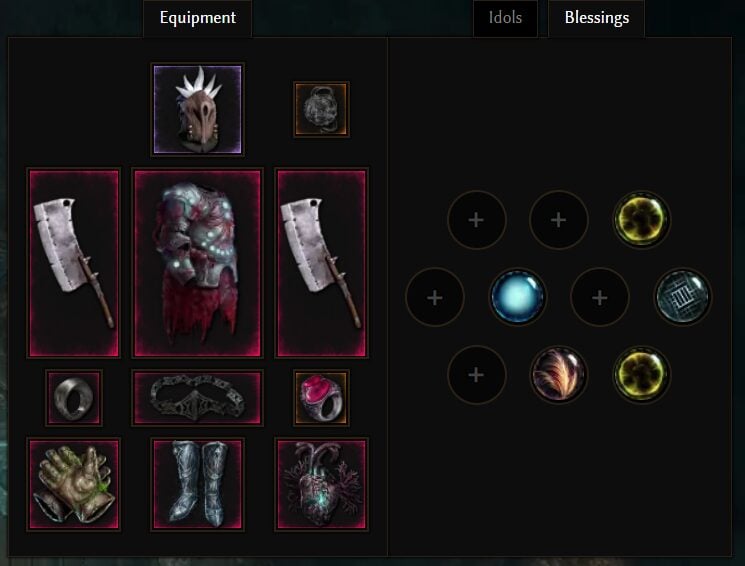
Frostbite Swarmblade (Druid)
The Frostbite Swarmblade is a Melee-focused build that excels in diving headfirst into the fray, leveraging Frostbite Damage Over Time (DoT) through a rapid flurry of strikes and casting Tornado to decimate enemies. This Druid build is renowned for its prowess in handling all game content with ease.
Key Features:
- Permanent Swarmblade Form: This build operates on Rage, opting out of Mana usage, which adds a unique twist to the gameplay.
- Gathering Storm Synergy: The Gathering Storm tree enhances your Storm Bolts from both Tornado and Maelstrom, broadening your area of effect and damage potential.
- Frostbite & Cold Penetration: Cold Penetration is significantly boosted with Frostbite effects, particularly through the Snowdrift item, ensuring your cold-based attacks pierce through enemy defenses.
- Viper's Call Node: This node allows your Armblade Slash to benefit from the Serpent Strike tree, adding versatility and potency to your attacks.
- Tornado Stacking with Armblade Slash: By spamming Armblade Slash, you can stack Tornadoes via Windfury Strikes, which then applies Frostbite through Storm Orb and Storm Bolt, creating a devastating cycle of damage.
- Dive Skill Utilization: Regular use of Dive not only stacks Maelstrom but also grants substantial offensive and defensive buffs, making it a cornerstone ability in this build.
- Evasion Tactics with Slither: Slither grants an exceptional Dodge Rating with minimal investment, enhancing your survivability in close combat.
- Damage Reduction: A combination of Ursine Strength, Boar Heart, and Berserker nodes provide significant Damage Reduction, fortifying the Druid's resilience in battle.
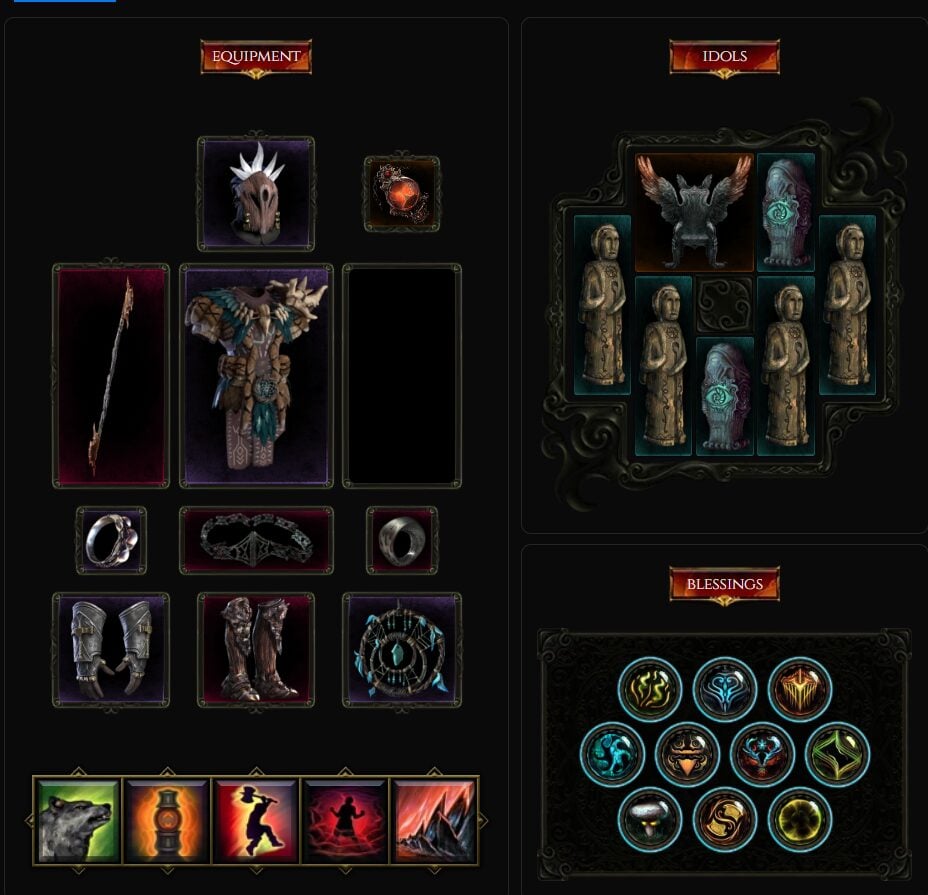
Lightning Swarmblade (Druid)
Dive into the heart of battle with the Lightning Swarmblade, a Melee-centric build that utilizes Swarmblade Form to unleash a tempest of strikes, casting Tornado and decimating foes with precision. This Druid build shines across all game content, showcasing its versatility and power.
Key Features:
- Swarmblade Form Mastery: By adopting a permanent Swarmblade Form, this build operates on Rage, ditching Mana for a more aggressive and relentless assault style.
- Viper's Call Synergy: The Viper's Call Node enhances your Armblade Slash, allowing it to gain benefits from the Serpent Strike tree, thus amplifying your attack capabilities and effects.
- Tornado and Storm Bolt Combo: Armblade Slash becomes your primary tool for stacking Tornadoes via Windfury Strikes, which in turn can cast Storm Bolt through the Charged Storm mechanism. This combo creates a devastating area of effect and targeted damage potential.
- Strategic Use of Dive: Utilizing Dive not just as a mobility tool but also as a means to stack Maelstrom is key, granting you significant buffs to both offense and defense, making it a crucial part of your rotation.
- Evasion with Slither: The Slither ability is your go-to for an incredible Dodge Rating boost, offering top-tier evasion capabilities with minimal resource investment.
- Robust Damage Reduction: The trio of Ursine Strength, Boar Heart, and Berserker nodes fortify your defense, providing substantial Damage Reduction and making you a tough contender in the heat of battle.
- Culnivar's Claim for Enhanced Potential: While not strictly necessary, wielding a Legendary Culnivar's Claim can significantly unleash the full potential of this build. It not only amplifies your capabilities but also frees up Affix slots on your gear for further customization and power-ups.
A Tier
Swipe Werebear (Druid)
Charge fearlessly into the heart of battle with the Werebear Form build, using Rampage to traverse the battlefield swiftly and Swipe to decimate your foes. This Druid setup is renowned for its exceptional tankiness, making it an ideal choice for tackling all the game's content.
Key Features:
- Swipe as Your Go-To: Make Swipe your primary attack to mow down enemies with ease. The sheer power and area of effect of this skill make it a cornerstone of your offensive strategy.
- Roar and Maul Synergy: By incorporating Roar and Maul into your rotation, you can tap into the benefits of the Warcry and Fury Leap trees. This synergy enhances your abilities, adding depth and versatility to your attacks.
- Maelstrom and Werebear Form: Utilize Roar in conjunction with Swipe to conjure additional Maelstroms while in Werebear Form. This tactic not only increases your damage output but also adds a strategic layer to your playstyle.
- Haste and Frenzy through Maelstrom: Aim to maintain six stacks of Maelstrom consistently. Achieving this grants you Haste from Windswept and Frenzy from Windfury, significantly boosting your speed and attack rate.
- Maximizing Melee Critical Strike Chance: Through a combination of Gear, Passives, and Skills, strive to reach a 100% Melee Critical Strike Chance. This ensures every hit packs a punch and maximizes your damage output.
- Unparalleled Damage Reduction: The build's resilience is bolstered by Berserker, Ursine Strength, Boar Heart, and Impervious, providing you with exceptional Damage Reduction and making you nearly invincible on the battlefield.
- Key Uniques for Scaling: While not essential, the Siphon of Anguish and Aurora's Time Glass uniques can significantly enhance your build's potential. These items offer unique benefits that can scale your abilities and effectiveness to new heights.
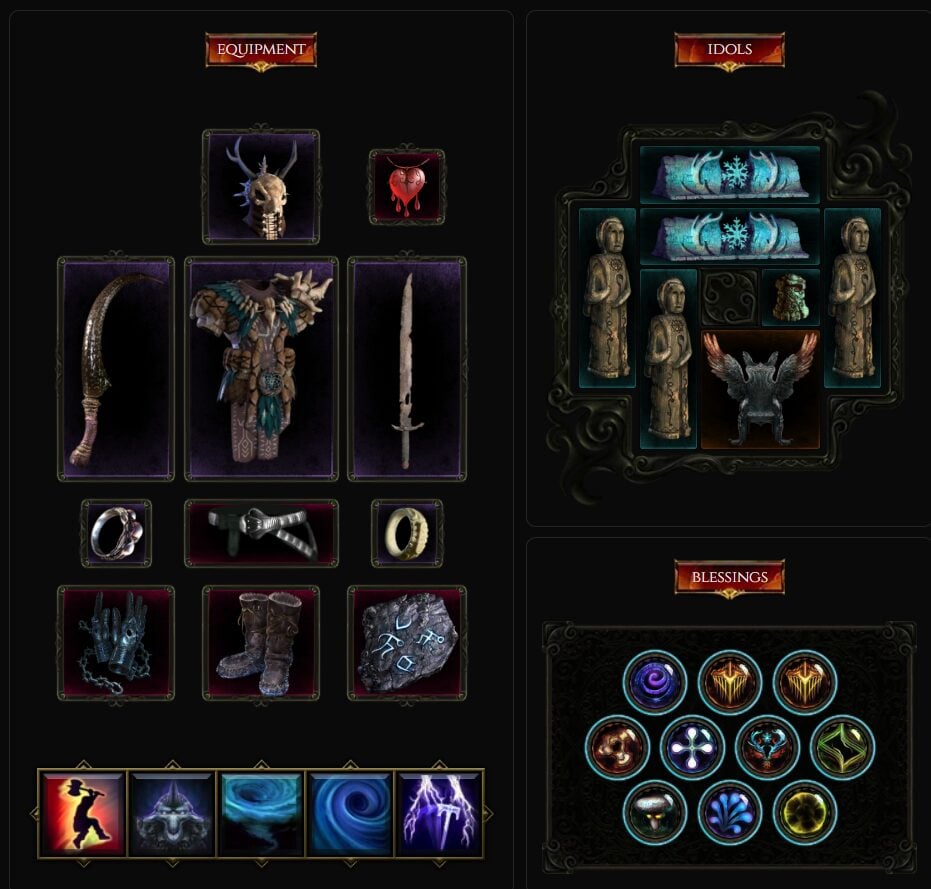
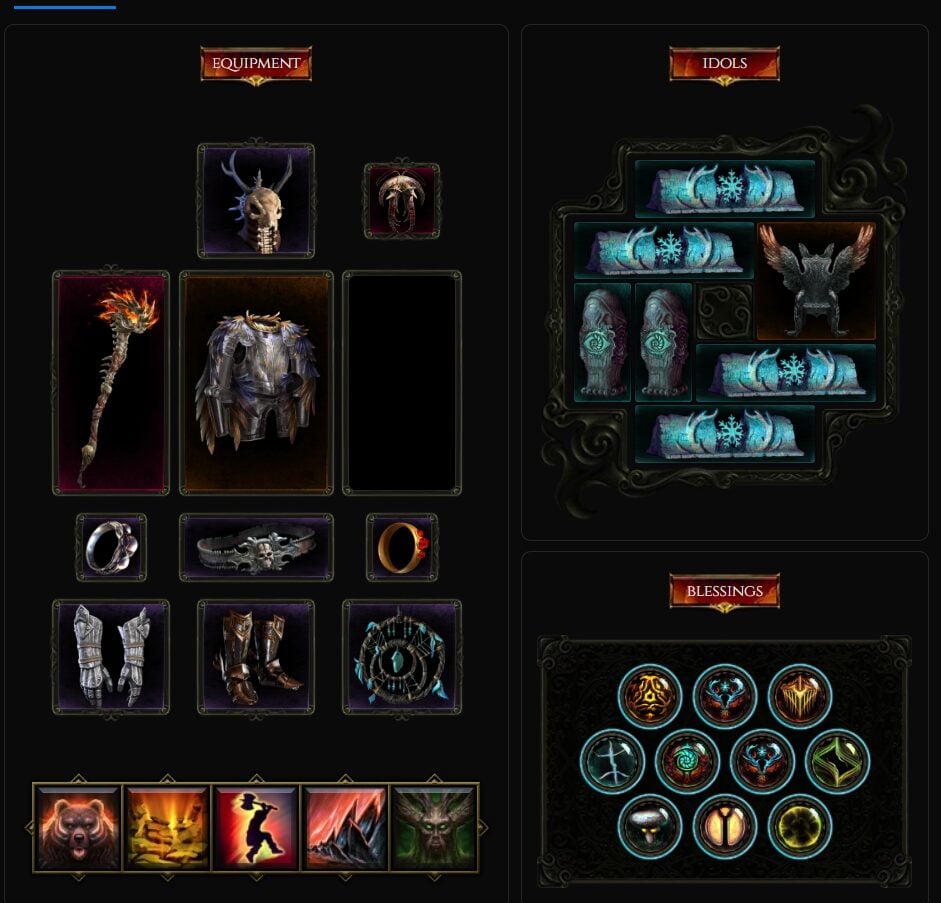
Earthquake Werebear (Druid)
Embark on a seismic rampage with this Werebear Form build, designed to charge through enemy ranks with Rampage and unleash the devastating power of Maul, triggering Earthquake and Upheaval in its wake. This setup is a force to be reckoned with, boasting incredible Area of Effect (AoE) capabilities, outstanding survivability, and explosive burst damage, making it a top-tier choice for conquering all game content.
Key Components:
- Essential Gear - Bhuldar's Wrath: This build is anchored by Bhuldar's Wrath, a pivotal item that's non-negotiable for unleashing the full potential of your seismic assaults.
- Rampage as Your Battle Cry: Utilize Rampage to barrel into the heart of enemy formations, setting the stage for your earth-shattering strikes.
- Maul with a Twist: Maul is more than just a simple attack; here, it serves as the catalyst for triggering both Earthquake and Upheaval, laying waste to everything in your vicinity with powerful AoE effects.
- Preemptive Roar: Cast Roar to stun your adversaries, making them vulnerable to your subsequent Maul onslaught. This tactic not only maximizes your damage output but also enhances your control over the battlefield.
- Unmatched Damage Reduction: The trio of Berserker, Ursine Strength, and Boar Heart forms the backbone of your defensive strategy, offering exceptional Damage Reduction and transforming you into an indomitable force.
- Scaling with Uniques: While the build is formidable on its own, acquiring Throne of Ambition, Wings of Argentus, and Logi's Hunger can elevate your power to new heights. These Uniques bring additional layers of utility, survivability, and damage, allowing you to tailor the build to your playstyle and the challenges you face.
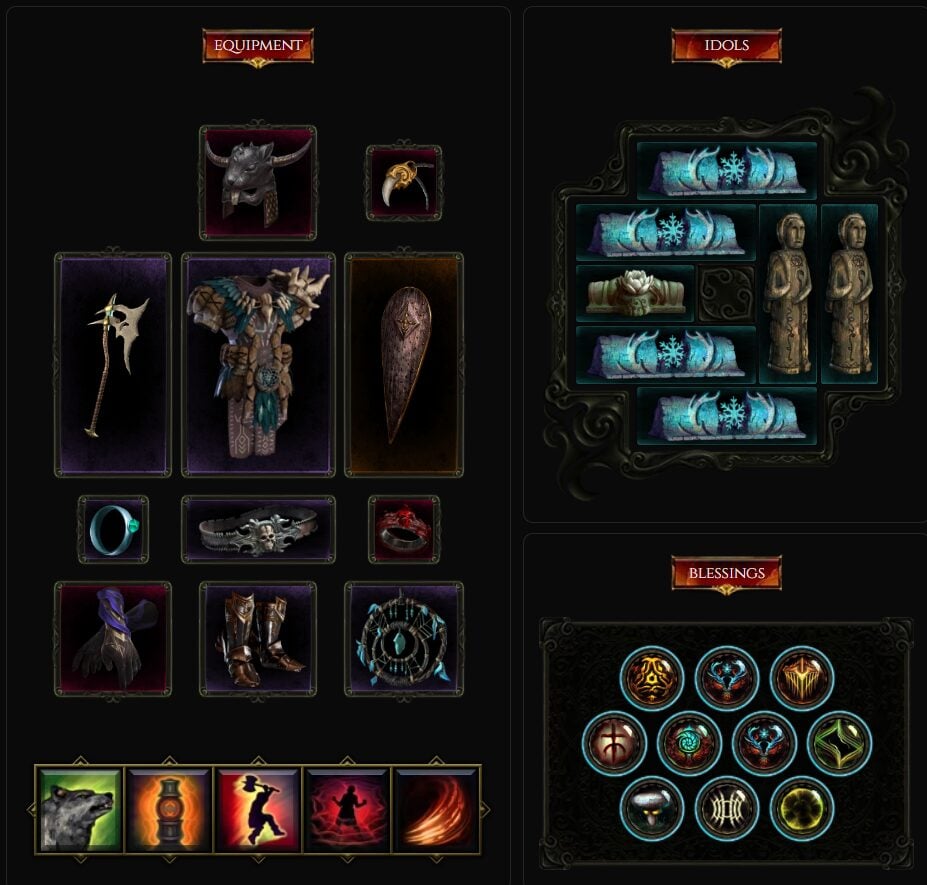
Squirrels (Beastmaster)
This Beastmaster and their loyal furry companions excel in close-ranged combat, aiming to encircle and overwhelm their adversaries with sheer numbers. This setup is nothing short of remarkable, boasting the ability to tackle all content the game has to offer with ease.
Key Features:
- Herald of the Scurry: This pivotal aspect of the build allows for the transformation of Summon Wolves into Summon Squirrels, effectively doubling the number of combatants. The Summon Squirrel ability is rooted in the Summon Wolf Tree, making for a formidable force.
- Core Nodes: The Savage Hunters, Legendary Bite, and Howl of Might nodes are the backbone of this build, offering substantial damage multipliers to your Summon Wolves or Squirrels, turning them into fierce adversaries.
- Combat Strategy: Engage in battle with Fury Leap, diving into the fray alongside your animal allies. Utilize Swipe liberally to stack Berserker and summon Spirit Wolves, enhancing your combat efficiency.
- Survivability: The Survival of the Pack and Lamprey Teeth nodes are crucial, providing your minions with Melee Leech to ensure their longevity in battle. Additionally, Berserker, Ursine Strength, and Boar Heart significantly bolster damage reduction, fortifying your defense.
Recommended Gear:
While not strictly necessary, the following Uniques can greatly enhance this build's performance:
- Ribbons of Blood
- The Fang
- Julra's Obsession
- Bastion of Honour
Thorn Totem (Shaman)
This Shaman build is a master at summoning Totems that fire off smart, piercing projectiles to deal massive damage across a wide area. As a Druid, this setup is fantastic for acing any challenge in the game.
Build Highlights:
- Permanent Spriggan Form: You'll be rocking the Spriggan Form non-stop, which is pretty cool because it amps up your totem powers.
- Spiked Totems Node Magic: This nifty feature lets your Healing Totems act like Thorn Totems, thanks to the shared skill tree. It's all about turning healing power into hurting power.
- Totem Strategy: Keep those Healing Totems coming for a constant stream of damaging projectiles. It's like setting up a machine gun of nature's wrath.
Critical Gear Choices:
- Idols for the Win: Ornate Heorot Idol and Grand Heorot Idol are key for maxing out your Totems' critical hit chances. Think of them as the secret sauce that makes your totems hit harder and more often.
- Staying Tough: Ursine Strength, Boar Heart, and Berserker are your best friends for reducing incoming damage. They're like an invisible shield keeping you safe while your totems do the work.
Optional but Awesome Gear:
- Uniques That Pack a Punch: Items like Julra's Obsession, Death Rattle, Titan Heart, Legacy of the Quiet Forest, Stormcarved Testament, Arboreal Circuit, and Silvafrond aren't strictly necessary, but they can supercharge your build, making your Shaman even more formidable.
B Tier
Earthquake Aftershock (Beastmaster)
The build excels in dealing massive damage, highlighted by quickly defeating tough enemies like Jora and Lagon. Key aspects include:

- High Damage: Demonstrated by over a million damage dealt to Jora, significantly reducing her health in under a second.
- High Survivability: Boasts over 10,000 Ward, substantial damage reduction, and 8-10,000 armor.
- Cost-Effective: The build is accessible without needing expensive or legendary items, making it suitable for farming corruption levels between 700 to 1,000 efficiently.
The guide details the build's skill setup, focusing on converting Aftershock hits into damage over time and maximizing damage against single targets by using totems. It also covers essential items, such as the Cleaver Solution and Exsanguinous chest piece, which are crucial for health conversion to Ward and boosting damage and survivability. The build's effectiveness is further enhanced by specific idols, blessings, passives, and skill rotations.
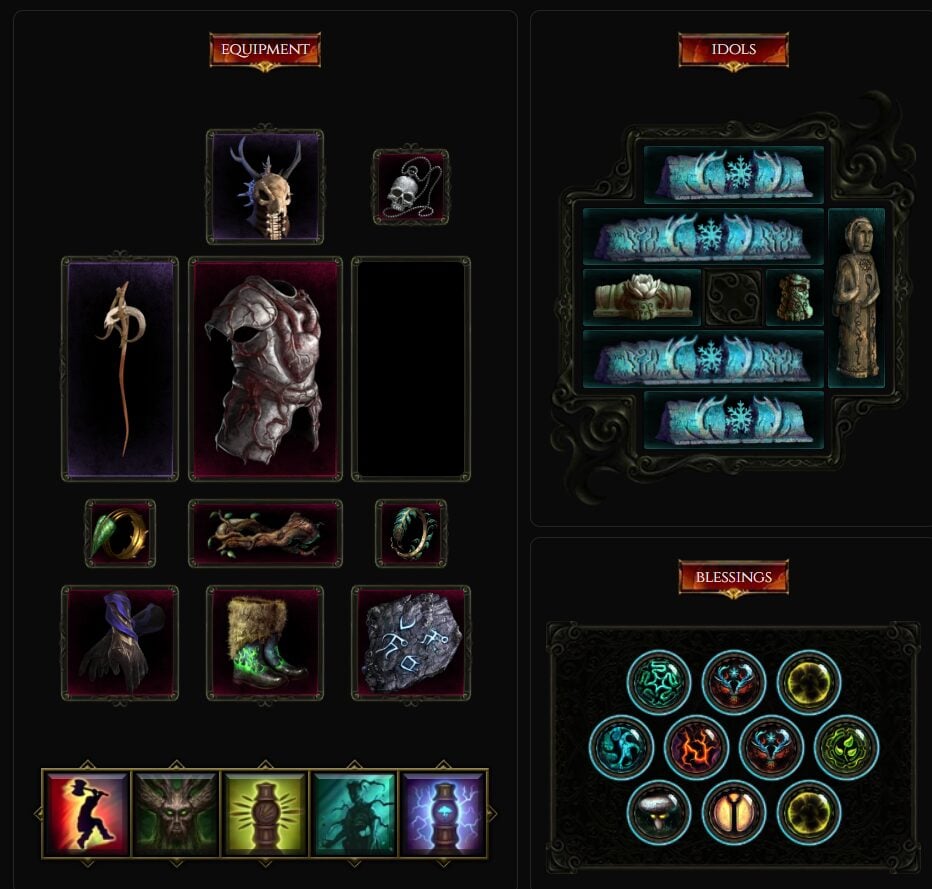
Explosive Thorn Totem (Shaman)
This build turns your Shaman into a flashy spectacle, summoning Totems that aren't just for show – they explode, dealing massive damage to everything nearby. It's a tanky build, meaning you can take quite a few hits without going down, and it's versatile enough to tackle any content the game throws at you. And the best part? It's all about staying in Spriggan Form permanently.
Key Build Components:
- Spiked Totems Node: This is your bread and butter. It allows your Summon Healing Totems to get a boost from the Summon Thorn Totem's skill tree, which is a game-changer.
- Summoning Strategy: Keep spamming Summon Healing Totem. The goal is to trigger the Summon Thorn Totem's Rotten Core explosions as much as possible, creating a chain reaction of destruction.
- Essential Gear:
- Ferebor's Chisel: This item is a must-have to max out your Summon Thorn Totem's Critical Strike Chance. It's a game-changer for your build.
- Ferebor's Persistence: Consider this the finishing touch. Once you get your hands on it, your set is complete, and your build's power is fully unlocked.
- Survivability Boosts:
- Ursine Strength, Boar Heart, and Berserker: These provide significant Damage Reduction, making you even tougher to take down.
Recommended Uniques (Optional but Beneficial):
- Julra's Obsession, Death Rattle, and Silvafrond: While not strictly necessary, these unique items can significantly enhance your build, unlocking its full potential and making you an unstoppable force.
C Tier
Upheaval (Beastmaster)
This Beastmaster is all about getting up close and personal in melee combat, taking down anything the game throws at you. It's a powerhouse with top-notch damage for taking out single targets and layers of defense to keep you standing through the toughest fights.
What You Need to Know:
- Essential Skill: You've got to use Foot of the Mountain to make this build work.
- Combat Moves: Jump into the thick of battle with Fury Leap, then let loose with Upheaval. Keep stacking Aspect of the Shark and Berserker to push your damage off the charts.
- Keep the Power Up: Use Warcry, Summon Frenzy Totem, and Summon Wolf to keep your buffs maxed out and your enemies on their toes.
- Staying Tough: Berserker, Ursine Strength, and Boar Heart are your go-to for making sure you're hard to take down, giving you massive damage reduction.
Gear Recommendations:
These unique items aren't strictly necessary, but they can really amp up your build:
- Siphon of Anguish
- Shattered Chains
- Jasper's Searing Pride
- Titan Heart
- Aurora's Time Glass
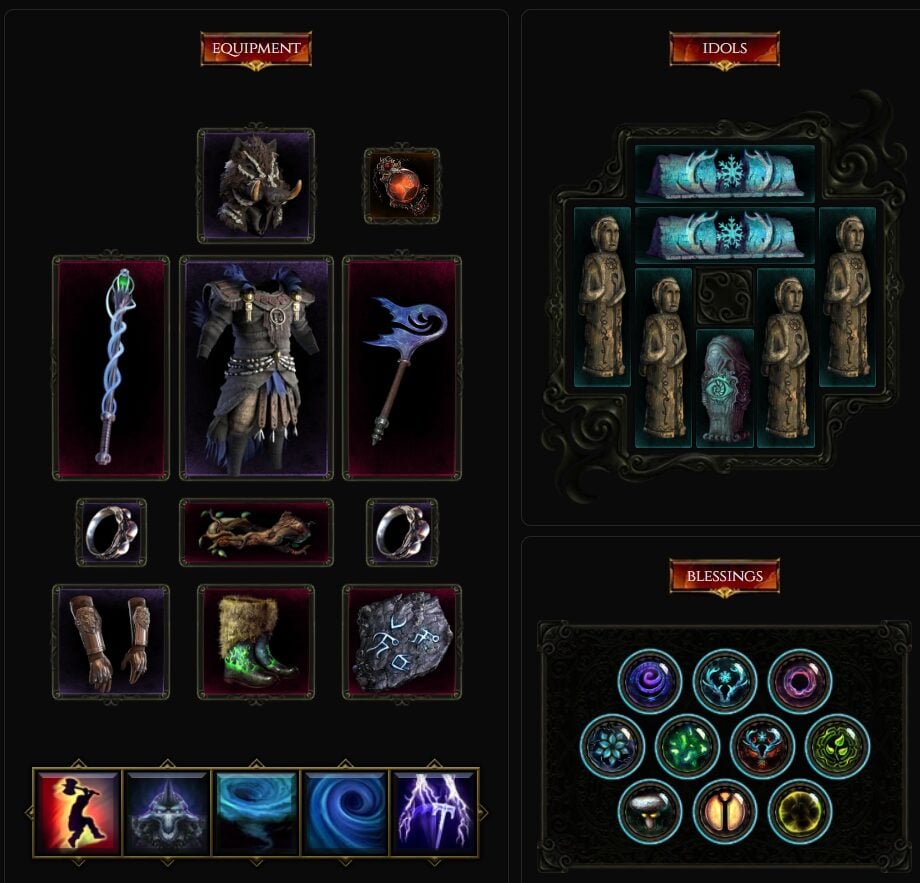
Cold DoT Werebear (Beastmaster)
This build turns your Druid into an absolute force on the battlefield. Charging into the fray with Rampage and using Maul not just for its direct impact but also to cast Entangling Roots, this setup is a powerhouse. It's not just about brute force, though; this Druid is a versatile fighter capable of taking on any challenge the game throws at you. The highlights include:

- Insane Area of Effect (AoE): Your enemies won't even know what hit them.
- Great Survivability: Stay in the fight longer with robust defensive capabilities.
- Speed: One of the fastest mappers out there, ensuring you can traverse through the game's content like a breeze.
Core Abilities and Tactics:
- Primary Attack - Maul: This is your go-to move. Not only does it deal significant damage, but it also casts Entangling Roots, holding your enemies in place and making them easy pickings.
- Roar and Swipe: This dynamic duo works wonders while you're in Werebear Form. Roar to intimidate and weaken your foes, then Swipe to unleash additional Maelstroms, ramping up the destruction.
- Maelstrom Management: Keep your Maelstrom stacks at 6 to maximize benefits like Haste from Windswept and Frenzy from Windfury, turbocharging your attack speed and overall effectiveness.
Build Enhancements:
- Attunement: Aim for at least 60 Attunement points to double the damage output from Maelstrom's Turbulence Node.
- Strength Stacking: Leverage the Wisened Claws Node within Werebear Form to turn your strength into a weapon, amplifying your damage output.
- Damage Reduction: Key passive skills like Berserker, Ursine Strength, Boar Heart, and Impervious make you tough as nails, significantly reducing incoming damage.
Recommended Gear:
While not strictly necessary, these unique items can take your build to the next level:
- Throne of Ambition
- Aurora's Time Glass
- Eterra's Path
D Tier
Sabertooth (Beastmaster)
The creator, Curse, explains that the build excels in dealing damage quickly, capable of defeating bosses in less than 22 seconds, but struggles with survivability, which he hasn't fully solved. The build is similar to critical squirrels builds but with its unique potential for optimization.
Key points include:
- The build's reliance on the Sabertooth's Flurry Swipes for damage, enhanced by converting the Sabertooth to an ice tiger for extra damage multipliers.
- Use of the Swipe skill to activate Flurry Swipes and increase the Sabertooth's critical multipliers.
- Importance of War Cry and Frenzy Totem skills for boosting critical chance, applying chill, and enhancing damage.
Conclusion
And that wraps up our journey through the Primalist build tier list! I hope this exploration has shed some light on the various paths you can take with your Primalist, from the unbeatable strategies of the S Tier to the unique quirks of the D Tier. It's been great diving into the strengths and nuances of each category with you.
Whether you're about to embark on a new adventure or refine your current strategy, I wish you thrilling battles and epic victories in Last Epoch. If you ever want to revisit this or delve into new builds, you know where to find me.
Until next time, may your choices lead you to triumph!