Introduction
Welcome to our Last Epoch Mage Build Tier List. The contents of this guide were sourced from Bina's Last Epoch Master Spreadsheet, where he details the builds that have been used and tested. The builds are tested against the following categories: Speed, Corruption, Arena, Tankiness, Single Target, Cycle Start, and Hardcore.
Tier List Explanation
S-Tier:
- What They Are: The best of the best. These builds outshine others in strength, flexibility, and effectiveness in almost every game scenario.
- Why Use Them: Perfect for players who want to excel in the game, tackling the toughest content with ease.
A-Tier:
- What They Are: Really powerful, just a notch below S Tier. Great at certain things, but not as universally adaptable.
- Why Use Them: Great for those who want a potent build that can handle most challenges without needing the absolute best.
B-Tier:
- What They Are: Dependable and effective, B Tier builds are good but lack the edge to push them to the top. They're balanced, offering a mix of damage and survivability but not excelling in any particular aspect.
- Why Use Them: Ideal for players who prefer reliability or are still mastering the game. They're good all-rounders.
C-Tier:
- What They Are: Average builds that can get the job done but might struggle with higher difficulty levels or efficiency. They might have notable weaknesses or require specific setups to shine.
- Why Use Them: Good for experimenting or for players who enjoy a challenge. They might also cater to unique, niche playstyles.
D-Tier:
- What They Are: The least powerful builds that are generally outclassed by other options. They might be fun or interesting but don't expect top-tier performance.
- Why Use Them: Best for casual play, trying something different, or self-imposed challenges. Not recommended for competitive or high-difficulty content.
| Tier | Class |
|---|---|
| S Tier | • Hydrahedron Runemaster • Frostbite Frost Claw Runemaster • Plasma Orb Runemaster |
| A Tier | • Frost Claw Runemaster |
| B Tier | • Glacier Sorcerer • Static Orb Sorcerer |
| C Tier | • Elemental Nova Sorcerer • Fireball Sorcerer • Shatter Strike Spellblade • Disintegrate Runemaster |
| D Tier | • Flame Reave Spellblade |
S Tier
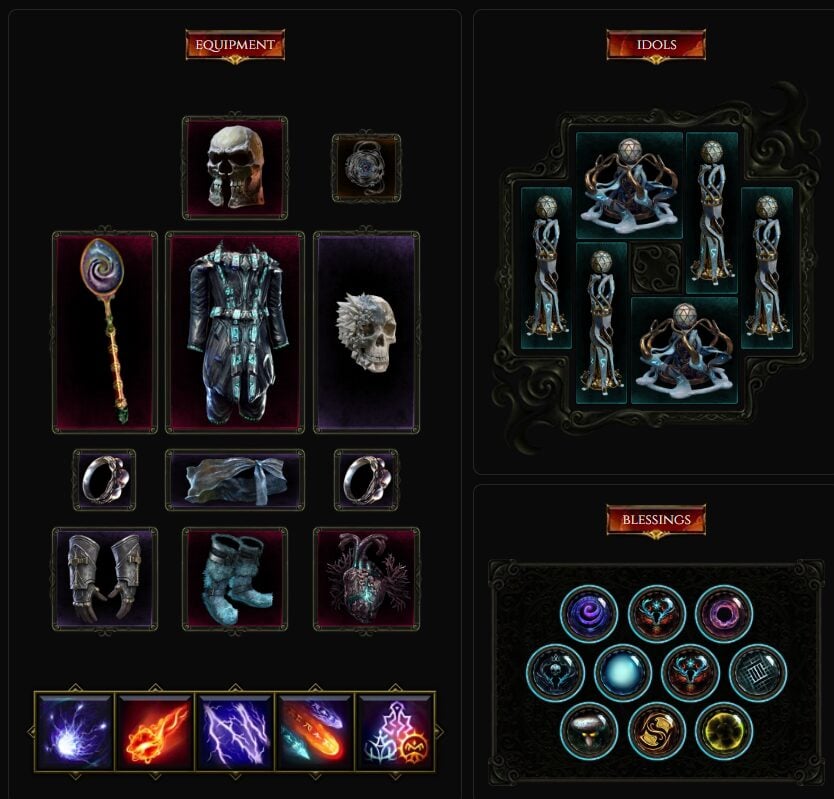
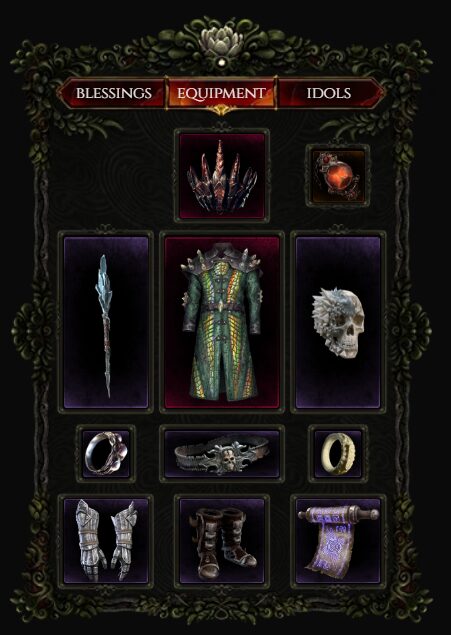
Hydrahedron Runemaster
Step into the role of a Hydrahedron Runemaster, a build that combines the arcane intricacies of rune magic with the raw destructive power of fire. This build is not just about dealing damage; it's about reshaping the battlefield with every cast, making every move a part of a larger strategy.
Core Gameplay:
- Runic Invocations: At the heart of this build lies the ability to combine Runes in specific sequences to unleash devastating effects. The L,F,F (Lightning, Fire, Fire) combination brings forth the Hydrahedron, a formidable ally that rains destruction upon your enemies.
- Fiery Octahedrons: The Hydrahedron doesn't just attack; it dominates the area, filling the battlefield with fiery octahedrons that unleash a relentless barrage of fire projectiles, turning everything within reach into cinders.
Enhancing Your Arsenal: While the build is potent on its own, certain Unique Items can catapult its effectiveness to new heights:
- Box of Hydrae: Tailor-made for this build, enhancing the power and efficiency of your Hydrahedron invocations.
- Fundamental Criterion: Offers a broad spectrum of enhancements, with Legendary Potential unlocking even greater capabilities.
Mobility and Defense:
- Flame Rush: This isn't your average movement skill. Flame Rush offers not only swift repositioning but also layers of defense, allowing you to navigate the chaos of battle with confidence.
- Flame Ward: A staple in your defensive toolkit, Flame Ward provides a significant reduction in incoming damage, essential for surviving the game's more perilous encounters.
- Runebolt for Mana Regeneration: Sustain your onslaught with Runebolt, ensuring you have the mana reserves needed to keep your runic engines firing.
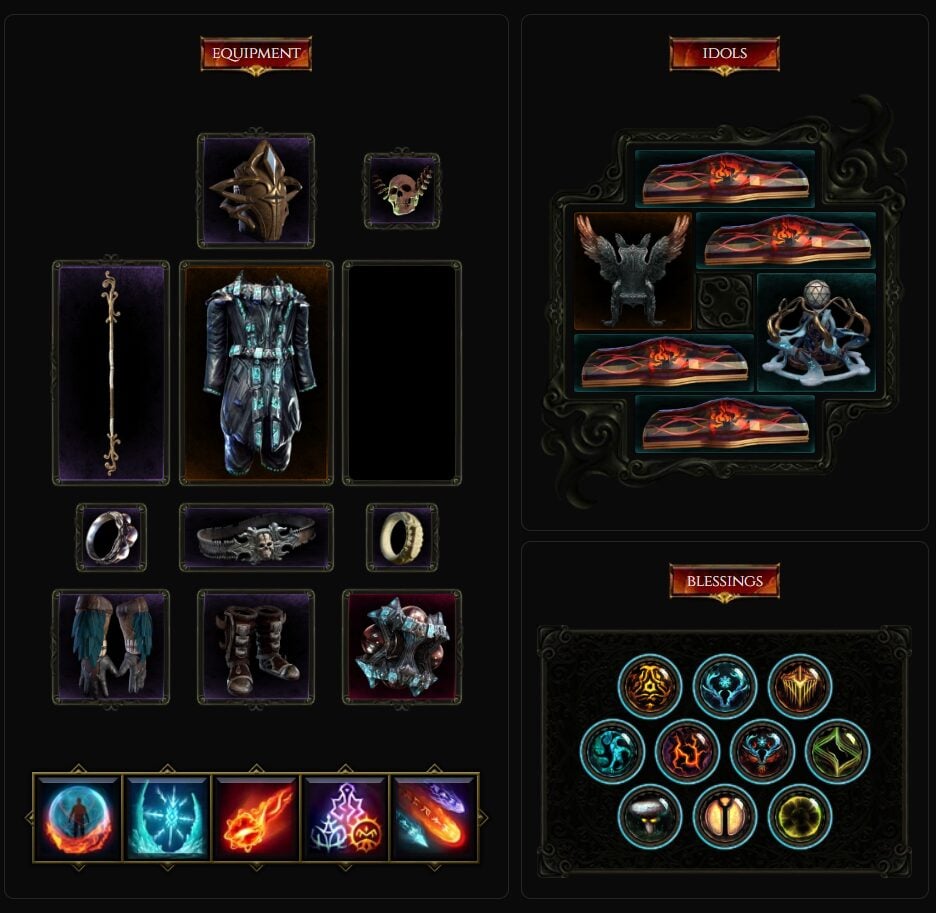
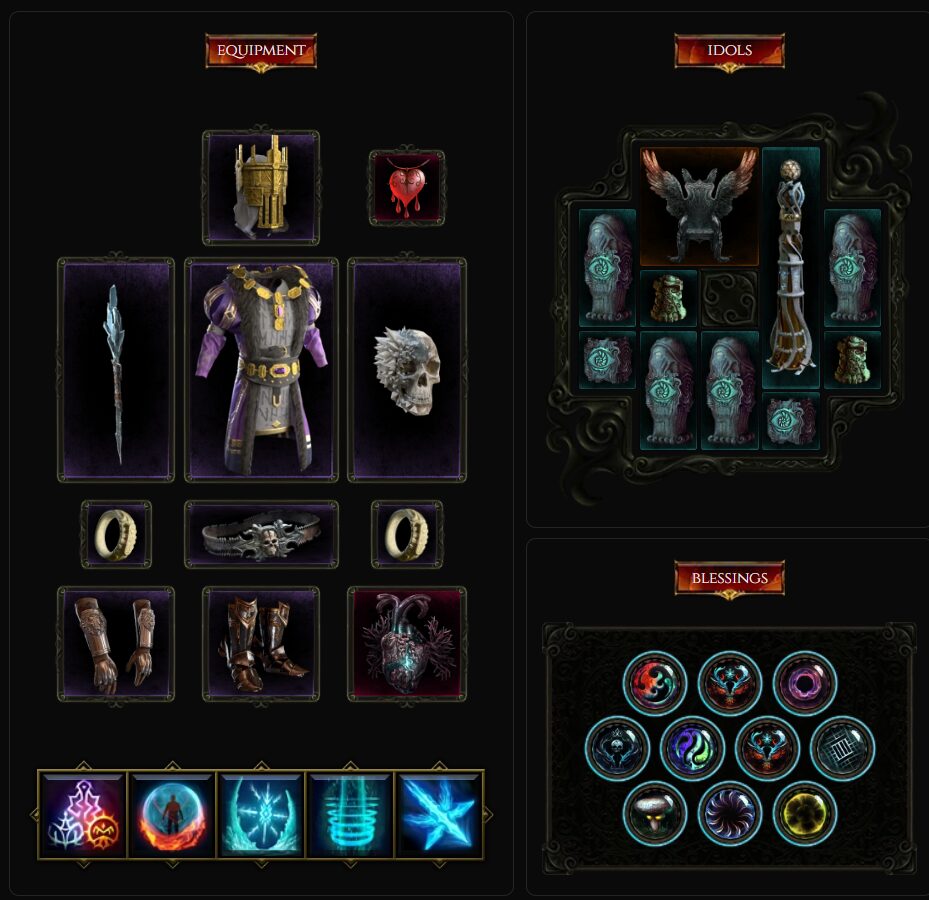
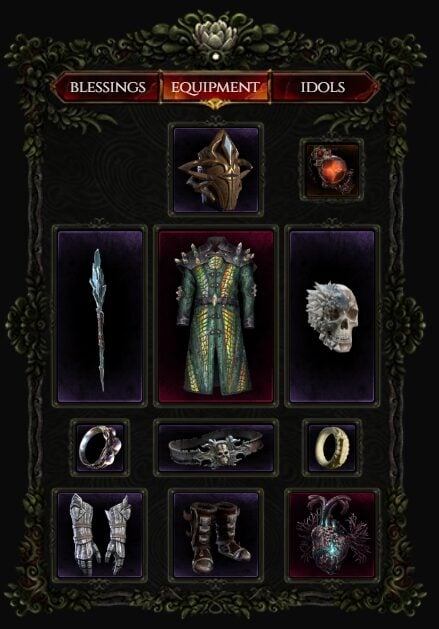
Frostbite Frost Claw Runemaster
Dive into the heart of the fray as a Frostbite Frost Claw Runemaster, a build that combines the relentless assault of frost with a fortress-like defense. This build is all about controlling the battlefield, slowing and shattering your enemies while maintaining an impenetrable defense.
Core Strategy:
- Frost Claw & Elemental Nova: Frost Claw is your primary weapon, slicing through enemies with icy precision. The incidental Elemental Nova procs amplify your area coverage, ensuring no enemy escapes your cold embrace.
- Ward Generation: Frost Claw isn't just for offense; it's a key part of your defensive strategy, generating Ward with each cast. This, combined with multiple sources of Ward on Cast, turns you into a veritable tank.
Ward Generation & Sustain:
- Twisted Heart of Uhkeiros + Bleeding Heart: This combo is the linchpin of your Ward generation, providing a substantial boost to your survivability. Brightfrost ensures that any Bleeds you incur are cleansed with every Frost Claw cast, maintaining your health and Ward.
- Snowdrift & Freezing Point: These elements allow you to penetrate enemy defenses with Cold Penetration and scale your Frostbite effectiveness, turning your icy attacks into deadly blizzards.
Defensive Maneuvers:
- Flame Ward: An essential tool in your defensive arsenal, offering significant damage reduction. Timing its activation is crucial, especially against powerful boss attacks.
- Flame Rush: Your go-to for mobility and evasion, allowing you to gracefully sidestep danger and reposition for optimal control.
Runic Precision:
- Reowyn's Frostguard (C,F,C) & Immutable Order: Keep this Runic Invocation active to bolster your defenses and offensive capabilities. Immutable Order guarantees the consistency of your Rune sequences, streamlining your casting routine.
Optimal Gear:
- Exalted Sceptre with T7 Spell Damage and Reduced Mana Cost: The crown jewel of your arsenal, this weapon is crucial for reducing Frost Claw's Mana Cost to zero, ensuring you can cast freely and without restraint.
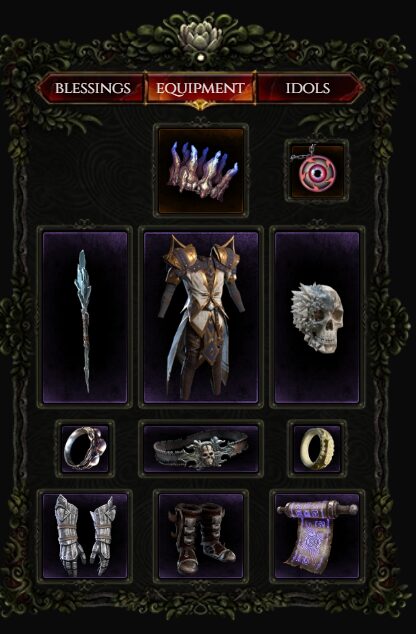
Plasma Orb Runemaster
Embrace the role of a Plasma Orb Runemaster, a character build designed for those who relish an active playstyle and the satisfaction of weaving a tapestry of destruction with rapid casts and strategic positioning. This build is all about maintaining a balance between unleashing torrents of damage and fortifying your defenses to become an unstoppable force.
Core Gameplay Dynamics:
- Runic Invocation - Plasma Orb: The heart of your offense, the combination of (F,L,F) Runes to cast Plasma Orb becomes your primary mode of attack, delivering explosive damage across the battlefield.
- Ward Generation & Cast Speed: Utilize the Twisted Heart of Uhkeiros to bolster your Ward with each cast, turning your high Cast Speed into a formidable defensive mechanism.
Defensive Strategies:
- Reowyn's Frostguard (C,F,C): This Defensive Spell is crucial for your survival, offering a sturdy shield against incoming attacks. Keeping it active permanently ensures a constant layer of protection.
- Flame Rush: Beyond its utility as a mobility skill, Flame Rush serves multiple roles in this build, allowing you to dodge attacks, proc Static Orb for additional damage, and benefit from the buffs it provides.
Mana Management:
- Runebolt Efficiency: Given the build's active nature, keeping an eye on your Mana is vital. Ensure that your Runebolts hit their mark to replenish your Mana, sustaining your casting spree.
Damage Optimization:
- Dexterity Stacking: Amplify your damage output by stacking Dexterity through items like Mad Alchemist's Ladle, Mourningfrost, and Fundamental Criterion. This combo not only increases your damage but also synergizes with your build's focus on speed and precision.
A Tier
Frost Claw Runemaster
Step into the realm of "Last Epoch" with the Frost Claw Runemaster, a build that exemplifies the art of balanced combat. With its straightforward playstyle and robust capabilities, this build allows you to navigate the game's challenges with confidence and finesse.
Core Gameplay Elements:
- Ward Generation: Utilize Jagged Veil in tandem with Twisted Heart of Uhkeiros, leveraging a large health pool to amass significant amounts of Ward. This setup not only bolsters your survivability but also enables aggressive play.
- Elemental Nova Ice Barrage: This is your primary offensive tool, delivering both wide-reaching AoE and potent single-target damage. Proccing Ice Barrages from Frost Claw ensures you maintain constant pressure on your foes, chilling and shattering them with relentless icy assaults.
Mobility and Defense:
- Teleport: More than a mere convenience, Teleport is integral to your strategy, offering not just mobility but also valuable defensive buffs. It allows you to reposition swiftly, dodging lethal attacks and controlling the flow of battle.
- Flame Ward: A versatile skill that serves dual purposes. As a defensive tool, it provides substantial damage reduction, shielding you from incoming threats. Offensively, it can be tuned to augment your damage output, making it a key component of your arsenal.
Build Accessibility:
- Light on Uniques: One of the standout features of this build is its minimal reliance on Unique items, making it an excellent option for both newcomers and veterans alike. This accessibility ensures you can focus on honing your skills and strategy, gradually enhancing your character as you acquire more gear.
B Tier
Glacier Sorcerer
This setup is all about taking Glacier's third explosion to the next level. You're looking at a Sorcerer build that's nothing short of phenomenal, capable of breezing through anything the game throws at you. What makes it stand out? It's got a killer AoE, dishes out hefty Crits, and boasts solid survivability. This is thanks to a combination of defensive strategies and some top-notch Unique Items.
Key Strategies and Skills:
- Prepping the Battlefield: Start by herding enemy packs together. Once they're nicely clustered, hit them with the massive explosions from Glacier.
- Buffing Up: Don't forget to cast Ice Barrage to snag that Ice Shield buff. It's a game-changer.
- Defensive Tactics: The build leans heavily on the "Damage Dealt to Mana Before Health" principle. It's all about stacking as much Mana as you can to make the most out of Glacier's Critical Rejuvenation Node.
- Movement and Defense: Teleport isn't just about moving fast; it's your defensive ace with buffs that kick in every time you use it. And when it comes to keeping damage at bay, Flame Ward is your go-to. It's a defensive powerhouse with a hefty dose of Damage Reduction. Time its use perfectly to counter those big, bad Boss attacks.
- Mana Management: Keeping your Mana pool healthy is key, and that's where Focus comes in. Use it wisely to keep your Mana topped up.
Gear Recommendations:
While the build is solid on its own, there are a few Unique Items that can take it to the next level:
- Fractured Crown: A crown fit for a Sorcerer looking to dominate.
- Orian's Eye: This gem is a game-changer, offering boosts that you won't want to miss.
- Throne of Ambition: As regal as it sounds, it's a throne that offers more than just a seat of power.
Static Orb Sorcerer
Embark on a journey through the rich world of "Last Epoch" with the Static Orb Sorcerer, a character build that marries devastating power with remarkable resilience.
Core Abilities:
- Static Orb: Unleash the fury of the storm with Static Orb, your primary tool for decimating groups of foes with its expansive Area of Effect (AoE).
- Lightning Blast: When faced with formidable single targets, Lightning Blast becomes your ace, delivering unmatched single-target DPS.
Essential Uniques: To unlock the full potential of your Static Orb Sorcerer, keep an eye out for these game-changing Unique Items:
- Prism Wraps: Augments your sorcerous might, amplifying your abilities.
- Twisted Heart of Uhkeiros: This heart doesn't just beat; it boosts, scaling your power to new heights.
- Aurora's Time Glass: The sands within this glass enhance your build, ensuring your Sorcerer reaches peak performance.
Strategic Skills:
- Teleport: Not just for getting around, Teleport offers invaluable defensive buffs, making it a strategic asset for evading and mitigating threats.
- Flame Ward: Your magical shield against adversity, Flame Ward provides a significant reduction in incoming damage. Timing its activation against boss onslaughts can be a game-changer.
- Focus: Mana is the lifeblood of your sorcery. Use Focus to replenish your reserves, ensuring you're always battle-ready.
C Tier
Elemental Nova Sorcerer
The Elemental Nova Sorcerer is a testament to the power of the elements, weaving together a symphony of destruction and protection. This build stands out for its ability to breeze through any challenge the game presents, backed by a robust set of skills and carefully chosen gear.
Build Essentials:
- The Ashen Crown: The cornerstone of this build, The Ashen Crown is non-negotiable. It's the key that unlocks the true potential of the Elemental Nova Sorcerer.
- Elemental Nova: Your bread and butter for dealing with groups, Elemental Nova's AoE capabilities ensure you can keep the battlefield under control.
- Lightning Blast: For those tougher, single-target encounters, Lightning Blast steps up, delivering the high DPS needed to take down formidable foes.
Recommended Unique Items: While the build is formidable on its own, these Unique Items can elevate your power to new heights:
- Prism Wraps: Enhance your elemental prowess, adding another layer of strength to your arsenal.
- Aurora's Time Glass: A crucial piece for scaling your build, ensuring you remain a step ahead of your adversaries.
Key Skills for Survival and Mobility:
- Teleport: More than a mere convenience, Teleport is a strategic tool, offering significant defensive buffs that can be the difference between victory and defeat.
- Flame Ward: This Defensive Skill is your bulwark against the tide of battle, providing substantial Damage Reduction. Its effective use, especially timed against boss attacks, can turn the tide of battle in your favor.
- Focus: Mana management is crucial, and Focus ensures you have the reserves needed to sustain your onslaught of elemental fury.
Fireball Sorcerer
The Fireball Sorcerer is a dazzling display of pyromancy at its finest, offering a playstyle that's as engaging as it is explosive. This build excels in delivering a spectacle of destruction, all while maintaining a safety net through strategic defense and mobility.
Build Highlights:
- Insane Range: Unleash devastation from afar, keeping your enemies at a comfortable distance while you bombard them with fiery doom.
- Active Playstyle: This build keeps you on your toes, making every encounter a dynamic dance of destruction.
- Great Survivability: With multiple defensive layers and the right Unique Items, you'll be able to withstand the onslaught of even the toughest foes.
Core Strategy:
- Meteor for Craterborn Buff: Start off with a bang by casting Meteor, not just for its impact but also for the Craterborn buff it provides, enhancing your subsequent spells.
- Fireball Barrage: The main event – kite your enemies while unleashing a relentless barrage of Fireballs, turning the battlefield into a blazing inferno.
Essential Unique Items: To maximize the potential of your Fireball Sorcerer, aim to acquire these Unique Items:
- Prism Wraps: Boost your magical prowess, adding an extra layer of power.
- Twisted Heart of Uhkeiros: A vital piece for scaling your damage output.
- Aurora's Time Glass: Time is on your side with this item, enhancing your build's effectiveness.
- Throne of Ambition: Elevate your power to regal heights, making your sorcerer a monarch of destruction.
Mobility and Defense:
- Teleport: Not just for repositioning, Teleport provides invaluable defensive buffs, ensuring you can navigate through peril with grace.
- Flame Ward: A cornerstone of your defensive strategy, Flame Ward offers significant damage reduction, particularly useful for neutralizing high-damage boss attacks.
- Focus for Mana Regeneration: Keep your mana pool topped up with Focus, ensuring you're always ready to unleash your next fiery onslaught.
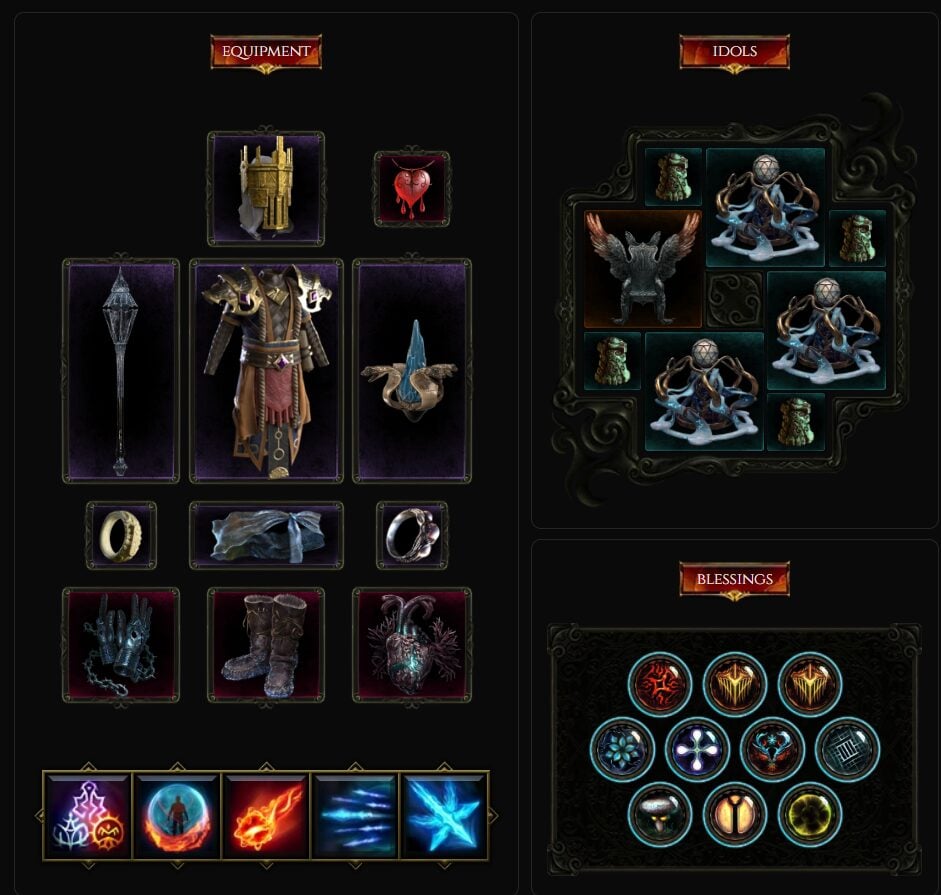
Shatter Strike Spellblade
The Shatter Strike Spellblade is a testament to the synergy between sword and sorcery, offering a gameplay experience that's as satisfying as it is effective. With its focus on critical strikes and ward generation, this build promises both high damage output and resilience in the heat of battle.
Key Components of the Build:
- Crit-Focused Damage: Leverage Shatter Strike with Cold Steel to amplify your critical hit potential, ensuring each strike carries the weight of winter's chill.
- Ward Generation & Health Regen: Embrace the defensive prowess of Vessel of Strife, which not only bolsters your health regeneration but also complements the ward-centric approach of the Spellblade.
Recommended Items for Scaling: To elevate your Shatter Strike Spellblade to its zenith, consider incorporating these items into your arsenal:
- Peak of the Mountain: An essential item that enhances your core attributes and powers.
- Shard of the Shattered Lance: Further augments your critical strike capabilities, making your Shatter Strike even more lethal.
- Strands of Souls: Enhances your ward generation, reinforcing your defensive layers.
- Ferebor's Persistence: A key item that provides durability and sustained power in prolonged encounters.
Skill Synergies:
- Enchant Weapon: Momentarily boost your damage output, adding an extra layer of potency to your attacks.
- Teleport: Beyond mere mobility, Teleport offers significant defensive buffs, allowing you to navigate the battlefield with both agility and protection.
- Flame Ward: A cornerstone defensive skill, providing substantial damage reduction. Timing its use against powerful boss attacks can be crucial for survival.
Disintegrate Runemaster
Embrace the role of a Disintegrate Runemaster, a character build that epitomizes the concept of "an unstoppable force." With a gameplay style that's as engaging as it is lethal, this build offers a unique take on the traditional caster archetype, focusing on sustained damage and strategic positioning.

Build Fundamentals:
- Glyph of Dominion: This is your staging ground, the foundation upon which your power is amplified. Cast it strategically to enhance your buffs and set the stage for your devastating Disintegrate beam.
- Disintegrate: The star of the show, Disintegrate is your tool of annihilation. When channeled from atop your Glyph of Dominion, it becomes an inexorable tide of destruction, erasing foes from existence with unparalleled efficiency.
Essential Gear: Certain Unique Items are central to this build's success, providing the necessary power spikes to tackle higher difficulties:
- Ignivar's Head: A cornerstone item for this build, amplifying your Disintegrate's potency and turning it into a relentless force.
- Gambler's Fallacy: This item introduces a dynamic element to your critical strike mechanics, further enhancing your damage output under the right conditions.
Recommended Uniques for Scaling: To elevate your Disintegrate Runemaster to its peak potential, consider integrating these Uniques into your setup:
- Peak of the Mountain & Foot of the Mountain: These items synergize to bolster your defenses and offensive capabilities, creating a harmonious balance between power and protection.
- Ravenous Void: Adds a layer of existential dread to your arsenal, sucking foes into a void of despair as you dismantle their very essence.
Survivability and Mobility:
- Teleport: This skill is your escape hatch, your repositioning tool, and your defensive bolster all rolled into one, allowing you to navigate the chaos of combat with grace and poise.
- Flame Ward: An indispensable part of your defensive repertoire, offering a substantial buffer against incoming attacks, especially crucial during those moments when you're channeling the full might of your Disintegrate beam.
D Tier
Flame Reave Spellblade
Embrace the heat of battle with the Flame Reave Spellblade, a build that stands out for its simplicity in execution but depth in strategy. This build is your ticket to a visually stunning and effective playstyle, capable of incinerating any challenge that "Last Epoch" throws your way.

Core Mechanics:
- Illuminating Fire & Firebrand: Begin your assault with Firebrand, stacking Illuminating Fire to guarantee your next Flame Reave not only hits but crits with explosive results. This one-two punch is the heart of your offense.
- Blade Weaver Synergy: Blade Weaver acts as your build's offensive catalyst. Stack it diligently with Firebrand and unleash it through Flame Reave for a spectacular burst of damage.
Build-Enhancing Gear: While the build is potent in its own right, these Unique Items can significantly boost your effectiveness:
- Sunwreath: Transforms Flame Reave from a mere cone of fire into a colossal ring of inferno, dramatically increasing your AoE impact.
- Bulwark of the Last Abyss: Adds a sturdy layer of defense, fortifying your survivability.
- Aurora's Time Glass: Speeds up your ability to react and execute your combos, keeping you one step ahead.
- Omnis: Enhances your elemental damage, adding more fuel to your fiery onslaught.
- Throne of Ambition: Elevates your power, making you a formidable force on the battlefield.
Key Skills for Survival and Mobility:
- Enchant Weapon: Temporarily boost your damage, adding an extra edge to your already potent attacks.
- Teleport: More than just a mobility tool, Teleport provides essential defensive buffs, allowing you to weave through enemies and hazards with ease.
- Flame Ward: A critical defensive skill that significantly reduces incoming damage. Perfectly timing its activation against boss attacks can turn potentially lethal blows into mere flickers.
Conclusion
And that wraps up our journey through the Mage build tier list! I hope this exploration has shed some light on the various paths you can take with your Mage, from the unbeatable strategies of the S Tier to the unique quirks of the D Tier. It's been great diving into the strengths and nuances of each category with you.
Whether you're about to embark on a new adventure or refine your current strategy, I wish you thrilling battles and epic victories in Last Epoch. If you ever want to revisit this or delve into new builds, you know where to find me.
Until next time, may your choices lead you to triumph!