Table of Contents
One of the 3D rooms in Penacony Grand Theater is locked until you start a certain Adventure Mission. But first, make sure you complete the 2.2 Penacony Trailblaze Mission.
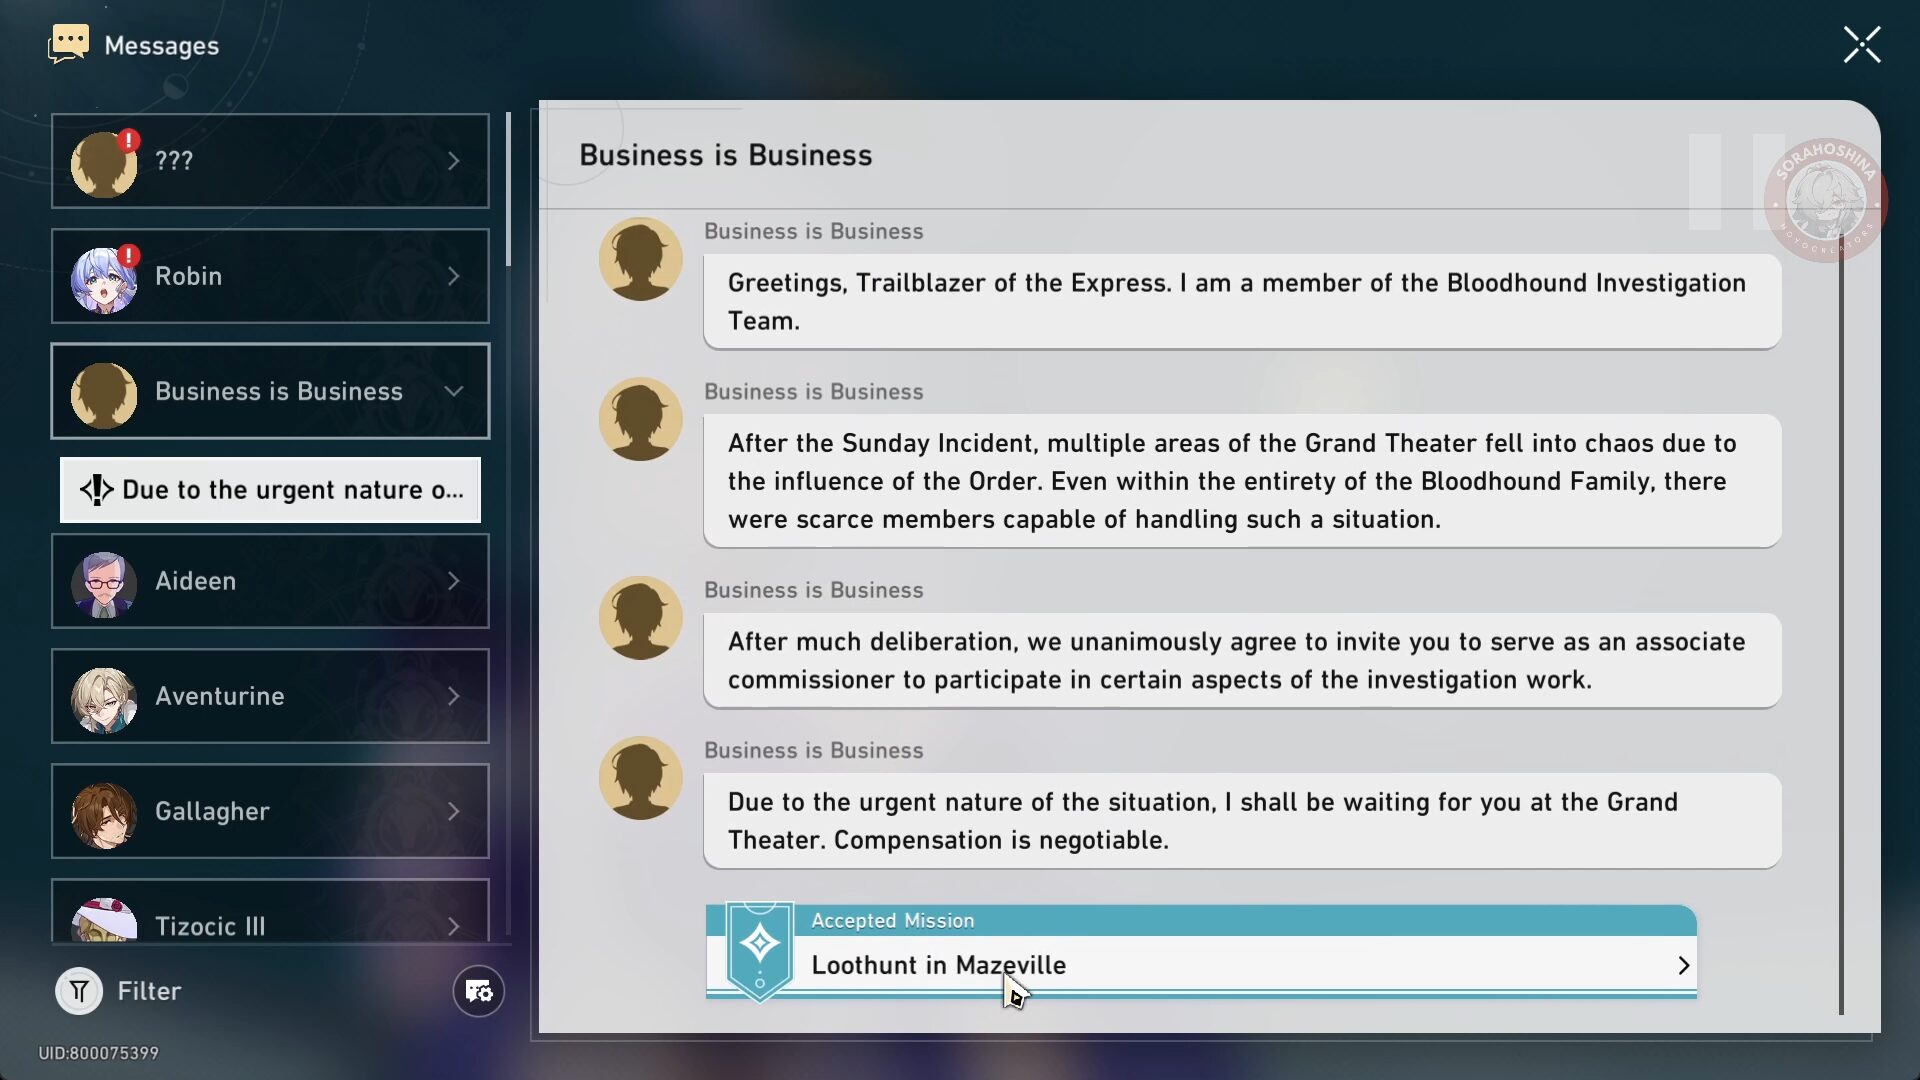
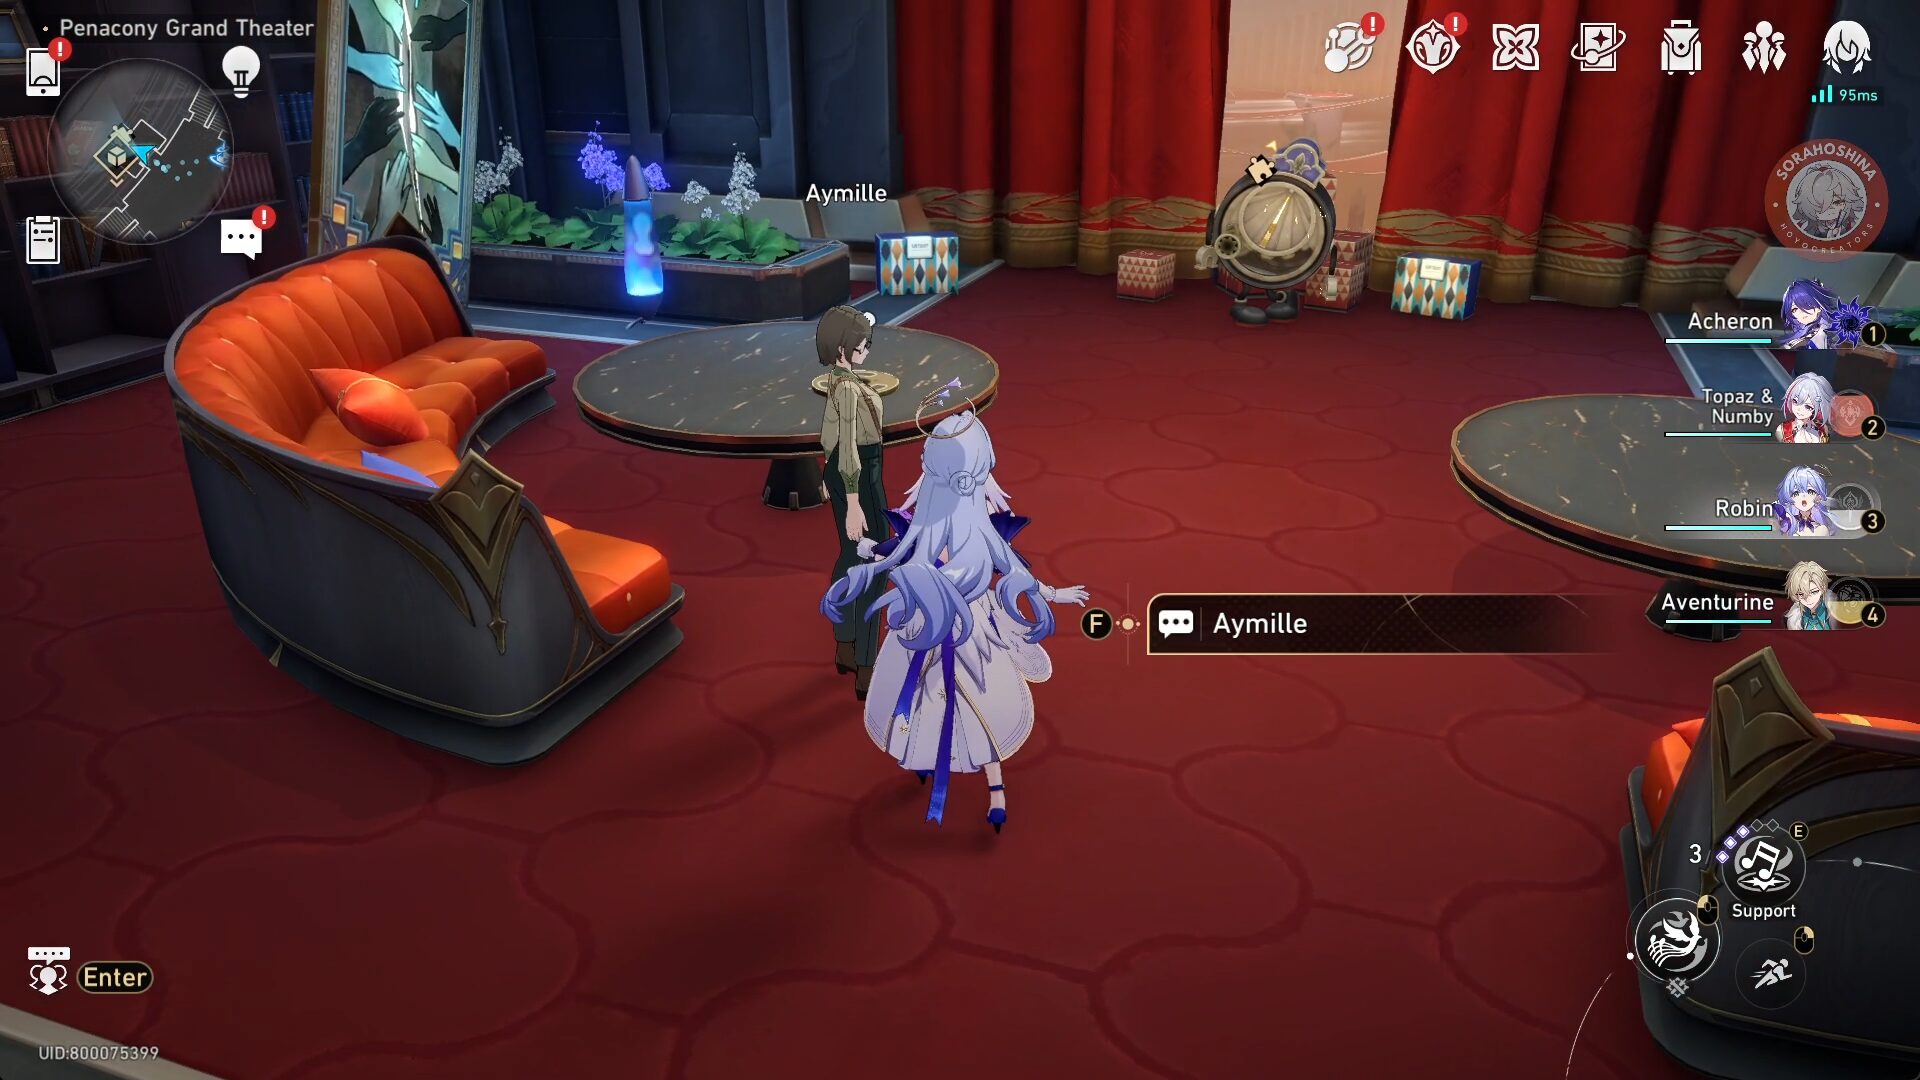
Then, open the message from Business is Business to start the Loothunt in Mazeville Adventure Mission. There are 11 treasure chests inside this room.
How to Complete Loothunt in Mazeville Adventure Mission
You need to enter the 3D room 3 times, in which each time you enter, the maze will change shape and path.
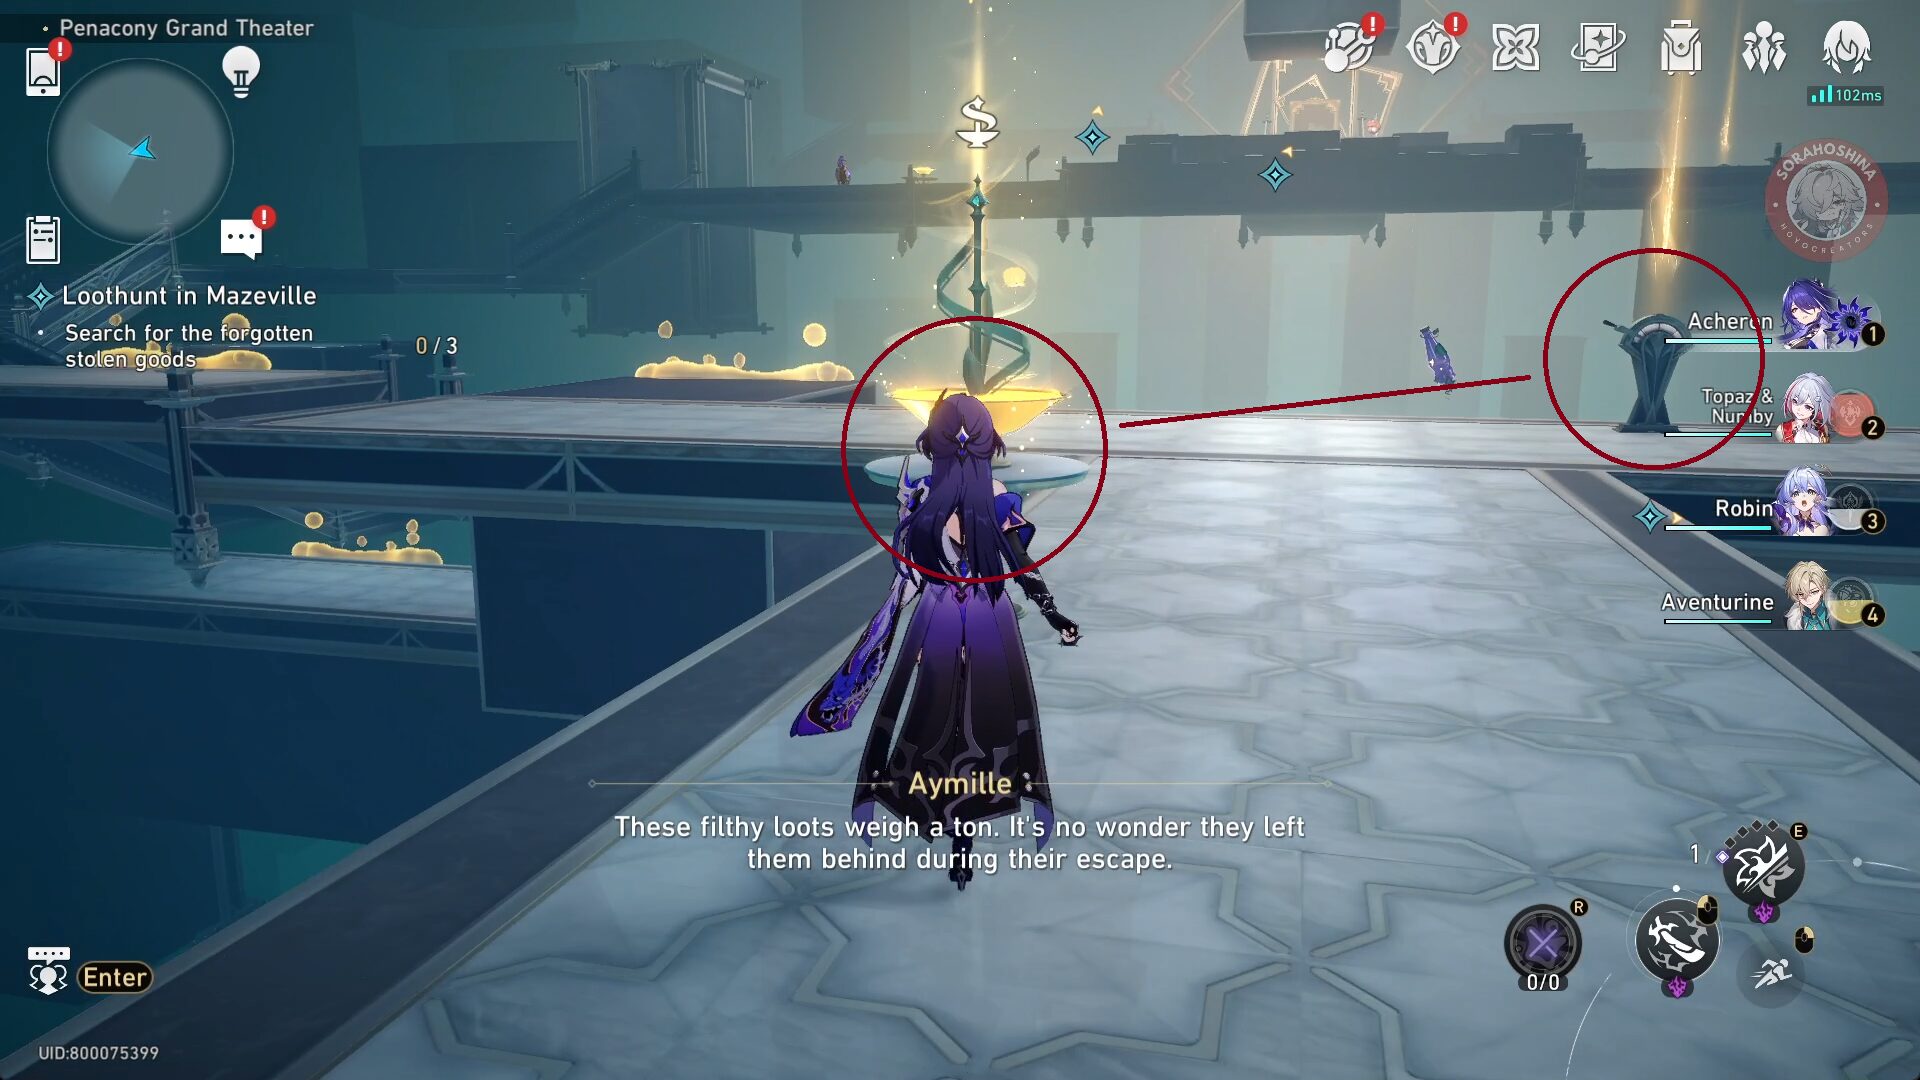
First Maze
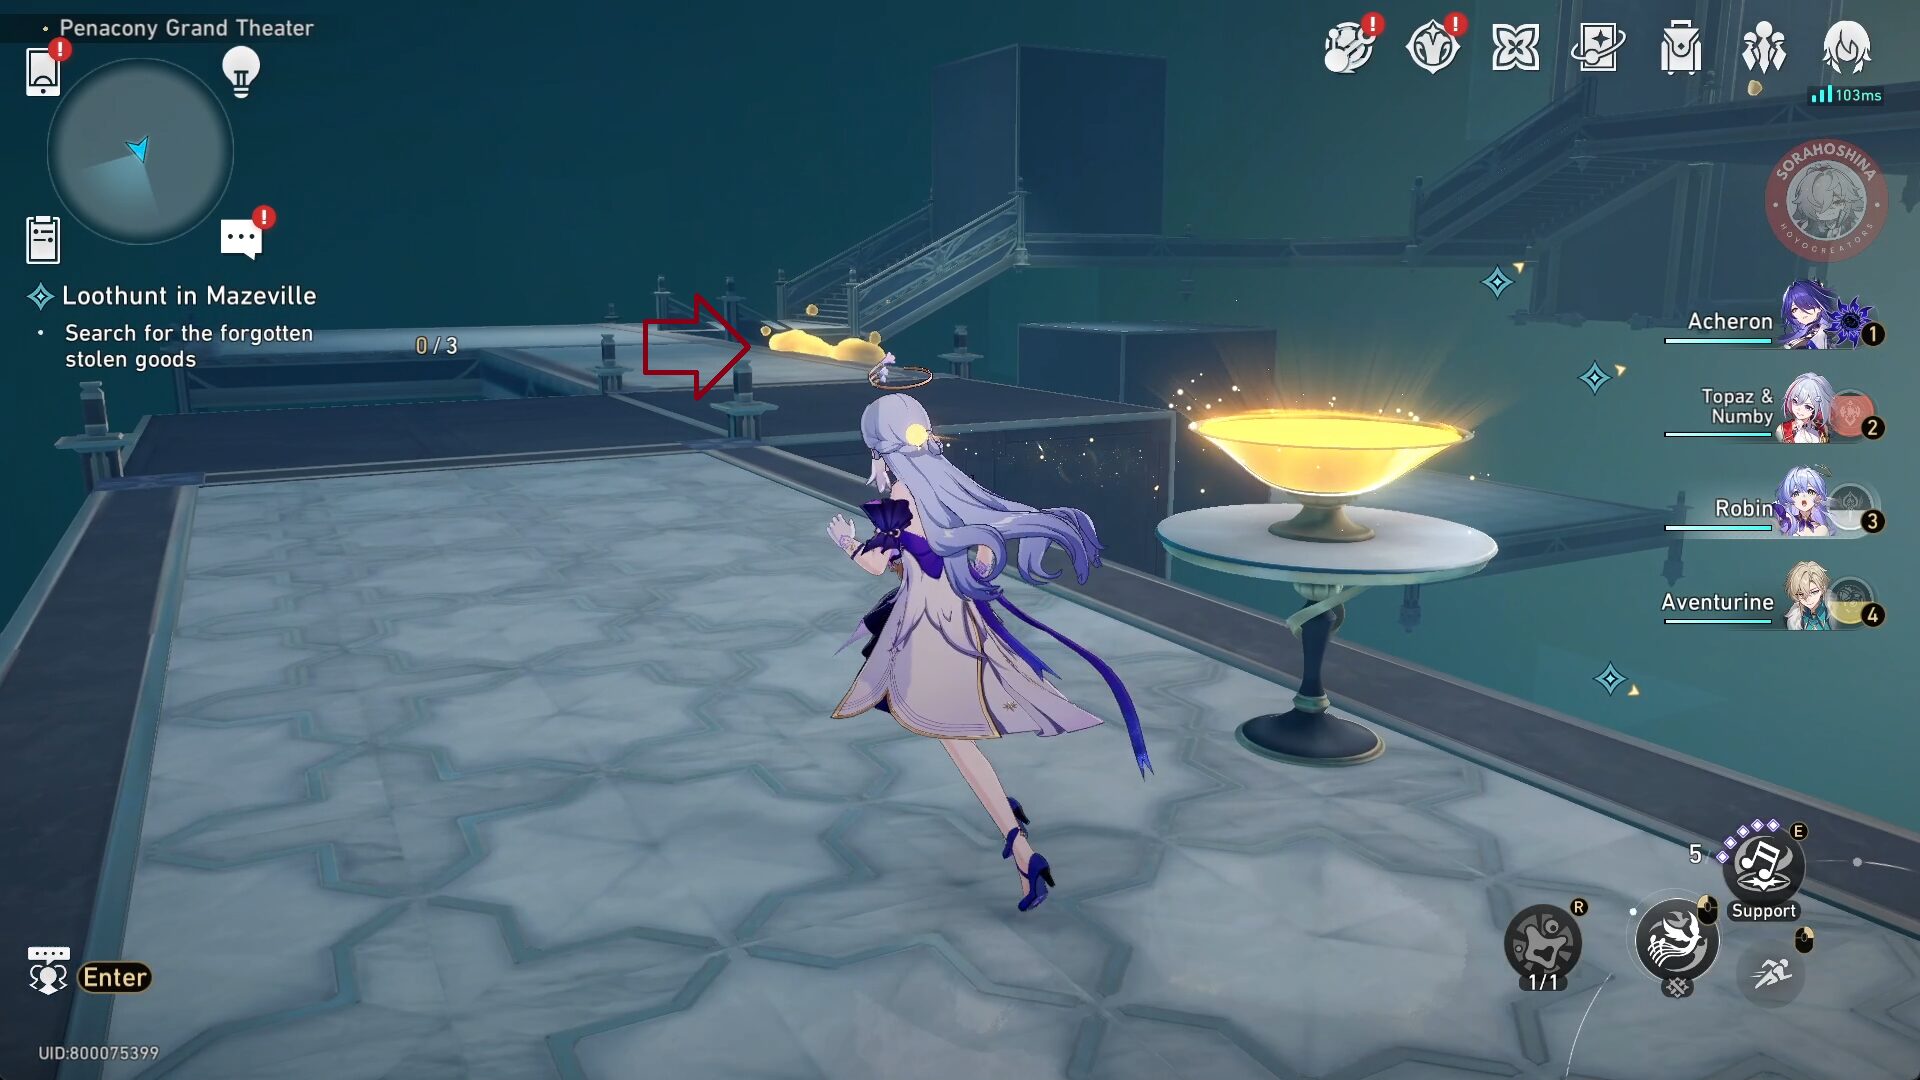
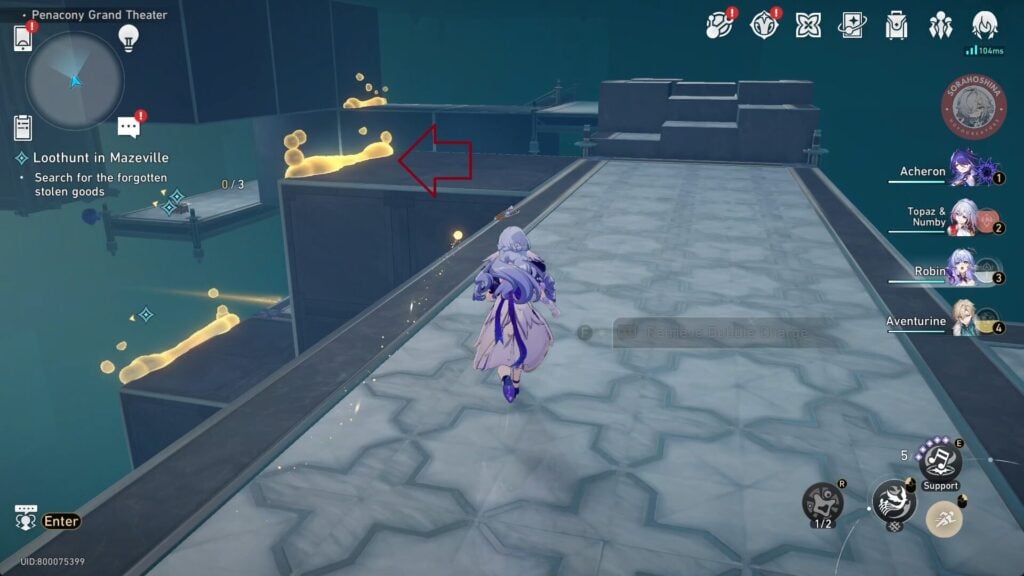
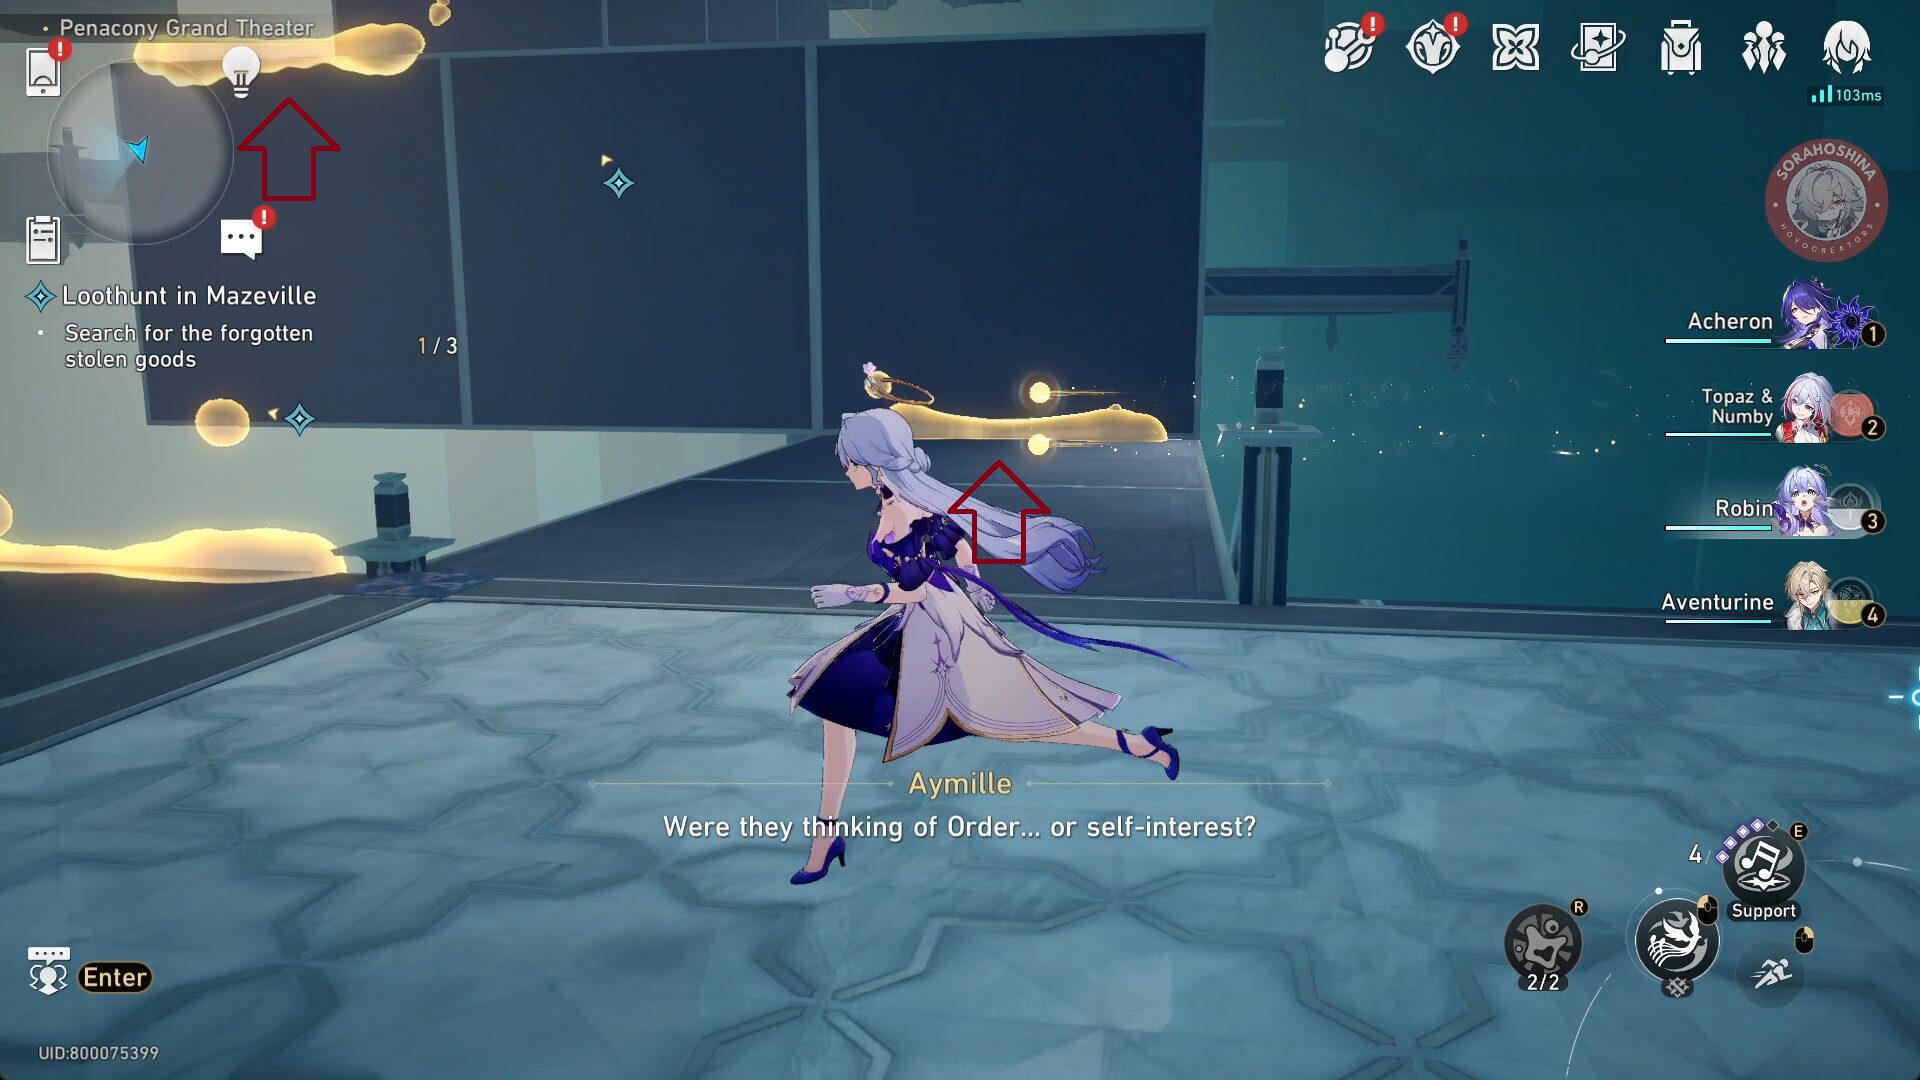
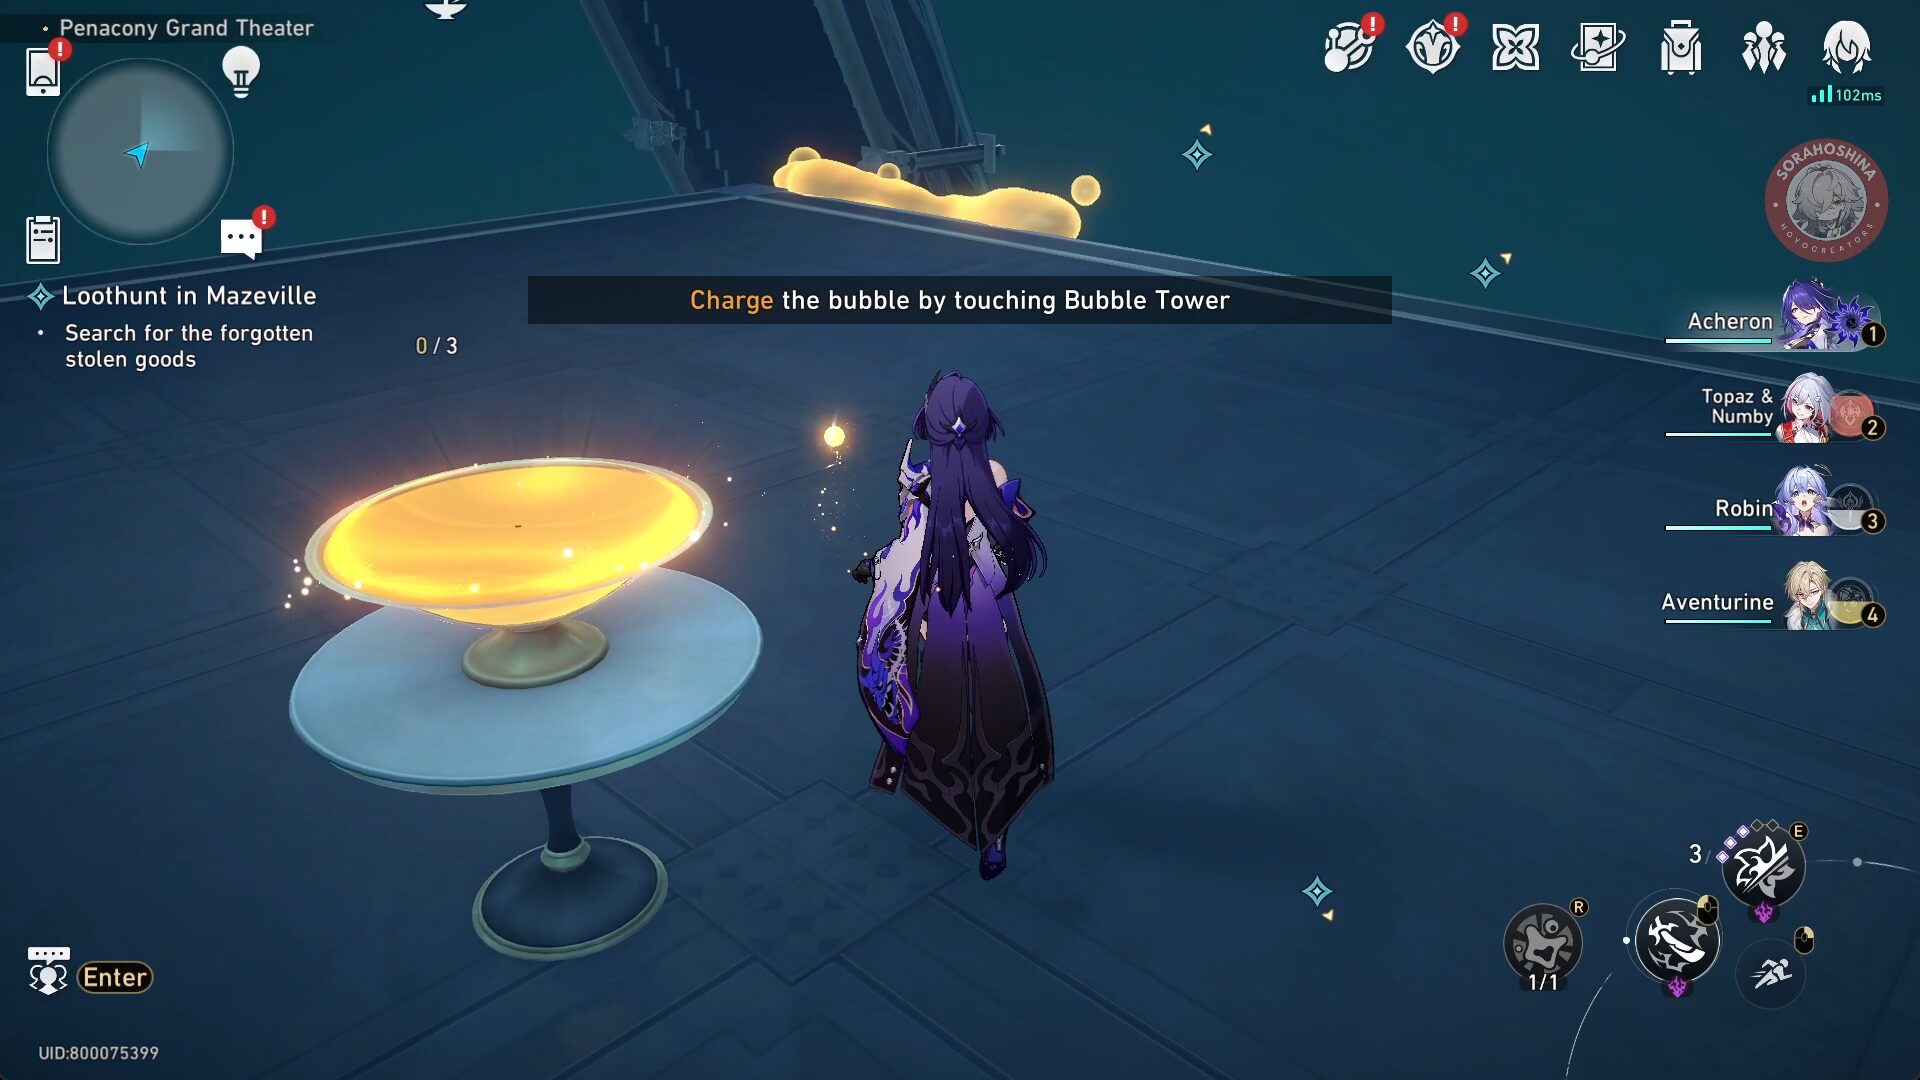
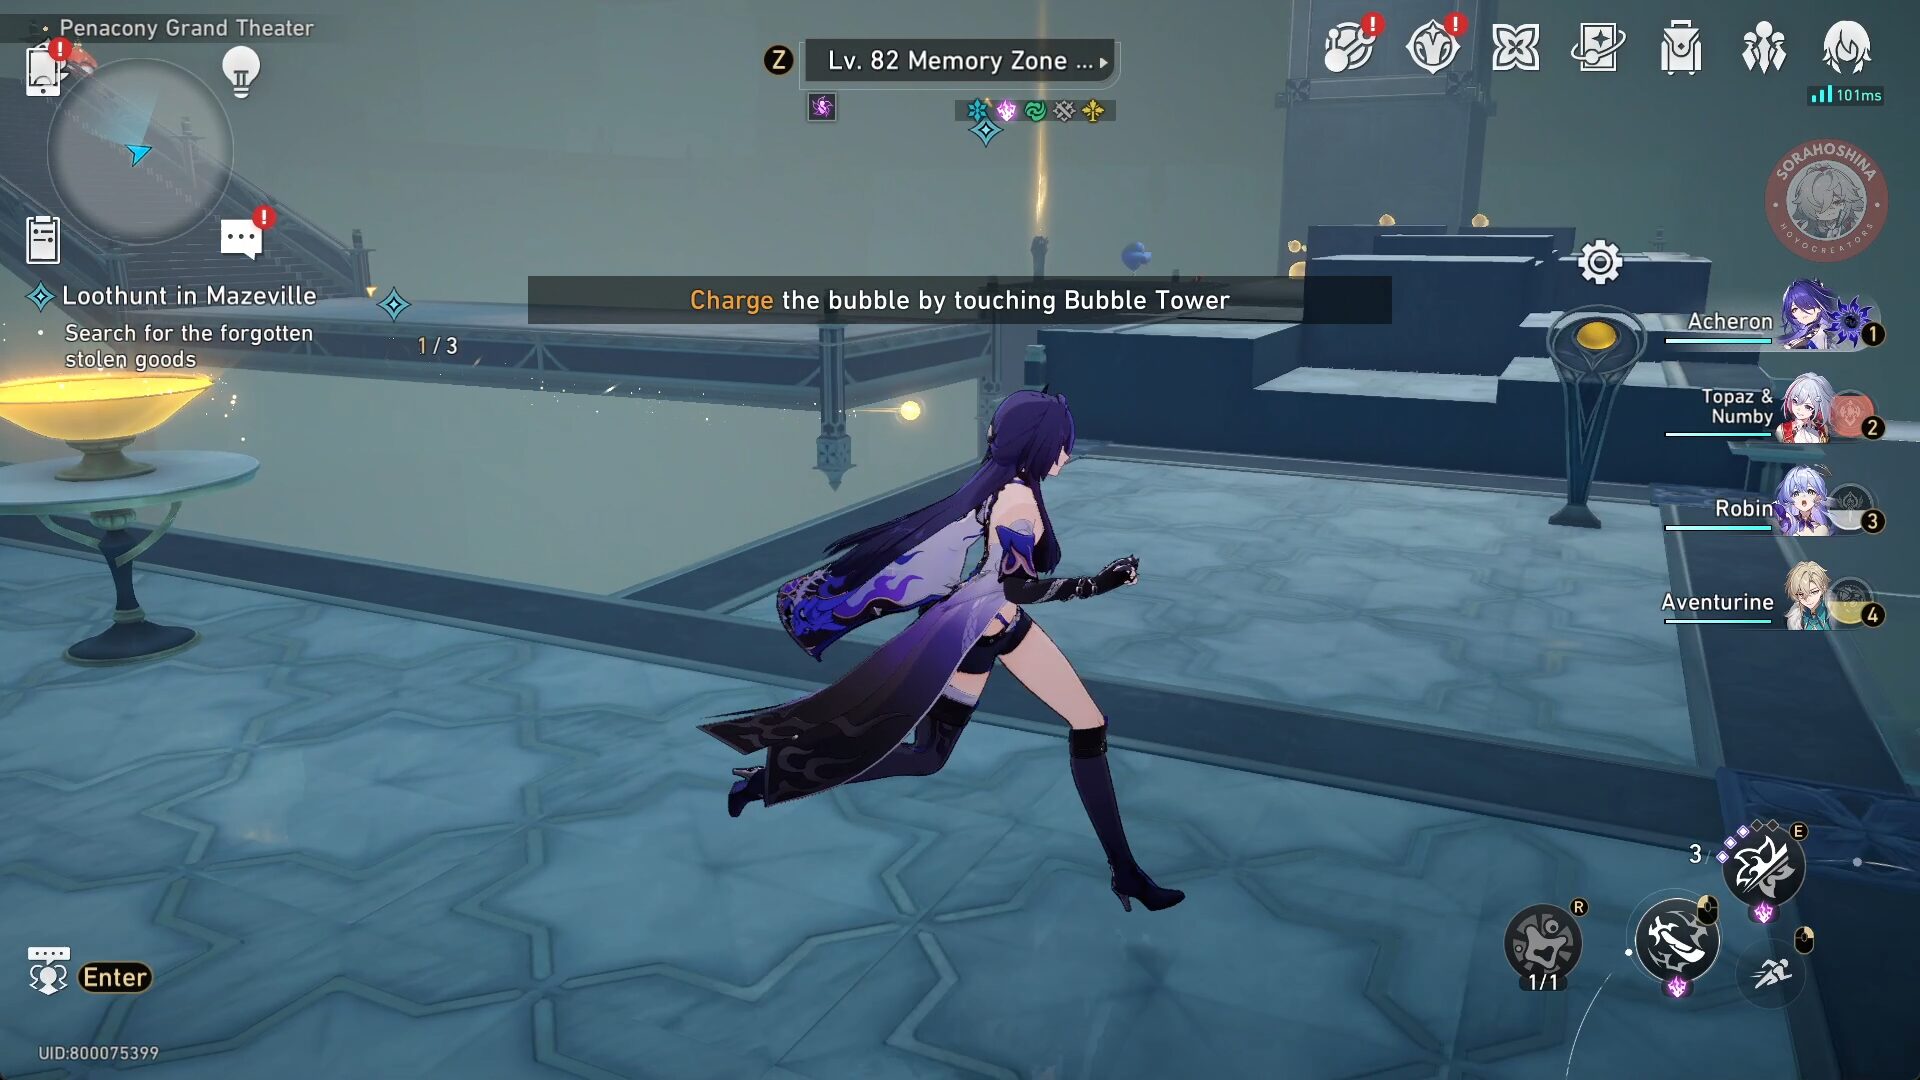
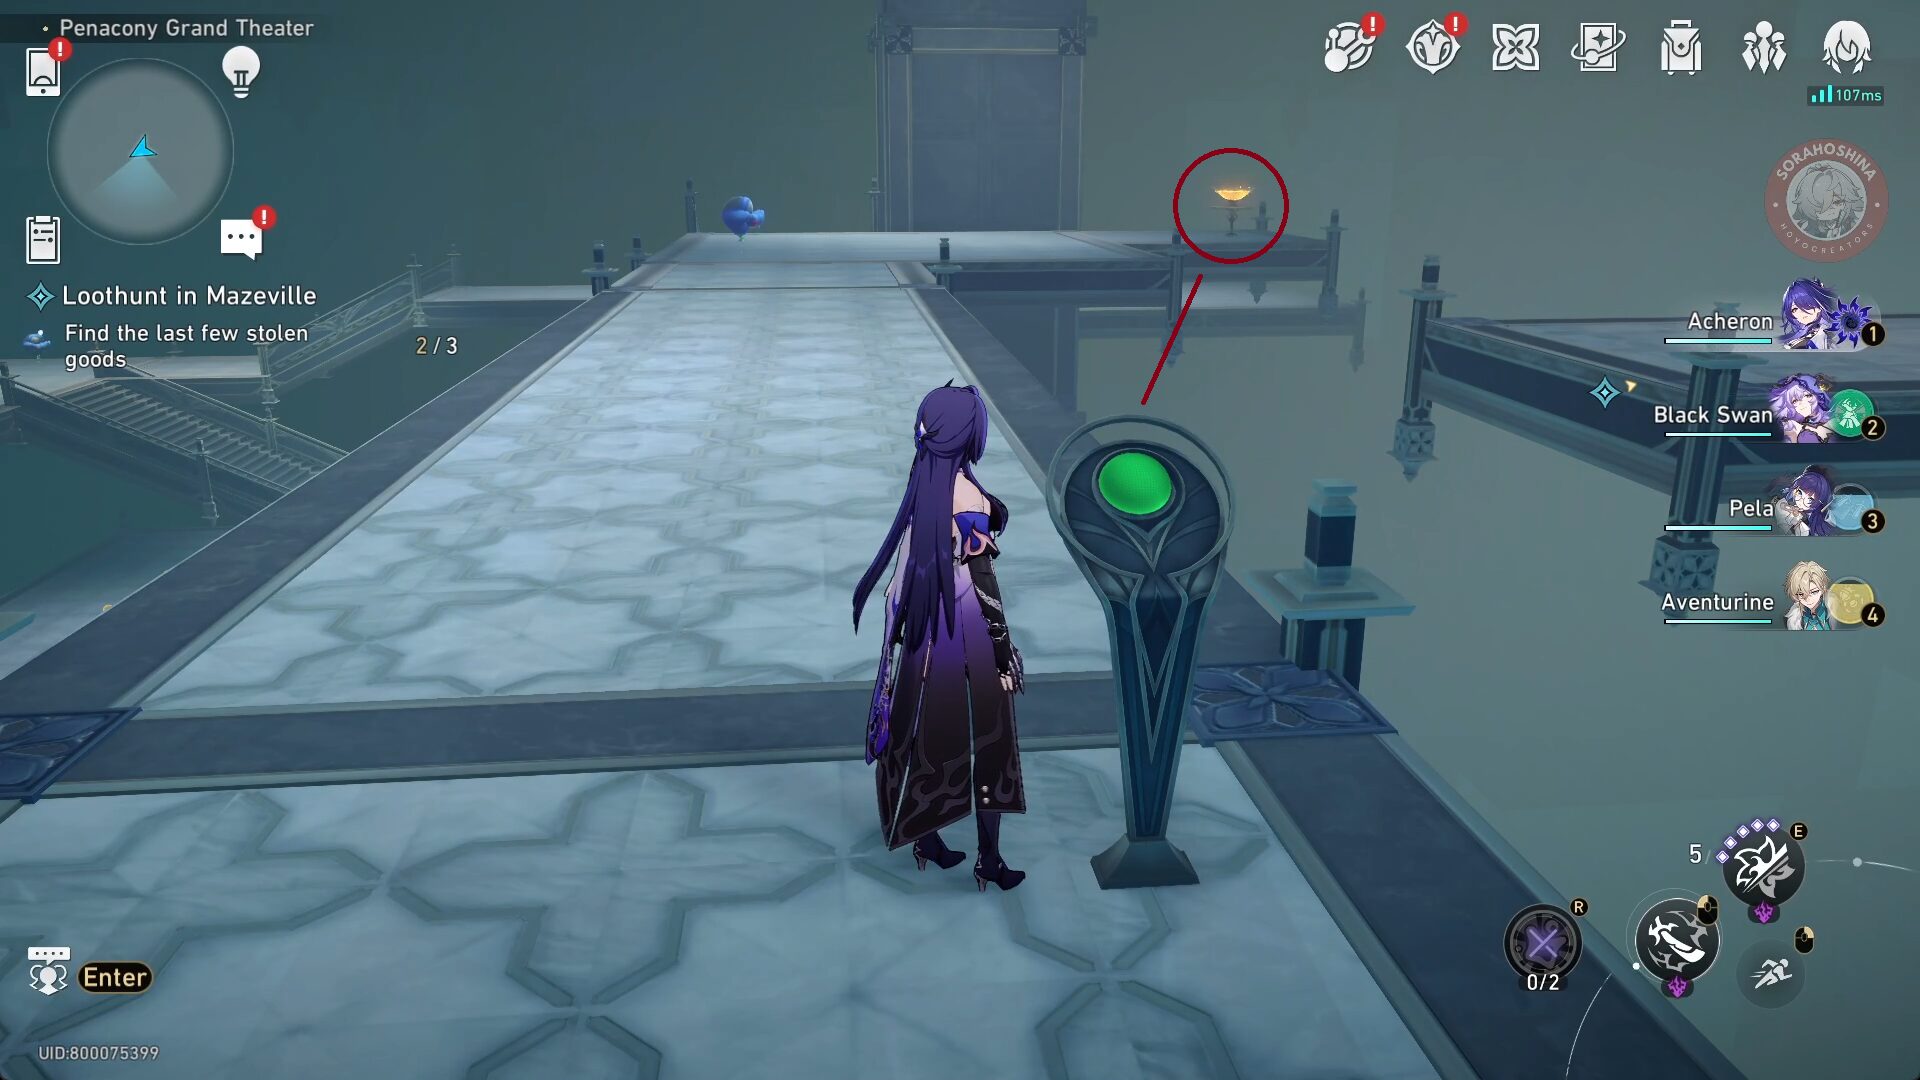
After entering the maze, get the Bubble Charge and cross the bridge on the left. This will lead you to another Bubble Charge but will increase the limit to 2.
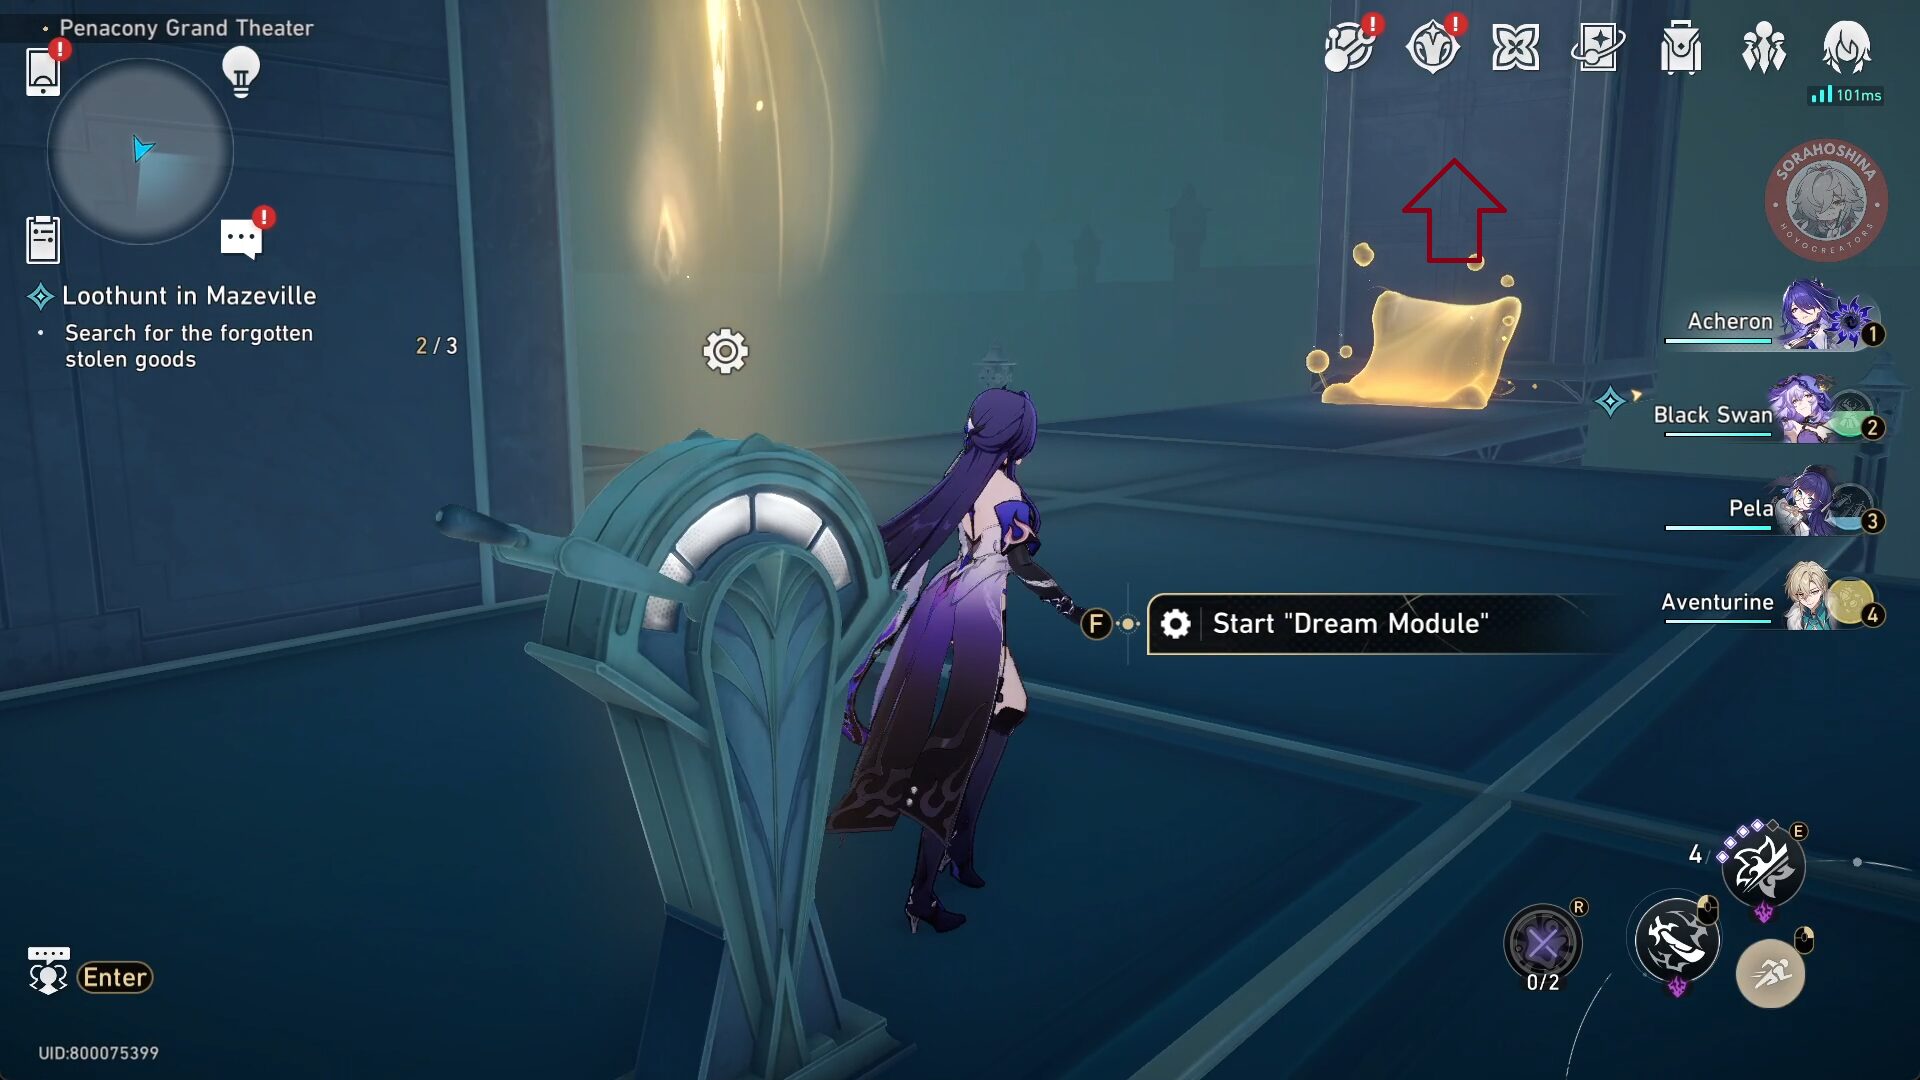
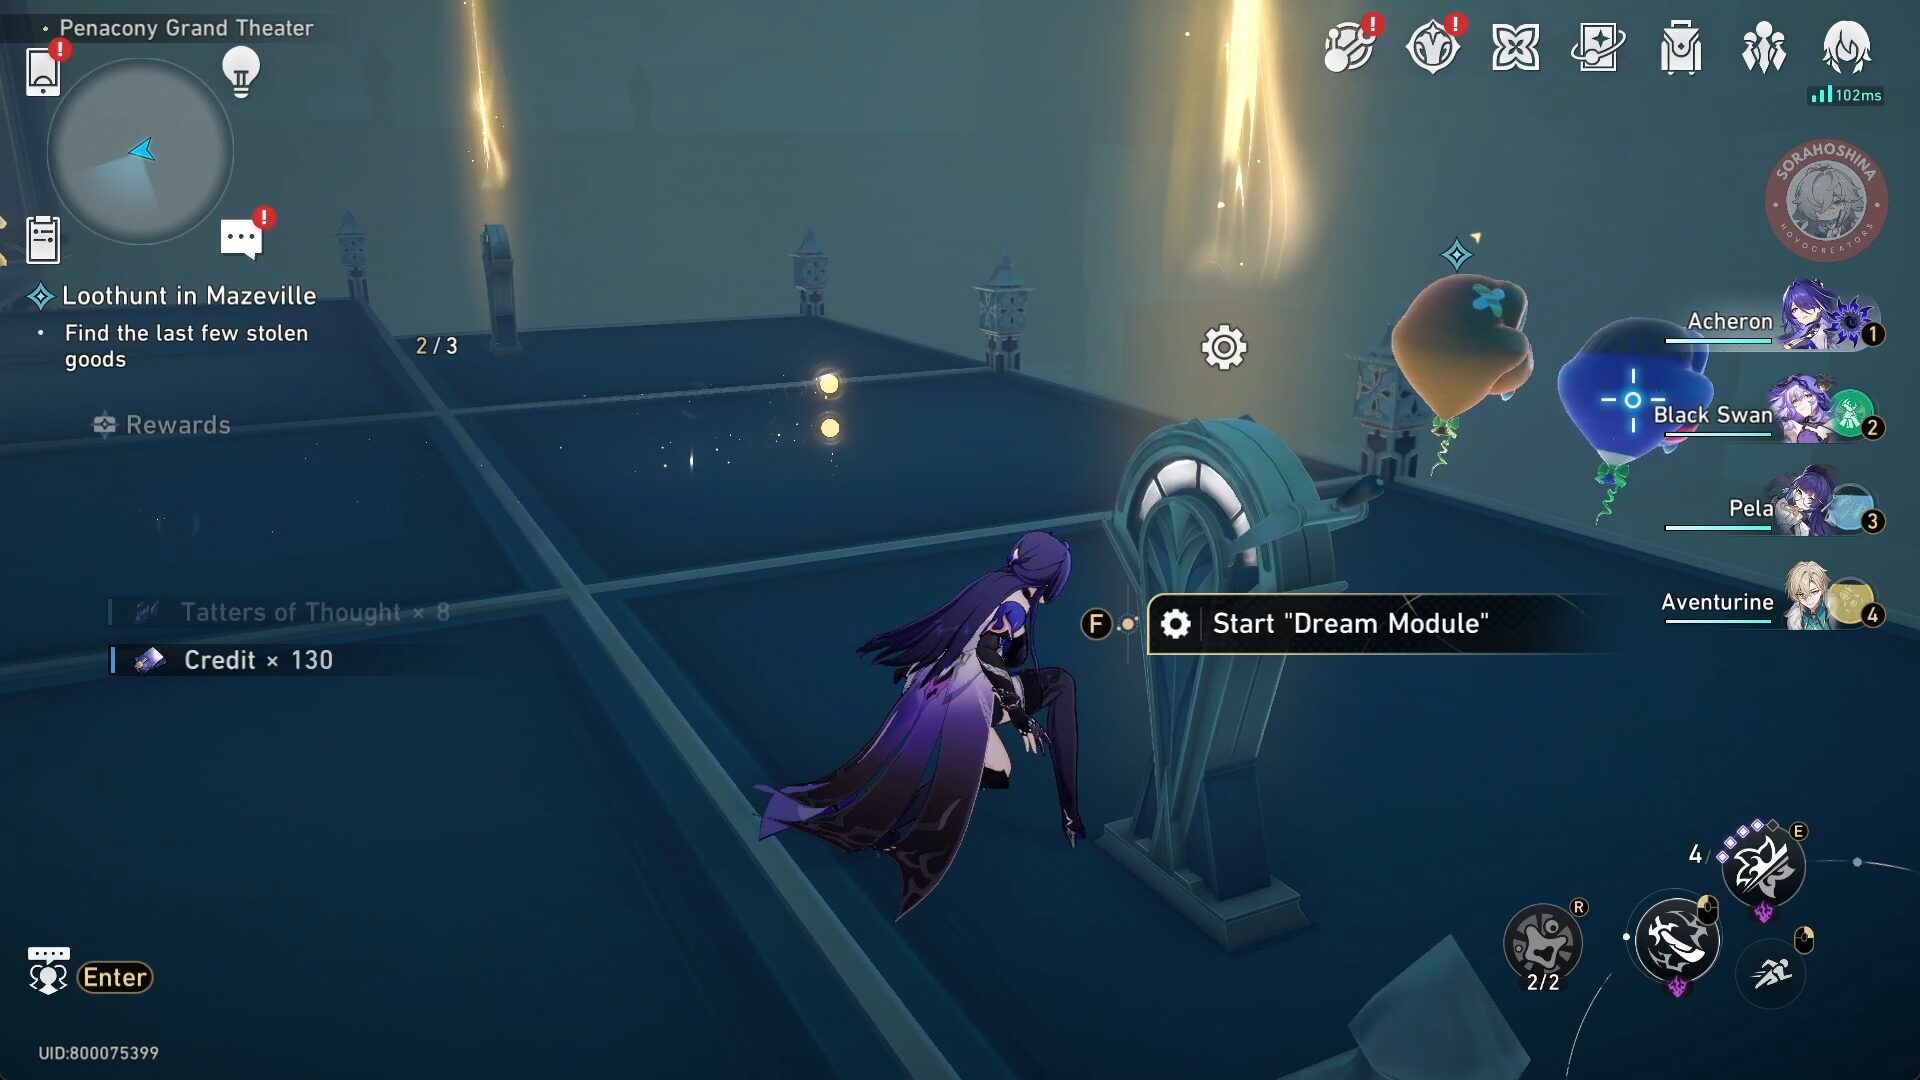
Go back to the first Bubble Charge direction and now go to the right side towards the bridge. Interact with the Dream Module to move the platform.
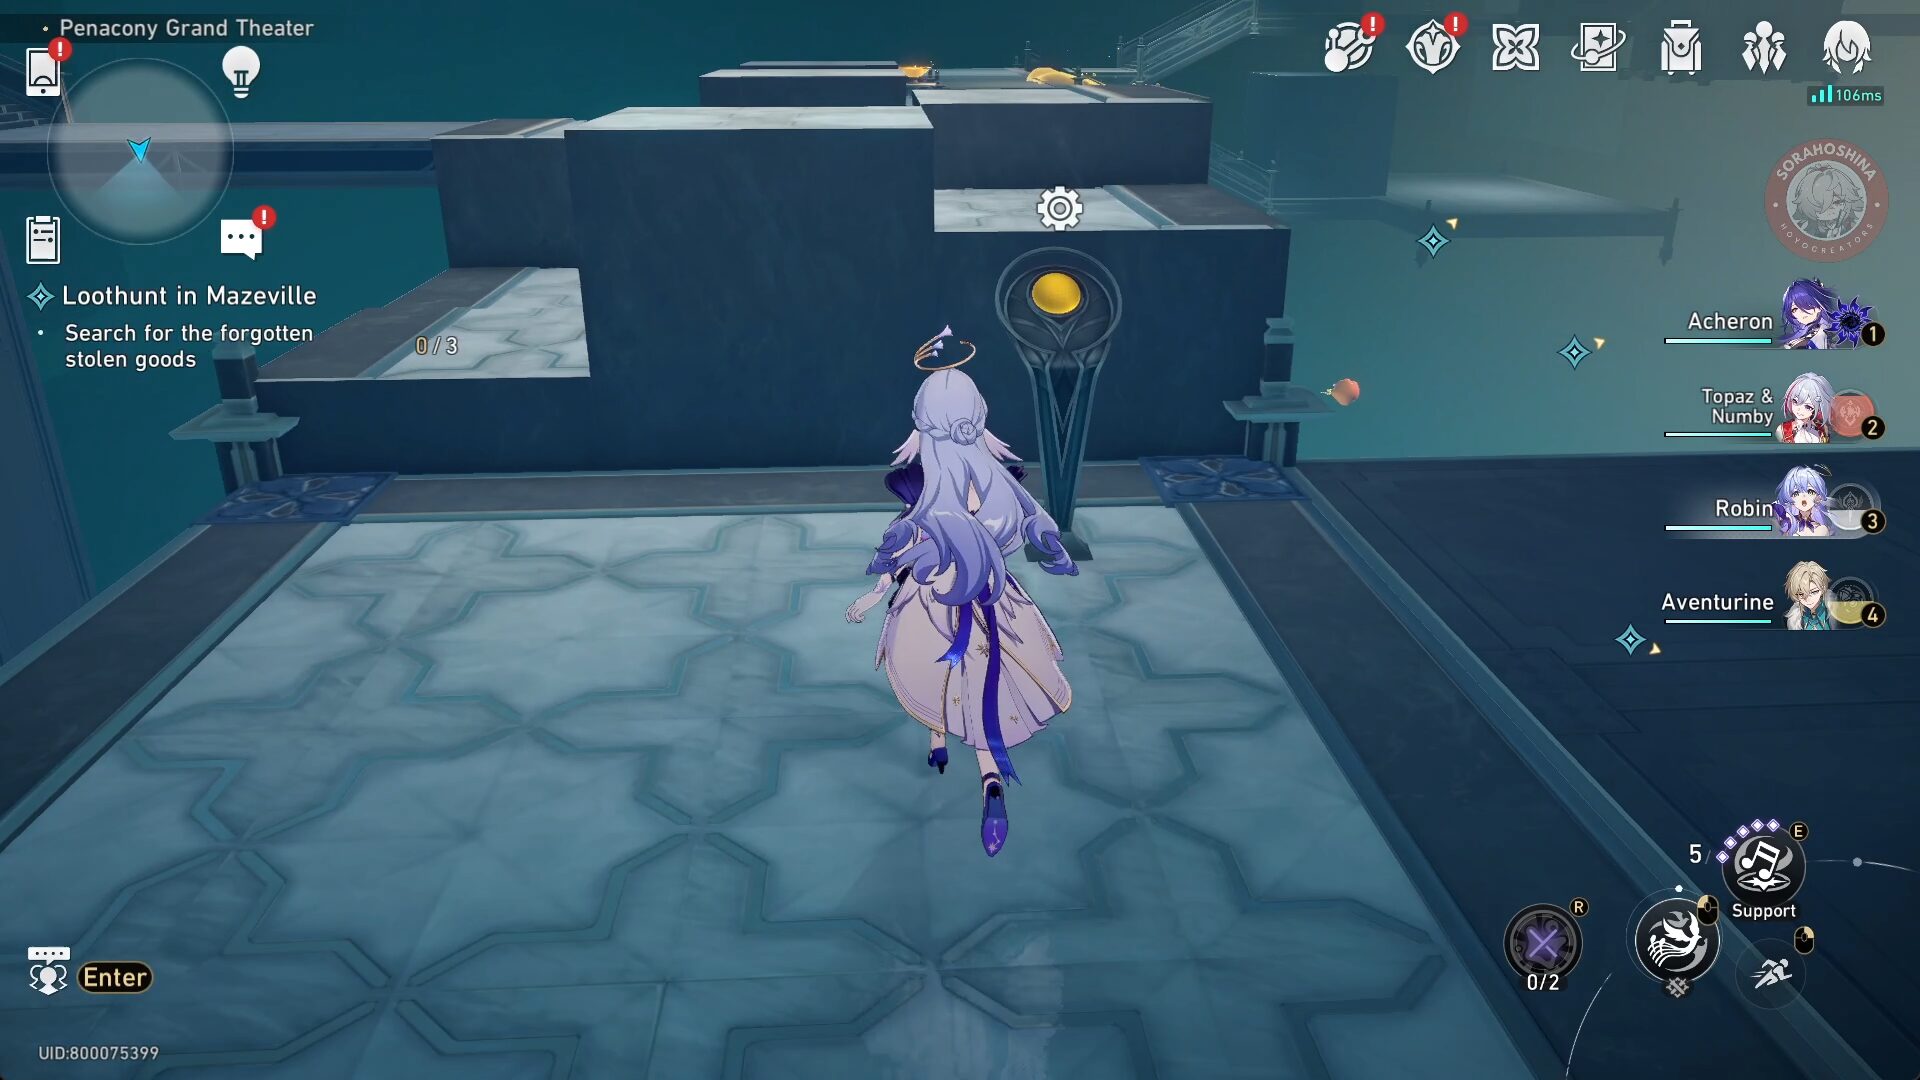
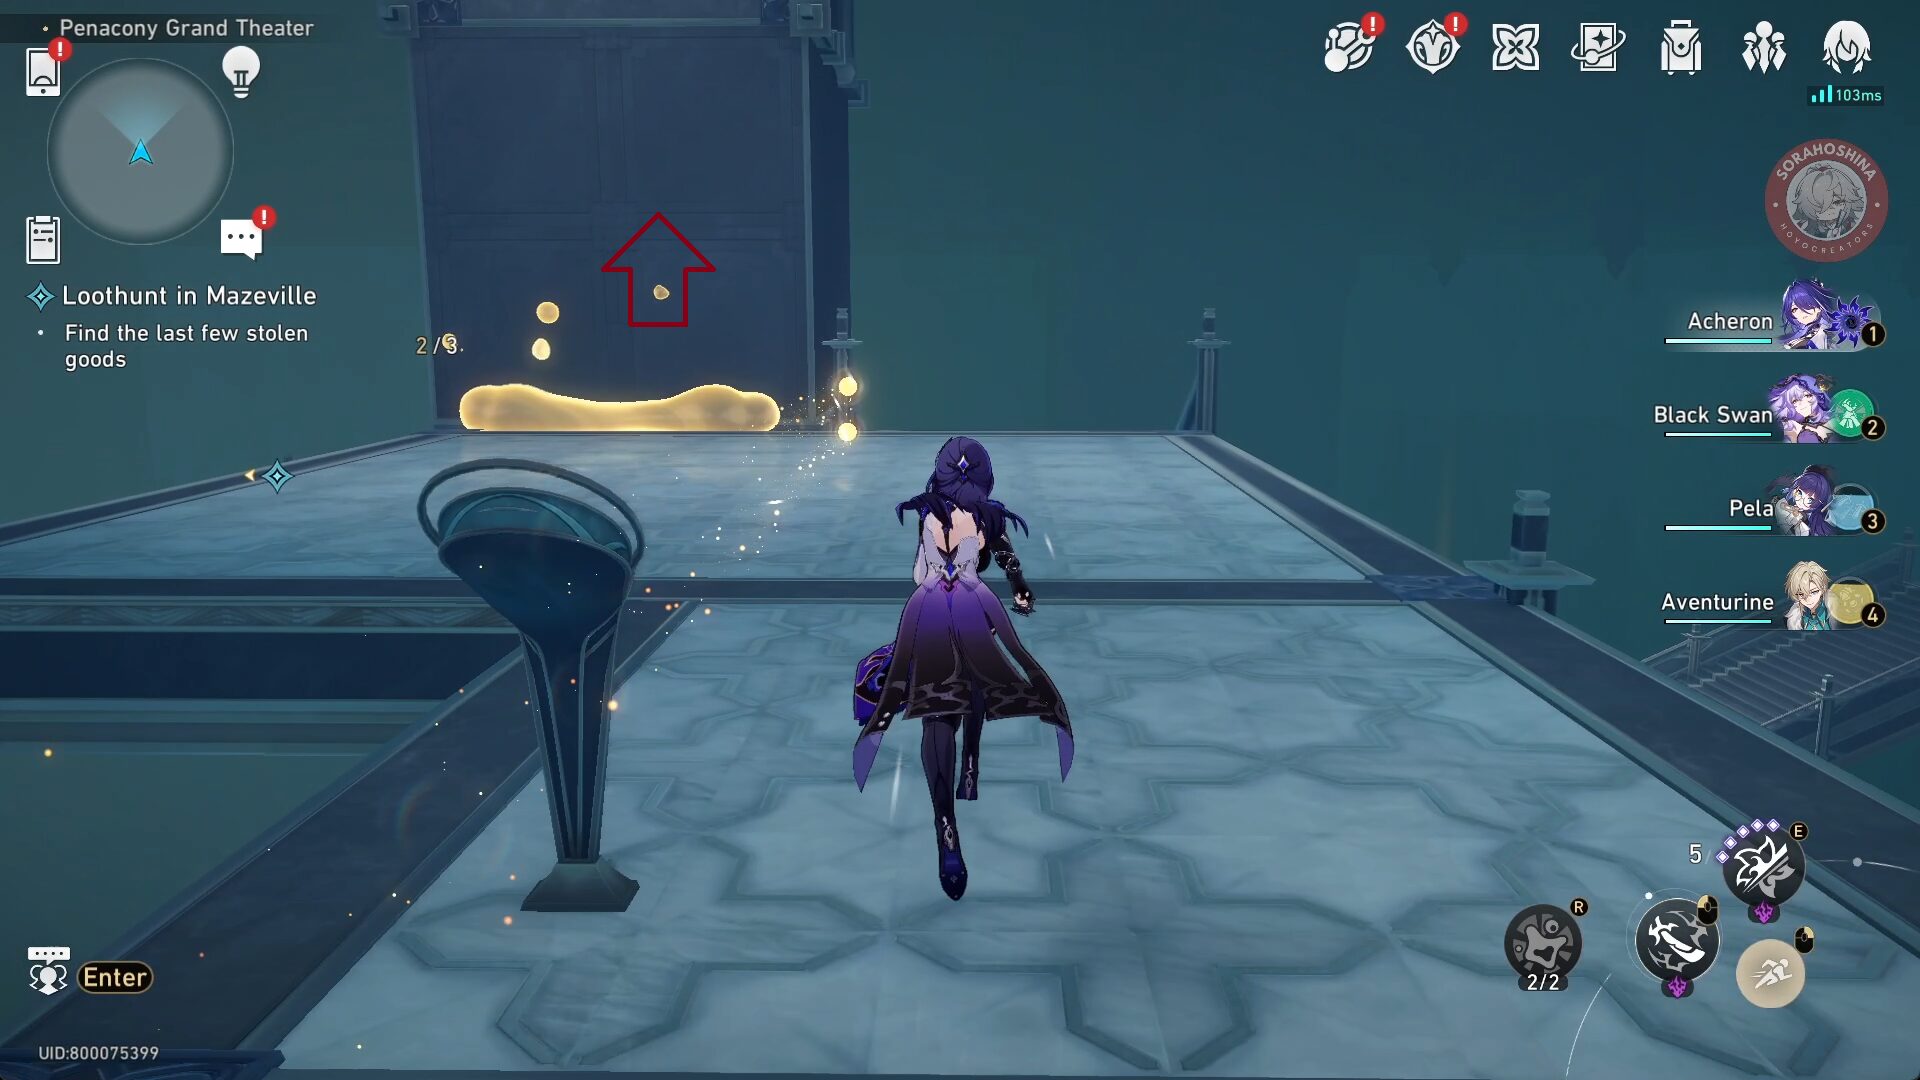
Once you go across the bridge, you can interact with the mechanism to fix the path. Go back to the middle and recharge your Bubble Charge again.
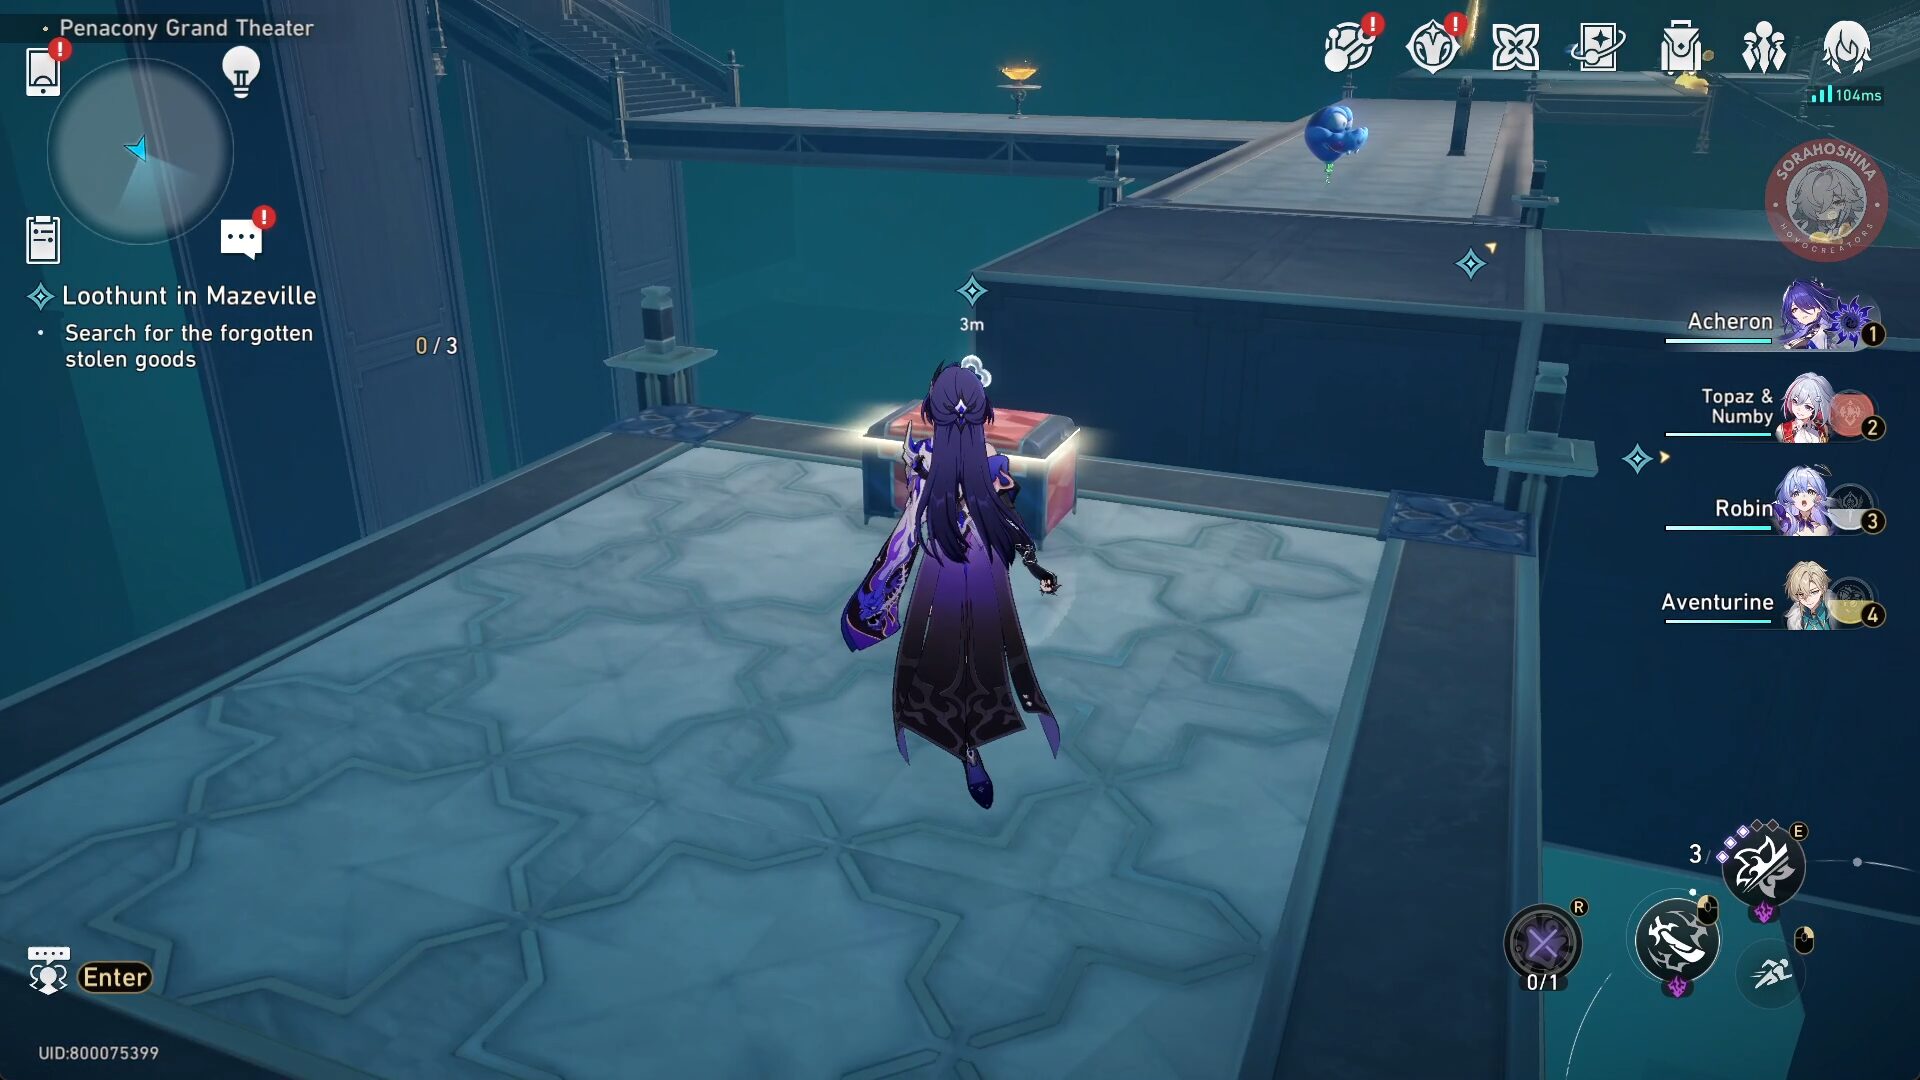
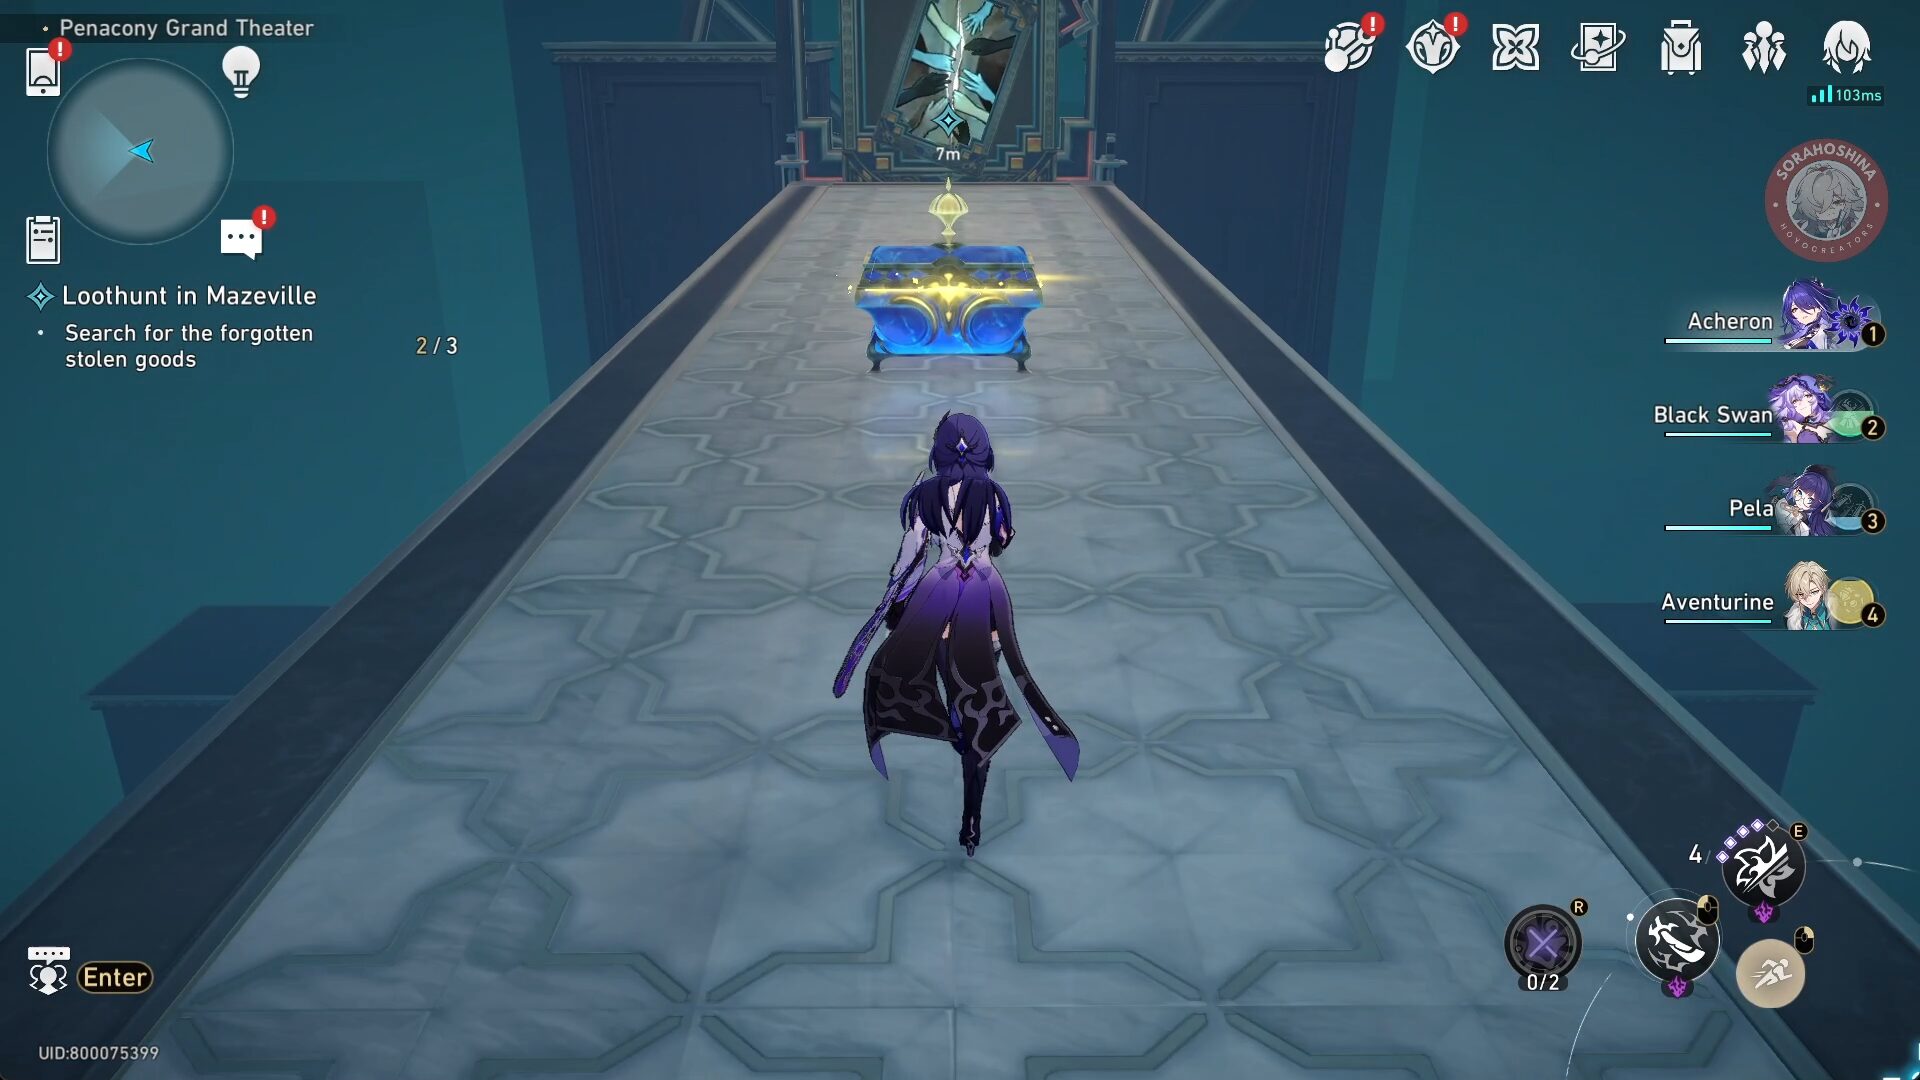
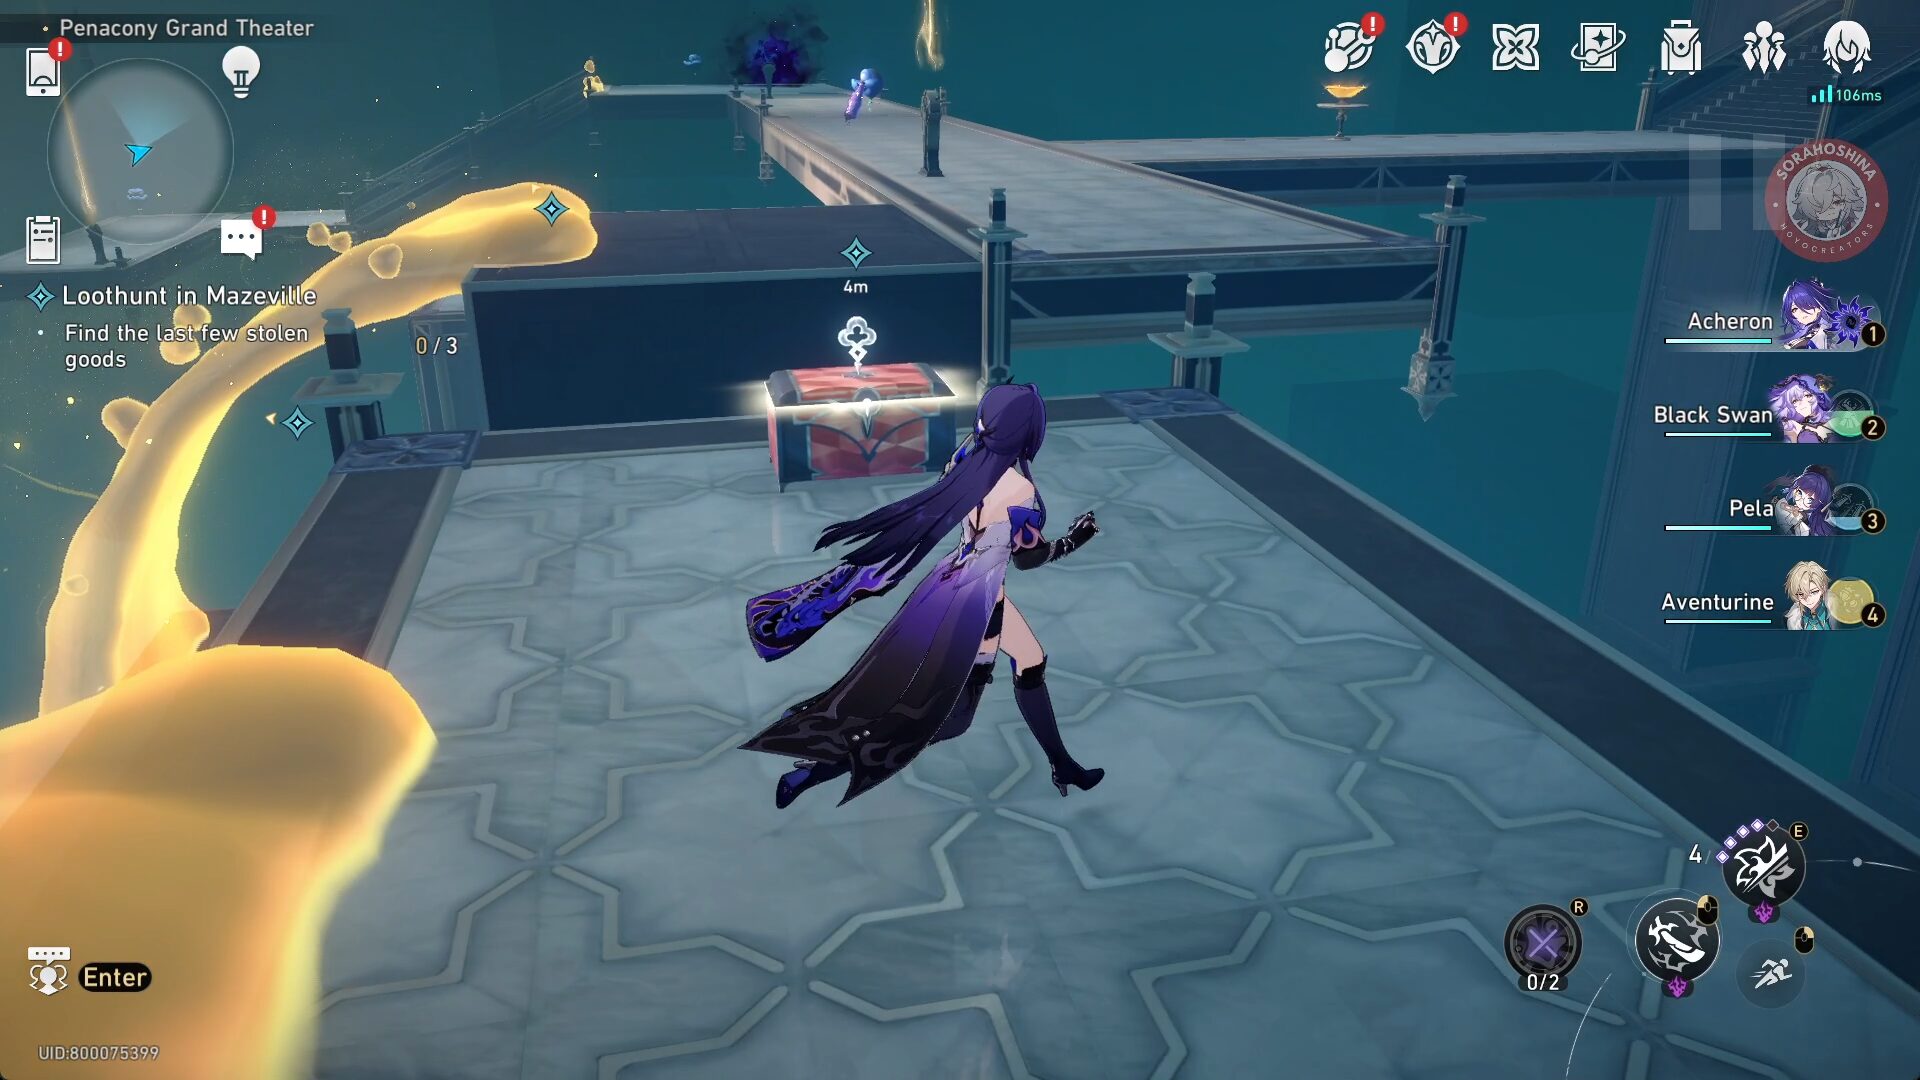
Chest #1
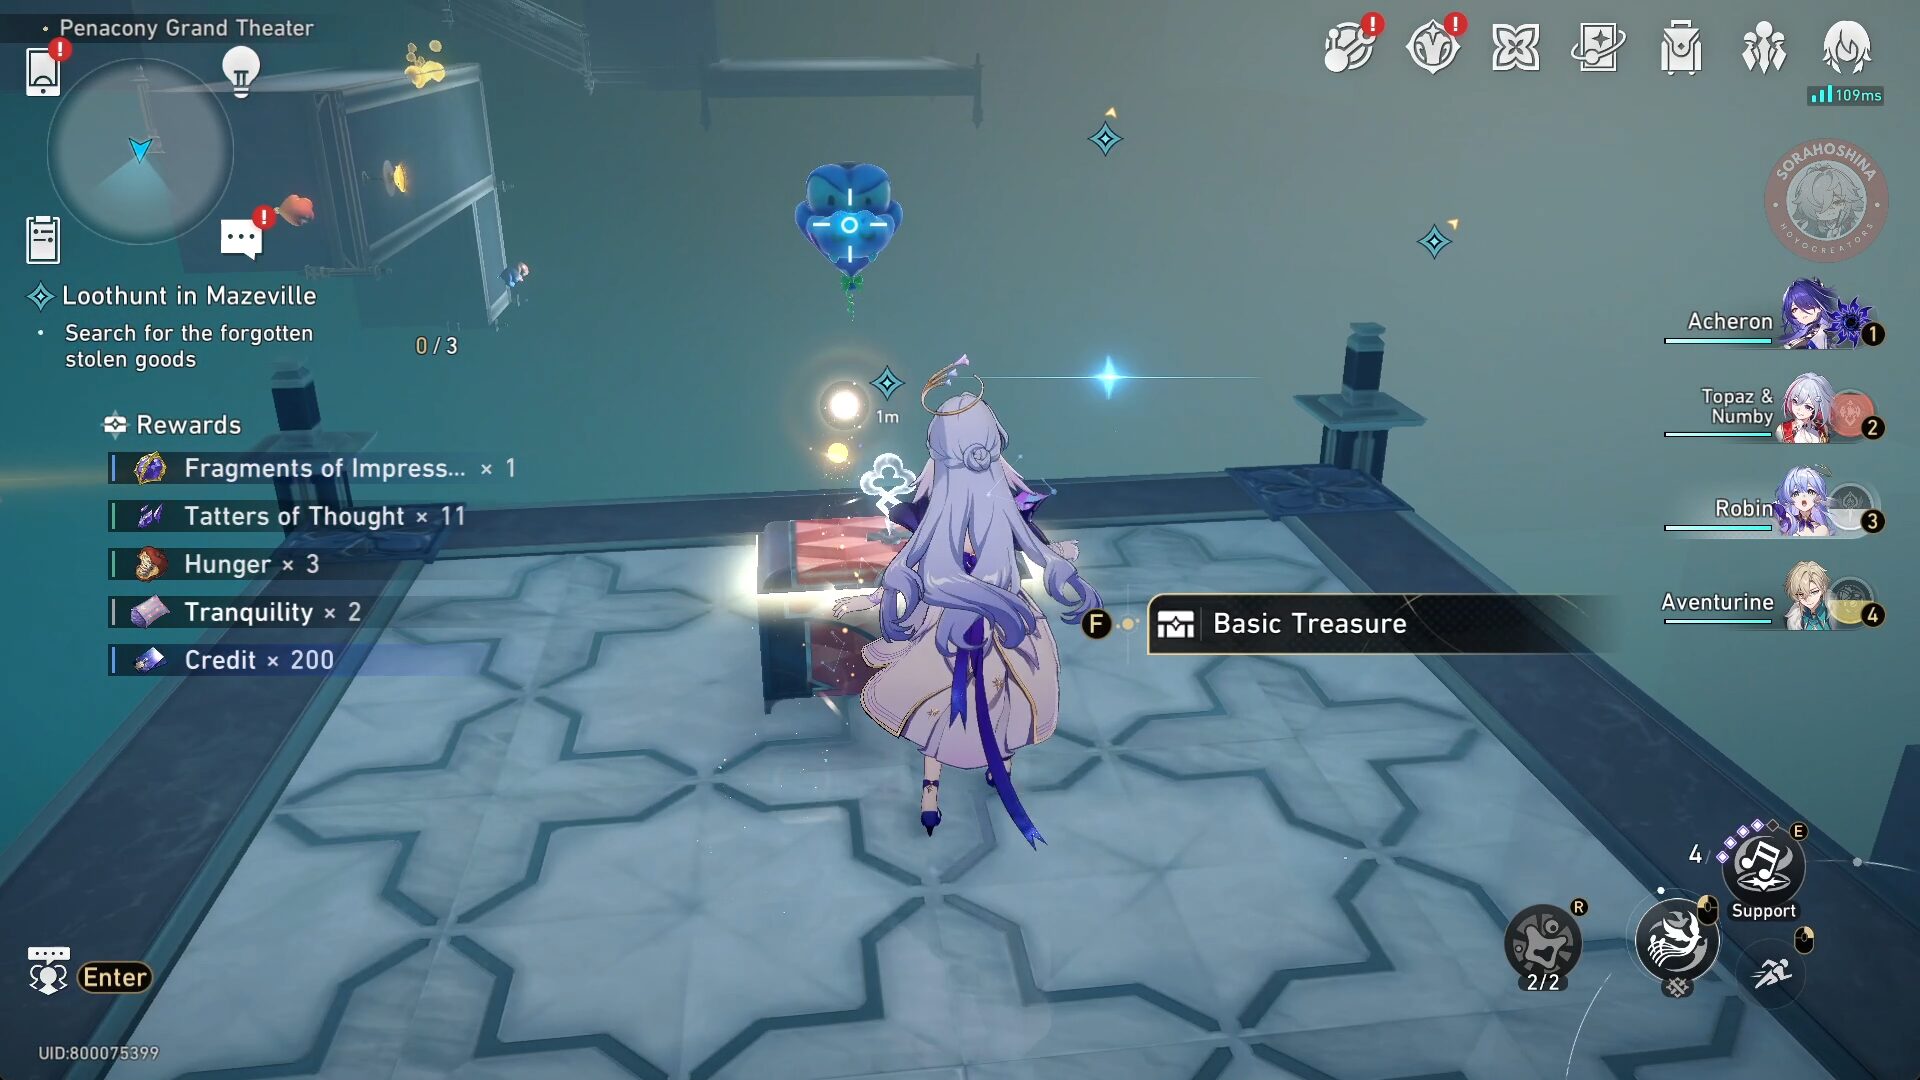
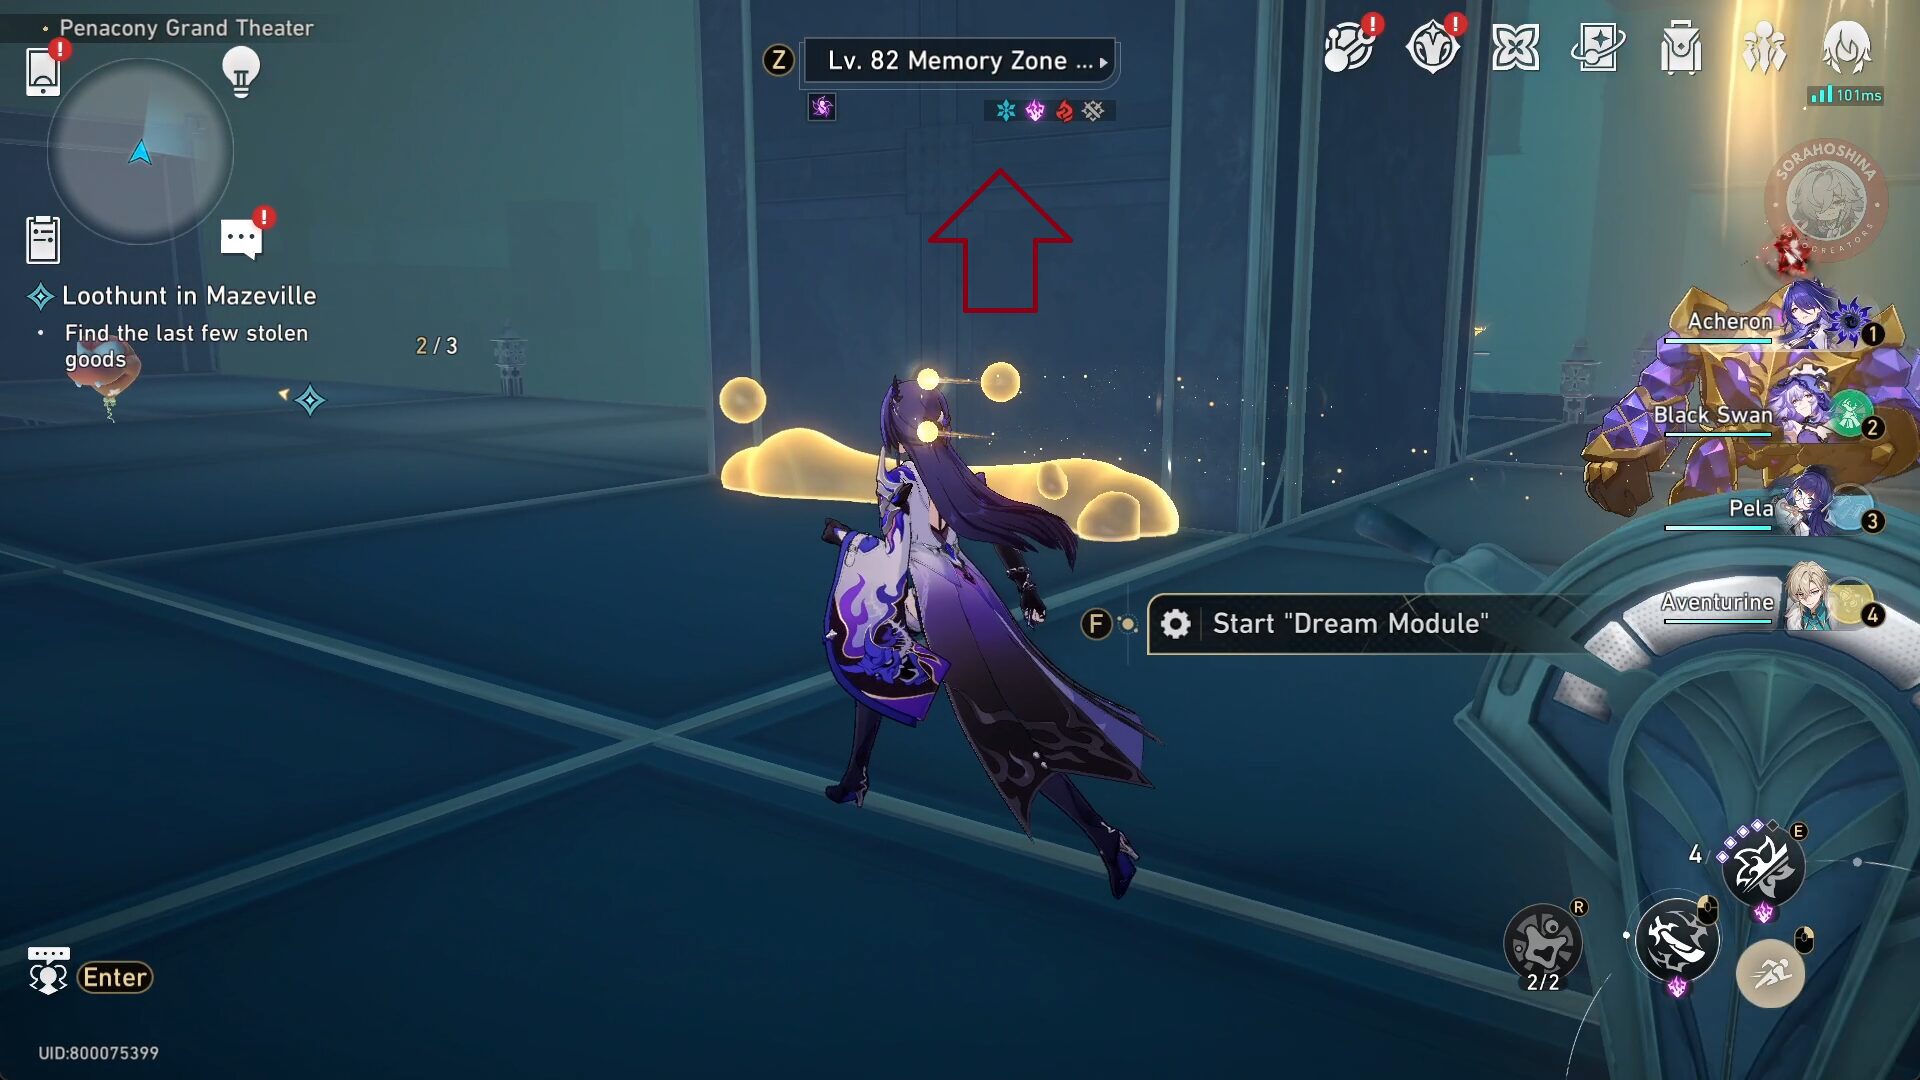
Before going to the middle again, turn around and you'll see stairs that lead downwards. Go there for the first chest.
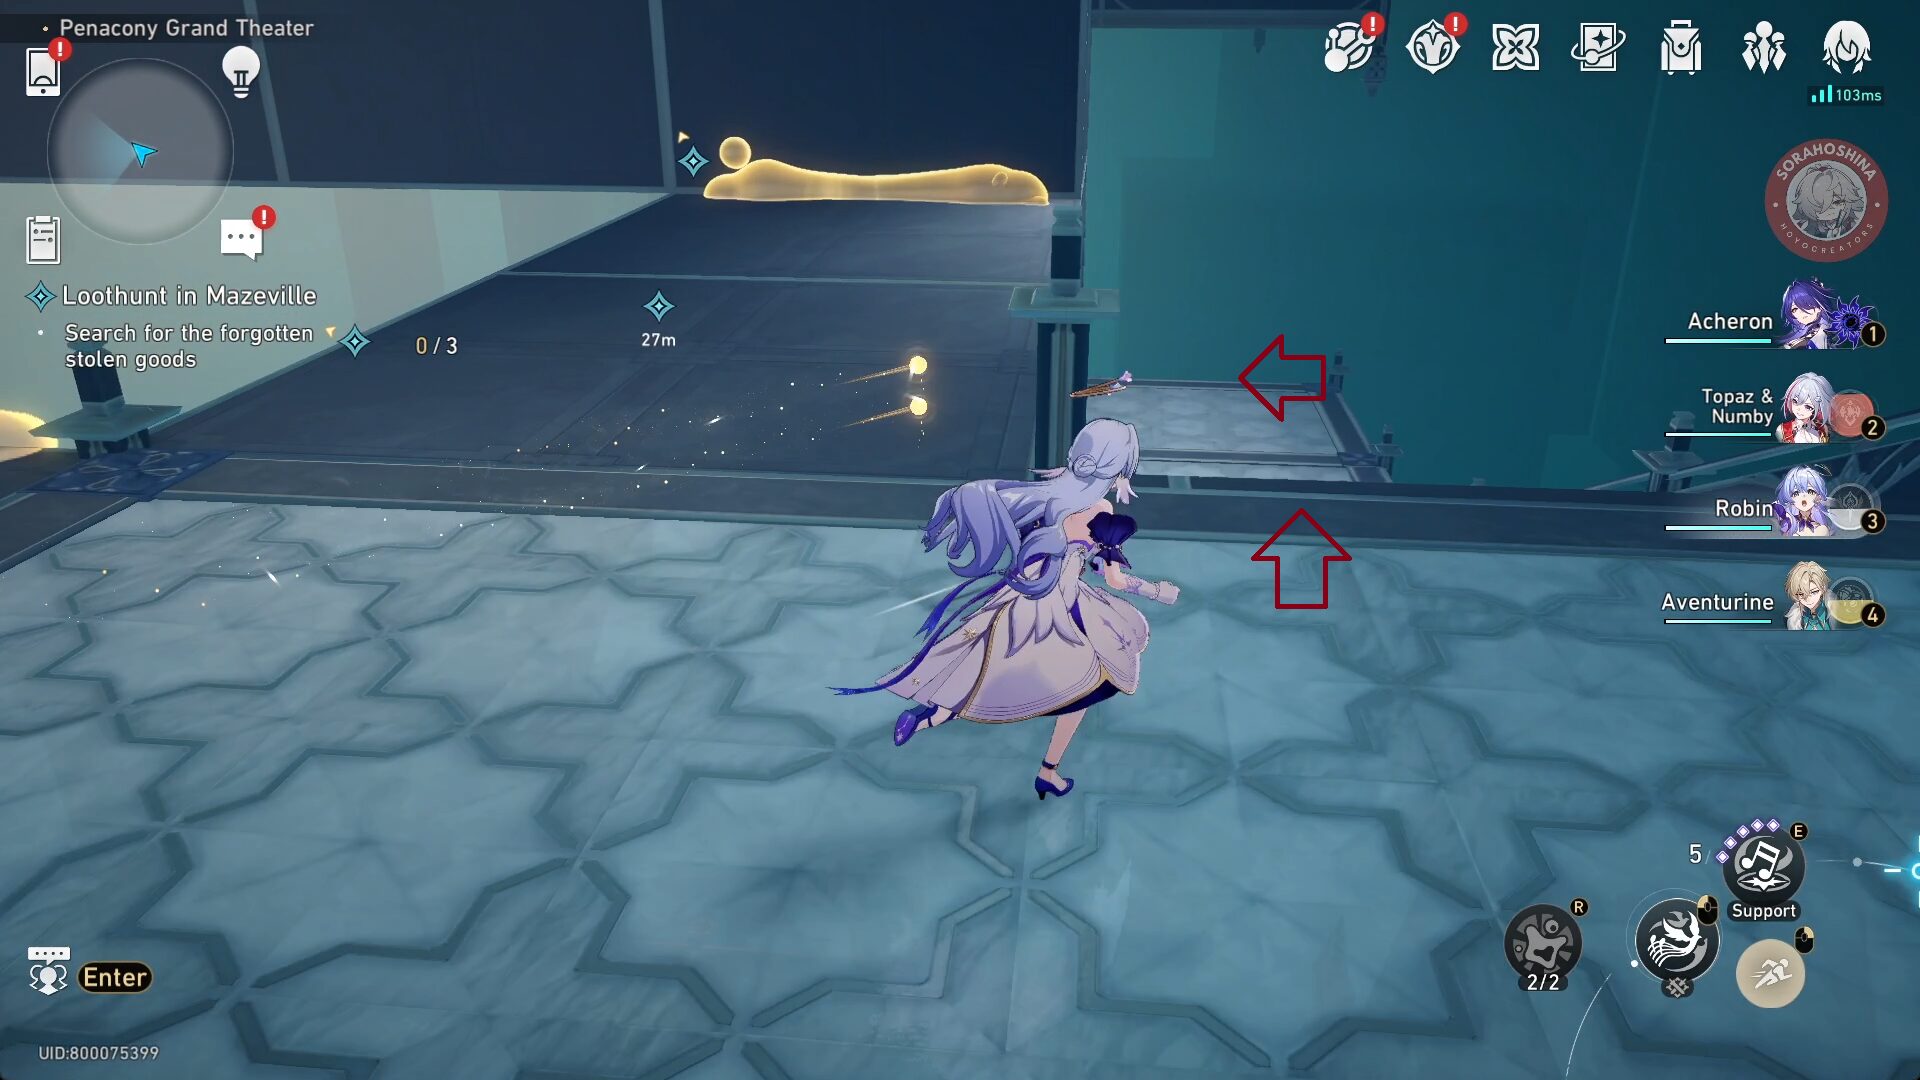
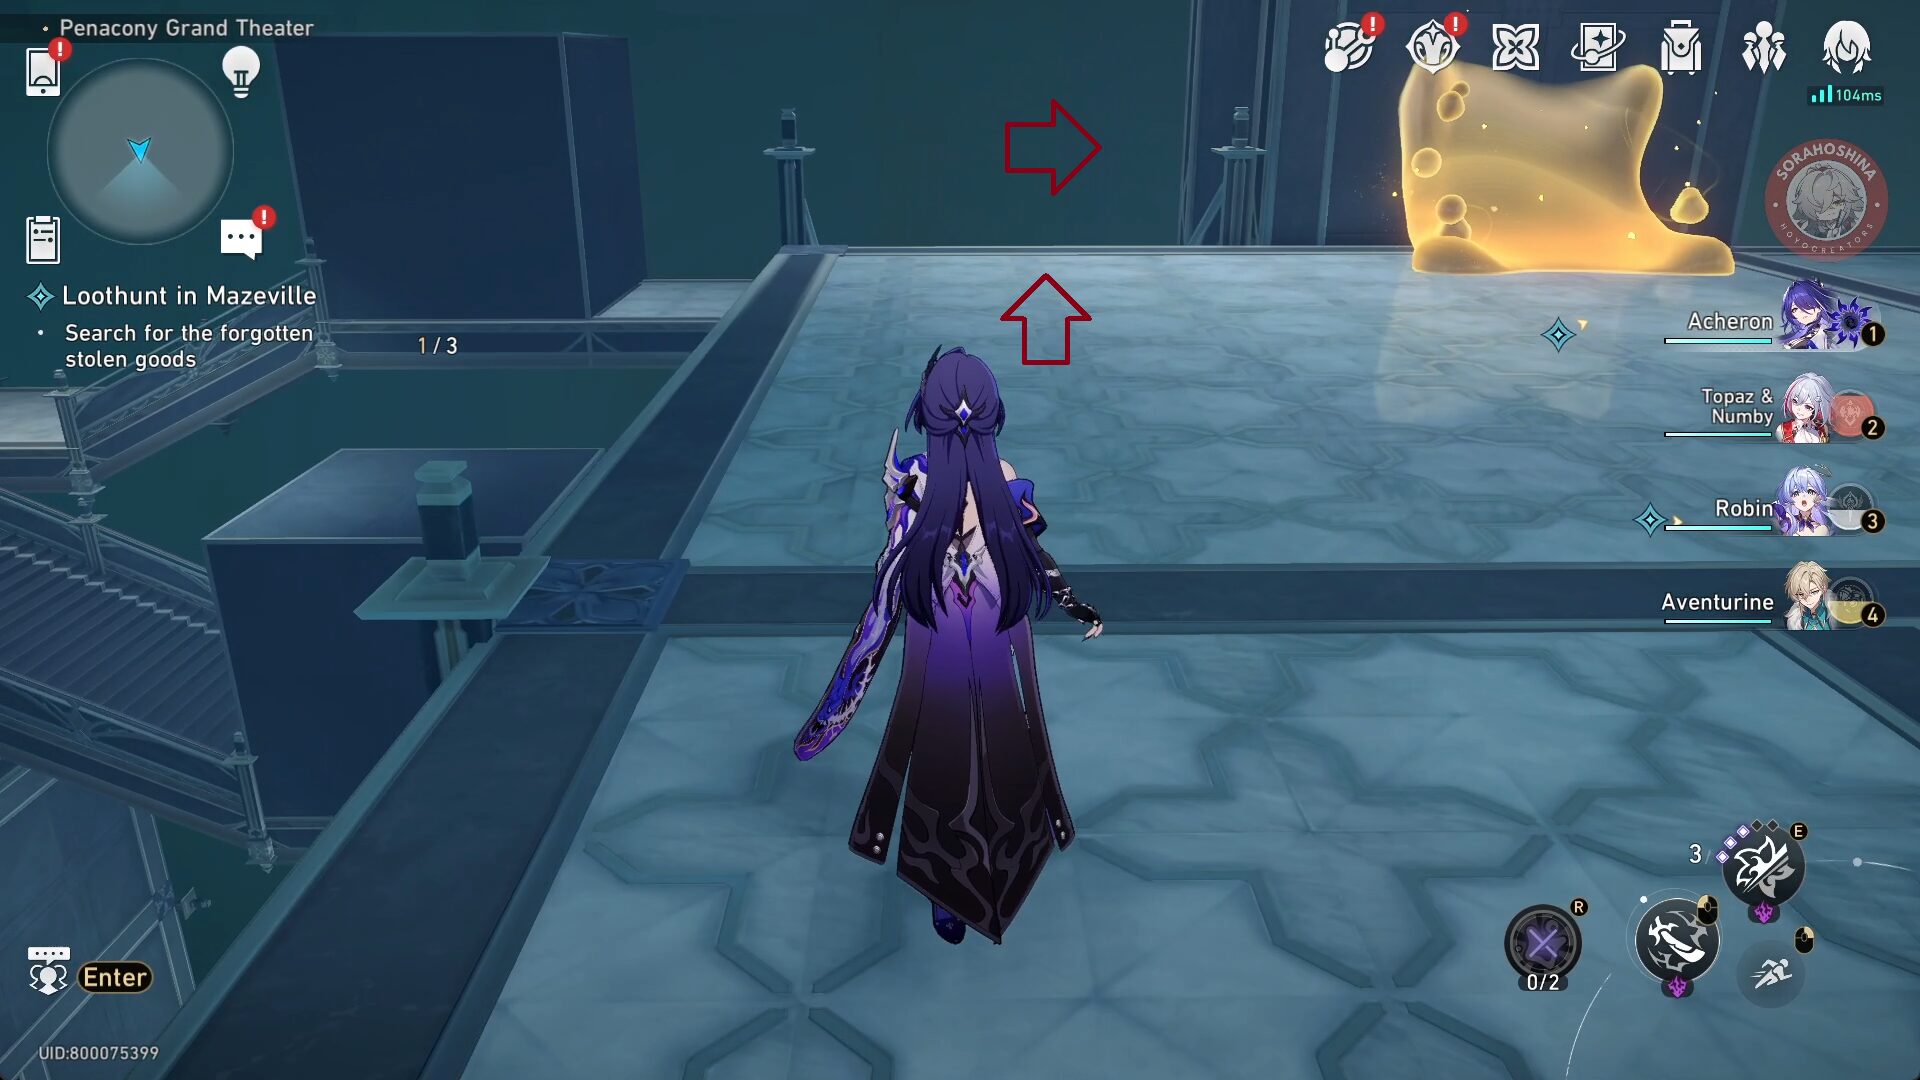
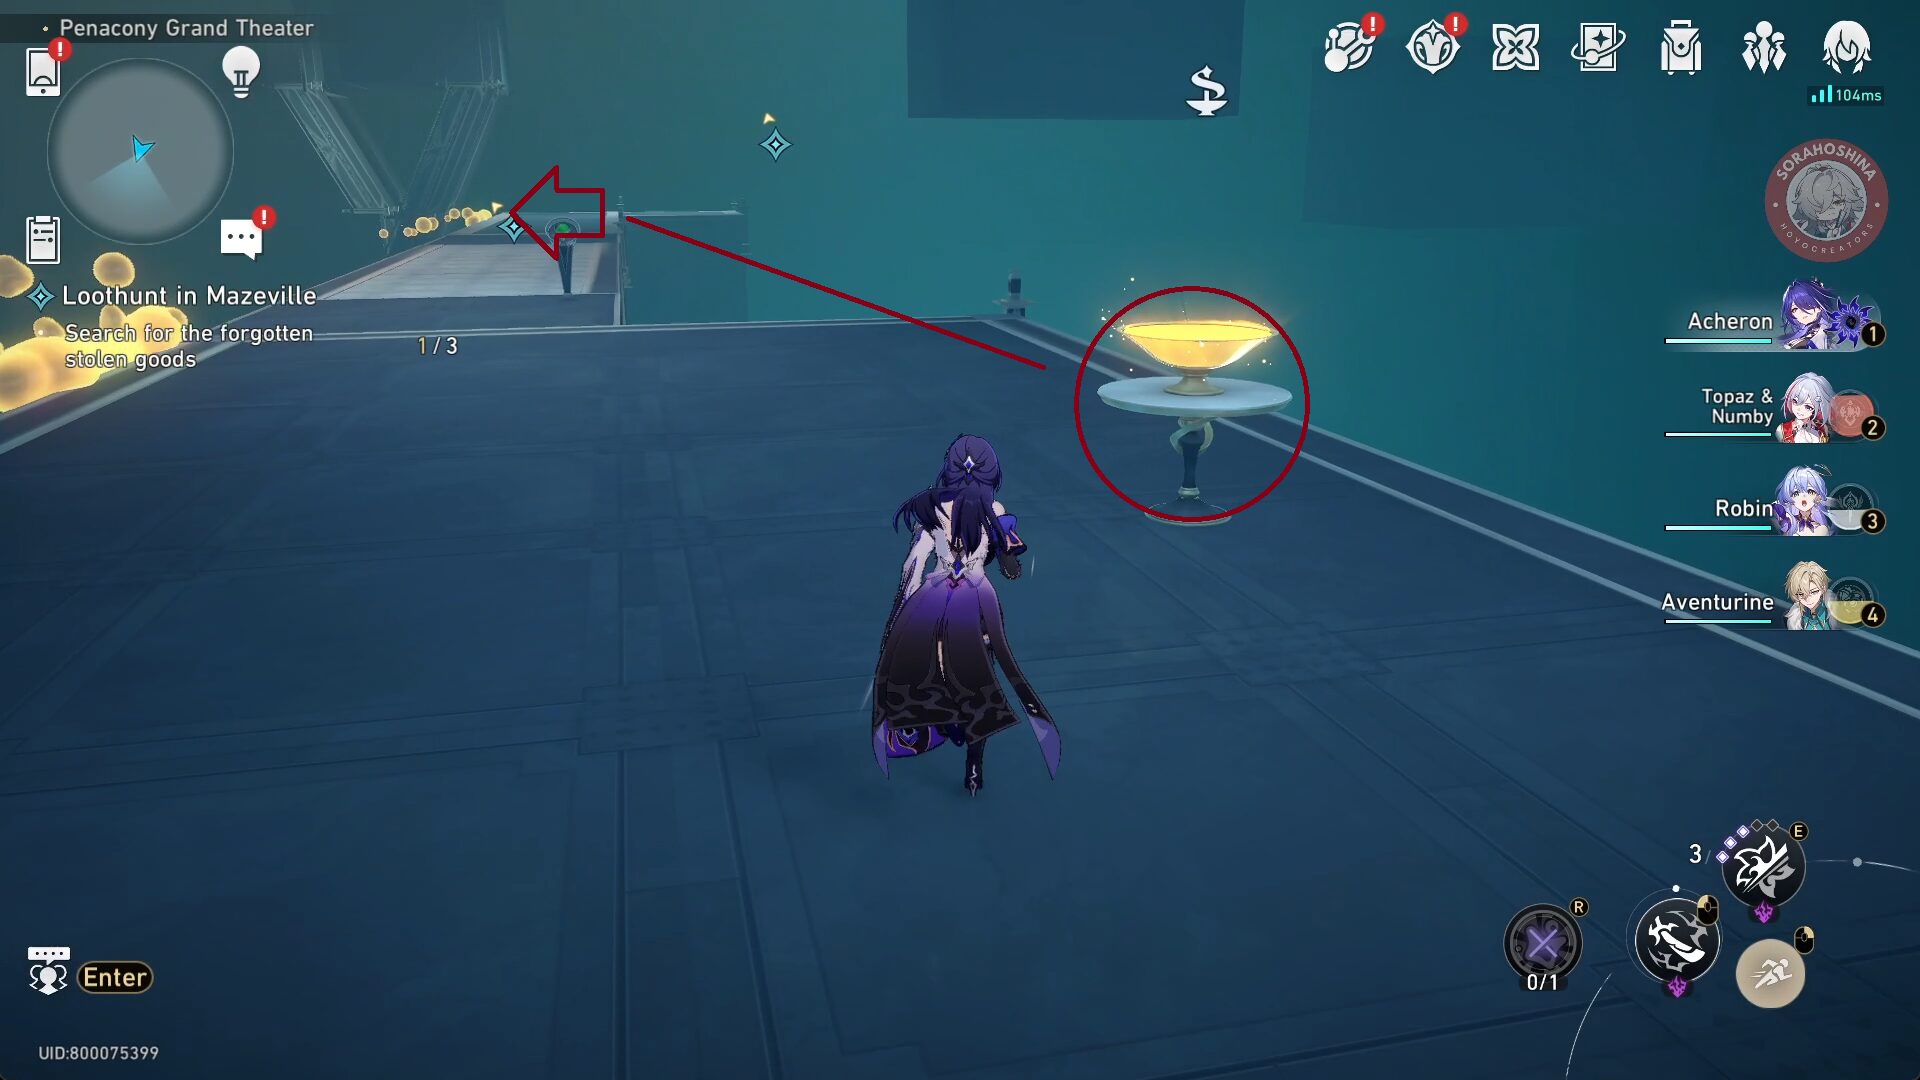
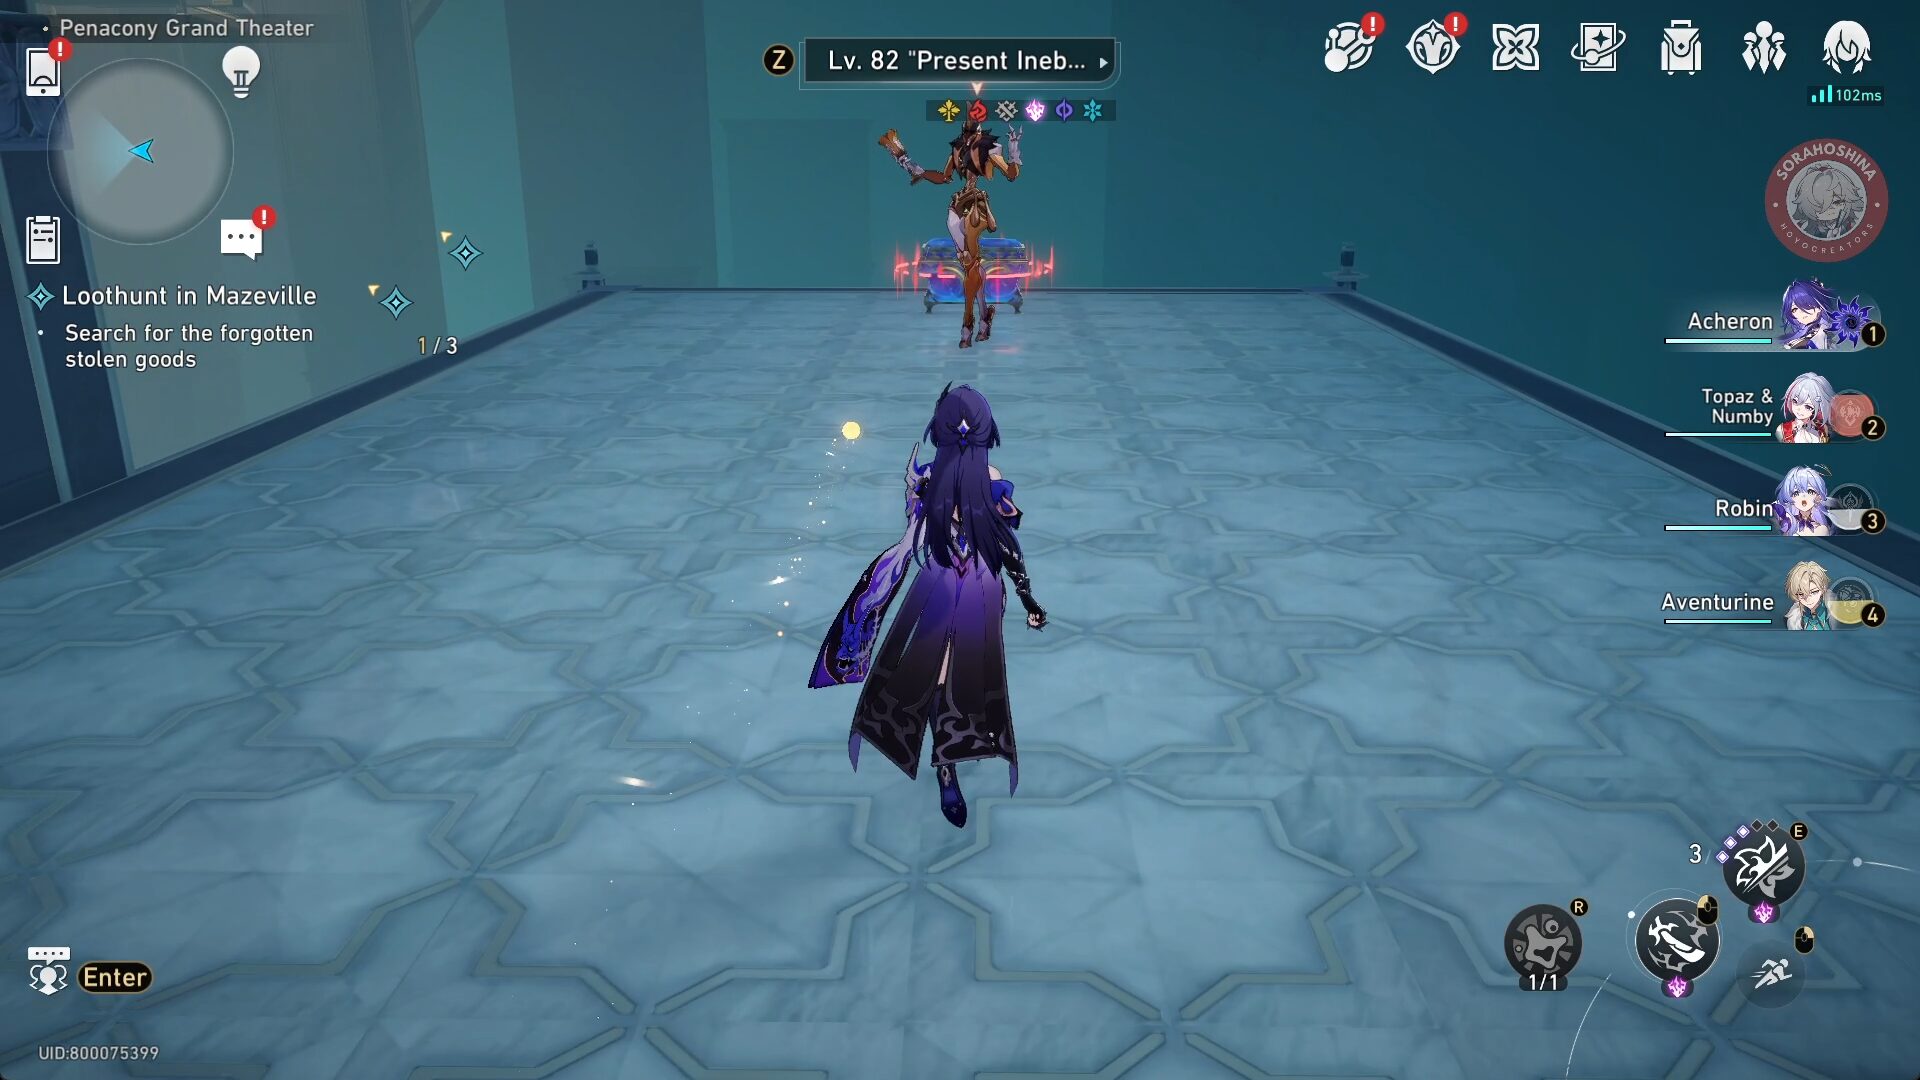
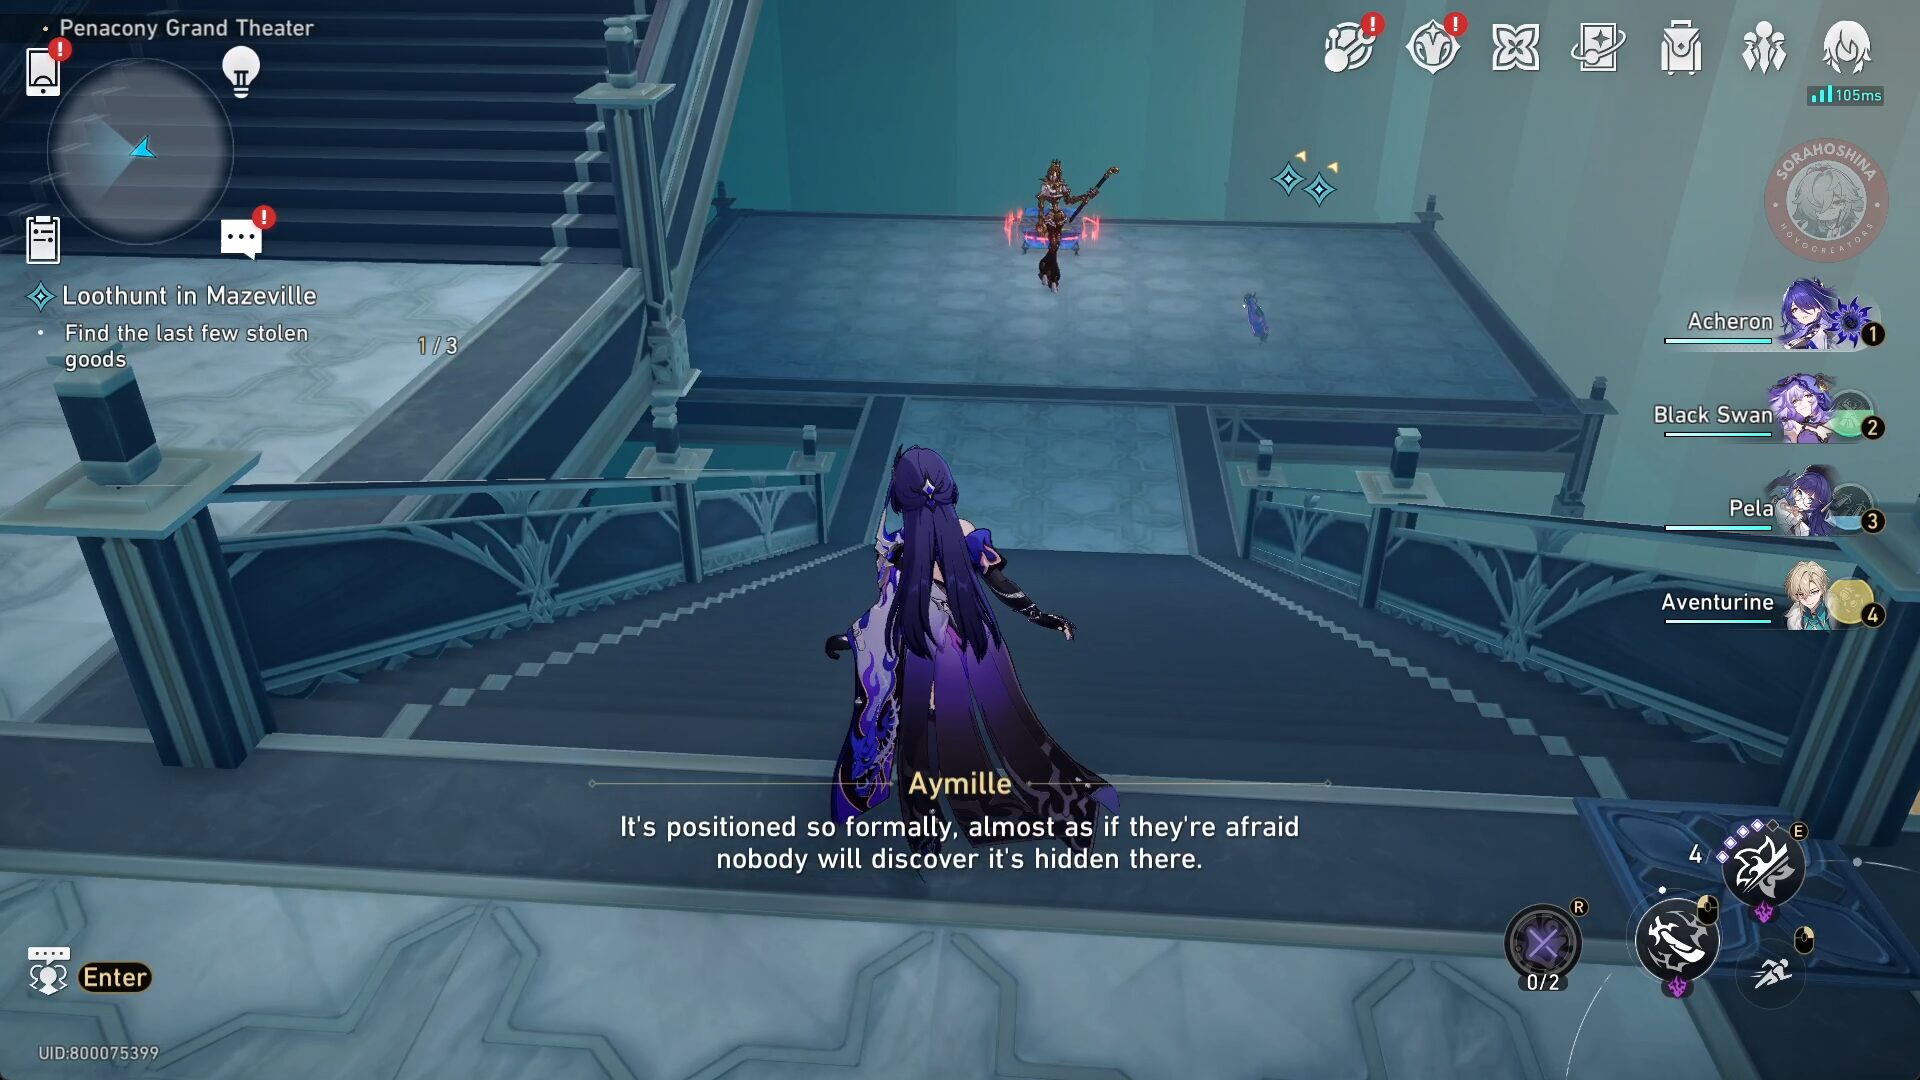
Then, go back up the stairs and use the bridge right next to it. Keep walking until you see an enemy.

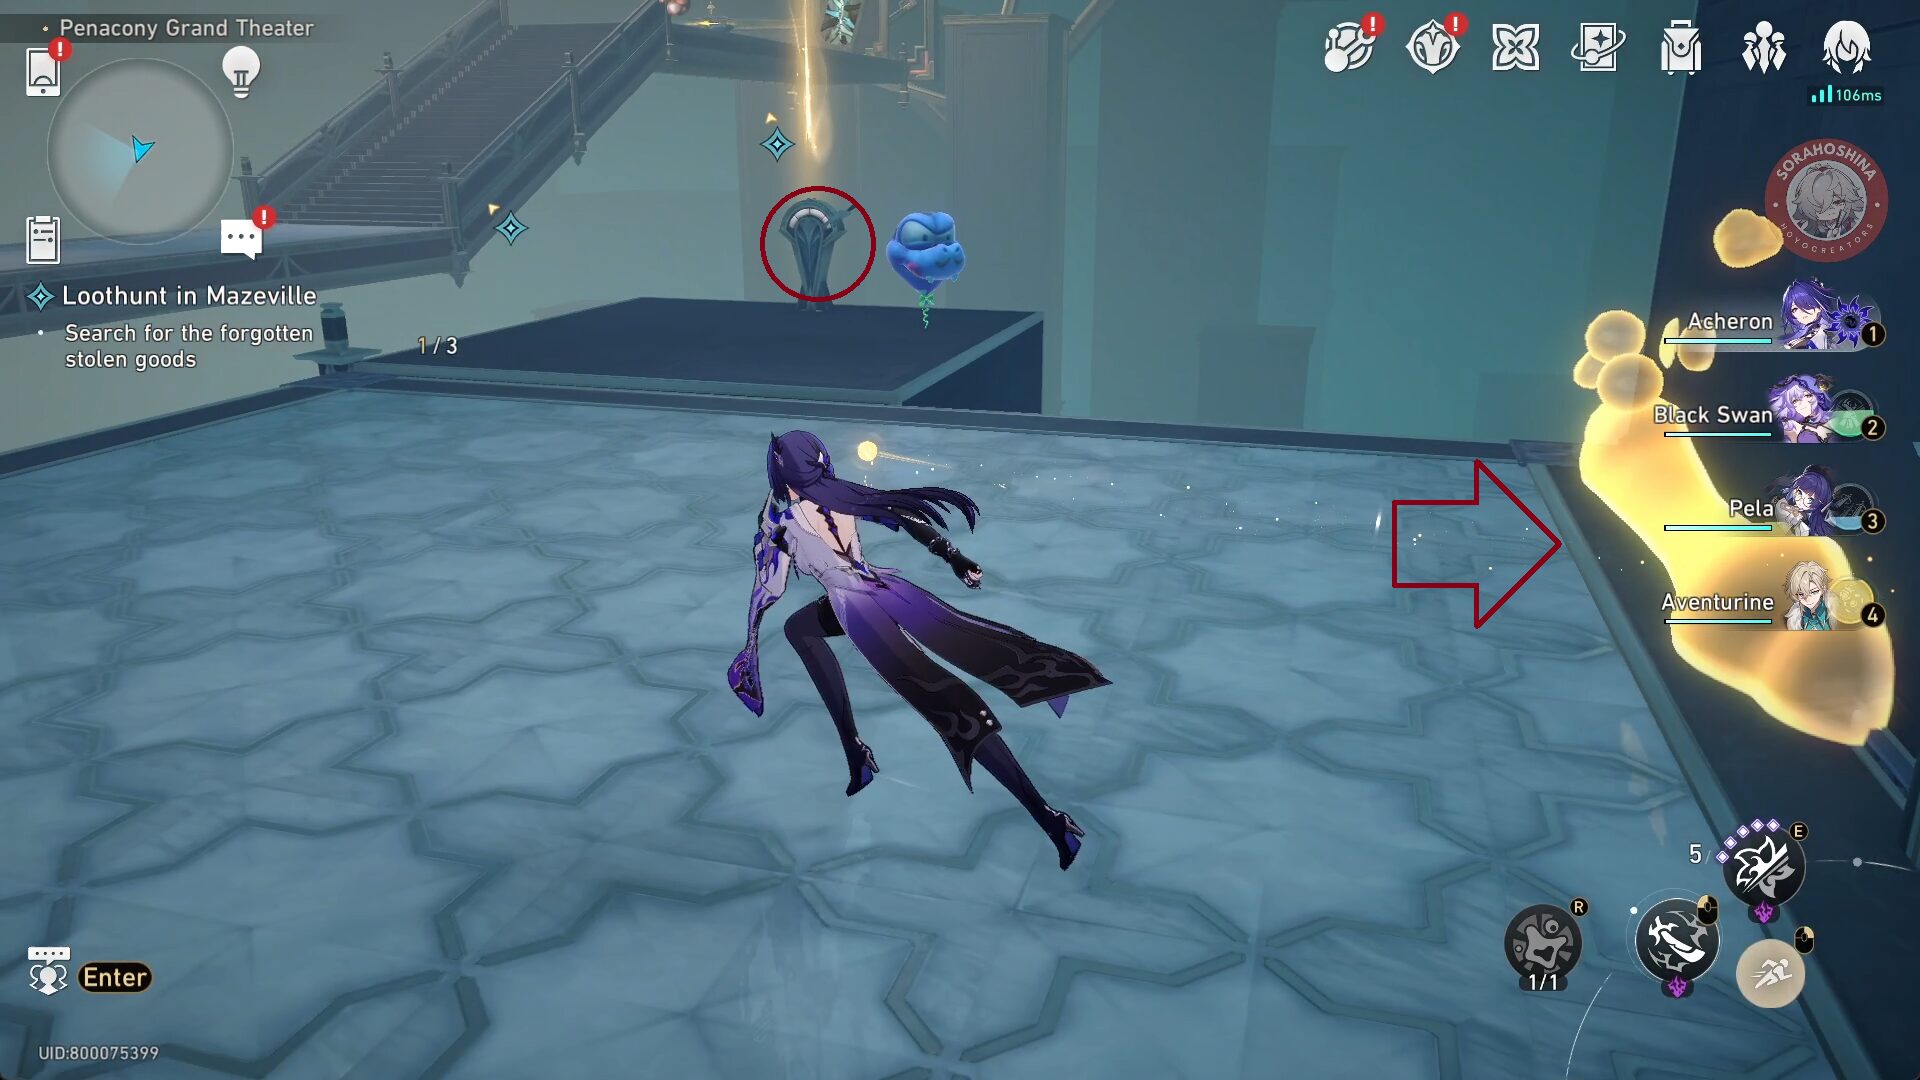
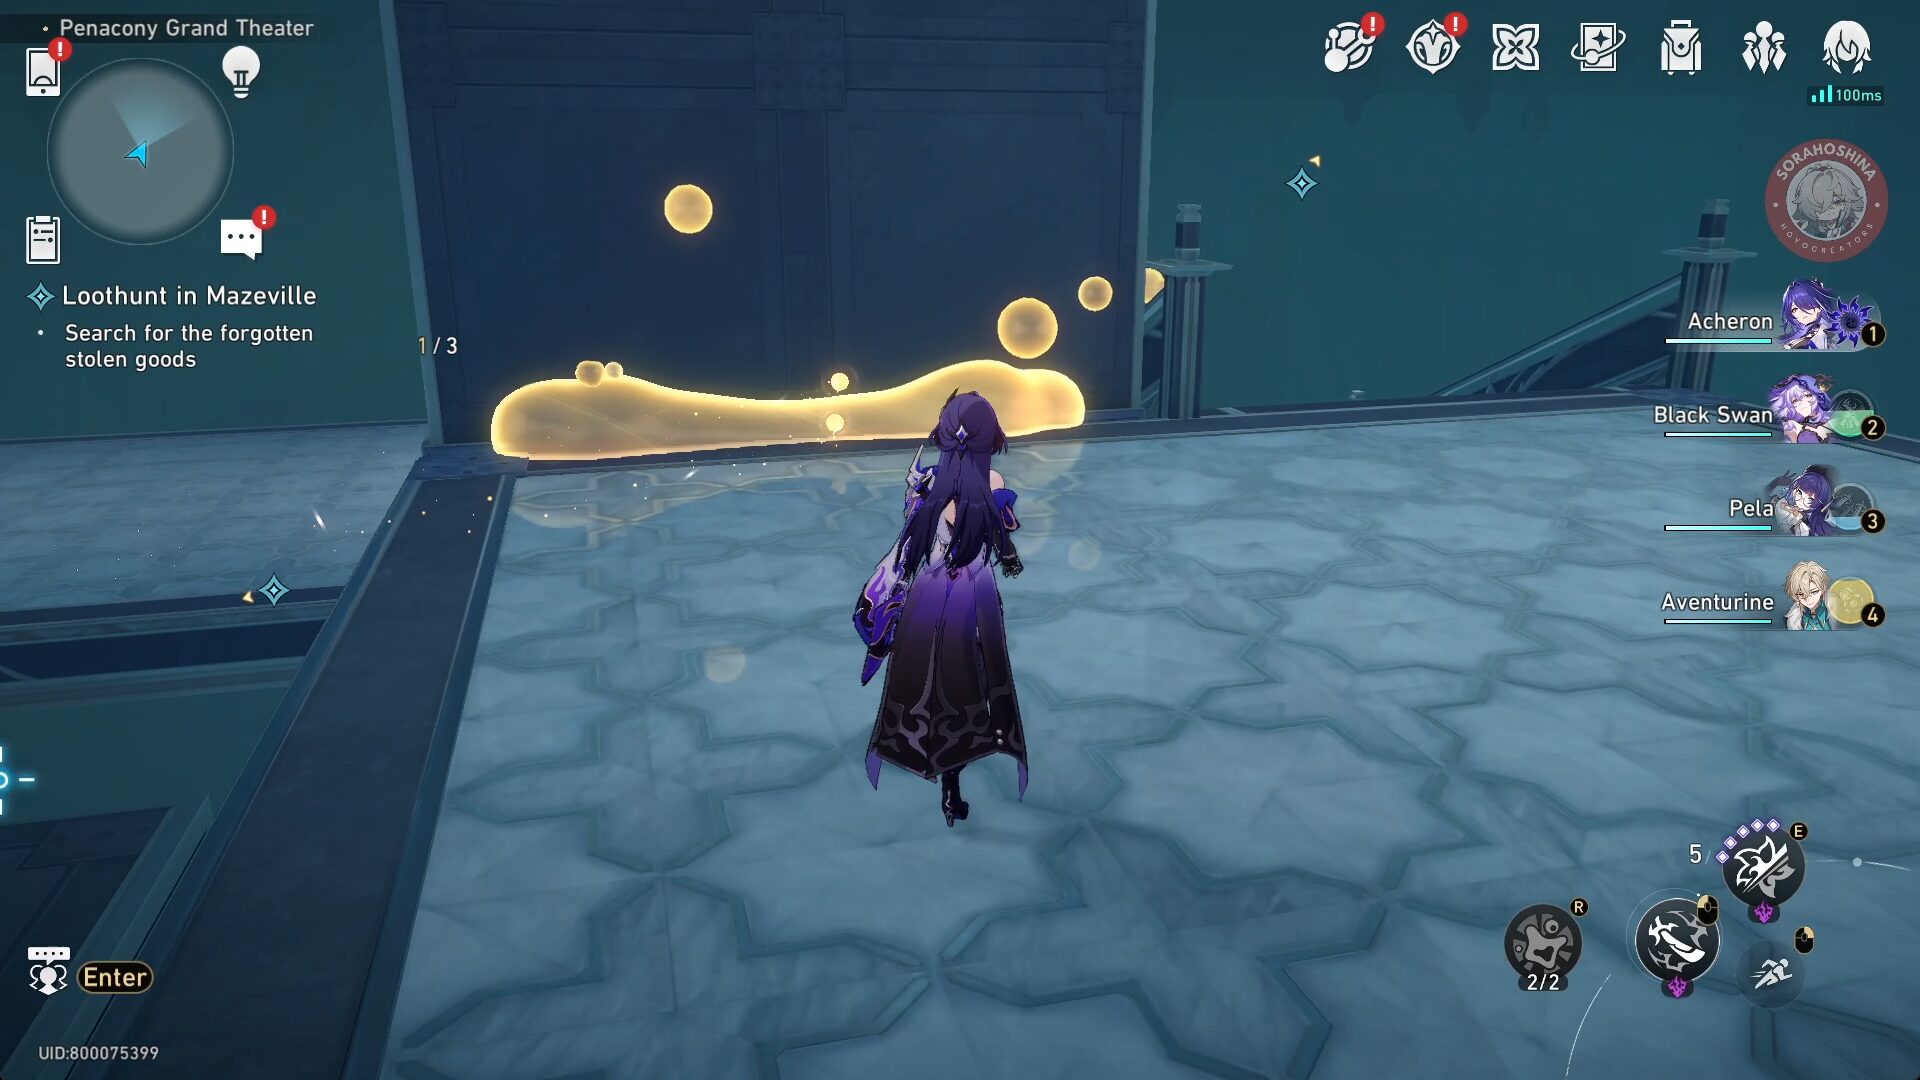
Go to the Bubble Charge first on the right to recharge then interact with the Dream Module on the left to move the platform. Use the bridge on the accessible platform until you can see an unstable path.
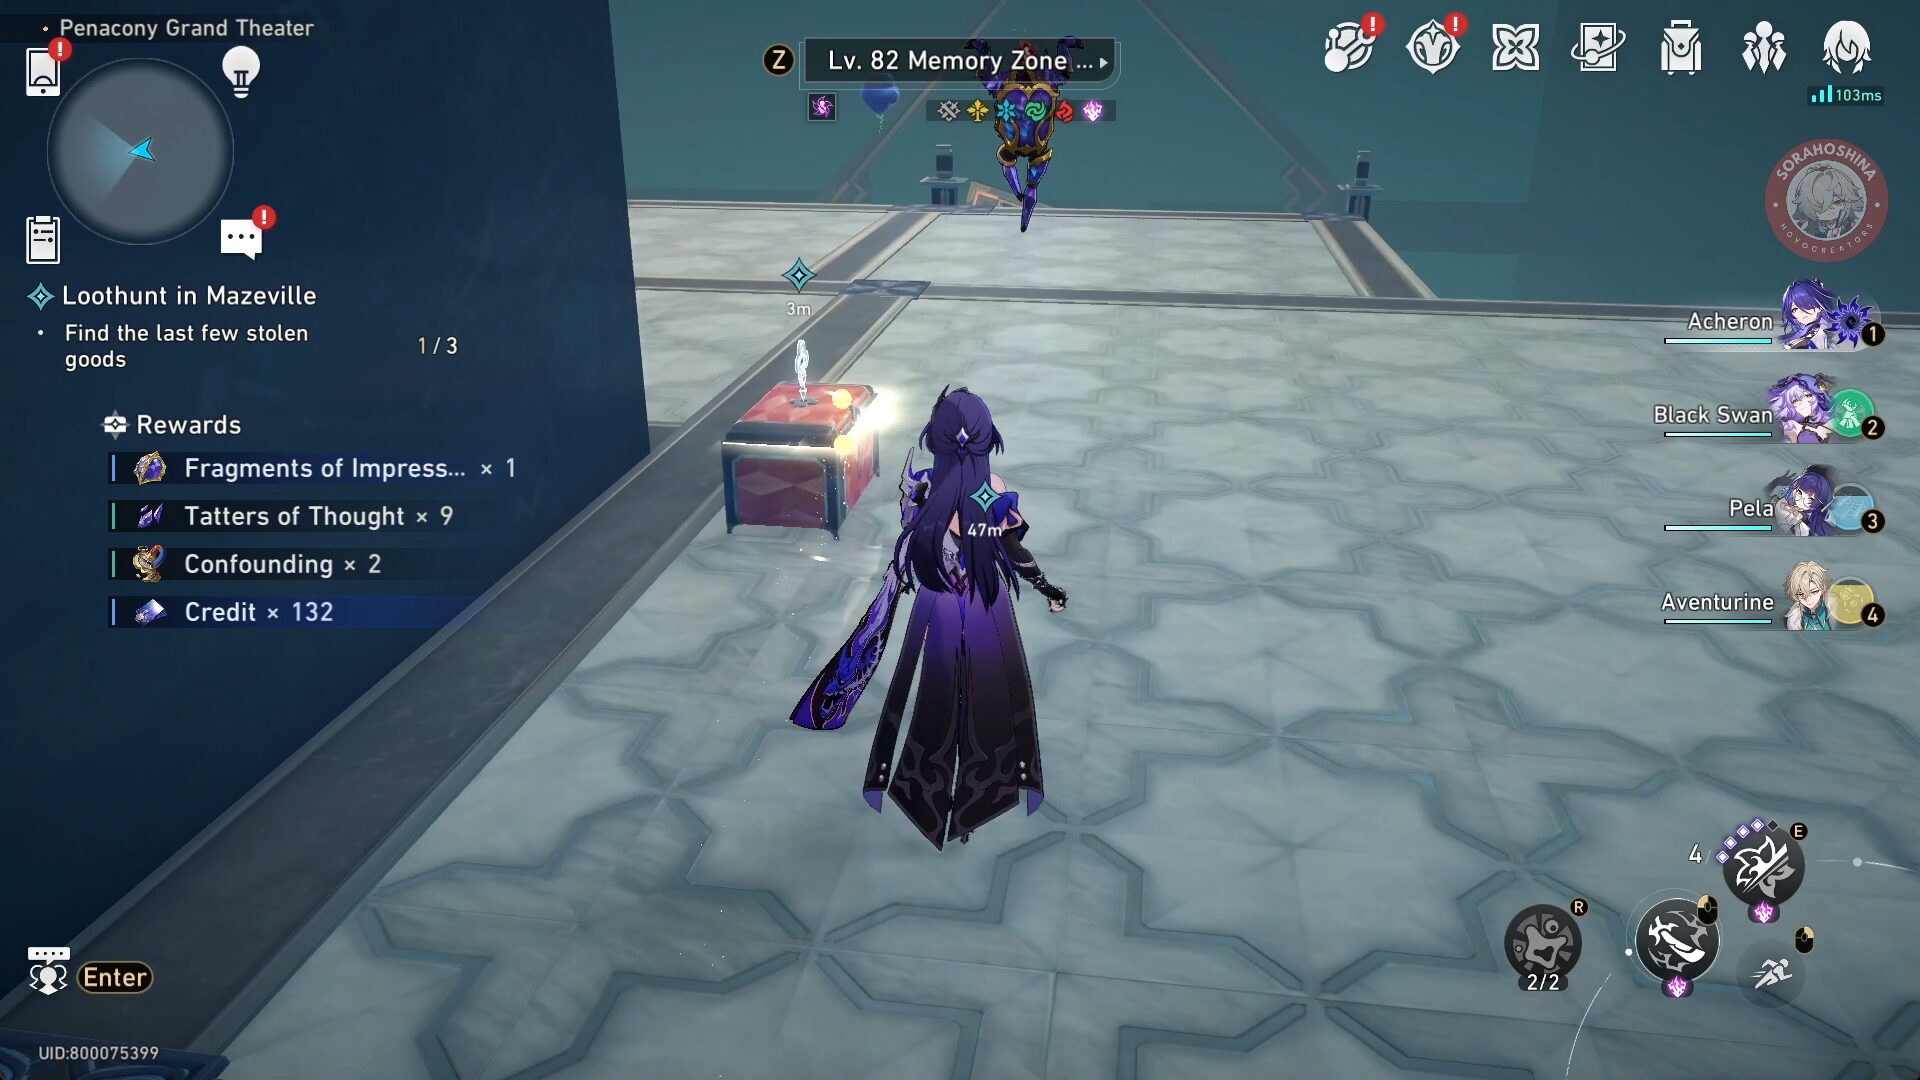
Chest #2
Once you interact with the mechanism to fix the path, turn around and go down the stairs for another chest.
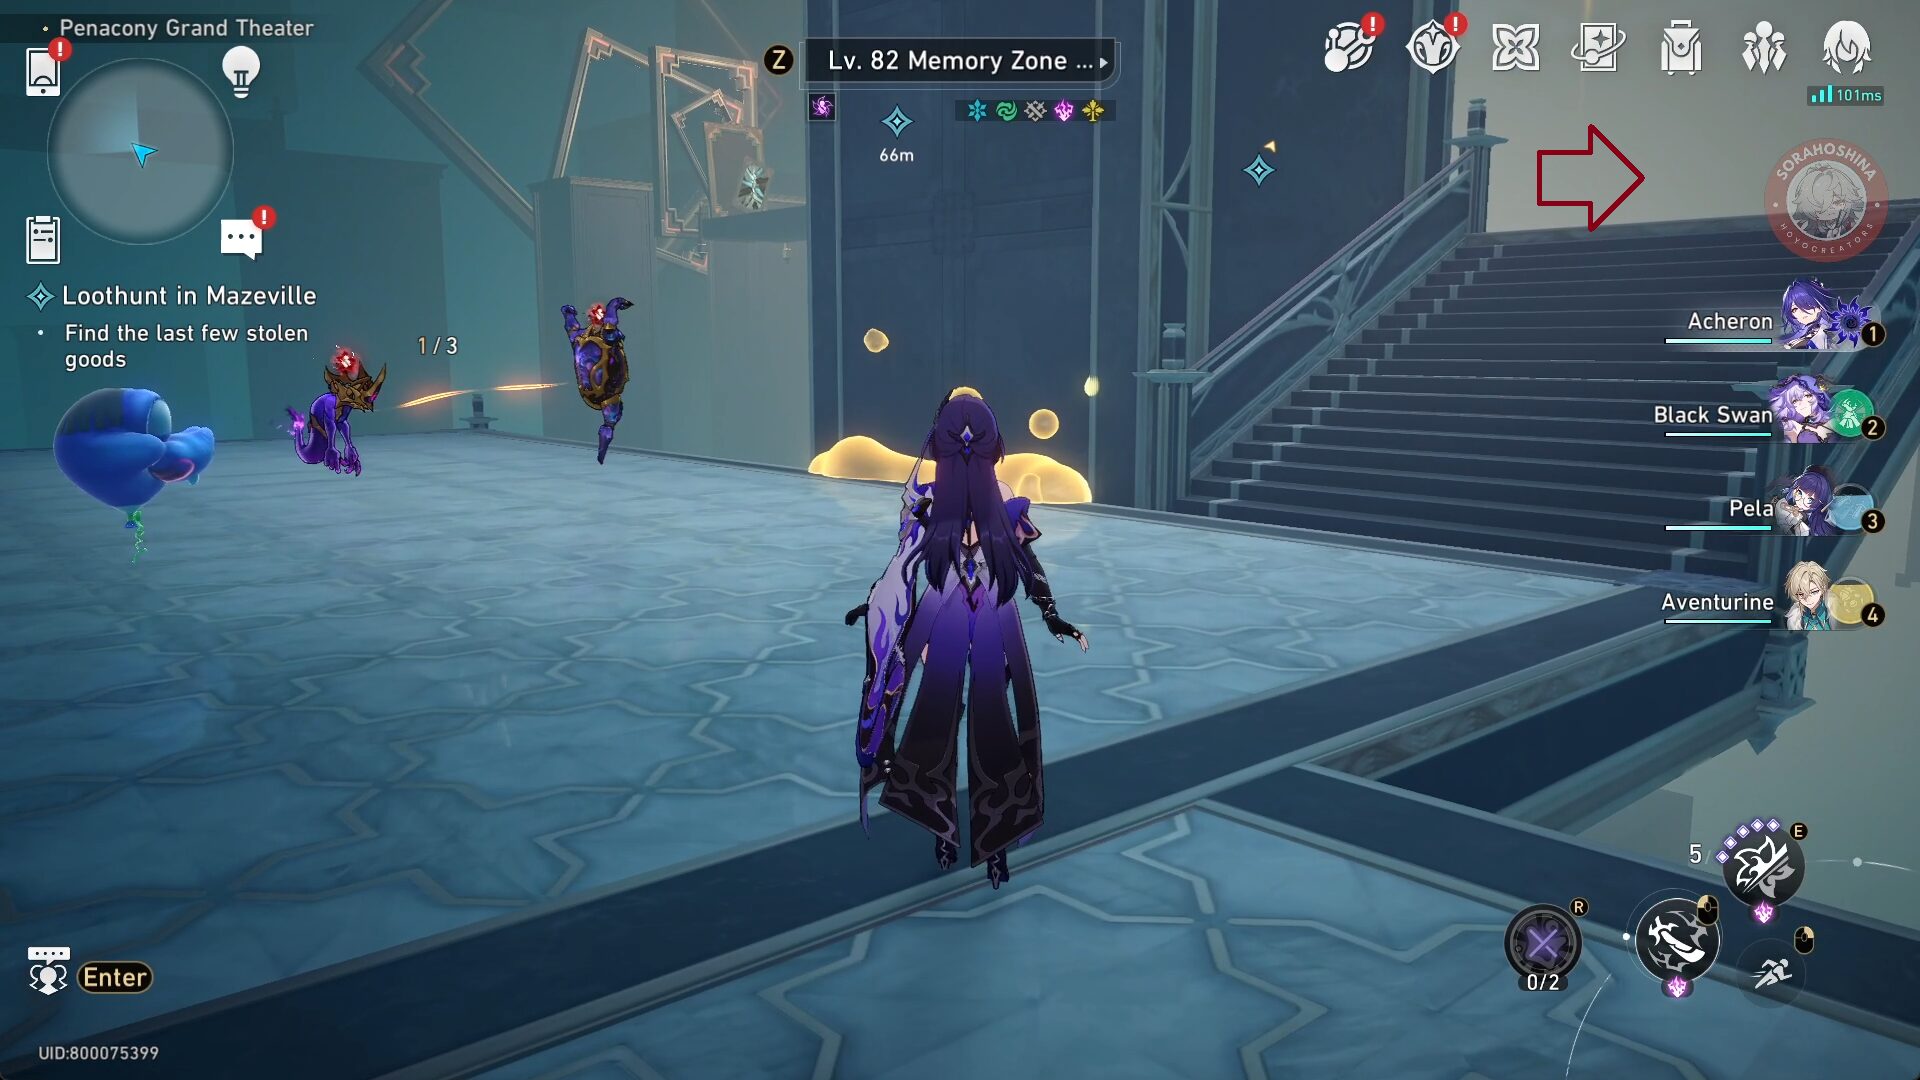
Chest #3
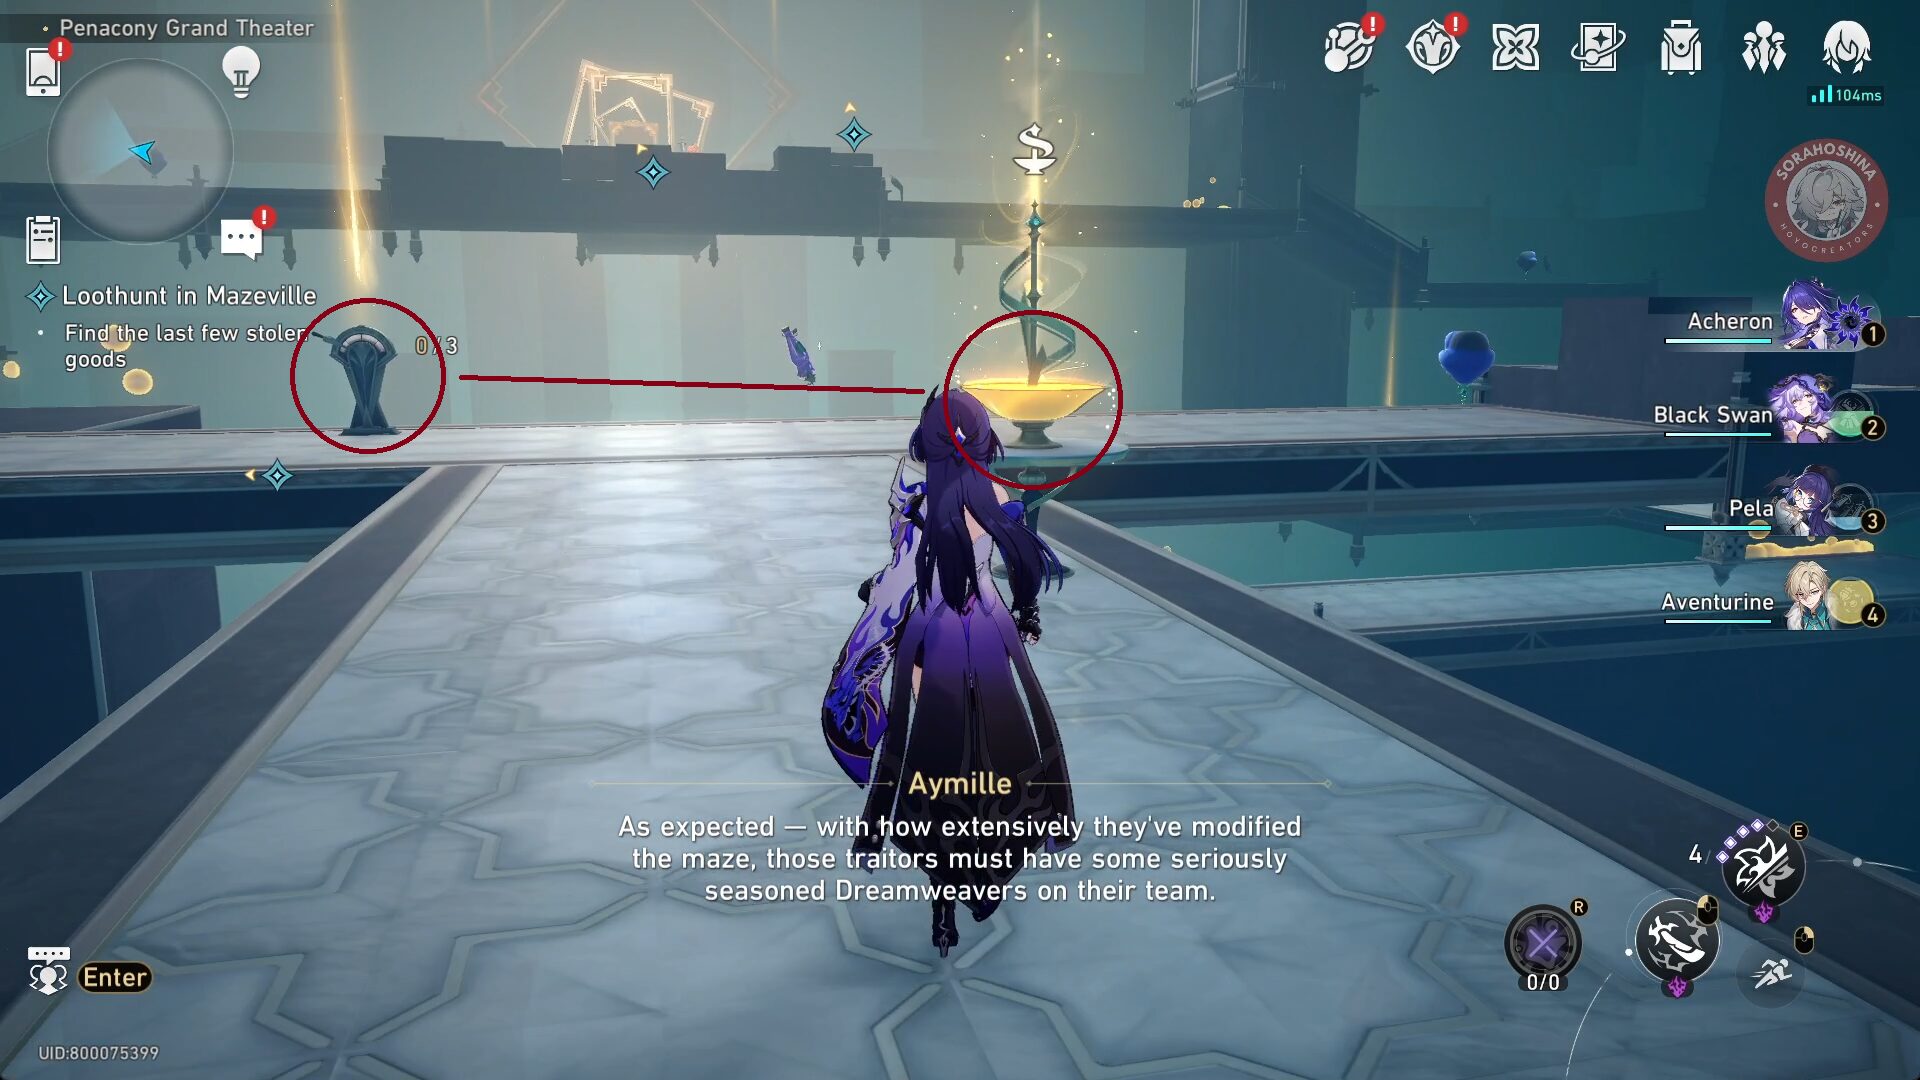
Finally, go up the stairs until the end to get the last chest. Get out of the maze and talk to Aymille so she will lead you to the second maze.
Second Maze
Once you enter the maze, get the Bubble Charge first before interacting with the Dream Module. Move the platform and go past the bridge.
Chest #4
Turn left first to fix the unstable path then recharge your Bubble Charge. Then, go to the bridge right in front of you. There will be a chest near an enemy.
After that, return to the Bubble Charge to recharge and cross the now-stable path toward the last bridge (not the one before it). There's only one path so keep walking until you see an enemy on your left and an unstable path in front of you.
Make sure to recharge your Bubble Charge first before fixing and crossing the unstable path.
Chest #5
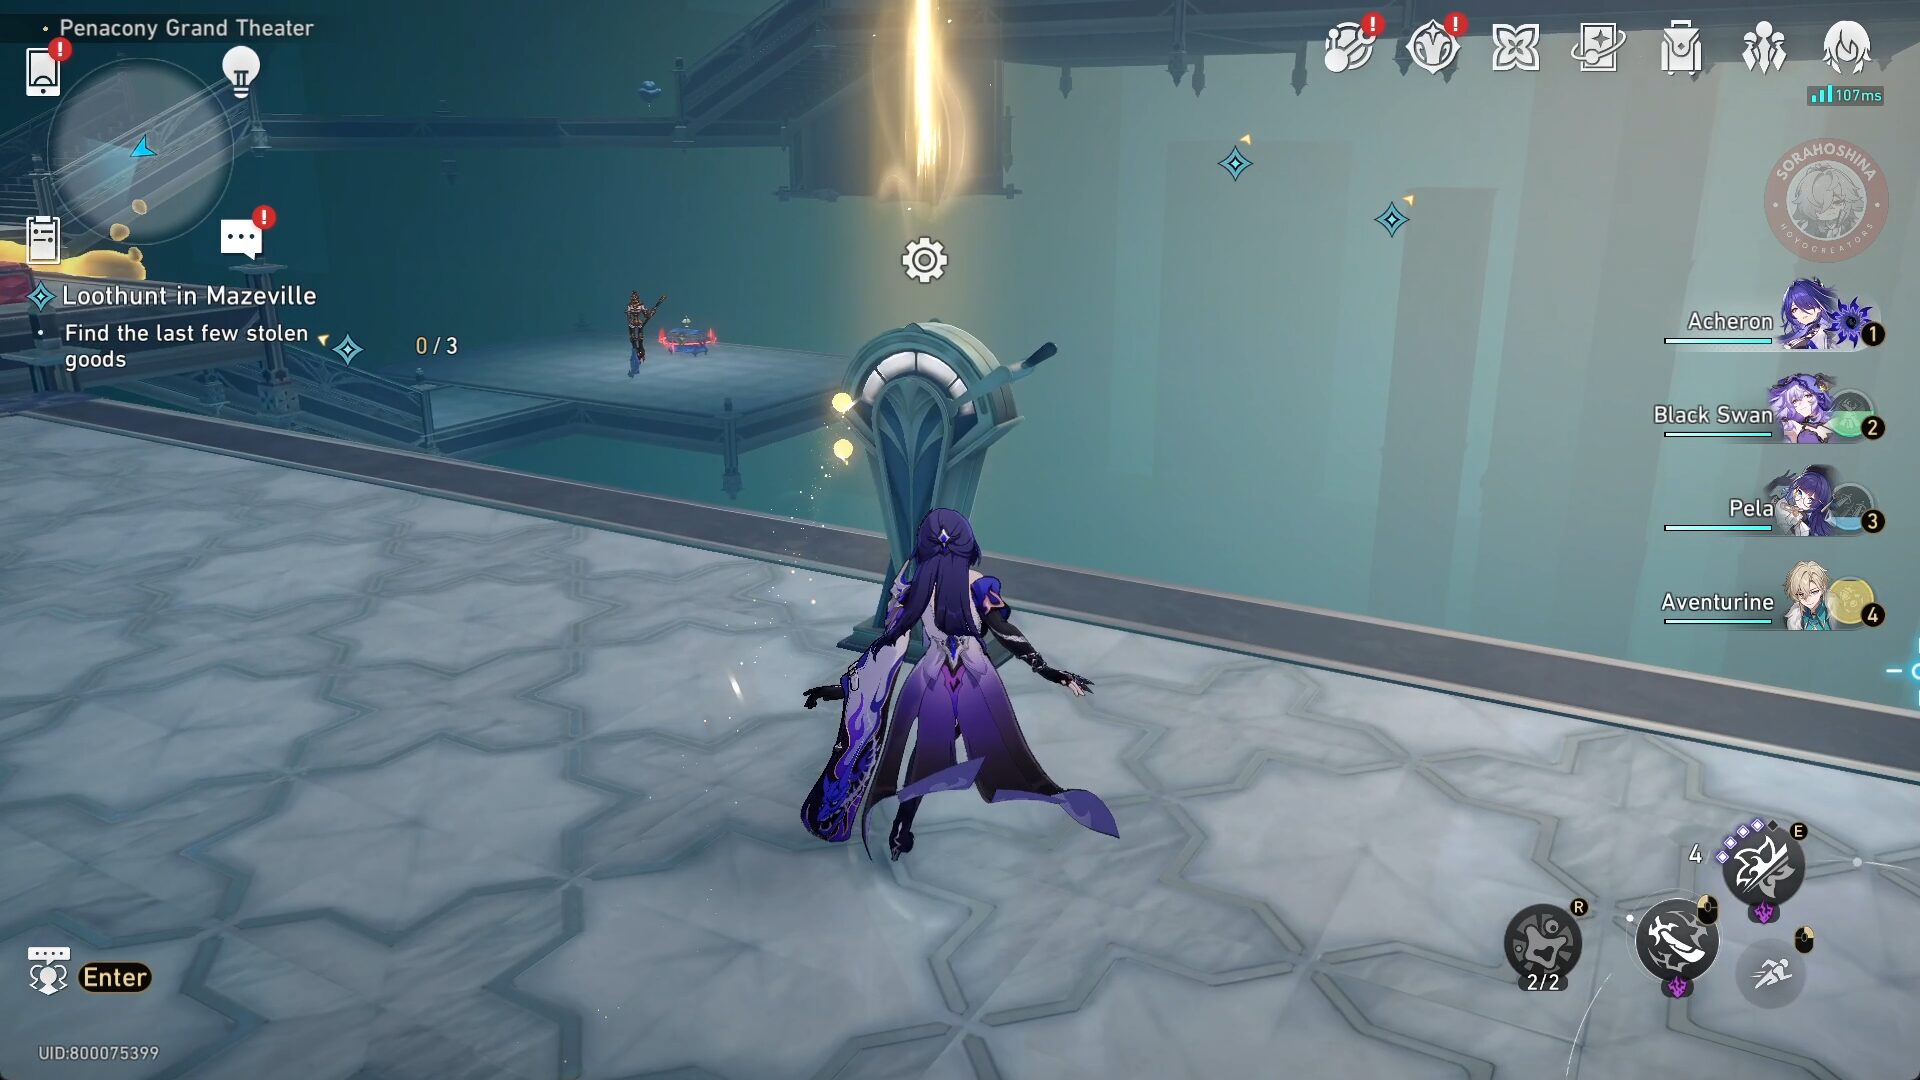
Walk until the end of the path and you will see a Formidable Foe challenge. Defeat it for another chest.
Go back up and interact with the Dream Module to move the platform (for the first time). Cross the bridge to reach a Bubble Charge that will increase the limit to 2. After that, interact with the Dream Module once again to move the platform (for the second time, this will lead the platform to be in the original position).
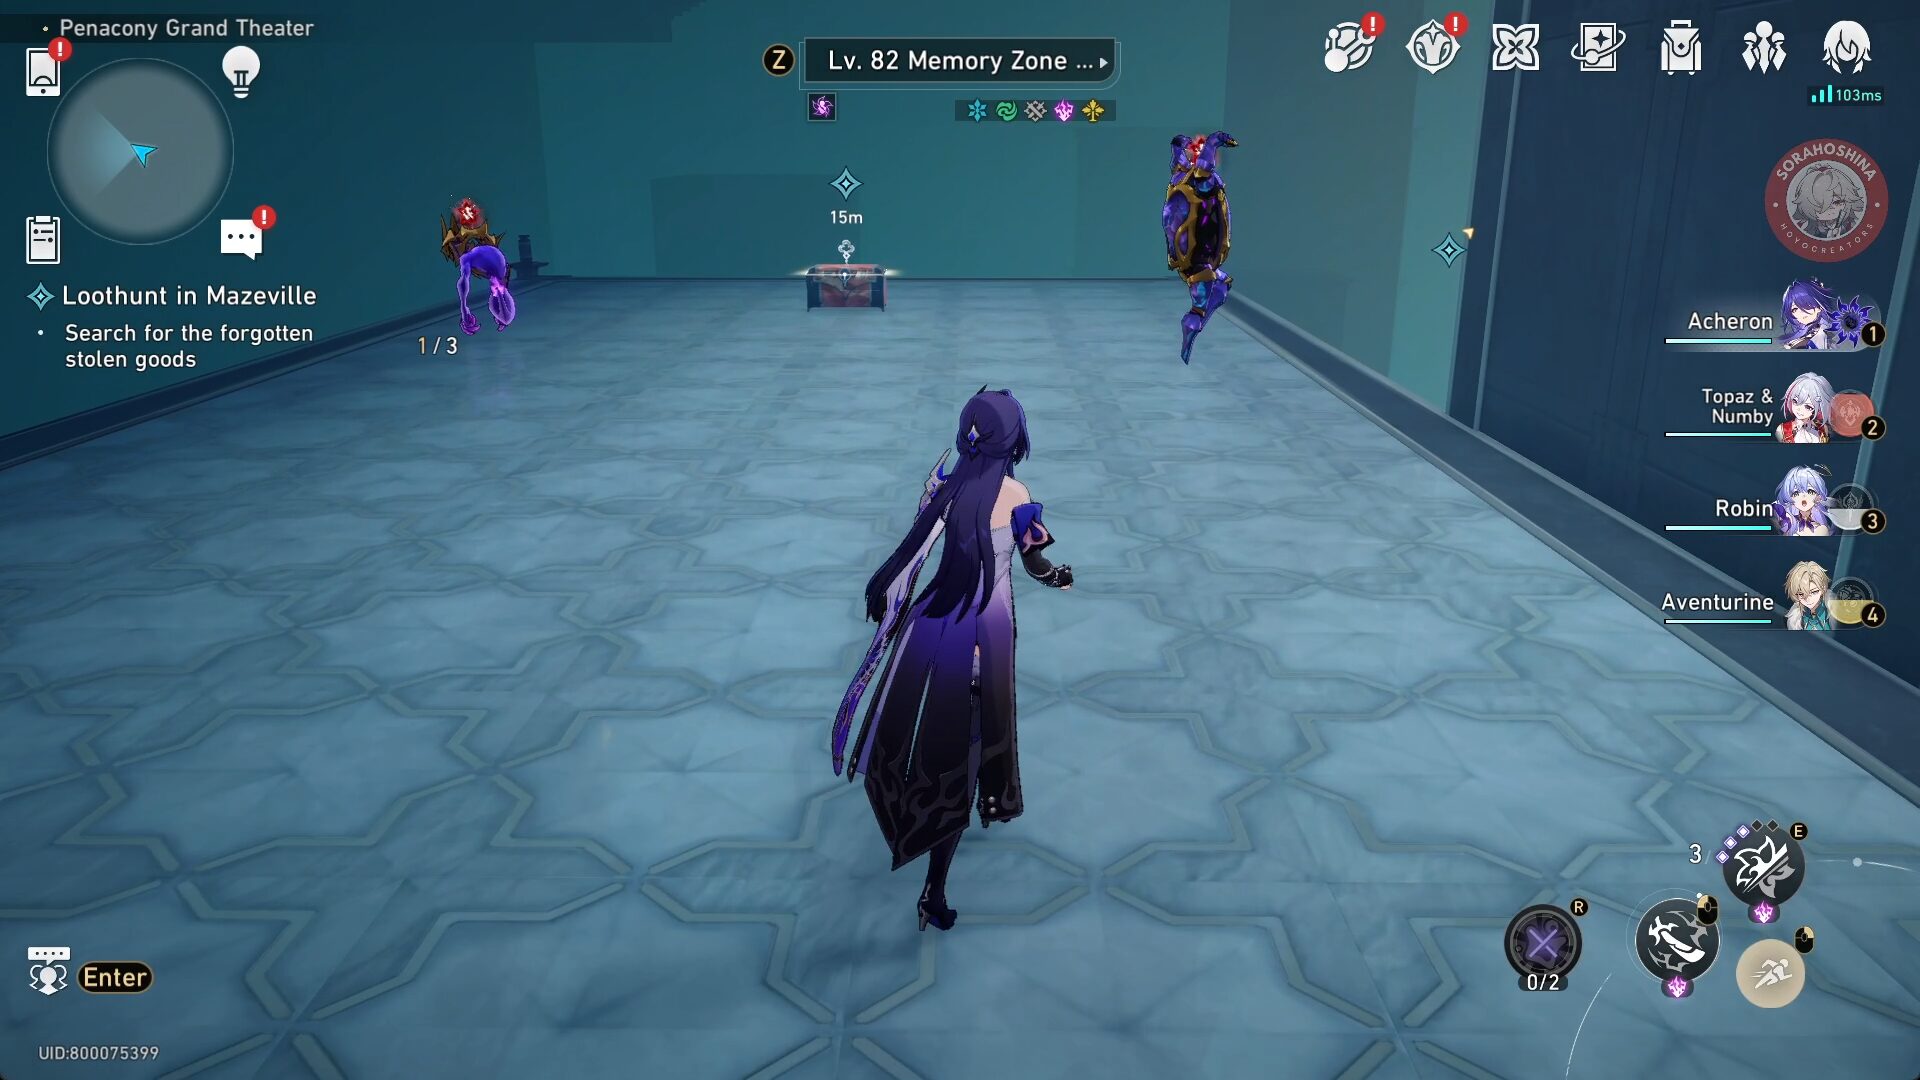
Cross the bridge here until you see many enemies.
Chest #6

Go behind the box in the center to find a treasure chest. Then, interact with the Dream Module to move the platform.
Chest #7
After you finished moving, go back to the bridge you cross to come here so you can reach the last chest and the exit. Once again, get out of the maze and talk to Aymille for the third maze.
Third Maze
Once you enter the maze, take the Bubble Charge and interact with the Dream Module to move the platform. This maze is similar to the first maze. Then, keep walking past bridges until you see an unstable path.

After you fix the unstable path, go down the stairs and you will see another Dream Module to move the platform. Use it. After that, go back to where you started (where you can see the Bubble Charge and the first Dream Module) using the now-stable path.
Chest #8
Recharge your Bubble Charge first before interacting with the Dream Module so you can go past two bridges and get the treasure chest.
Chest #9
Go down the stairs for another Formidable Foe.
Go back up and when you see a bridge and stairs, go to the stairs first to recharge your Bubble Charge. Only after that should you pass the bridge.
Chest #10
Keep walking until you see many enemies, one Bubble Charge mechanism, and one treasure chest now-so-hidden behind the pillar in the middle.
Go pass the bridge and keep walking until you see an unstable path. Fix it so you can get to the Bubble Charge.
Once you done recharging, go to the bridge near the mechanism that fixes the path. Keep going until you see 2 Dream Modules.
Interact with both Dream Modules and move the respective platforms.
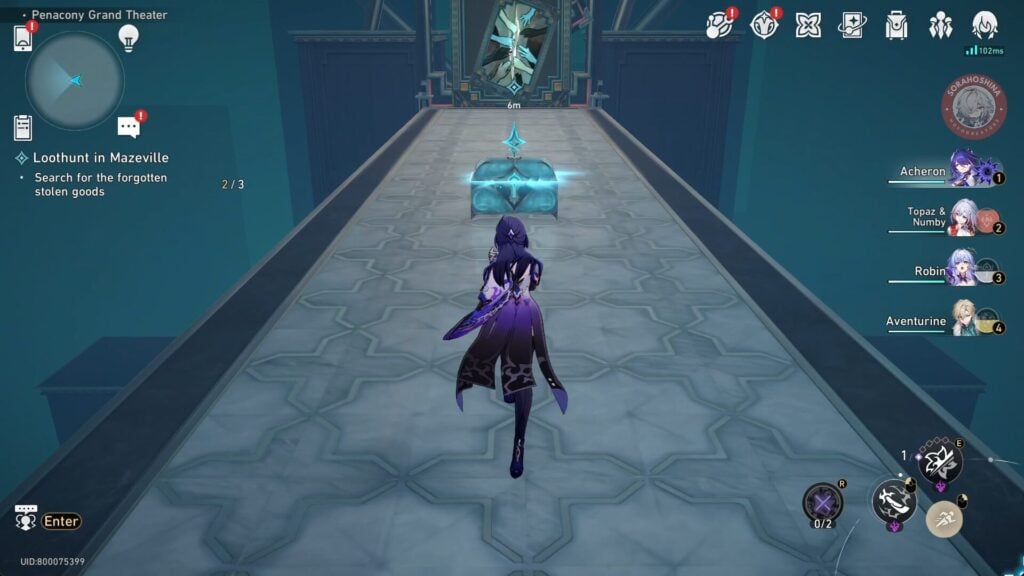
Chest #11
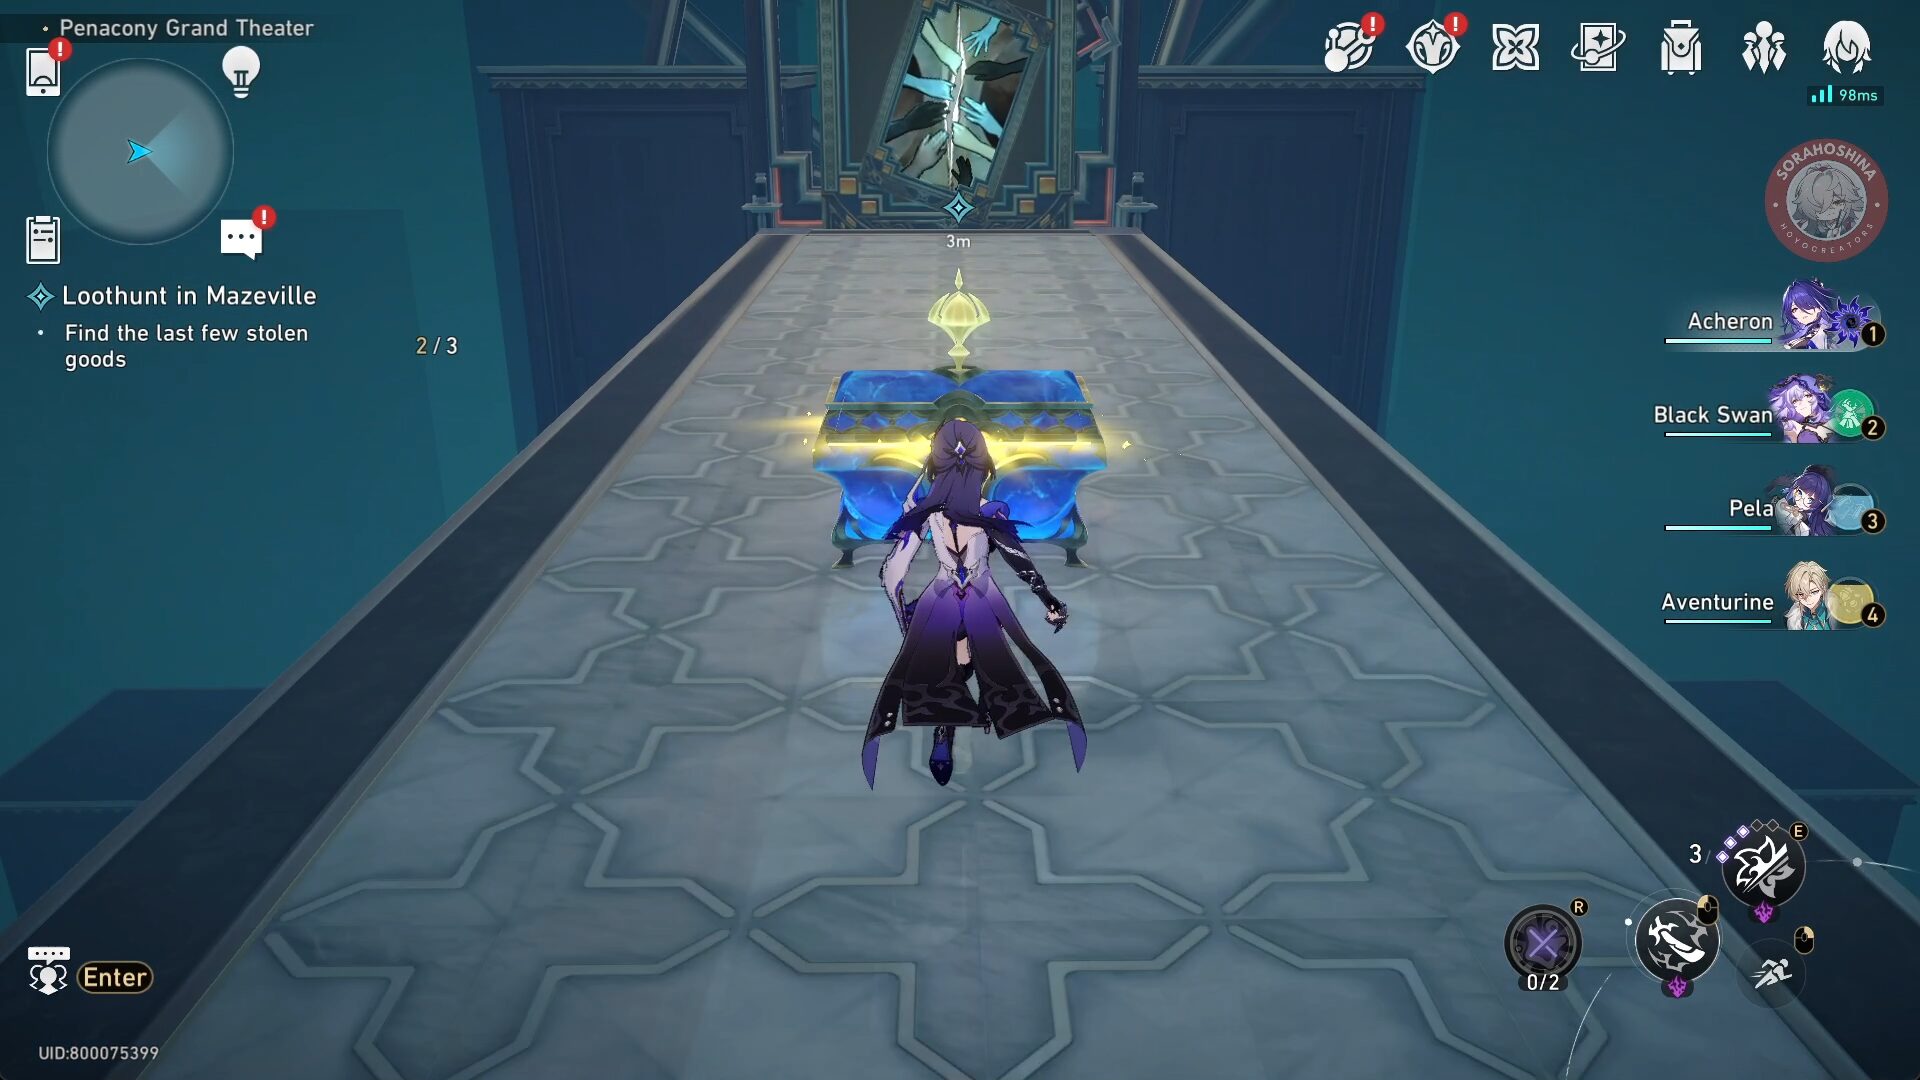
Once you're done, go to the bridge in the middle and keep walking until you see the last chest.
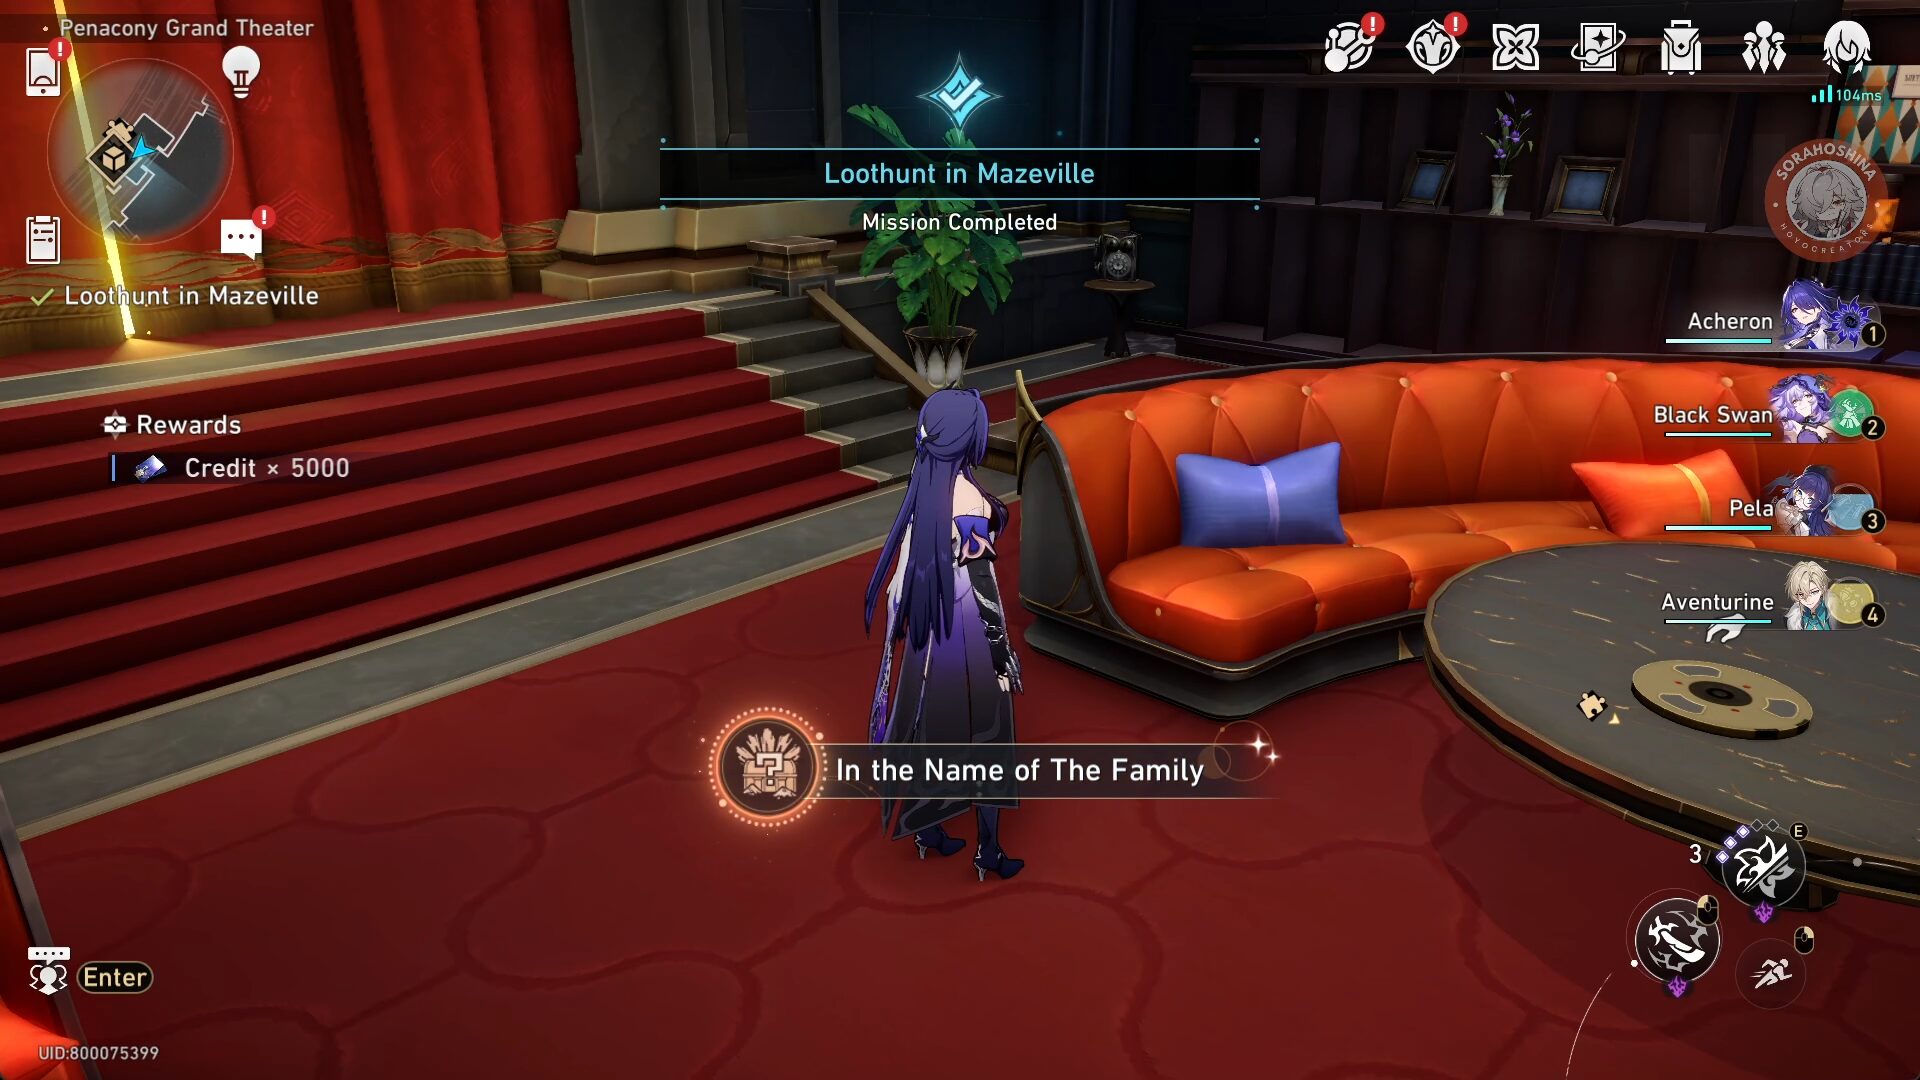
Talk to Aymille for the last time and you will get the achievement 'In the Name of The Family.'

Sora
Articles: 233More Articles

Honkai: Star Rail Stellar Shimmer Event Guide

Honkai: Star Rail Redemption Codes – July 2024
Honkai: Star Rail Version 2.3 Tier List (July 2024)

Honkai: Star Rail Jade Character Guide

Honkai: Star Rail Boothill Character Guide

Honkai: Star Rail Xueyi Character Guide
Honkai: Star Rail Misha Character Guide

Honkai: Star Rail Gallagher Character Guide

Honkai: Star Rail Ruan Mei Character Guide

Honkai: Star Rail Firefly Character Guide
Honkai: Star Rail Memory of Chaos Stage 12 Guide (V2.2 – A Song’s True Theme)
Honkai: Star Rail Memory of Chaos Stage 11 Guide (V2.2 – A Song’s True Theme)
Honkai: Star Rail Memory of Chaos Stage 10 Guide (V2.2 – A Song’s True Theme)
Honkai: Star Rail Memory of Chaos Stage 9 Guide (V2.2 – A Song’s True Theme)
Honkai: Star Rail Memory of Chaos Stage 8 Guide (V2.2 – A Song’s True Theme)
Honkai: Star Rail Memory of Chaos Stage 7 Guide (V2.2 – A Song’s True Theme)
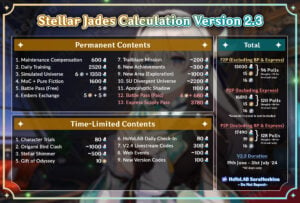
Honkai: Star Rail Stellar Jades Calculation in Version 2.3

Honkai: Star Rail Version 2.3 Special Program Livestream Overview
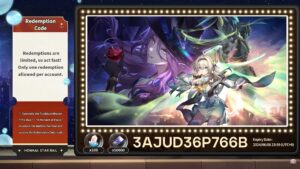
Honkai: Star Rail 3 New Redemption Codes from 2.3 Livestream