Table of Contents
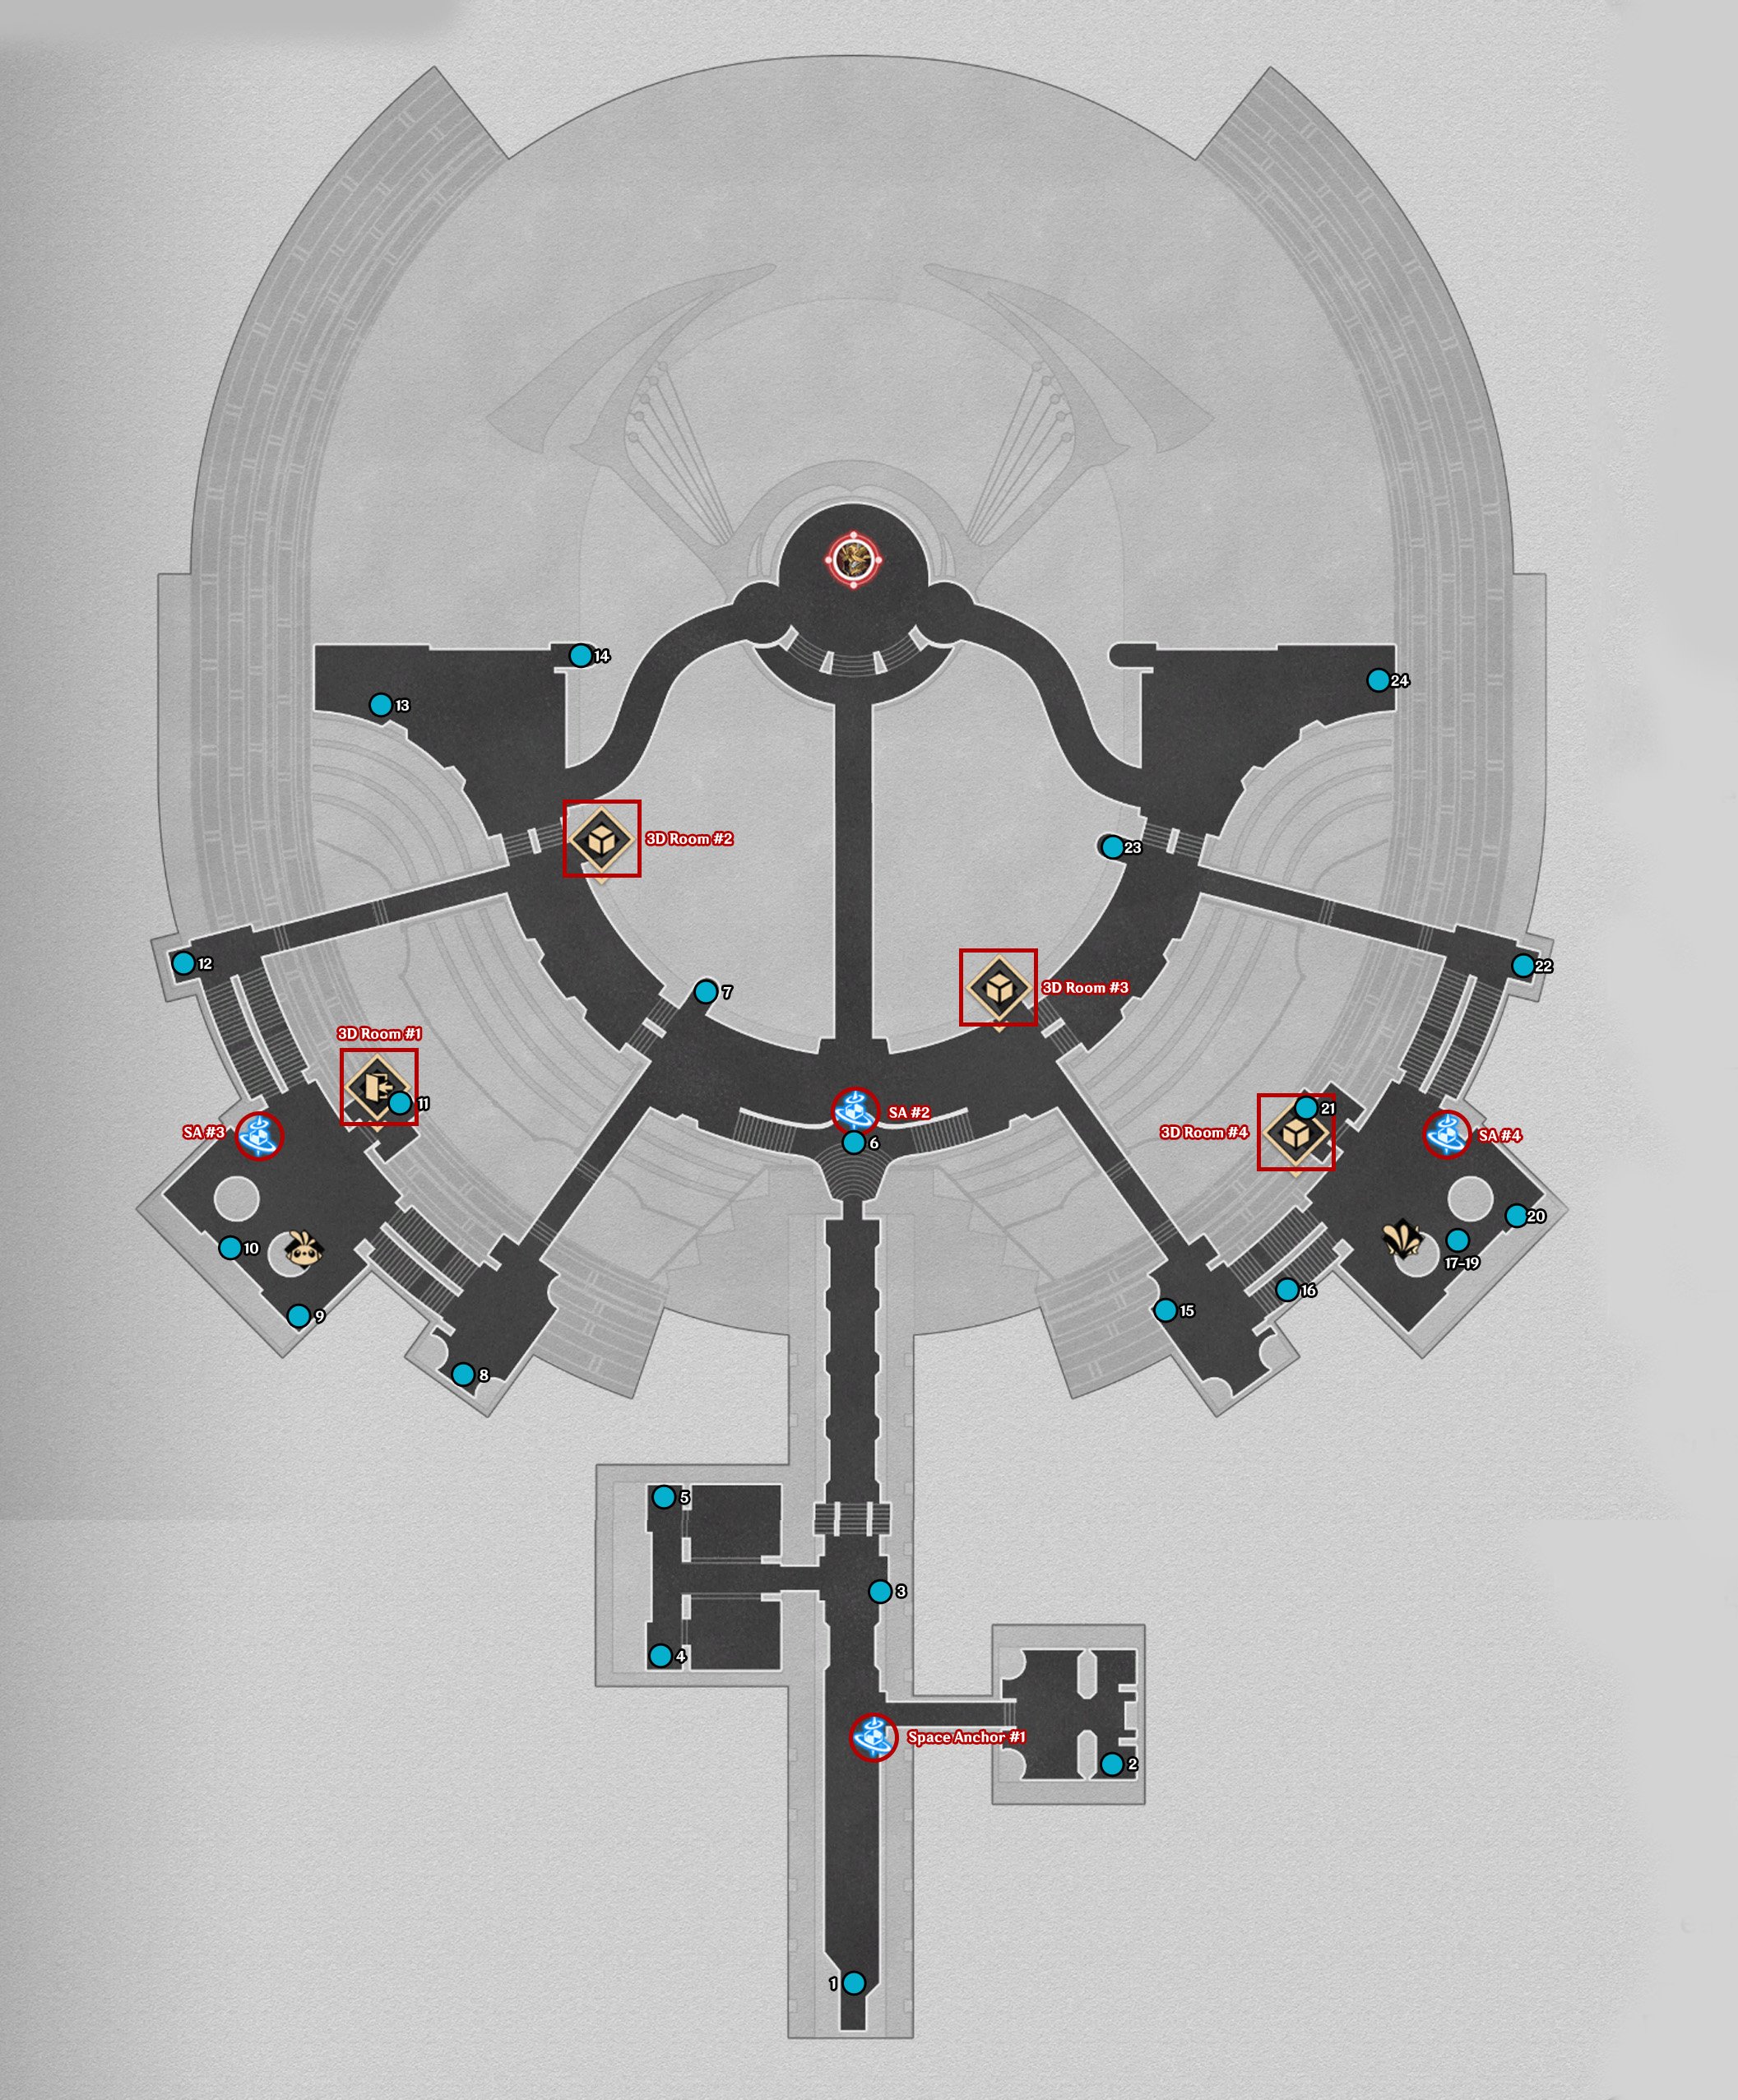
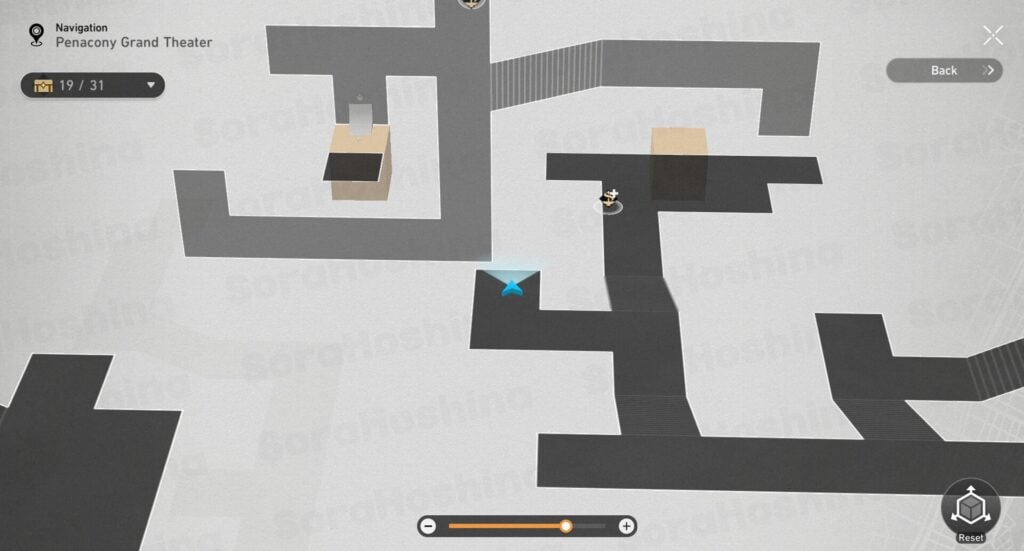
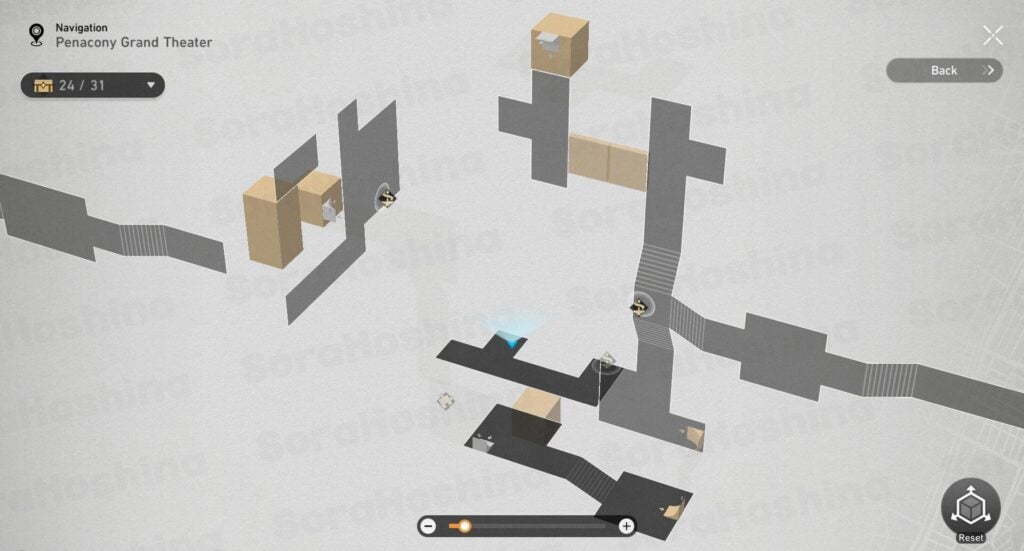
In Penacony Grand Theater, there are multiple 3D rooms and you can check all the icons of space anchor, treasure chest, origami birds, etc in the official interactive map. In total, there are 53 treasure chests in this area, including puzzles, Lordly Trashcans, and from the Loothunt in Mazeville missions.
All Treasure Chests in Penacony (Penacony Grand Theater)
Okay so in the video, there are only 42 treasure chests because I didn't include the one from Loothunt in Mazeville missions as there's already another video of that, and it's the one below:
So in total, 42 treasure chests from the first video, and 11 chests from the second video = 53 treasure chests in Penacony Grand Theater.
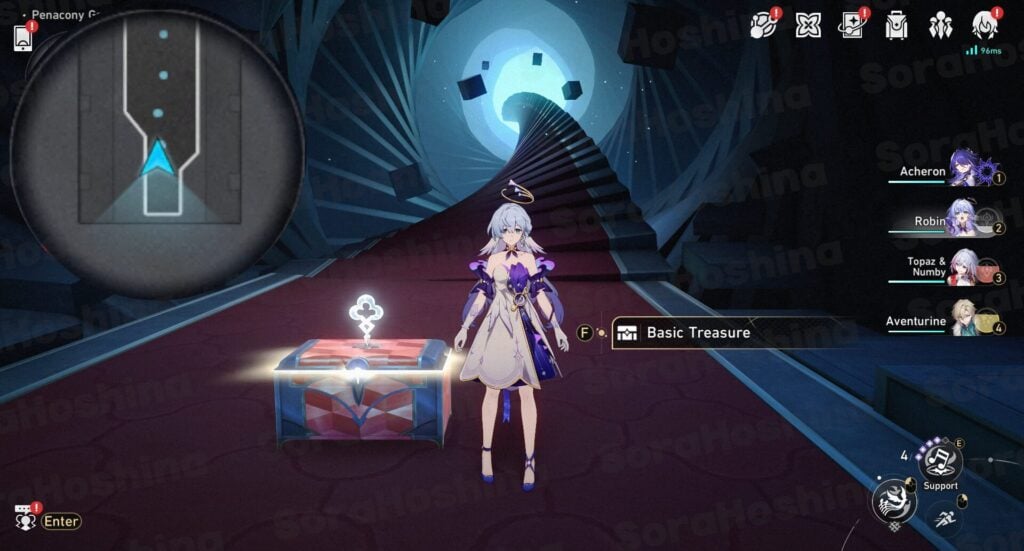
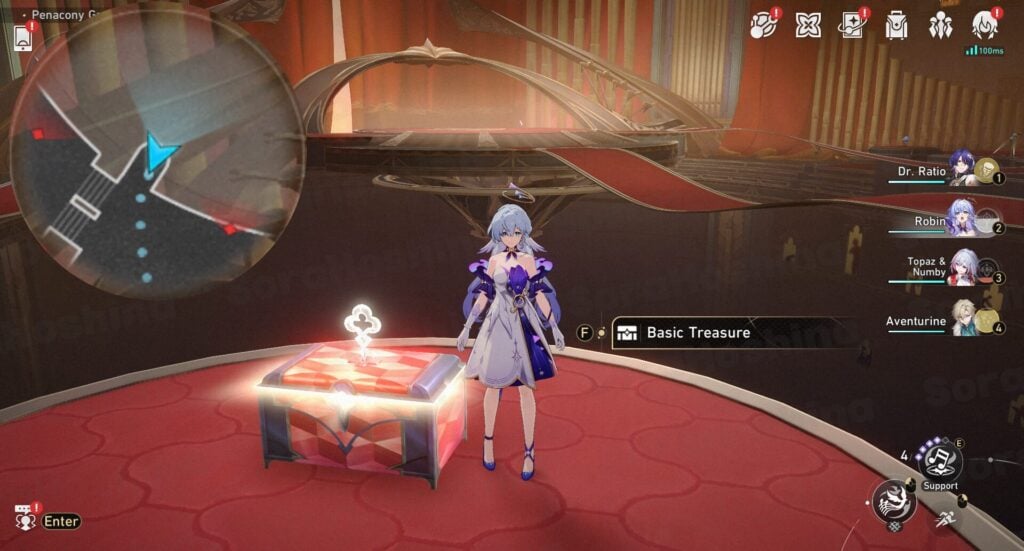
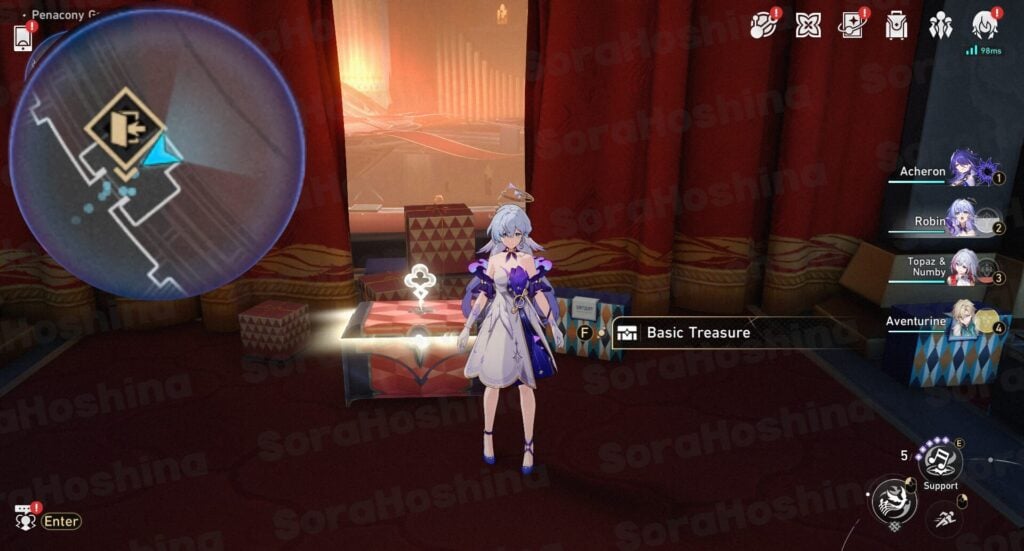
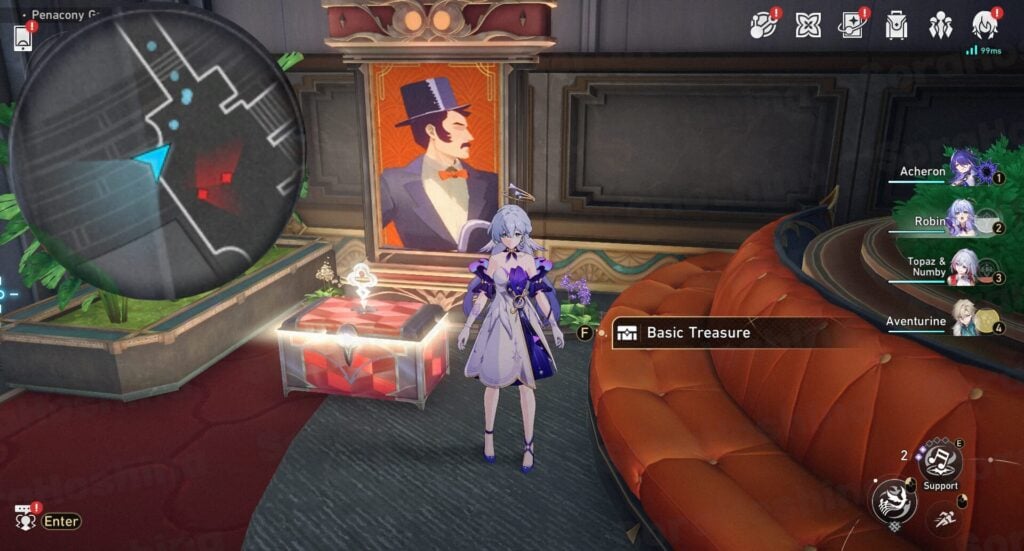
TREASURE CHEST #1
Teleport to space anchor #1 and turn around. Walk until the edge of the map for the first chest.
TREASURE CHEST #2
Go back to the space anchor and head to the room on your right (east).
TREASURE CHEST #3
Get out of that room (or just teleport to space anchor #1 again) and walk north until you see a chest on the right side of the path.

TREASURE CHEST #4
Enter the room on the left and find the chest at the bottom left of that room.
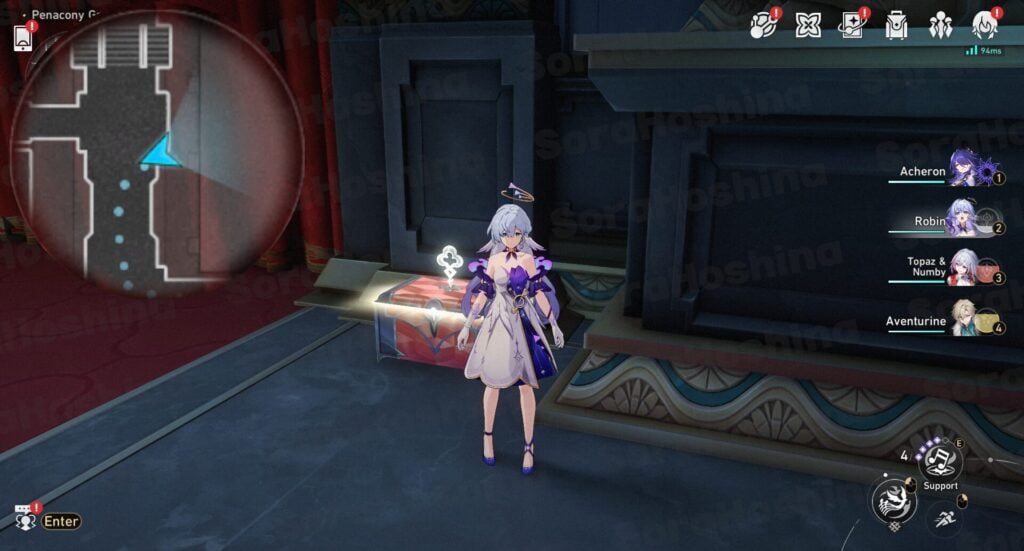
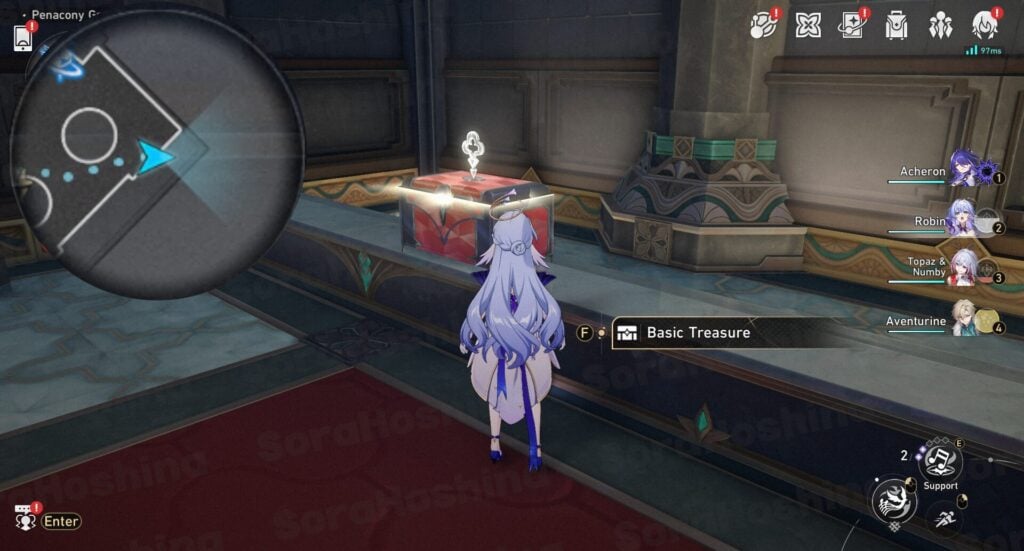
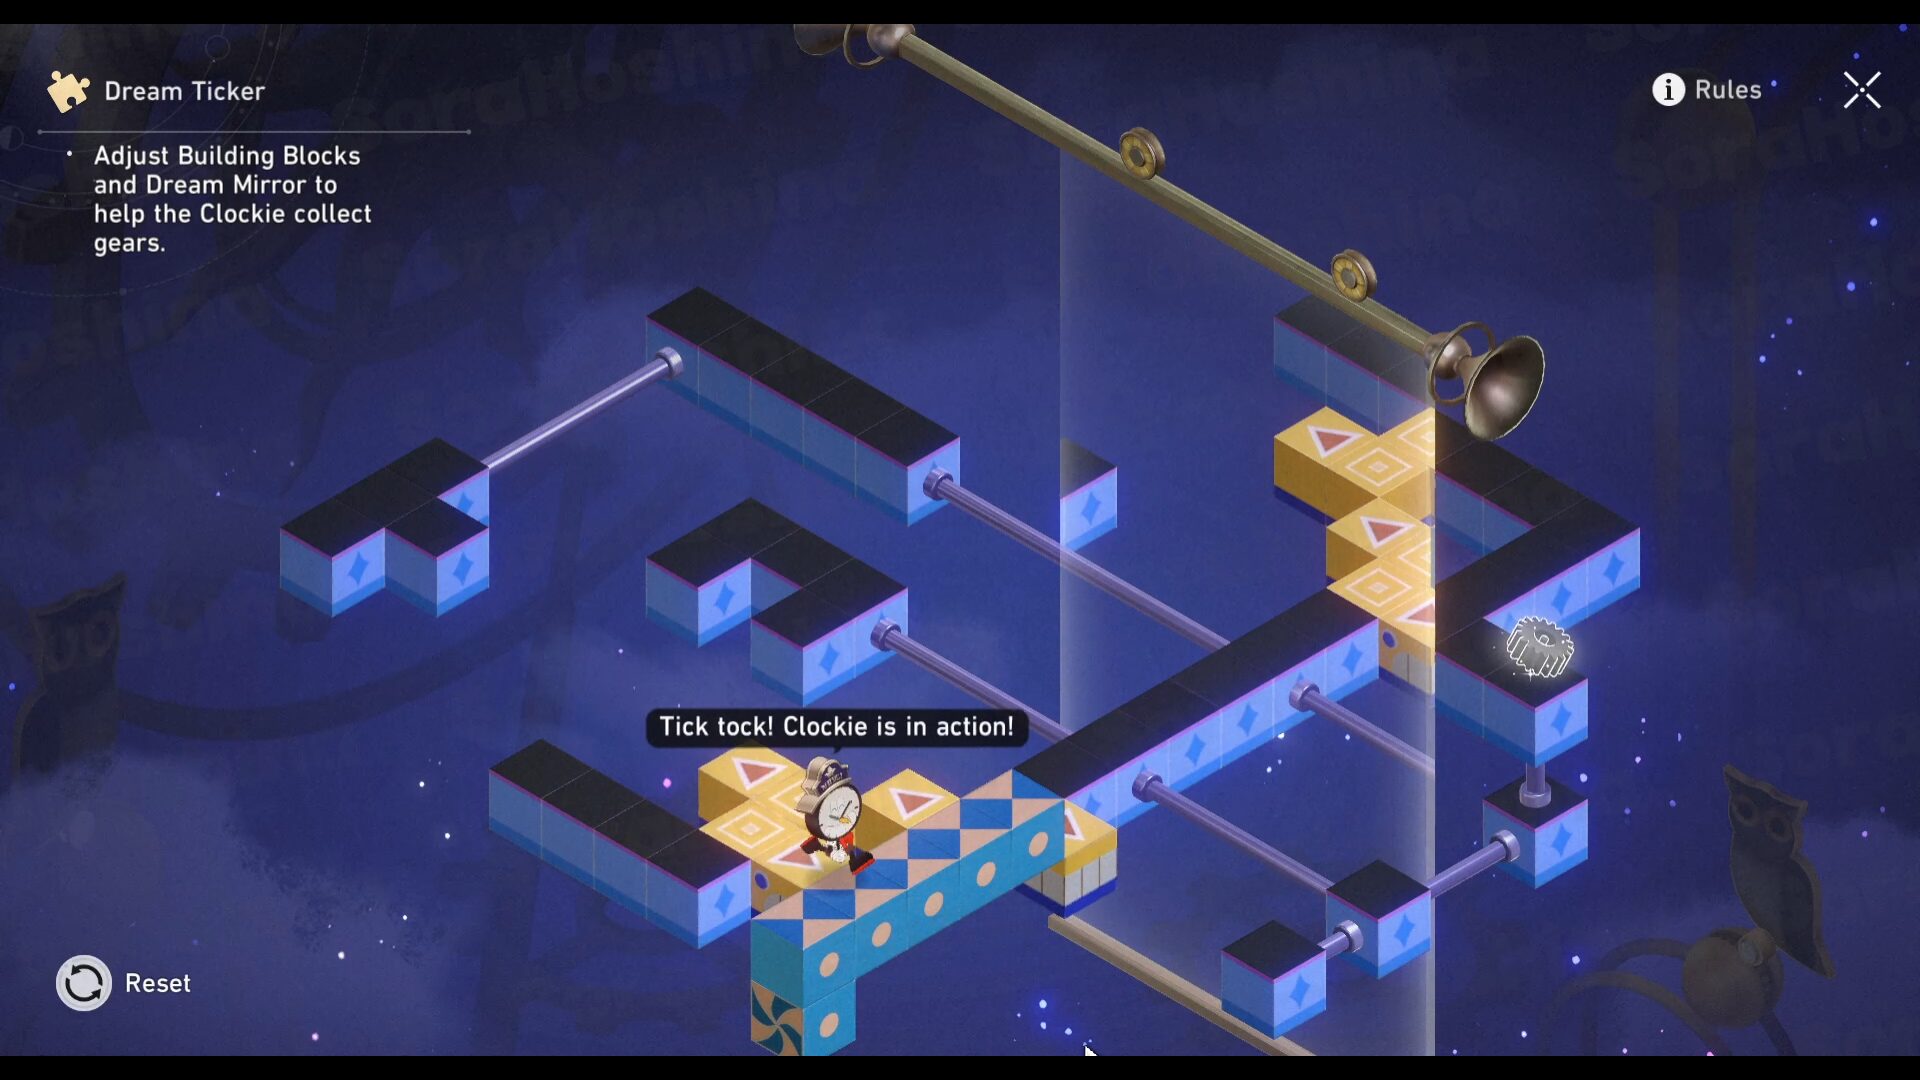
TREASURE CHEST #5
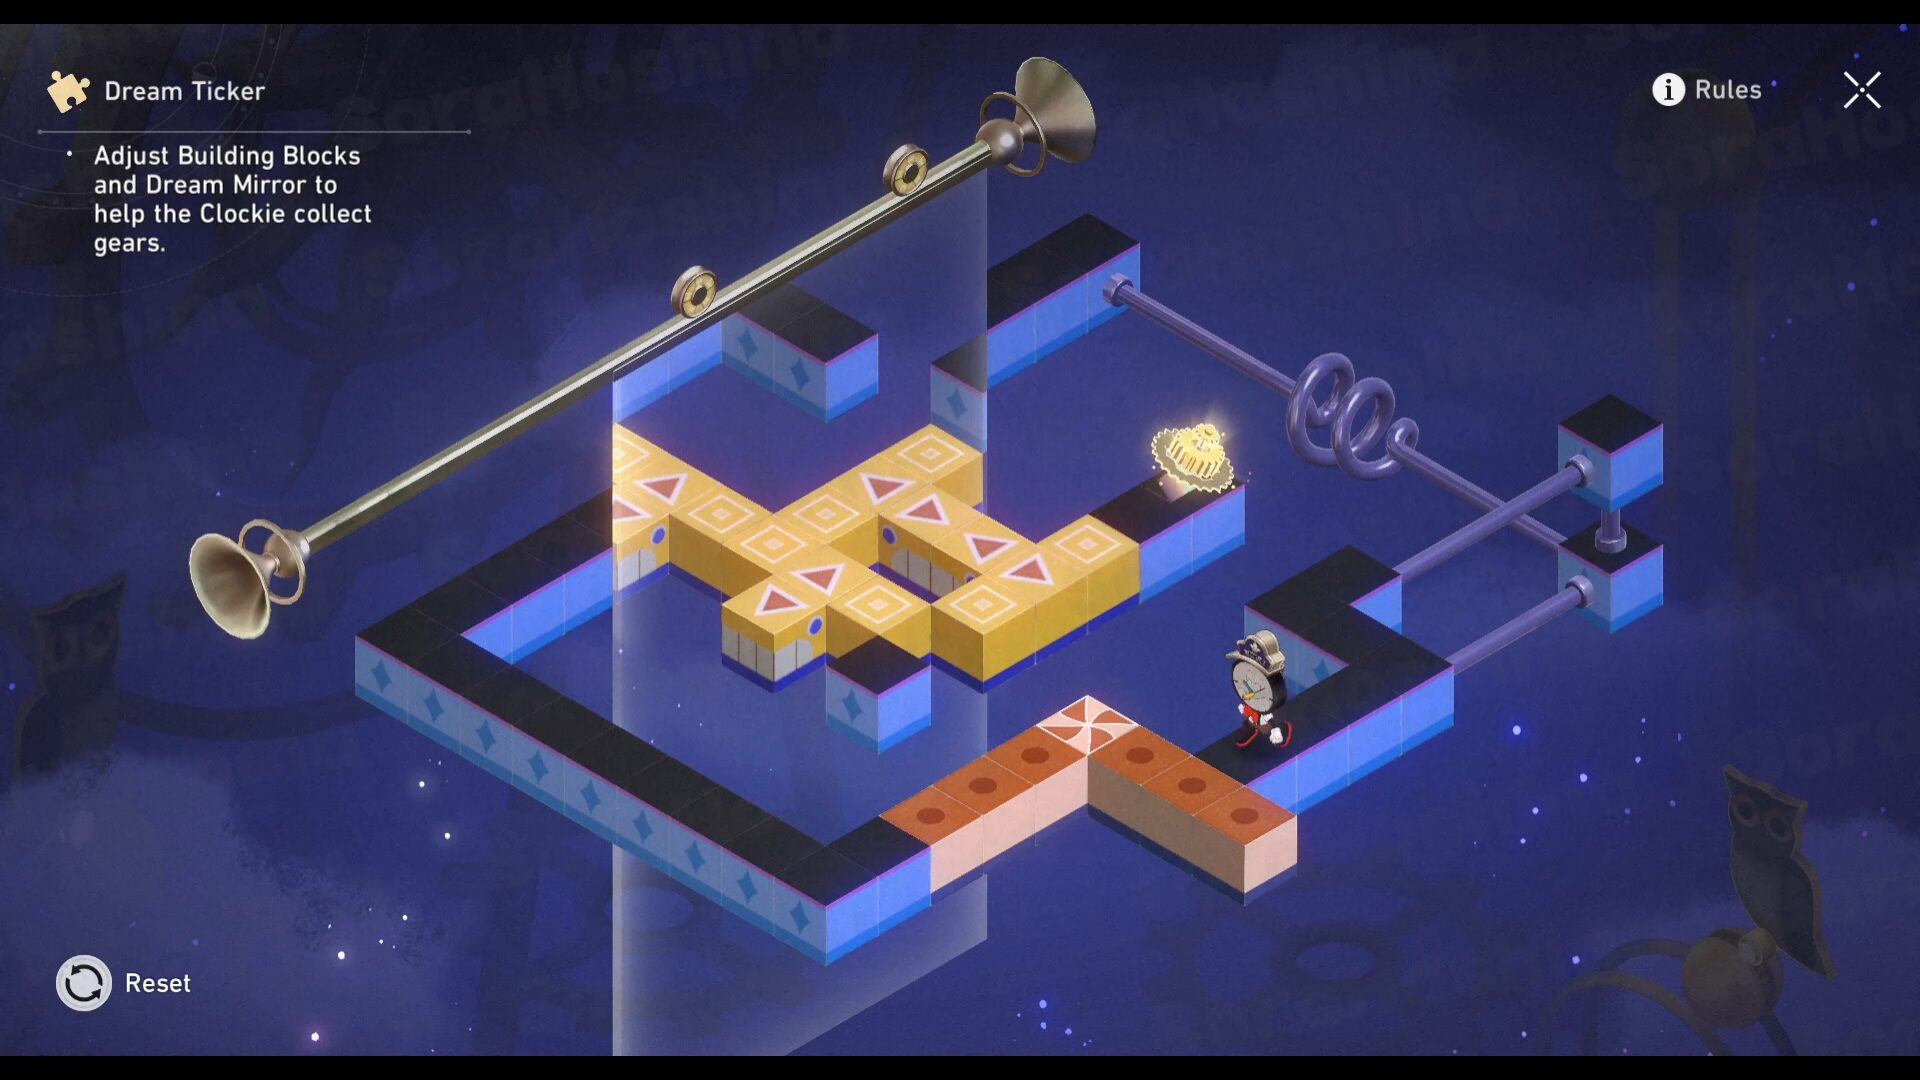
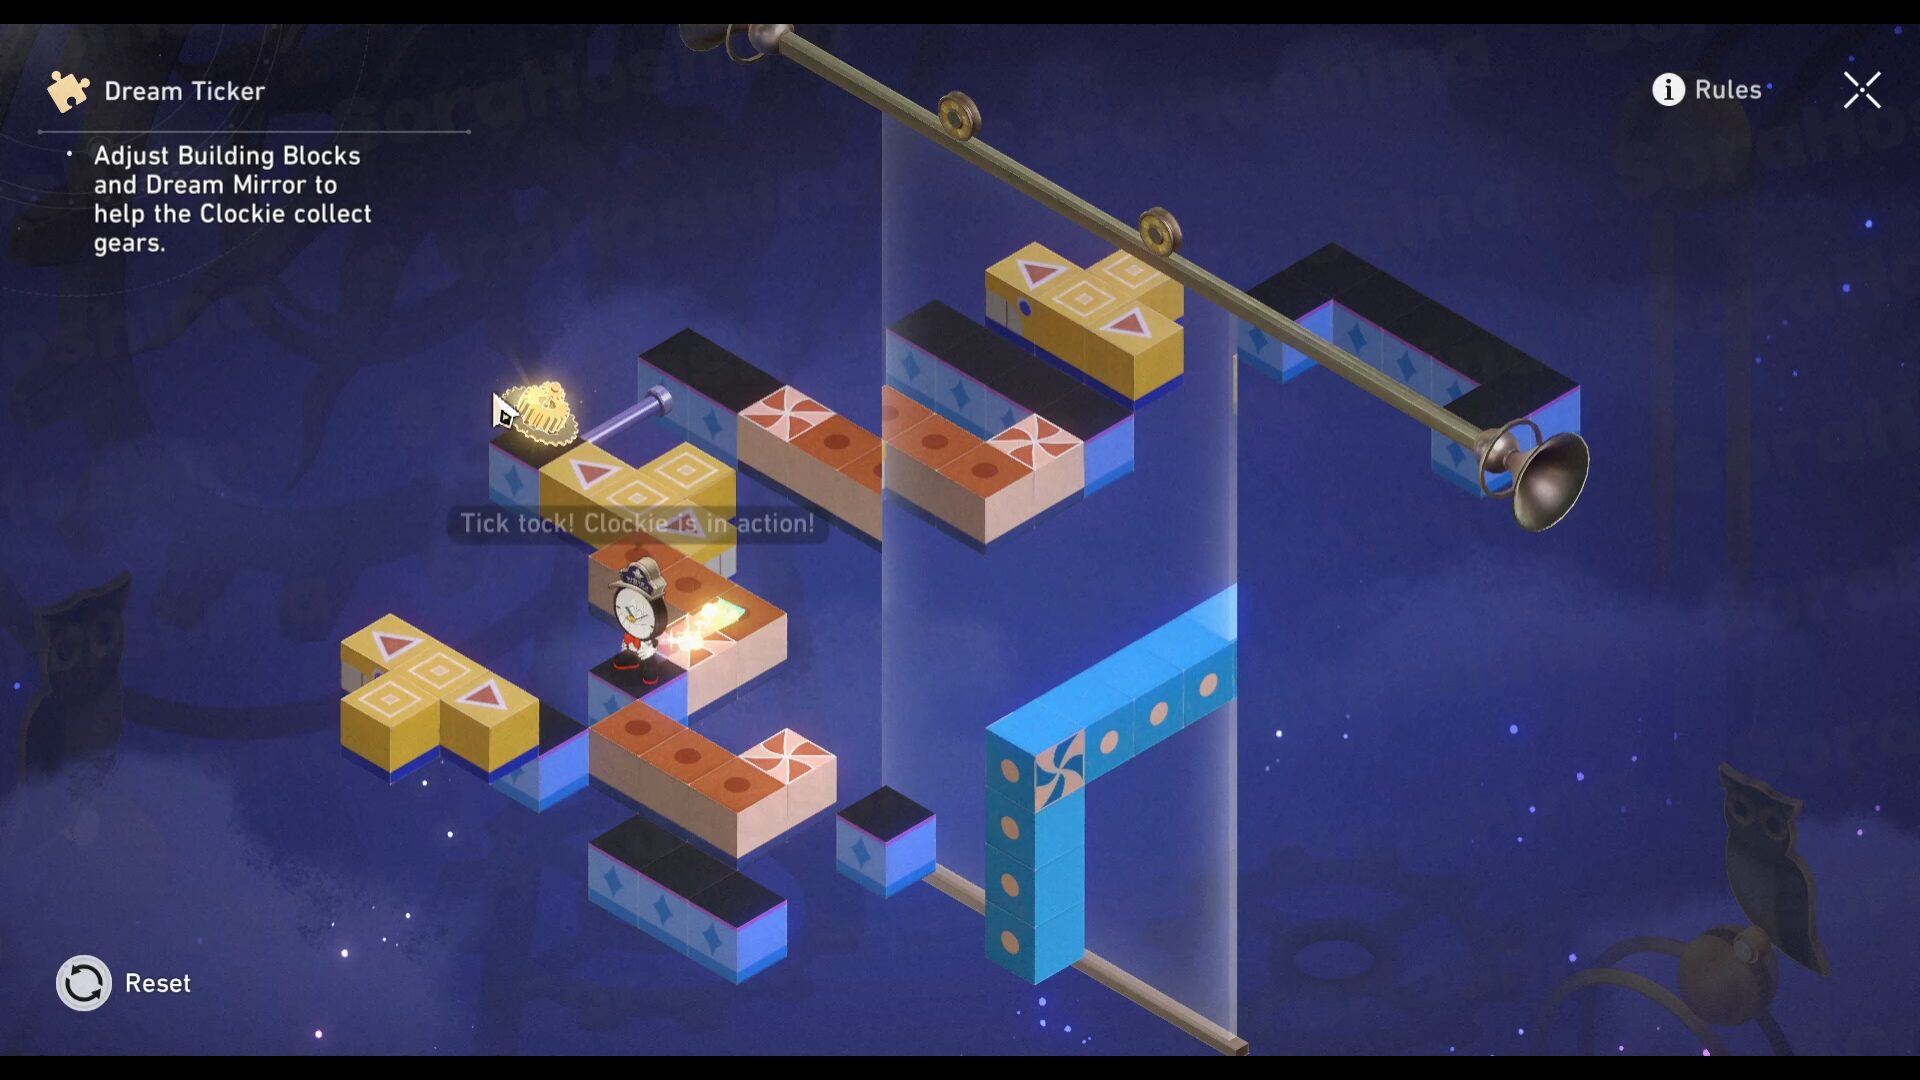
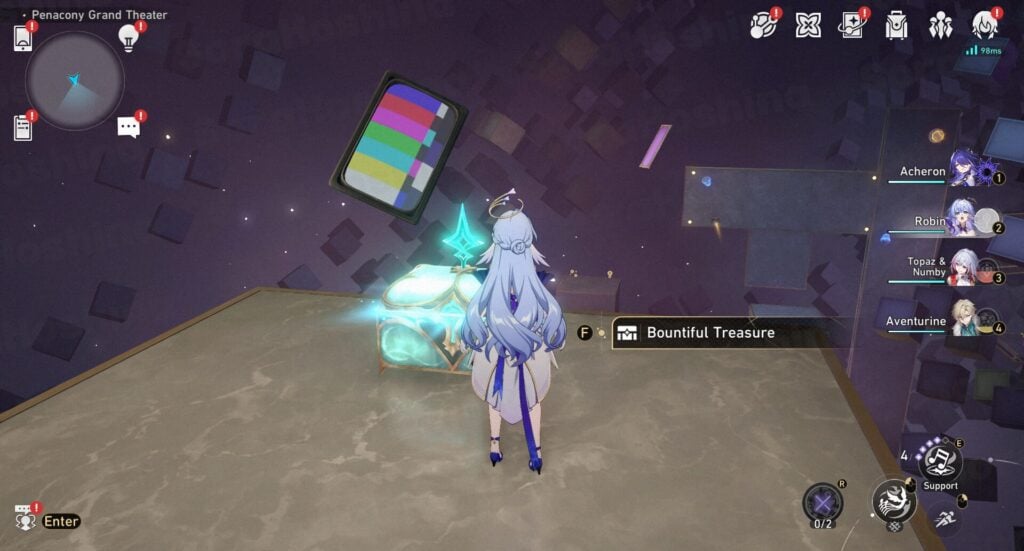
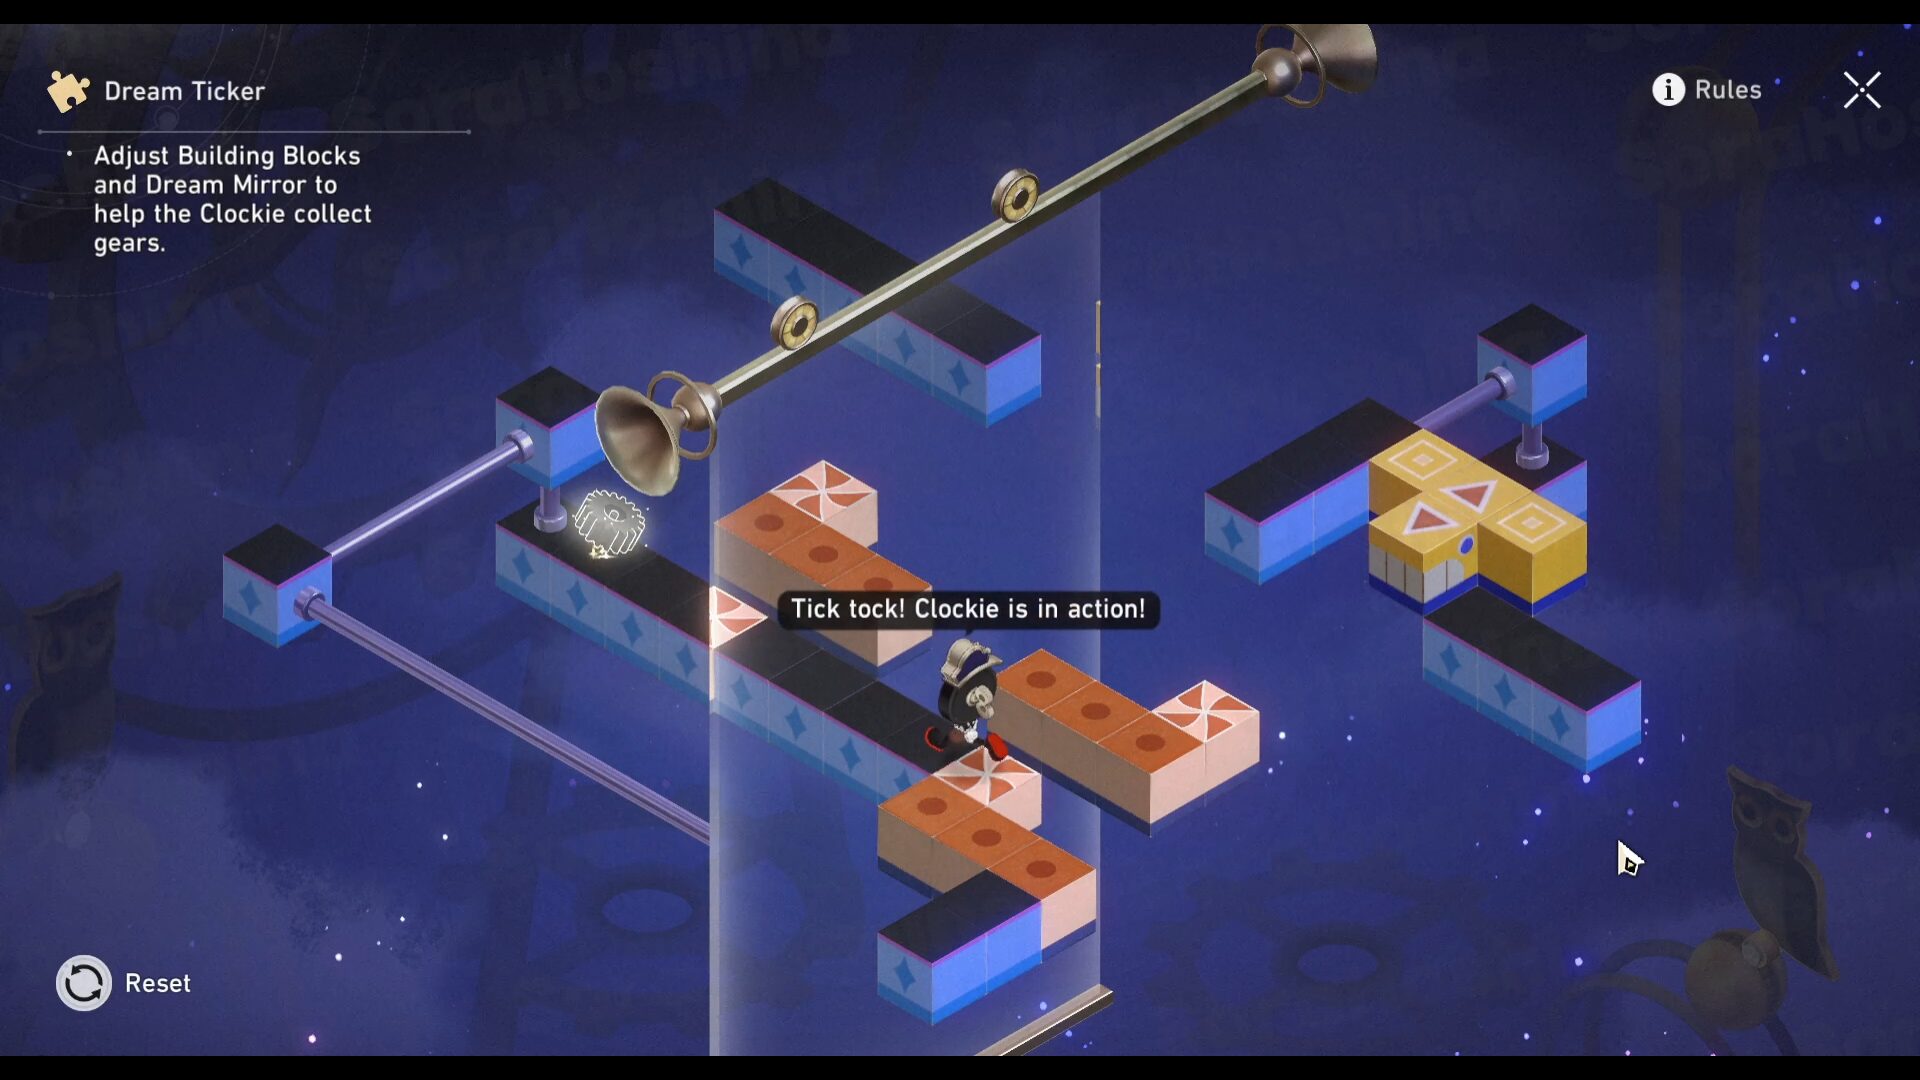
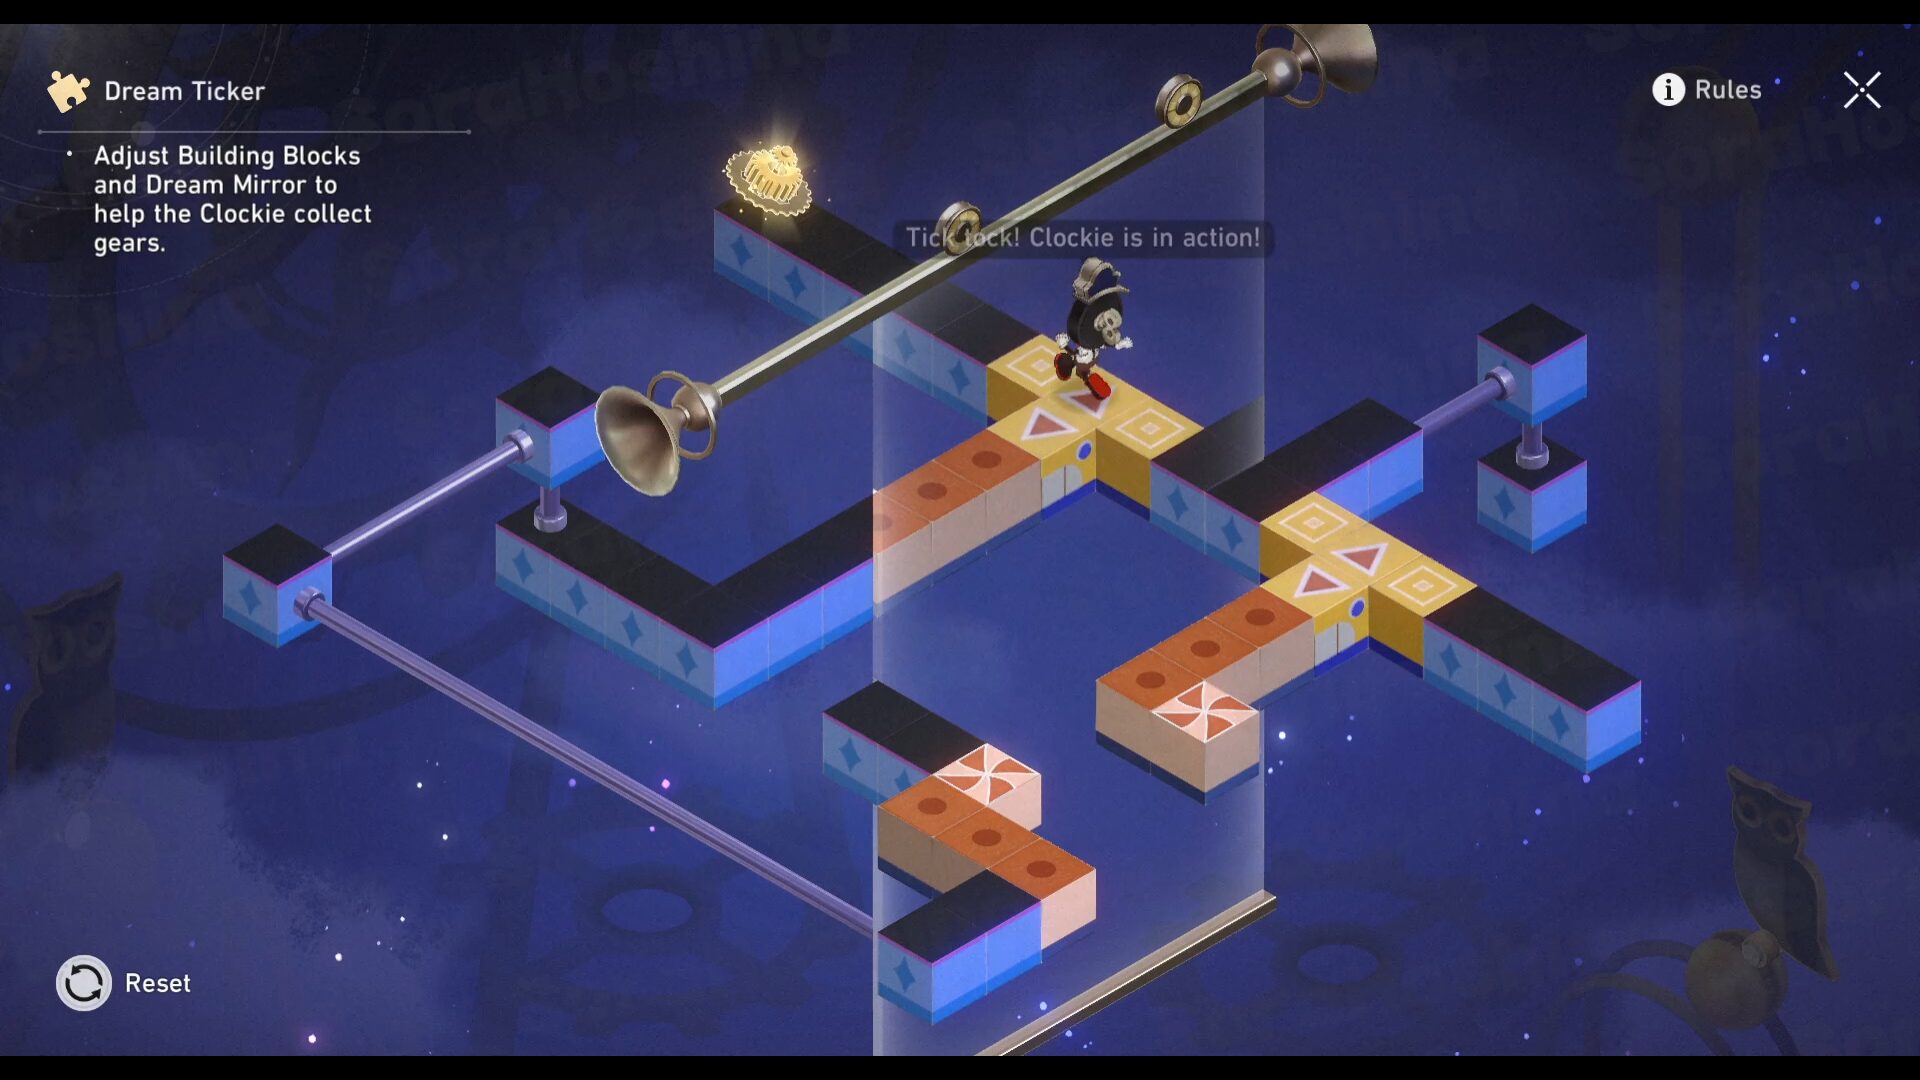
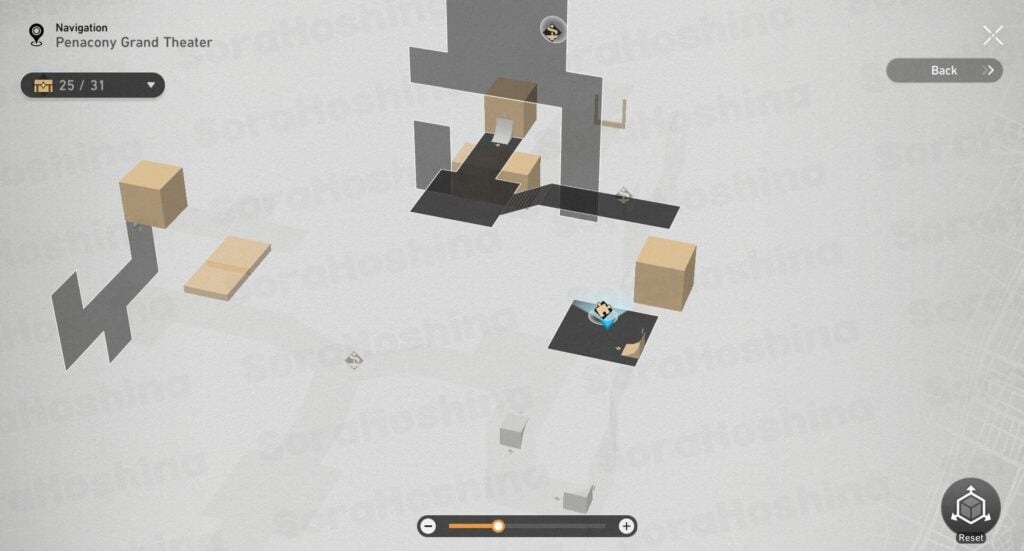
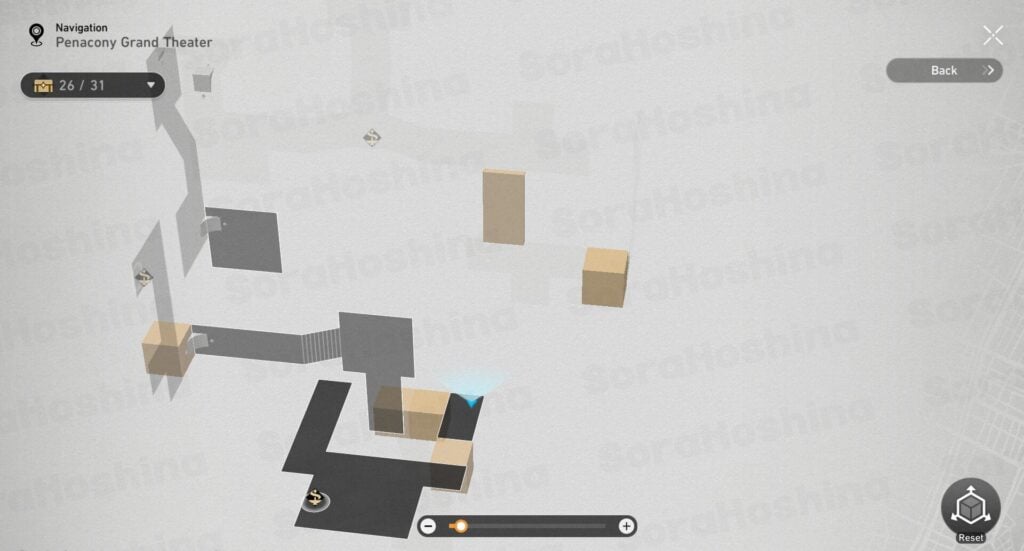
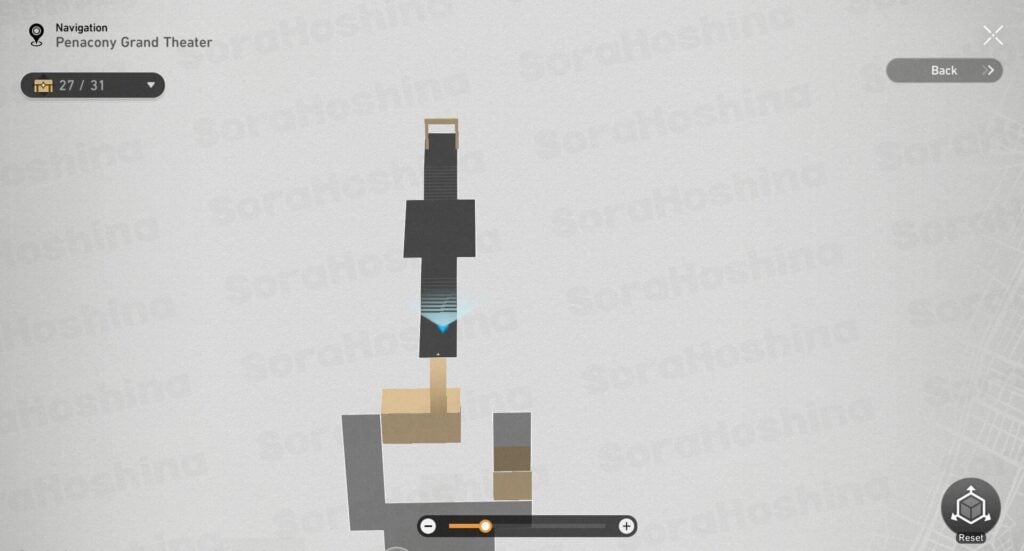
In the same room, go to the top of the room for a Dreamticker puzzle. Here's how to solve the puzzles (adjust the blocks and mirror to follow the image below):

TREASURE CHEST #6
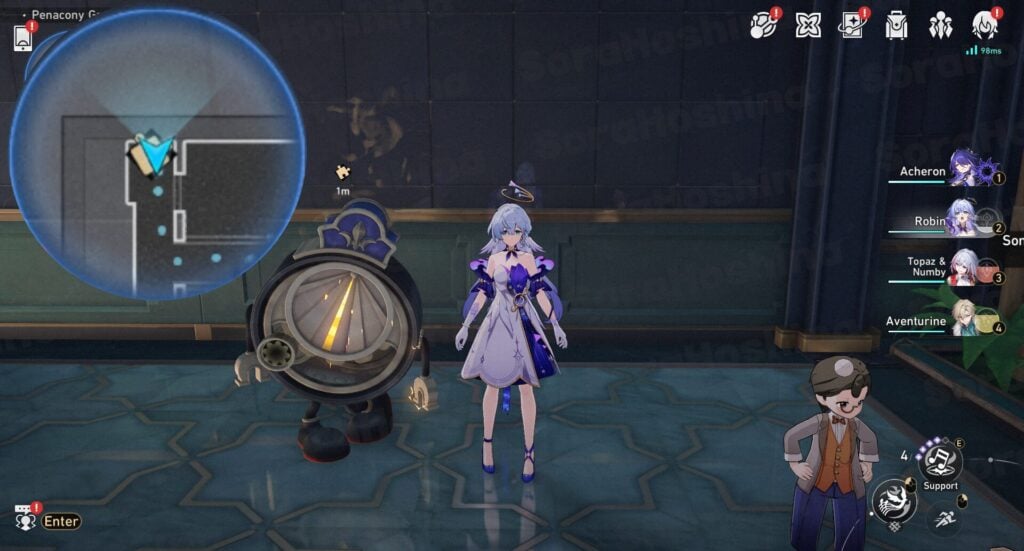
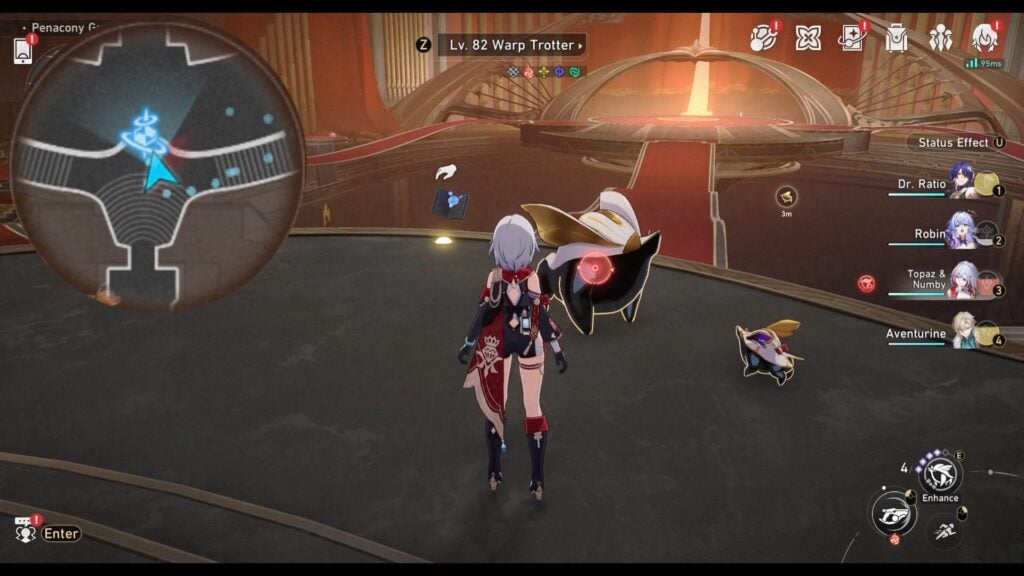
Keep walking straight and you will find a Warp Trotter gazing at the main theater.
TREASURE CHEST #7
Go down the stage and walk to the left platform.
TREASURE CHEST #8
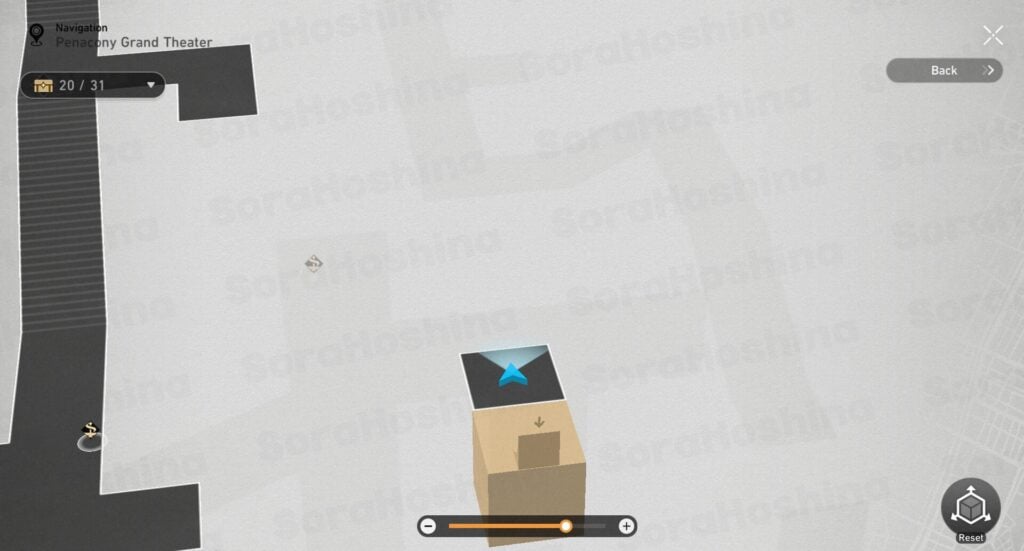
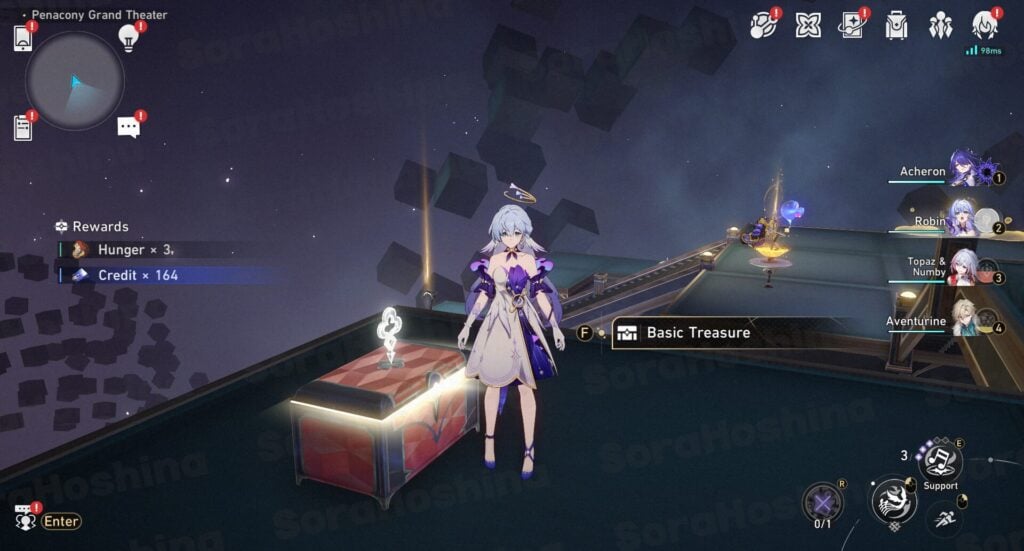
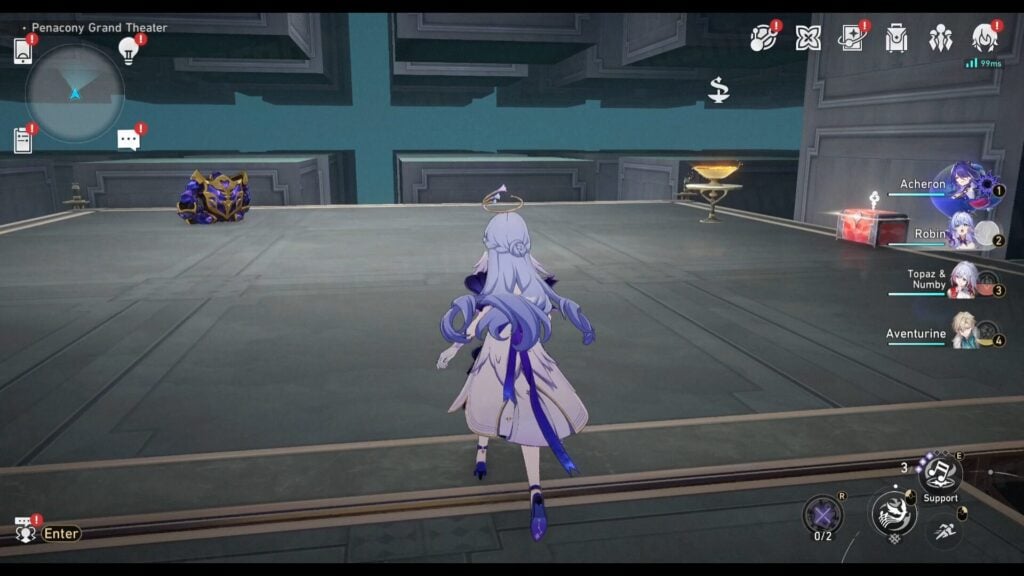
Enter the path that leads to the southwest corner and you can find Formidable Foe.
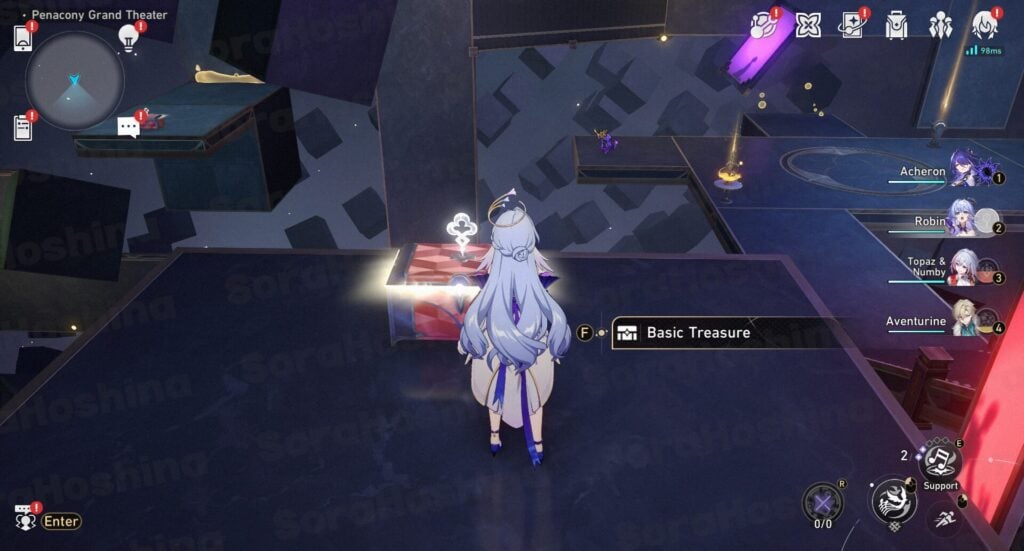
TREASURE CHEST #9
Keep walking up the stairs and look to your left. There's a chest behind the Origami Bird gathering.
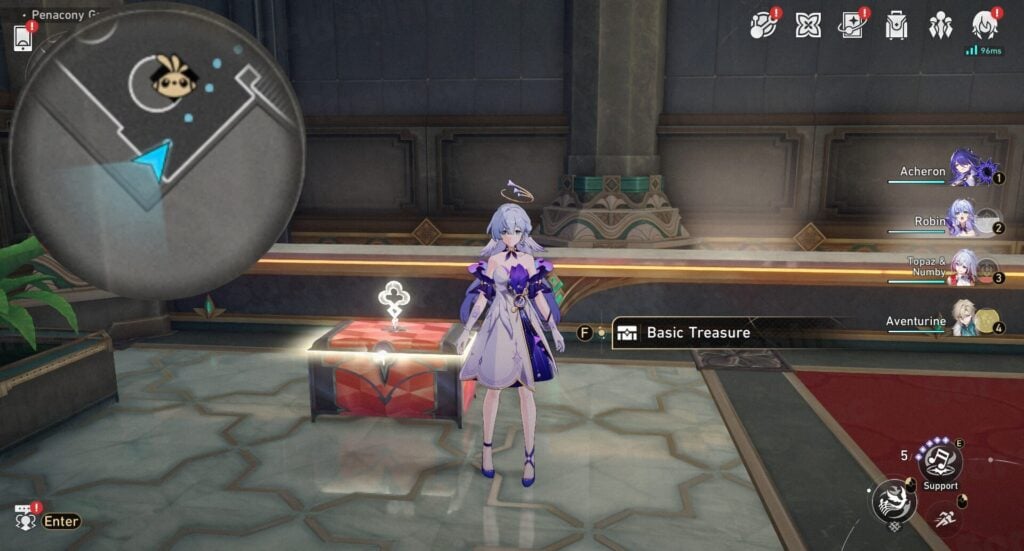
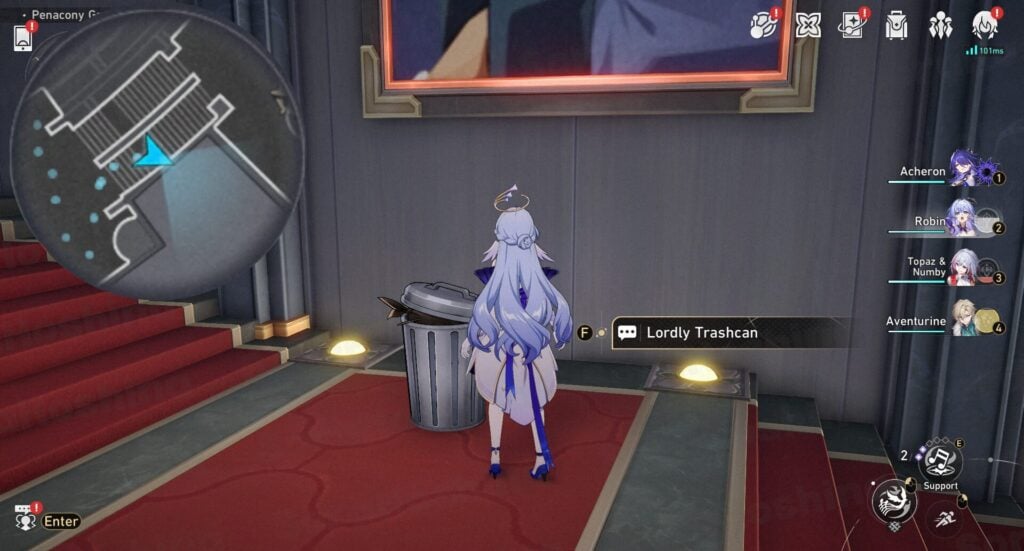
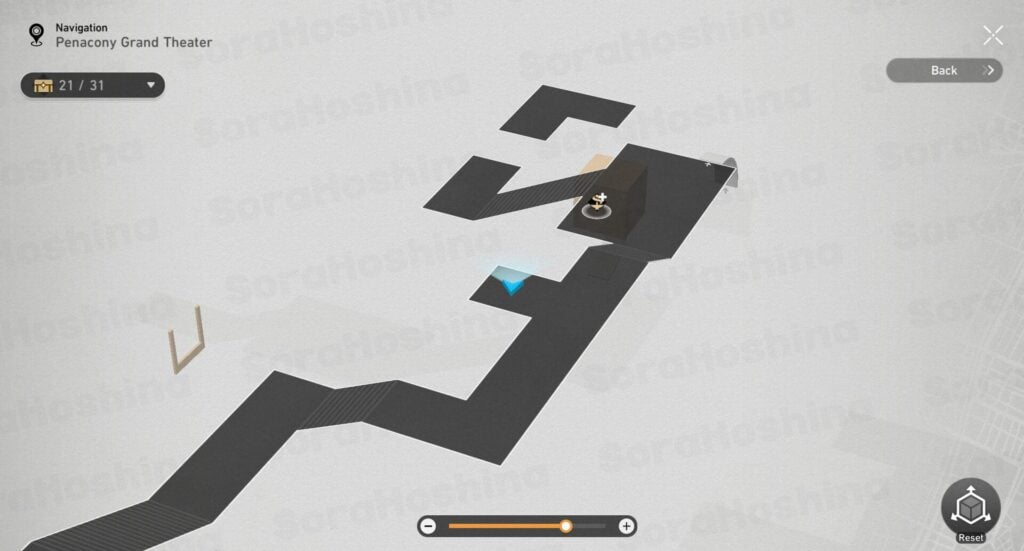
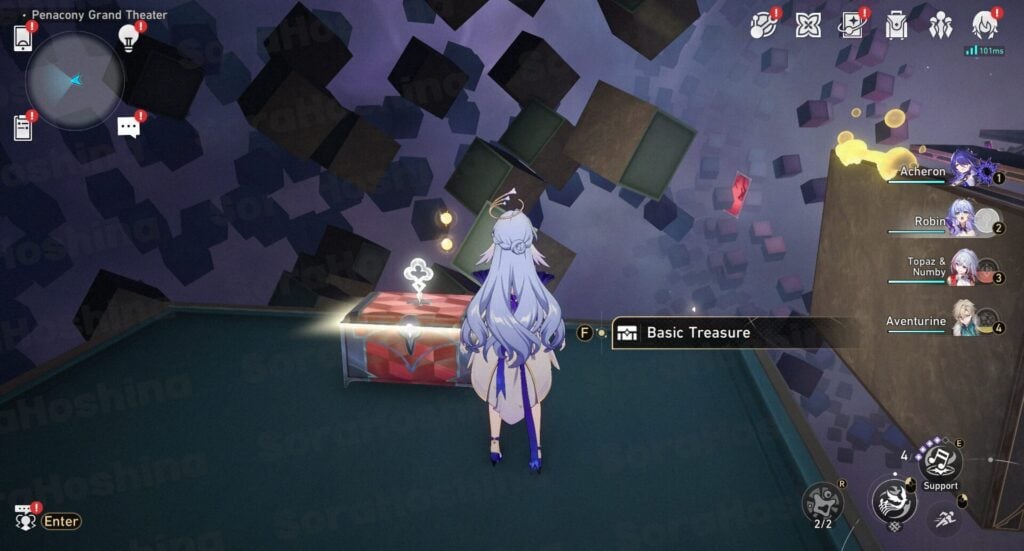
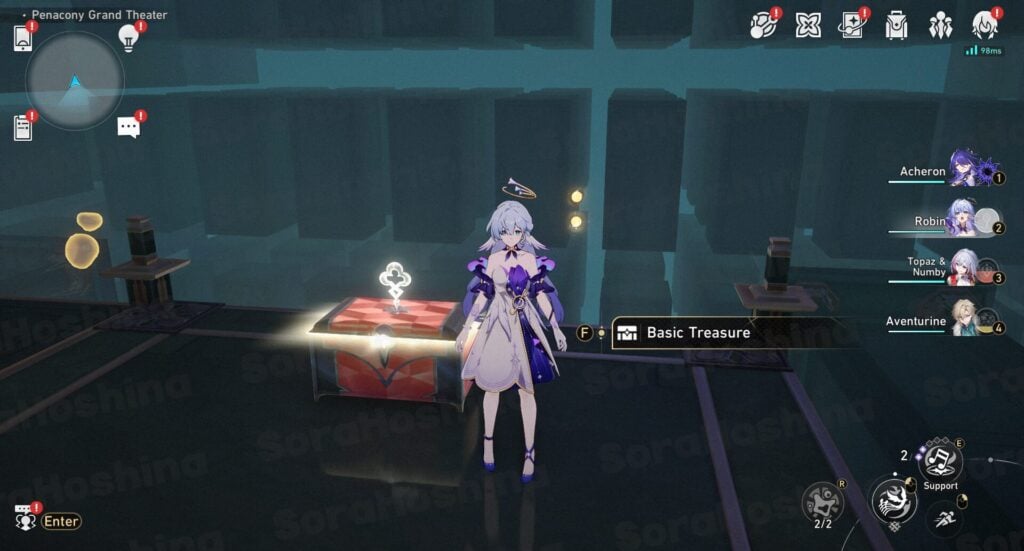
TREASURE CHEST #10 (LORDLY TRASHCAN)
On top of the counter near the previous treasure chest. The correct options for the Lordly Trashcan is (Option 4 > Option 4).
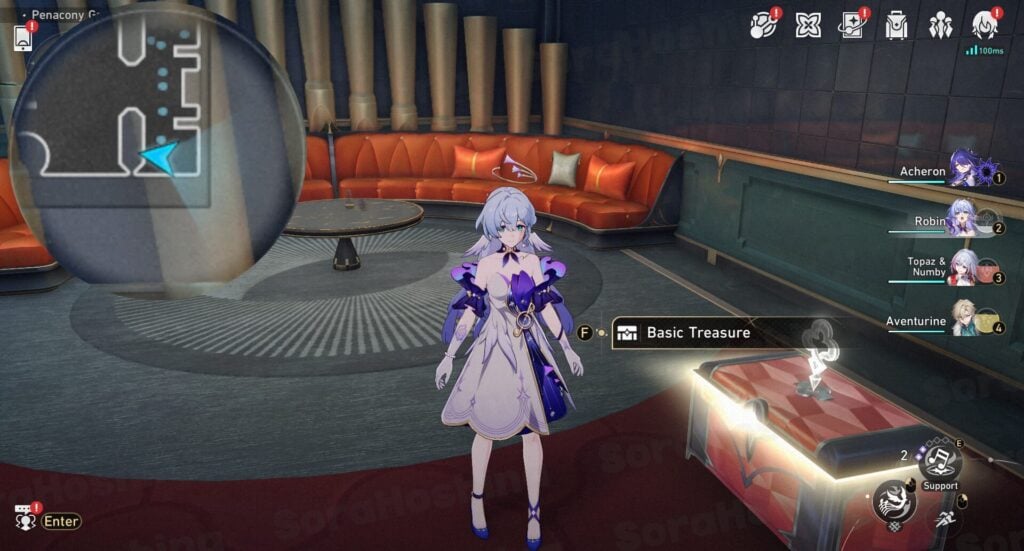
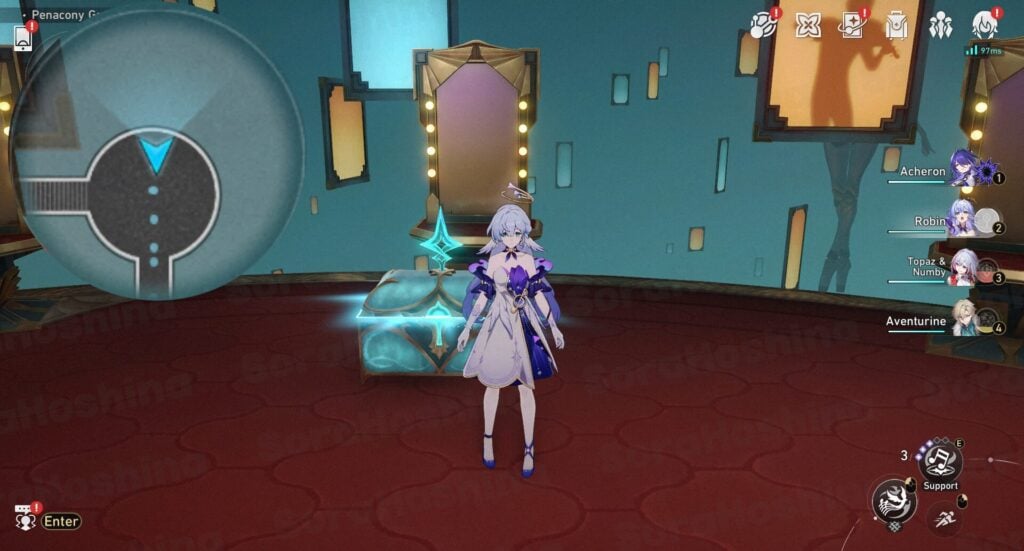
TREASURE CHEST #11
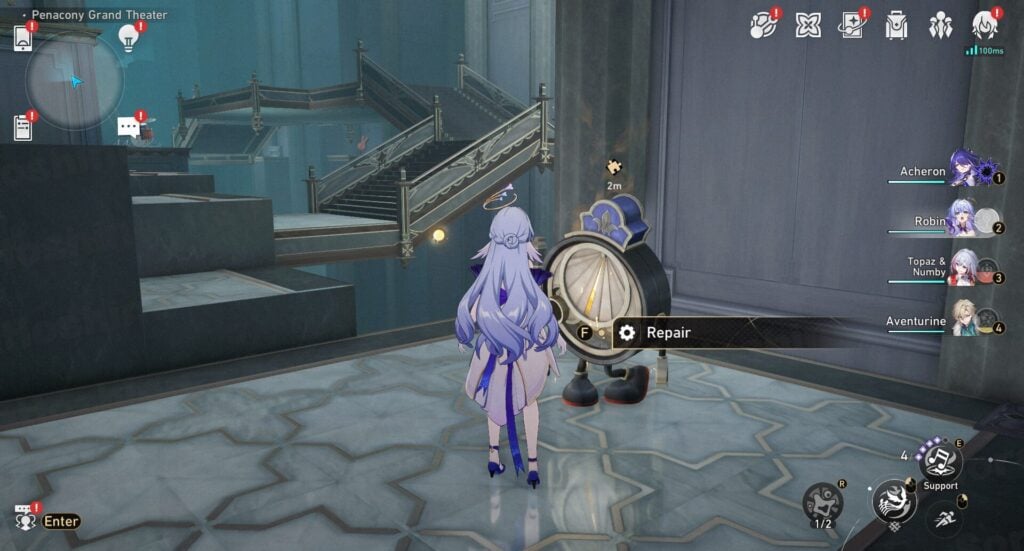
Enter the small VIP room in the middle. There's an entrance to a 3D room but I will cover it in the next header.
TREASURE CHEST #12
Get out of that room and walk northwest towards the end of this path.
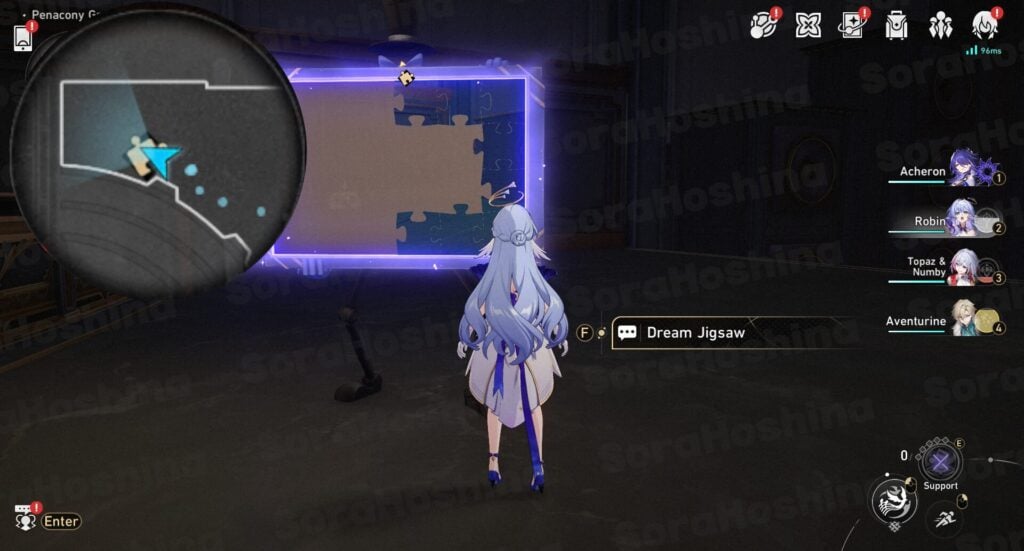
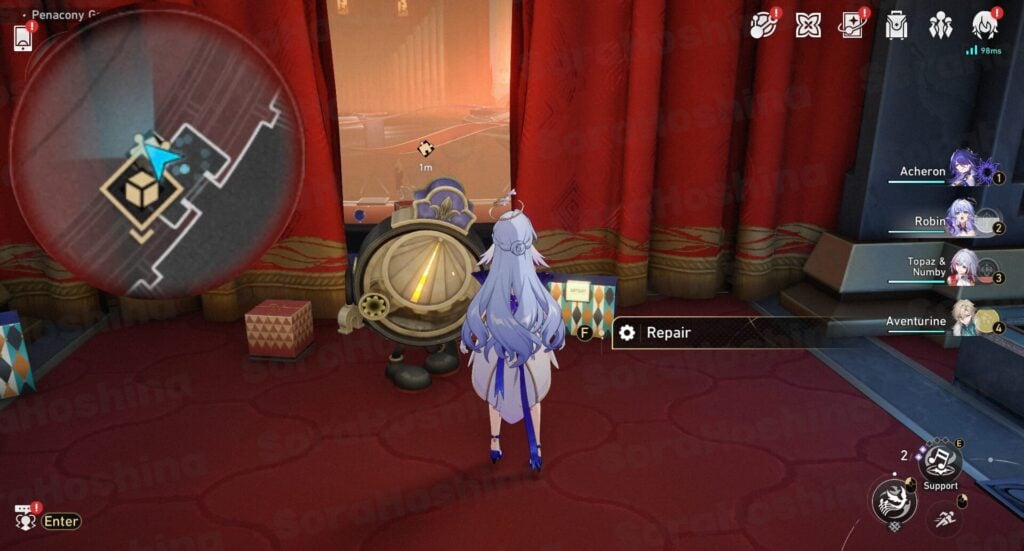
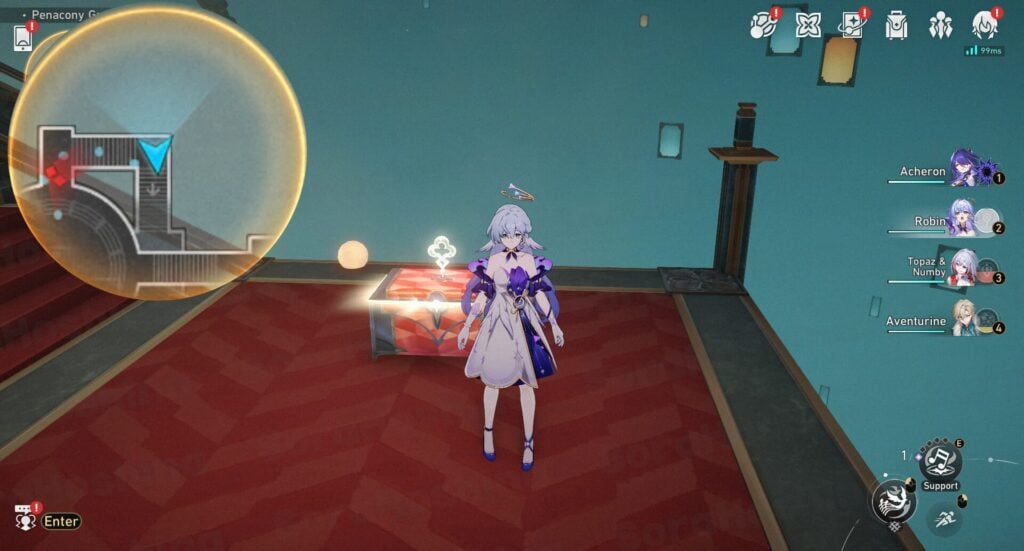
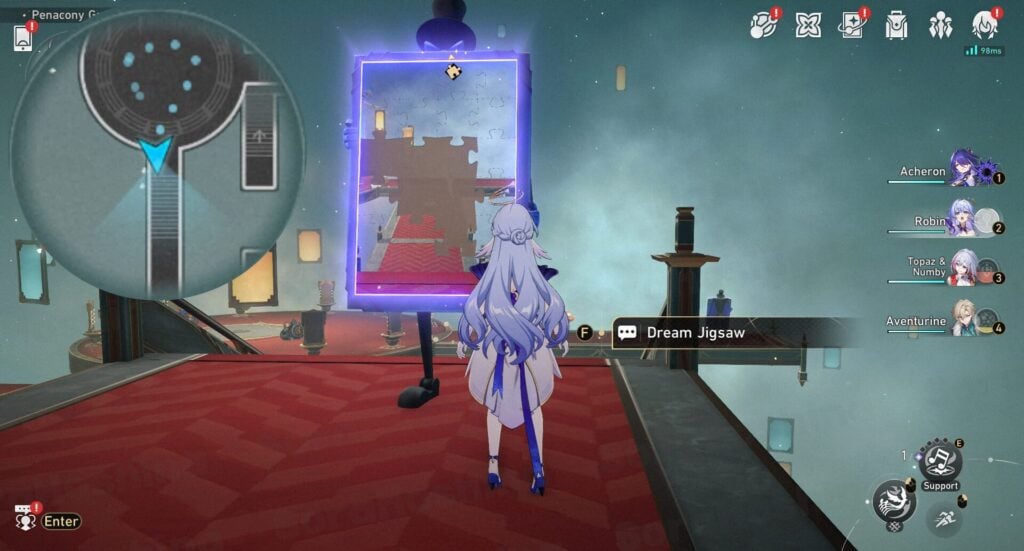
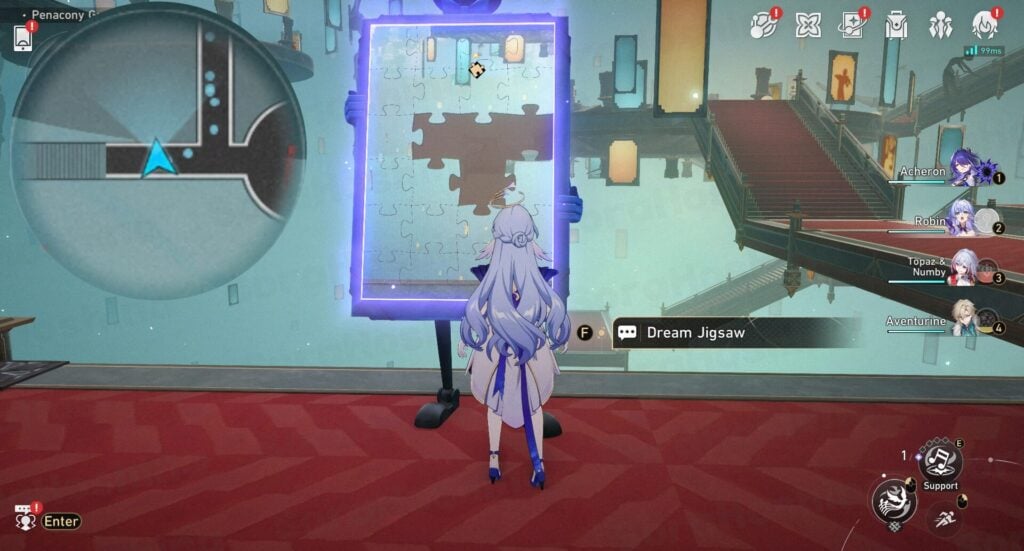
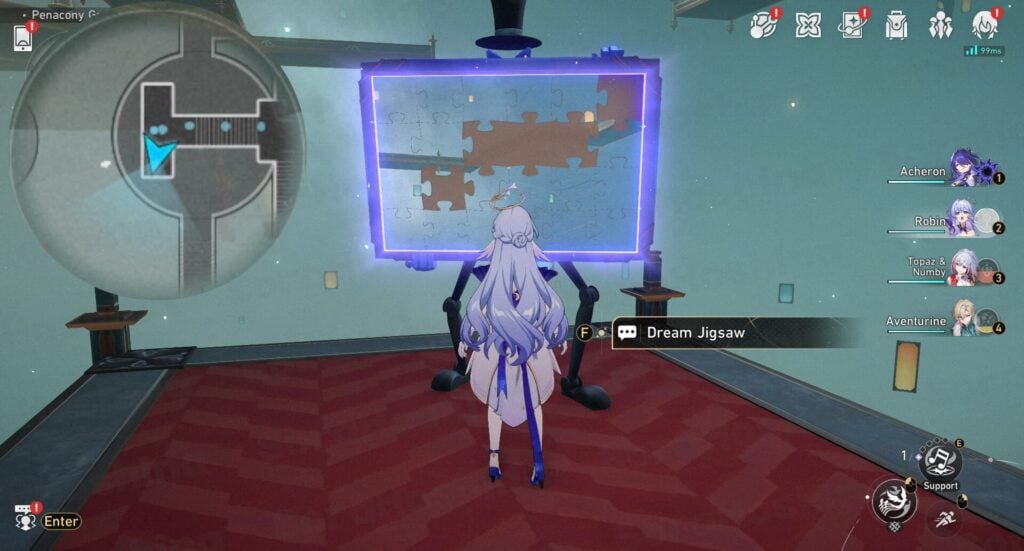
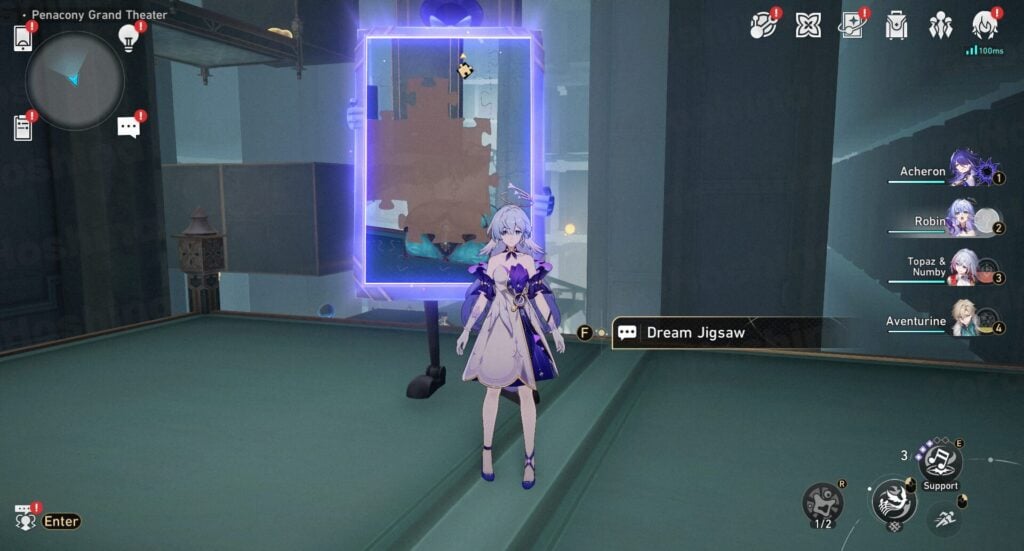
TREASURE CHEST #13 (DREAM JIGSAW)
Go to the top left corner of the map and complete the Dream Jigsaw puzzle.
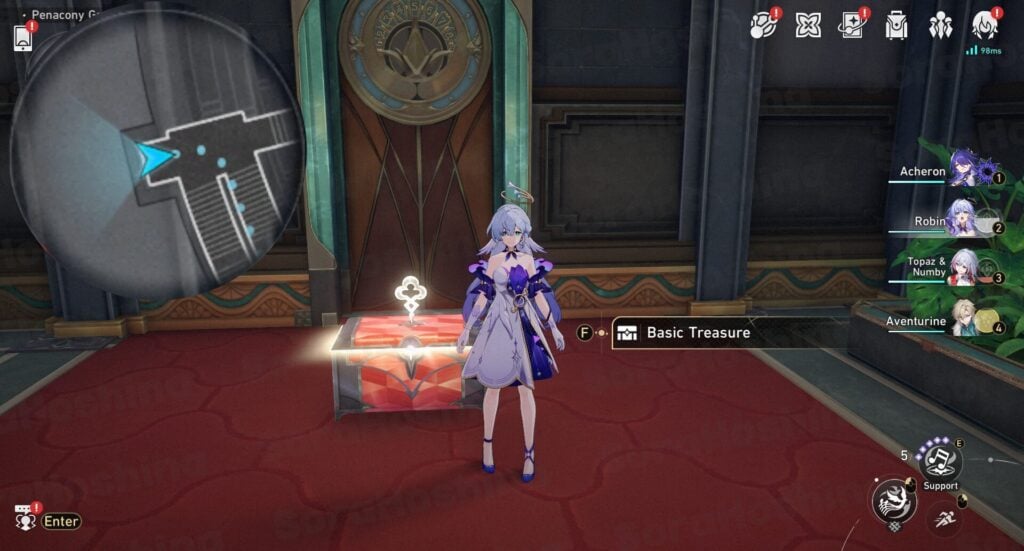
TREASURE CHEST #14
Turn around and walk towards the edge of the platform.
TREASURE CHEST #15
Teleport to space anchor #2 and go inside the pathway that leads to the southeast area.
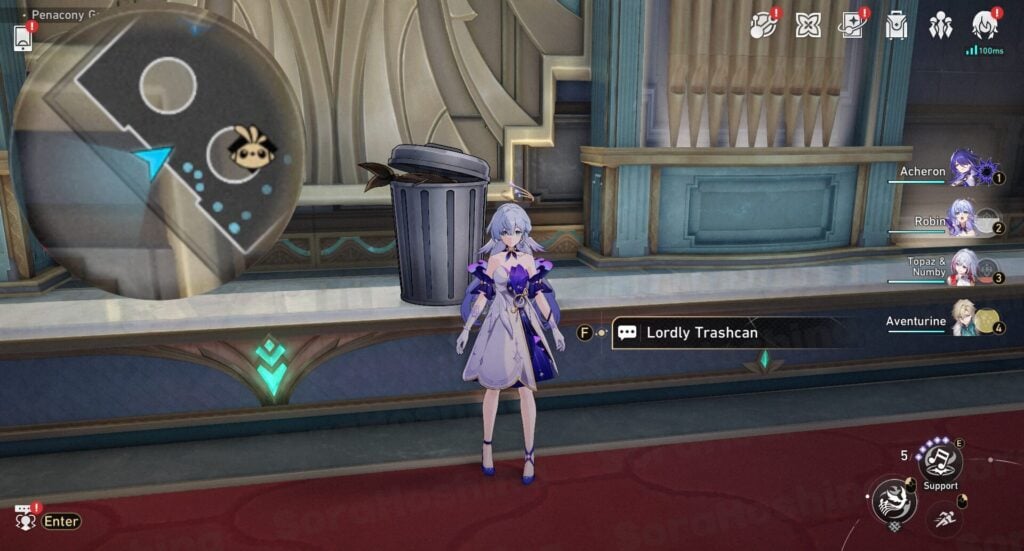
TREASURE CHEST #16 (LORDLY TRASHCAN)
Go up the stairs and you can find another Lordly Trashcan. The correct options for the Lordly Trashcan is (Option 4 > Option 4).
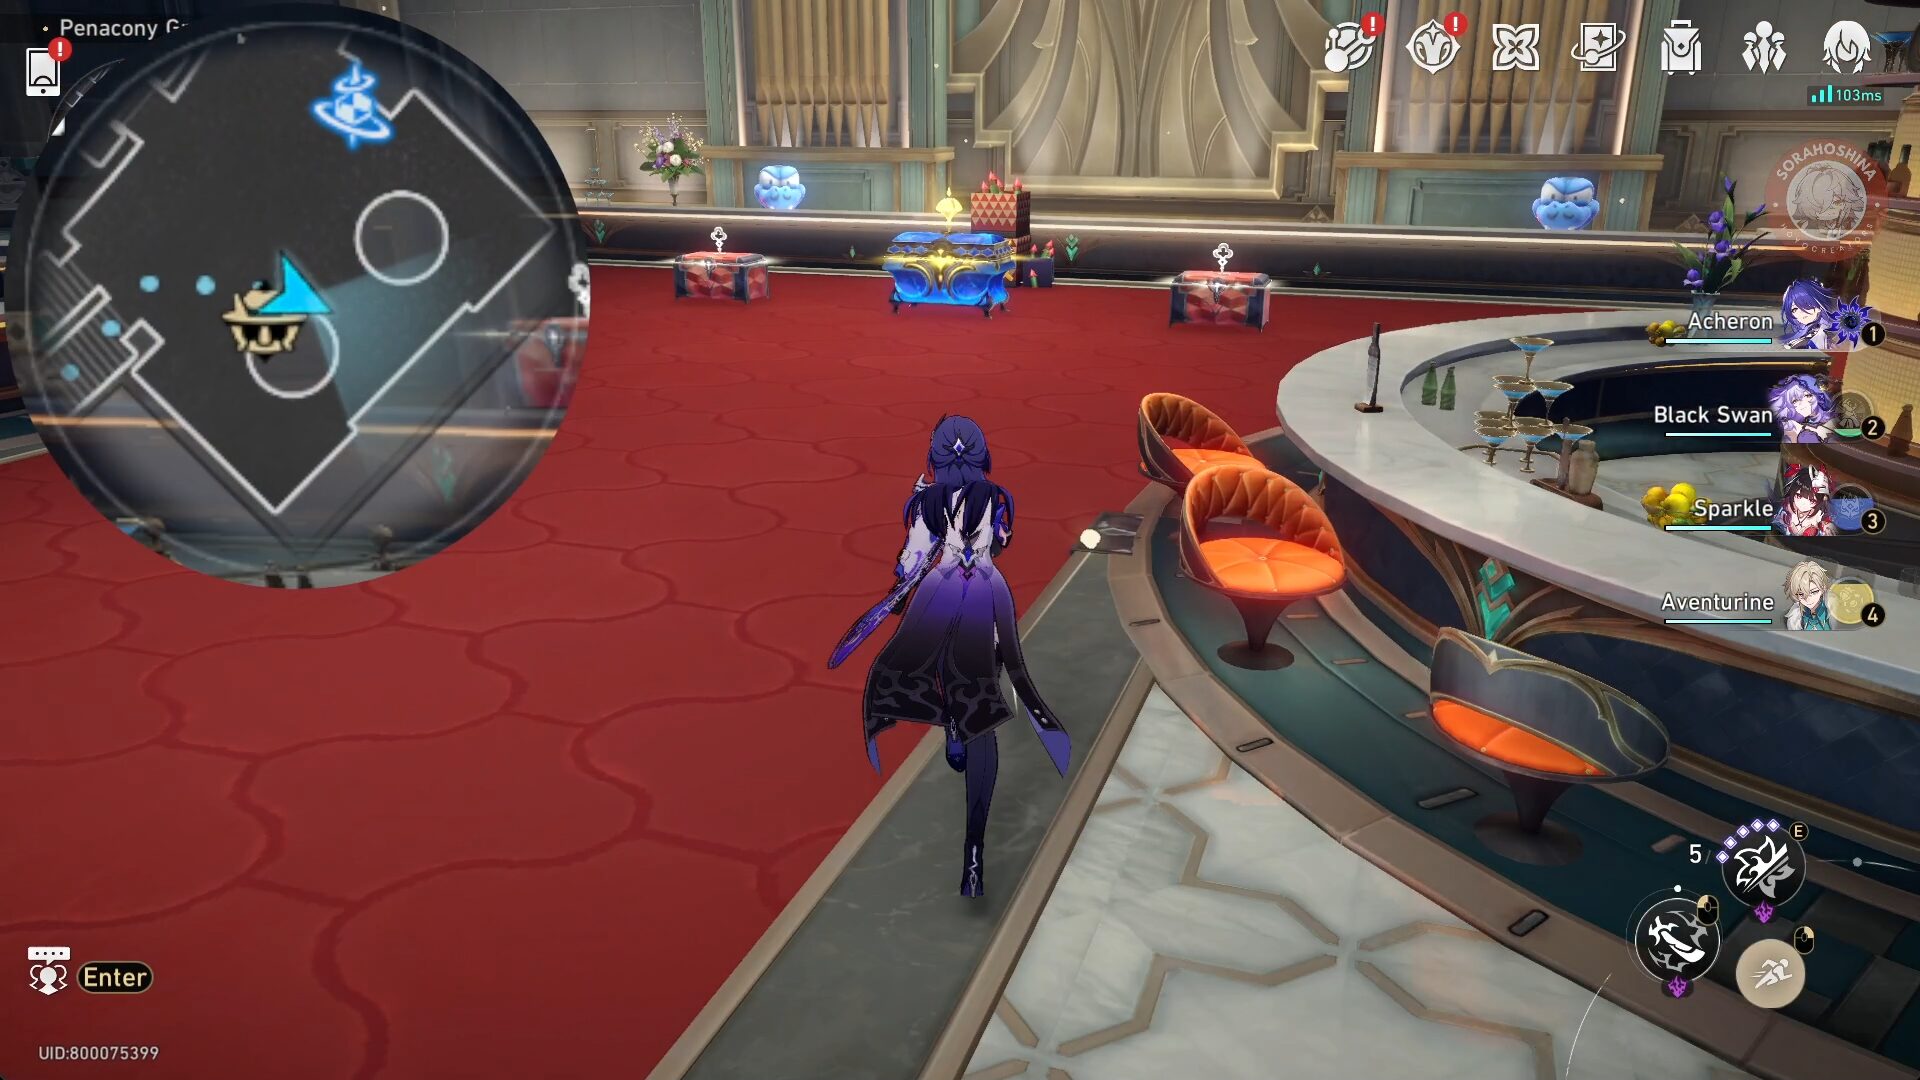
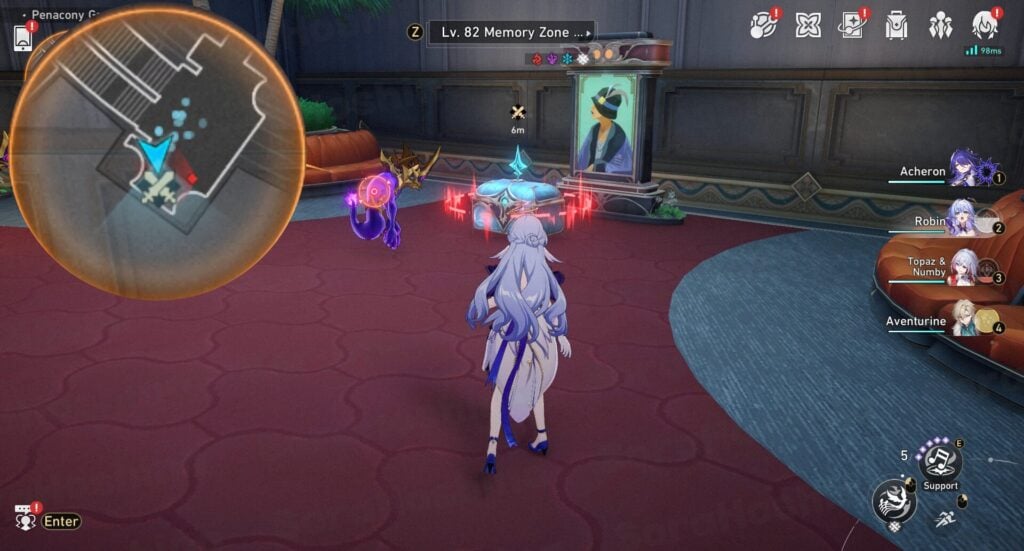
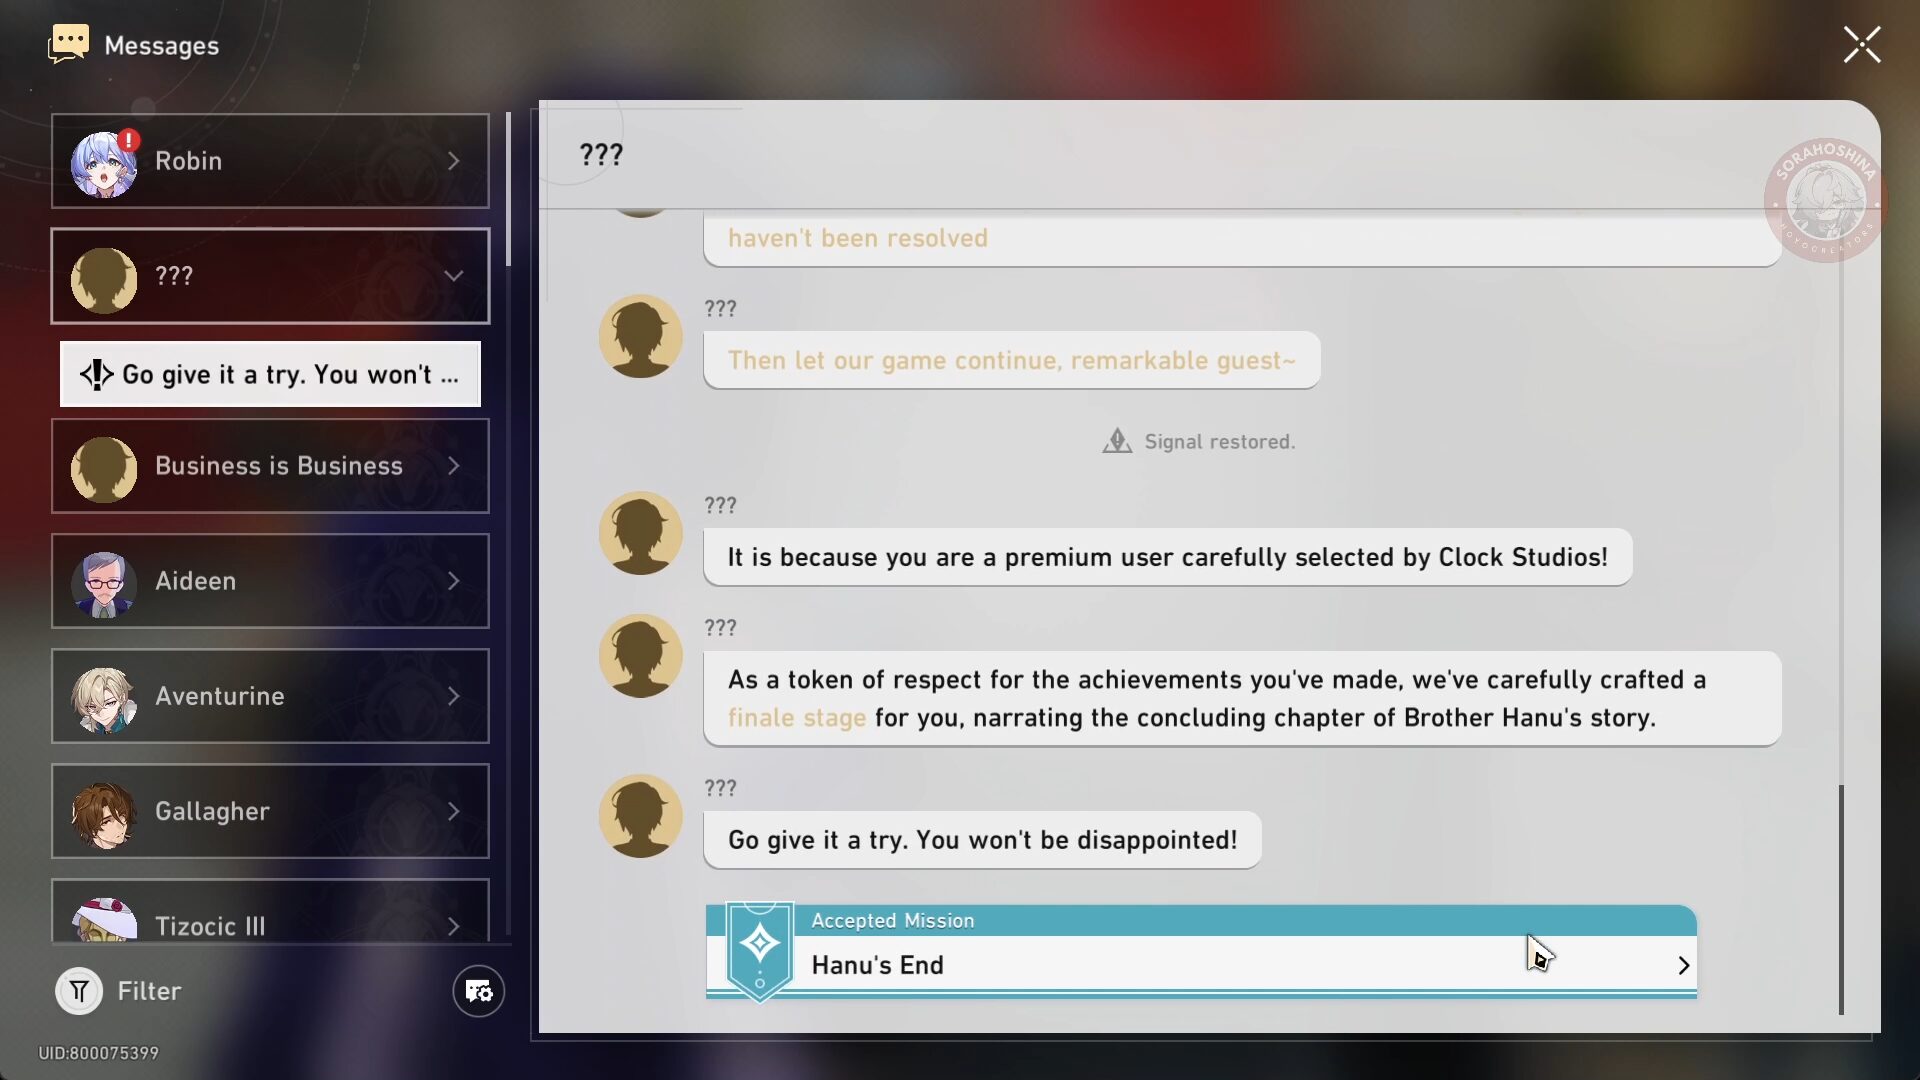
TREASURE CHESTS #17 - #19
Complete the Hanu's End Adventure Mission to obtain these 3 chests. You can start this mission by getting a message from ???. This message will be available only after you collect all the Hanu's Adventure readable materials. These books can be found in treasure chests so just make sure you collected all treasure chests in previous locations and you're sure to get this message.
Inside this mission, you need to defeat the T-Rex enemy to get the Origami Bird and also the 3 treasure chests.
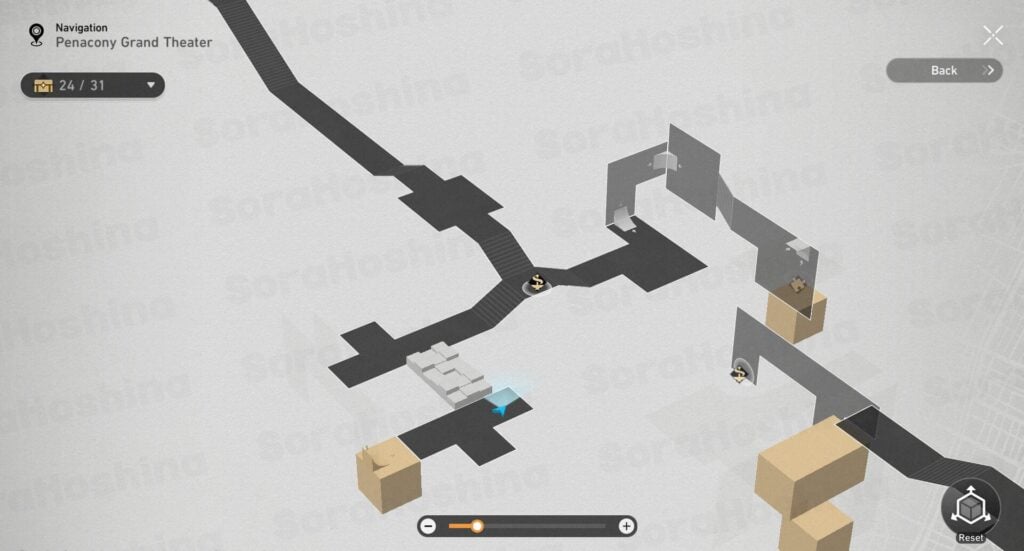
TREASURE CHEST #20
Keep walking up (or use the space anchor #4) and go to the counter for another chest.
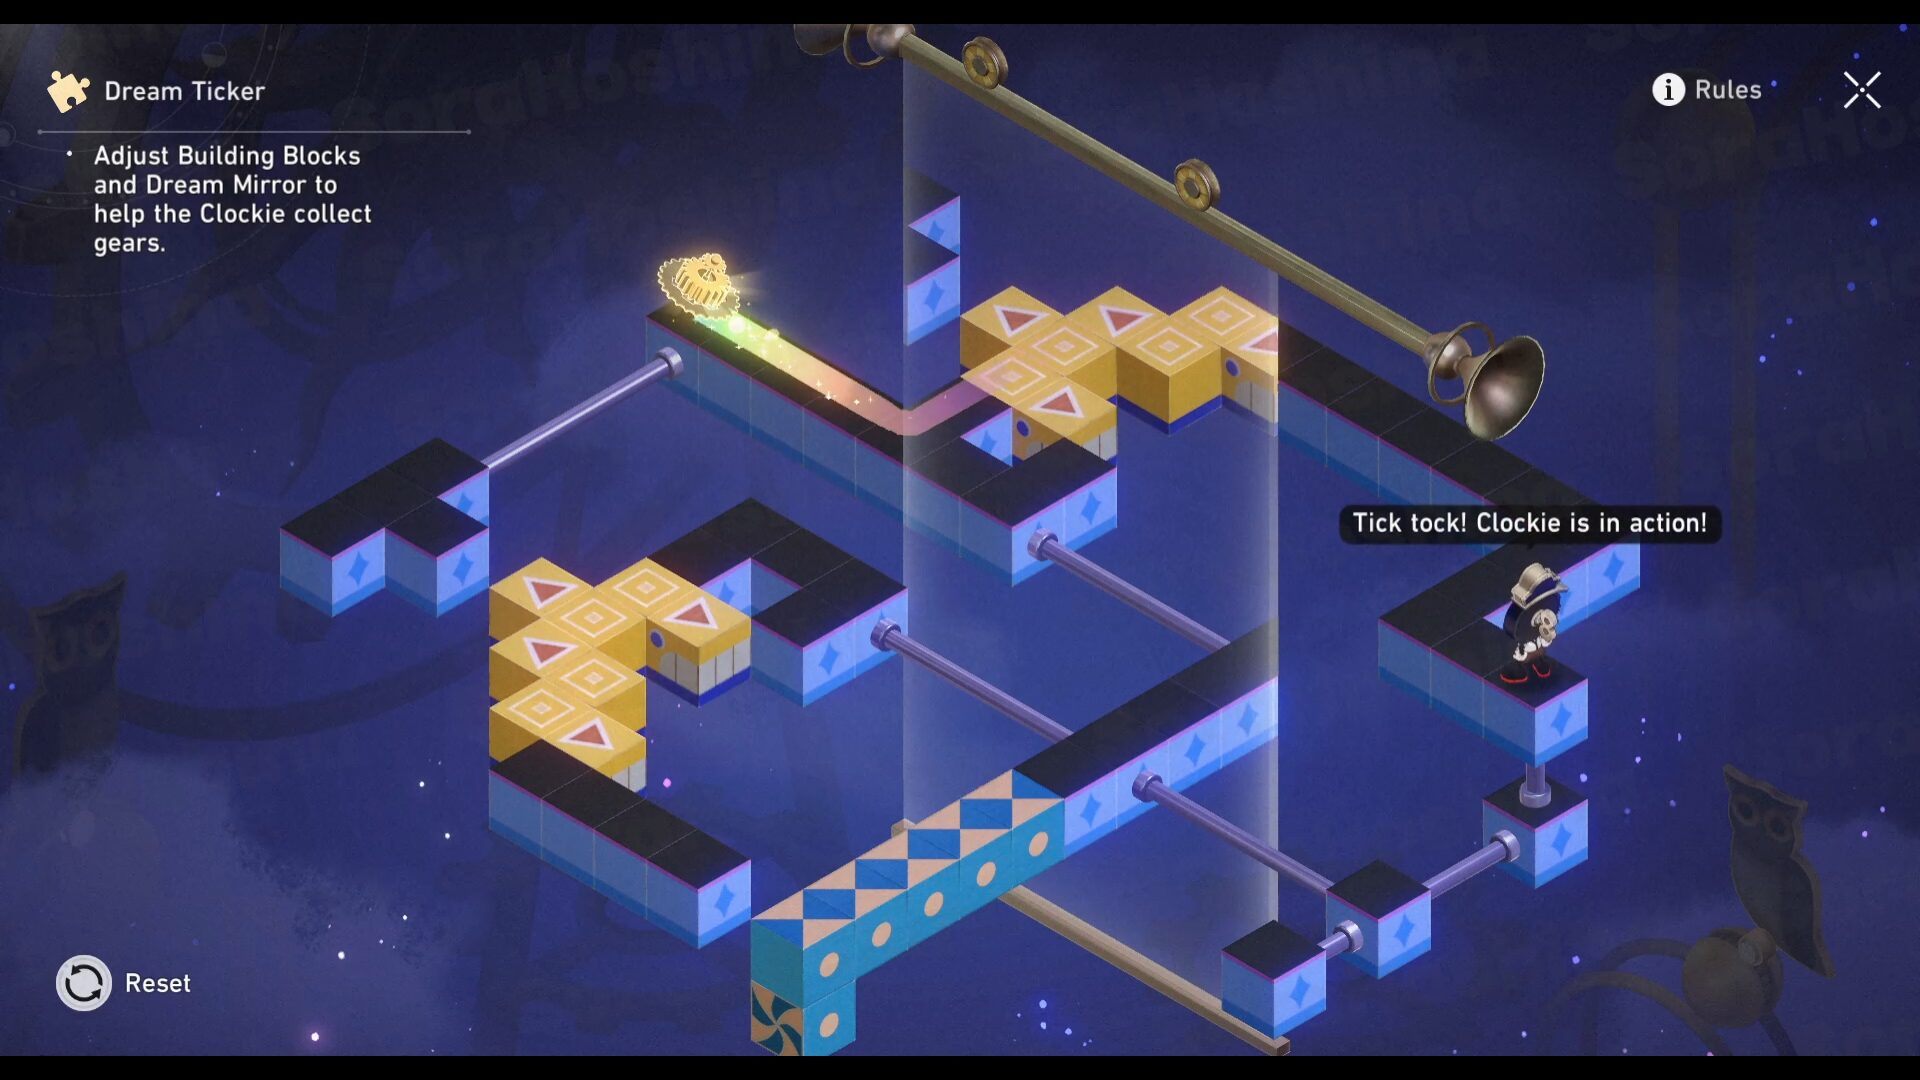
TREASURE CHEST #21
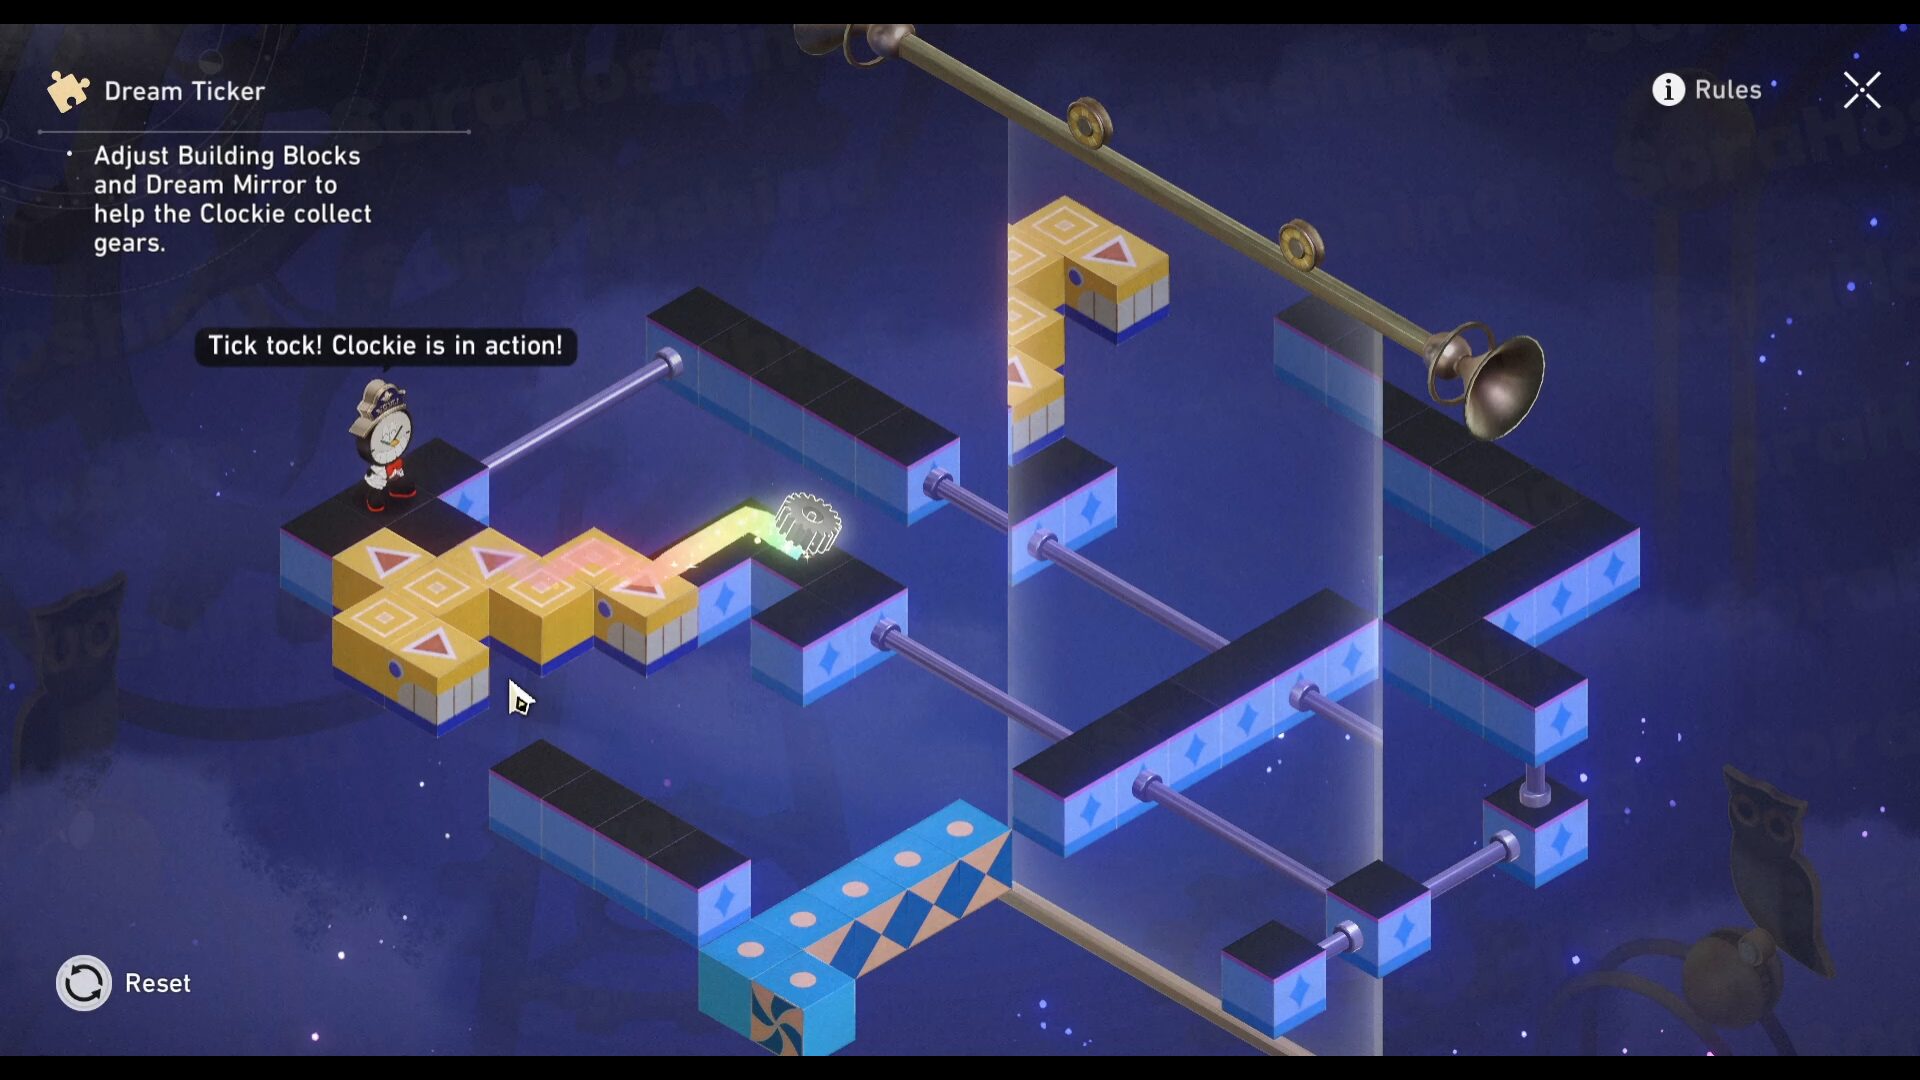
Enter the small VIP room and complete the puzzle. Here's how to solve the puzzles (adjust the blocks and mirror to follow the image below):
TREASURE CHEST #22
Get out of the VIP room and walk up the stairs towards the Formidable Foe up northeast.
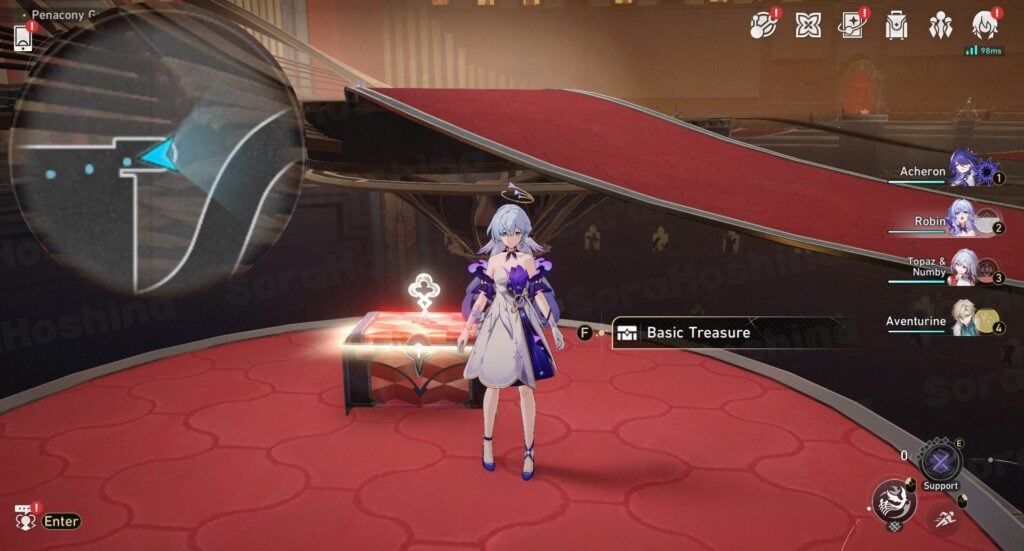
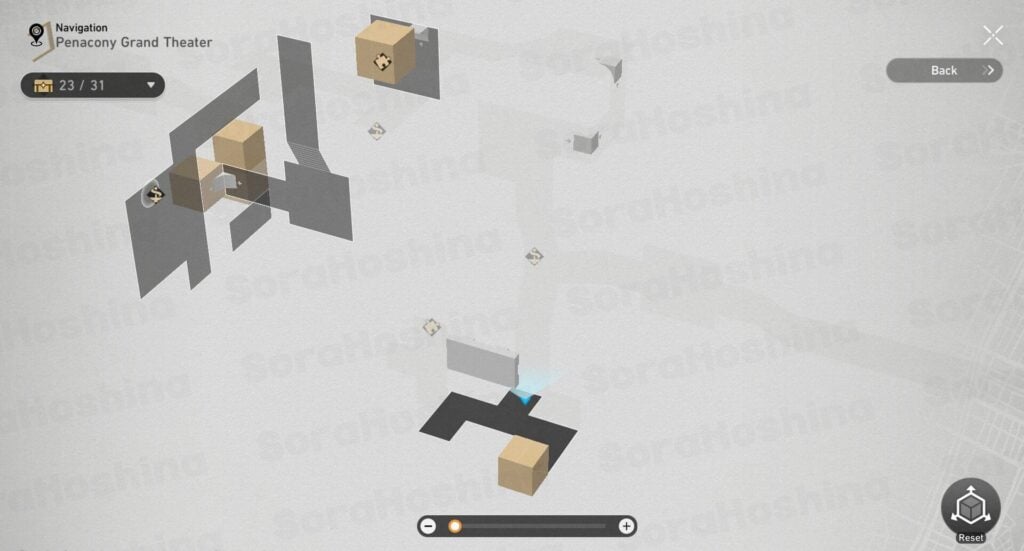
TREASURE CHEST #23
Turn around and walk until the end, out of the northeast corner until you reach the platform.
TREASURE CHEST #24
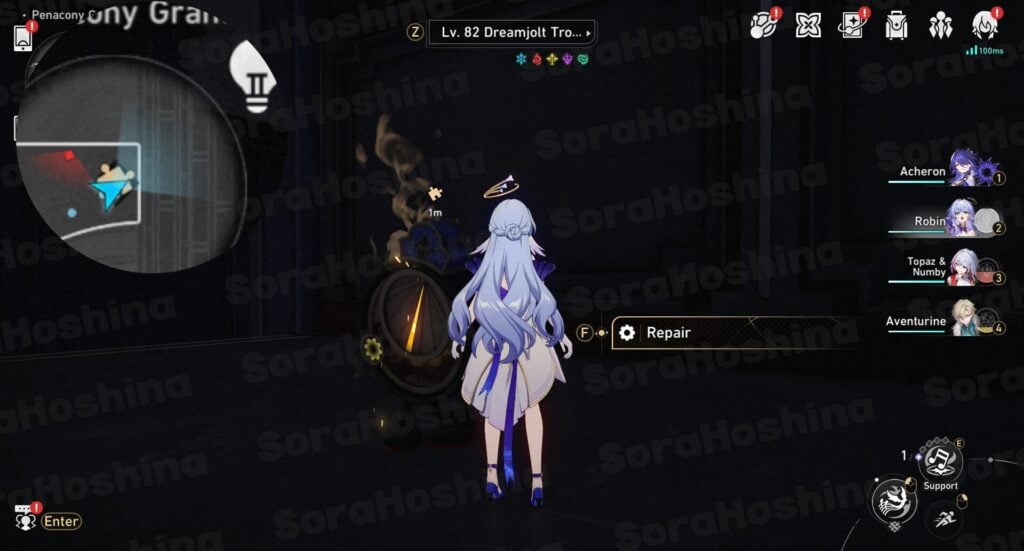
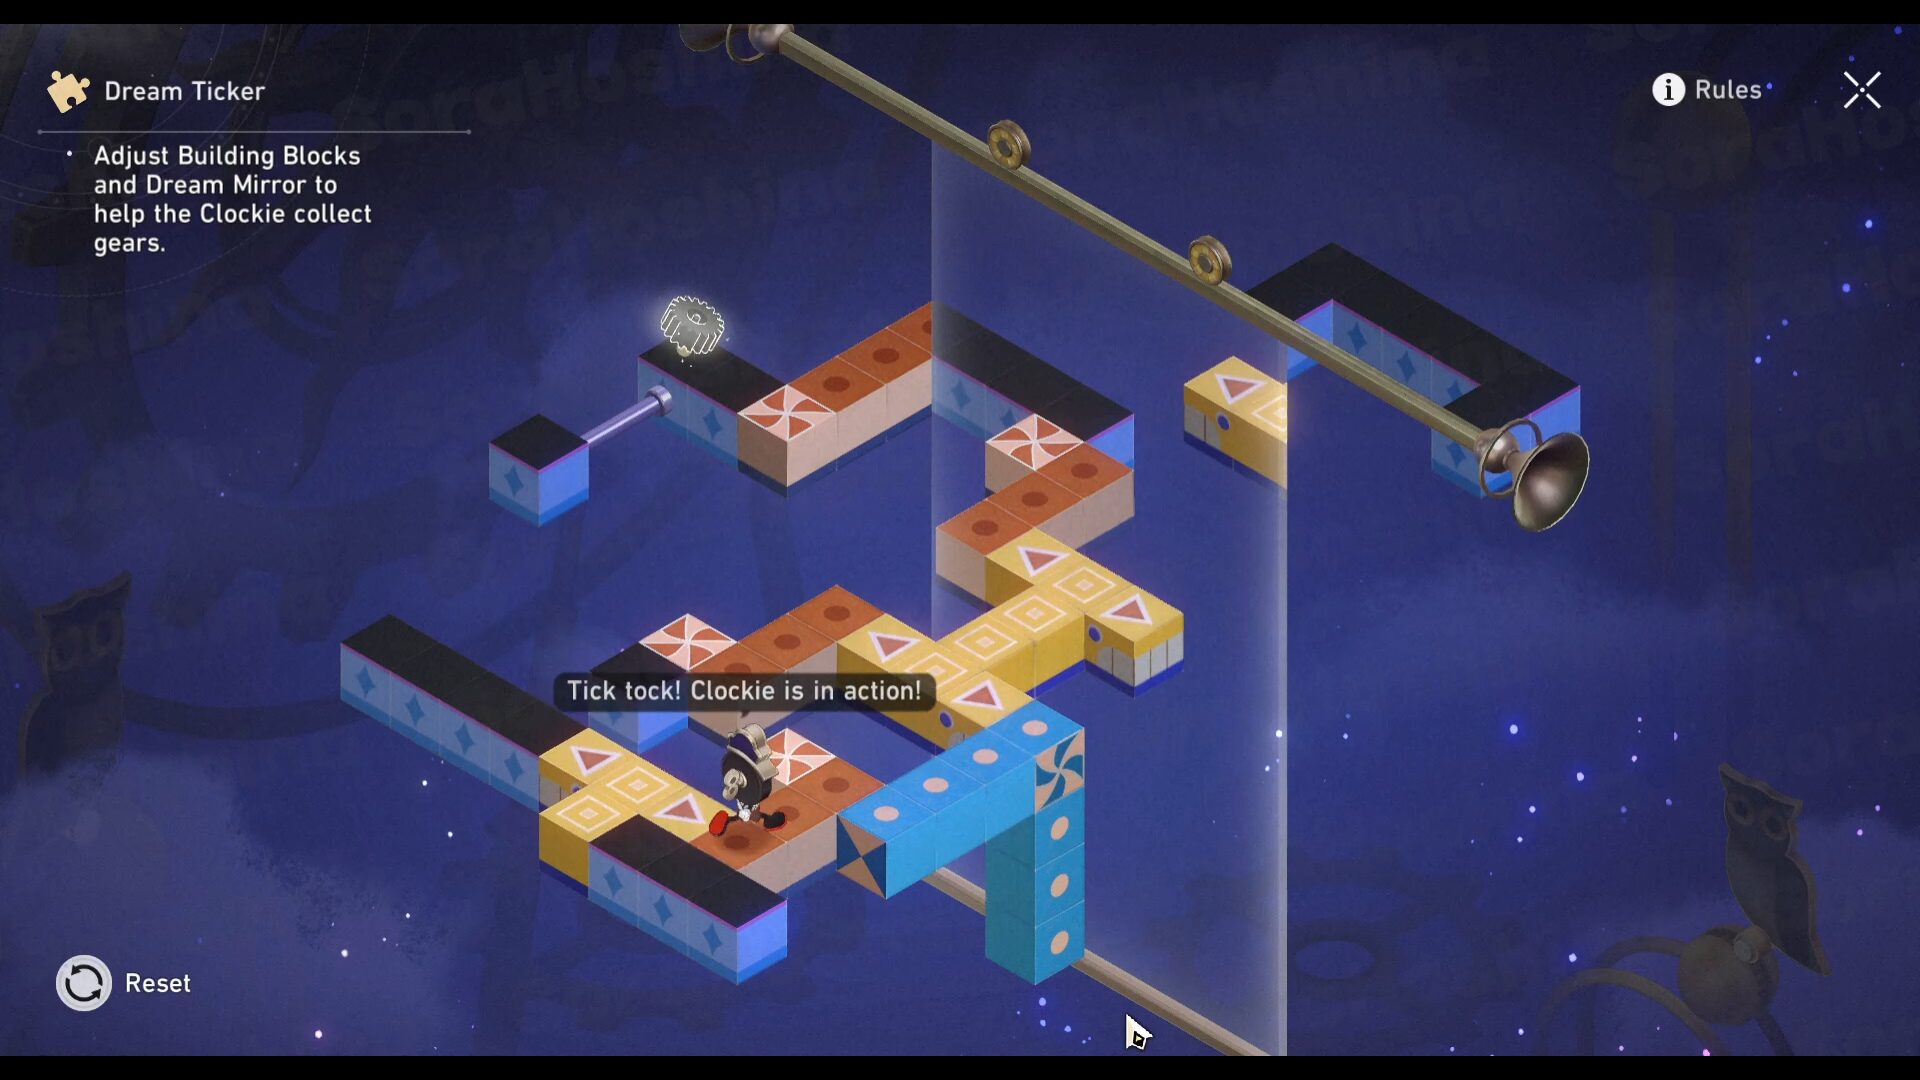
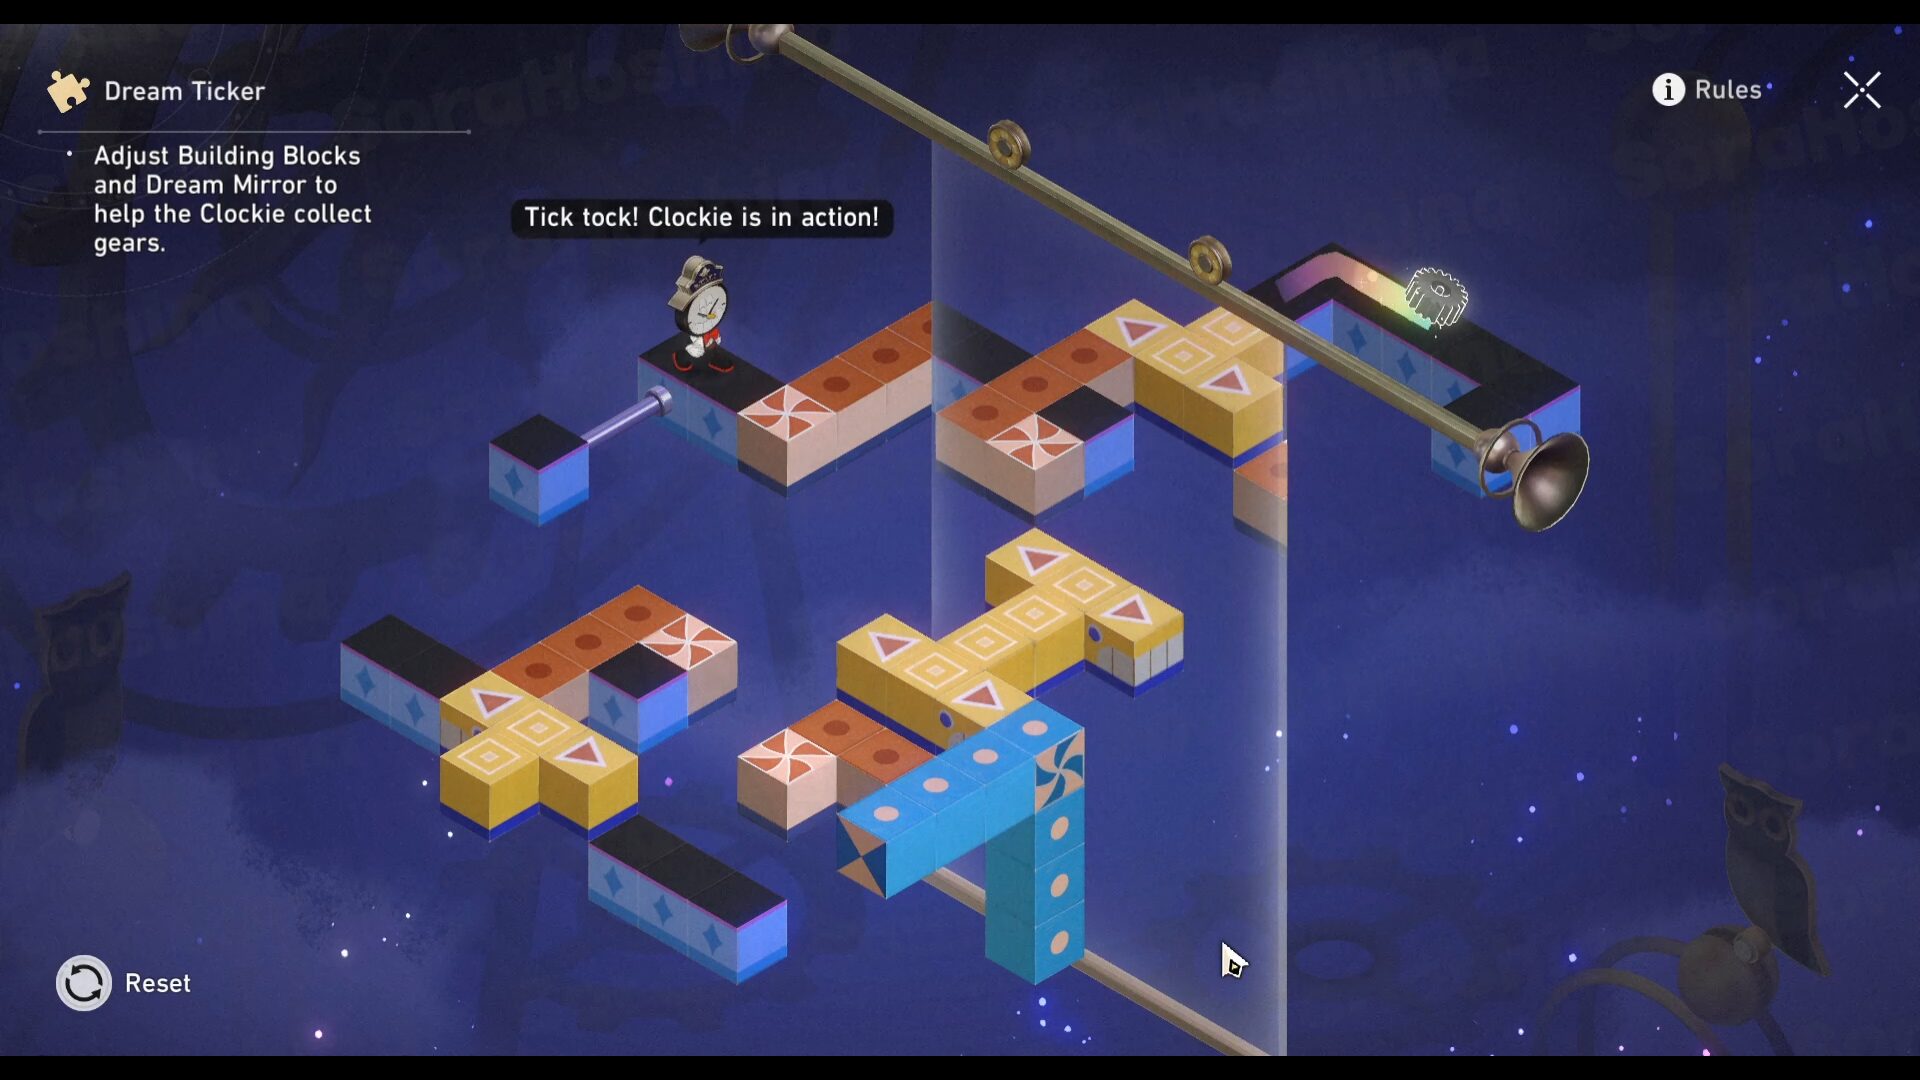
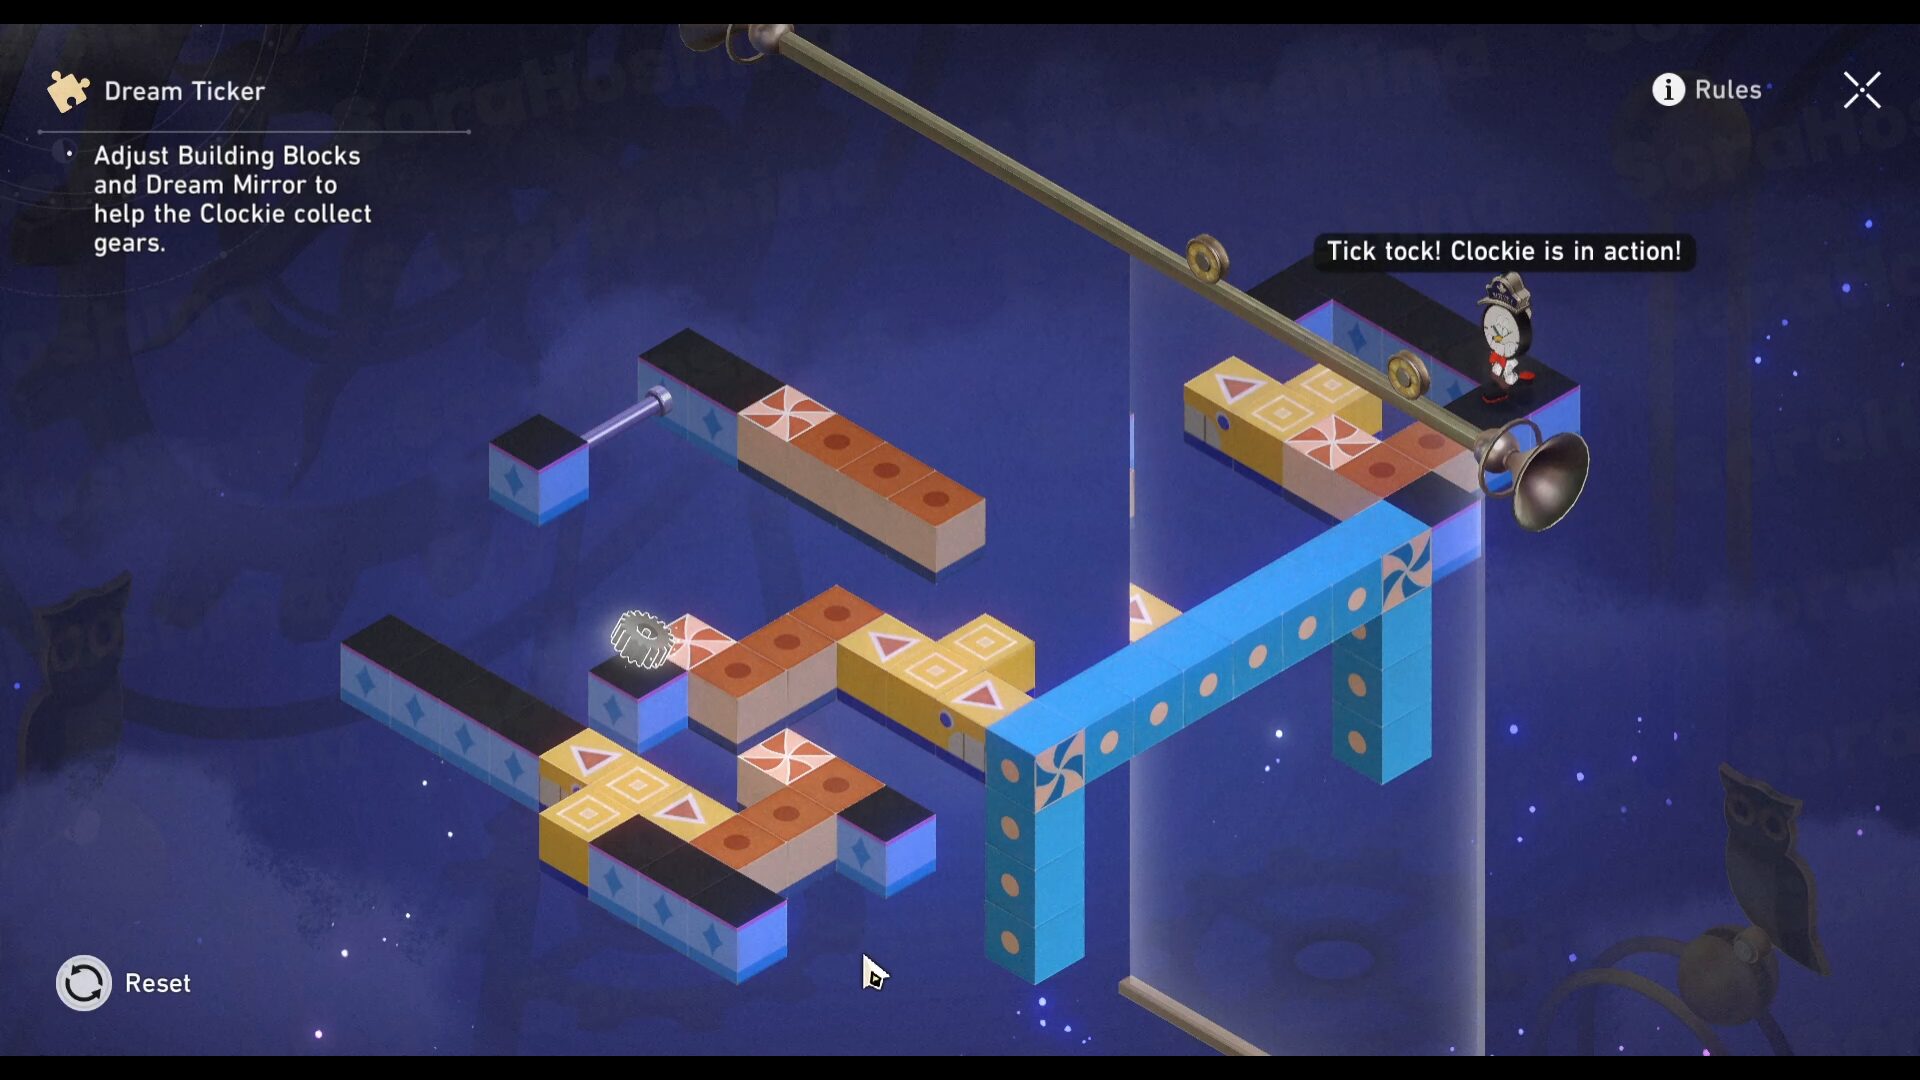
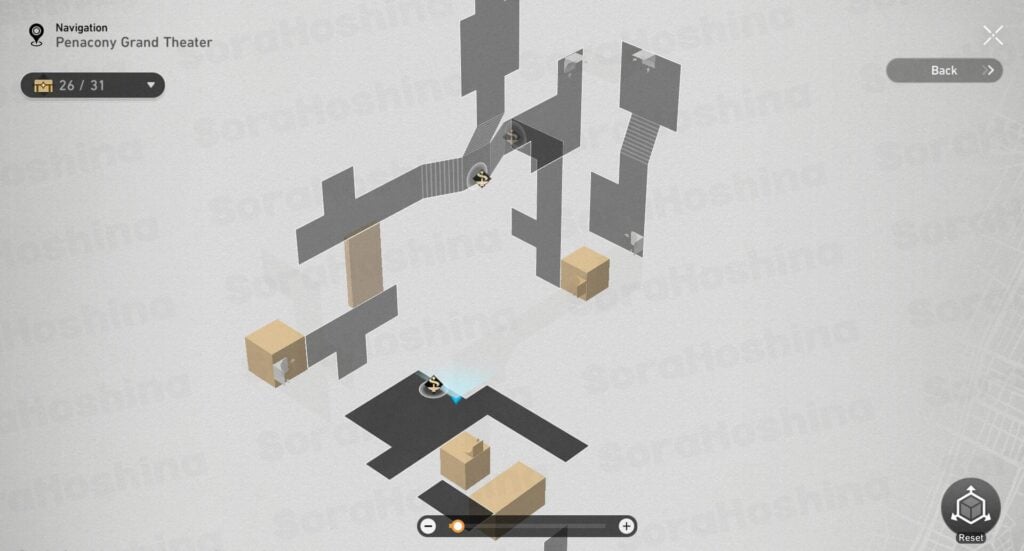
Go to the right corner of the map and complete the Dream Ticker puzzle. Here's how to solve the puzzles (adjust the blocks and mirror to follow the image below):
3D Room #1
You should have completed all the Dream Jigsaw puzzles in this room during the 2.2 Penacony Mission. So skip this one if you want.
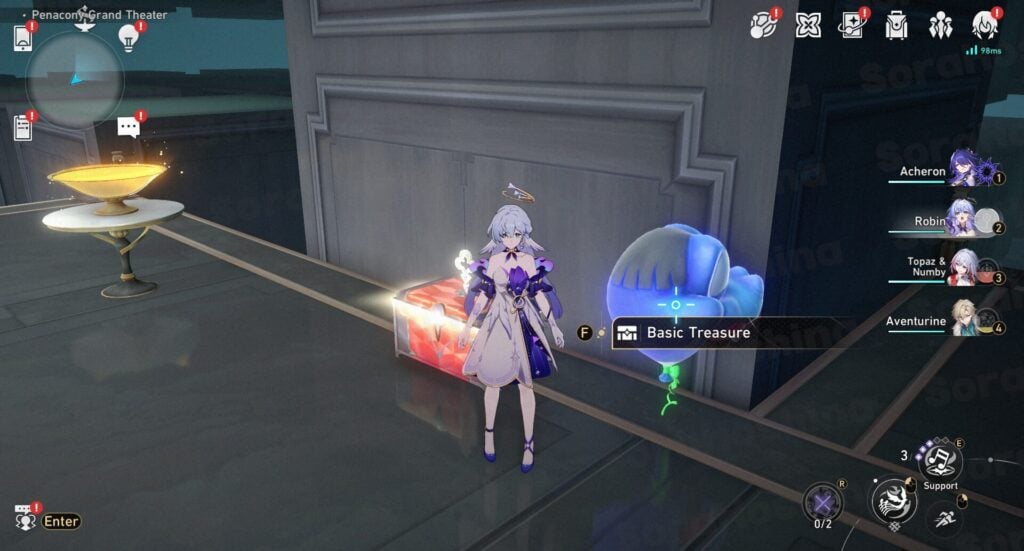
TREASURE CHEST #25
Once you enter the area, head to the right side (north) and get the chest on the stairs.
TREASURE CHEST #26 (DREAM JIGSAW)
Go up the stairs again and now go to the left side (south) for a puzzle.
TREASURE CHEST #27 (DREAM JIGSAW)
After completing the previous puzzle, complete another puzzle that just appeared.
TREASURE CHEST #28 (DREAM JIGSAW)
Go back to the north side and go down to the lowest platform for the last puzzle.
TREASURE CHEST #29
Head to the top using the stairs and get the last chest.
3D Room #2
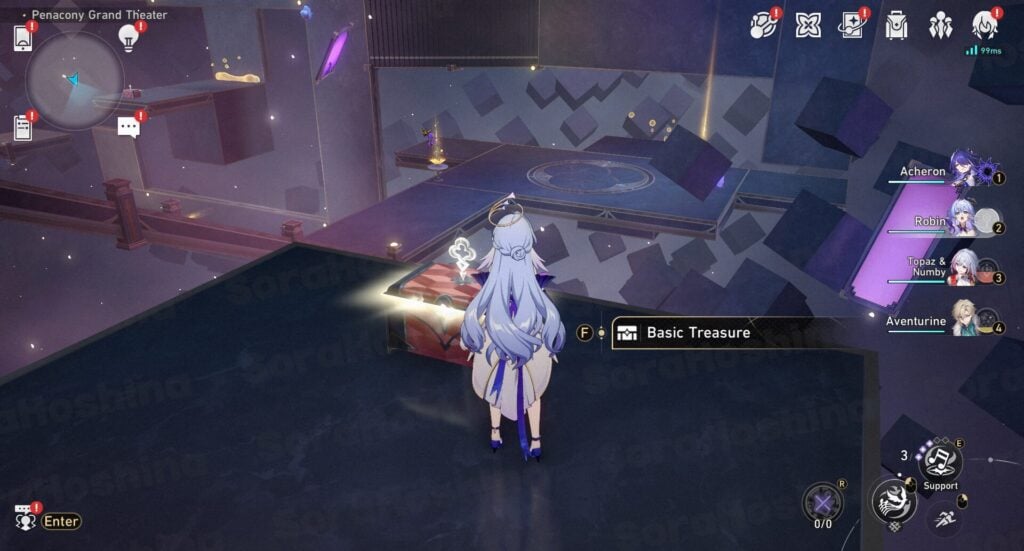
TREASURE CHEST #30
Once you enter the place, go to the first right.
TREASURE CHEST #31
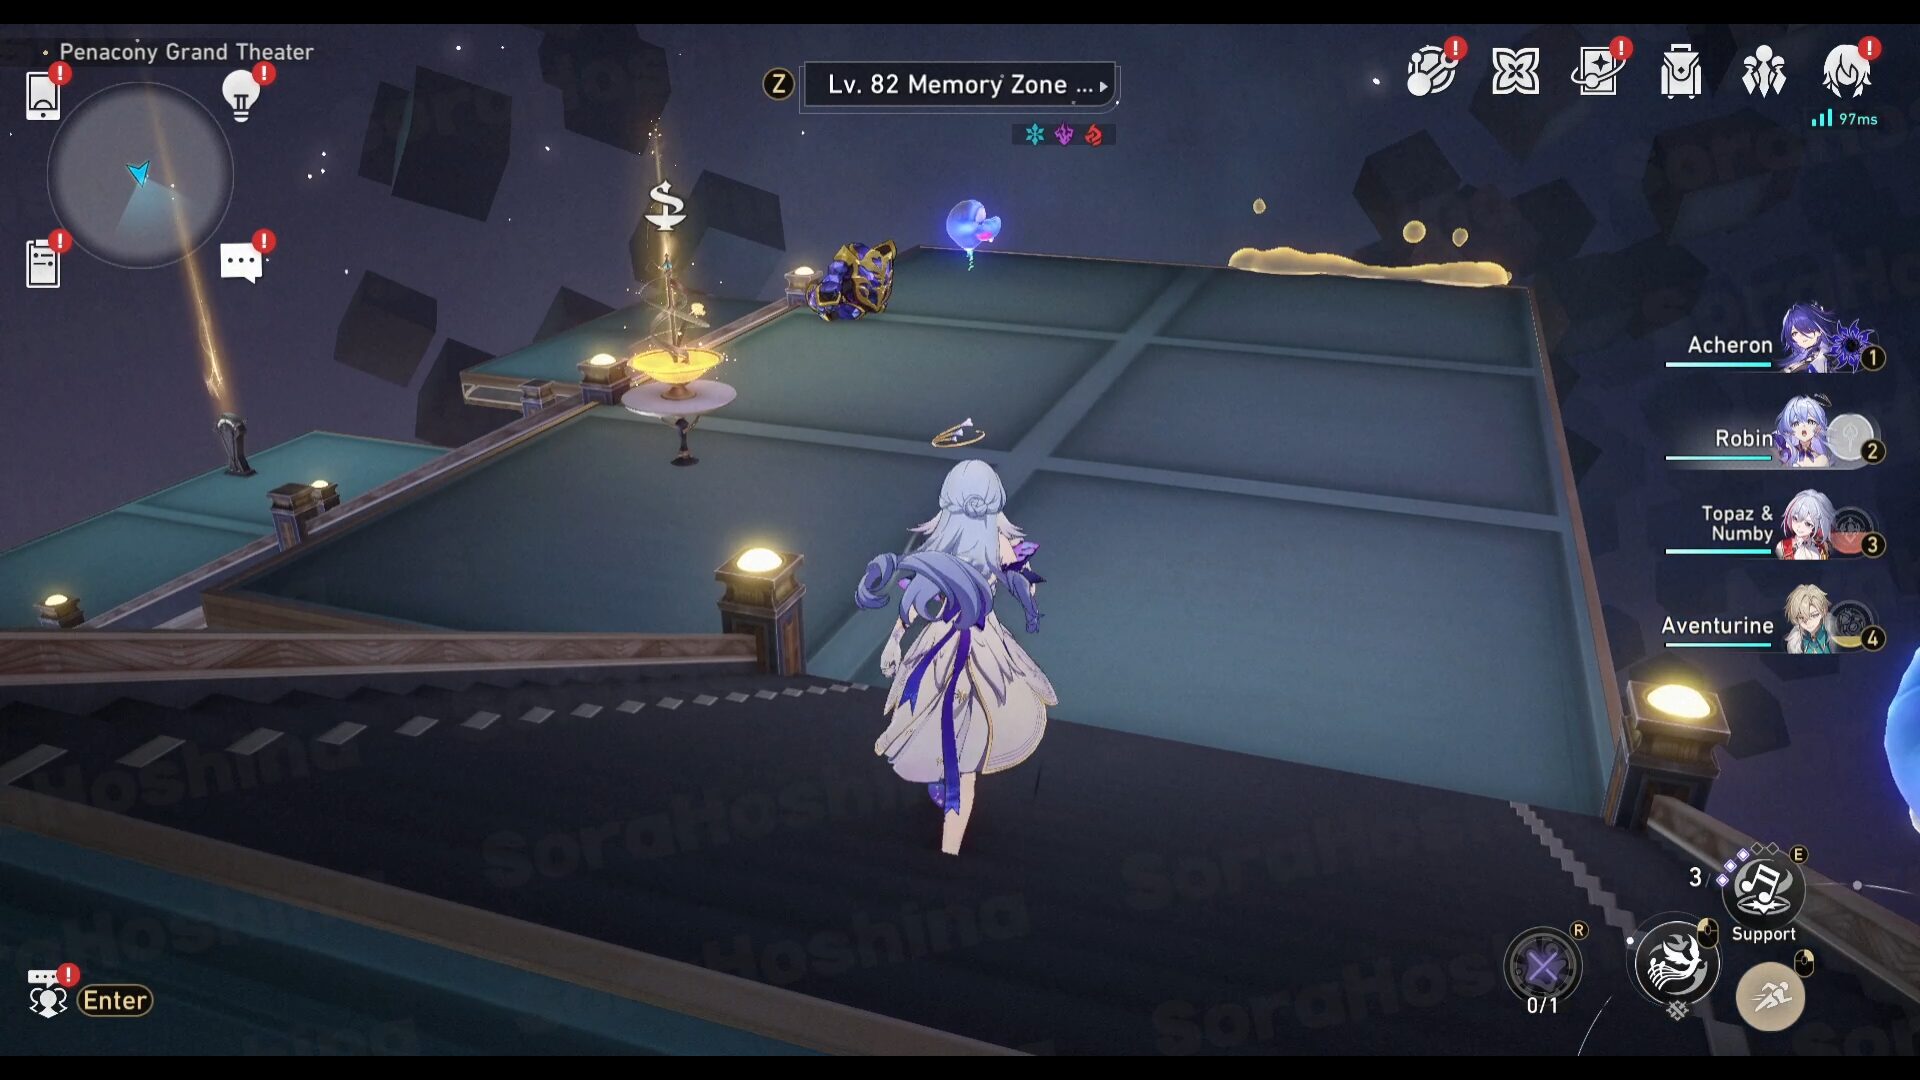
Turn around and move forward up the stairs. After you go down the stairs, there's an enemy on the left with a chest behind it.
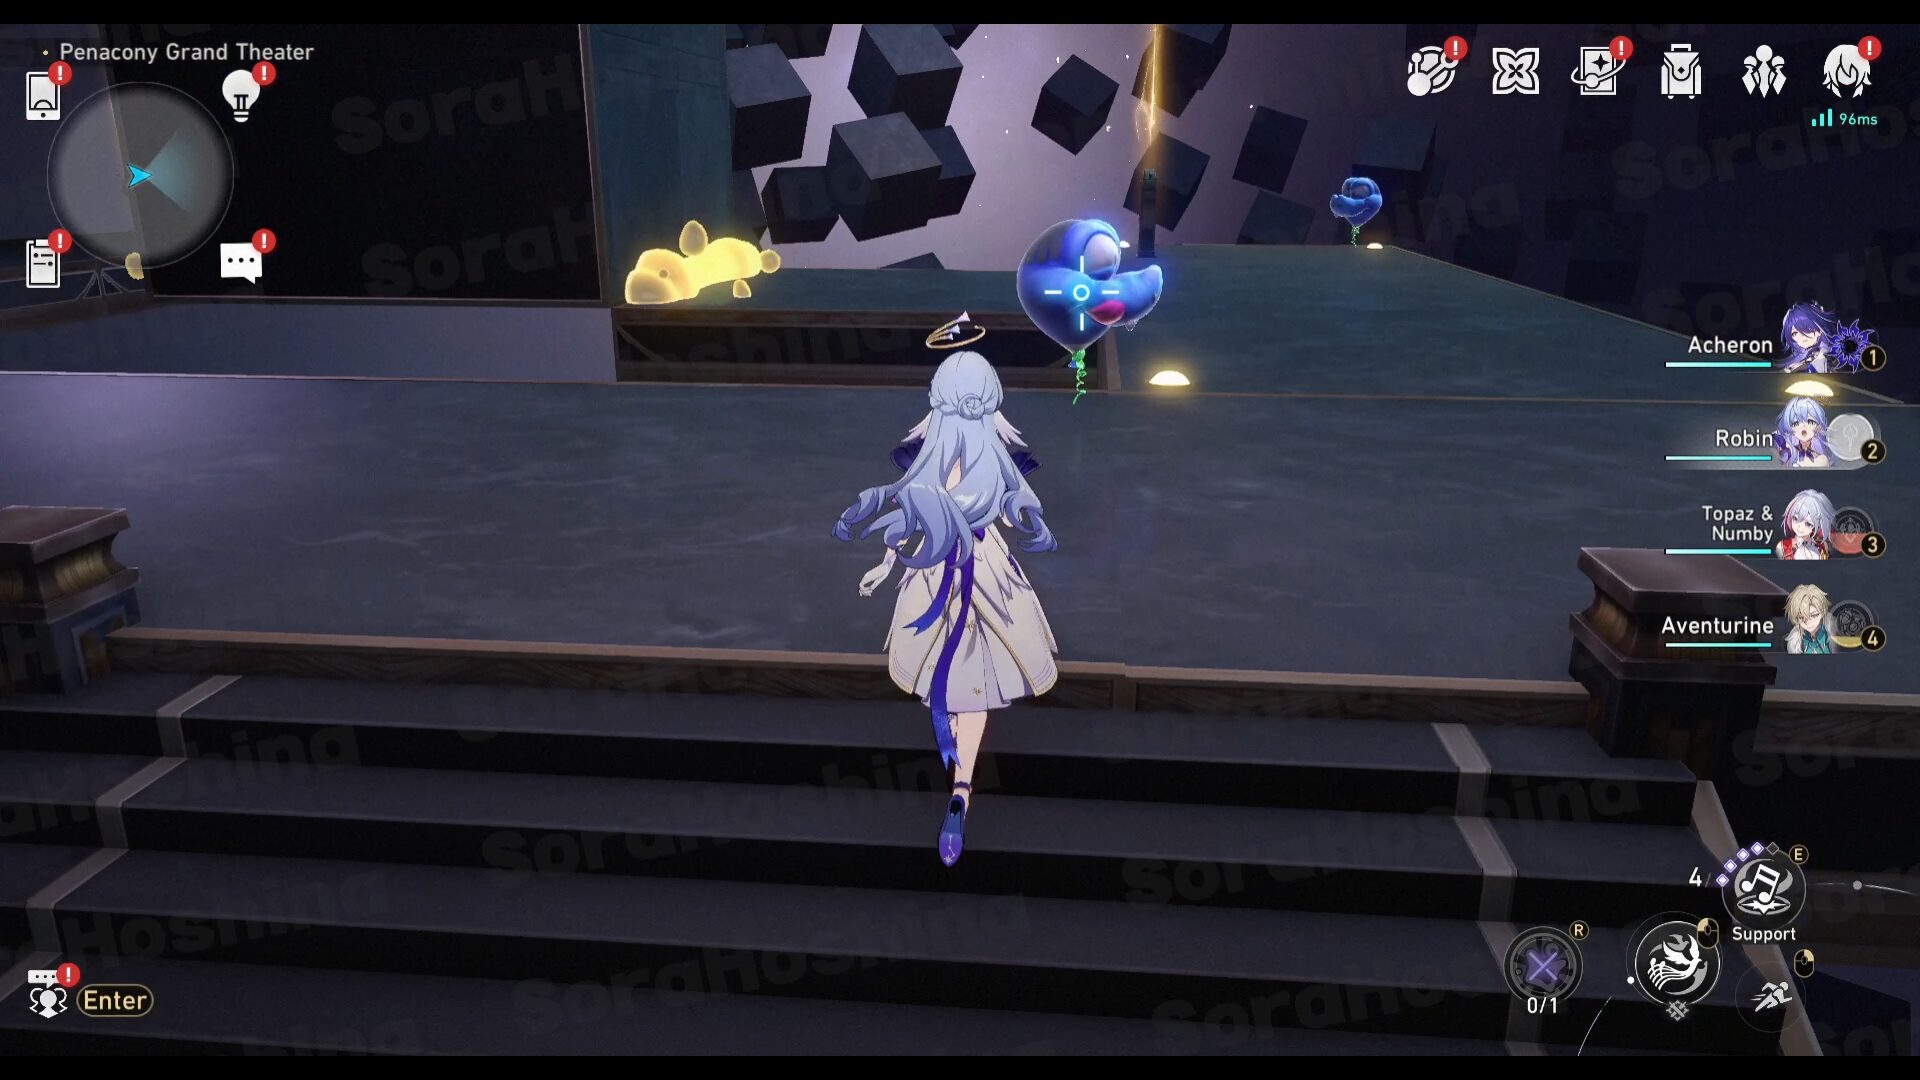
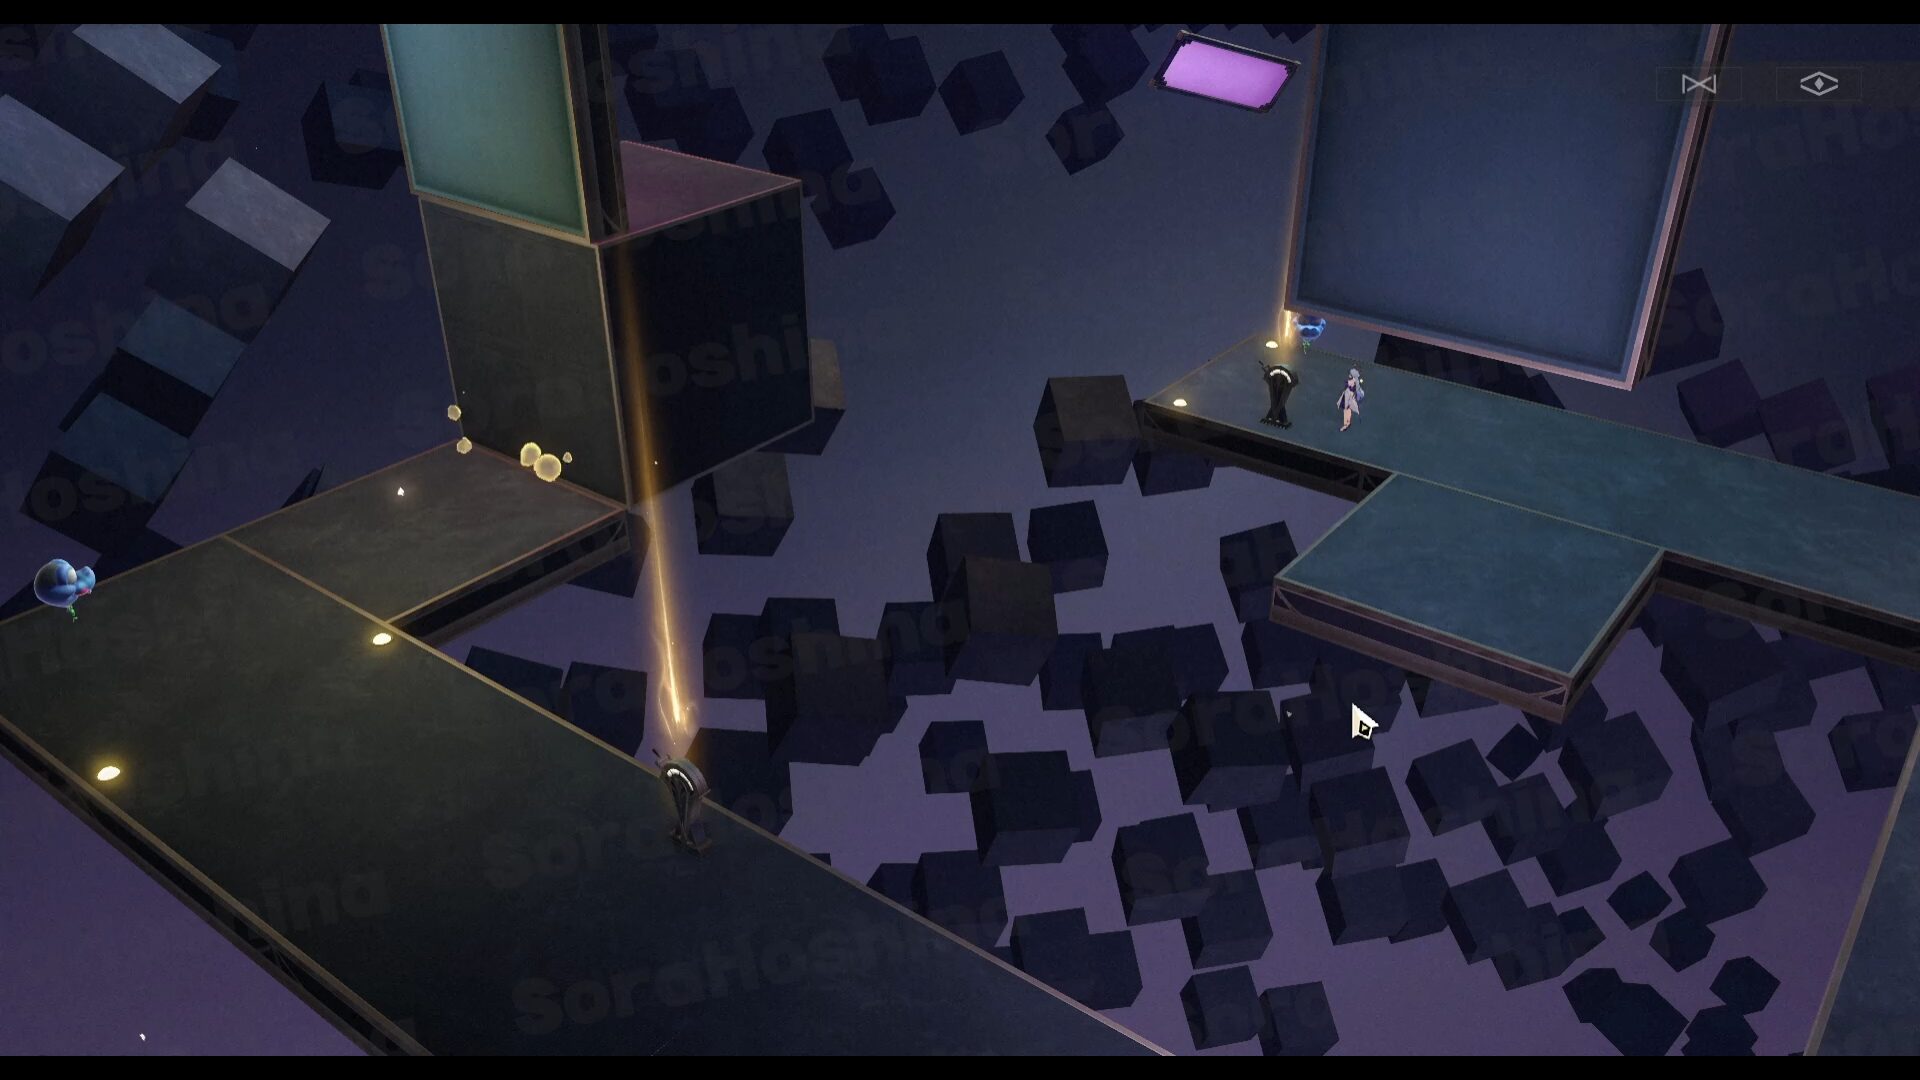
Obtain Bubble Charges, move the platform, and continue following the path. When you go up the stairs and see the balloon (like in the image above), there will be a path to your left and right.
TREASURE CHEST #32
Obtain Bubble Charges on your right and use the bridge near the balloon first.
Go back down and use the Dream Module to move the platform. After that, keep walking until you see a chest on your left.
TREASURE CHEST #33
The chest is in a small corner on the left, near an enemy.
Walk a little bit to the front, there will be a path on your right and left. Go to the LEFT one first.
TREASURE CHEST #34
Obtain 2 charges of Bubble Charge, move the platform, and get your chest.

TREASURE CHEST #35
Move the platform back to the original position, and use the bridge to get to the exit. There's a chest just before the exit.
3D Room #3

TREASURE CHEST #36
Once you enter the place, walk forward until there's a path on your left and right. Go to the right side first using the Bubble Charge and bridge.
TREASURE CHEST #37
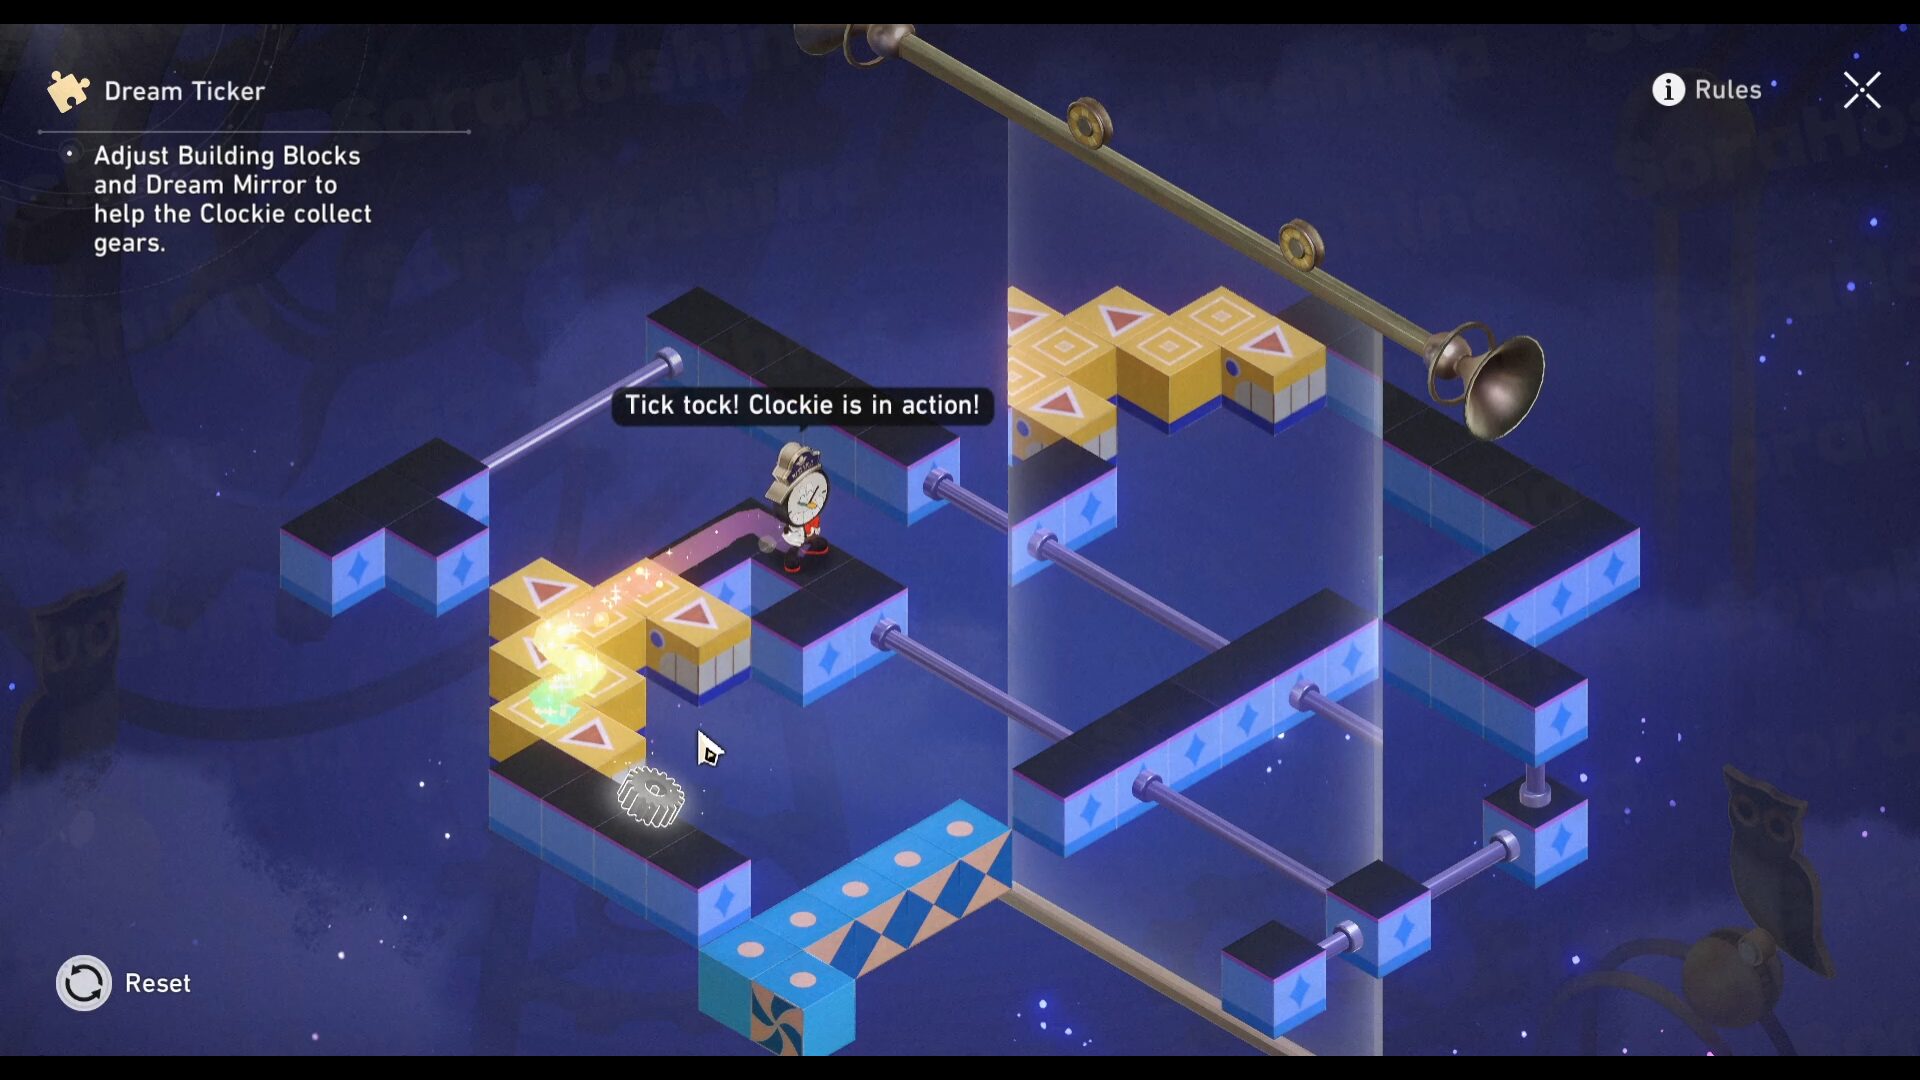
Turn around from previous spot and move the platform. Use the bridge again and you will find a Dream Ticker puzzle.
Here's how to solve the puzzles (adjust the blocks and mirror to follow the image below):
Make sure to fix the path so you can cross it. Then, go back to the spot where you get the Bubble Charge and recharge. Now, go to the left side and keep going the path.
TREASURE CHEST #38
Once you go up the stairs and see the balloon on the right side. You can also see this chest.
TREASURE CHEST #39
Before you move the platform using the Dream Module, go back near the balloon and use the bridge to reach the puzzle.
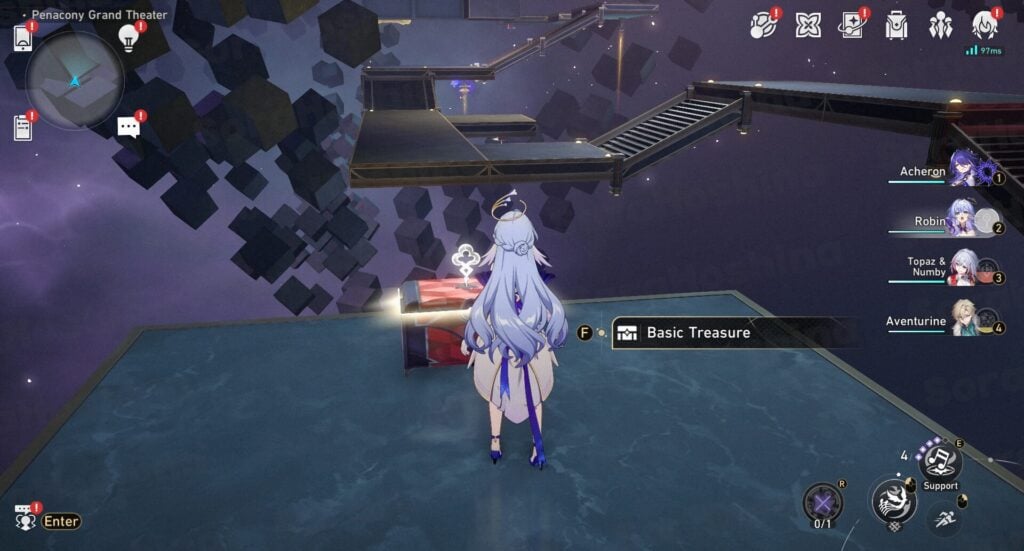
After you move the platform, use the bridge there (make sure you have 2 Bubble Charges) and keep walking until you reach the spot like in the image above. There are 2 paths you can go here: left and right.
TREASURE CHEST #40
First of all, get the chest right in front of you.
TREASURE CHEST #41
Then, recharge the Bubble Charge and go to the LEFT side of this path first (you will find a Dream Module). Move the platform and defeat the mob to get this chest.
TREASURE CHEST #42
Now go to the right side and use the Dream Module again to move the platform.
3D Room #4
Treasure Chest #43 - #53
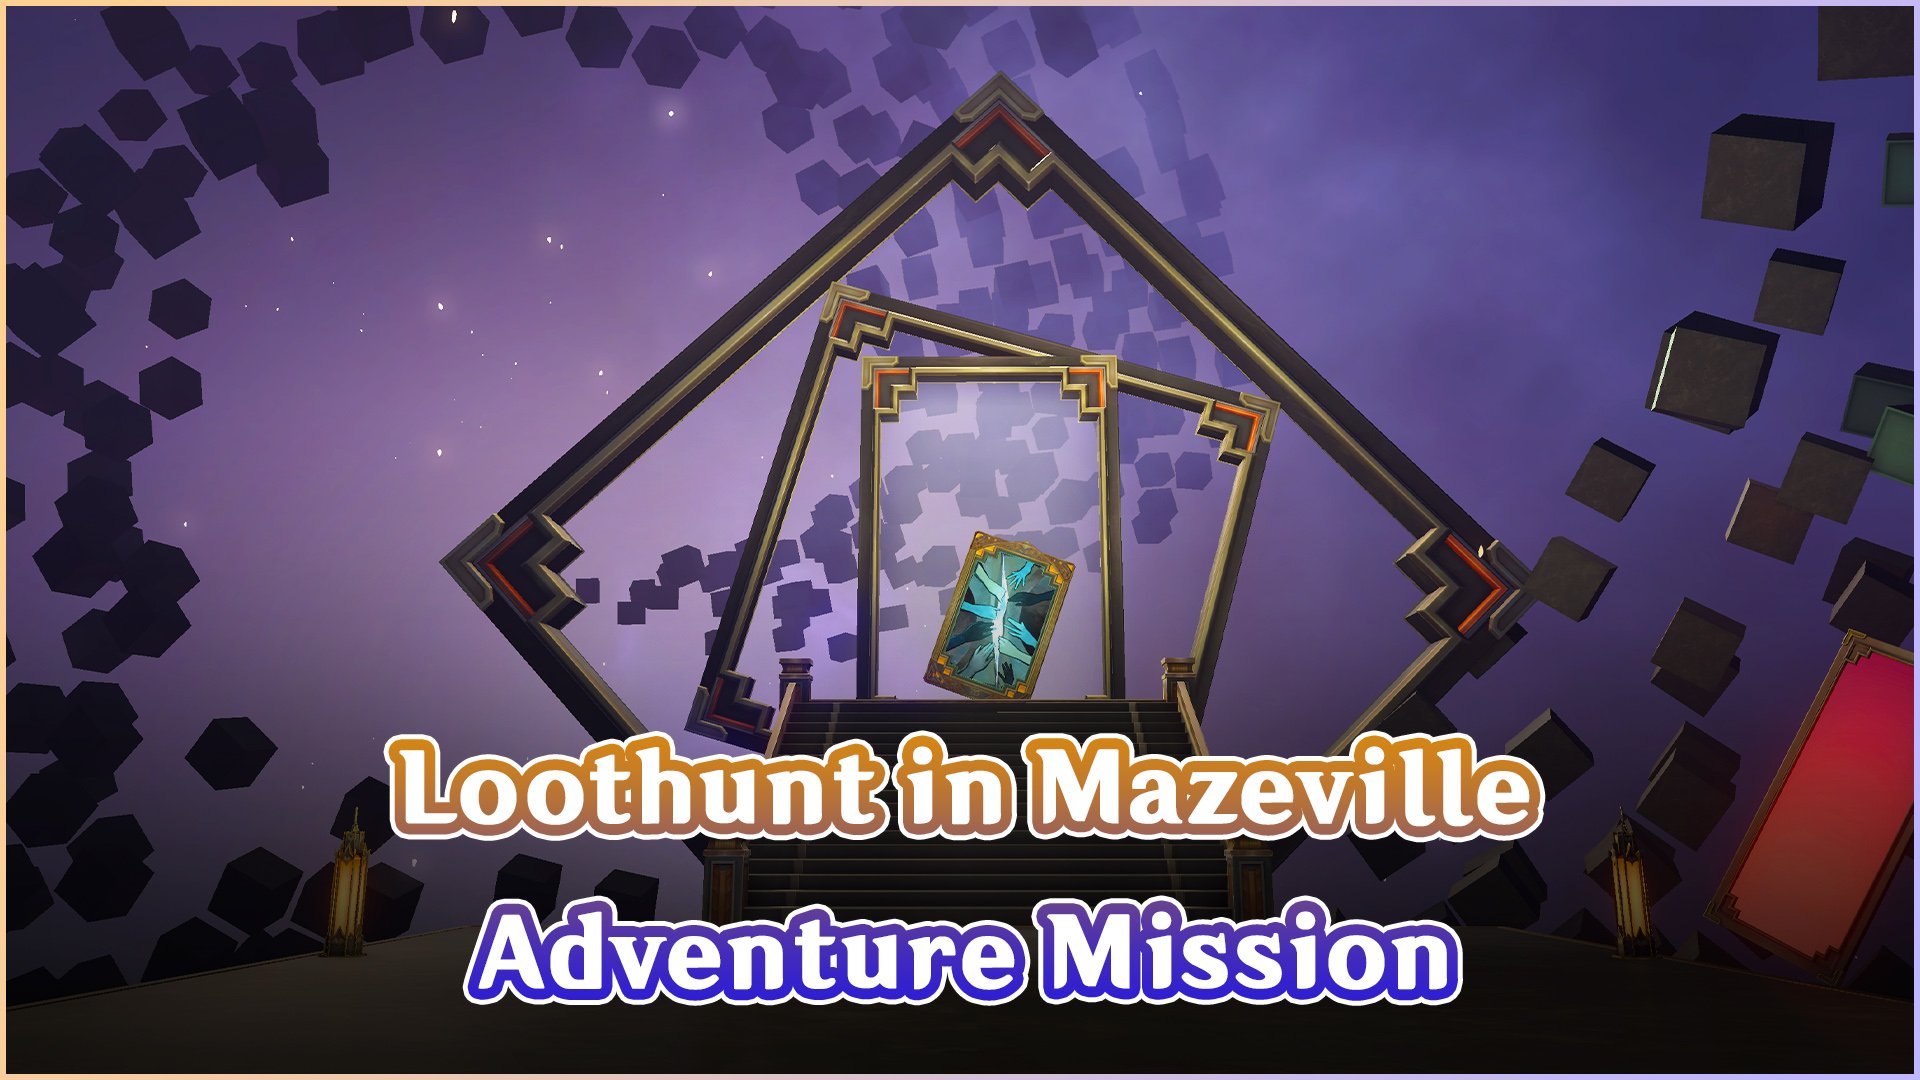
There are 11 treasure chests in this room but you need to start and complete the Loothunt in Mazeville Adventure Mission. I already covered the guide in another post so I won't copy-paste it here.
You can check the guide here: Loothunt in Mazeville Adventure Mission

Sora
Articles: 233More Articles
Honkai: Star Rail Stellar Shimmer Event Guide

Honkai: Star Rail Redemption Codes – July 2024
Honkai: Star Rail Version 2.3 Tier List (July 2024)
Honkai: Star Rail Jade Character Guide
Honkai: Star Rail Boothill Character Guide

Honkai: Star Rail Xueyi Character Guide
Honkai: Star Rail Misha Character Guide
Honkai: Star Rail Gallagher Character Guide
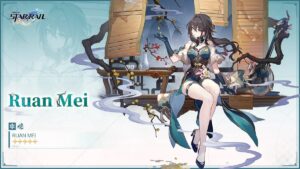
Honkai: Star Rail Ruan Mei Character Guide

Honkai: Star Rail Firefly Character Guide
Honkai: Star Rail Memory of Chaos Stage 12 Guide (V2.2 – A Song’s True Theme)
Honkai: Star Rail Memory of Chaos Stage 11 Guide (V2.2 – A Song’s True Theme)
Honkai: Star Rail Memory of Chaos Stage 10 Guide (V2.2 – A Song’s True Theme)
Honkai: Star Rail Memory of Chaos Stage 9 Guide (V2.2 – A Song’s True Theme)
Honkai: Star Rail Memory of Chaos Stage 8 Guide (V2.2 – A Song’s True Theme)
Honkai: Star Rail Memory of Chaos Stage 7 Guide (V2.2 – A Song’s True Theme)
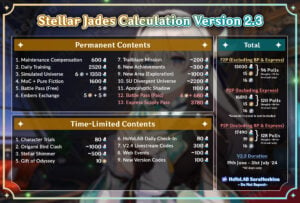
Honkai: Star Rail Stellar Jades Calculation in Version 2.3

Honkai: Star Rail Version 2.3 Special Program Livestream Overview
Honkai: Star Rail 3 New Redemption Codes from 2.3 Livestream