Table of Contents [Hide]
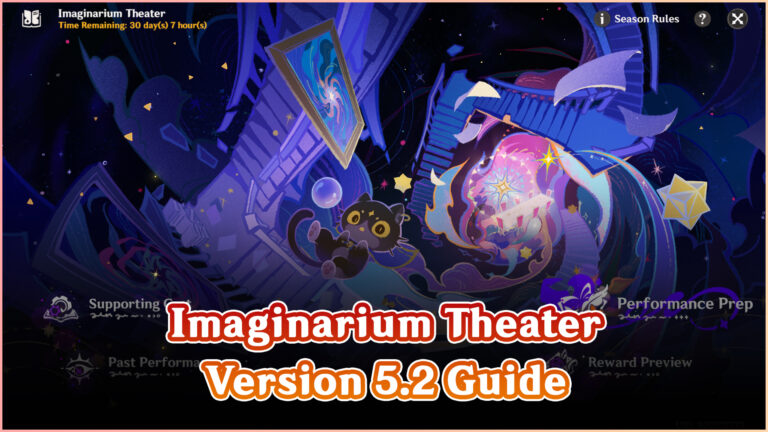
The second Imaginarium Theater is here, released on version 4.8. In this Season’s Rules, only Hydro, Cryo, and Anemo characters, as well as Special Guest Stars, may perform in this season’s show. Here’s a simple guide on which characters to bring, and which events should you choose in the Imaginarium Theater challenge.
Season Rules in Imaginarium Theater V4.8

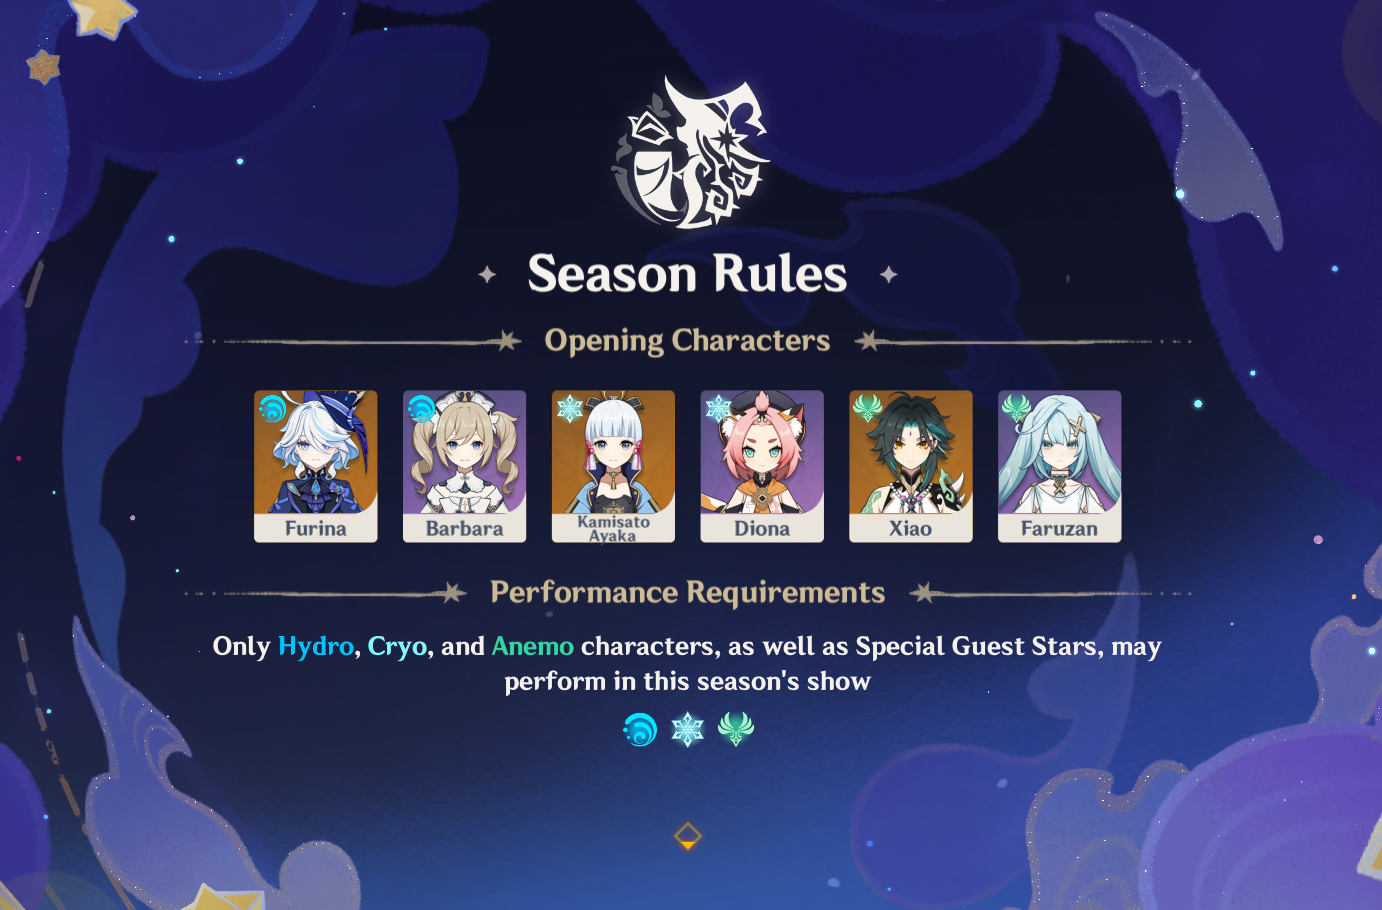
Only Hydro, Cryo, and Anemo characters, as well as Special Guest Stars, may perform in this season's show.
Opening Characters
- Furina (Main DPS / Sub DPS)
- Barbara (Healer)
- Kamisato Ayaka (Main DPS)
- Diona (Healer, Shielder)
- Xiao (Main DPS)
- Faruzan (Support)
Fantastical Blessings in Imaginarium Theater V4.8

After unlocking the Imaginarium Theater, the Fantastical Blessing available will refresh each season, offering buffs for the Opening Characters. These buffs will be effective both during Imaginarium Theater challenges and in your adventures outside the theater.
Remember that only the mentioned characters above will get the buffs!
Special Guests

- Nahida (Support)
- Dehya (Sub-DPS)
- Xiangling (Sub-DPS)
- Emilie (Sub-DPS)
Reminder: Emilie's banner is not available on the first day until the fifth of the Imaginarium Theater.
Recommended Characters
Please note that although you bring the exact same characters as recommended, it will be challenging to create a team because the characters you get are randomized.
And remember that you can use characters from your Friend's Supporting Cast.

- Neuvillette (Main DPS) - Hydro DPS suitable for Emperor of Fire and Iron
- Yelan (Sub-DPS)
- Xingqiu (Sub-DPS)
- Kokomi (Healer, Off-field Hydro application)

- Wriothesley (Main DPS) - DPS suitable for Pearl Seahorse
- Ganyu (Main DPS) - Ranged DPS suitable for Aeonblight Drake
- Charlotte (Healer)
- Layla (Shielder)
- Rosaria (Sub-DPS)
- Kaeya (Sub-DPS)

- Kazuha (Support, Sub-DPS)
- Venti (Support)
- Sucrose (Support)
- Venti (Support)
- Lynette (Sub-DPS)
Act 1 - 8 Guides
This guide assumes you're doing the Hard Mode in Imaginarium Theater with 8 combat performances.

There are a total of 8 combat challenges for you to complete in the Imaginarium Theater challenge.
Combat Battle 1
Combat Battle 2
Combat Battle 3 – Boss Battle #1
Combat Battle 4
Combat Battle 5
Combat Battle 6 – Boss Battle #2
Combat Battle 7
Combat Battle 8 – Boss Battle #3
For all Combat Battle except the Boss Battle, there are many types of battle and you can see all of them below:
| Event | Description |
|---|---|
| Battle: Normal | Defeat all opponents |
| Battle: Elite Assault | Defeat all opponents |
| Battle: Defense Sequence | Protect the Ley Line Monolith |
| Battle: High-Pressure Defense | Protect the Ley Line Monolith |
| Battle: Climactic Showdown | Defeat the Villain(s) within the time limit |
| Battle: Special Program | Defeat all opponents within (Seconds)s |
| Battle: Defense Sequence | Prevent the Ley Line Monolith's destruction. Defeat opponents to deplete the timer |
| Battle: High-Pressure Defense | Prevent the Ley Line Monolith's destruction. Defeat opponents to deplete the timer |
| Battle: Normal | Defeat as many opponents as possible within the time limit |
| Battle: Elite Assault | Defeat as many opponents as possible within the time limit |
| Battle: Normal | Defeat as many Bounty opponents as possible within the time limit |
| Battle: Elite Assault | Defeat as many Bounty opponents as possible within the time limit |
Brief Guides

In Act I, I recommend choosing any Companion events so you can get more characters = more possible teams to create in the battle. You can Refresh Events on the bottom right if you don't get any Companion Events, or just choose the Wondrous Event if you don't want to waste the refresh count.
- Remember that the Companion event will give you character
- While Wondrous Boons will give you combat buffs
- Lastly, Mystery Caches will bring certain benefits

Then, when choosing any Battle, READ the performance details and check whether your team can complete both the main objective and bonus objectives. The more Fantasia Flowers you get, the better since you can get more characters/buffs from the events.

Starting in Act II, you can choose either Wondrous Boon or Companion event. If you think the current roster you have will not make a great team, choose the Companion event. If you think otherwise, choose the Wondrous Boon for buffs since the battle will get harder. You will get a new character after each battle anyway.
When choosing a buff, look at your current roster and see which Wondrous Boon will bring the best benefit for the team.

When making teams, it's best if you have at least a Main DPS with one suitable Support for them. That's the best I could say since this end-game is really RNG on who you will get so it will be hard to follow a guide to a T. At the very least, bring a team that can do rapid elemental reactions since that should be a big help in any battles.
In addition, try not to waste characters such as bringing an Anemo CC on stages with a low number of enemies. Save them until you find a battle with lots of enemies that can be pulled (like in Battle: Defense Sequence).
Initial Note
We have 3 bosses here so it's best if you can choose who to bring in specific bosses beforehand. In my opinion, you should save at least 1 Vigor for Ayaka for Boss Battle #1 and Furina for Boss Battle #2. For Boss Battle #3, any DPS is okay but make sure to bring one bow-character because this boss will always try to hover above melee range.
Of course, don't forget about their support but since it will be very different for each player, I can only hope you have the luck to bring suitable supporting characters for each DPS. Also, I recommend bringing an Anemo character and saving them until you reach Act 4.
TLDR: Save these characters for certain Acts in case you don't have a great character in the selected pool
Act 3 (Boss Battle #1) - Trial Ayaka
Act 4 - Any Anemo characters, preferably those who can gather
Act 6 (Boss Battle #2) - Trial Furina
Act 8 (Boss Battle #3) - Trial Furina & any bow-character
Act 1

Star Challenge: Defeat all opponents within XX seconds.
Before choosing the Battle, make sure to pick any Companion Event first so you can get more character.
Usually, there’s either Battle: Normal or Battle: Elite. All the combat events at this act are not that difficult. But the Opening Characters you have are the ones given by the Imaginarium Theater so if you’re not confident with the roster, choose Battle: Normal instead of Battle: Elite.
Act 2

Star Challenge: Defeat all opponents within XX seconds.
The stage here is on the same level as the first one, as, it’s not that difficult. If you get a better team now, you can choose Battle: Elite. But if not, just go with Battle: Normal. Remember that you can Refresh Events at the bottom right.
Act 3 (Boss Battle #1 - Millenial Pearl Seahorse)

Main Objective: Defeat the villain within the time limit
Bonus Objective: Defeat the Millennial Pearl Seahorse while it is attempting to re-construct a Xenomare Pearl.
Star Challenge: Defeat all opponents within 80 seconds.
Recommended Character: Ayaka + Cryo + Flex + Flex


The Xenomare Pearl beneath its head is a crystallization of Electro that will allow it to use more powerful elemental attacks and possess stronger defensive abilities. Other than using Elemental Reactions to destroy the Xenomare Pearl, you can also destroy the Resonant Coral Orbs it creates while guiding Fontemer Hoarthunder to deal effective DMG to said Pearl.

Regarding the bonus objective, you can spot when the boss is attempting to reconstruct its pearl; which is when it starts to spin and glow. That is the moment it will reconstruct the pearl and the time you need to defeat it.
Act 4

Star Challenge: Defeat XX opponents.
Starting Act 4, you will ONLY get Battle: Defense Sequence which is like Monolith Defense in Abyss. As you already know, you can pass this act by guarding the Monolith and preventing it from getting destroyed.
Every time you defeat an enemy, the remaining time will be shortened, and you can get the Star Challenge badge only if you manage to defeat a certain number of opponents before the timer ends. This is where your Anemo CC shines, especially if you have 2 of them because, in the Battle I got, the enemies spawn too far away from each other so having 2 Anemo really helps.

Look at each of the Battle: Defense Sequences that you got and observe the opponents' details. Choose the stage that you believe is much easier to complete than the other.
For example, I didn't choose the stage with the opponents in the image above because the combination of Eremite Desert Clearwater and Eremite Sunfrost can create a Freeze reaction and I don't want to face them both.
Act 5

Star Challenge: Defeat XX opponents.
In Act 5, you’re back with Battle: Normal or Battle: Elite, but the Star Challenge remains as hard as Act 4 where you need to defeat a certain number of opponents. Look at your roster, and choose the Battle that would be the easiest for your team to win.
Remember to choose the Wondrous Boon and pick the buffs that benefit your future teams the most.
Act 6 (Boss Battle #2 - Emperor of Fire and Iron)

Main Objective: Defeat the villain within the time limit
Bonus Objective: Interrupt the Emperor of Fire and Iron's Searing Coronation.
Star Challenge: Defeat all opponents within 90 seconds
Recommended Character: Furina + Hydro character + Flex + Flex

The twin molten horns located high up on its body are Pyro-alinged organs that can unleash more vicious elemental attacks and grant it even stronger defensive capabilities. When the Armored Crablord unleashes certain attacks, its twin molten horns are closer to the ground. This provides for a great opportunity to use Elemental Reactions to remove the Pyro element within.

Regarding the bonus objective where you need to interrupt the Emperor of Fire and Iron's Searing Coronation, it's the time when the boss moves to the center of the arena and half-buries itself to charge a massive explosion.
While charging the explosion, its horns are exposed to melee attacks. This attack is only used while the Molten Horns are intact.
Act 7

Star Challenge: Defeat all opponents within XX seconds.
This is the last ‘normal’ battle you will face so here, plan your team for the last boss (in Act 8) first so you can use the remaining characters in Act 7. Based on the remaining characters you have, choose the best Battle event you have the most chance to win the Star Challenge.
Act 8 (Boss Battle #3 - Aeonblight Drake)

Main Objective: Defeat the villain within the time limit
Bonus Objective: In a single challenge, bring the Aeonblight Drake down by attacking the cores on its wings
Star Challenge: Defeat all opponents within 72 seconds.
Recommended Character: Furina + Any bow character + Flex + Flex
Before entering the last Boss battle, make sure to spend all your Fantasia Flowers on Wondrous Boon so you can get more buffs.

A ruin machine that can absorb energy and hurl it back as an attack. This machine has even greater abilities than the Ruin Drake, being able to attack from the air and on the ground. T
he Aeonblight Drake can periodically release a dangerous torrent of energy and increase its own Elemental RES against the previous main type of Elemental DMG it has suffered. Under various circumstances, the cores all over its body will be exposed.
Take such opportunities to attack those cores, and you may be able to immobilize this creature and remove its Elemental RES boost. Whenever this creature recovers from paralysis, it will switch between aerial and ground-attack forms.

The bonus objective for the last boss is easy to complete. The boss will always start the battle by hovering above your melee range. Use your bow character and aim at the two shining orange cores on top of the wing to strike it down.