Table of Contents

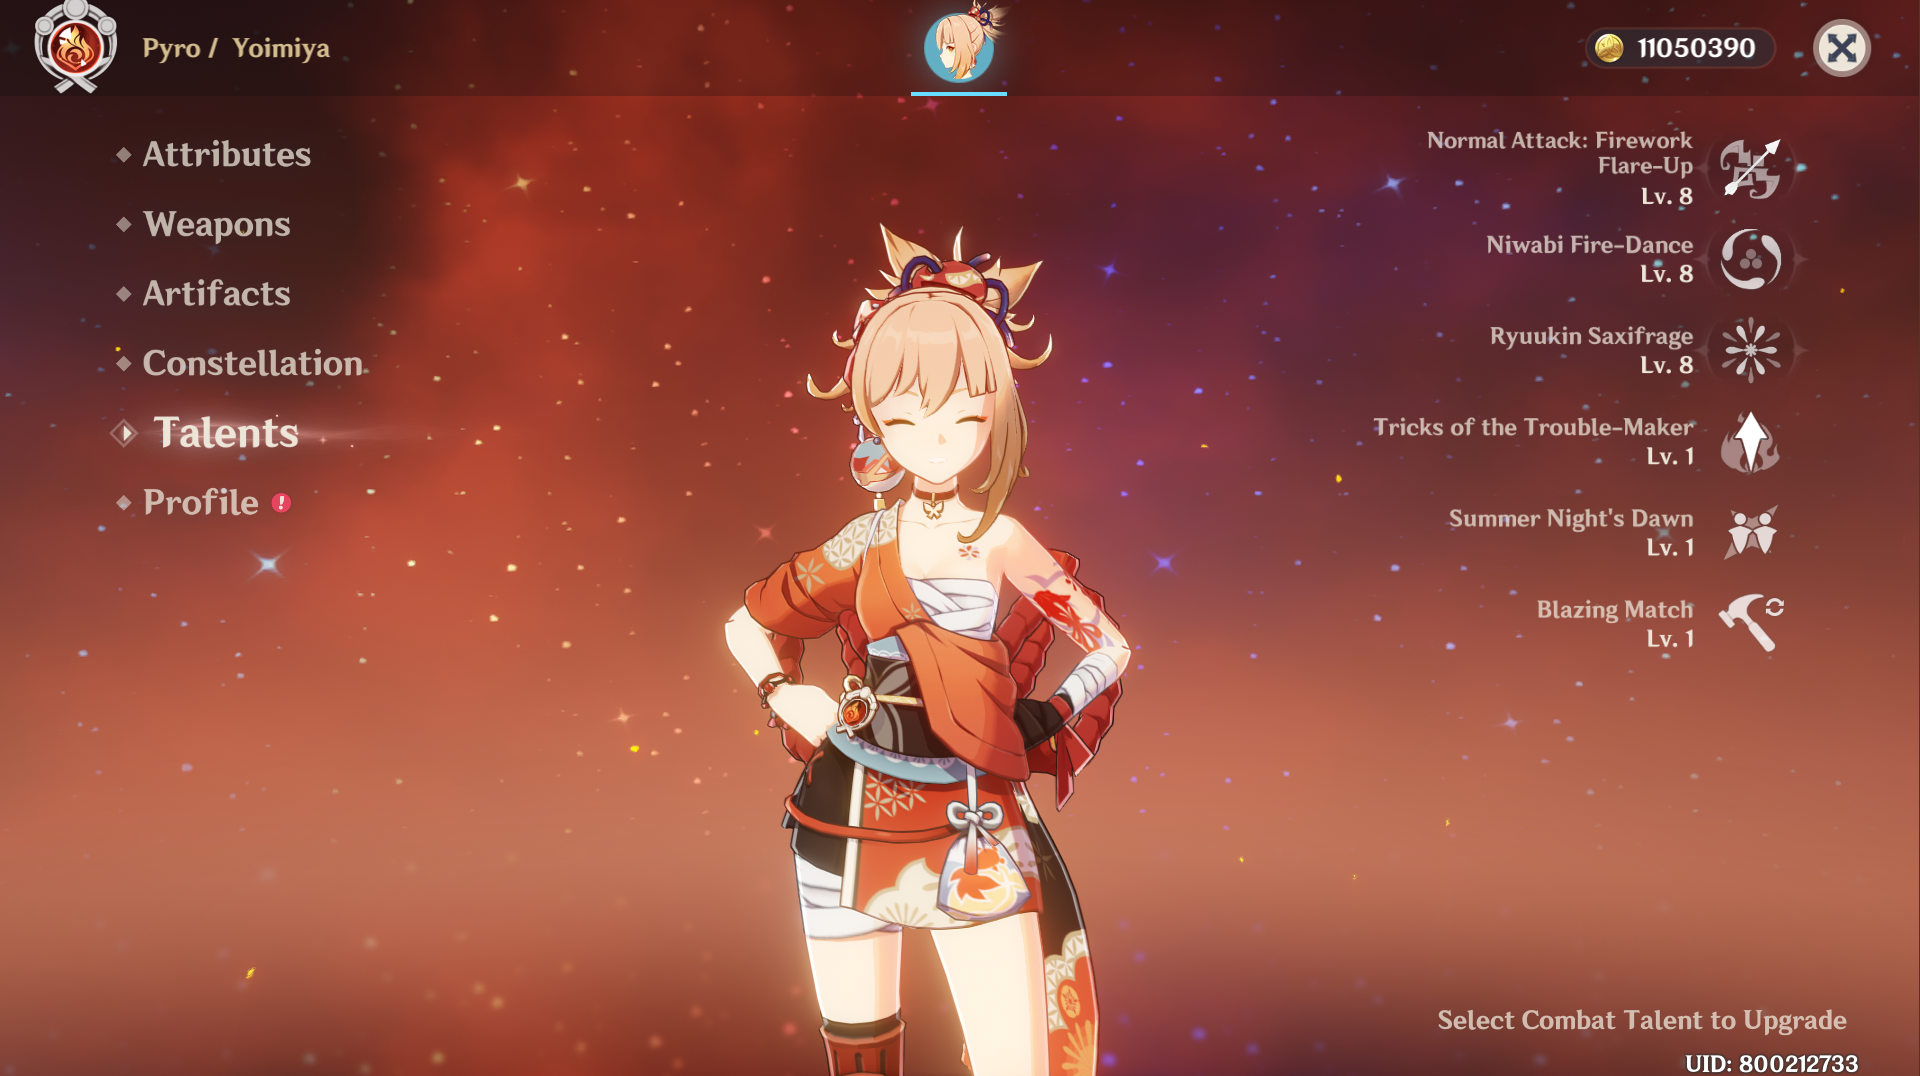
Yoimiya is an on-field damage dealer. She can deal Pyro DMG to opponents with Blazing Arrows when casting her Elemental Skill and mark opponents with her Elemental Burst, coordinating with other party members to deal Pyro DMG to them when she leaves the field.
This guide is based on the Community Character Builds by the Genshin Helper Team.
Skills Overview
Normal Attack: Firework Flare-Up

Normal Attack
Performs up to 5 consecutive shots with a bow.
Charged Attack
Perform a more precise Aimed Shot with increased DMG.
While aiming, flames will accumulate on the arrowhead before being fired off as an attack. Has different effects based on how long the energy has been charged:
Charge Level 1: Fires off a flaming arrow that deals Pyro DMG.
Charge Level 2: Generates a maximum of 3 Kindling Arrows based on time spent charging, releasing them as part of this Aimed Shot. Kindling Arrows will home in on nearby opponents, dealing Pyro DMG on hit.
Plunging Attack
Fires off a shower of arrows in mid-air before falling and striking the ground, dealing AoE DMG upon impact.
Elemental Skill: Niwabi Fire-Dance

Yoimiya waves a sparkler and causes a ring of saltpeter to surround her.
Niwabi Enshou
During this time, arrows fired by Yoimiya's Normal Attack will be Blazing Arrows, and their DMG will be increased and converted to Pyro DMG.
During this time, Normal Attack: Firework Flare-Up will not generate Kindling Arrows at Charge Level 2.
This effect will deactivate when Yoimiya leaves the field.
Duration: 10 seconds
Cooldown: 18 seconds
Elemental Burst: Ryuukin Saxifrage

Yoimiya leaps into the air along with her original creation, the "Ryuukin Saxifrage," and fires forth blazing rockets bursting with surprises that deal AoE Pyro DMG and mark one of the hit opponents with Aurous Blaze.
Aurous Blaze
All Normal/Charged/Plunging Attacks, Elemental Skills, and Elemental Bursts by any party member other than Yoimiya that hit an opponent marked by Aurous Blaze will trigger an explosion, dealing AoE Pyro DMG.
When an opponent affected by Aurous Blaze is defeated before its duration expires, the effect will pass on to another nearby opponent, who will inherit the remaining duration.
One Aurous Blaze explosion can be triggered every 2s. When Yoimiya is down, Aurous Blaze effects created through her skills will be deactivated.
Duration: 10 seconds
Cooldown: 15 seconds
Energy Cost: 60
Ascension 1: Tricks of the Trouble-Maker
During Niwabi Fire-Dance, shots from Yoimiya's Normal Attack will increase her Pyro DMG Bonus by 2% on hit. This effect lasts for 3s and can have a maximum of 10 stacks.
Ascension 4: Summer Night's Dawn
Using Ryuukin Saxifrage causes nearby party members (not including Yoimiya) to gain a 10% ATK increase for 15s. Additionally, a further ATK Bonus will be added on based on the number of "Tricks of the Trouble-Maker" stacks Yoimiya possesses when using Ryuukin Saxifrage. Each stack increases this ATK Bonus by 1%.
Passive Talent: Blazing Match
When Yoimiya crafts Decoration, Ornament, and Landscape-type Furnishings, she has a 100% chance to refund a portion of the materials used.
Talent Priorities
Normal Attack > Skill > Burst
Yoimiya's hardest-hitting part of her Normal Attack string is her N5, and in Vaporize teams you should be Vaporizing the N1 (first hit), N3, and N5.
Constellations

Best Constellations: C2, C4 & C6
C1: Agate Ryuukin
The Aurous Blaze created by Ryuukin Saxifrage lasts for an extra 4s.
Additionally, when an opponent affected by Aurous Blaze is defeated within its duration, Yoimiya's ATK is increased by 20% for 20s.
C2: A Procession of Bonfires
When Yoimiya's Pyro DMG scores a CRIT Hit, Yoimiya will gain a 25% Pyro DMG Bonus for 6s.
This effect can be triggered even when Yoimiya is not the active character.
C3: Trickster's Flare
Increase the Level of Niwabi Fire-Dance by 3.
Maximum upgrade level is 15.
C4: Pyrotechnic Professional
When Yoimiya's own Aurous Blaze triggers an explosion, Niwabi Fire-Dance's CD is decreased by 1.2.
C5: A Summer Festival's Eve
Increases the Level of Ryuukin Saxifrage by 3.
Maximum upgrade level is 15.
C6: Naganohara Meteor Swarm
During Niwabi Fire-Dance, Yoimiya's Normal Attacks have a 50% chance of firing an extra Blazing Arrow that deals 60% of its original DMG. This DMG is considered Normal Attack DMG.
Recommended Weapons
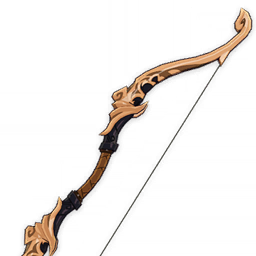
- Thundering Pulse (5✩)
- Aqua Simulacra (5✩)*
- Polar Star (5✩)*
- Hunter's Path (5✩)
~= Skyward Harp (5✩) - Slingshot (3✩) [R5]
~= Amos' Bow (5✩)* - Rust (4✩)*

1) Thundering Pulse (ATK: 608 • CRIT DMG: 66.2%)
[Refinement 1] Increases ATK by 20% and grants the might of the Thunder Emblem. At stack levels 1/2/3, the Thunder Emblem increases Normal Attack DMG by 12/24/40%. The character will obtain 1 stack of Thunder Emblem in each of the following scenarios: Normal Attack deals DMG (stack lasts 5s), casting Elemental Skill (stack lasts 10s); Energy is less than 100% (stack disappears when Energy is full). Each stack's duration is calculated independently.

2) Aqua Simulacra (ATK: 542 • CRIT DMG: 88.2%)
[Refinement 1] HP is increased by 16%. When there are opponents nearby, the DMG dealt by the wielder of this weapon is increased by 20%. This will take effect whether the character is on-field or not.
Note: This weapon requires Yoimiya to be very close to enemies (~8m). As such, this weapon is recommended only with strong resistance to interruption.

3) Polar Star (ATK: 608 • CRIT Rate: 33.1%)
[Refinement 1] Elemental Skill and Elemental Burst DMG increased by 12%. After a Normal Attack, Charged Attack, Elemental Skill or Elemental Burst hits an opponent, 1 stack of Ashen Nightstar will be gained for 12s. When 1/2/3/4 stacks of Ashen Nightstar are present, ATK is increased by 10/20/30/48%. The stack of Ashen Nightstar created by the Normal Attack, Charged Attack, Elemental Skill or Elemental Burst will be counted independently of the others.
Note: Weapon rankings assume 2-3 stacks. You can perform a quick charged-shot prior to using Skill.

4) Hunter's Path (ATK: 542 • CRIT Rate: 44.1%)
[Refinement 1] Gain 12% All Elemental DMG Bonus. Obtain the Tireless Hunt effect after hitting an opponent with a Charged Attack. This effect increases Charged Attack DMG by 160% of Elemental Mastery. This effect will be removed after 12 Charged Attacks or 10s. Only 1 instance of Tireless Hunt can be gained every 12s.
5) Slingshot (ATK: 354 • CRIT Rate: 31.2%)
[Refinement 5] If a Normal or Charged Attack hits a target within 0.3s of being fired, increases DMG by 60%. Otherwise, decreases DMG by 10%.

6) Rust (ATK: 510 • ATK: 41.3%)
[Refinement 1] Increases Normal Attack DMG by 40% but decreases Charged Attack DMG by 10%.
Note: Scales well with refinements, At [R5] this weapon outperforms several (5✩) options with the exceptions of Thundering Pulse and Aqua Simulacra. At [R4+] it outperforms Slingshot [R5]
Recommended Artifacts
- Shimenawa's Reminiscence (4)*
- Crimson Witch of Flames (4)*
- Gilded Dreams (4)*
- Echoes of an Offering (4)*
- Retracing Bolide (4)*
- Crimson Witch of Flames (2) / +18% ATK set (2) / +80 EM set (2) [Choose Two]*
1) Shimenawa's Reminiscence
2-Piece Bonus: ATK +18%
4-Piece Bonus: When casting an Elemental Skill, if the character has 15 or more Energy, they lose 15 Energy and Normal/Charged/Plunging Attack DMG is increased by 50% for 10s. This effect will not trigger again during that duration.
Note: This set is her Best in Slot in the vast majority of situations even when considering inconsistent Burst usage (once every 3-4 rotations).

2) Crimson Witch of Flames
2-Piece Bonus: Pyro DMG Bonus +15%
4-Piece Bonus: Increases Overloaded and Burning, and Burgeon DMG by 40%. Increases Vaporize and Melt DMG by 15%. Using Elemental Skill increases the 2-Piece Set Bonus by 50% of its starting value for 10s. Max 3 stacks.
Note: Usable in Vaporize teams and can be her Best in Slot for teams where she procs Vaporize and Overload (such as teams with a Fischl flex or Fischl + Beidou taser core)

3) Gilded Dreams
2-Piece Bonus: Increases Elemental Mastery by 80.
4-Piece Bonus: Within 8s of triggering an Elemental Reaction, the character equipping this will obtain buffs based on the Elemental Type of the other party members. ATK is increased by 14% for each party member whose Elemental Type is the same as the equipping character, and Elemental Mastery is increased by 50 for every party member with a different Elemental Type. Each of the aforementioned buffs will count up to 3 characters. This effect can be triggered once every 8s. The character who equips this can still trigger its effects when not on the field.
Note: This artifact set is significantly worse in teams where Yoimiya is not triggering Elemental Reactions.

4) Echoes of an Offering
2-Piece Bonus: ATK +18%.
4-Piece Bonus: When Normal Attacks hit opponents, there is a 36% chance that it will trigger Valley Rite, which will increase Normal Attack DMG by 70% of ATK.
This effect will be dispelled 0.05s after a Normal Attack deals DMG.
If a Normal Attack fails to trigger Valley Rite, the odds of it triggering the next time will increase by 20%. This trigger can occur once every 0.2s.
Note: This set has a lot of caveats that generally warrant it being a subpar choice. Its effects proccing is tied to your connection to the servers, so if your ping is above 100 and/or you have an unstable connection (fluctuations), you should avoid this set. Additionally, the RNG nature of its procs makes it unreliable in Vaporize teams as you can't guarantee it working on N1, N3 and N5 (her vaporized hits).

5) Retracing Bolide
2-Piece Bonus: Increases Shield Strength by 35%.
4-Piece Bonus: While protected by a shield, gain an additional 40% Normal and Charged Attack DMG.
Note: This set is only recommended to be used with a shielder. This set is also very resin inefficient, so it's not recommended to farm for this set specifically.

5) Crimson Witch of Flames (2) / +18% ATK set (2) / +80 EM set (2) [Choose Two]*
Note: While lacking in power compared to the other options, you will likely have good substats on the 2-piece combinations compared to a full 4-piece set which can compensate.
| Artifact Main Stats | Artifact Sub Stats |
|---|---|
| Sands - ATK% / Elemental Mastery* Goblet - Pyro DMG Circlet - Crit Rate / DMG Elemental Mastery: A good option if Yoimiya is triggering Vaporize and/or Overload. Having Bennett in the team favors Elemental Mastery sands slightly more than ATK sands, however, it is recommended to just use whichever has better sub-stats. | Crit Rate / DMG ATK% Elemental Mastery Energy Recharge Flat ATK |
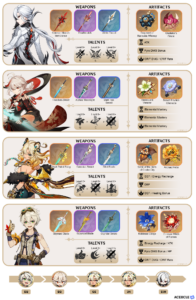
Team Compositions
Vaporize Team

Yoimiya: Main DPS
Yelan / Xingqiu: Sub-DPS
Yun Jin: Buffer
Zhongli: Shielder
Double Pyro Team

Yoimiya: Main DPS
Bennet: Buffer + Healer
Xiangling: Sub-DPS
Zhongli: Shielder // Kaedehara Kazuha: Elemental RES Shred

Sora
Articles: 327More Articles

Genshin Impact: Reminiscent Regimen: Thrill Event Guide
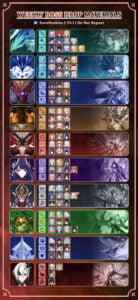
Genshin Impact: Spiral Abyss V5.1 Floor 12 Complete Guide
Genshin Impact: Spiral Abyss V5.1 Floor 11 Complete Guide
Genshin Impact: Xilonen Quick Character Guide
Xilonen Team Compositions
Genshin Impact: Talent Level-Up Materials Chart (Updated V5.1)

Genshin Impact: All New Achievements in Version 5.1
Genshin Impact: Envisaged Echoes Keqing Guide
Genshin Impact: Envisaged Echoes Zhongli Guide
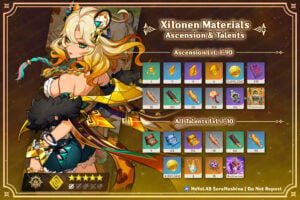
Genshin Impact: Xilonen Ascension and Talent Materials

Genshin Impact Codes – October 2024
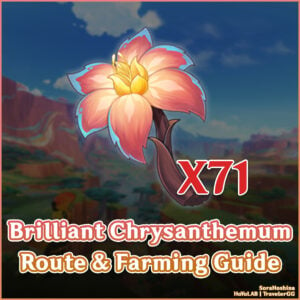
Genshin Impact: Brilliant Chrysanthemum Route & Farming Guide

Genshin Impact: Saurian Claw Succulent Route & Farming Guide
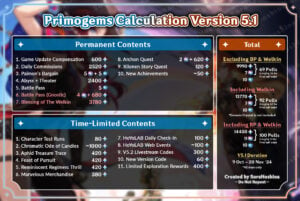
Genshin Impact: Primogems Calculation Version 5.1

Genshin Impact: Imaginarium Theater Version 5.0 October Guide

Genshin Impact 5.1 Special Program Livestream Overview
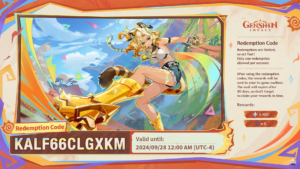
3 New Redemption Codes from 5.1 Special Program
Genshin Impact 5.1 Livestream Countdown

Genshin Impact: Version 5.0 Tier List (September 2024)