Table of Contents
Yaoyao is a Dendro support character who can heal one or several teammates as needed.
She can use her Elemental Skill and Elemental Burst to summon "Yuegui: Throwing Mode" or "Yuegui: Jumping Mode" which will continuously throw exploding White Jade Radishes that will heal characters or deal Dendro DMG to opponents.
This guide is based on the Community Character Builds by the Genshin Helper Team.
Talent Priorities

Burst > Skill*
*Prioritize her Elemental Skill if you do not spend time on-field with Yaoyao after using her Burst.
The additional Yueguis summoned by the Burst are removed when Yaoyao leaves the field.
If using Favonius Lance, you can perform Skill followed by two Normal Attacks in order to trigger the passive.
Constellations
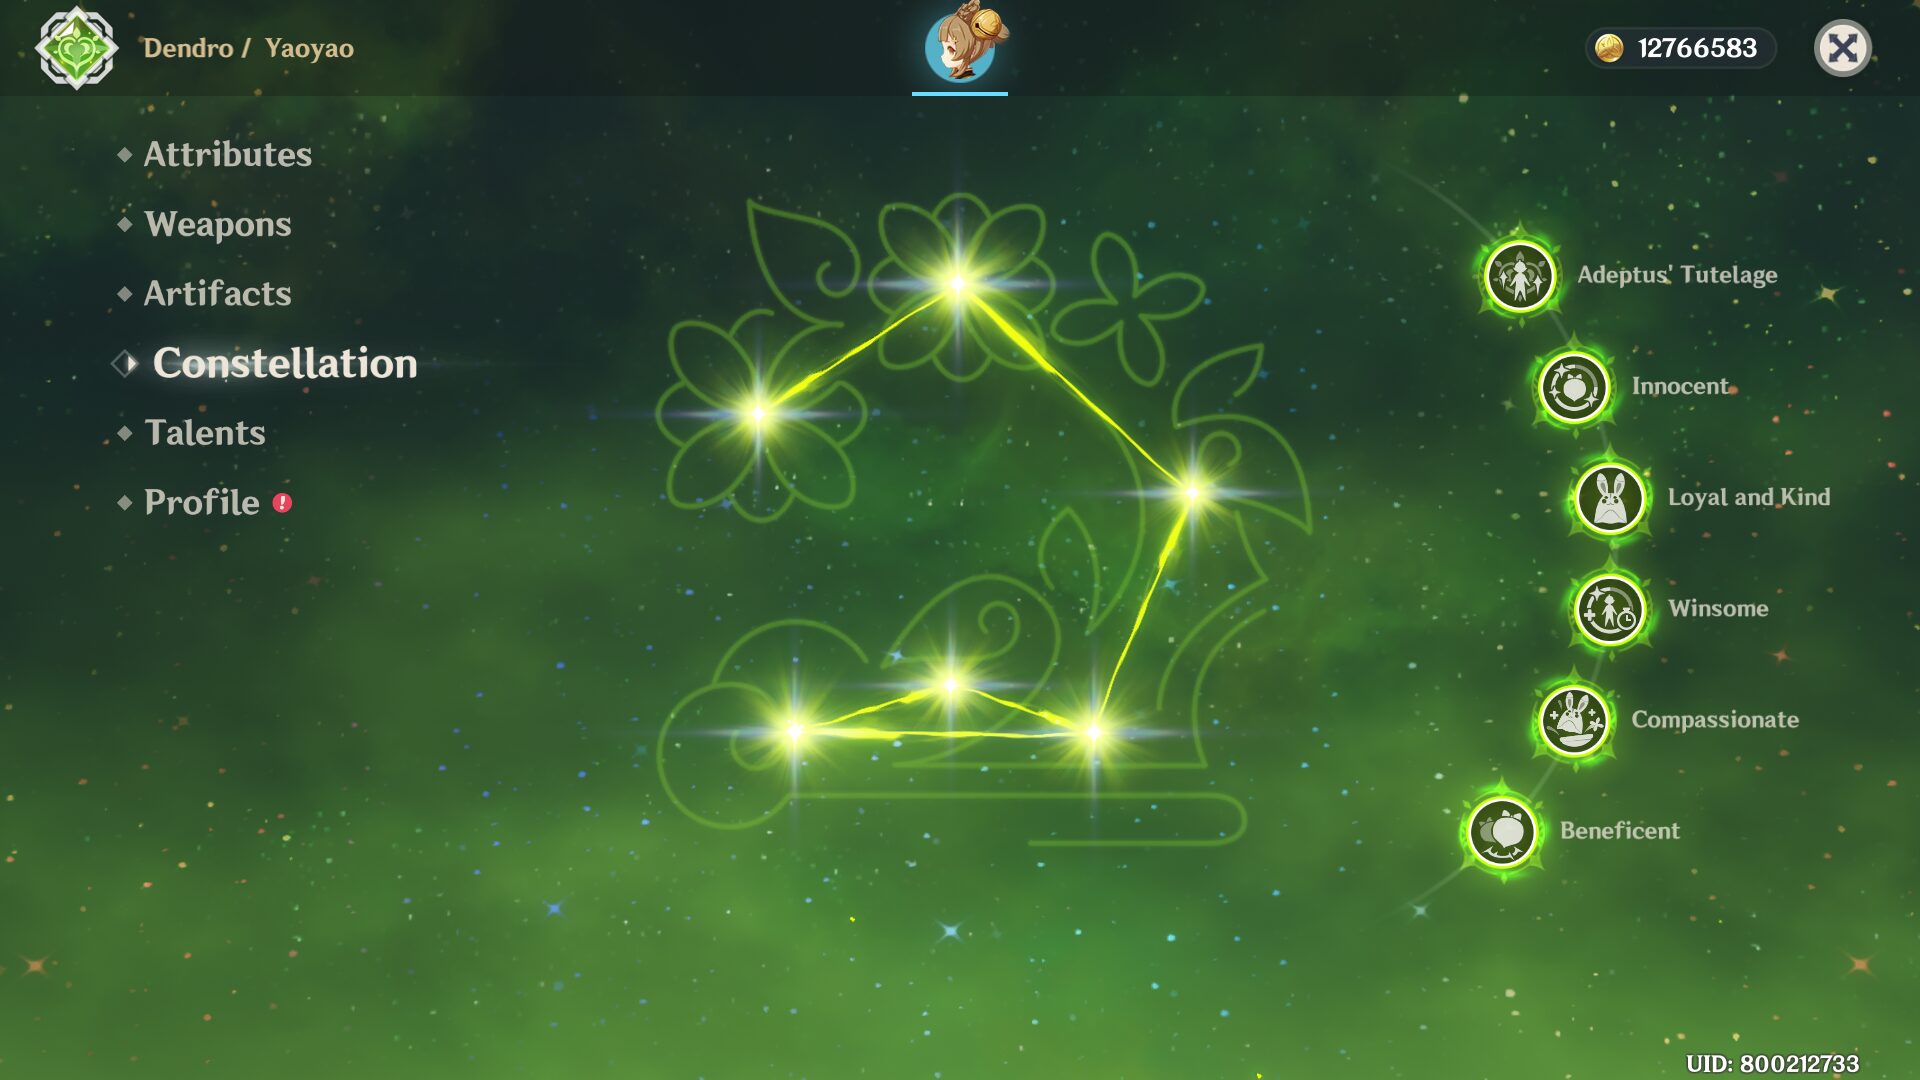
Best Constellations: C1, C2, C4 & C6
C1: Adeptus' Tutelage
When White Jade Radishes explode, active characters within their AoE will gain 15% Dendro DMG Bonus for 8s and have 15 Stamina restored to them. This form of Stamina Restoration can only be triggered every 5s.
C2: Innocent
While affected by the Adeptal Legacy state caused by Moonjade Descent, if White Jade Radish explosions damage opponents, 3 Energy will be restored to Yaoyao. This form of Energy regeneration can occur once every 0.8s.
C3: Loyal and Kind
Increases the Level of Raphanus Sky Cluster by 3.
Maximum upgrade level is 15.
C4: Winsome
After using Raphanus Sky Cluster or Moonjade Descent, Yaoyao's Elemental Mastery will be increased based on 0.3% of her Max HP for 8s. The maximum Elemental Mastery she can gain this way is 120.
C5: Compassionate
Increases the Level of Moonjade Descent by 3.
Maximum upgrade level is 15.
C6: Beneficent
For every 2 White Jade Radishes Yuegui: Throwing Mode throws out, it will also throw a Mega Radish that will have a larger AoE than the standard White Jade Radish and have the following effects upon exploding:
- Deals AoE Dendro DMG based on 75% of Yaoyao's ATK.
- Restores HP for the active character based on 7.5% of Yaoyao's Max HP.
Every Yuegui: Throwing Mode can throw out a maximum of 2 Mega Radishes.
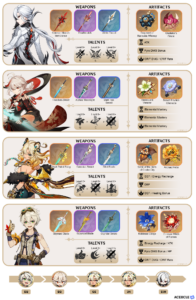
Recommended Weapons
- Favonius Lance (4☆)*
- Black Tassel (3☆)
~= Rightful Reward (4☆)* - Moonpiercer (4☆)
- Kitain Cross Spear (4☆)*

1) Favonius Lance (ATK: 565 • Energy Recharge: 30.6%)
CRIT Hits have a 60/70/80/90/100% chance to generate a small amount of Elemental Particles, which will regenerate 6 Energy for the character. Can only occur once every 12/10.5/9/7.5/6s.
Note: This weapon is a good generalist option for Yaoyao, providing Energy Recharge with a useful passive.

2) Black Tassel (ATK: 354 • HP: 46.9)
Increases DMG against slimes by 40/50/60/70/80%.

3) Moonpiercer (ATK: 565 • Elemental Mastery: 110)
After triggering Burning, Quicken, Aggravate, Spread, Bloom, Hyperbloom, or Burgeon, a Leaf of Revival will be created around the character for a maximum of 10s. When picked up, the Leaf will grant the character 16/20/24/28/32% ATK for 12s. Only 1 Leaf can be generated this way every 20s. This effect can still be triggered if the character is not on the field.
Note: This weapon can be better than Favonius Lance in teams where Yaoyao has a significant amount of Bloom ownership.

4) Kitain Cross Spear (ATK: 565 • Elemental Mastery: 110)
Increases Elemental Skill DMG by 6/7.5/9/10.5/12%. After Elemental Skill hits an opponent, the character loses 3 Energy but regenerates 3/3.5/4/4.5/5 Energy every 2s for the next 6s. This effect can occur once every 10s. Can be triggered even when the character is not on the field.
Recommended Artifacts
- Deepwood Memories (4)*
- Tenacity of the Millelith (4)*
- Instructor (4)*
- Ocean-Hued Clam (4)*
- Maiden Beloved (4)
- +15% Healing Bonus set (2) / +20% HP set (2) / Emblem of Severed Fate (2) [Choose Two]
- Flower of Paradise Lost (4)*
- Gilded Dreams (4)*
- 80 EM (2) + 80 EM (2)*

1) 4-Pc Deepwood Memories
2-Piece Bonus: Dendro DMG Bonus +15%
4-Piece Bonus: After Elemental Skills or Bursts hit opponents, the targets' Dendro RES will be decreased by 30% for 8s. This effect can be triggered even if the equipping character is not on the field.
Note: This set is the default option in teams where you care about reducing Dendro resistance and nobody else on the team is using it.

2) 4-Pc Tenacity of the Millelith
2-Piece Bonus: HP +20%
4-Piece Bonus: When an Elemental Skill hits an opponent, the ATK of all nearby party members is increased by 20% and their Shield Strength is increased by 30% for 3s. This effect can be triggered once every 0.5s. This effect can still be triggered even when the character who is using this artifact set is not on the field.
Note: This set is a good option in teams where reducing Dendro resistance is not important, such as Yaoyao, Anemo, two Electro damage dealers (Aggravate).

3) 4-Pc Instructor
2-Piece Bonus: Increases Elemental Mastery by 80.
4-Piece Bonus: Upon triggering an Elemental Reaction, increases all party members' Elemental Mastery by 120 for 8s.
Note: Similarly to Tenacity, this set can be a good option in teams where reducing Dendro resistance is not important, or if someone else on the team is already using Deepwood Memories. Do note that Yaoyao has to trigger a reaction on-field to provide the 4pc bonus. Additionally, your stat potential on this set will be limited as it does not come in 5* rarity.

4) Ocean-Hued Clam
2-Piece Bonus: Healing Bonus +15%.
4-Piece Bonus: When the character equipping this artifact set heals a character in the party, a Sea-Dyed Foam will appear for 3 seconds, accumulating the amount of HP recovered from healing (including overflow healing).
At the end of the duration, the Sea-Dyed Foam will explode, dealing DMG to nearby opponents based on 90% of the accumulated healing.
(This DMG is calculated similarly to Reactions such as Electro-Charged, and Superconduct, but it is not affected by Elemental Mastery, Character Levels, or Reaction DMG Bonuses).
Only one Sea-Dyed Foam can be produced every 3.5 seconds.
Each Sea-Dyed Foam can accumulate up to 30,000 HP (including overflow healing).
There can be no more than one Sea-Dyed Foam active at any given time.
This effect can still be triggered even when the character who is using this artifact set is not on the field.
Note: This set is a good option in teams where you on-field Yaoyao and a supportive set is not needed.

5) Maiden Beloved
2-Piece Bonus: Character Healing Effectiveness +15%
4-Piece Bonus: Using an Elemental Skill or Burst increases healing received by all party members by 20% for 10s.
6) +15% Healing Bonus set (2) / +20% HP set (2) / Emblem of Severed Fate (2) [Choose Two]

7) Flower of Paradise Lost
2-Piece Bonus: Elemental Mastery +80
4-Piece Bonus: The equipping character's Bloom, Hyperbloom, and Burgeon reaction DMG are increased by 40%. Additionally, after the equipping character triggers Bloom, Hyperbloom, or Burgeon, they will gain another 25% bonus to the effect mentioned prior. Each stack of this lasts 10s. Max 4 stacks simultaneously. This effect can only be triggered once per second. The character who equips this can still trigger its effects when not on the field.

8) Gilded Dreams
2-Piece Bonus: Increases Elemental Mastery by 80.
4-Piece Bonus: Within 8s of triggering an Elemental Reaction, the character equipping this will obtain buffs based on the Elemental Type of the other party members. ATK is increased by 14% for each party member whose Elemental Type is the same as the equipping character, and Elemental Mastery is increased by 50 for every party member with a different Elemental Type. Each of the aforementioned buffs will count up to 3 characters. This effect can be triggered once every 8s. The character who equips this can still trigger its effects when not on the field.
9) 80 EM (2) + 80 EM (2)*
| Artifact Main Stats | Artifact Sub Stats |
|---|---|
| Sands - HP% / Energy Recharge% Goblet - HP% Circlet - Healing Bonus% | Energy Recharge% until requirement is met HP% Crit Rate* Flat HP *Try to build some Crit Rate through substats if using Favonius Lance. Crit Rate is not important on other weapons. |
Team Compositions
Yaoyao focuses on healing and applying Dendro with her Elemental Skill and Burst. She can be used in a wide range of team archetypes, but do note her Dendro application from her Elemental Skill alone is generally insufficient for Bloom/Hyperbloom/Burgeon teams as a solo Dendro option.
Hyperbloom Team

Yaoyao: Healer + Dendro Application
Kuki Shinobu / Raiden Shogun: AoE Electro Application
Xingqiu: Sub-DPS
Flex (DMC / Nahida / Alhaitham): Dendro DPS / Application
Quicken Team
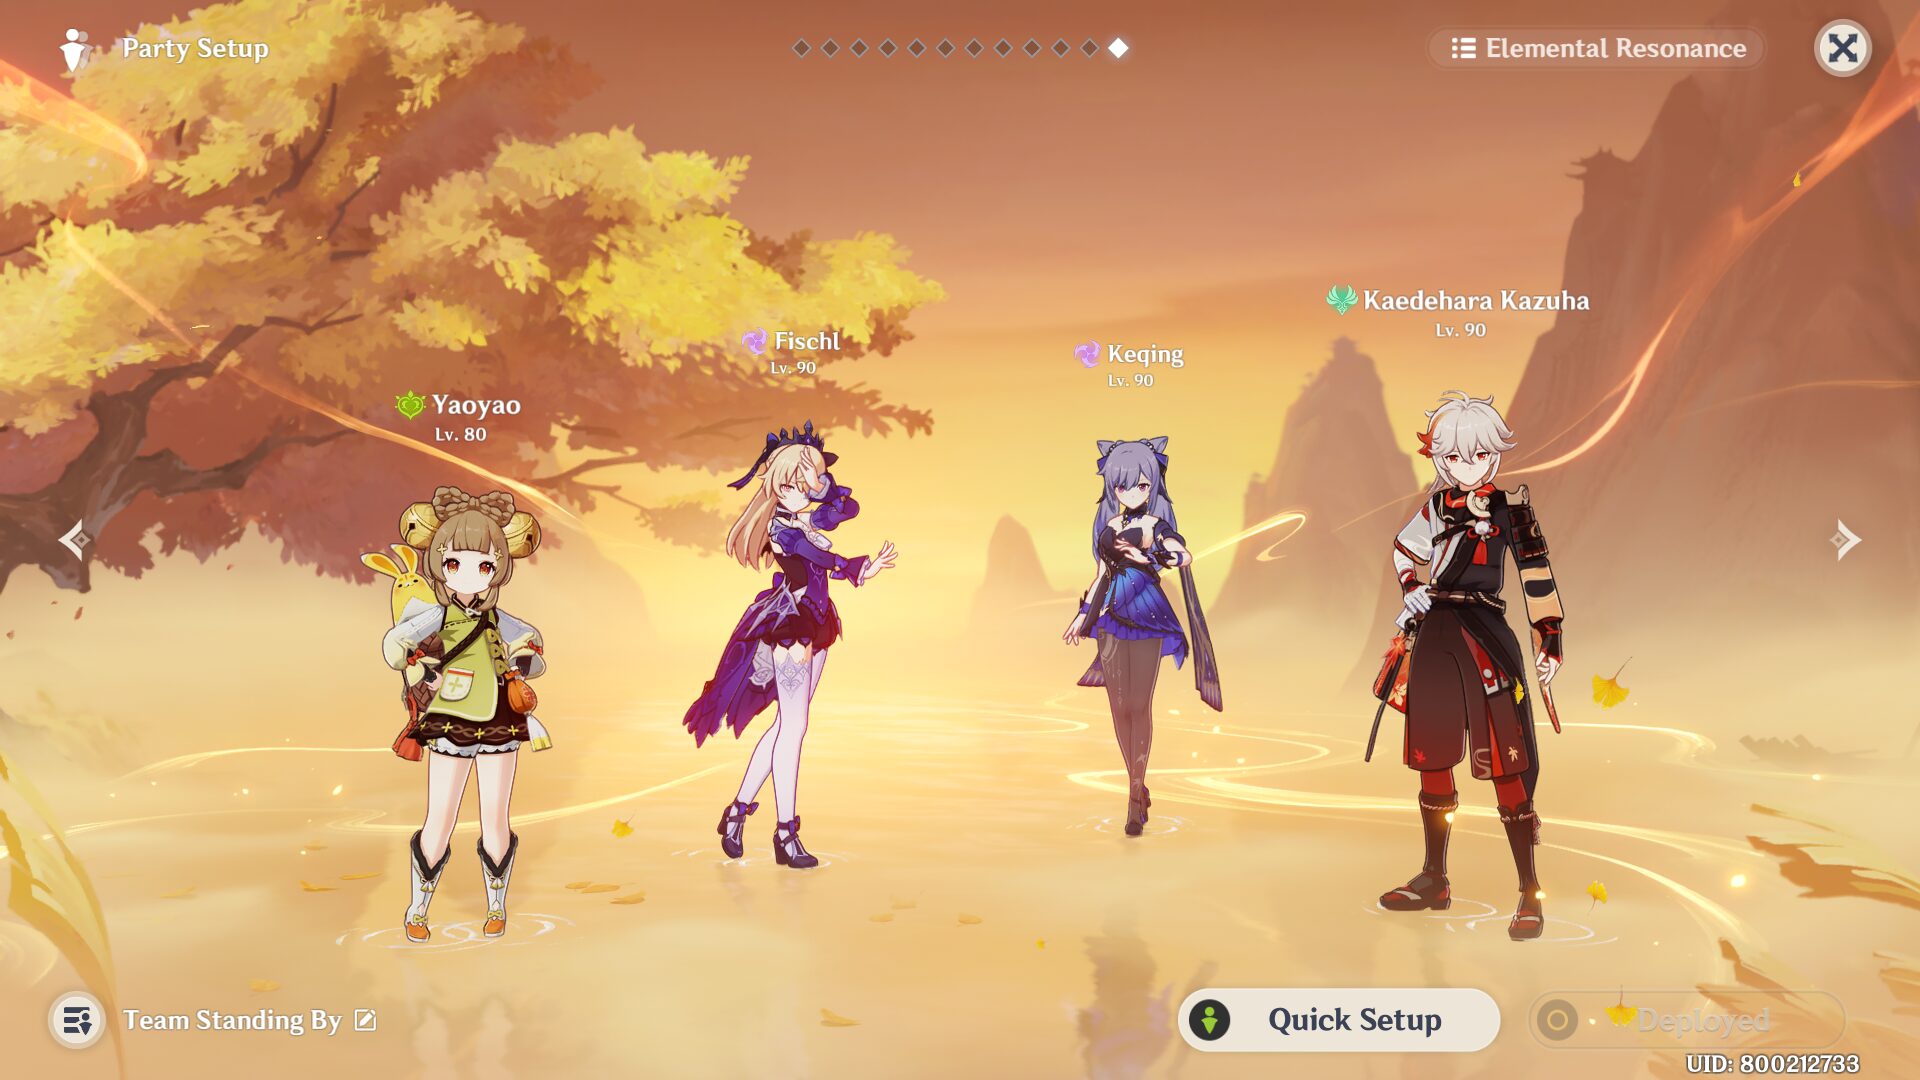
Yaoyao: Healer + Dendro Application
Fischl: Battery + Sub-DPS
Keqing / Raiden Shogun / Yae Miko: Main DPS
Flex (Kazuha / Sucrose / Venti / Zhongli): Elemental RES Shred
Burgeon Team
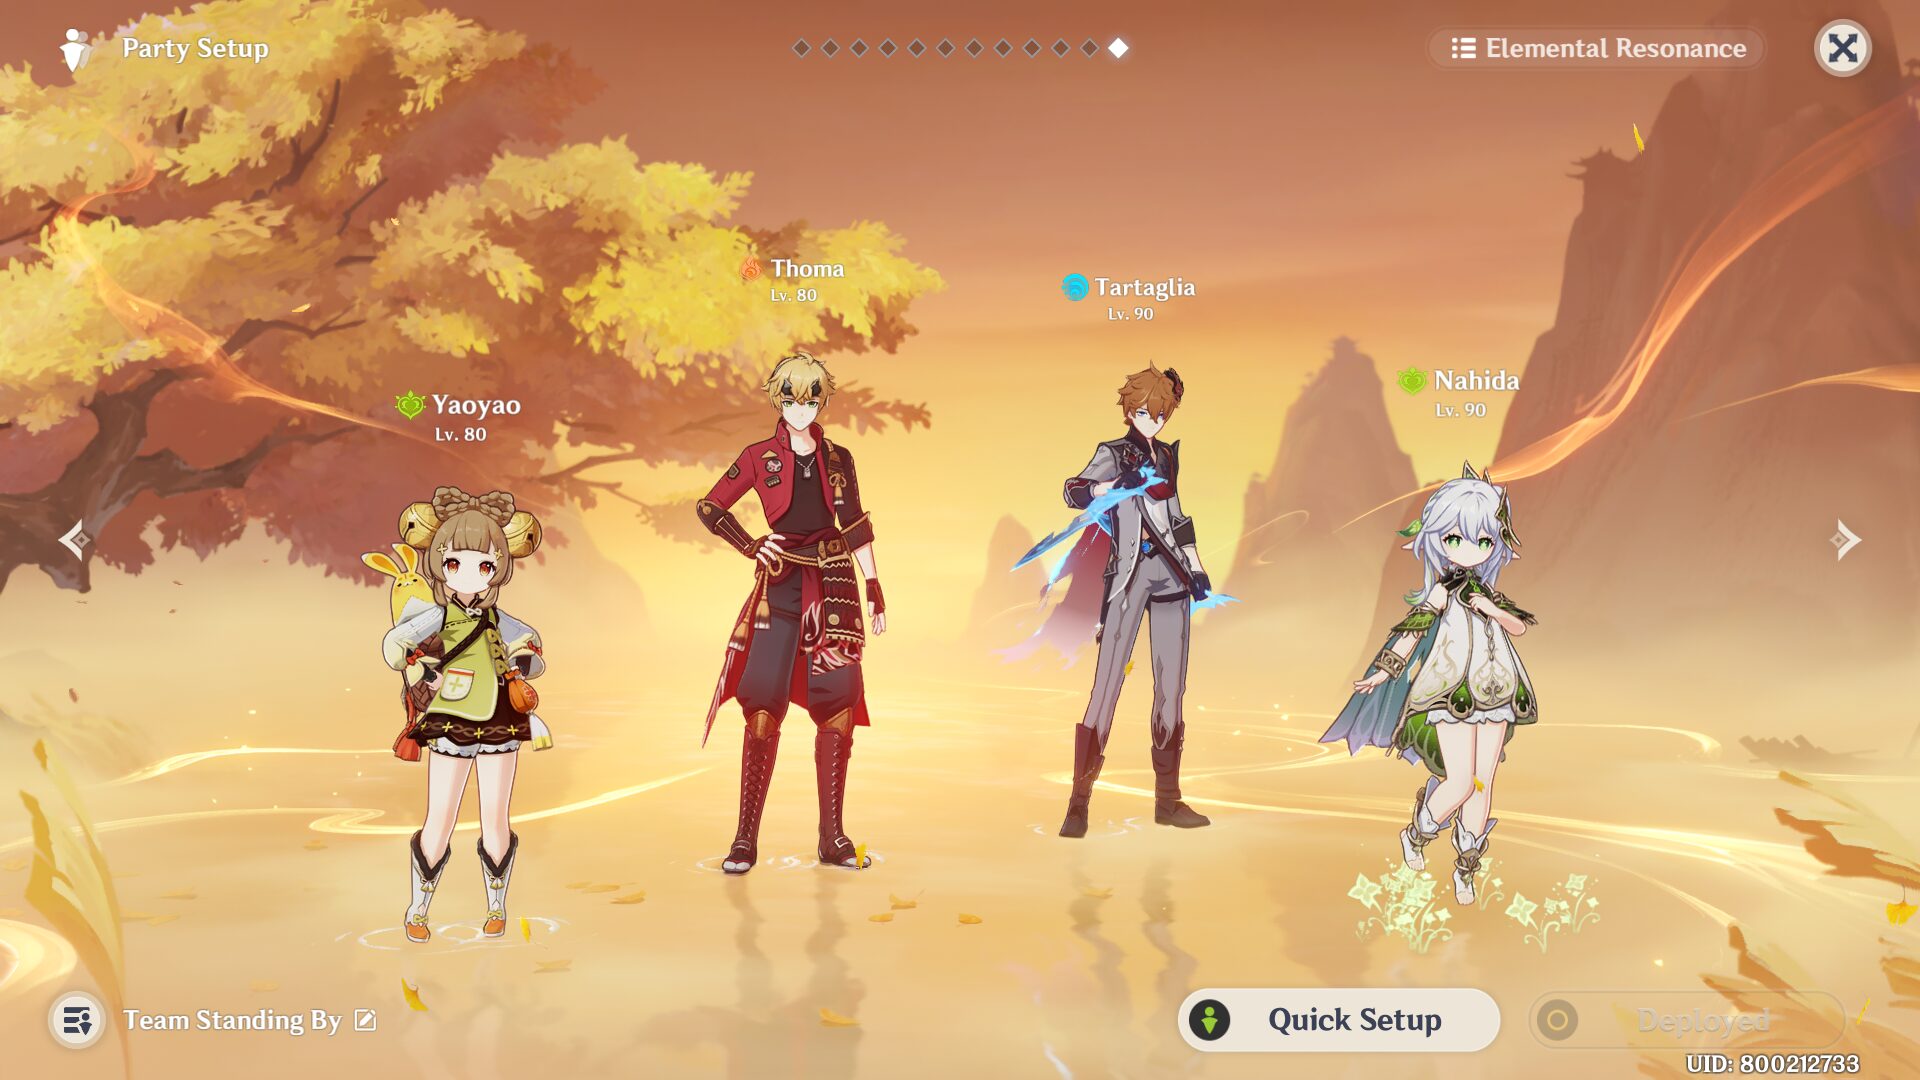
Yaoyao: Healer + Dendro Application
Thoma: Pyro Application
Tartaglia / Xingqiu / Yelan / Ayato / Kokomi: Main DPS / Driver
Nahida / DMC: Dendro Application
Nilou Bloom Team
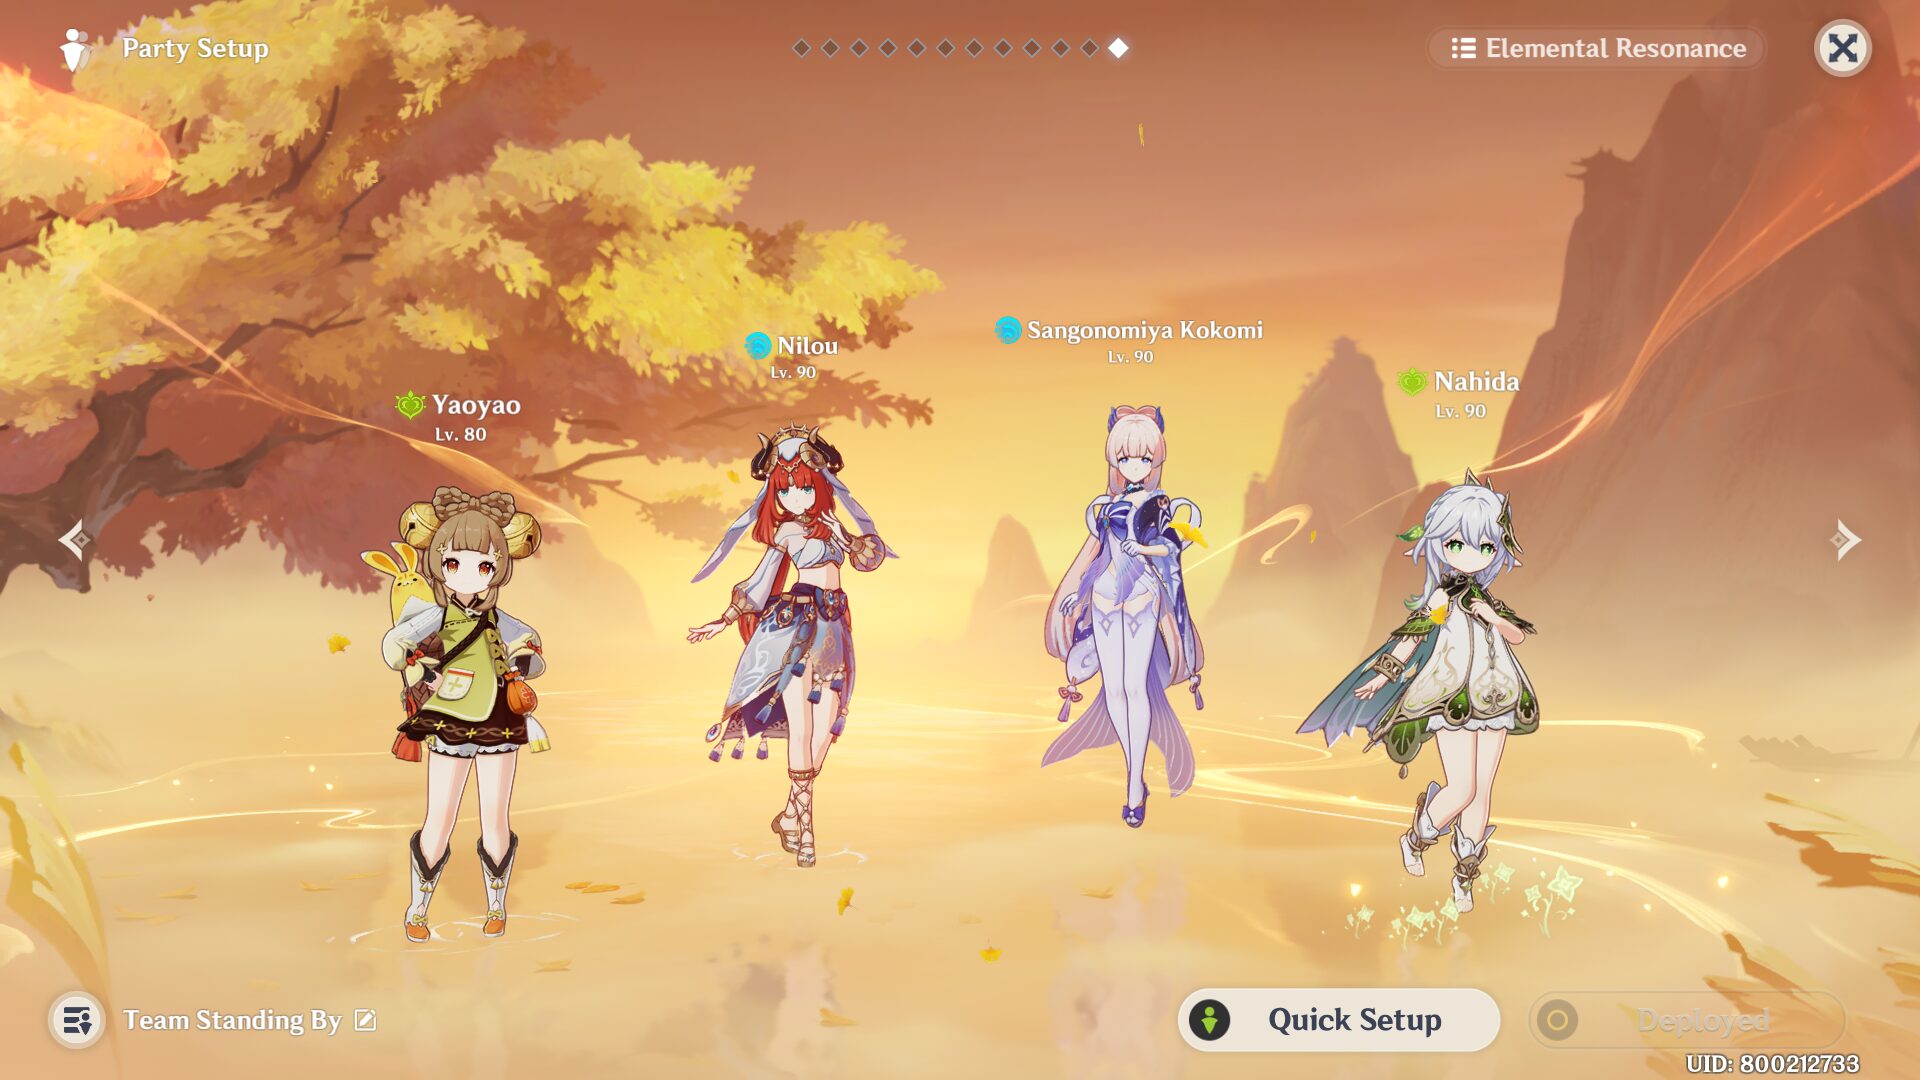
Yaoyao: Healer + Dendro Application
Nilou: Big Boss
Kokomi: Healer
Nahida / DMC: Dendro Application
In a Bloom team where Yaoyao has a significant amount of Bloom ownership, Elemental Mastery is preferred as a mainstat on your Goblet and Circlet, Elemental Mastery can also be used on your Sands if an Energy Recharge Sands is not required. Additionally, Elemental Mastery substats become good.

Sora
Articles: 327More Articles
Genshin Impact: Reminiscent Regimen: Thrill Event Guide
Genshin Impact: Spiral Abyss V5.1 Floor 12 Complete Guide

Genshin Impact: Spiral Abyss V5.1 Floor 11 Complete Guide
Genshin Impact: Xilonen Quick Character Guide
Xilonen Team Compositions
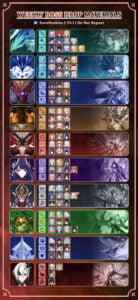
Genshin Impact: Talent Level-Up Materials Chart (Updated V5.1)
Genshin Impact: All New Achievements in Version 5.1
Genshin Impact: Envisaged Echoes Keqing Guide
Genshin Impact: Envisaged Echoes Zhongli Guide
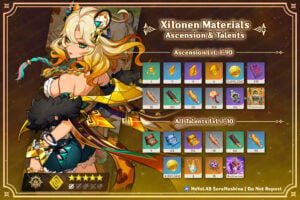
Genshin Impact: Xilonen Ascension and Talent Materials

Genshin Impact Codes – October 2024
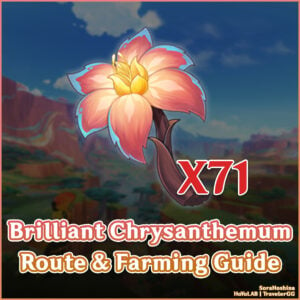
Genshin Impact: Brilliant Chrysanthemum Route & Farming Guide
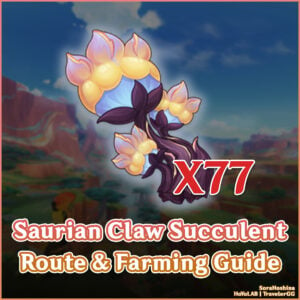
Genshin Impact: Saurian Claw Succulent Route & Farming Guide
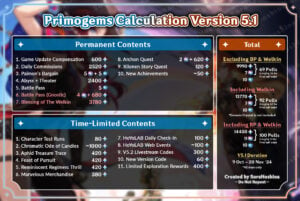
Genshin Impact: Primogems Calculation Version 5.1
Genshin Impact: Imaginarium Theater Version 5.0 October Guide

Genshin Impact 5.1 Special Program Livestream Overview
3 New Redemption Codes from 5.1 Special Program
Genshin Impact 5.1 Livestream Countdown

Genshin Impact: Version 5.0 Tier List (September 2024)