Table of Contents
Sucrose is an Anemo catalyst user that can be used as off-field support or driver. Although she was released in the first patch of the game, she is still viable in the current content with her abilities.
This guide is based on the Community Character Builds by the Genshin Helper Team.
Talent Priorities
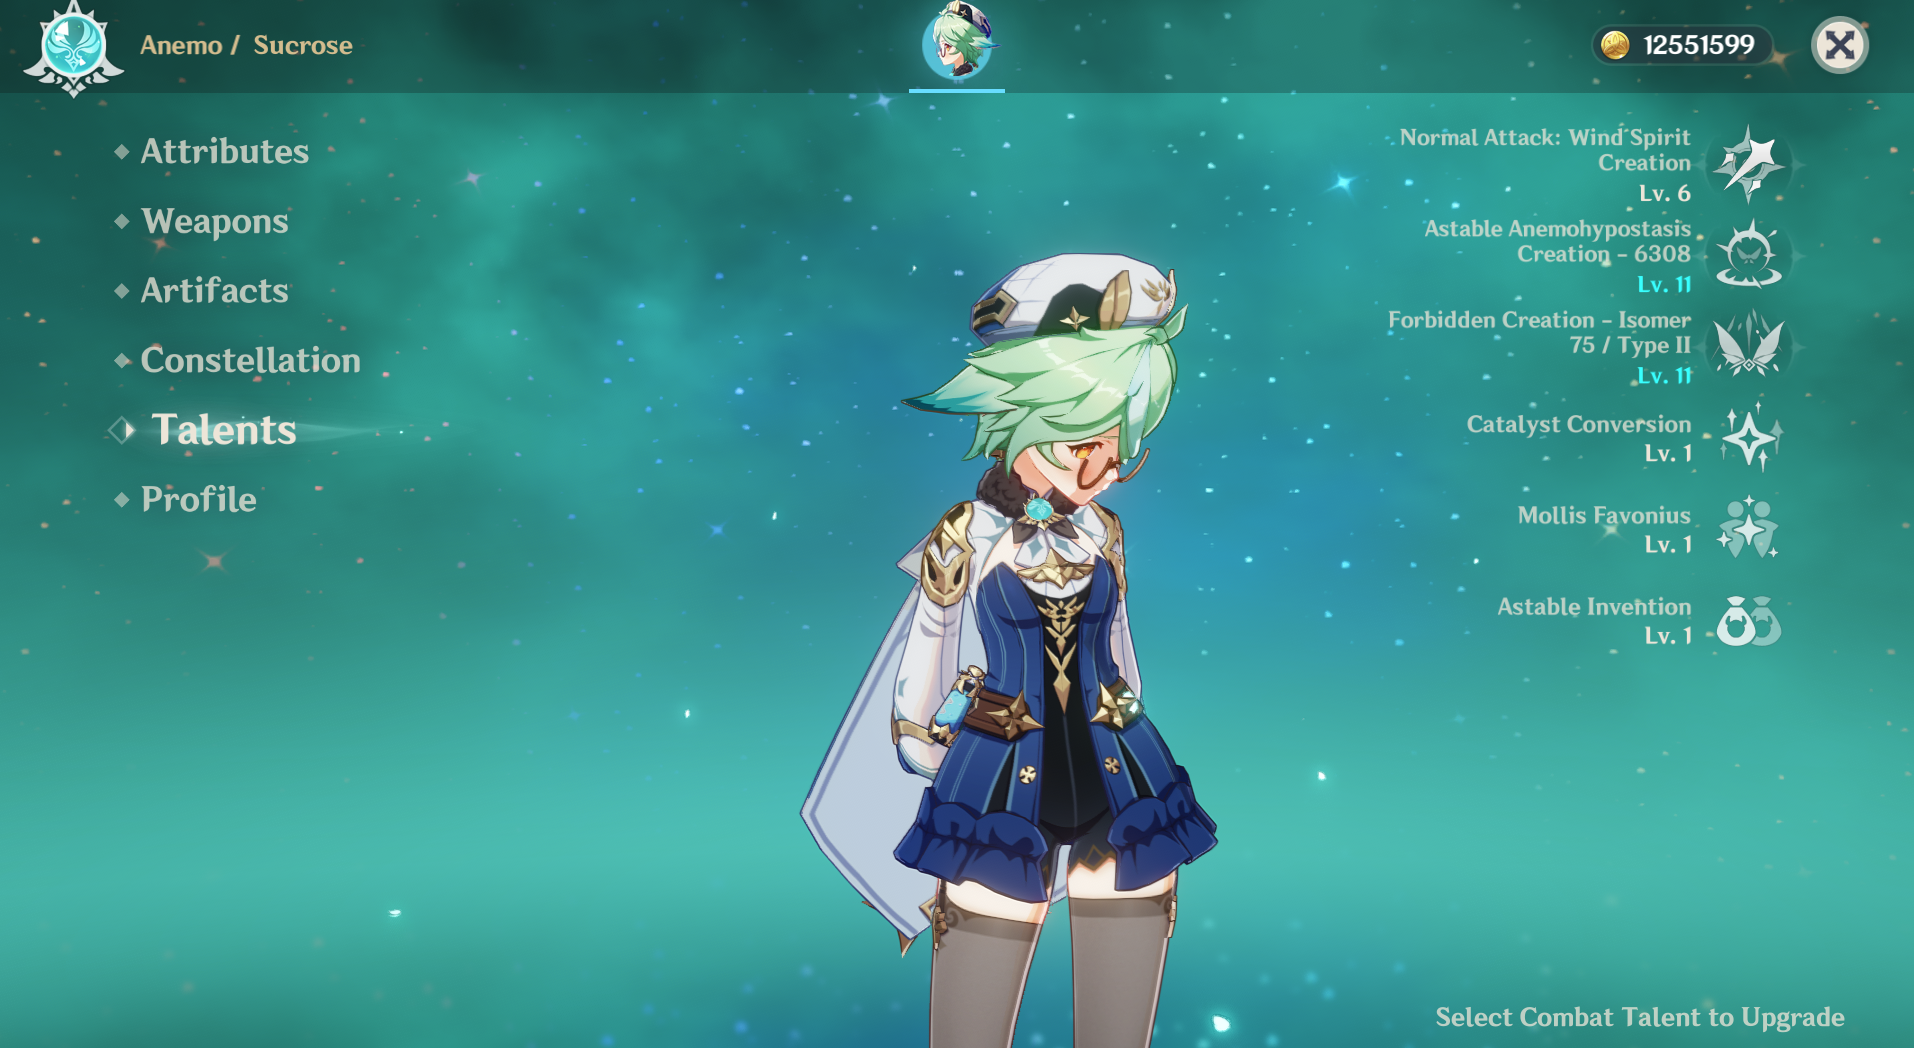
Skill > Burst
*Sucrose's Talent Levels are not a necessity
When utilized as a Viridescent Venerer (4) artifact set holder, make sure you don't immediately swap away after casting Skill/Burst, you need to be on-field when the swirl reaction happens for you to trigger the 4-set effect.
Sucrose's Ascension 4 Talent boosts the entire team's EM by 20% of Sucrose's total EM, this is why you want to stack as much Elemental Mastery as possible in her artifacts. As a support, most of Sucrose's value lies on her Ascension 1 and 4 talents, hence leveling her other talents (Normal Attack, Skill, Burst) is not required.
Constellations
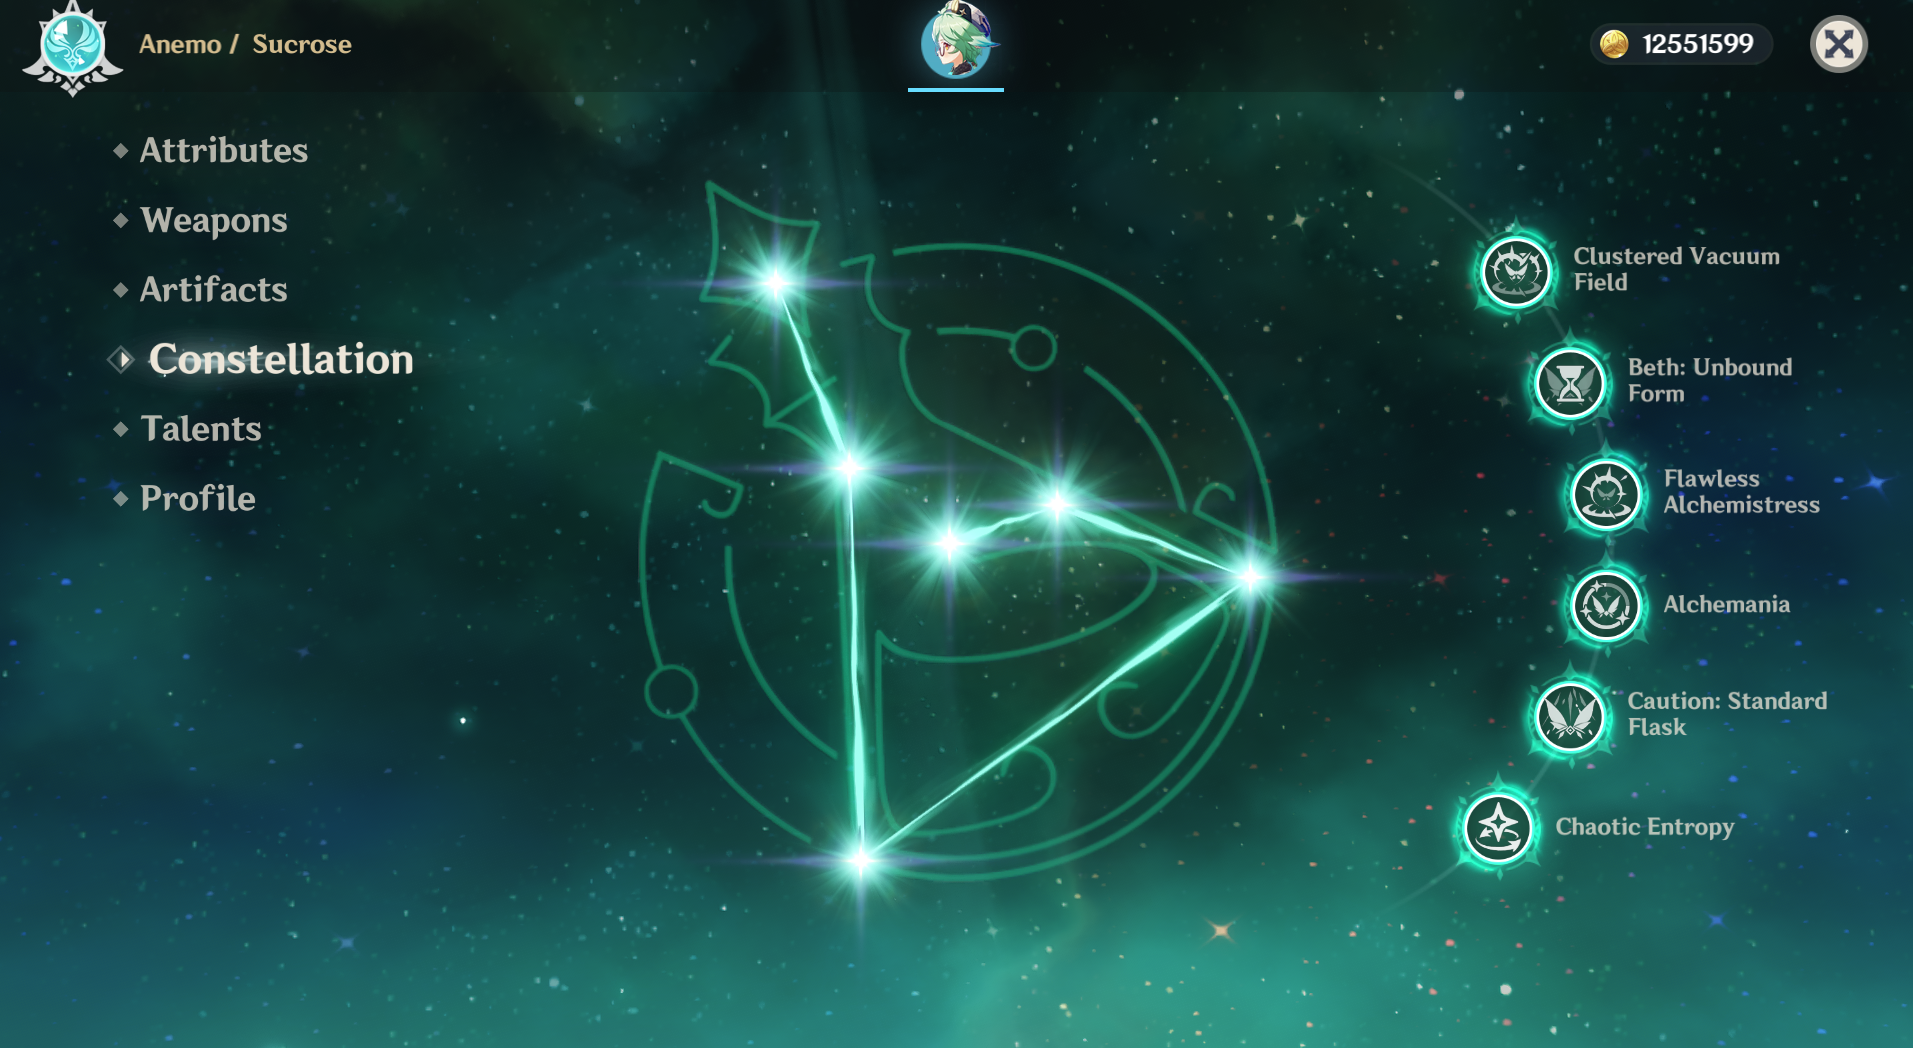
Best Constellations: C1, C4 & C6
C1: Clustered Vacuum Field
Astable Anemohypostasis Creation - 6308 gains 1 additional charge.
C2: Beth: Unbound Form
The duration of Forbidden Creation - Isomer 75 / Type II is increased by 2s.
C3: Flawless Alchemistress
Increases the Level of Astable Anemohypostasis Creation - 6308 by 3.
Maximum upgrade level is 15.
C4: Alchemania
Every 7 Normal and Charged Attacks, Sucrose will reduce the CD of Astable Anemohypostasis Creation - 6308 by 1-7s.
C5: Caution: Standard Flask
Increases the Level of Forbidden Creation - Isomer 75 / Type II by 3.
Maximum upgrade level is 15.
C6: Chaotic Entropy
If Forbidden Creation - Isomer 75 / Type II triggers an Elemental Absorption, all party members gain a 20% Elemental DMG Bonus for the corresponding absorbed element during its duration.
Recommended Weapons
- A Thousand Floating Dreams (5✩)
- Sacrificial Fragments (4✩)
~= Thrilling Tales of Dragon Slayers (3✩)* - Hakushin Ring (4✩)*
- Magic Guide (3✩)
- Favonius Codex (4✩)*

1) A Thousand Floating Dreams (ATK: 542 • Elemental Mastery: 265)
[Refinement 1] Party members other than the equipping character will provide the equipping character with buffs based on whether their Elemental Type is the same as the latter or not. If their Elemental Types are the same, increase Elemental Mastery by 32. If not, increase the equipping character's DMG Bonus from their Elemental Type by 10%. Each of the aforementioned effects can have up to 3 stacks. Additionally, all nearby party members other than the equipping character will have their Elemental Mastery increased by 40. Multiple such effects from multiple such weapons can stack.

2) Sacrificial Fragments (ATK: 454 • Elemental Mastery: 221)
[Refinement 5] After dealing damage to an opponent with an Elemental Skill, the skill has a 80% chance to end its own CD. Can only occur once every 16s.

3) Hakushin Ring (ATK: 565 • Energy Recharge: 30.6%)
[Refinement 5] After the character equipped with this weapon triggers an Electro elemental reaction, nearby party members of an Elemental Type involved in the elemental reaction receive a 20% Elemental DMG Bonus for their element, lasting 6s. Elemental Bonuses gained in this way cannot be stacked.
Note: This weapon is a good option for teams where Sucrose can swirl Electro to trigger its damage-boosting passive. In Electro-Charged teams, she can buff Hydro DMG% as well.

4) Magic Guide (ATK: 354 • Elemental Mastery: 187)
[Refinement 1] Increases DMG against opponents affected by Hydro or Electro by 12%.

5) Favonius Codex (ATK: 510 • Energy Recharge: 45.9%)
[Refinement 1] CRIT hits have a 60% chance to generate a small amount of Elemental Particles, which will regenerate 6 Energy for the character. Can only occur once every 12s.
Note: This weapon can be useful if you value the extra energy generation from the passive. You may need to get a few Crit Rate substats to trigger the passive reliably.
There are some team compositions in which Sucrose's Elemental Mastery is not a priority, such as Freeze teams or an Anemo battery for Xiao. In such situations, Sucrose should use Thrilling Tales of the Dragon Slayers.
Recommended Artifacts
- Viridescent Venerer (4)
- Instructor (4)
- +80 EM set (2) +80 EM set (2)

1) 4-Pc Viridescent Venerer
2-Piece Bonus: Anemo DMG Bonus +15%
4-Piece Bonus: Increases Swirl DMG by 60%. Decreases opponent's Elemental RES to the element infused in the Swirl by 40% for 10s.

2) 4-Pc Instructor
2-Piece Bonus: Increases Elemental Mastery by 80.
4-Piece Bonus: Upon triggering an Elemental Reaction, increases all party members' Elemental Mastery by 120 for 8s.

3) +80 EM set (2) +80 EM set (2)
| Artifact Main Stats | Artifact Sub Stats |
|---|---|
| Sands - Elemental Mastery Goblet - Elemental Mastery Circlet - Elemental Mastery | Elemental Mastery Energy Recharge ATK% Crit Rate / DMG |
Team Compositions
Aggravate Team

Sucrose: Driver
Baizhu / Yaoyao: Healer + Dendro Off-Field // Nahida: Dendro Applicant
Raiden Shogun / Yae Miko: On-field / Off-field DPS // Kuki Shinobu: Healer
Fischl: Off-field DPS
Hyperbloom Team

Sucrose: Driver
Nahida / Dendro MC: Dendro Applicant // Baizhu / Yaoyao: Healer + Dendro Off-Field
Sangonomiya Kokomi / Furina / Xingqiu: Hydro Applicant
Fischl / Beidou: Off-field DPS
Electro-Charged Team

Sucrose: Driver
Xingqiu: Hydro Applicant
Fischl: Off-field DPS
Beidou: Off-field DPS + Shielder
Vaporize Team
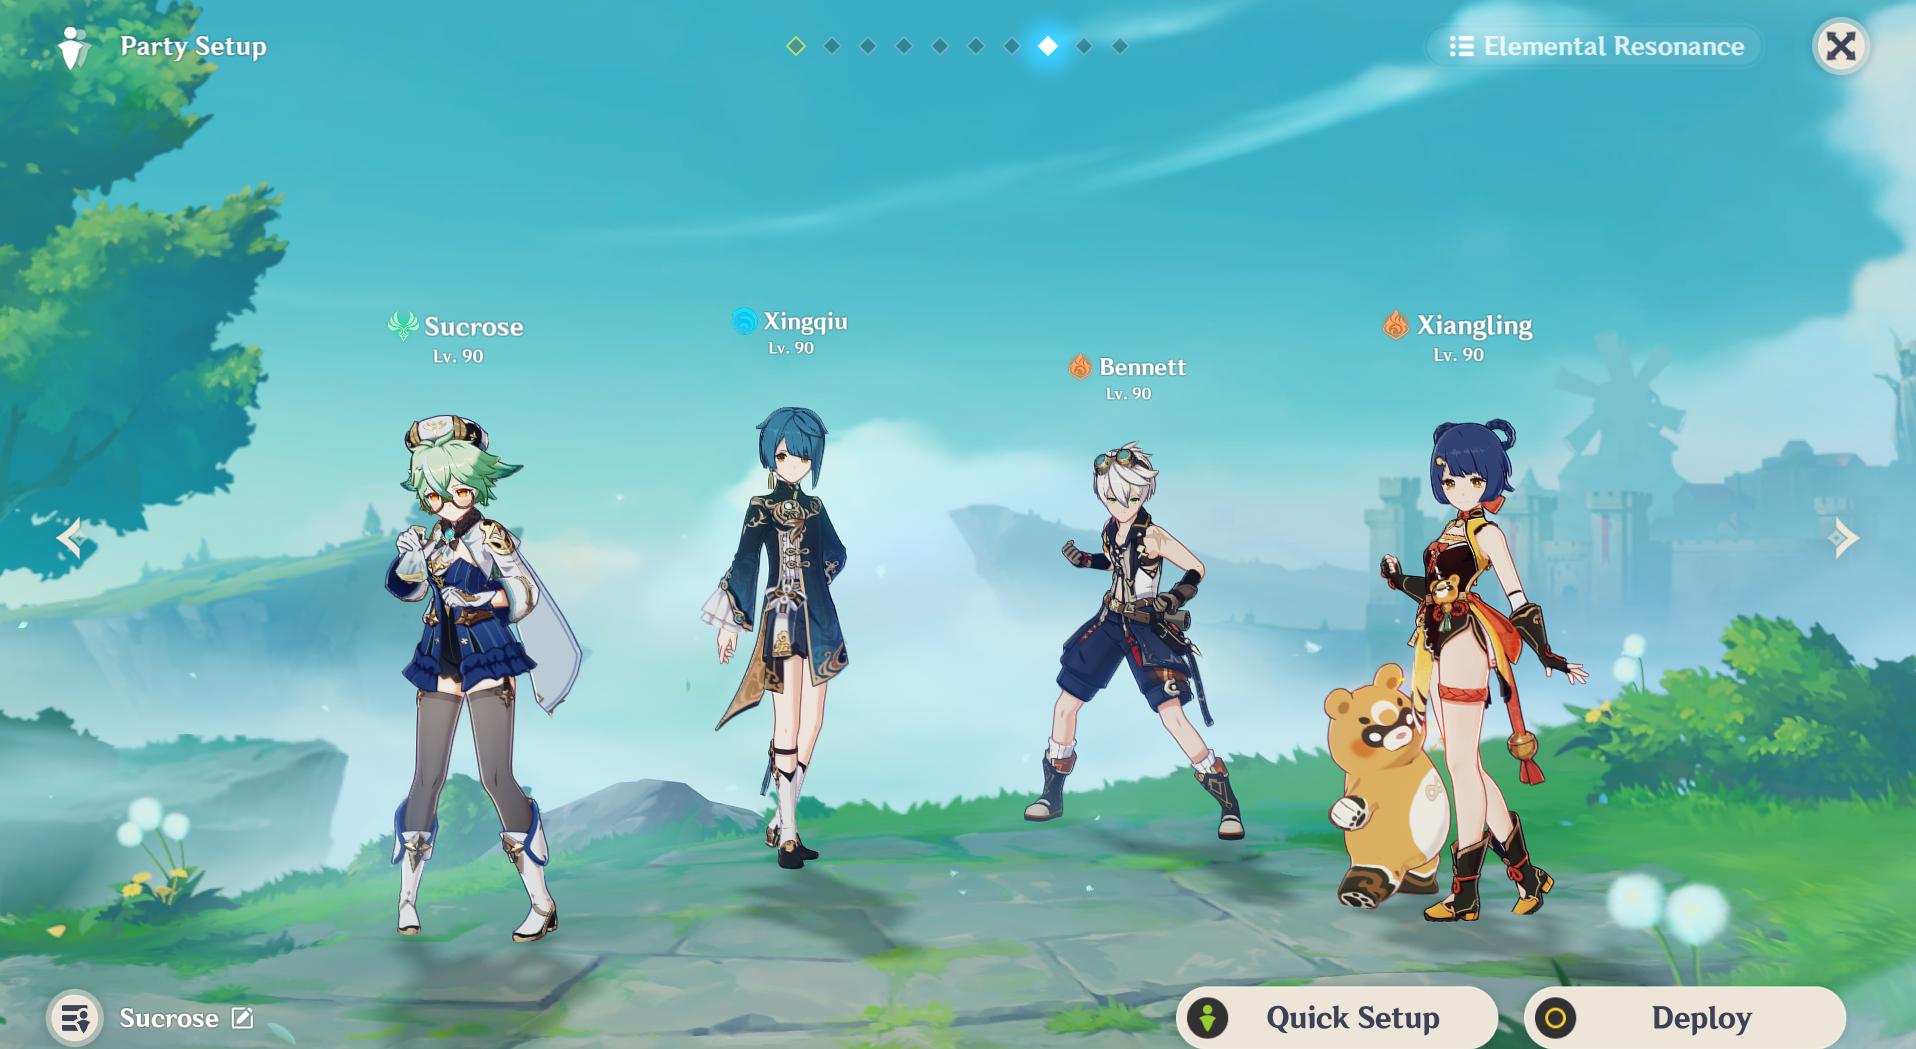
Sucrose: Driver
Xingqiu / Tartaglia: Hydro Applicant / Main DPS
Bennett: Healer + Buffer
Xiangling: Pyro Off-field DPS

Sora
Articles: 327More Articles

Genshin Impact: Reminiscent Regimen: Thrill Event Guide

Genshin Impact: Spiral Abyss V5.1 Floor 12 Complete Guide

Genshin Impact: Spiral Abyss V5.1 Floor 11 Complete Guide
Genshin Impact: Xilonen Quick Character Guide
Xilonen Team Compositions
Genshin Impact: Talent Level-Up Materials Chart (Updated V5.1)

Genshin Impact: All New Achievements in Version 5.1

Genshin Impact: Envisaged Echoes Keqing Guide

Genshin Impact: Envisaged Echoes Zhongli Guide
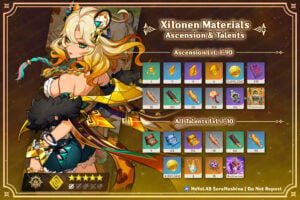
Genshin Impact: Xilonen Ascension and Talent Materials

Genshin Impact Codes – October 2024
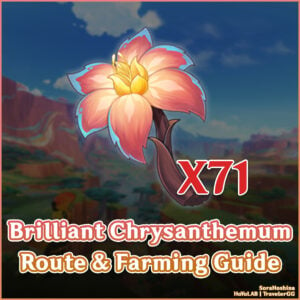
Genshin Impact: Brilliant Chrysanthemum Route & Farming Guide
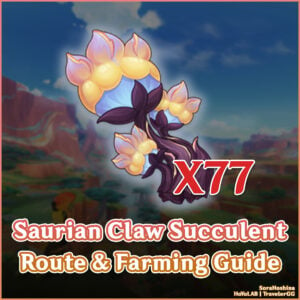
Genshin Impact: Saurian Claw Succulent Route & Farming Guide
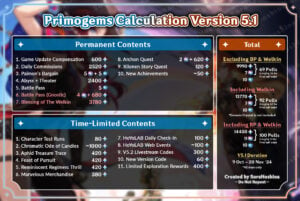
Genshin Impact: Primogems Calculation Version 5.1

Genshin Impact: Imaginarium Theater Version 5.0 October Guide

Genshin Impact 5.1 Special Program Livestream Overview
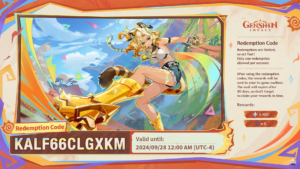
3 New Redemption Codes from 5.1 Special Program
Genshin Impact 5.1 Livestream Countdown

Genshin Impact: Version 5.0 Tier List (September 2024)