Table of Contents [Hide]
Floor 11 is the start of a challenge in Spiral Abyss for Genshin Impact players. The difficulty spikes up a little bit from the previous floor, in addition to the ever-changing roster of enemies in each version. In version 5.0, you will encounter lots of new enemies from Natlan, including old ones like Mirror Maiden and Consecrated enemy. Follow this guide to know more about enemies' lineup, their weaknesses, and how to complete the entire chamber on Floor 11.
Blessing of the Abyssal Moon
Reminder: Blessing of the Abyssal Moon will change every refresh cycle and may not be updated in this guide. But the enemies list and strategy will remain the same.
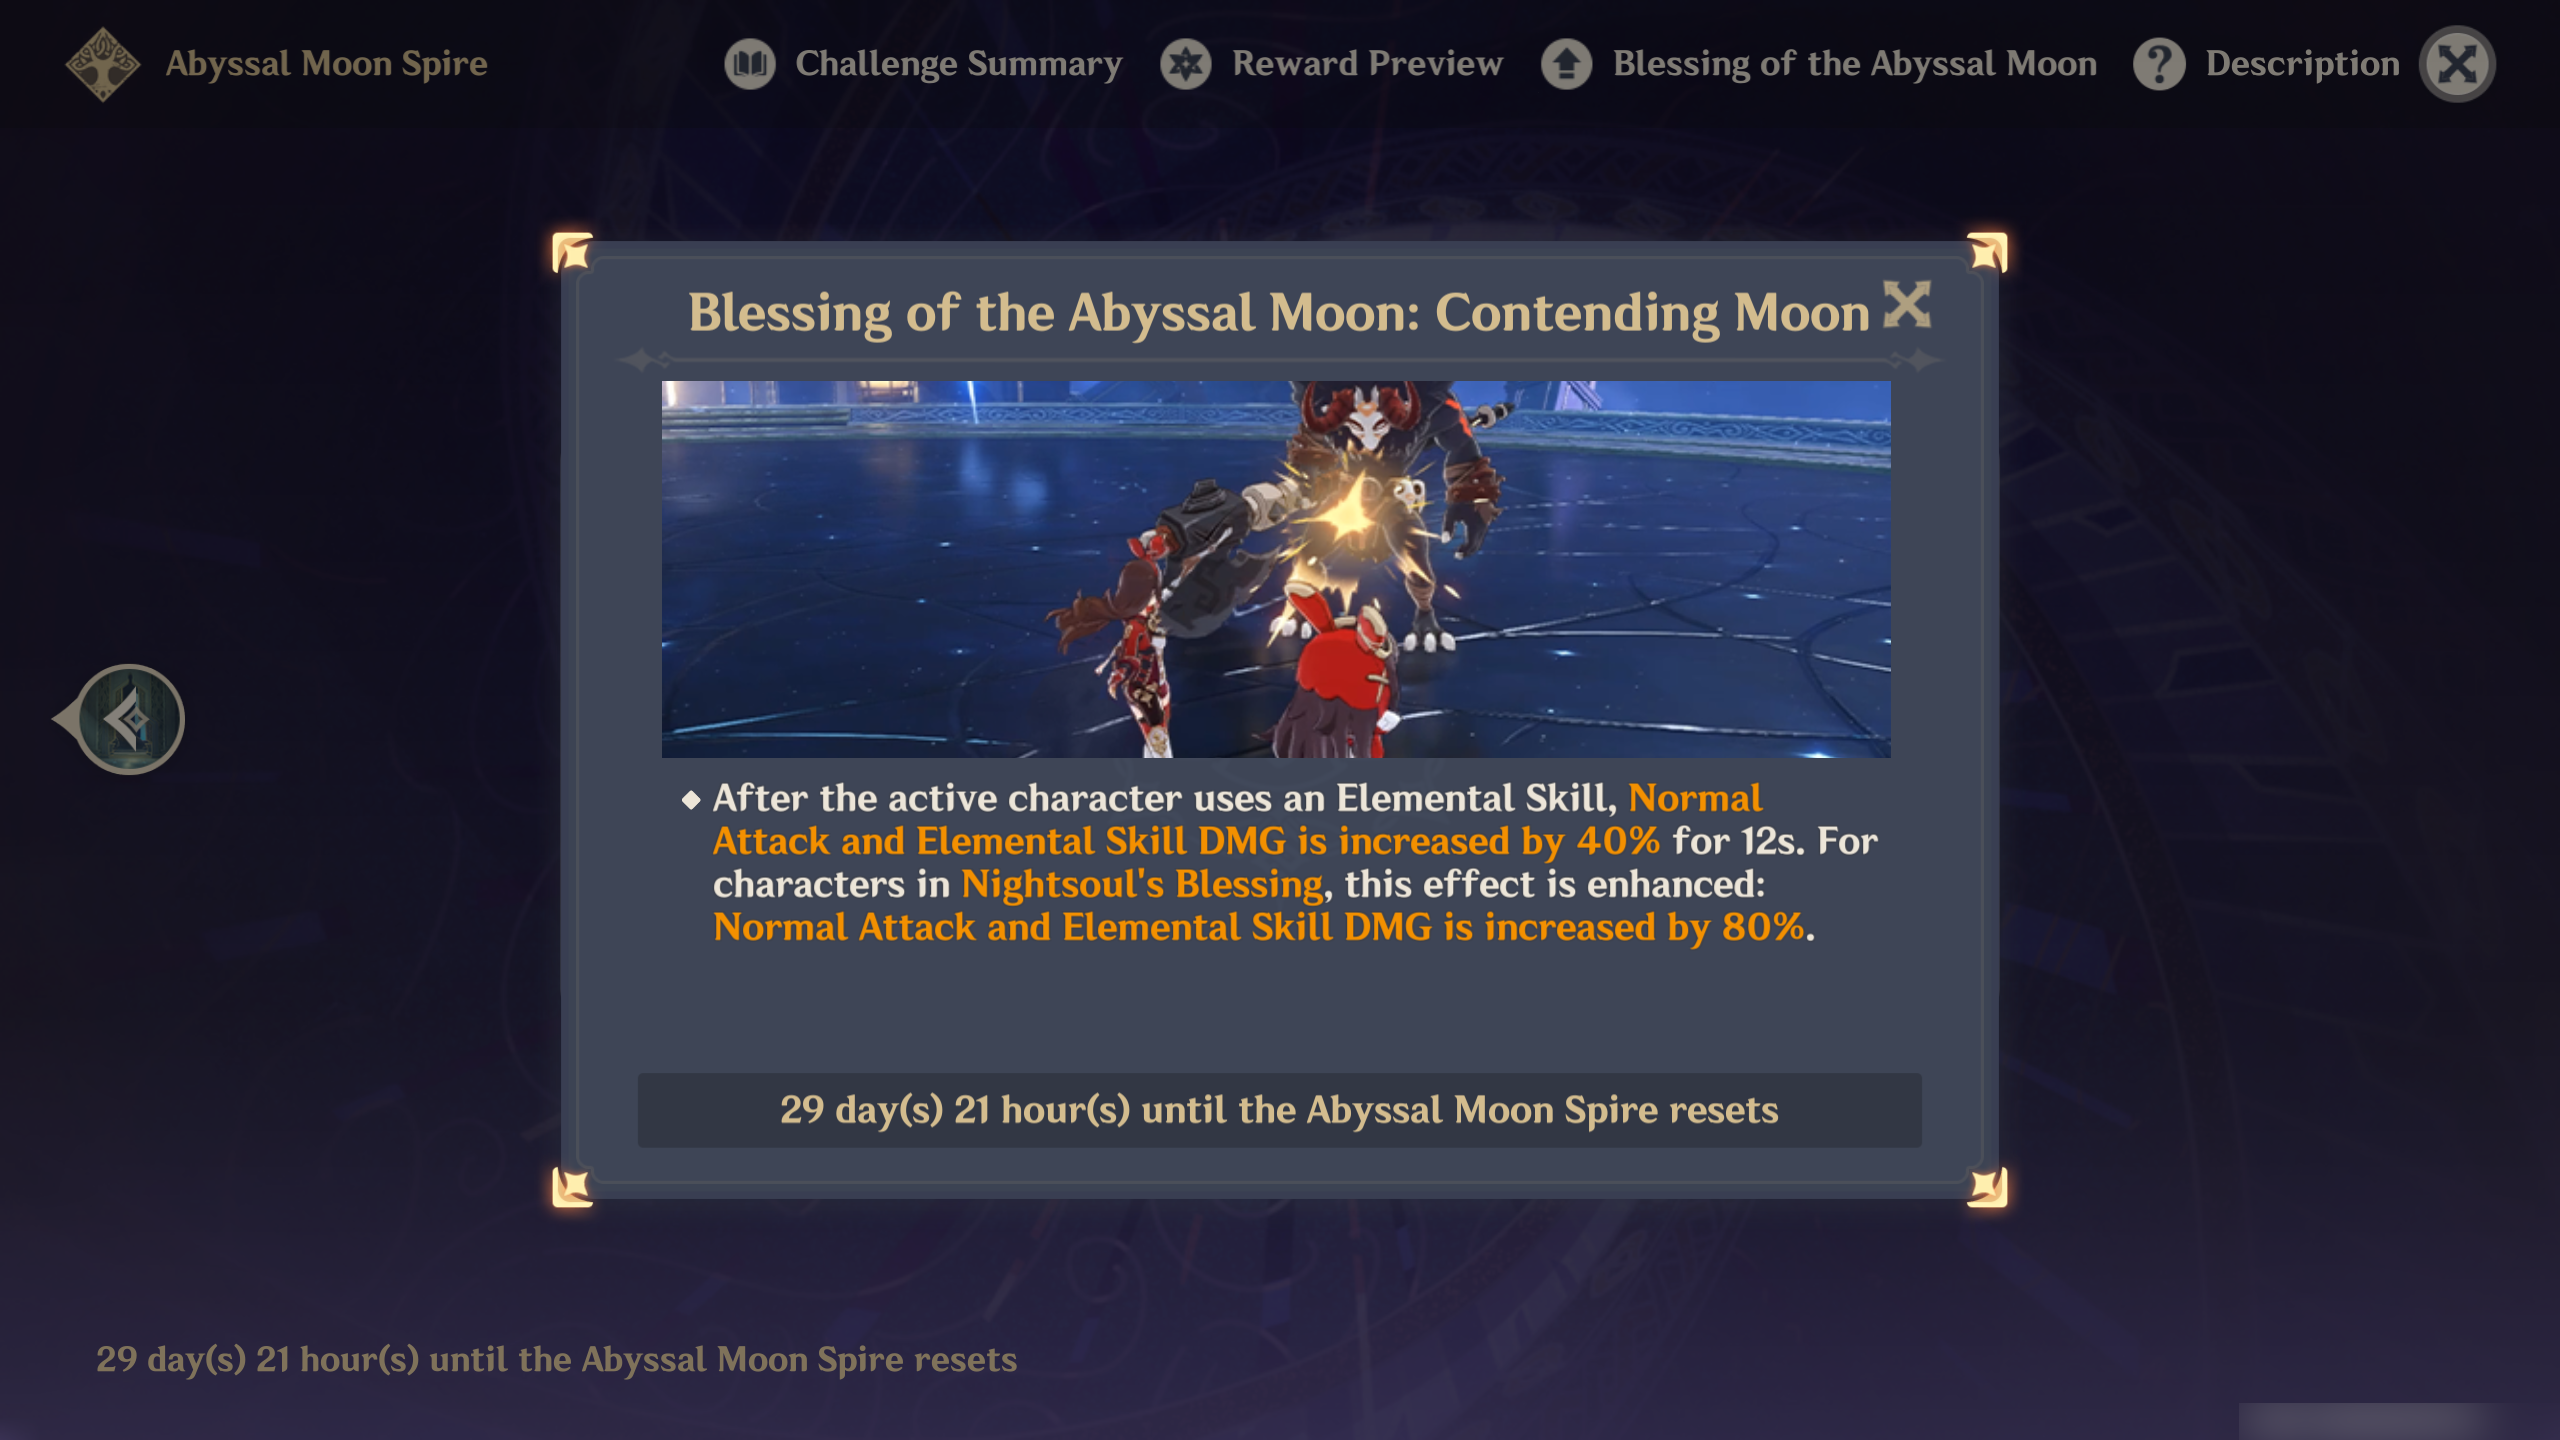
Blessing of the Abyssal Moon: Contending Moon
After the active character uses an Elemental Skill, Normal Attack and Elemental Skill DMG is increased by 40% for 12s. For characters in Nightsoul's Blessing, this effect is enhanced: Normal Attack and Elemental Skill DMG is increased by 80%.
Nightsoul's Blessing is only for Natlan character so if you want that juicy 80% increased DMG for Skill and Normal ATK, bring Natlan characters along. Although 40% for non-Natlan characters doesn't sound too bad either.
Ley Line Disorder
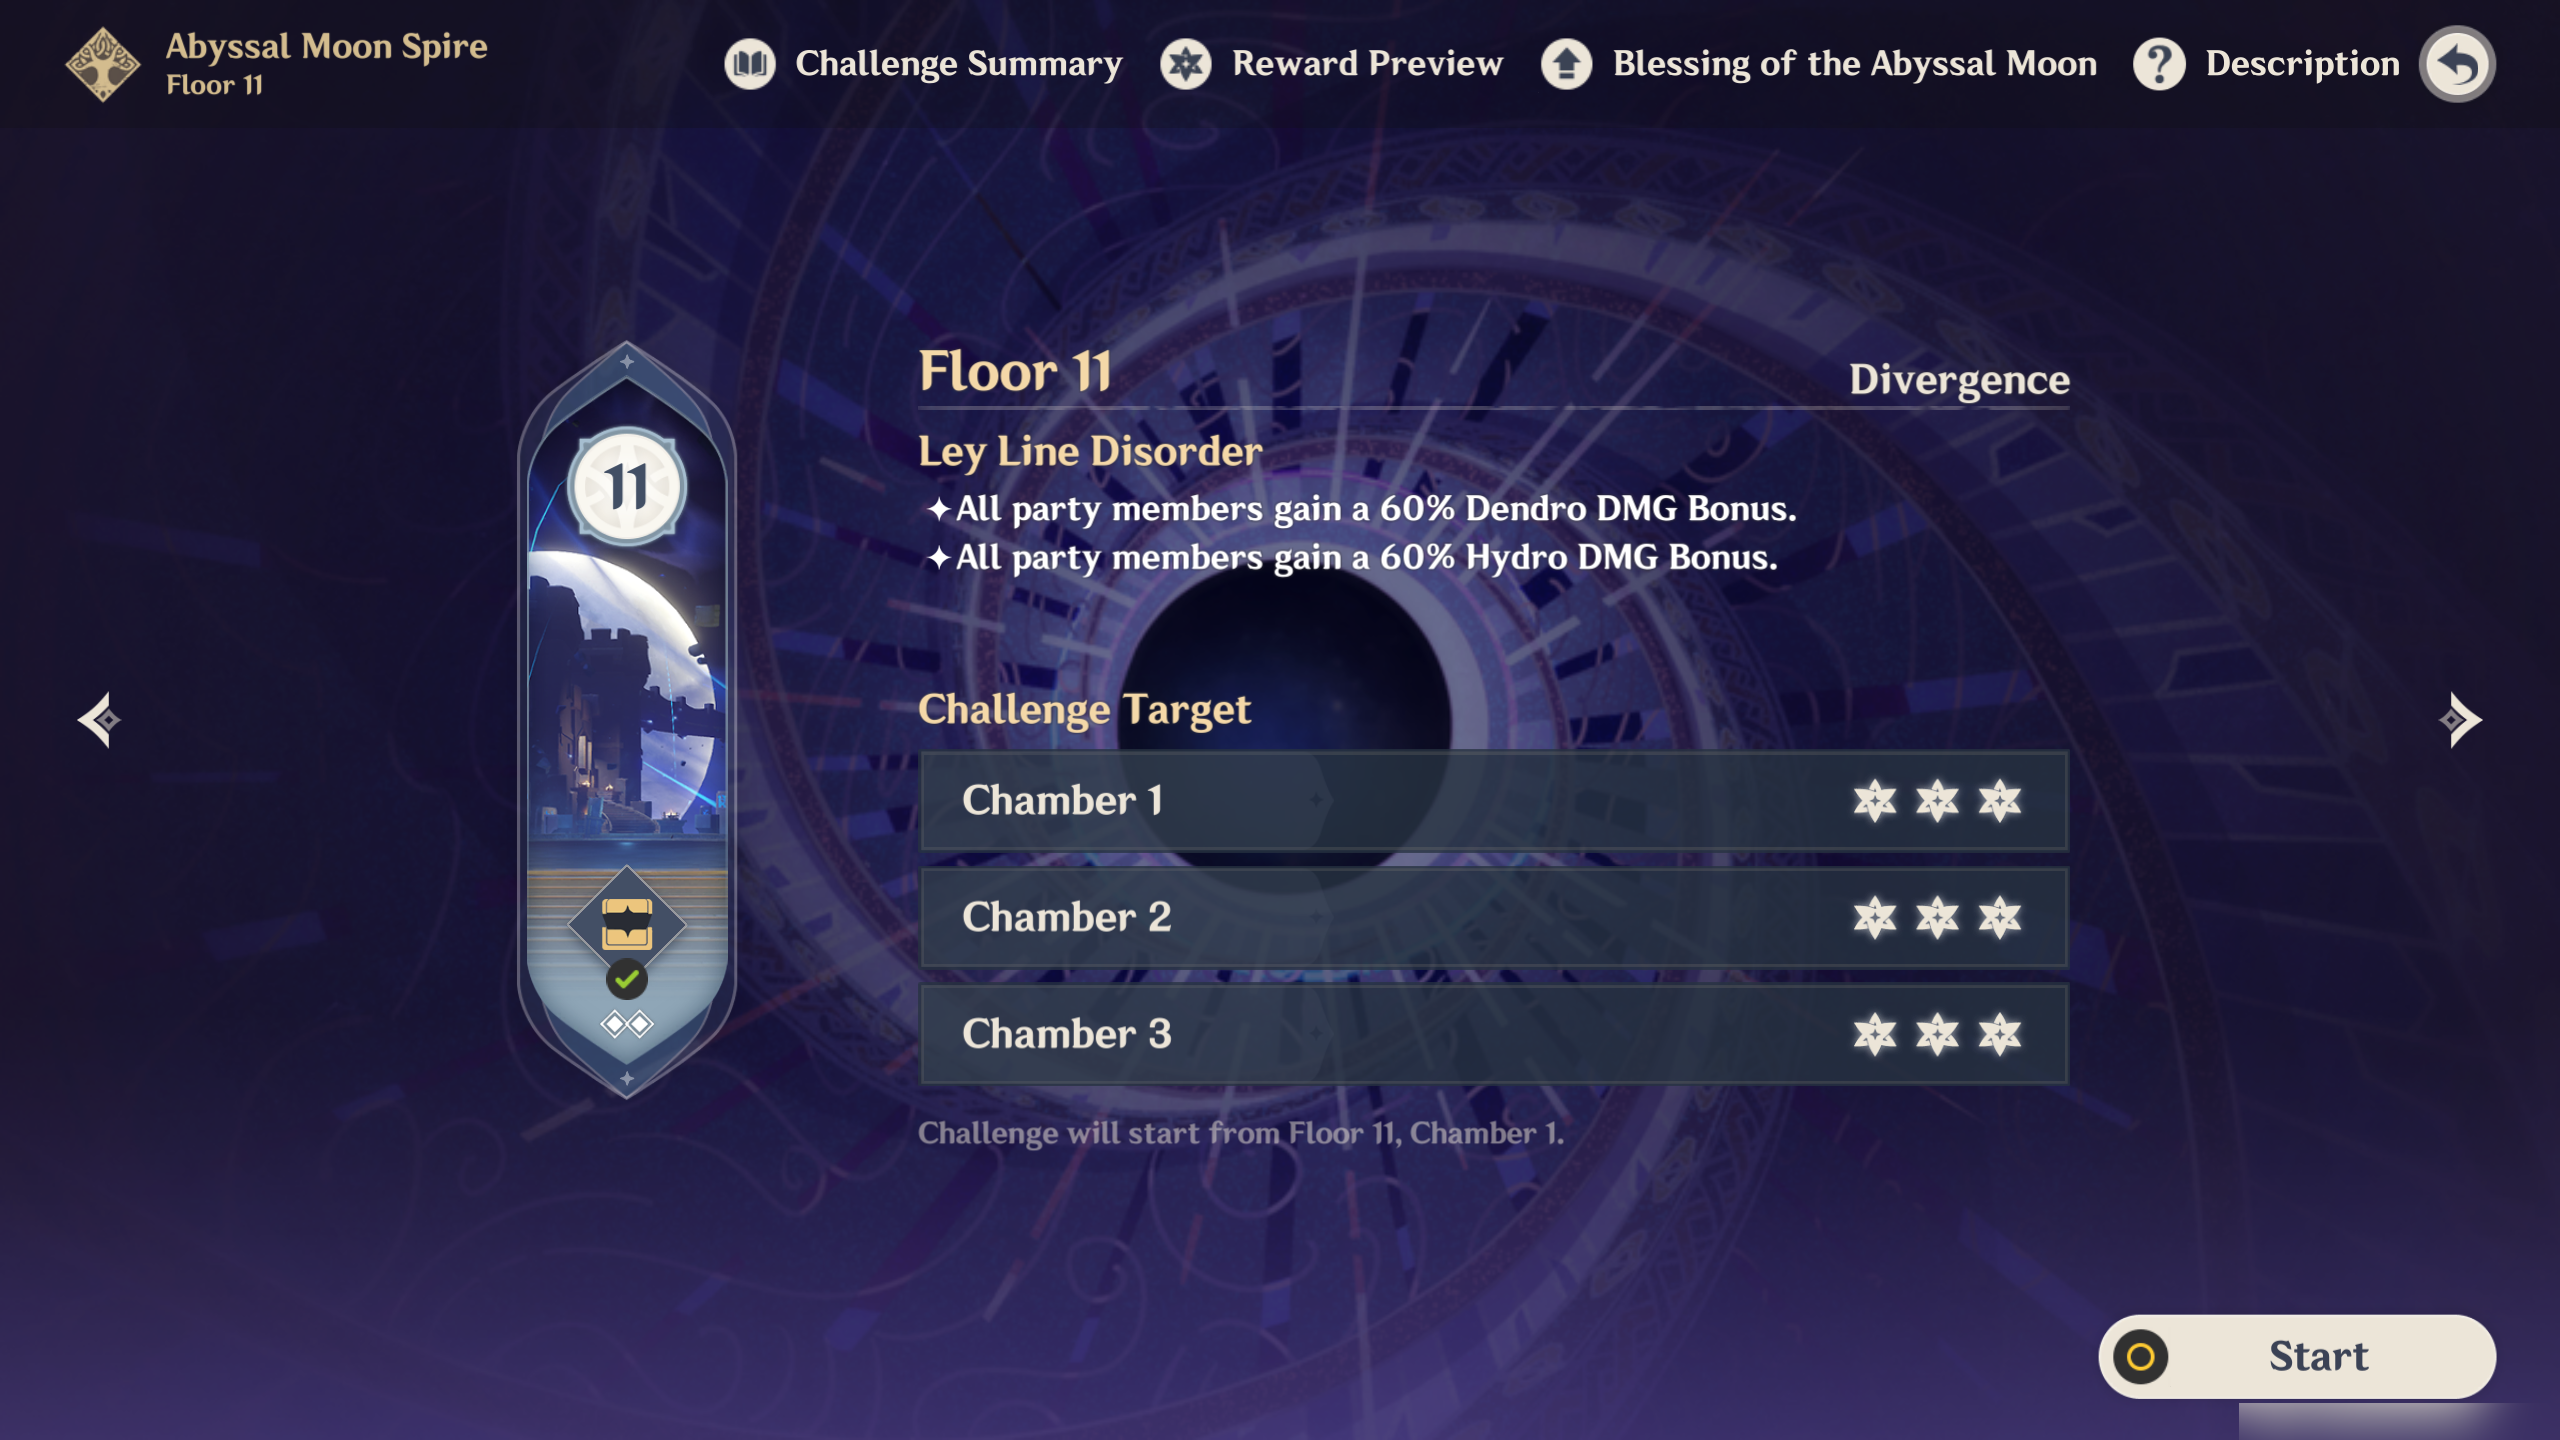
All party members gain a 60% Dendro DMG Bonus and a 60% Hydro DMG Bonus. Simple and straight to the point. For this one, it's universal and is not limited to characters with Nightsoul's Blessing so you don't have to worry about not getting the buff.
Team Recommendations
Team Recommendations for the First Half
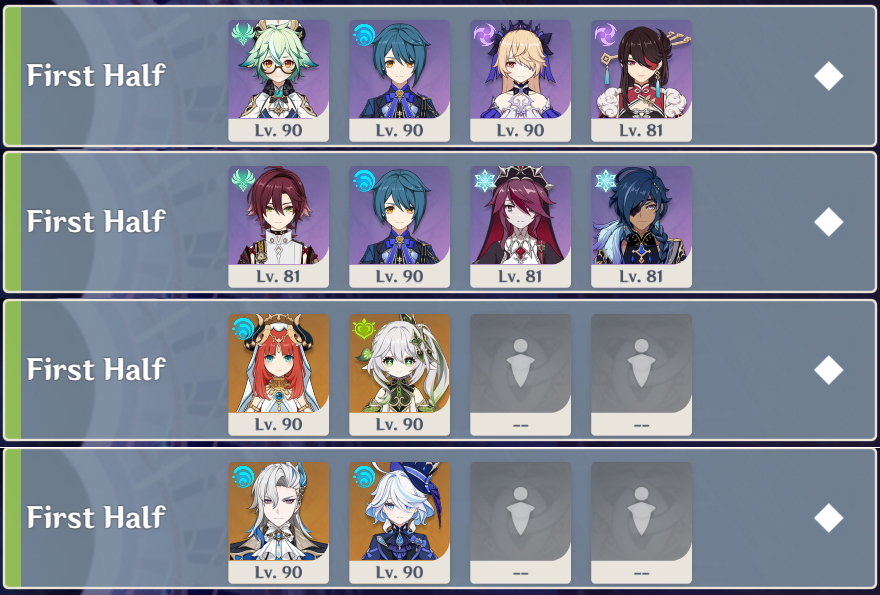
| The recommended elements for the First Half |         Anemo + All elements ➥ Anemo got a special shoutout here because of obvious reasons (Monolith Defense stage). If you have one Anemo CC, please bring them in the first half because there are so many enemies in chamber 1 surrounding the Monolith and having one here will immediately reduce the difficulty, especially since all enemies can be pulled inside the Anemo vortex. |
| The not recommended elements for the First Half | None but please do NOT bring a Mono team for Electro, Geo, and Anemo ➥ Mono teams for the mentioned elements are not recommended because there are Specter enemies in chamber 2 and they are immune to their own elements. So you know what will happen if you bring the Mono-Electro team to fight against Electro Specters. However, if you want to bring those elements for reactions, then feel free! |
Example:
(1) Taser Team: Sucrose + Xingqiu + Fischl + Beidou
(2) Freeze Team: Heizou + Xingqiu + Kaeya + Rosaria
(3) Bloom Team: Nilou + Nahida + Hydro + Dendro (Pretty risky team since Dendro Core's explosion also hurts Monolith)
(4) Neuvillette Team: Neuvillette + Furina + Flex + Flex
Team Recommendations for the Second Half
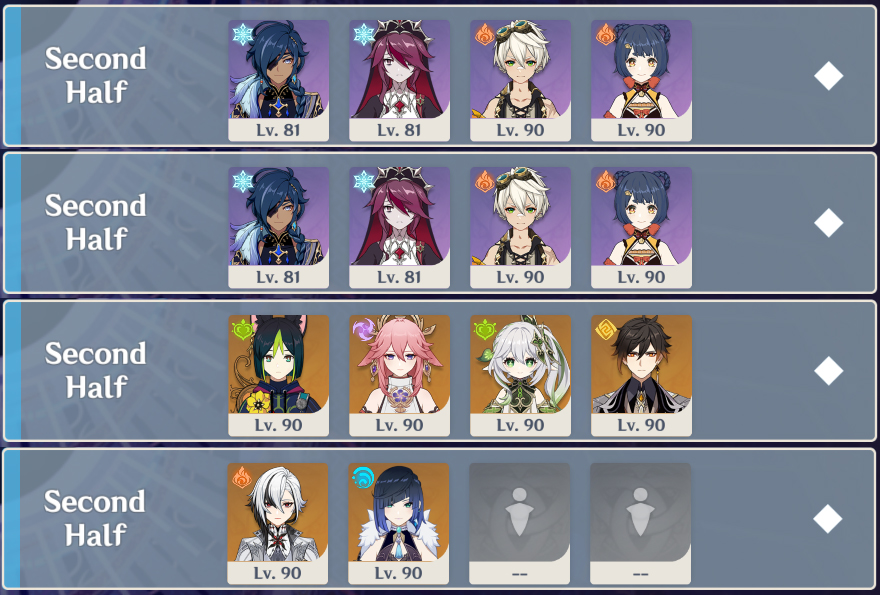
| The recommended elements for the Second Half | All elements except those mentioned below ➥ Single-target DPS is extremely recommended here because there are only one enemy per wave in each chamber. So having a single-target DPS would reduce the time you need to defeat the enemy! |
| The not recommended elements for the Second Half | Hydro ➥ The only reason Hydro is not recommended here is because there are Mirror Maiden and Hydro Consecrated enemies in chamber 2. They have a really high Hydro RES so if your main is Hydro, their damage will be decreased significantly. However, if you want to bring Hydro for reactions, then feel free! |
Example:
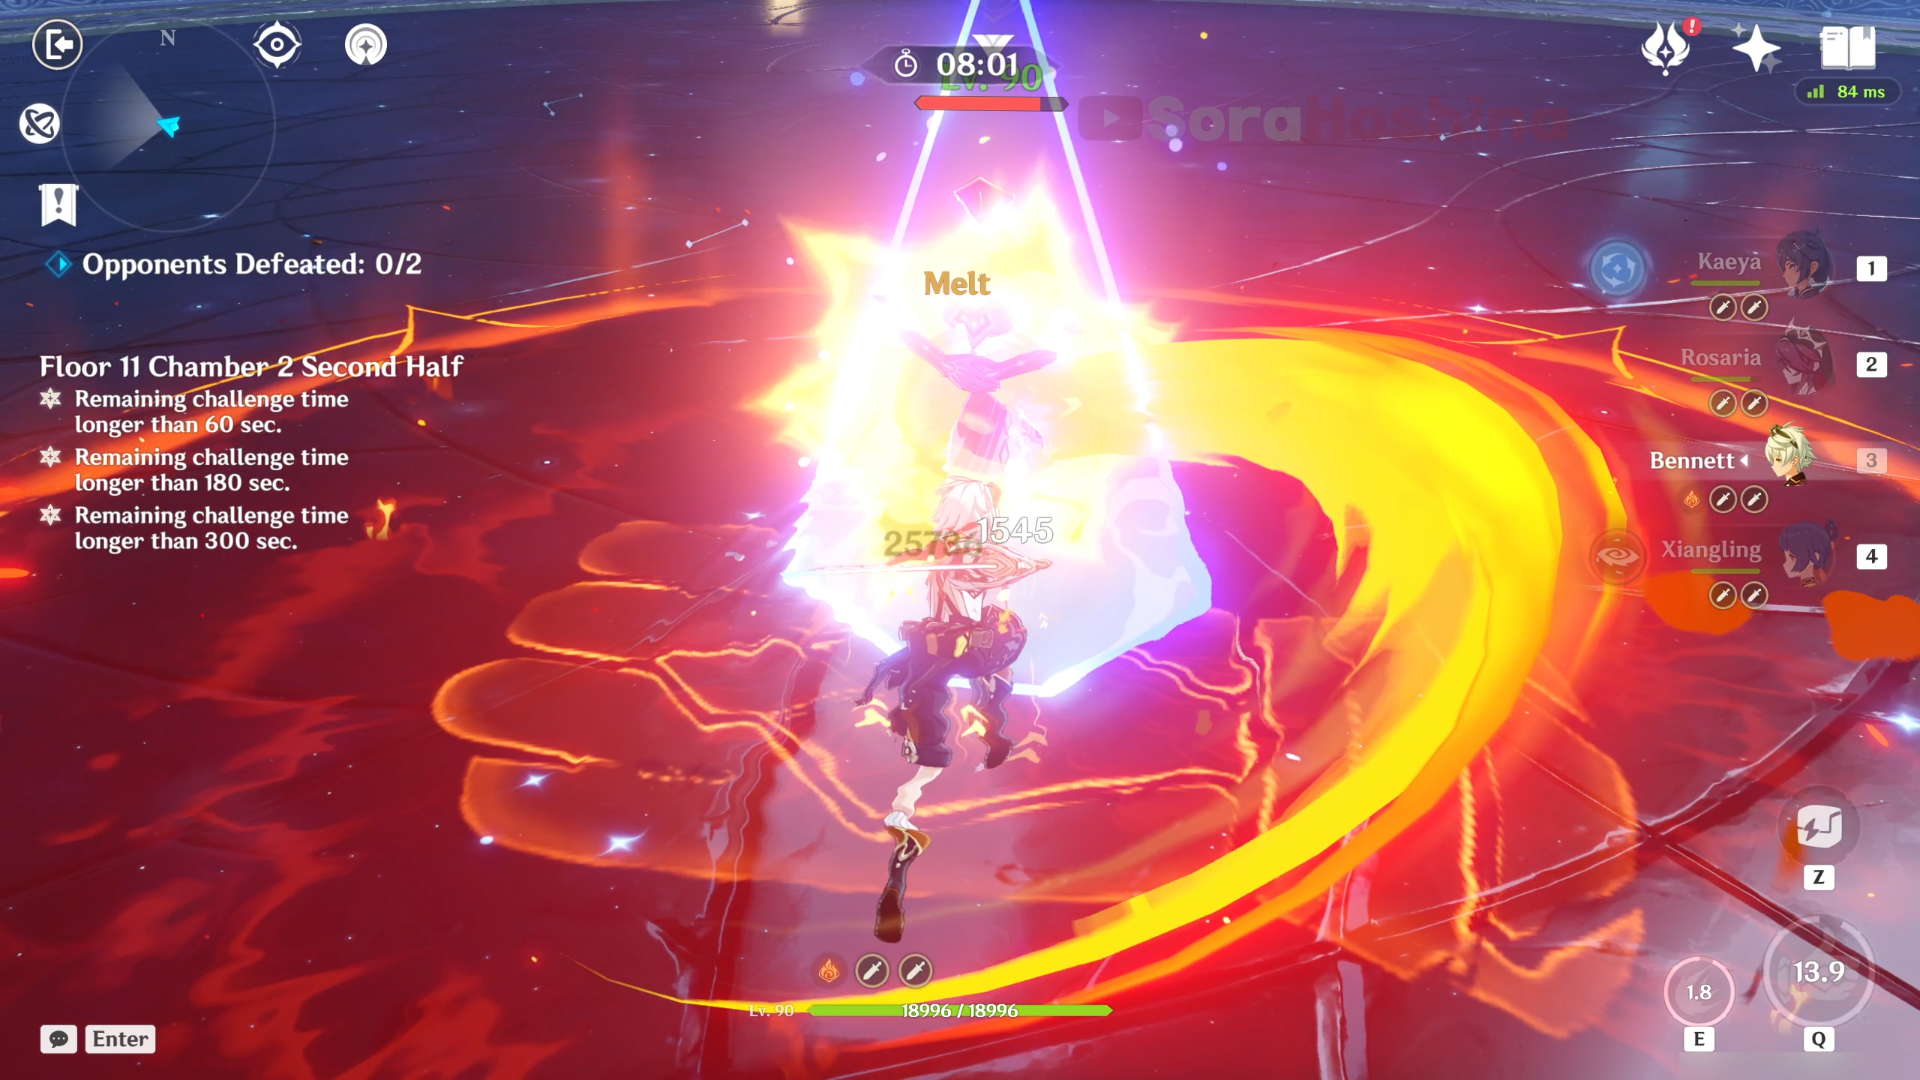
(1) Melt Team: Kaeya + Rosaria + Bennett + Xiangling
(2) Hyperbloom Team: Dendro MC + Kuki Shinobu + Xingqiu + Collei/Yaoyao
(3) Catalyze Team: Tighnari + Yae Miko + Nahida + Zhongli
(4) Burning Team: Kinich + Emilie + Bennett + Xiangling
(5) Vaporize Team: Arlecchino/Hu Tao/Yoimiya + Xingqiu/Yelan + Flex + Flex
Floor 11 Chamber 1
First Half
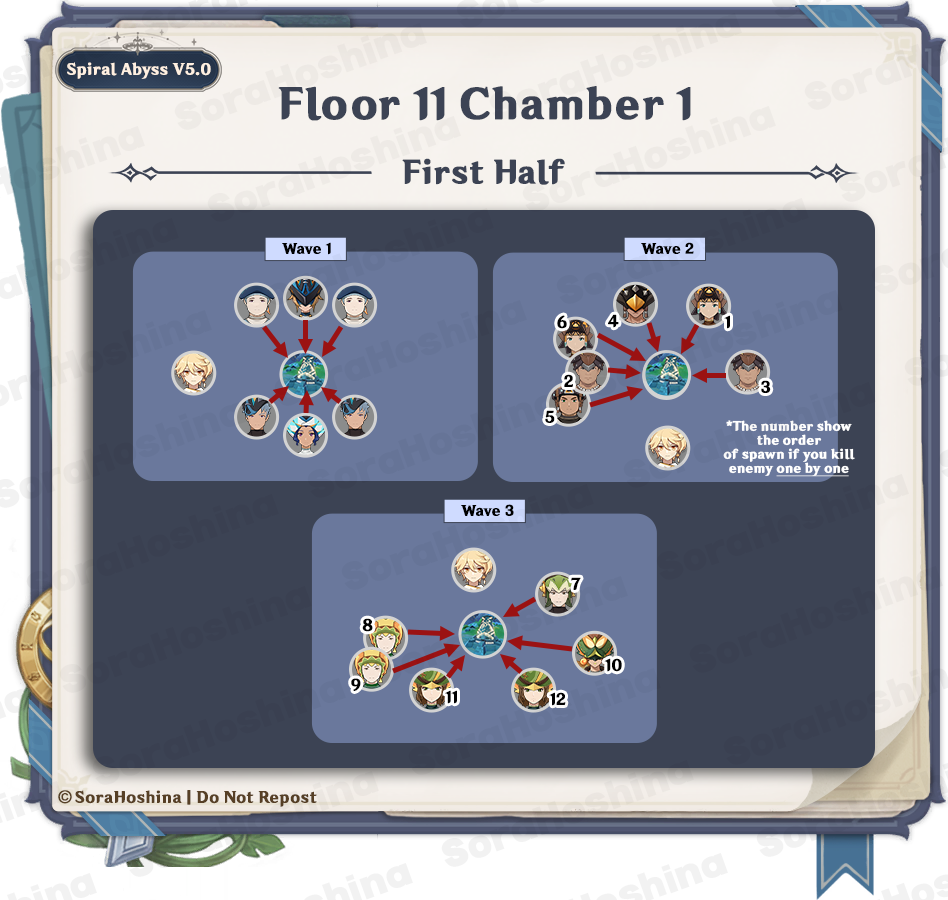
Wave 1: Koholasaurus Warrior: Waveshuttler x1, Flowing Blade Harpoon-Thrower x2, Flowing Blade Skirmisher x1 & Flowing Blade Grease-Saw x2
Wave 2: Tepetlisaurus Warrior: Shard Striker x1, Forged Sand Interrogator x2, Forged Sand Shieldbreaker x2 & Forged Sand Javelineer x1
Wave 3: Yumkasaurus Warrior: Flowing Skyfire x1, Swiftstep Armed Courier x1, Swiftstep Storm Scout x2 & Swiftstep Seeker x2
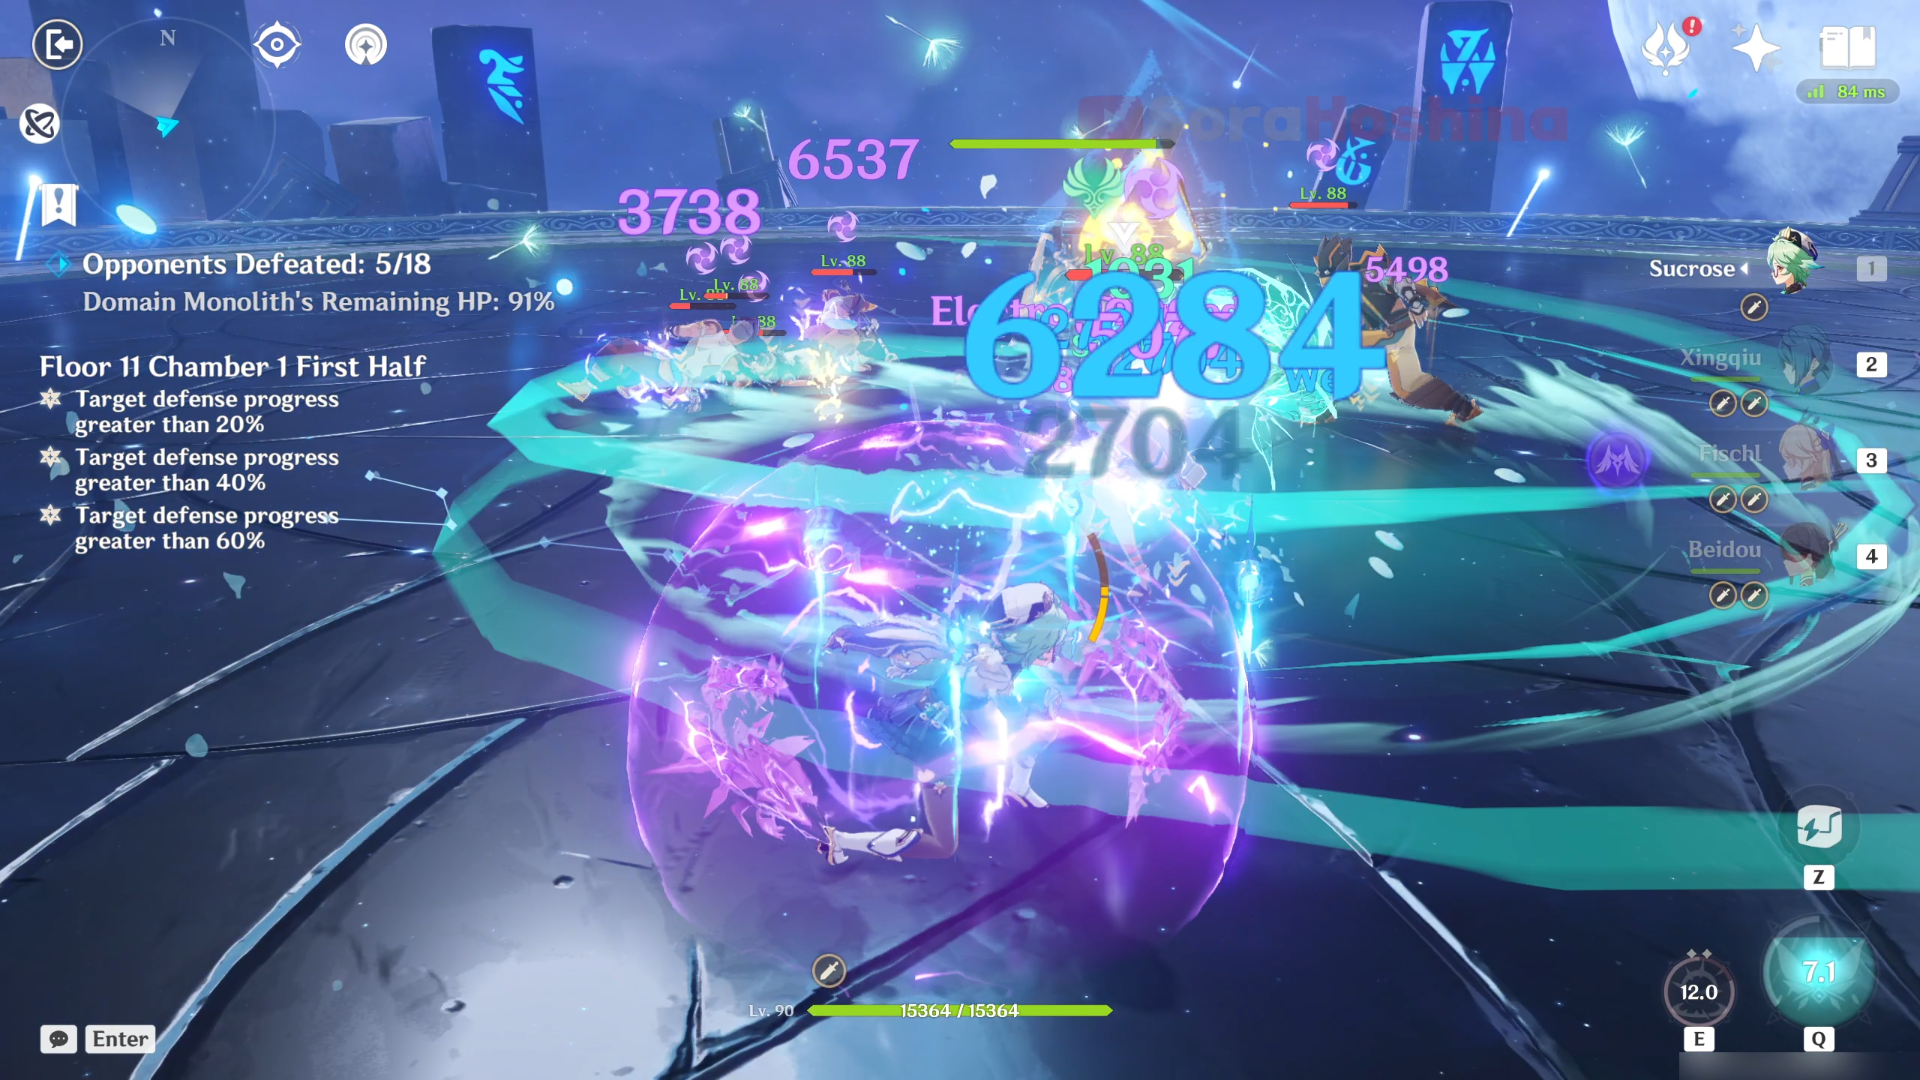
In the first wave, there are 6 Tribal Warriors spawning around the Monolith and all of them will attack it. Whenever you defeat an enemy, the next enemy in the second and third waves will automatically spawn. So technically, there are no waves here as enemies will keep spawning until all 18 mobs are defeated. But I marked it as that in the infographic above so it'll be easier to pinpoint their location. The strategy here is simple, since every enemy will just flock to the Monolith, you need to go there too and defeat all of them there. It's even better if you have Anemo CC to trigger Swirls. Remember that if you bring Bloom team, the explosion from the Dendro Cores will also deplete Monolith's HP.
Second Half
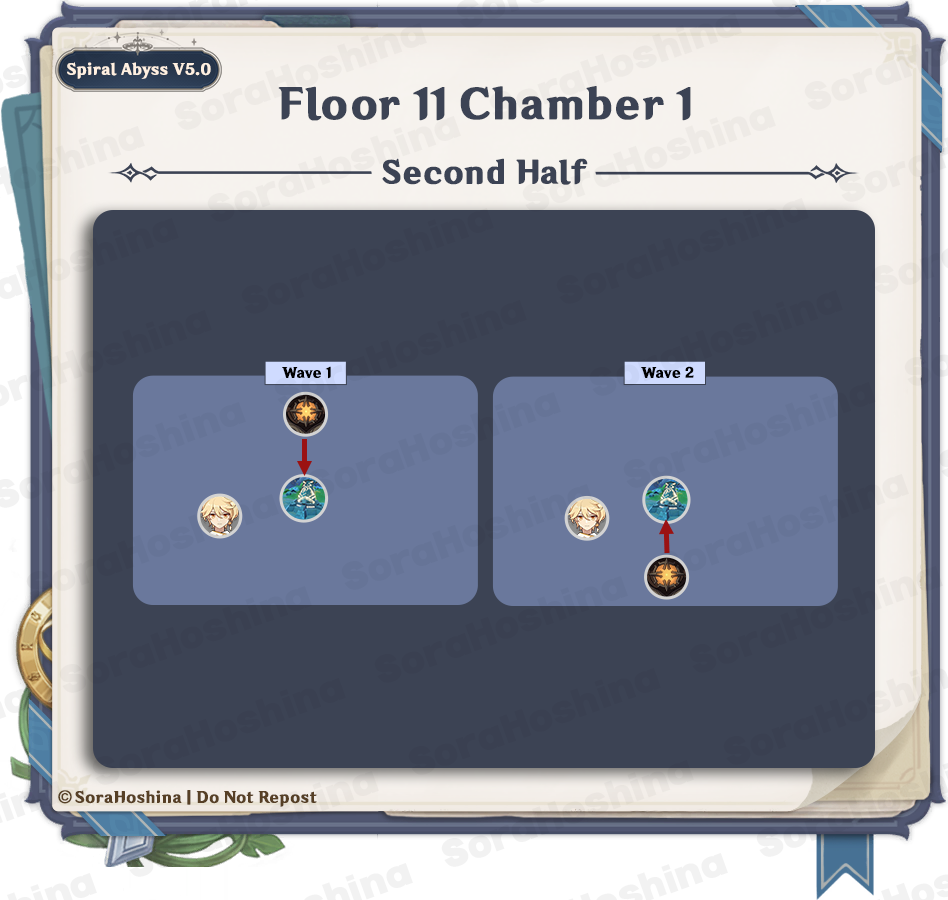
Wave 1: Ruin Guard x1
Wave 2: Ruin Guard x1
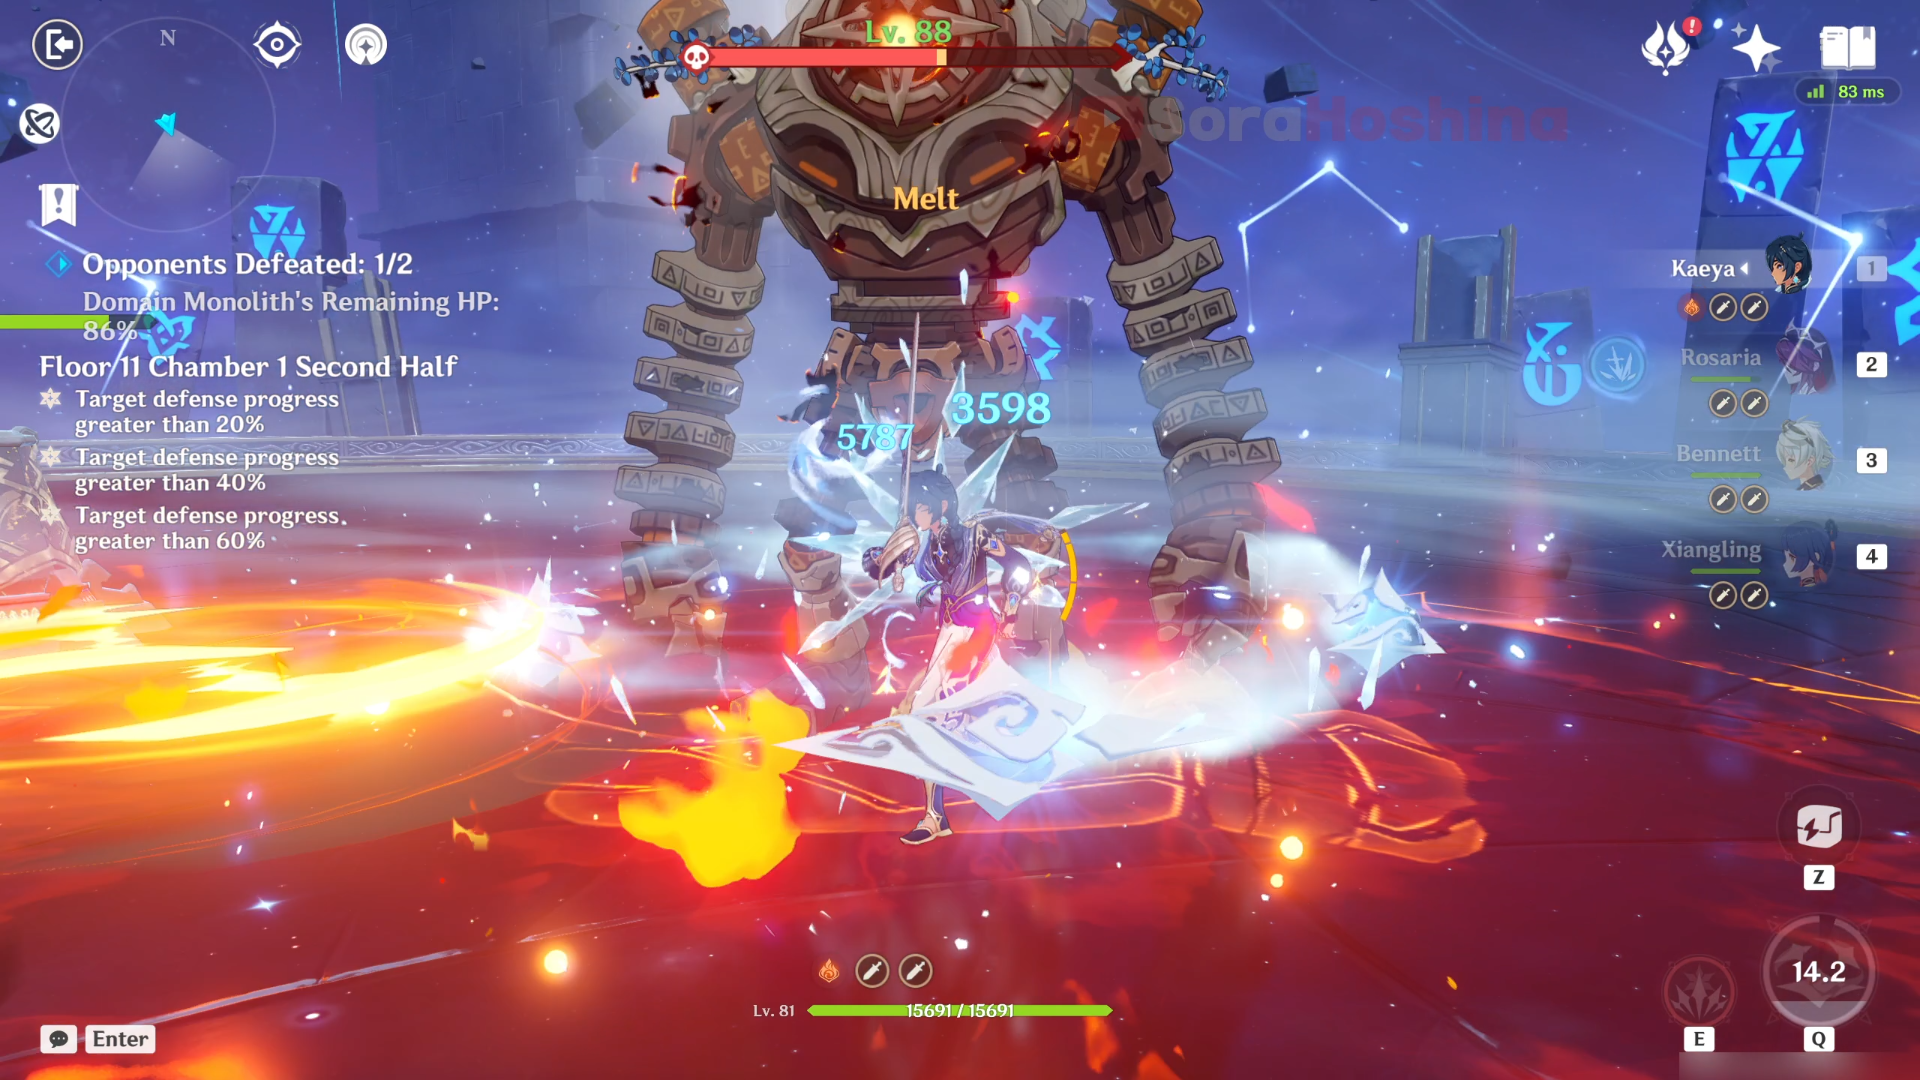
In the first and second waves, we have a solo Ruin Guard aiming for the Monolith and ignoring you (the first Ruin Guard is at the front while the second Ruin Guard is at the back area). This chamber is super easy because there's only one enemy per wave here and once you trigger on it, the Ruin Guard will start focusing on you than the Monolith. So once the challenge starts, keep attacking the Ruin Guard so it will attack you instead.
Floor 11 Chamber 2
First Half
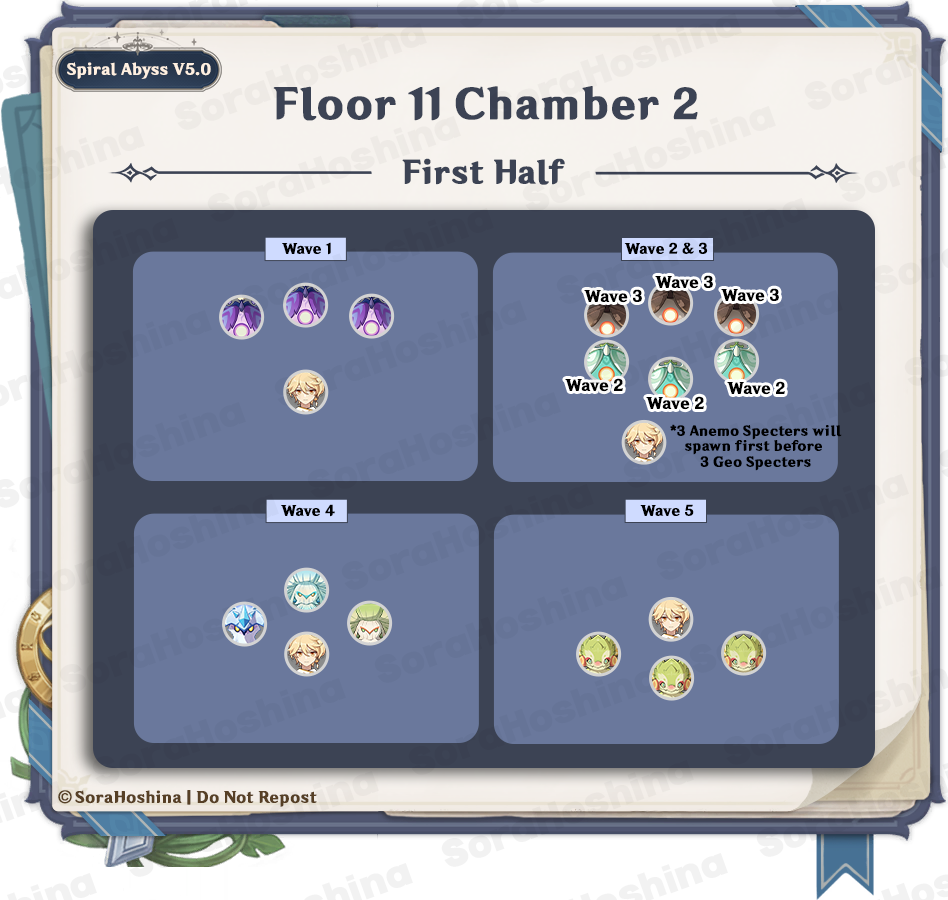
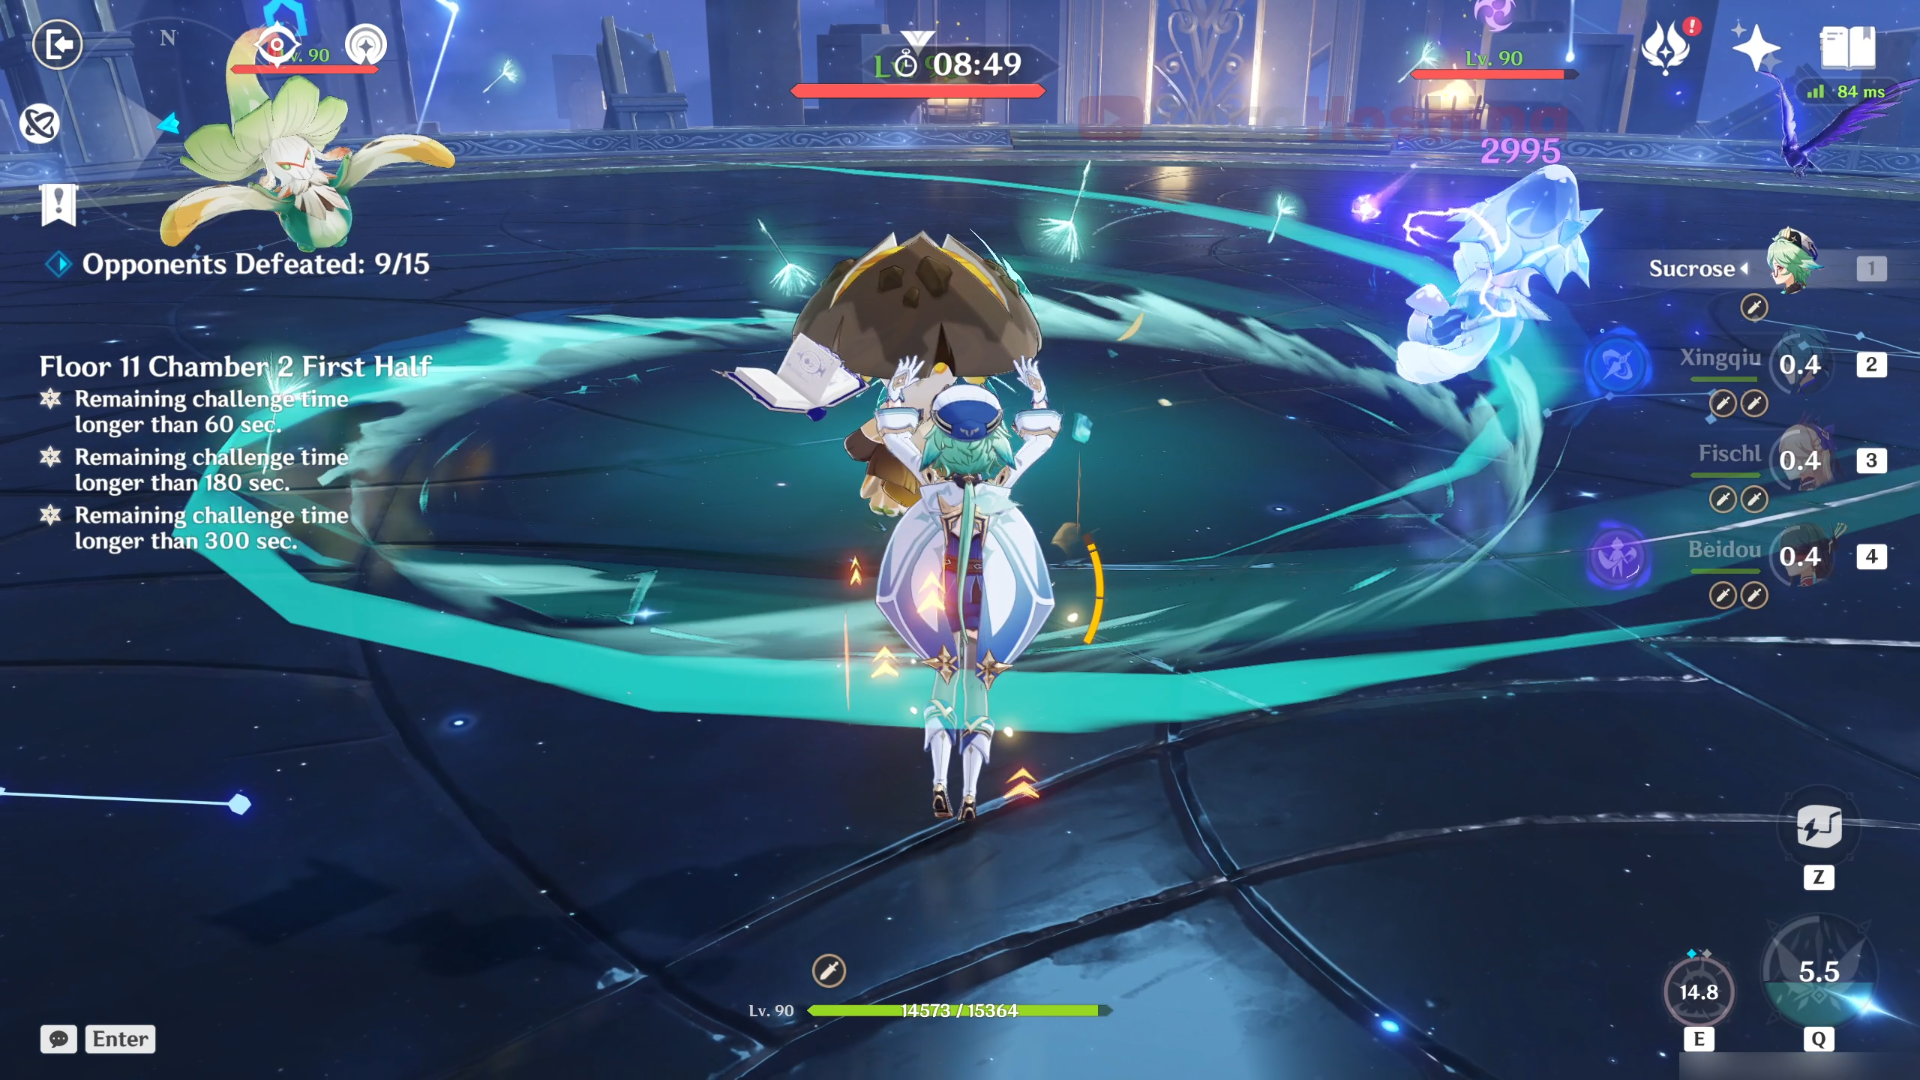
Wave 1: Electro Specter x3
Wave 2: Anemo Specter x3
Wave 3: Geo Specter x3
Wave 4: Winged Cryoshroom x1, Winged Dendroshroom x1 & Grounded Hydroshroom x1
Wave 5: Yumkasaurus x3
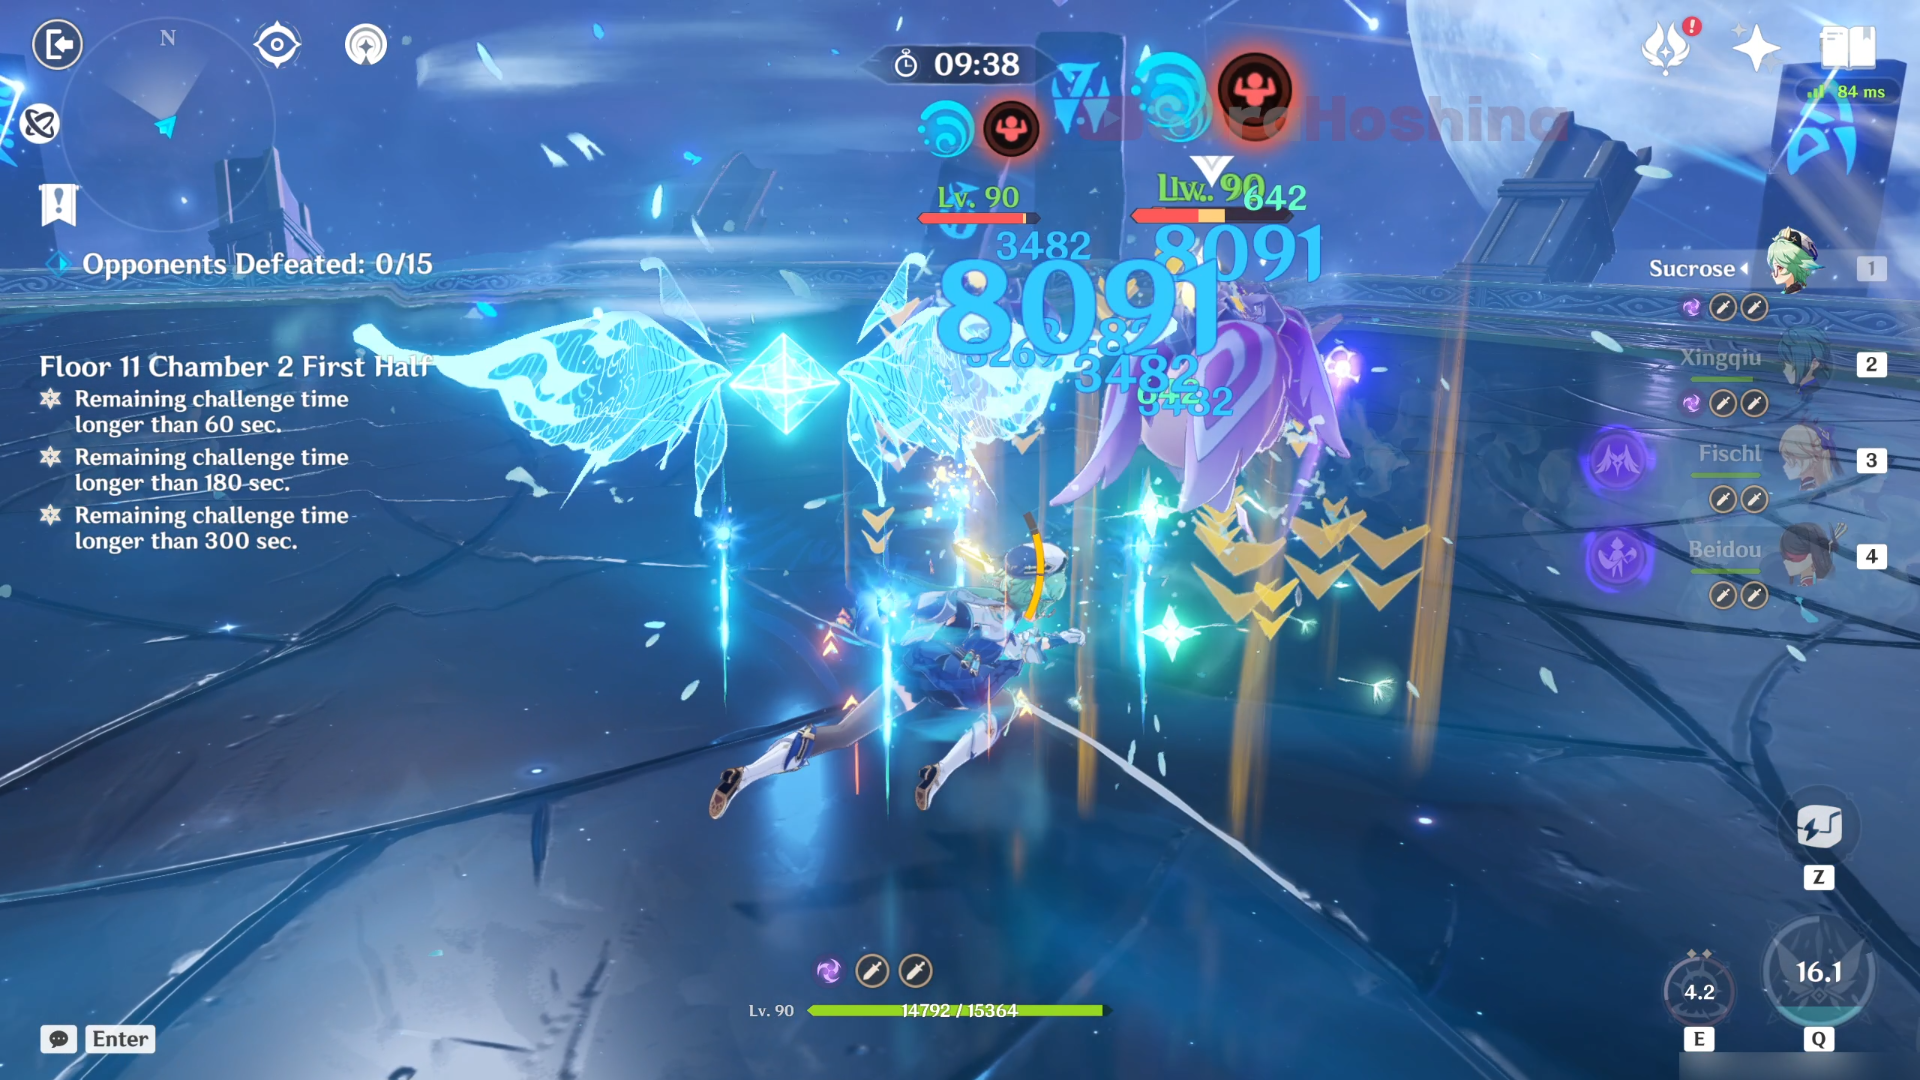
In the first wave, there are 3 Electro Specters in the front area. Although they didn't spawn too near to each other, they will come after you so it's not that hard to gather them (even easier if you bring an Anemo CC here). Remember that Specters are immune to their own element so Electro isn't working here. The same can be said with the next waves of Specter with different elements.
After you defeat one Specter, the next Specter from the next wave will automatically spawn (maximum 3 enemies on the field at once) until all 9 Specters are defeated. Focus on one Specter, and others will come after you (although sometimes it will be a bit slow).
In the second wave, there are 3 Anemo Specters in the middle area.
In the third wave, there are 3 Geo Specters in the middle area.
In the fourth wave, there are 3 Fungi in the middle area. 2 of them are Winged Shroom while the remaining one is Grounded Shroom. Go to the Grounded Shroom first and let the Winged Shroom follow after you. It's because the Winged ones might float above your melee characters' range so you might as well remove the easy threat first (the Grounded Shroom) while waiting for the Winged Shrooms to fly low again.

In the fifth wave, there are 3 Yumkasaurus in the back area. Now these 3 will almost immediately use their tongue to swing themselves forward if you're too far away from them so it's really easy to gather all of them in one place. Once they are near to your character, you only need to defeat them.
Second Half
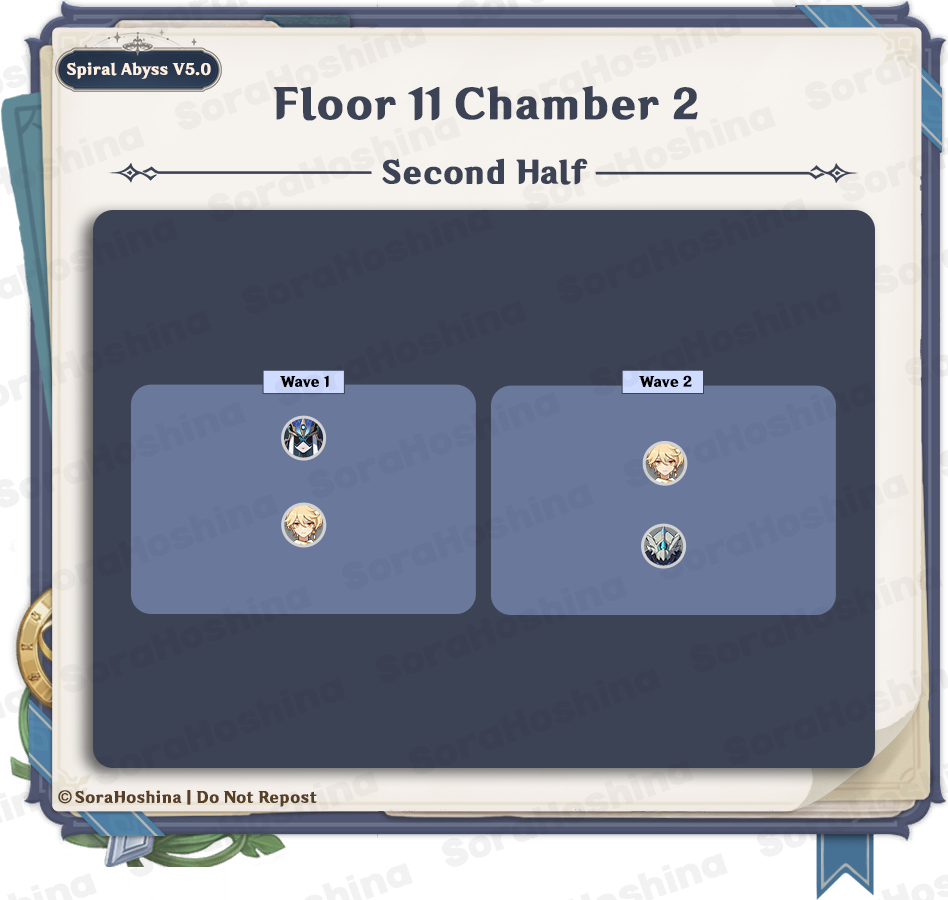
Wave 1: Mirror Maiden x1
Wave 2: Consecrated Horned Crocodile x1
In the first wave, there is only one enemy here which is Mirror Maiden at the front area. Although she has an annoying teleporting skill, there is only one enemy so I believe it's easy enough to catch up to her every time she tries to teleport away to another spot. Fortunately, she doesn't have any Aura or Debuff Abilities so the difficulty is not too hard and you can just focus on attacking+evading.

In the second wave, we have the return of a Consecrated Horned Crocodile (wow this one has only been in the Abyss once which is in version 3.7, but no one misses it anyway). This one doesn't have a Consecrated partner so all it can do is Hydro melee attacks. But make no mistake though since the attack is still strong and relentless even without reactions.
Remember that the Consecrated Horned Crocodile has high Hydro RES and possesses 50% Freeze Resistance at all times, decreasing the effectiveness of the Frozen Elemental Reaction.
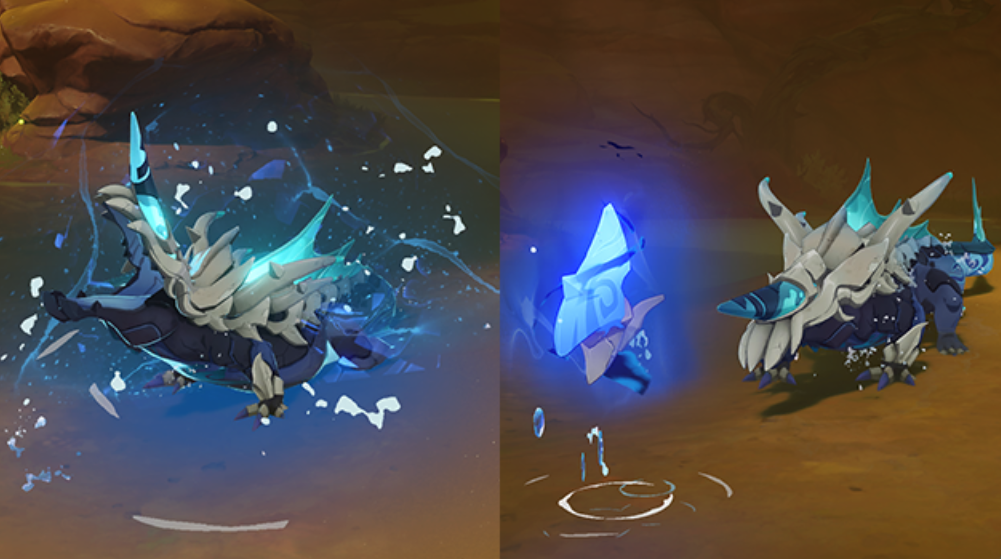
There will be a time when the crocodile will summon a Phagocytic Energy Block. Make sure to attack this rock with elemental attacks (preferably Hydro) until the bar is filled so you can gain the Phagocytic energy > hit the respective enemies > and paralyze them. If you leave the Block alone for a period of time, it will boost the attacks of the Consecrated enemy again.
Floor 11 Chamber 3
First Half
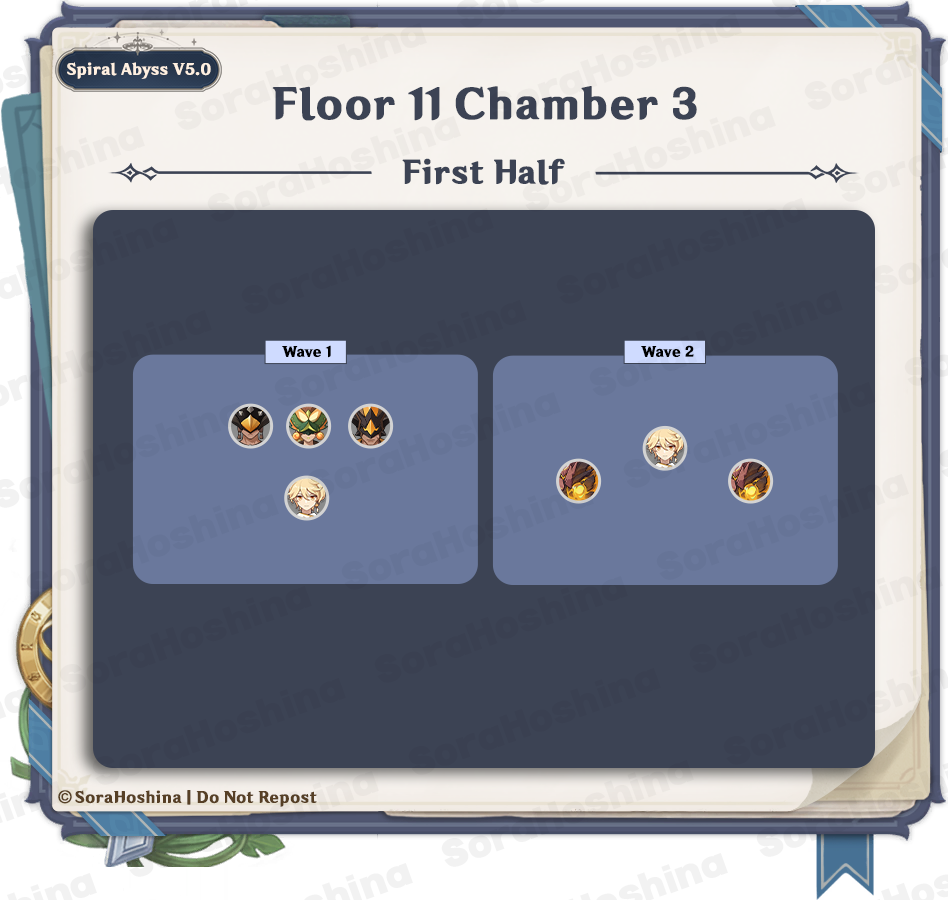
Wave 1: Tepetlisaurus Warrior: Shard Striker x1, Rockbreaker Blade x1 & Flowing Skyfire x1
Wave 2: Fluid Avatar of Lava x2
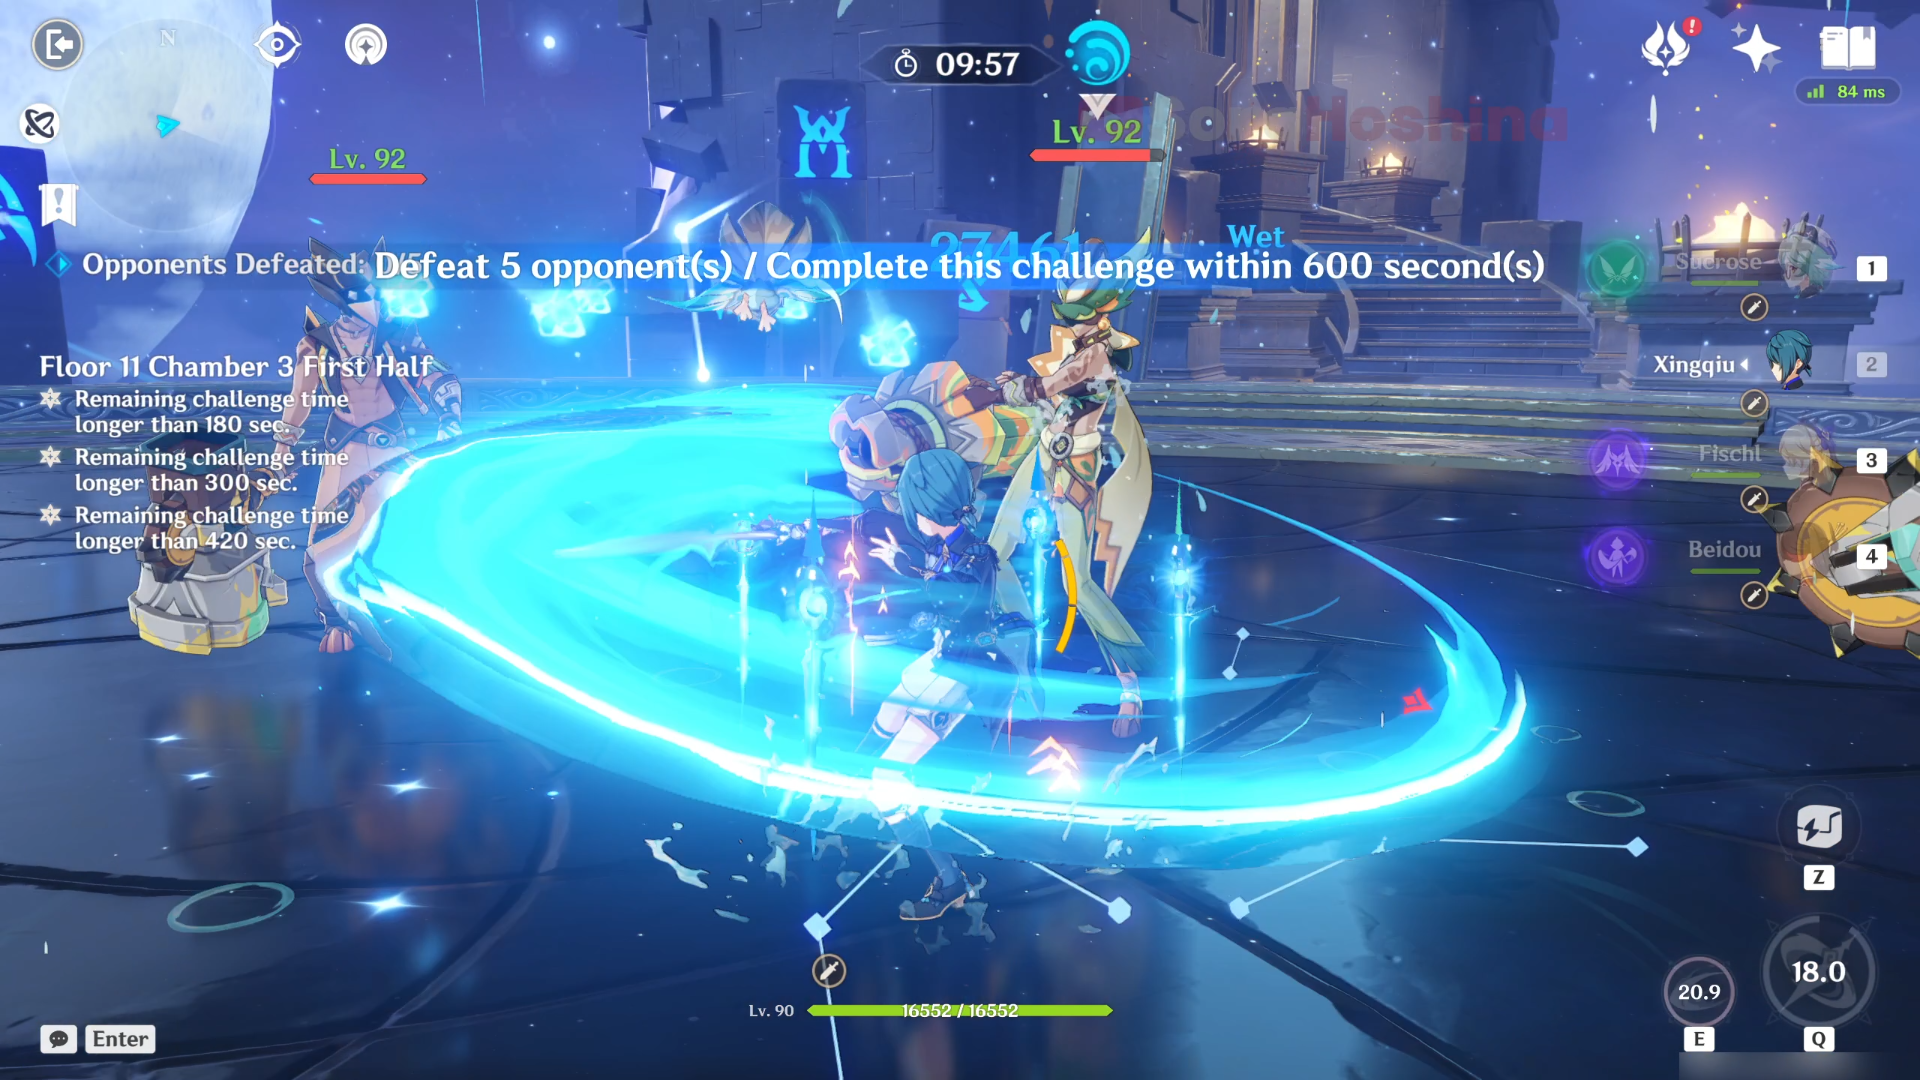
In the first wave, there are 3 Tribal Warriors in the front area. Weirdly enough, they give us 3 warriors with no synergy with each other (1 Dendro and 2 Geo) but whatever. Good opportunity for us. When the challenge starts, go to the Flowing Skyfire - the Dendro lady - and focus on attacking her while letting the other Geo warriors chase after you. This is because the Flowing Skyfire is a ranged attacker and you might be waiting for a long time for her to reach your spot. While the 2 Geo warrior is a melee attacker and will immediately chase after you.
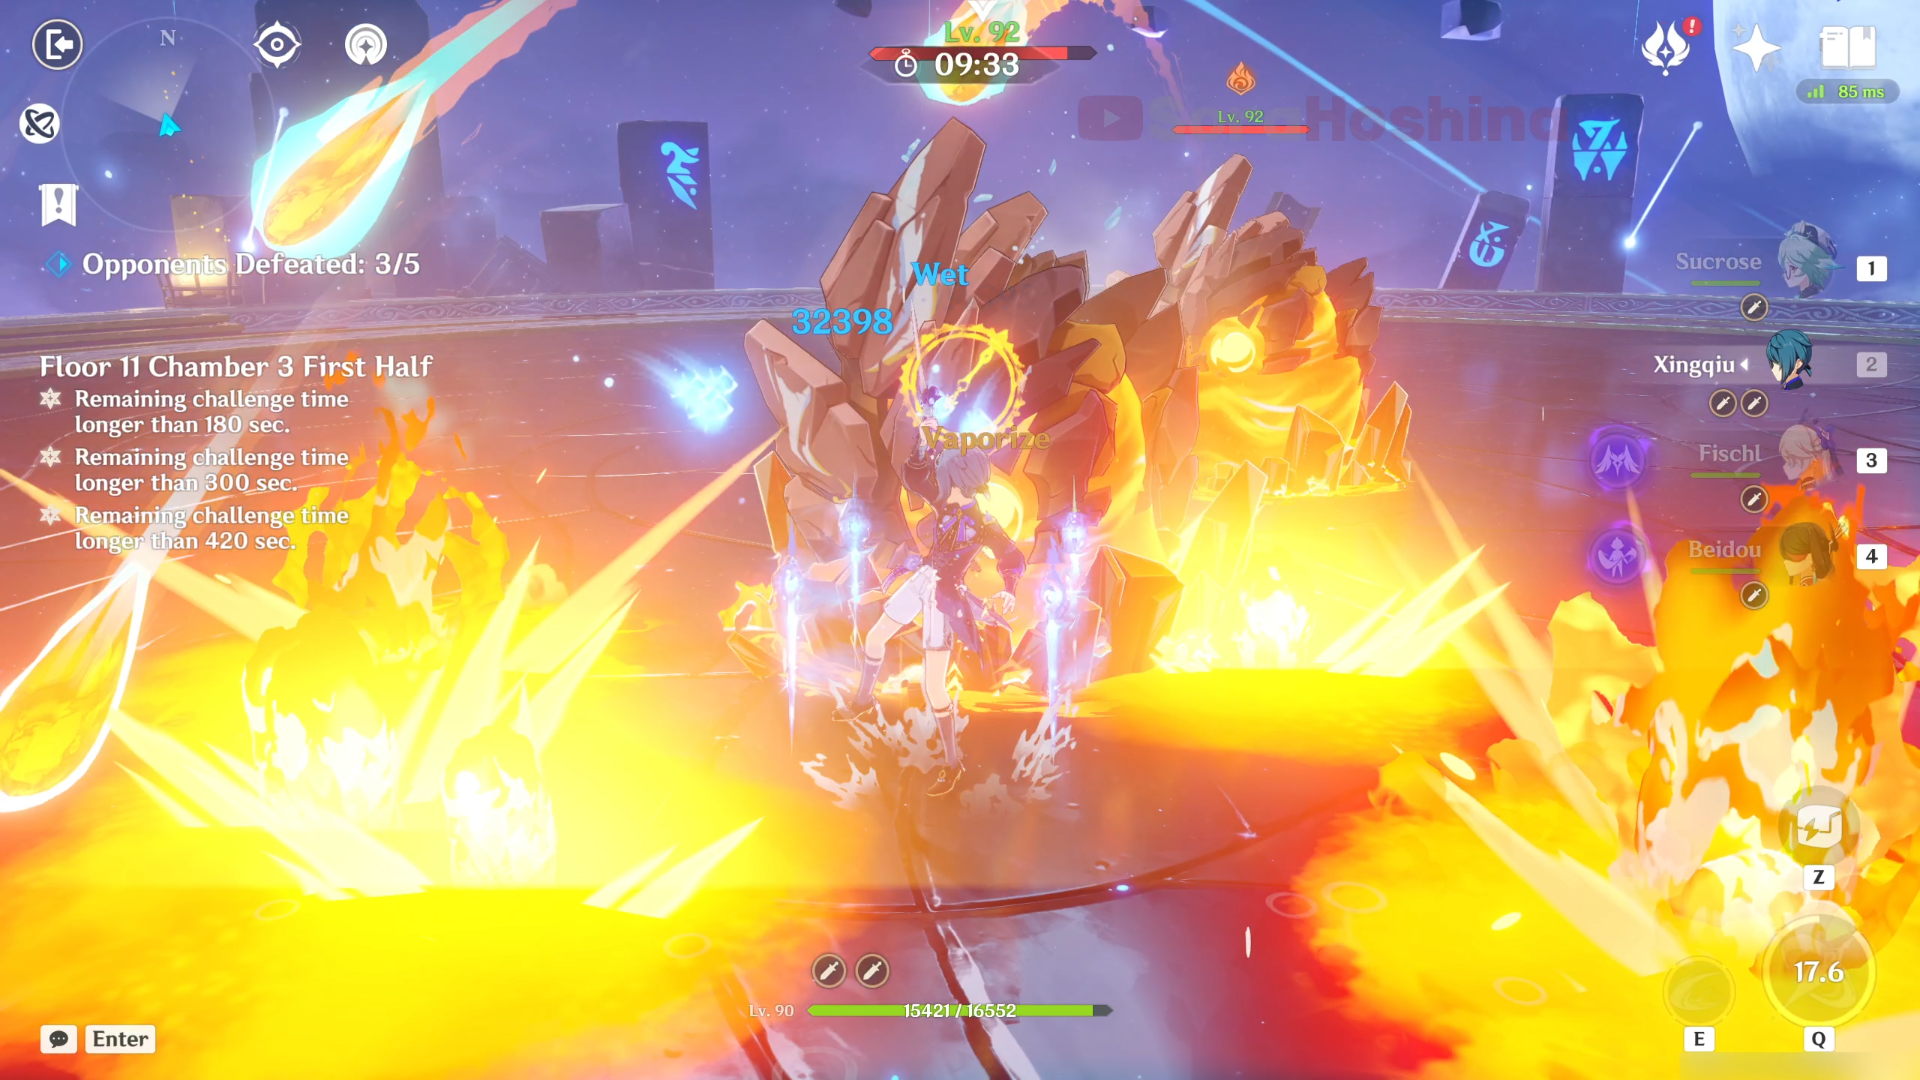
In the second wave, there are 2 Fluid Avatar Lava at the center of the arena. Although they spawn from each other, they will almost immediately regroup at your location by submerging into the ground and reemerging within a laval pool at your location. These enemies are in constant Pyro status so use that to your advantage and trigger Pyro-related reactions.
Second Half
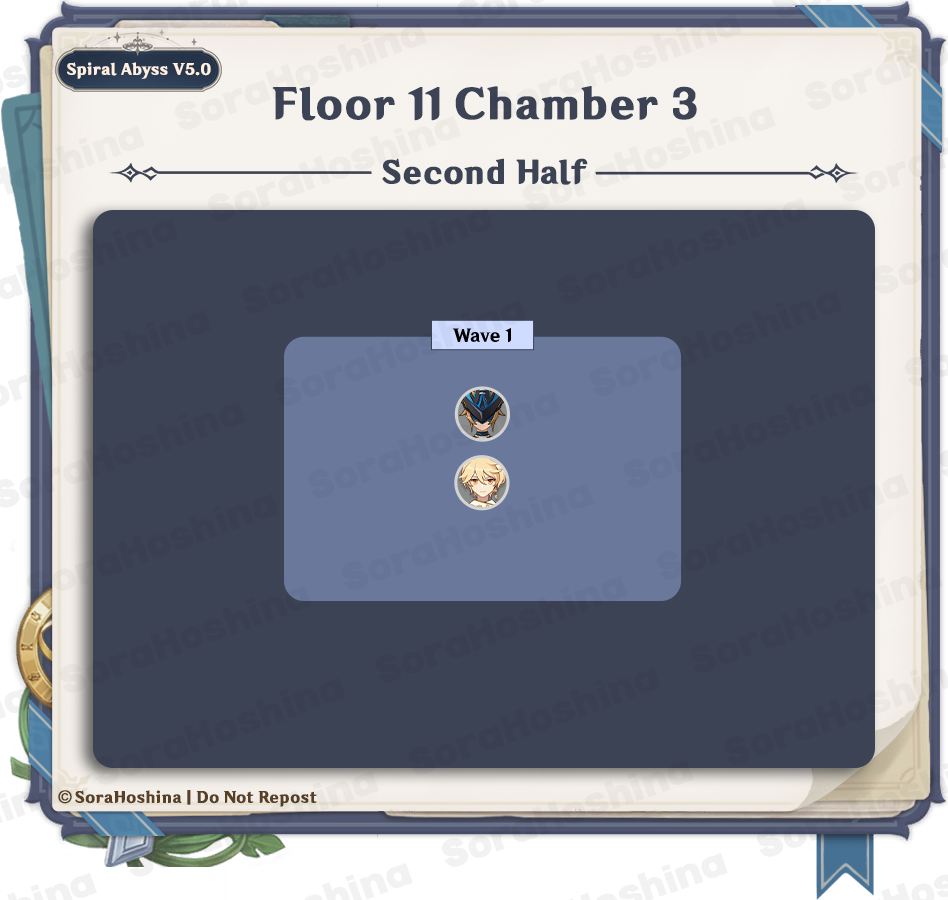
Wave 1: Veteran Koholasaurus Warrior: Waveshuttler
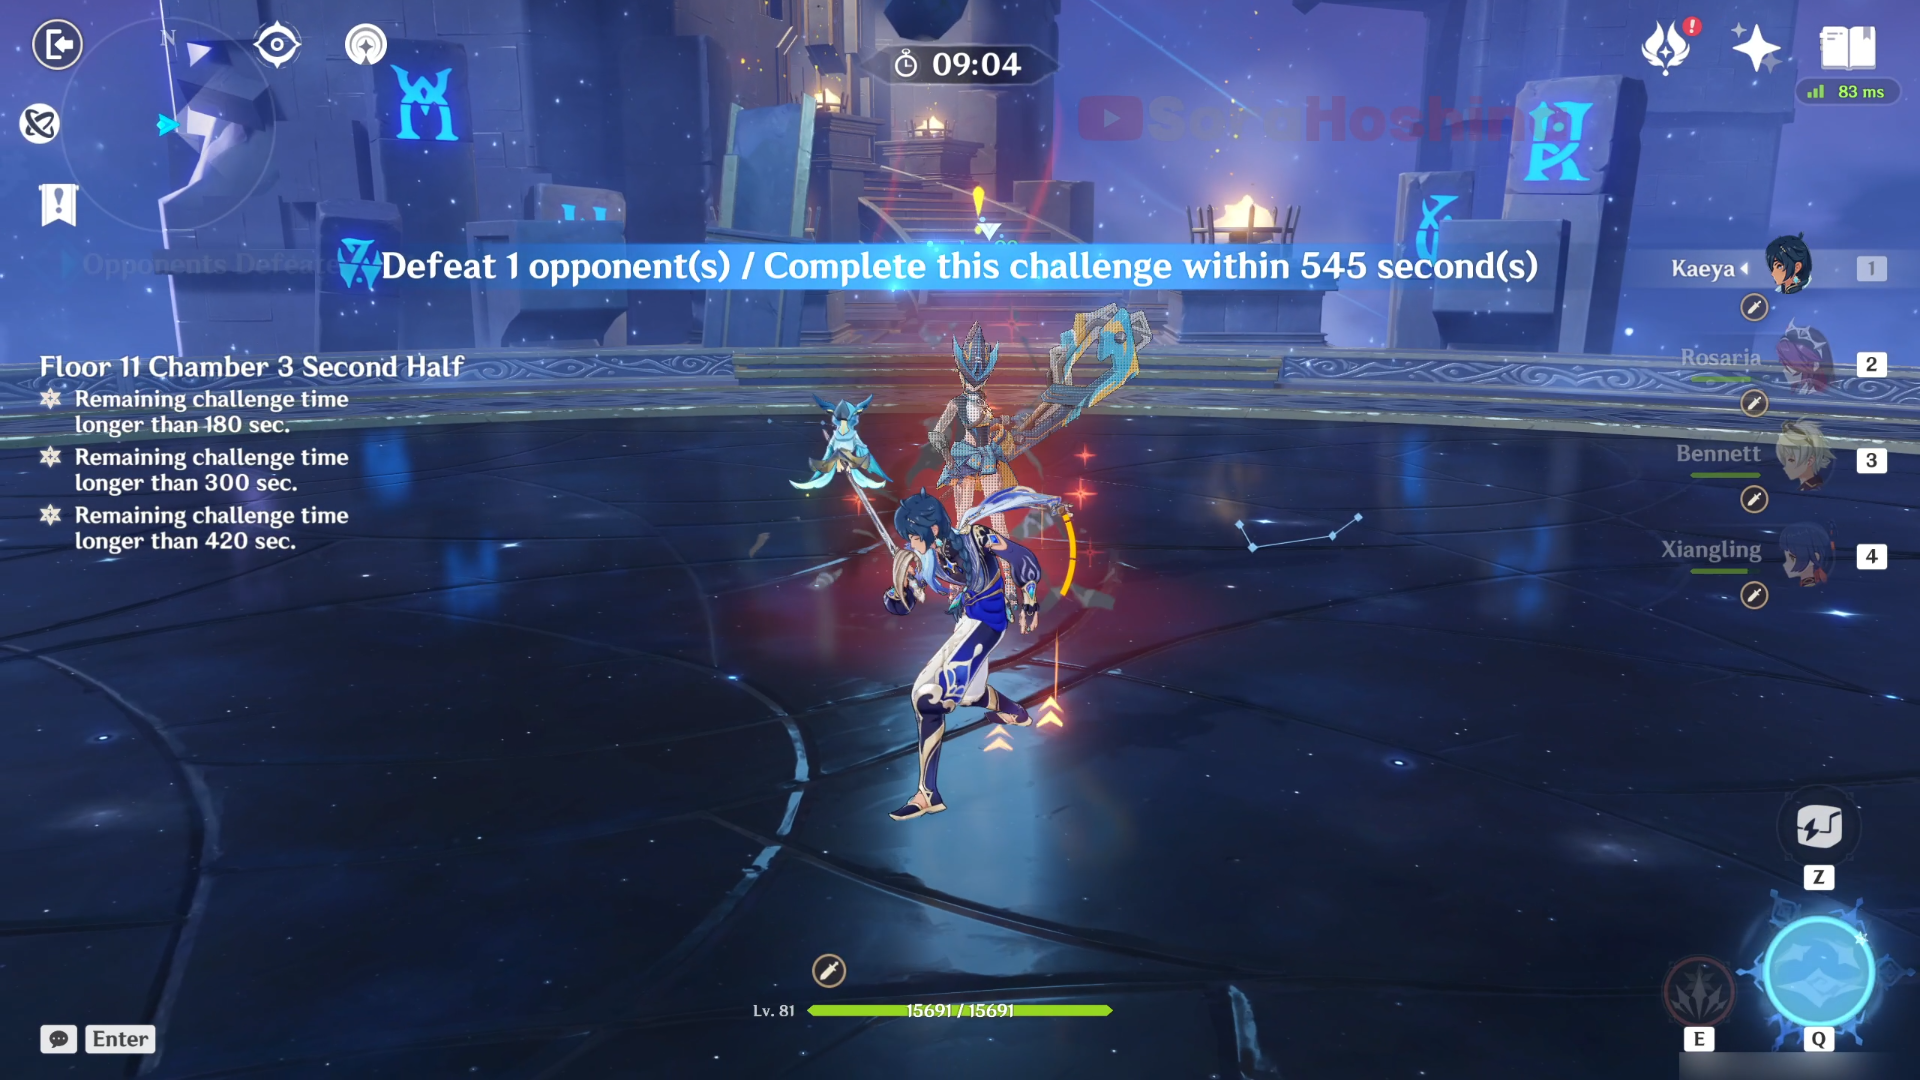
There is only one wave here and that is the Local Legend Koholasaurus Warrior: Waveshuttler. She can do a combination of Hydro and Cryo attacks, possibly Freezing you if not careful enough.
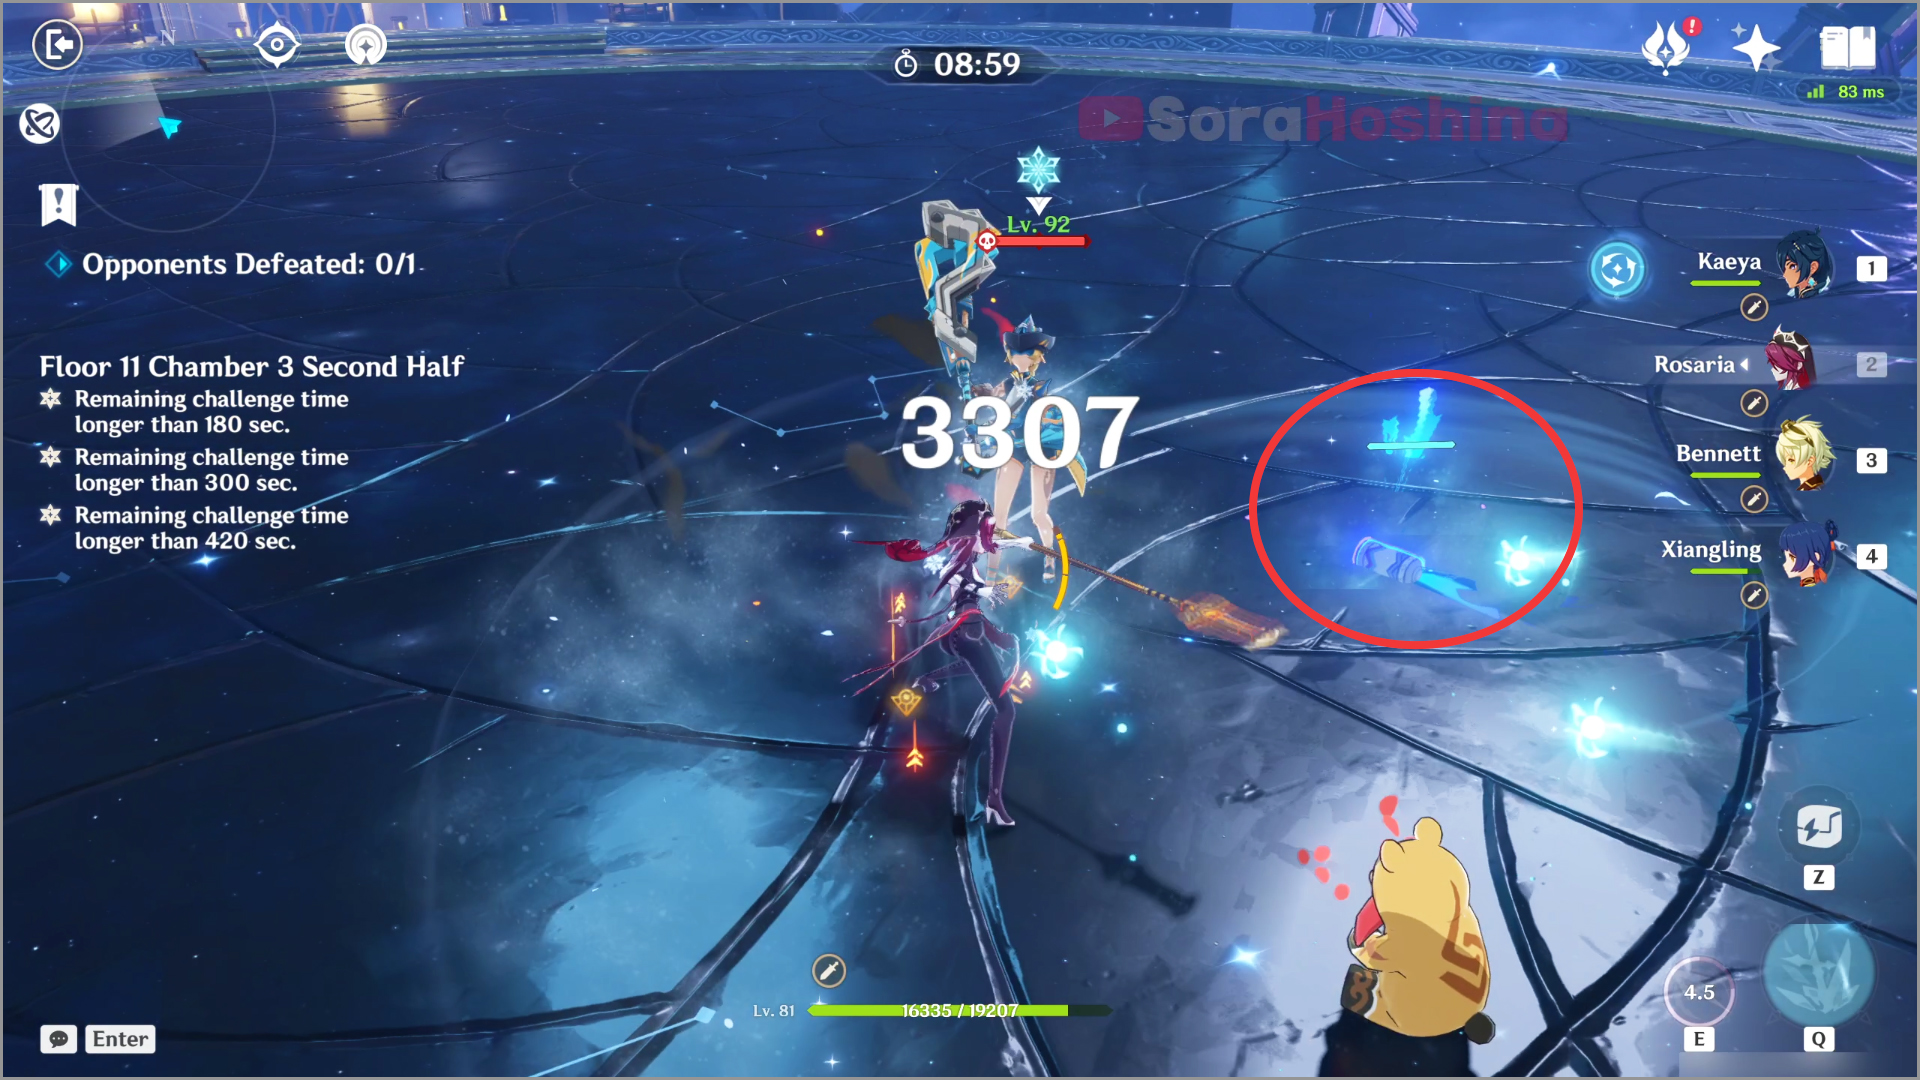
Her attack patterns are almost the same as the normal Waveshuttler, with the addition of Cryo Spray Can (not the official name) where she throws a spray can at the ground, creating an AoE area dealing Cryo DMG. This is the attack that can possibly freeze you if you're afflicted with Hydro status. But it's easy enough to avoid as once the spray can smash on the ground, you have around ~2 seconds to get outside the AoE.
TIPS: You can see a small HP bar above the spray can that she throws, if you attack the spray can fast enough, it will disappear and won't create any Cryo AoE.
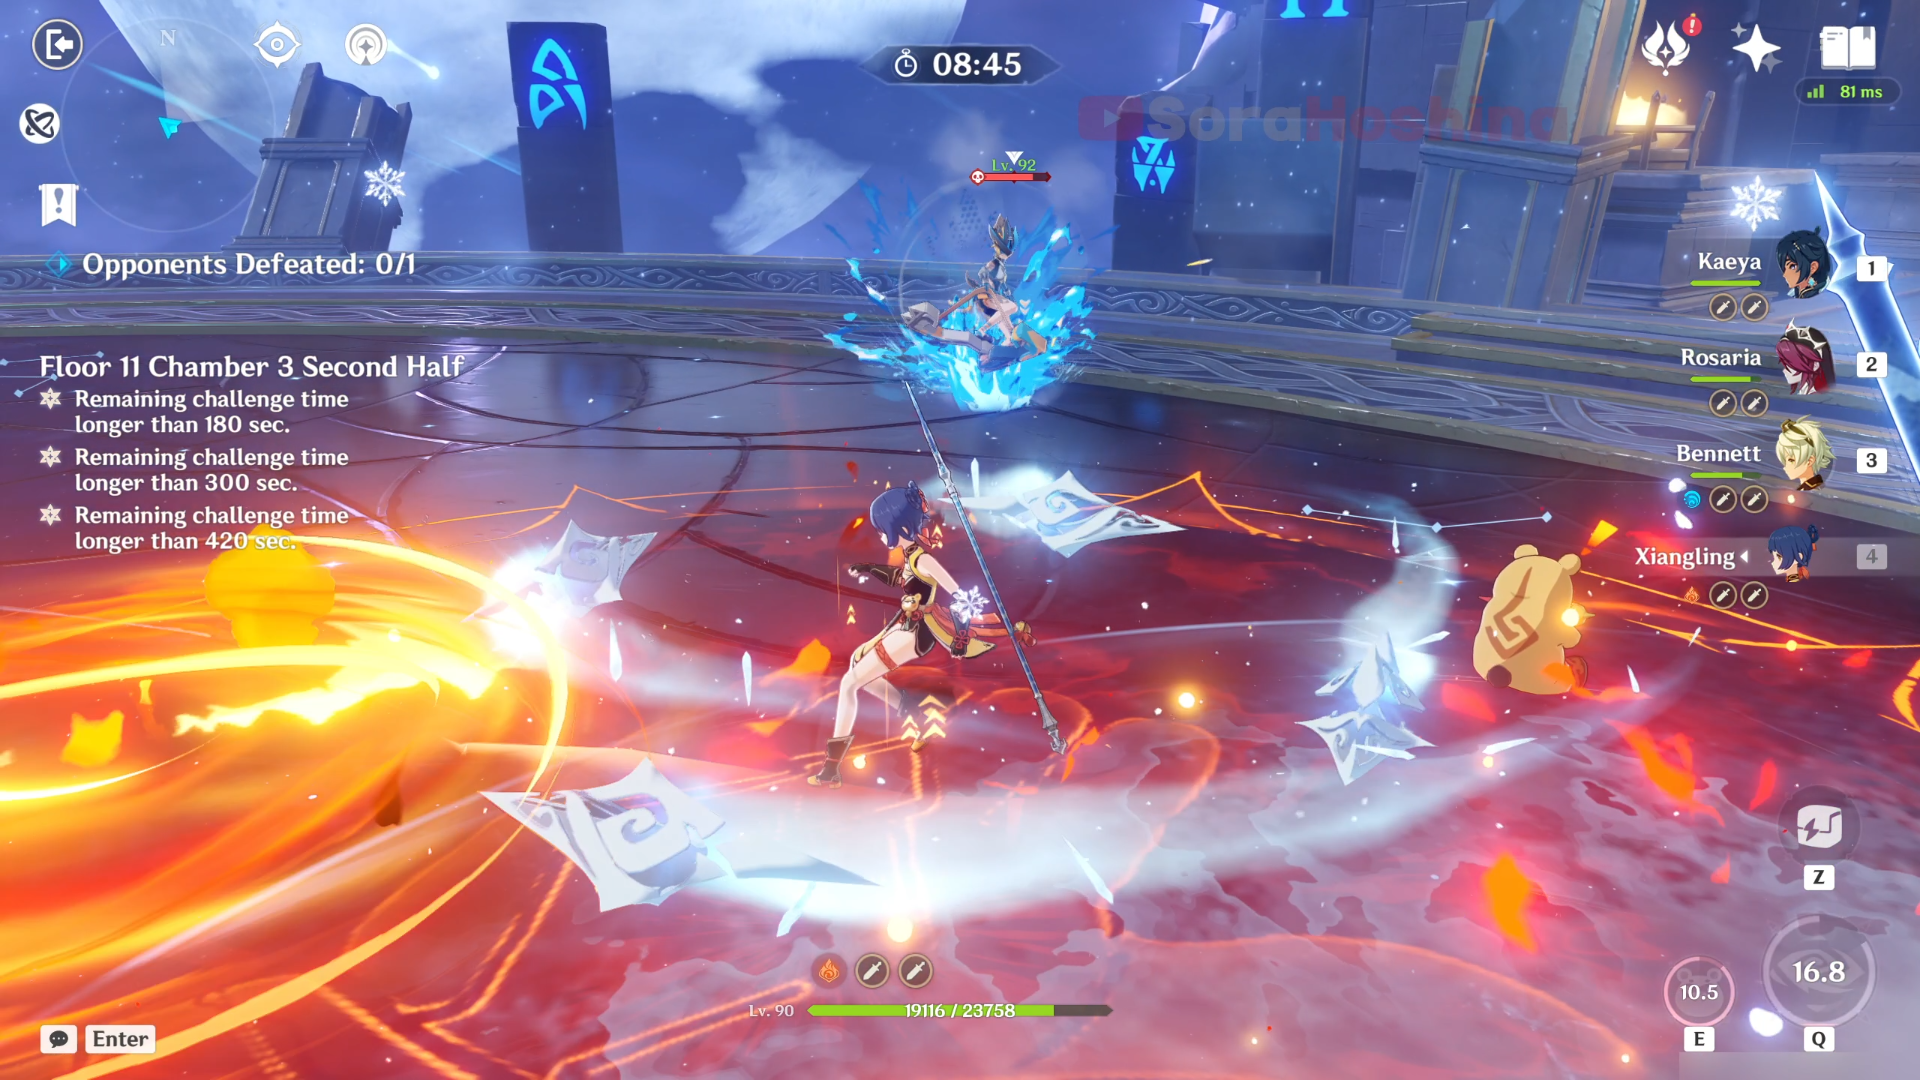
Another dangerous attack would be when she surfs on top of her slingshot to move and charge at your location. As a normal mob, she can only surf twice, but since this is the Local Legend one, the duration of that surfing is increased (and obviously the damage too). So when you see her start to climb on her slingshot, focus on evading because she's really fast when surfing and every time you get hit (while not protected by a shield) you will get knocked back many times.