Table of Contents [Hide]
The last floor of 5.0 Spiral Abyss is here with lots of old bosses. There is only 1 new Natlan enemy on the 12th floor. Follow this guide to know more about enemies' lineup, their weaknesses, and how to complete the entire chamber on Floor 12.
Blessing of the Abyssal Moon
Reminder: Blessing of the Abyssal Moon will change every refresh cycle and may not be updated in this guide. But the enemies list and strategy will remain the same.
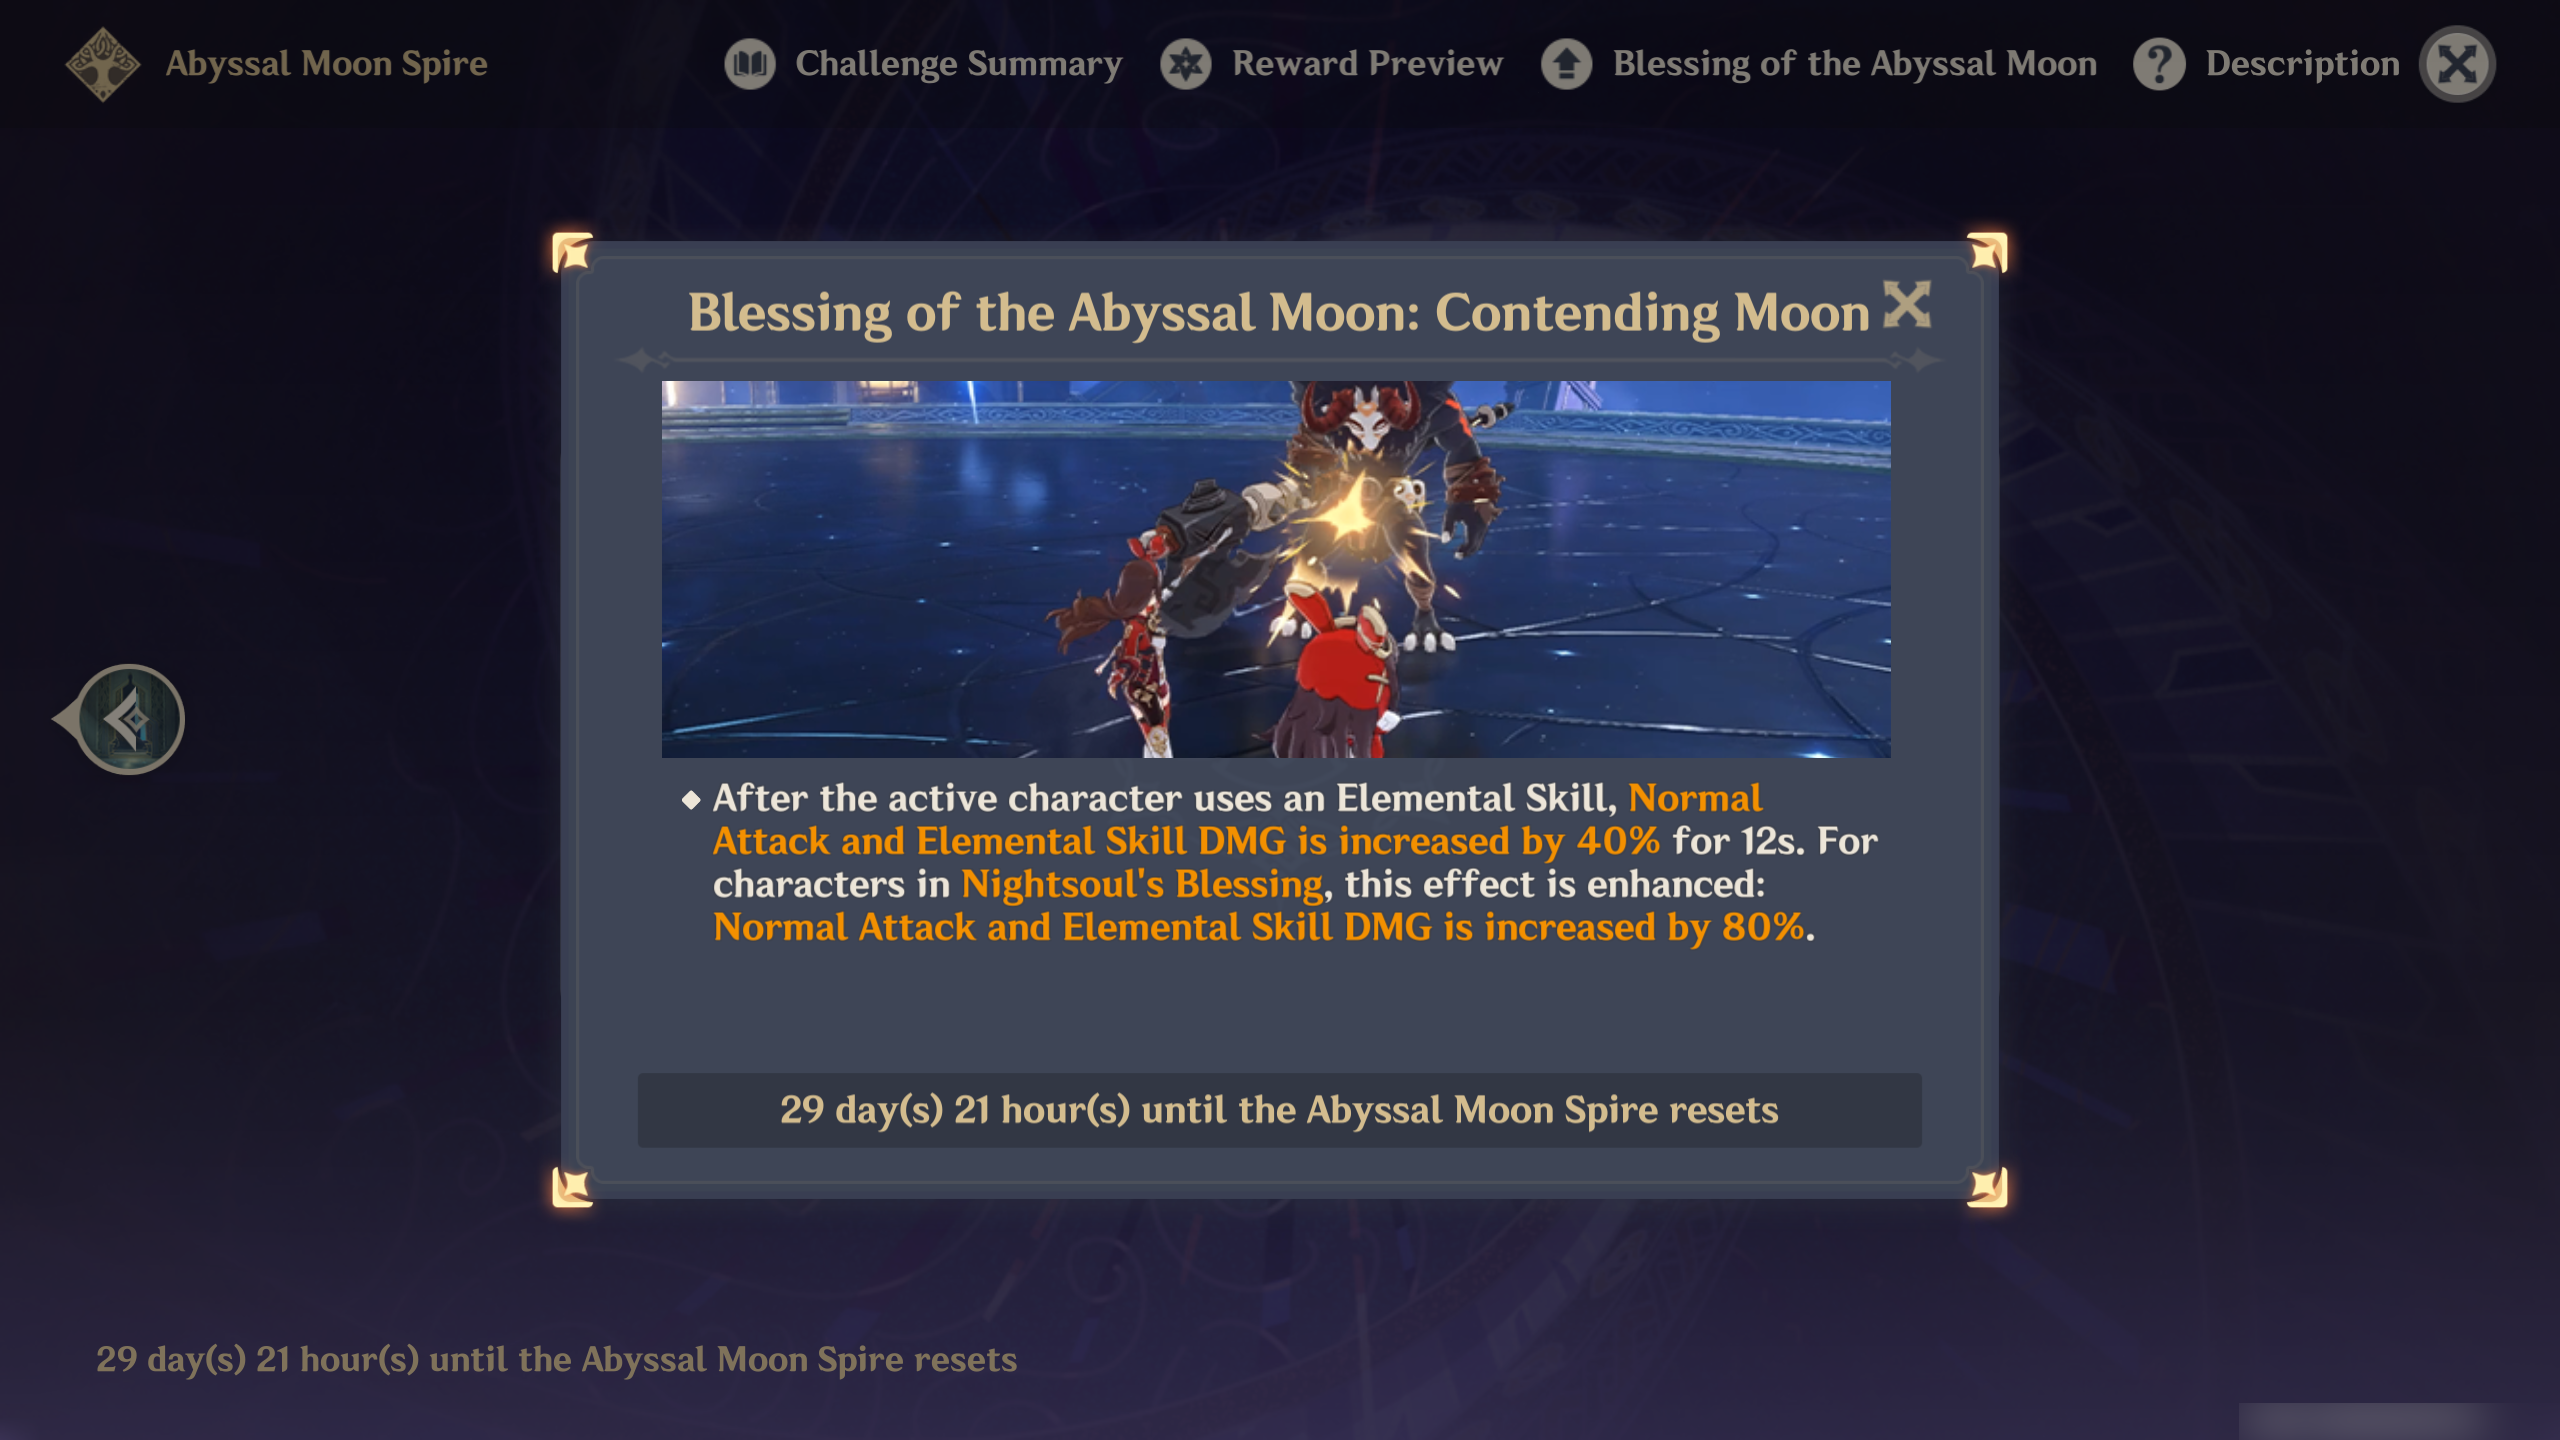
Blessing of the Abyssal Moon: Contending Moon
After the active character uses an Elemental Skill, Normal Attack and Elemental Skill DMG is increased by 40% for 12s. For characters in Nightsoul's Blessing, this effect is enhanced: Normal Attack and Elemental Skill DMG is increased by 80%.
Nightsoul's Blessing is only for Natlan character so if you want that juicy 80% increased DMG for Skill and Normal ATK, bring Natlan characters along. Although 40% for non-Natlan characters doesn't sound too bad either.
Team Recommendations
Ley Line Disorder:
For this floor only, the Let Line flow will be normal.
General Tips:
If the floor is too hard for you, don’t forget that changing teams is an option. Although you need to start from Chamber 1, at least you don’t have to worry about stars for the Chamber you already completed.
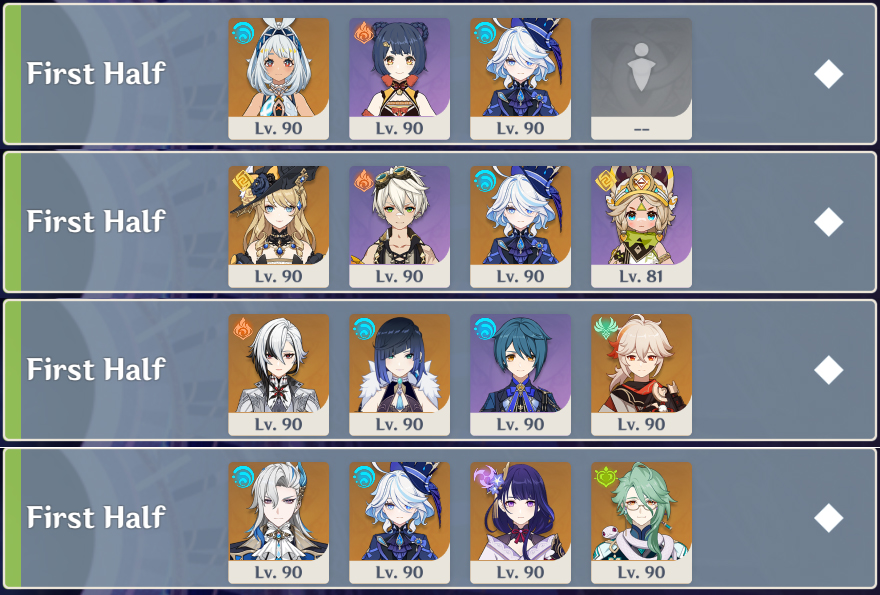
Team Recommendations for the First Half
| The recommended elements for the First Half |    Pyro, Hydro, Anemo ➥ All 3 elements mentioned above are great when facing the Local Legend duo in chamber 1. Both Fatui enemies have their elemental shield on so bringing an element stronger than their shield is crucial. ➥ Pyro is recommended because when facing Yumkasaur in chamber 3, it will summon Flamegranates. You would want to ignite the Flamegranates using Pyro so it can't do the Ultimate attack. |
| The not recommended elements for the First Half |  Dendro ➥ Dendro is not recommended because the boss in chamber 3 (Yumkasaur) has 70% Pyro RES. |
Example:
(1) Vaporize Team: Mualani + Xiangling + Furina + Kazuha/Sucrose/Zhongli
(2) Crystallize Team: Navia + Bennett + Furina + Kachina/Chiori
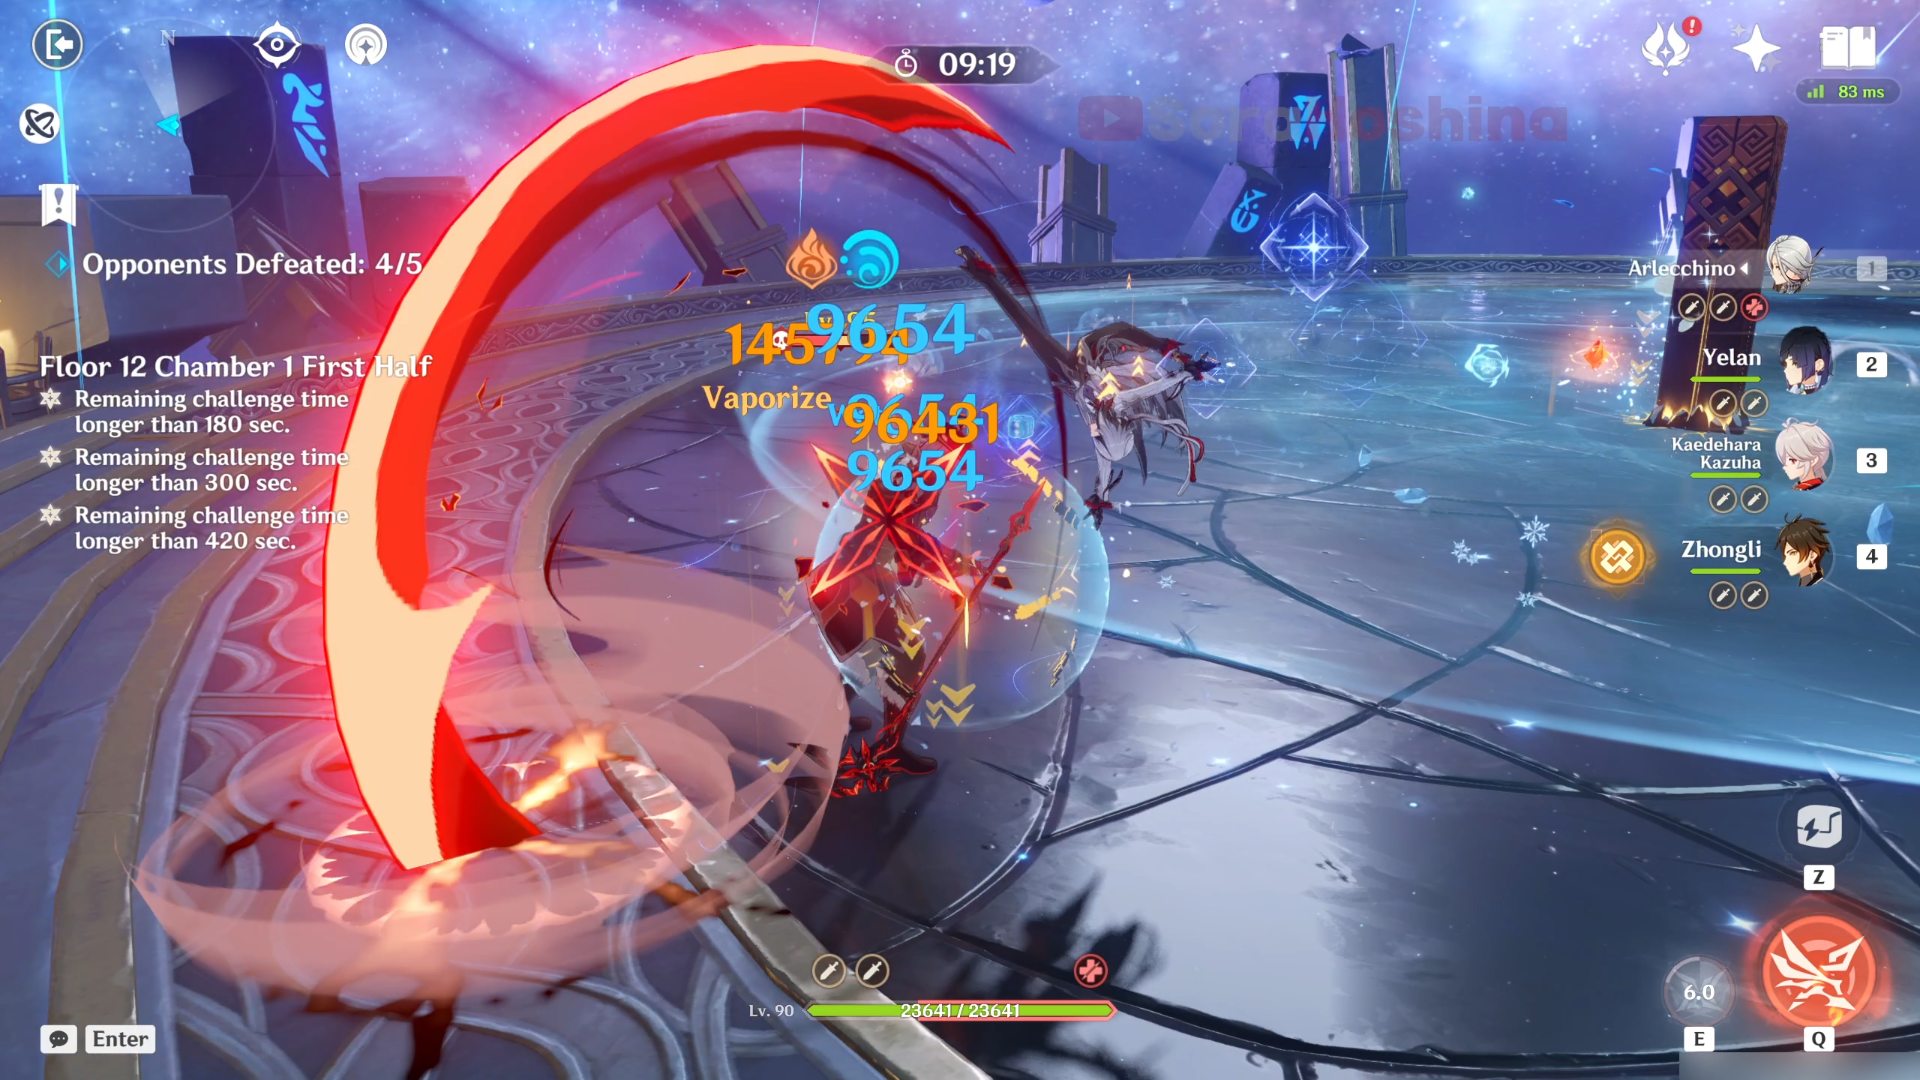
(3) Vaporize Team 2: Arlecchino + Xingqiu + Yelan + Kazuha
(4) Neuvillette Team: Neuvillette + Furina + Raiden + Baizhu
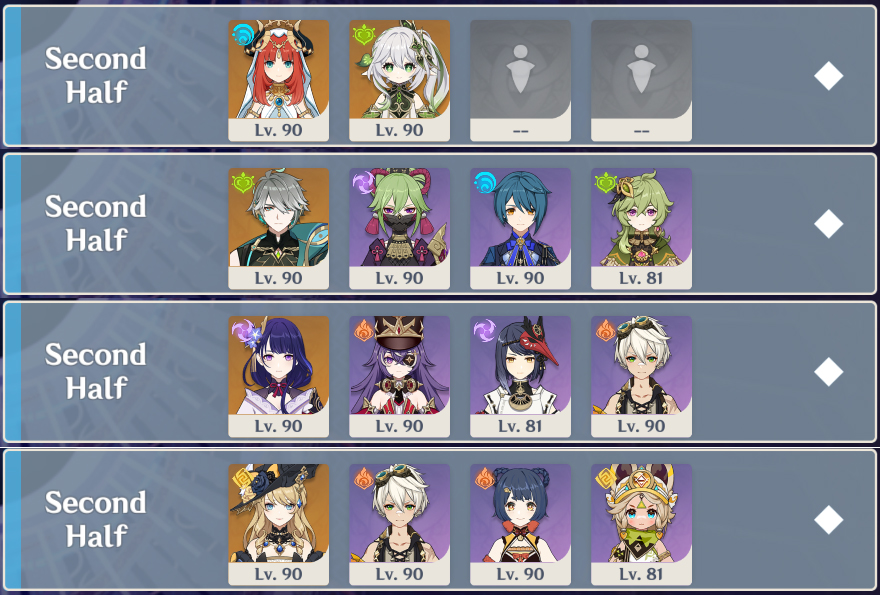
Team Recommendations for the Second Half
| The recommended elements for the Second Half |    All elements excluding the elements not recommended below |
| The not recommended elements for the Second Half |  Physical & Hydro ➥ Hydro is not bad in this chamber, it's just there is an enemy here who is immune to Hydro (Phantasm) so it's better not to bring any Hydro DPS. Support is fine though! ➥ Physical is not recommended because the boss in chamber 3 (Perpetual Mechanical Array) has 70% Physical RES. |
Example:
(1) Bloom Team: Nilou + Nahida + Dendro + Hydro
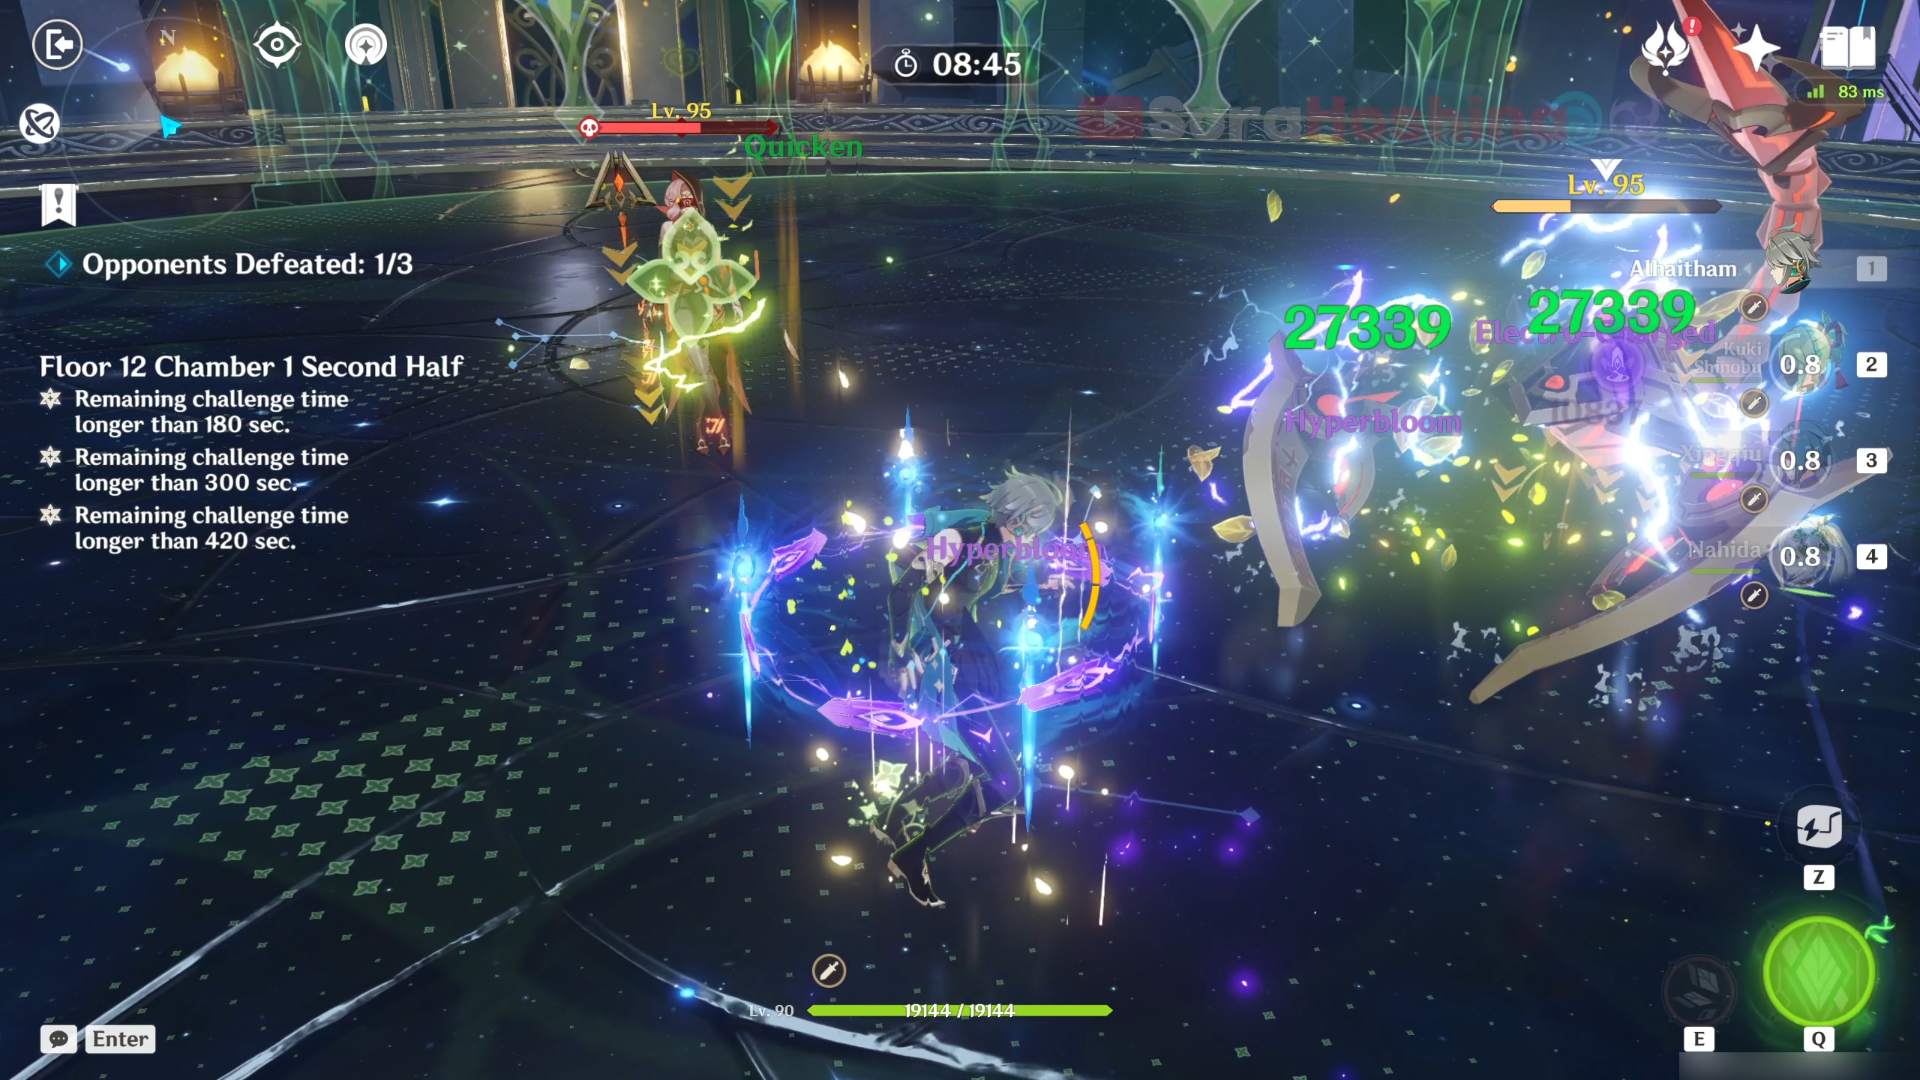
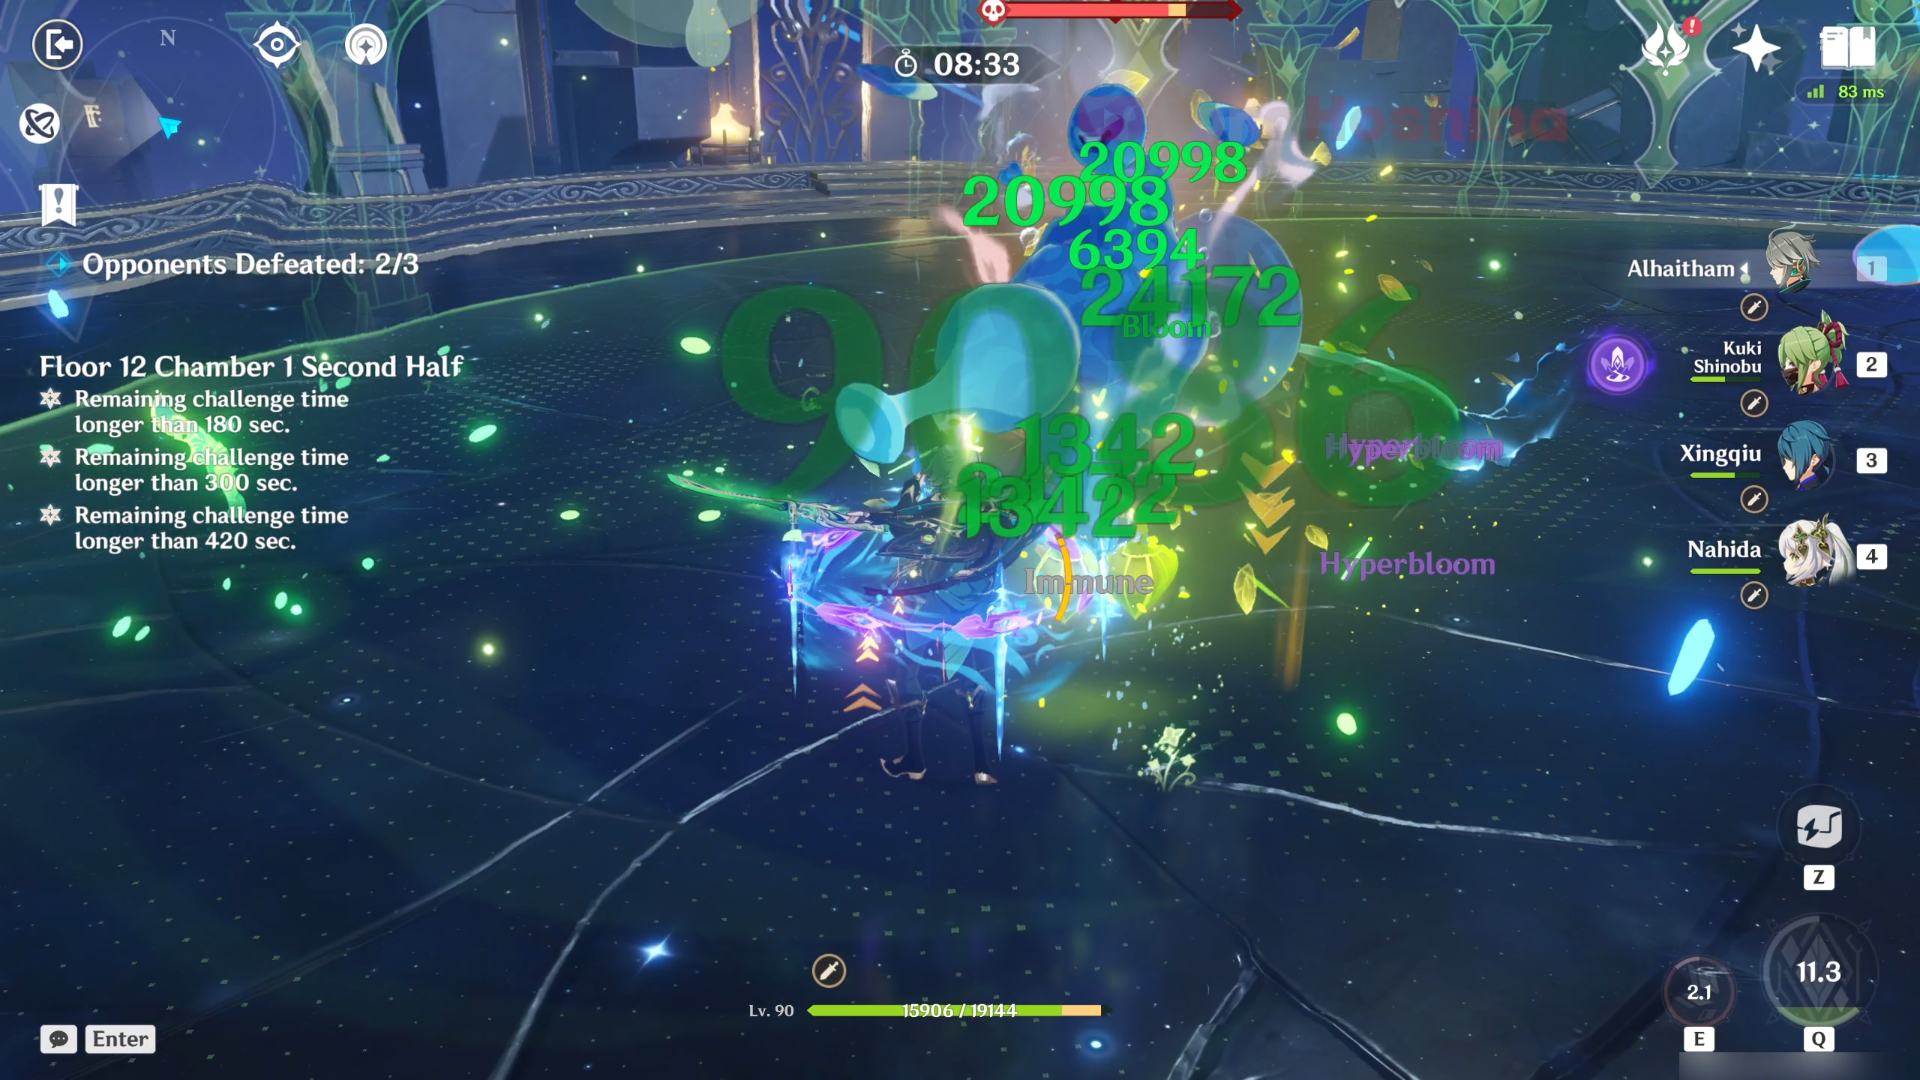
(2) Hyperbloom Team: Alhaitham/Nahida/Dendro MC + Kuki Shinobu + Xingqiu + Collei/Yaoyao
(3) Burning Team: Kinich + Emilie + Bennett + Xiangling
(4) Overload Team: Raiden Shogun + Chevreuse + Kujou Sara + Bennett
(5) Crystallize Team: Navia + Bennett + Xiangling + Kachina/Chiori
Floor 12 Chamber 1
First Half
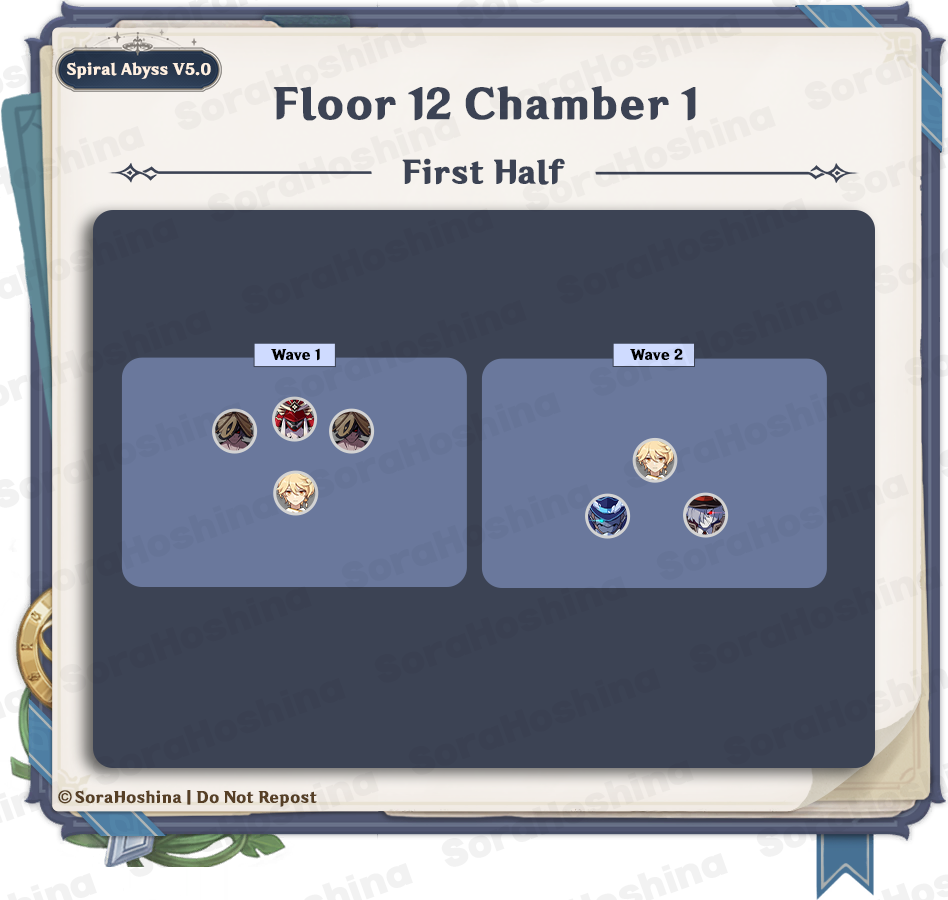
Wave 1: Kairagi: Fiery Might x1 & Nobushi: Jintouban x1
Wave 2: Fatui Skirmisher Pyroslinger Bracer x1 & Cryogunner Legionnaire x1

In the first wave, there are 3 Inazuman enemies. Fortunately, there is only one Kairagi here so you don't have to worry about it regenerating his HP when another Kairagi is down. If you can't gather them all with Anemo CC, try to corner them on the wall at the front or at the back (preferably at the back because the next wave spawns at the back).
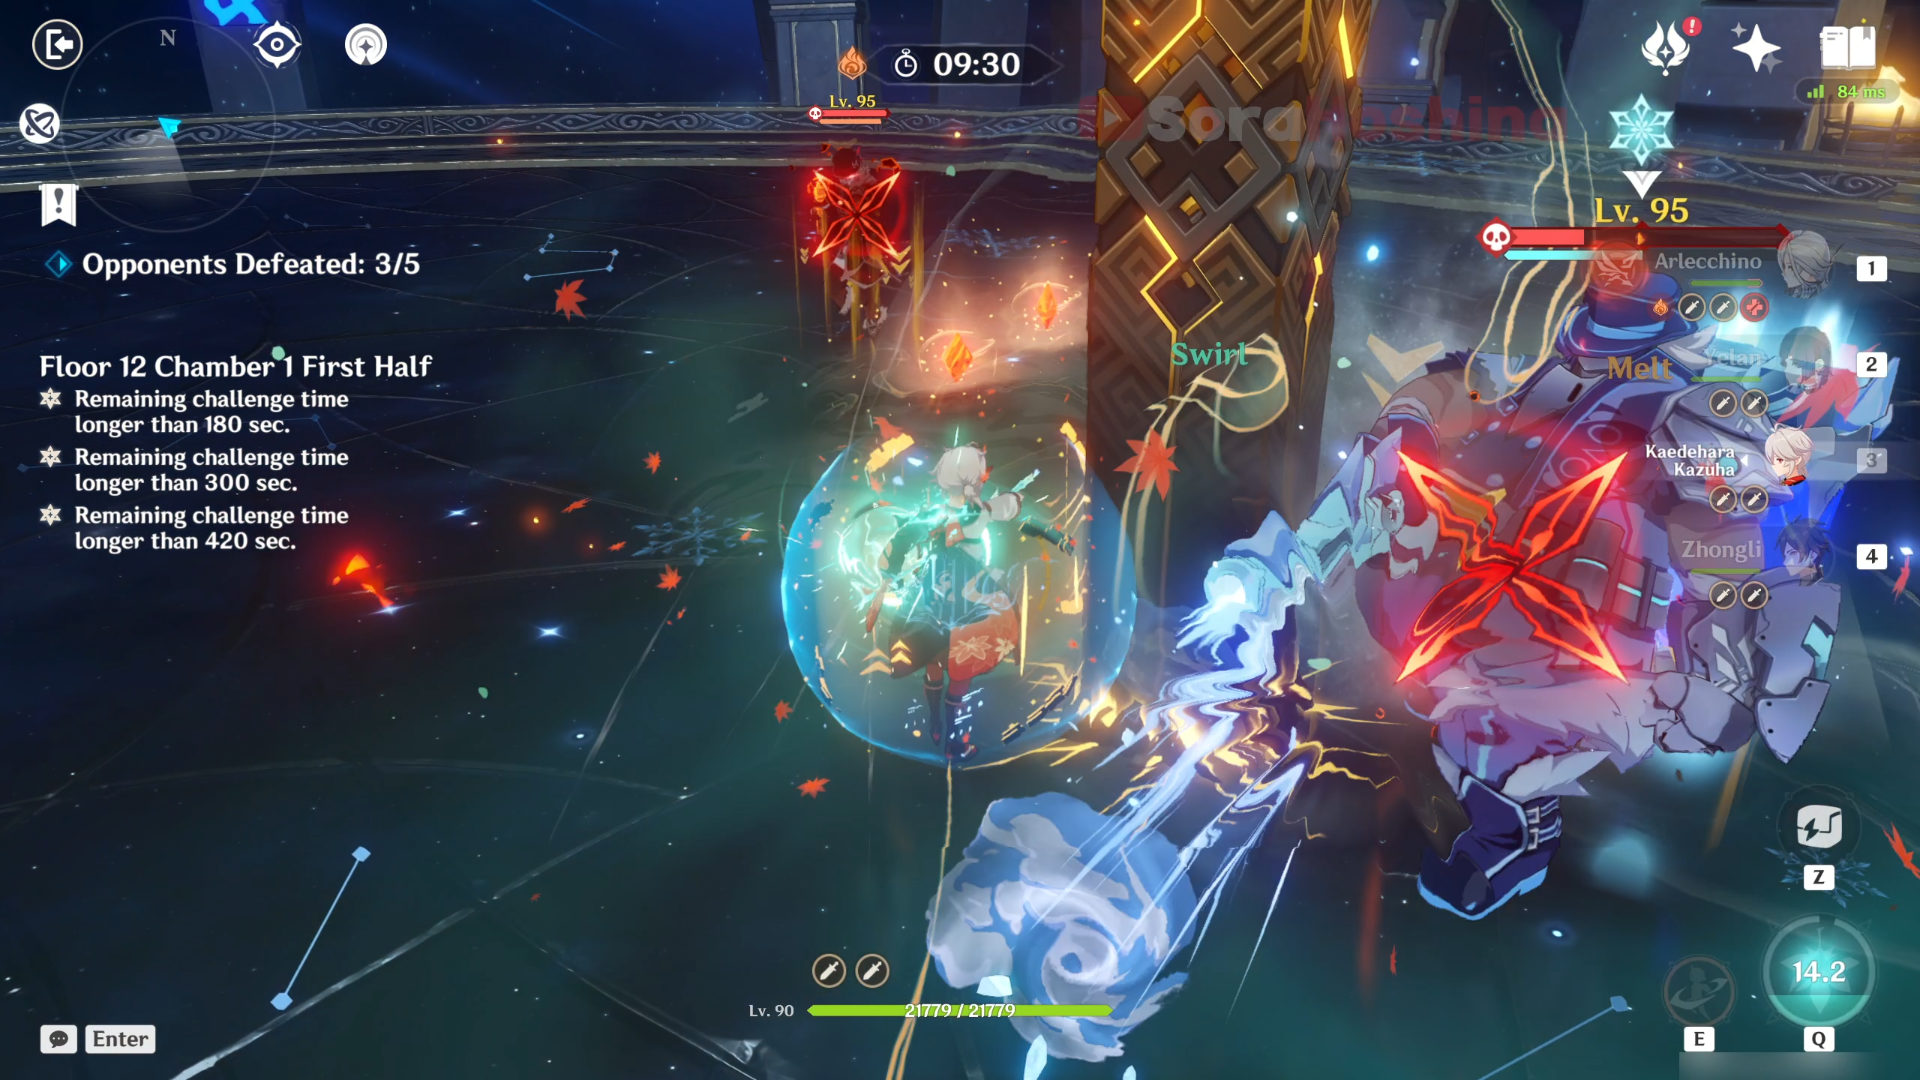
In the second wave, there are 2 Fatui enemies but these aren't your local punching bag, it's the Local Legend version of Fatui Skirmisher.
For the Pyroslinger Bracer, he has the exact same skill set as when he was still a normal mob. What's different is his huge HP and the ability (called Vengeance) when he's defeated; increase the ATK remaining allies by 200%. Yes, this is a really dangerous buff especially if the Cryogunner still has lots of HP left.
For the Cryogunner, he also has the exact same skill set as when he was still a normal mob. The difference is his HP and the ability (called Vengeance) when he's defeated: leaves behind a large AoE ice field, dealing Cryo DMG every 0.2 seconds. Those are extremely short CDs and your character can easily die even with Zhongli's godlike shield.
I recommend focusing on the Cryogunner first because his 'buff' when defeated is much easier to avoid compared to the Pyroslinger's buff. After all, if there's no remaining enemy on the field, Pyroslinger's buff is useless.
Of course, it'll be even better if you can group the two of them together and defeat them at the same time; you can avoid both of their Vengeance buffs and save more time for the second half since there are 3 waves there.
Second Half
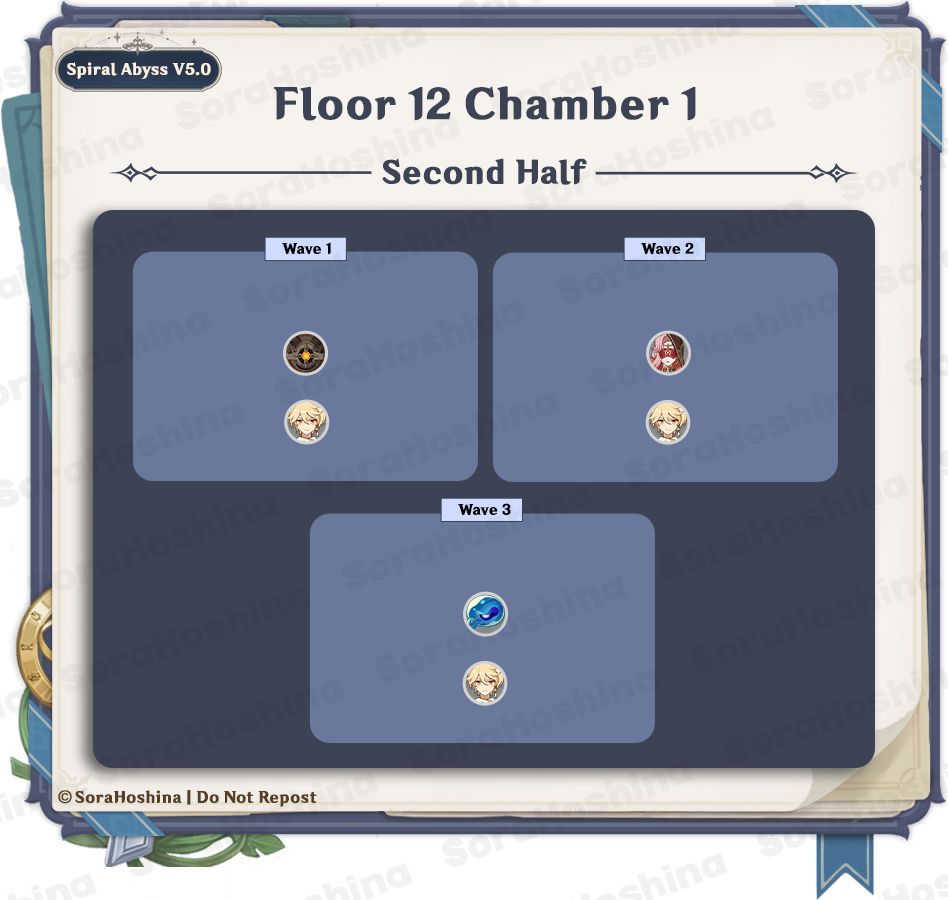
Wave 1: Ruin Drake: Skywatch x1
Wave 2: Eremite Scorching Loremaster
Wave 3: Veteran Tainted Water-Spouting Phantasm x1
In the first wave, we have a Ruin Drake Skywatch. This enemy won't hover too high so your melee characters can still hit it. Should you aim for its weak point? You can, and it's up to you. If you feel like attacking the hovering enemy is hard, you can paralyze it first before spamming your attacks. It does have an attack that will make it hover above your melee character so don't put your hopes up too much and get your bow character ready.
Fun Fact, Furina's Salon Members (the trio) will most of the time focus on attacking the core instead of anywhere else so she can be a replacement if you don't have any built or suitable bow character. Can't 100% rely on them to hit the core though cause sometimes they don't aim for the core.
In the second wave, there is only one Eremite enemy; the Loremaster. As with any other elite Eremite in Abyss, she will enter enhanced mode + summon her beast from the start so you can't Anemo CC her. When the respective spirit animal is defeated, the enhanced state will end, and the Eremite will become stunned for 10 seconds with decreased Pyro RES. They can only enter their enhanced state once. So yes, try to defeat the beast first if you think her RES is too high for your character.
In the third wave, there is only one Tainted Water-Spouting Phantasm. This one is the Local Legend type so they will enter Enraged State from the start and will stay that way permanently. In this state, their attacks will be enhanced and become immune to being Frozen. The only answer here is brute force. Take advantage of the fact that this enemy is in a constant Hydro state (reaction goes brr).
Floor 12 Chamber 2
First Half
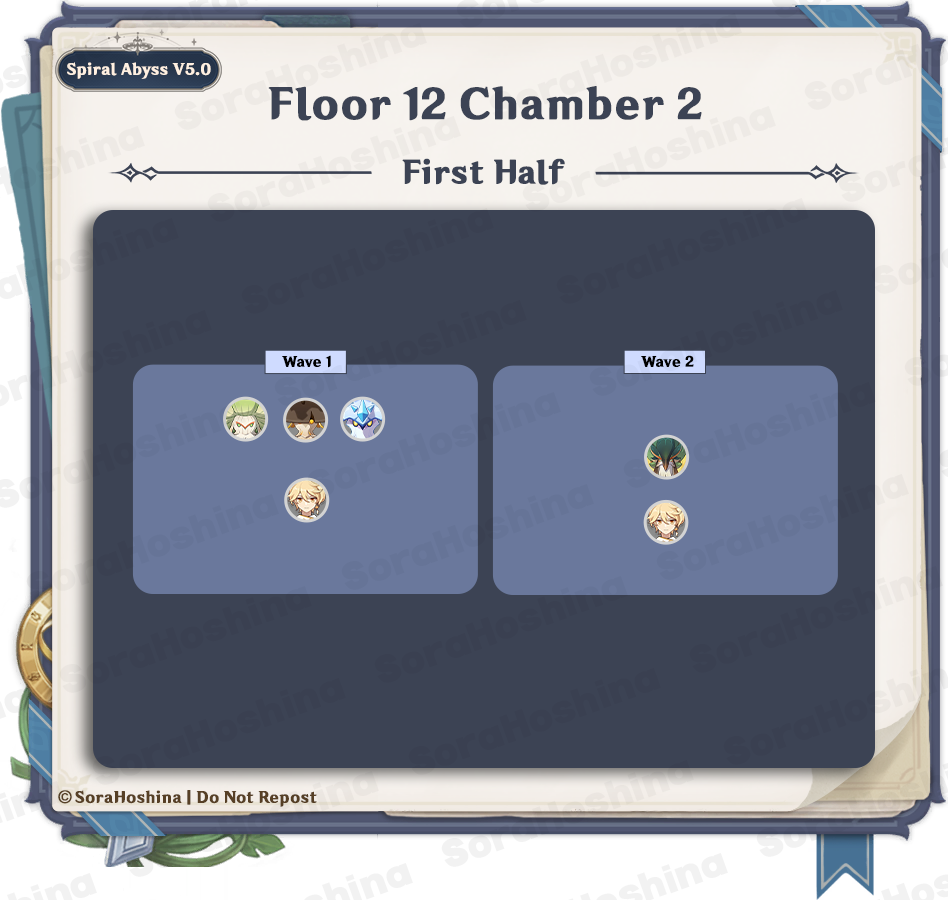
Wave 1: Winged Cryoshroom x1, Winged Dendroshroom x1 & Grounded Geoshroom x1
Wave 2: Jadeplume Terrorshroom x1
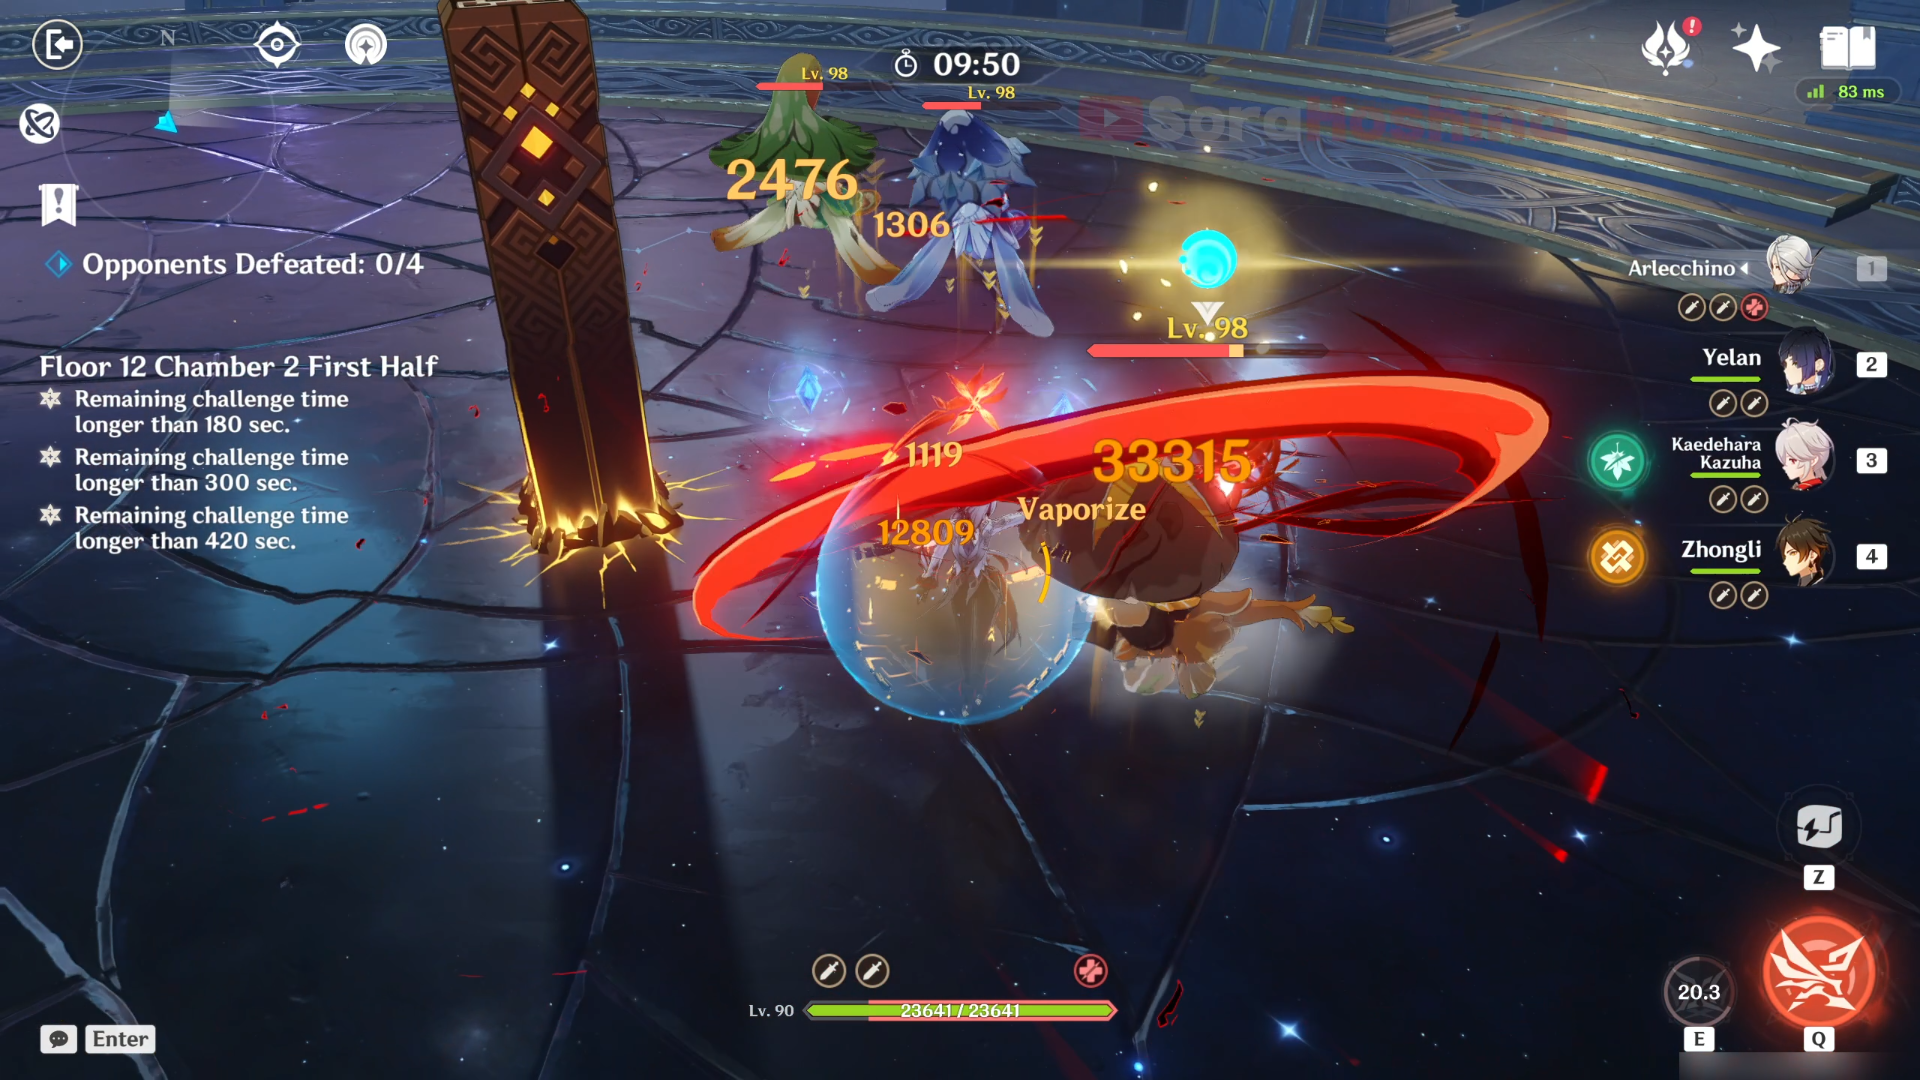
In the first wave, there are 3 mushrooms in the front area. 2 of them are Winged Shroom while the remaining one is Grounded Shroom. Go to the Grounded Shroom first and let the Winged Shroom follow after you. It's because the Winged ones might float above your melee characters' range so you might as well remove the easy threat first (the Grounded Shroom) while waiting for the Winged Shrooms to fly low again.
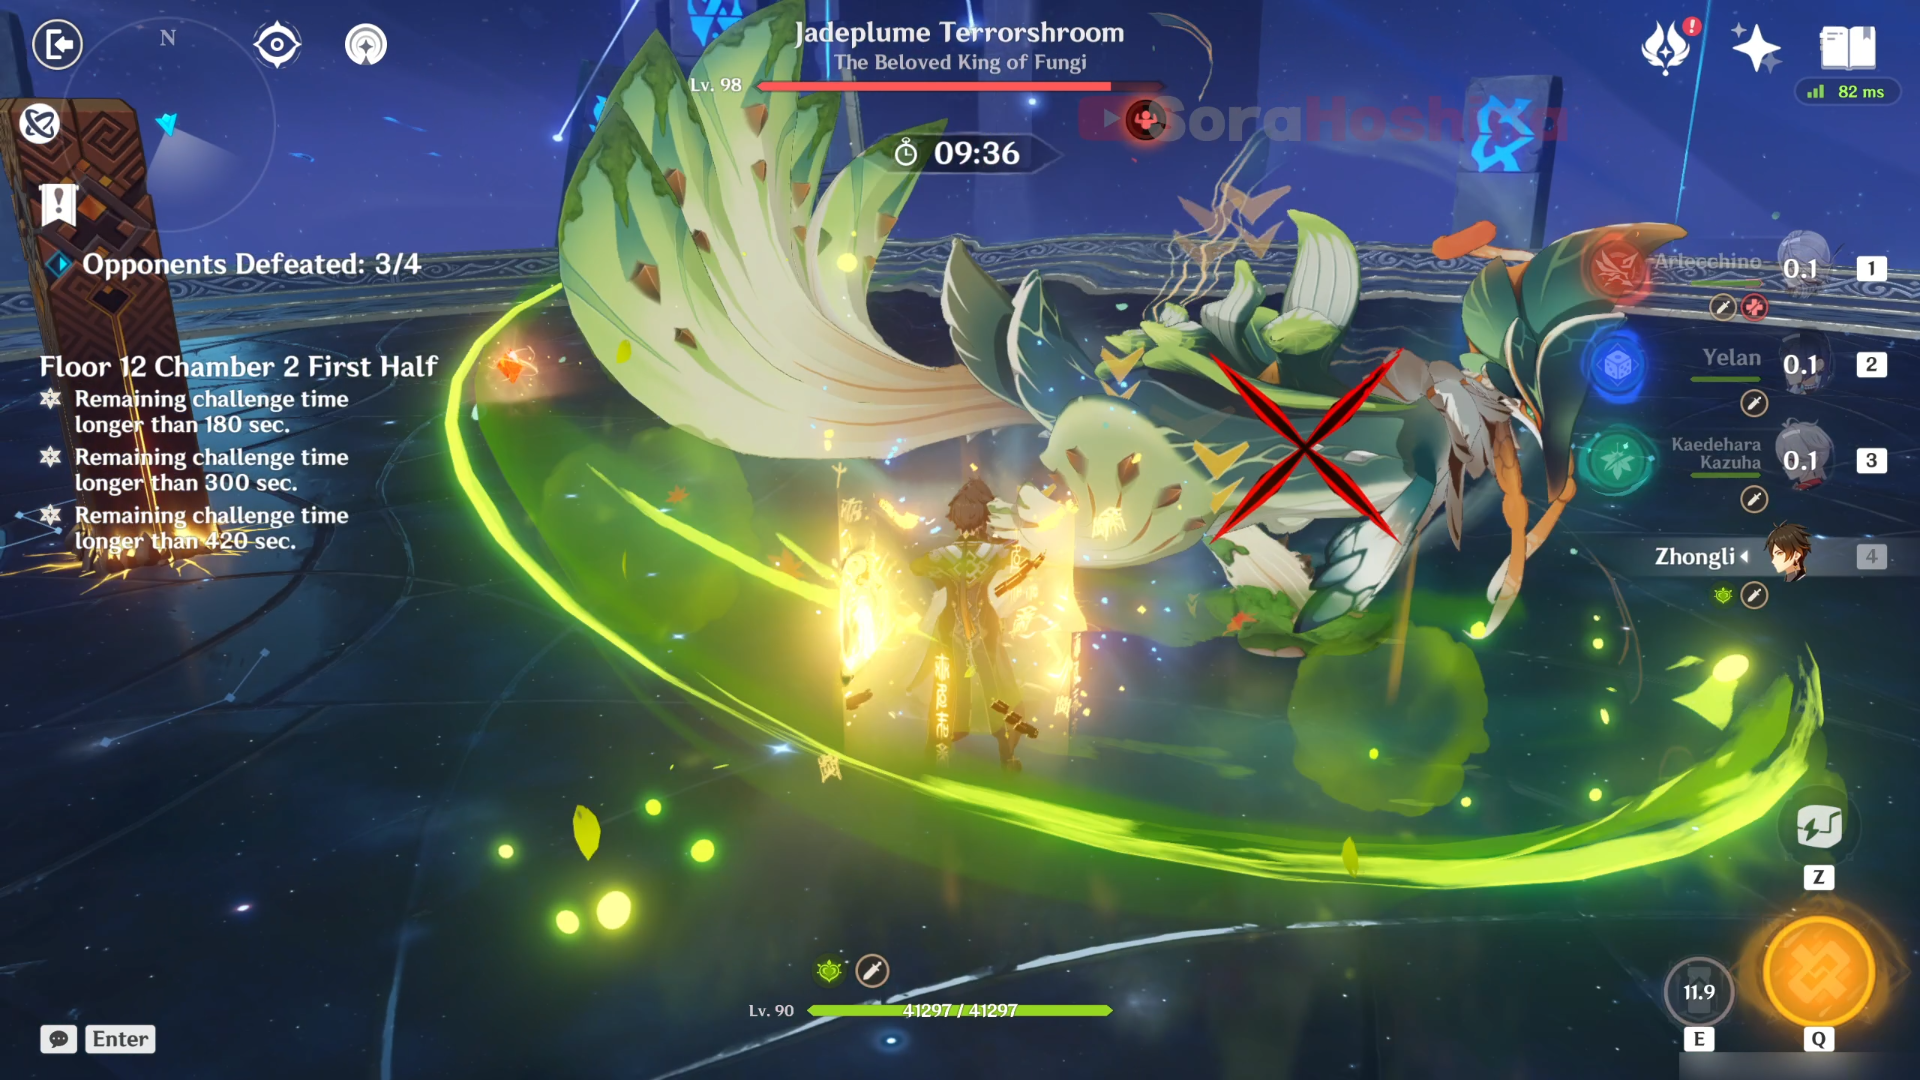
In the second wave, you're facing Jadeplume Terrorshroom. Make sure you are in range within Jadeplume's attack range (if you bring melee DPS) because most of their attacks are short range and you can dodge to avoid taking any damage. Of course, if you bring a shielder/healer, you can end the fight faster by brute force attacking Jadeplume.
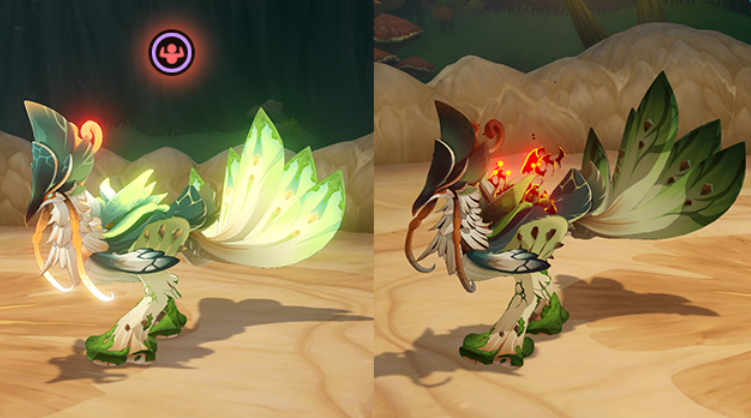
There are 3 states of Jadeplume: Normal, Activated, and Scorched:
(1) The Normal state is the one you're dealing with in its default form.
(2) The Activated state is when the Fury bar under its HP is filled by Electro attacks from your character. When Jadeplume is in Activated form, it has different attack modes but will eventually be paralyzed from exhaustion for 15 seconds.
(3) The last state is the Scorched state when the Jadeplume is affected by Burning (Dendro+Pyro). It's not really a big deal except for its skill that can summon a maximum of 4 Fungi, which will make you lose precious time in the challenge.
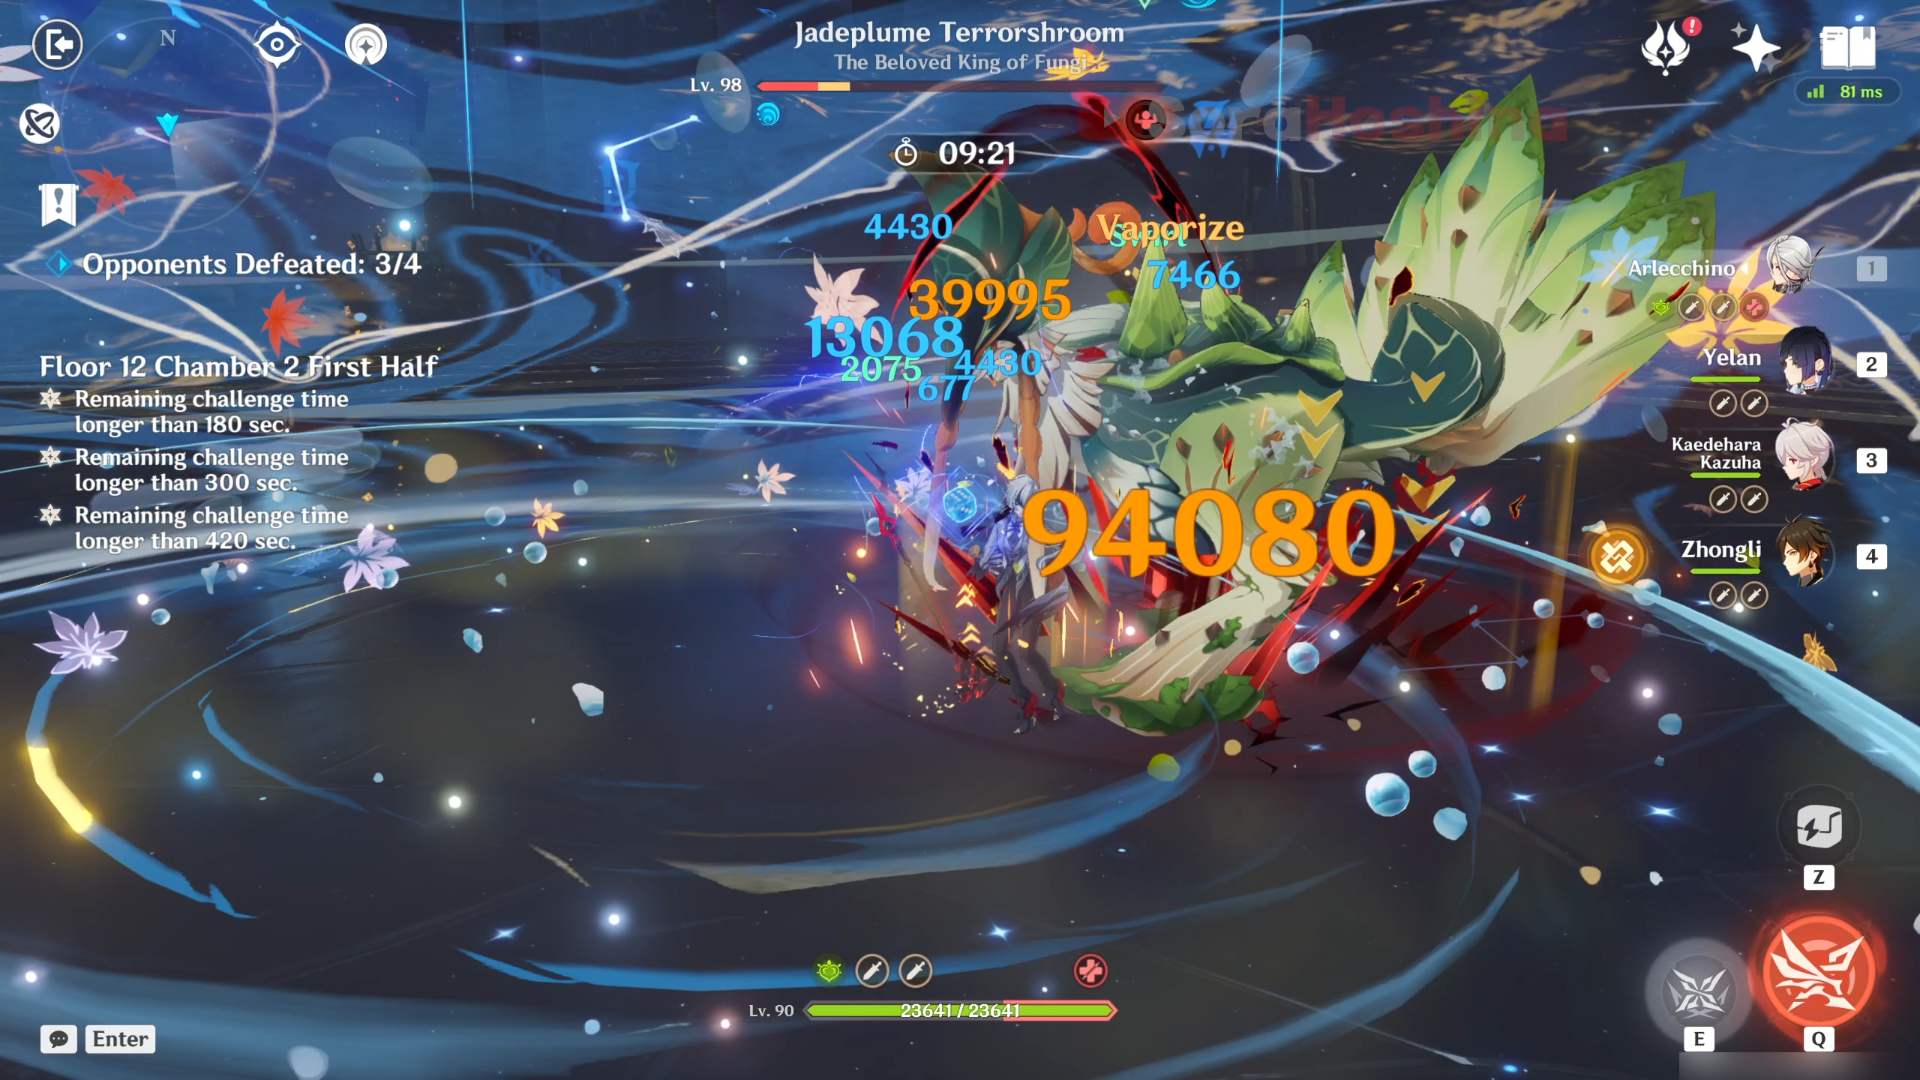
Both states are decent so you can choose which one you think is the best for your team. For the Activated state, make sure to avoid any incoming attacks from Jadeplume because those hit like a truck. Instead, wait until it's paralyzed before you can spam your attacks.
For the Scorched state and the Fungi spores, you can destroy the spores with Electro/Hydro/Pyro within 3 seconds before they can spawn, which will stop the Fungi from spawning. Any of the mentioned elemental AoE attacks are great here.
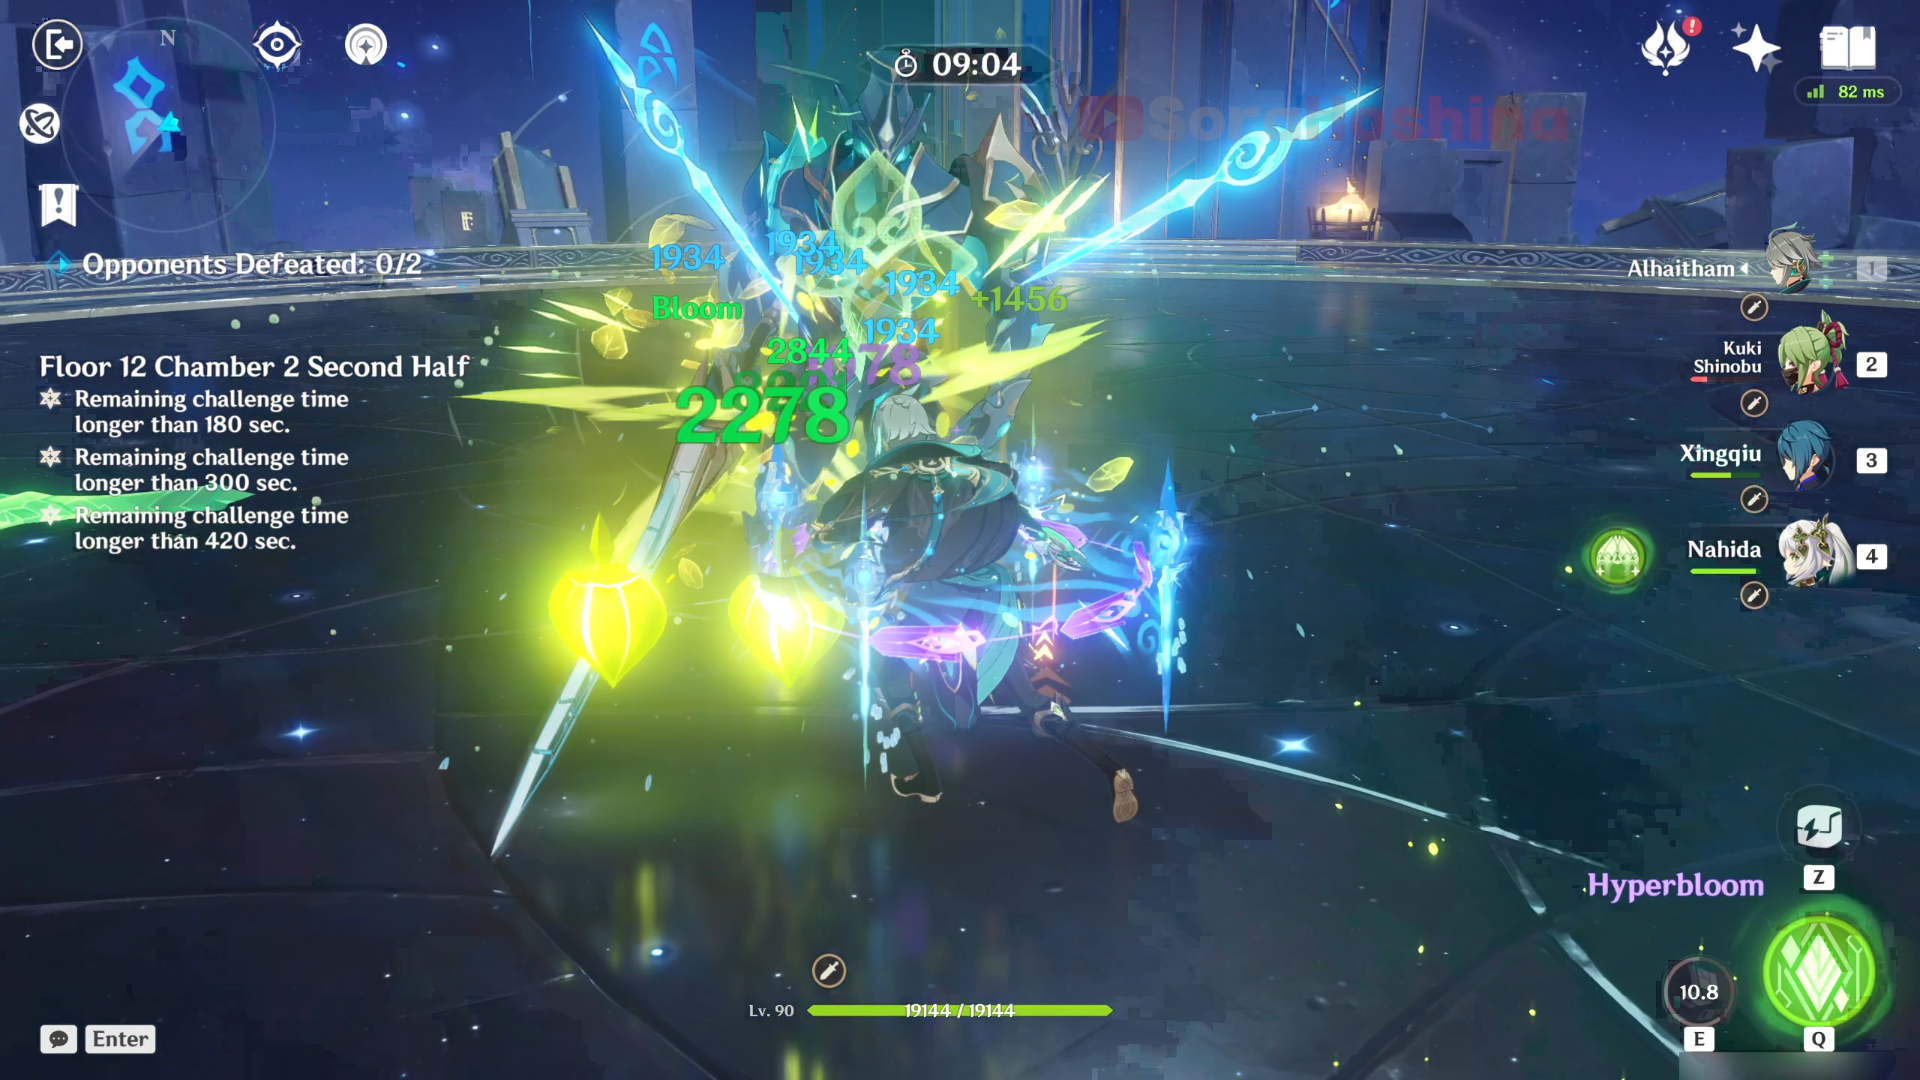
Second Half
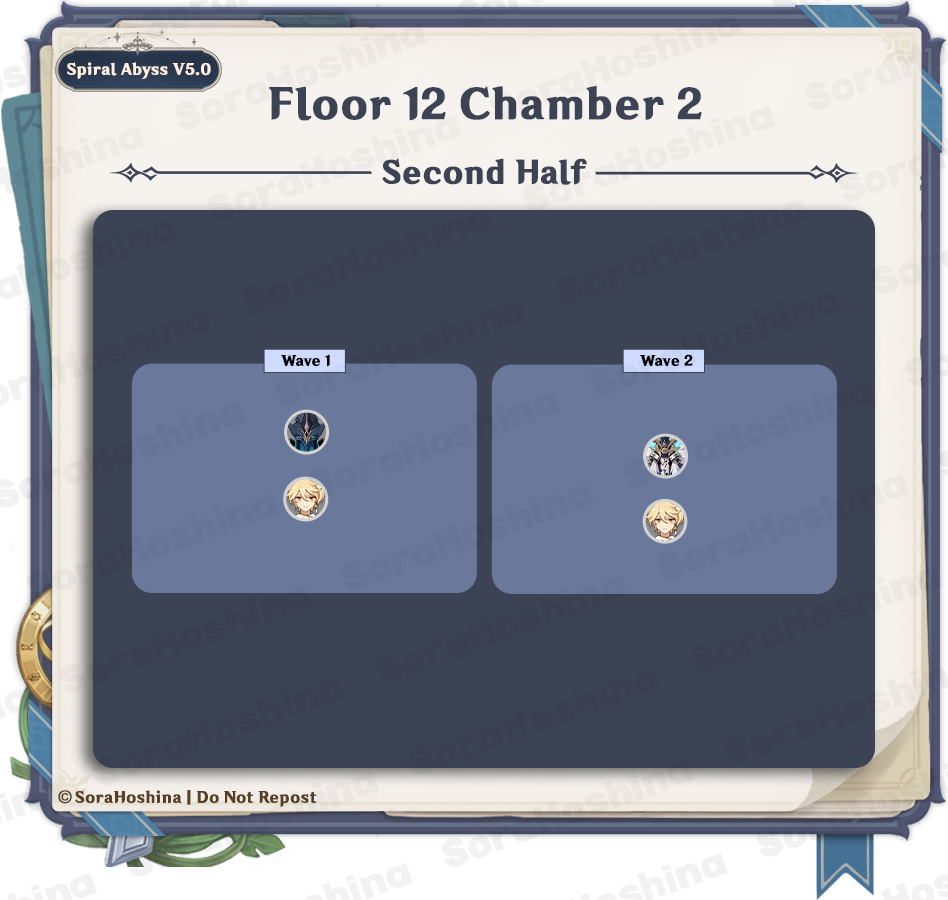
Wave 1: Black Serpent Knight: Windcutter x1
Wave 2: Maguu Kenki x1
In the first wave, there is 1 Black Serpent Knight and they spawn pretty close to each other at the front. Brute force it as fast as you can because you have another wave which is more dangerous.
Just know that if the Black Serpent Knight attacks a player's Shield (does not count if the shield breaks as a result of the attack), it will gain a temporary buff at the cost of 15% of its Current HP, which increases its ATK by 30% and allows it to blink away from the next attack and take no DMG no matter the scale.
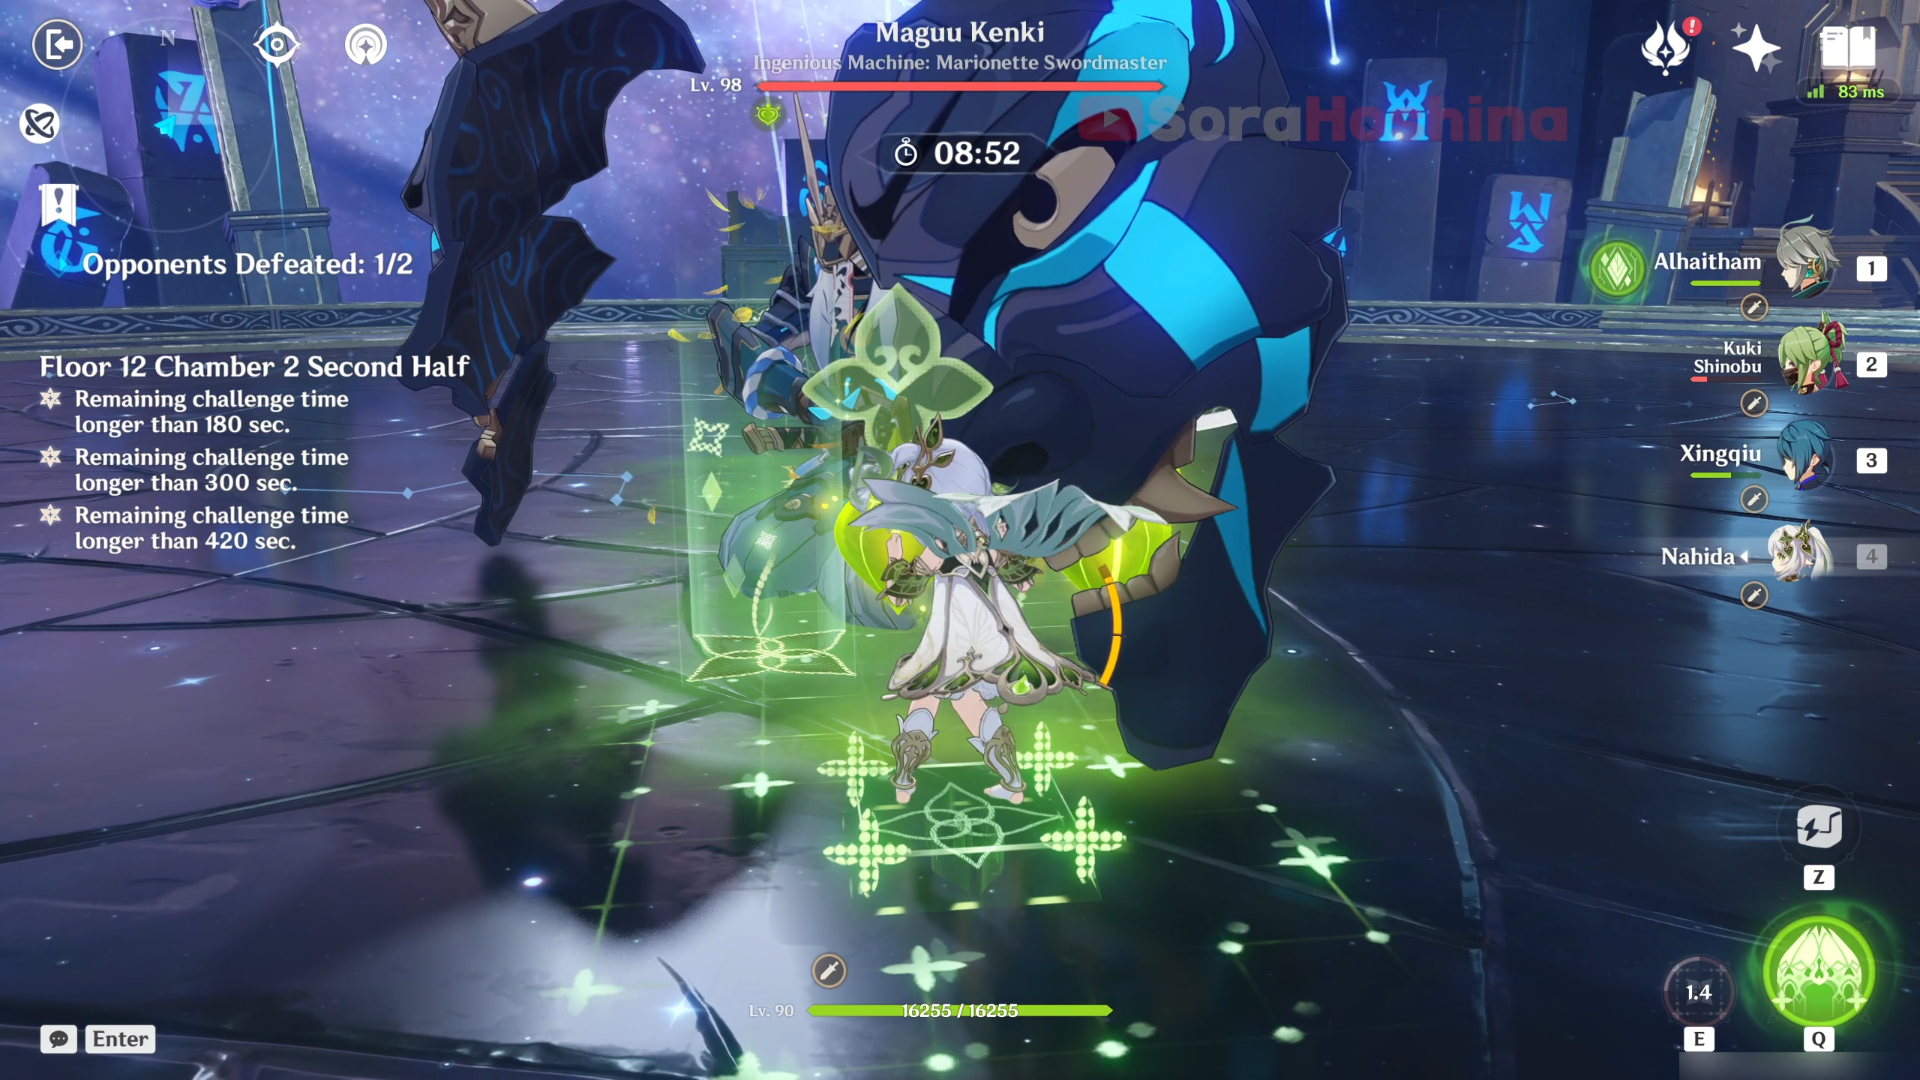
In the second wave, it takes around 10 seconds for Maguu Kenki to stand up and within those seconds, it won't be taking any damage. So, be wary of when you can start attacking, and don’t waste your Skill and Burst. If you use your Skill during its standing-up animation, you can generate particles but Maguu Kenki won’t take any damage. So it’s up to you if you want to use it or not.
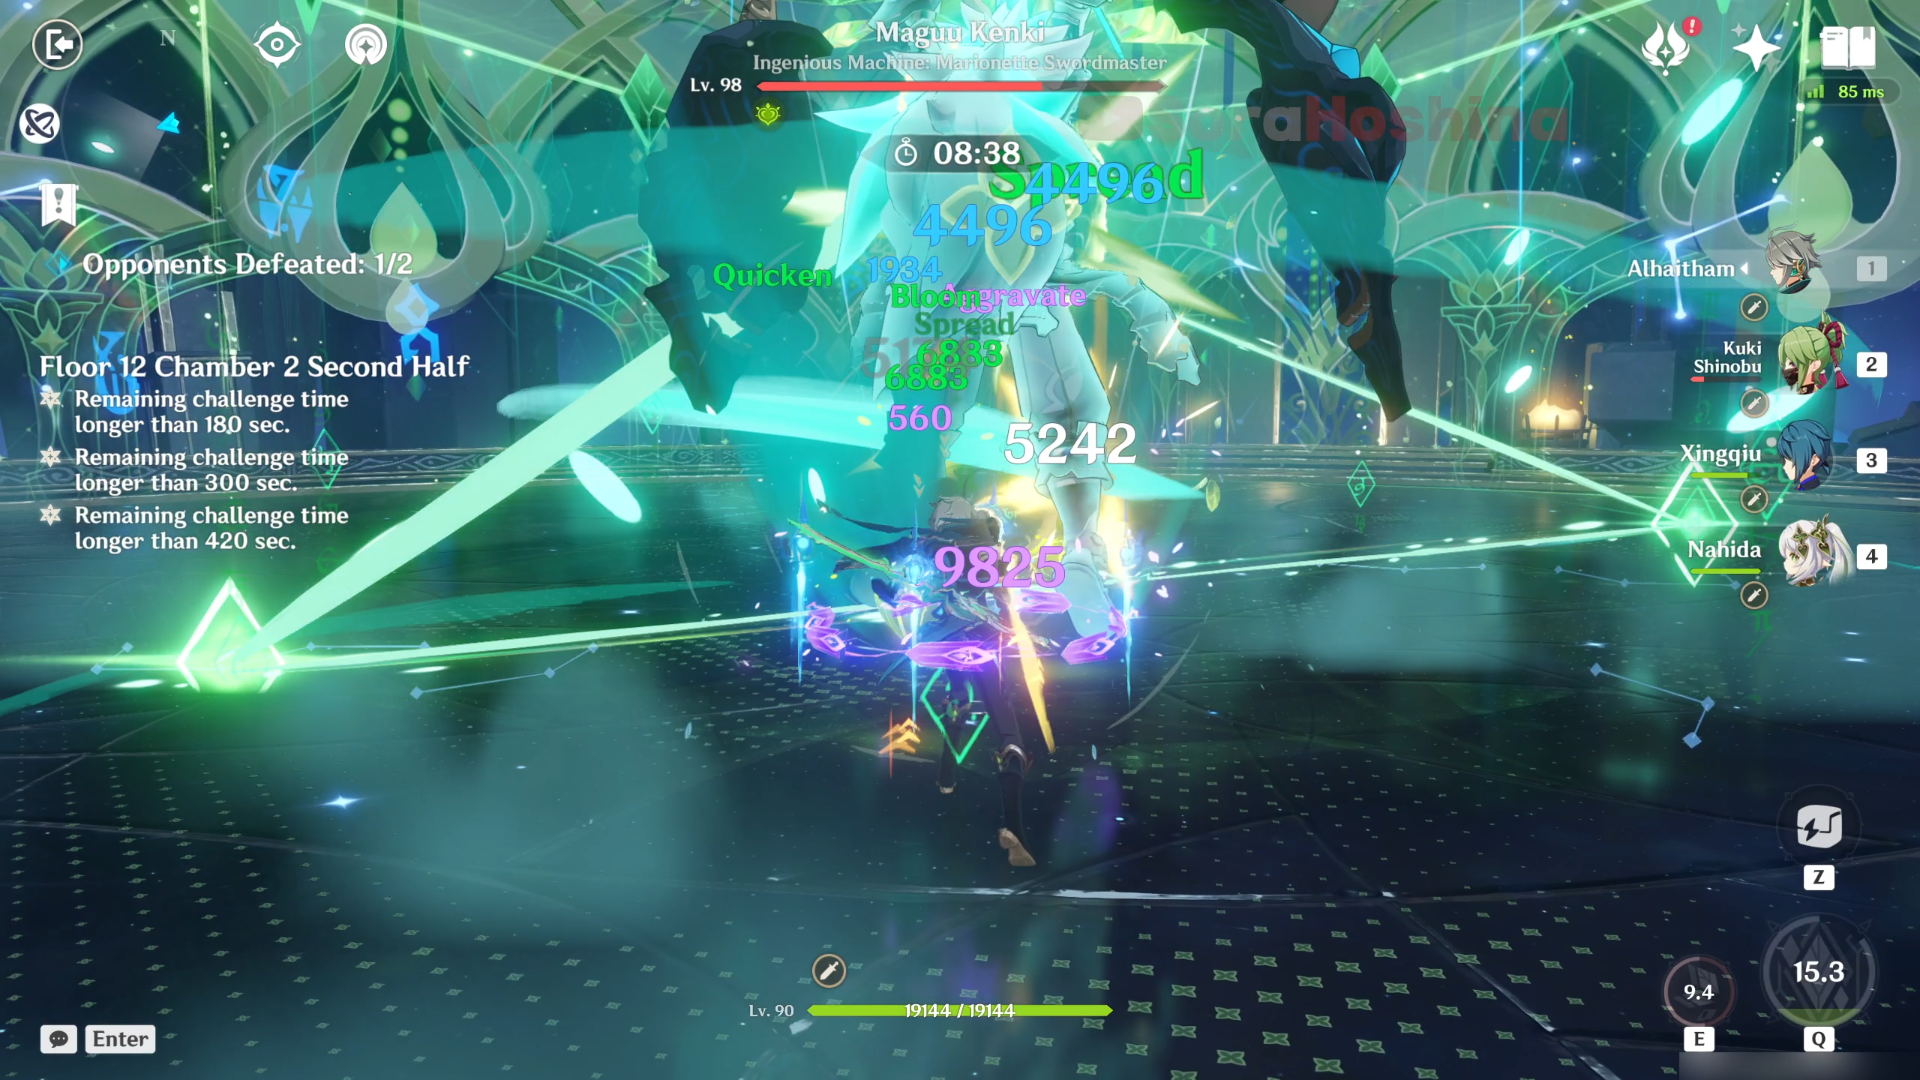
Once it reaches 70-75% of its Max HP, it will use Dual Sword Burst (not an official name) to deal both Cryo and Anemo DMG. Maguu will be immune during this skill so don't waste your time attacking it, especially your Burst (unfortunately, I forgot about this and accidentally used Alhaitham's Burst right before this).
Instead, make sure to (1) dash i-frame as soon as Maguu Kenki enters downward motion, (2) or use skills that elevate you off the ground to avoid DMG, or (3) use a support character's Elemental Burst as another form to i-frame/avoid this attack, as this attack hits you like a truck. In addition, try not to attack from far away outside of its melee range because it will trigger Maguu's parry mask and block your attacks.
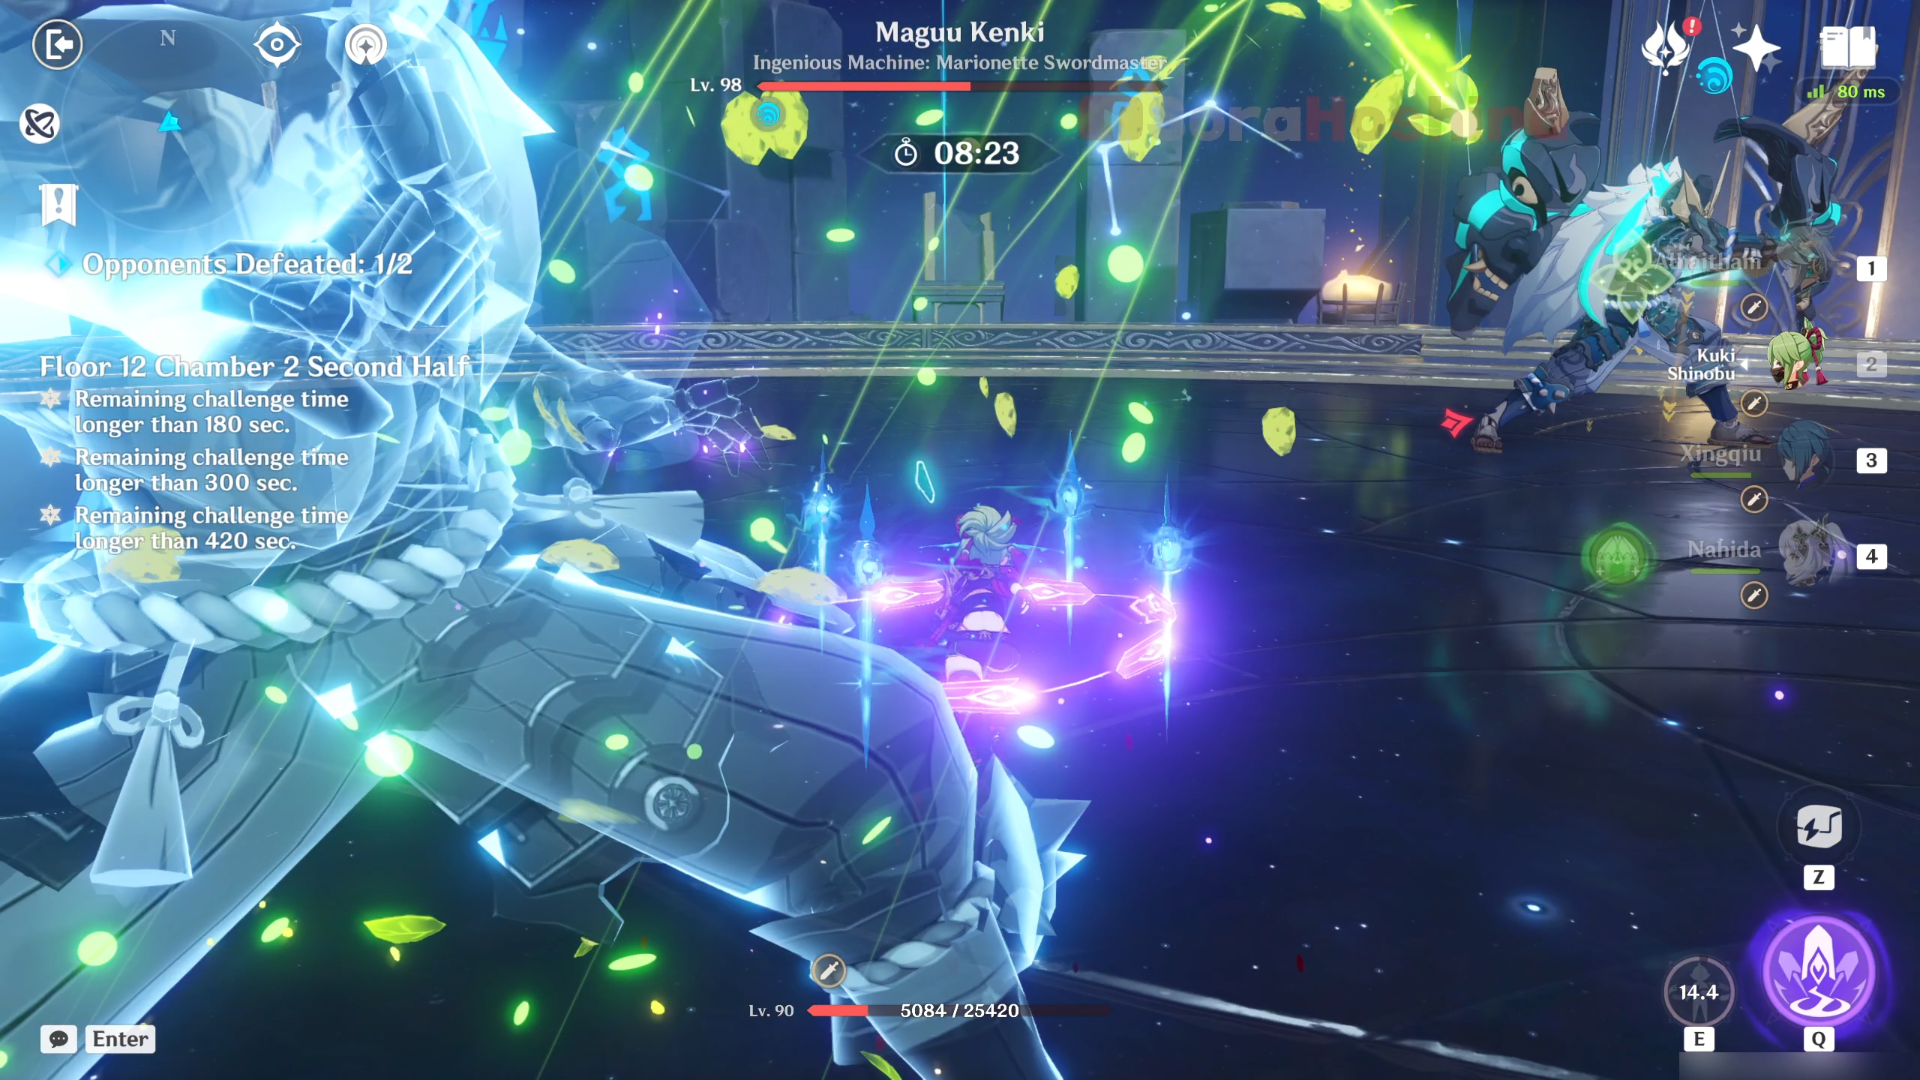
Another attack that this Maguu Kenki really loves to use is Shadowsword: Blustering Blade (again, not an official name) where it will teleport and leave a phantom in its original location. The phantom performs a single slash (either Anemo or Cryo) before Maguu Kenki performs 3 or 4 slashes in quick succession behind the phantom.
Because of this attack, you might miss your target whenever you use Elemental Burst as Maguu Kenki might teleport away from your Burst AoE. That's why, pay attention to Maguu Kenki and wait until it does any other attacks that will make him not use the teleport skill before using your Elemental Burst.
Floor 12 Chamber 3
First Half
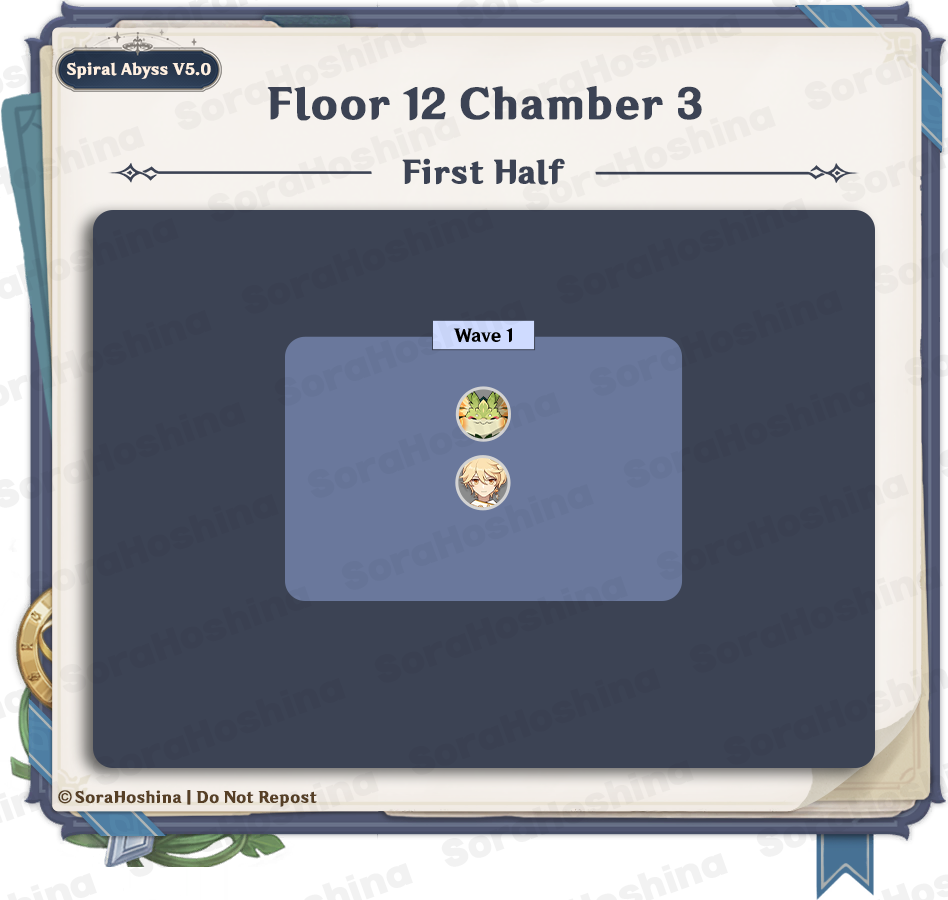
Wave 1: Gluttonous Yumkasaur Mountain King
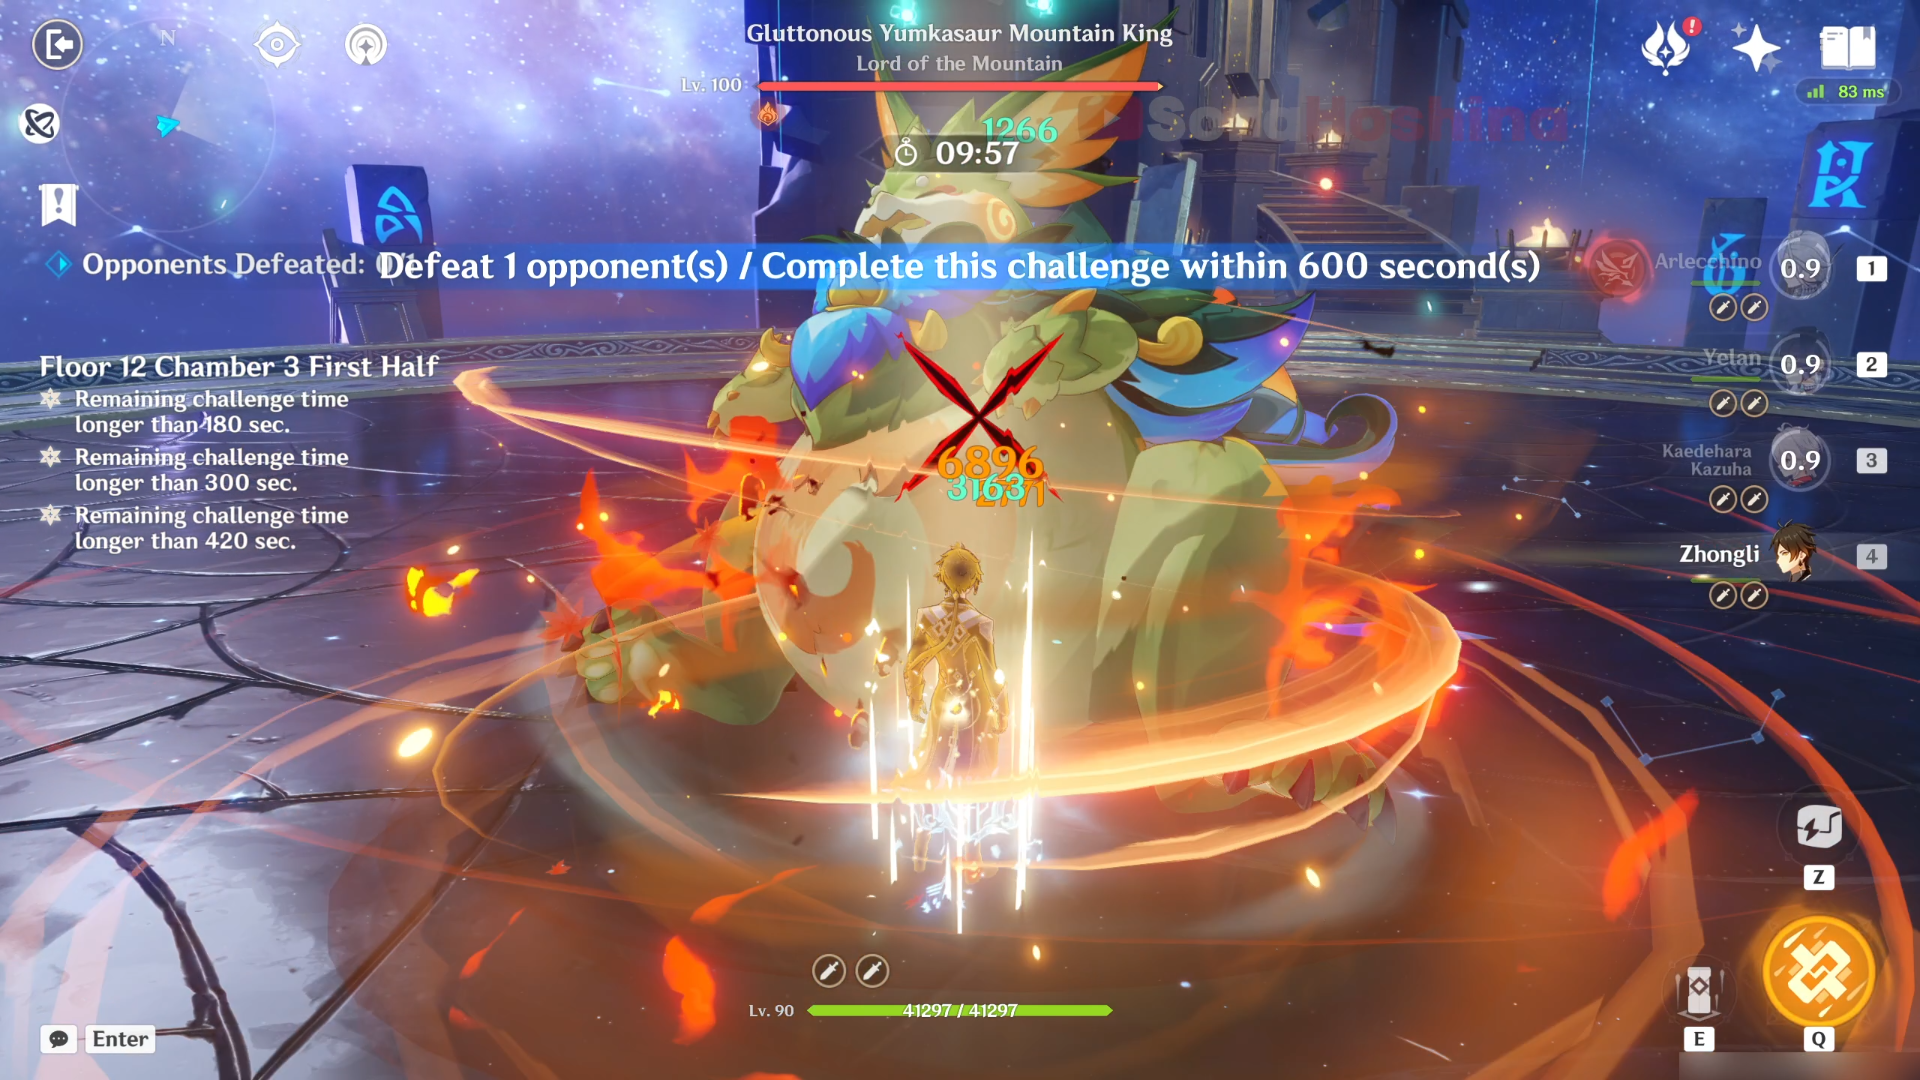
There is only one wave here and it is the new Natlan boss, Gluttonous Yumkasaur Mountain King. It has 70% Dendro RES so try not to use Dendro DPS against this boss. This big boy mostly has a melee skill set so try not to stray far away from it, unless you have a ranged DPS. If you do get too far away from it, the boss may use its tongue to swing itself to your location.
One of the two skills you need to be wary of is the Belly Spin (not an official name) where it will rapidly spin on top of its belly while approaching you. The damage itself is not astronomically high, but your character will be thrown back if you don't have a shield set up beforehand.
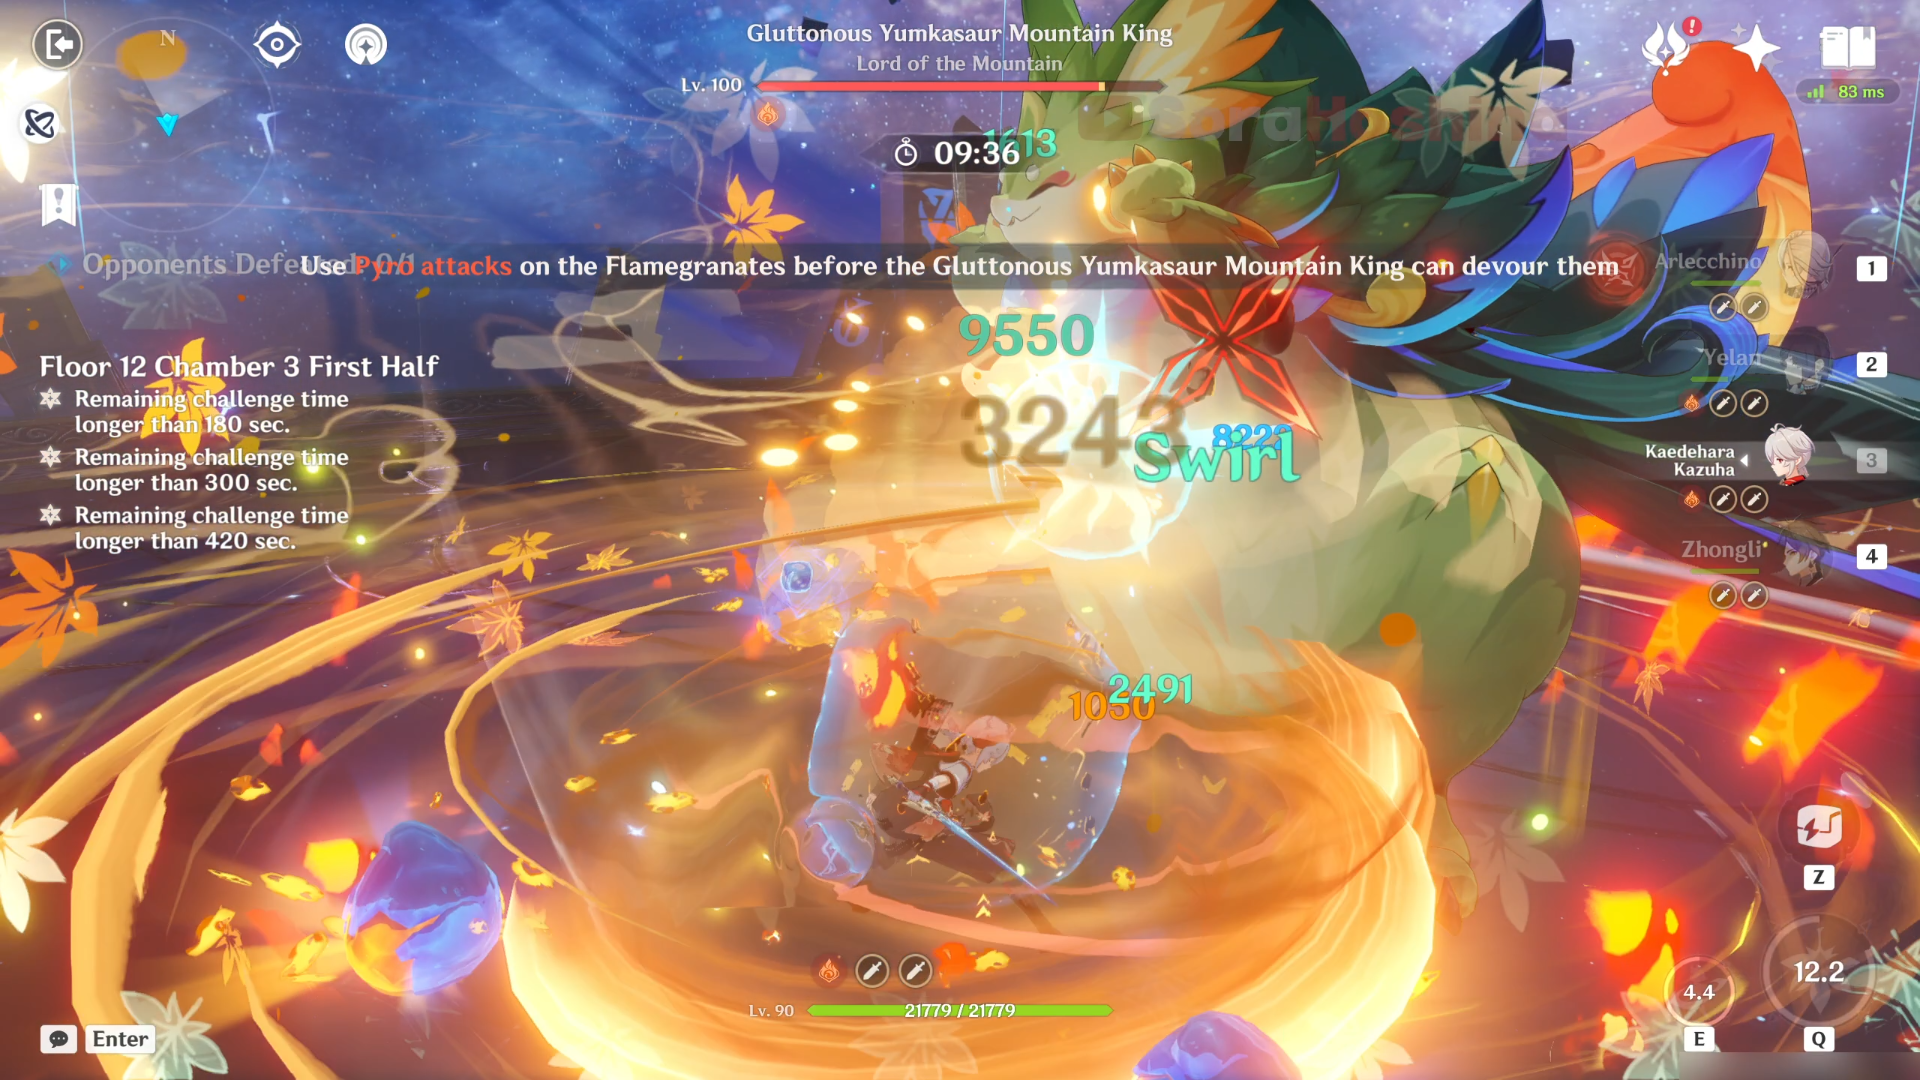
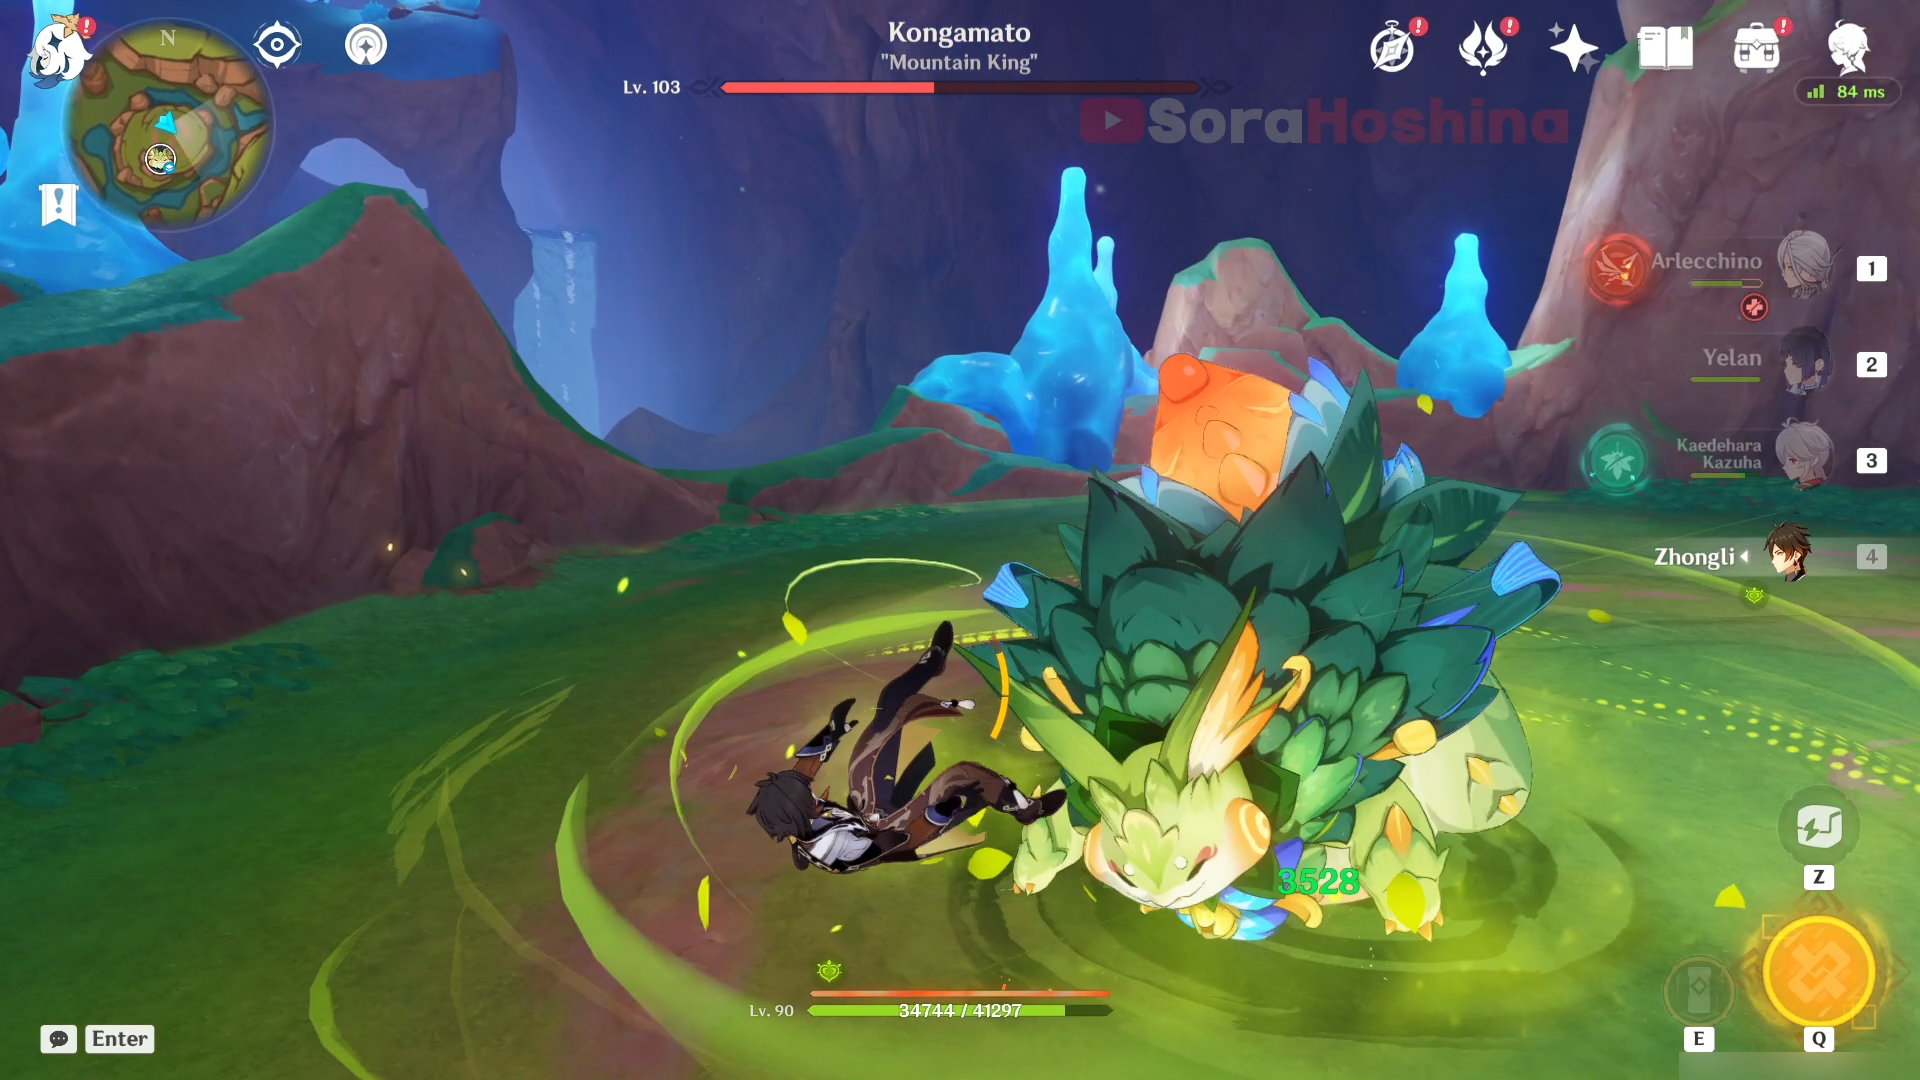
Another skill set is when the Yumkasaur summons Flamegranates on the ground. What you need to do here is to light up the Flamegranates with Pyro when you see them. It will explode on the floor if Yumkasaur doesn't devour it in time, and it will explode inside the boss' mouth if it manages to eat it beforehand. Of course, if all 3 Flamegranates explode, Kongamato will also be paralyzed for a longer period of time.
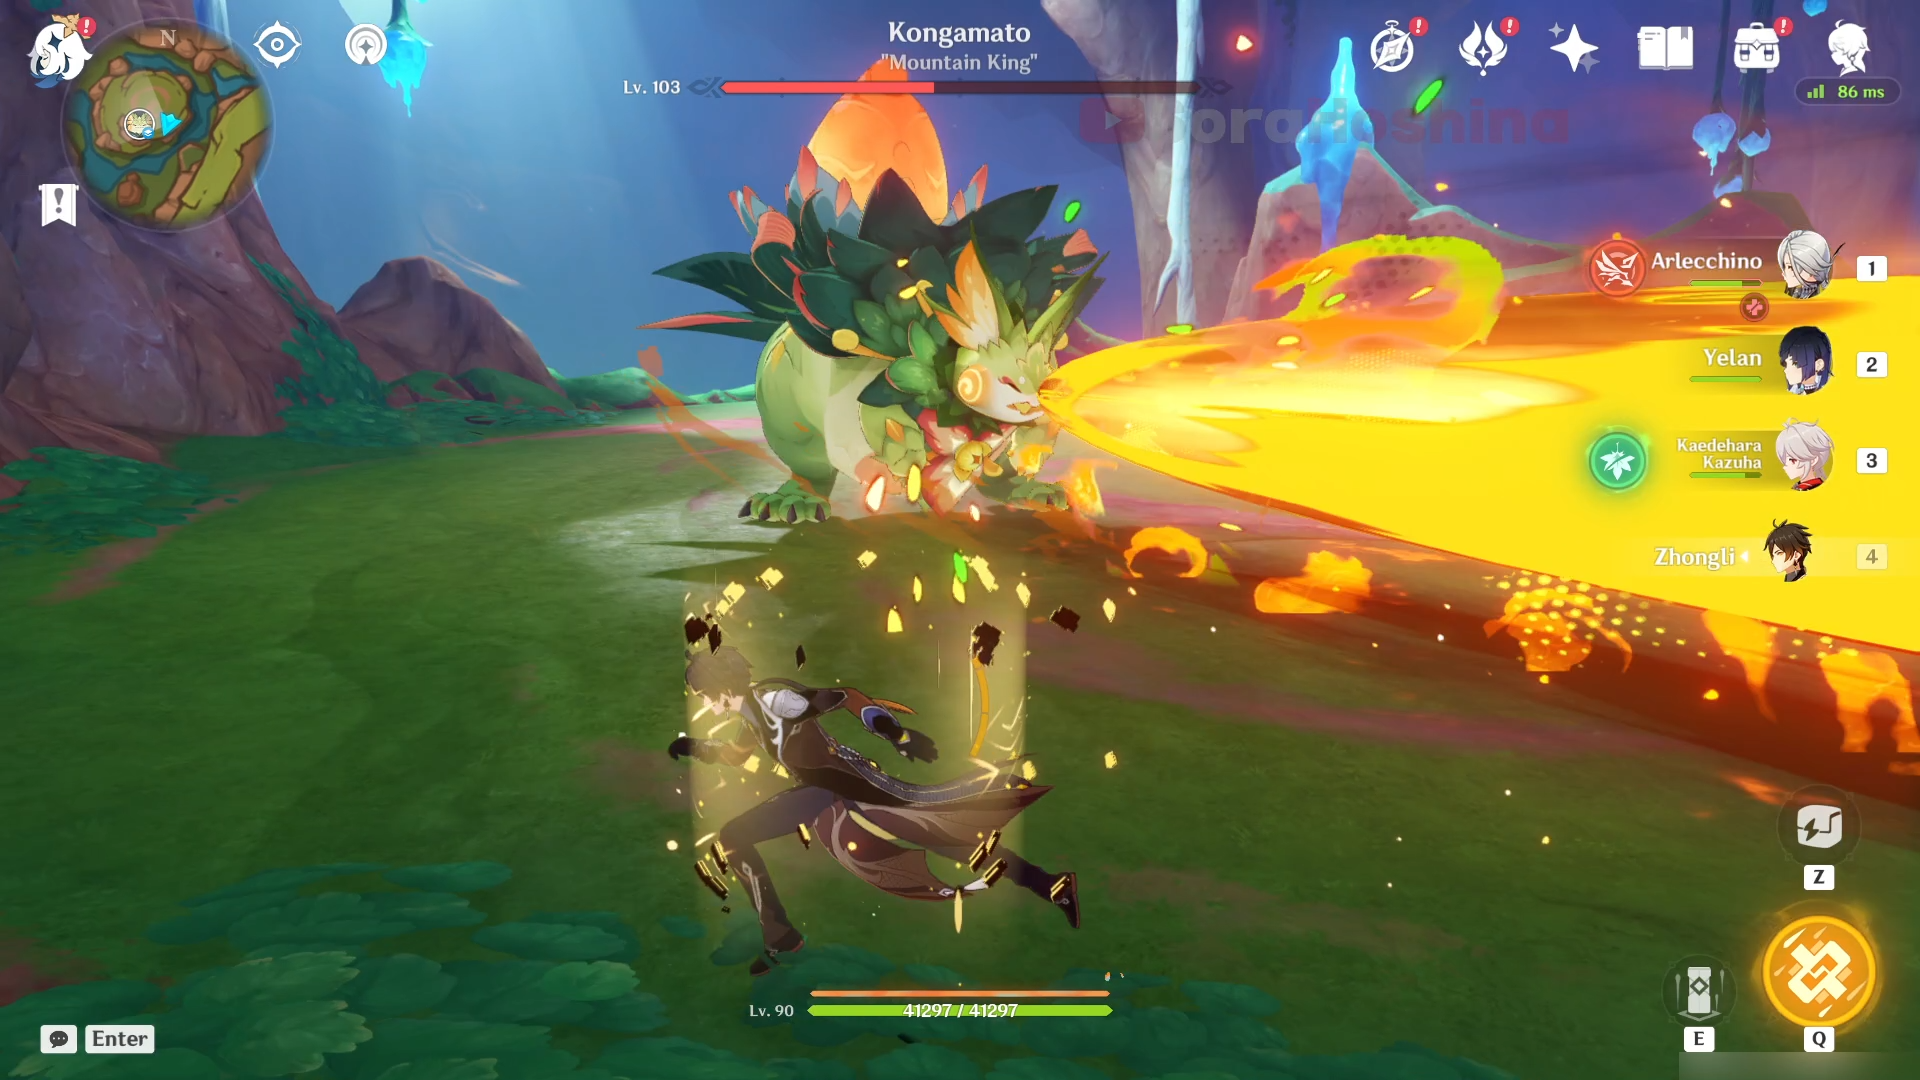
Oh yes, if you didn't burn all Flamegranates in time and the boss managed to devour it, it would deal damage based on how many Flamegranates it ate. If the Yumkasaur manages to eat 3, the first 2 will be used as ammo as it will spit the ignited Flamegranates and the last one will be converted to an energy beam.
Second Half

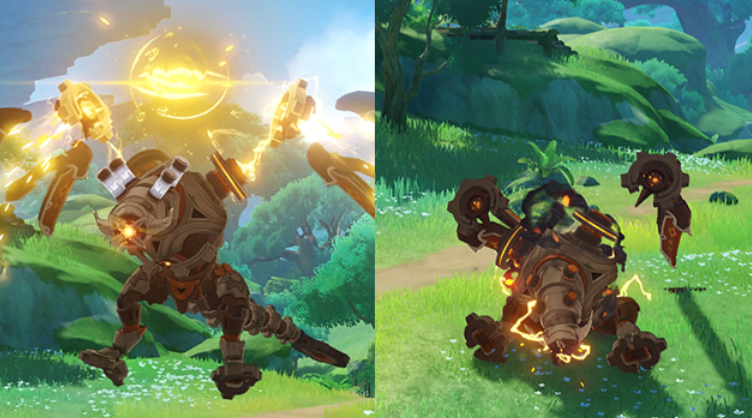
Wave 1: Perpetual Mechanical Array
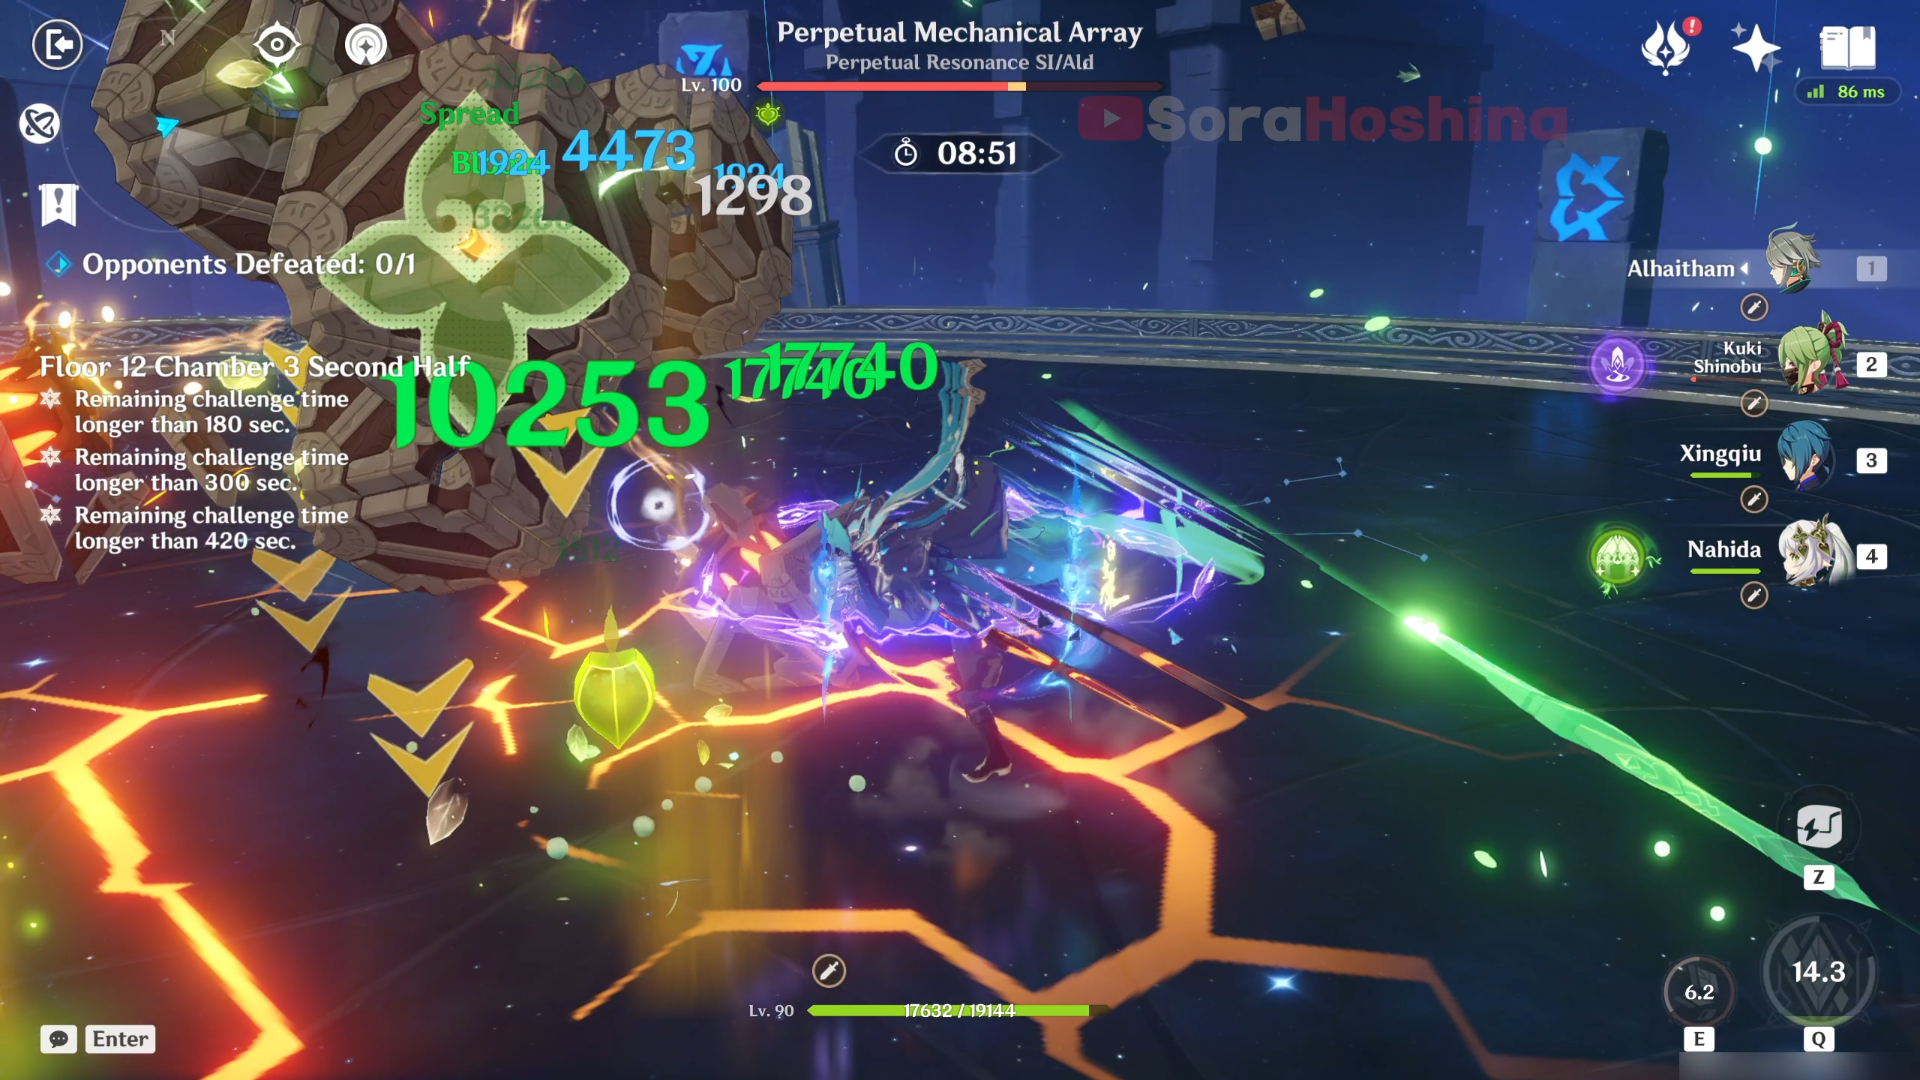
There is only one wave here and it's the PMA boss. Your best bet is a single-target Elemental DPS to obliterate this one. Remember that this cube has a 70% Physical Resistance.
Most of its attacks are really easy to dodge, so I believe you can handle it just fine. The problem is when the boss' HP reaches below 50% (around 35-40% HP), it will enter Defensive Mode and summon four Ruin Sentinels: Scout, Defender, Destroyer, and Cruiser.
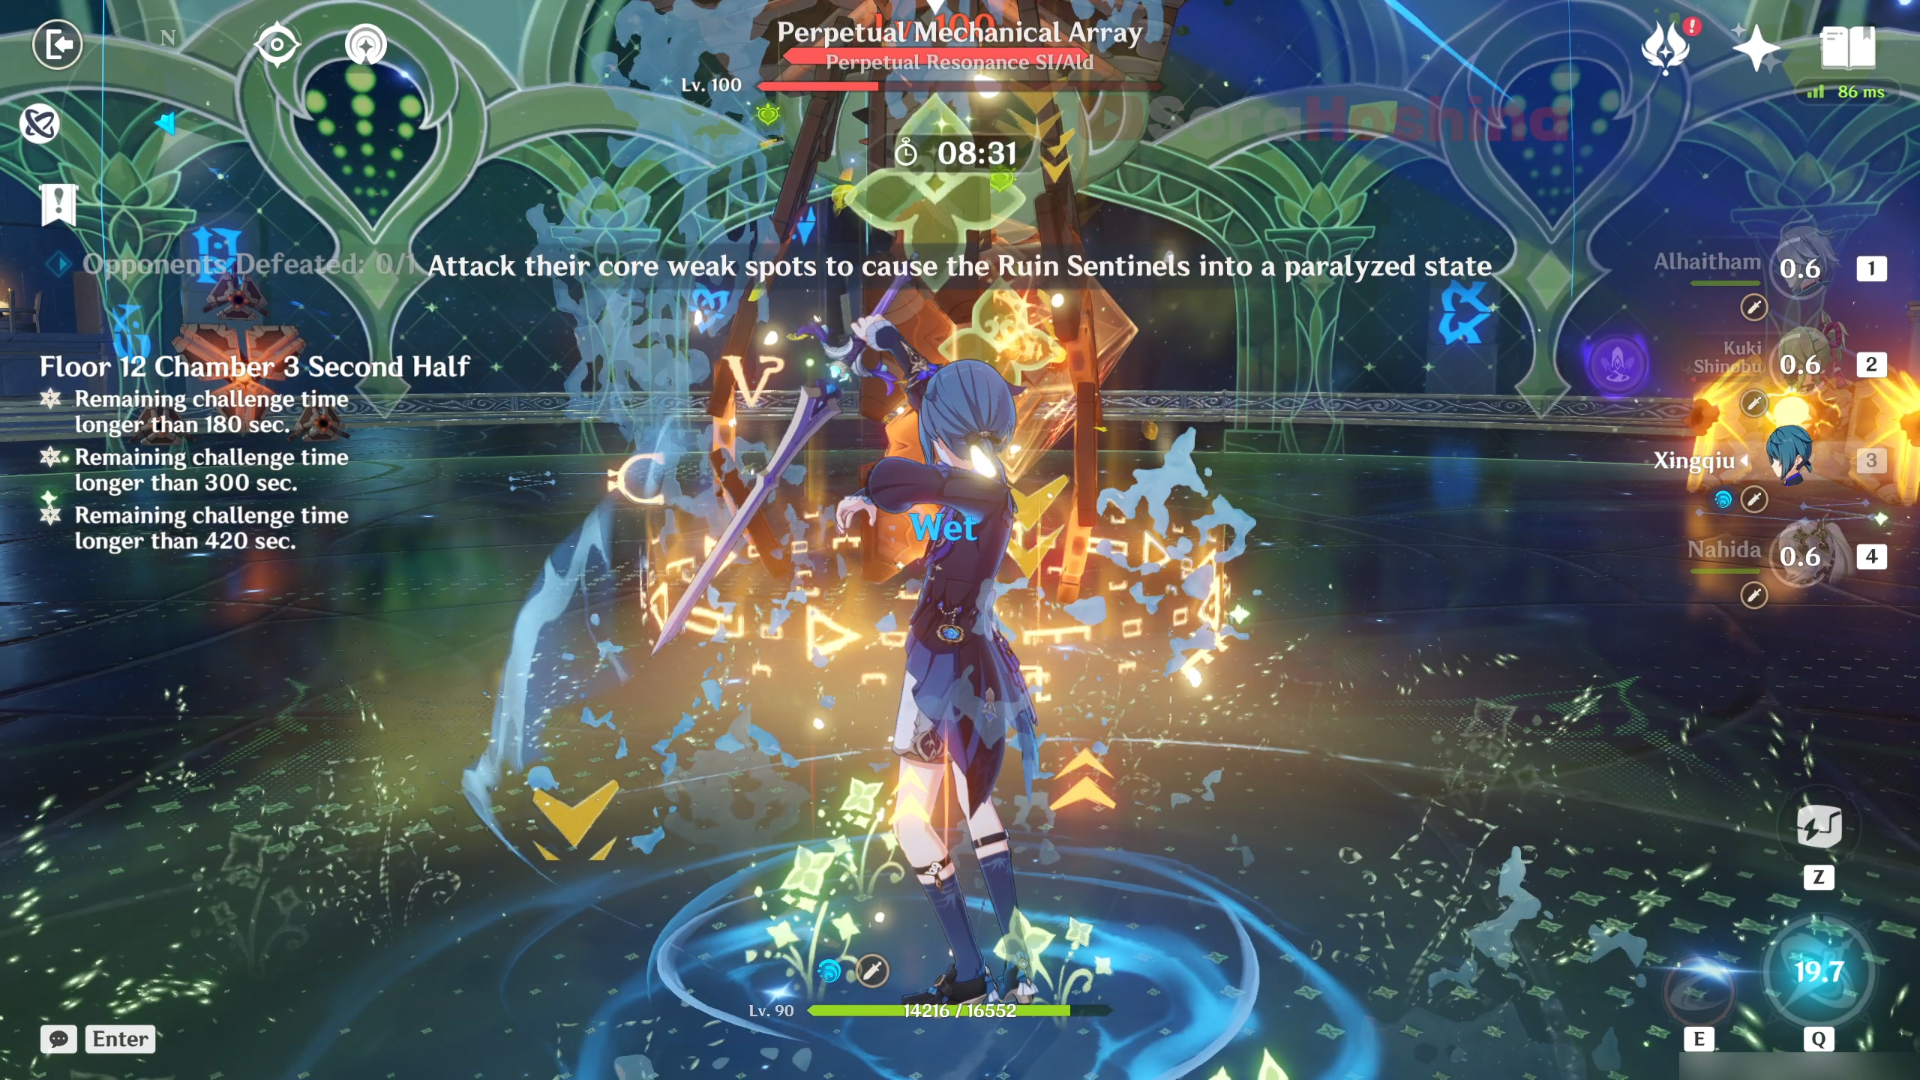
Attack only the highlighted Sentinel (even better if you can bait the highlighted Sentinel to get near the boss)! Do not attack any other because it will be a very waste of your time.
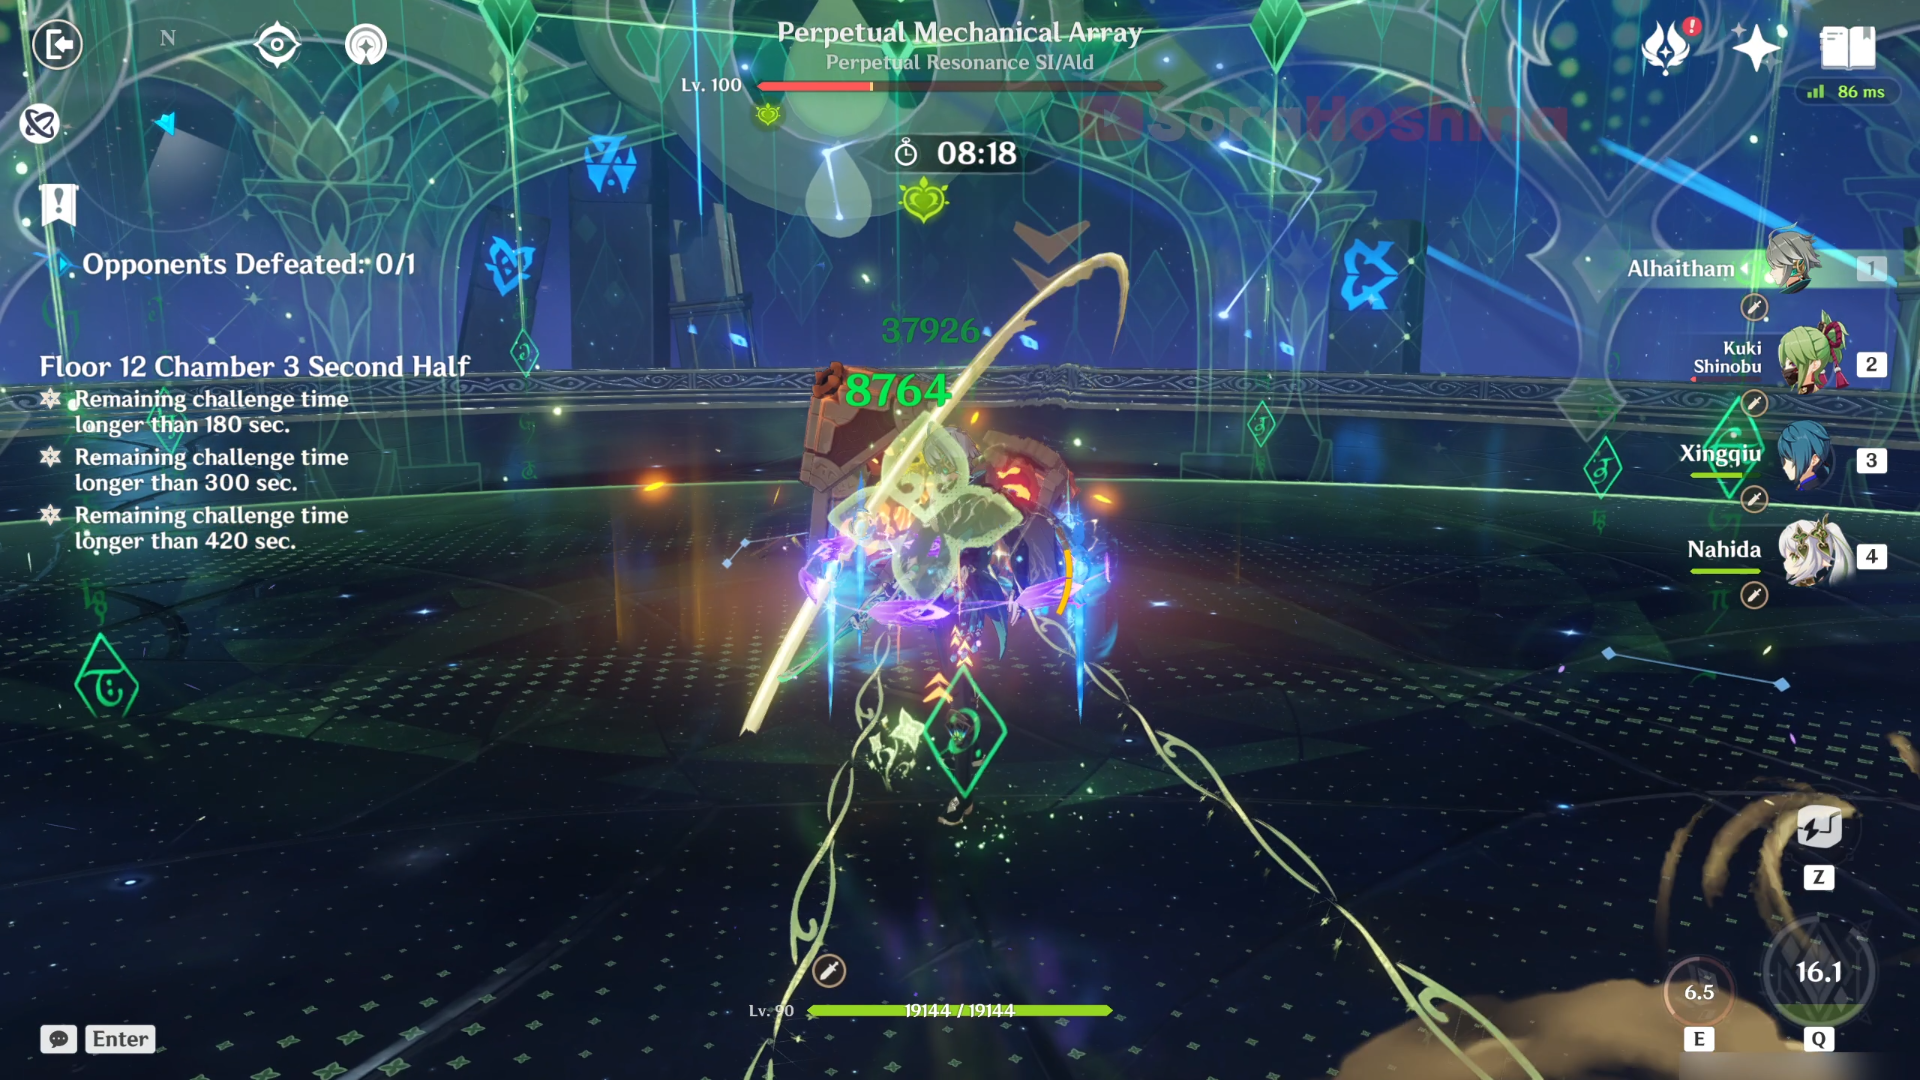
Once you defeat the highlighted Sentinel, the big boss will be paralyzed for around ~20 seconds and all resistance will be lowered by 50%. This is the perfect time to use all your Skills and Bursts. When the boss recovers from the paralyzed state, it will become invincible for a few seconds before resetting its state and using its normal attack patterns again.