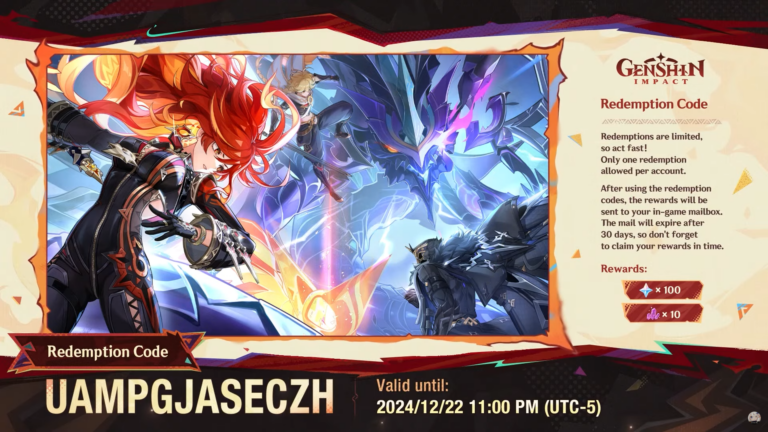
Table of Contents [Hide]
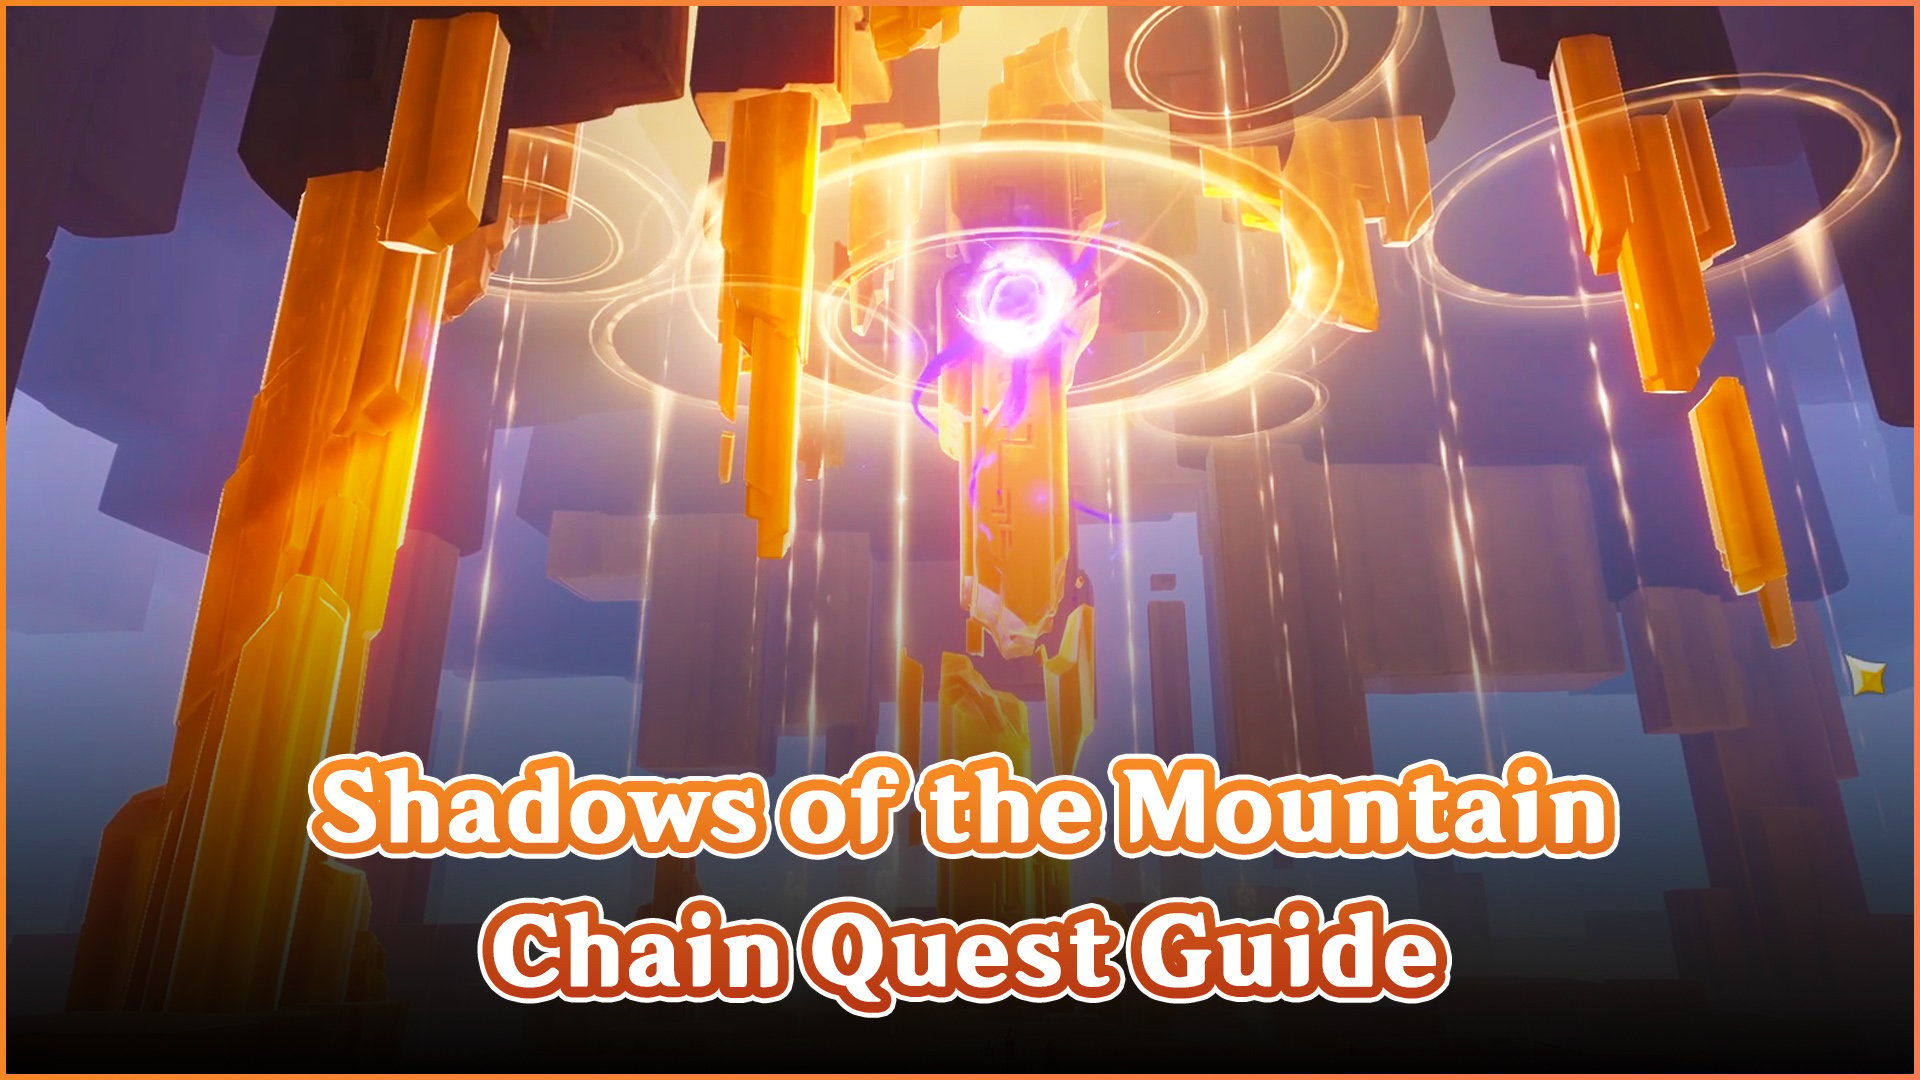
Shadows of the Mountain Chain Quest has 2 parts and you can complete them back-to-back. Help Titu resolve the Shadow Pin issue and reinforce the seal placed upon the Abyss. This quest takes around 30-40 minutes if you skip the dialogues.
1. Beneath the Crystal Rock
2. Peace to the Slumbering
This content comes from the Creator Experience server.
Please refresh the page if some of the images are broken.
How to Start Shadows of the Mountain Quest

You can start the quest chain by talking to ??? near the teleport waypoint in Sulfurous Veins (it's marked on the map with the quest mark). By talking to Titu, you will get the first quest - Beneath the Crystal Rock.
Beneath the Crystal Rock Quest
Lesser Shadow Pin #1
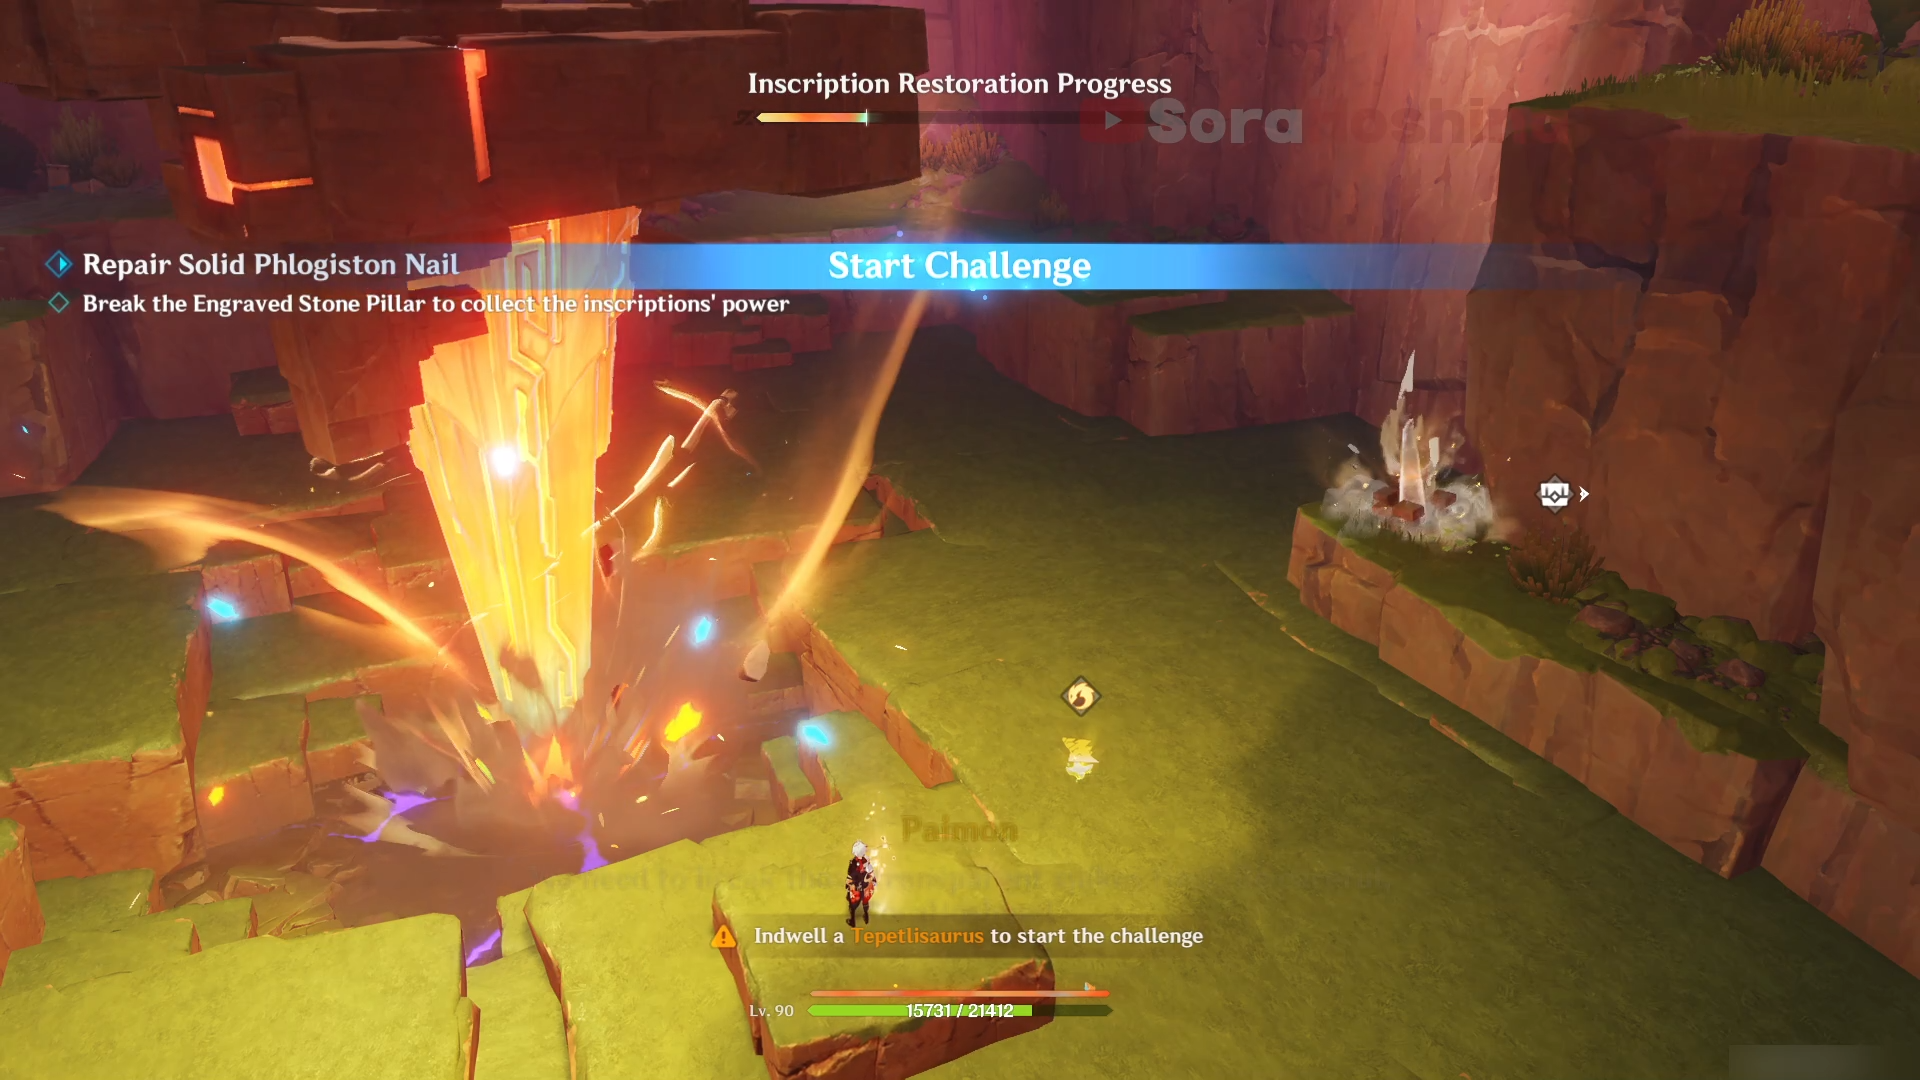
Follow the navigation and you will reach a 'Lesser Shadow Pin.' Indwell a Tepetlisaurus first (the brown Saurian) and start the challenge.
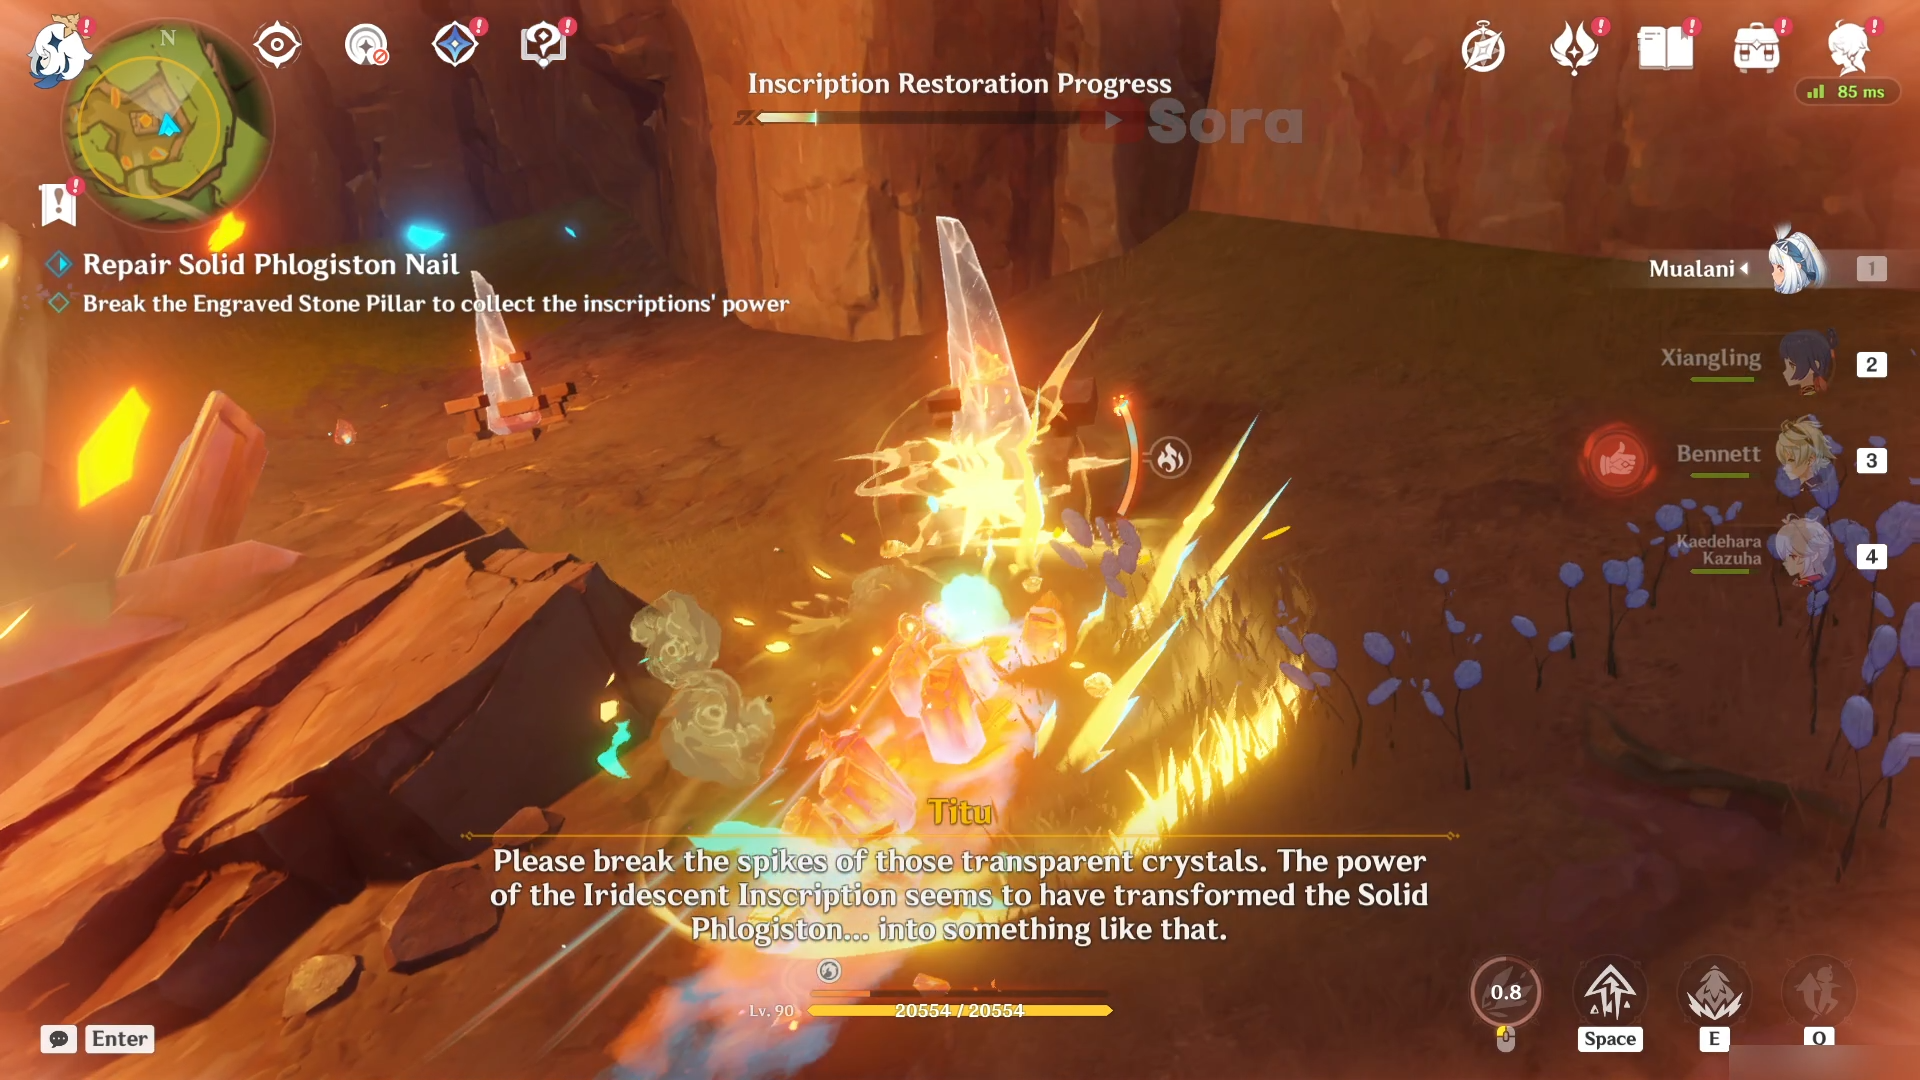
Inside this challenge, you need to use Tepetlisaurus to bury in the ground and use normal attack (press left click mouse) to destroy the spikes of the transparent crystals. Repeat this until every spike is destroyed and you will complete the challenge.
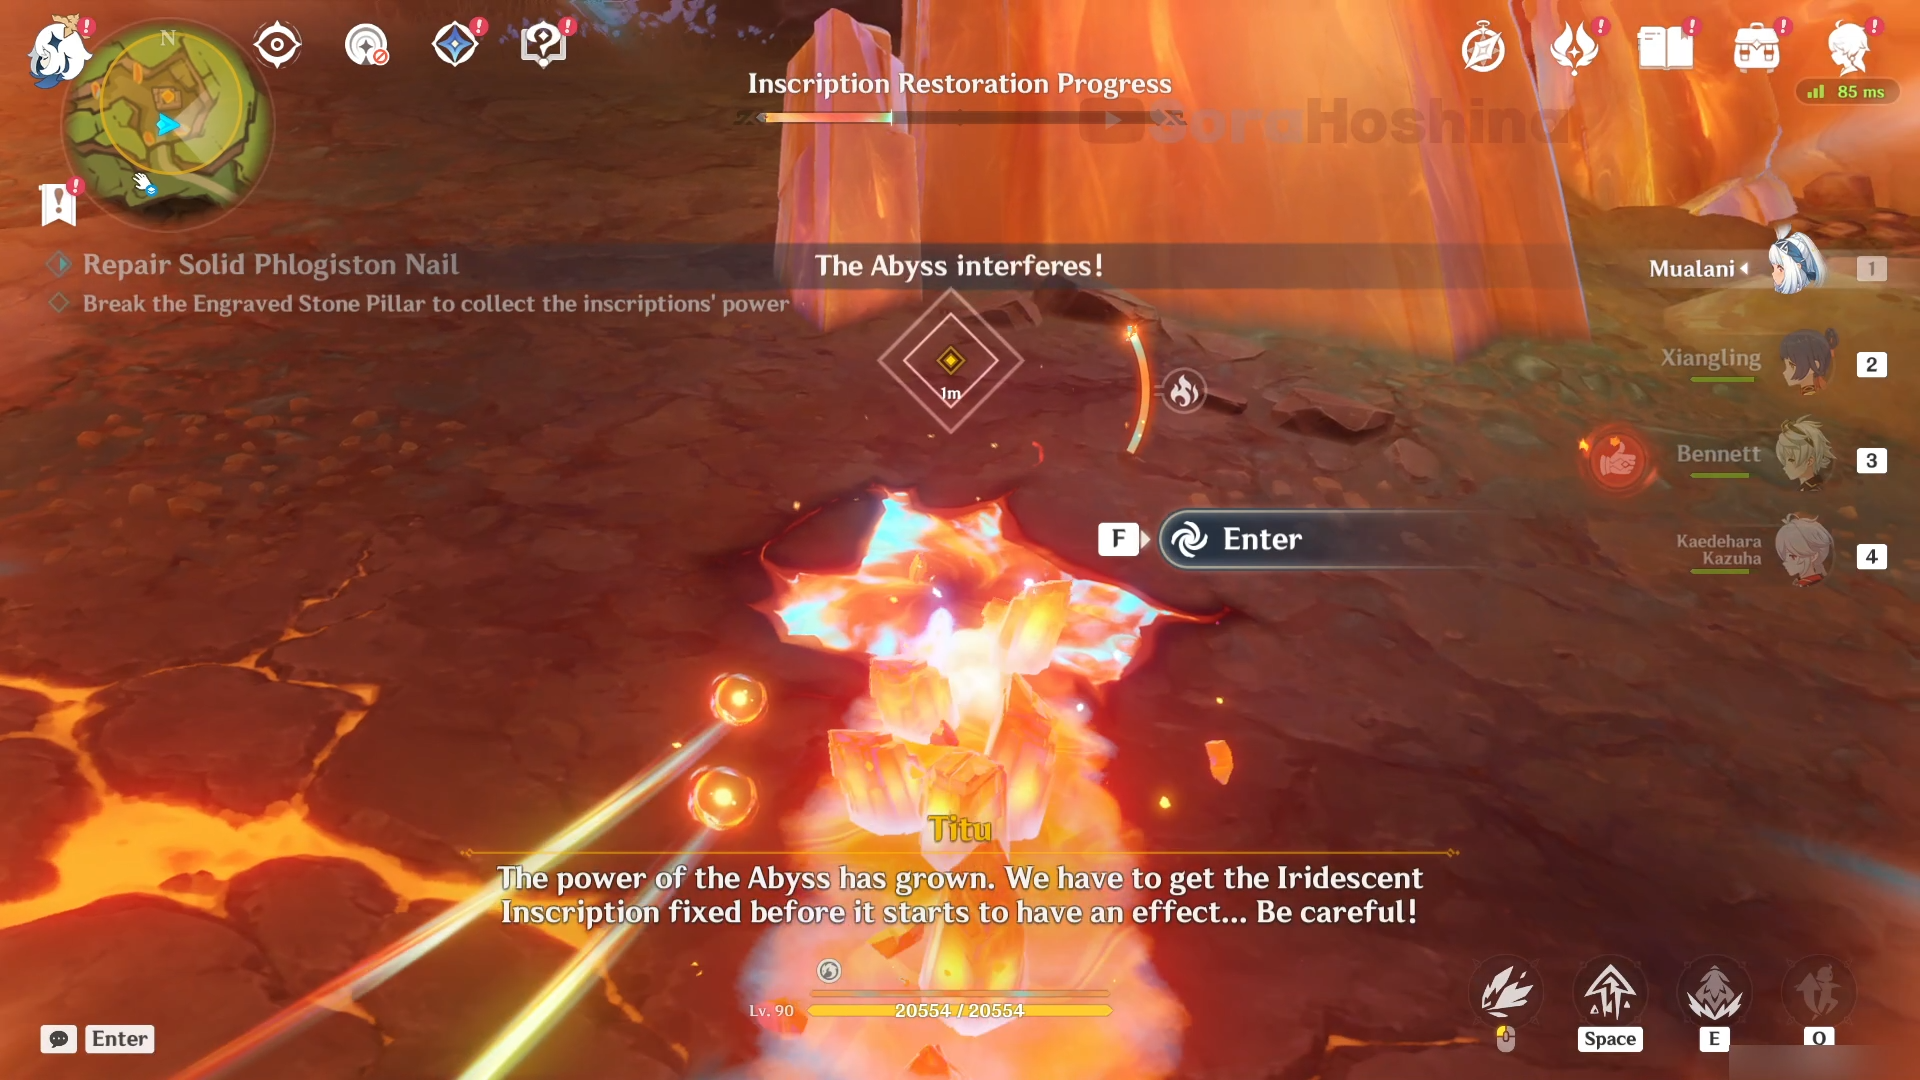
If there are any Molten Fissures, choose Enter so you can get a shortcut (the Tepetlisaurus will move by itself for a few seconds).
Remember that if you fail this mission (by breaking the spikes too slowly), you need to restart the challenge from the beginning.
After the challenge is completed, you need to defeat the spawned enemies to continue the navigation.
Lesser Shadow Pin #2
Follow the navigation with Titu and go to the second location of Lesser Shadow Pin. This time, you're gonna play around with Koholasaurus later.
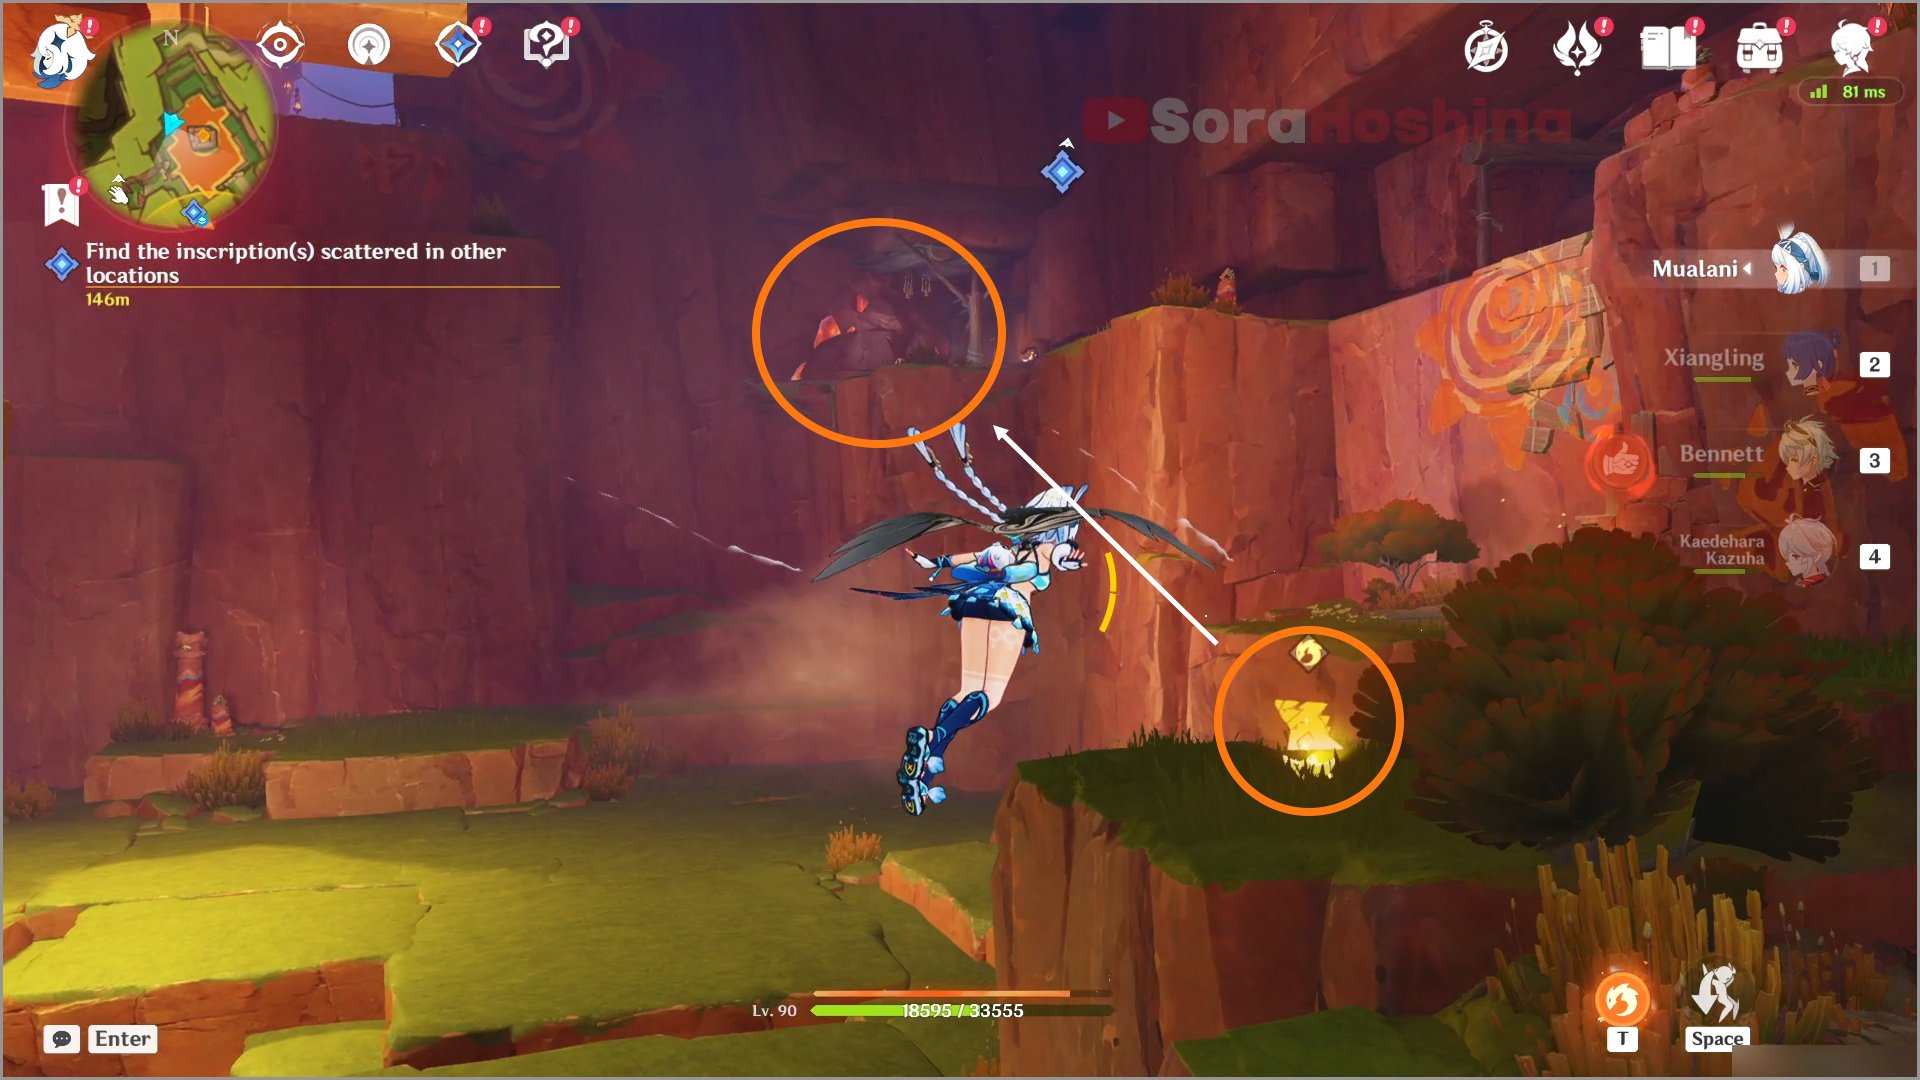
But first of all, indwell a Tepetlisaurus first and go to the breakable rock like circled in the image above and break it. There will be a Molten Fissure behind it. Enter the Molten Fissure to go even further above.
From here, keep following the arrow on the walls and you will reach the next navigated location. The place you will arrive is a small area with some Hilichurls digging in the ground.
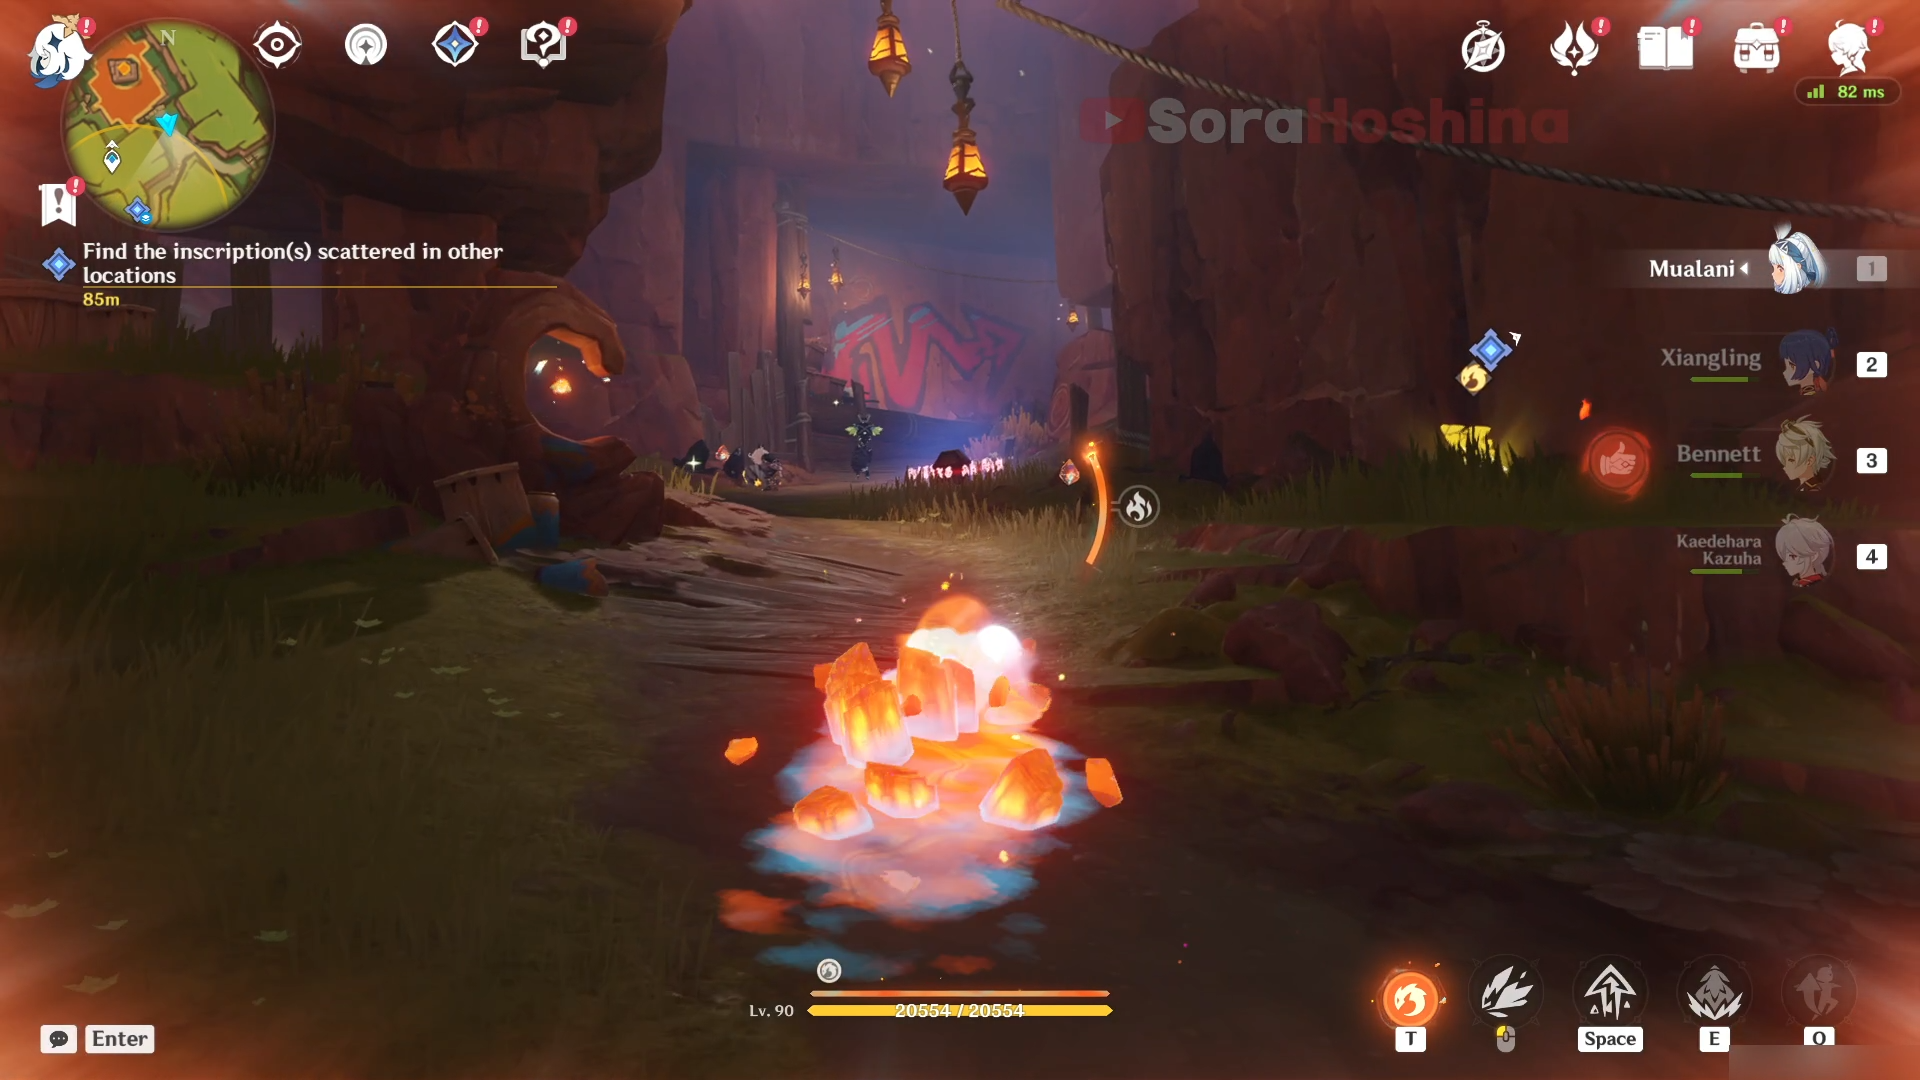
Use the Tepetlisaurus to attack (left-click mouse) the glowing circles on the ground to uncover a treasure chest and dig a path to the bottom area.
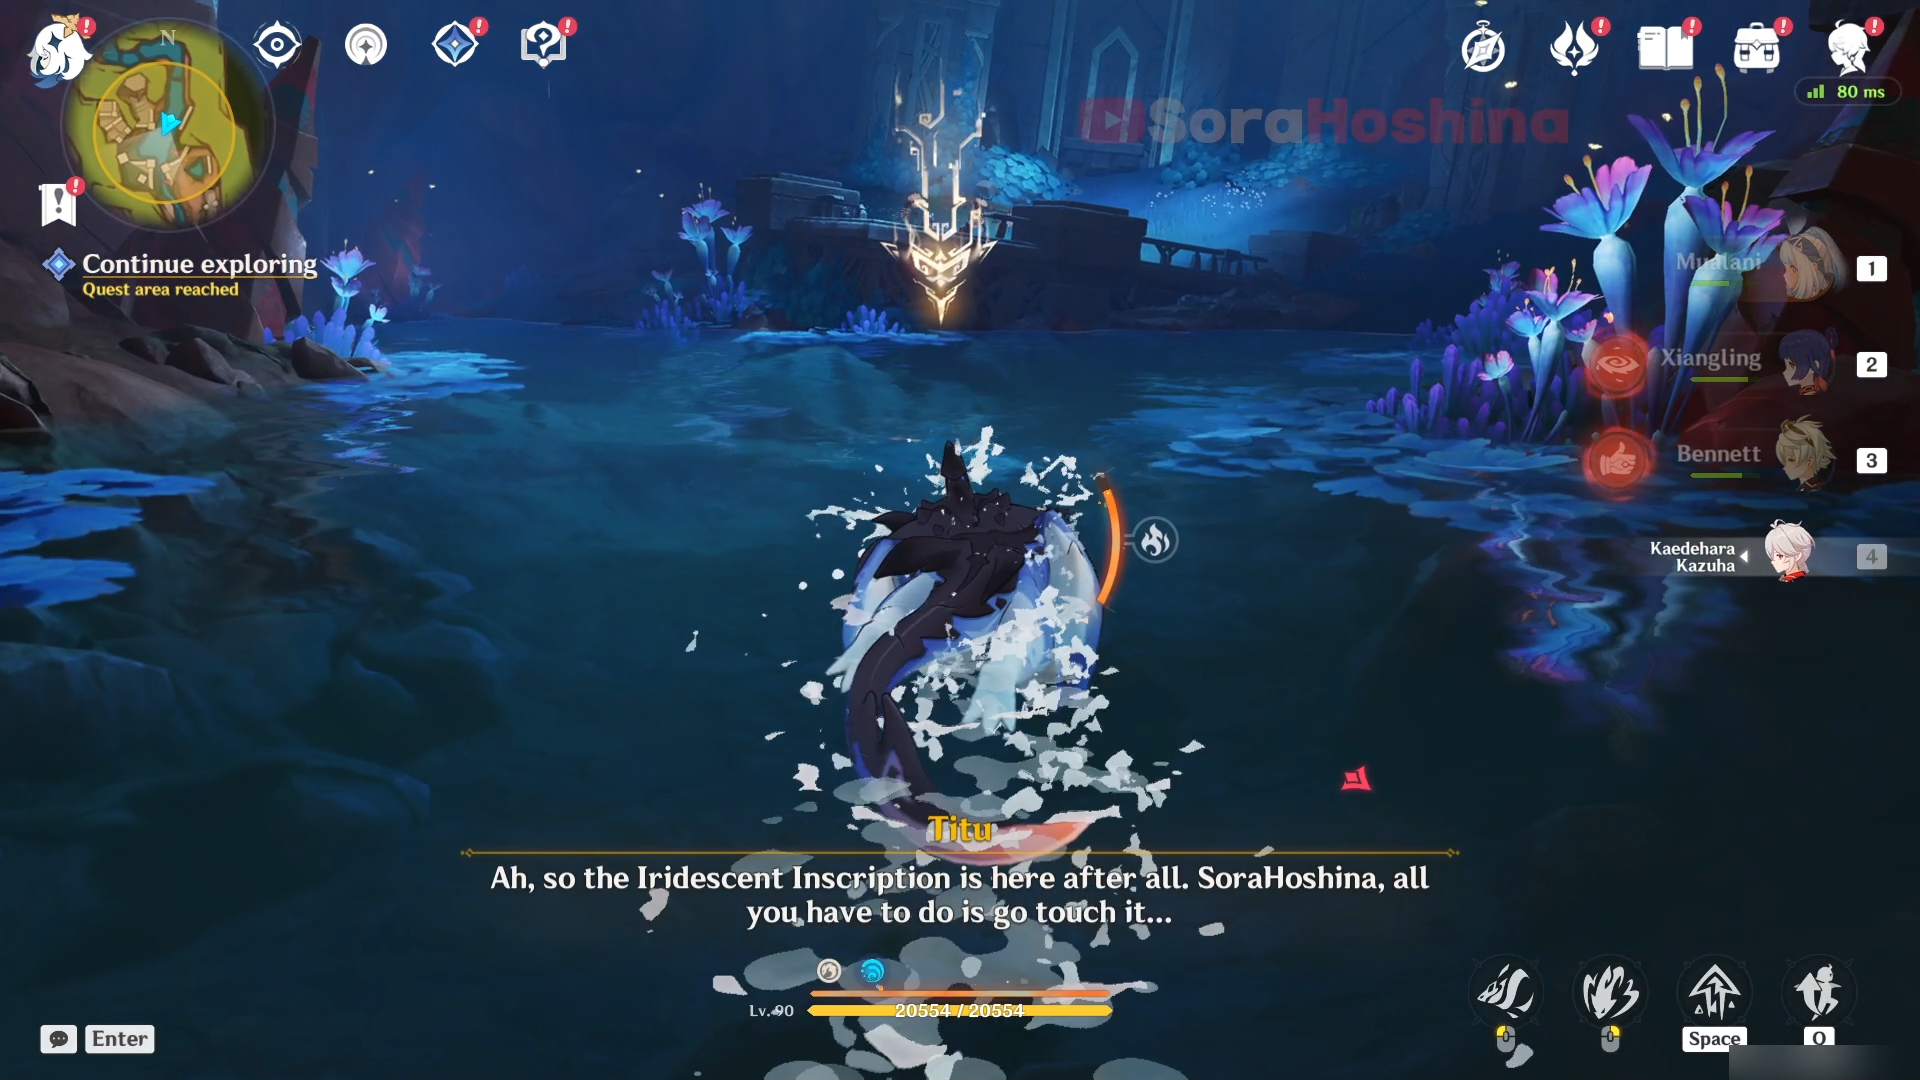
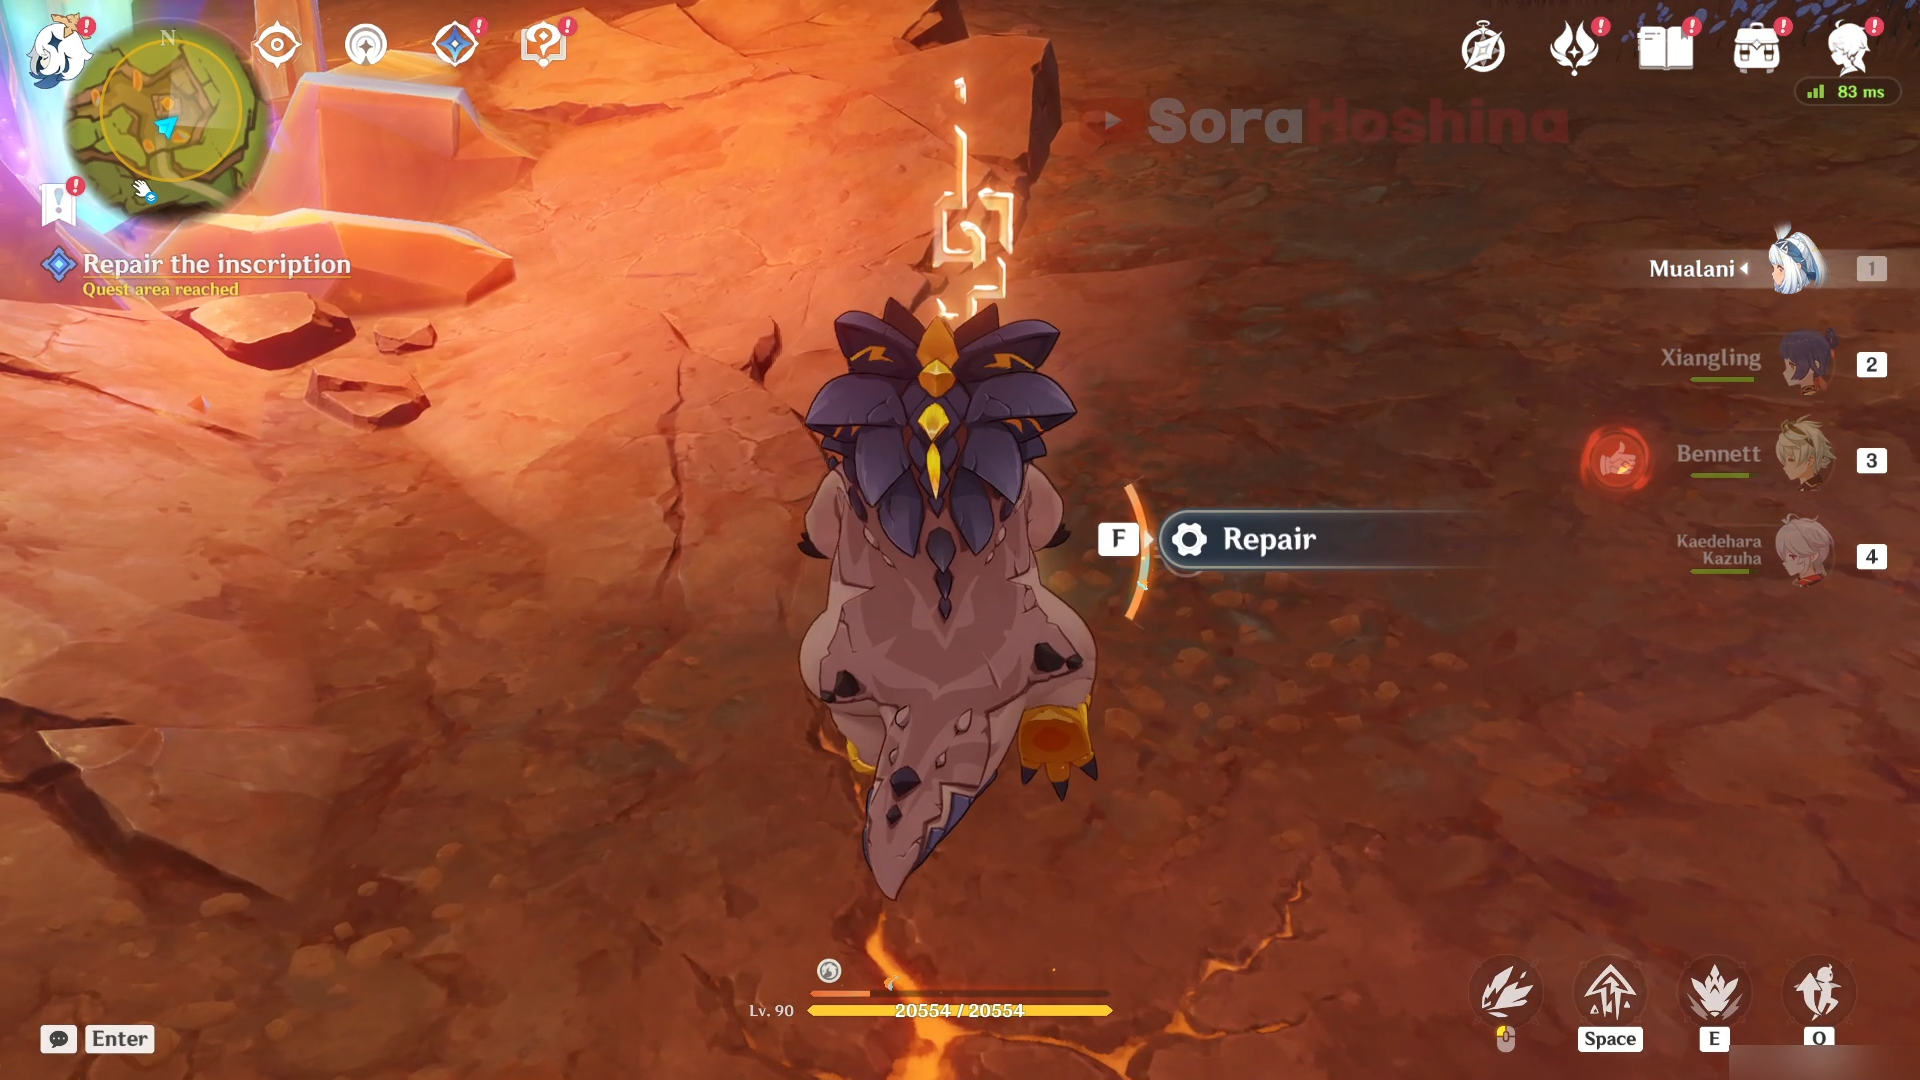
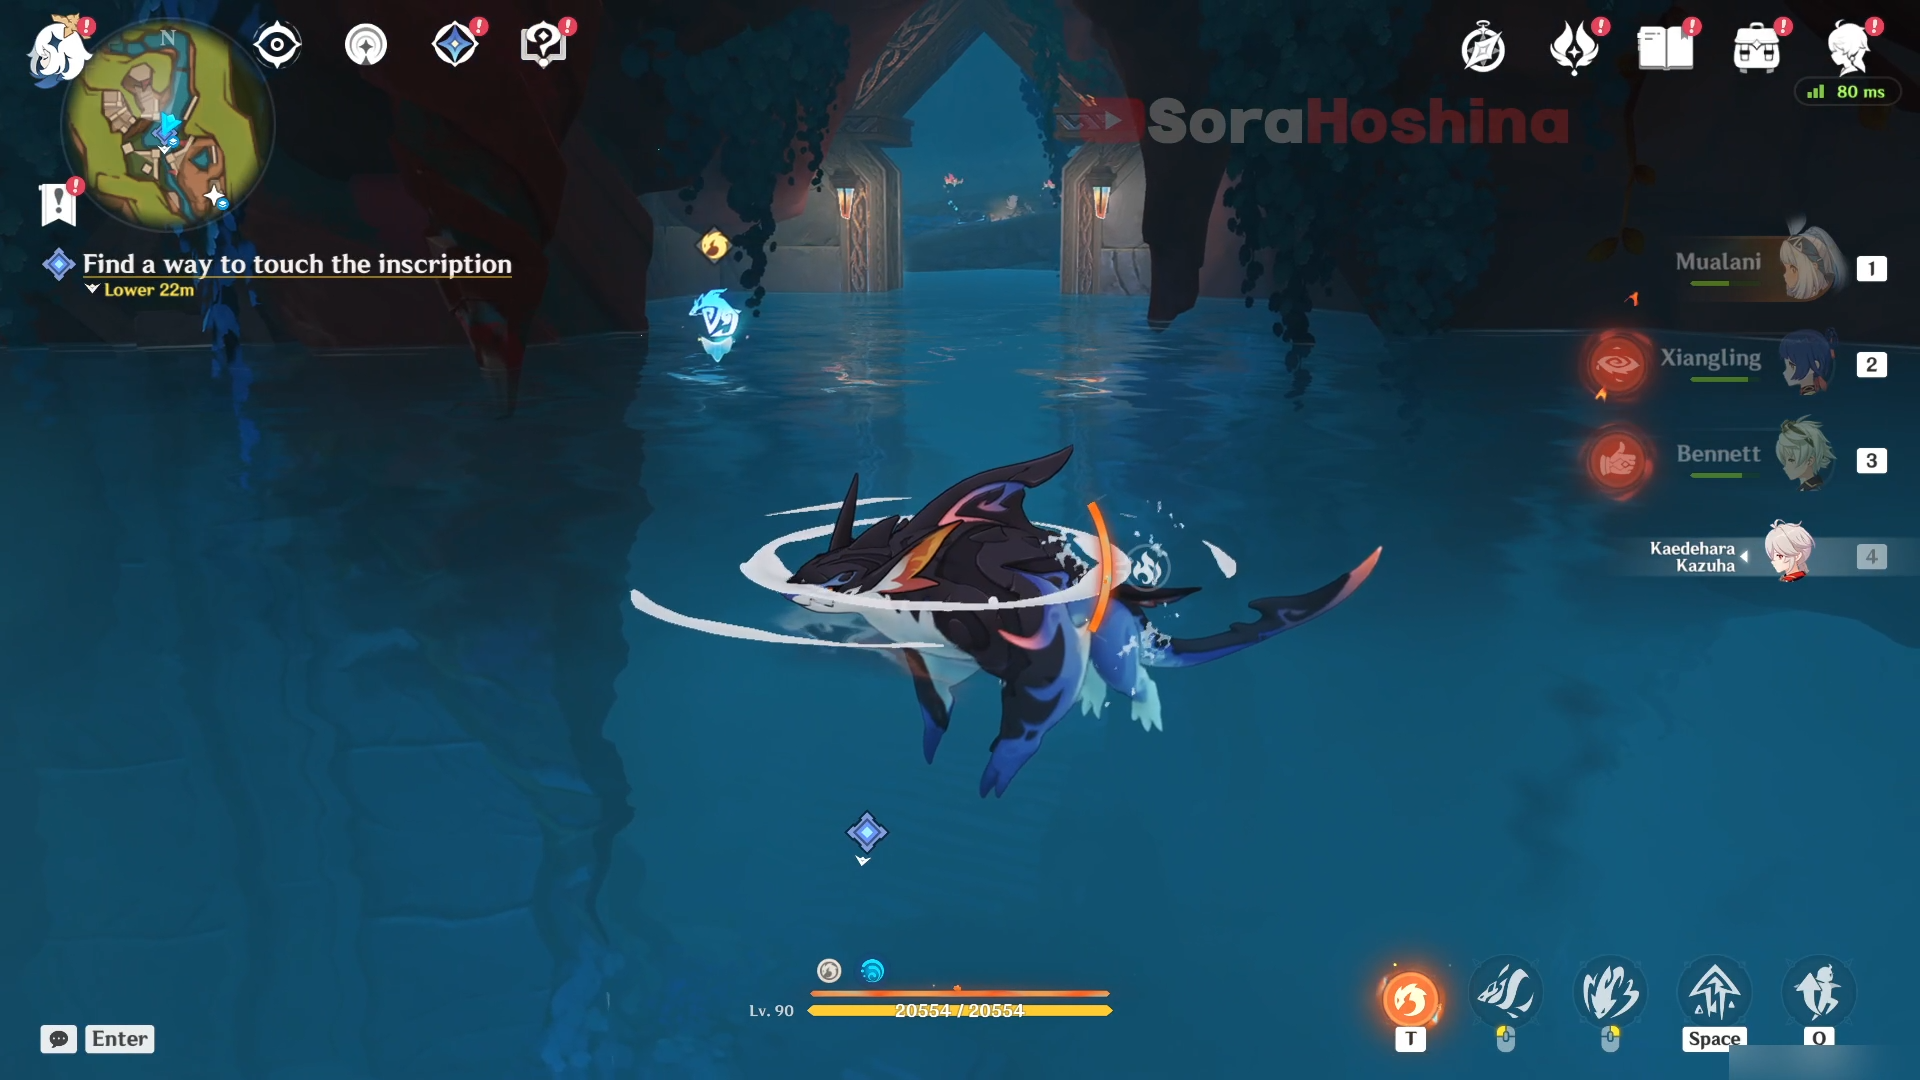
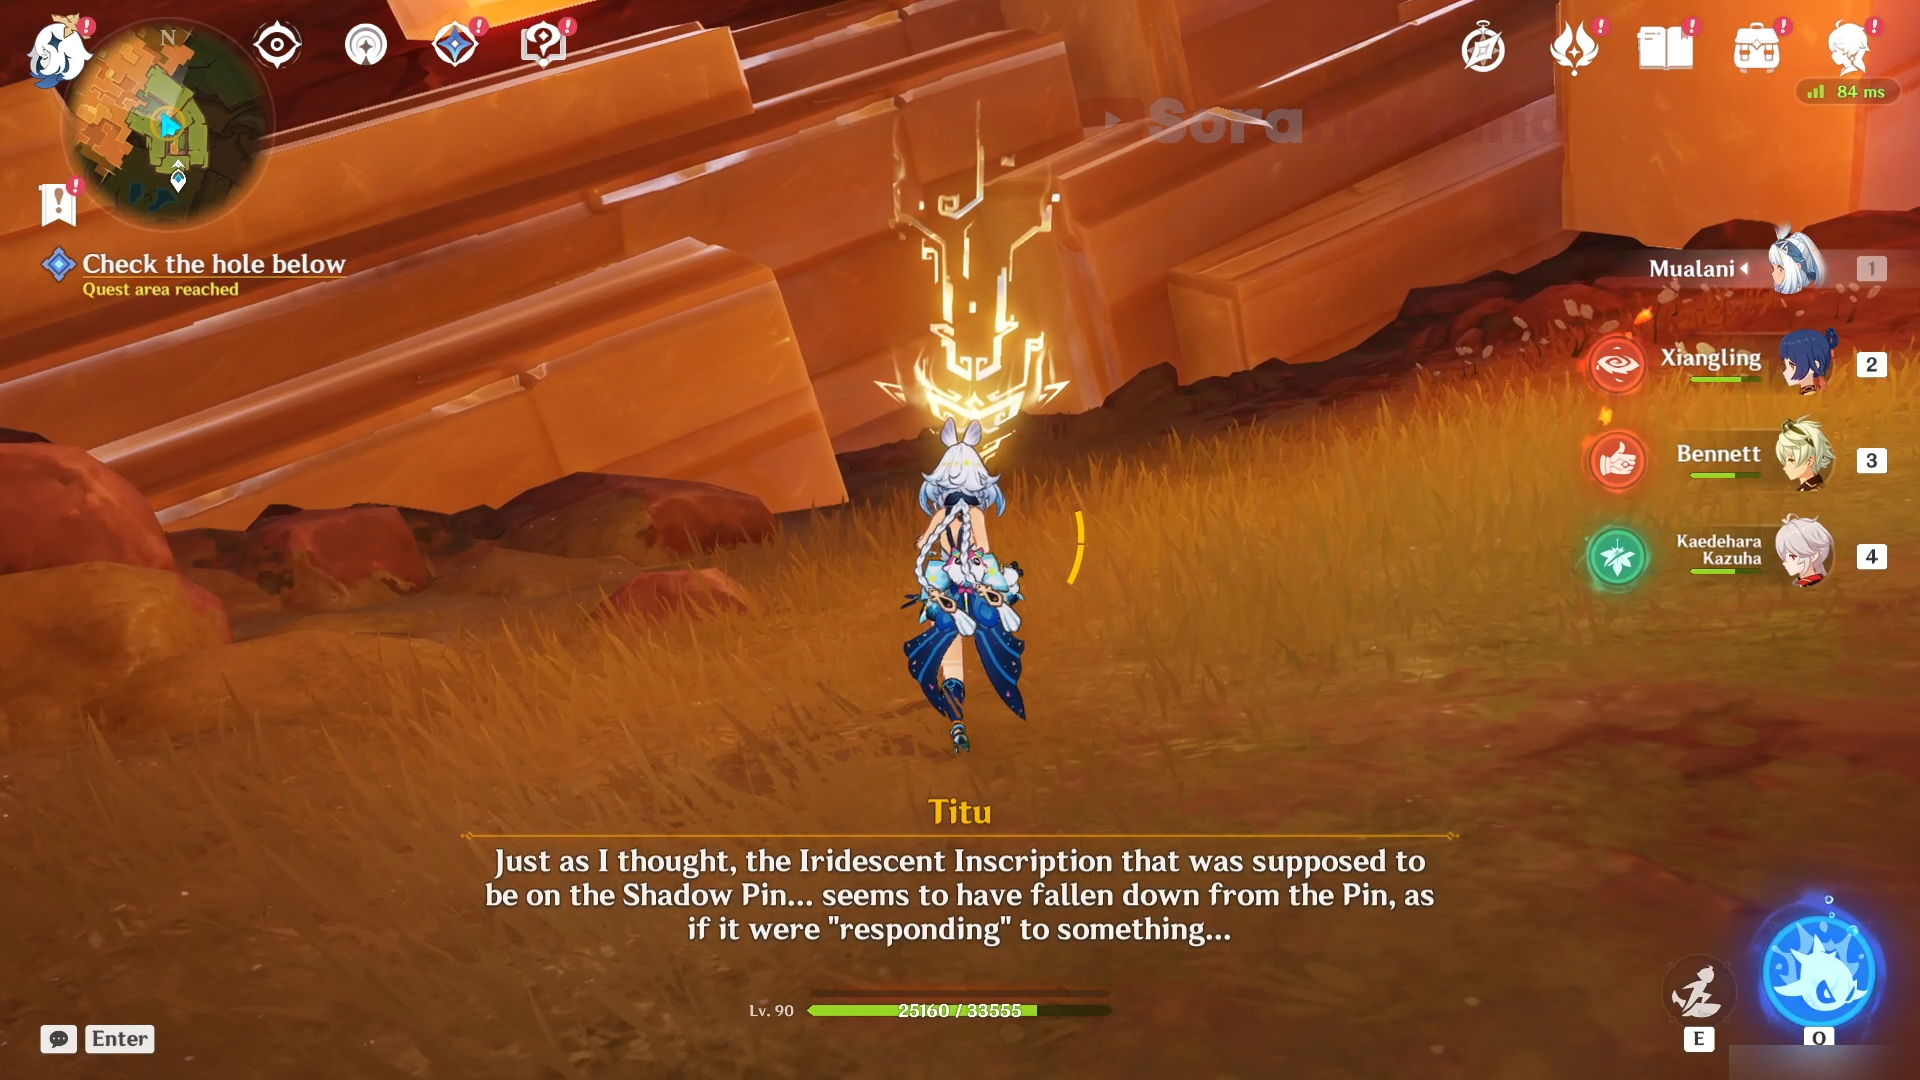
Down there, indwell a Koholasaurus and head to the navigated area further inside this cave. But, of course, there's a problem. When you're near the Iridescent Inscription, the water level suddenly rises.
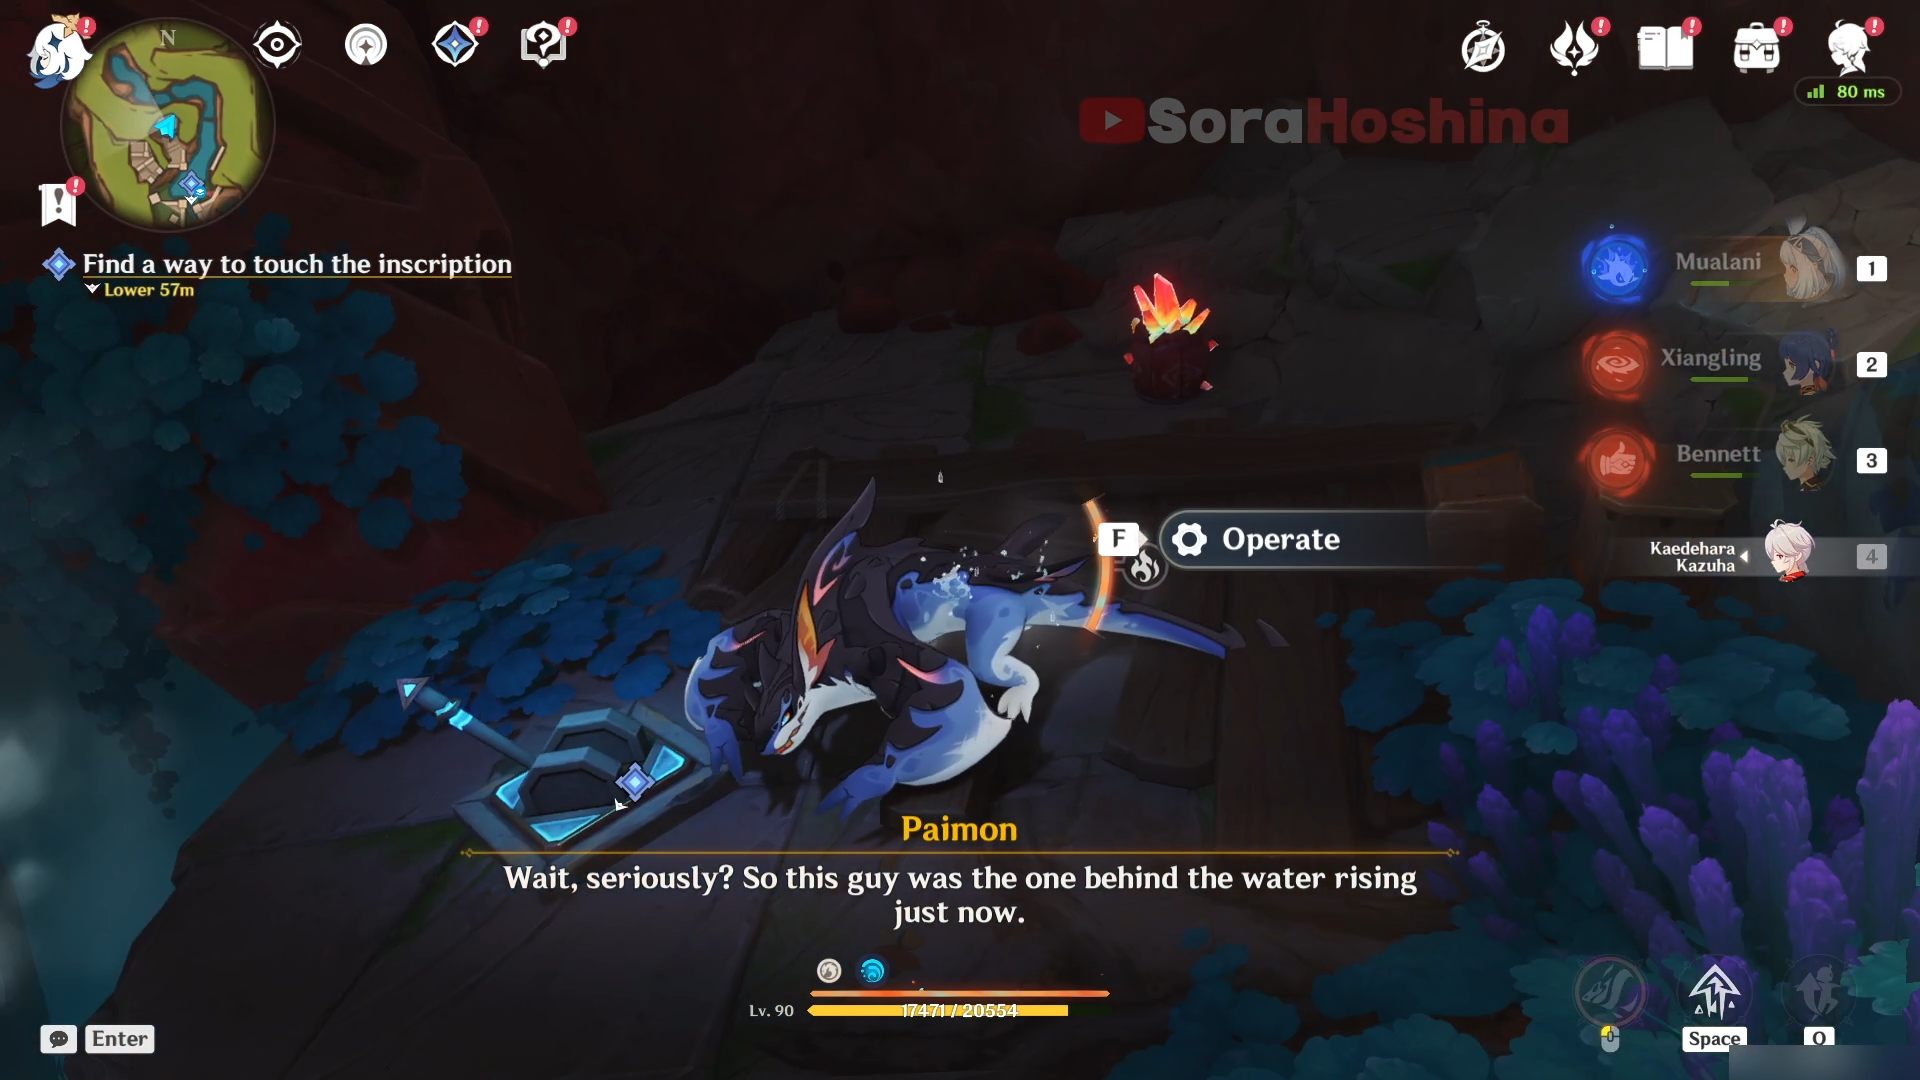
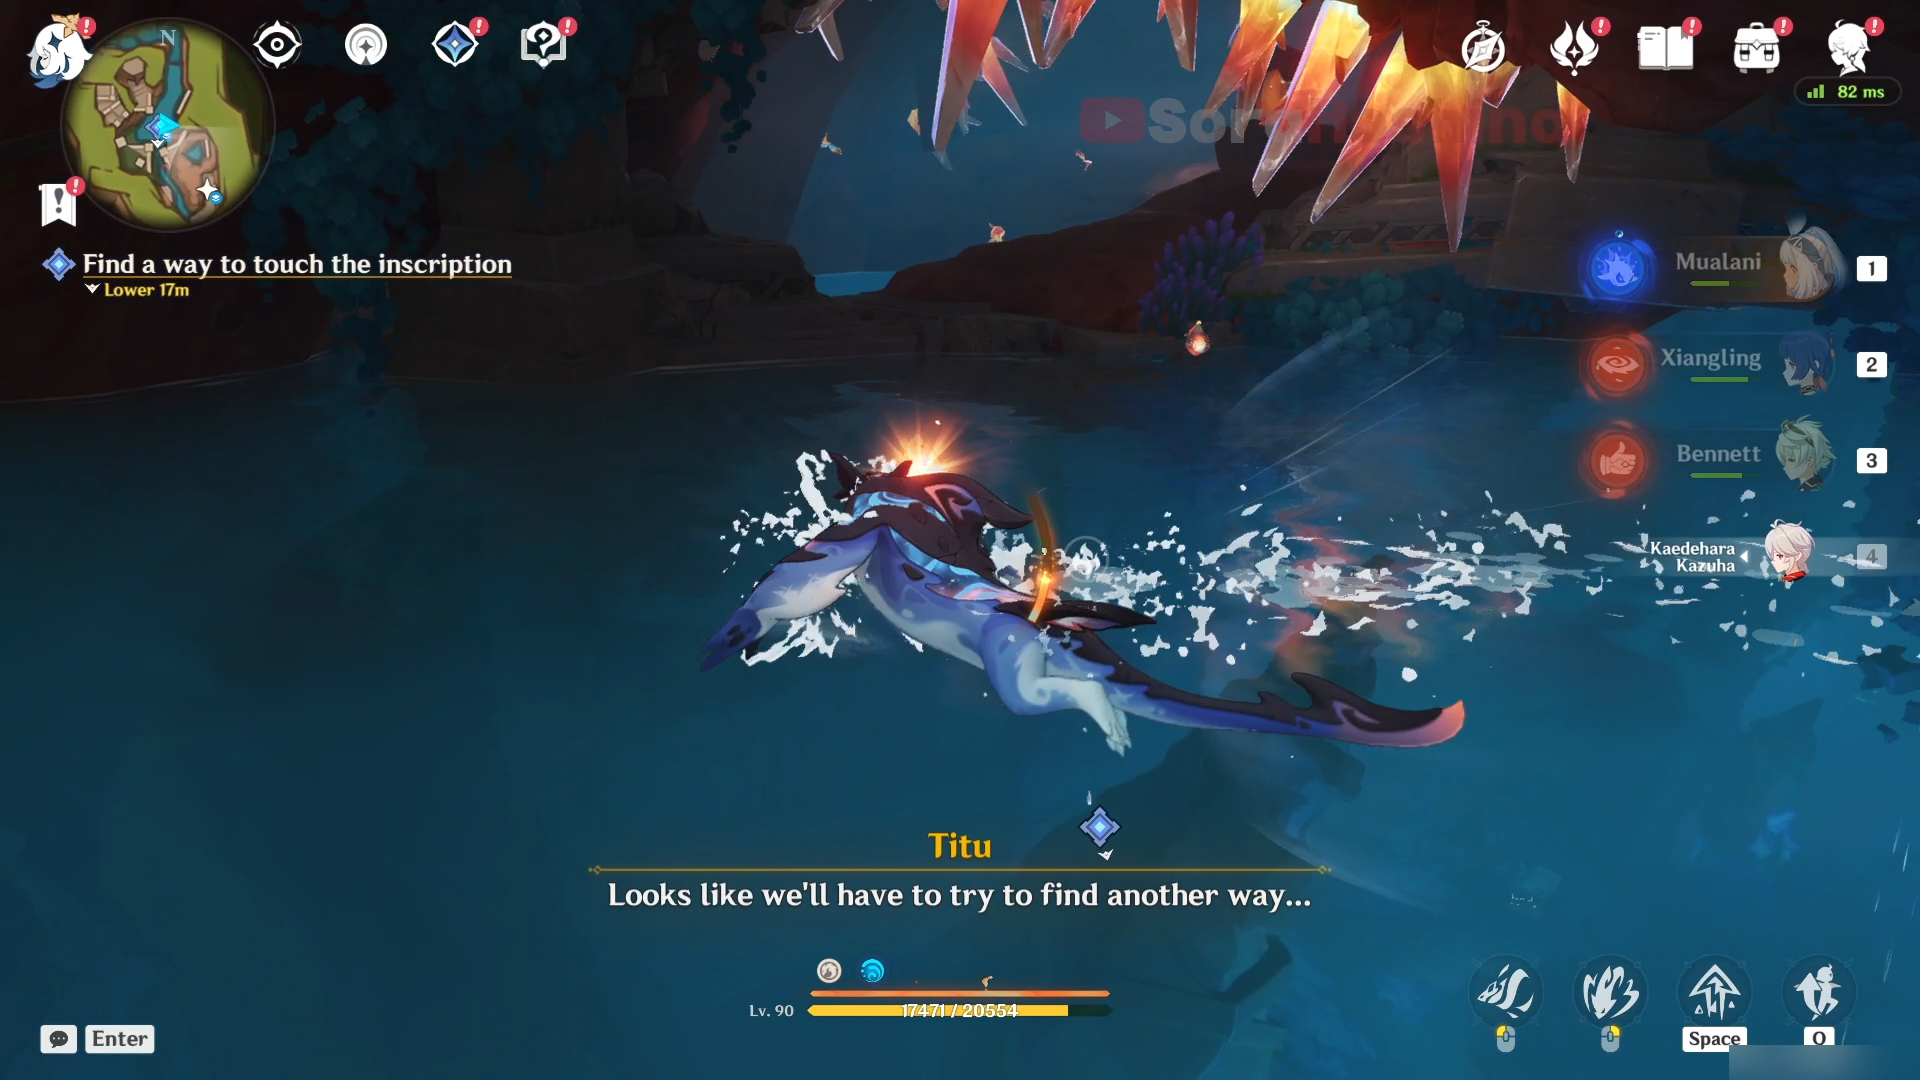
When the water finish rising, look to the north and you can see a door. Go through the door and you will see a Hilichurl messing with a switch. Defeat the Hilichurls and operate the switch again to low the water level a bit (since the switch will be broken afterwards).
Now that the water level has decrease slightly, look to the southeast and you can see an opening with lots of spikes near it.
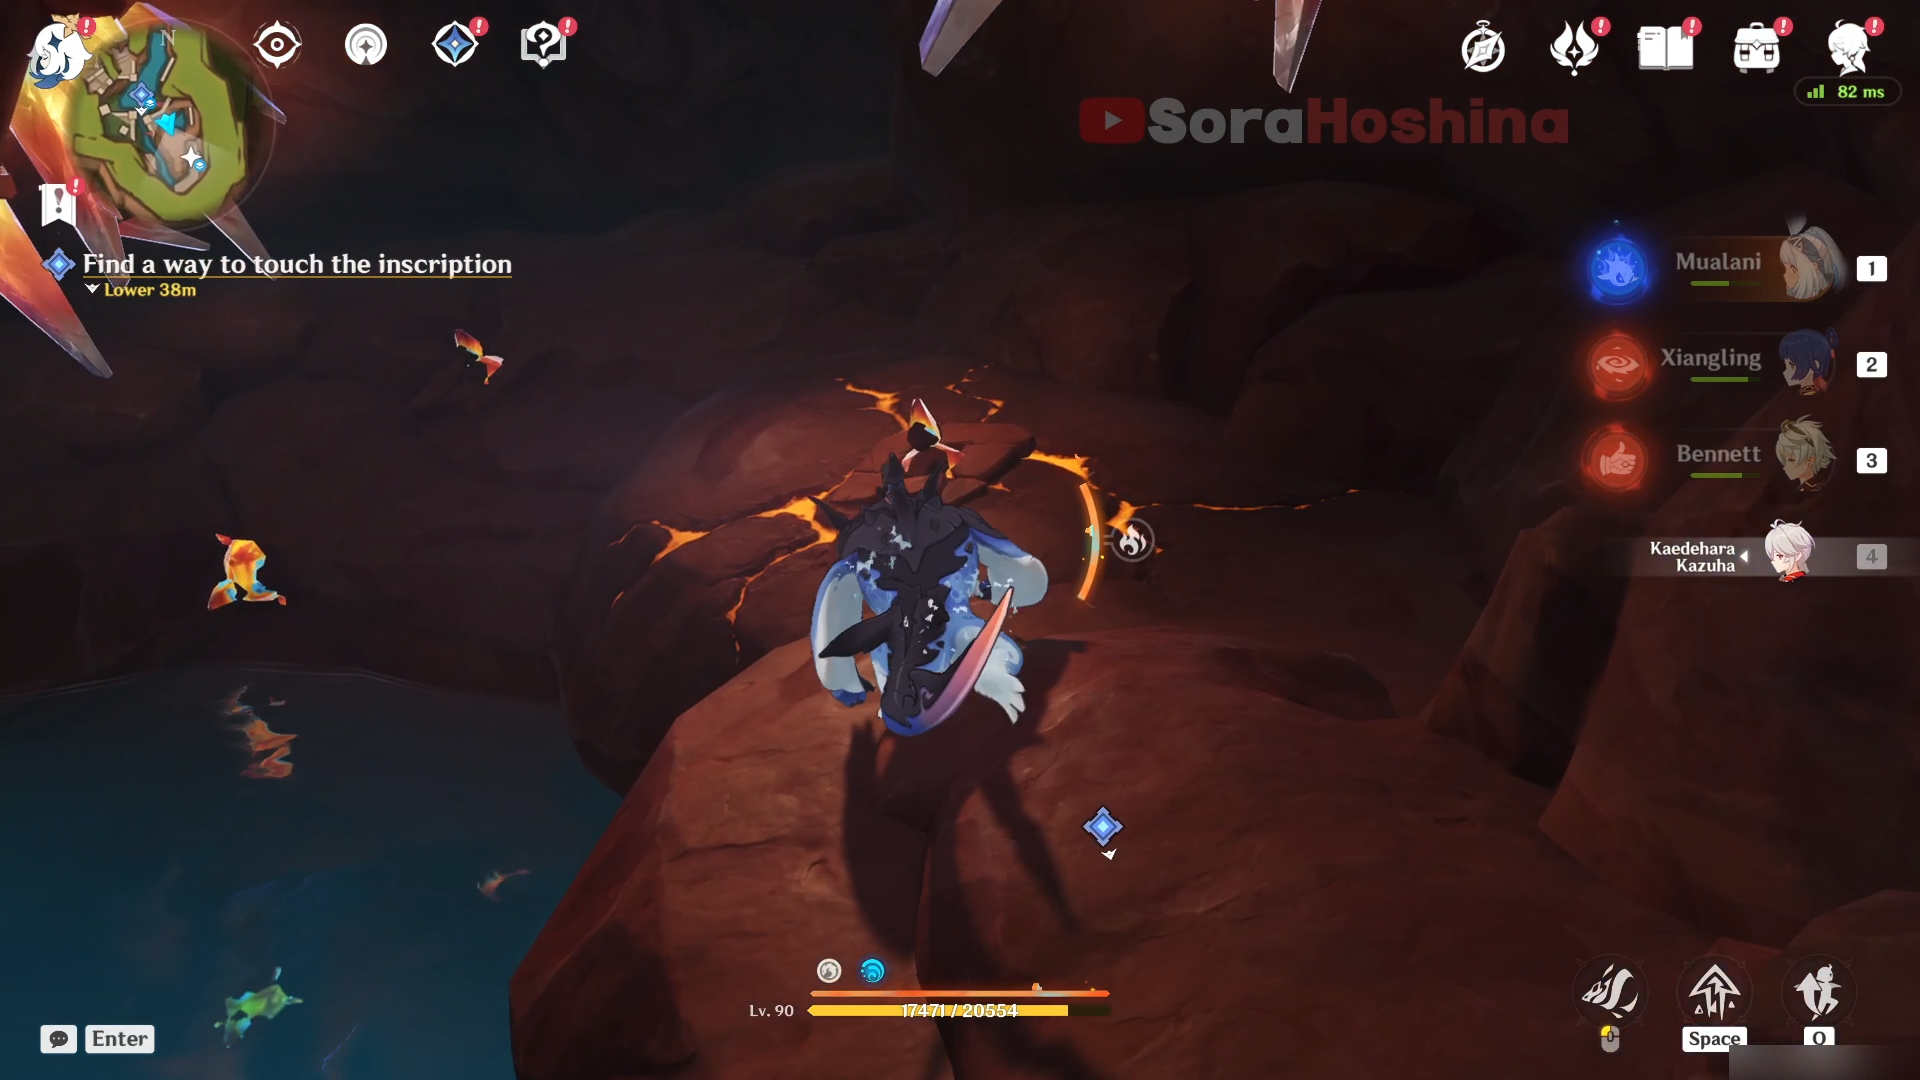
Go through that opening and explode the Unstable Phlogiston Crystals (the small crystals on the ground) to blow up a small passage to let the water level decrease even more.
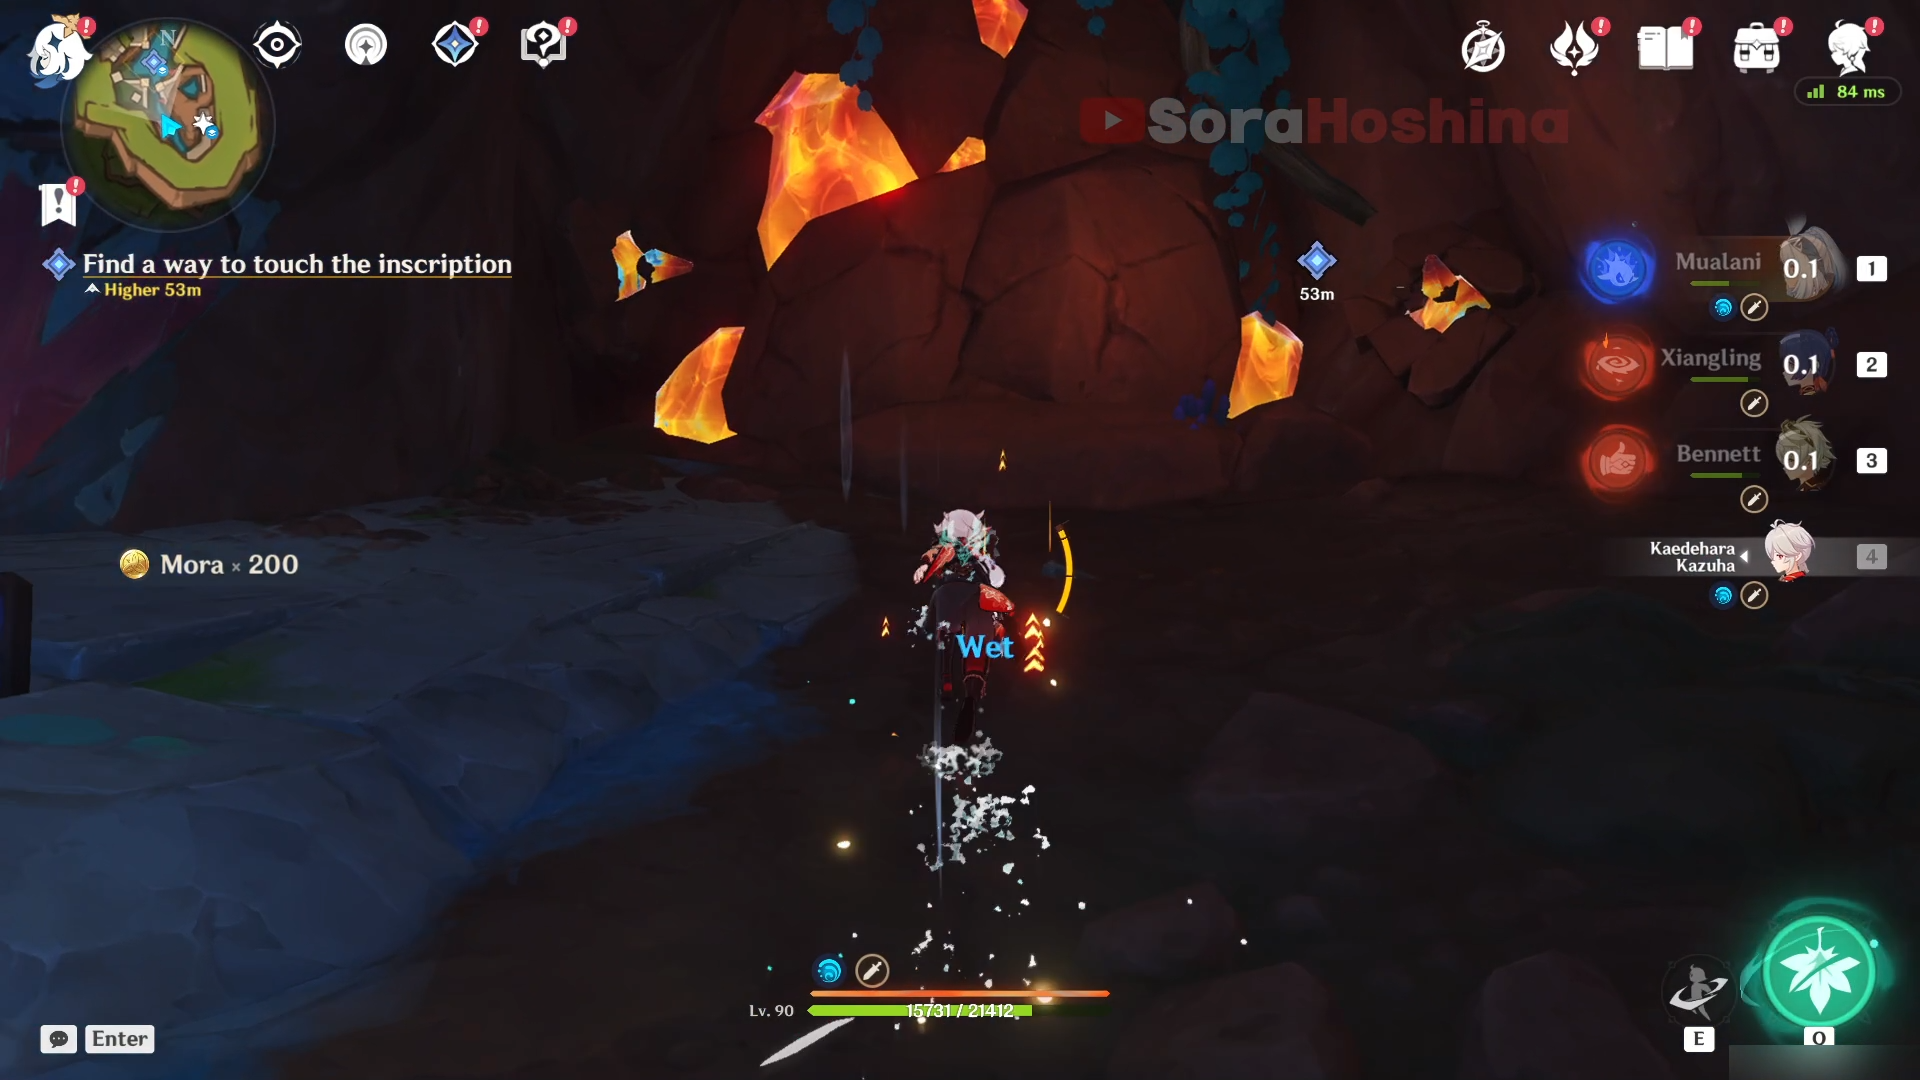
Follow the path and you will see another destructible rock. Destroy it and go pass through it to interact with the inscription. When you interact with the inscription, it will lift you automatically to a Spiritway and lead to a staircase. From here, just follow the inscription back to the Lesser Shadow Pin.
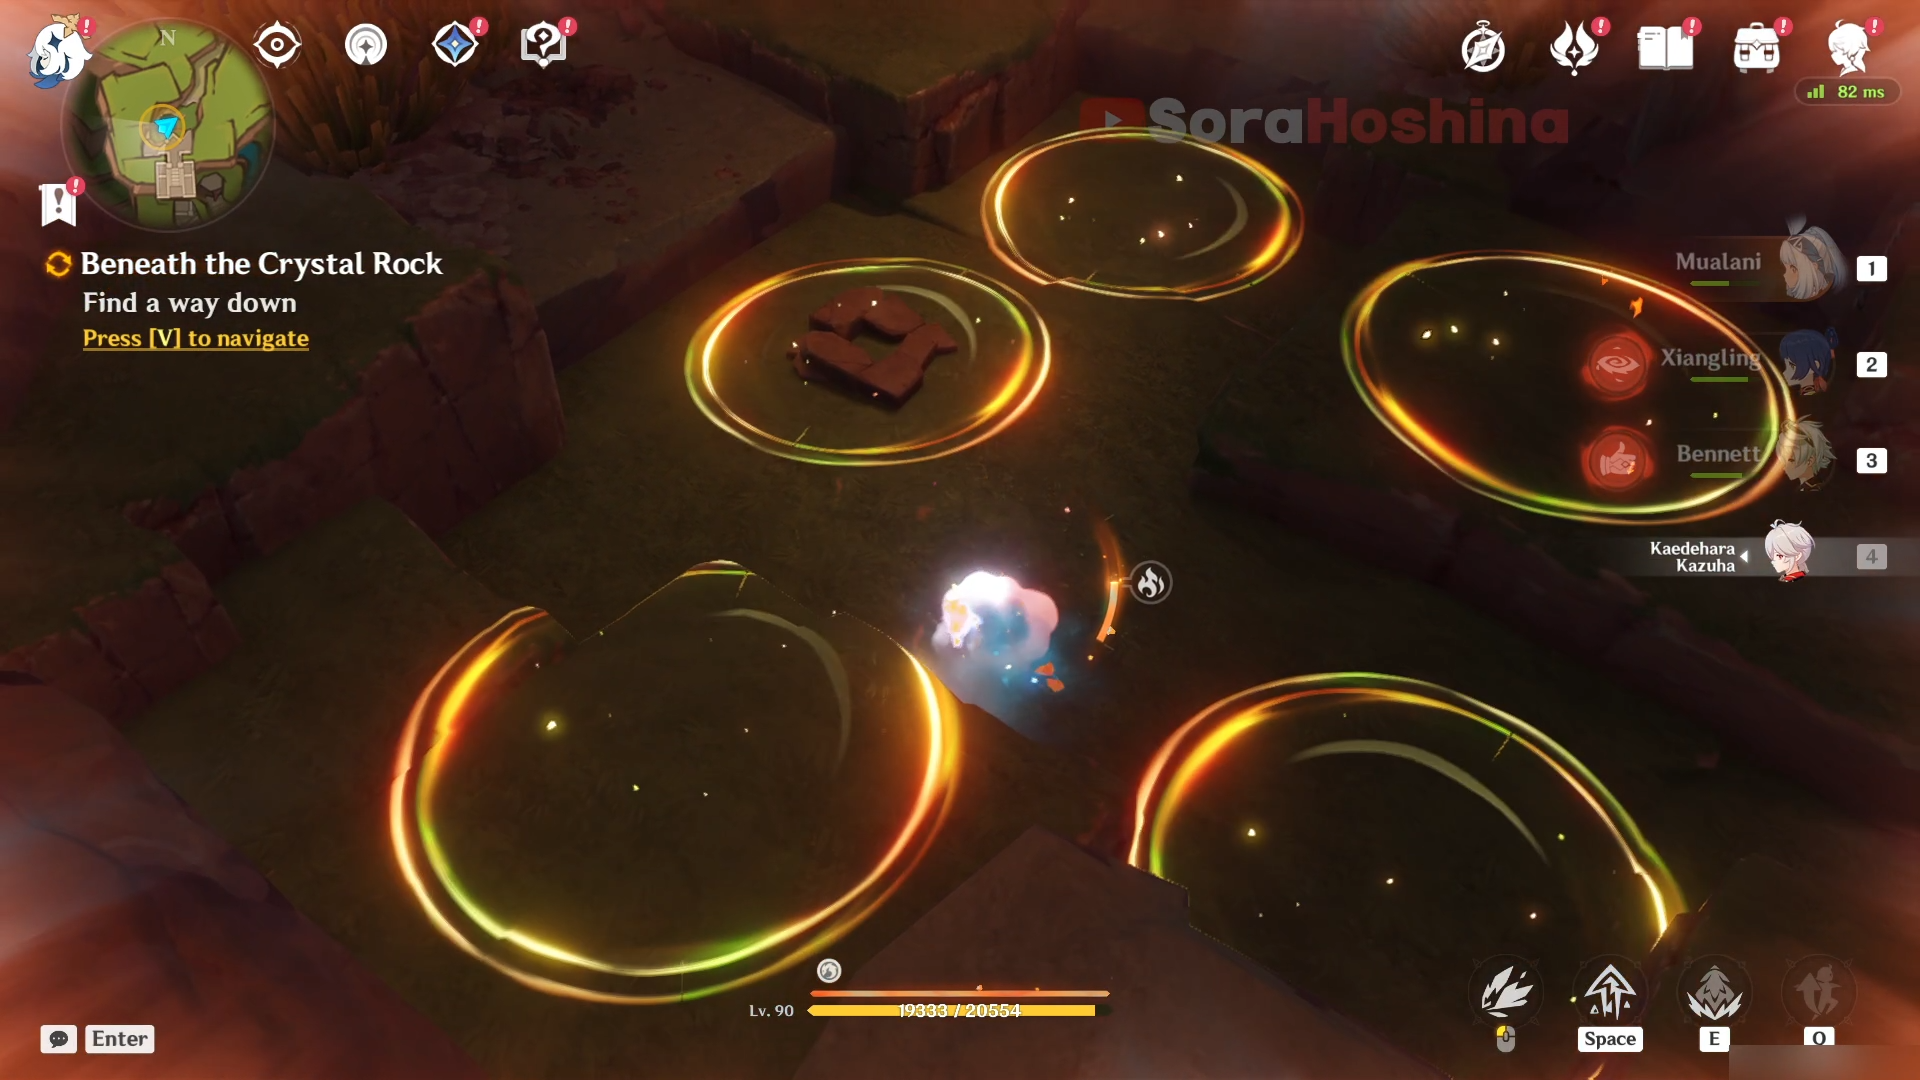
At the Lesser Shadow Pin, you're back with another challenge. It's the same challenge as previous one where you need to destroy the spikes of the transparent crystals using Tepetlisaurus normal attack. This one is even more dangerous than before because the ground will fall down so you need to make use of the jump action too (Space for PC).
Lesser Shadow Pin #3
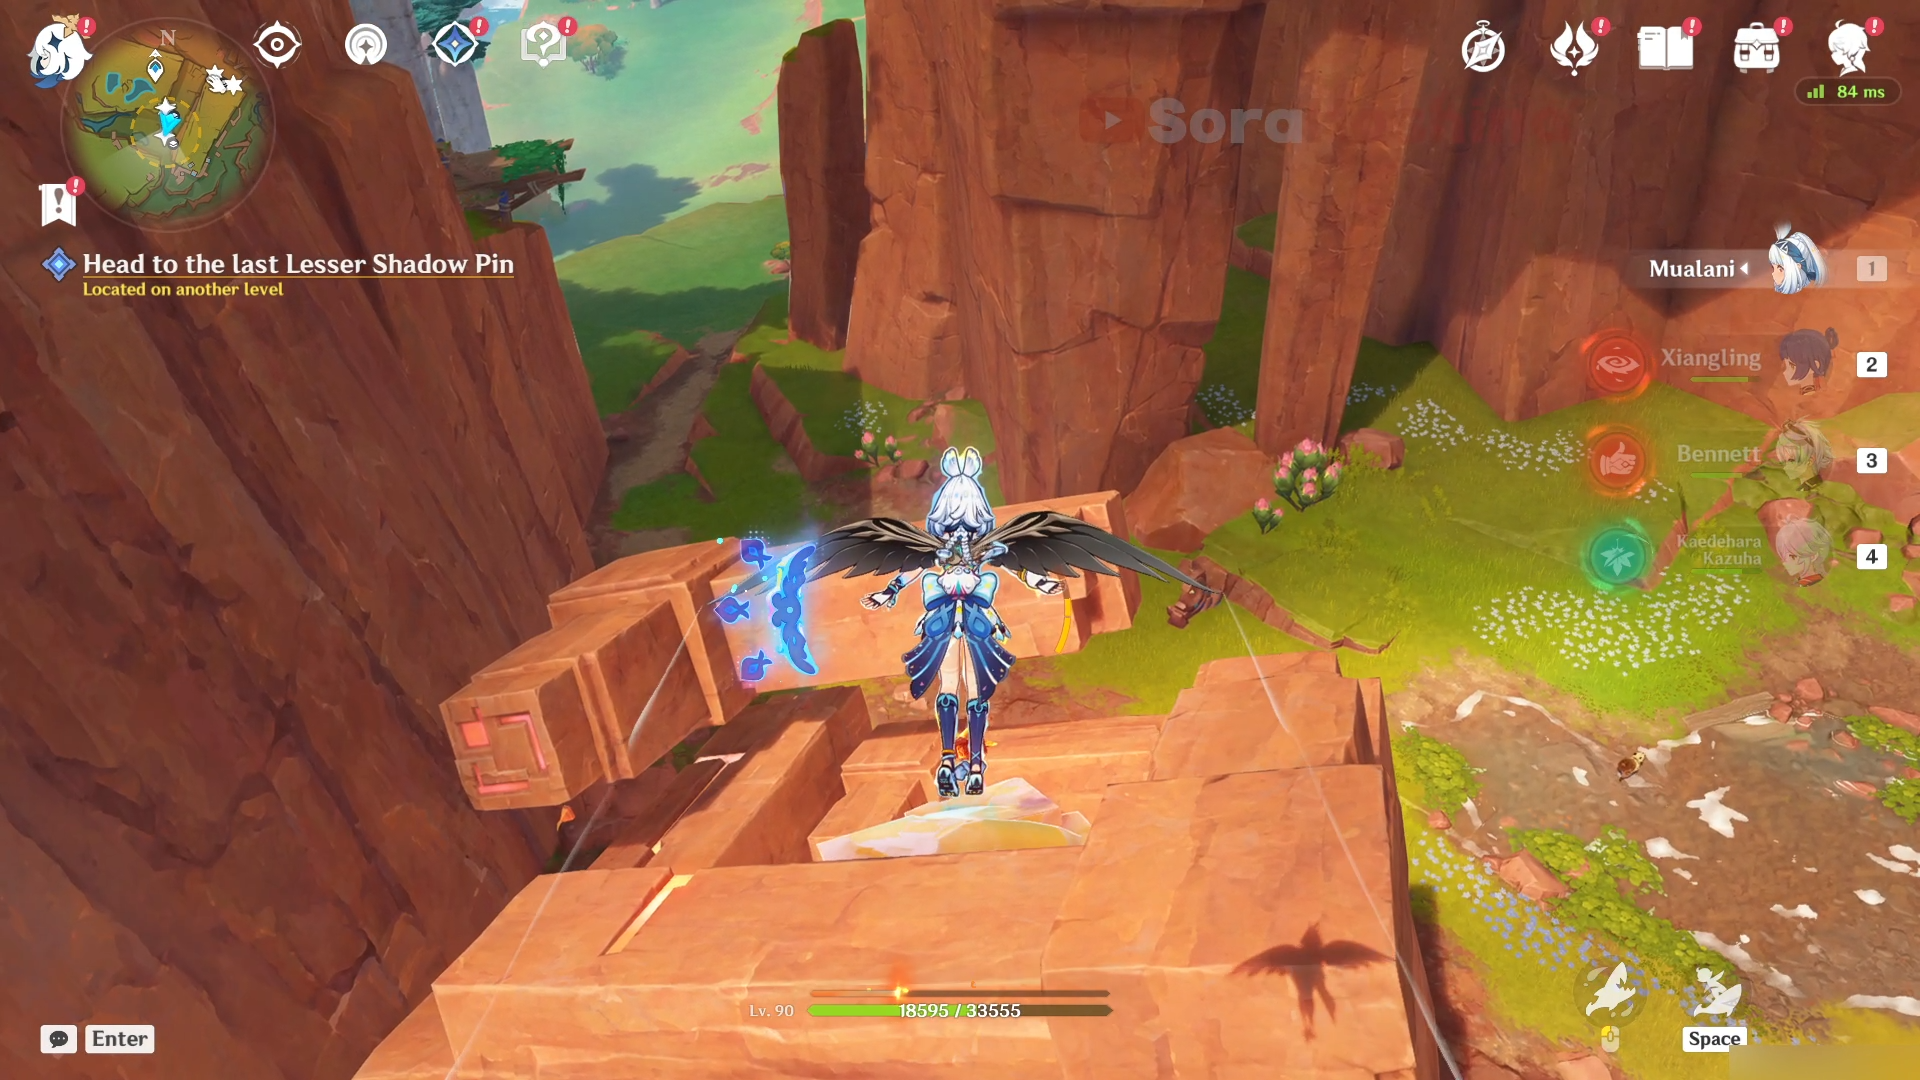
For the last pin, follow the quest navigation. The story will automatically start once you reach the location. But not soon after, you need to go to another place, which, once again, can be done by following the navigation.
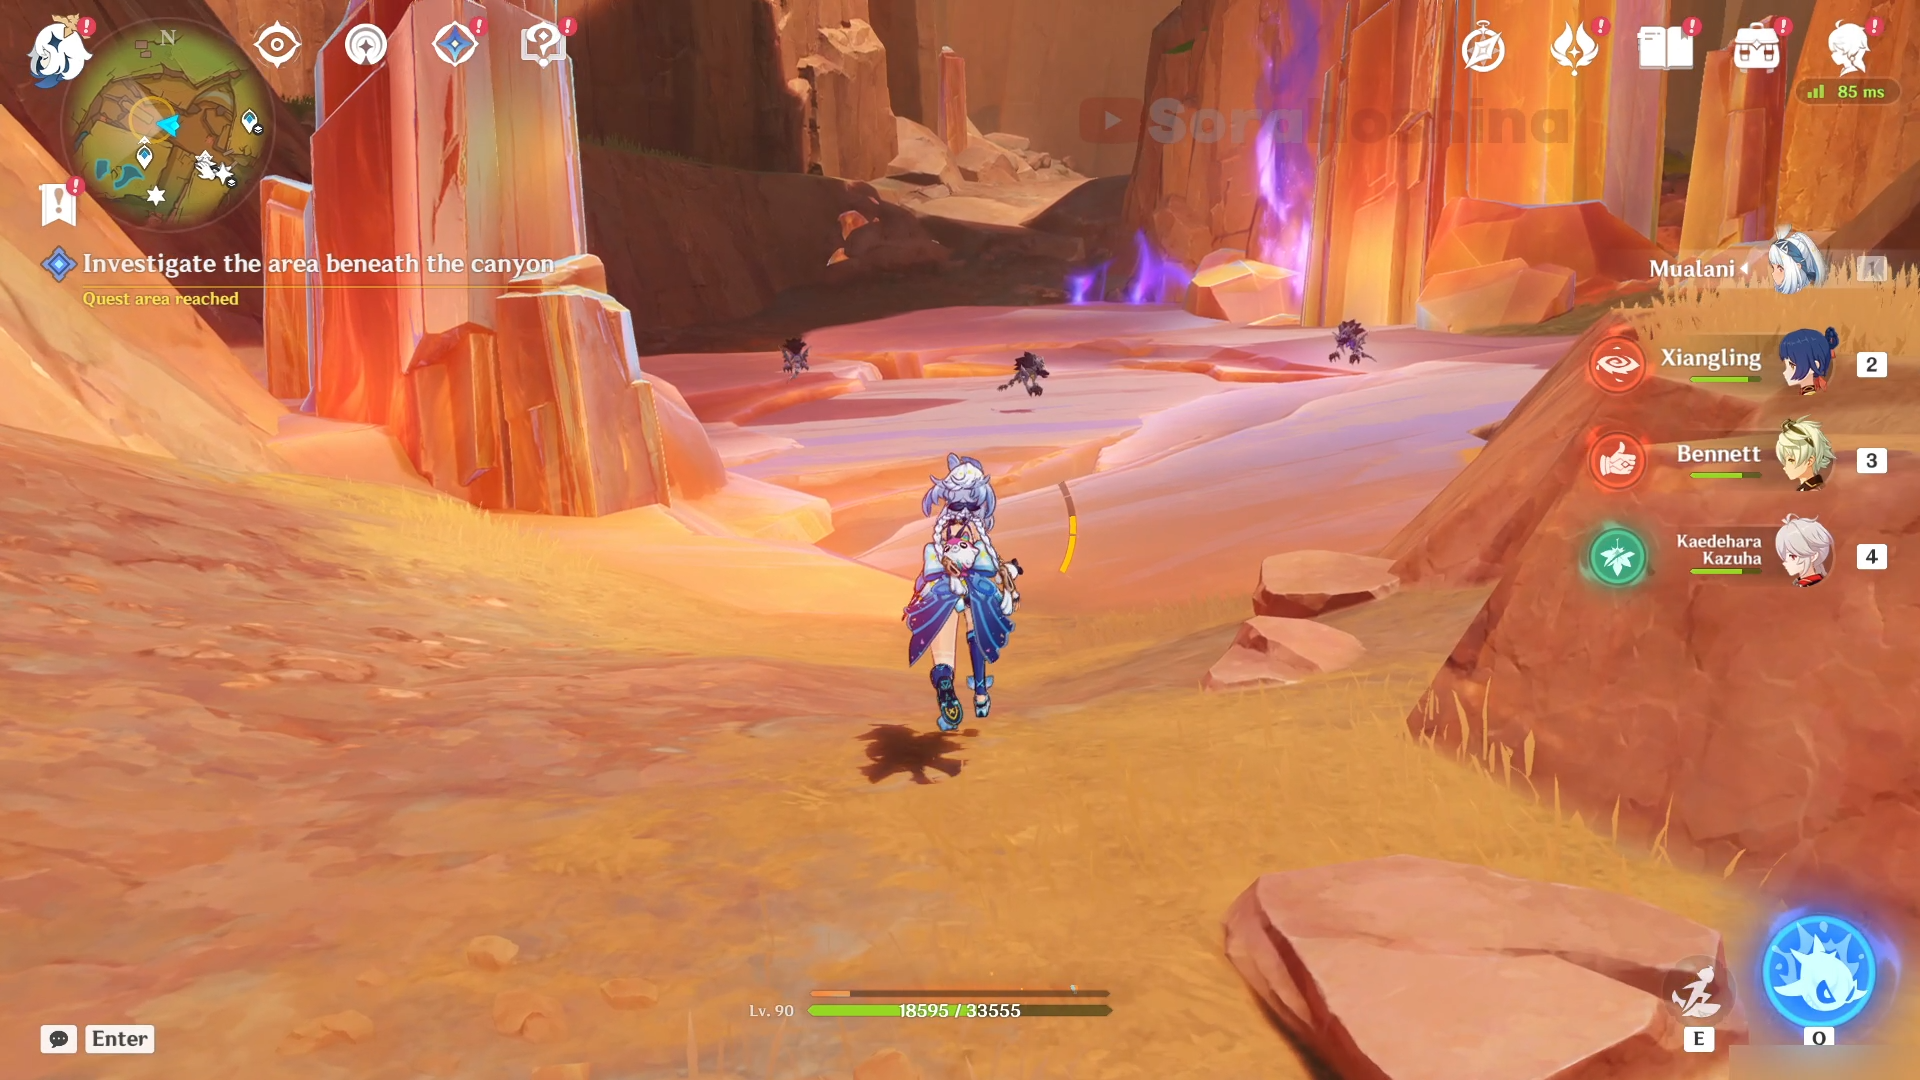
At the second location, you need to defeat the Rifhounds and some other enemies first before you can unlock an underground area beneath the canyon. This marks the end of Beneath the Crystal Rock quest and the start of the Peace to the Slumbering.
Peace to the Slumbering Quest
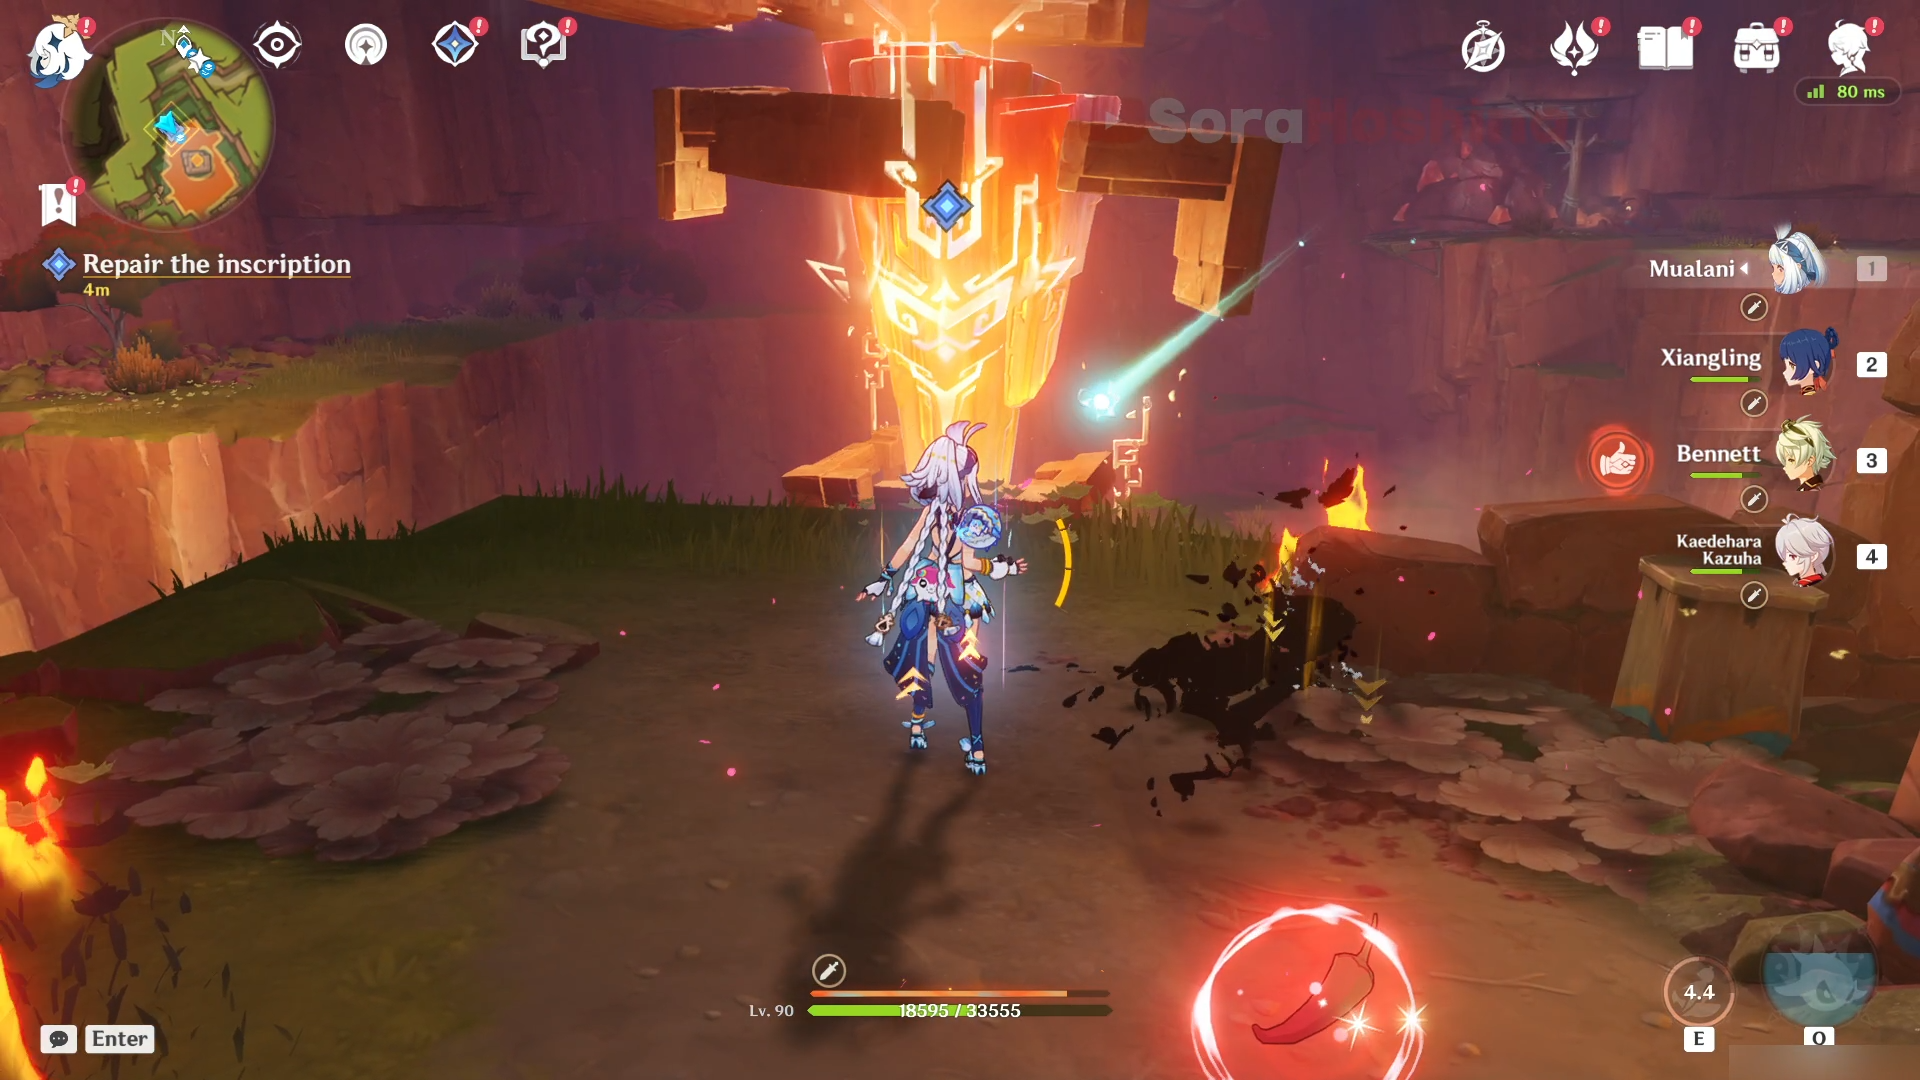
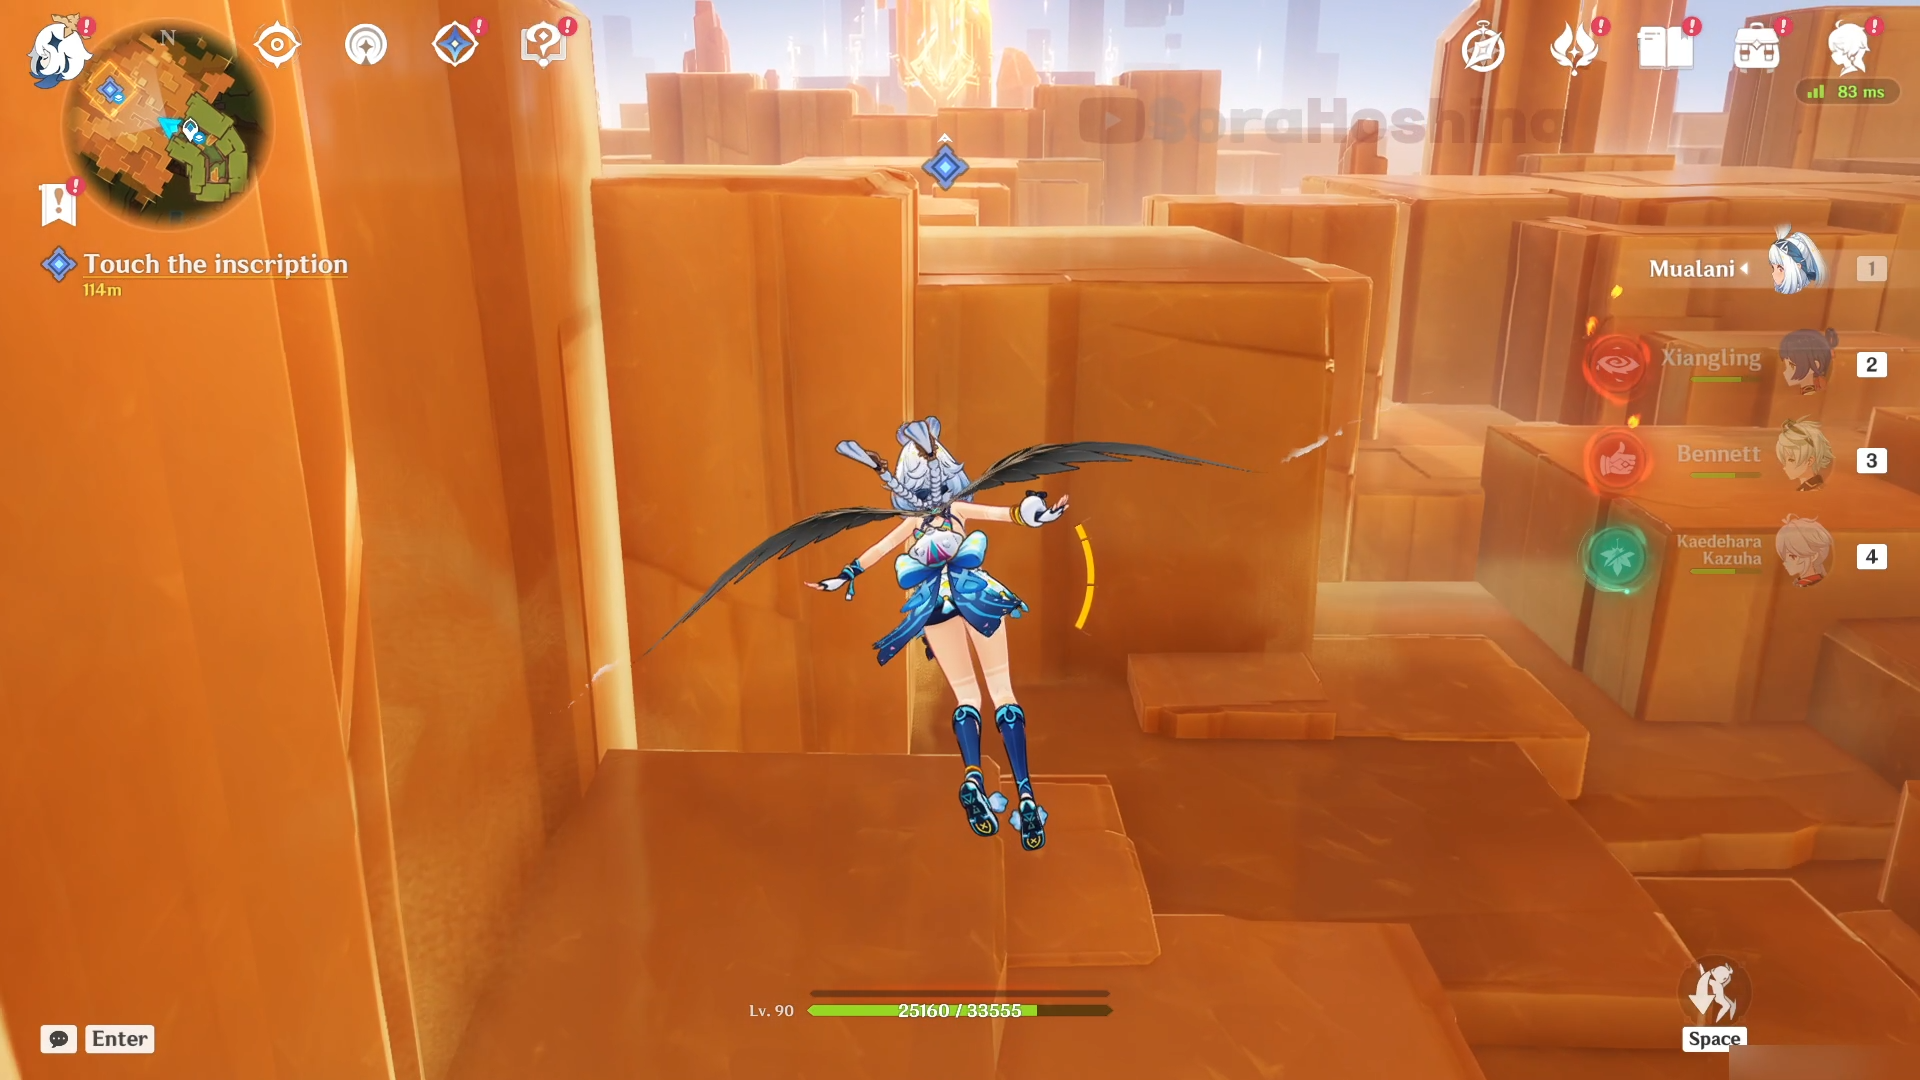
Now a huge hole in the ground can be seen, enter it and you will find another Iridescent Inscription, Keep following it until you reach the center of this area.
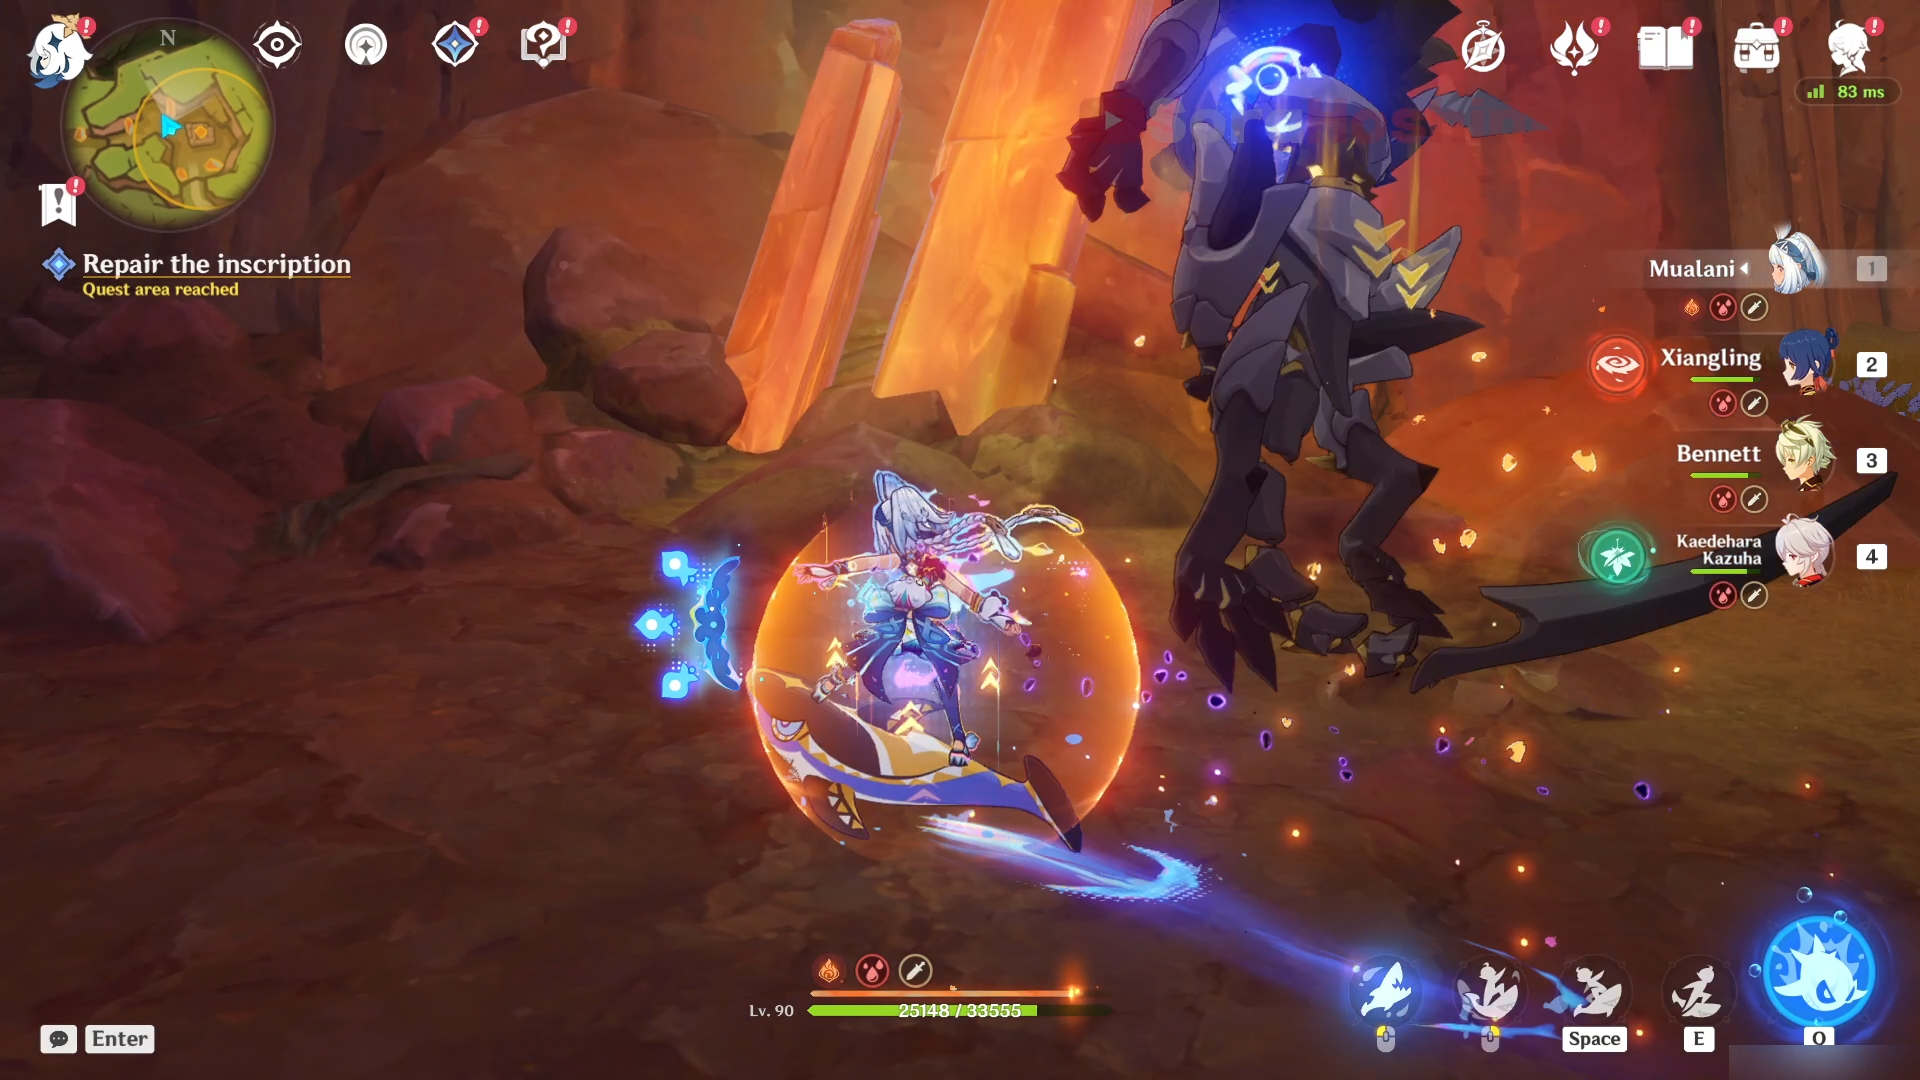
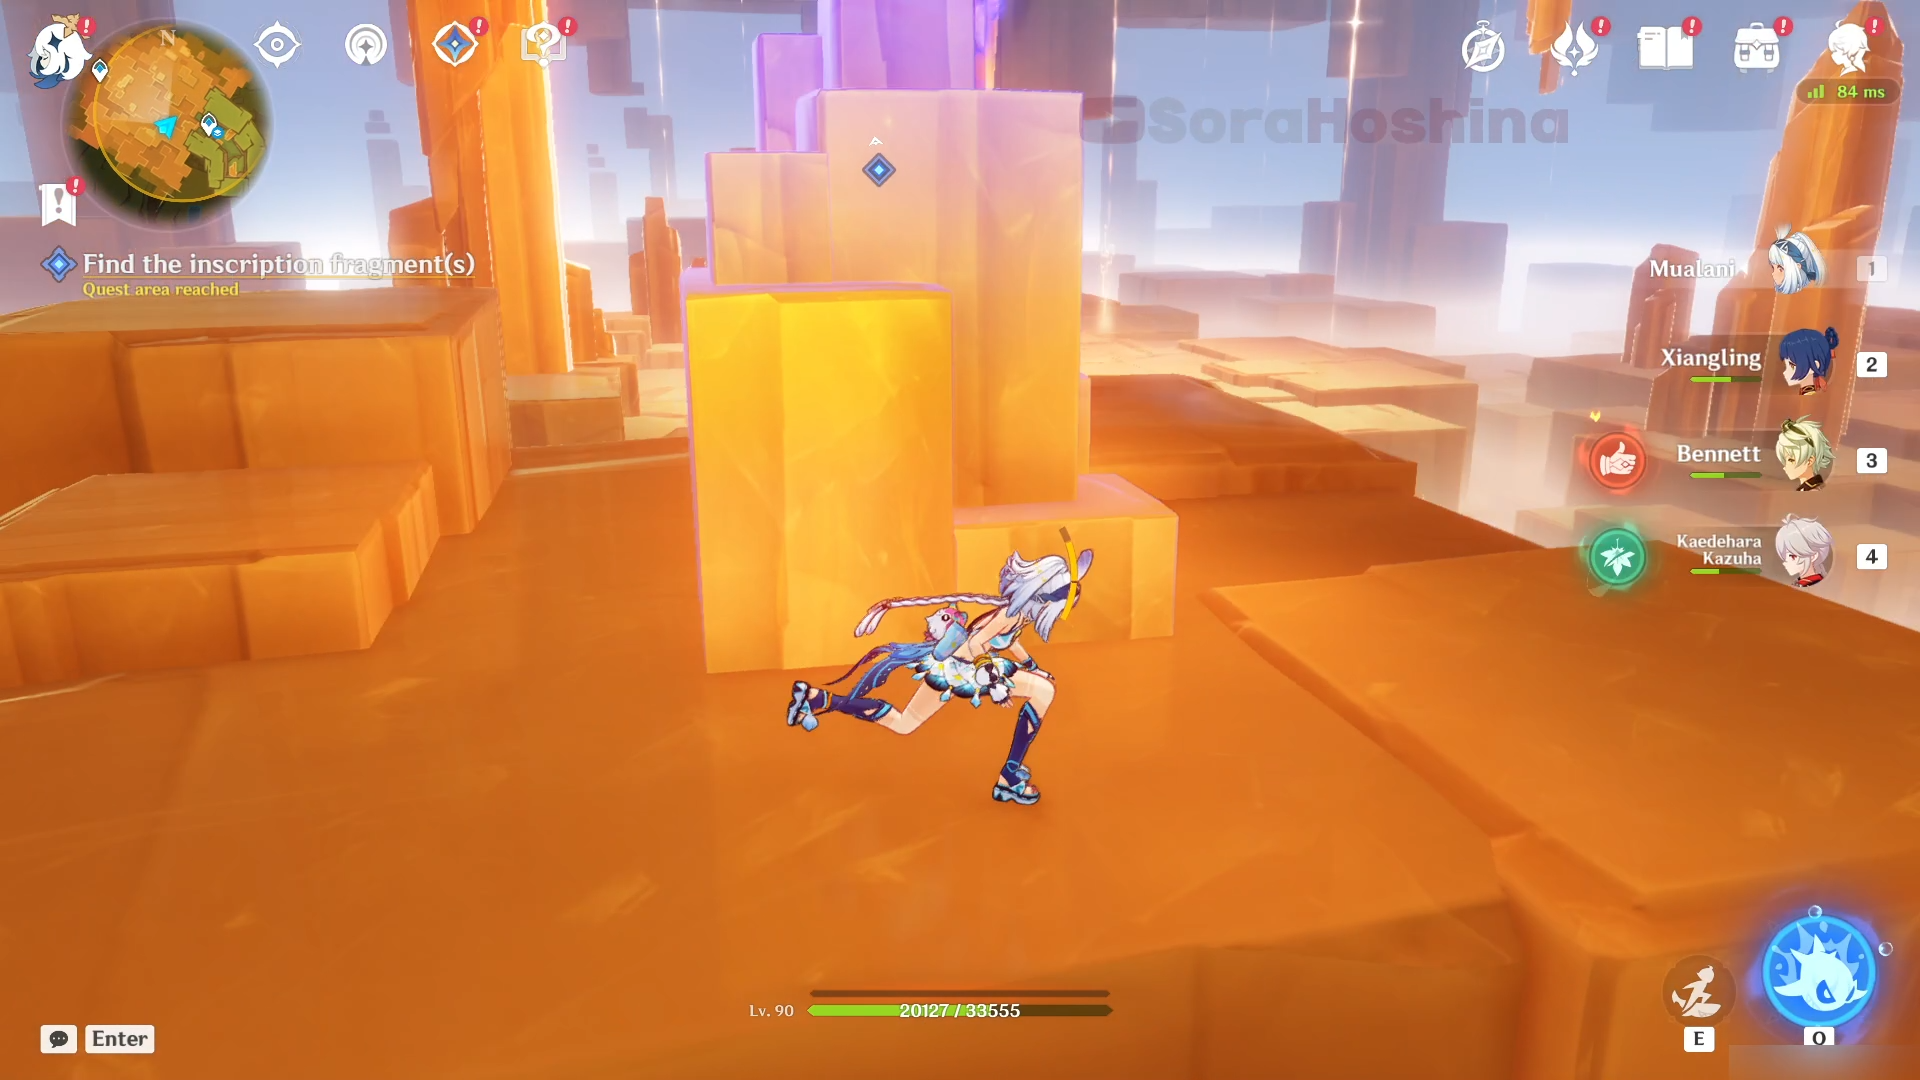
In this place, all the blocks will move around up and down, so you can either cheat with Mualani's surfing ability (her jumping is pretty high on the surfboard) or wait patiently for the blocks to move around and give you space to move to the navigated area.
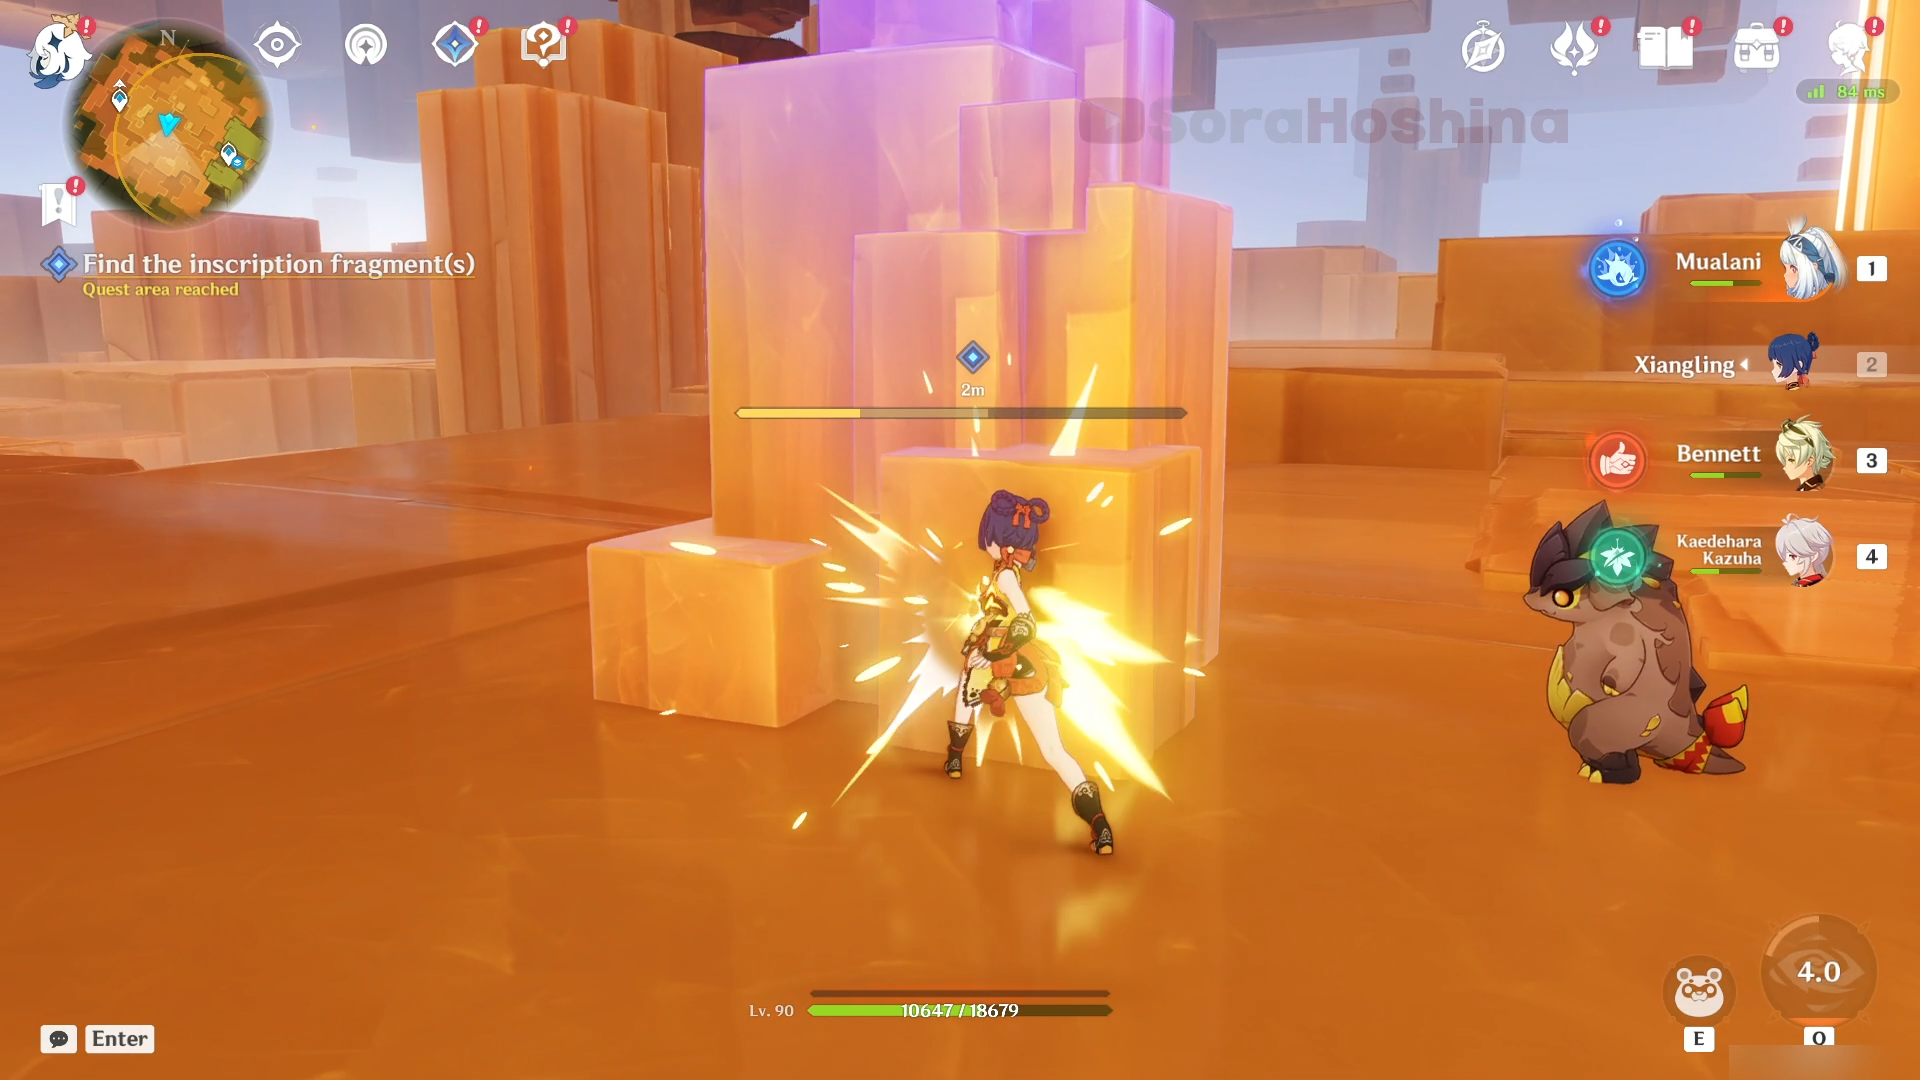
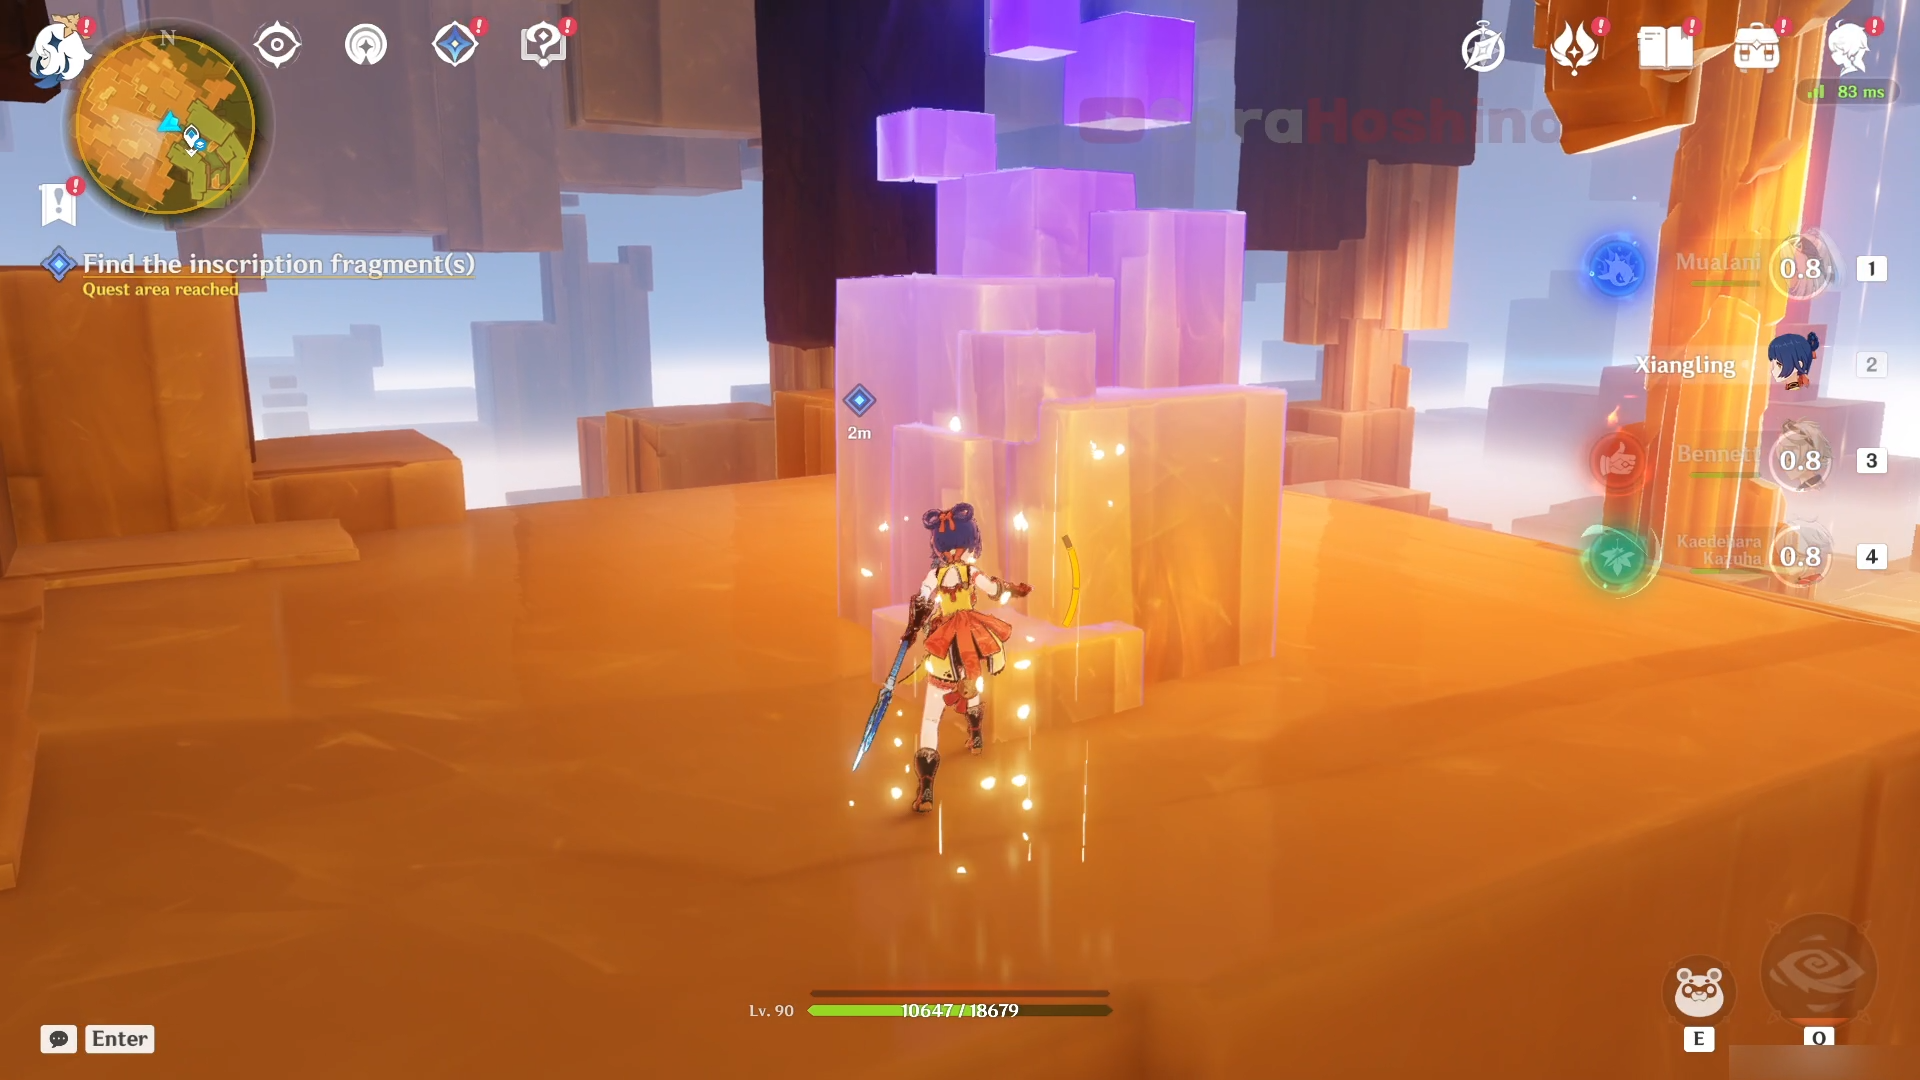
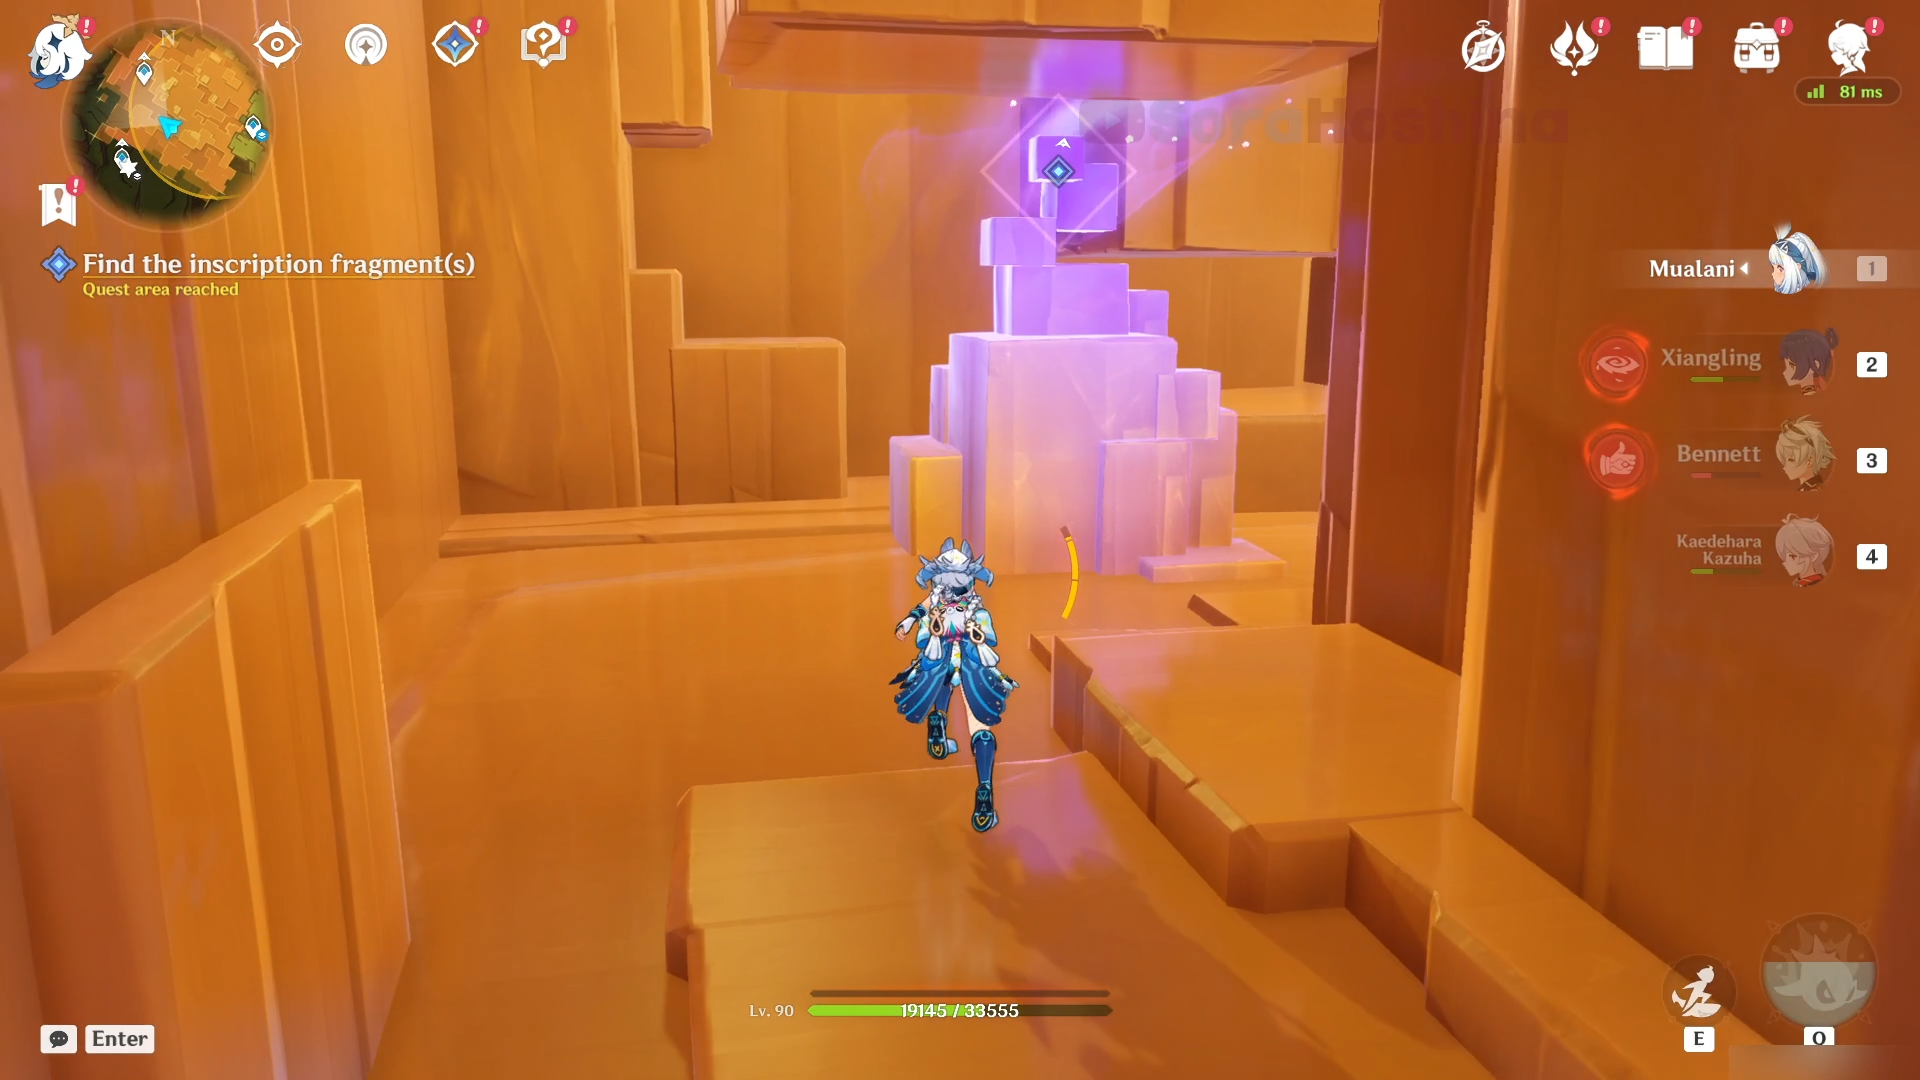
Now, you need to find 3 different inscription fragments. All of them can be seen trapped inside a block with purple residue coming out of it. You need to use any attacks, preferably Claymore attack to destroy the block and get the inscription fragments.
All the inscription fragments pretty much stand out in this area (with the purple gas coming out of it) and the quest also marked the locations (press V to see) so you don't really need a guide to complete this puzzle.
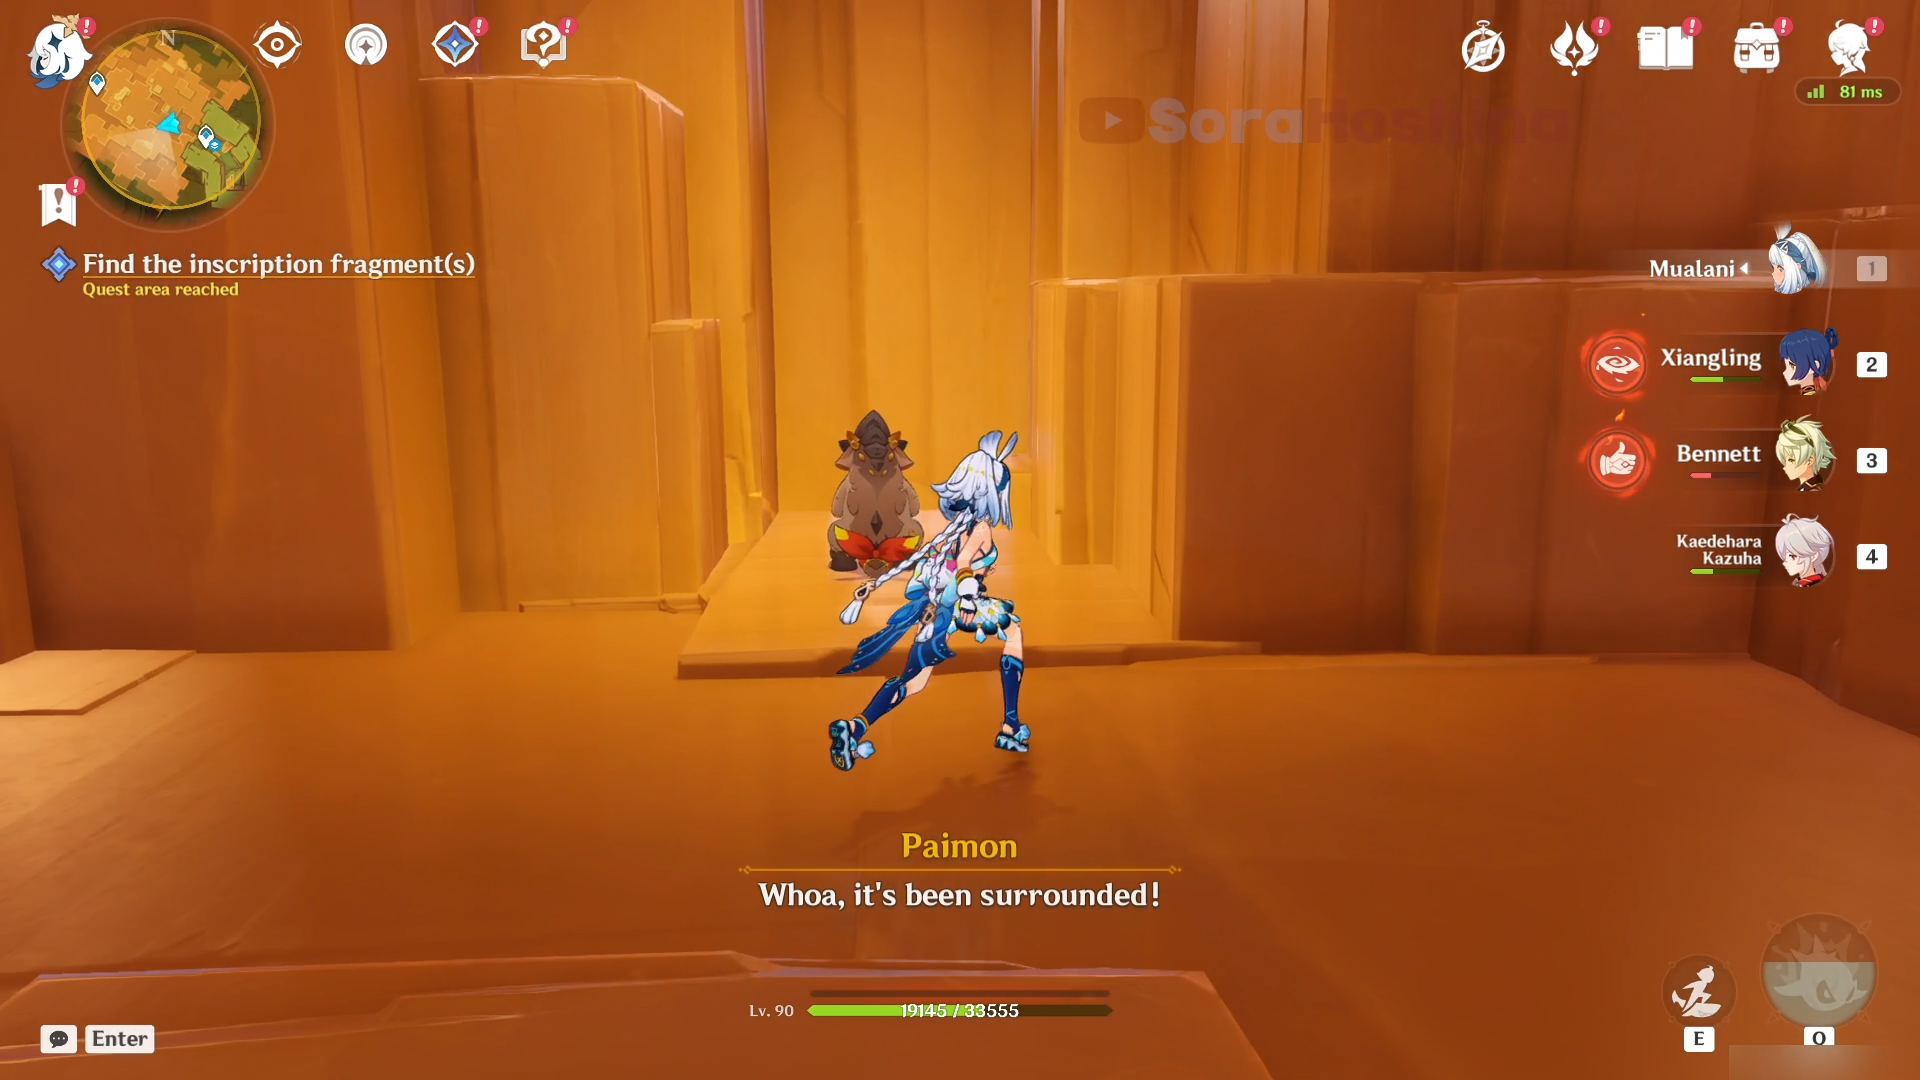
Once you interact with the first 3 inscription fragments, a big Rifthound will appear and you need to defeat them first. After that, you will be surrounded by blocks with no way out. Look for your Saurian friend and go to its location for the right path to go and you will meet the last inscription fragment.
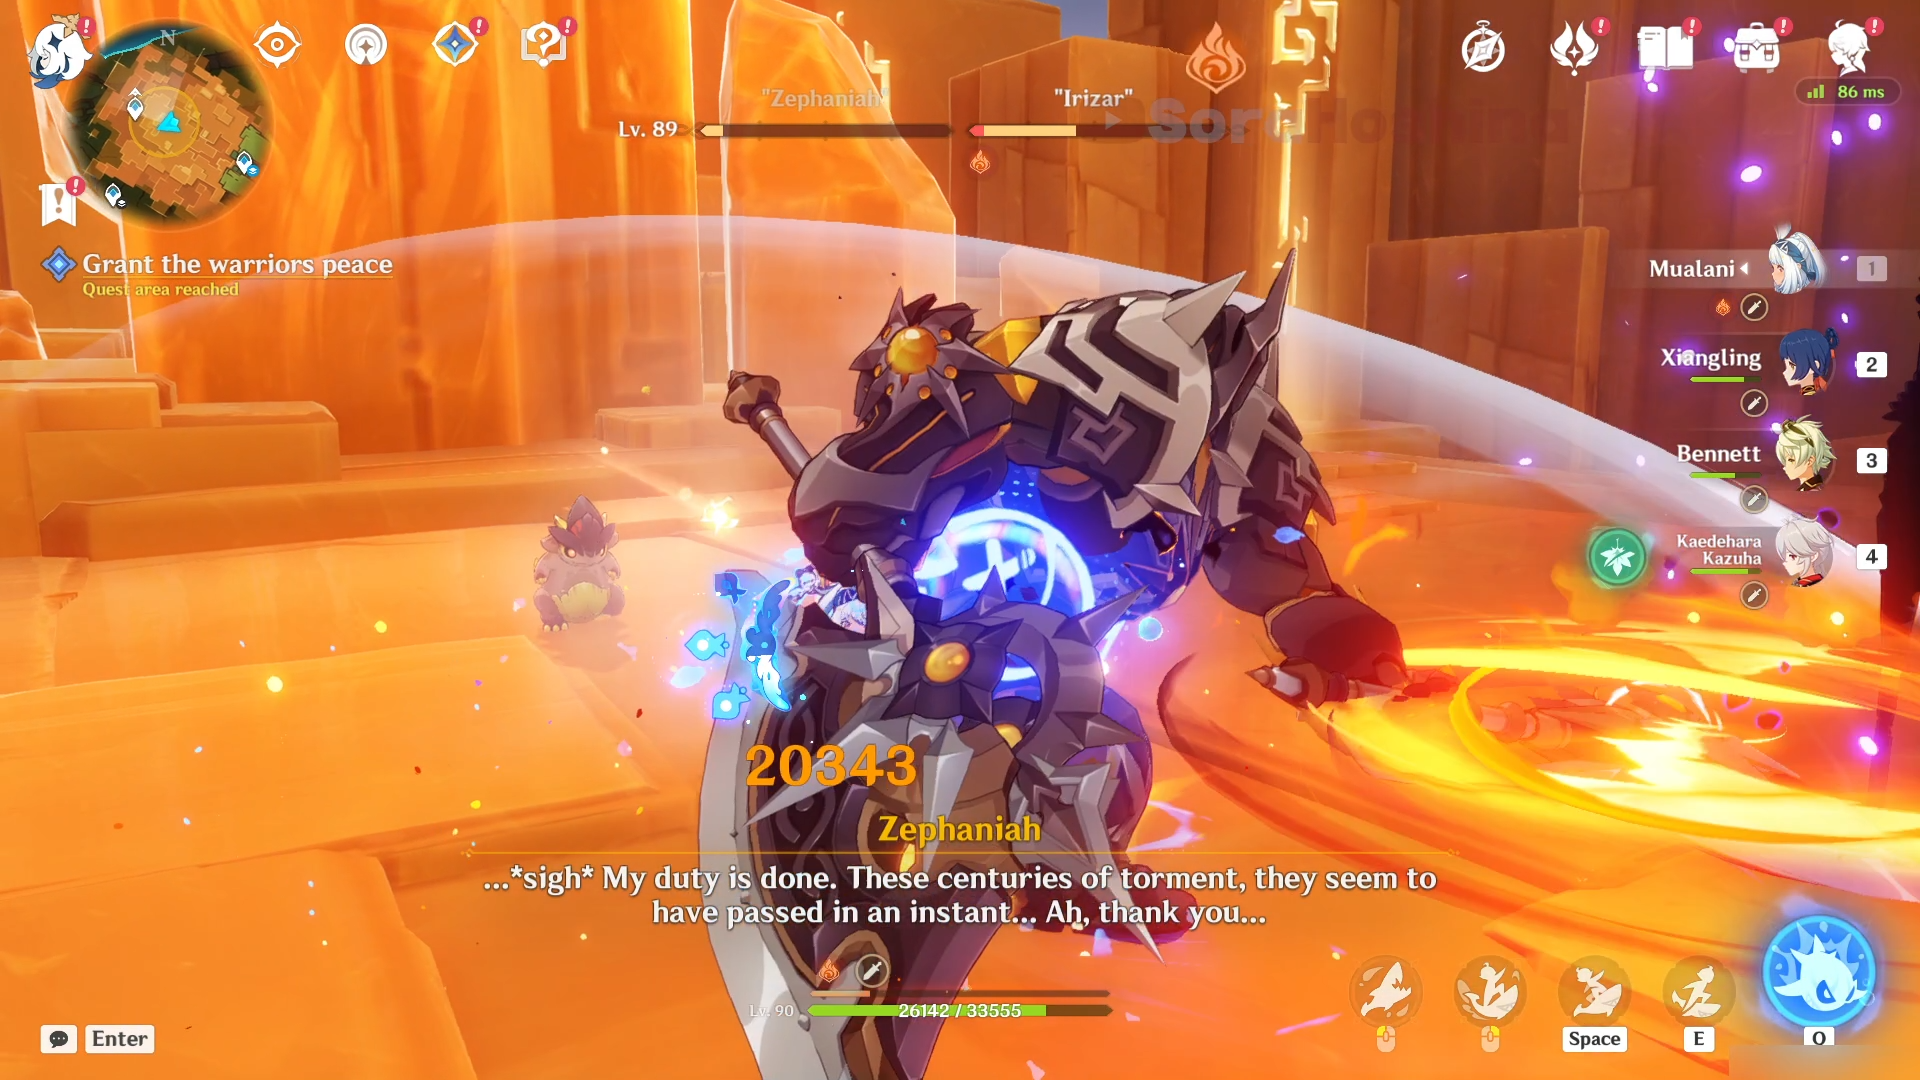
Meet Titu again at the huge inscription and defeat the enemies. After some more conversations, you will complete the quest and get the achievement Ancestral Memory.