
Table of Contents [Hide]
Floor 11 is the start of a challenge in Spiral Abyss for Genshin Impact players. The difficulty spikes up a little bit from the previous floor, in addition to the ever-changing roster of enemies in each version. In version 4.6, there is no normal boss here but there are lots of mobs and tons of waves. Follow this guide to know more about enemies' lineup, their weaknesses, and how to complete the entire chamber on Floor 11.
Blessing of the Abyssal Moon
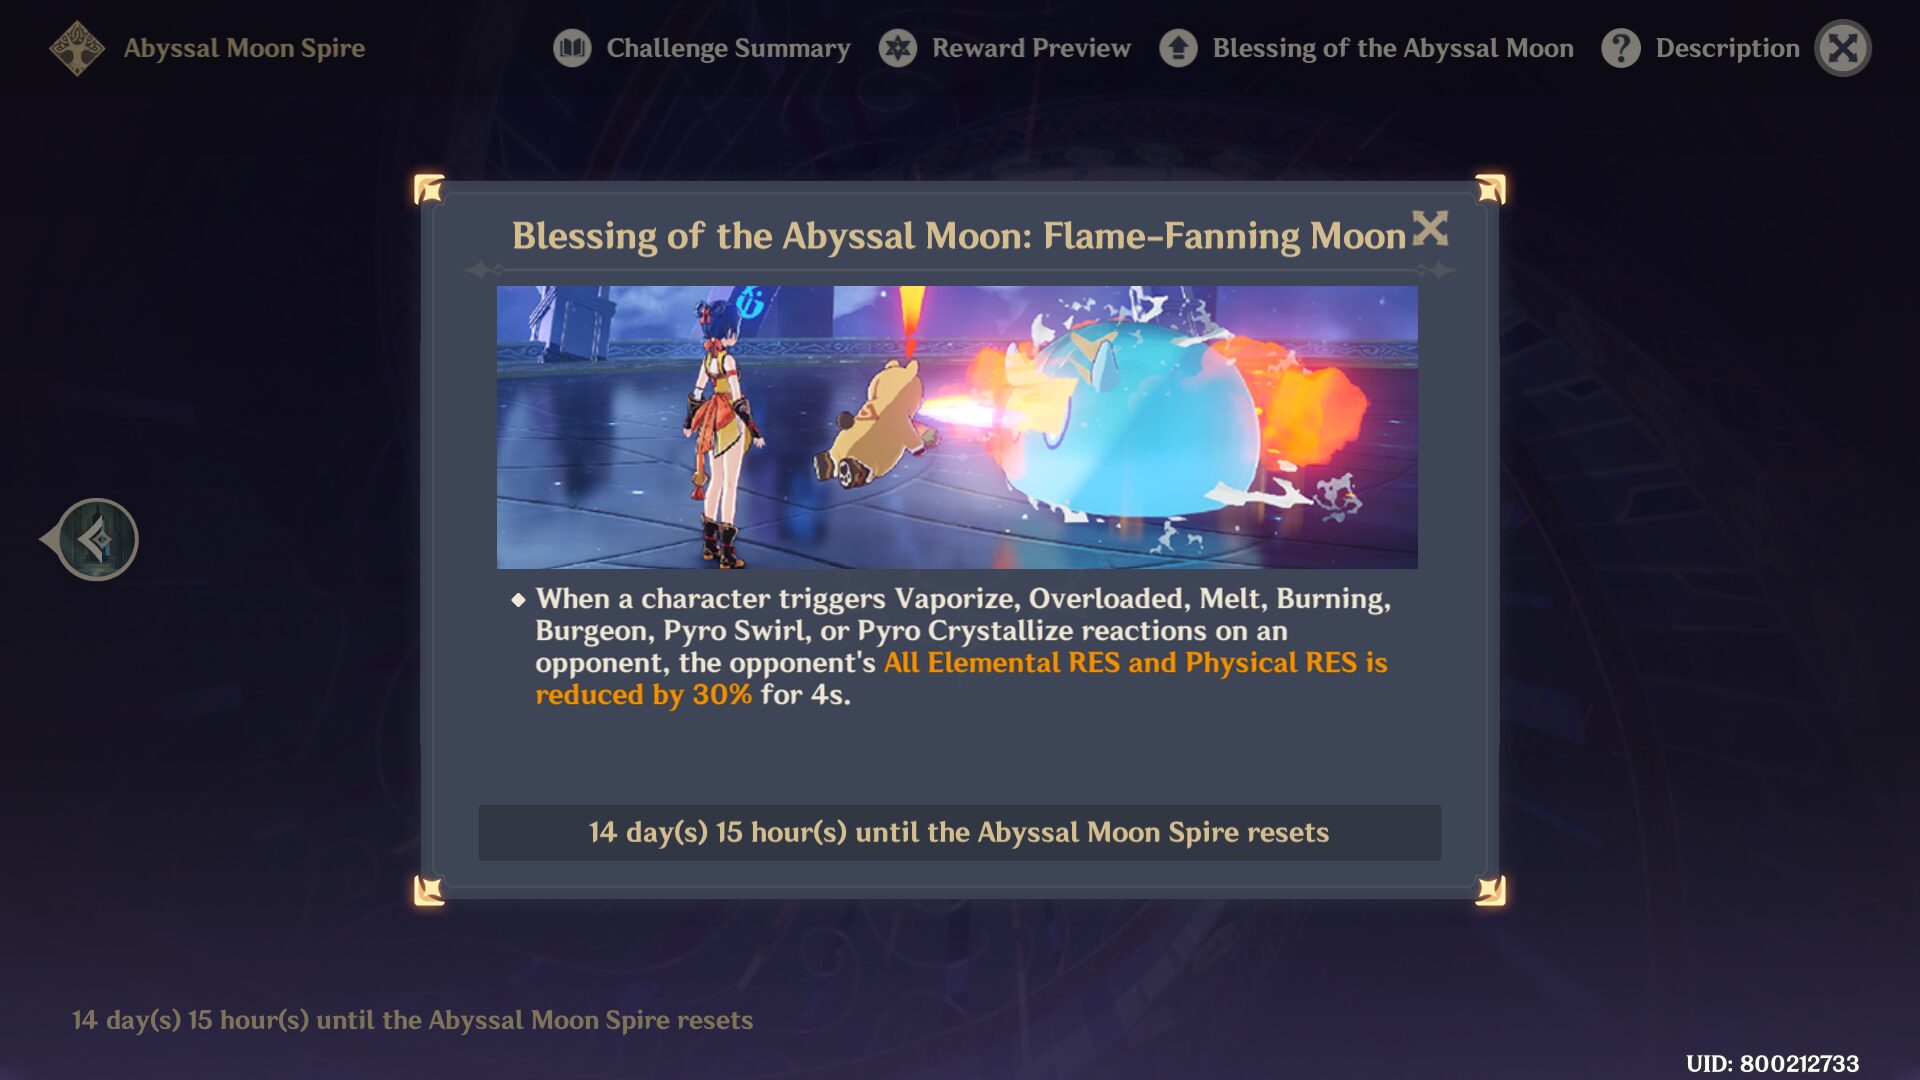
Reminder: Blessing of the Abyssal Moon will change every refresh cycle and may not be updated here. But the enemies list and strategy will remain the same.
Triggering any Pyro-related reactions on an opponent will reduce its elemental and physical RES by 30% for 4 seconds.
Ley Line Disorder
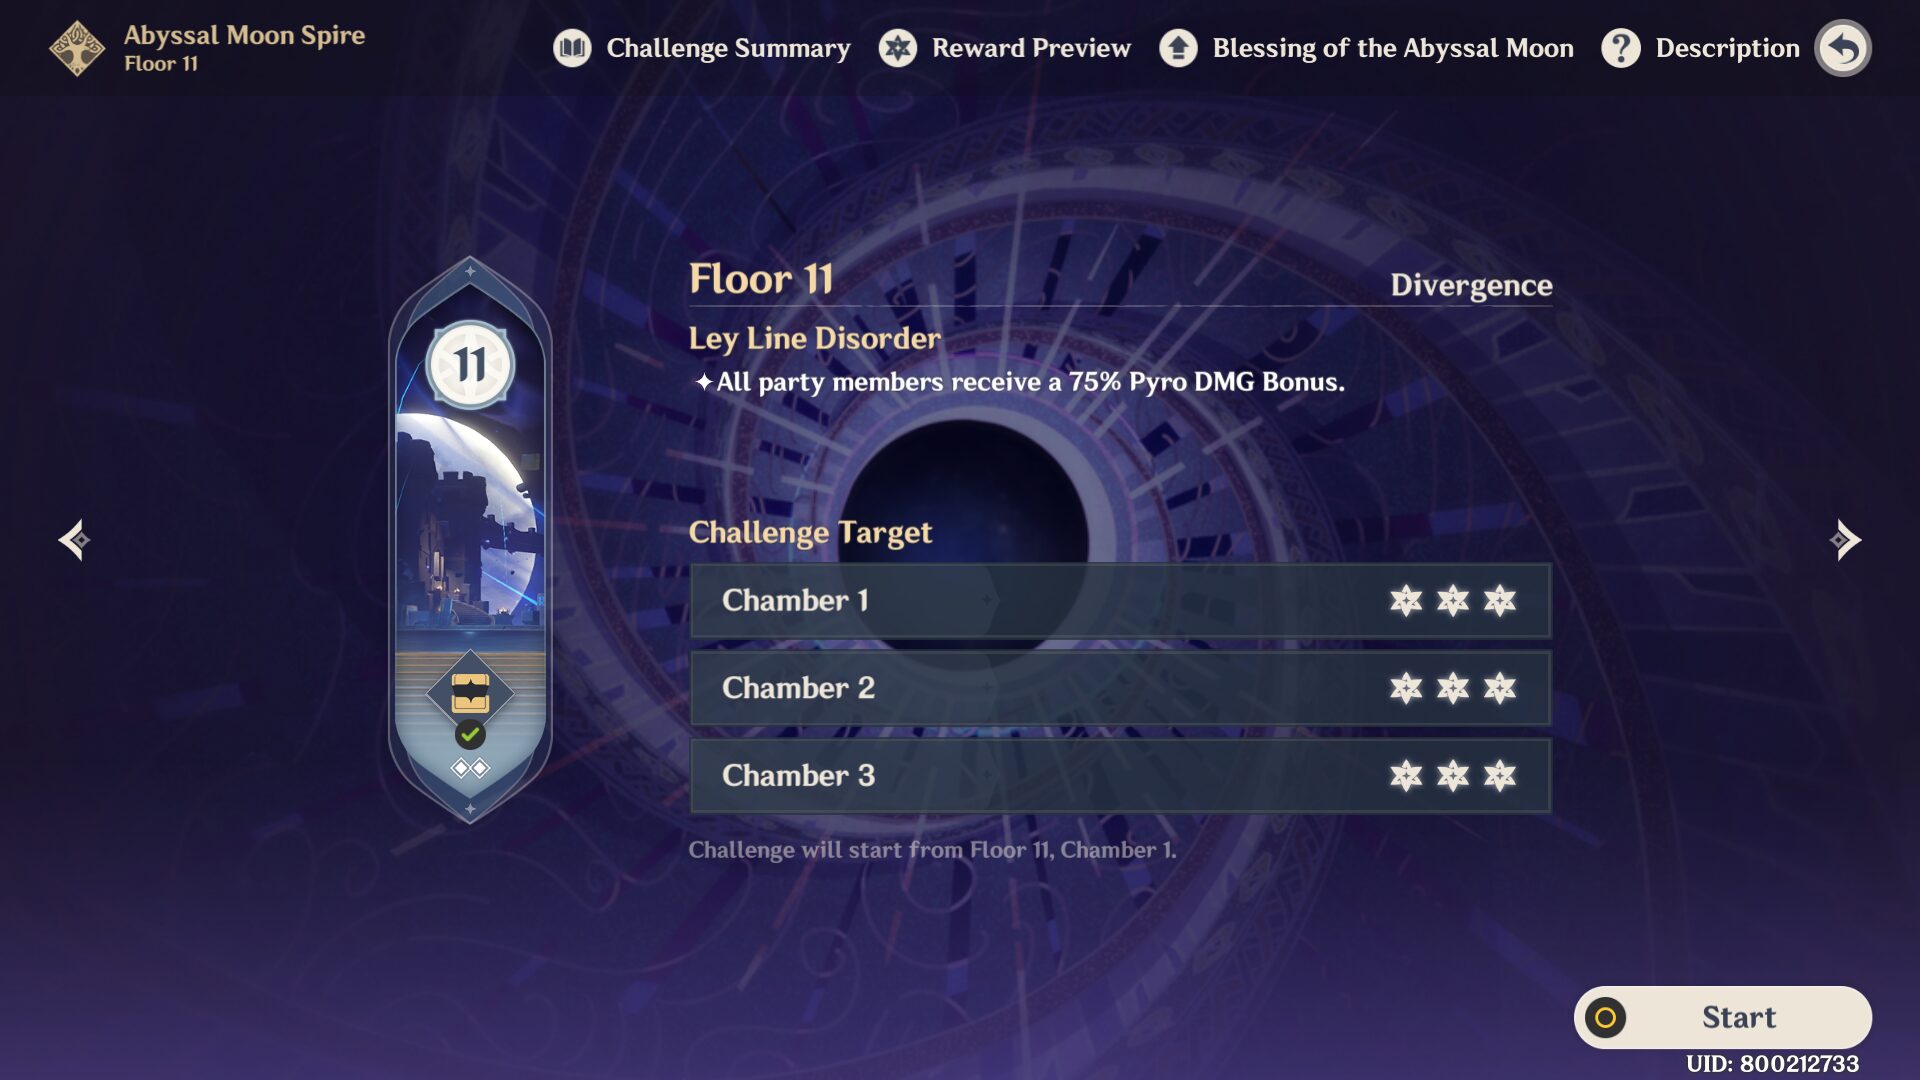
All party members receive a 75% Pyro DMG Bonus.
Team Recommendations
There are Leyline Monolith stages for Chamber 1, and some enemies spawn near each other/easy to gather while some are a bit far away. You can bring along an Anemo CC to any of the teams if you want. If you only have 1 and want to bring them, then it's recommended to add them in the 2nd Half because there are more enemies that can be gathered with Anemo CC in the 2nd Half compared to the 1st Half. If you plan to bring a Bloom team, remember that the explosion from the Dendro Cores will also deal some damage and reduce the Monolith's HP.
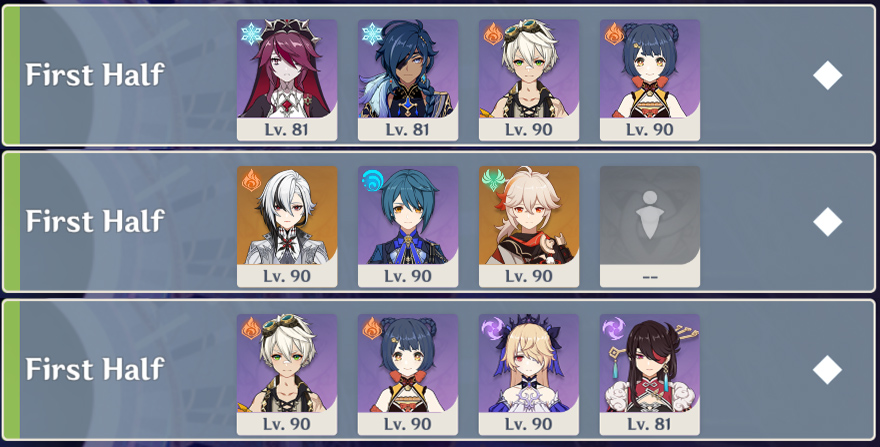
- The recommended element for the First Half is Pyro. There are Cryo shields (Mitachurl) and also Cryo Abyss Mage & Frostarm Lawachurl. After that, bring any elements you want, even better if you bring along Anemo CC because there are many waves in both the first and second halves. But as I mentioned before, if you only have 1 built Anemo CC, bring them to the second half instead.
- The not recommended element for the First Half is Physical because there are many enemies in Chamber 2 that have Physical RES (Geovishap / Geovishap Hatchlings / Ruin enemies). For examples:
- Melt Team: Kaeya + Rosaria + Bennett + Xiangling
- Vaporize Team: Arlecchino + Xingqiu/Furina + Kazuha + Flex
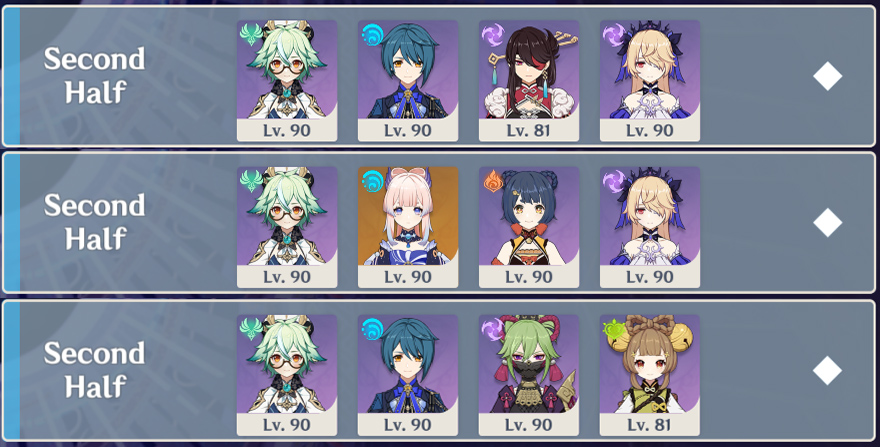
- The recommended element for the Second Half is most elements + Anemo (CC). There are many enemies in Chamber 1 and 2, especially Chamber 2 with various elemental enemies so if you can bring one Anemo CC, the difficulty might as well be halved. In addition, try bringing one bow character because there are Ruin enemies that can hover mid-air and you would want to use Aimed Shot from the bow user to hit the core.
- Yes, they are Anemo Hilichurl Rouges that have high Anemo RES but as long as you bring other elements, it should be easy to defeat them.
- The not recommended element for the Second Half is Physical because there are some enemies in Chamber 3 that have Physical RES (Ruin enemies). For examples:
- Taser: Sucrose: Xingqiu + Beidou + Fischl
- Sukukomon: Sucrose + Fischl + Xiangling + Kokomi
Floor 11 Chamber 1
First Half
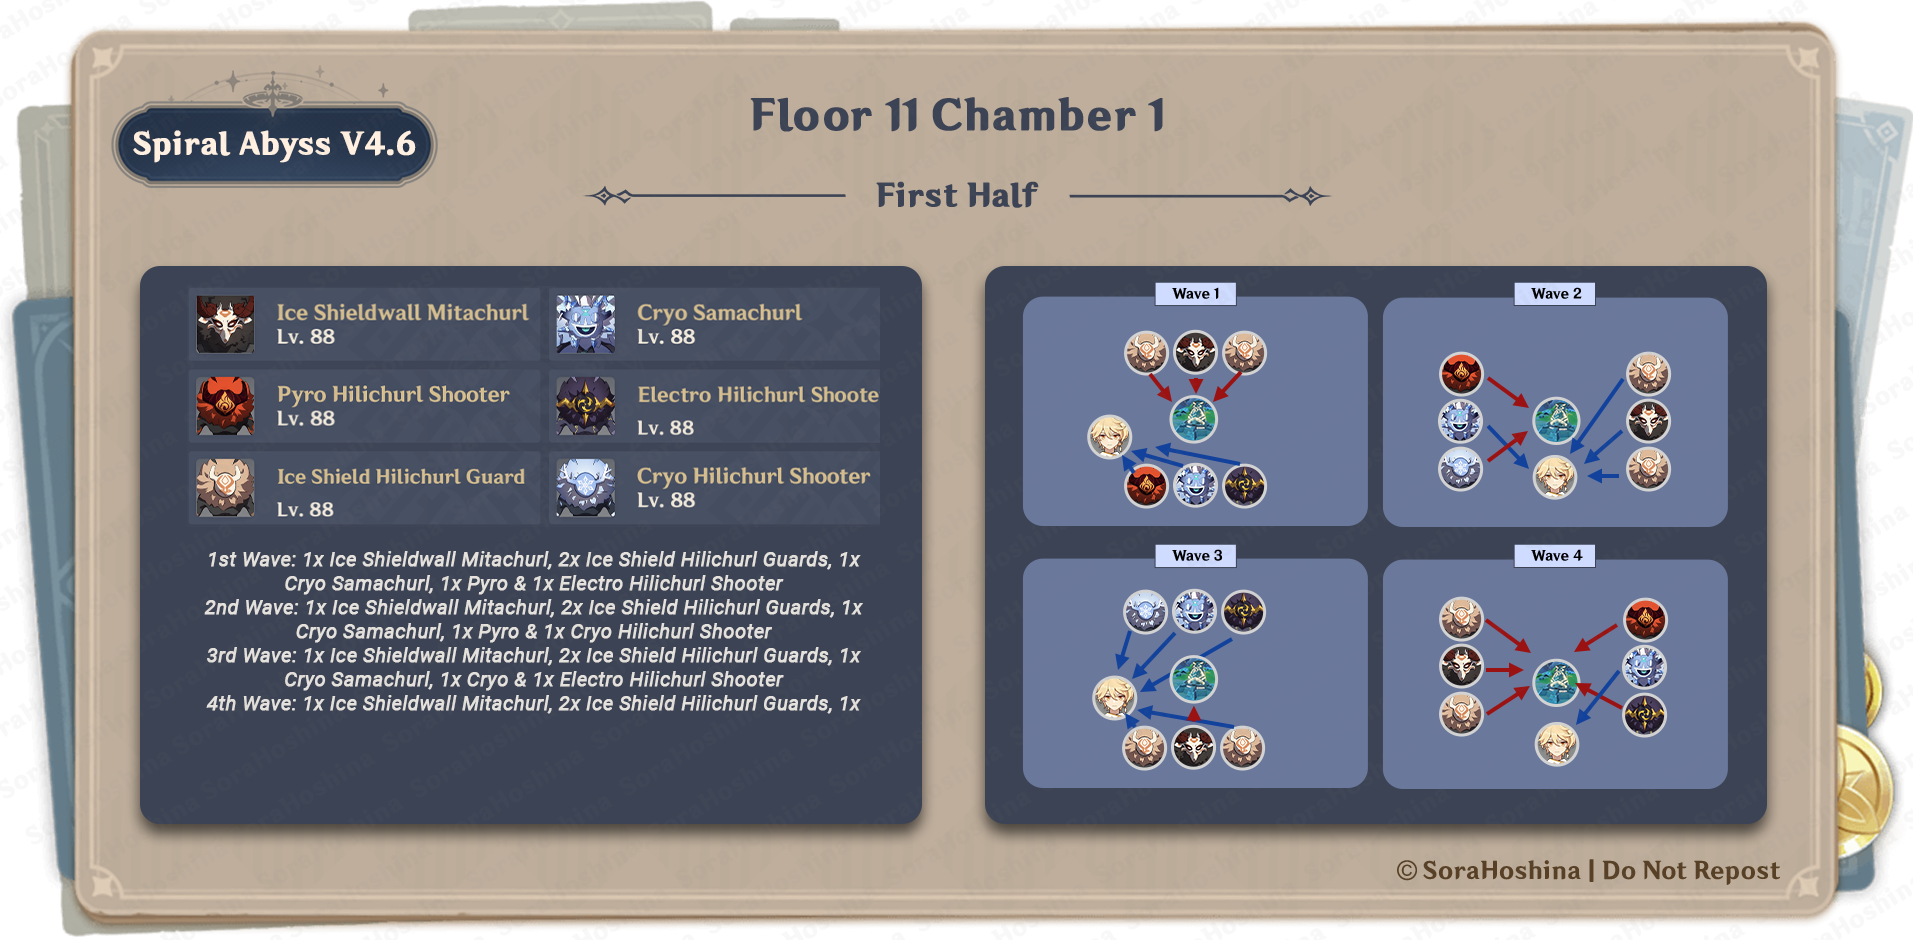
1st Wave: 1x Ice Shieldwall Mitachurl, 2x Ice Shield Hilichurl Guards, 1x Cryo Samachurl, 1x Pyro & 1x Electro Hilichurl Shooter
2nd Wave: 1x Ice Shieldwall Mitachurl, 2x Ice Shield Hilichurl Guards, 1x Cryo Samachurl, 1x Pyro & 1x Cryo Hilichurl Shooter
3rd Wave: 1x Ice Shieldwall Mitachurl, 2x Ice Shield Hilichurl Guards, 1x Cryo Samachurl, 1x Cryo & 1x Electro Hilichurl Shooter
4th Wave: 1x Ice Shieldwall Mitachurl, 2x Ice Shield Hilichurl Guards, 1x Cryo Samachurl, 1x Pyro & 1x Electro Hilichurl Shooter
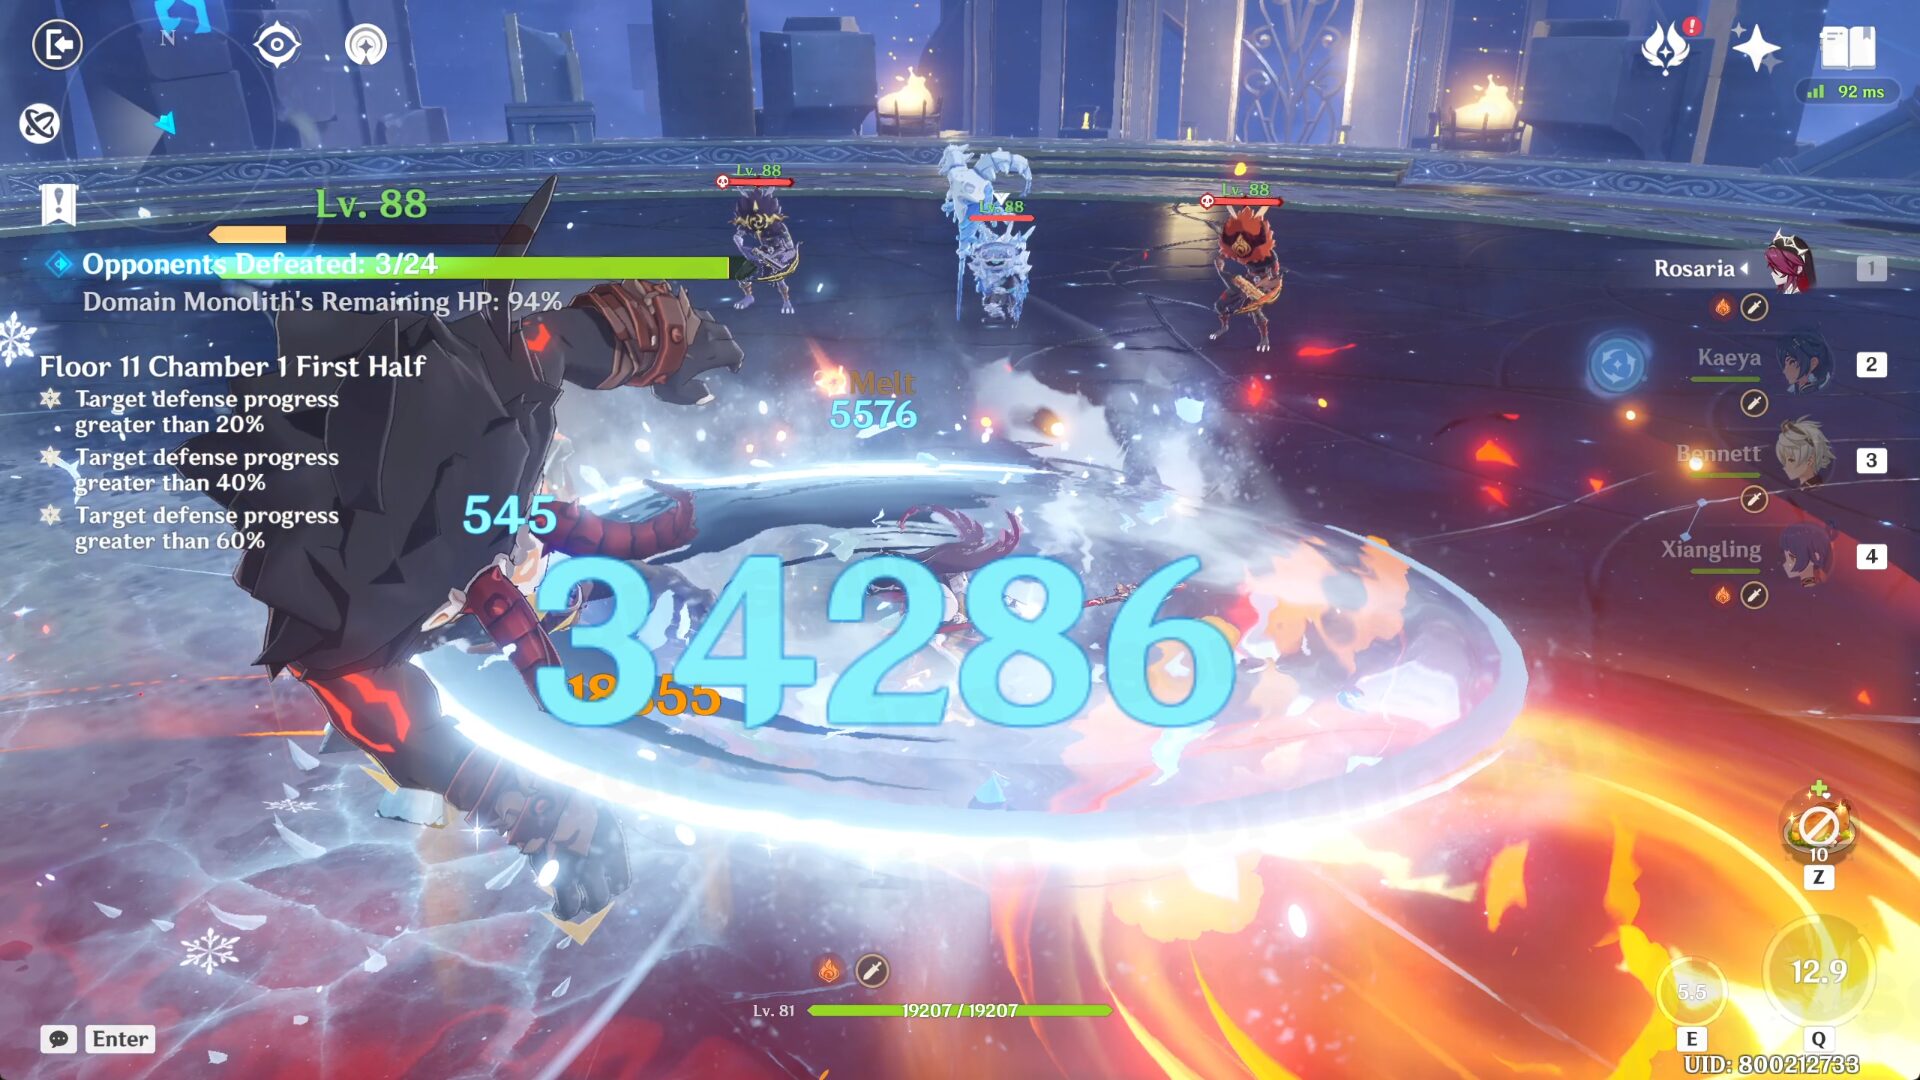
- In the first wave, the three enemies at the front will aim at the Monolith while the remaining enemies at the back will attack you. Right after starting the challenge, I recommend going to the back and waiting there until the Mitachurl slam attacks its shield in your direction. Yeah, the 2 Hilichurls at the front will hit the Monolith, but their attacks have quite a long cooldown and little damage.
- In the second wave, the 2 shooters will aim at the Monolith while the remaining will chase after you (Yes, all the Samachurl will attack you). Since the 3 at the right will chase after you, just go to the left and defeat the 2 Shooters and Samachurl first (especially Samachurl since it can create an ice block that lifts itself.
- In the third wave, the Mitachurl will aim at the Monolith (all other enemies will focus on you). The Mitachurl's lunge attack removes around 4% of the Monolith HP so you might want to defeat it first.
- Now for the last wave, all enemies except the Samachurl will attack the Monolith. Time to go to the Monolith and annihilate them all.
Second Half
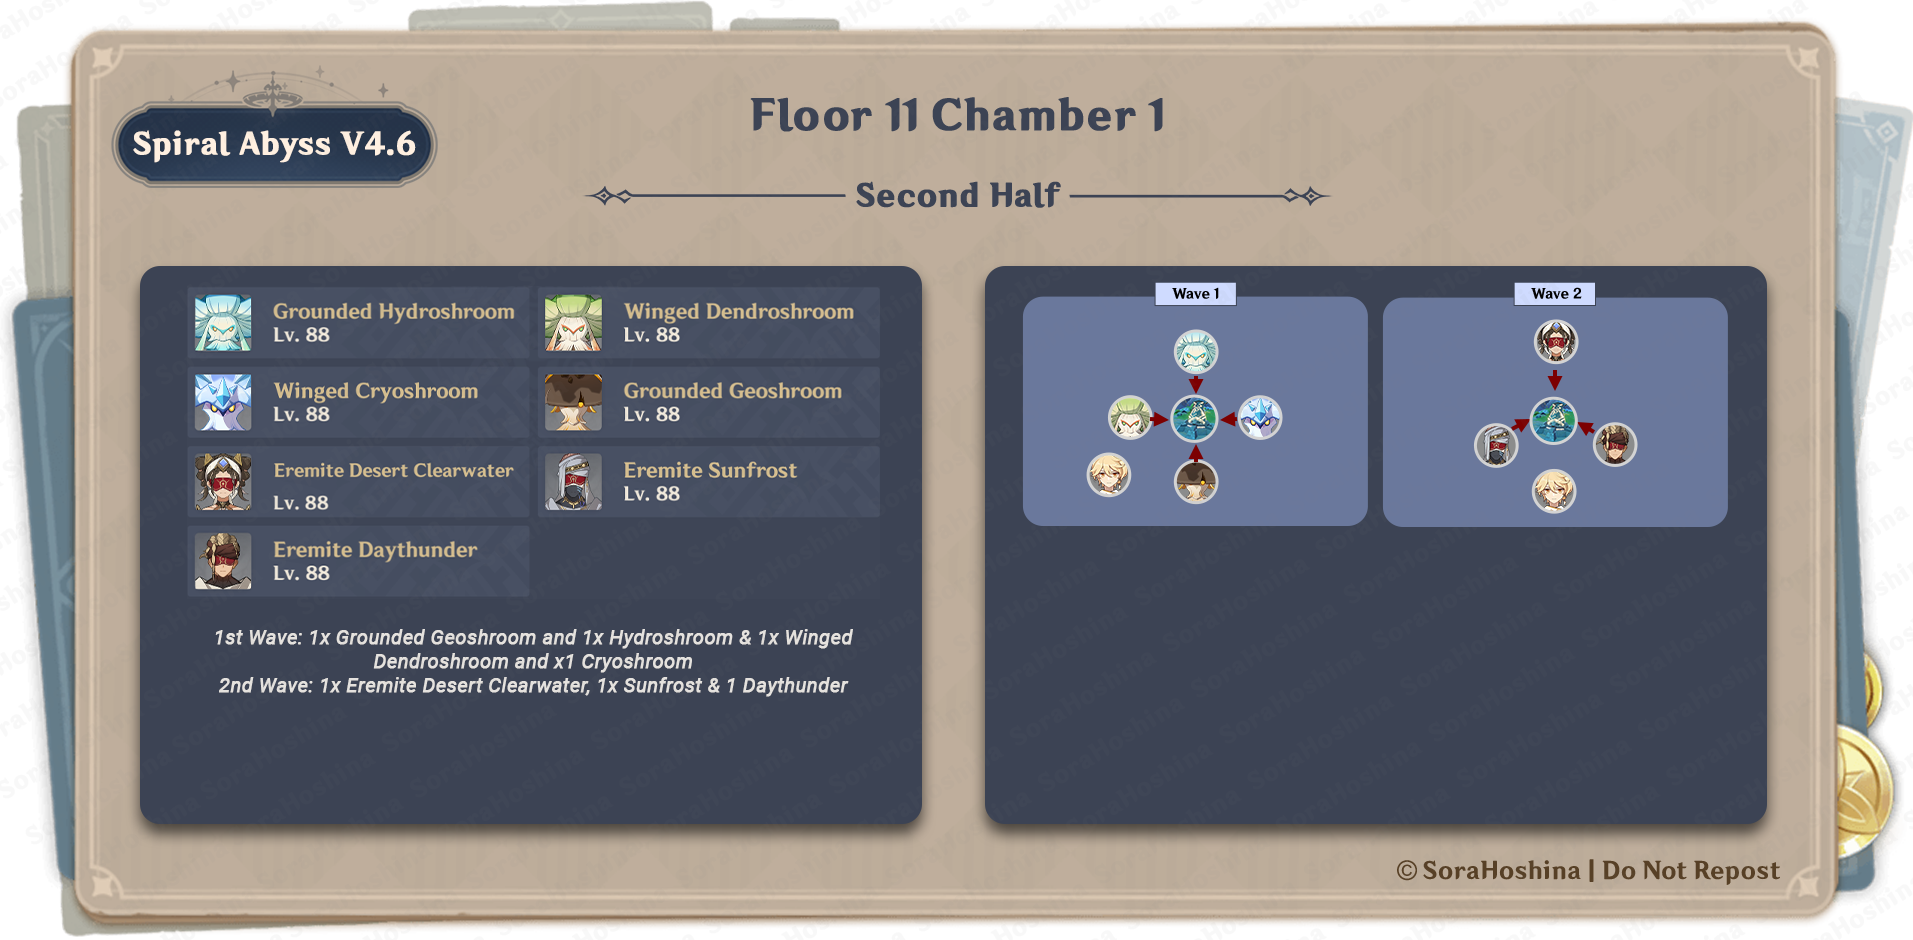
1st Wave: 1x Grounded Geoshroom and 1x Hydroshroom & 1x Winged Dendroshroom and x1 Cryoshroom
2nd Wave: 1x Eremite Desert Clearwater, 1x Sunfrost & 1 Daythunder
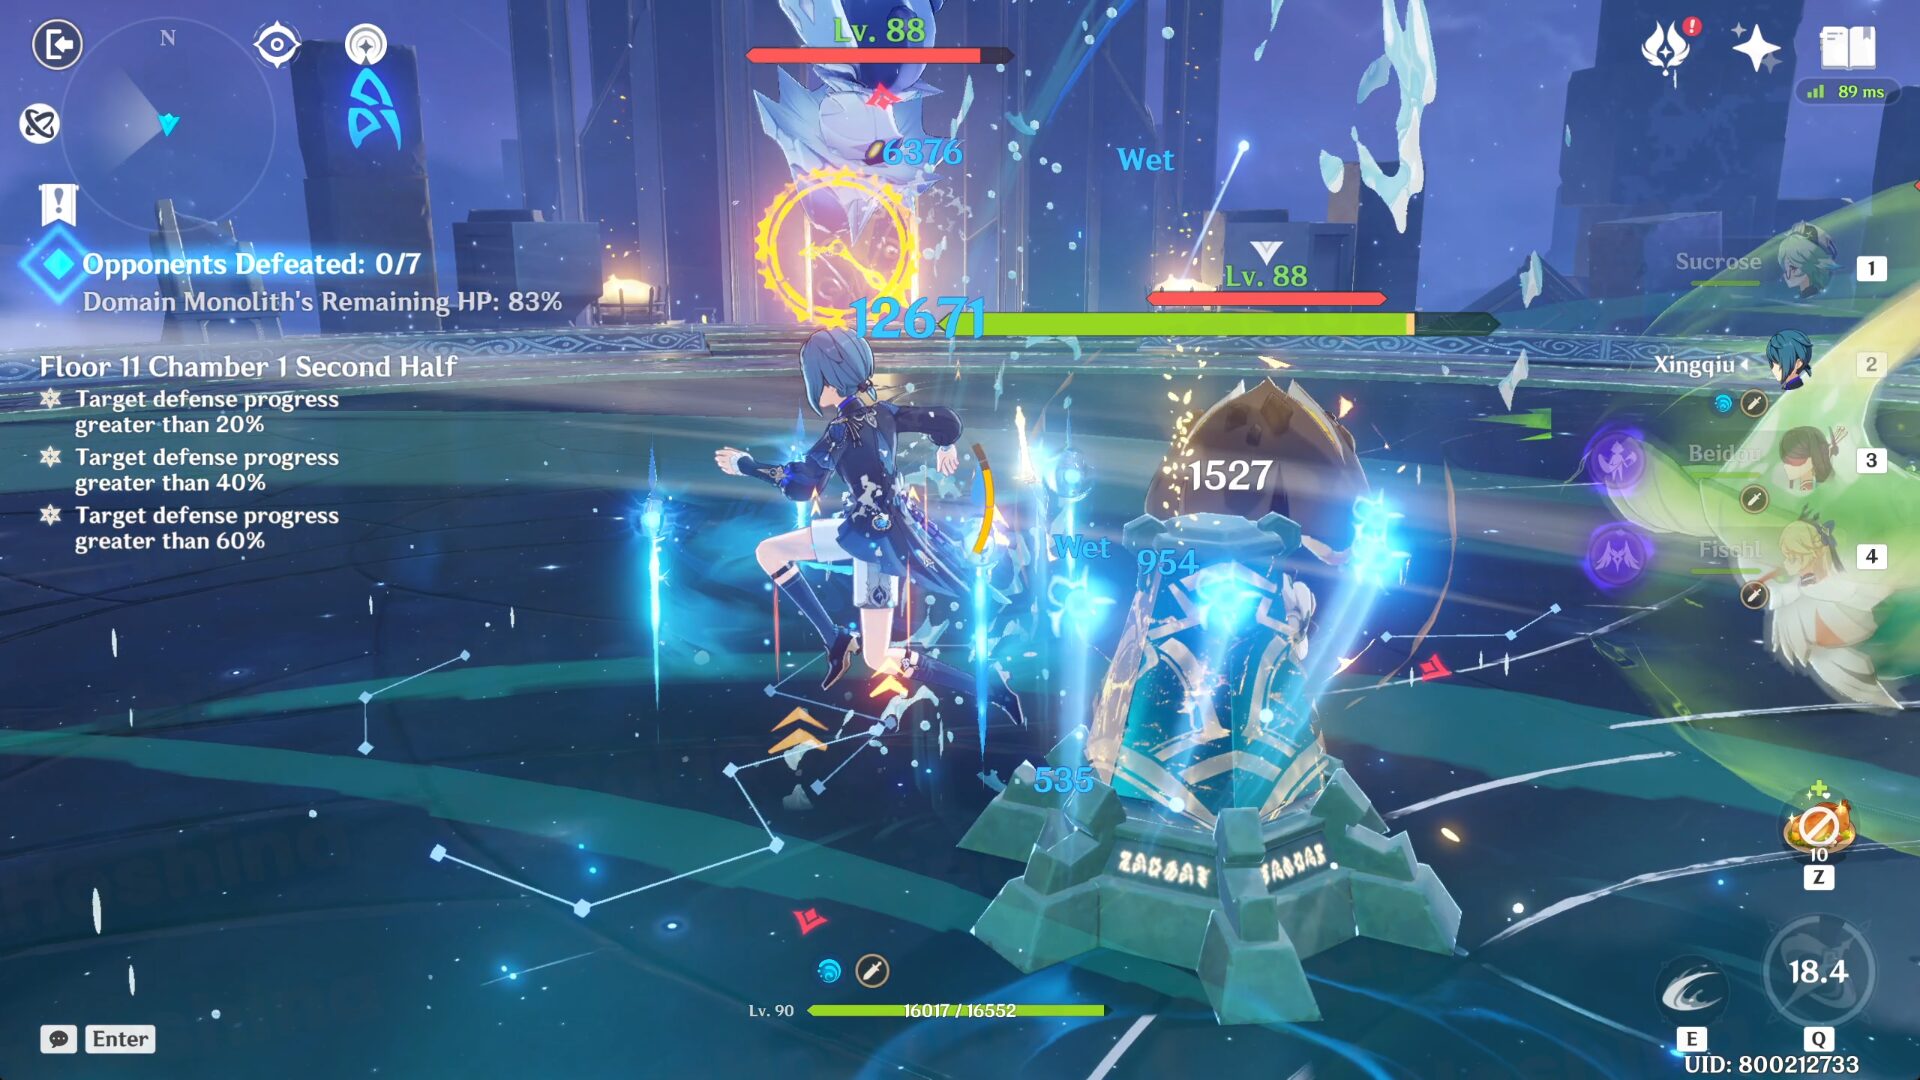
- In both waves, all enemies will attack the Monolith so for the whole time, just get near the Monolith to defeat every enemy that gets near it.
Floor 11 Chamber 2
First Half
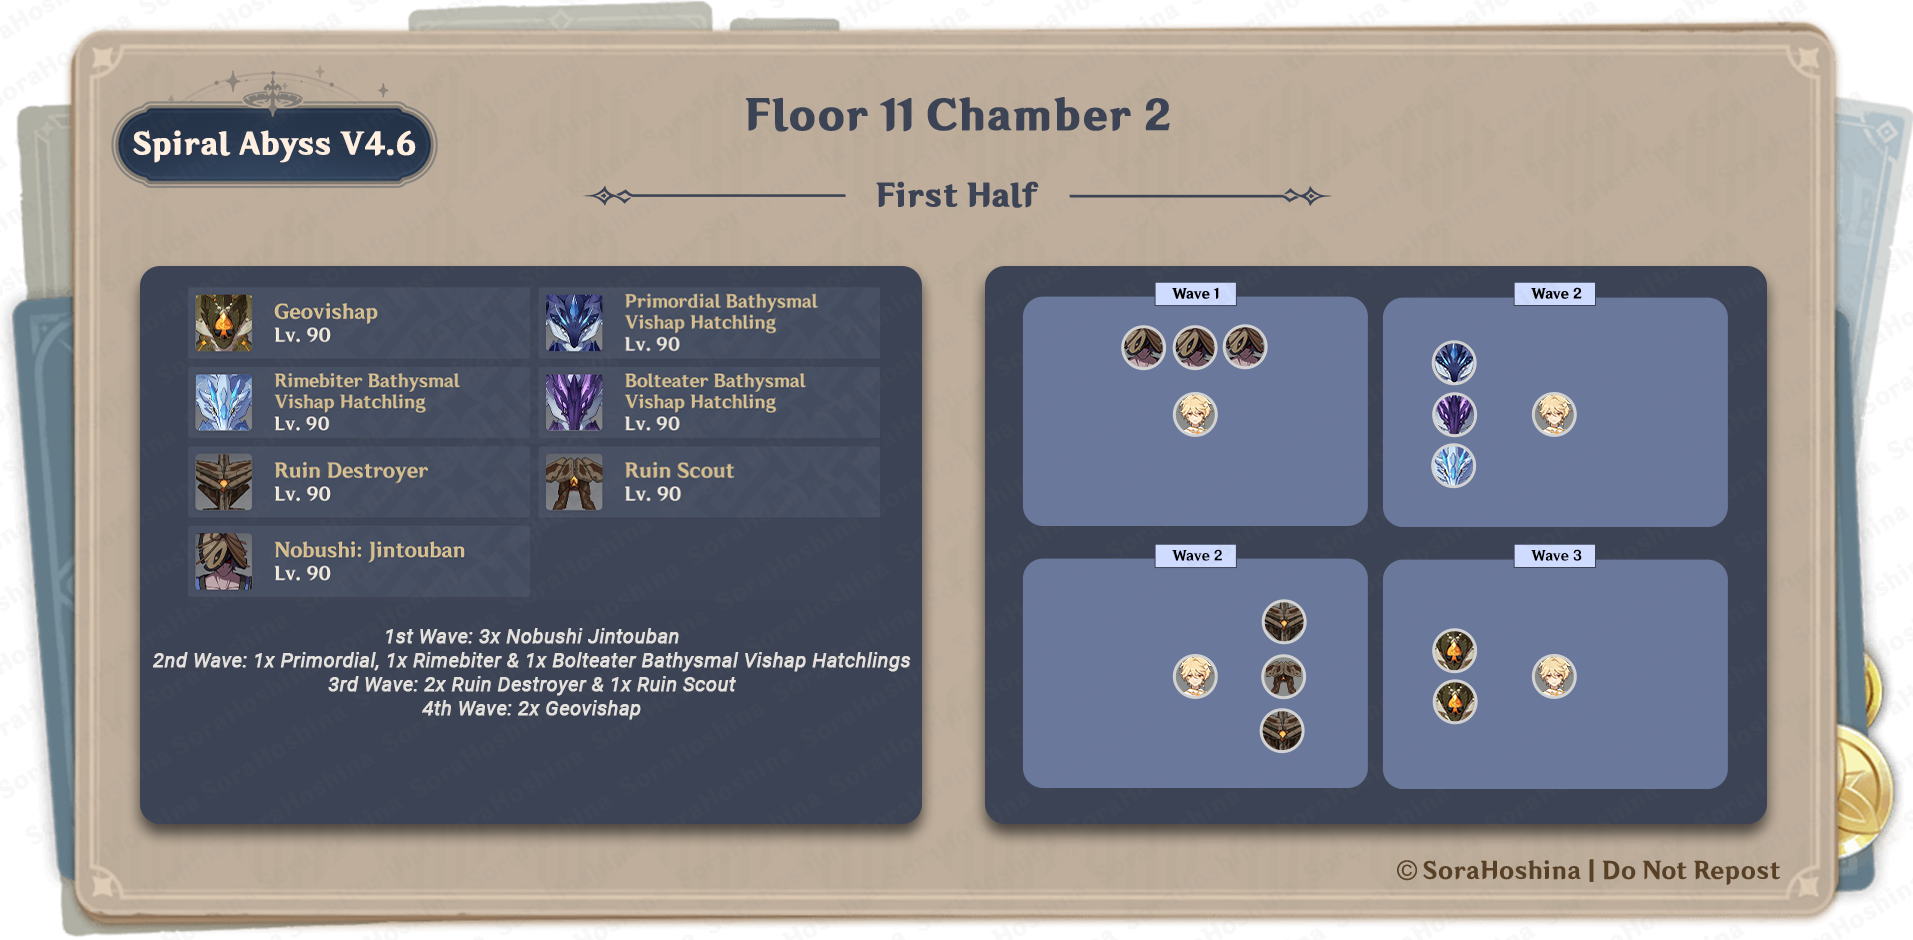
1st Wave: 3x Nobushi Jintouban
2nd Wave: 1x Primordial, 1x Rimebiter & 1x Bolteater Bathysmal Vishap Hatchlings
3rd Wave: 2x Ruin Destroyer & 1x Ruin Scout
4th Wave: 2x Geovishap
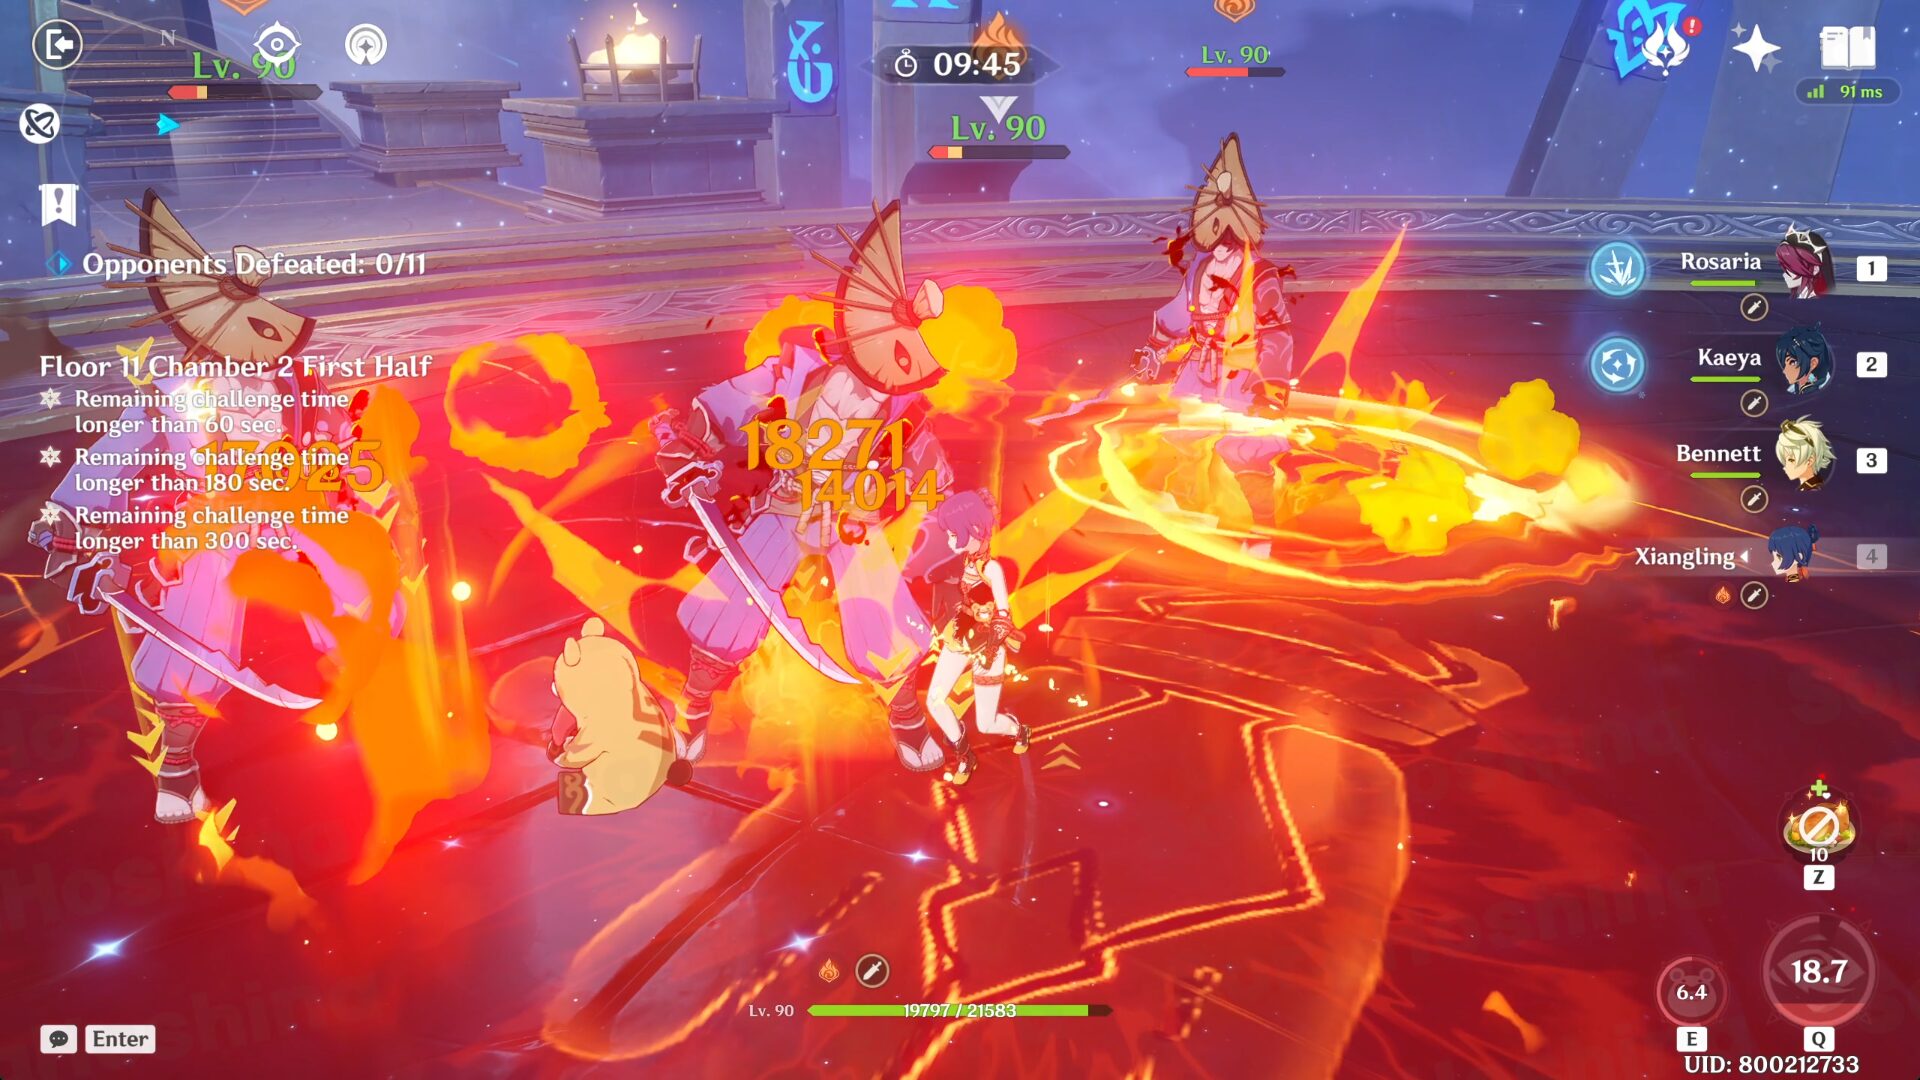
- In the first and second waves, all the enemies will charge to your spot so you can just stay to one enemy and the other will come towards you. There is nothing special about them so there's nothing too much to say. Well, maybe except for these:
- The Nobushi Jintouban often uses skills that make them lunge forward so sometimes they may break away from the cc.
- The Vishaps Hatchlings are super easy to stagger so if you attack them, they can get knocked back, breaking the cc too. These waves are easy to maneuver if you bring Anemo CC.
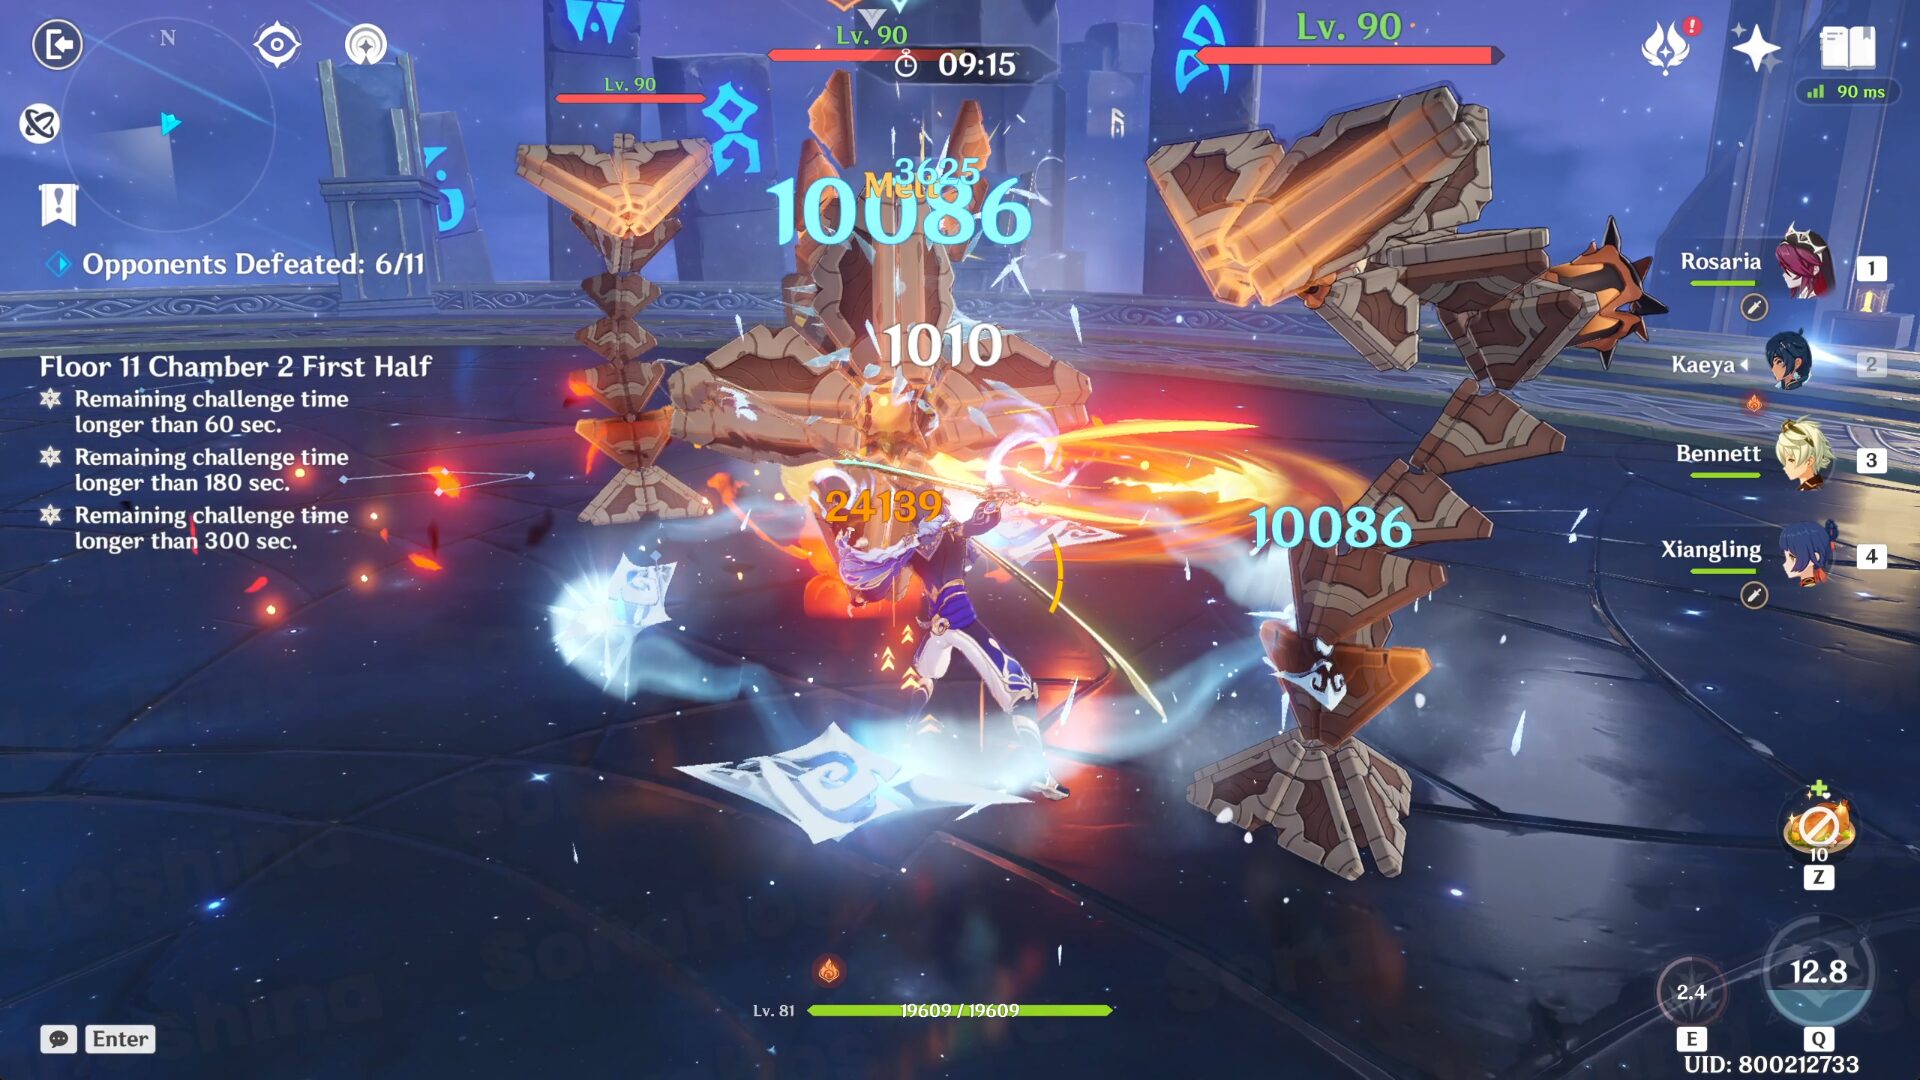
- In the third wave, it's better to focus on any of the Ruin Destroyer rather than the Scout because the latter will hover towards you while the Destroyer may burrow into the ground and get far away from you. In addition, if you get too close to the Ruin Scout, they might use a skill that launches itself away from you. Nothing special for the fourth wave except the Geovishaps can be staggered if they slam attack your character who has a shield.
Second Half
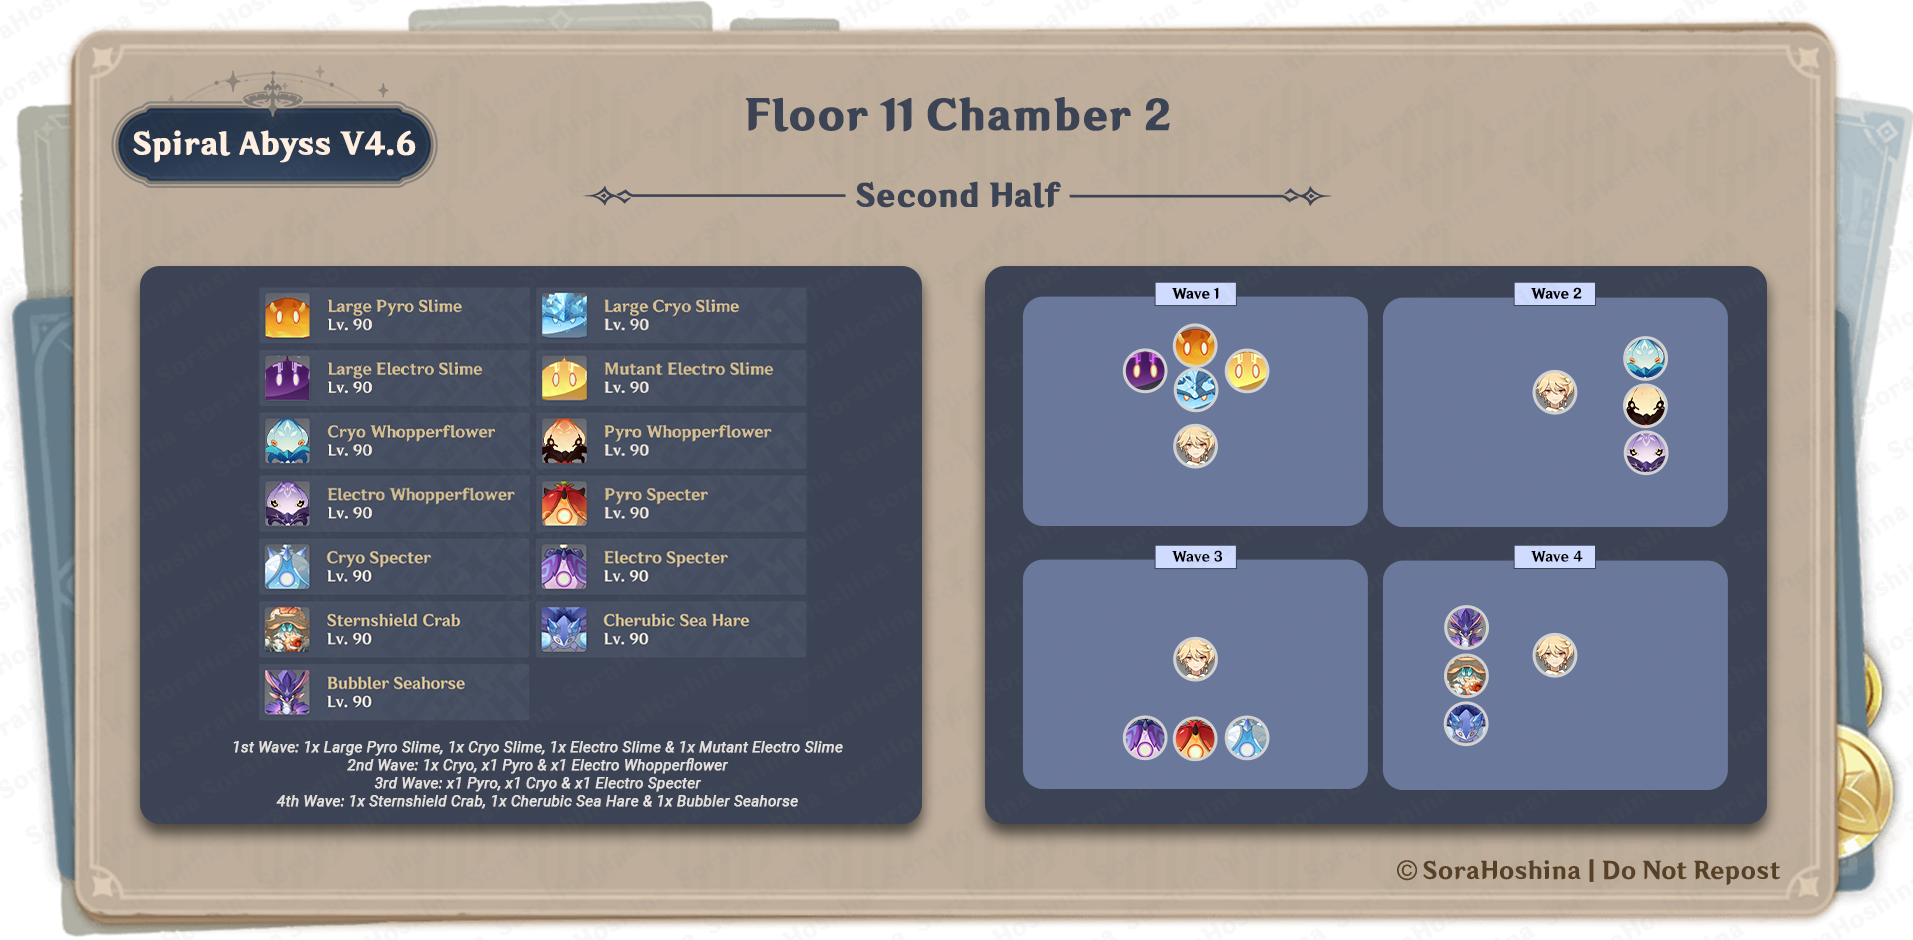
1st Wave: 1x Large Pyro Slime, 1x Cryo Slime, 1x Electro Slime & 1x Mutant Electro Slime
2nd Wave: 1x Cryo, x1 Pyro & x1 Electro Whopperflower
3rd Wave: x1 Pyro, x1 Cryo & x1 Electro Specter
4th Wave: 1x Sternshield Crab, 1x Cherubic Sea Hare & 1x Bubbler Seahorse
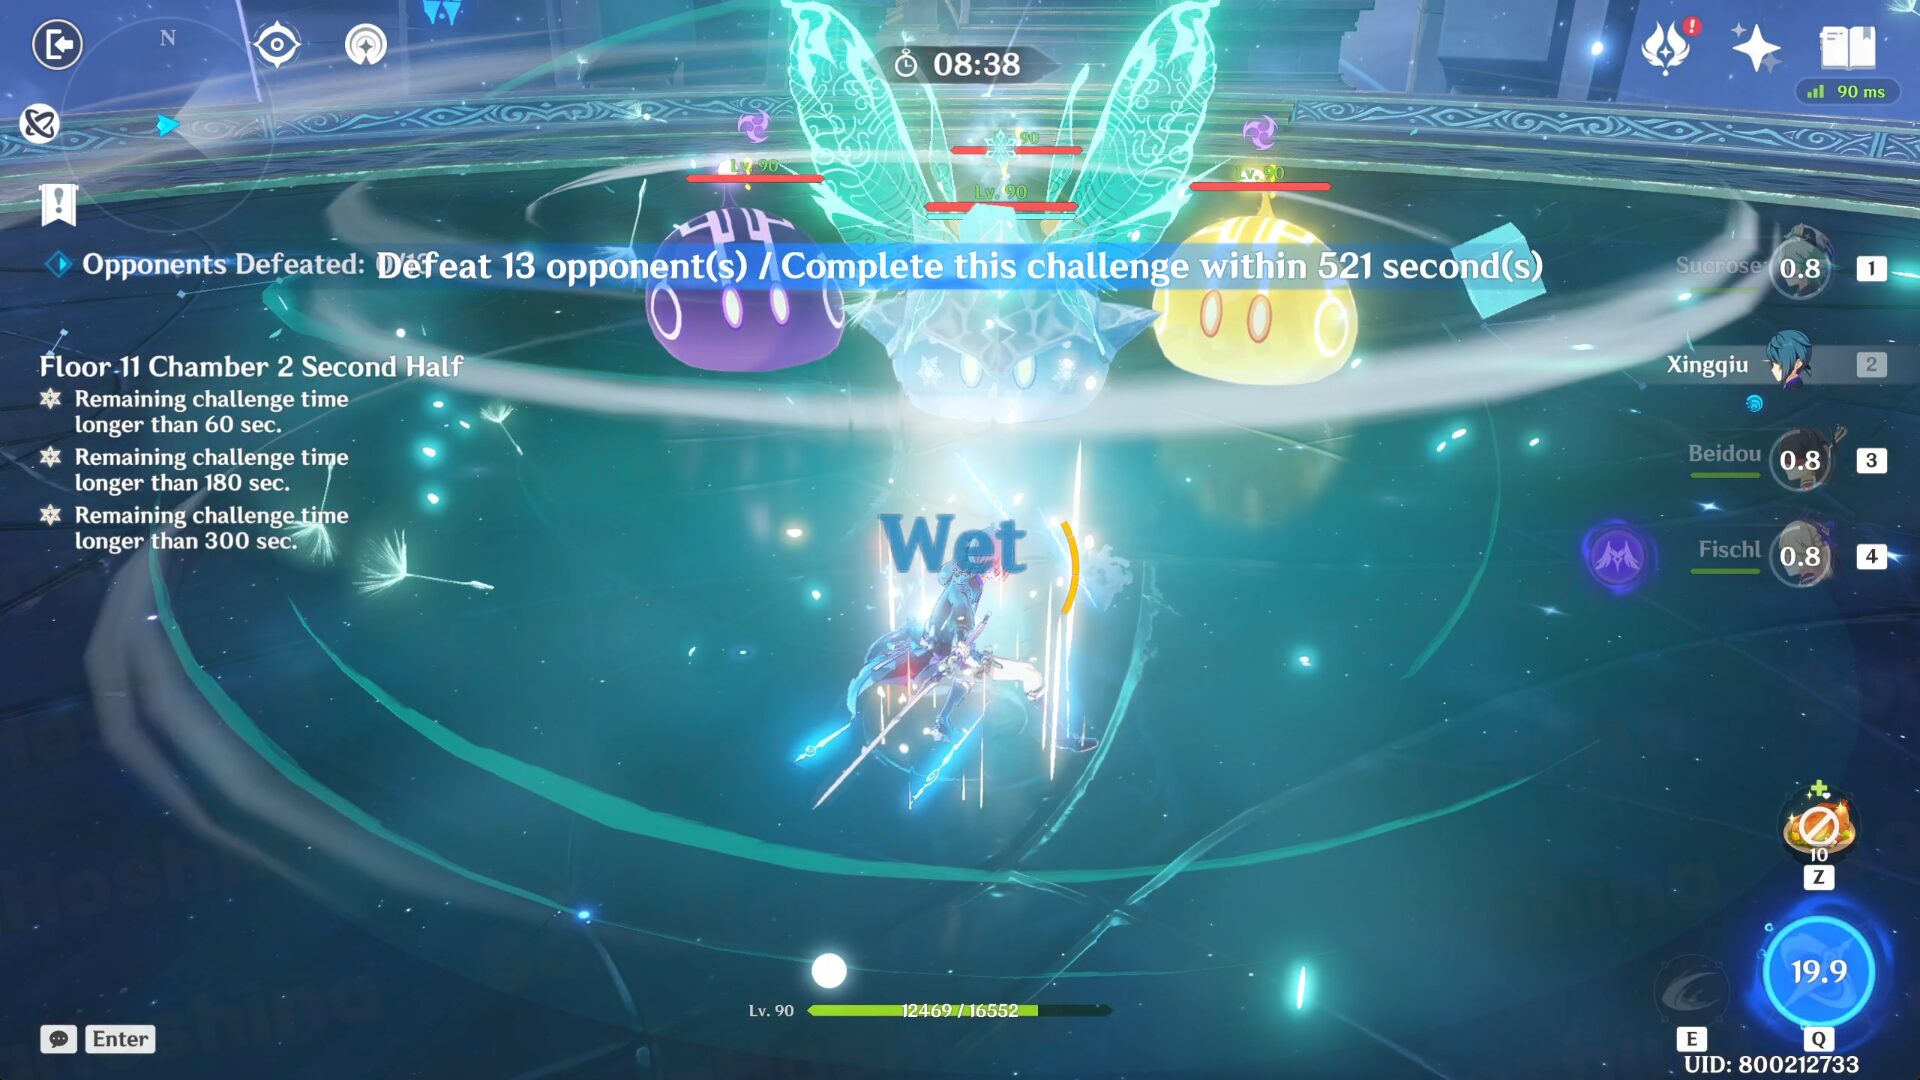
- In the first wave, there are only Slimes so if you bring Anemo CC or any elements that can deal damage to them (even physical attack), you should be good. Those Slimes don't have that many HPs anyway.
- In the second wave, if you're far away from the Whopperflowers, they will burrow underground and appear at your current spot. But if you're near their spawn locations, they will immediately attack you. It's better if you charge straight at their location before they even spawn because there's a small chance that not all Whopperflowers will burrow underground to get to you.
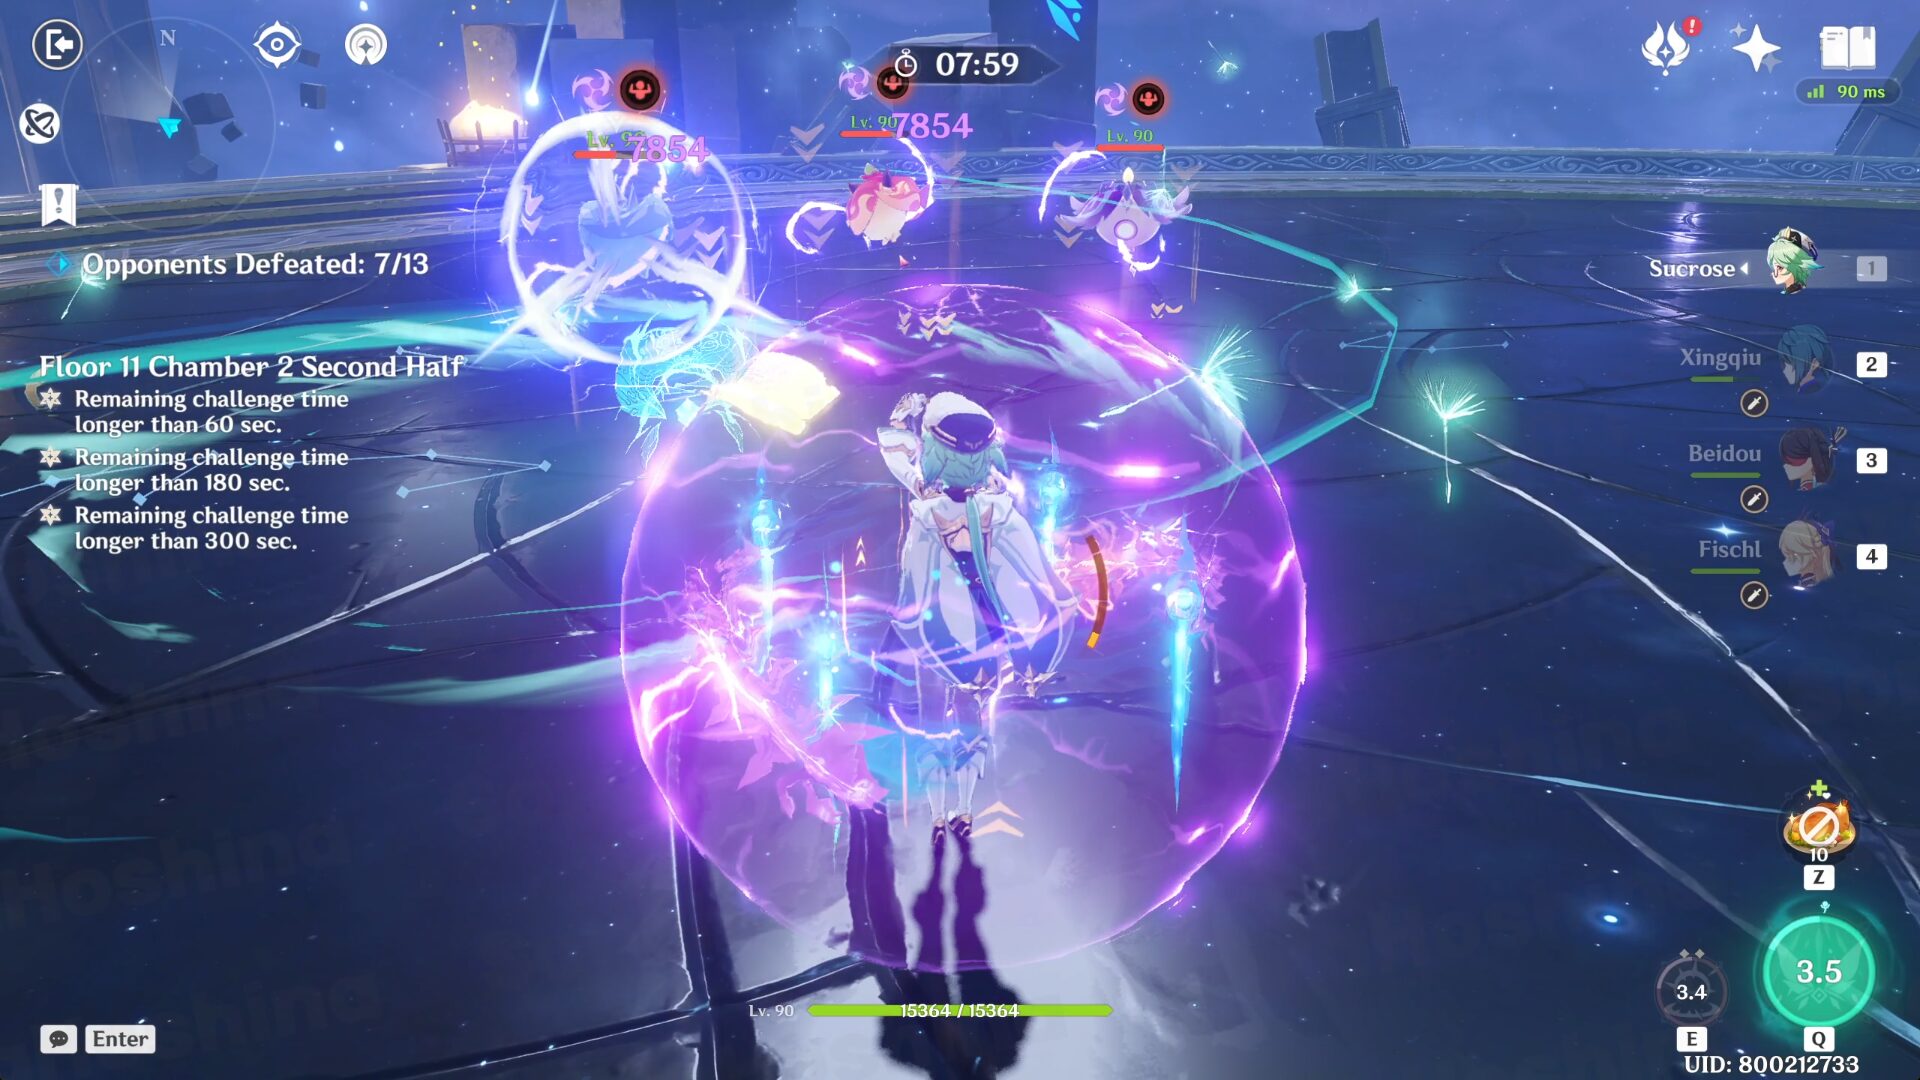
- In the third wave, the Specters will usually just stay in place when you're near them so brute force once they spawn at the back. Remember that they are immune to their own element so make sure to bring (various) elements to ensure you can defeat them all.
- In the fourth wave, it's just similar to previous waves where you'll face enemies with various elemental shields. You can actually defeat them without removing the shields (like using Neuvillette) but if you don't have him, Anemo CC is also great so they can cancel out each other's shields. Once their elemental shield is down, these enemies are much more squishy and easy to be defeated.
Floor 11 Chamber 3
First Half
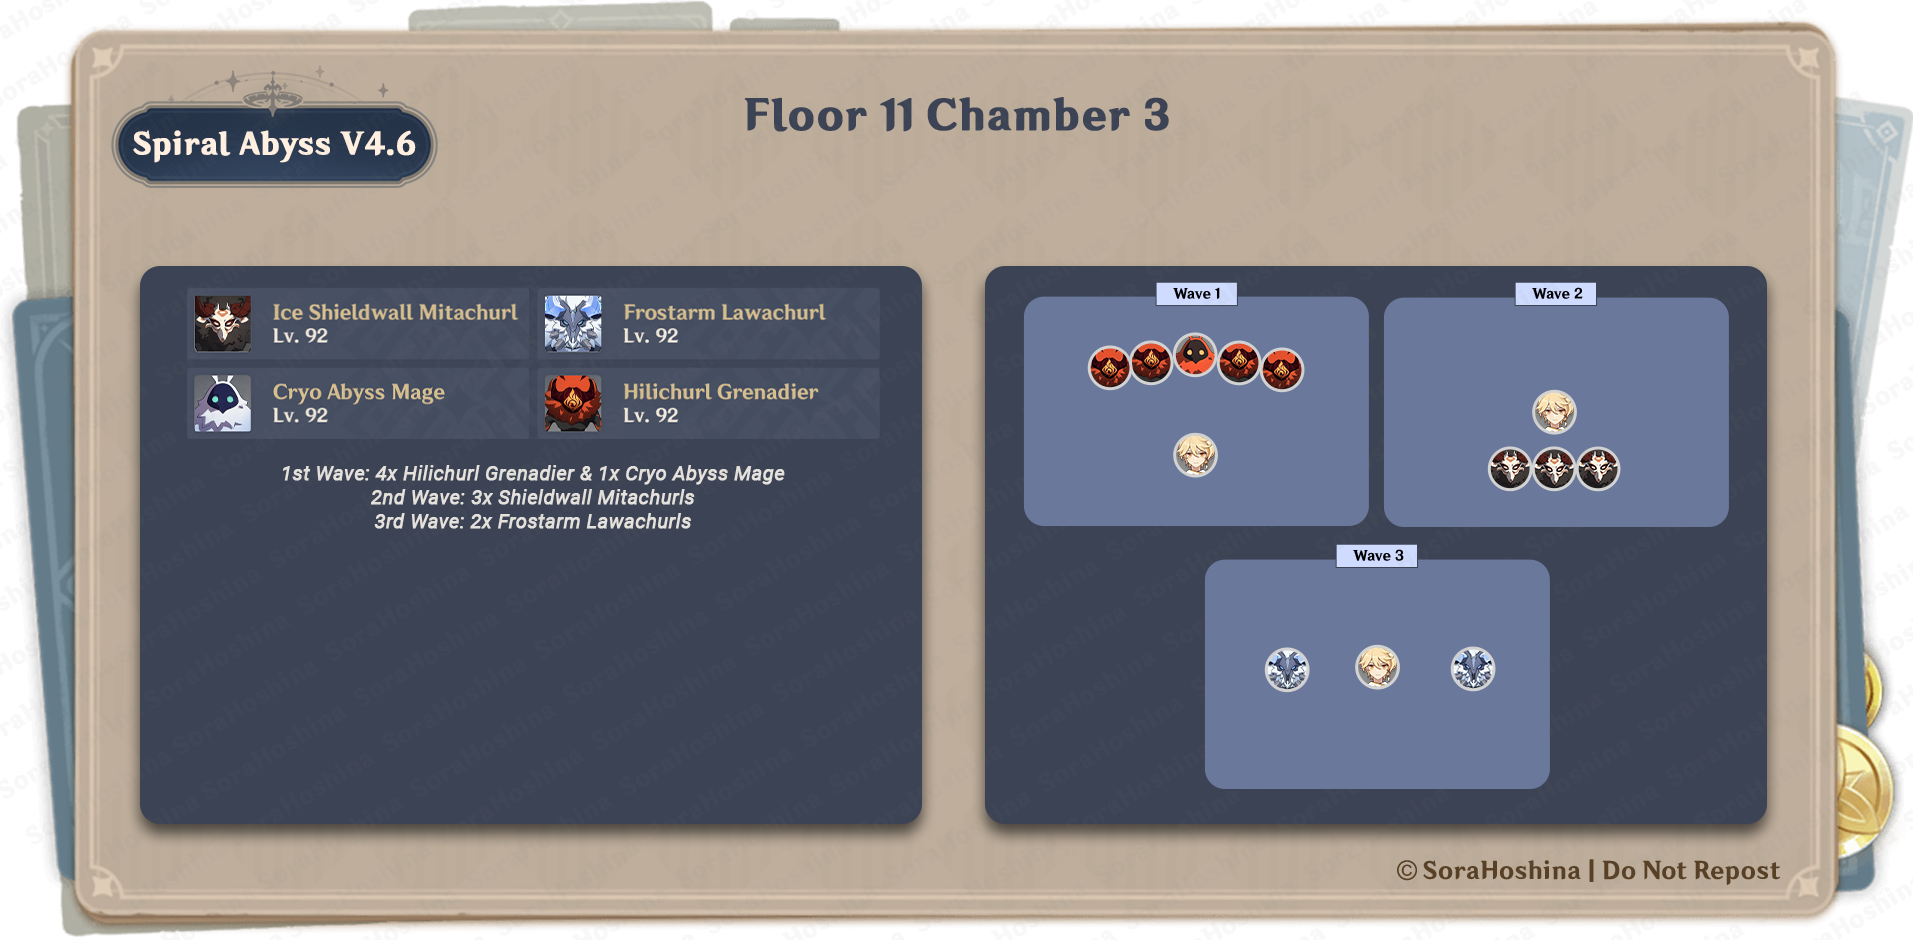
1st Wave: 4x Hilichurl Grenadier & 1x Cryo Abyss Mage
2nd Wave: 3x Shieldwall Mitachurls
3rd Wave: 2x Frostarm Lawachurls
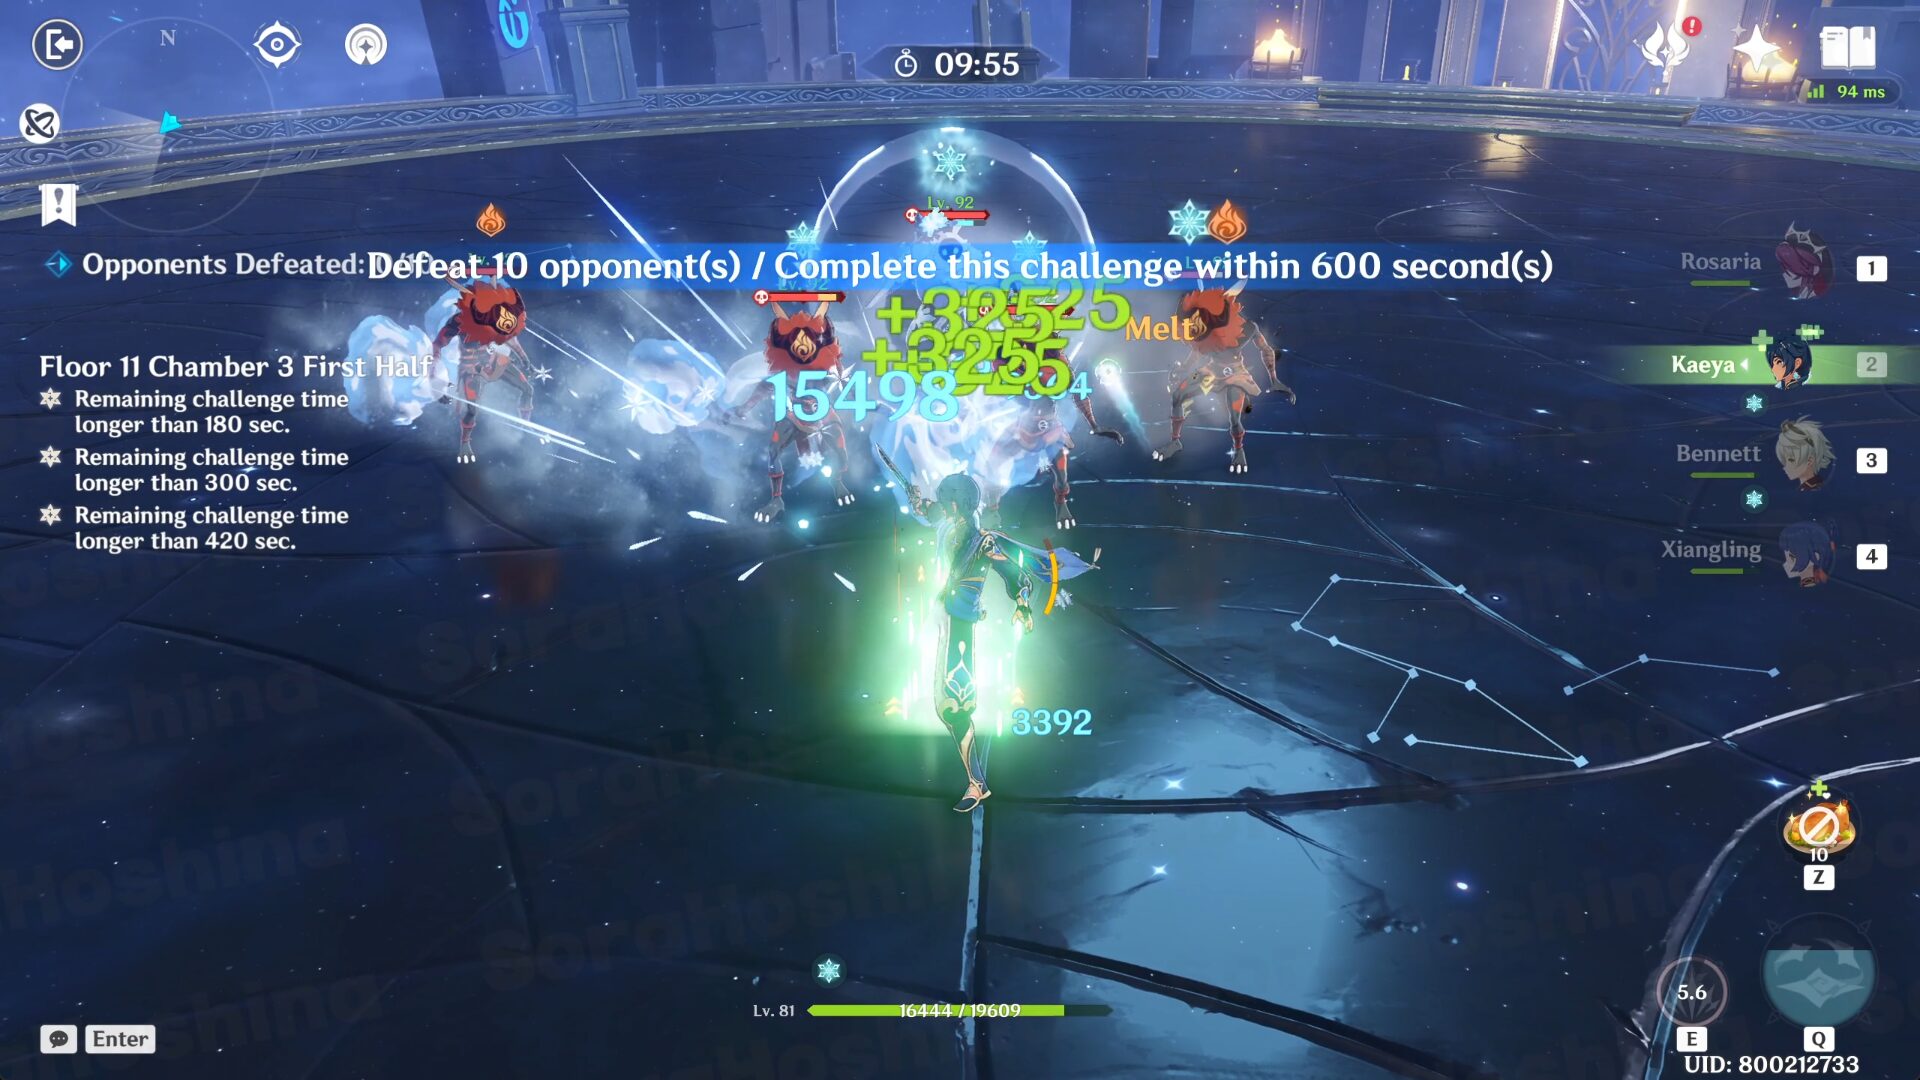
- In the first wave, all the enemies spawn near each other in the front area. Focus on the Cryo Abyss Mage and its shield (even better if you use Pyro AoE which can also deal damage to the surrounding Hilichurls). Keep still at the front area after you defeat these enemies.
- In the second wave, the 3 Mitachurls will immediately use lunge attacks to reach your location. This is why I mentioned to keep still at the front area. This is so all 3 of them will end up in the same spot and you can get instant cc.
- In the third wave, it's the usual 2 Lawachurls with Cryo shield. They will also use lunge attack if you're too far from them so stick to one Lawachurl and the remaining will come after you. Even better if you could corner both of them near the wall so if they use another lunge attack, the wall will help you block them from straying far away.
Second Half
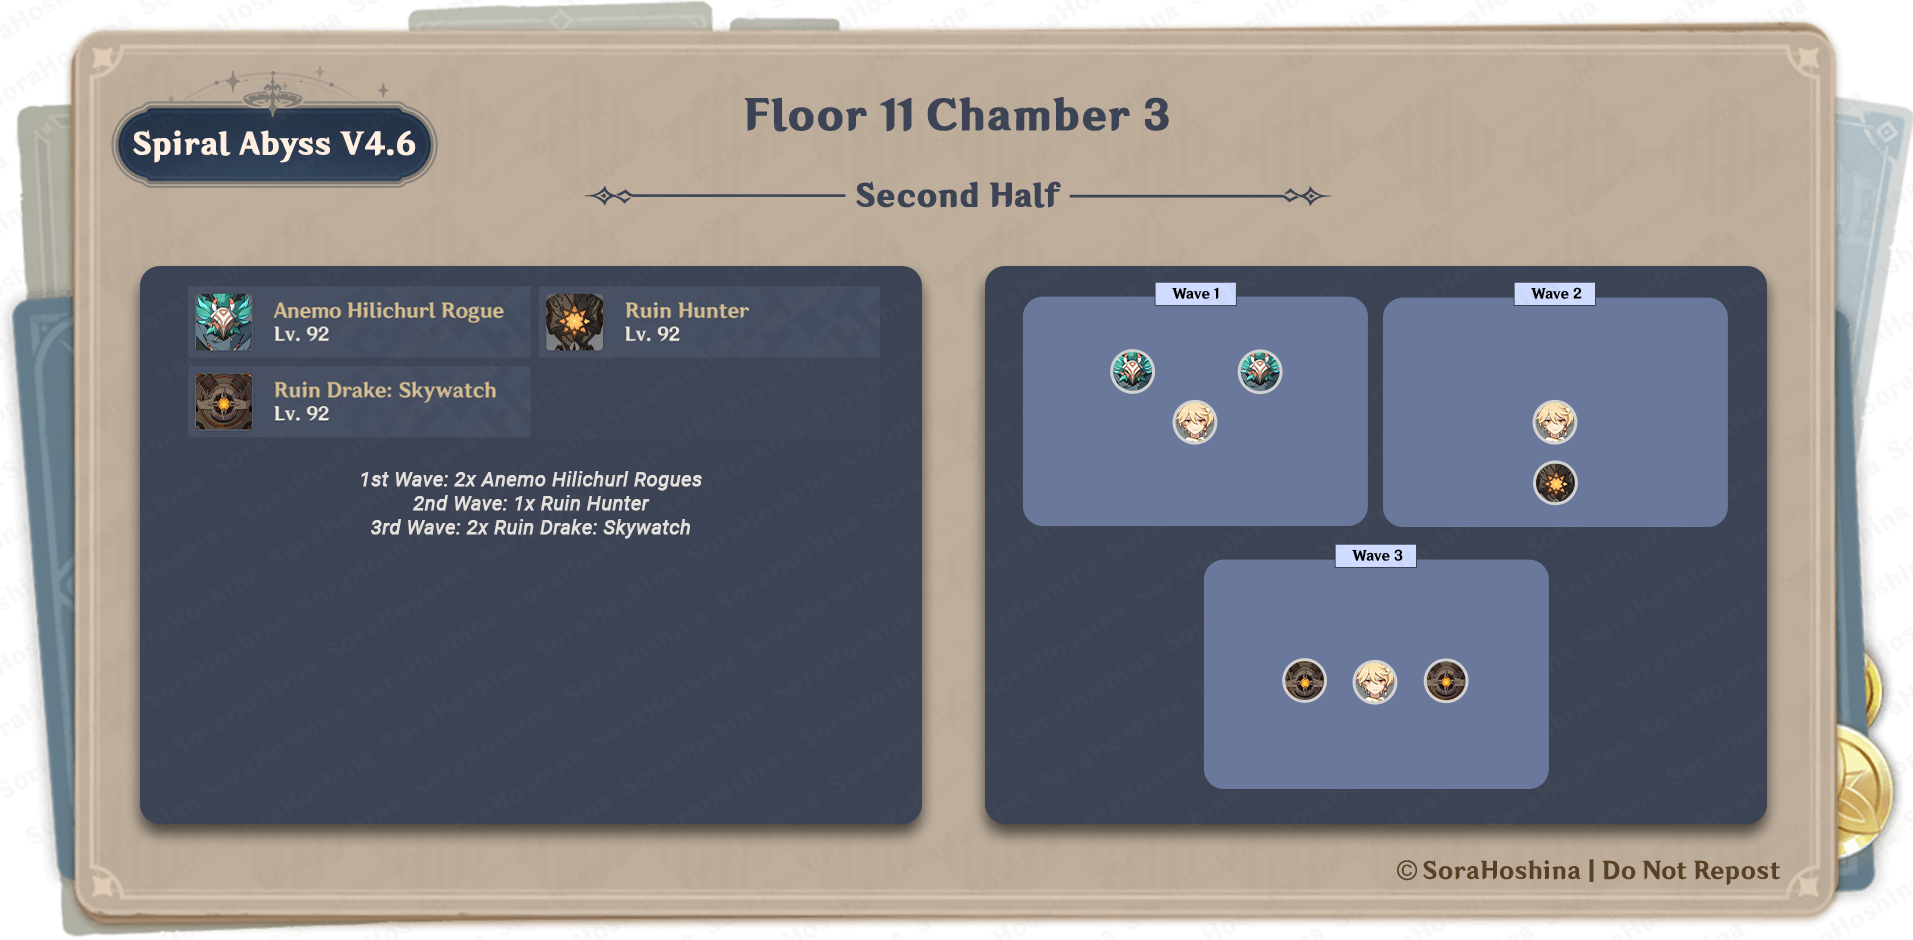
1st Wave: 2x Anemo Hilichurl Rogues
2nd Wave: 1x Ruin Hunter
3rd Wave: 2x Ruin Drake: Skywatch
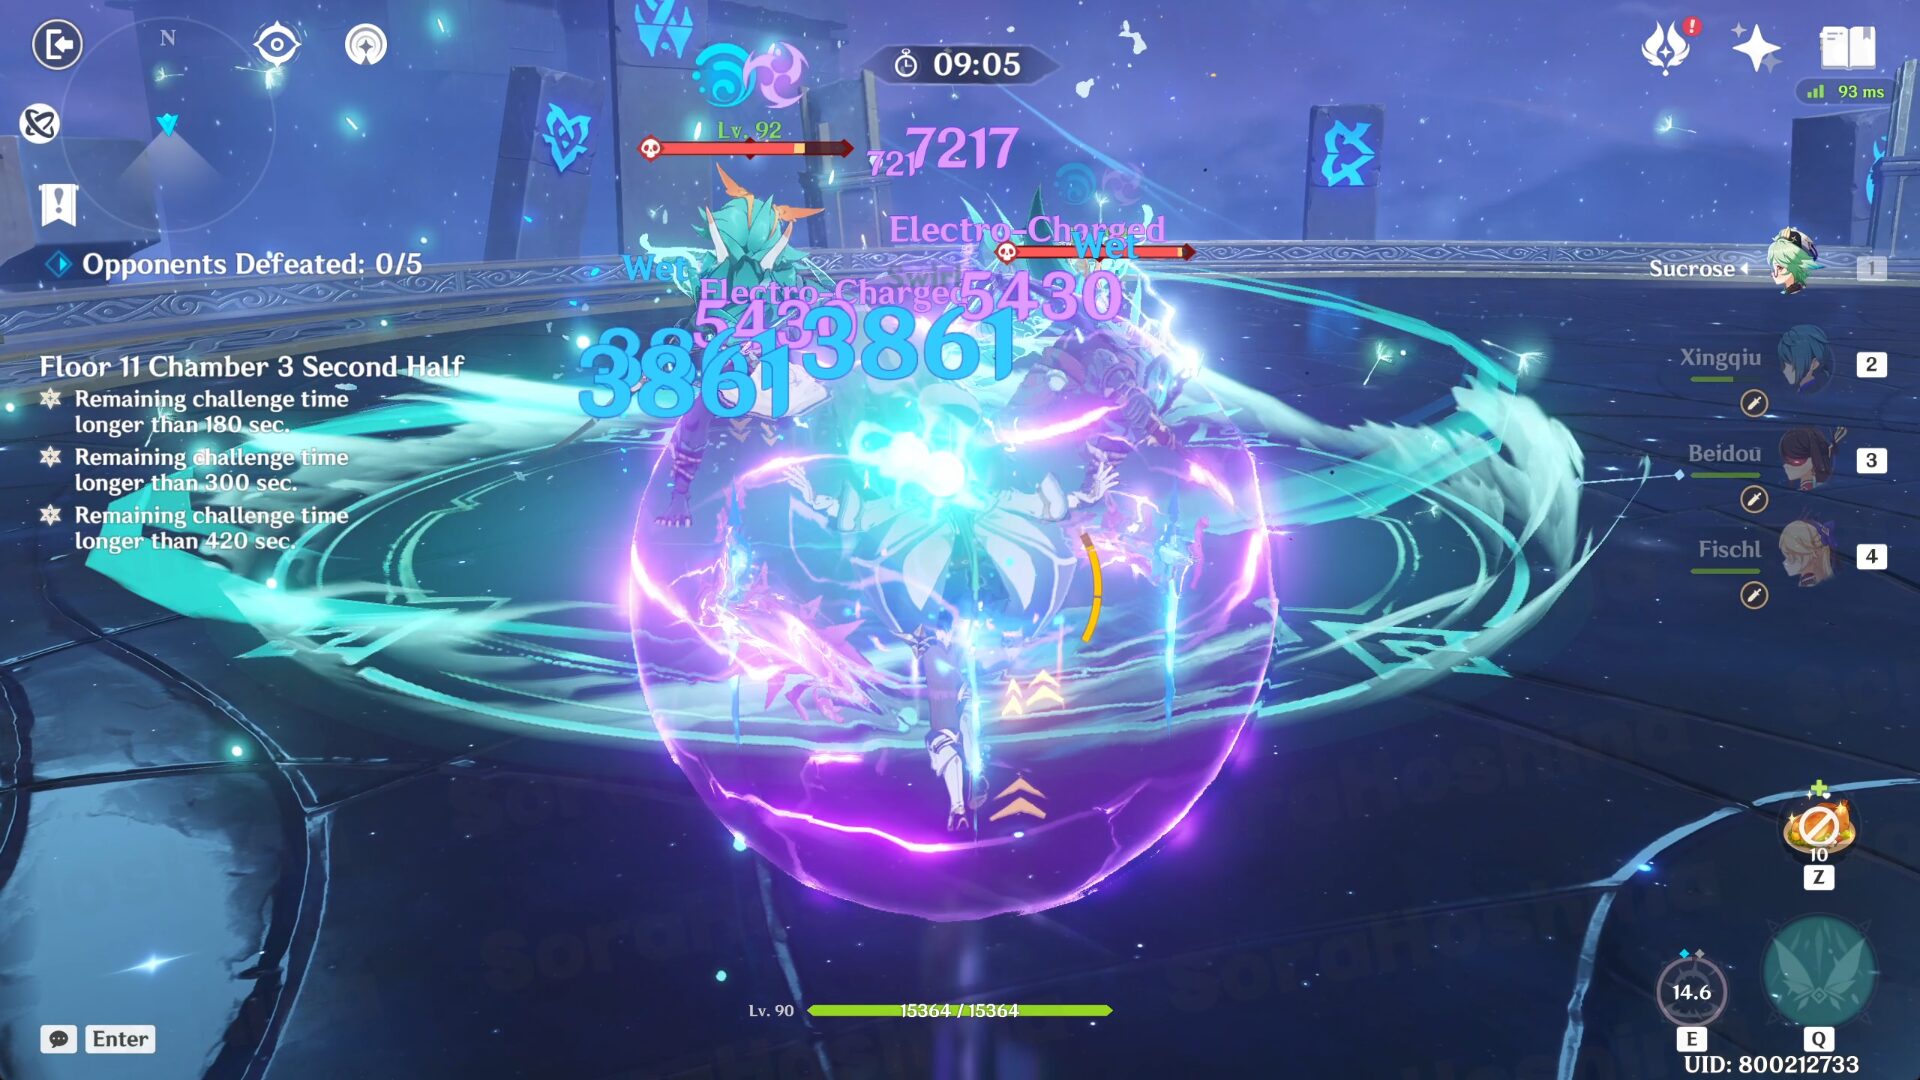
- In the first wave, you'll be facing the Anemo Hilichurl Rogues. There's nothing special to them except they can summon Anemo Slime and use it to float. If you hit the slime, the Hilichurl Rogue will fall down onto the ground.
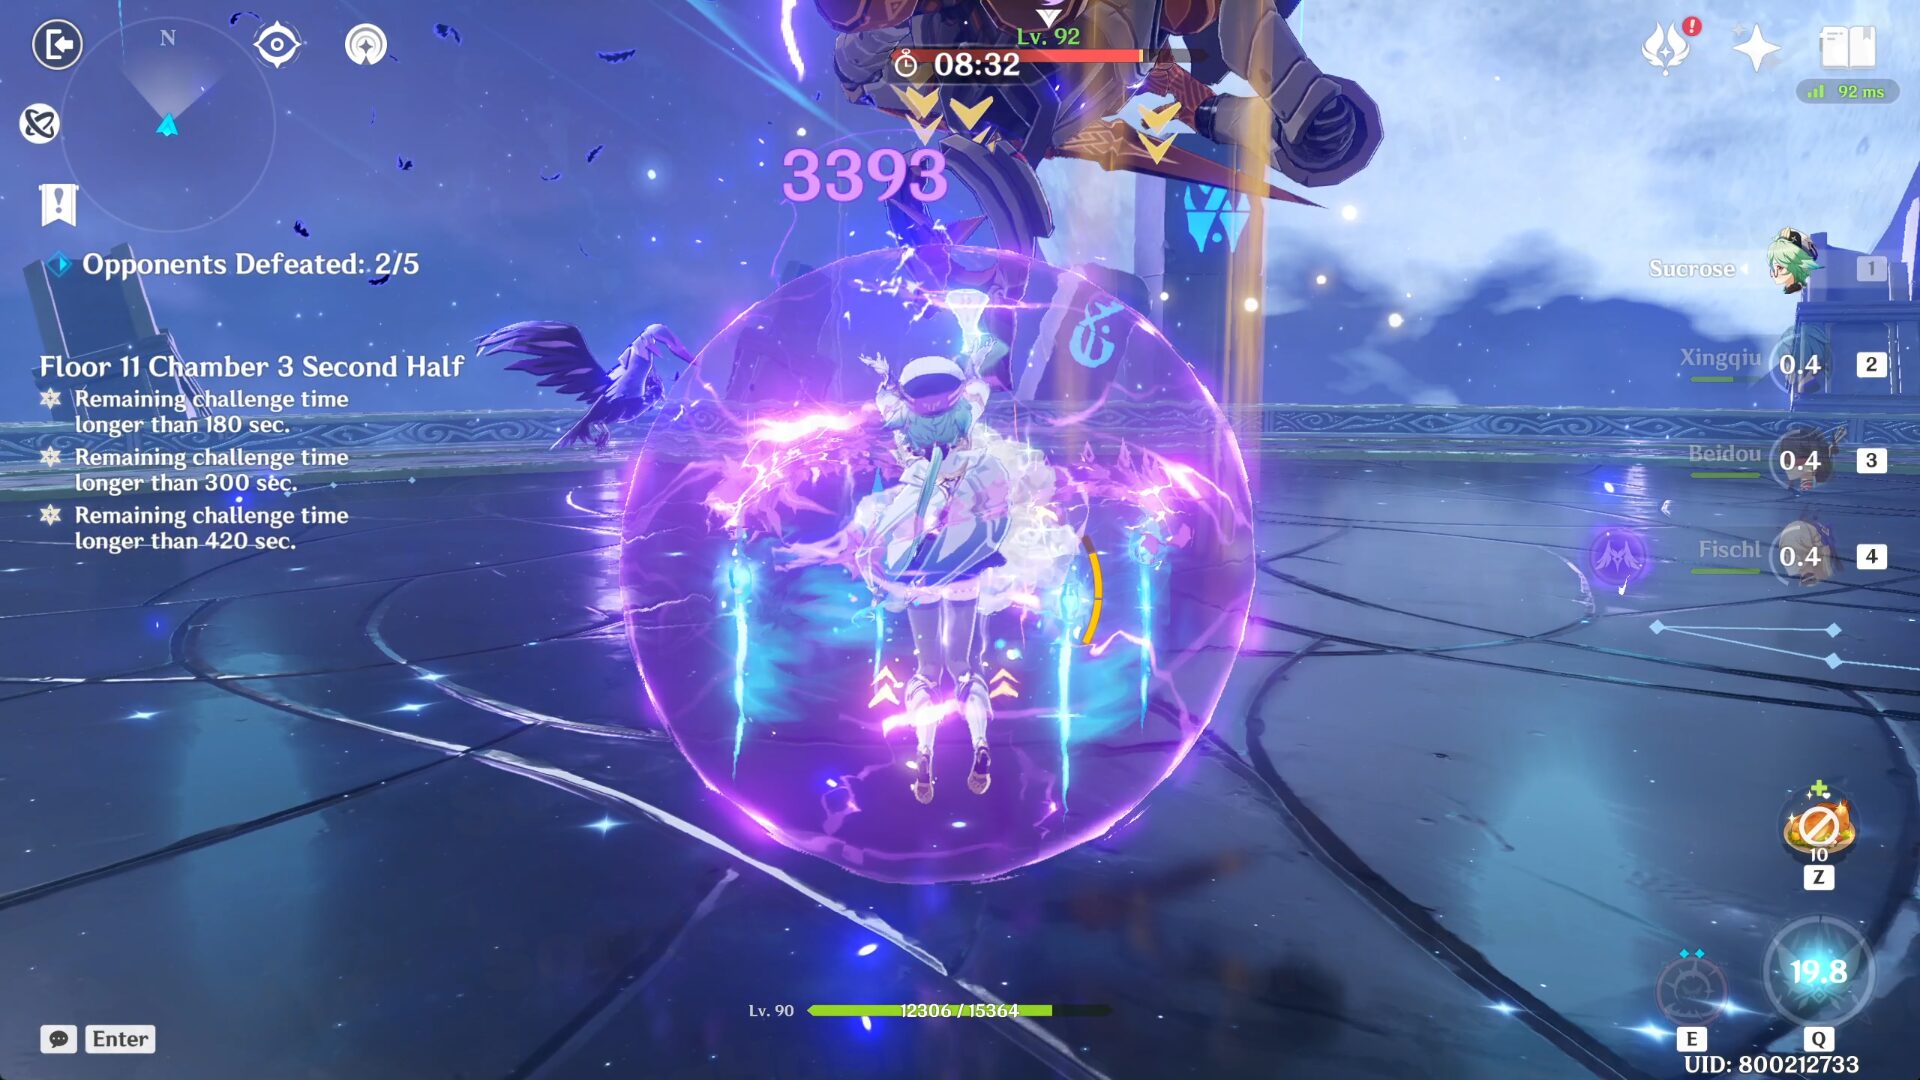
- In the second wave, Ruin Hunter is here. Remember that if you use any skill that makes yourself levitate at a certain height (like Wanderer's Skill, Kazuha's Skill, Xiao's Plunge Attack), the Ruin Hunter will enter an airborne state where it will become airborne for a long while and it's impossible for your melee character to reach.
- If possible, try not to use a skill that elevates your character in the first place, or bring at least one archer so you can use their Charged Shot to hit the weak spot (it will be exposed when airborne). Or just brute force and defeat it before it can even go airborne.
- In the third wave, there are another 2 hovering Ruin enemies. But these 2 are more merciful and won't hover too high that your melee characters can't hit. It DOES have an attack that will make it hover above your melee character so don't put your hopes up too much and get your bow character ready.
- Fun Fact, Furina's Salon Members (the trio) will most-of-the-time focus on attacking the core instead of anywhere else so she can be a replacement if you don't have any built or suitable bow character. Can't 100% rely on them to hit the core though cause sometimes they don't aim for the core.


