Table of Contents [Hide]
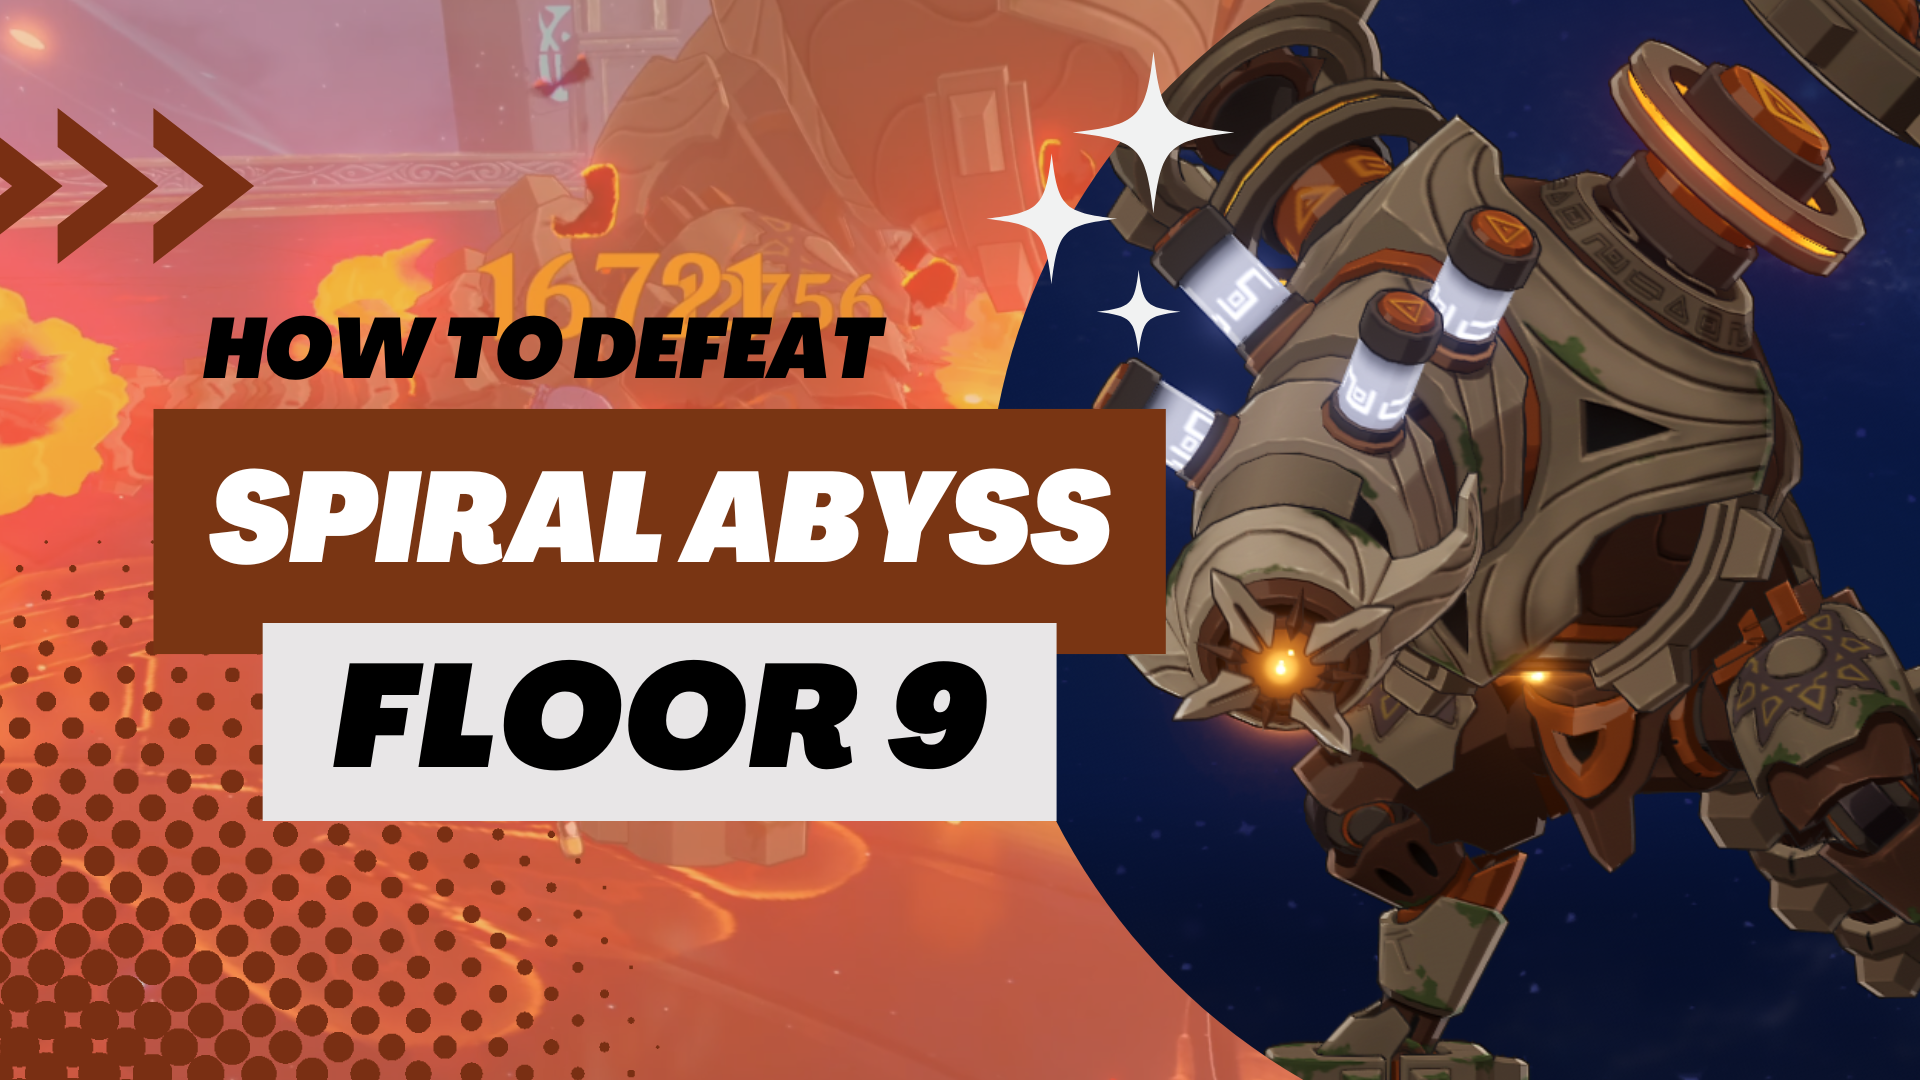
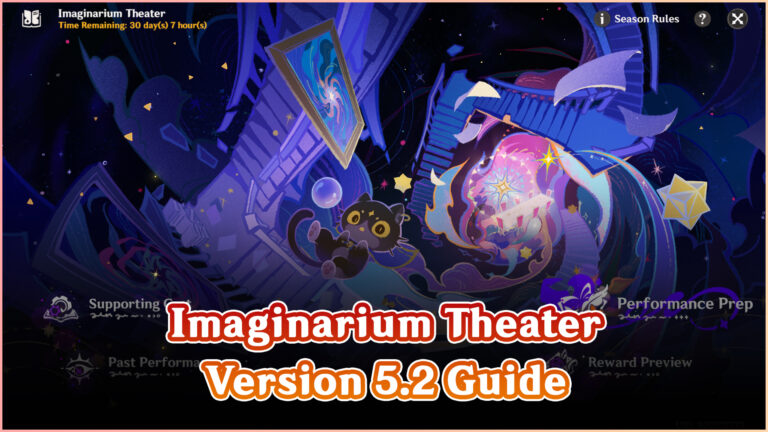
With Natlan as our new region in Genshin Impact, it's inevitable that Spiral Abyss will have a new roster of enemies for Floor 9 and 10. On Floor 9, we will be facing Saurians and Ruin enemies.
Some players may be oblivious to their strengths, weaknesses, and methods to easily kill them. But don't fret as this guide will help you uncover all the breadcrumbs in Spiral Abyss Floor 9. This whole page is entitled to help you with the 9th floor with detailed information regarding each chamber, enemies, waves, and characters you are recommended to bring along.
Blessing of the Abyssal Moon
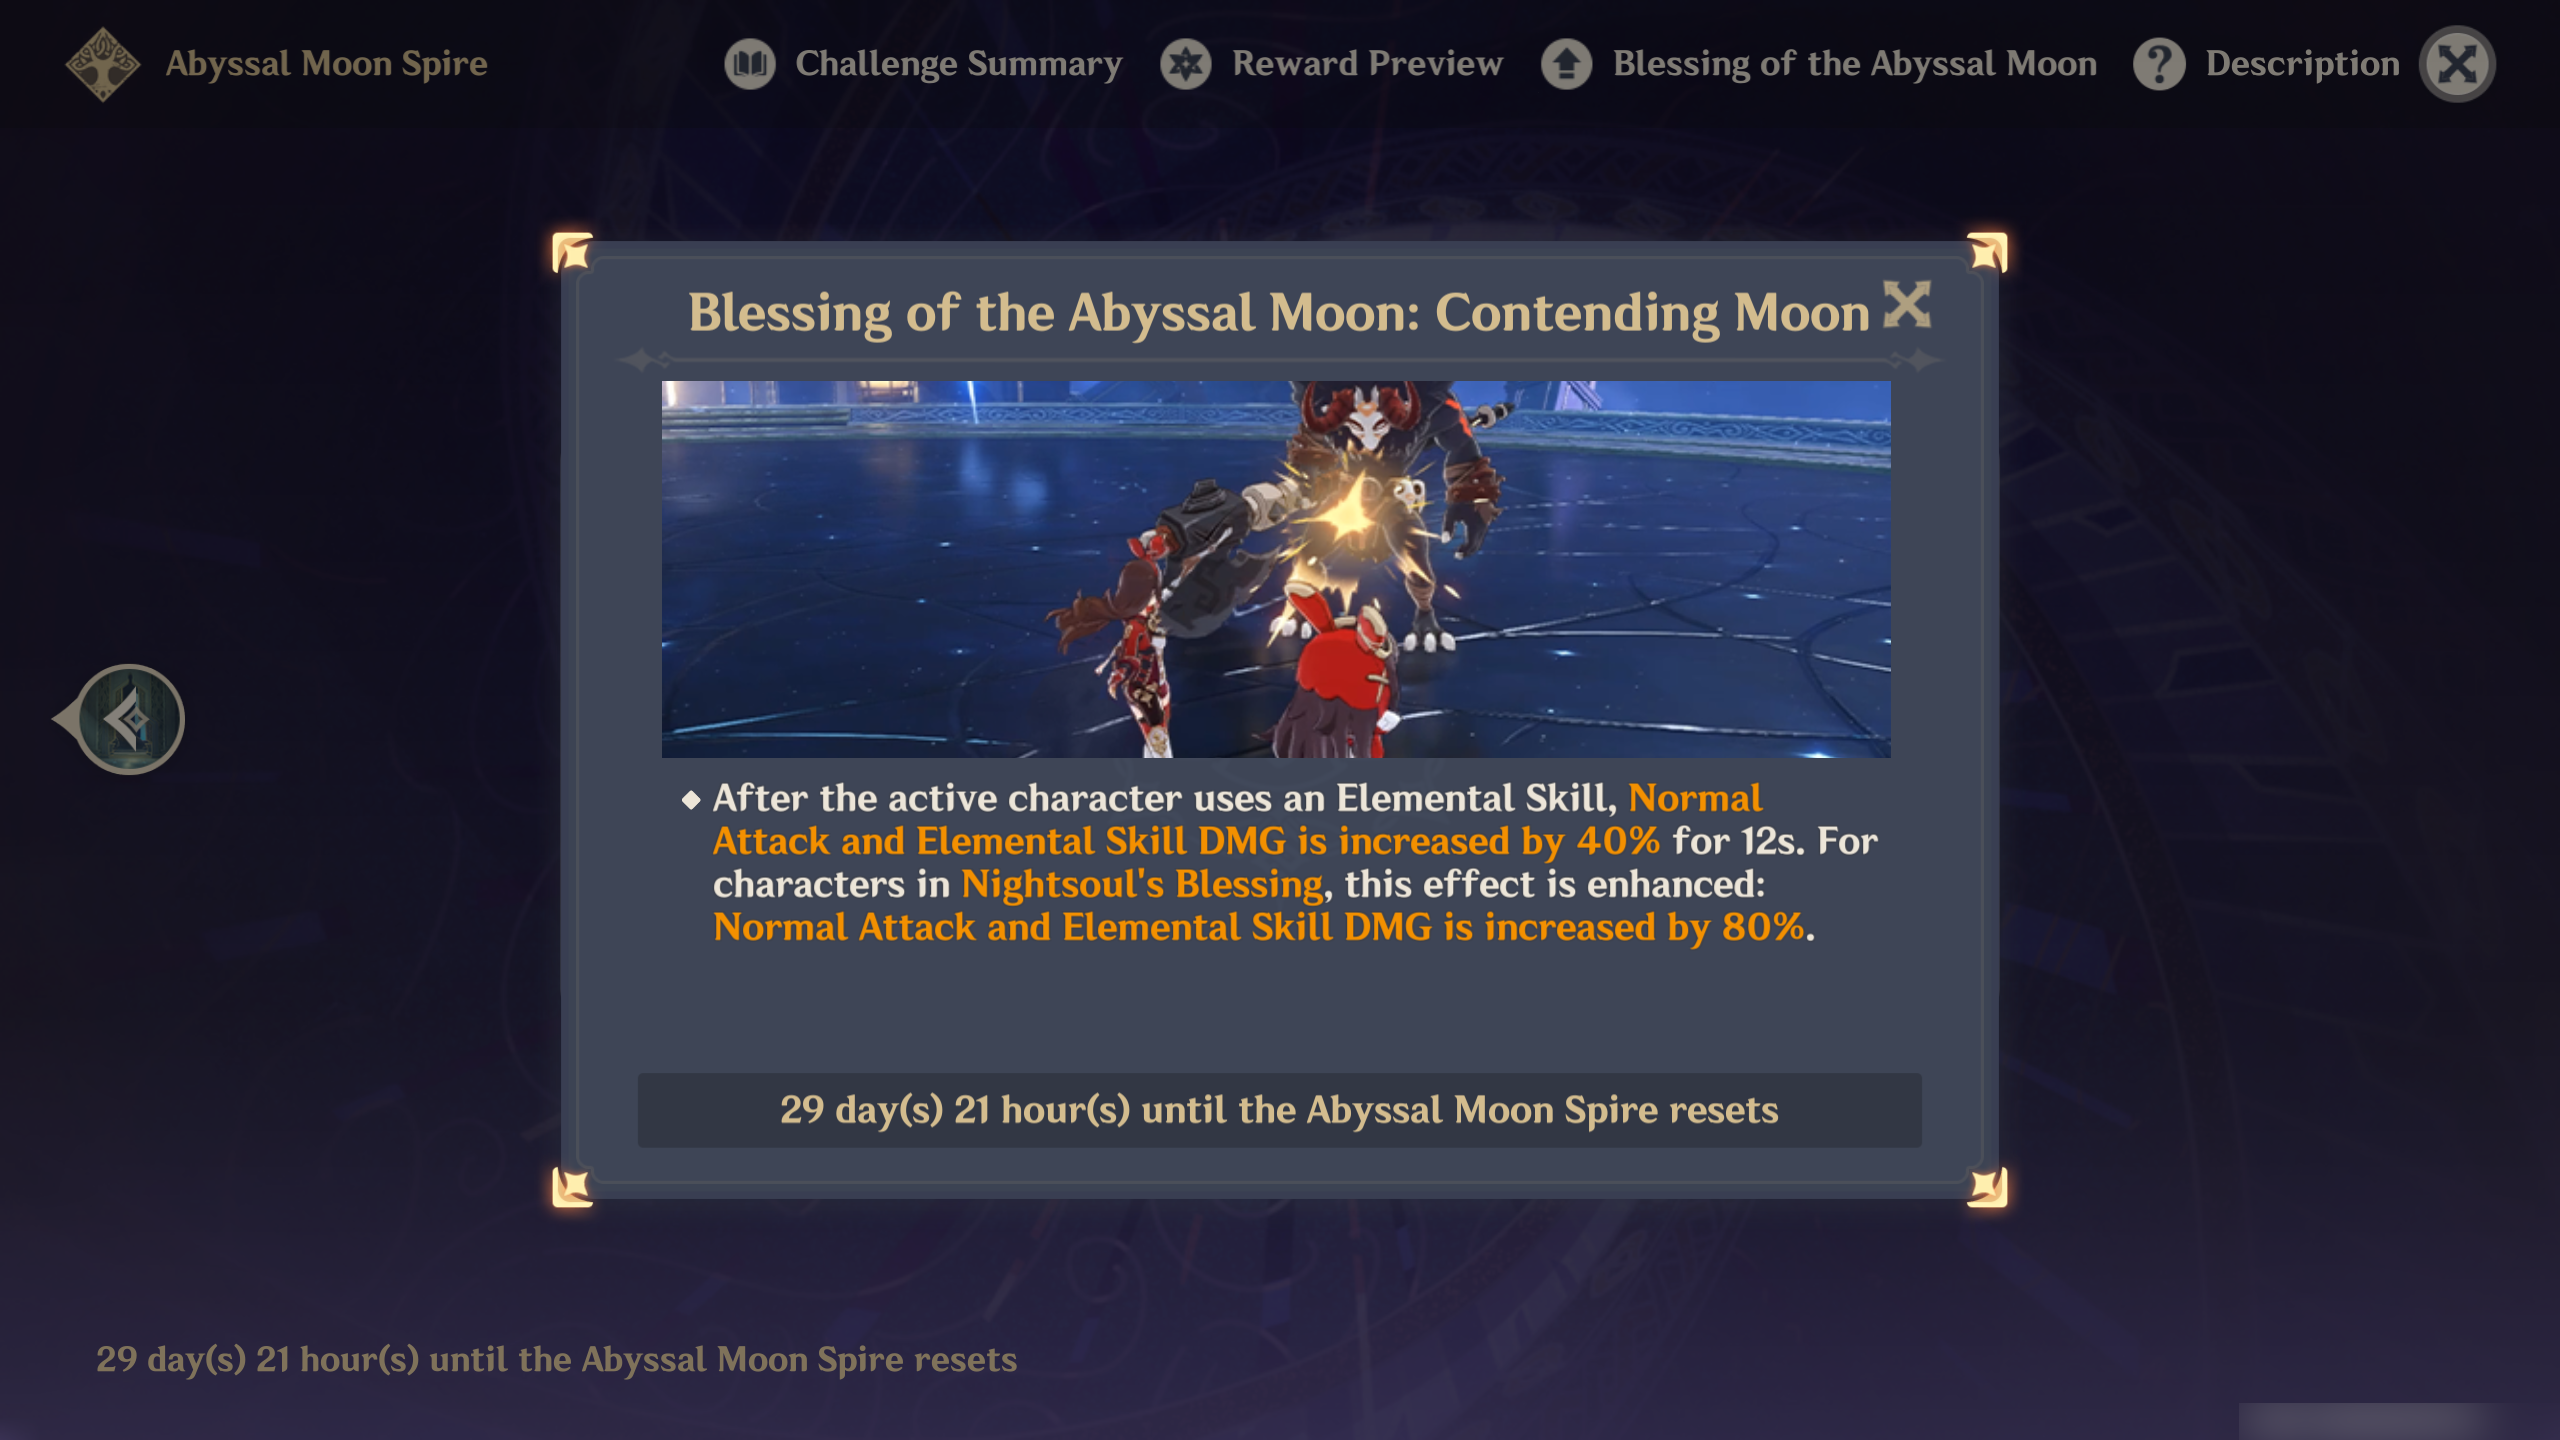
Reminder: Blessing of the Abyssal Moon will change every refresh cycle and may not be updated in this guide. But the enemies list and strategy will remain the same.
Blessing of the Abyssal Moon: Contending Moon
After the active character uses an Elemental Skill, Normal Attack and Elemental Skill DMG is increased by 40% for 12s. For characters in Nightsoul's Blessing, this effect is enhanced: Normal Attack and Elemental Skill DMG is increased by 80%.
Nightsoul's Blessing is only for Natlan character so if you want that juicy 80% increased DMG for Skill and Normal ATK, bring Natlan characters along. Although 40% for non-Natlan characters doesn't sound too bad either.
Ley Line Disorder
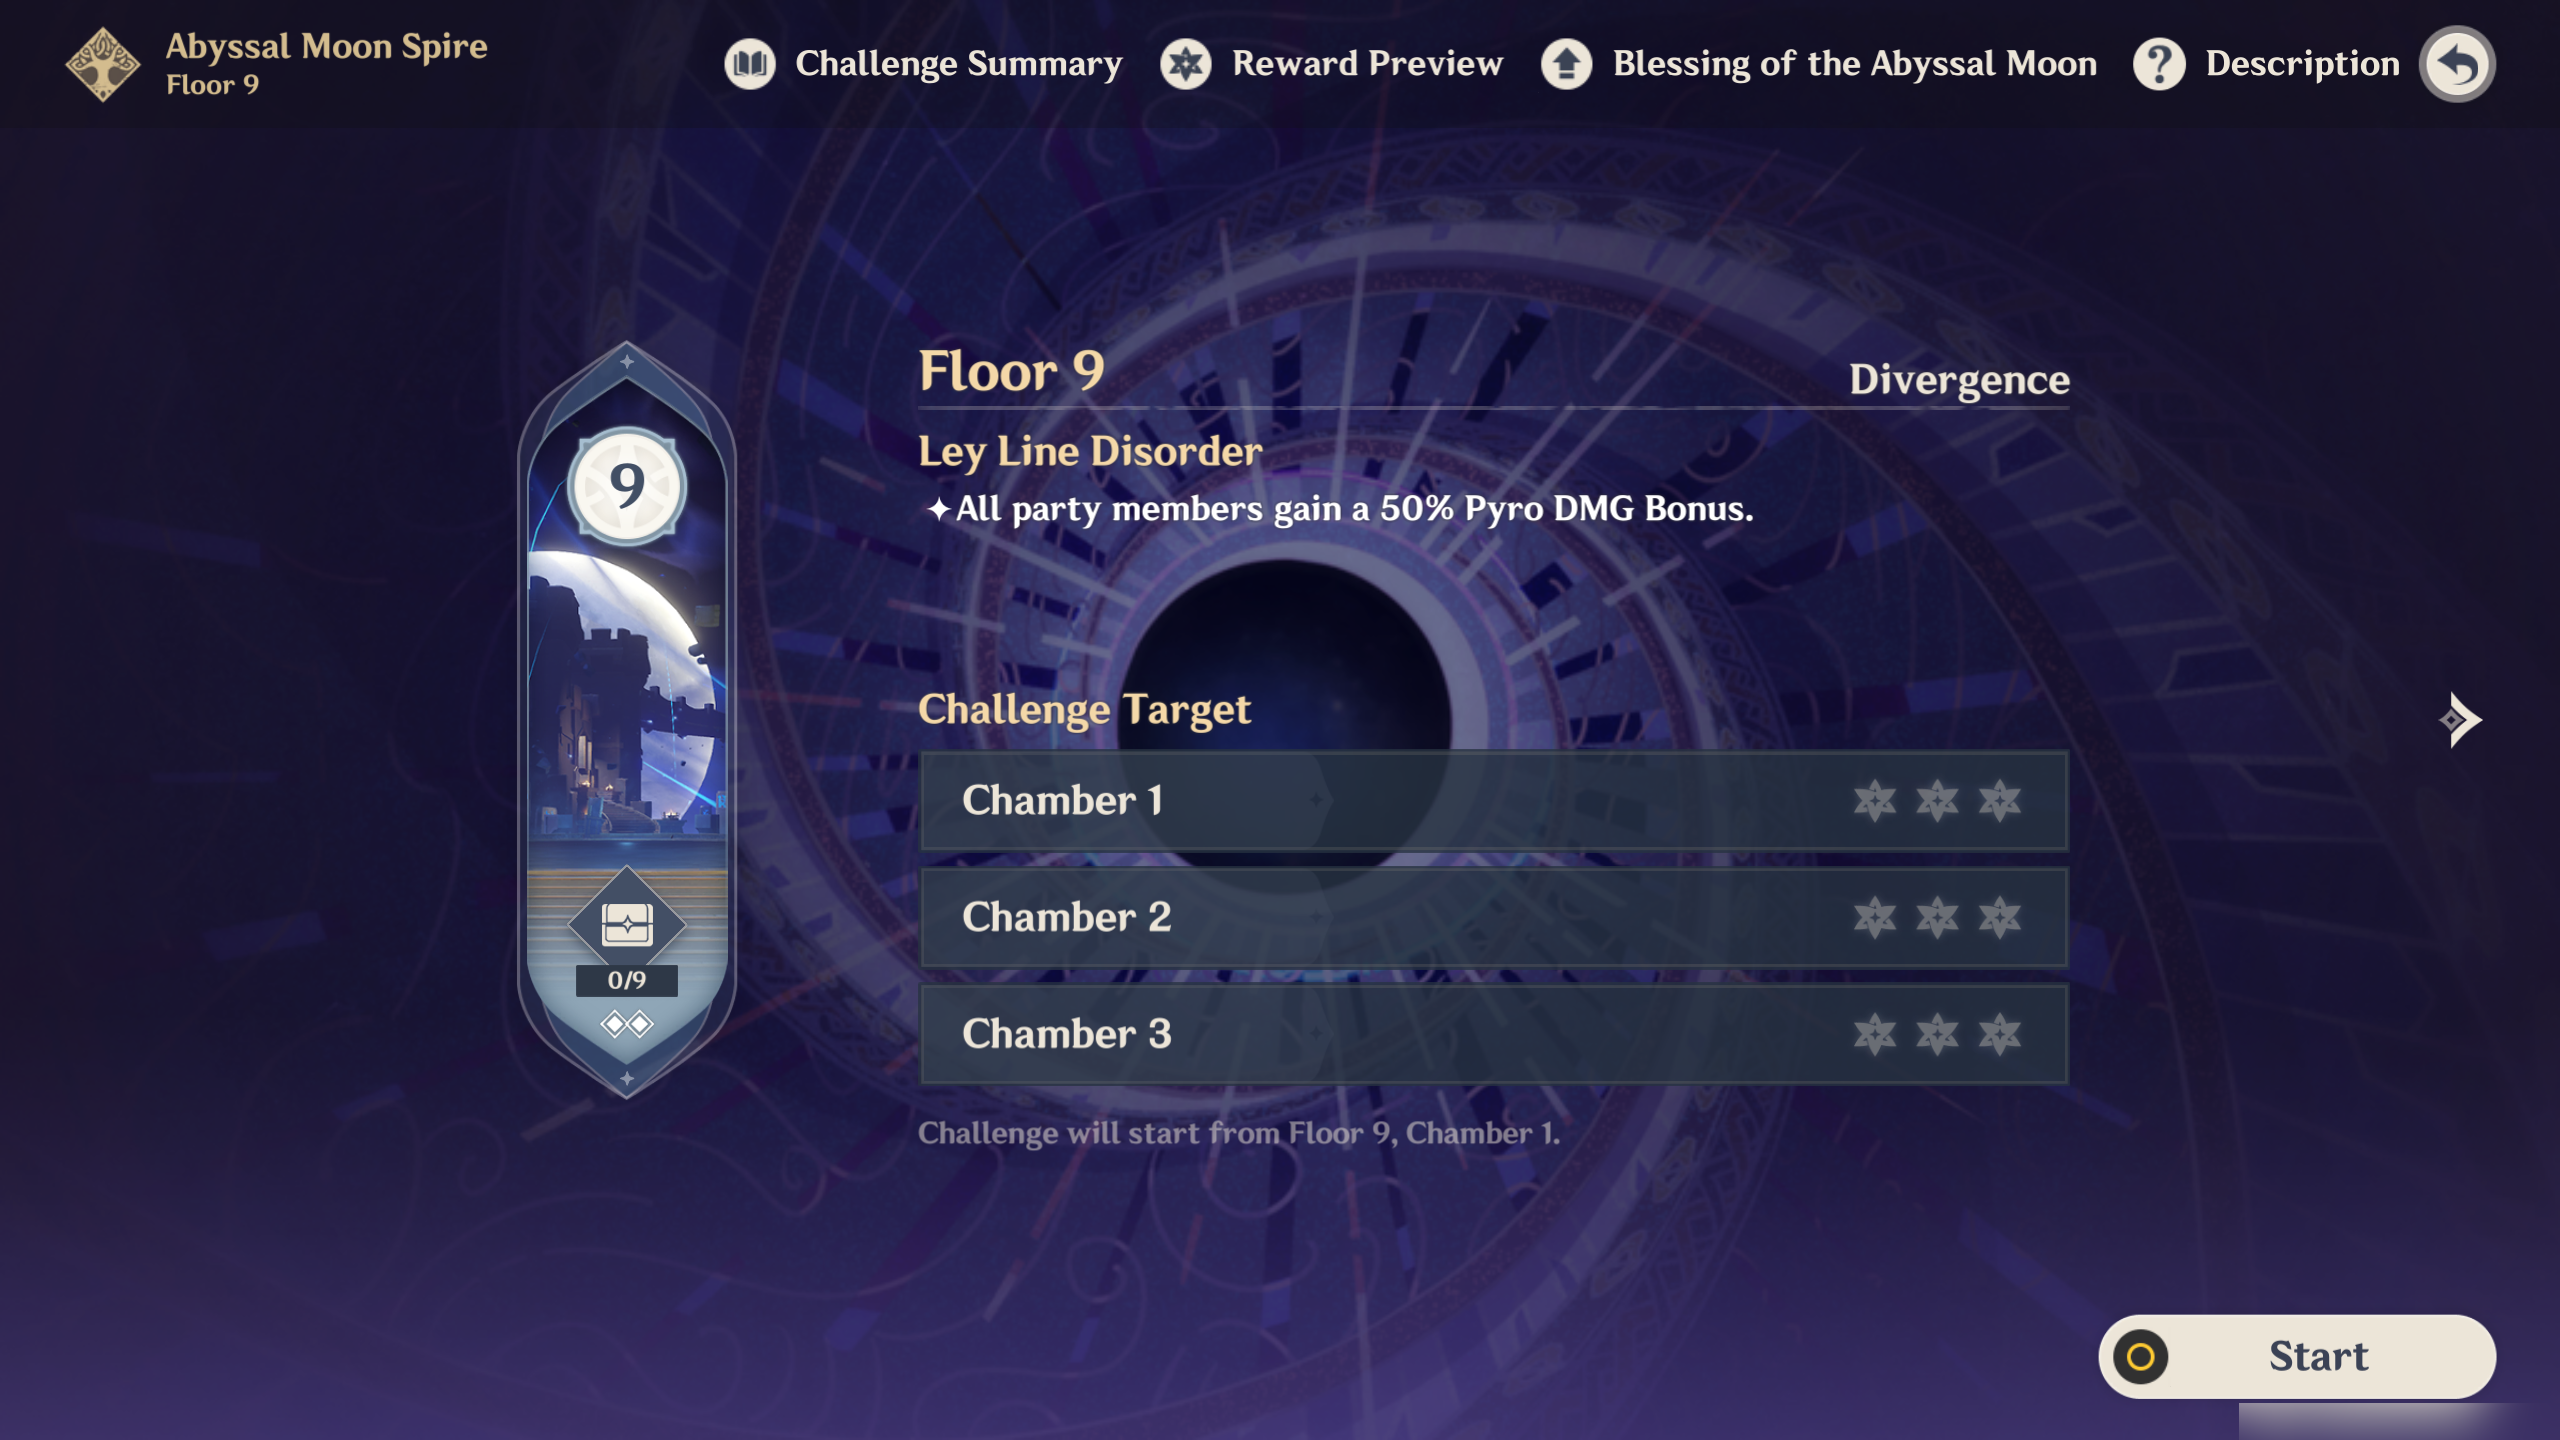
All party members gain a 50% Pyro DMG Bonus. Simple and straight to the point. For this one, it's universal and is not limited to characters with Nightsoul's Blessing so you don't have to worry about not getting the buff.
Team Recommendations
Team Recommendations for the First Half
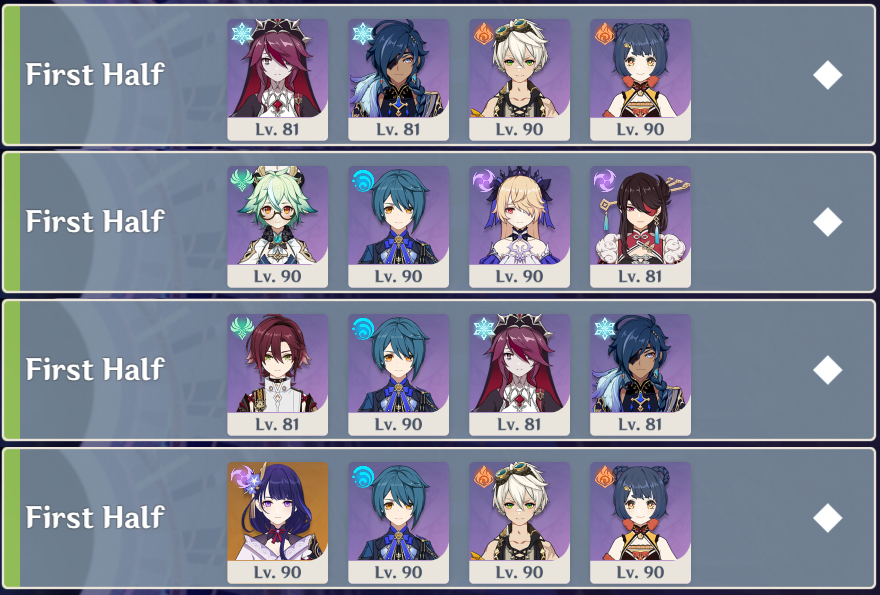
| The recommended elements for the First Half |      All elements except those mentioned below |
| The not recommended elements for the First Half |    Geo, Dendro, Hydro ➥ This is because each Saurian has high resistance against their own elements. For example, the Tepetlisaurus has 50% Geo Resistance (Whelp has 30% Resistance) while Koholasaurus has 50% Hydro RES. |
Example:
(1) Melt Team: Rosaria + Kaeya + Bennett + Xiangling
(2) Taser Team: Sucrose + Xingqiu + Fischl + Beidou
(3) Freeze Team: Heizou + Xingqiu + Kaeya + Rosaria
(4) National Team: Raiden Shogun + Xingqiu + Bennett + Xiangling
Team Recommendations for the Second Half
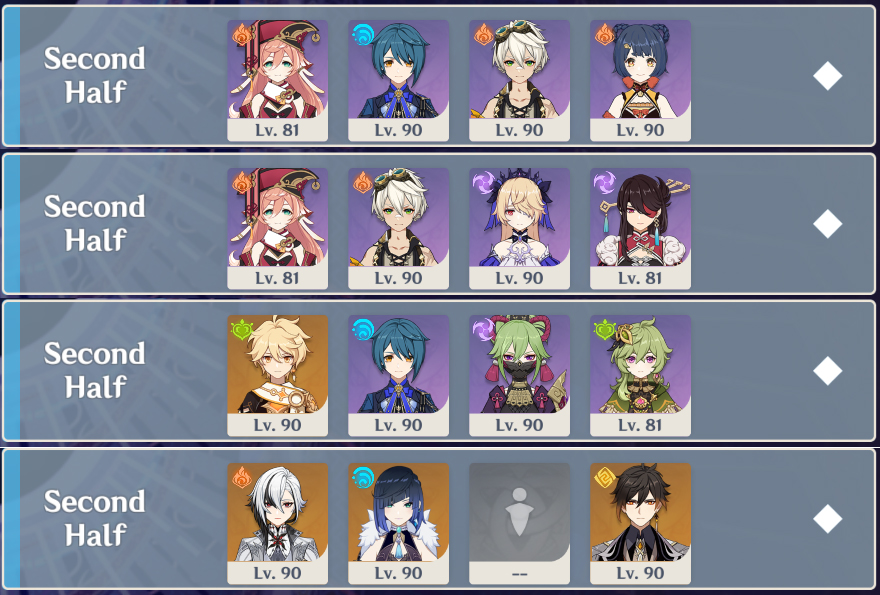
| The recommended elements for the Second Half | All elements except those mentioned below |
| The not recommended elements for the Second Half | Physical ➥ It's a known fact that Ruin enemies have high Physical RES. And with all chambers here featuring Ruin enemy, it's better if you didn't bring along a Physical team. |
Example:
(1) Vaporize Team: Yanfei + Xingqiu + Bennett + Xiangling
(2) Overload Team: Yanfei + Bennett + Fischl + Beidou
(3) Hyperbloom Team: Dendro MC + Xingqiu + Kuki Shinobu + Collei
(4) Vaporize Team 2: Arlecchino + Yelan/Xingqiu + Flex + Zhongli
Floor 9 Chamber 1
First Half
Wave 1: Tepetlisaur Whelp x6
Wave 2: Tepetlisaurus x3
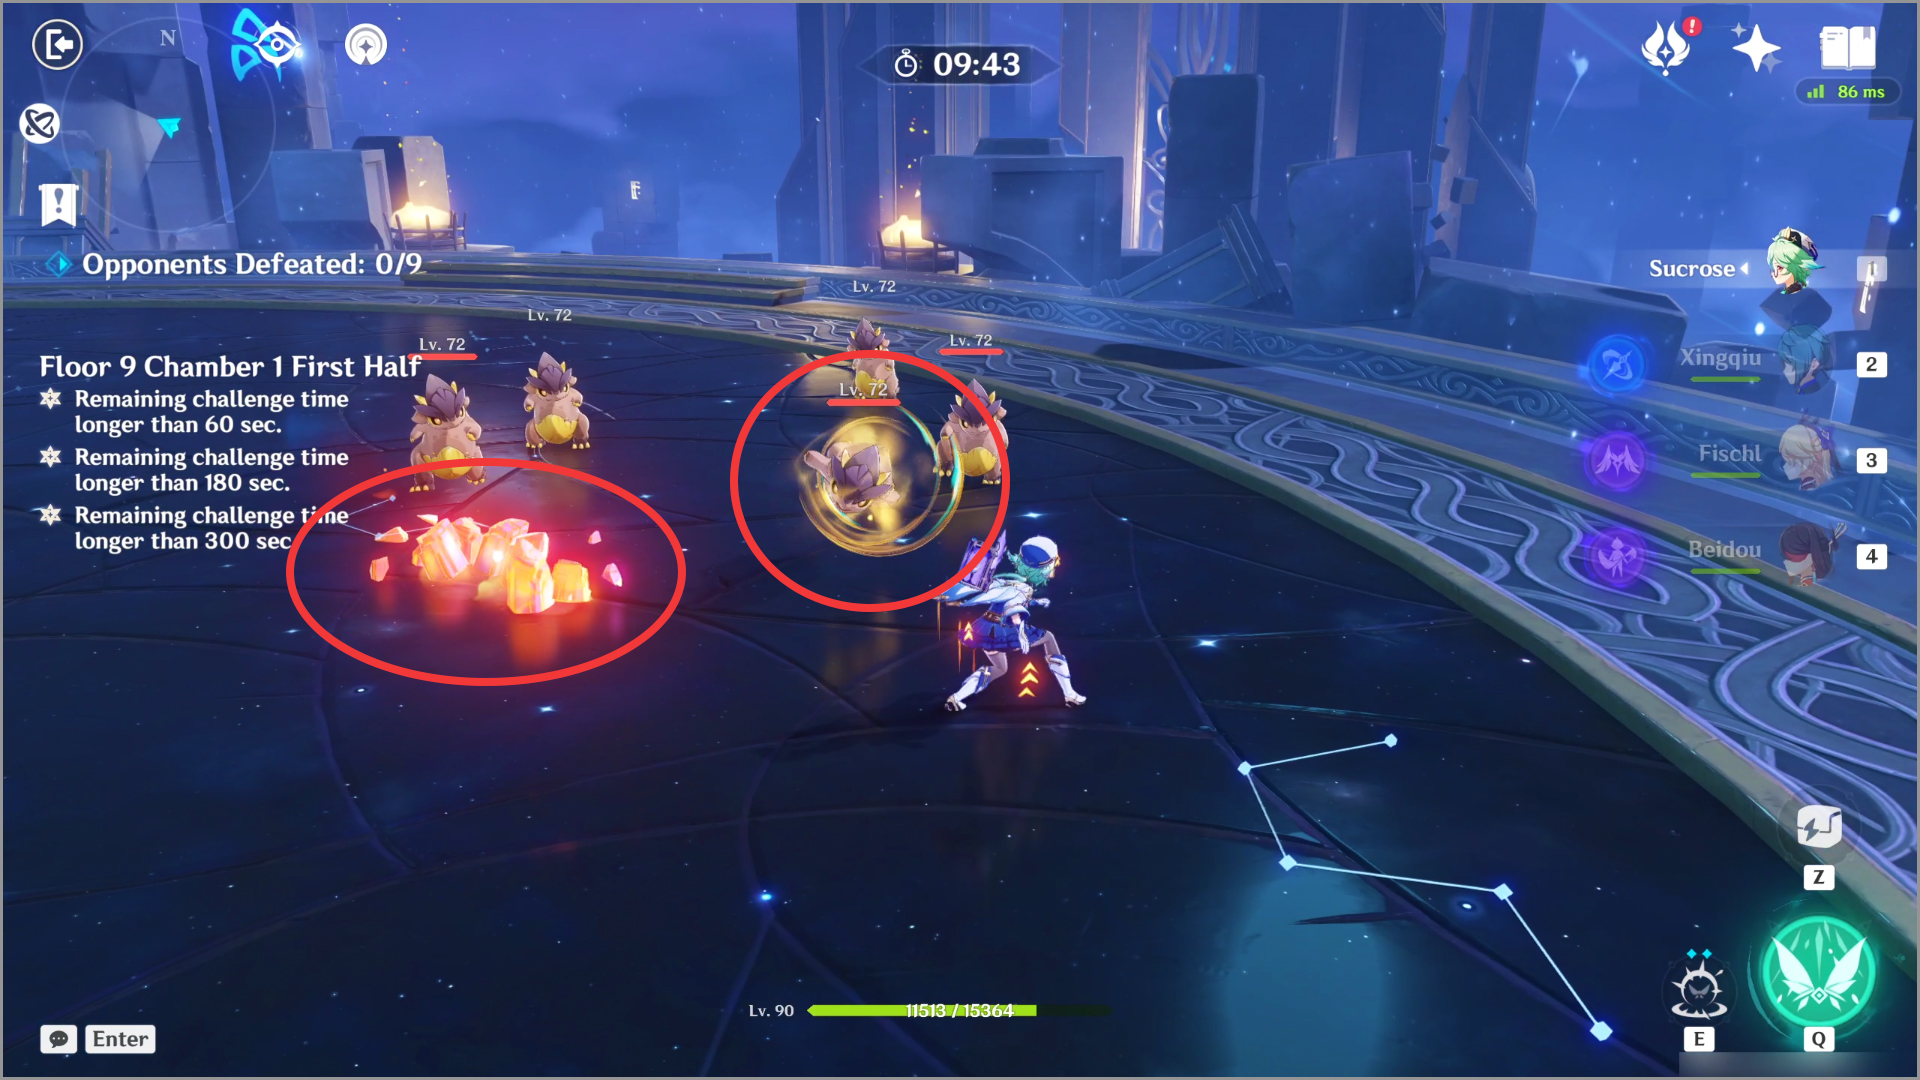
In the first wave, there are 6 Tepetlisaur Whelp surrounding you. These little guys only know how to headbutt you so as long as you can get out of their way when they're headbutting you, you're good. If you're too far away from them, they will burrow into the underground and move toward your direction. When they reach you, they will leap out of the ground and attack, so avoid these too!

In the second wave, it's the parent time; 3 Tepetlisaurus. Their abilities are the exact same as the babies with some upgrades, like after trying to attack with their head, they will also jump and slam in your direction. But the best part is when they burrow underground, they will briefly resurface and taunt you (aka doing nothing) before re-entering the ground. That split second movement is the best time to attack since they basically won't do anything except making funny faces in your direction.
Second Half

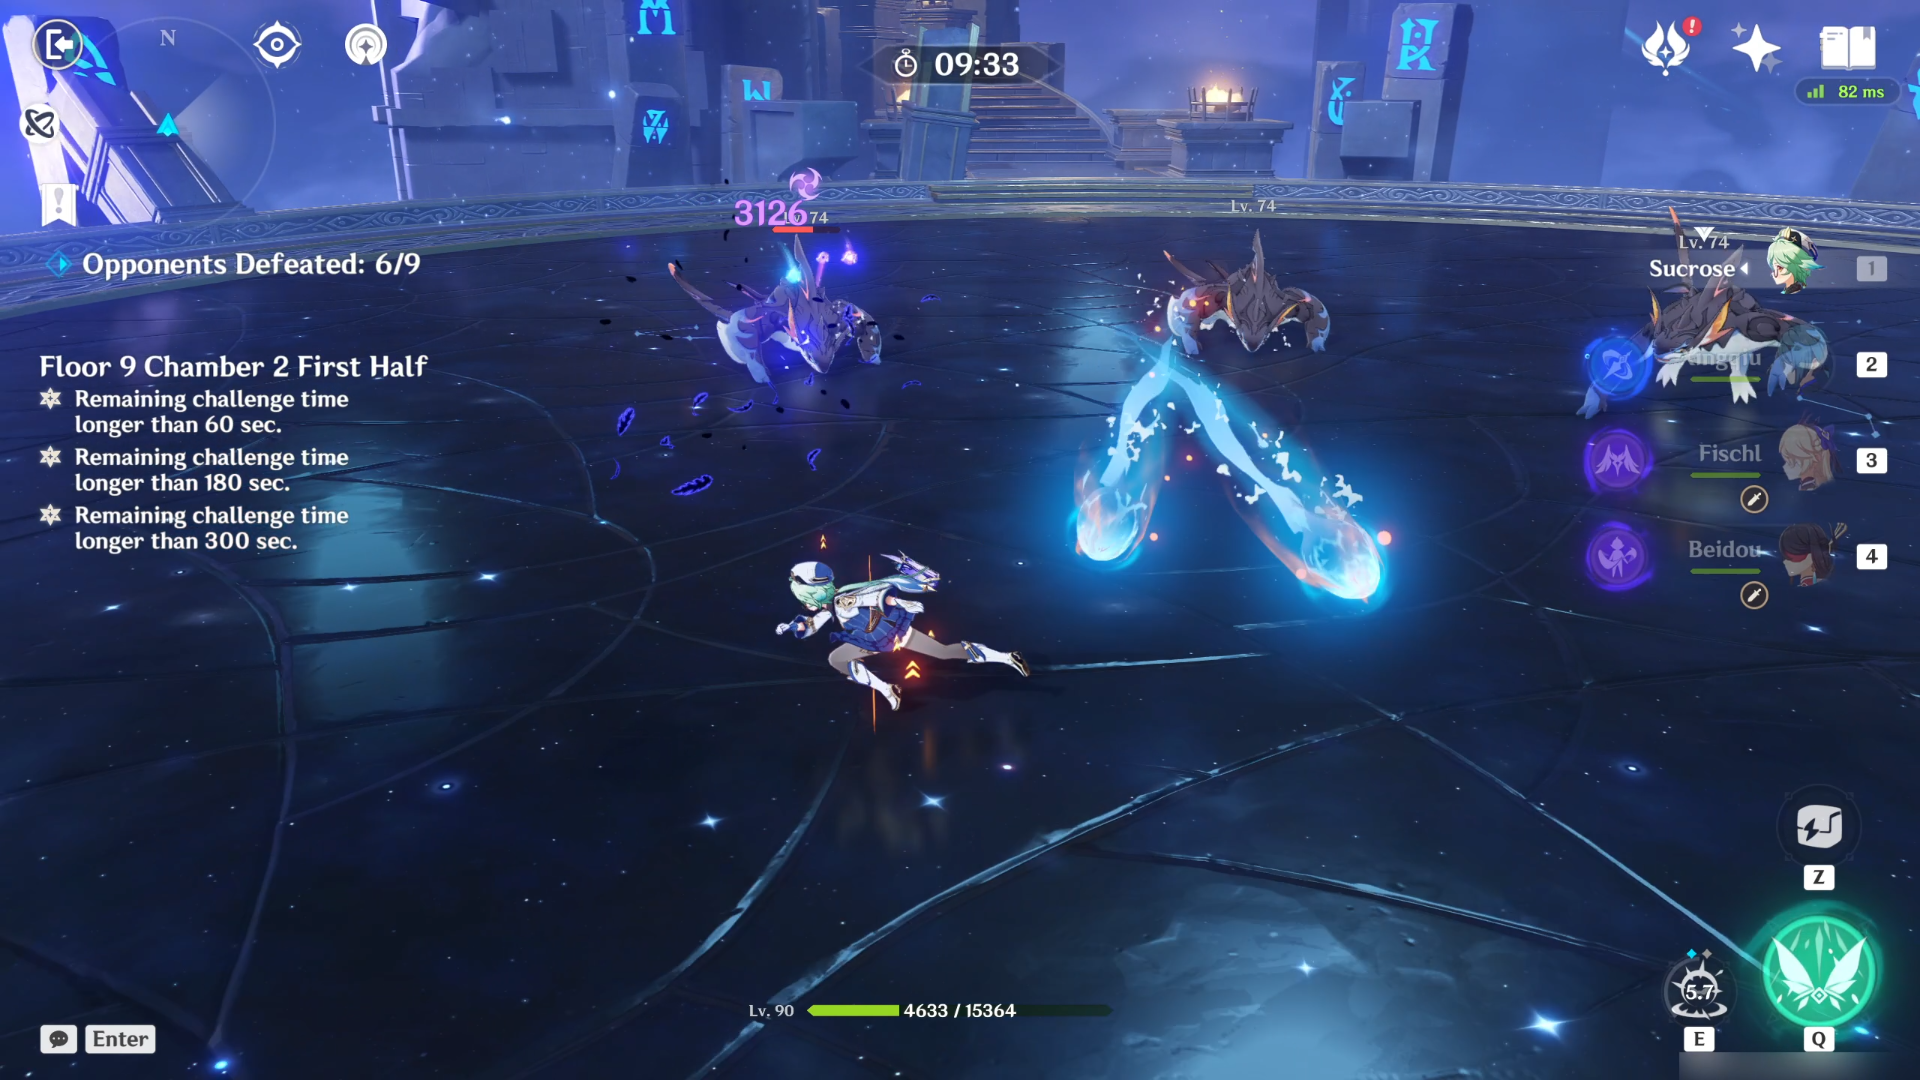
Wave 1: Ruin Guard x1

There is only one wave here and it's the Ruin Guard. There's really nothing to say here since he's a regular enemy with slow movement and melee attack. But one dangerous skill is when it starts spinning and marches towards you. This attack lasts for ~10 seconds and if your character (who is not shielded) gets close, have fun with getting flown away every time you get near.

Ruin Guard has a weakness in its eye. Use a bow character (their Aimed Shot) to hit the eye and it will be down and paralyzed for a few seconds. That's the perfect time to unleash all your Skill and Ultimate.
Floor 9 Chamber 2
First Half
Wave 1: Koholasaur Whelp x6
Wave 2: Koholasaurus x3
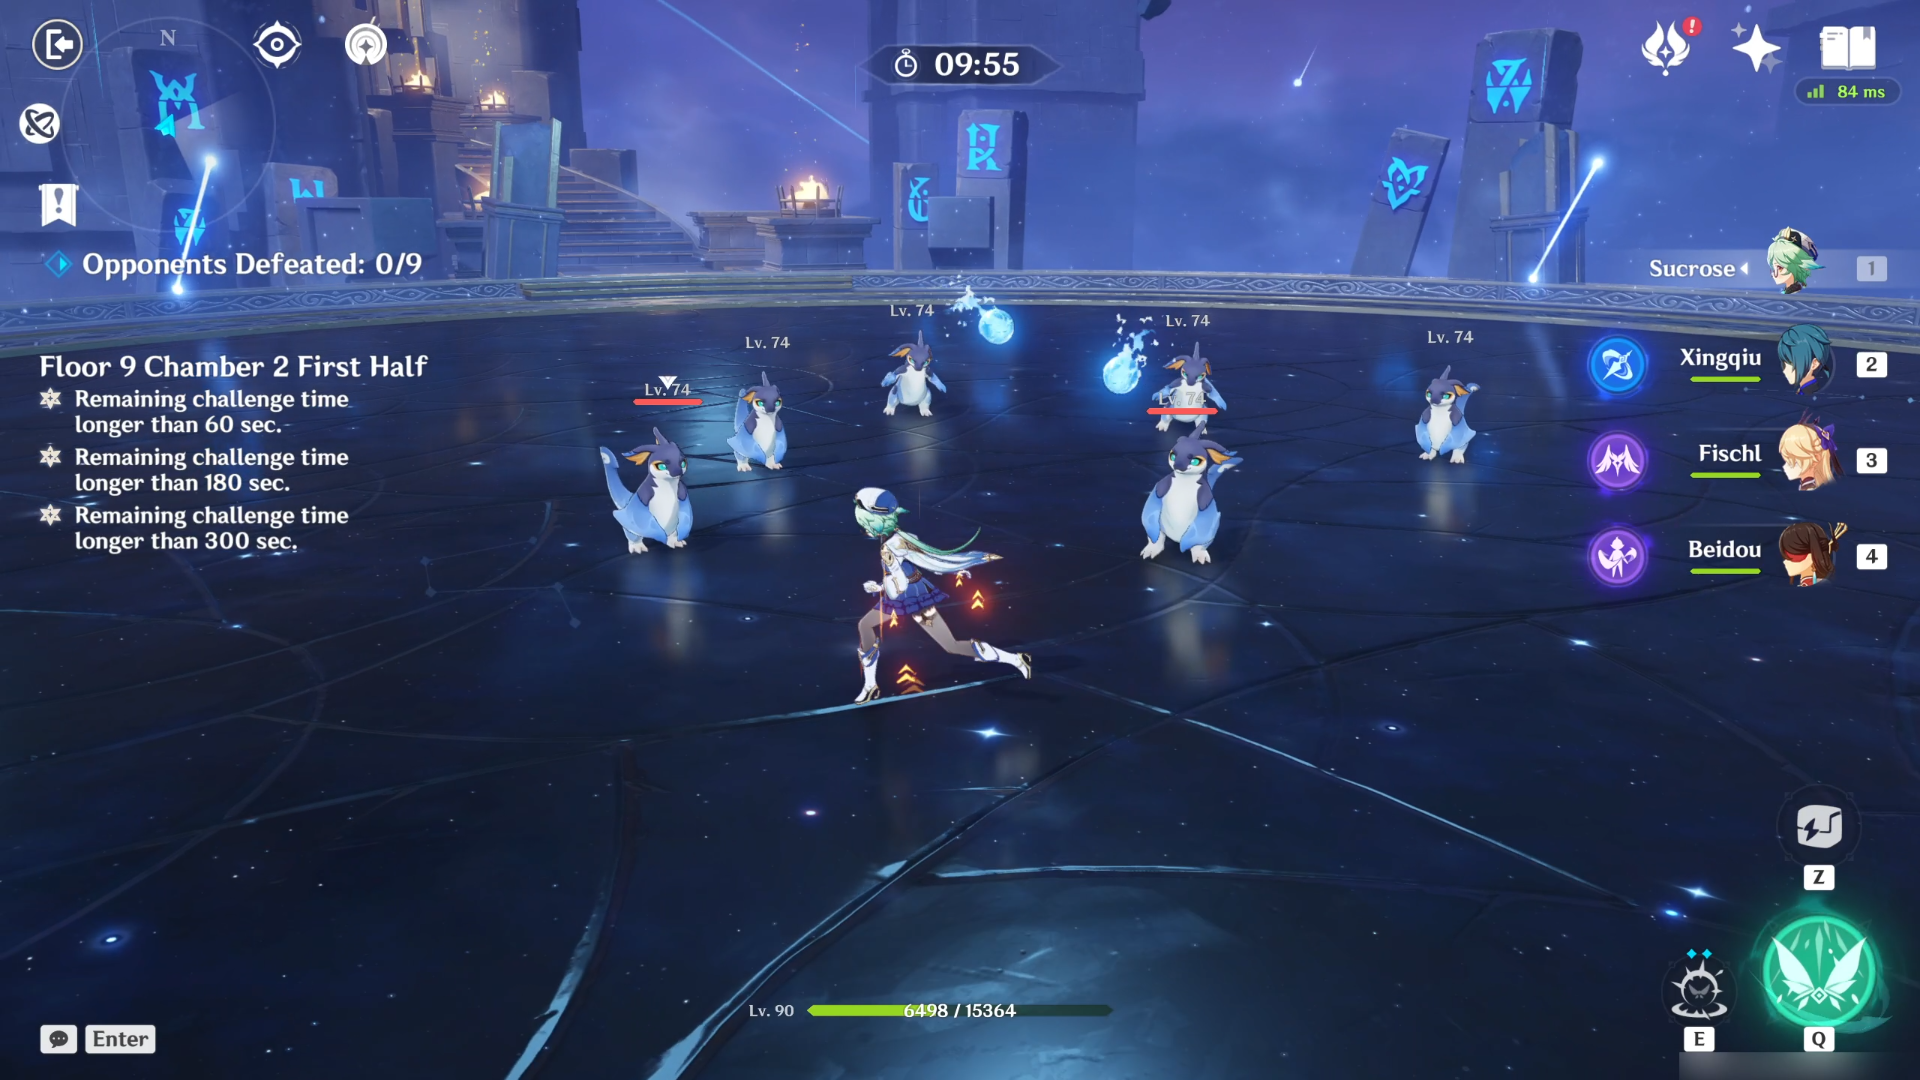
In the first wave, there are 6 Koholasaur Whelp surrounding you. These little guys only have one skill set which is to spit in your direction. Even if you get far away, they can only shuffle slowly towards you. Very cute, but very low-threatening.
In the second wave, there are 3 Koholasaurus. They have an upgrade by using their tail to attack you. Other than that, it's the same jazz as the Whelps.
Second Half

Wave 1: Ruin Grader x1
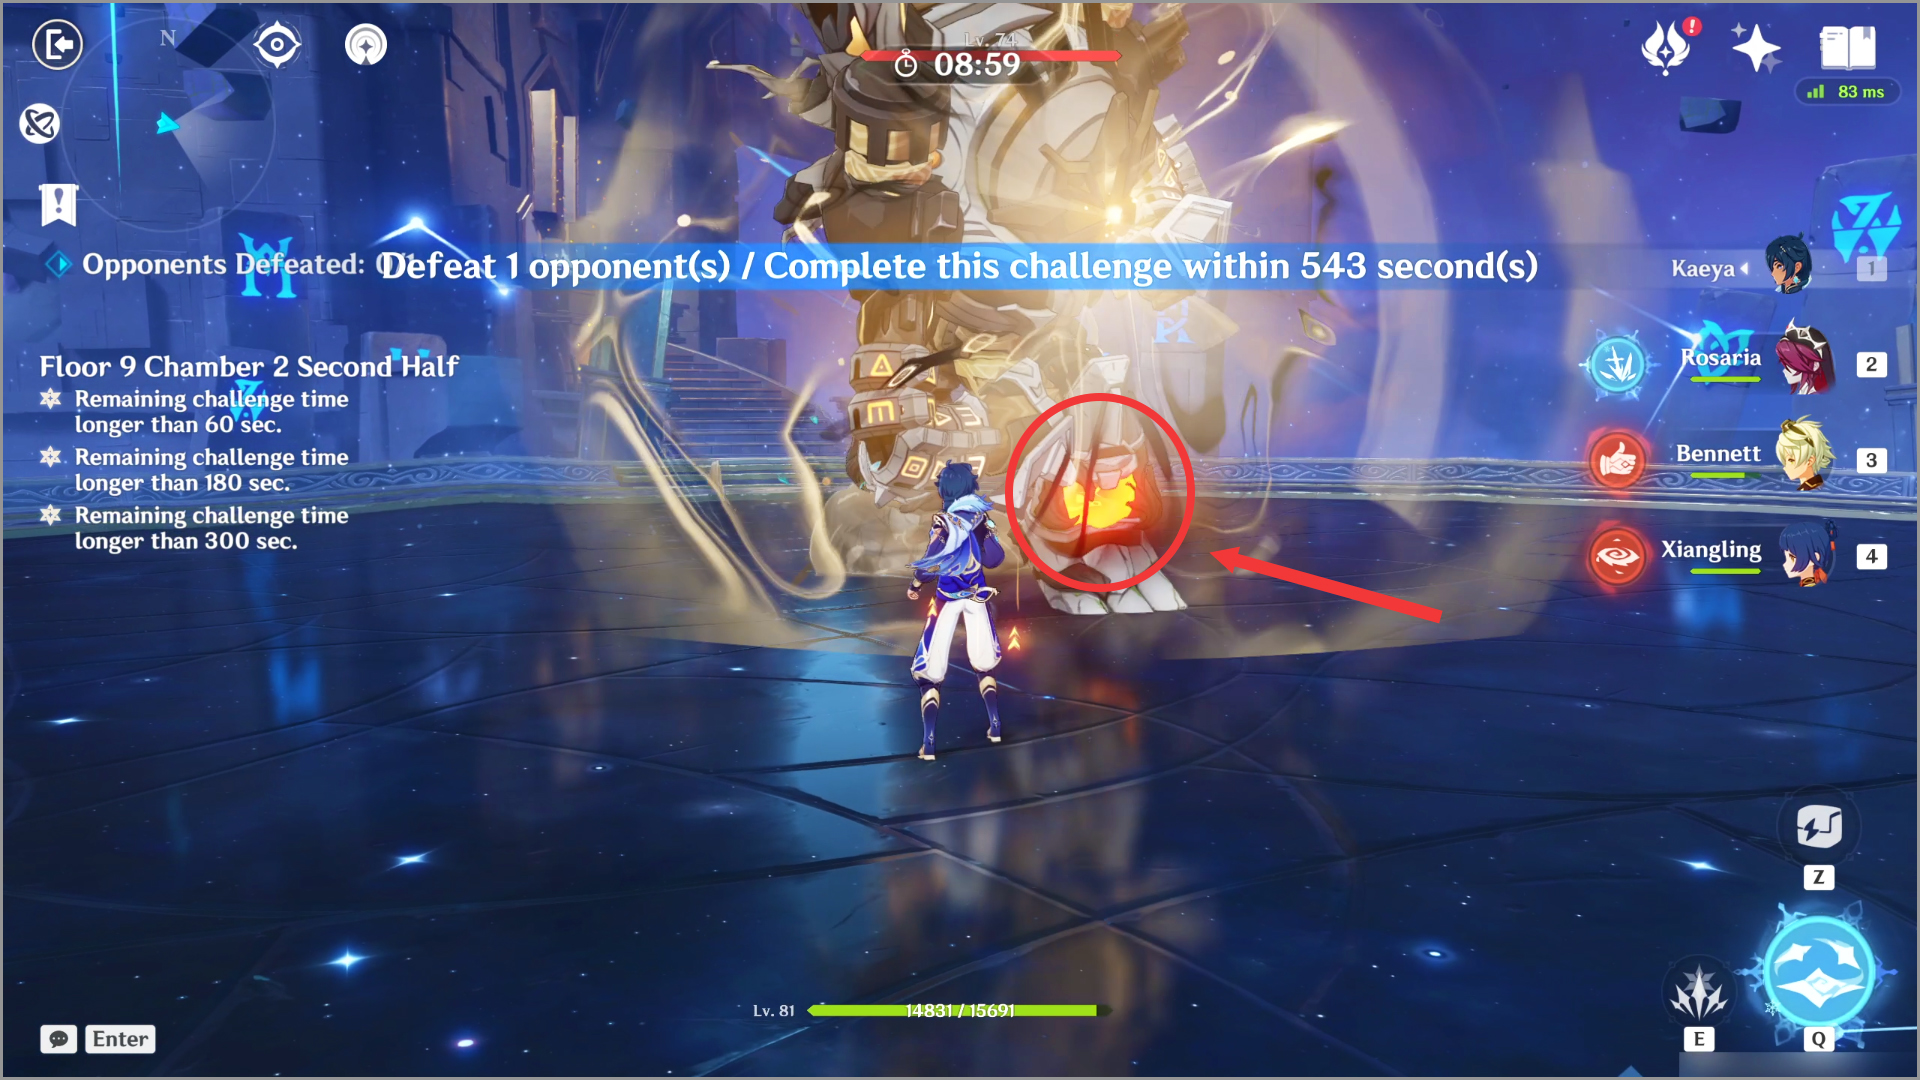
There is only one wave here and it's the Ruin Grader. They have far more skill sets than Ruin Guard including the spinning one. While performing certain attacks, the Ruin Grader will expose the cores on its head and feet.
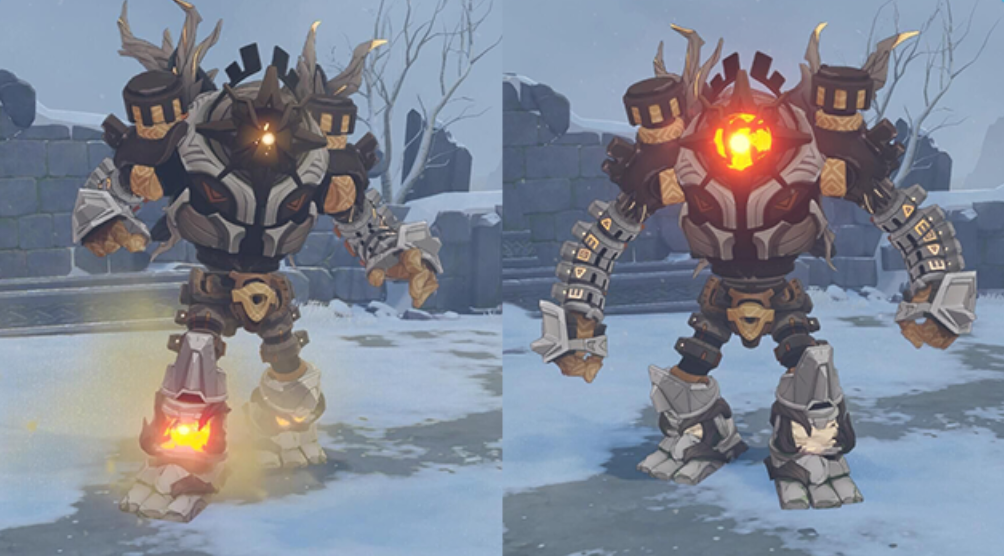
Attacking one of the exposed weak points will interrupt the Ruin Grader's current attack. Successfully damaging the second weak point will temporarily paralyze the Ruin Grader for a few seconds.
Should you aim for the weak points? Yes and no. If you have lots of remaining time, you can try to paralyze it so you can have an easier time dealing with all sorts of damage. Use a Bow character's aimed shot for better accuracy and a higher chance to aim at the cores. But if you don't have much time, it's better to just brute force.
Floor 9 Chamber 3
First Half
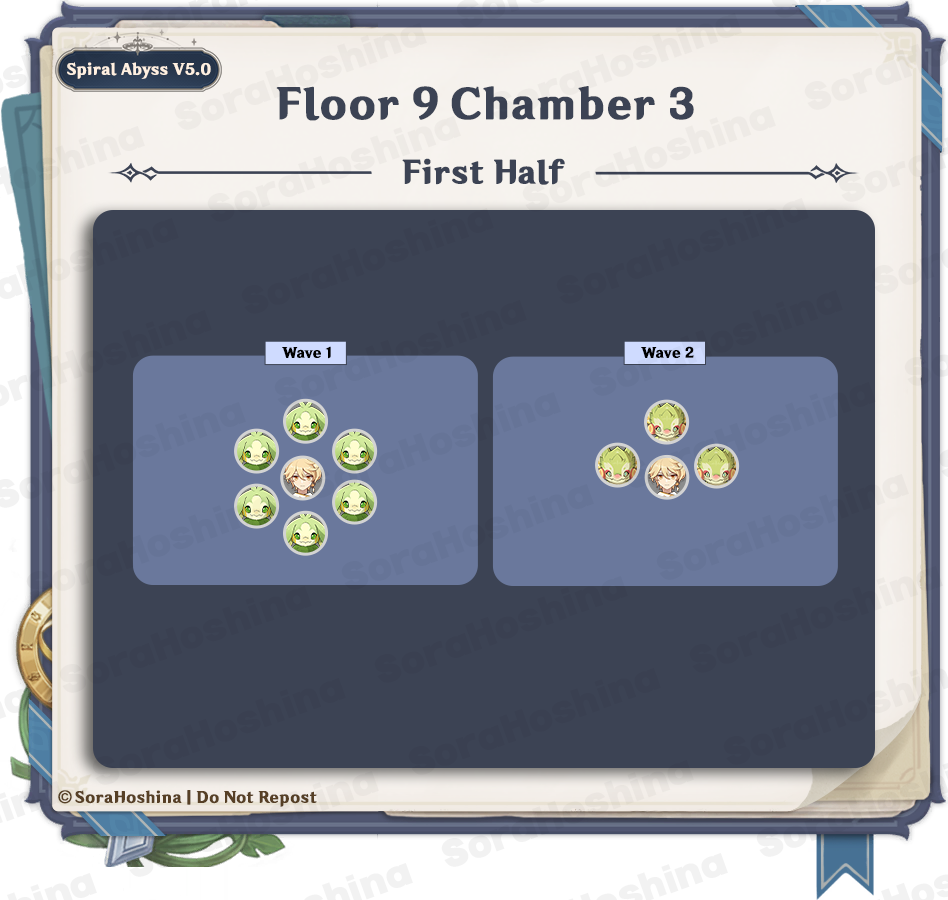
Wave 1: Yumkasaur Whelp x6
Wave 2: Yumkasaurus x3
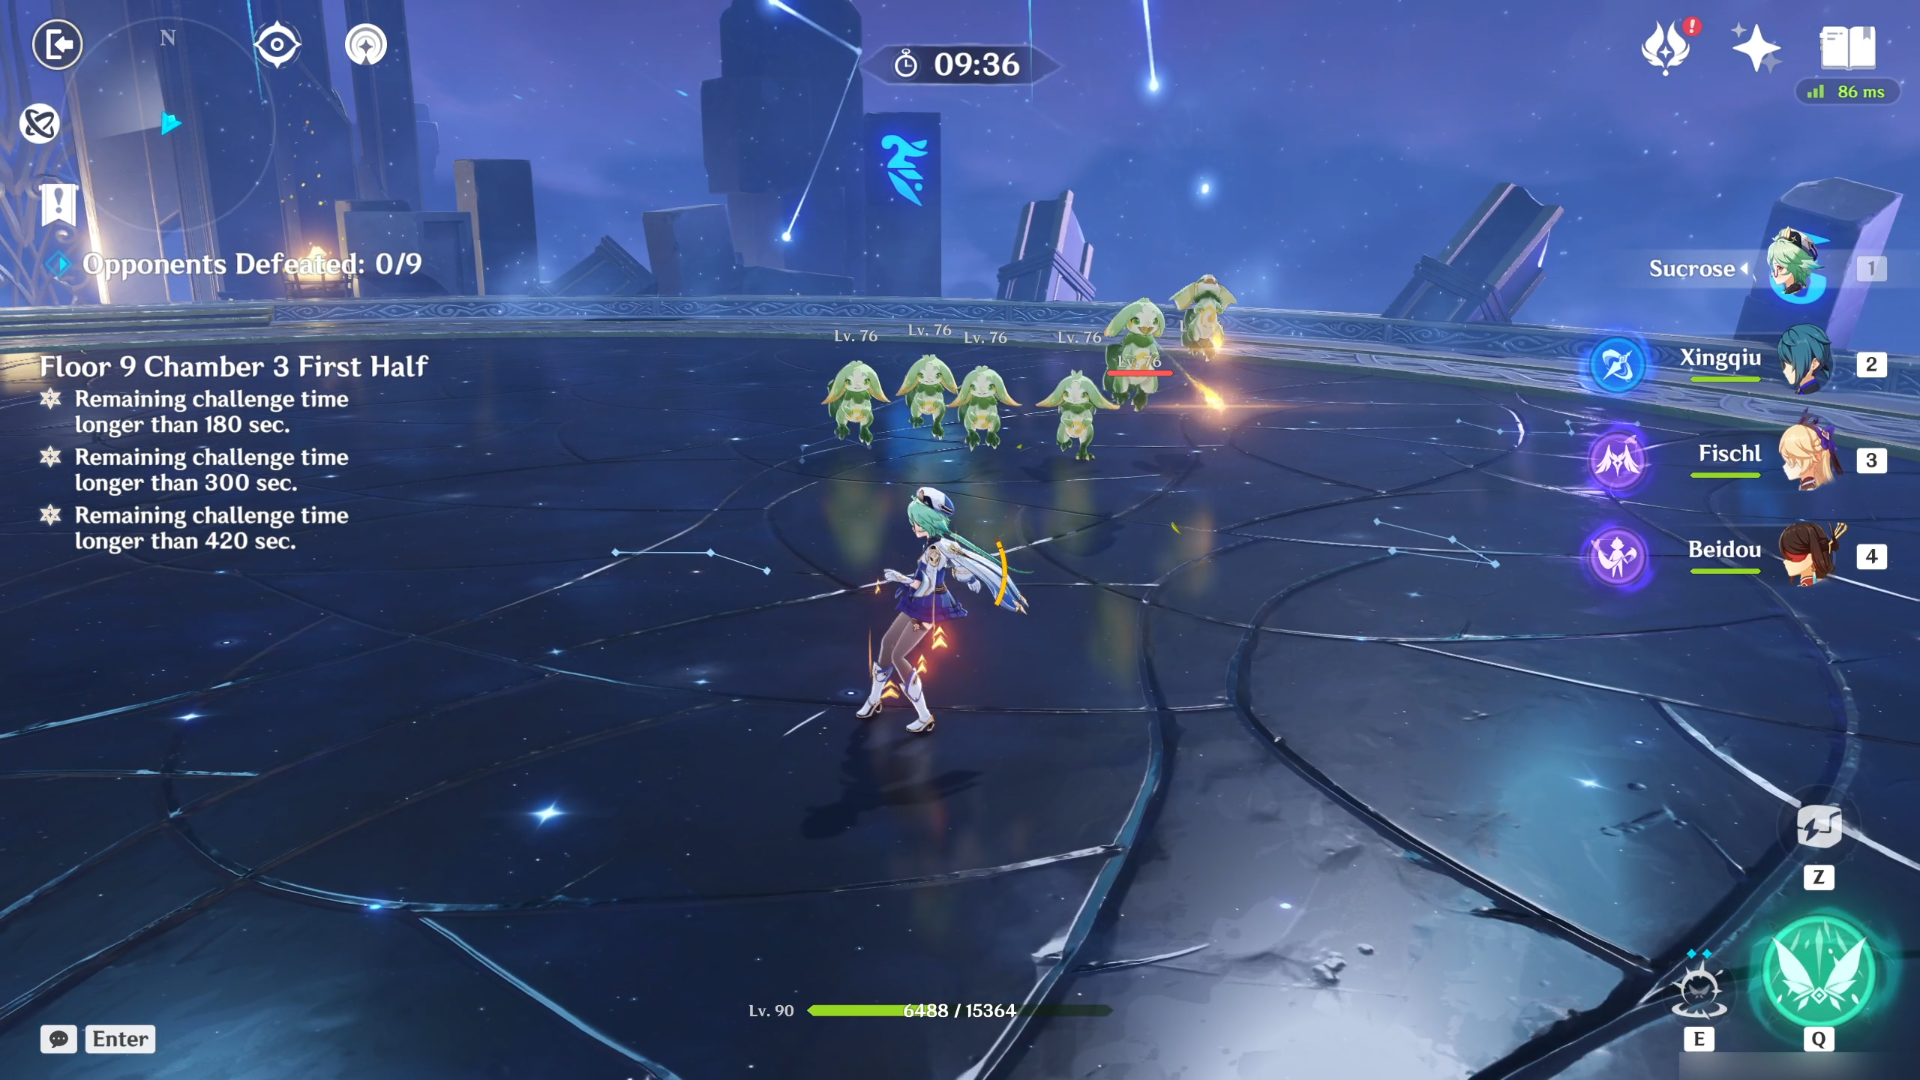
In the first wave, there are 6 Yumkasaur Whelp surrounding you. They can attack you from afar so beware of that. But other than that, nothing special.
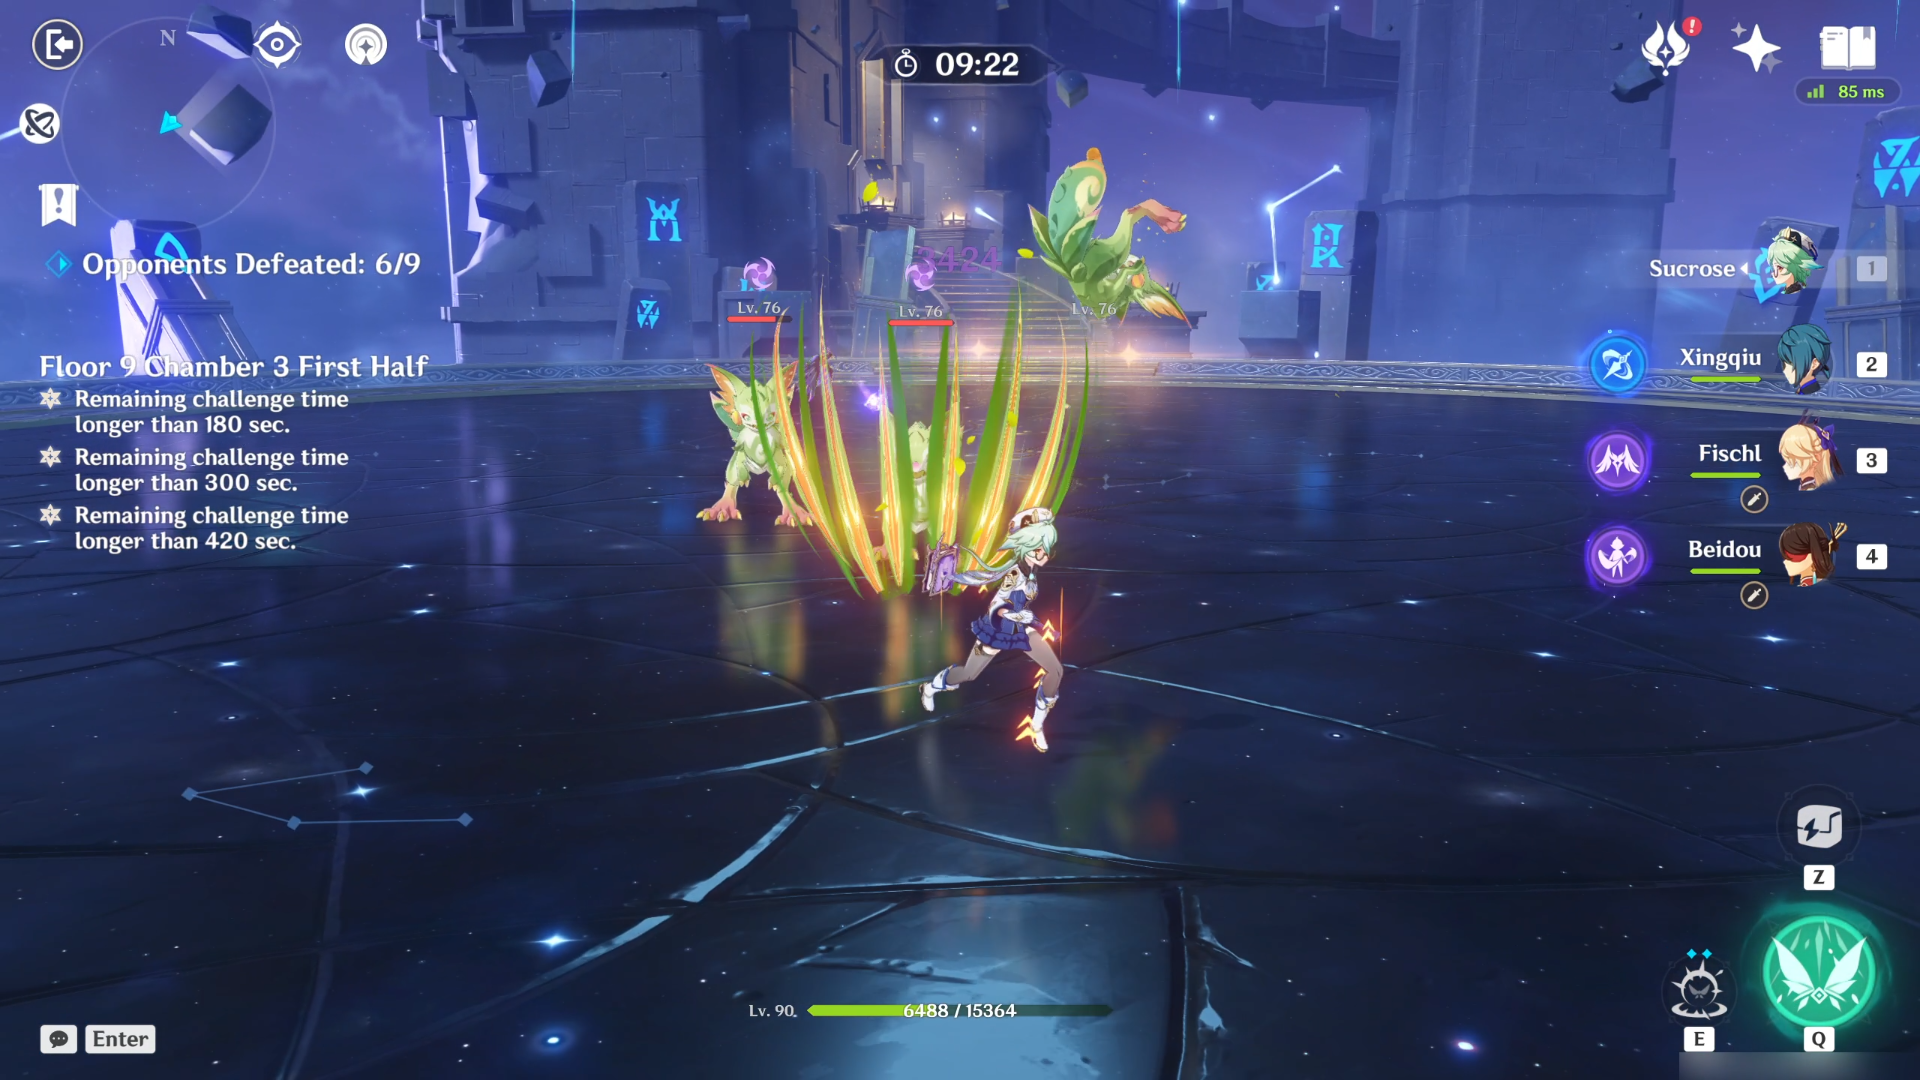
In the second wave, there are 3 Yumkasaurus. They often use their tongue to swing forward and attack with their claws. They're pretty fierce in attacking non-stop but the silver lining is when they swipe their tongue out, you have time to avoid it and when they finish attacking with the claws, you can dish out damage in that small window.
Second Half
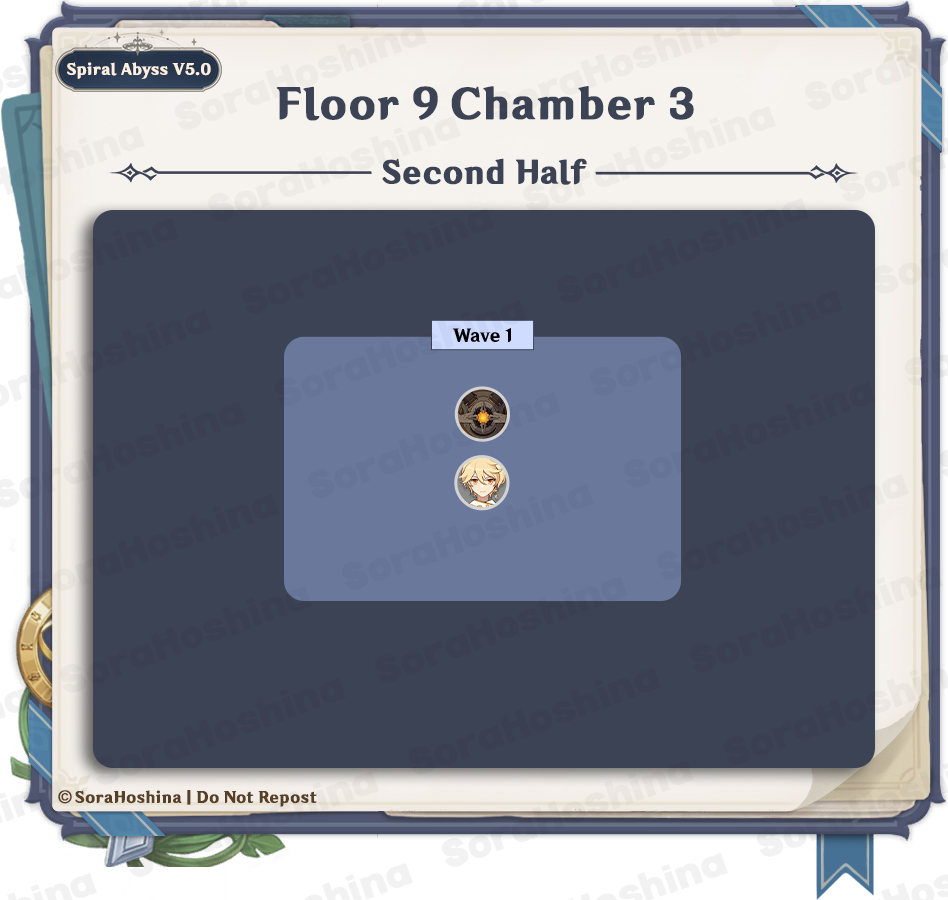
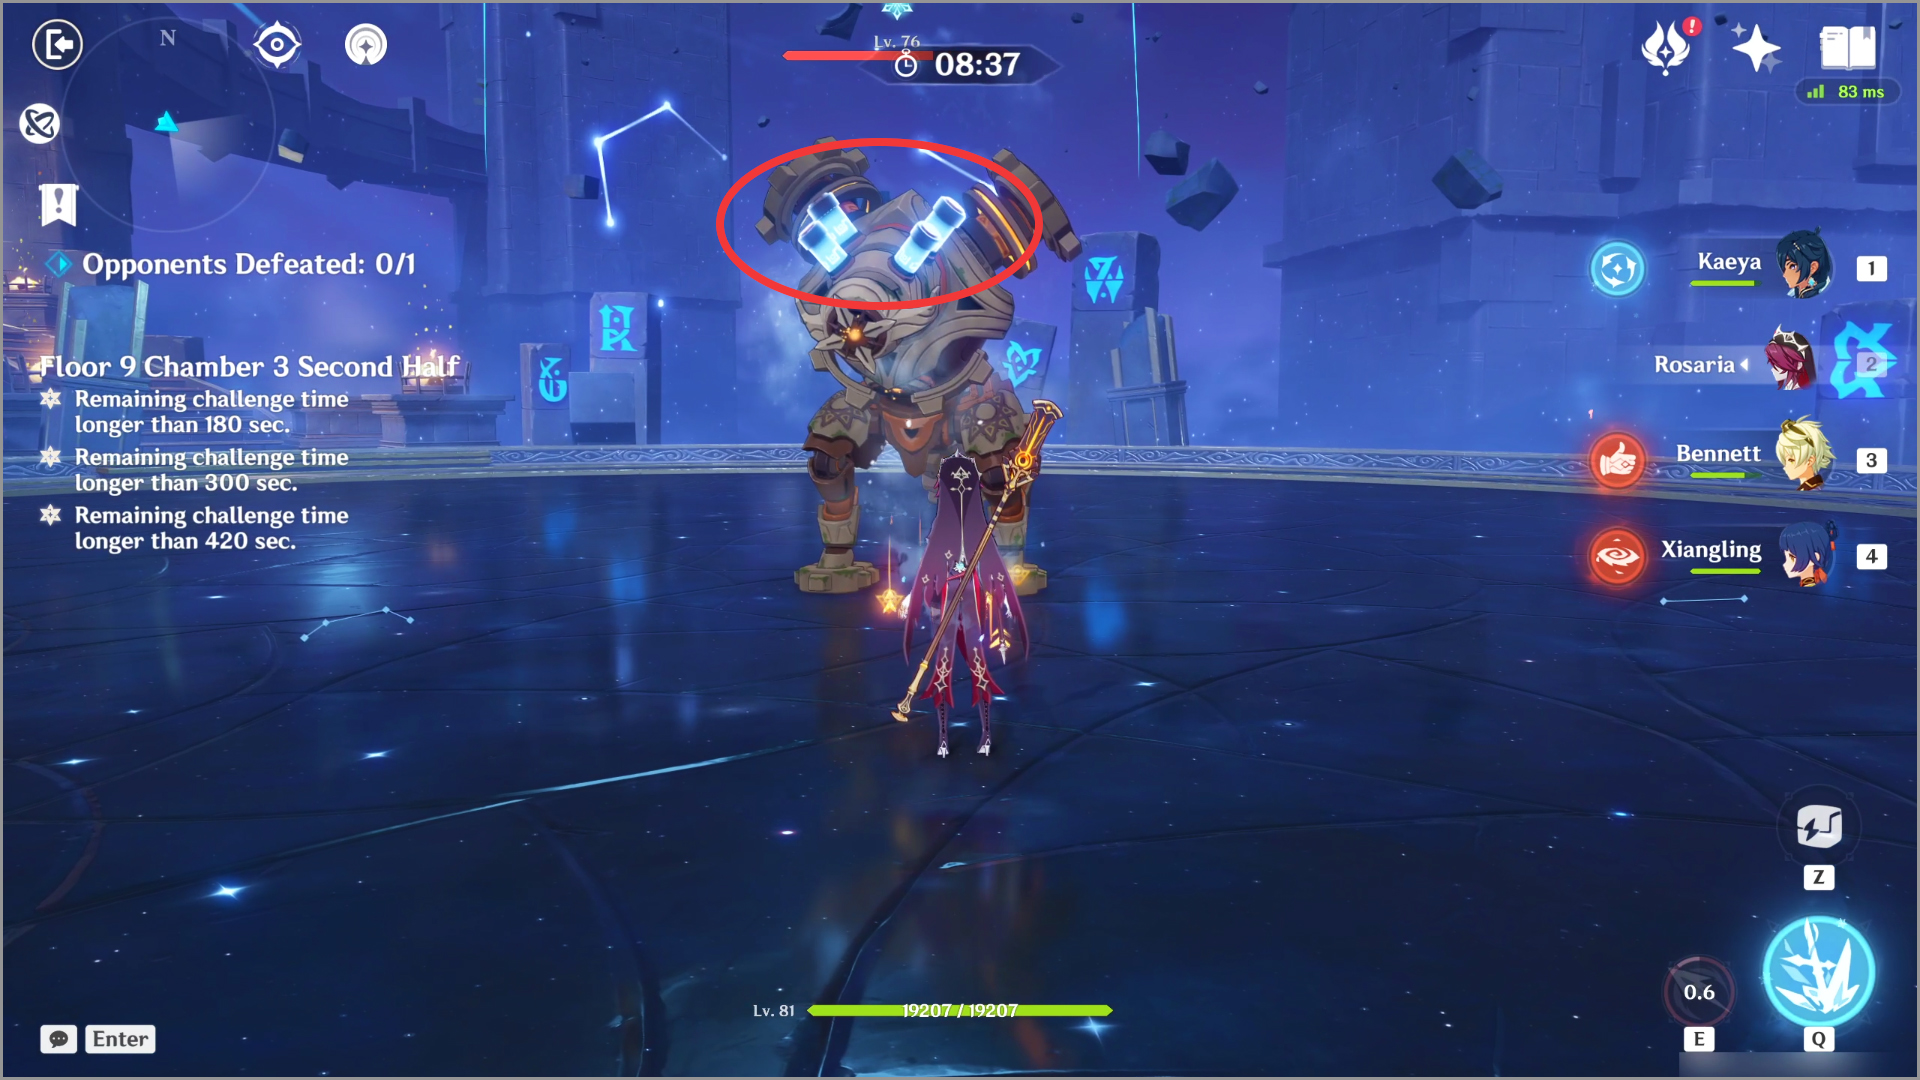
Wave 1: Ruin Drake: Earthguard x1
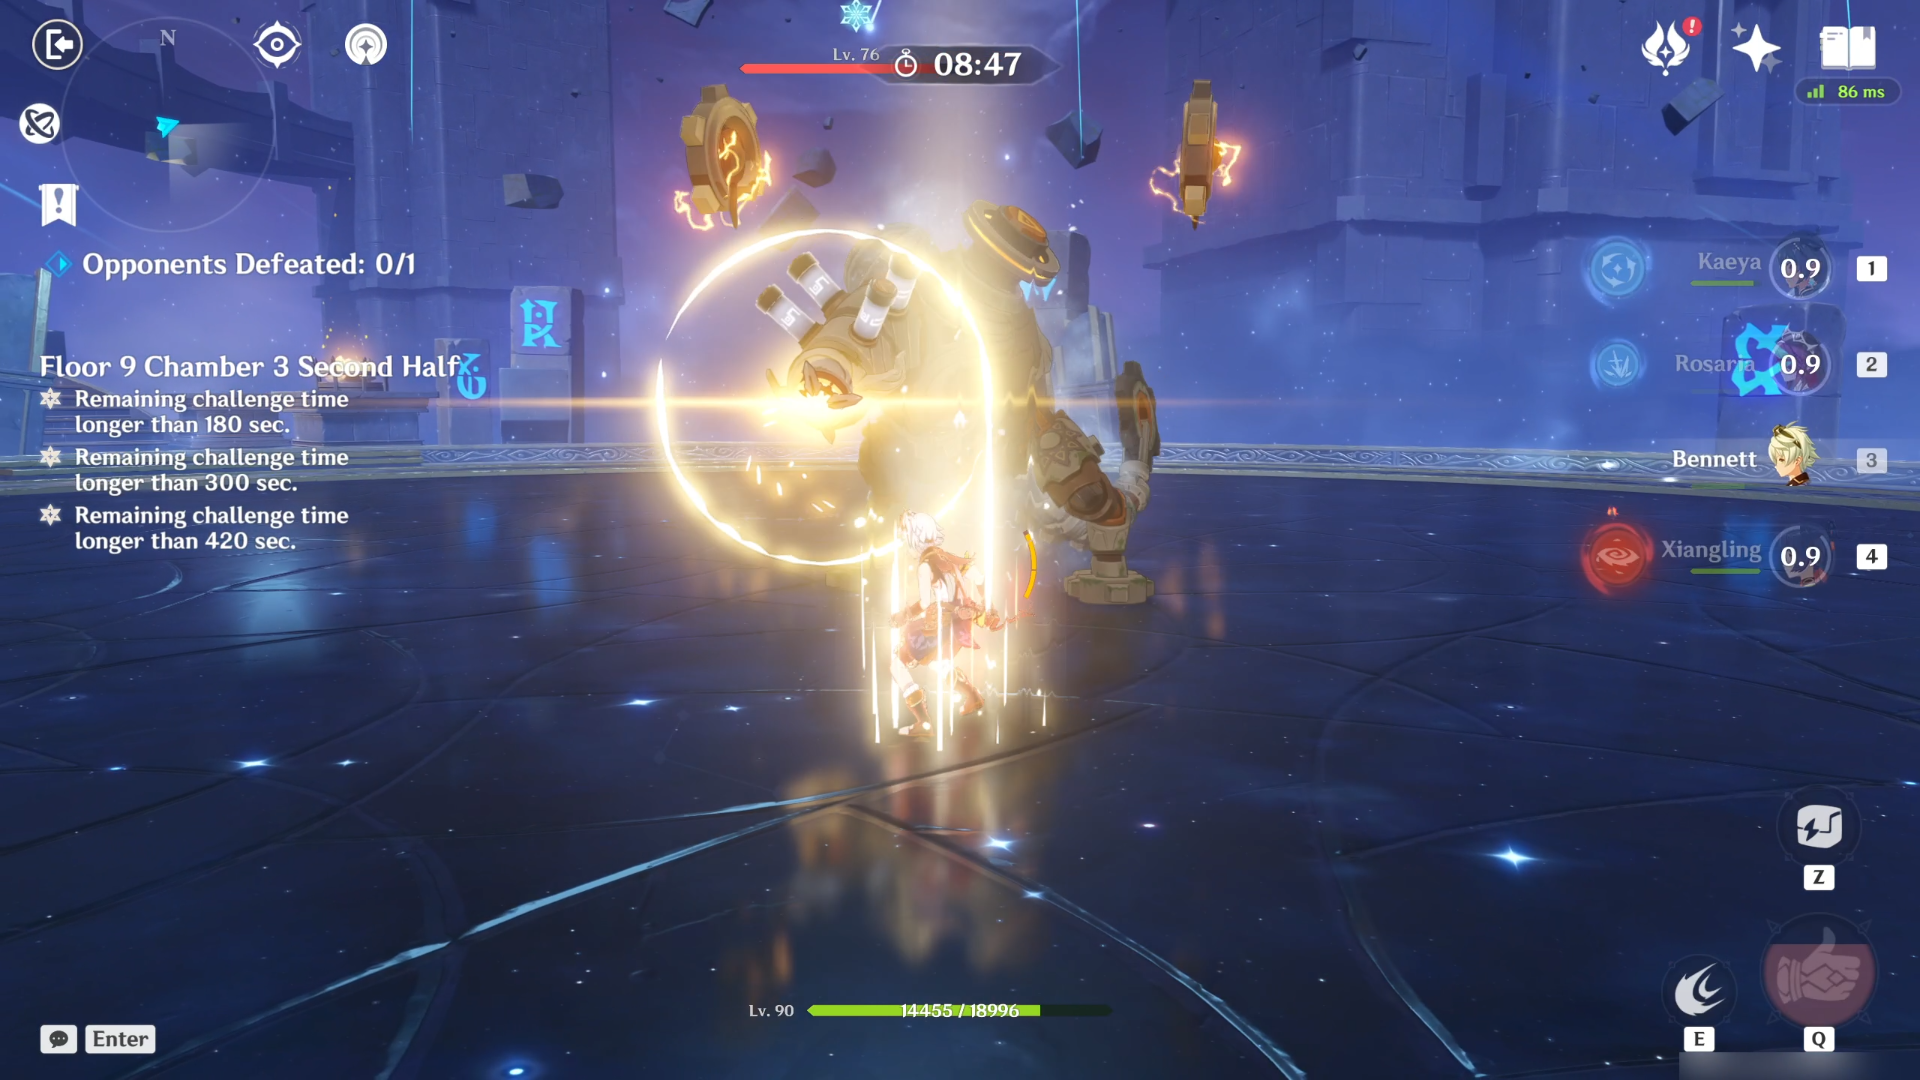
There is only one wave here and it's the Ruin Drake: Earthguard. At one point, this Ruin Drake will charge (can be seen by two devices swirling on top of Ruin Drake's body) before scattering bombs into the air. It's highly recommended to attack its weak point at the head - glowing orange orbs - to paralyze the Ruin Drake.
If you fail to do so, after the bombs hit the ground, the Ruin Drake will gain 40% Resistance to the element it has received the most amount of damage from the beginning of the battle (you can see what elements it is from the color of the bombs).