Table of Contents [Hide]

The last floor of 5.2 Spiral Abyss is here with some elite enemies and lots of bosses. Follow this guide to know more about enemies' lineup, their weaknesses, and how to complete the entire chamber on Floor 12.
Blessing of the Abyssal Moon
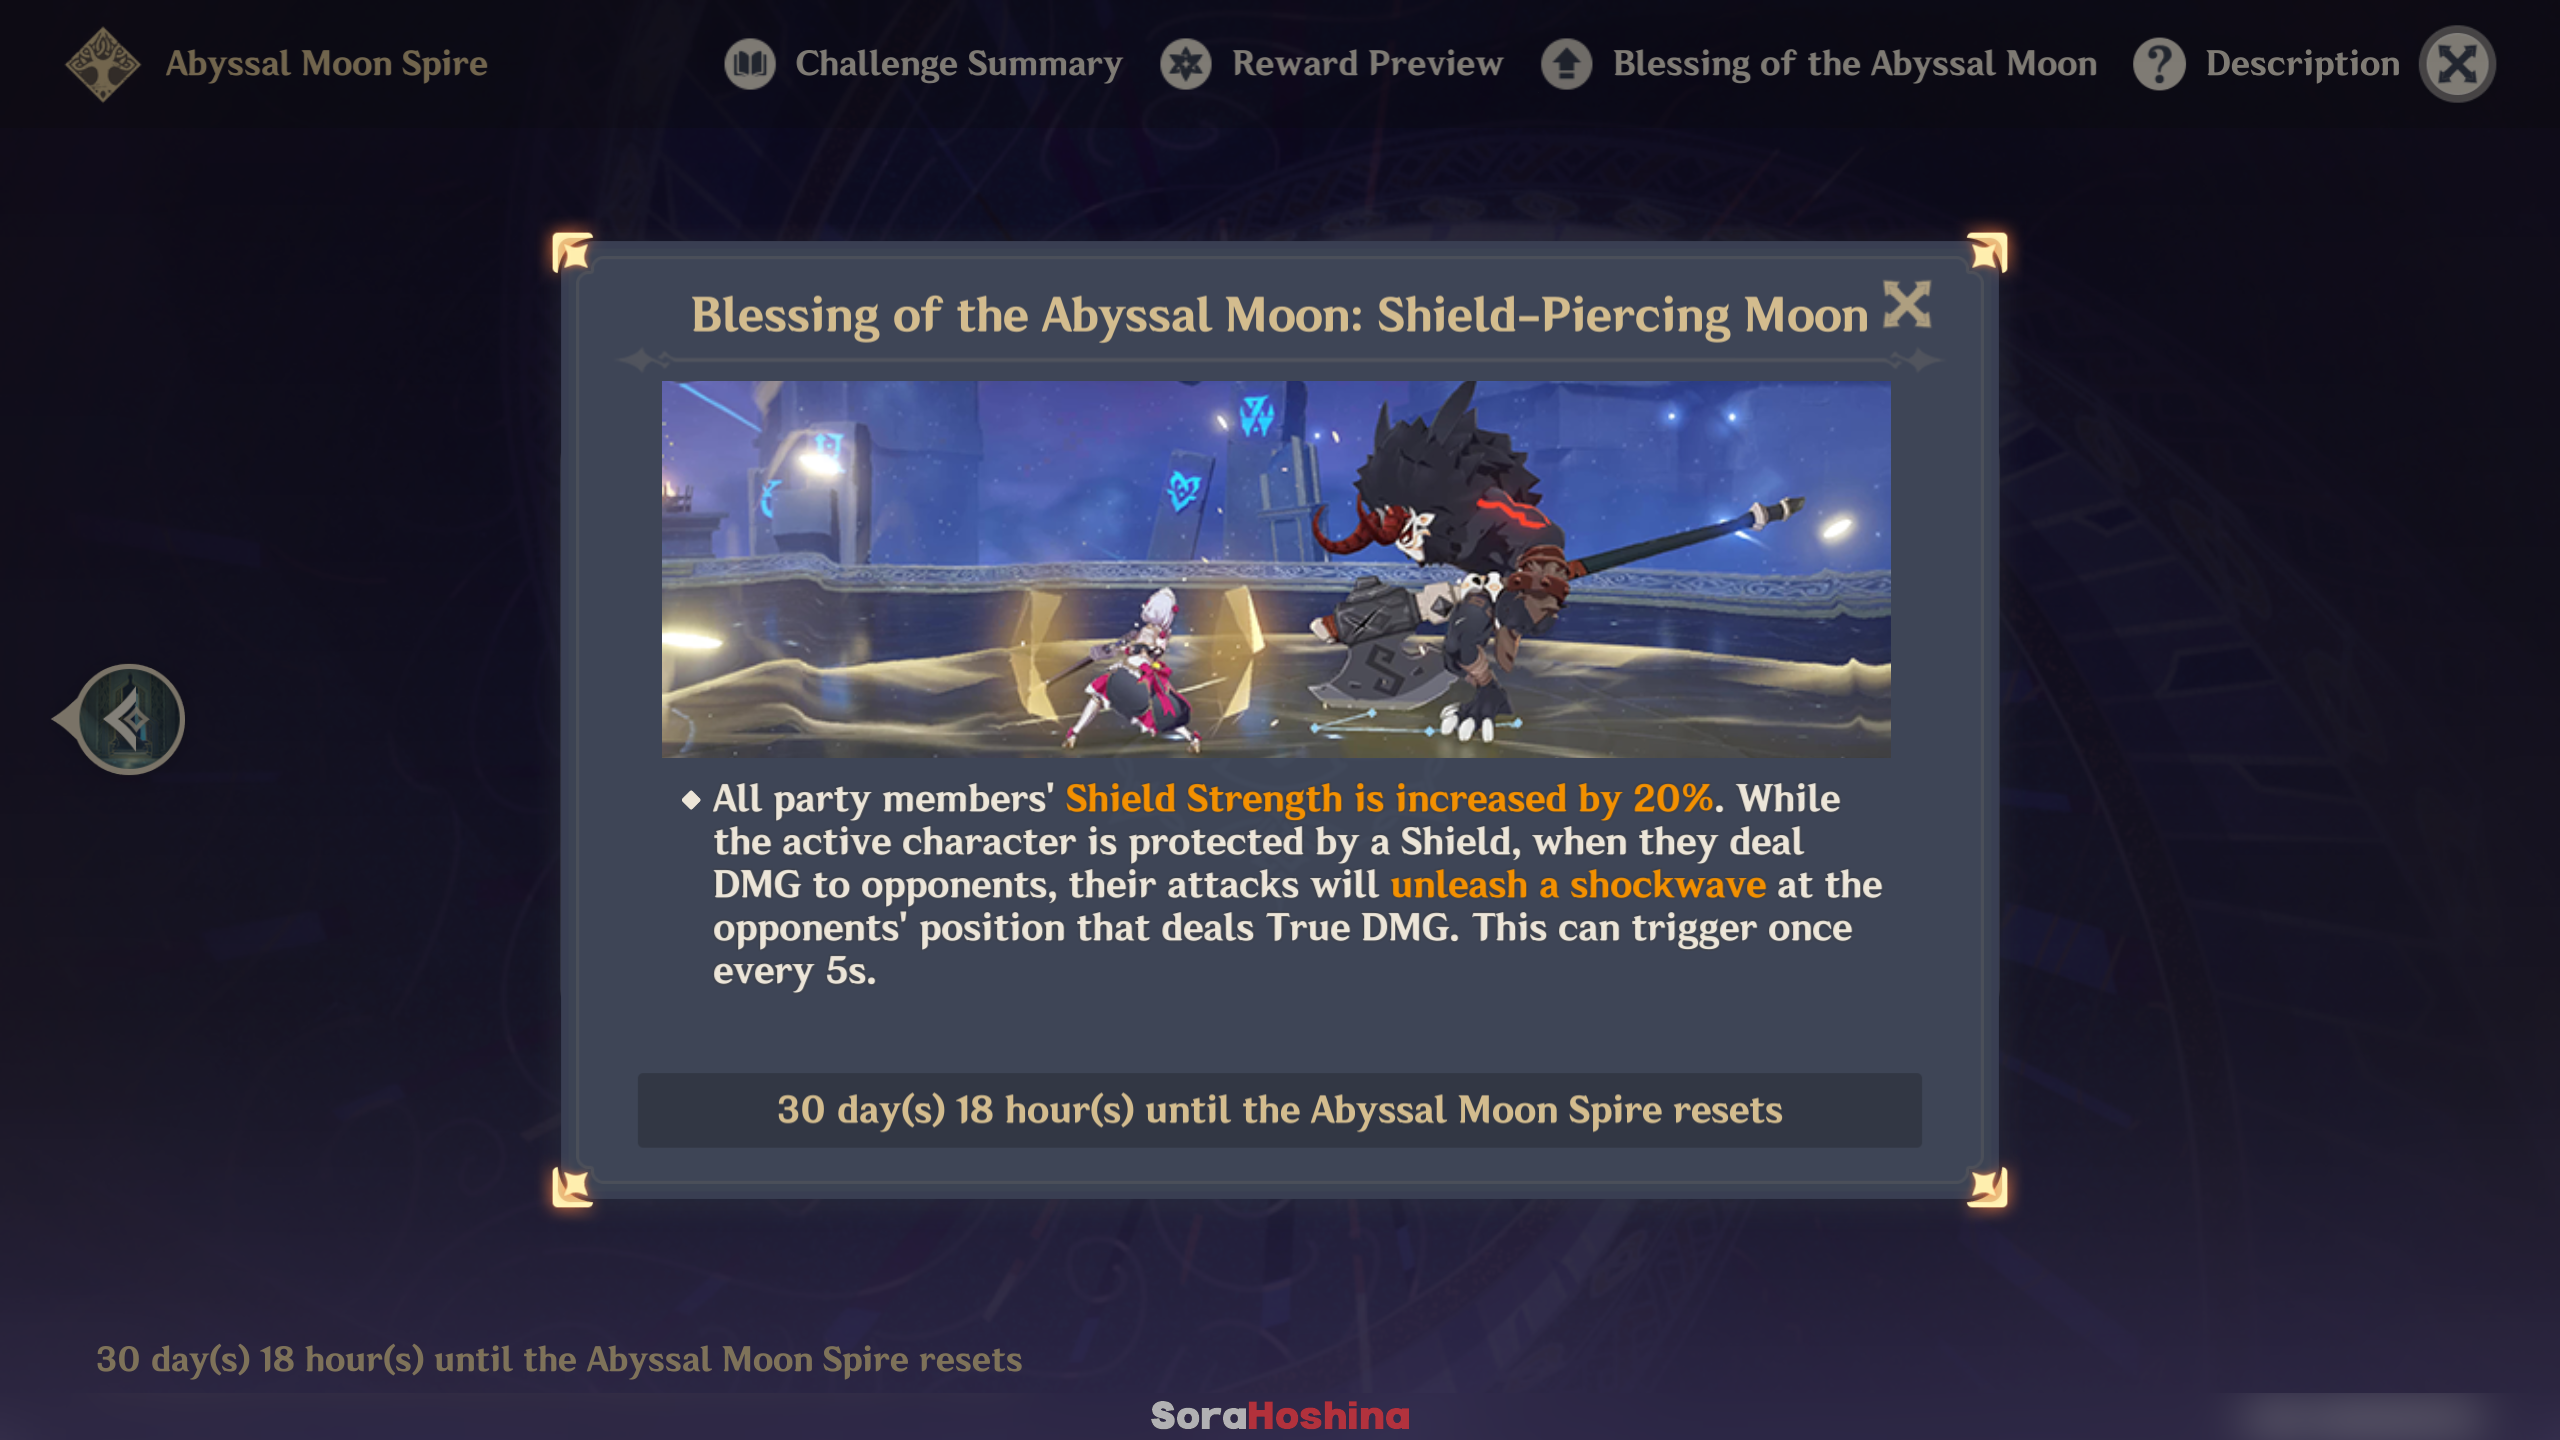
Reminder: Blessing of the Abyssal Moon will change every refresh cycle and may not be updated here. But the enemies list and strategy will remain the same.
Shield-Piercing Moon
All party members' Shield Strength is increased by 20%. While the active character is protected by a Shield, when they deal DMG to opponents, their attacks will unleash a shockwave at the opponents' position that deals True DMG. This can trigger once every 5s.
Team Recommendations
Ley Line Disorder:
For this floor only, the Let Line flow will be normal.
General Tips:
If the floor is too hard for you, don’t forget that changing teams is an option. Although you need to start from Chamber 1, at least you don’t have to worry about stars for the Chamber you already completed.
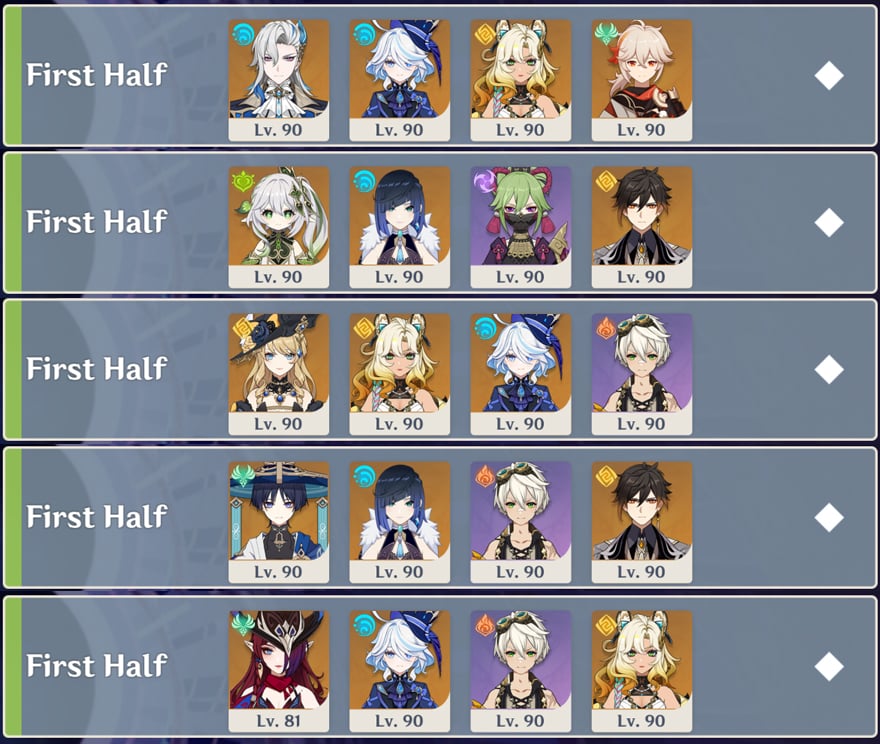
Team Recommendations for the First Half
| The recommended elements for the Second Half |   Pyro & Hydro ➥ Special mention to these 2 as there are Consecrated enemies in Chamber 1 and you can break their Phagocytic Energy Block faster with their own element. Although for Pyro, make sure it's only sub-DPS and not main DPS.  Geo ➥ Golden Wolflord makes a comeback here and you would want a Geo character to easily destroy the Rifthound Skulls. Either that or any character with fast elemental attacks.      All of these elements are okay ➥ Other opponents don't have a really notable RES. |
| The not recommended elements for the Second Half |  Pyro ➥ There is a pair of Fluid Avatar of Lava in Chamber 1 and they have very high Pyro RES so it's best not to bring Pyro Main DPS, sub-DPS is okay. In addition, there is also the huge bird Saurian in Chamber 2 with also high Pyro RES. |
Example:
(1) Hypercarry Team: Neuvillette + Furina + Zhongli/Xilonen + Kazuha
(2) Hyperbloom Team: Nahida/Alhaitham + Xingqiu/Yelan/Furina + Kuki Shinobu + Flex (Preferably Geo)
(3) Geo Team: Navia + Xilonen + Furina + Bennett
(4) Airborne Team: Wanderer + Yelan + Bennett + Zhongli
(5) Airborne Team 2: Chasca + Furina + Bennett + Xilonen
You can find more lineups in the official HoYoLAB Lineup Simulator here.
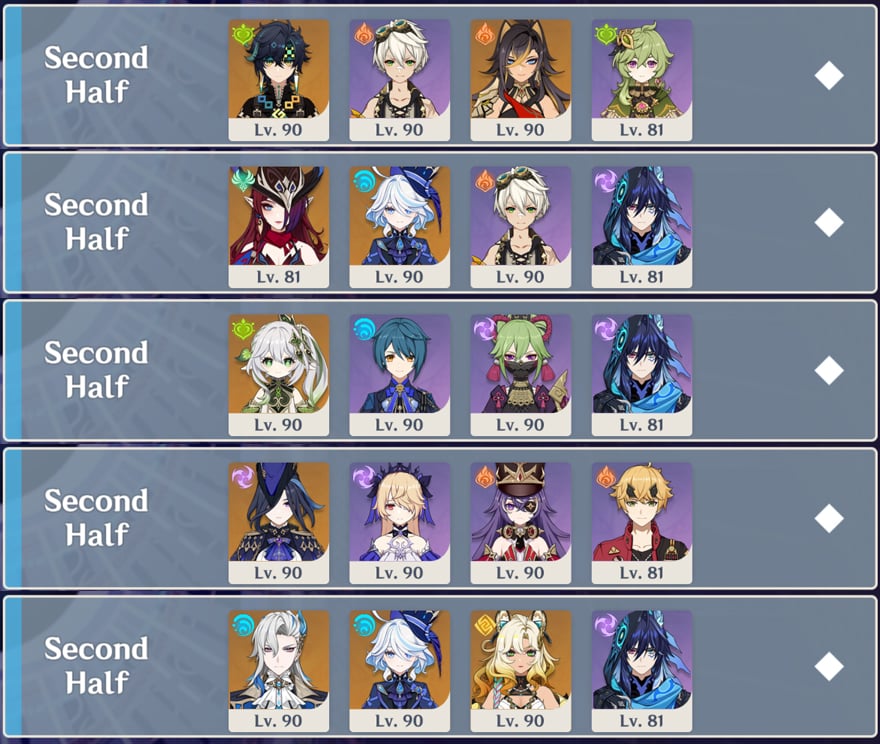
Team Recommendations for the Second Half
| The recommended elements for the Second Half |       All of these elements are okay ➥ Other opponents don't have a really notable RES. |
| The not recommended elements for the Second Half |  Geo ➥ Right off the bat in Chamber 1, you will face Geovishap, which have high Geo RES. Geo DPS is no good, but Geo shield or sub-DPS is great against them!  Physical ➥ In Chamber 2, Physical is terrible against Tenebrous Papilla because when it creates a Void Ward, you need to use Elemental attacks to destroy it. In addition, there are also PMA boss in Chamber 3 and it also has high Physical RES. |
Example:
(1) Burning Team: Kinich + Bennett + Xiangling/Thoma/Dehya + Collei
(2) Anemo Team: Chasca + Furina + Bennett + Flex (Bow)
(3) Hyperbloom Team: Nahida/Alhaitham + Xingqiu/Yelan + Kuki Shinobu + Ororon
(4) Overload Team: Clorinde + Fischl + Chevreuse + Thoma
(5) Electro-Charged Team: Neuvillette + Furina + Xilonen + Ororon
(6) Vaporize Team: Hu Tao + Yelan + Furina + Xilonen
You can find more lineups in the official HoYoLAB Lineup Simulator here.
Floor 12 Chamber 1
First Half
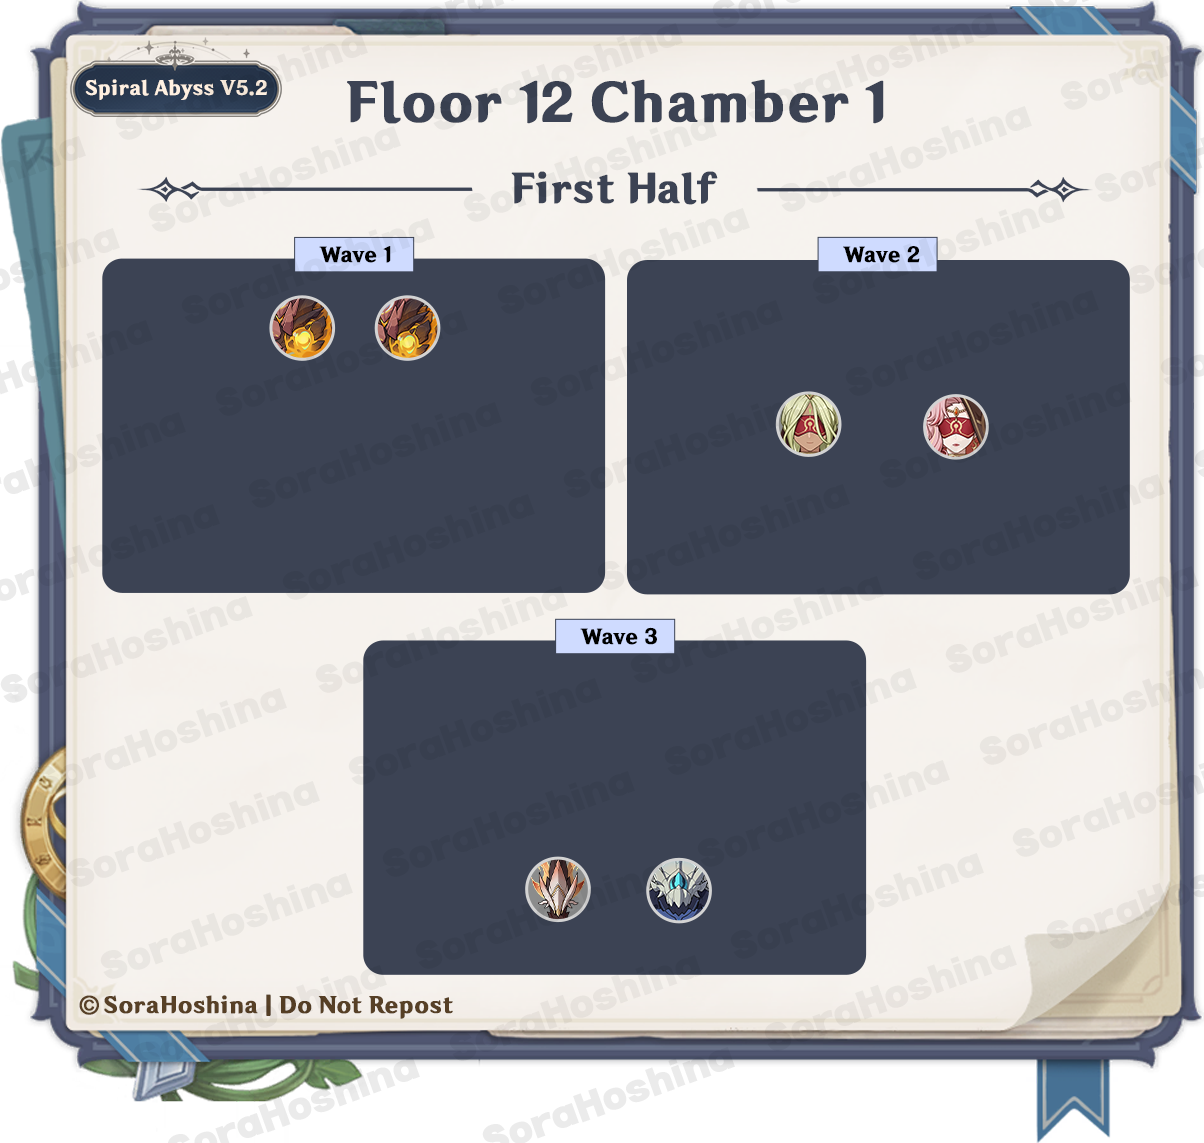
1st Wave: Fluid Avatar of Lava x2
2nd Wave: Eremite Scorching Loremaster x1 & Eremite Floral Ring-Dancer x1
3rd Wave: Consecrated Red Vulture x1 & Consecrated Horned Crocodile x1
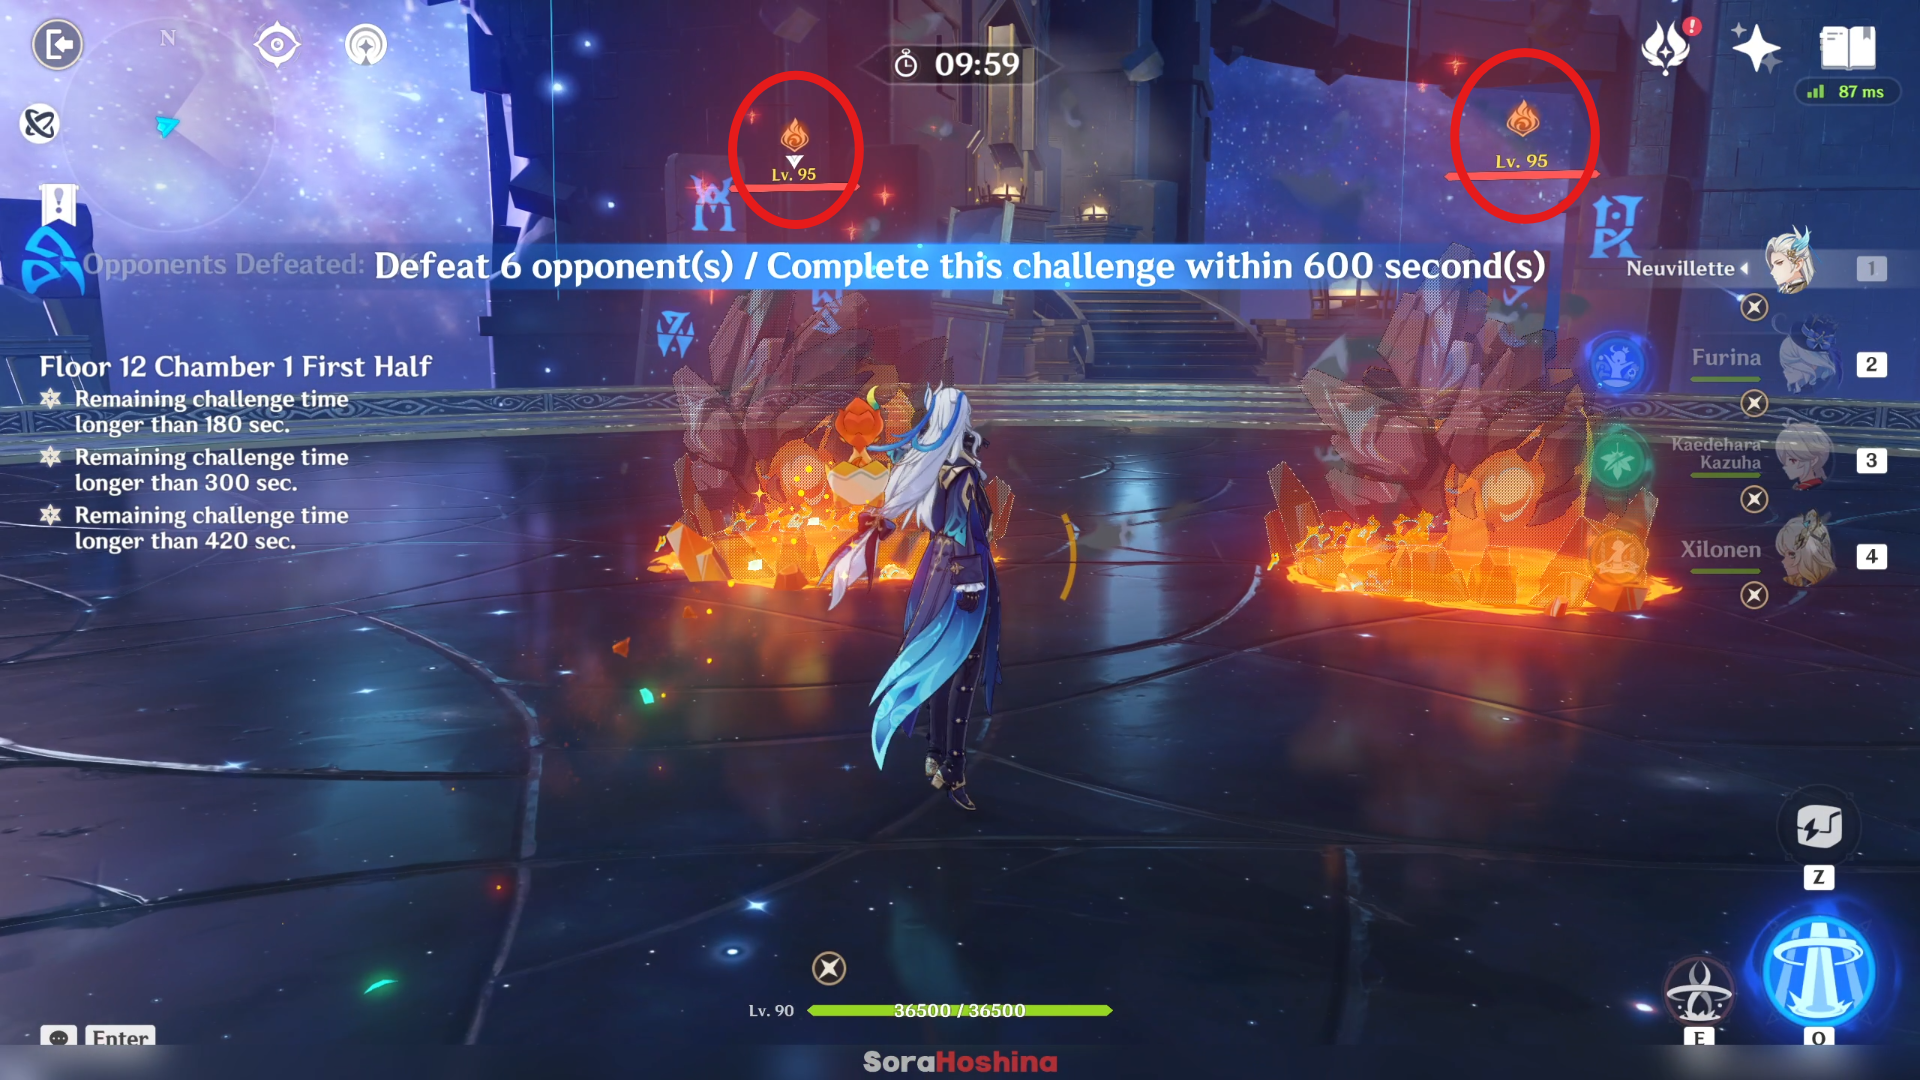
In the first wave, there are 2 Fluid Avatar Lava at the back area. Although they spawn from each other, they will almost immediately regroup at your location by submerging into the ground and reemerging within a lava pool at your location (or just move to your location). These enemies are in constant Pyro status so use that to your advantage and trigger Pyro-related reactions.
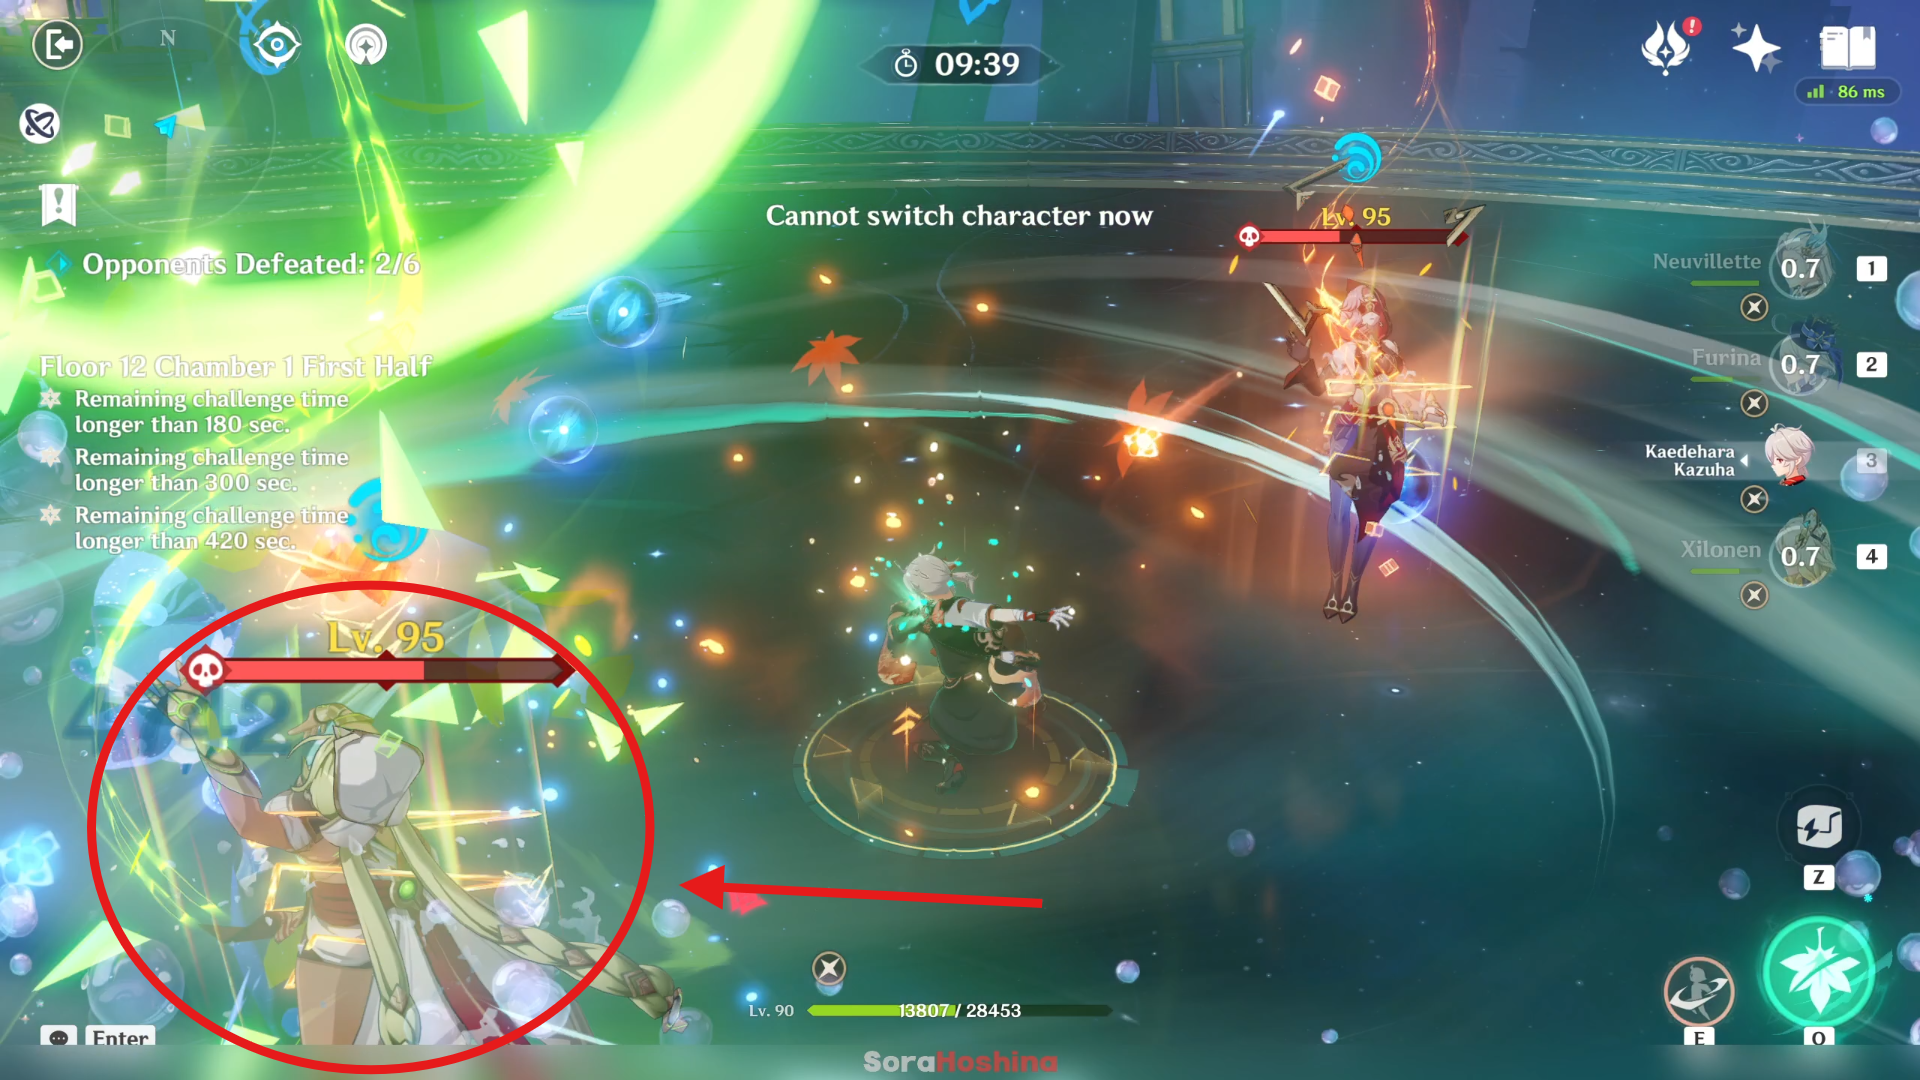
In the second wave, there are 2 Eremite ladies that spawn in the middle area. They will immediately enter an enhanced state (increased RES and high Interruption Resistance) and summoning their spirit animals to the arena.
Among these 2, focus on the Floral Ring-Dancer because Loremaster has the ability to teleport to your location. Ring-Dancer also has the teleport ability but only when she's not in the enhanced state. This way, you can most probably gather them at the same spot ('most probably' because it's not guaranteed).
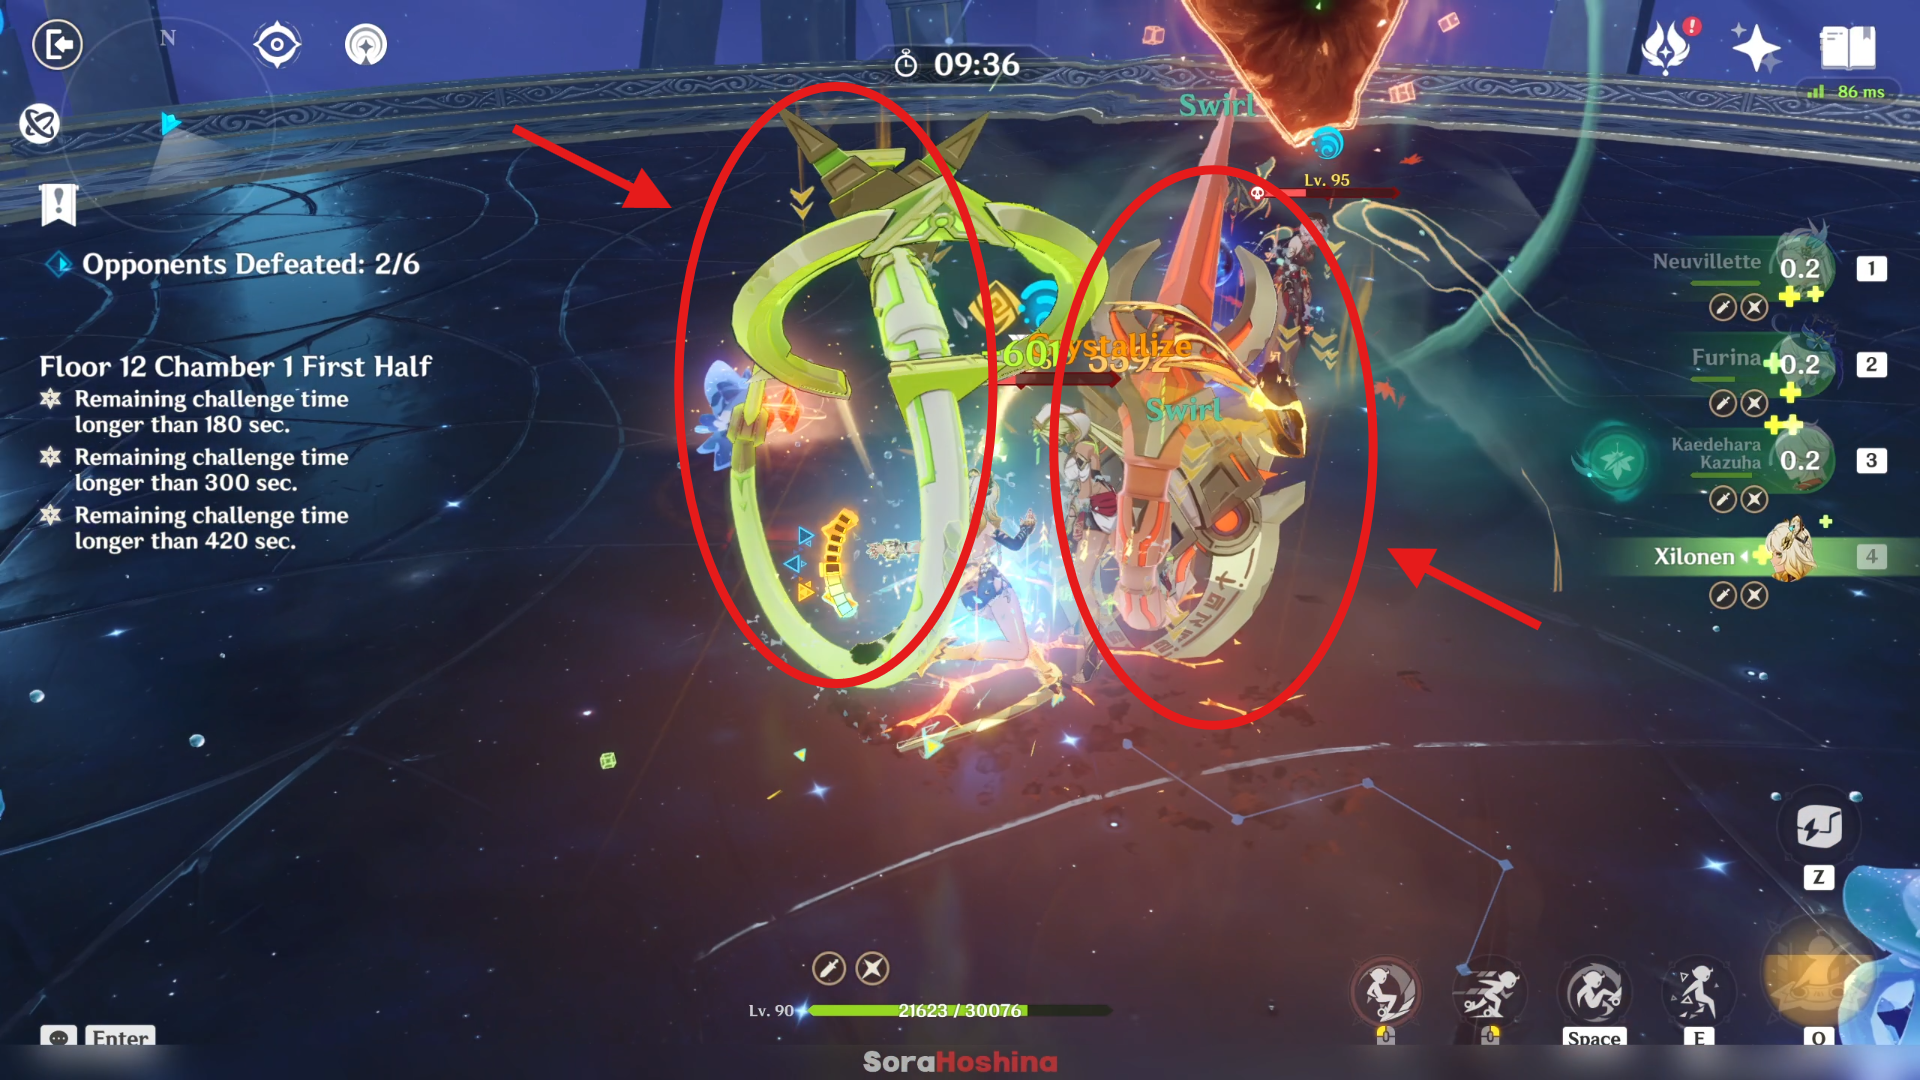
It's recommended to focus on defeating the spirit animals first because when they are alive, the Eremite ladies will have increased RES and high Interruption Resistance. Once the animals are defeated, the Eremite will become stunned for 10 seconds with decreased Pyro/Dendro RES (Pyro for Loremaster and Dendro for Ring-Dancer).
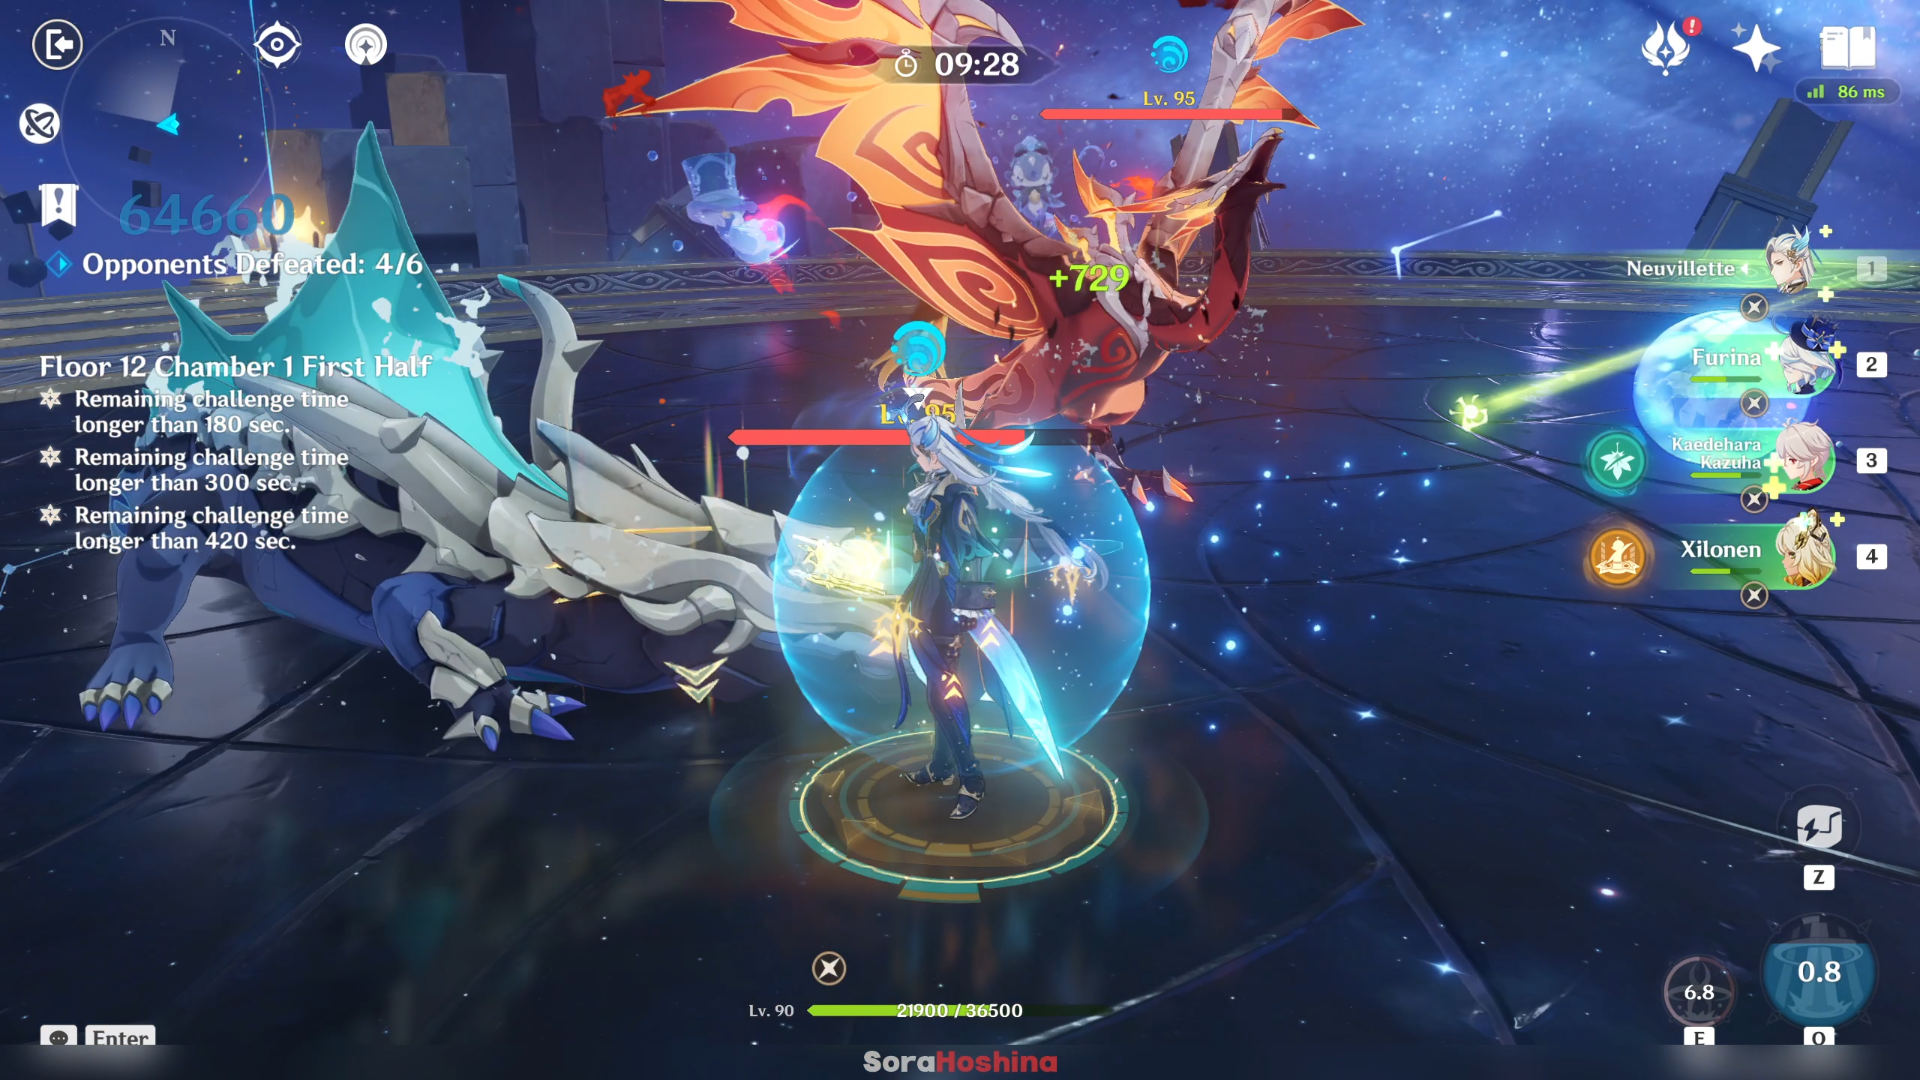
In the third wave, it's hell with two Consecrated enemies. The two enemies have great coordination, big AoE, and can trigger elemental reactions with their attack combinations (The bird deals Pyro damage, crocodile deals Hydro damage). Whatever your team comp is, make sure to bring at least one healer/shielder just in case.
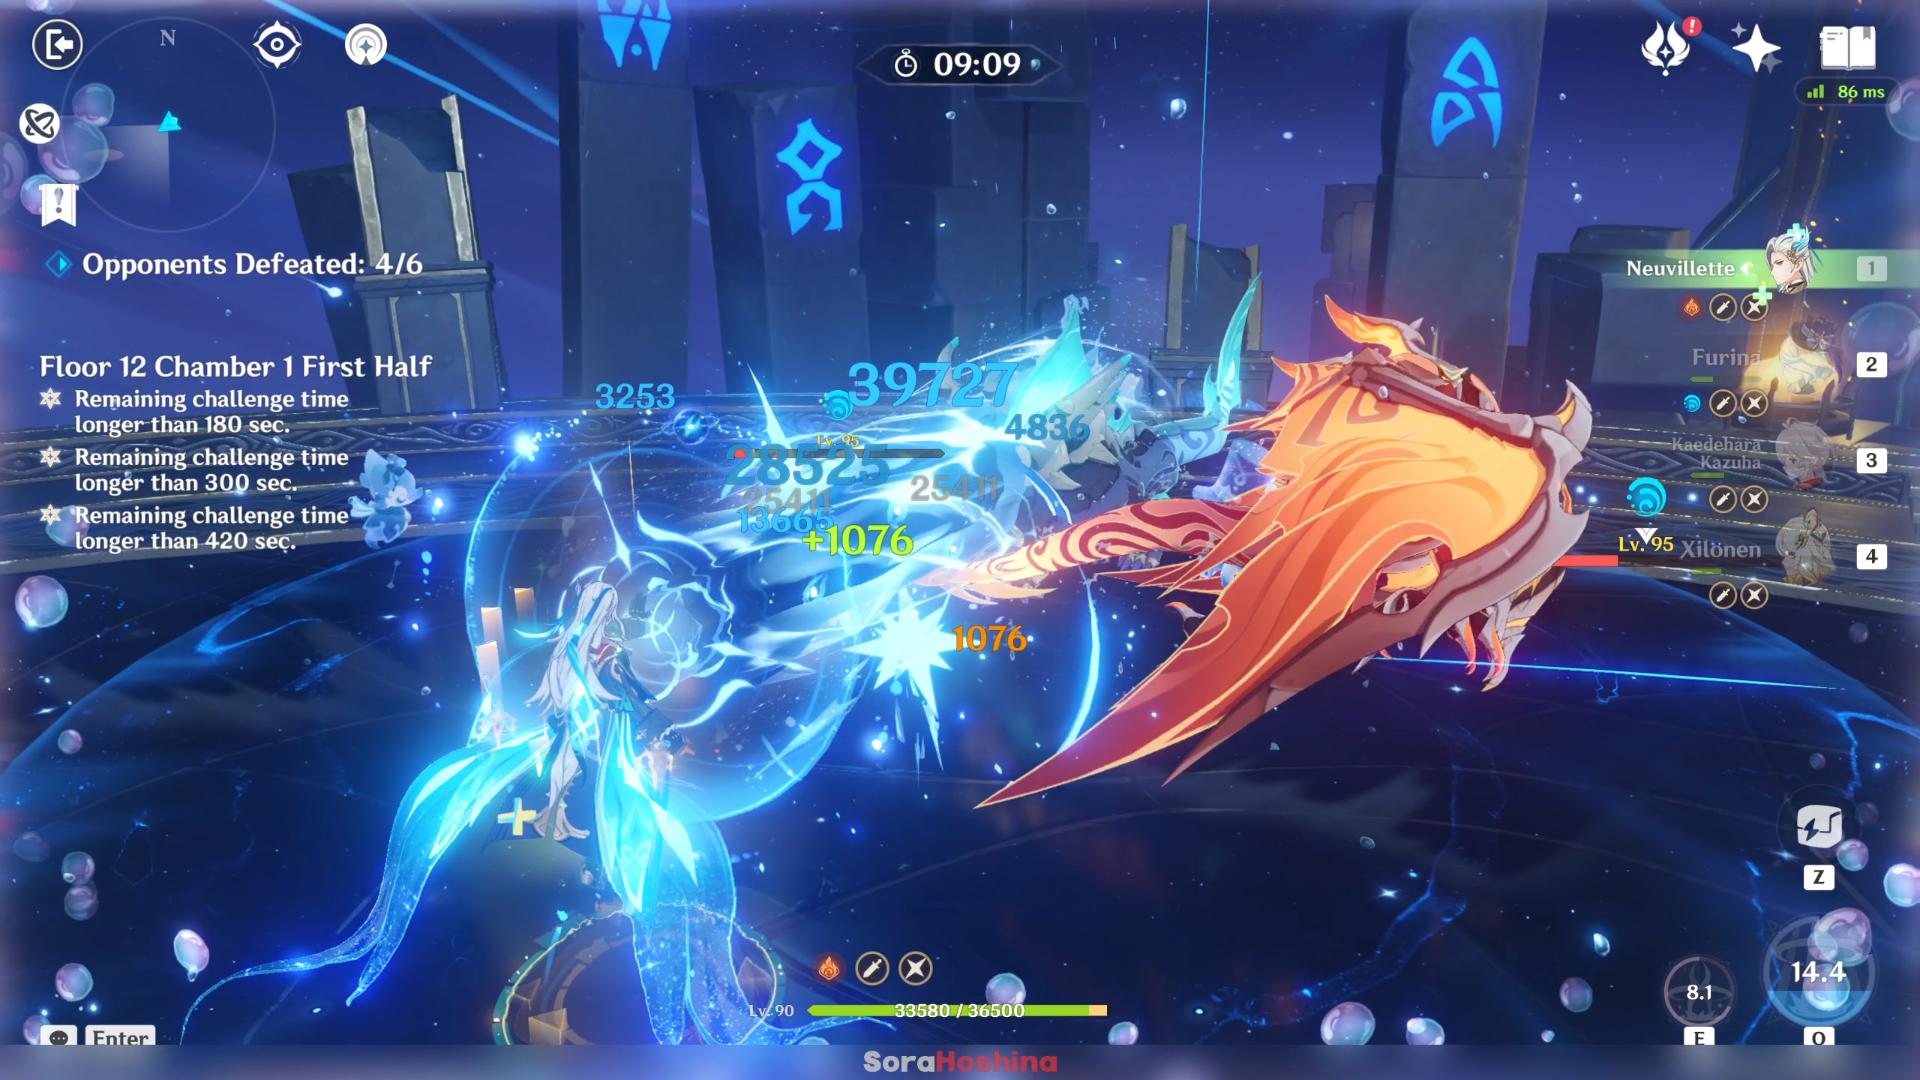
Since these two work well with each other and aggressively chase after you, you will often find yourself cornered with one of them. Try to focus on only one Consecrated enemy until it’s defeated so your character will have more time to take a breath and avoid attacks much easier. I would just focus on which one has the lowest HP. But if you have AoE DPS, then of course, attack both of them.
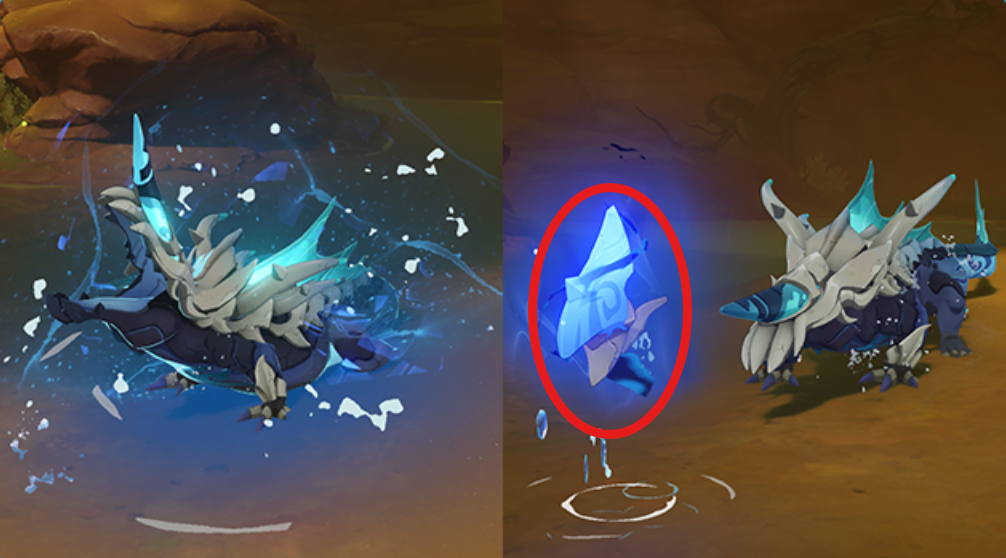
There will be a time when they will summon Phagocytic Energy Block. Make sure to attack this block with elemental attacks until the bar is filled so you can gain the Phagocytic energy > hit the consecrate enemy > and paralyze them. If you left the Block alone for a period of time, it will boost the attacks of the respective. If you left the Block alone for a period of time, it will boost the attacks of the respective enemies.
Second Half
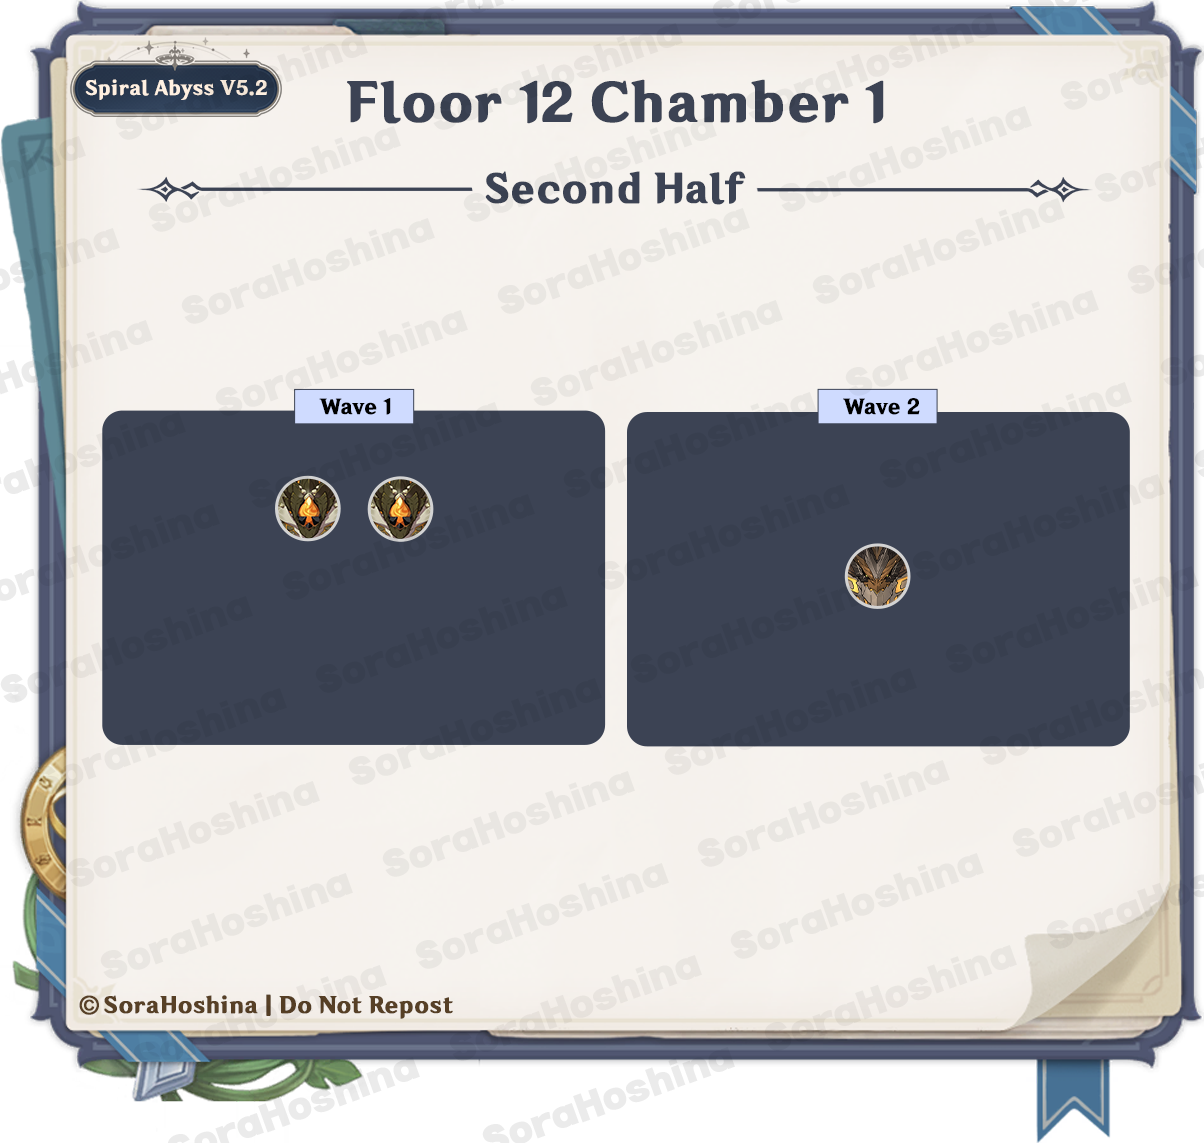
1st Wave: Geovishap x2
2nd Wave: Primo Geovishap (Electro) x1
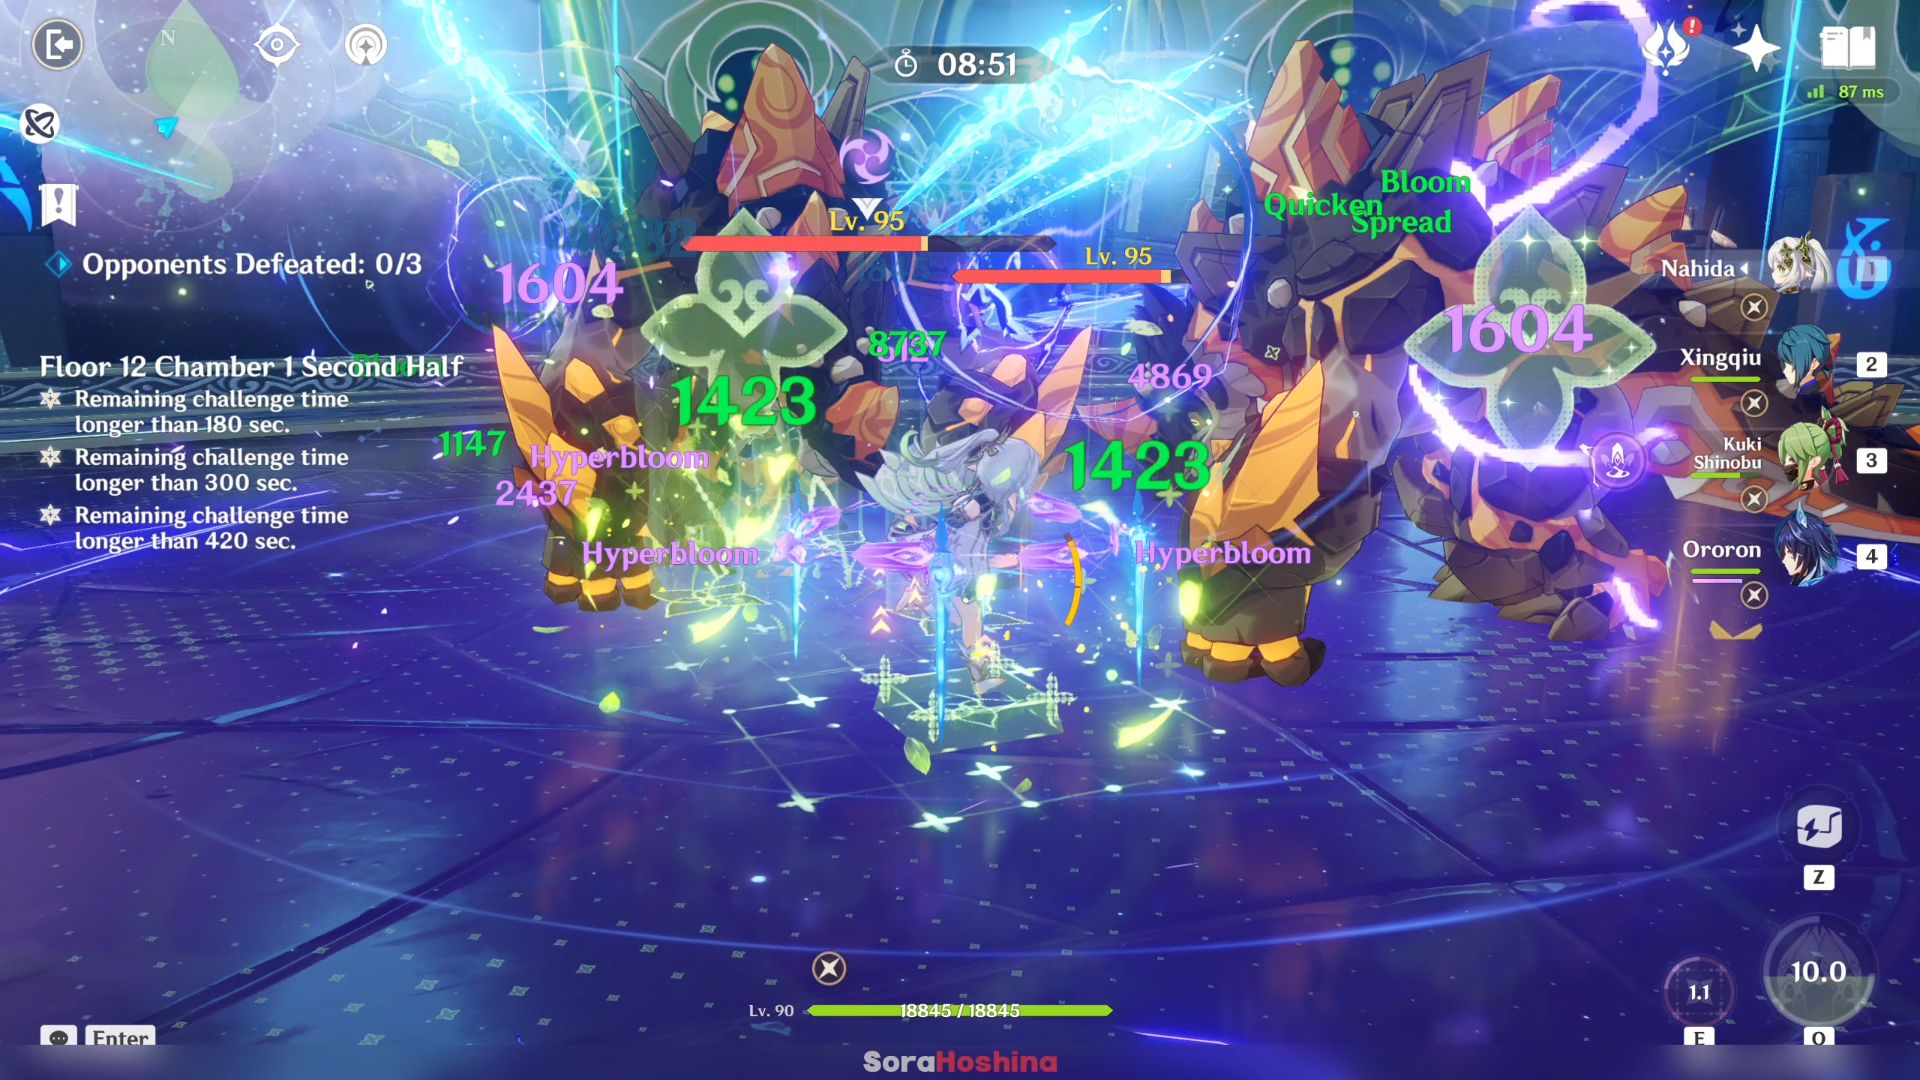
In the first wave, two Geovishap will appear at the front area. It's not the first time you're fighting this enemy right? The answer to the battle is obvious, brute force. There's nothing special with this enemy that is worth mentioning except the Geovishap will be staggered if they slam attack your character who has a shield. At first, they are normal Geovishap, but after you reduce their HP to a certain threshold (around 40%), they will infuse themselves with an element (Hydro and Electro). They will be in a constant elemental state and you can trigger elemental reaction much easily.
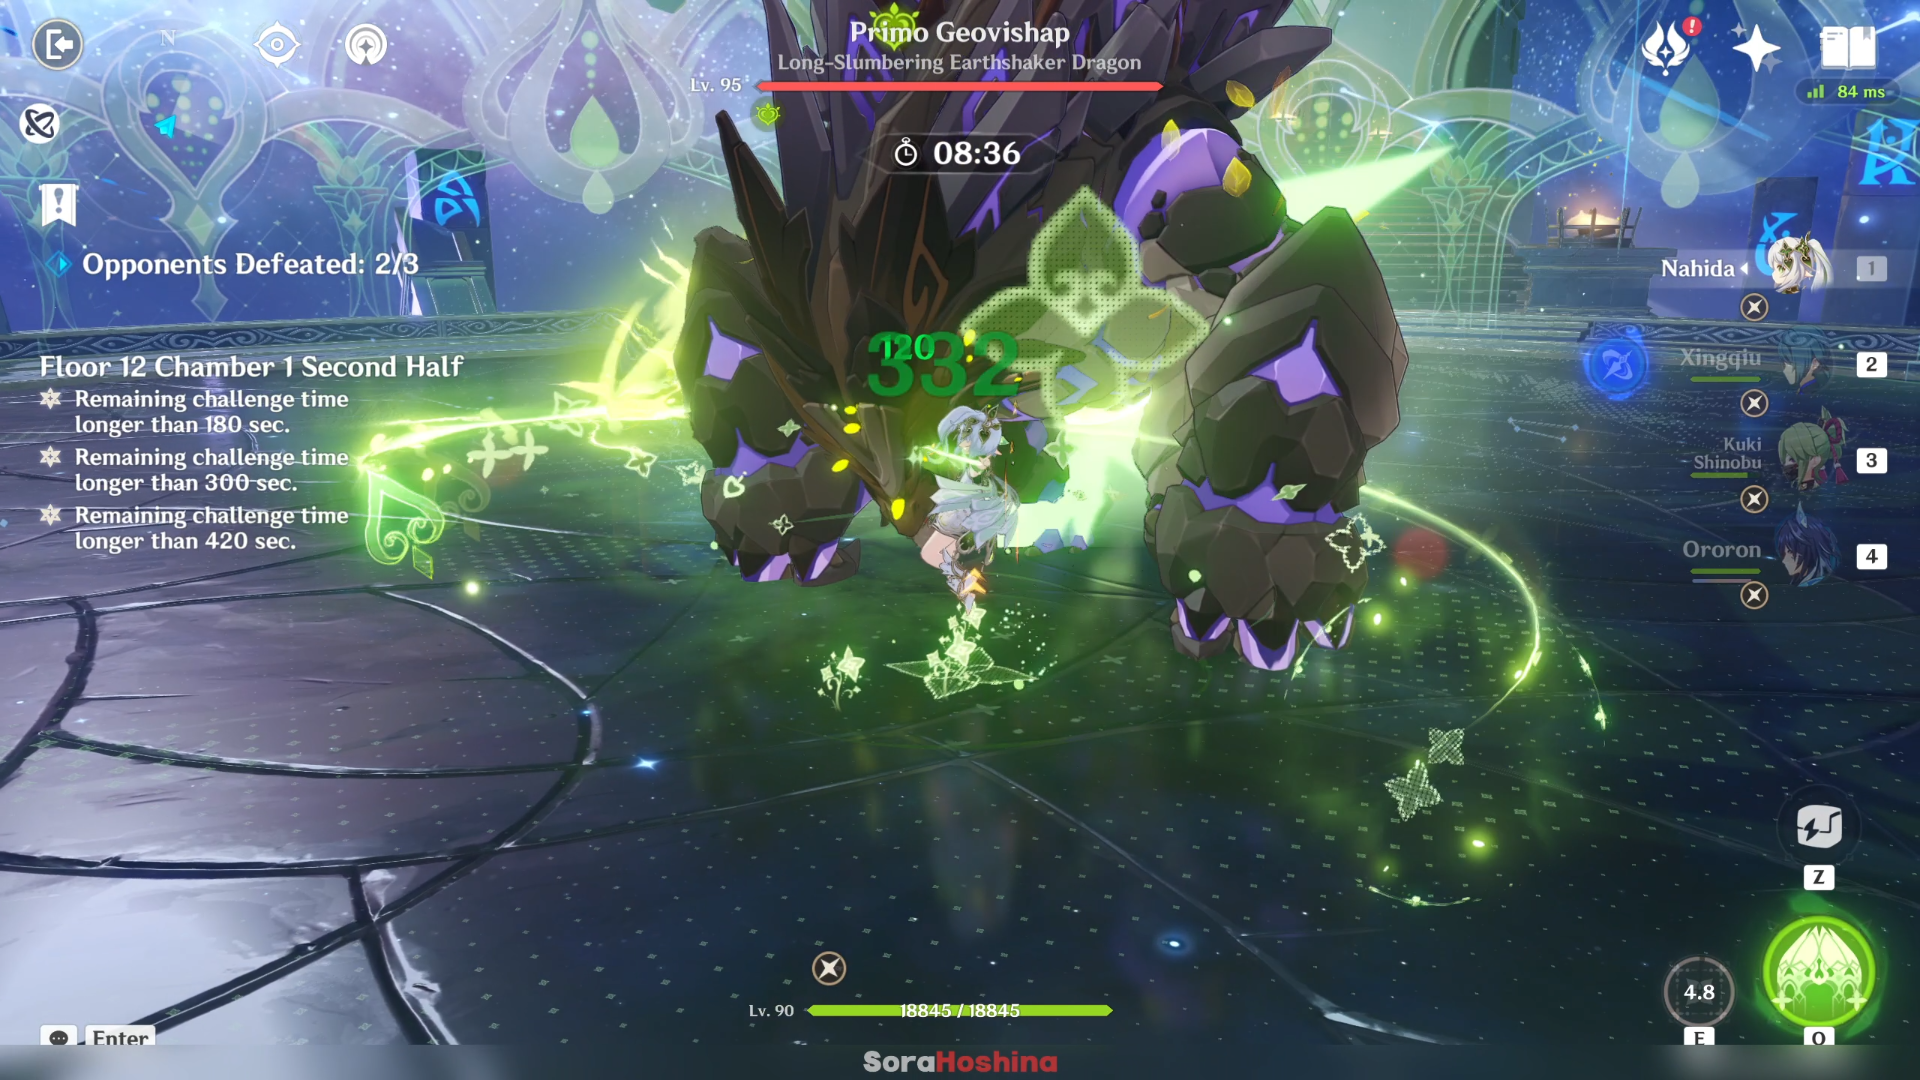
In the second wave, it's the Primo Geovishap (Electro Infusion). Remember that it has reduced damage when it just woke up so don't waste your Elemental Burst yet. Also, bring along a shielder (preferably Geo or Electro) because it has one special attack that you can take advantage of.
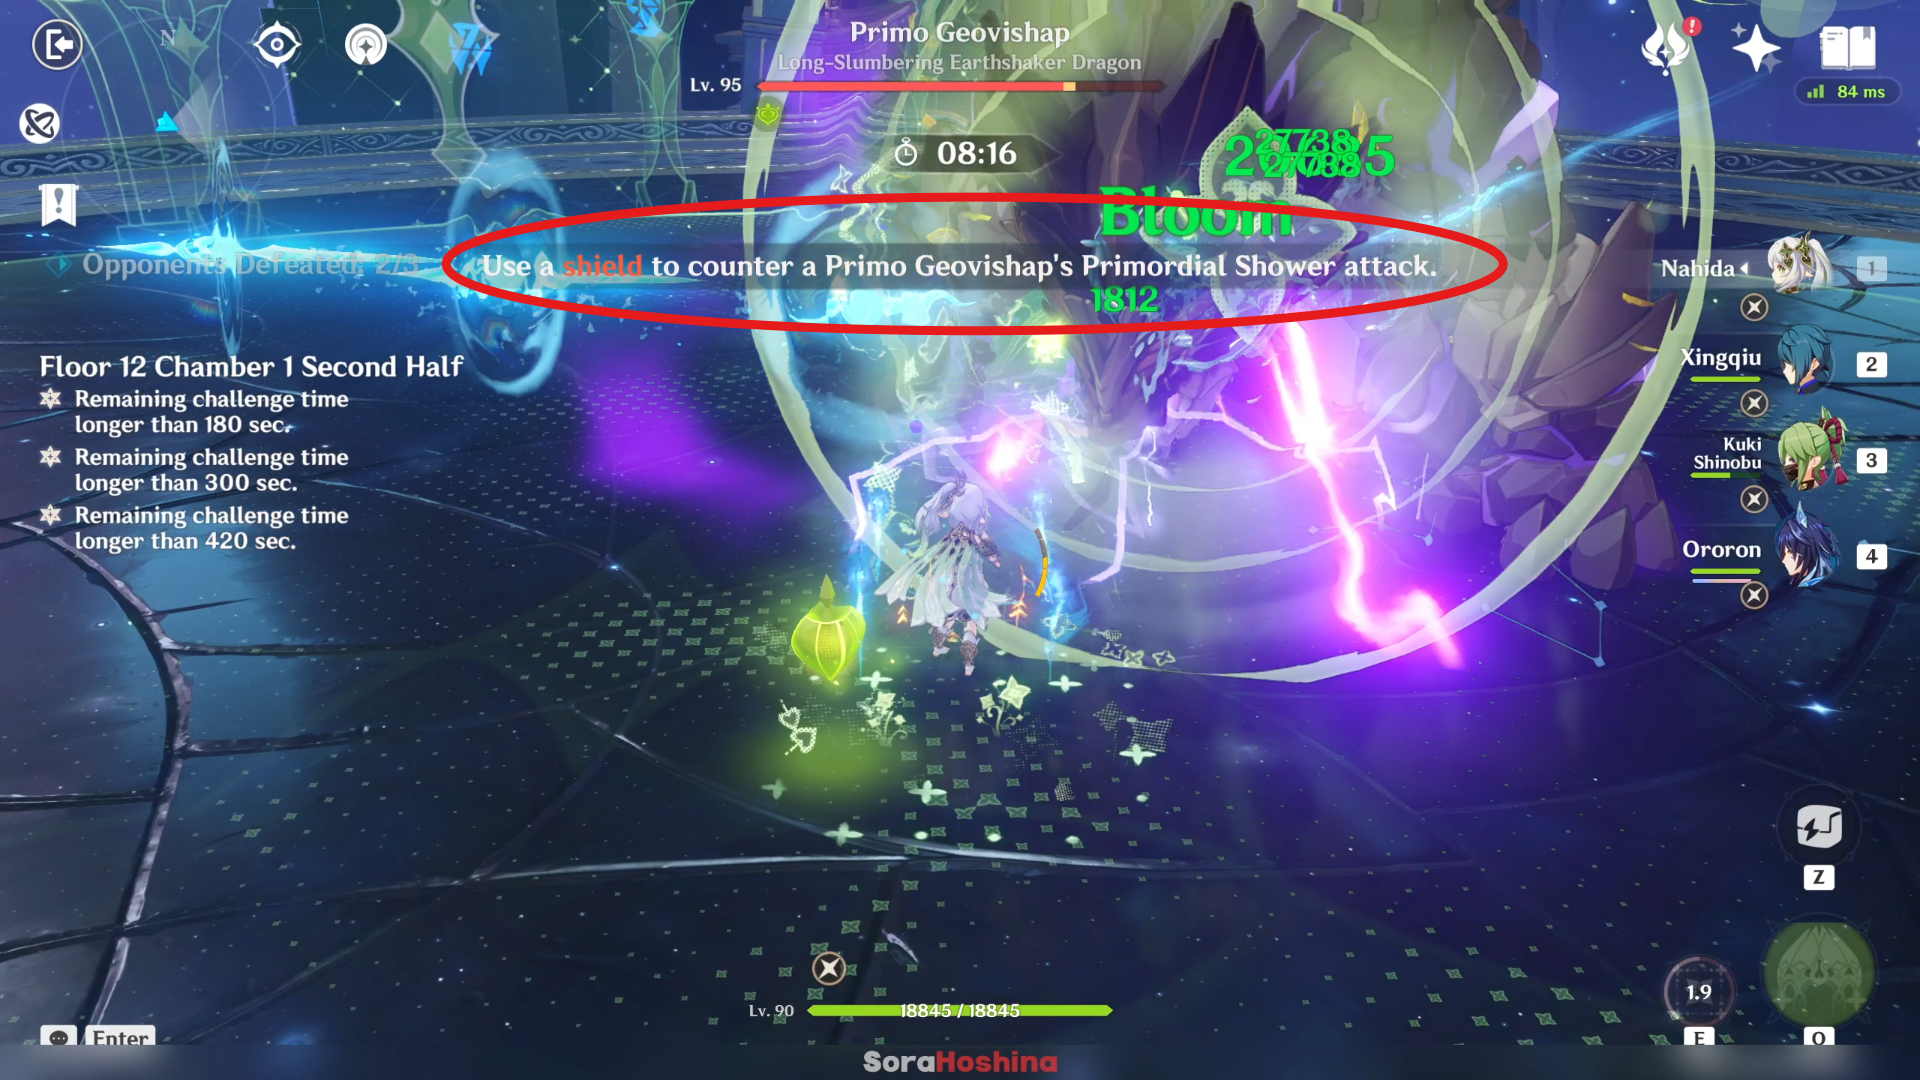
When the Primo Geovishap starts its Primordial Shower attack, the game will advise you to quickly generate a shield to block the incoming attack. When the attack connects with the shield, it will rebound back to the Primo Geovishap and deal a massive amount of damage back. If you don't have a shield, use Elemental Burst to i-frame the attack.
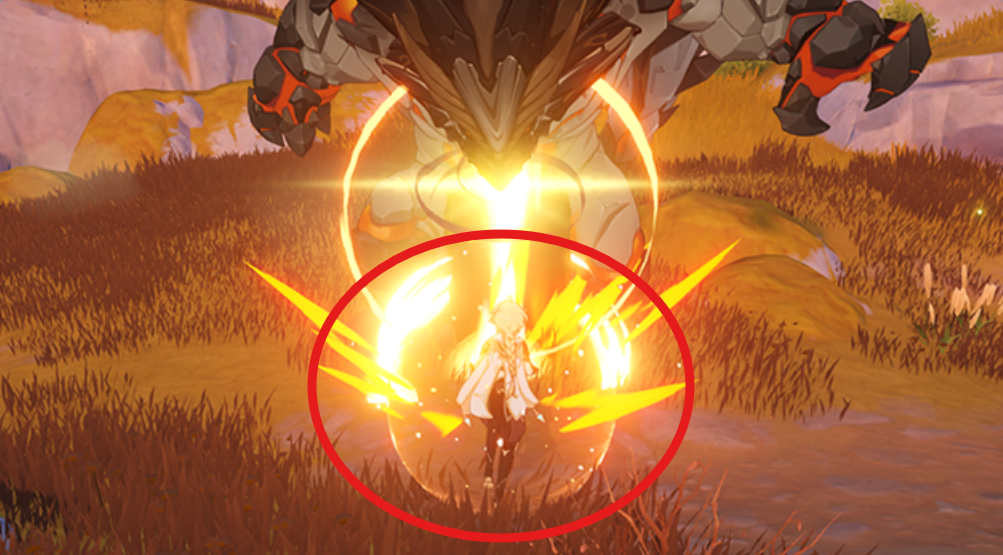
The reason I mention Geo and Electro shields are better is because:
- If the shield's element is Geo or the Primo Geovishap's currently infused element (which is Electro on this floor), the Geovishap will lose 15% Max HP.
- A non-Geo shield not of the corresponding element will only cause it to lose 5% Max HP.
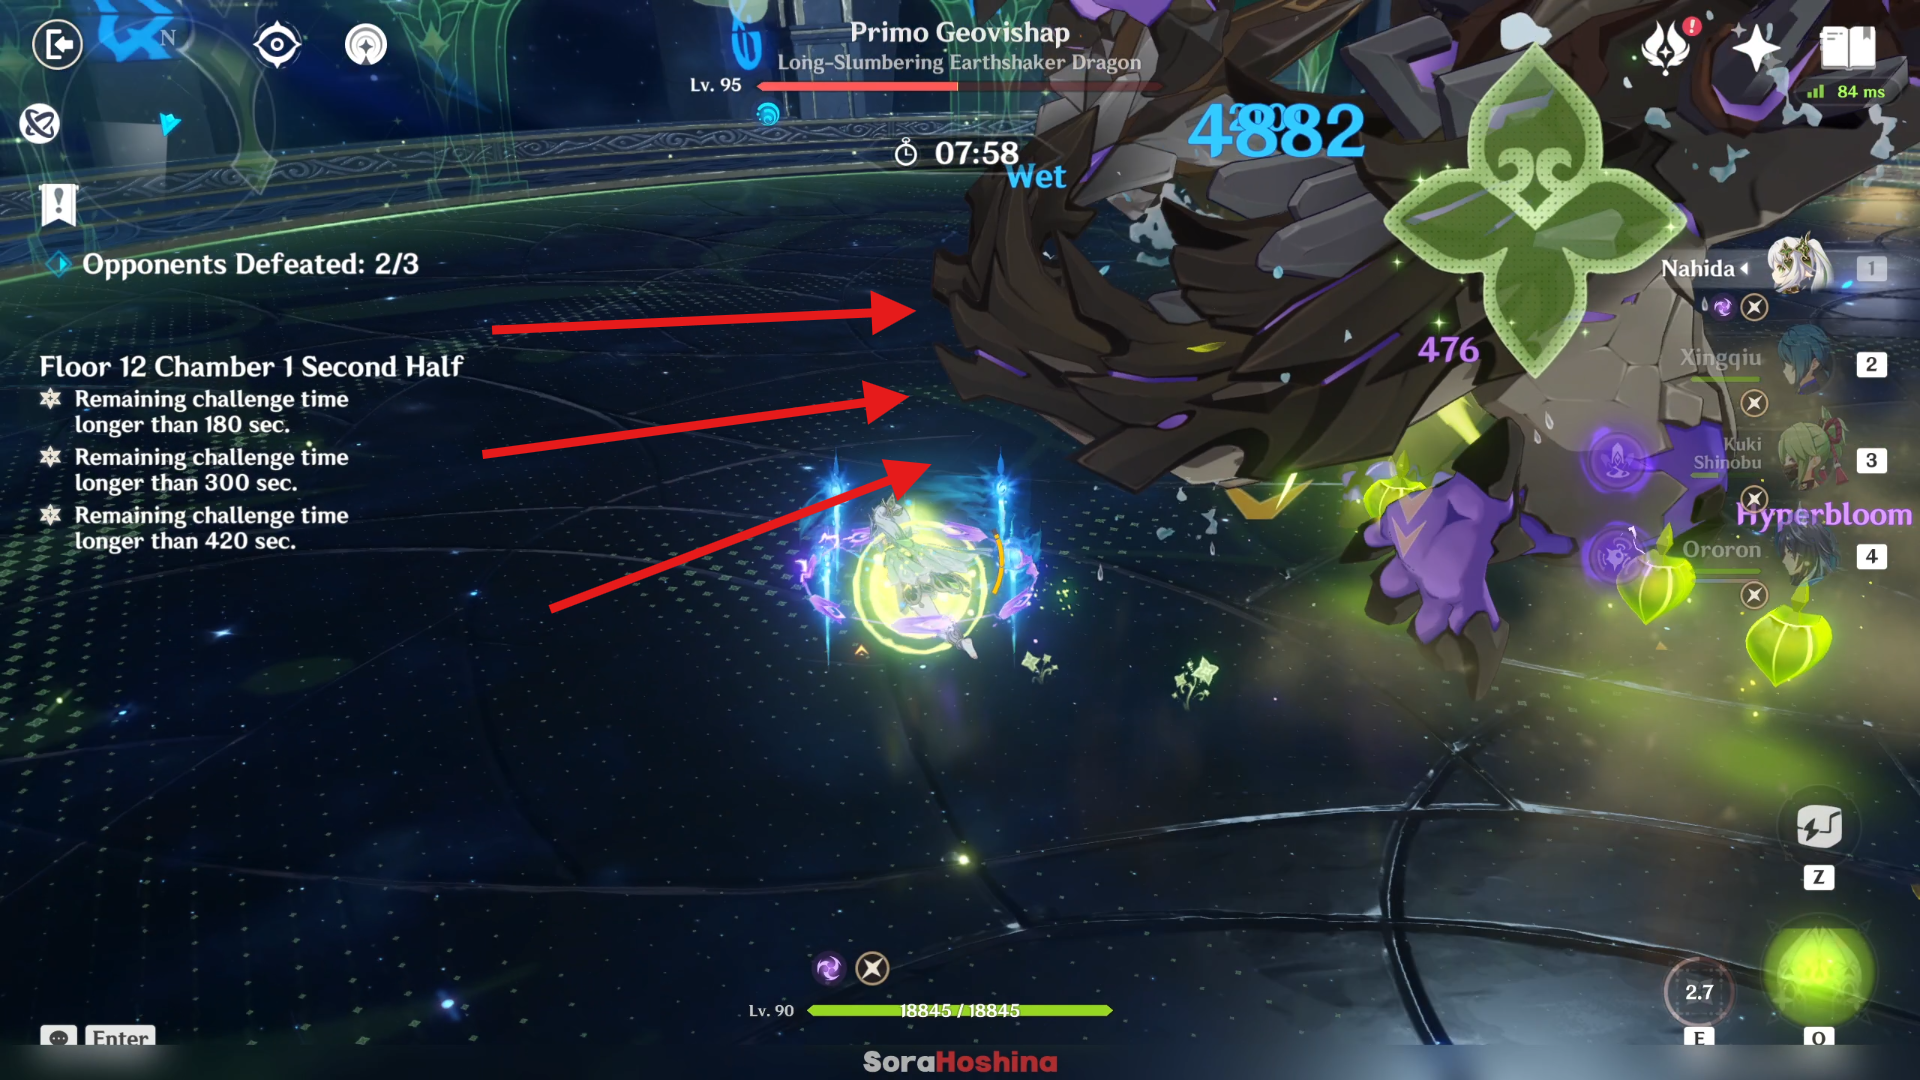
Primo Geovishap will only perform the Primordial Shower attack when it is front-facing your character, so you can avoid this attack during shield downtime by constantly running behind it, and only bait this move once a shield is ready by running in front. If you don't bring a shielder, you can certainly take advantage of this mechanic too!
Floor 12 Chamber 2
First Half
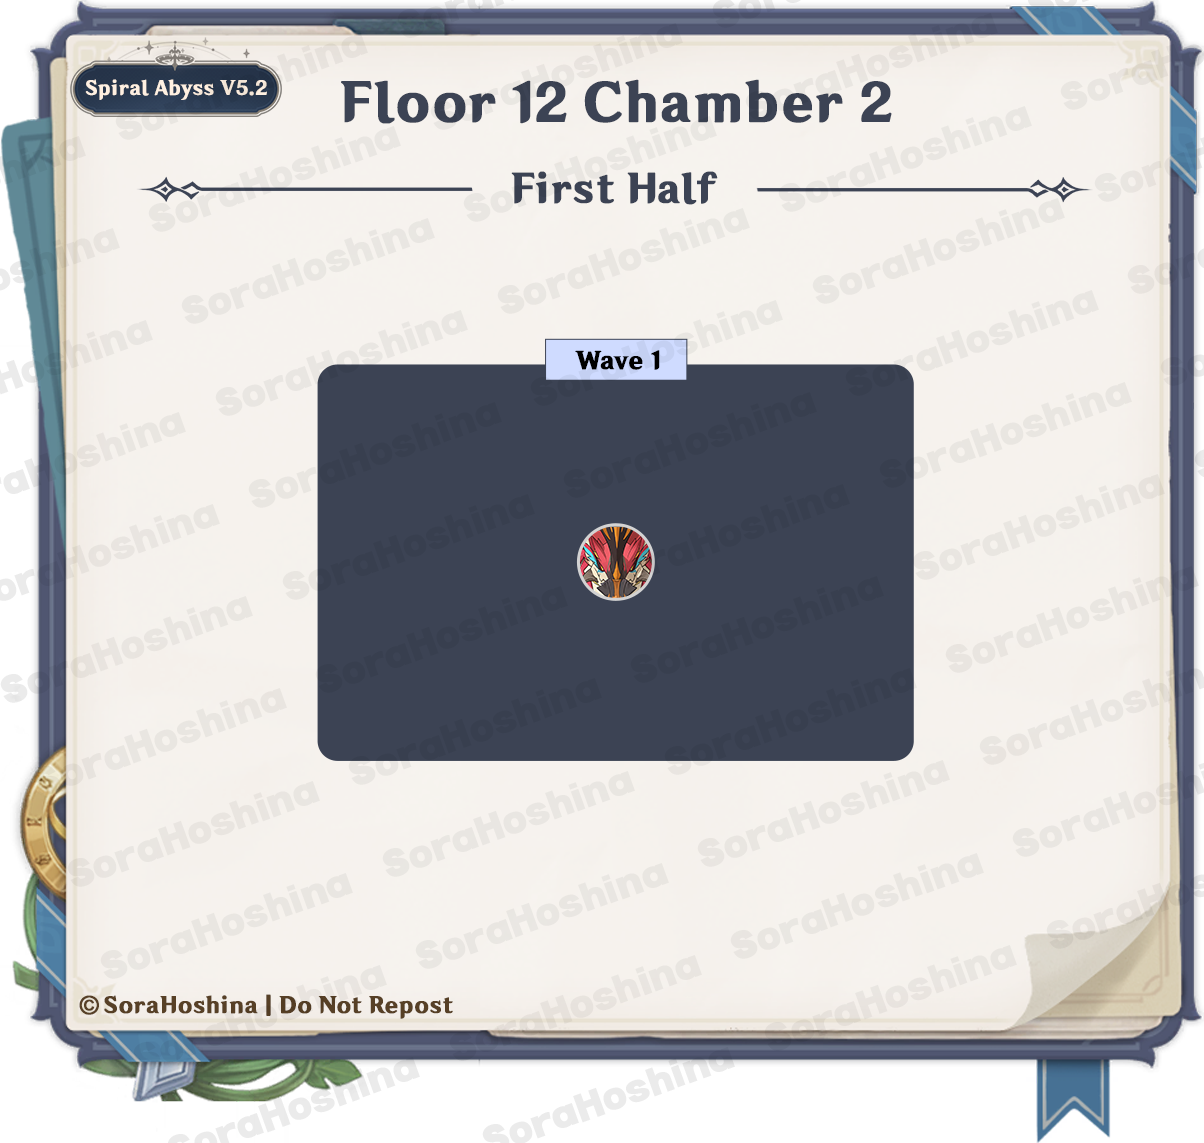
1st Wave: Goldflame Qucusaur Tyrant x1
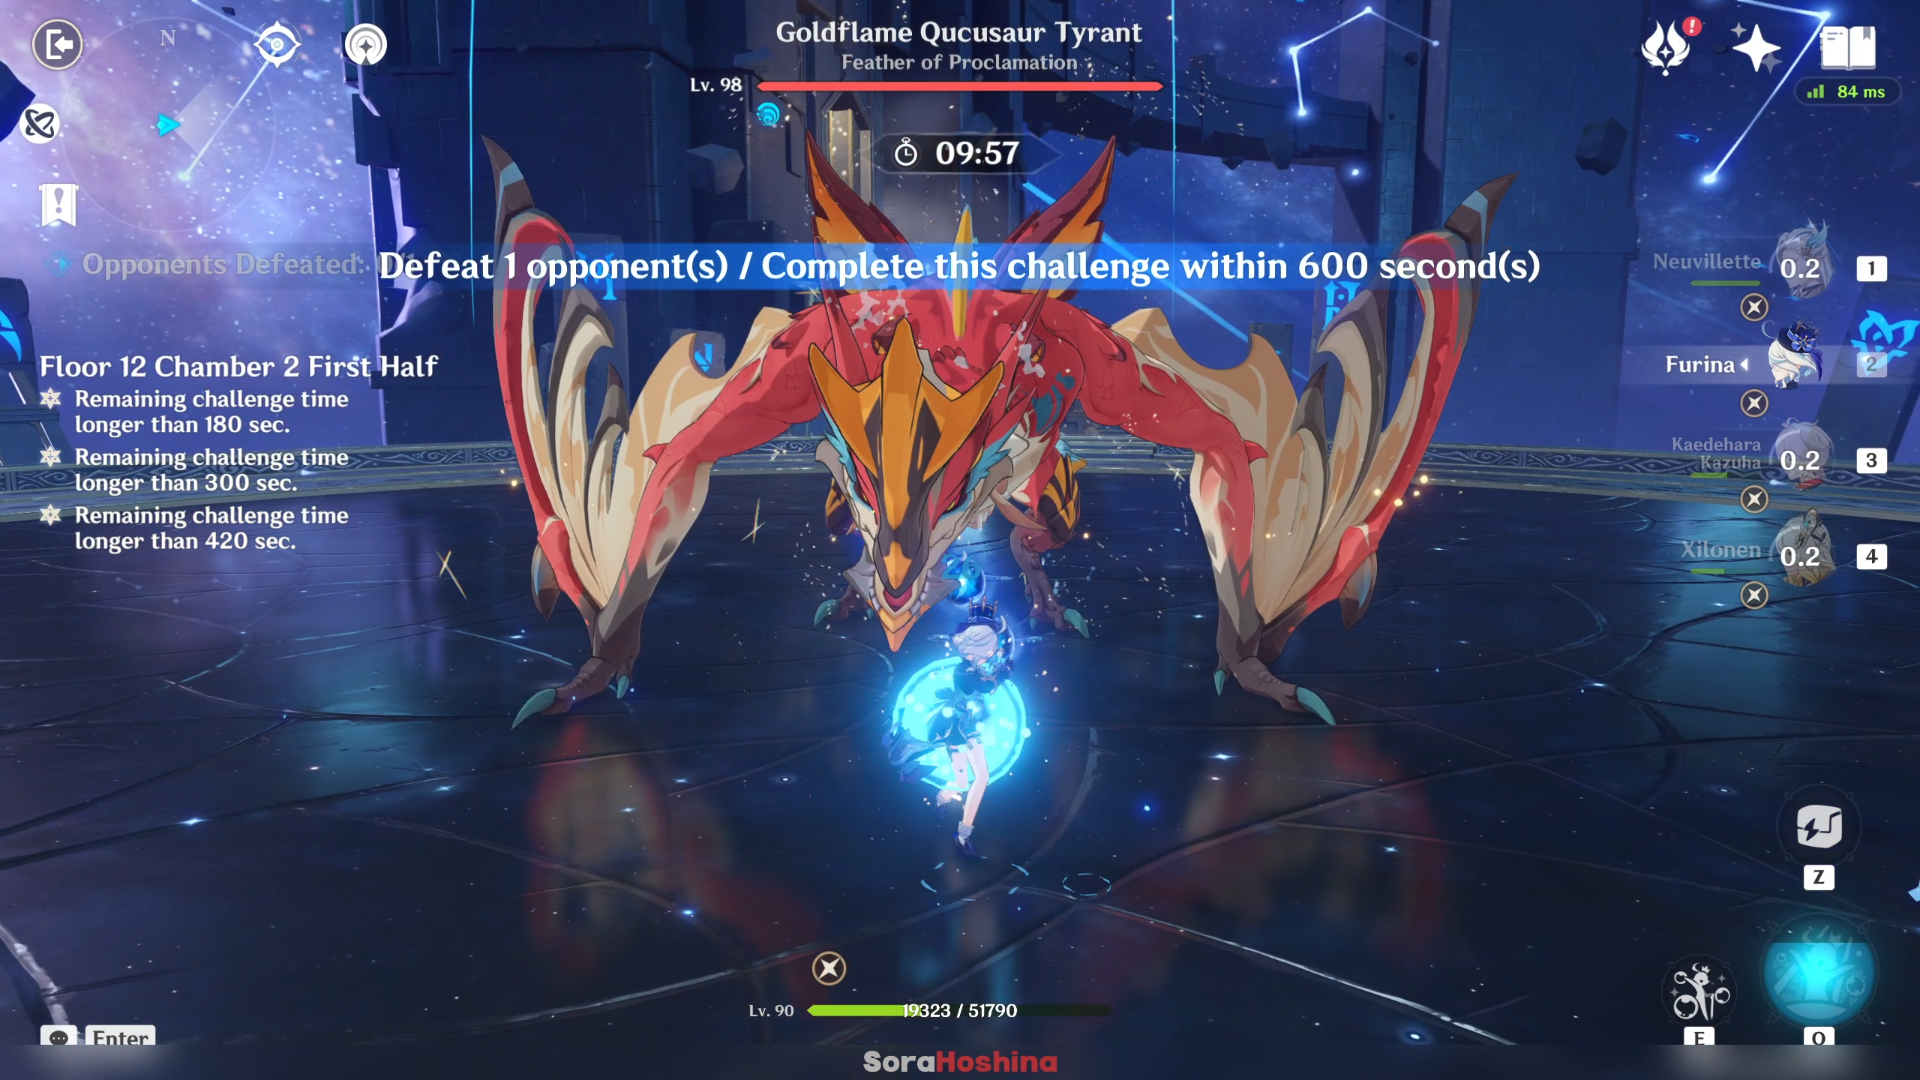
There is only one wave here and it is the Goldflame Qucusaur Tyrant. It has 70% Pyro RES so try not to use Pyro DPS against this boss.
This boss has 2 forms, the normal (big) one and the small one. When you first start the challenge, it will start with the regular big bird form. In this form, it will deal melee attacks and if you're too far away, it will charge at you while also dealing damage.
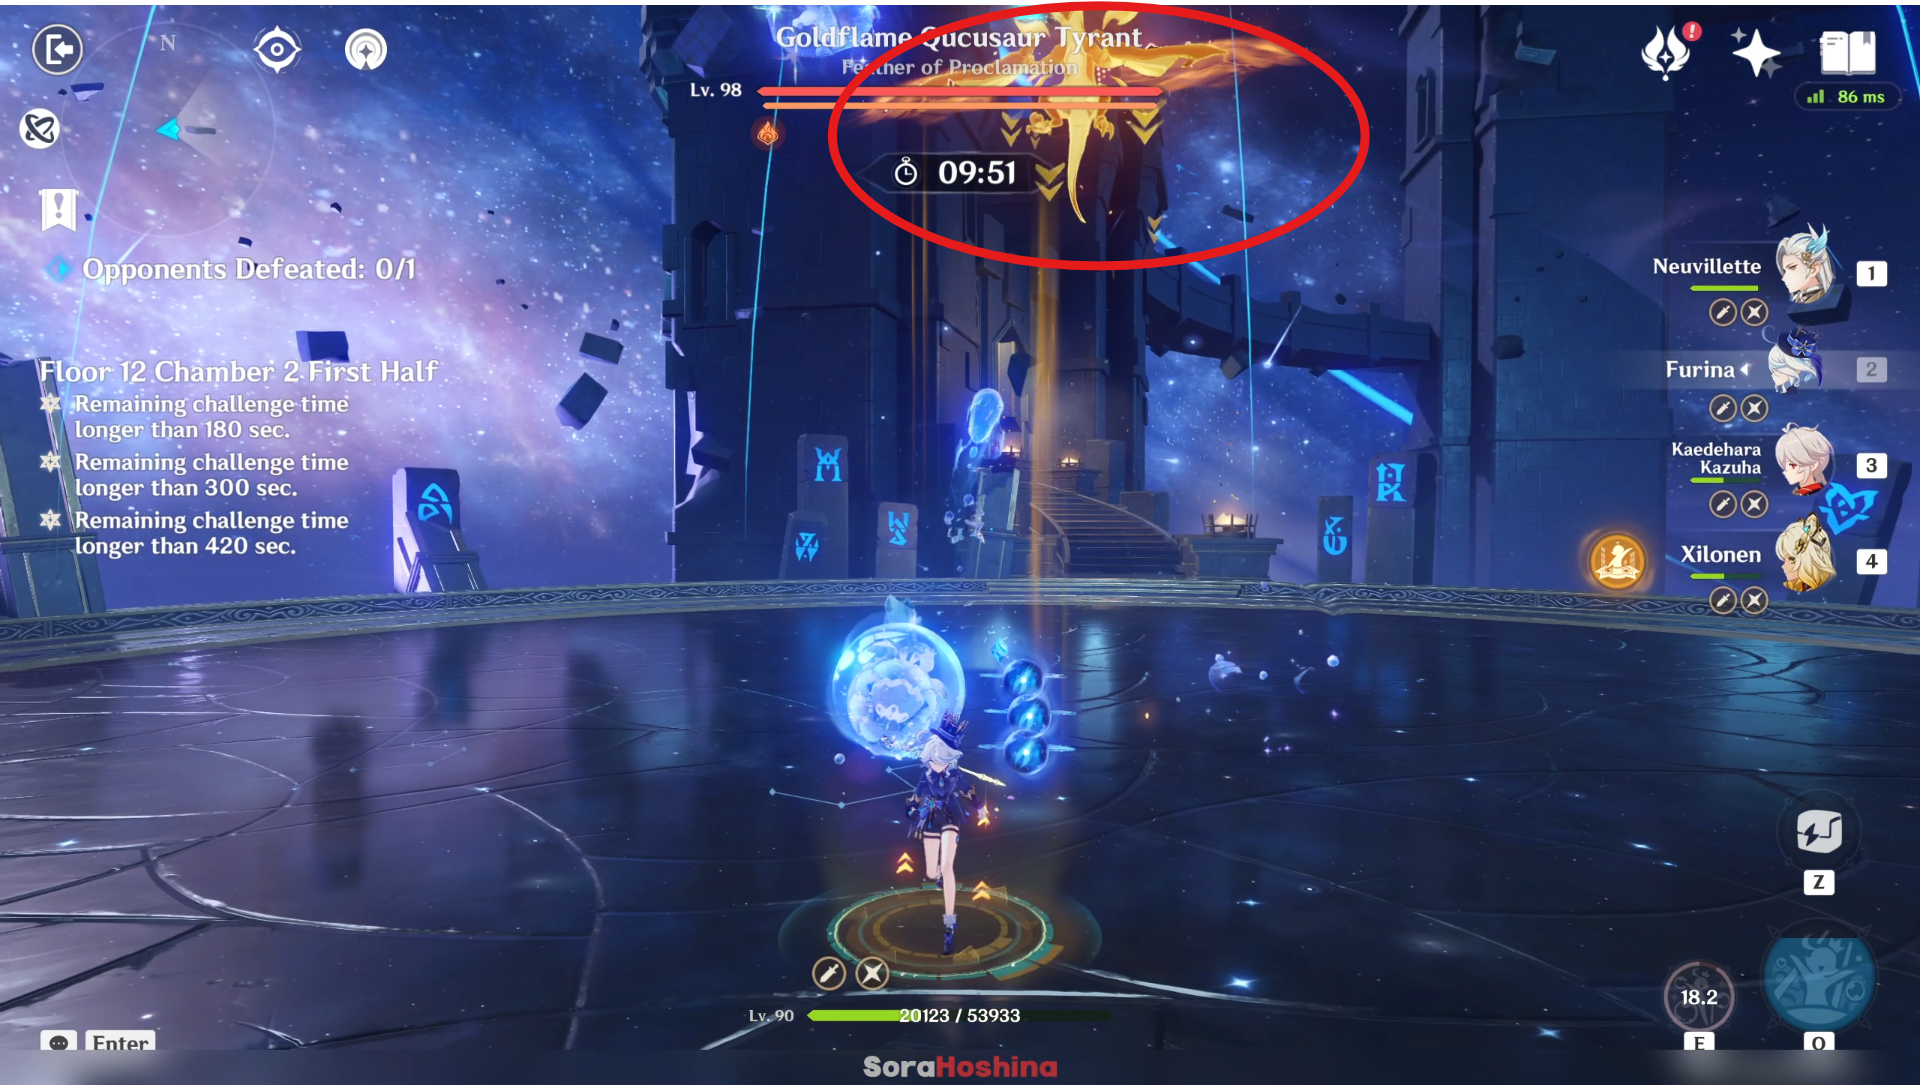
Then after some time, it will enter the smaller form, officially called the Golden Flame form, where it gains a (1) Pyro shield, (2) immunity to all damage, and (3) cannot be hit by melee attacks because it will always fly in high altitude!
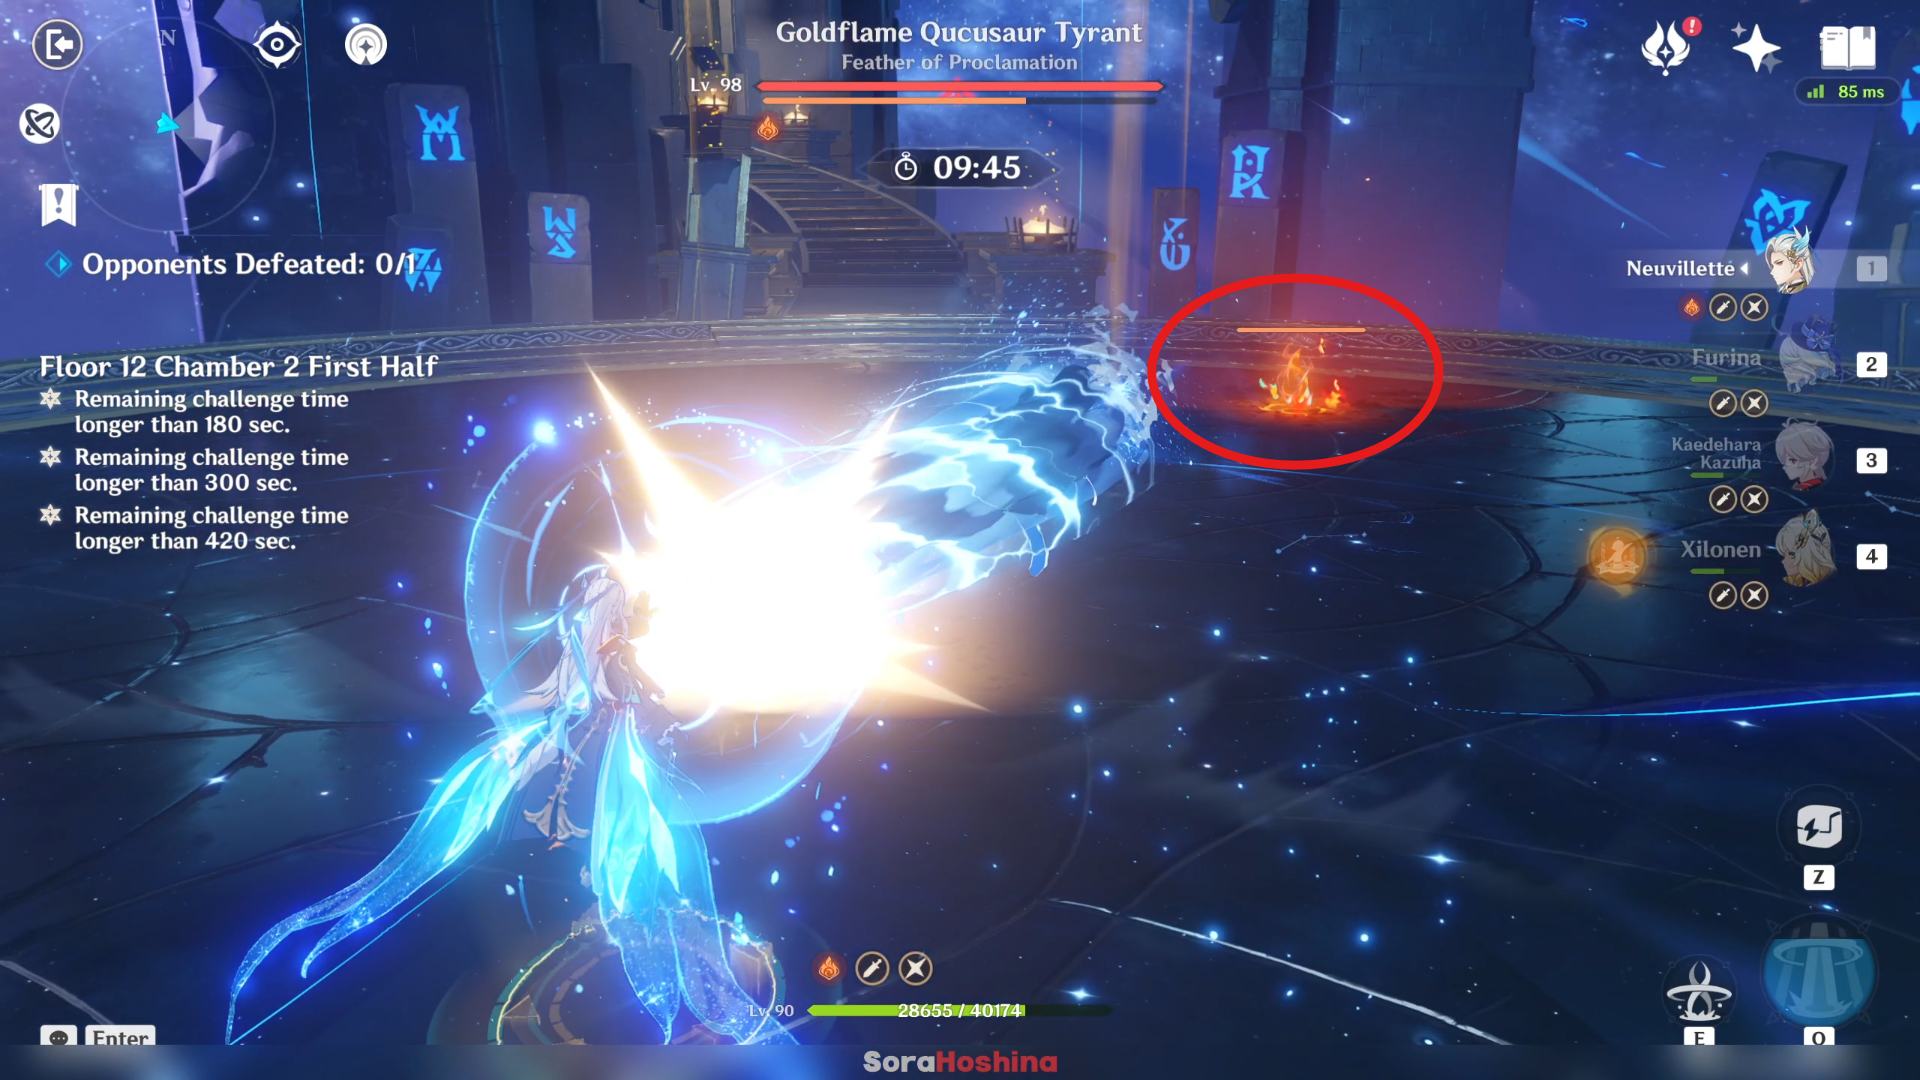
The Golden Flame form will last for 45 seconds, but that is too long for Abyss and you need to destroy that shield ASAP if you want full stars. There are methods to remove that shield and that is:
(1) Destroy the Flamewind Feather it throws at you by using elements that react with Pyro (Hydro is the best > followed by Electro > Cryo/Anemo/Geo takes a long time but still works)
(2) Use long-range Hydro attack (Hydro bow) to attack the Pyro shield it has when flying
(3) Cheat using Furina's Salon Members as they will easily remove the Pyro shield even when the boss is flying at high altitude
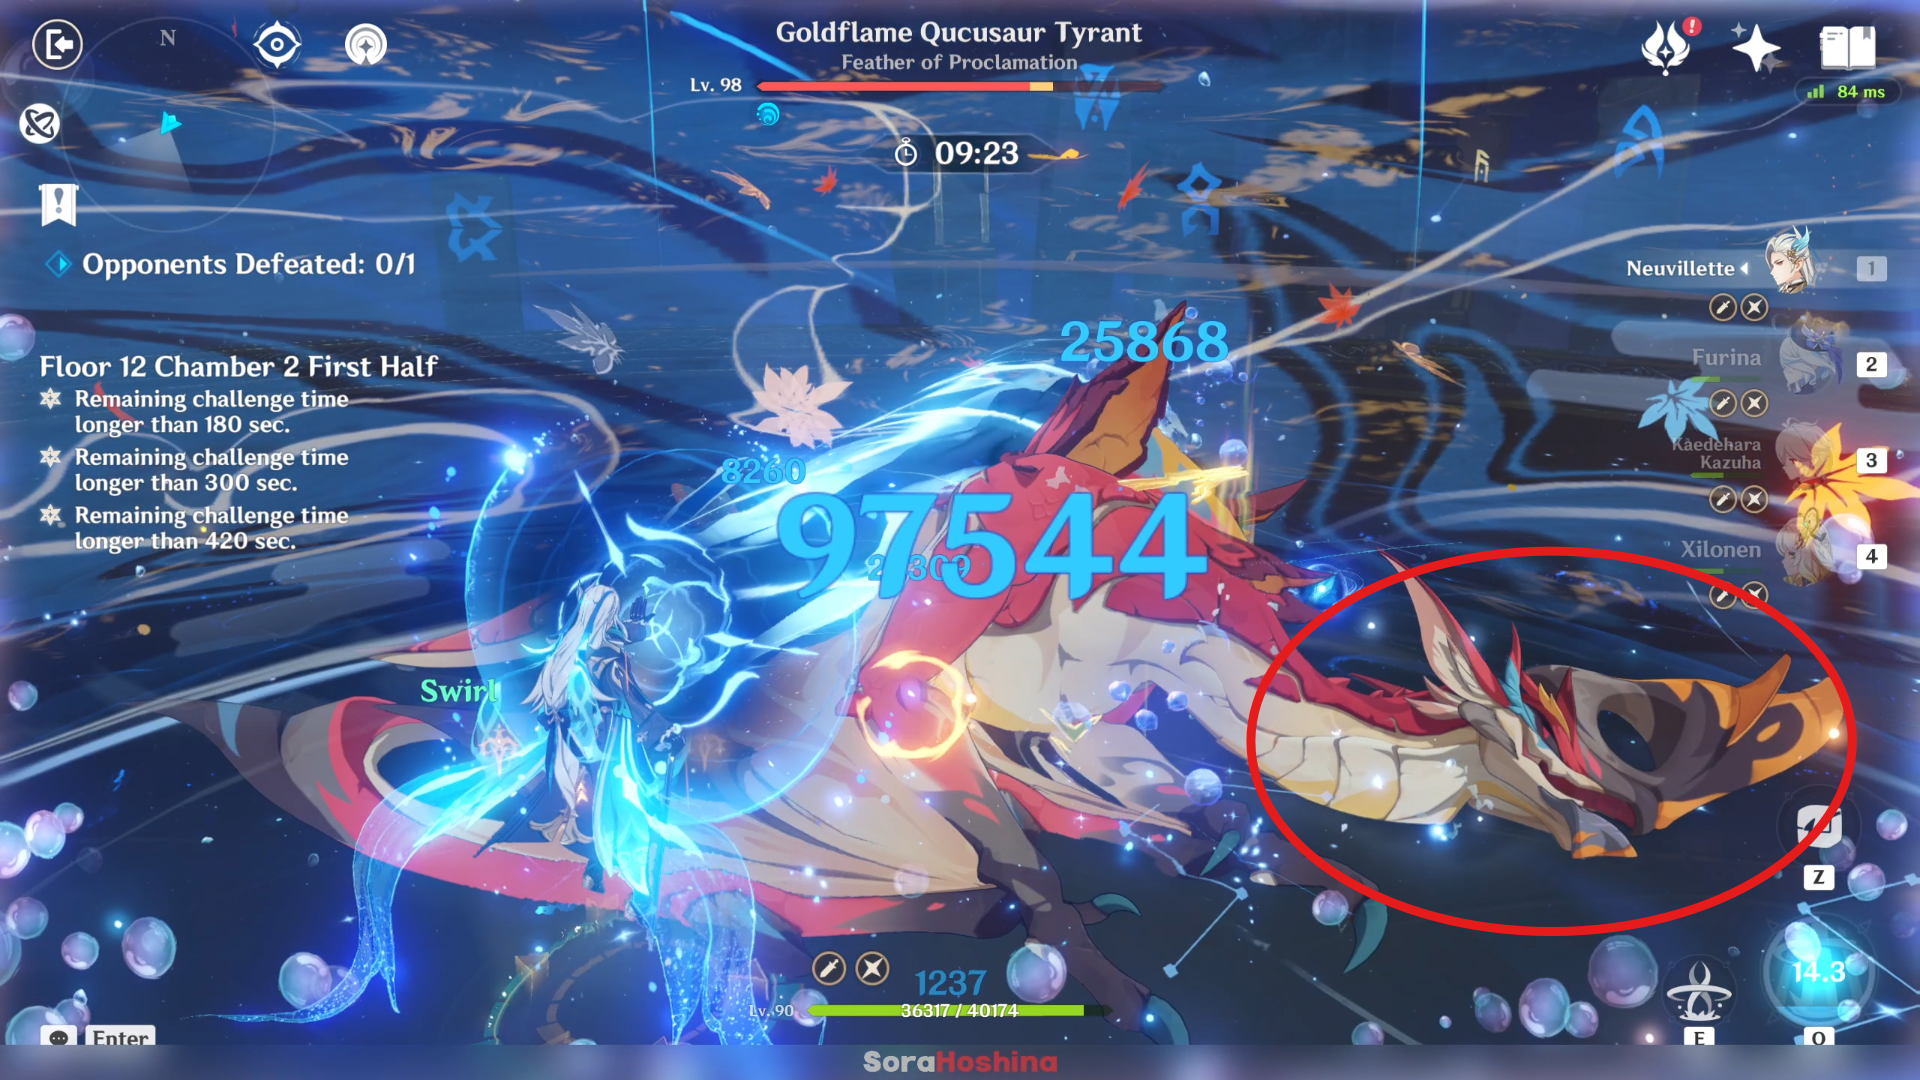
When the boss is forcefully pulled out from the Golden Flame state (by destroying its Pyro shield), it will return to its normal form and lay on the floor paralyzed for a few seconds. That's the best time to unleash all your Skills and Bursts before it can get back up.
Second Half

1st Wave: Tenebrous Papilla x1
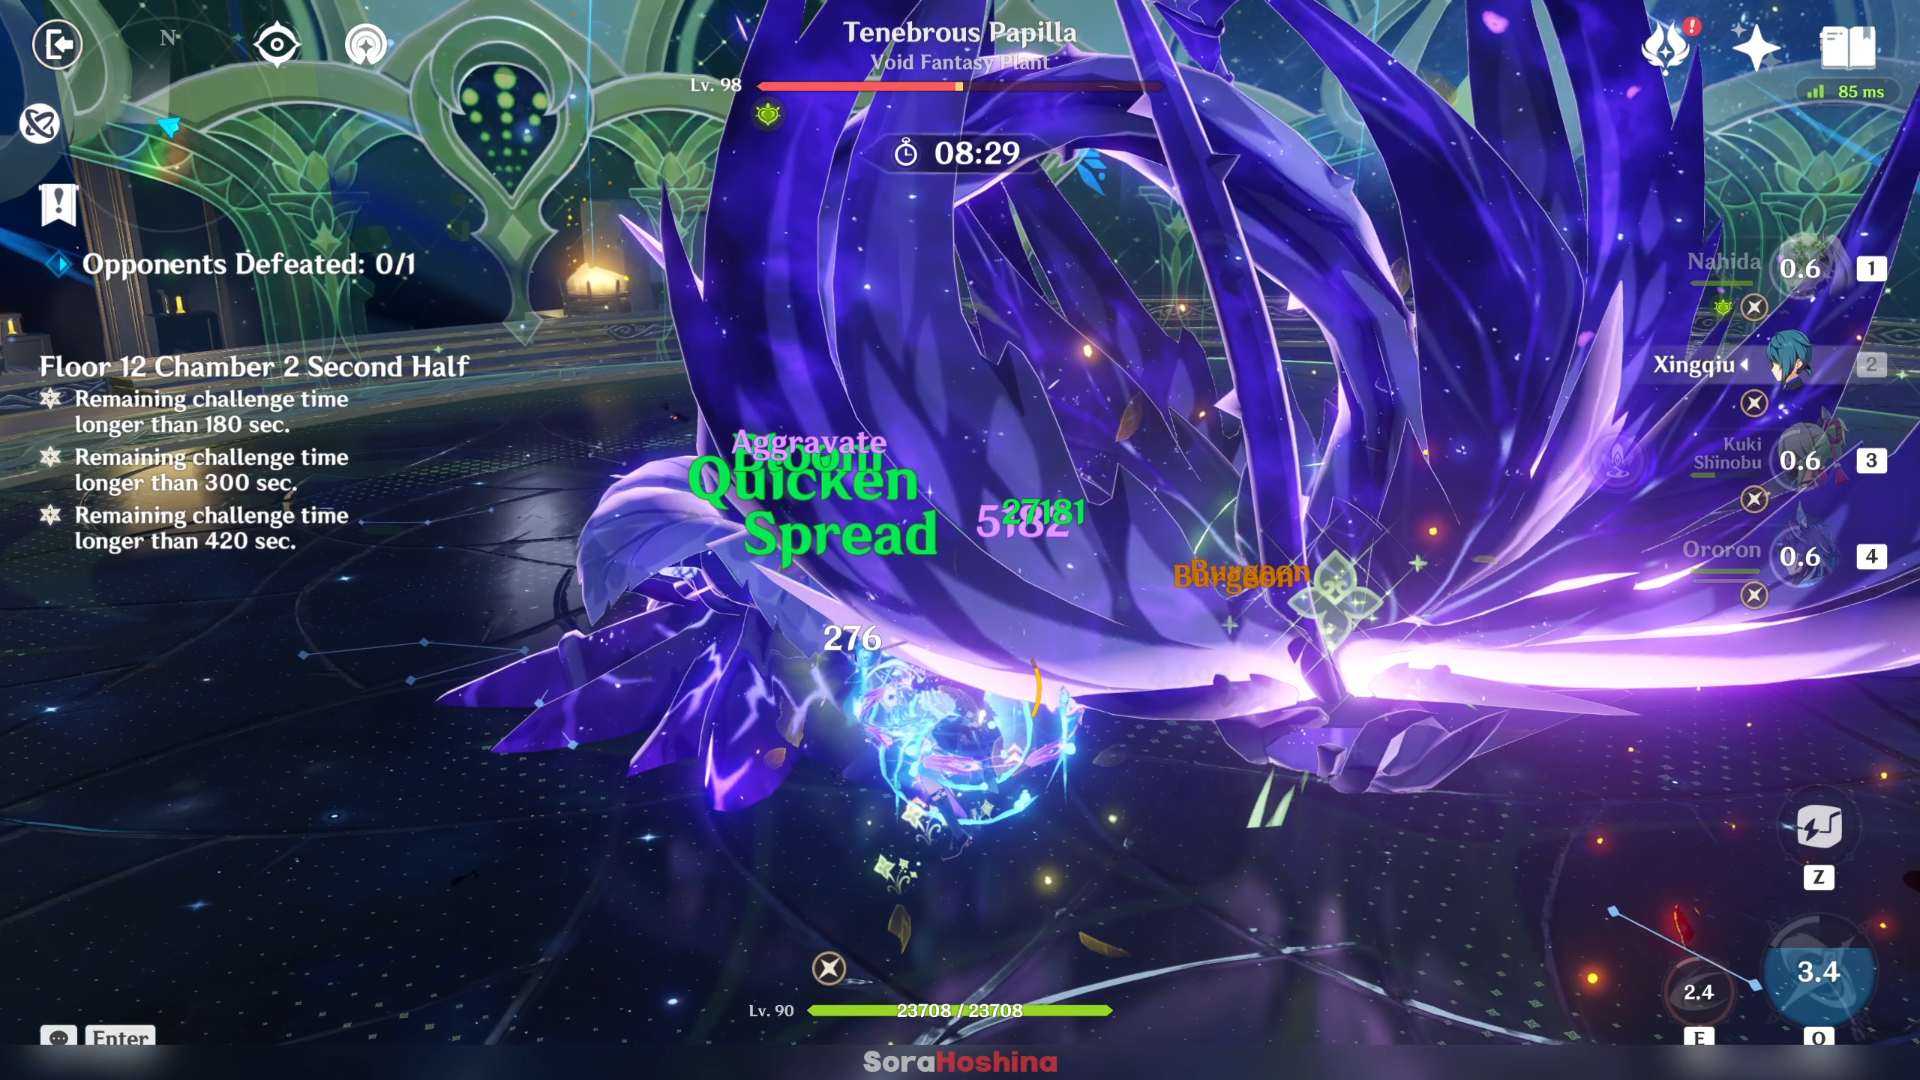
There are 3 variants of this Tenebrous Papilla boss, and the one you're facing is Type I which can transformed to the enemies: Aeonblight Drake, Jadeplume Terrorshroom, Cryo Regisvine, Electro Regisvine, Pyro Regisvine (not in order). When it transforms into any of the mentioned bosses, it will also deal the same attack as them. But for the Aeonblight Drake, it will not have the (orb) weakness like the Drake.
There's not really a strategy for this boss when it transform to other enemies and mimic their attacks except for avoiding its attack and attack when you have the opportunity. What you need to pay attention is when it uses Ultimate attack.
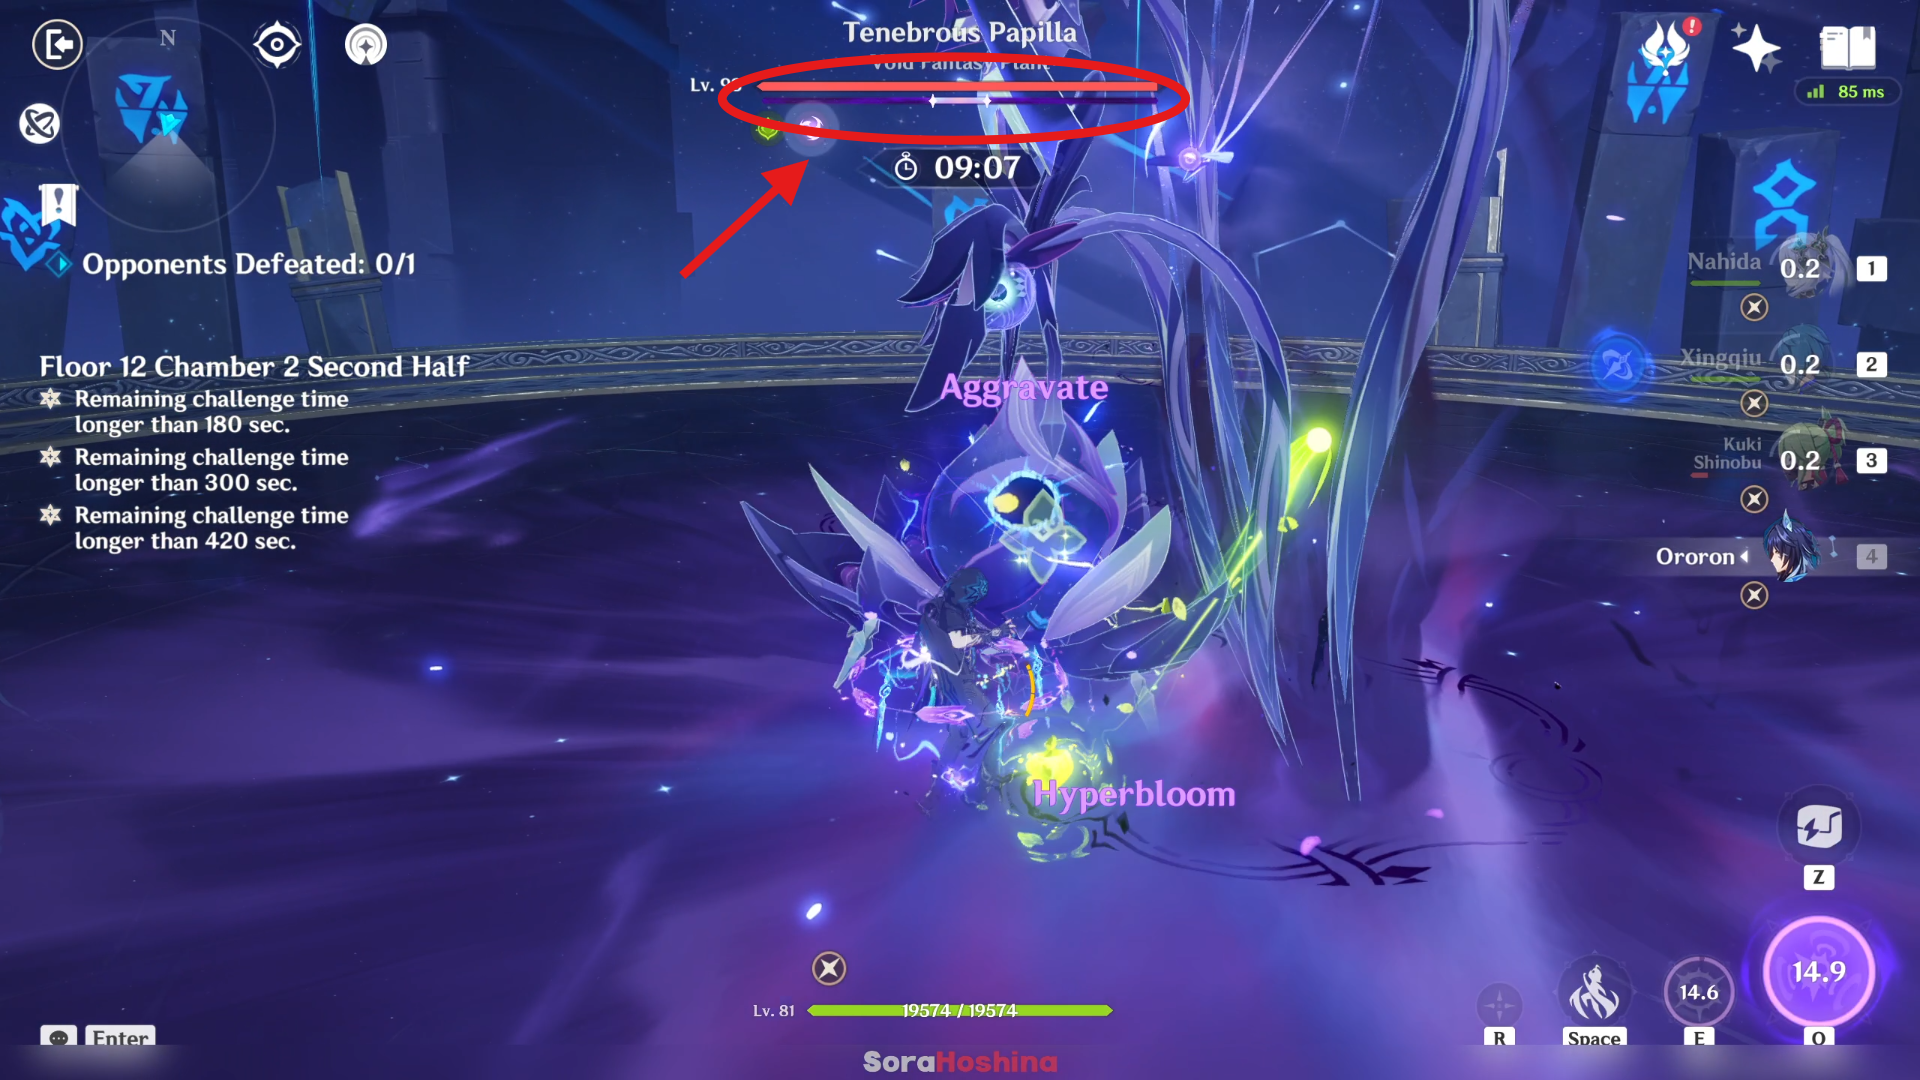
Right after starting, the boss will use its Ultimate attack gains a Void Ward which grants it immunity to all DMG. The Void Ward has a durability of 53 , which will reduce by 1 when hit by an Elemental attack, or 3 when hit by a Nightsoul-aligned attack.
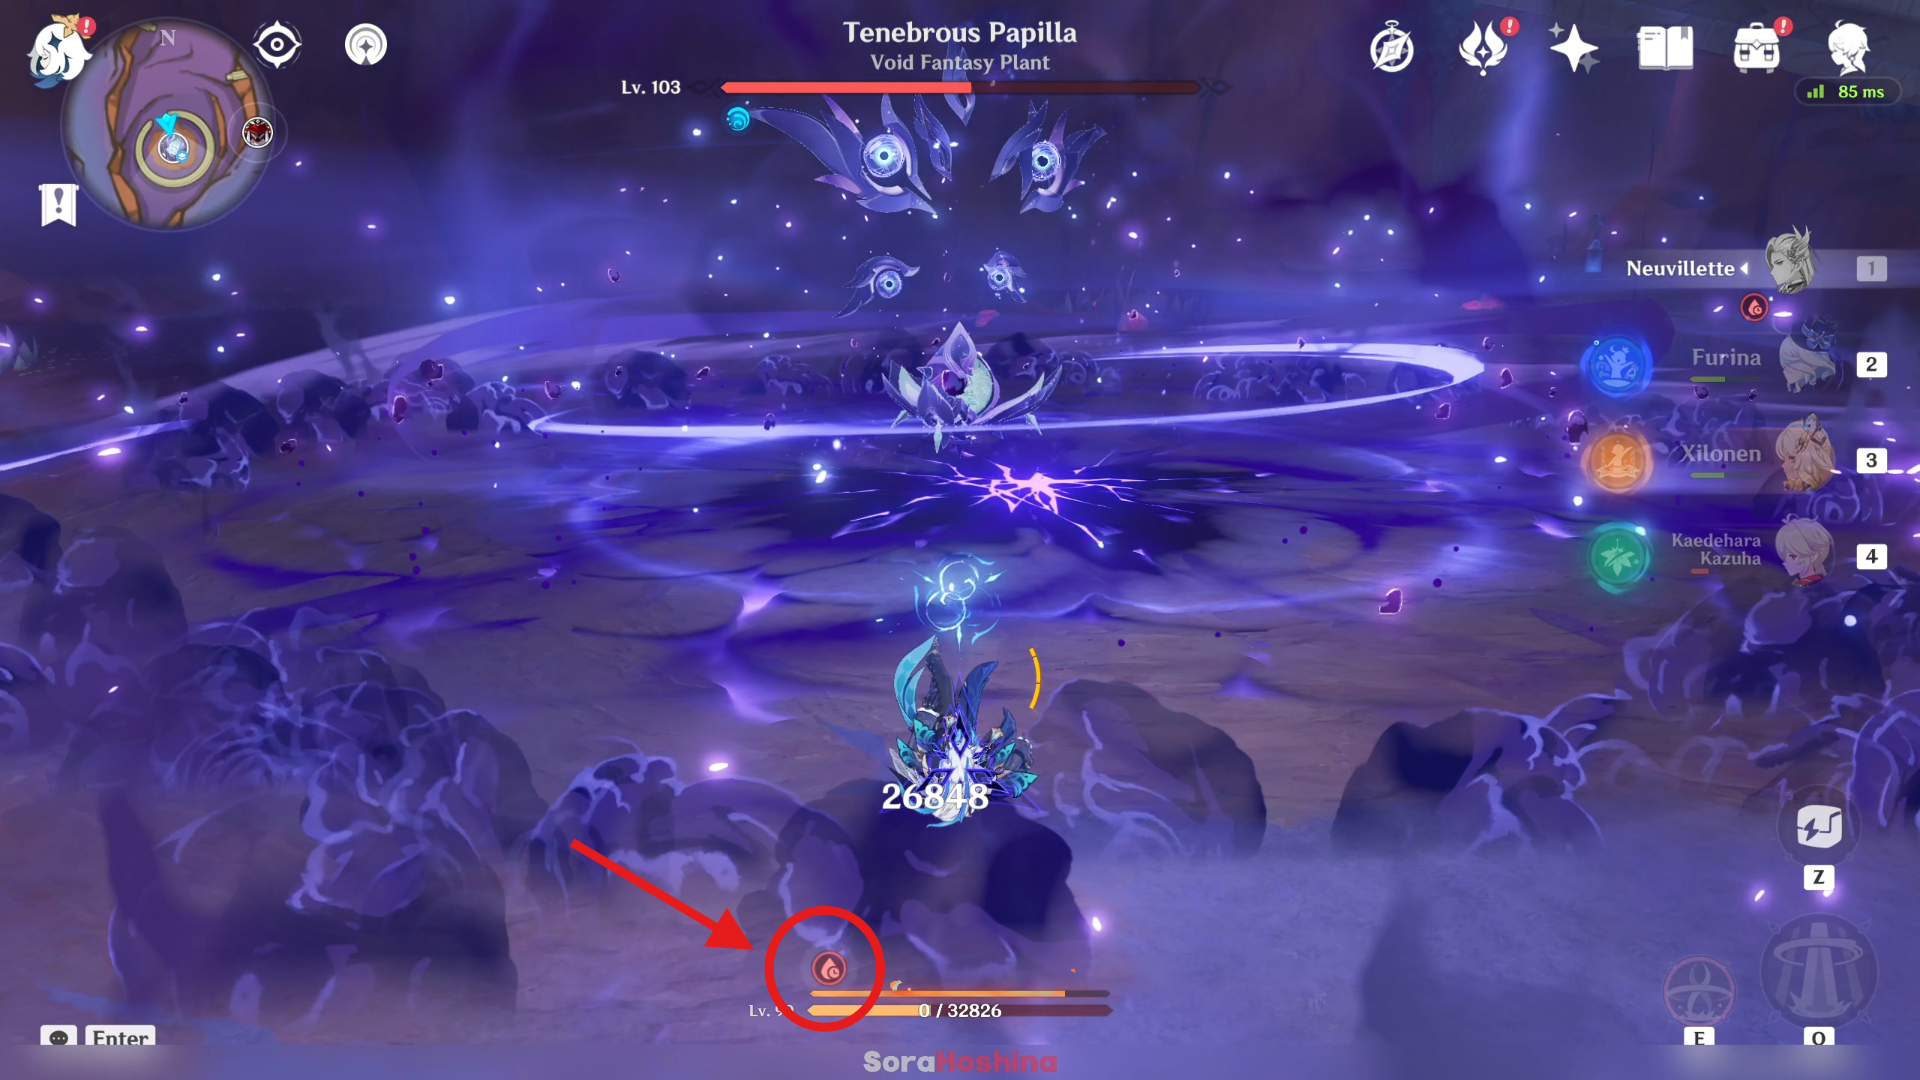
While the Void Ward is active, enters a charging state for 13 seconds where it continuously spawns spikes around the arena, inflicting 10 stacks of Attrition on hit.
> What is Attrition?
Some of the Tenebrous Papilla's attacks inflict stacks of Attrition on hit. The amount of stacks inflicted depends on the attack. For each stack, the affected character will lose HP after a short delay.
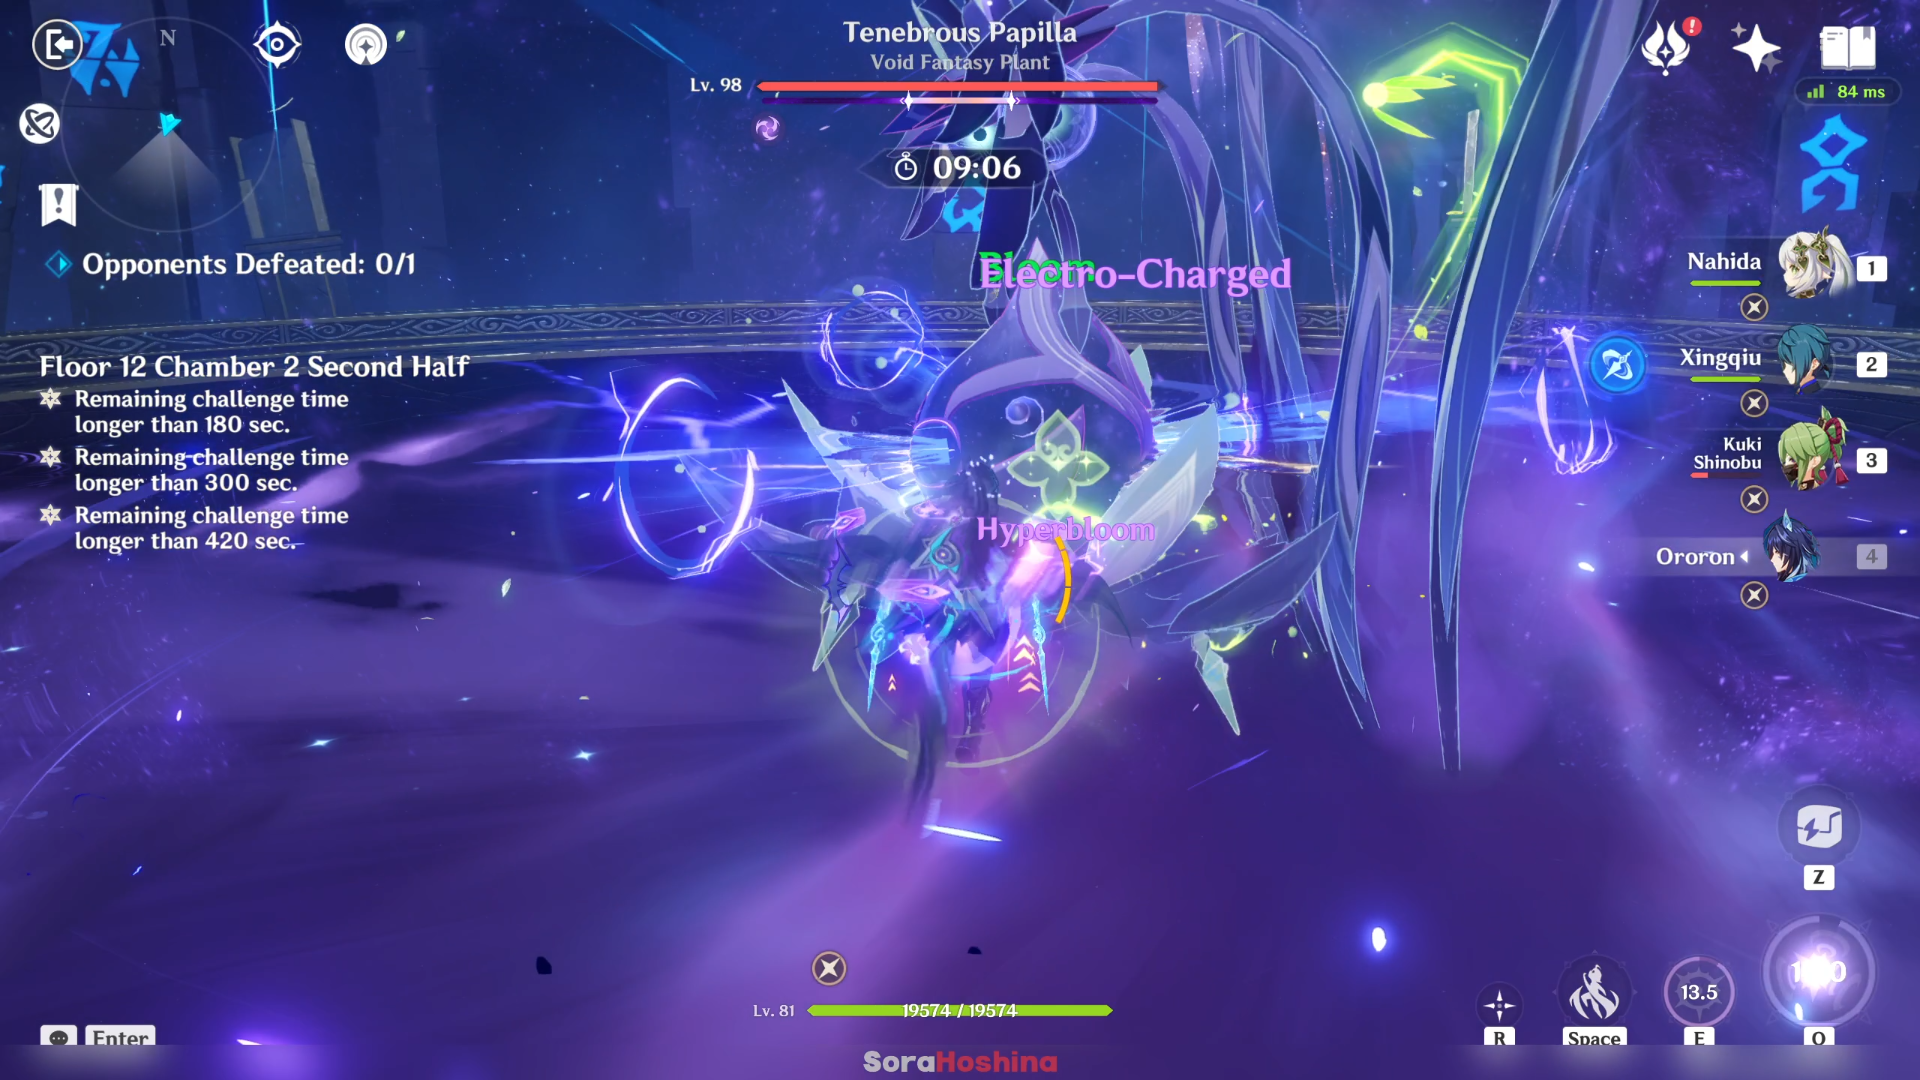
If the boss complete charging, it will create a massive, MASSIVE explosion that will most likely one-shot your character. What you need to do is destroy the Void Ward to interrupt the charging progress and paralyze it for a few seconds. You need to use Elemental attacks (even better if the dealer is Natlan characters as their Nightsoul-aligned attacks can destroy the Void Ward faster) and attack the main body -Void Ward- to destroy it.
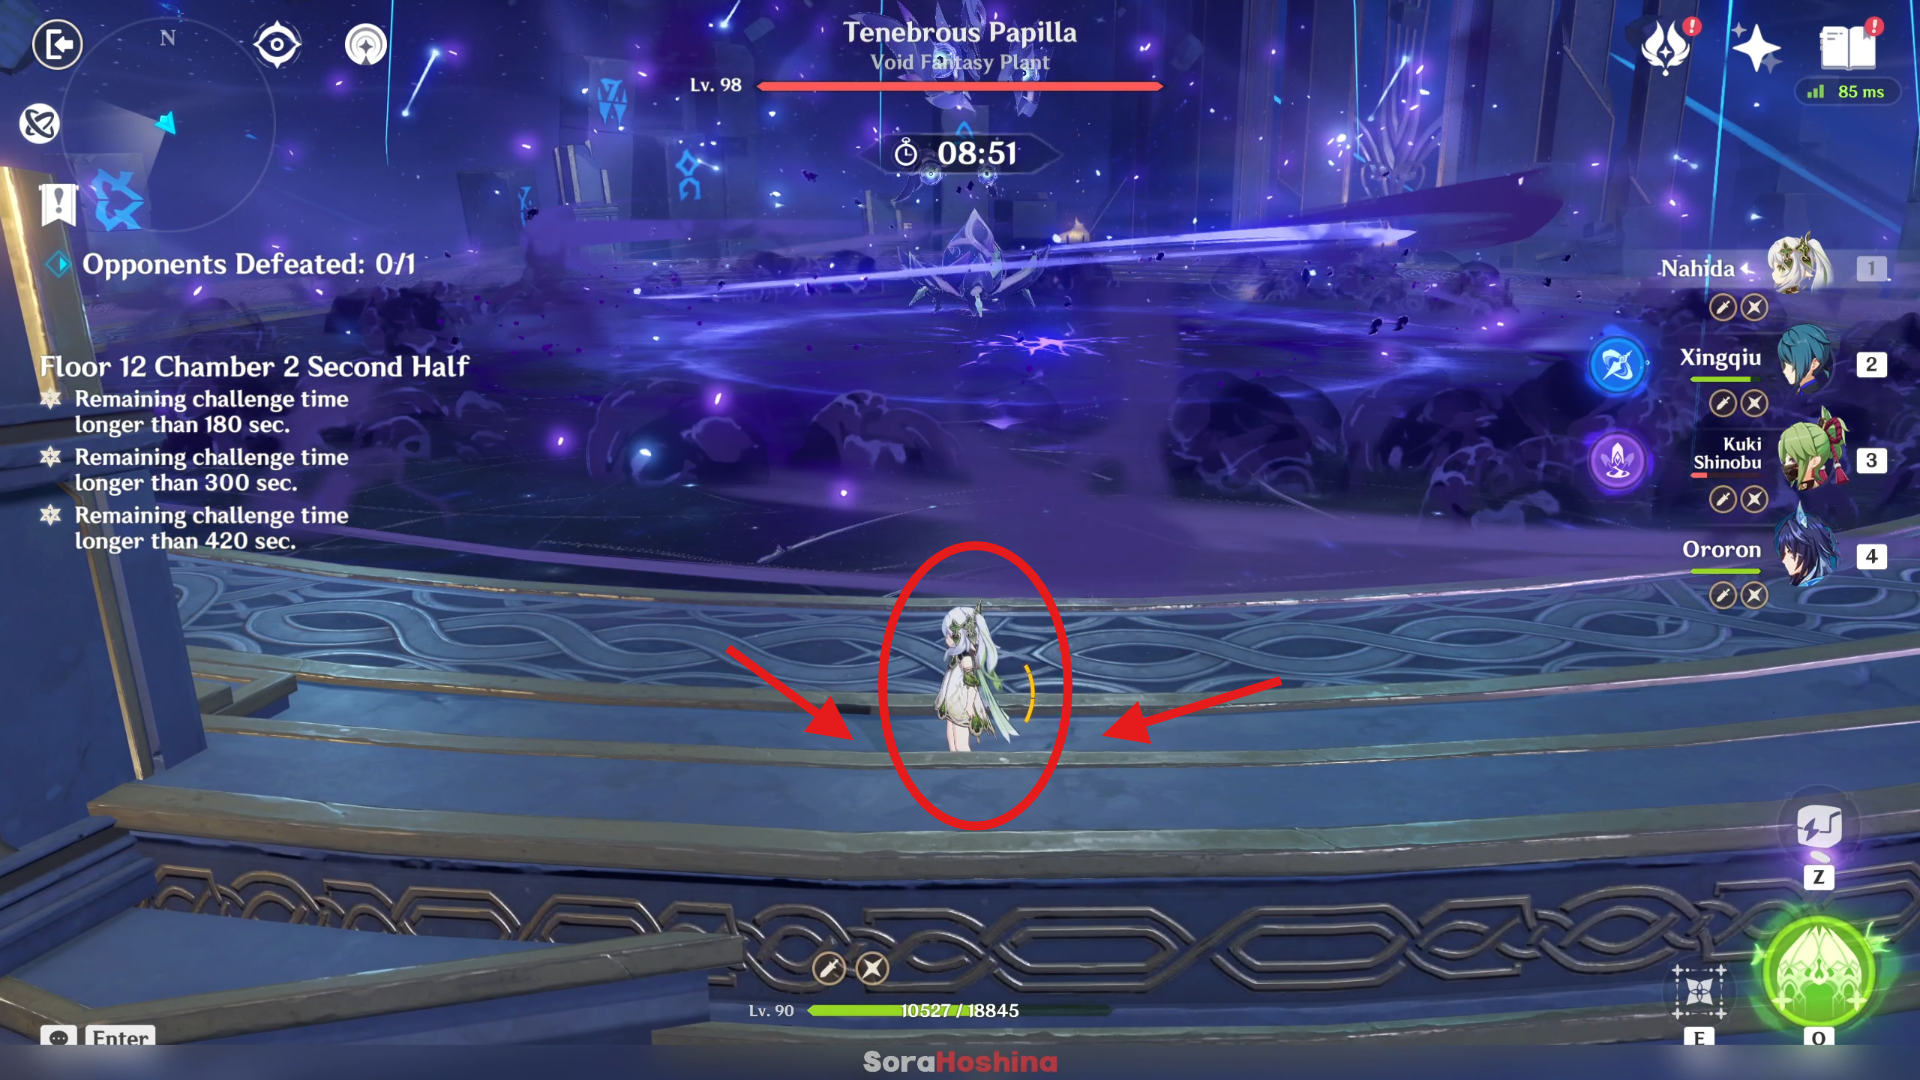
If you don't think your team can destroy the Void Ward, you can just stay out of the AoE area of the explosion (look at the floor pattern and go to the farthest circle). But a reminder that the charging is 13 seconds (plus a few seconds to set off the explosions), so you're wasting a lot of time there if you didn't destroy the Void Ward.
Floor 12 Chamber 3
First Half
1st Wave: Golden Wolflord x1
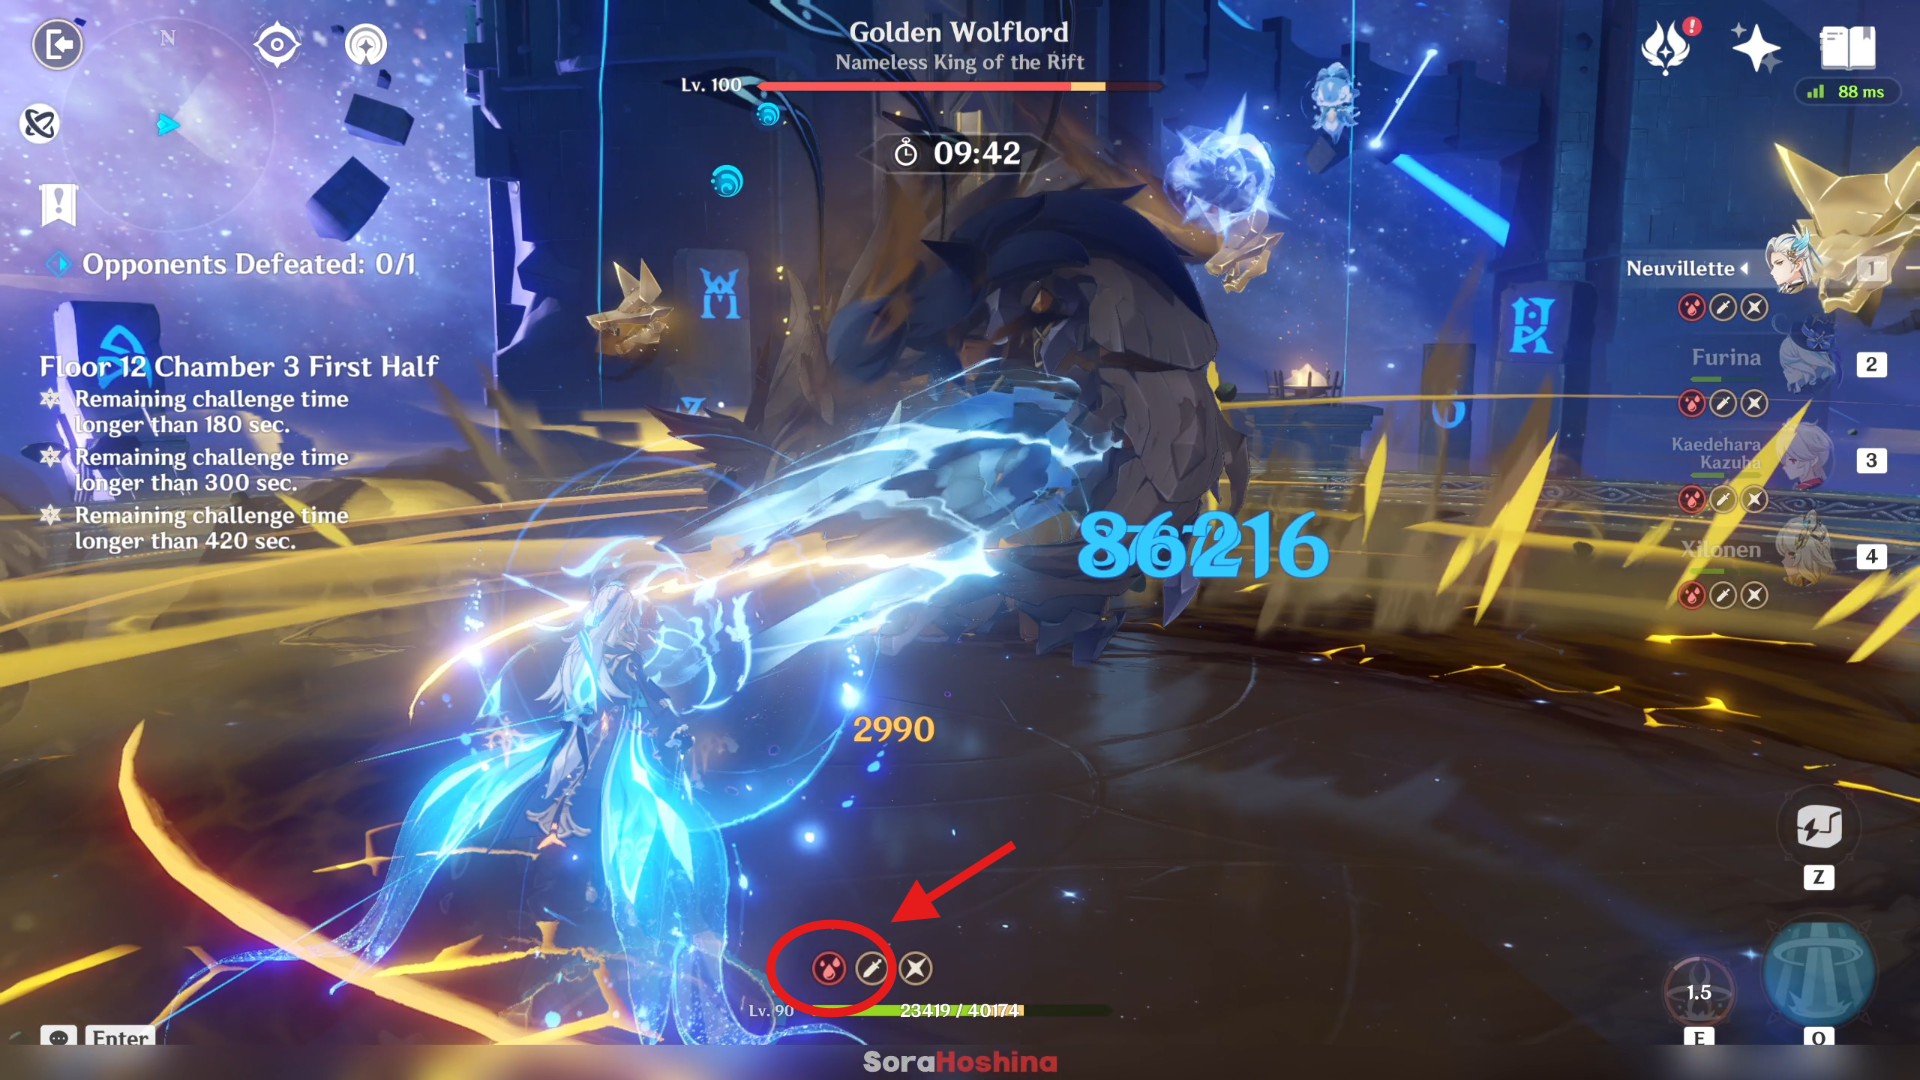
This is a nightmare floor with the returning of Golden Wolflord. Right from the start, this enemy will take its sweet time with the animation to enter the arena. Reminder that the Golden Wolflord is capable of inflicting stacks of Corrosion with its attacks.
> Characters being Corroded will lose a fraction of their HP every second. Active characters can be brought down by Corrosion. When a non-active character's HP is less than 15%, they will no longer lose HP due to Corrosion.
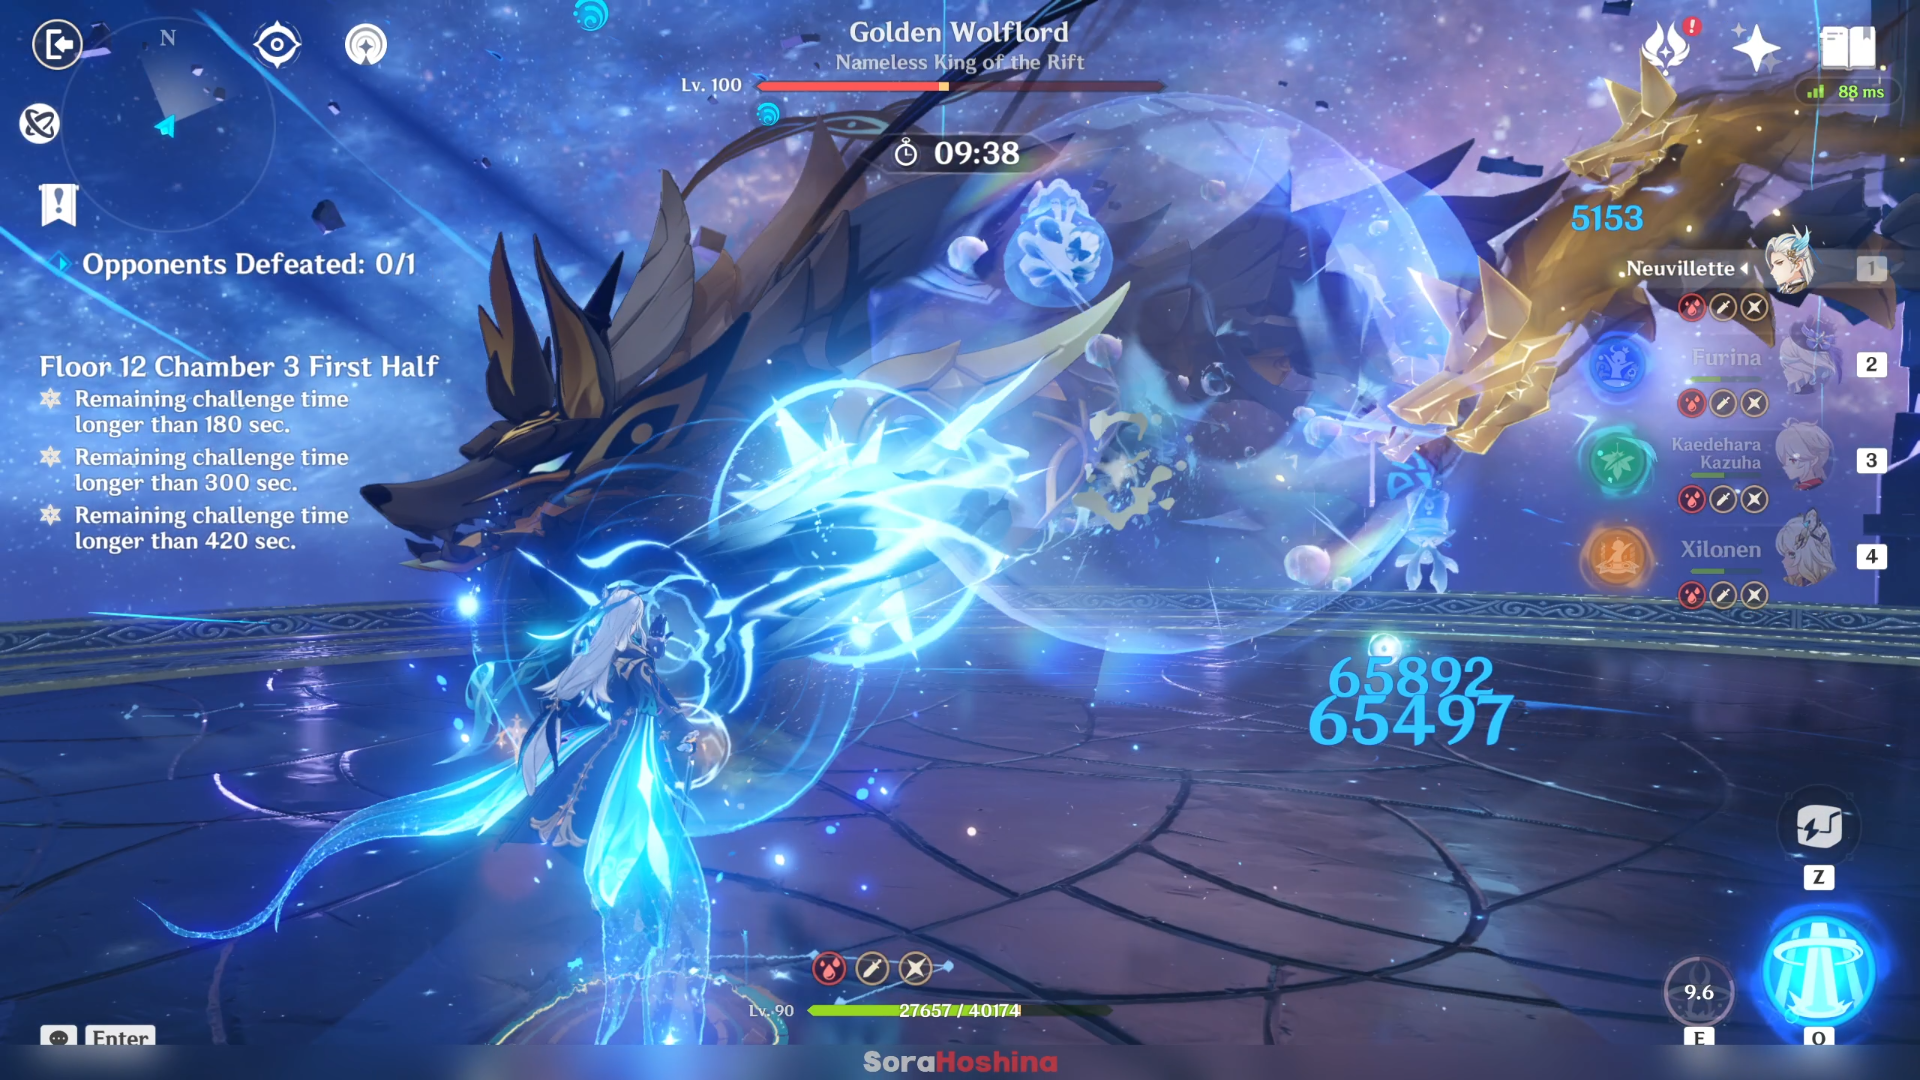
Since this snake favors flying so much, you should bring a powerful ranged characters. Not only you can attack it from a safe distance while staying away from the enemy's attacks, you can also save more stamina for emergency and attack it when its flying.
The window for melee characters to attack it is somewhat small, like when the Wolflord is performing its tornado, laser beam or ramming attack.
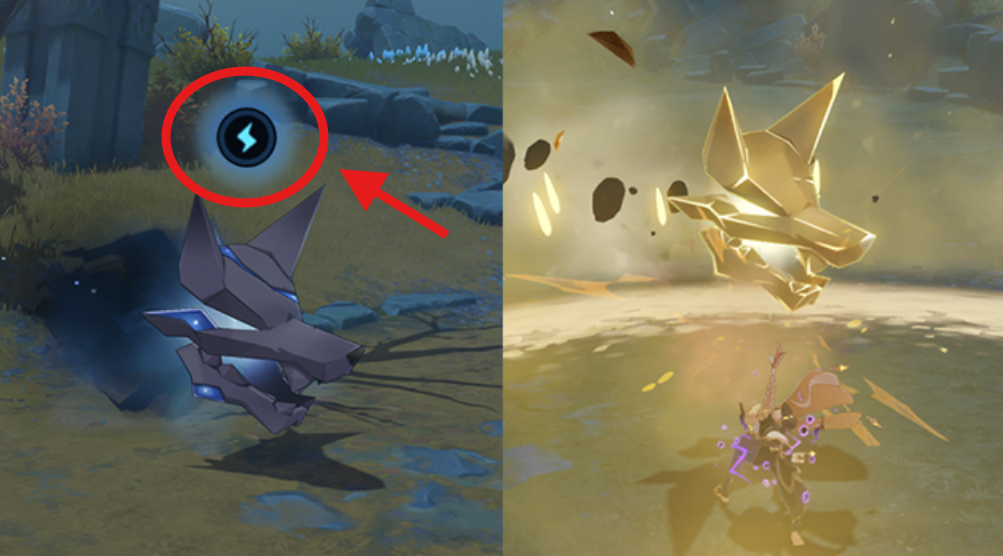
Once the Wolflord reaches about 70% HP or lower, it will generates a shield and summon 3 Rifthound Skulls. When the boss is protected by a shield, it is fully immune to damage, and the shield itself also cannot be damaged by normal means. You need to hit these skulls with elemental attacks (Geo is the best for this job) to destroy the Wolflord's shield. You should bring at least one Geo character to the team for this task.
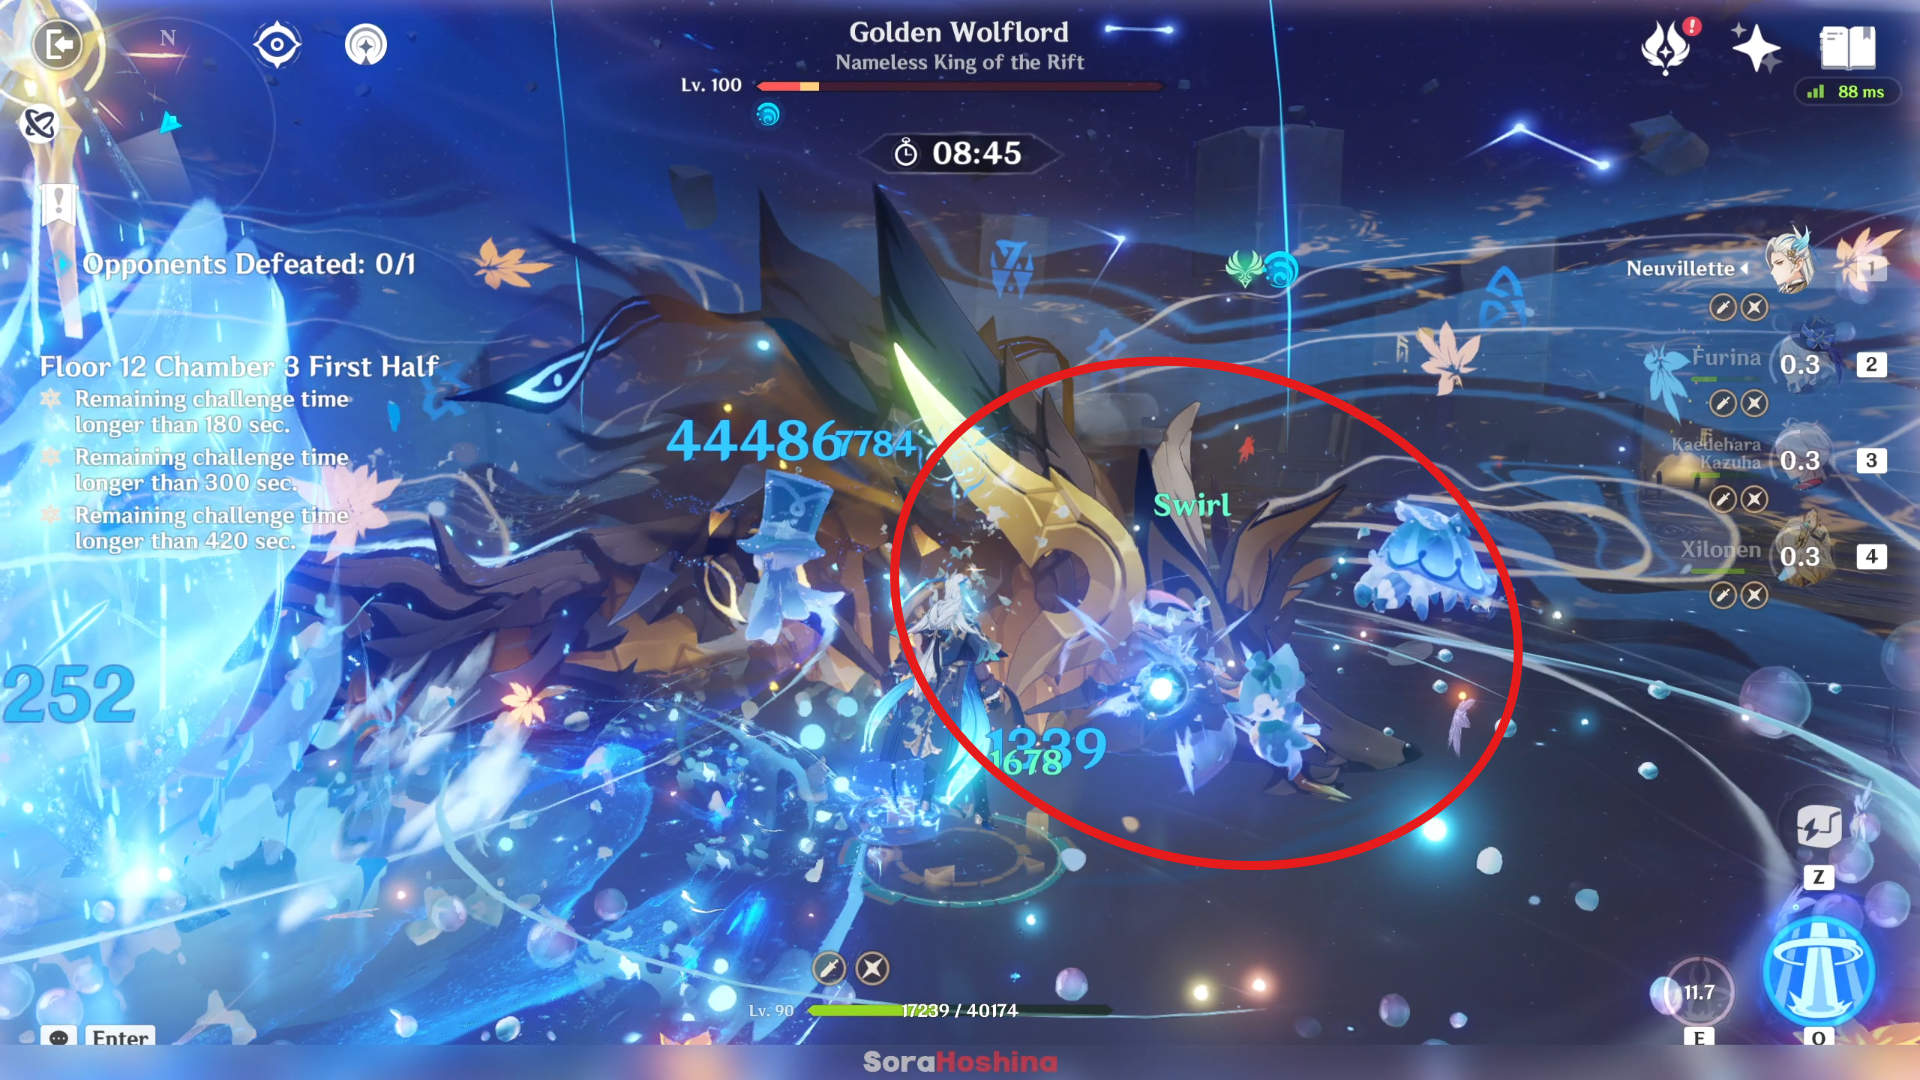
Once the shield is broken, the Wolflord will be stunned in the middle of the arena for a significantly long amount of time and also the perfect time to spam your Skills and Bursts.
Second Half

1st Wave: Aeonblight Drake x1
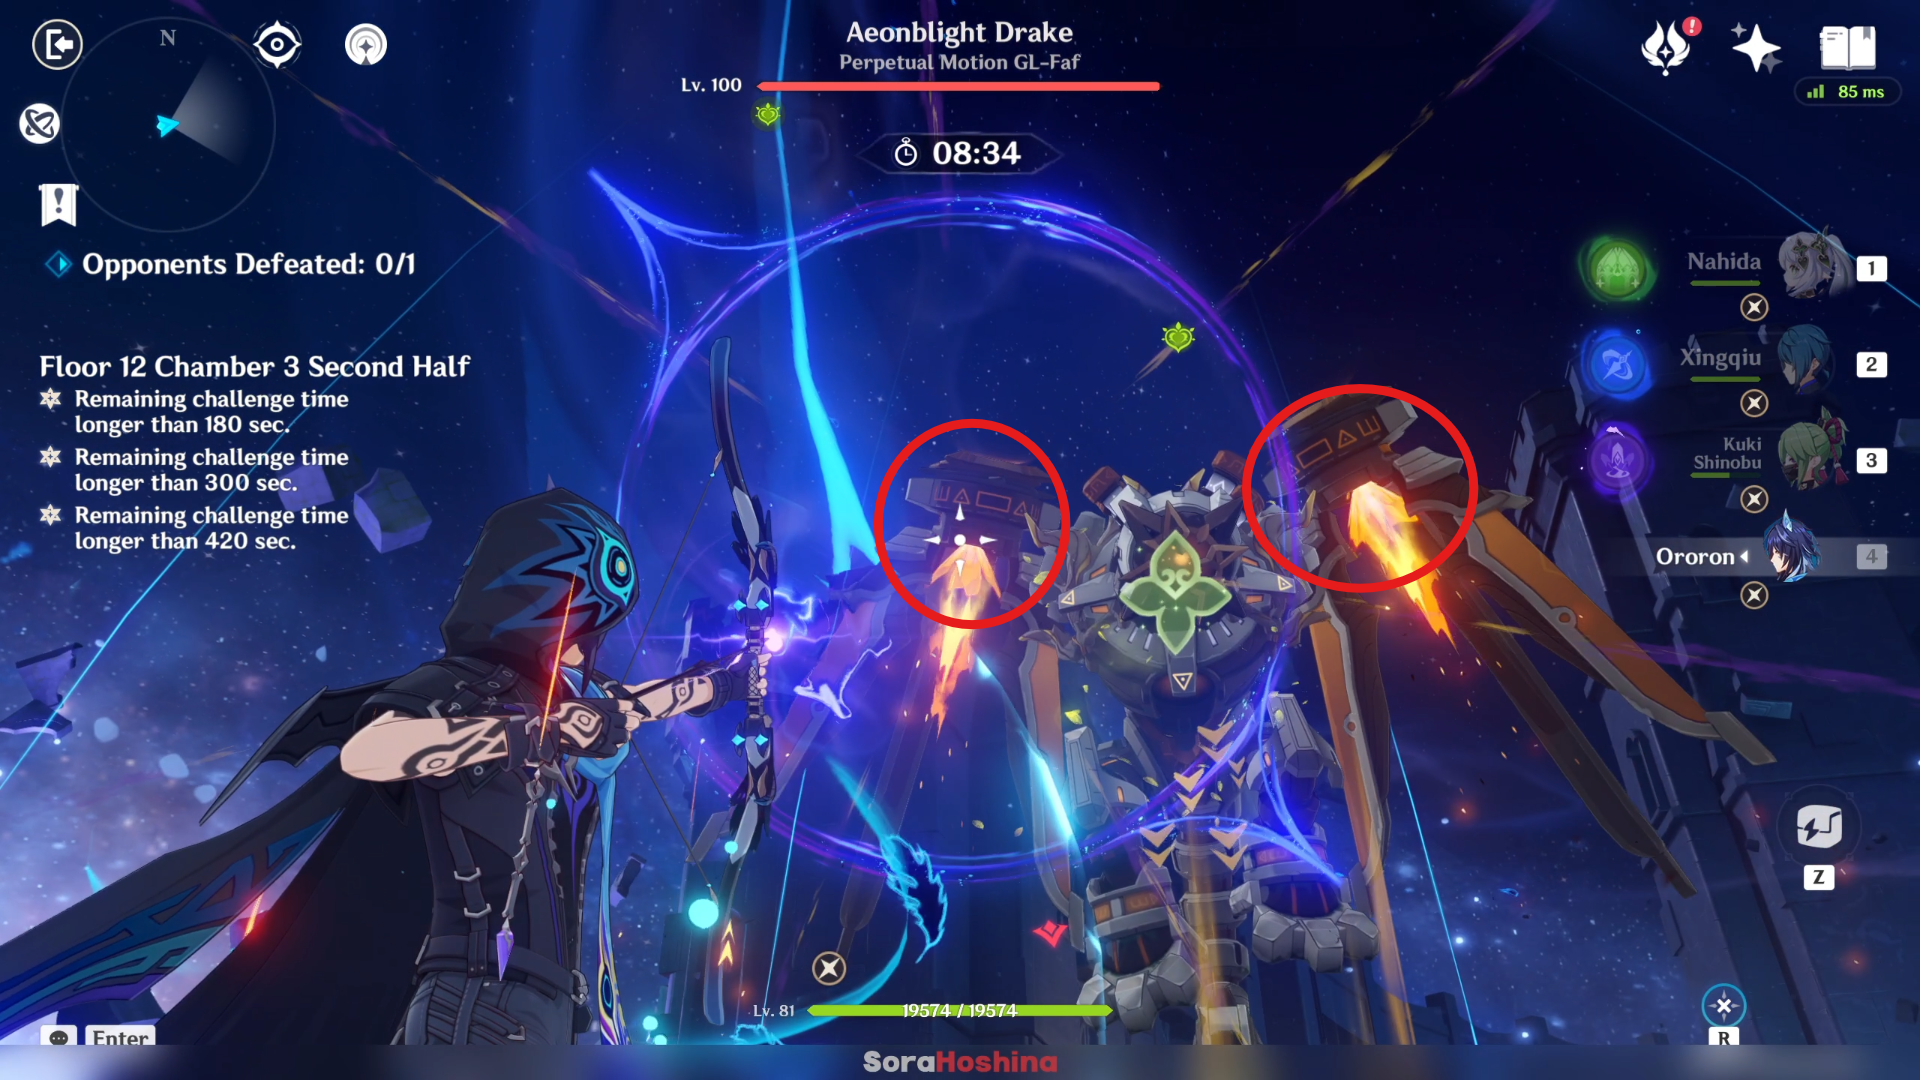
There is only one enemy in one wave; Aeonblight Drake. Please bring an archer here because once this enemy goes airborne (which it often did), none of your melee characters can reach it. And the only thing you can do is use your archer to hit the weakpoint to paralyze it or wait for a very long time for it to come down.
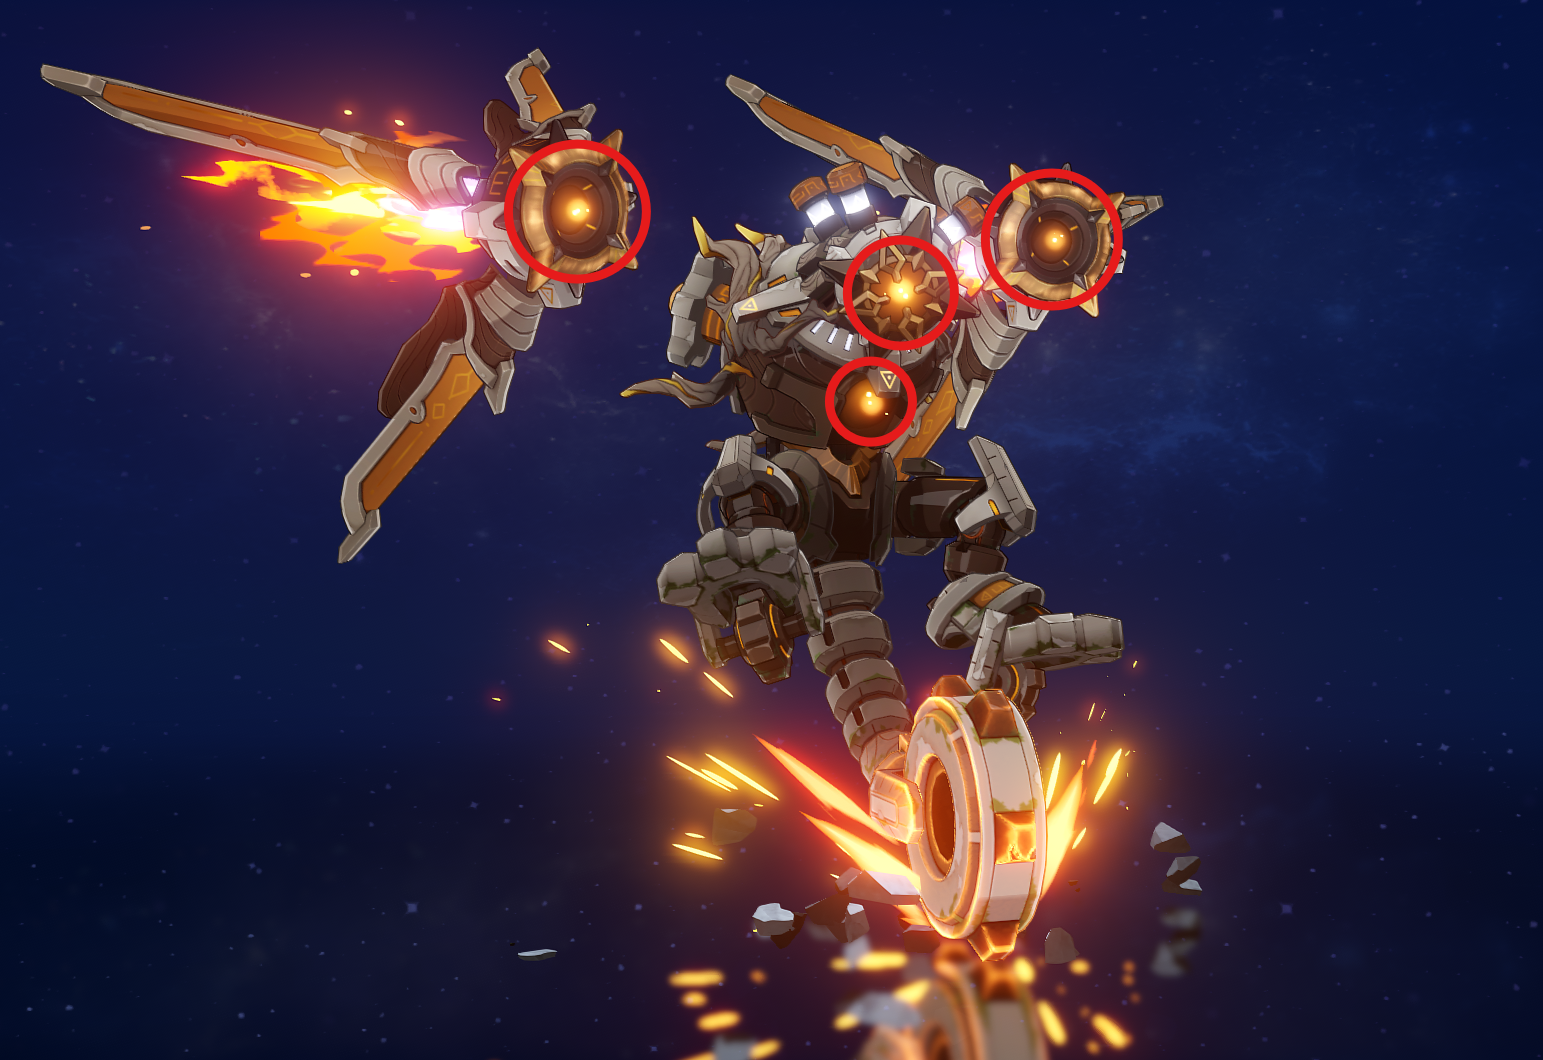
The Drake's weak points have different locations depending on its next attack, but it will either be on its head, chest, or both of its wings. You will know which one it is by observing the shining orange orb.
Missile Barrage: Weakness on its chest
Standby / Machine Gun: Weakness on both of its wing
Airborne Charge: Weakness on its head
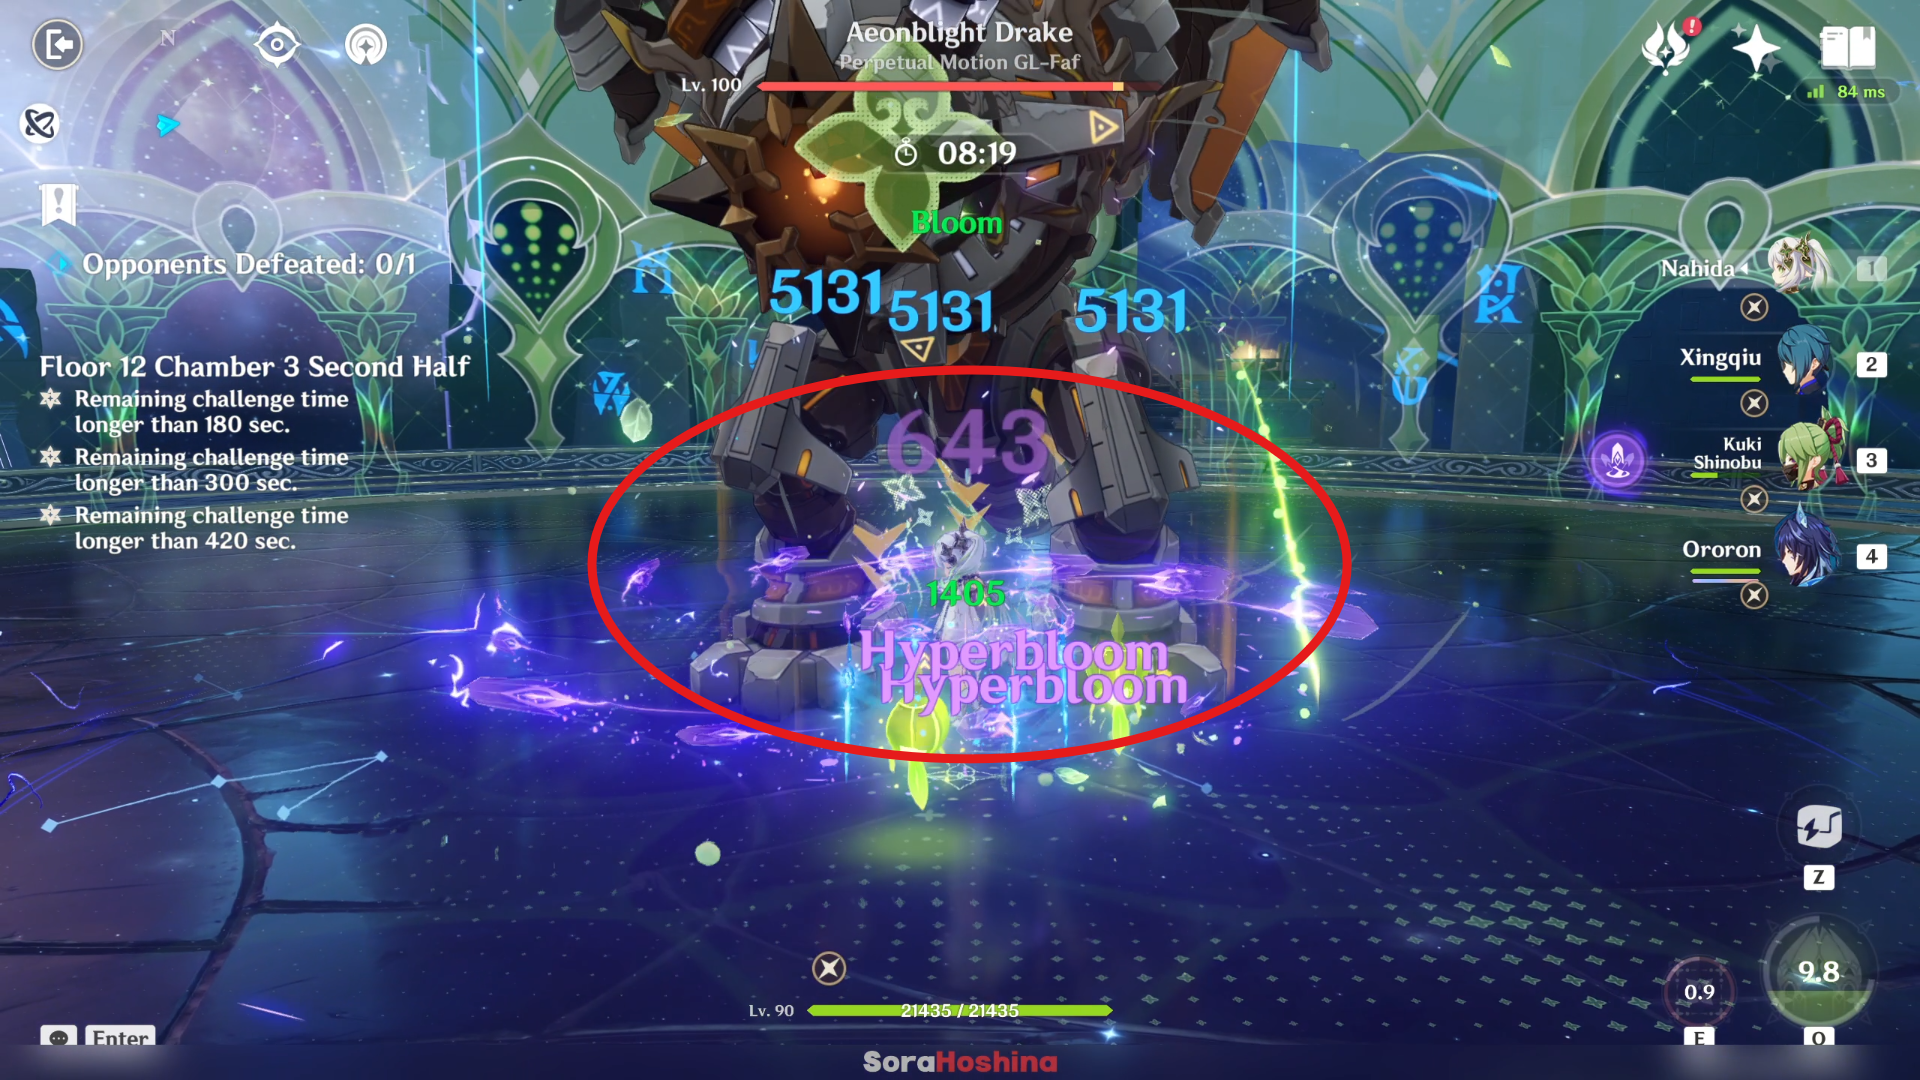
Once you hit its weak point, it will fall to the ground and you will have a steady window until it recovers itself. After that, keep repeating the same thing, where if it goes airborne, you must hit its weak point. And if it didn't fly for some time, it's your lucky time so spam those Skills and Bursts~ One last thing, please don't bring Physical character it has massive Physical resistance.


