
Table of Contents [Hide]
There are a total of 6 Local Legends in Natlan, including the special obsidian totem poles in Natlan. By defeating these Local Legends, you will also get the achievements from Duelist: Series II.
Local Legends in version 5.0 can be found here:
All Local Legends in Natlan 5.0
All Special Obsidian Totem Poles in Natlan 5.0
This content comes from the Creator Experience server.
Please refresh the page if some of the images are broken.
Location of All Local Legends in Natlan 5.2
1) Bronzelock
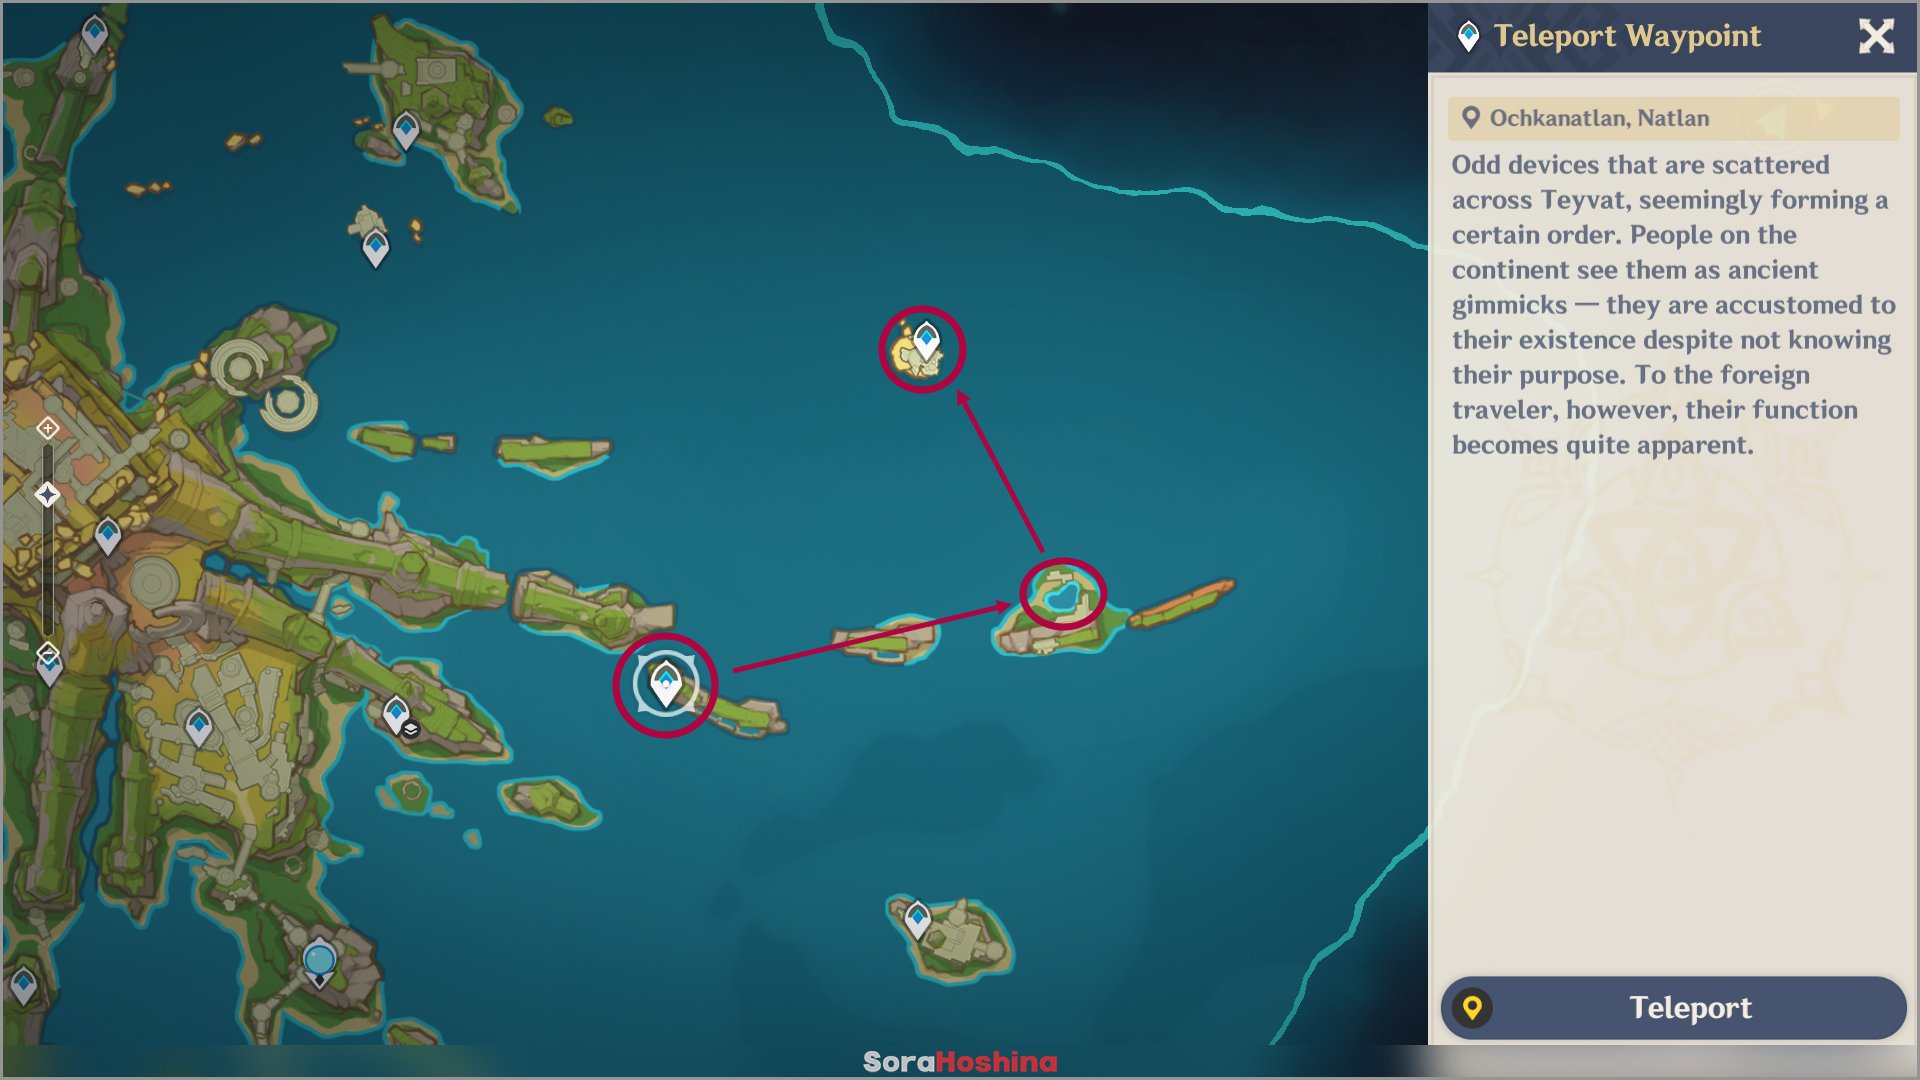
Location: If you haven't unlocked the waypoint on top of the island yet, first, teleport to the waypoint east of Ochkanatlan and head to the island far east.

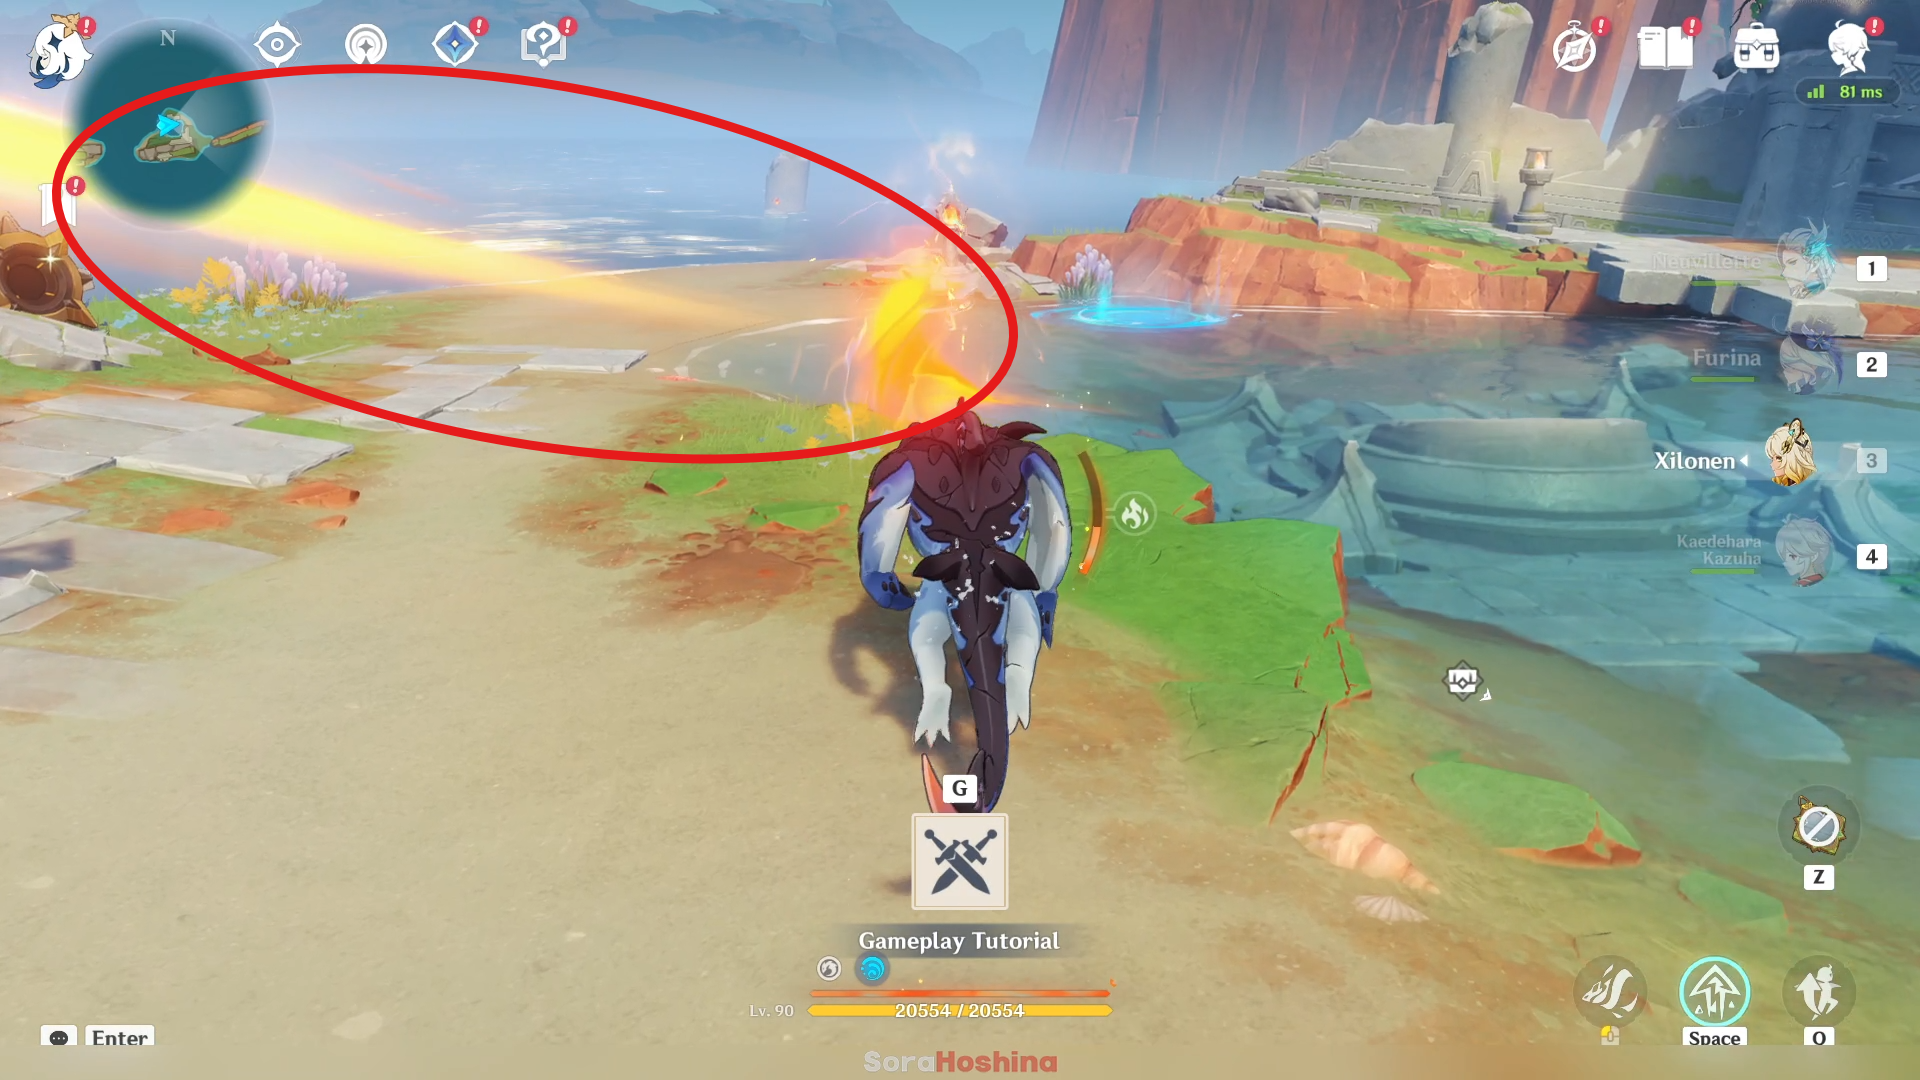
On that island, go to the small pond of water and you can see a Flowlight Target on the pond. Indwell a Koholasaurus and destroy all the Flowlight Targets to unlock a Spiritway that brings you to the floating island up north. On that island is your first Local Legend.

Personally, I don't find any differences between this Local Legend and the usual Ruin Drake: Earthguard except for maybe a higher HP pool. During the battle, there doesn't seem to be any additional move from the usual so you don't have to worry too much (cmiiw).
2) Rilai
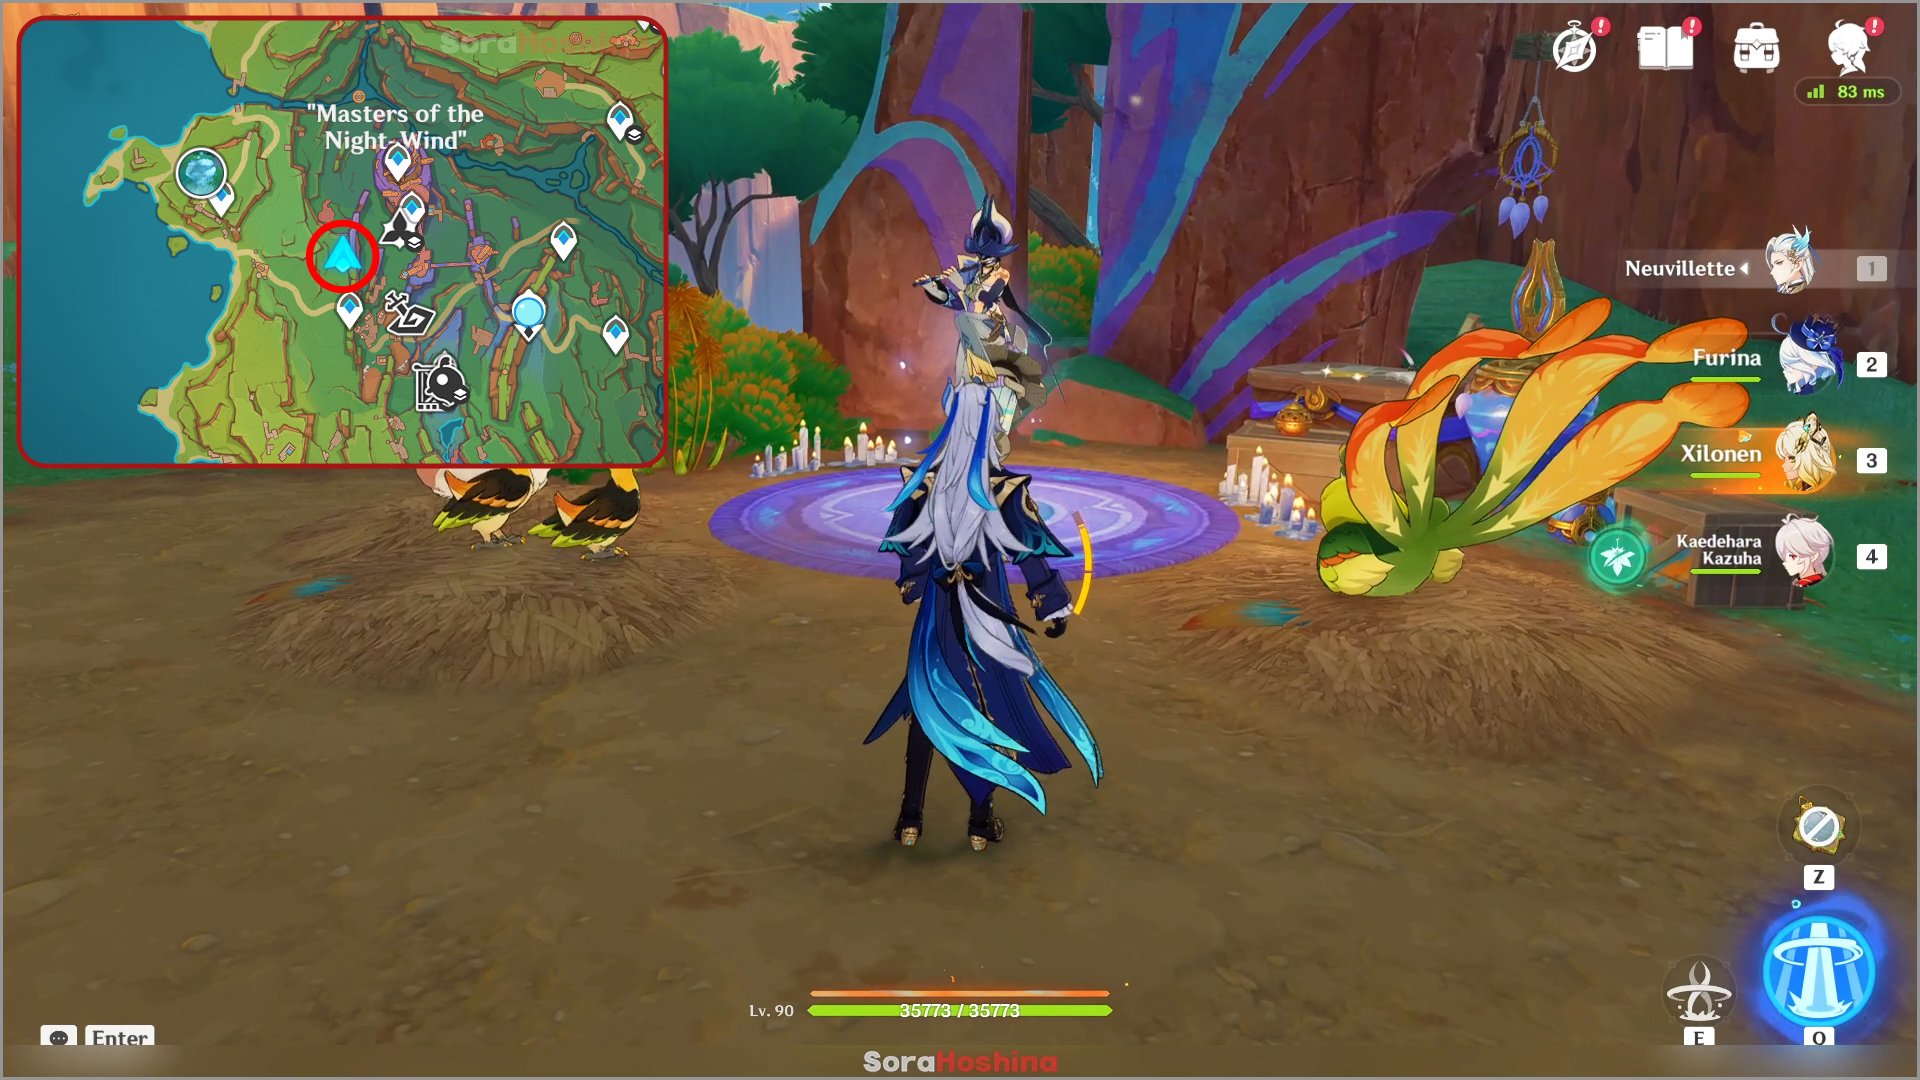
Location: Teleport to Masters of the Night Wind southwest waypoint and walk north a little bit. You can see a lone Tribal Warrior. She's the Local Legend and you need to defeat her.

Overall, she moves extremely fast and often teleports to many spots so you can't hold her in one place. In addition, she deals long-ranged Cryo attacks so pay attention to the incoming AoE attack's indicator on the ground so you can avoid them (they deal huge damage and will slow your character down).
3) Spirit of the Fallen Dawnstar
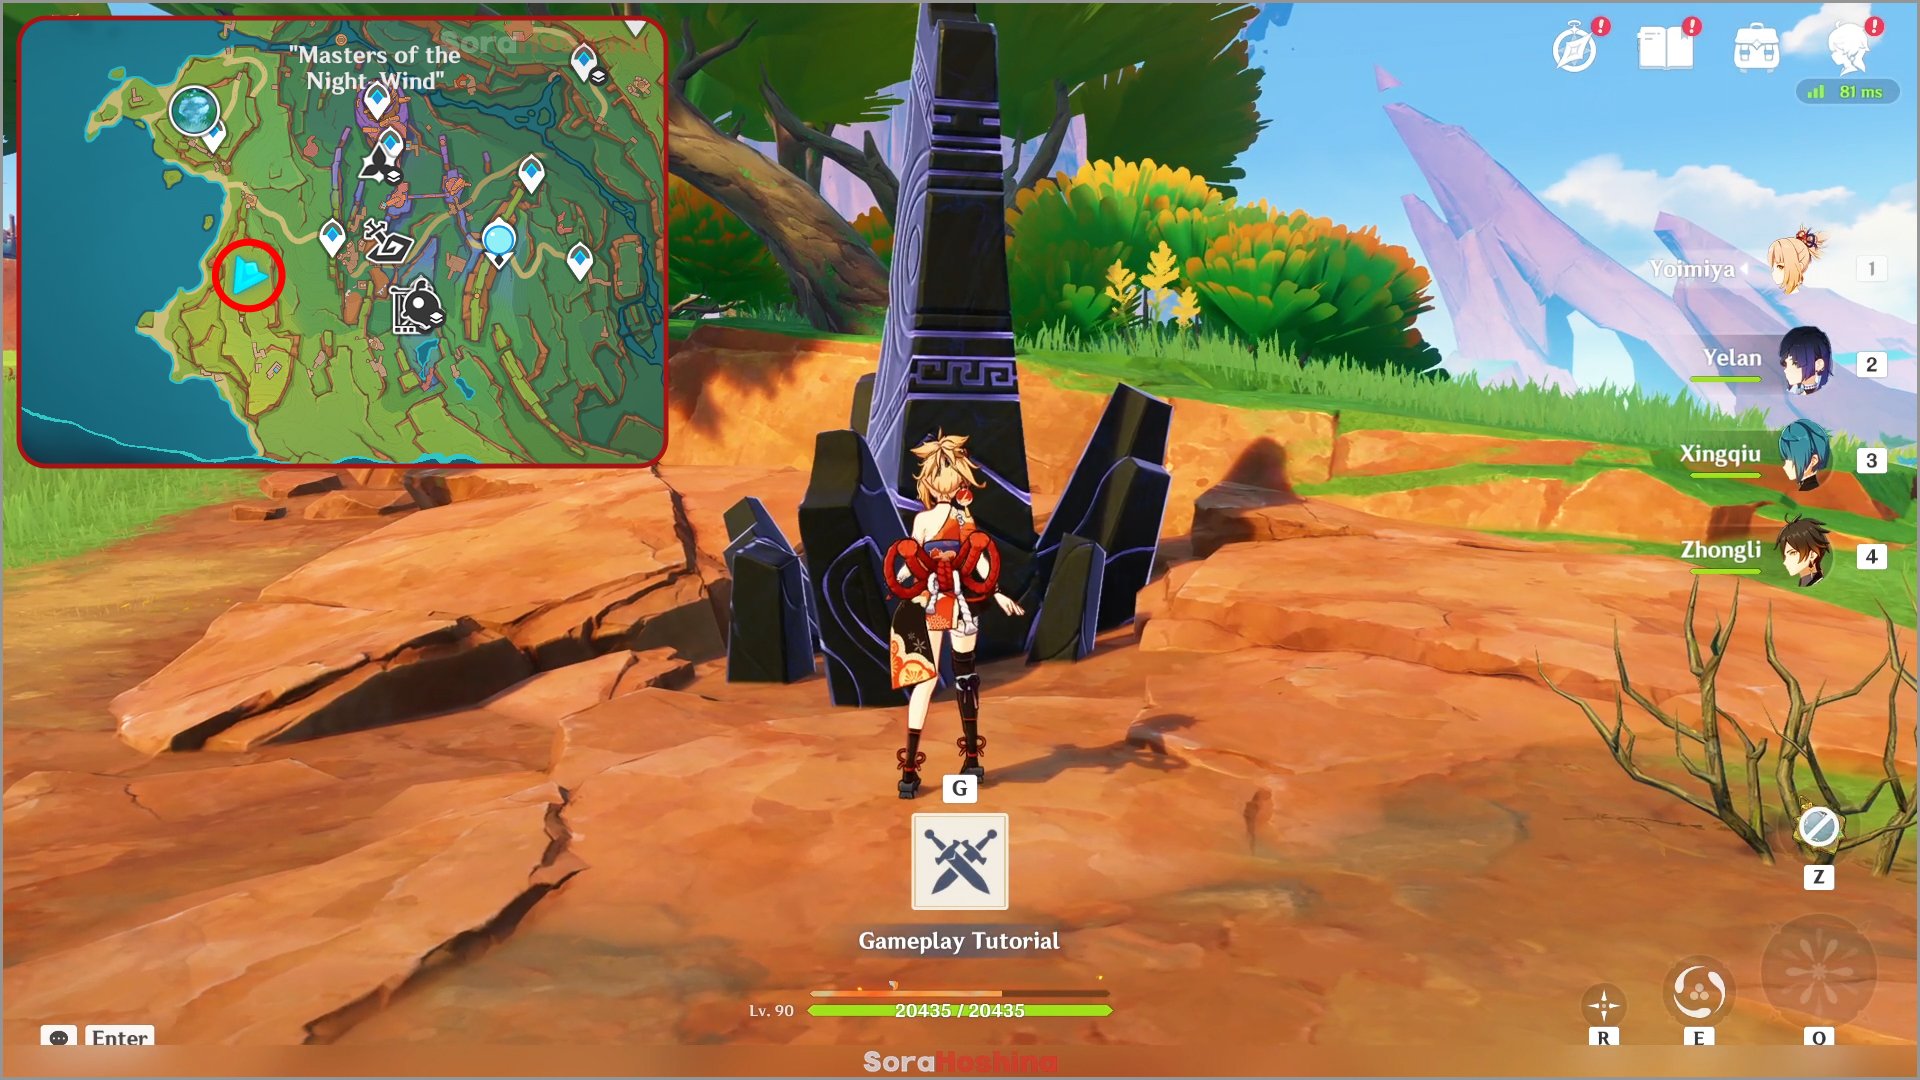
Location: Teleport to Masters of the Night Wind southwest waypoint and look southwest where you see a tall mountain. Get near that mountain and you can see a Qucusaur Indwelling on the ground. Indwell the Qucusaur and fly to the top of the mountain. If you don't want this roundabout method, use Xilonen or Kachina to climb the mountain.

In this challenge, there are 3 sacrificial braziers. When your character gets near to one of these, brazier, they will receive "Burning Blessing," causing Charged Attacks to deal extra Pyro DMG. Very restricted buff that only certain characters can take advantage of.
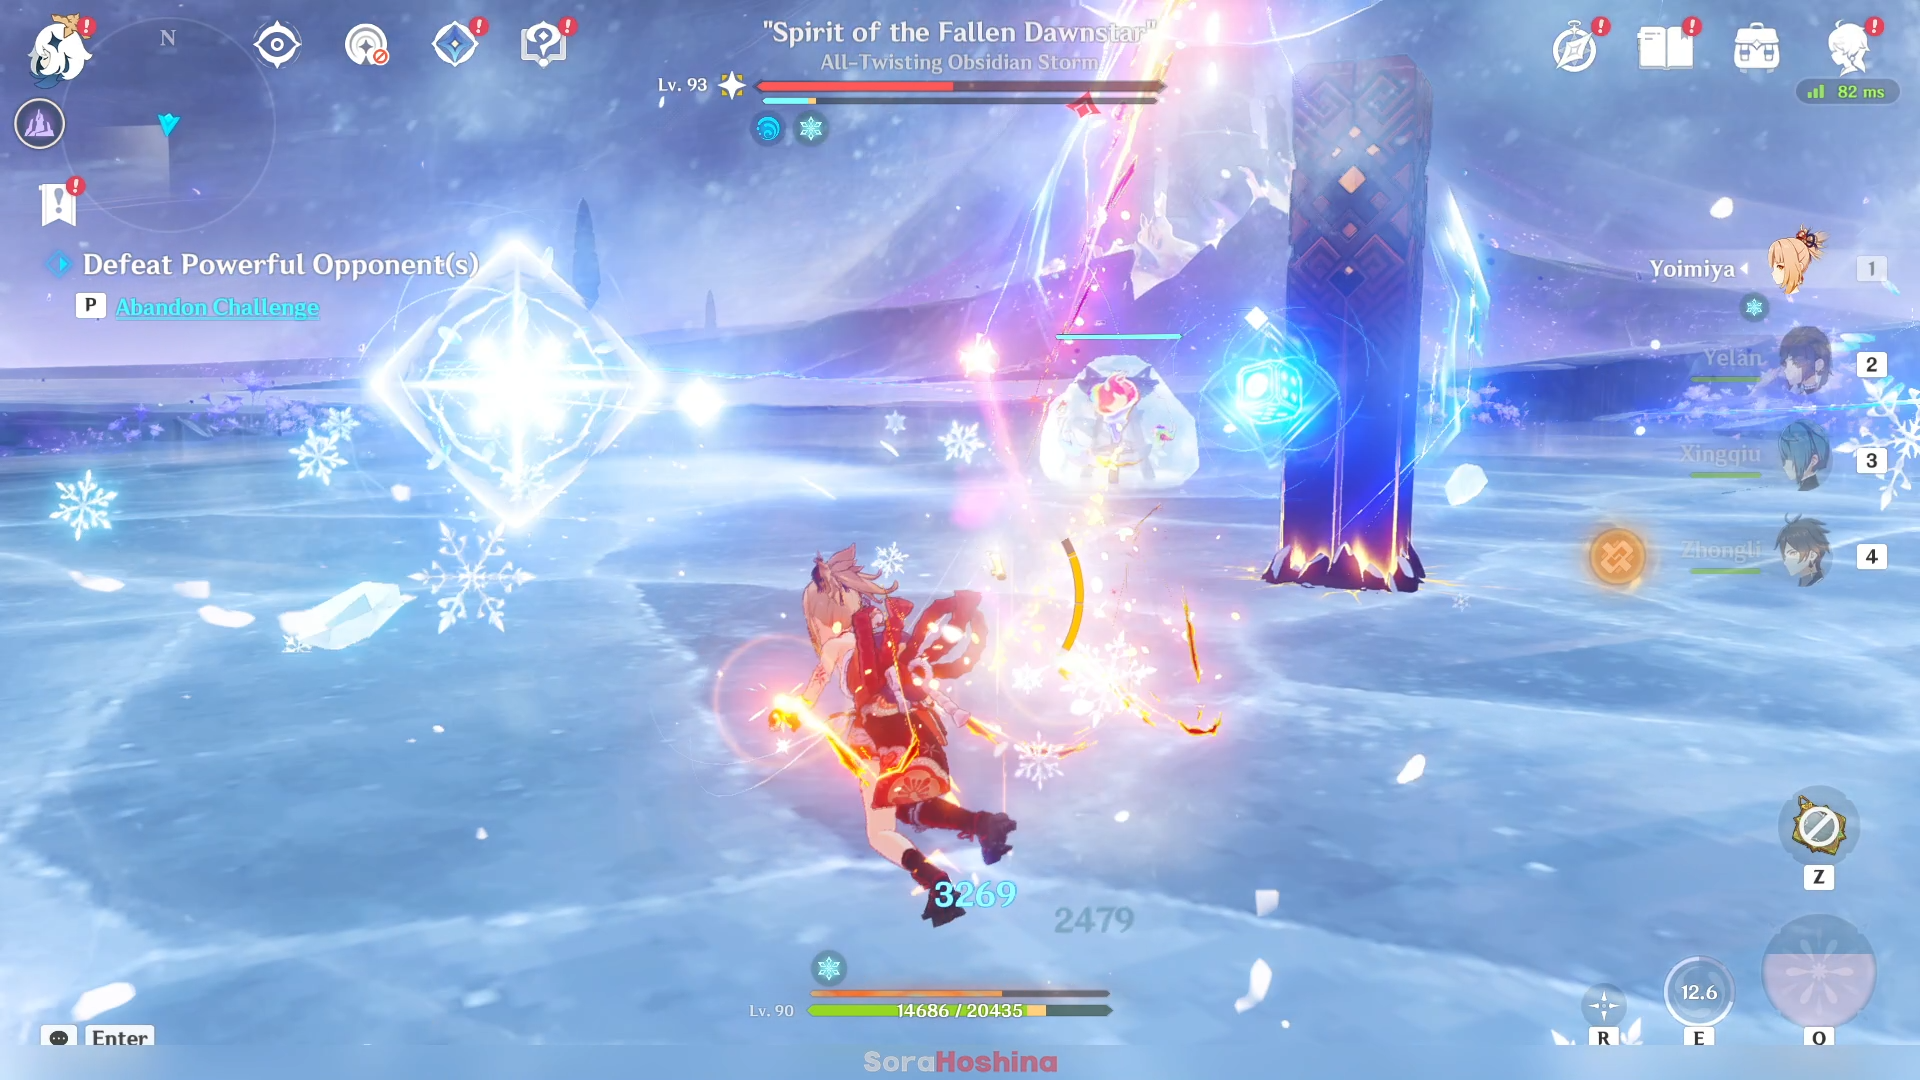
After reaching a certain stage in the battle, the Iktomisaurus will take flight and grant itself a Cryo Ward, freezing the sacrificial brazier, and for a period of time after, continuously execute powerful attacks. Even with Zhongli's god-level shield, you can't protect yourself from this attack.

The only method you can do is either:
(1) Use pyro attacks to melt the tough ice covering the sacrificial brazier
(2) Characters from the Masters of the Night-Wind can use Nightspirit Graffiti to directly create a new sacrificial brazier and receive Burning Blessing
(3) Use Pryo ranged attacks to attack the floating Iktomisaurus until its Cryo shield is down
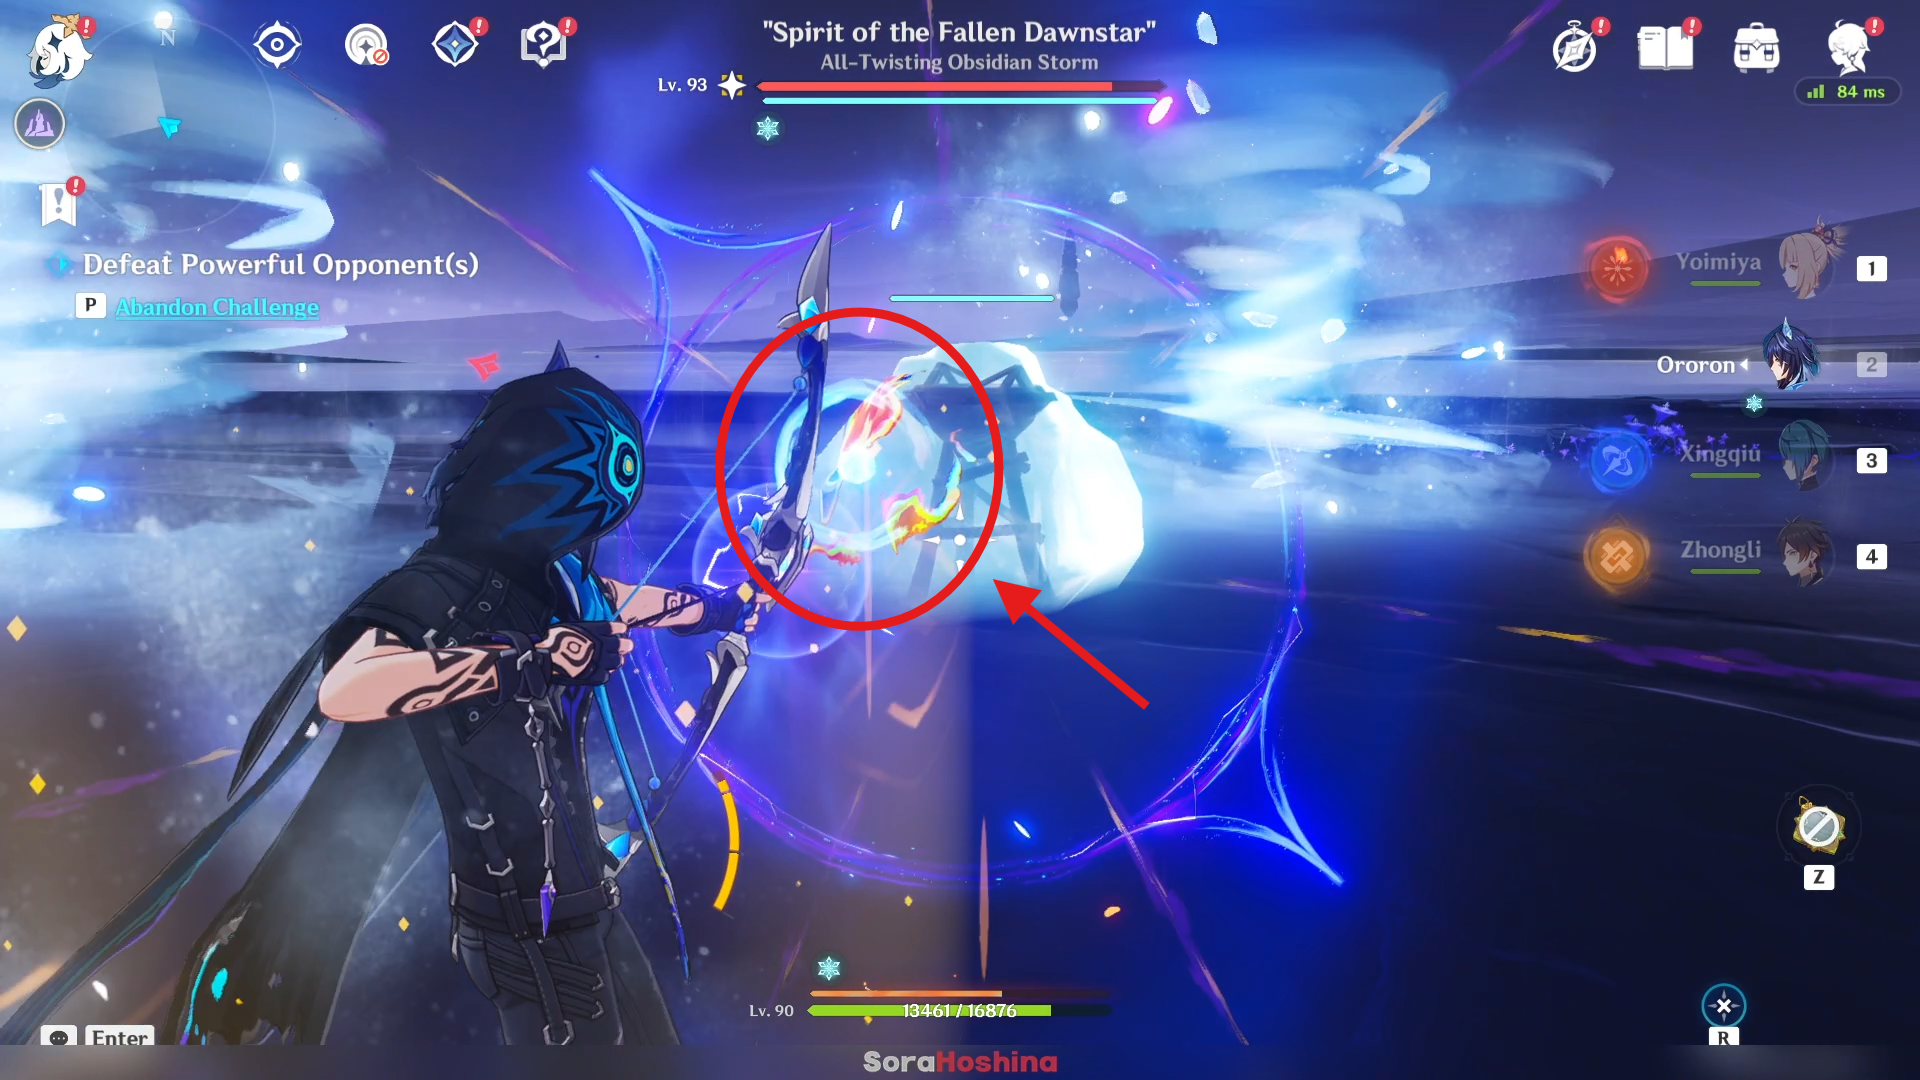

For the first method, it took too long for pyro attacks to melt the ice. For the second method, the only character from Masters of the Night-Wind we have in version 5.2 is Ororon, and personally, I feel this method is also bad because Ororon specializes in Electrocharged team but the buff is for Pyro DPS. So adding him to the team is a waste of slot.

I recommend bringing a Pyro DPS like Yoimiya or Lyney with a shielder so they can attack the floating Iktomisaurus without worry of being staggered. Once the Cryo shield was gone and the boss fell, they took quite a lot of damage. So from the start, keep attacking them until it creates a Cryo shield > attack the shield so it will fall and take lots of damage > repeat.
4) Potapo's Solidarity
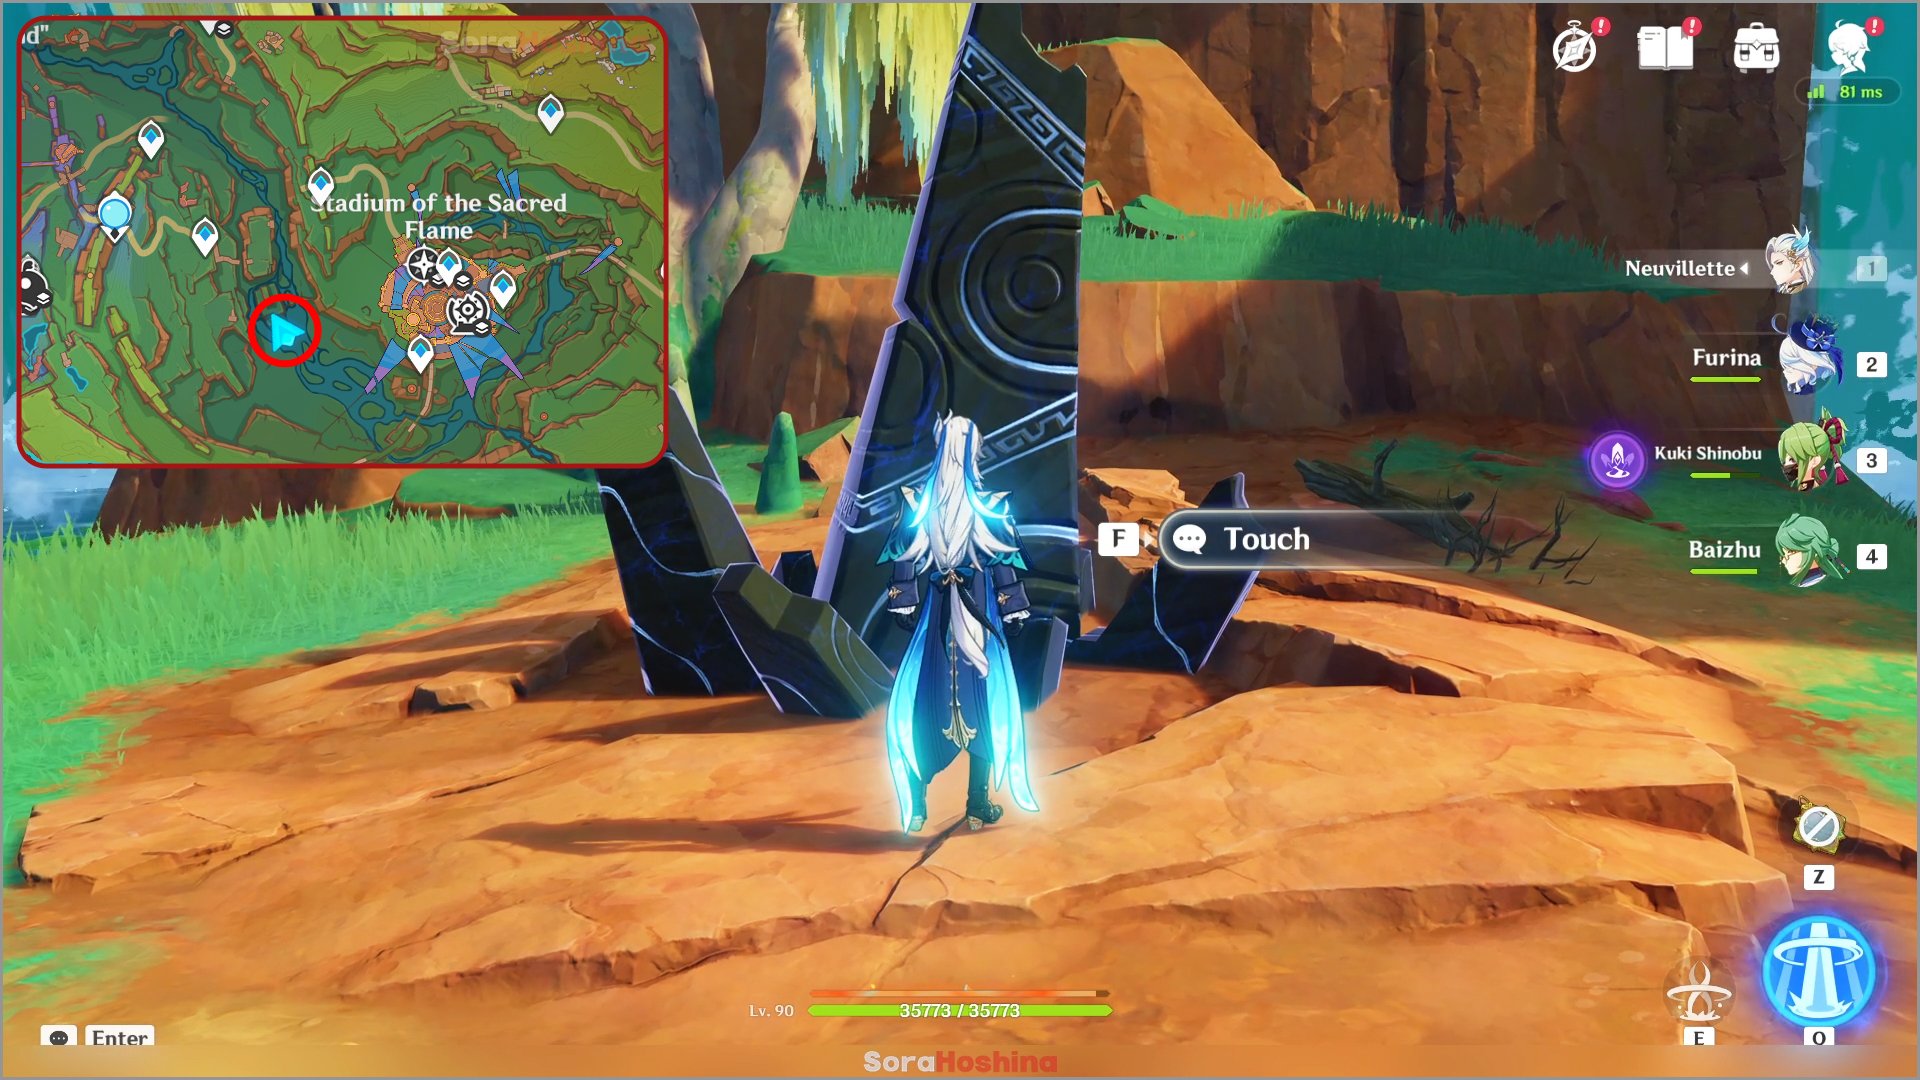
Location: Teleport to the Stadium of the Sacred Flame's south waypoint (the one near the Fishing Association) and head northwest. You can see an obsidian totem pole on the ground near the water.
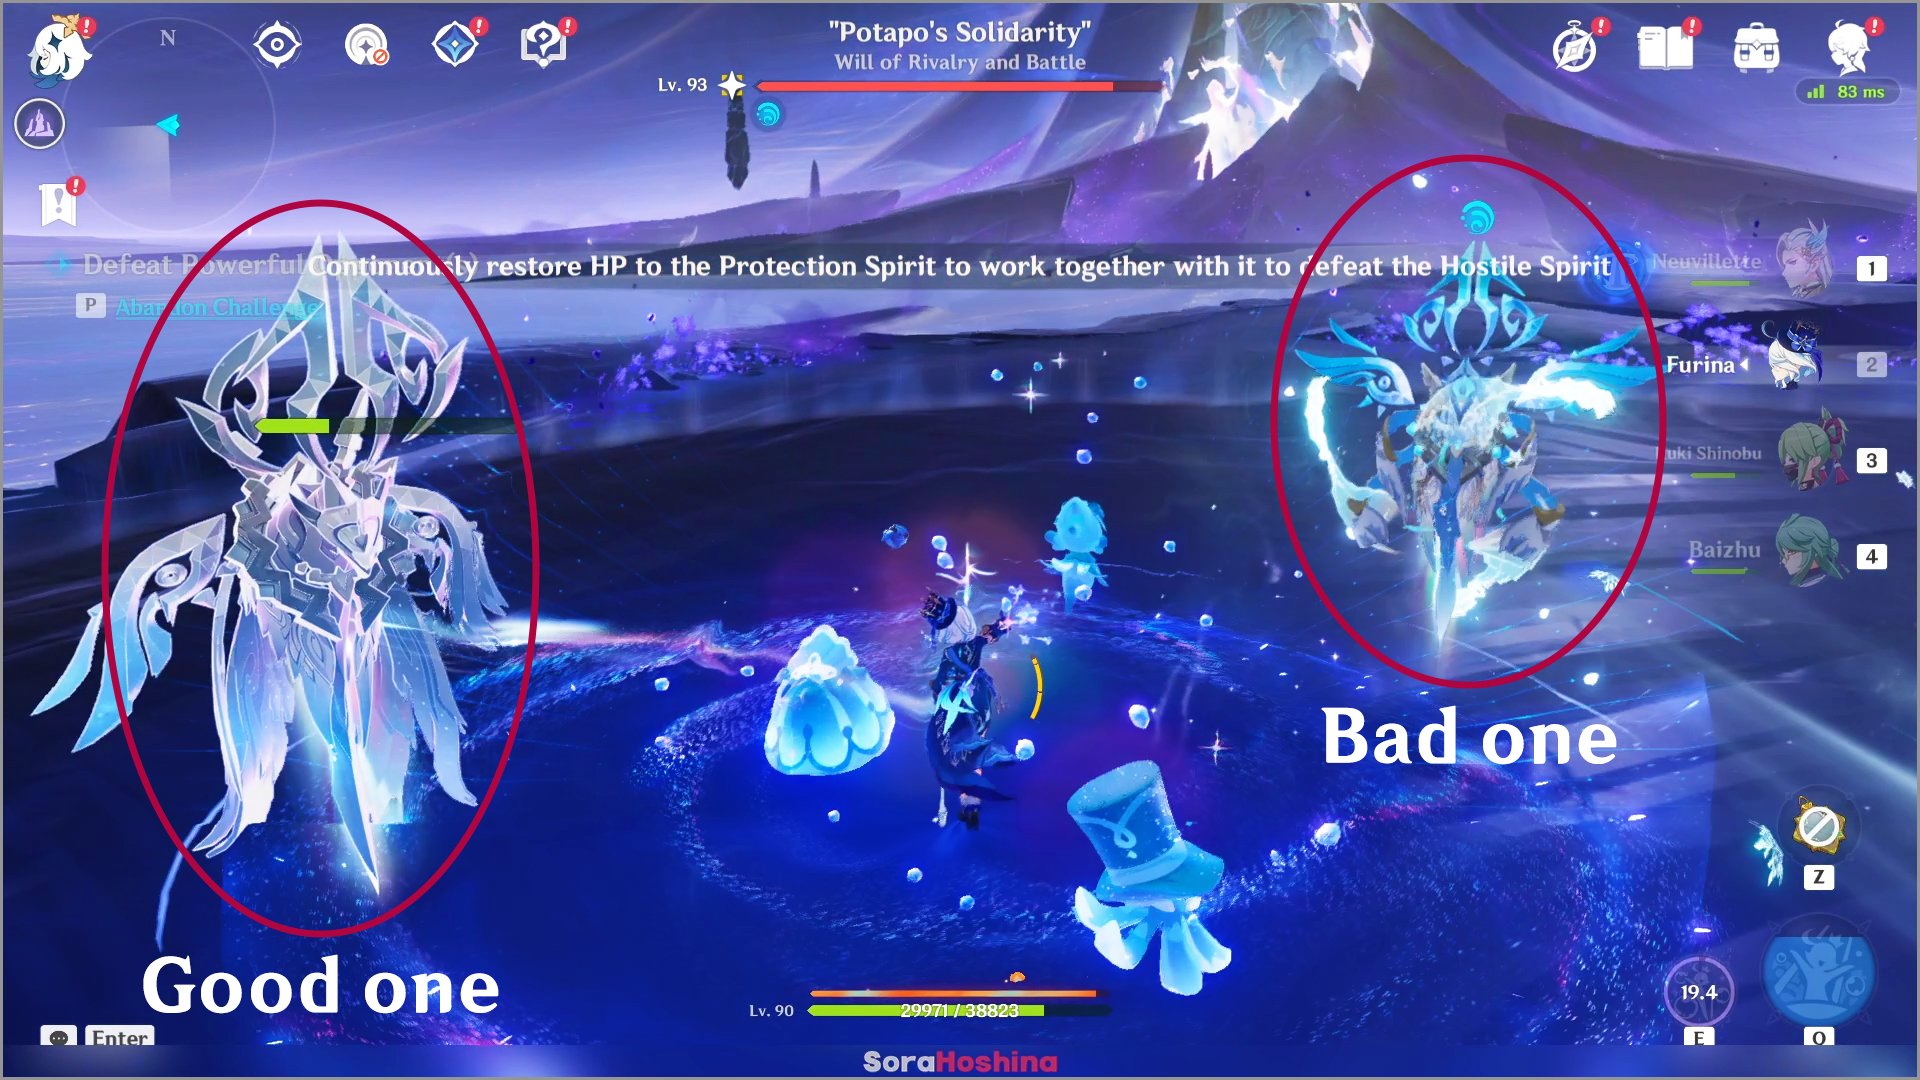
In this challenge, there are 2 Cryo Wayobs- the nice one (called Protection Spirits) and the bad one (called Hostile Spirits). The nice Wayob have a green HP bar above them so you won't miss it.

Of the two types, the nice Wayob will appear periodically and create a spirit connection with your character, and when each member of the party recovers HP, HP will be recovered for the Protection Spirit.
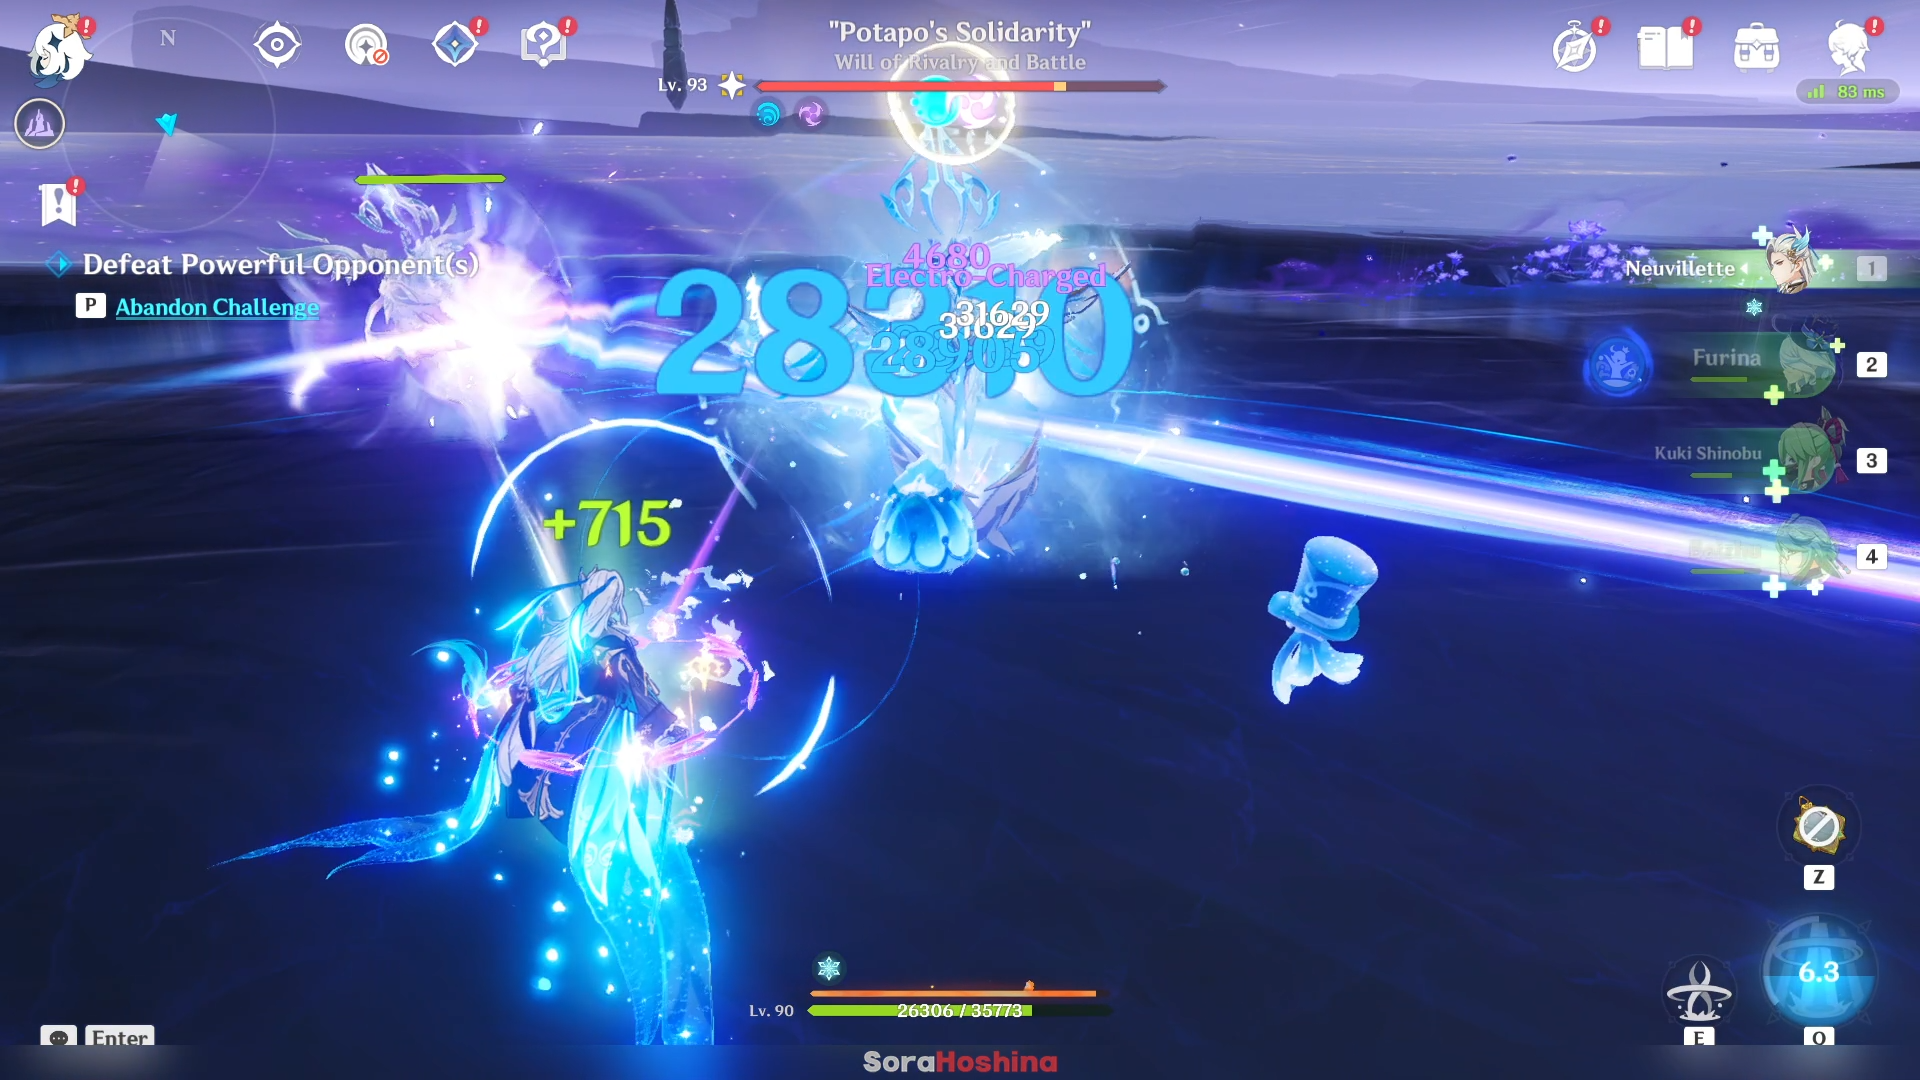
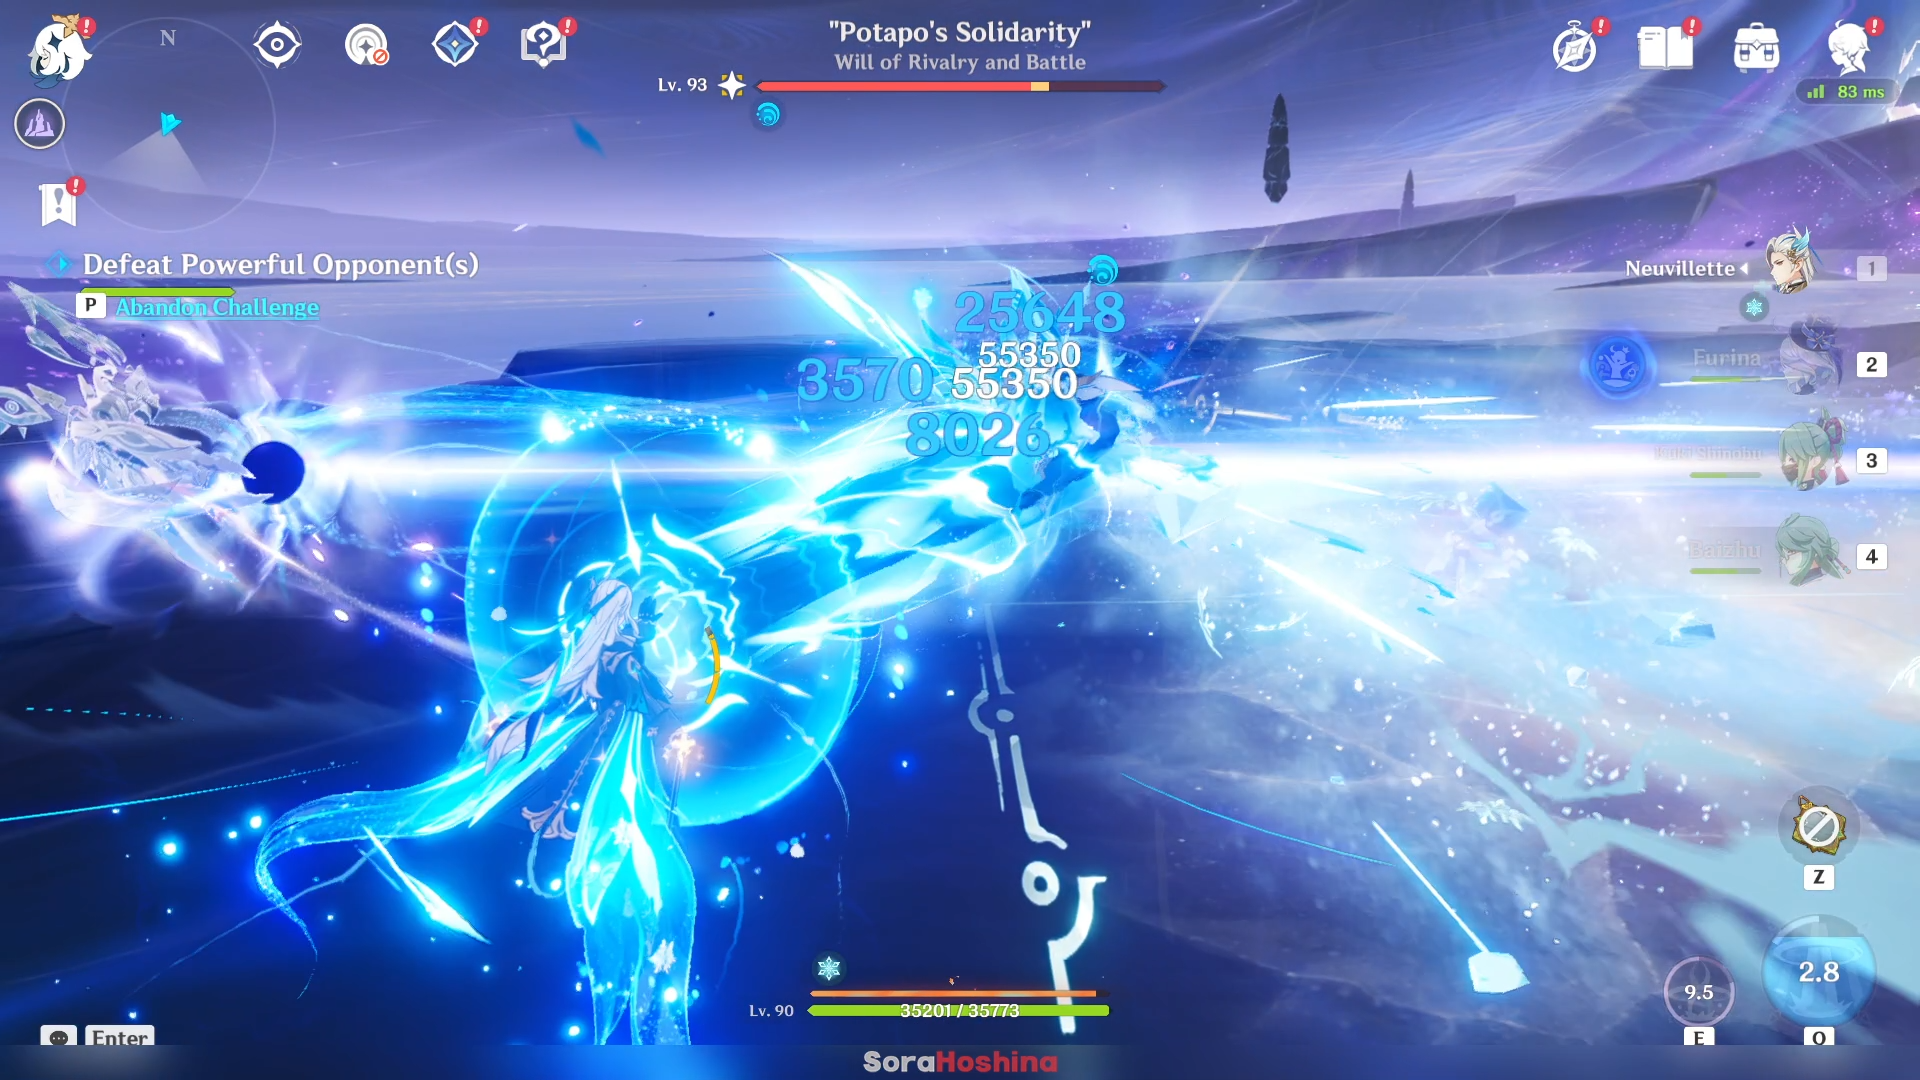
When the Protection Spirit's HP is fully restored, it will use the coordinated attack "Pierce: Binding of Dawn and Dusk's Breaking" to attack the Hostile Spirit. At this time, the more HP is restored to the Protection Spirit, the greater the damage that will be dealt, until finally Pierce: Binding of Dawn and Dusk's Breaking can be transformed into the more powerful Decisive: Binding of Dawn and Dusk's Breaking.
In short, make sure your team has a healer that can heal, preferably a teamwide healer like Jean, Baizhu, or Charlotte so you can heal much more and charge the nice Wayob's faster.
5) Tupayo's Aid
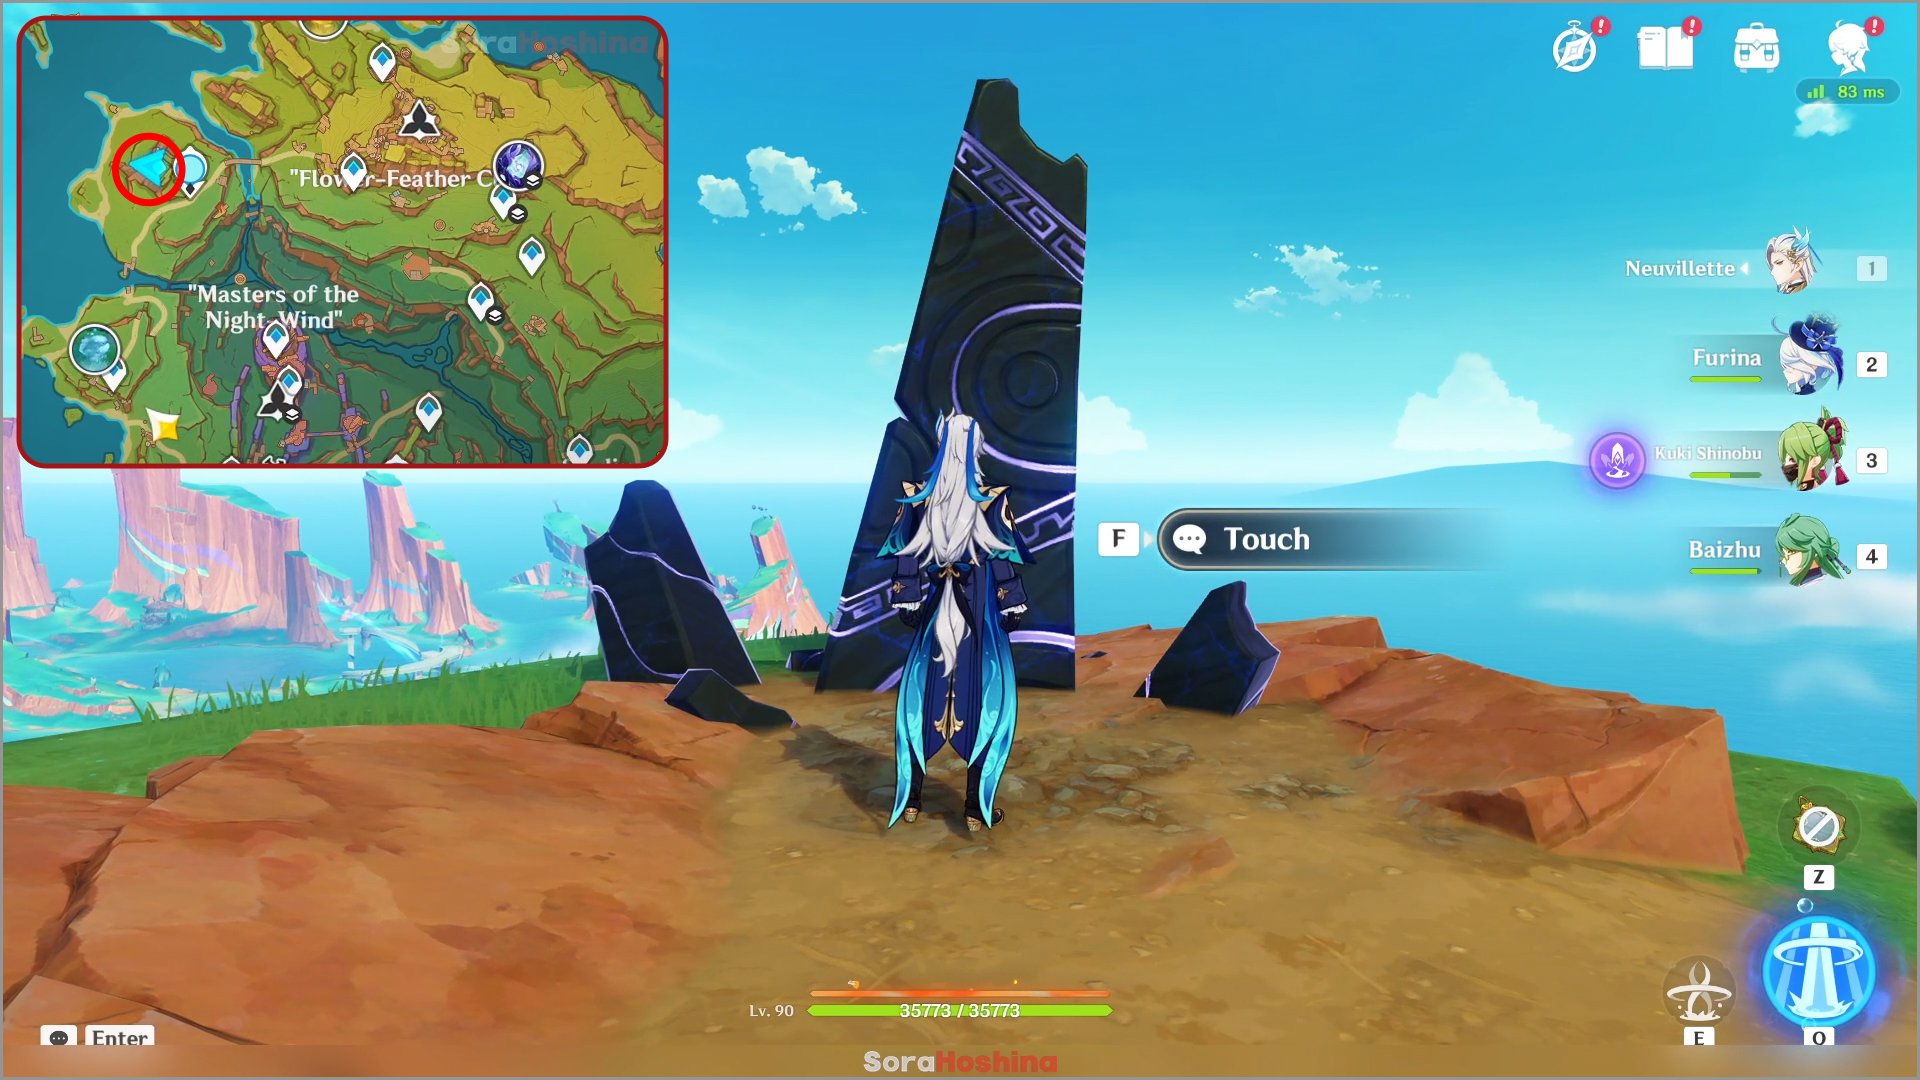
Location: Teleport to the Statue of the Seven west of the Flower-Feather Clan and indwell a Qucusaur on the west before entering the bright orange circle (Phlogiston Wind Tunnel) to reach the top of the mountain. The obsidian totem pole is right on top.

The challenge here is pretty easy as there is only one mechanic you need to be aware of and it's simple to get around it. In this Trial, after reaching a certain stage in the battle, the Burning-Aflame Wayob Manifestation will recite an incantation to summon an infernal skyfire that covers the entire field.
At the same time, there will be Phlogiston Wind Currents on the field to dodge attacks from the Pyro Wayob. Use the wind currents to glide above the Pyro Wayob and do a plunge attack to cancel the incantation. Make sure to do this because its ultimate attack really hurts.
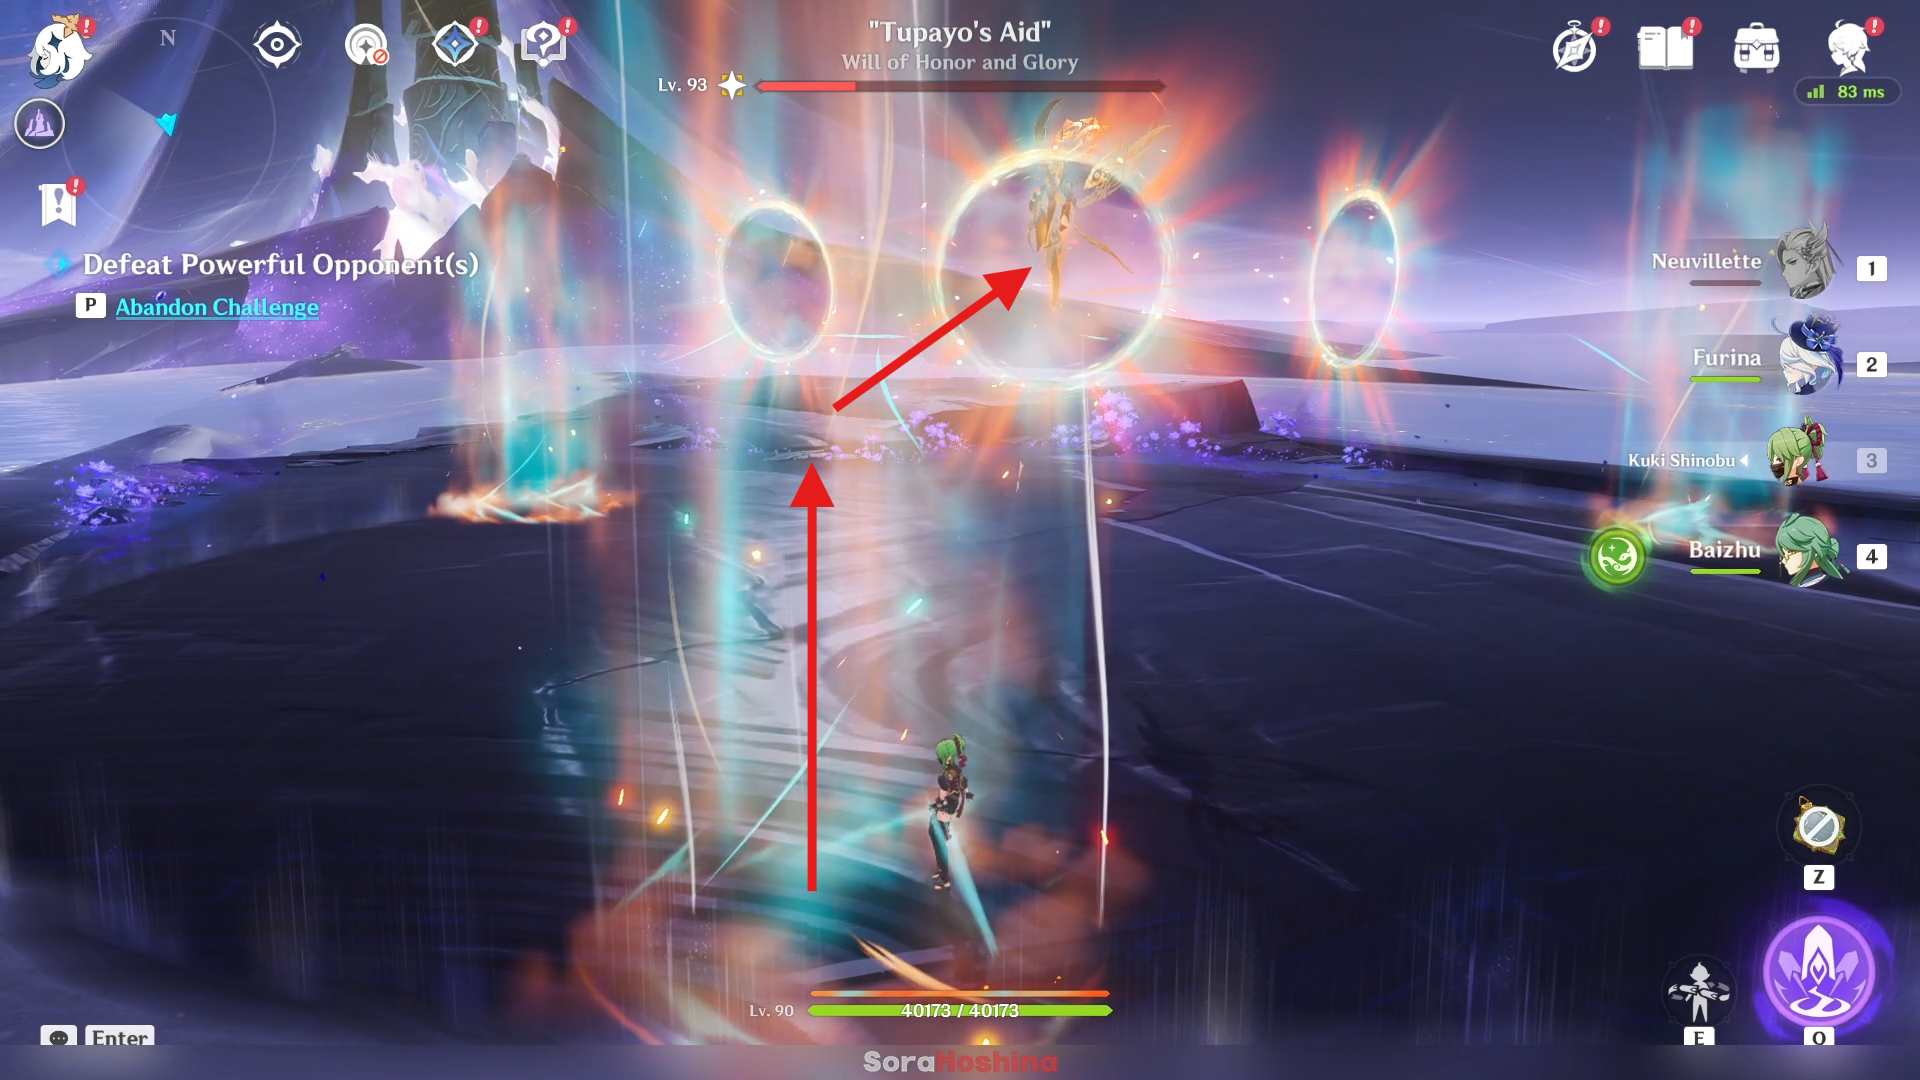
Sometimes, the Pyro Wayob will use this attack but while floating. This time, aside from the Phlogiston Wind Current, there are also wind rings. Same as the previous method, you need to glide on the Phlogiston Wind Current, then glide forward towards the wind ring current to reach the Pyro Wayob that is currently floating and he will be stunned (and cancel the incantation).
6) Ironbeard
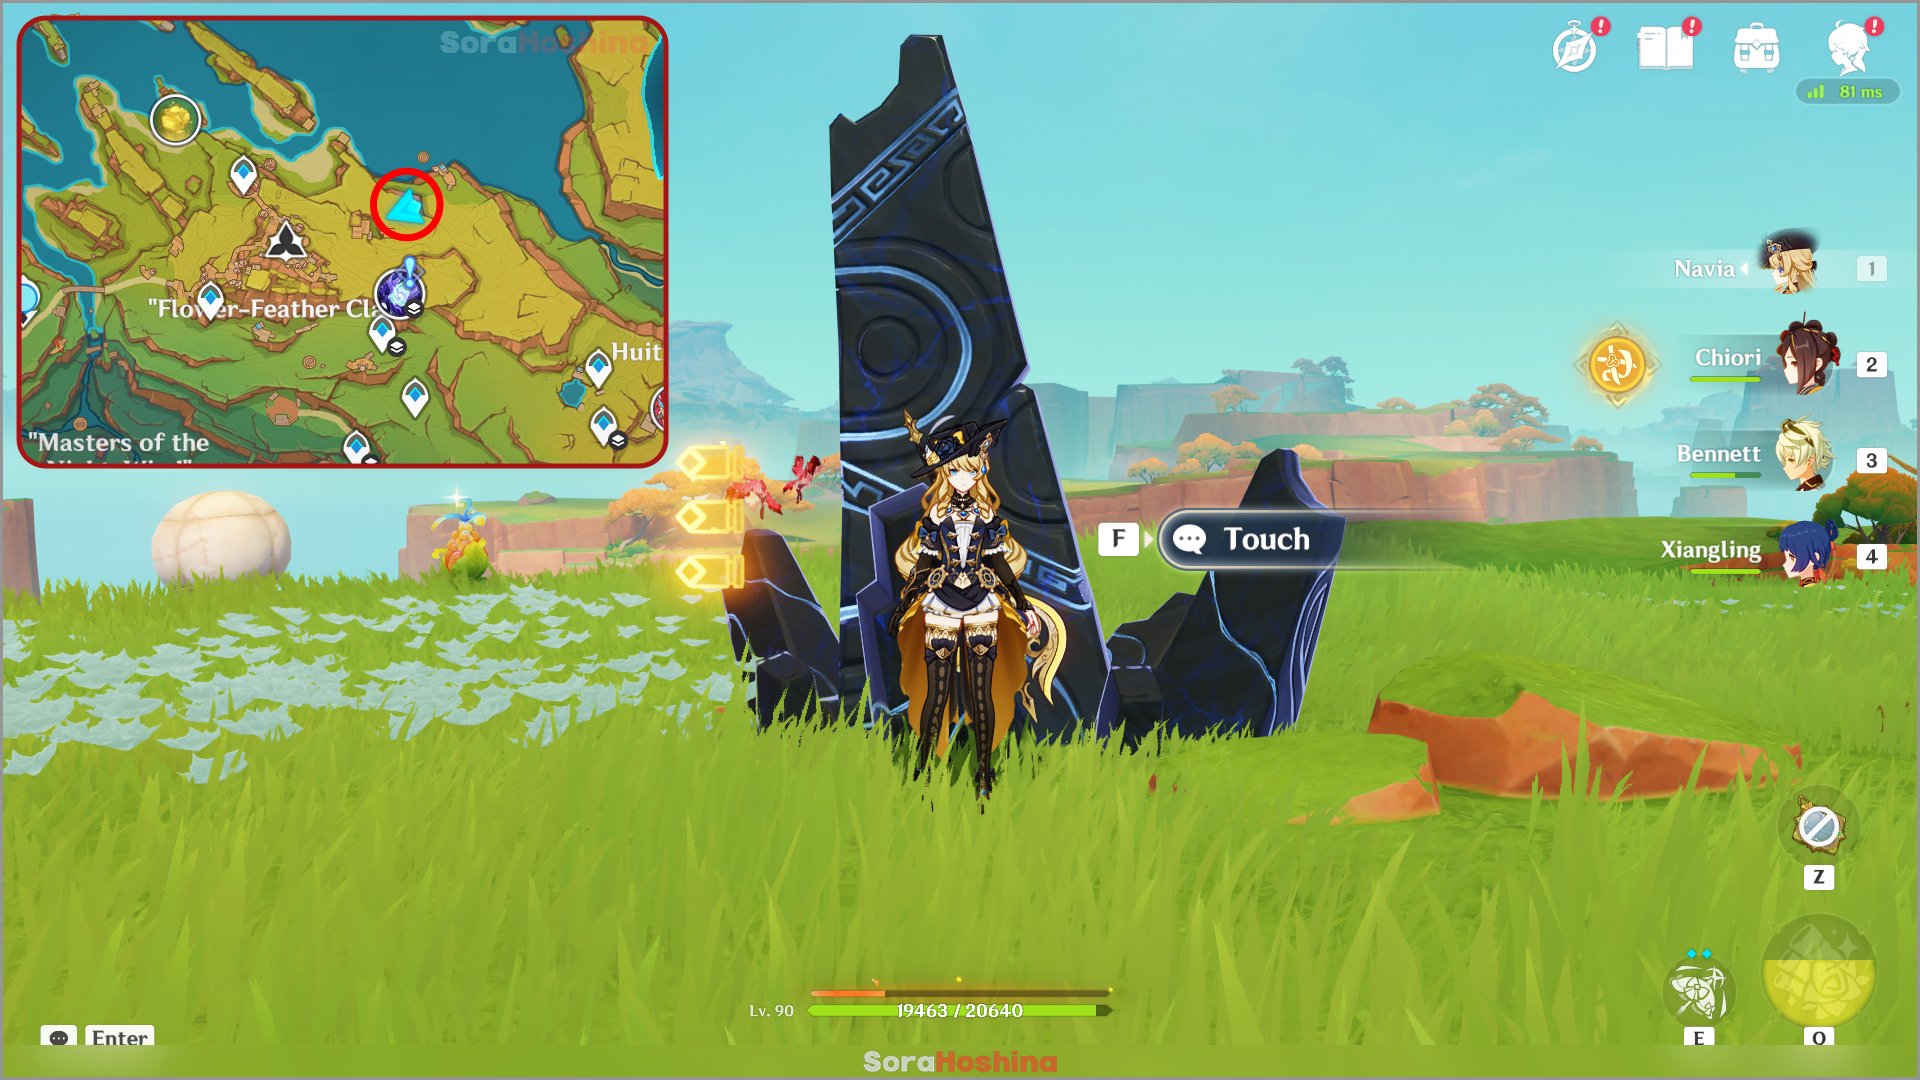
Location: Teleport to the Reputation NPC in Flower-Feather Clan and glide northeast towards the marked location. The totem is easy to spot from afar so you won't miss it.
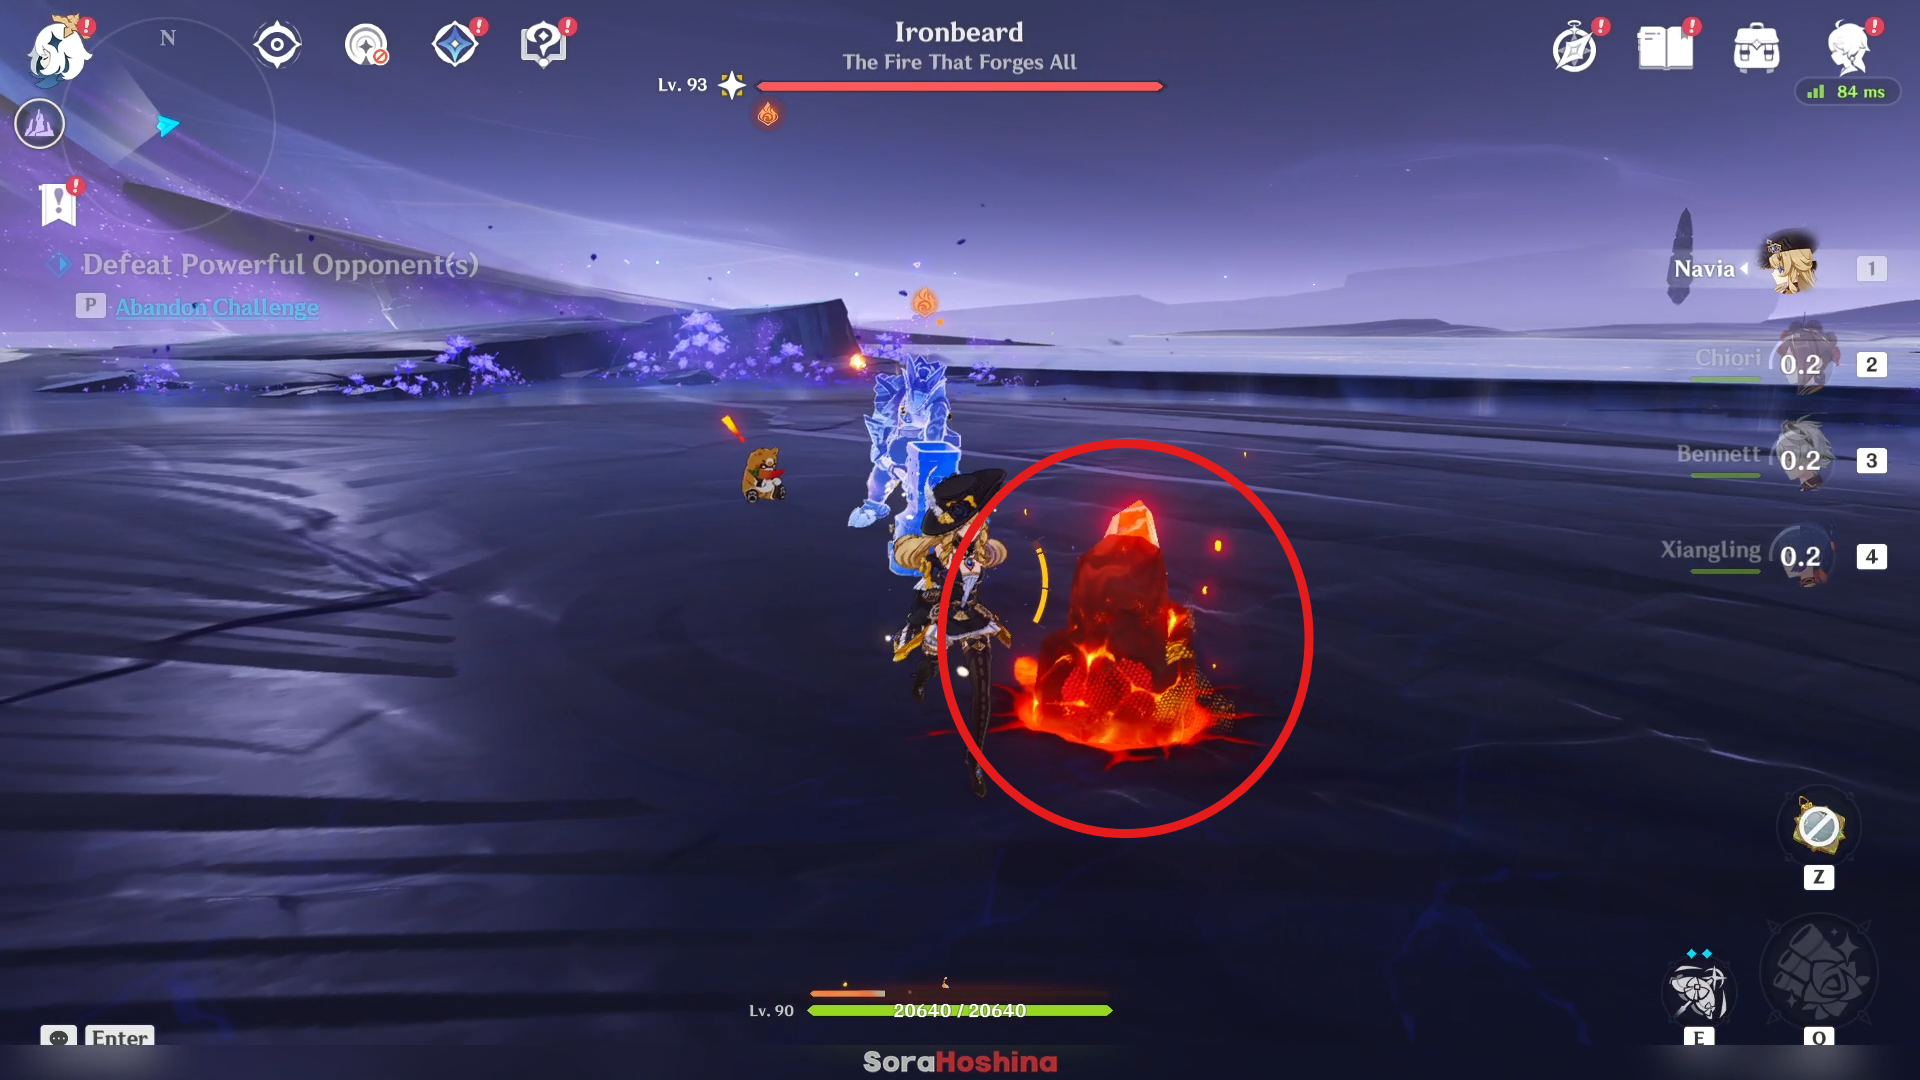
During this trial, the opponent will strike the ground to create "Molten Barbs." Geo attacks and Plunging Attacks are both effective at destroying Molten Barbs, and of the two methods, destroying Molten Barbs with Plunging Attacks will create explosions and dealt DMG to opponents. If you do not destroy the Molten Barbs in time, the opponent will destroy them and create explosions, and deal DMG to characters on the field.
Unfortunately, there are no wind currents that will help you do a plunging attack so you can only rely on your team (Xianyun). I'm not good with the so-called "Dragon Strike" where you use melee to do plunge attack so I can't give you tips about that and don't know if that will work here.

Personally, I think it's better to just bring a single Geo character to destroy the Molten Barbs so Ironbeard can't one-shot us with that thing. No need to bring Xianyun just to plunge that Molten Barb (unless you really want to bring her team).
On another note, if you didn't manage to destroy the Molten Barb beforehand and see the Ironbeard getting ready to attack that rock, you can avoid taking damage by simply avoiding it at the right time or using Elemental Burst to I-frame that damage.

Tips: If you stand on the edge of the barrier (your back on the barrier) and Ironbeard strikes the ground to create the Molten Barb, it will be created outside the barrier, instantly destroying it. That's one way to cheat the challenge.
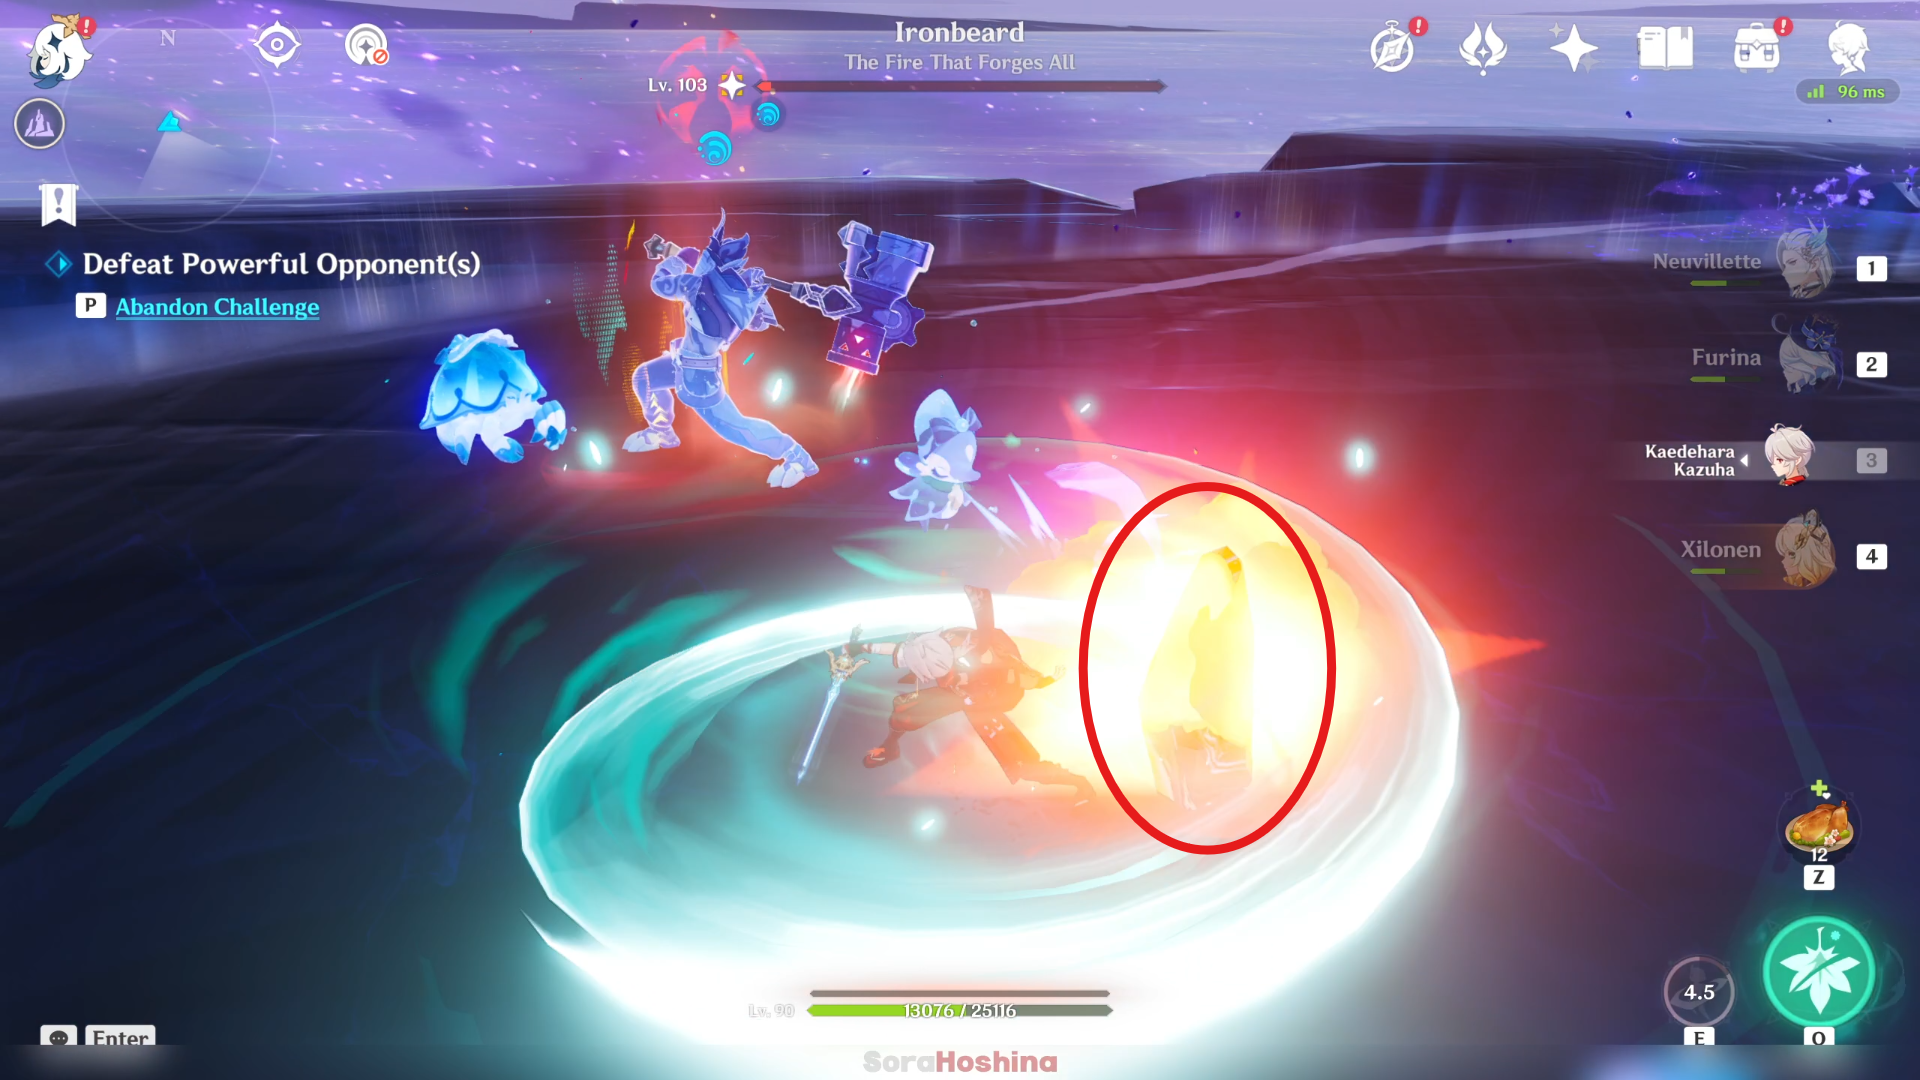
If you have Kazuha, even better because when using his Elemental Skill, you can immediately perform a plunging attack. One hit of those can instantly break the Molten Barbs.


