Table of Contents [Hide]
Between Pledge and Forgettance Chain Quest has 3 parts and you can complete them back-to-back. There seems to be some secret hidden within Diaval's body. Head to the Stadium of the Sacred Flame and ask around about Diaval. This quest takes around 30-50 minutes if you skip the dialogues.
- Rite of the Bold
- Revelations from the Past
- The Road Ahead
This content comes from the Creator Experience server.
Please refresh the page if some of the images are broken.
How To Start Between Pledge and Forgettance
Important! You need to complete Beneath the Crystal Rock and Tracer No Tracing before you can unlock this quest. Once these two are completed, the quest automatically appears on me when I am exploring to do other quests, specifically in the location above.
But it might not be location, but duration. After you complete those two quests, try to fast-forward the in-game time to 2 days later and see if the quest Rite of the Bold pops up for you.
If it still doesn't appear, try going to the location above because this is where the quest started; by talking to Manqu. This is where you'll get the Rite of the Bold quest.
Rite of the Bold Quest
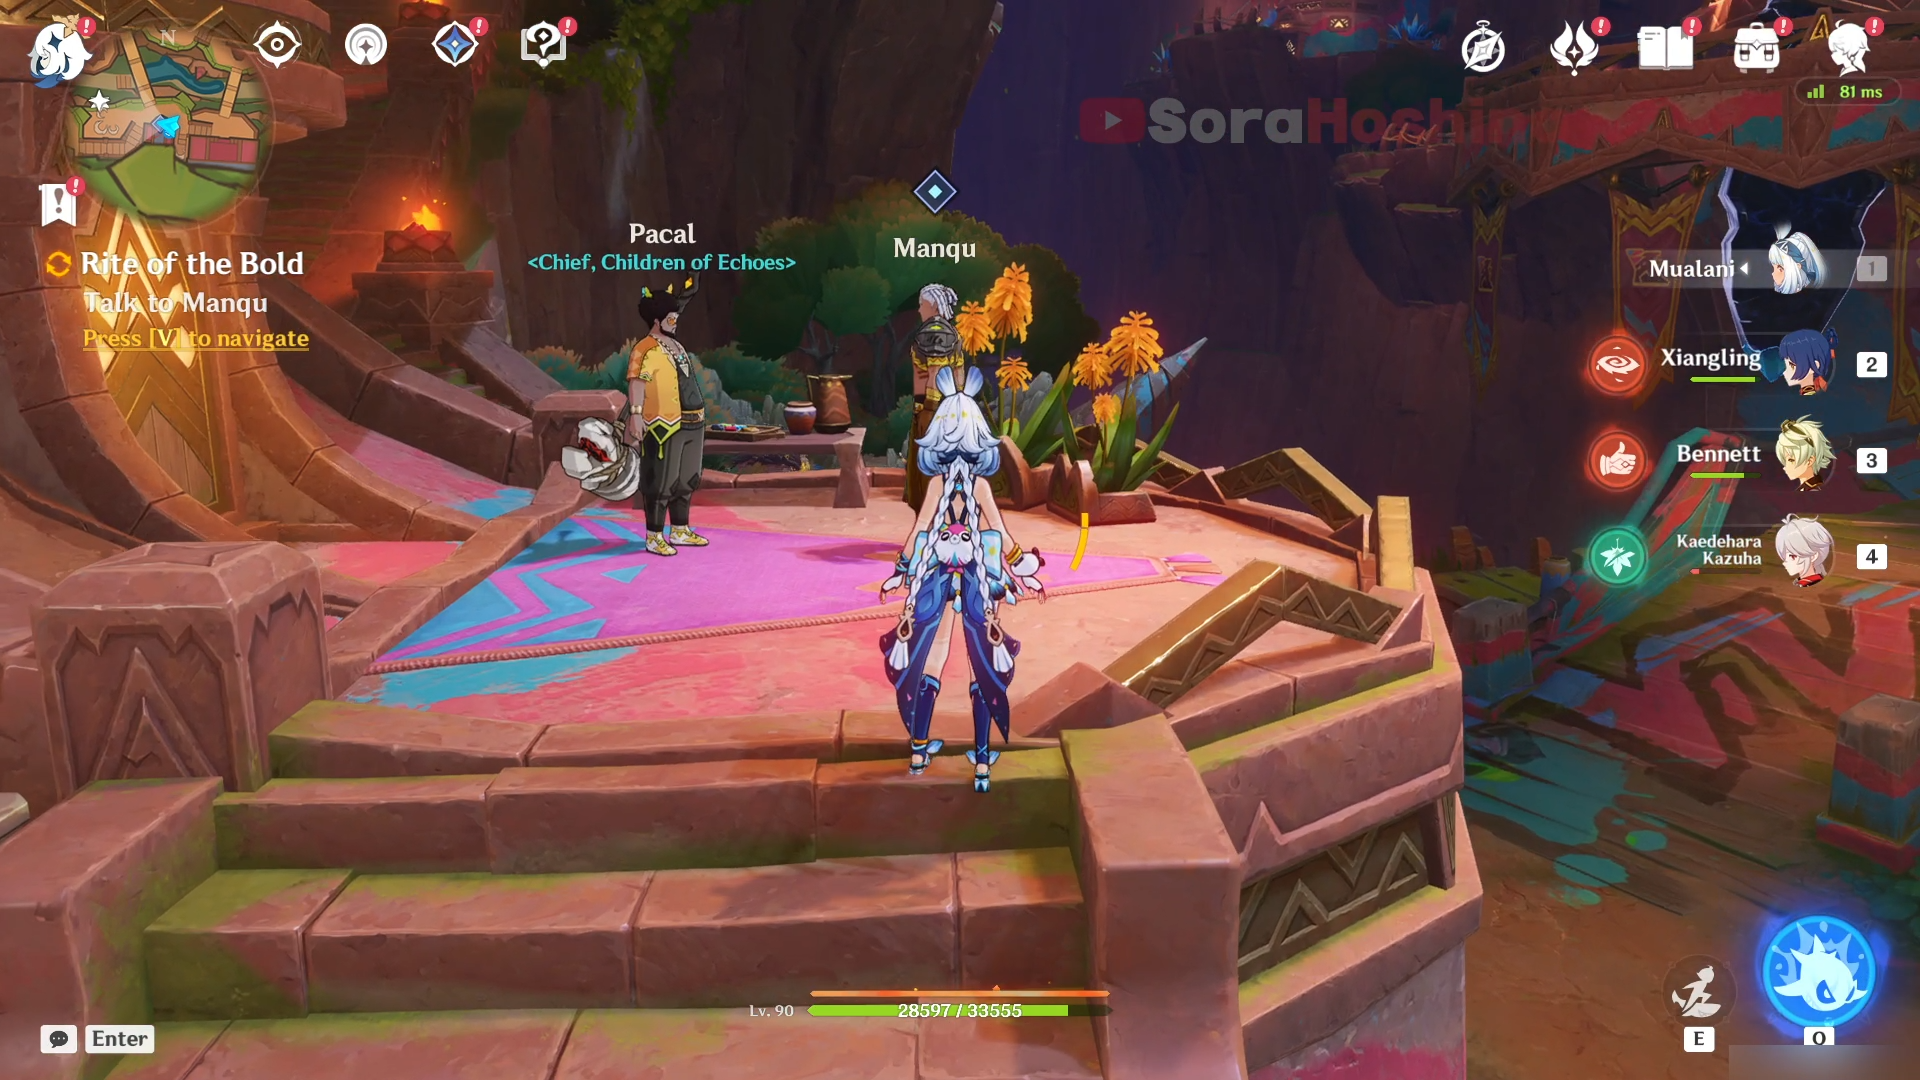
After getting the quest, you need to go to the Children of Echoes. For now, just follow the quest navigation and talk to Manqu there. You will be teleported to another location and fight with Pacal for a little bit. Nothing hard. Once you win, you will obtain the Sage of the Stolen Flame. This will end the current quest Rite of the Bold and you will get the continuation instantly.
Revelations from the Past Quest
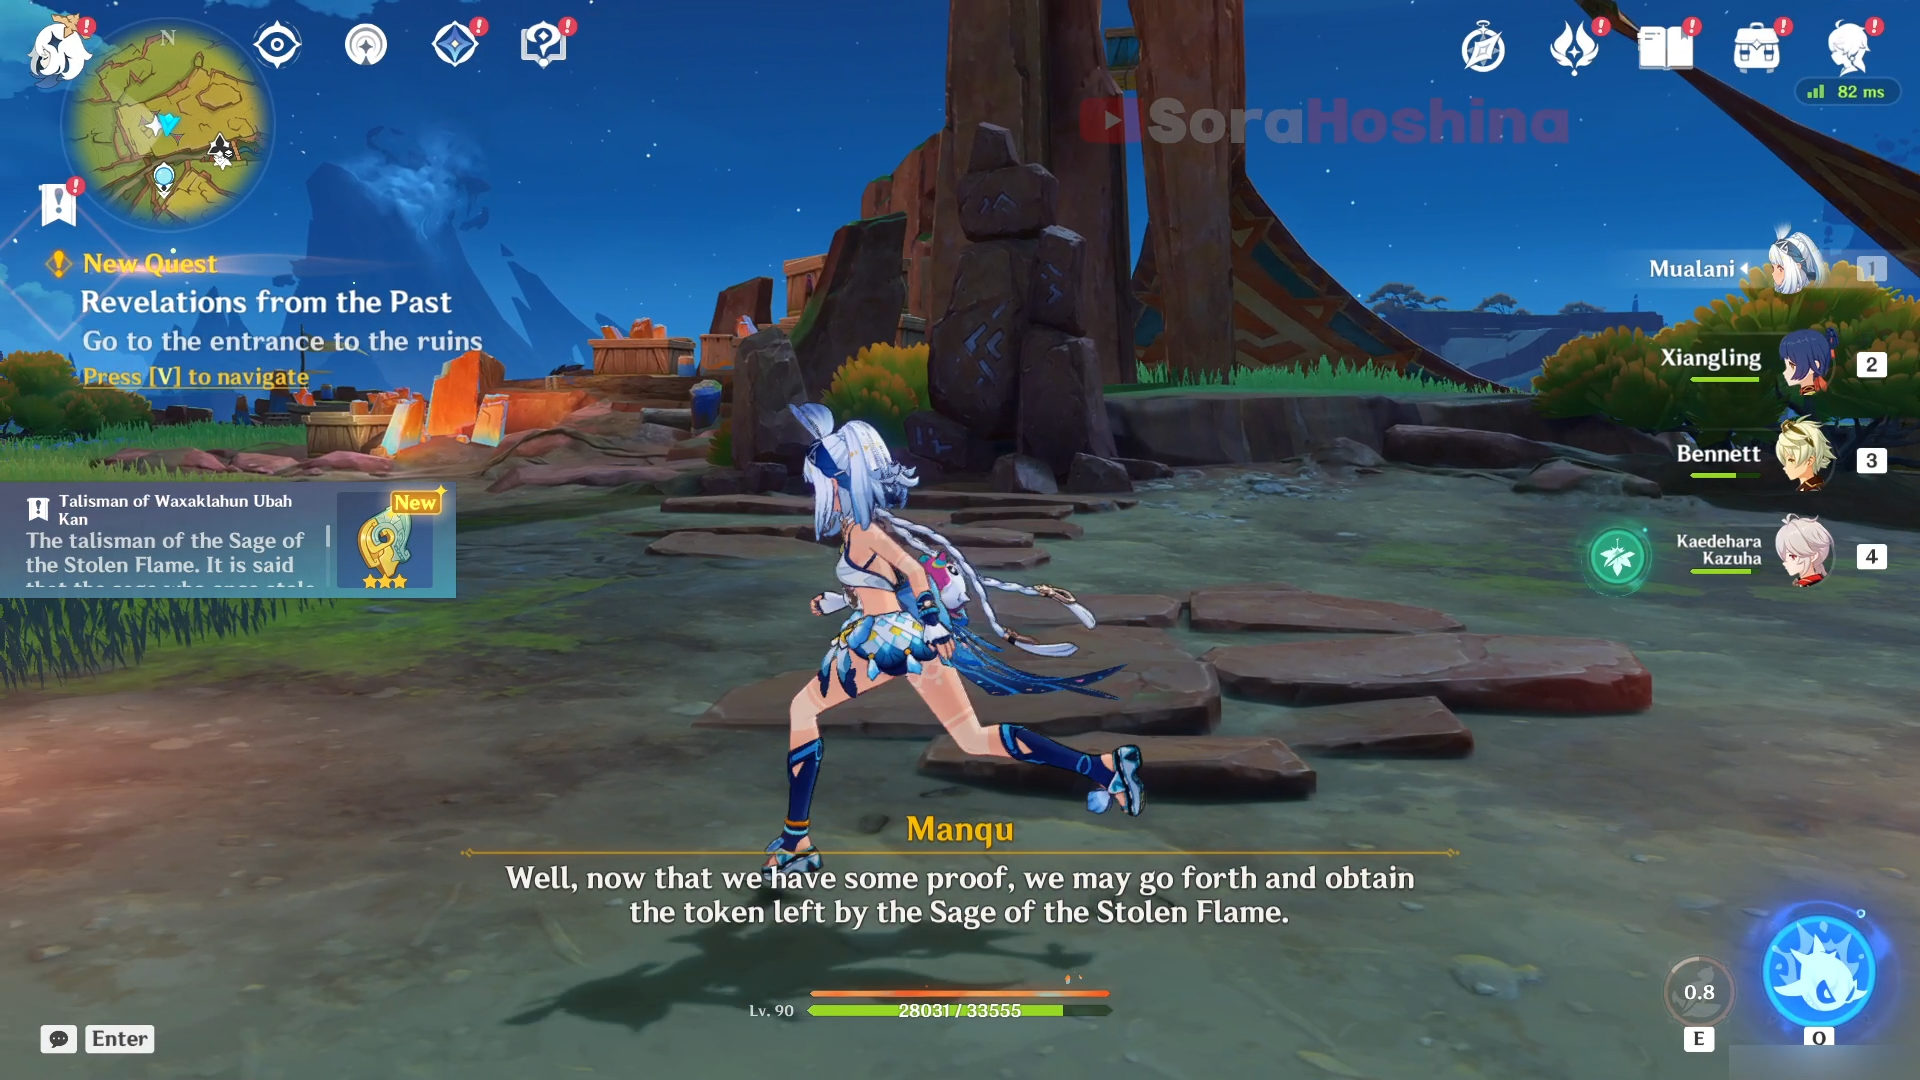
Once you complete the Rite of the Bold quest, you will immediately get the Revelation from the Past quest. After you obtain the token from before, it's time to make a pilgrimage to the volcano Pacal. Head to the location marked on the quest navigation.
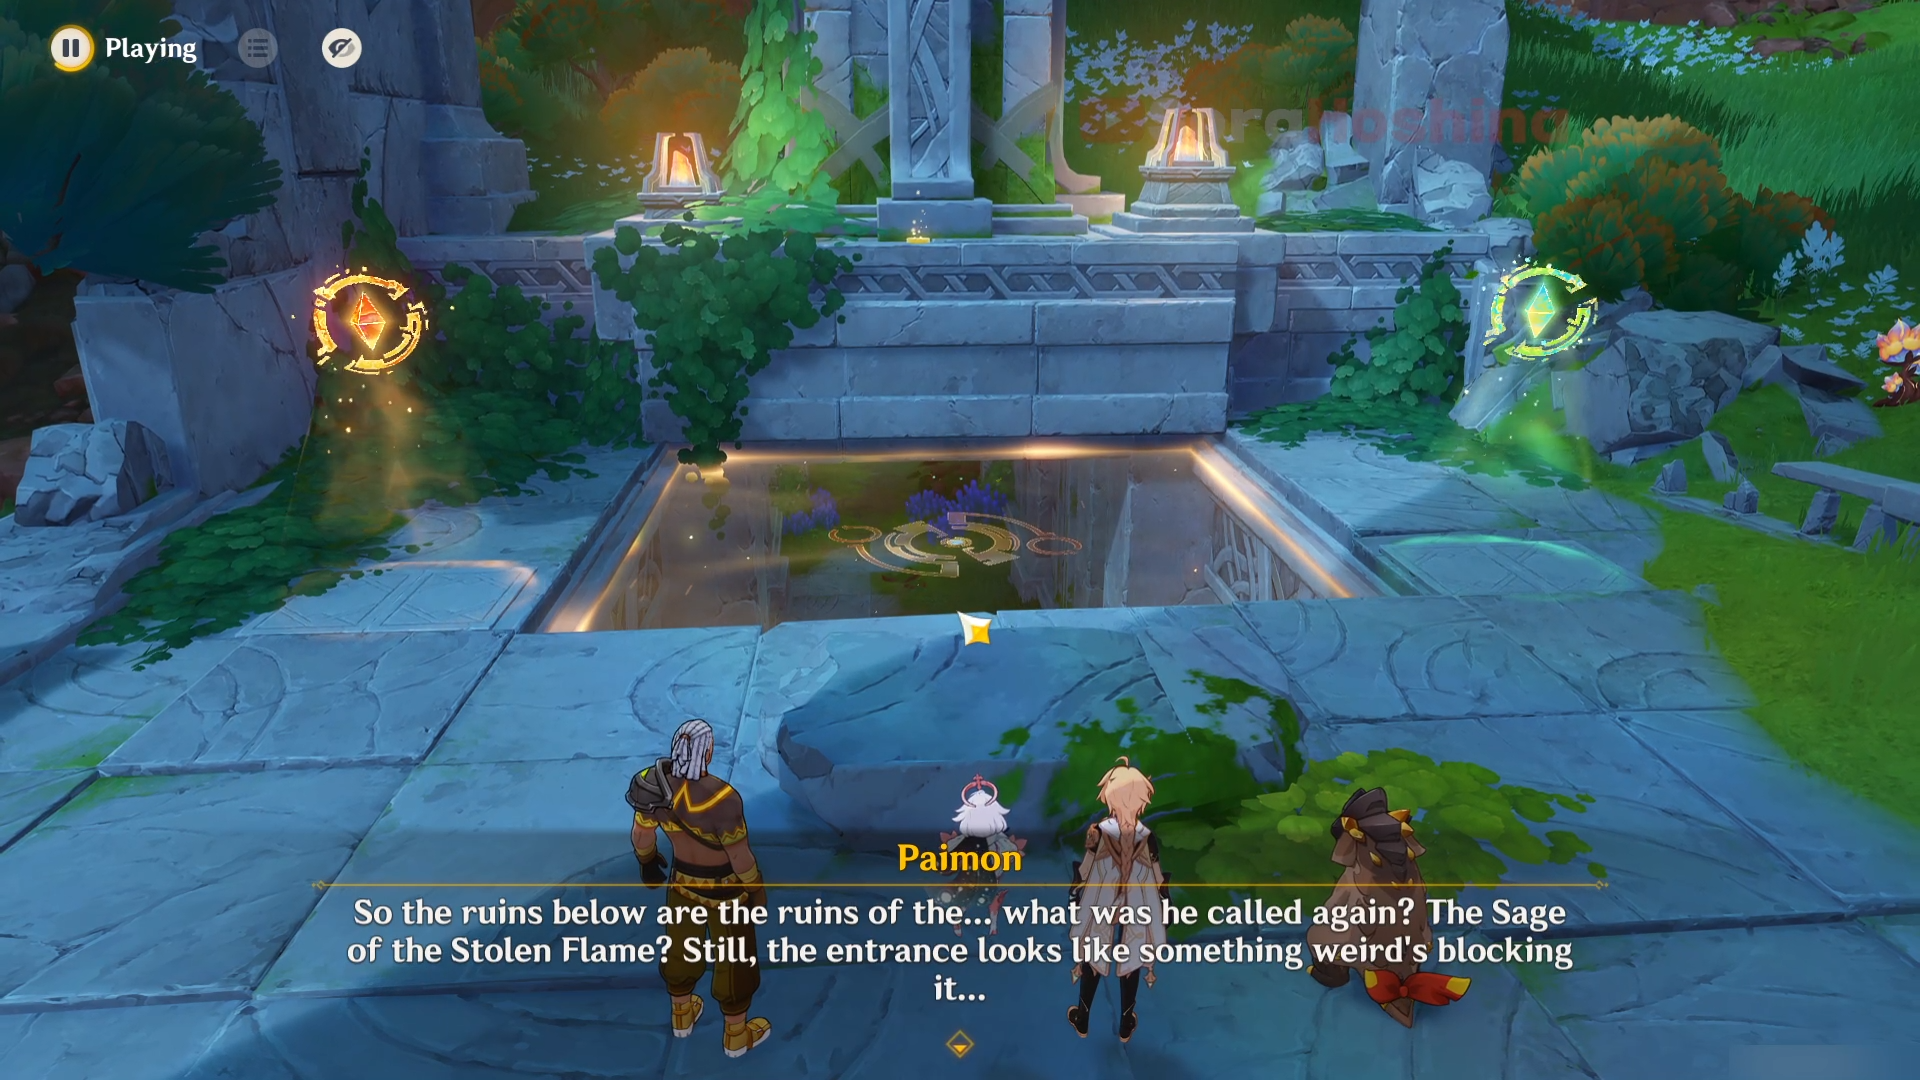
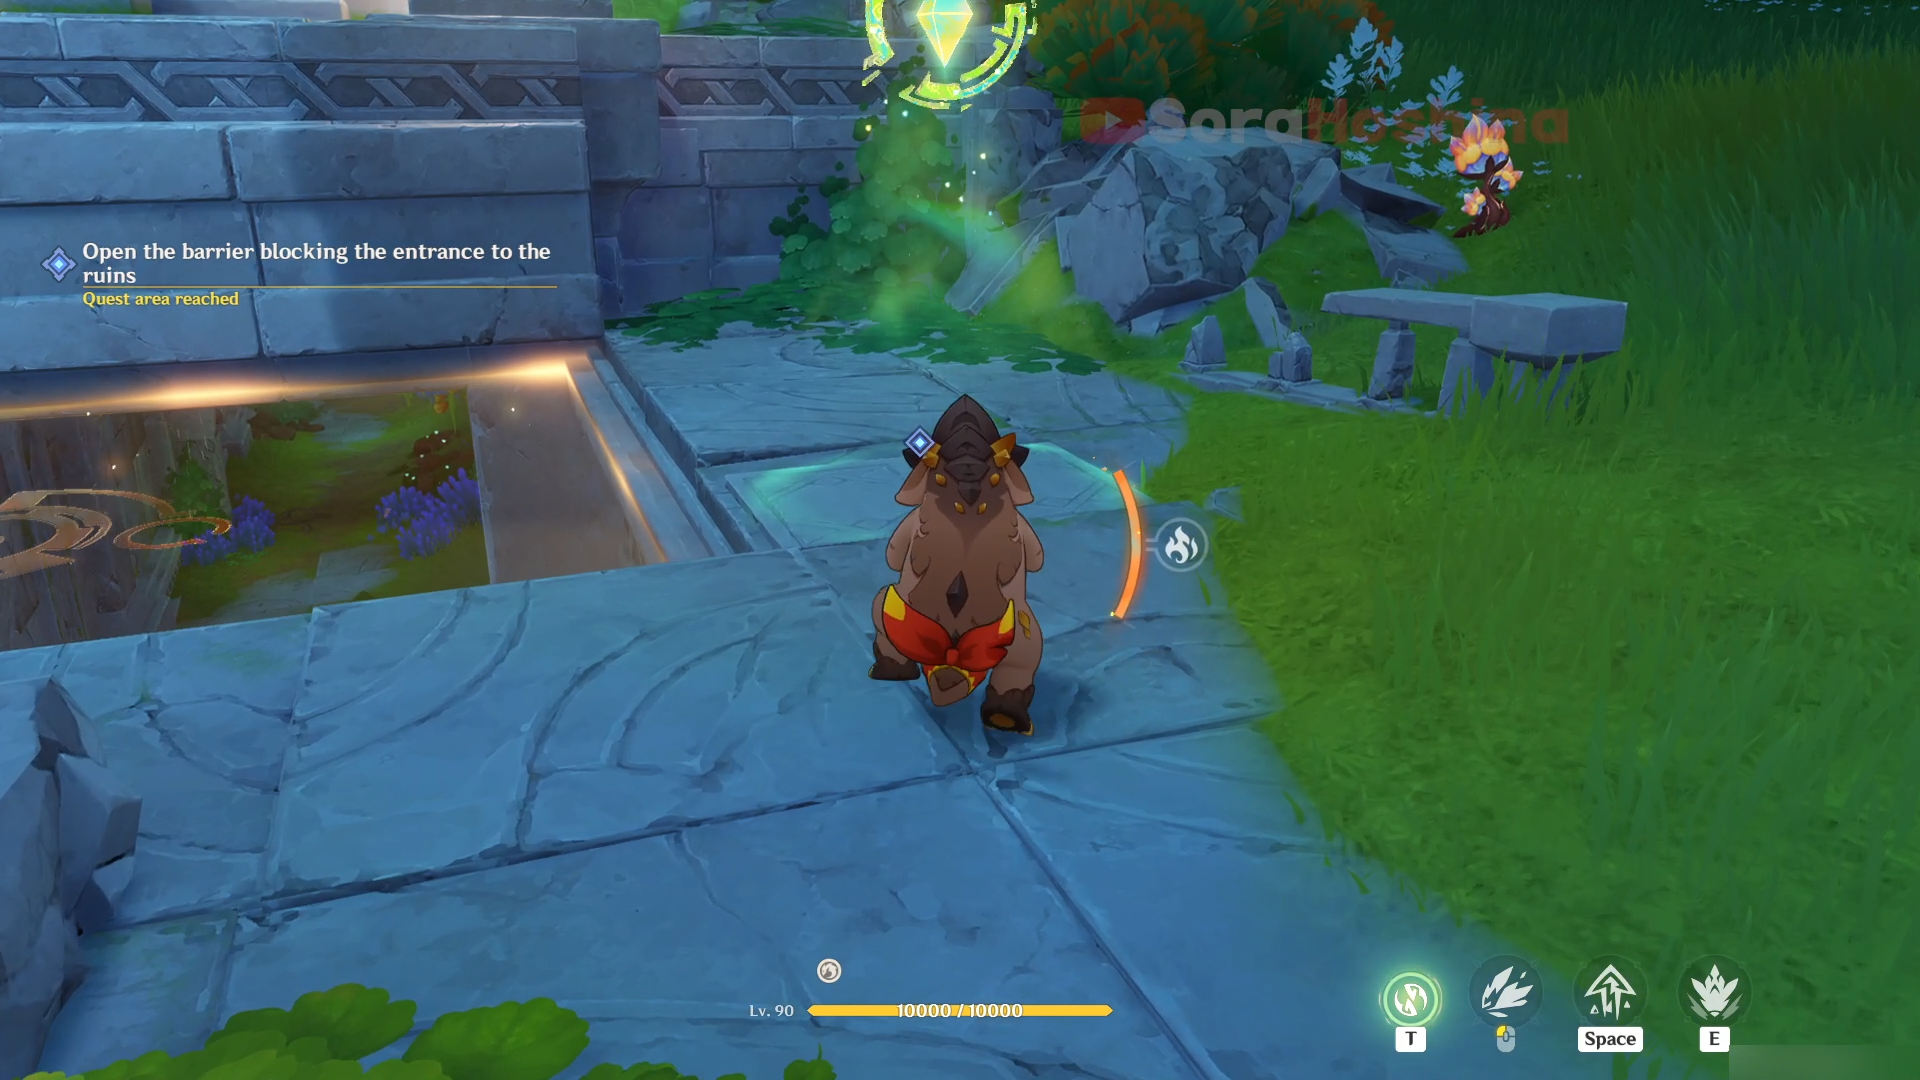
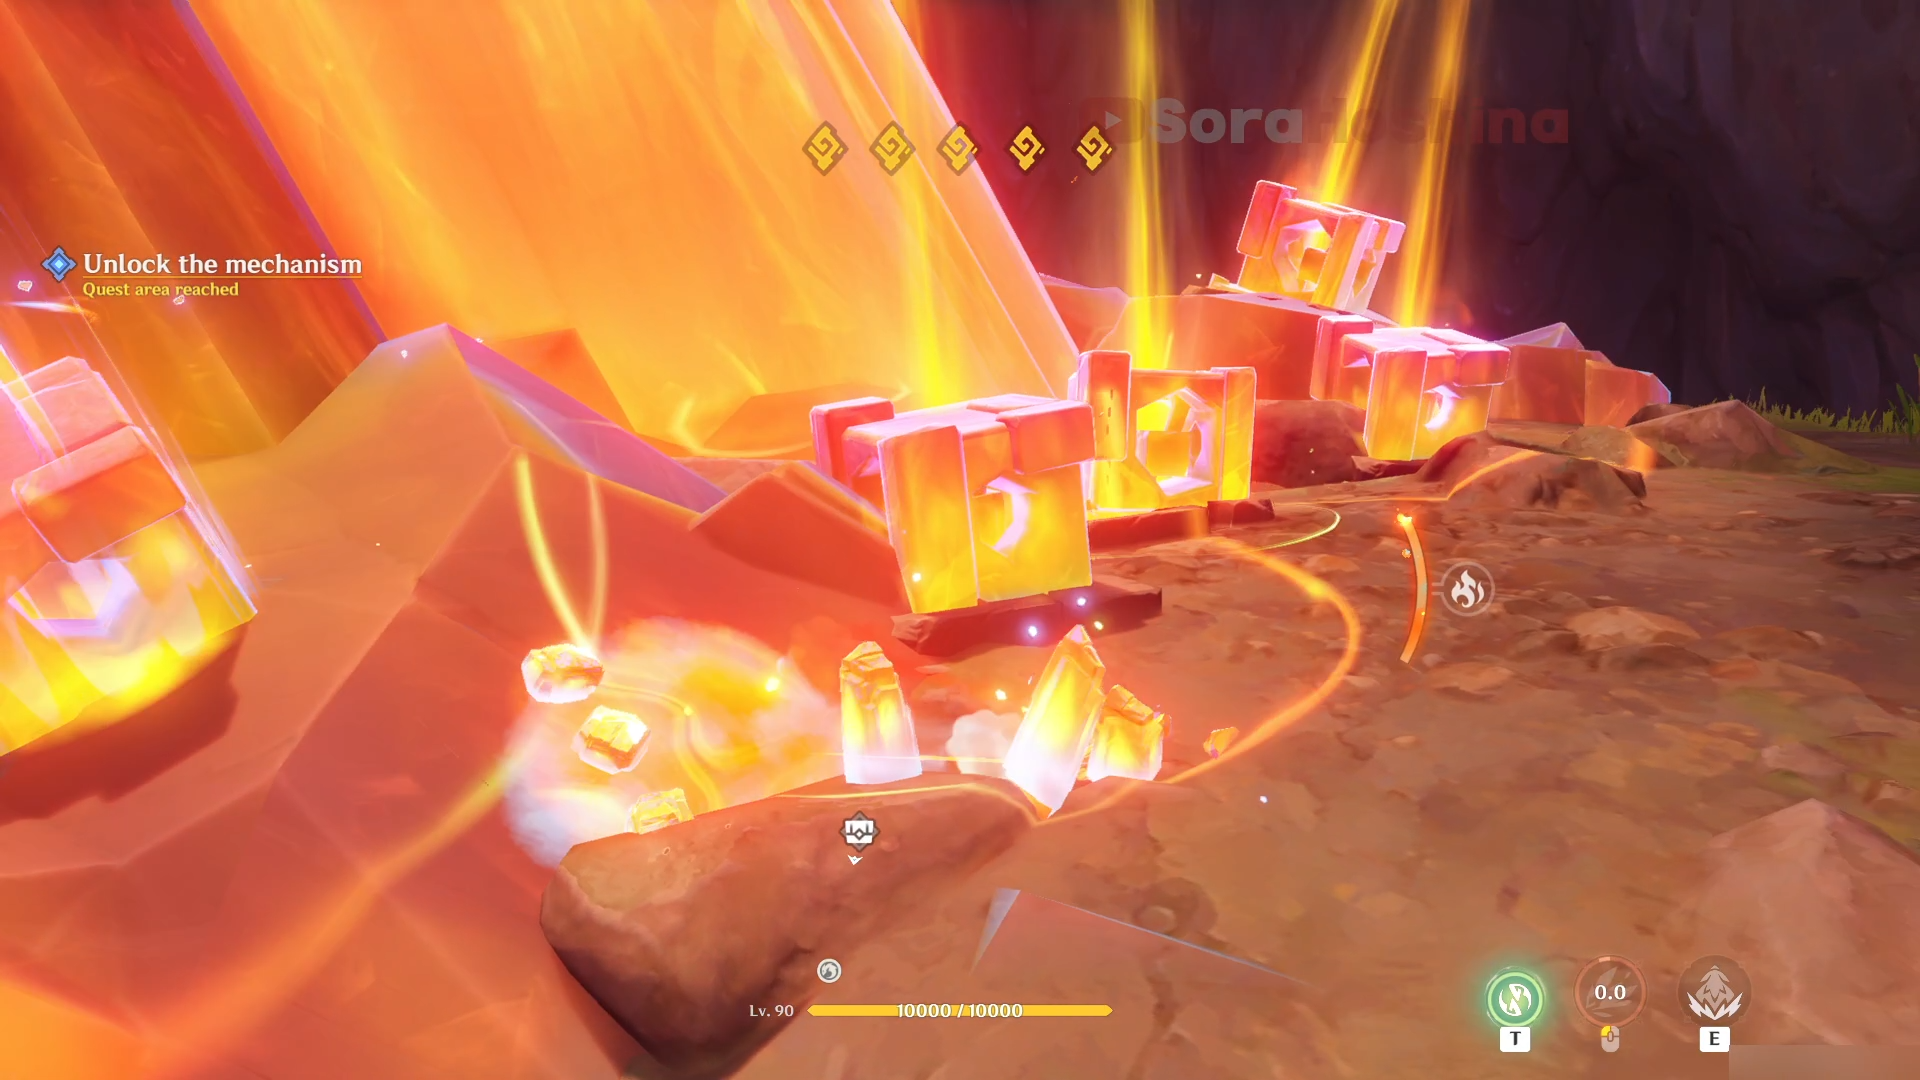
After you defeat some mobs and place the talisman on the location marked, there will be two shining crystals; orange and green. Orange is for Traveler and green is for your Saurian. Remember this because all the puzzles inside this quest relate to that. In addition, you can switch perspective (control Traveler and Saurian).
For the first simple puzzle, place your character under the orange crystal. Then, switch perspective to your Saurian (by pressing T) and control it to be under the green crystal. After that, just follow the navigation and unlock the waypoints in the ruins.
When you reach the next puzzle, interact with the switch once and change your perspective to Saurian. Control your Saurian so it can move across the platforms to the left area where you can see a Pyroculus above a broken totem.
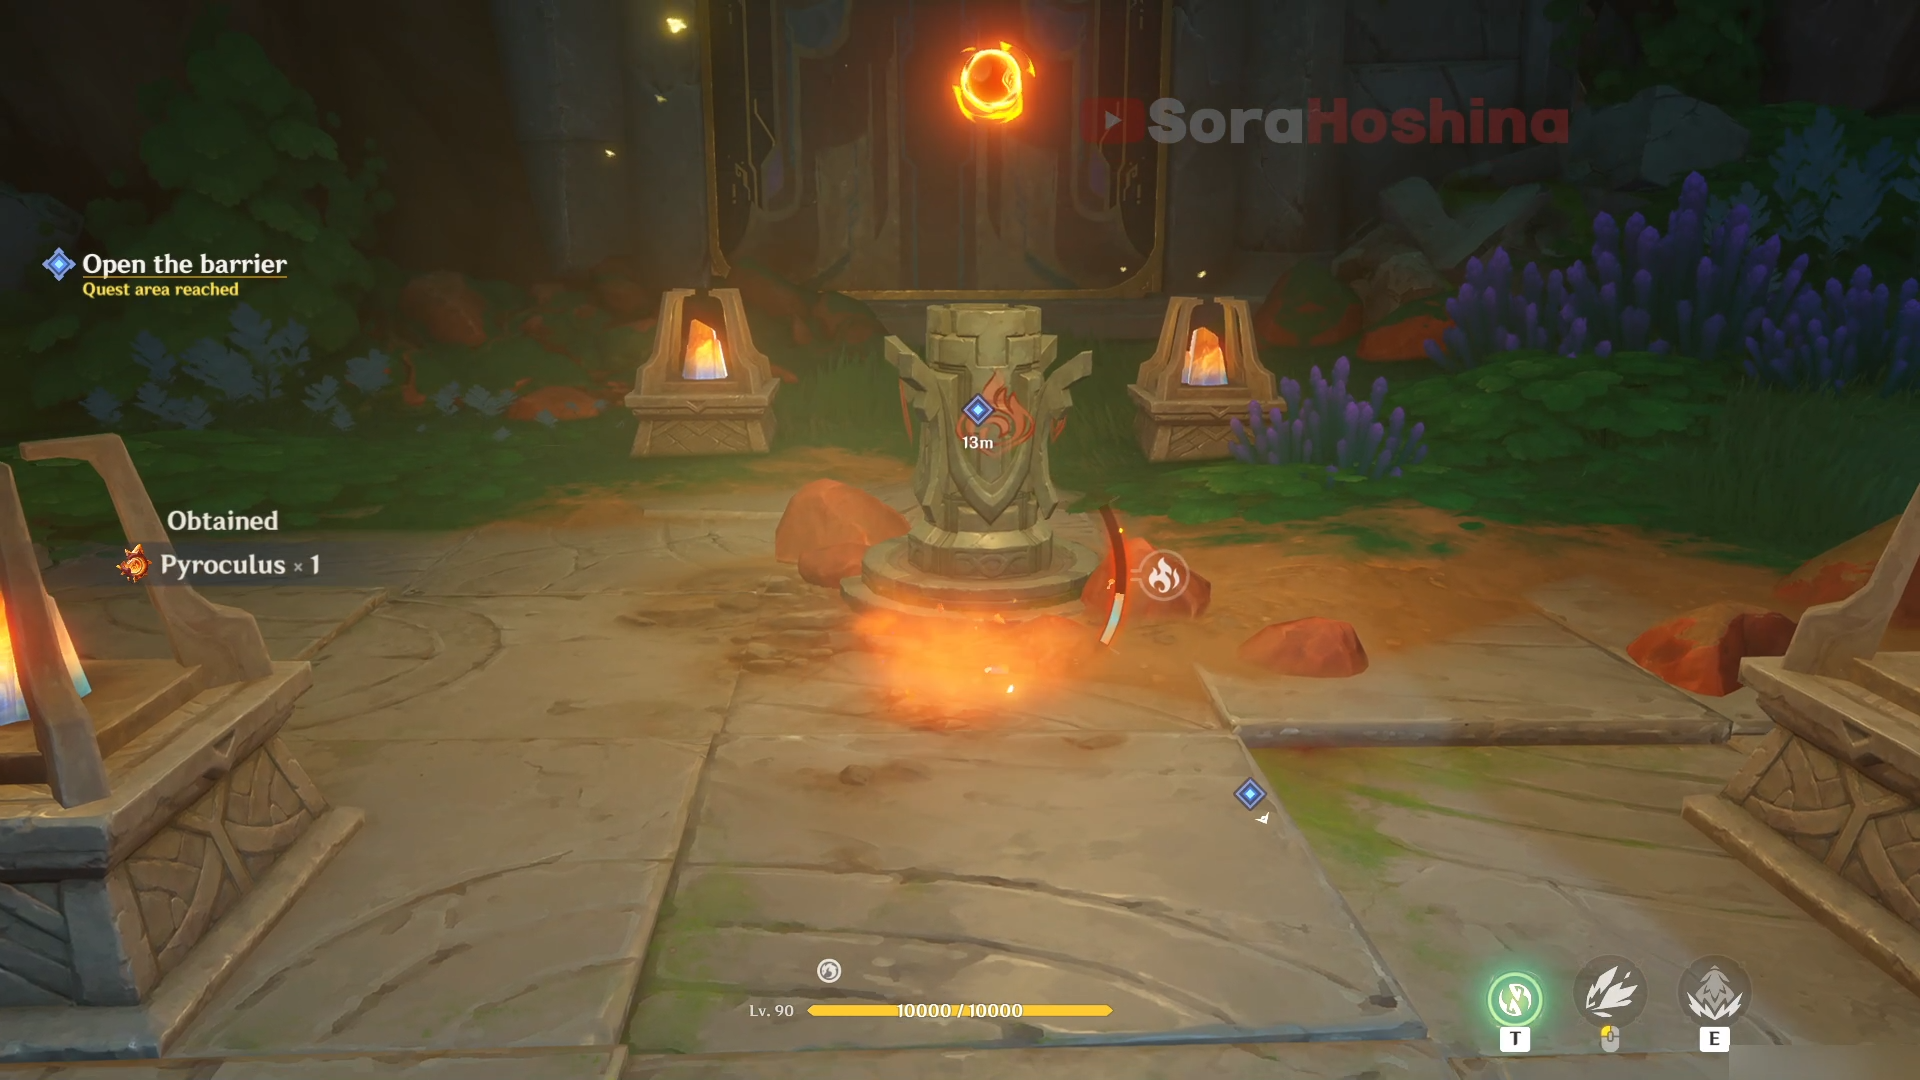
Use your Saurian to attack the monument to dig it back up. Then, switch perspective to Traveler again and use Pyro attack on the totem. Once activated, it will spawn a hidden path for your Saurian to move to the green crystal.
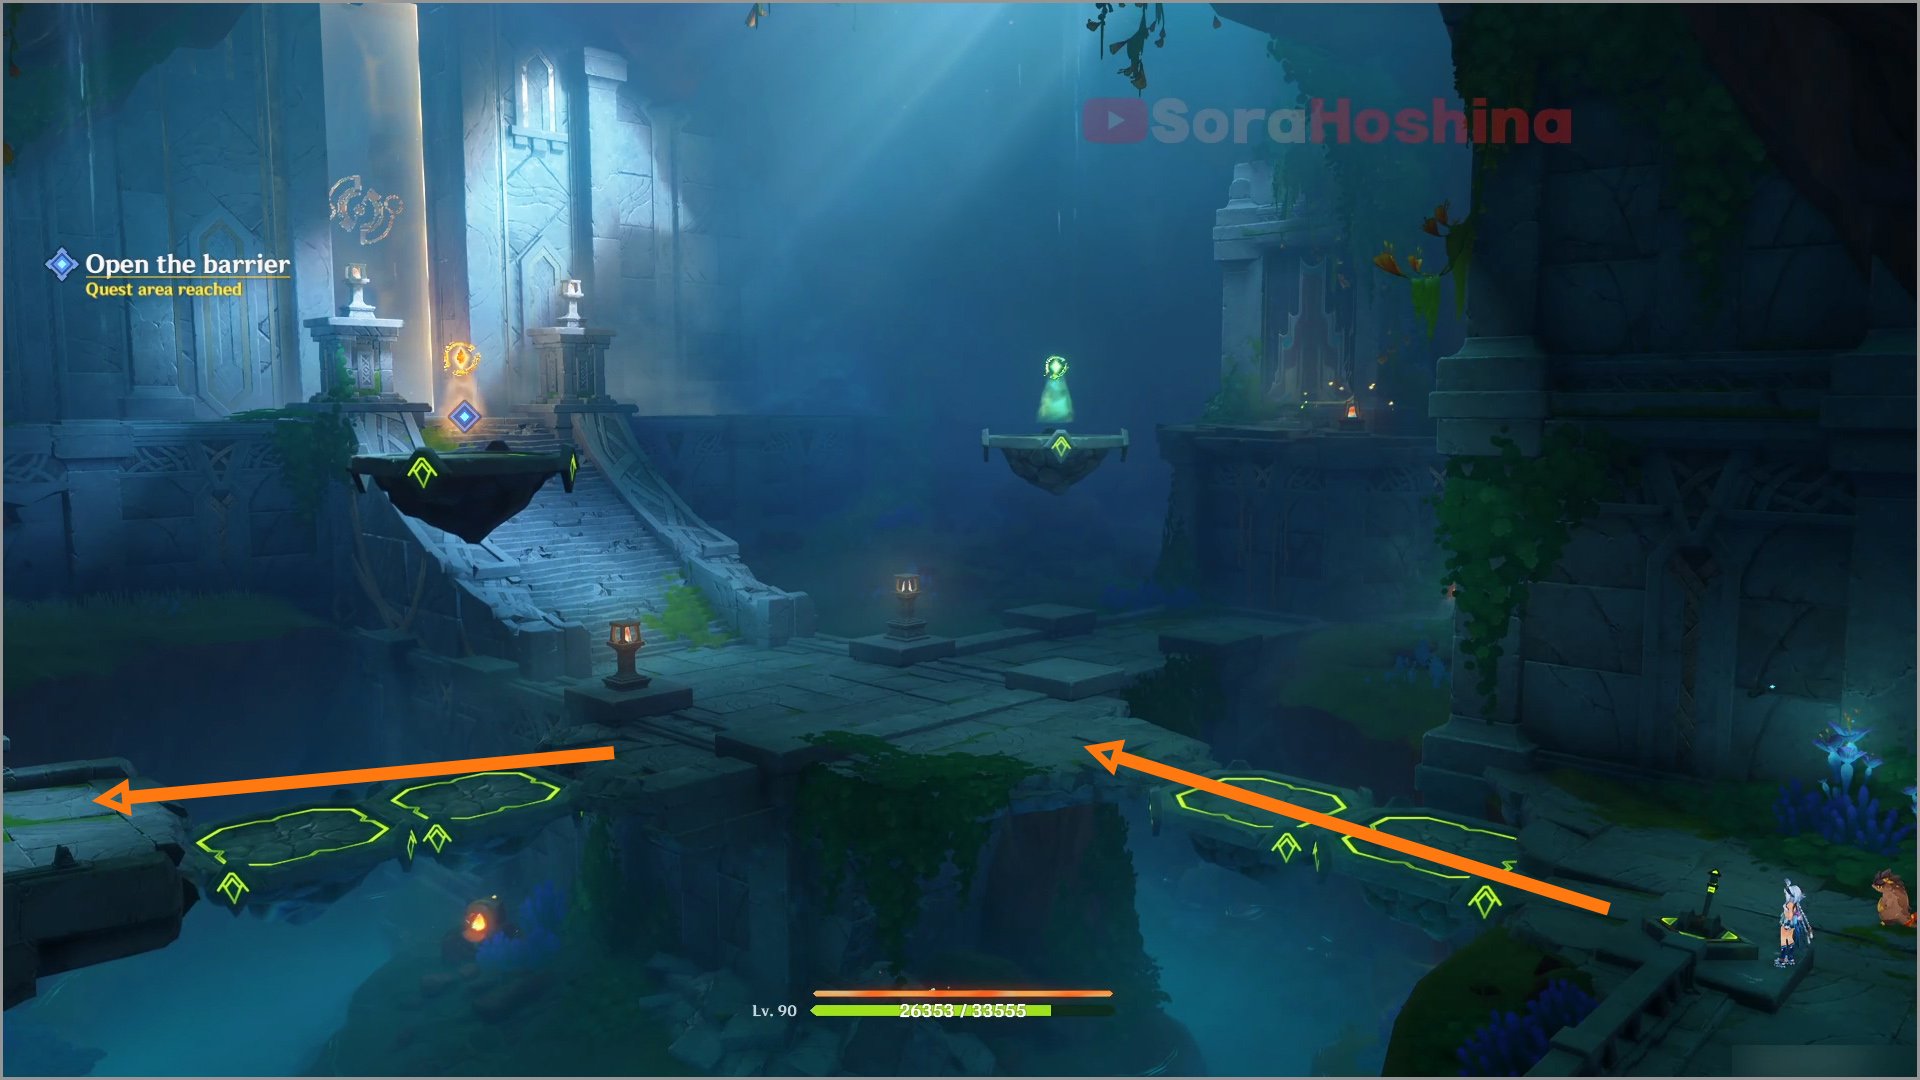
Switch back to your Saurian and head to the right side. There's another switch there so activate it to move the platform's position.
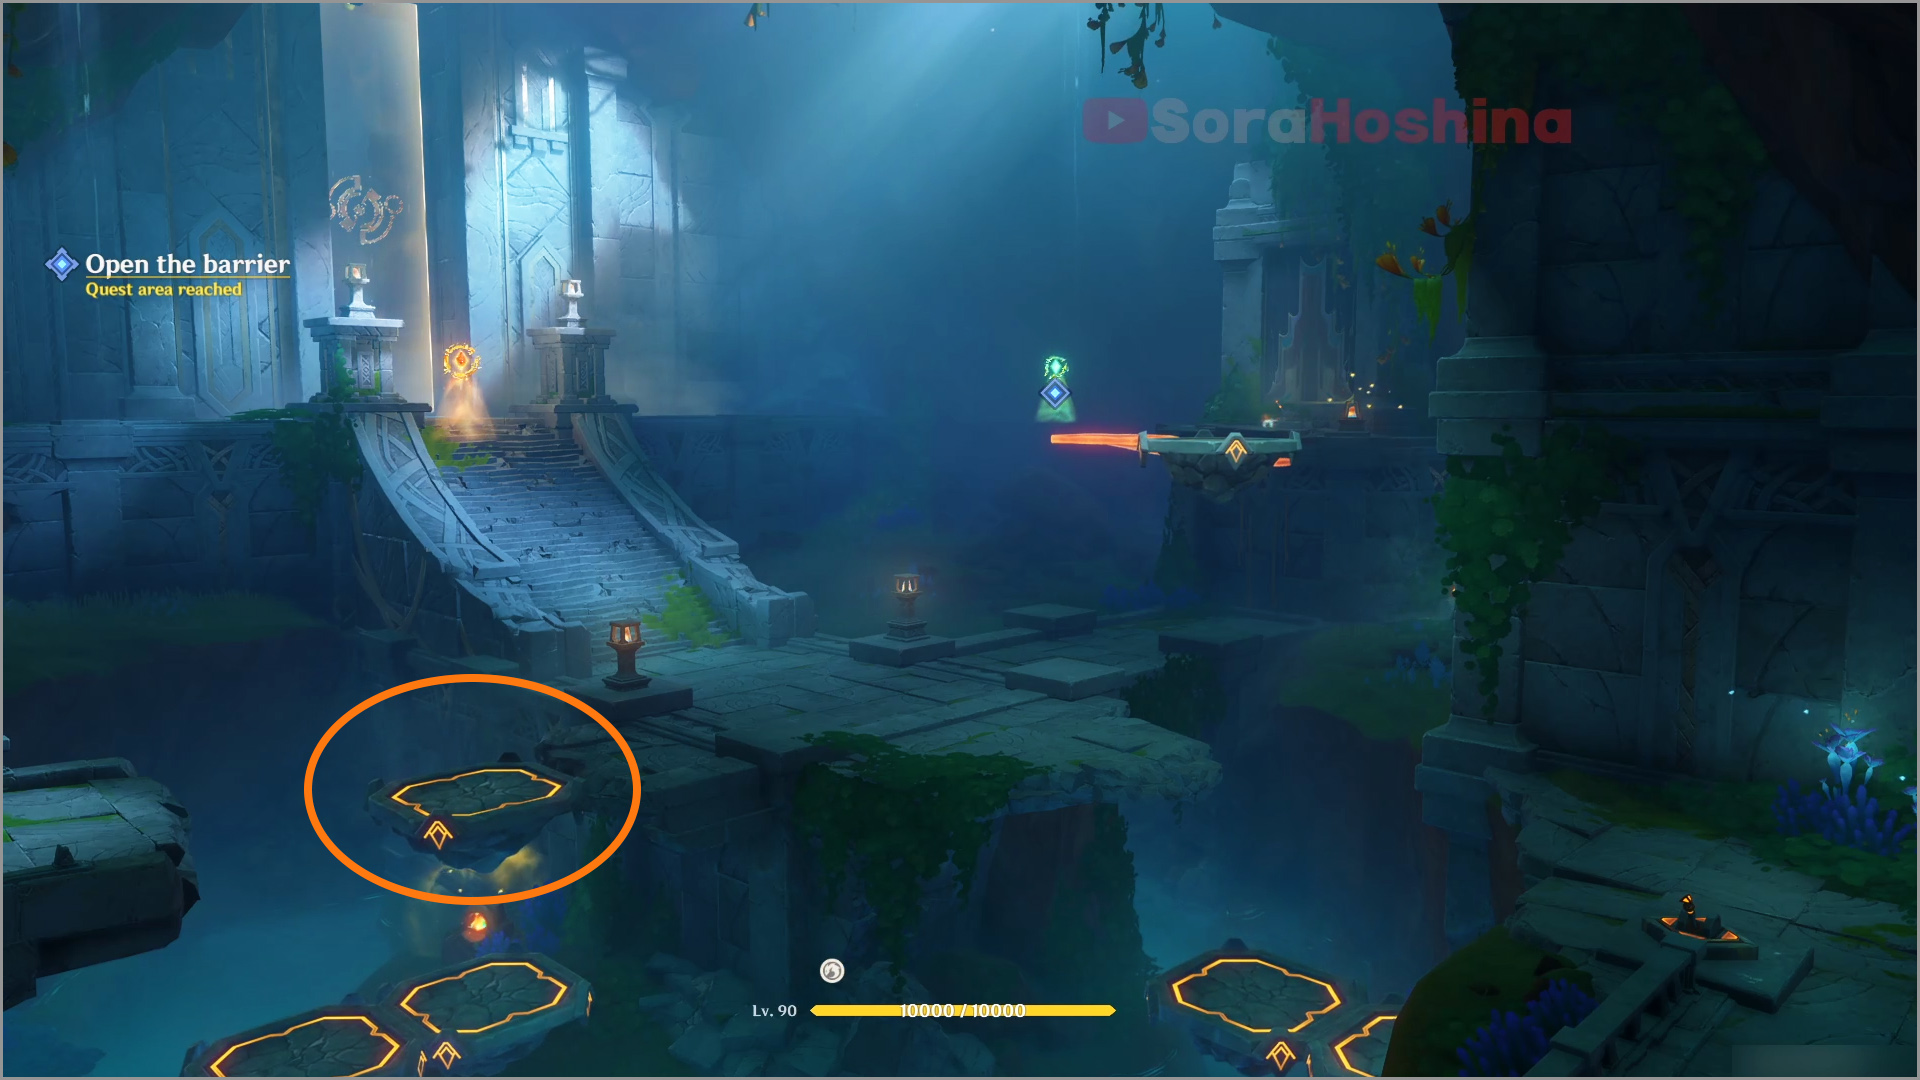
The platform's position will be like in the image above. Switch perspective to Traveler and control your character to stand on top of the platform I circled above. Once your character is up there, switch back to Saurian and interact with the switch again so the platform will move again upwards and your character will be under the orange crystal.
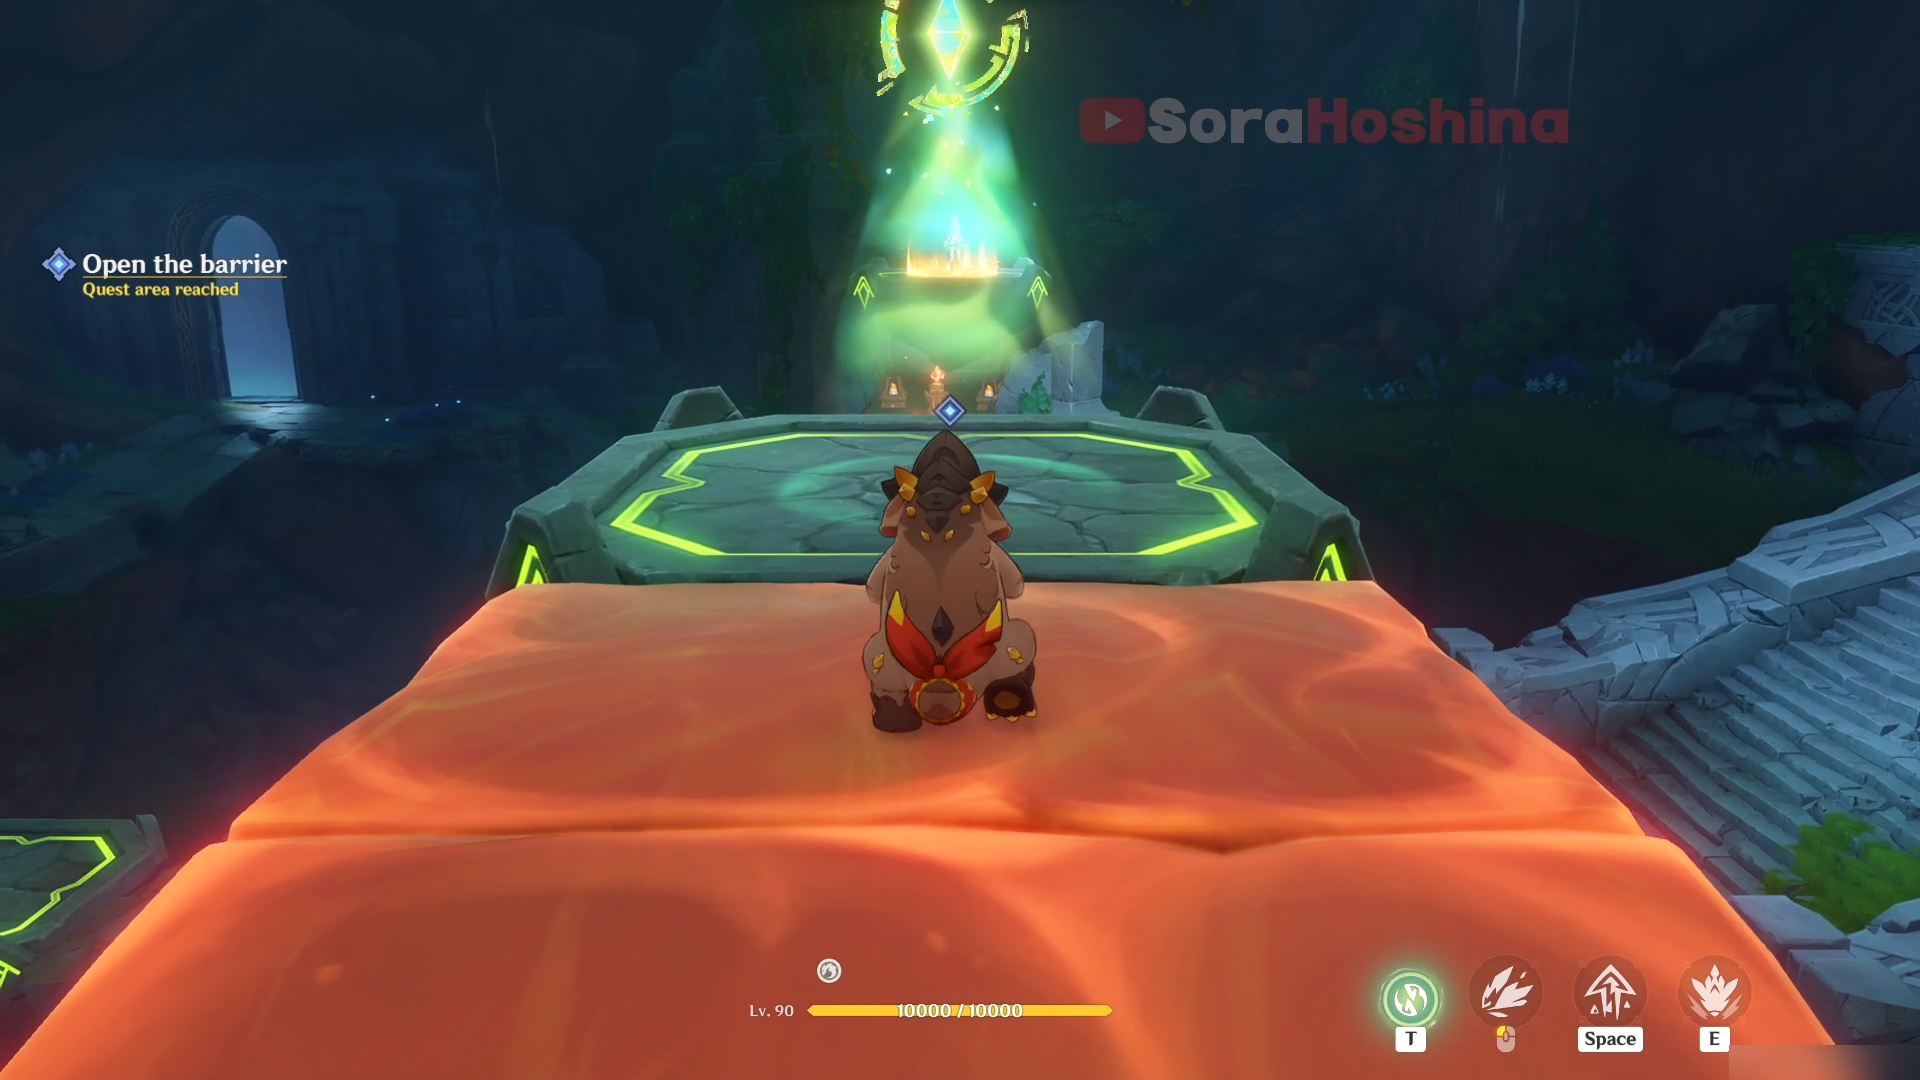
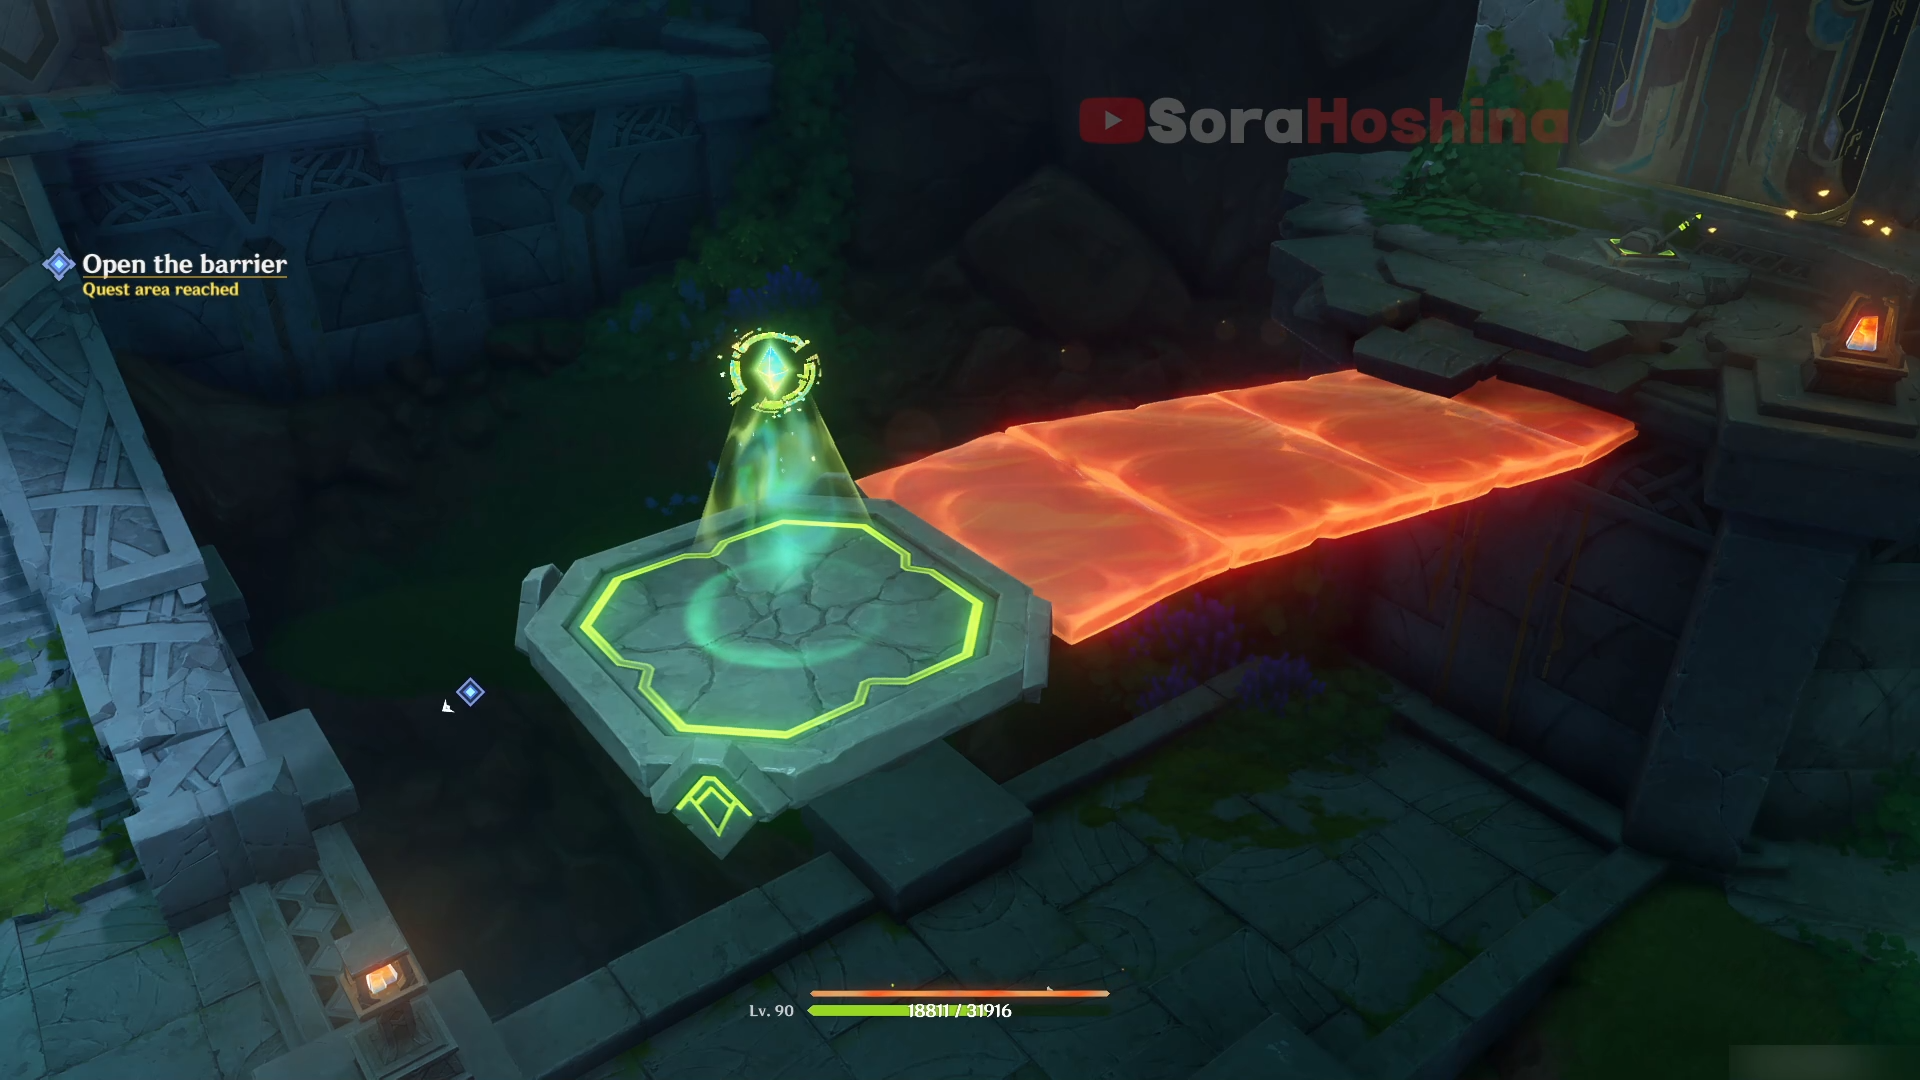
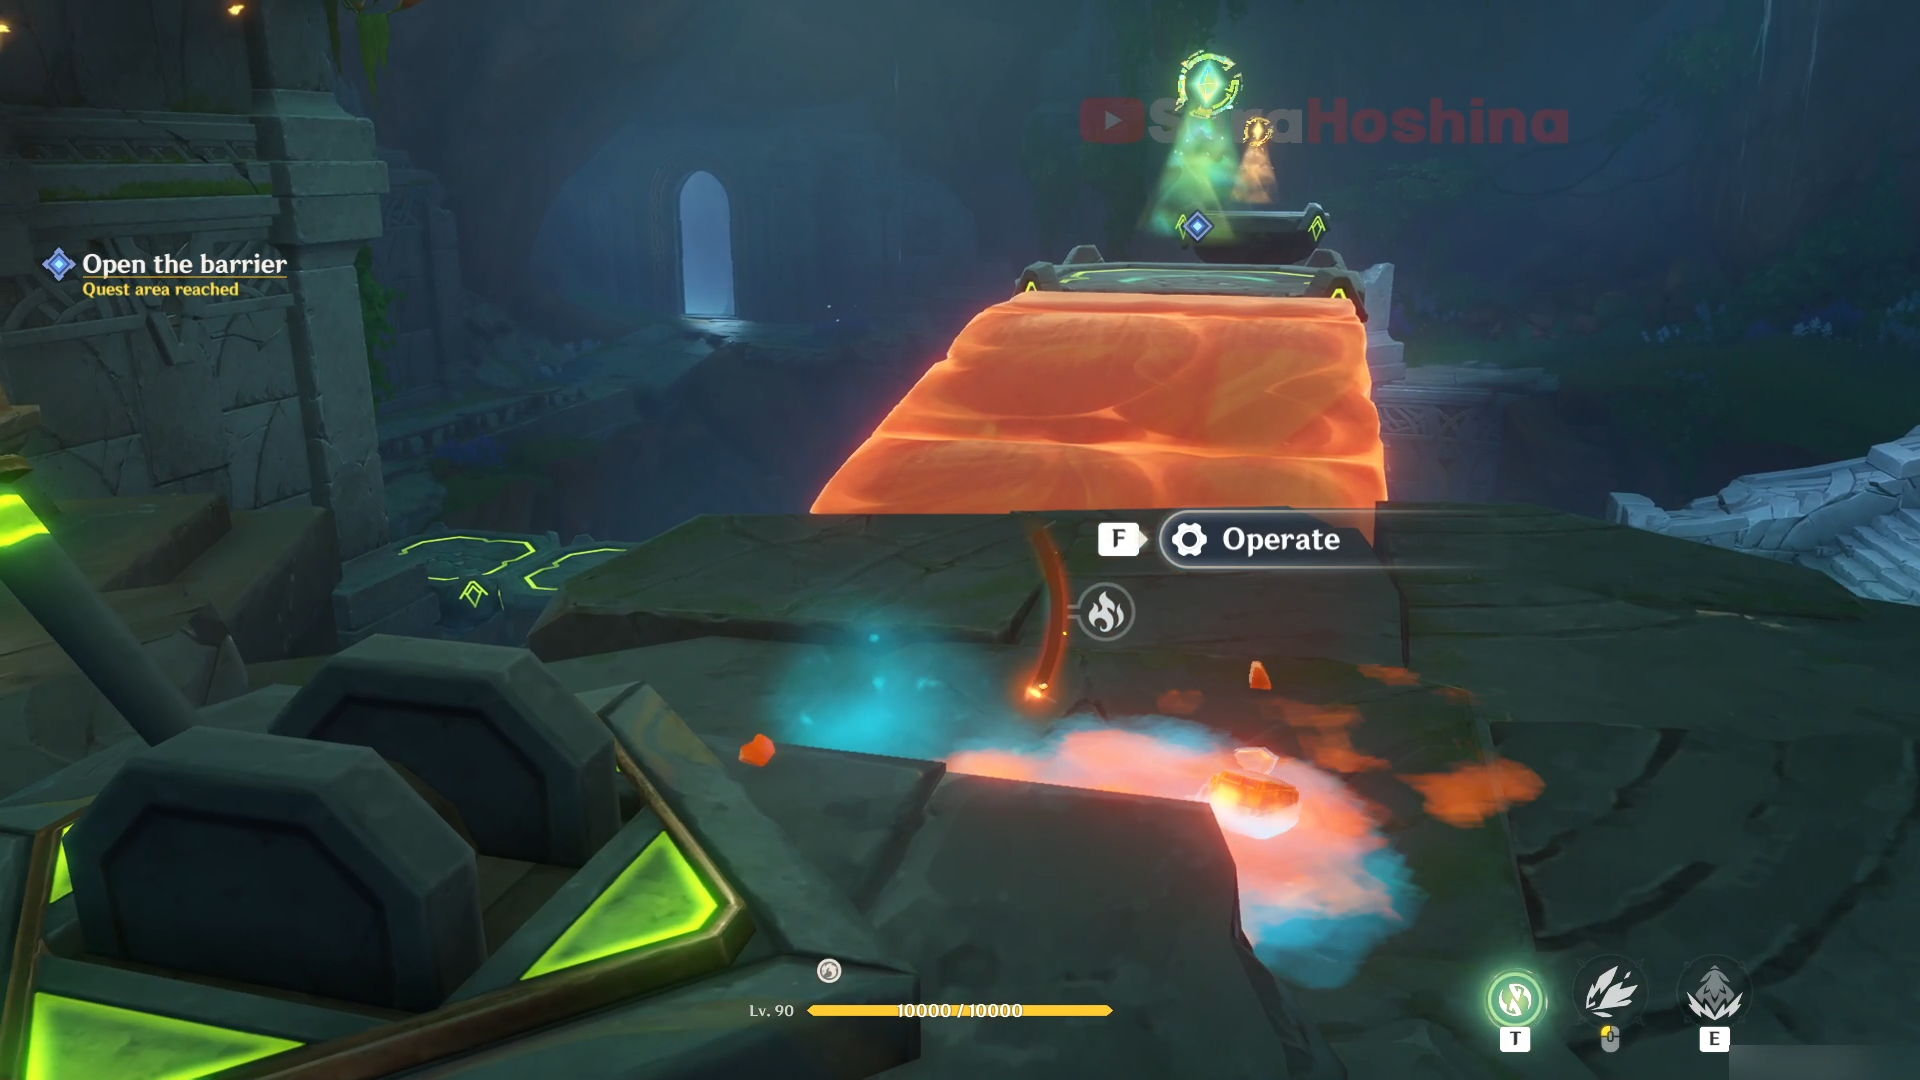
Lastly, move your Saurian to be under the green crystal location. This will solve the puzzle and unlock the door to the next location.
After that, just follow the path to reach even deeper to the ruin. At the next spot, you will split up with your Saurian after going to different doors and got locked up there. You're going to control both perspective one by one to complete the puzzles.
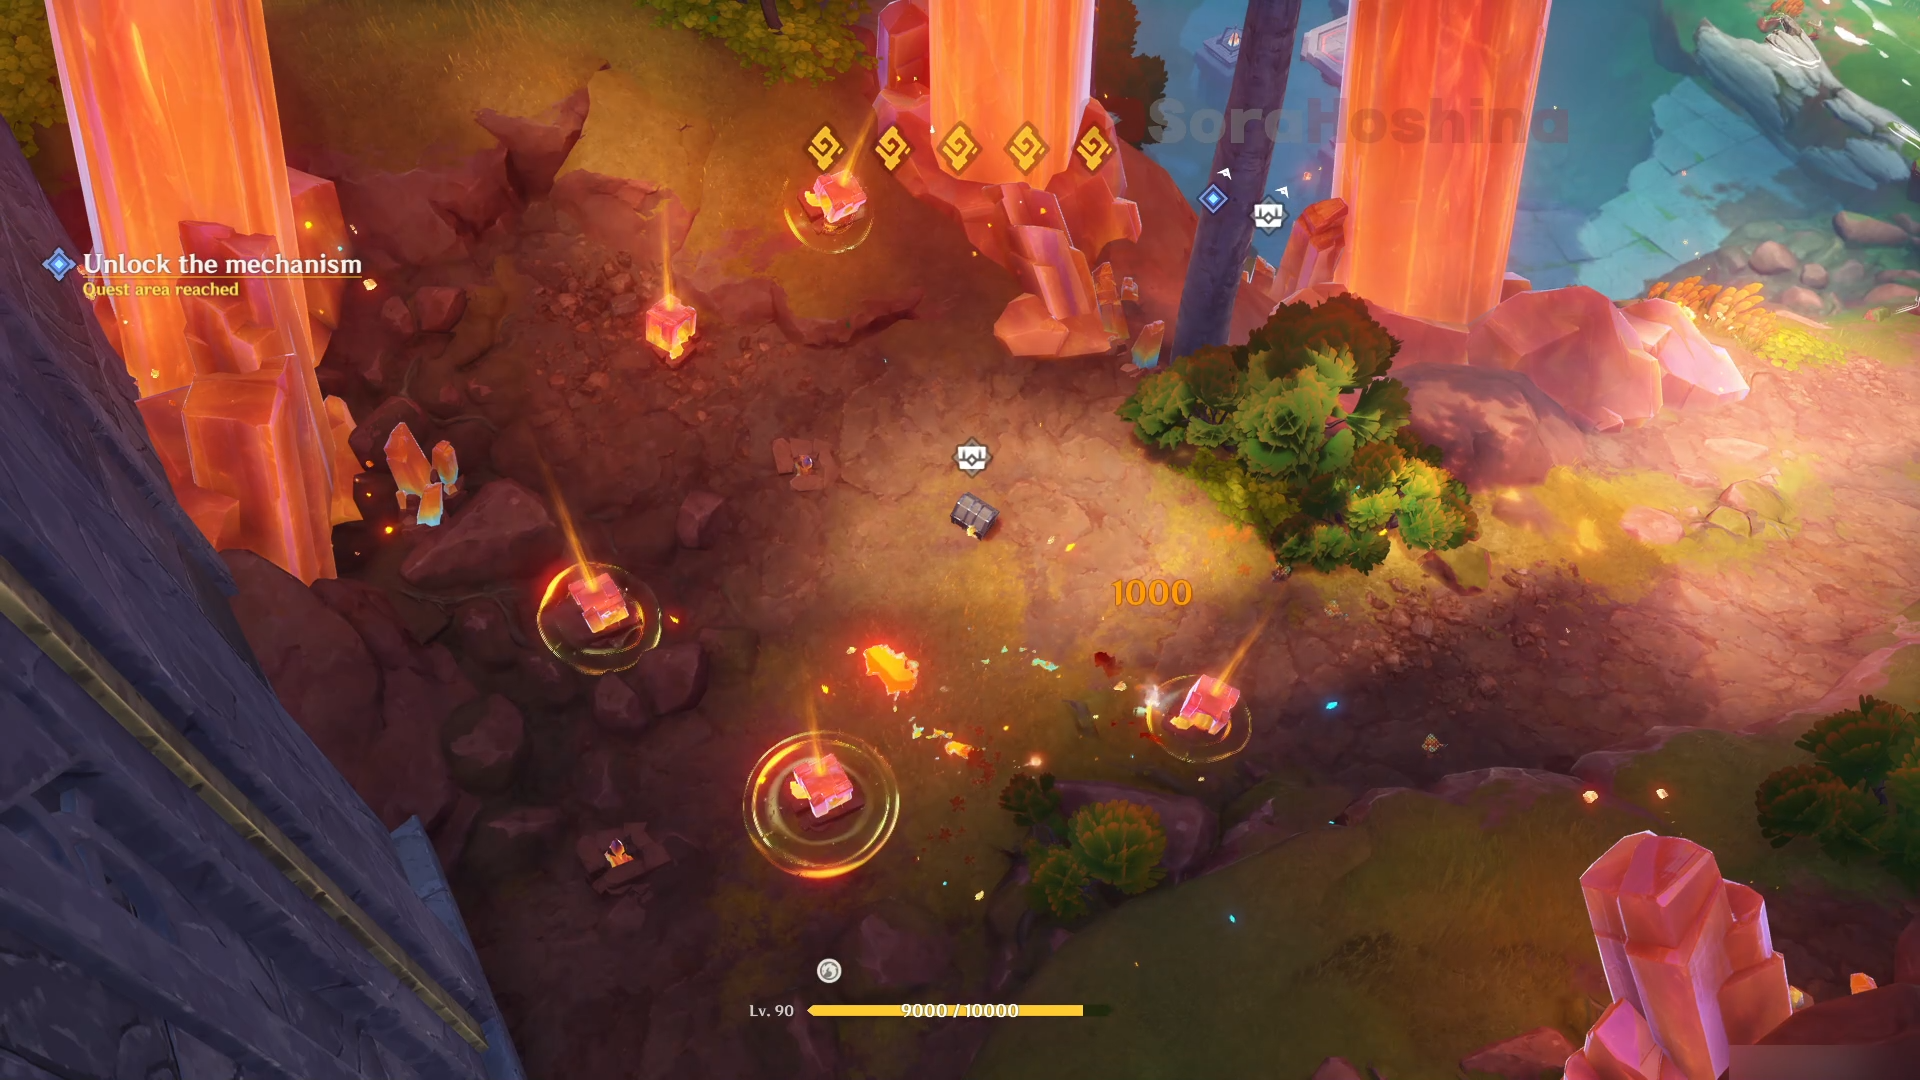
First of all, the Saurian. Move forward (there's only one path) and you will reach an open area. There, just follow the route and attack anything that can be destroyed (the glowing spot on the ground and destructible rocks) to move forward.
Saurian's puzzle is simple. There will be a Tremulous Crystal near the huge chunk crystal and you need to attack each Tremulous Crystal to complete the puzzle and bring down the huge crystal chunk. You can attack them one by one. After that, continue following the path until you reach the end of this area, which is also near another huge crystal chunk.
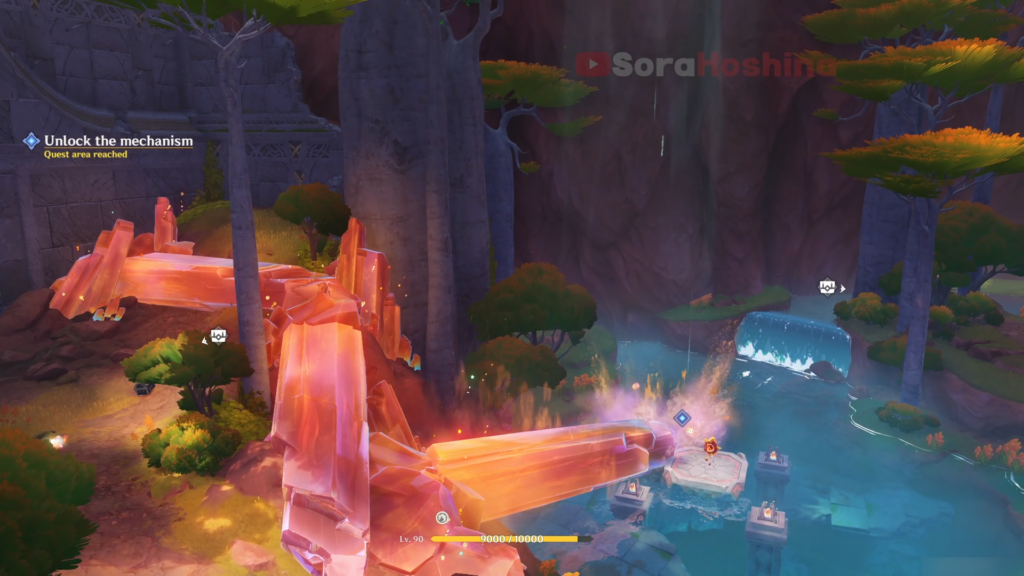
The puzzle is the same as before, hit the first Tremulous Crytal and the next crystal will spawn right next to it. Hit all of them to bring down the huge crystal chunk so you reach the platform where the Pyroculus is located. After that, nothing left can be done here so switch perspective to Traveler.
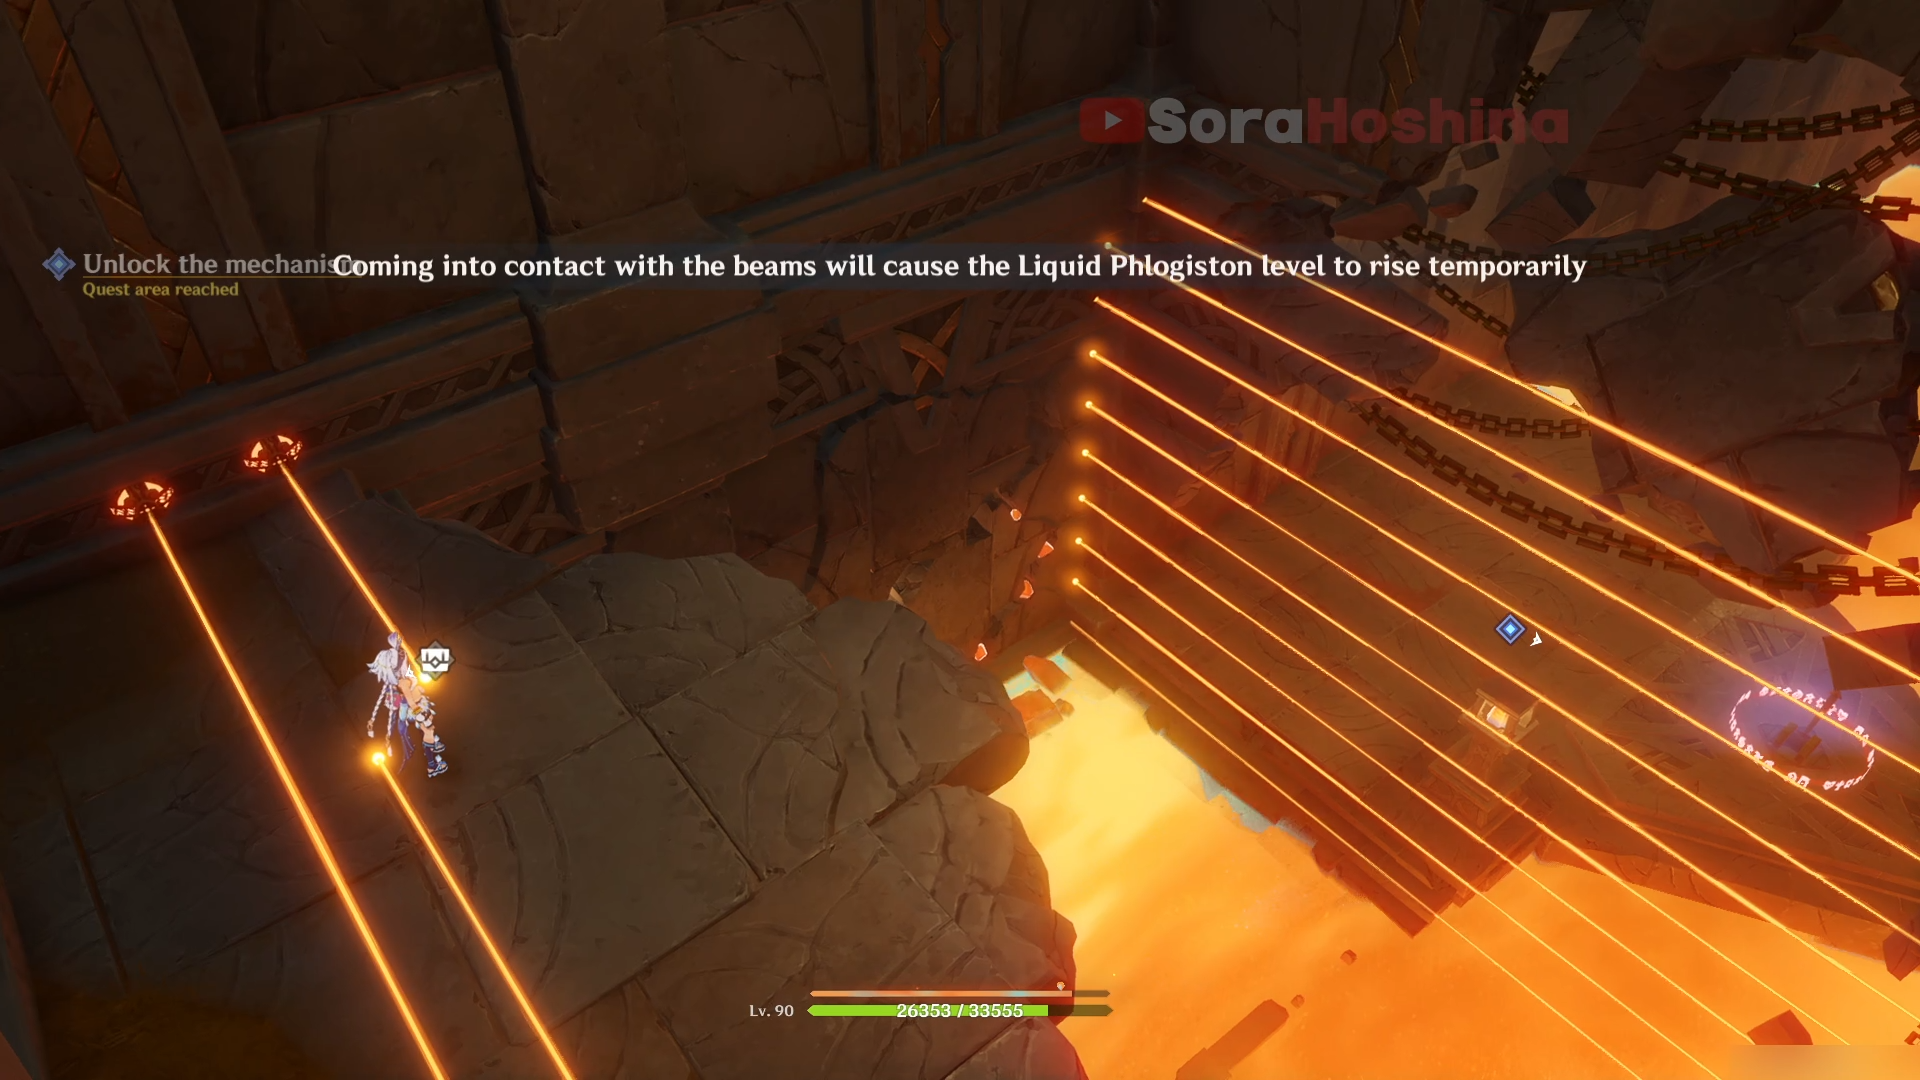
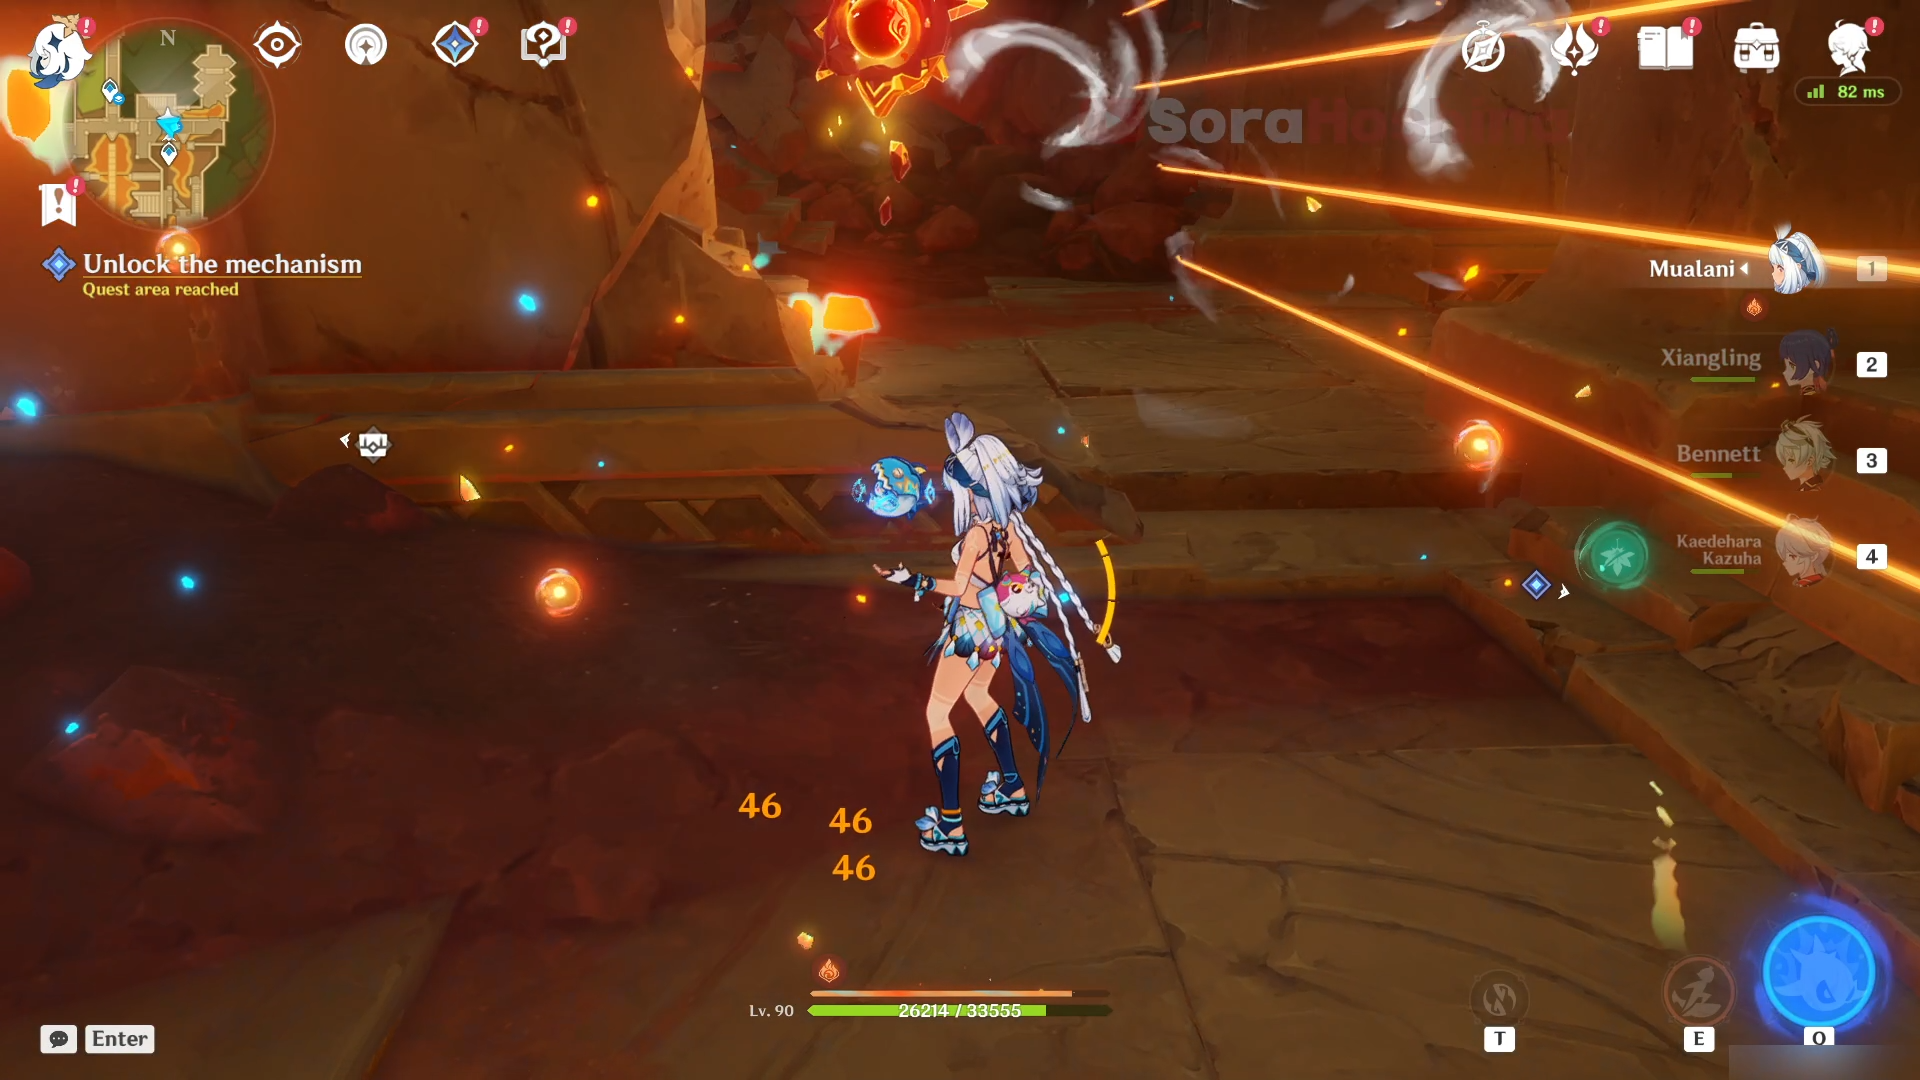
Now that you're back to being human, the puzzle here is more dangerous. There are a lot of beams here so if you come in contact with any of the beams, the Liquid Phlogiston level will rise temporarily.
Use Elemental Sight and you can see a breakable wall on the left. Do a plunge attack near it to set off the explosive and destroy the wall.
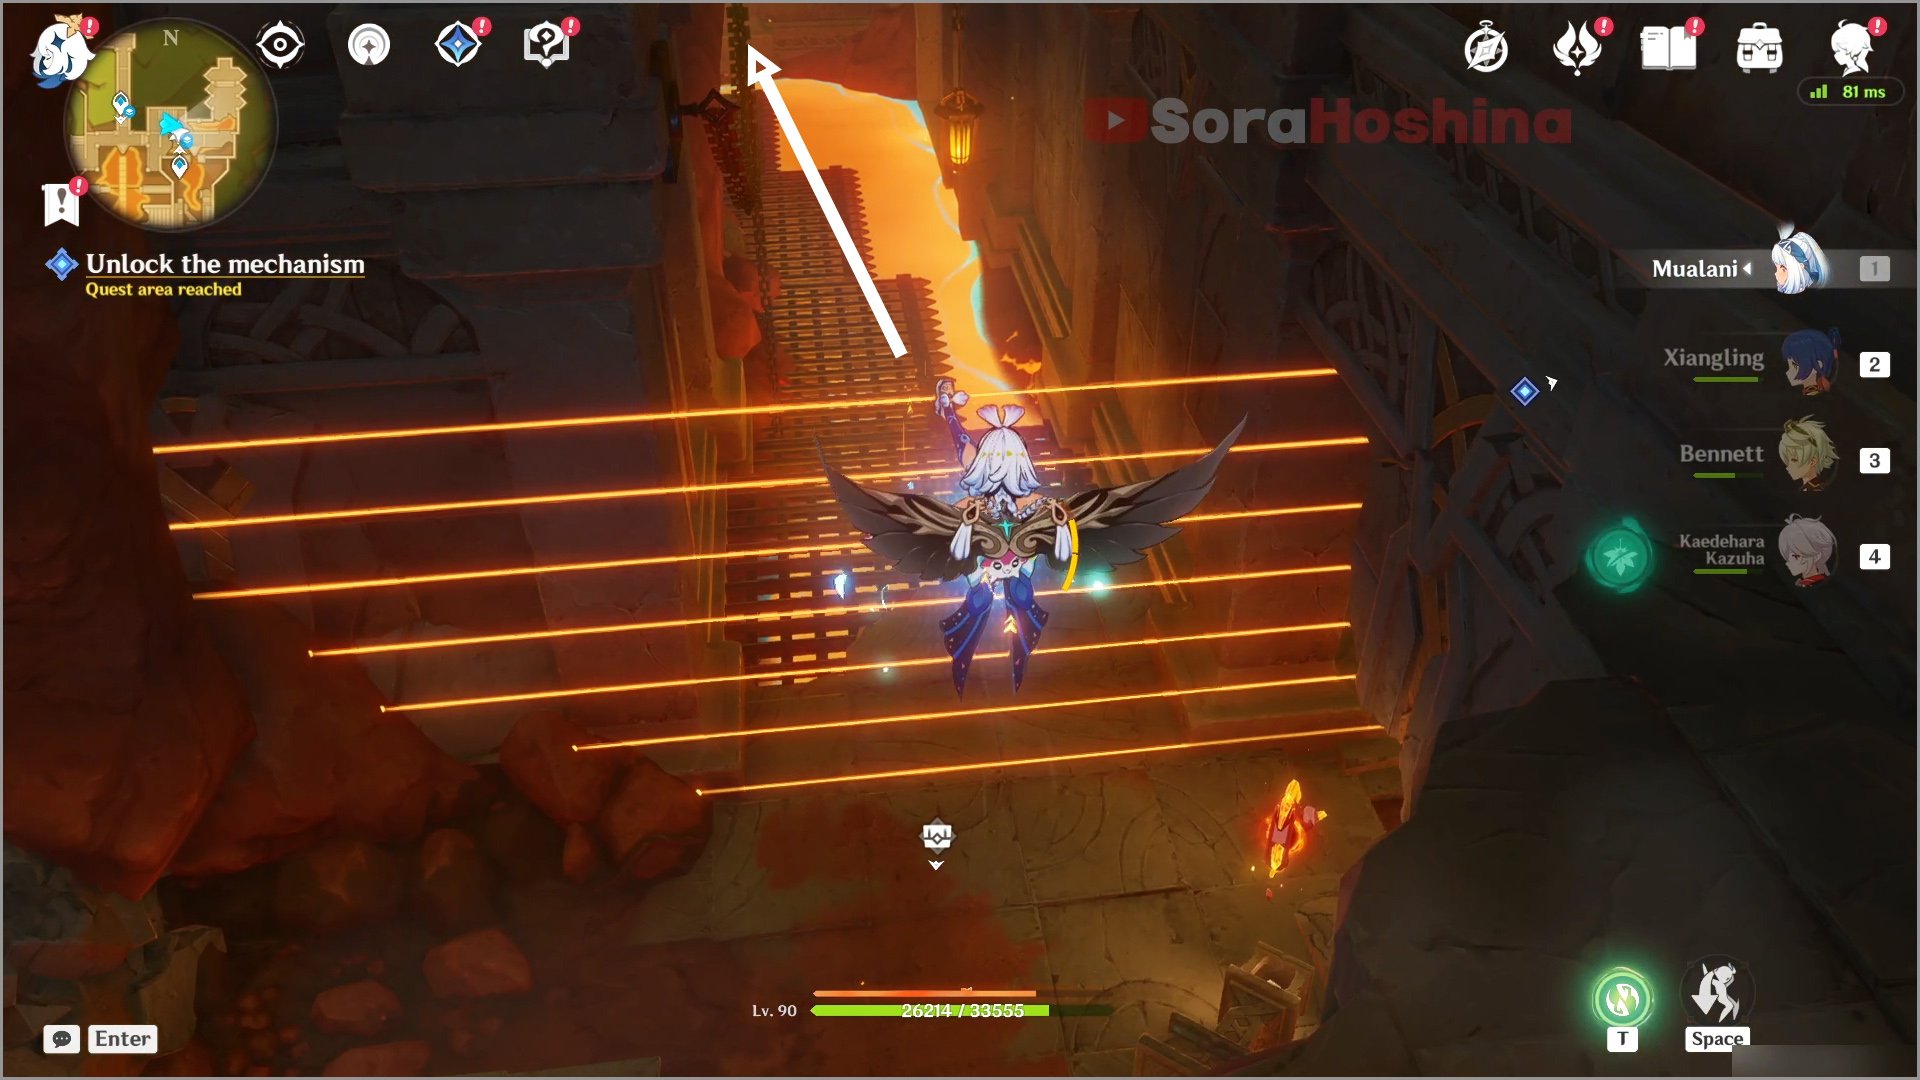
Go up the stairs and glide above the beams. Keep following that path until you see another set of beams.
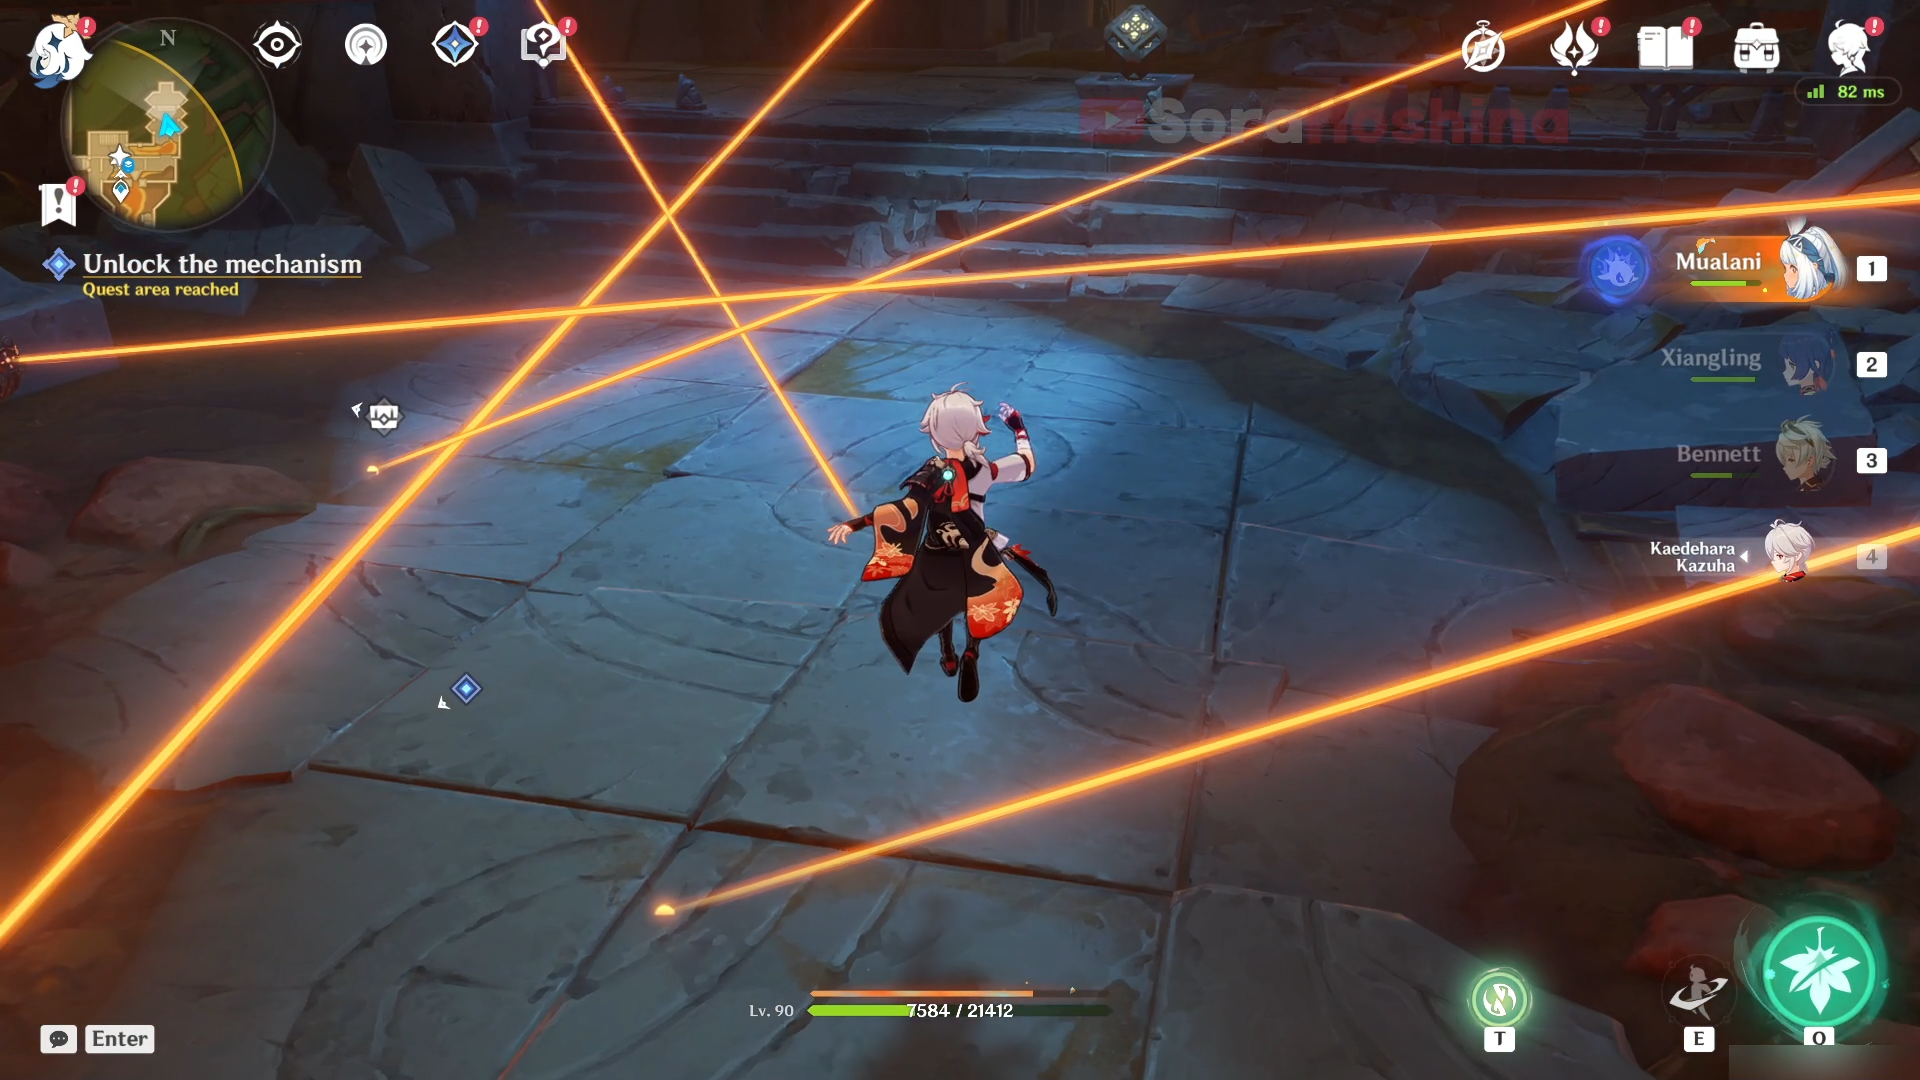
Cheat if you can by using characters like Kazuha or Venti. But if you don't have them, look for the lowest point of the beam so you can jump across them and use a short character to walk below the beam. Interact with the mechanism behind all those beams to unlock a gate. Go through the gate to reach the next puzzle.
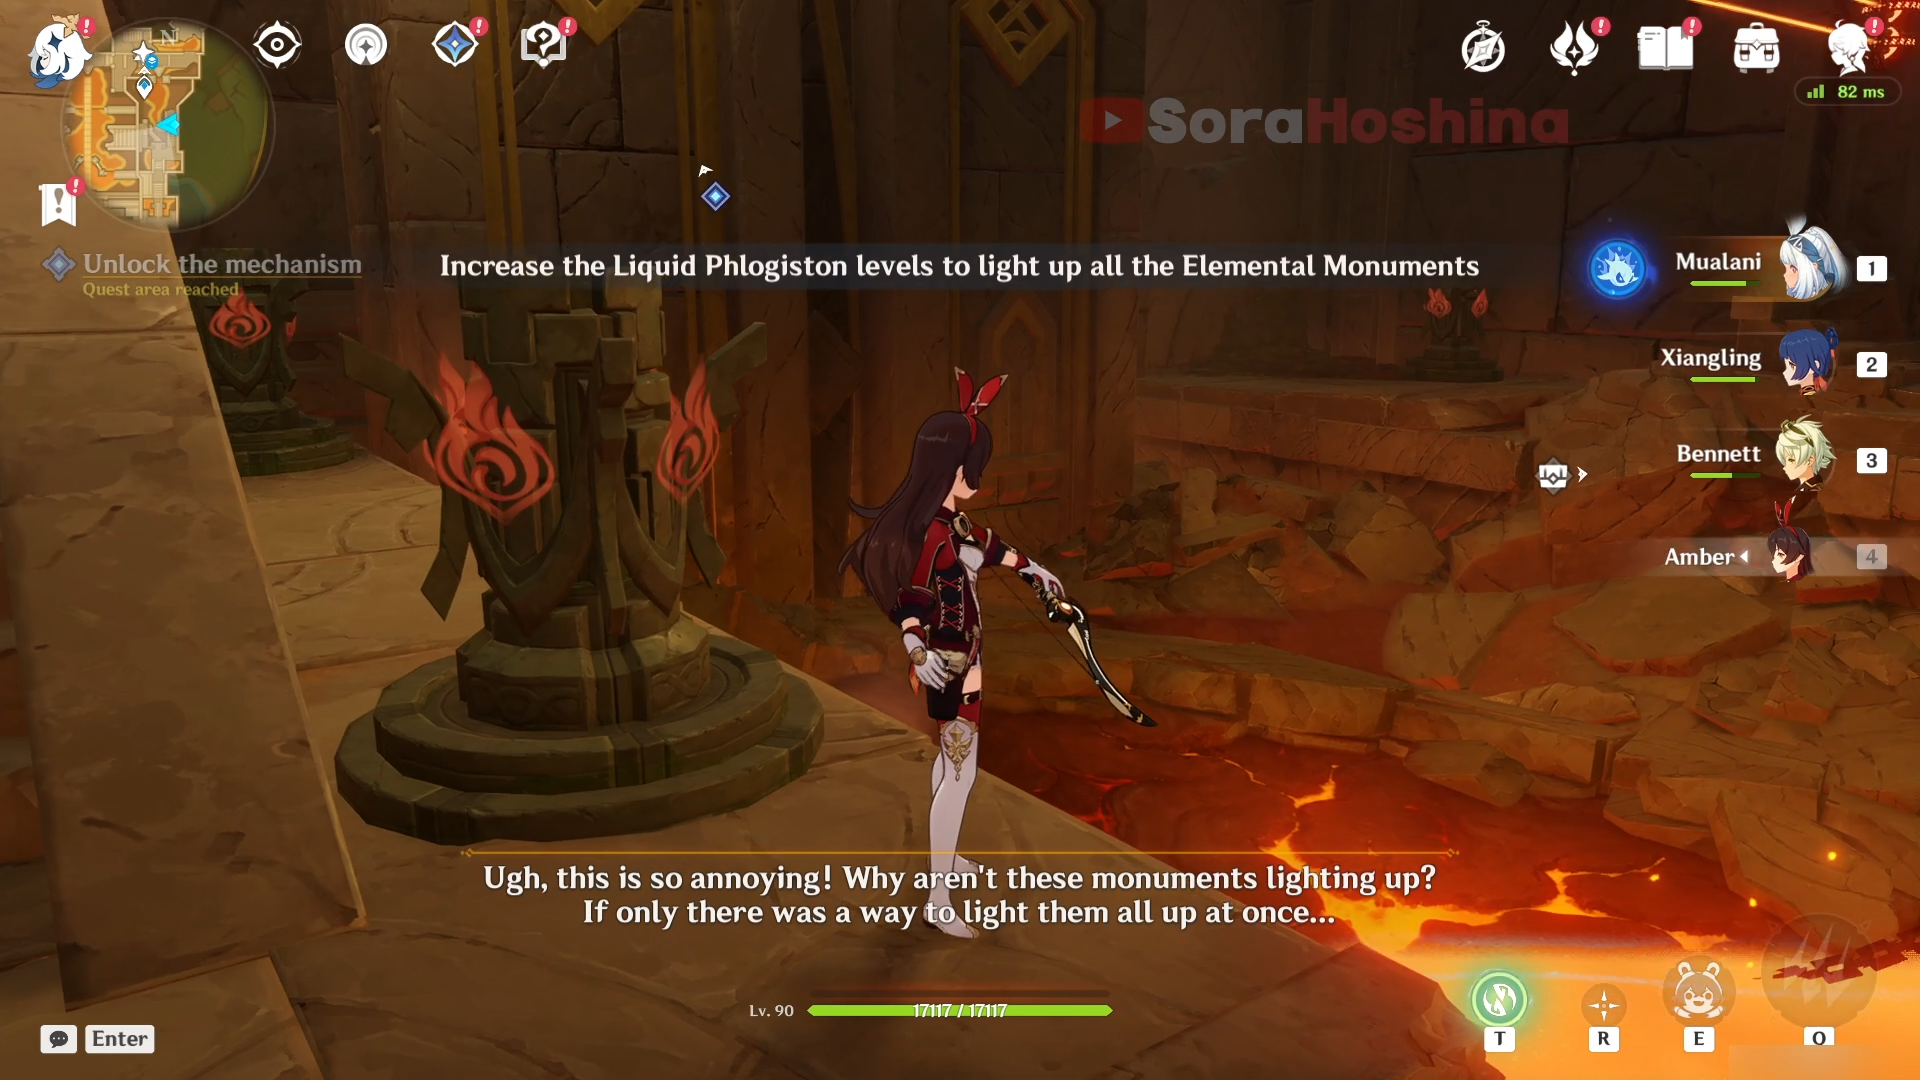
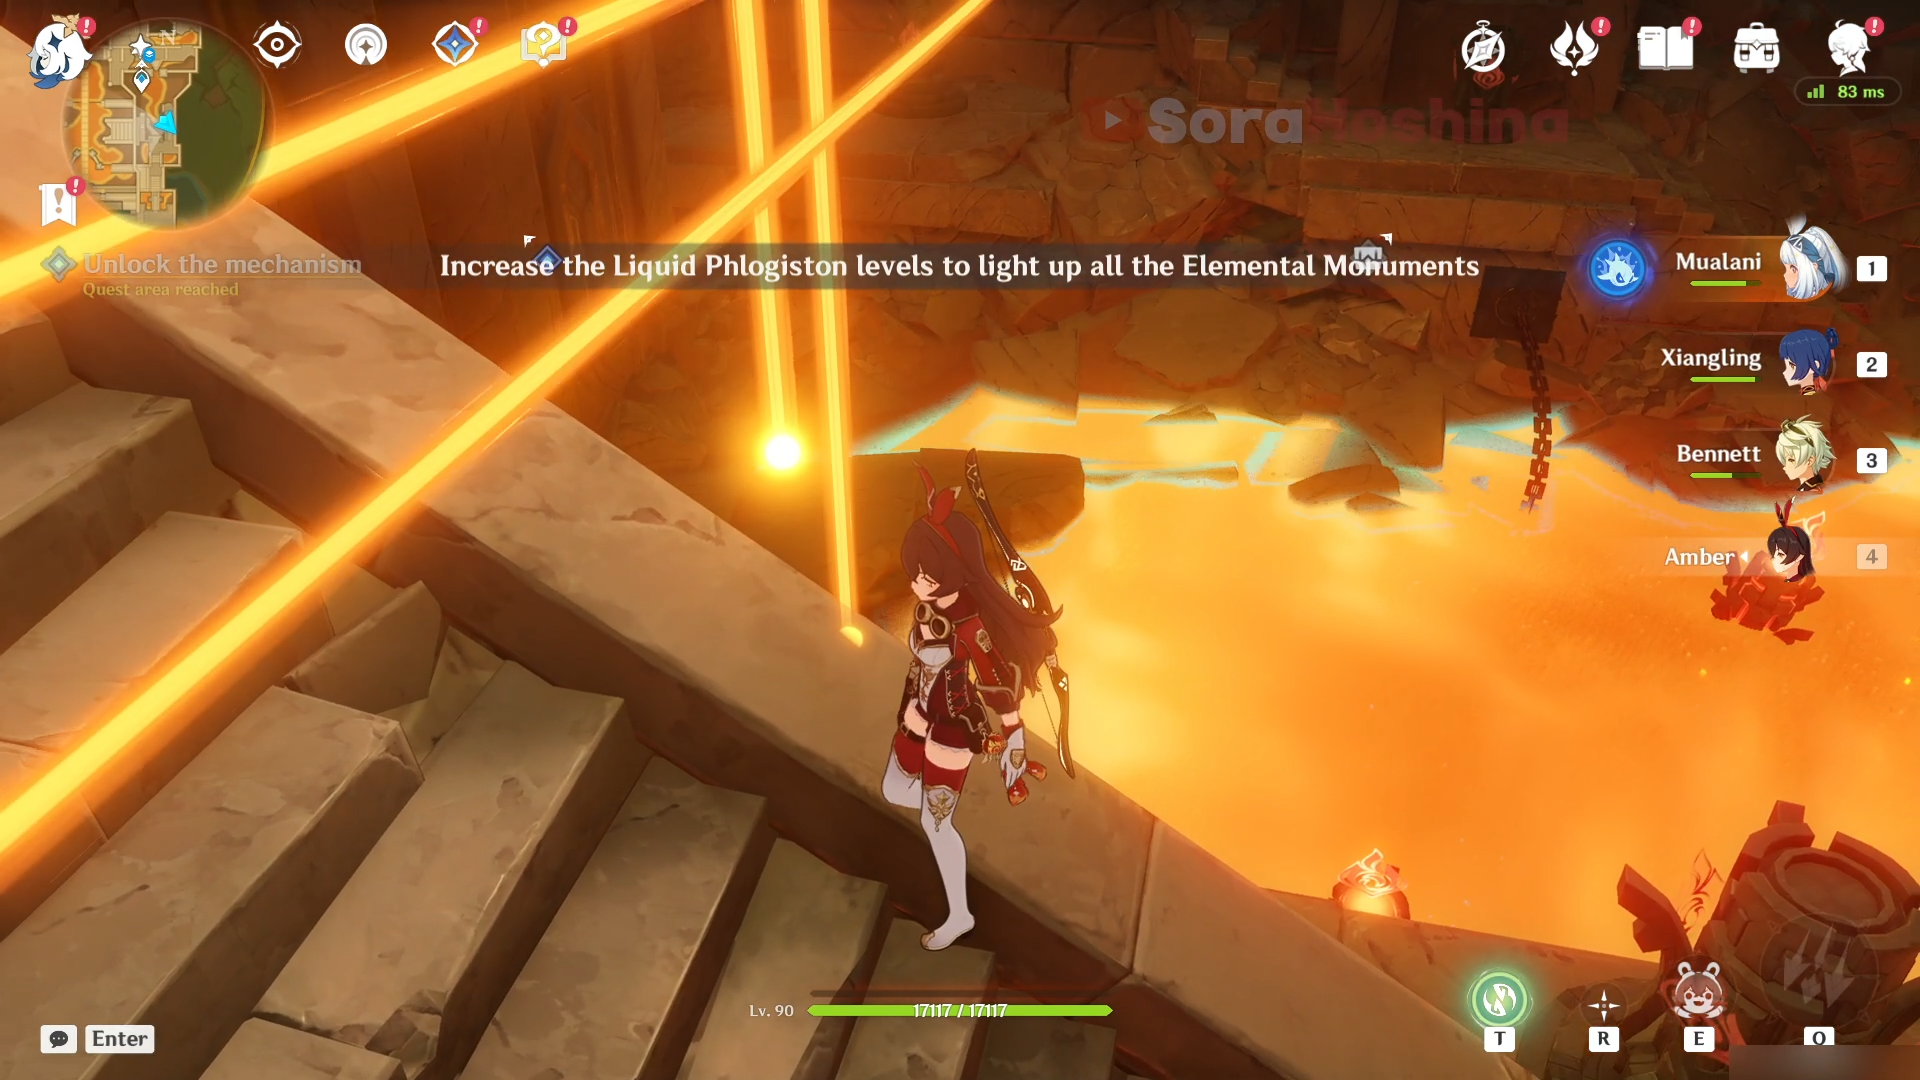
For the next puzzle, you need to light up all monuments at the same time. To do that, go up the stairs and touch any of the beams there so the Liquid Phlogiston levels will rise and light up all the monuments. After that, immediately run to the switch on top and interact with it. If the Liquid Phlogiston level decreases, the Pyro monument will be deactivated and you need to repeat the process again. Then you only need to follow the quest navigation until you and Saurian meets again.
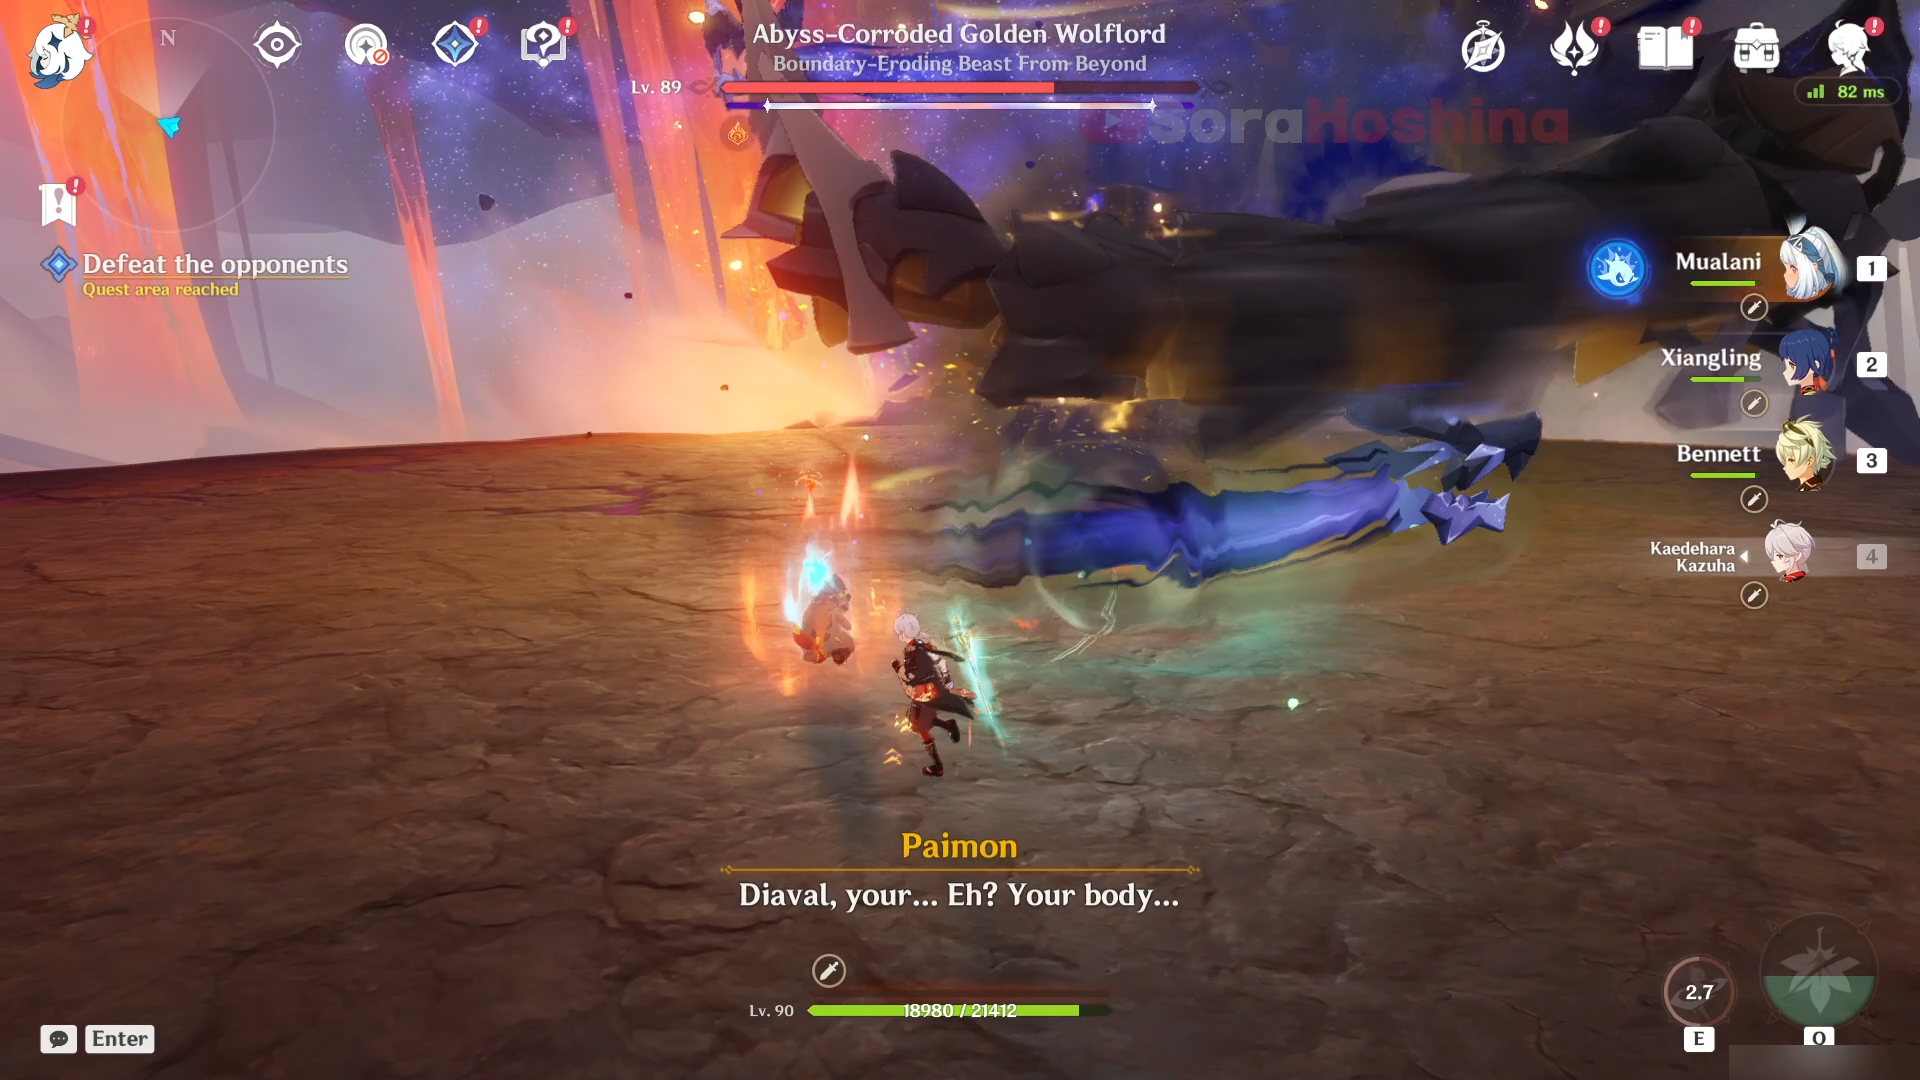
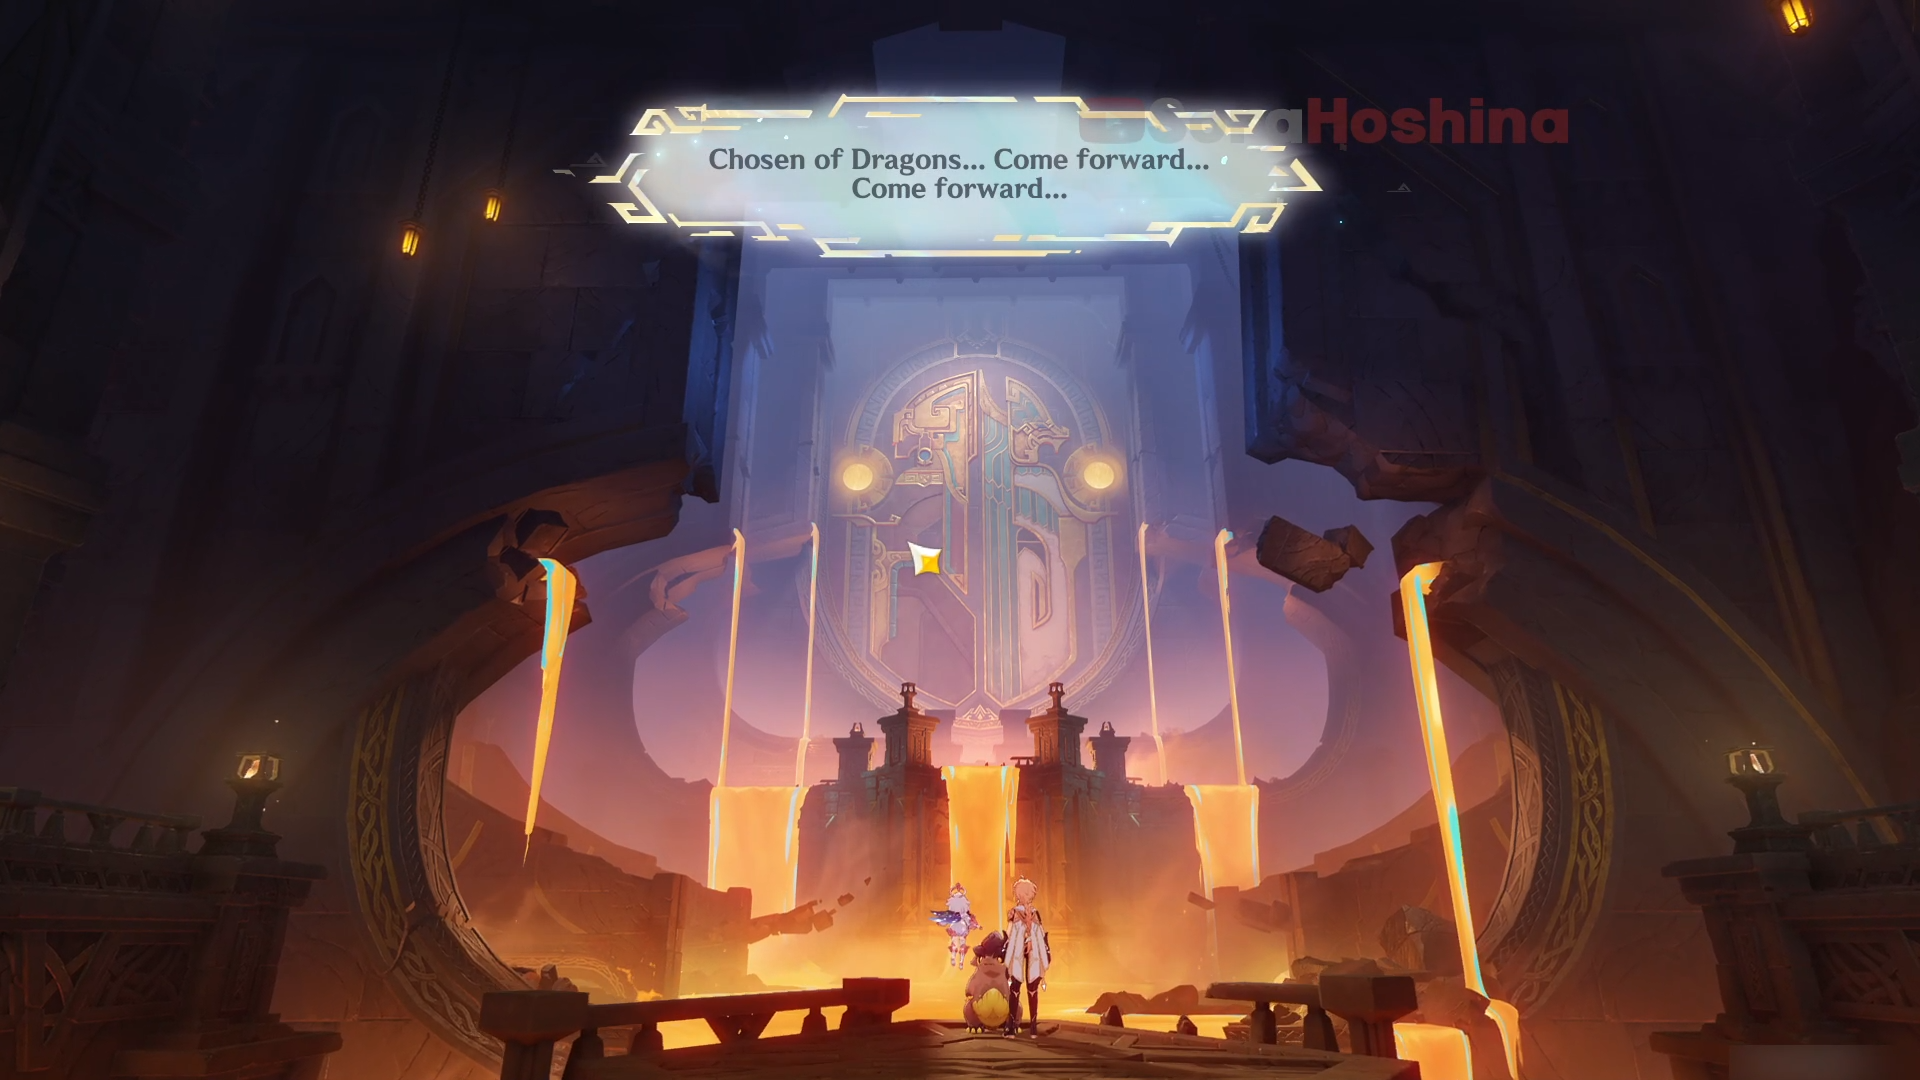
Once you reunite with your Saurian and open up a path to the bottom of the lava, go there for a boss battle. The fight is against some Rifhtounds then Golden Wolflord, the annoying boss who keeps floating around so prepare your team beforehand. Although in the end, your Saurian will be the one helping the most. After that, just follow the quest navigation and you will complete the quest and obtain the achievement [The Gold of the Sun, and Blood...].
The Road Ahead Quest
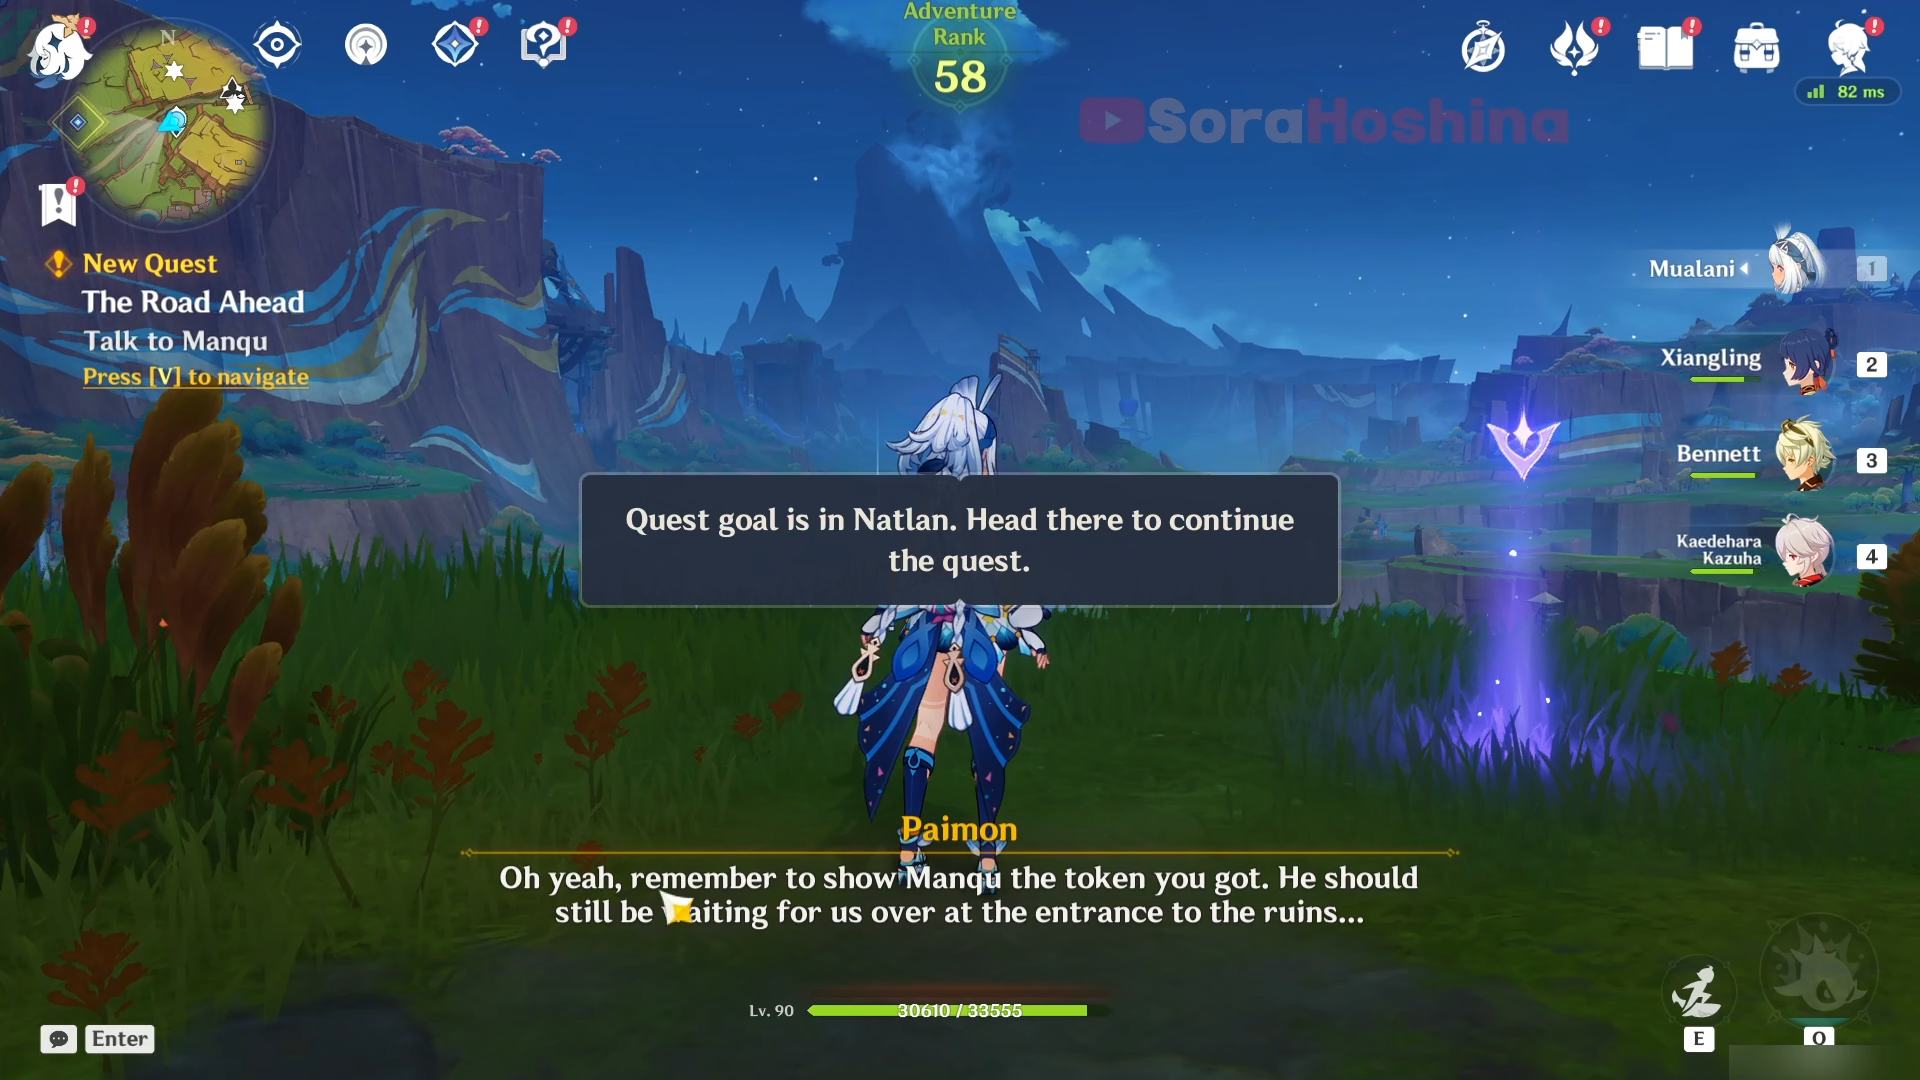
Once you get out from the domain at the bottom of the lava, you will end the Revelations from the Pasth quest and immediately get The Road Ahead. All you have to do is meet up with Manqu at the entrance of the ruins, which will be marked on the map by the quest navigation.