Table of Contents [Hide]
- Event Overview
- Rocking Carriage
- Interreflection of Reality and Dreams
- Shadow of the Knight's Blade
- Event Rewards
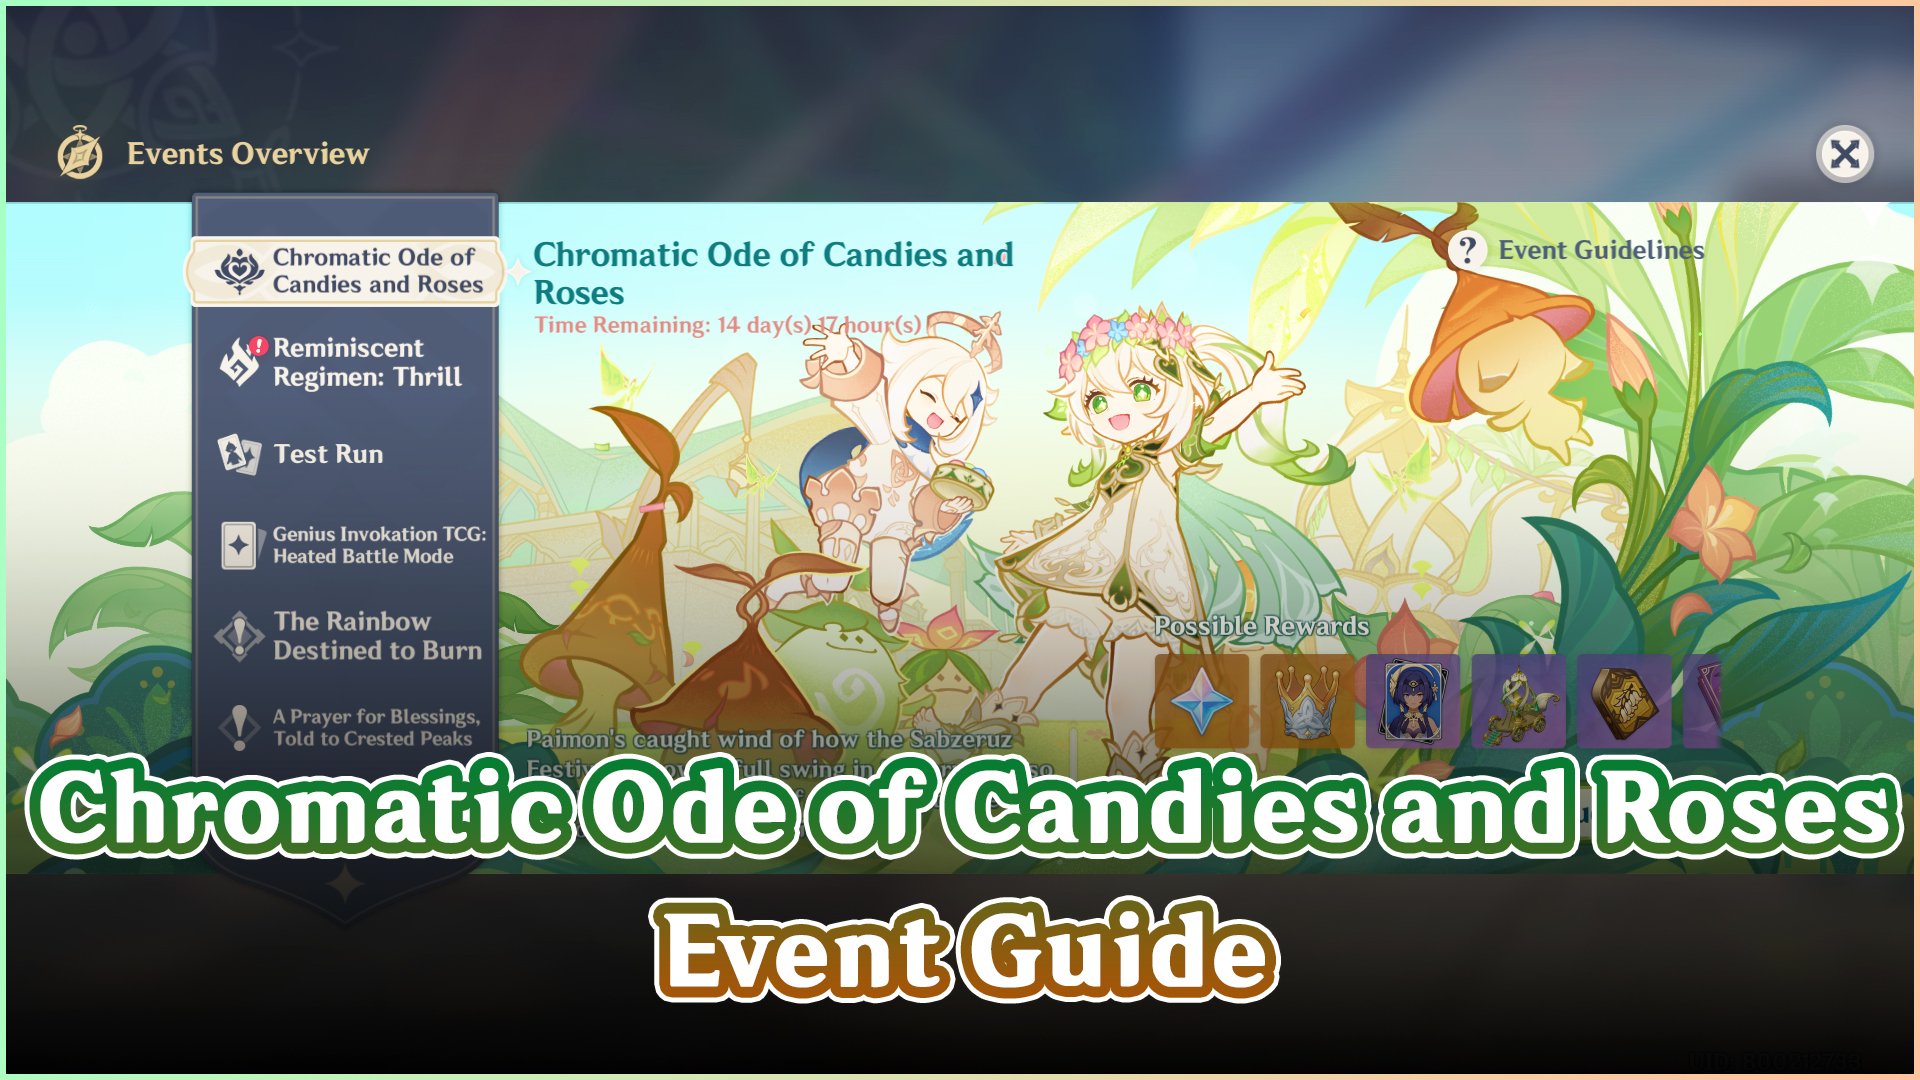
Paimon's caught wind of how the Sabzeruz Festival is now in full swing in Sumeru, and so you both happily set off, returning to the Nation of Nature and Wisdom...
This content comes from the Creator Experience server.
Event Overview
Event Gameplay Duration
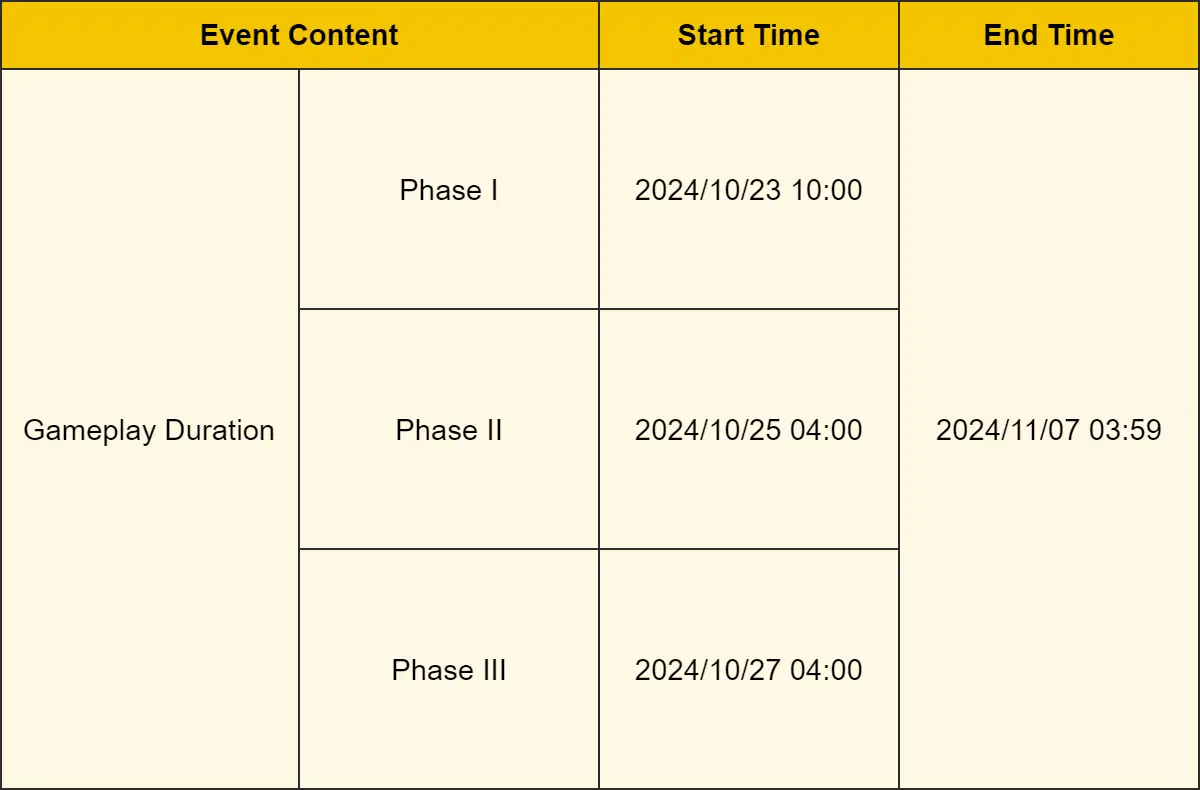
Eligibility
➥ Adventure Rank 20 or above
➥ And complete Archon Quest Prologue: Act III "Song of the Dragon and Freedom"
※ Complete the Archon Quest "Akasha Pulses, the Kalpa Flame Rises," Cyno's Story Quest "Lupus Aureus Chapter: Act II," and World Quests "The World of the Aranara" and "Cooking, a Pleasant Memory," and receive the "Twin-Horned Chaplet" in the World Quest "As the Khvarena's Light Shows" to get the best experience from this event.
Event Overview
➥ During the event, the following gameplay modes will unlock in sequence: "Rocking Carriage," "Interreflection of Reality and Dreams," and "Shadow of the Knight's Blade."
➥ In the "Rocking Carriage" gameplay, you must control the Flower Carriage to avoid obstacles and gather as many flowers as possible on the way to the destination to obtain a higher score.
➥ In the "Interreflection of Reality and Dreams" gameplay, you must help the master of the dreamscape find Anomalies according to descriptions, and help the patients improve their mental health.
➥ In the "Shadow of the Knight's Blade" gameplay, you must fight in a particular manner, defeat enemies, and recreate the dashing, heroic figure of the Knight of Flowers.
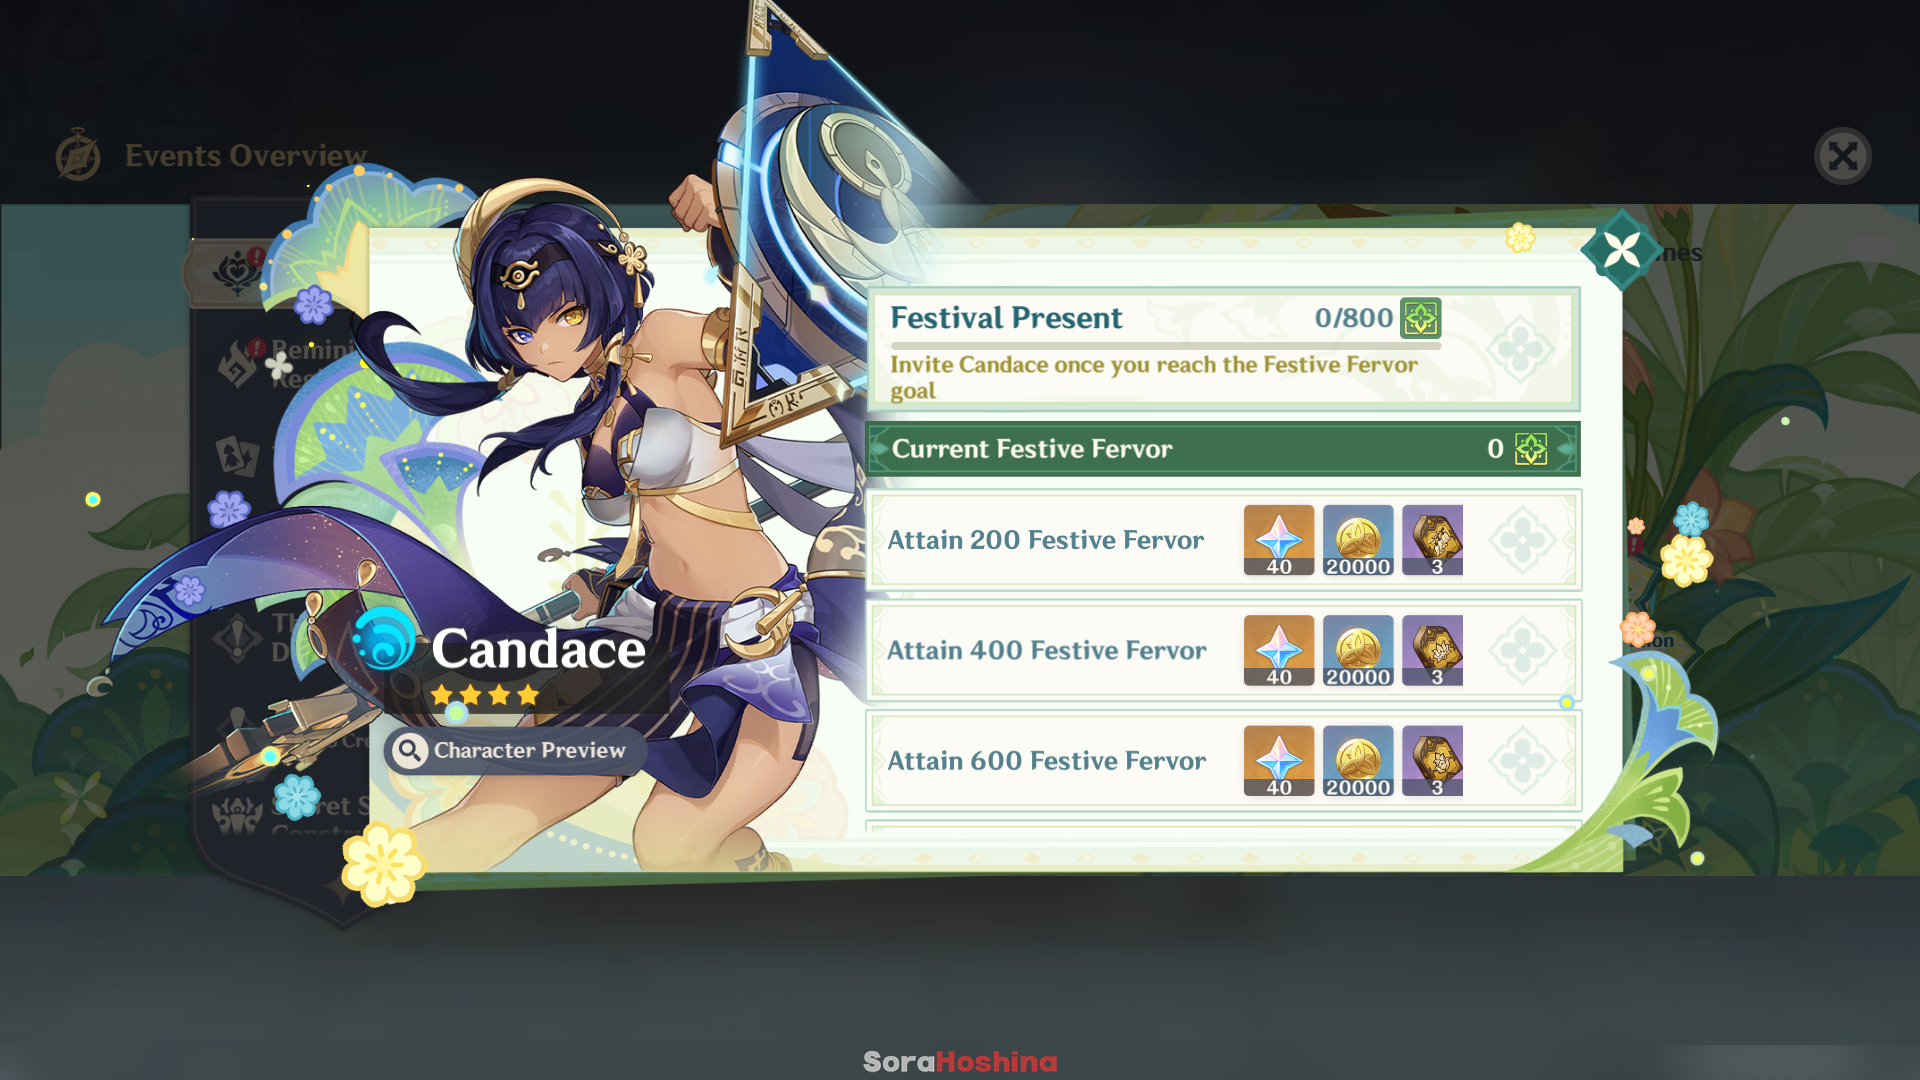
➥ Complete the event's various gameplay modes to gain Festive Fervor. Reach a certain amount of Festive Fervor to invite "Golden Vow" Candace (Hydro) as well as obtain Primogems, Crown of Insight, and other rewards.
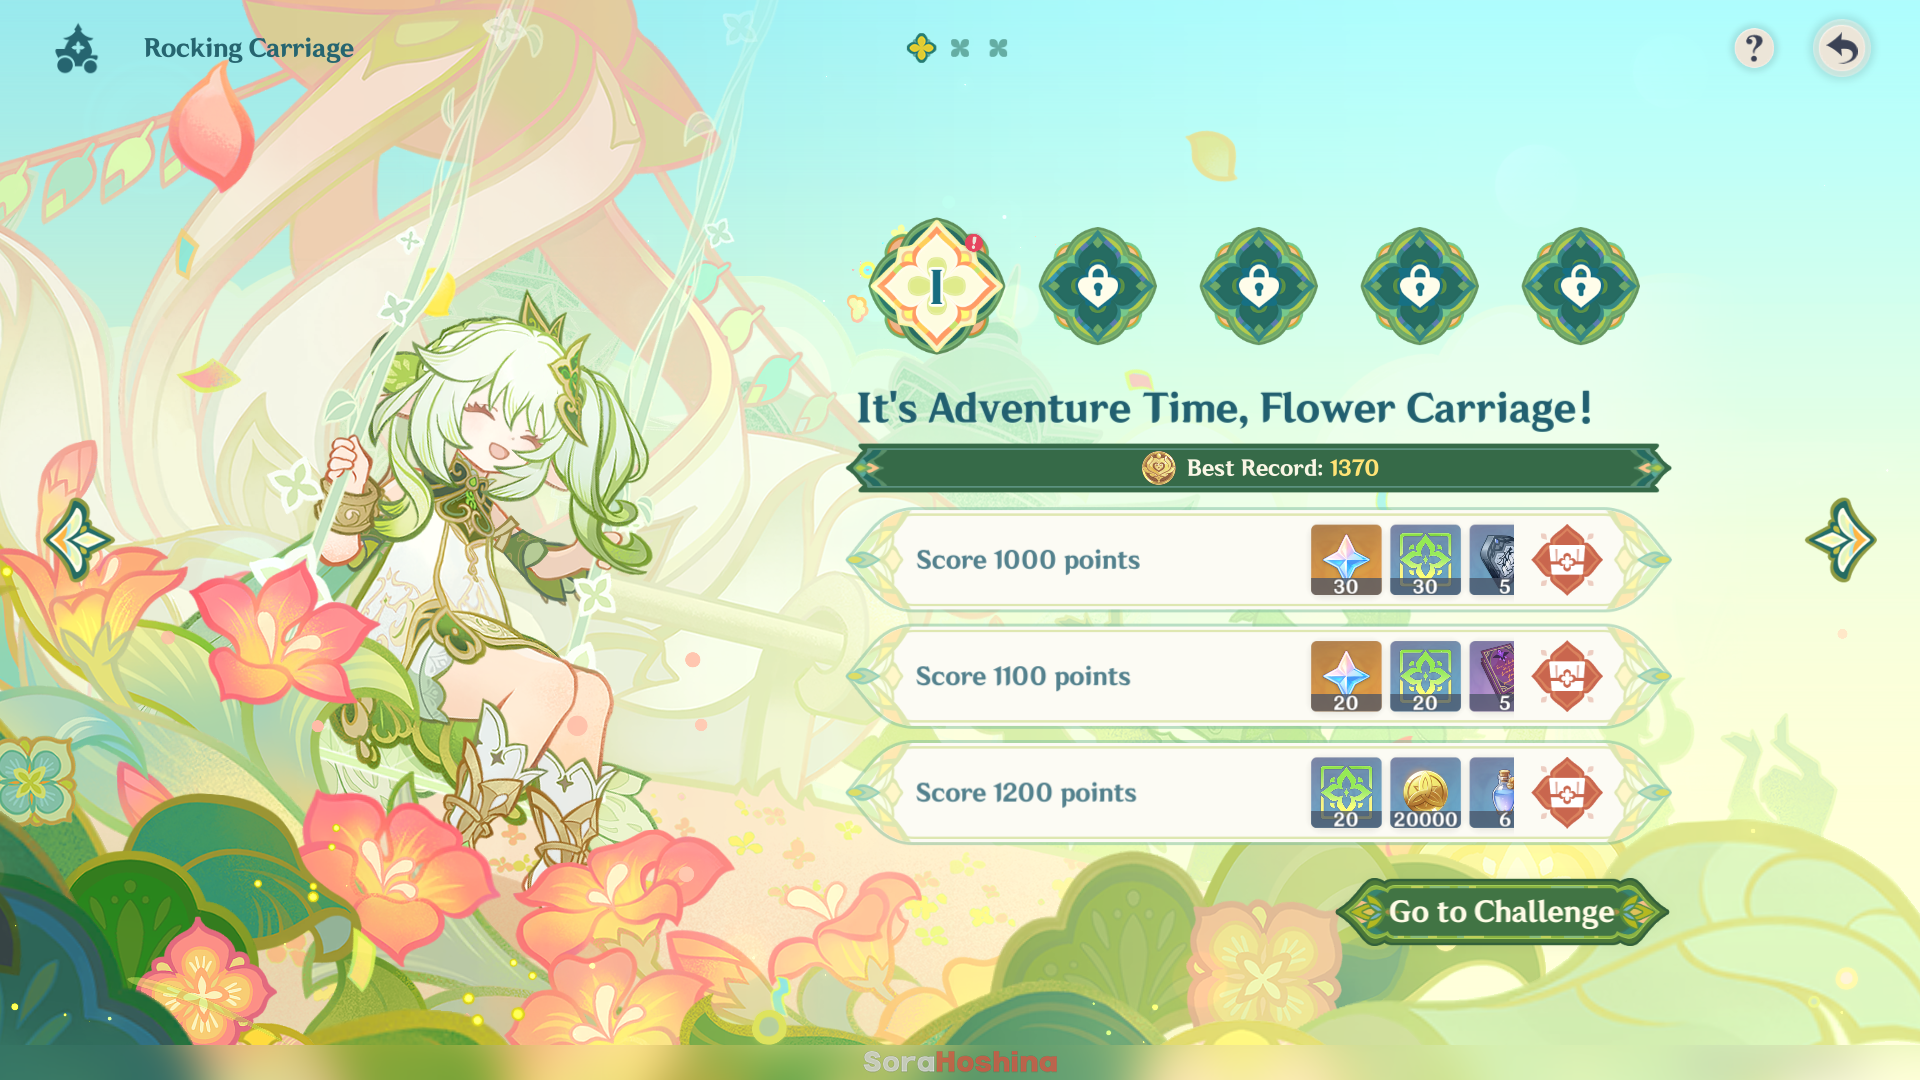
Rocking Carriage
Event Tutorial

While the Flower Carriage is in motion, you can change its route to avoid obstacles. The Flower Carriage will lose HP when it hits any obstacles, and if HP is fully depleted, you will fail the challenge. Additionally, collect as many flowers as possible to fulfill the score requirements.

The Flower Carriage will automatically collect nearby flowers for a time after you collect a Clustered Blessing.

The flowers you obtain will grant you bonus points for some time after obtaining a Blooming Boon.

The Flower Carriage will become immune to the negative effects of collisions with obstacles for some time after obtaining a Buttressing Blessing.

In some stages, the Flower Carriage will continuously accelerate up to top speed if it hits no obstacles for a while.

The stage "A Gorgeous, Lovely, Endless Journey!" is an endless, cyclical stage. The Flower Carriage will keep proceeding onward, facing speedier, tougher challenges. You can end the challenge whenever you wish.
There are no more guides for this gameplay as it's too easy and you can clear it without any guides. Just make sure to understand the effect of the 3 different blessings above.
Interreflection of Reality and Dreams
Event Tutorial
During the "Interreflection of Reality and Dreams" game mode, you have to enter the unique dreamscapes of patients, find the Anomalies in said dreams, and correct them to assist the patients with their mental well-being.
You will find specific items in their dreamscapes based on their descriptions. Use the special skill "Catch & Correct" on them to deal with the corresponding Anomalies.
You can speak to the patients in their dreamscapes to learn what ails them in more detail. At the same time, if you do not find any anomalies within a certain time, the patients will give you subconscious hints.
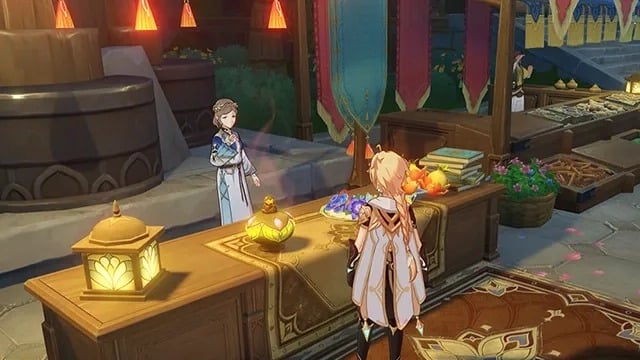
Stage 1 - Tipsy Topsy-Turvy
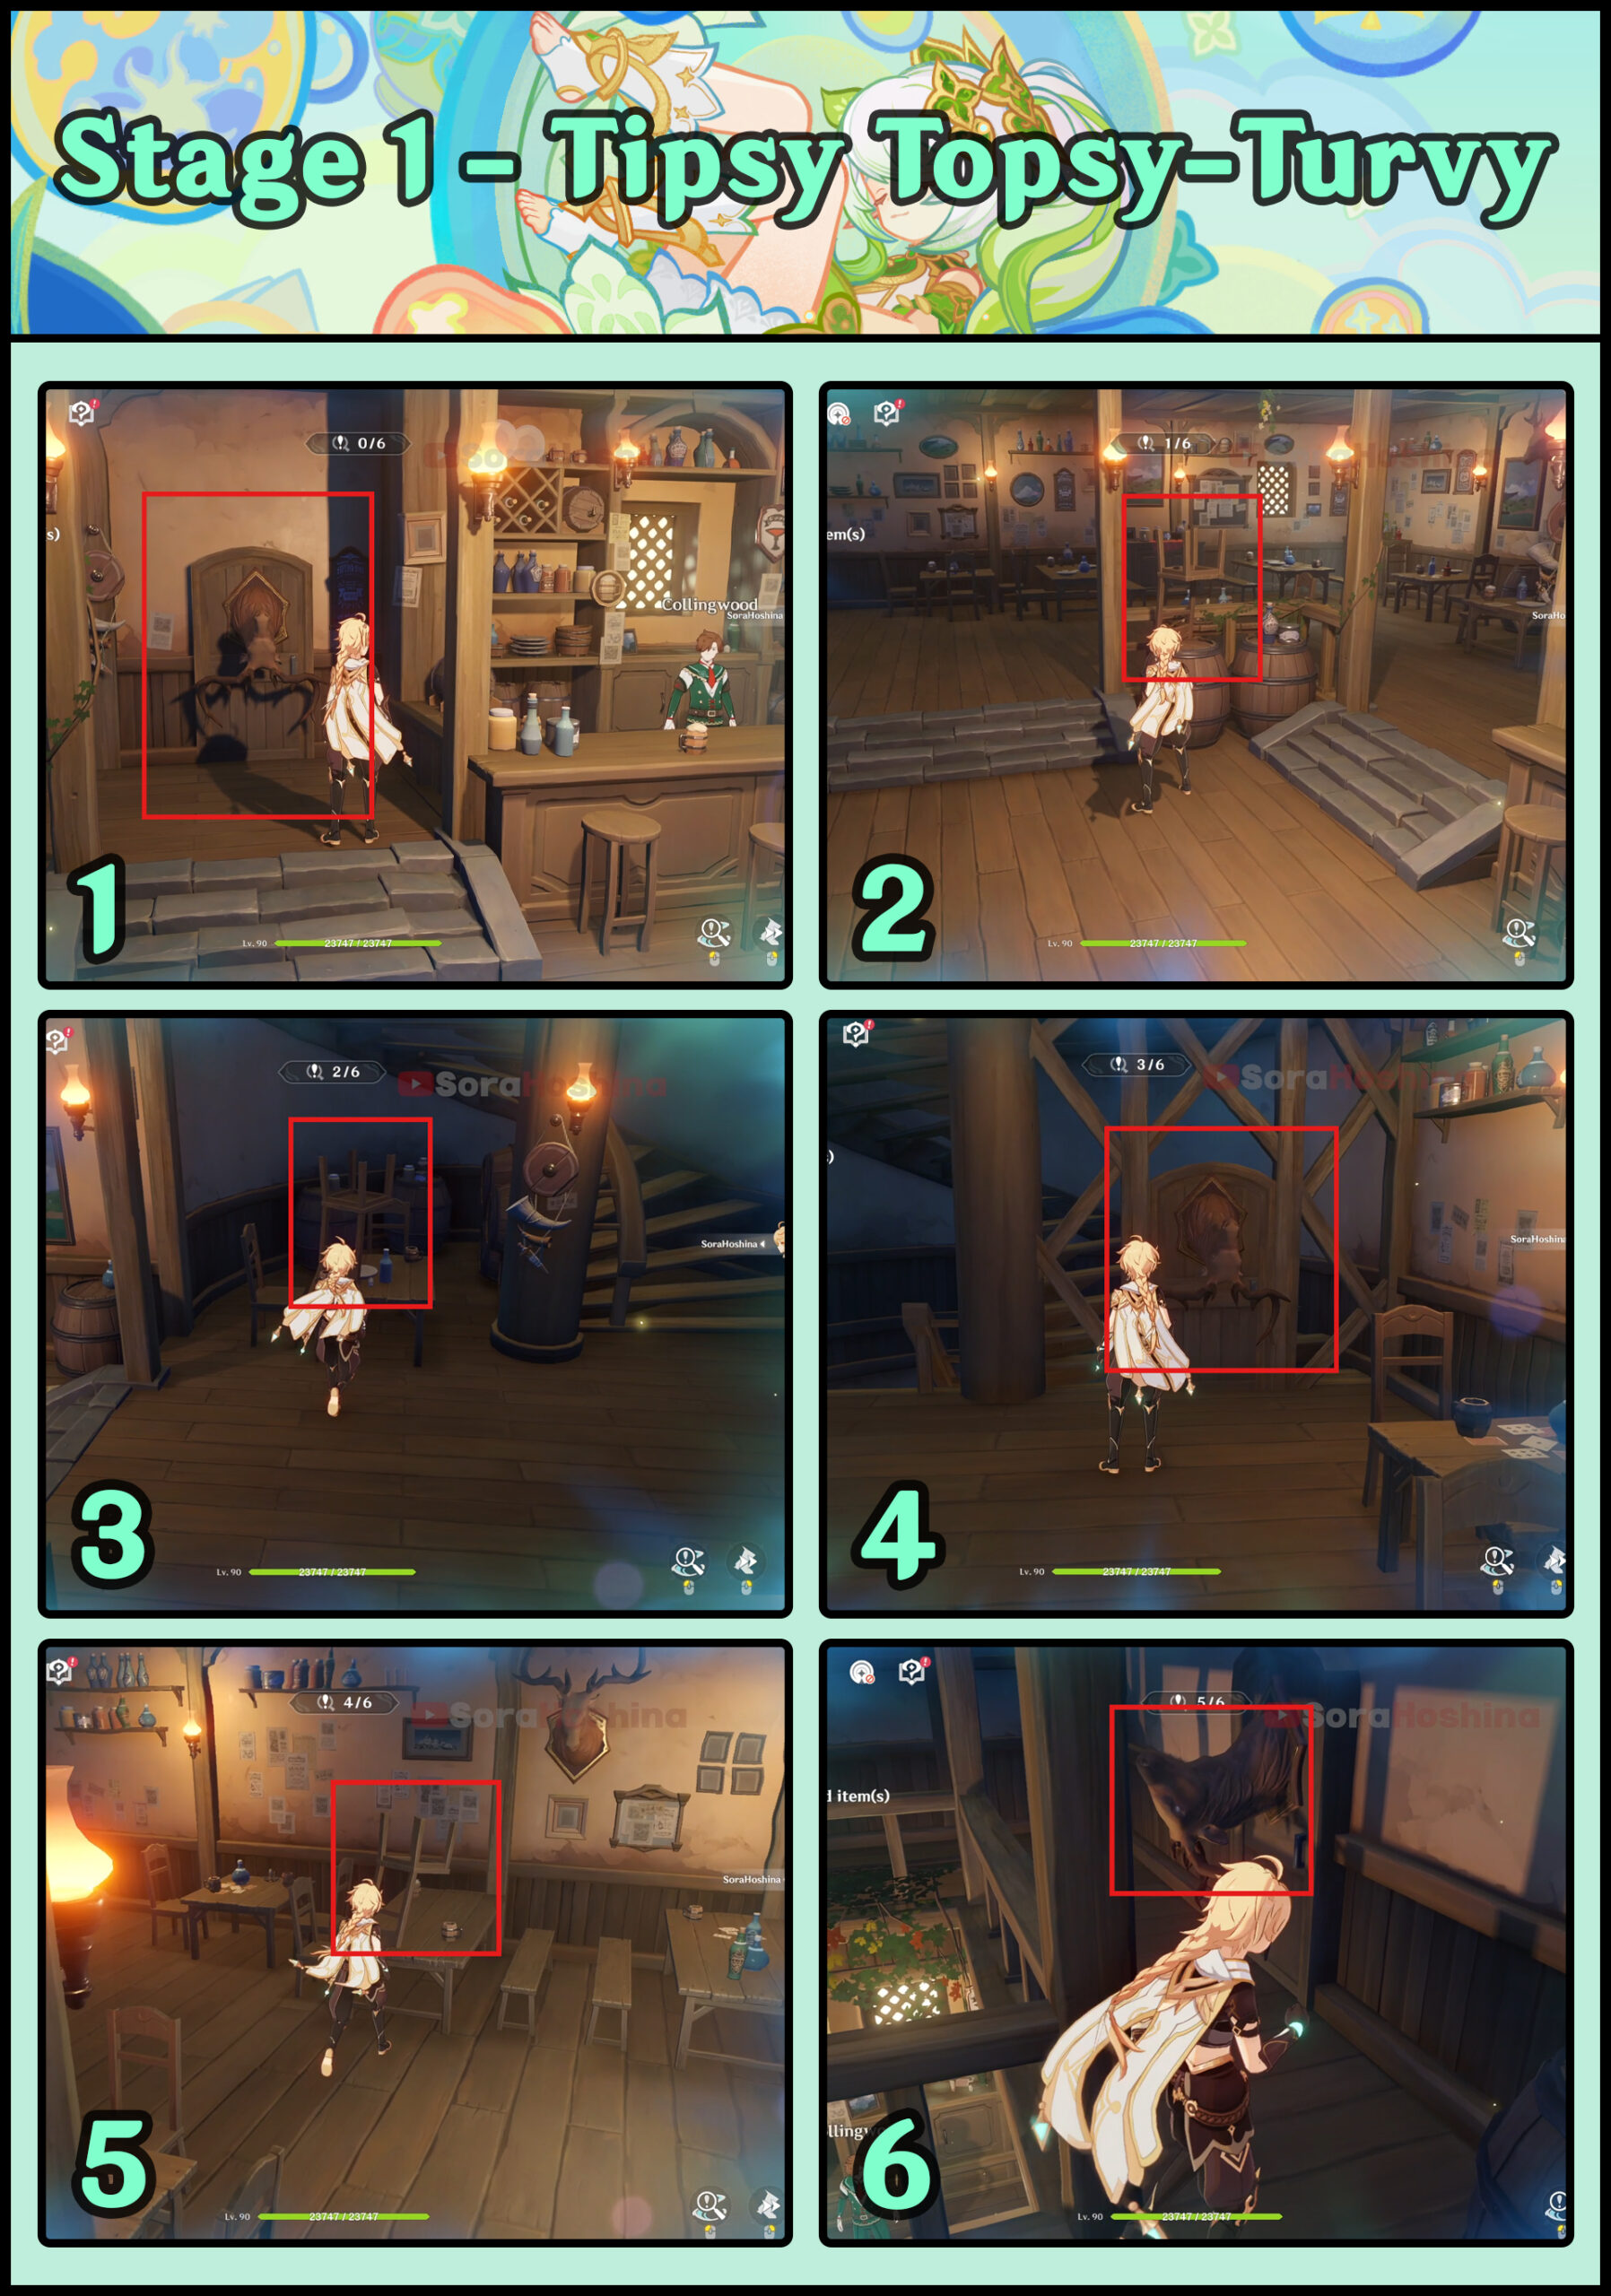
(1) The inverted ornament just beside Collingwood near the bar.
(2) An upside-down chair is also near the bar.
(3) Another upside-down chair near the stairs.
(4) Go up the stairs and you can see another inverted ornament just beside the stairs.
(5) Another upside-down chair in the middle of the second floor.
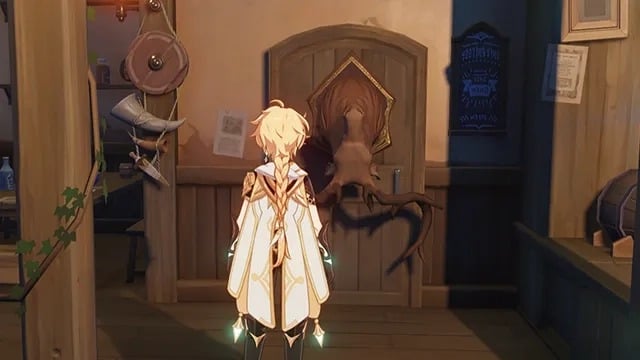
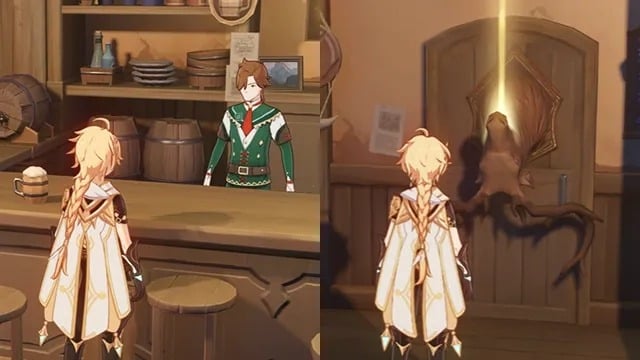
(6) Lastly is the inverted ornament hanging at the door on the second floor.
Stage 2 - Begone, Demons!

(1) A floating statue near Youguang.
(2) From the previous spot, look to your right for a floating box near the well.
(3) Walk forward a little bit to the small pond and you can see another floating statue near the well.
(4) Go in front of the dilapidated house and there's a floating statue.
(5) Enter the huge dilapidated house and you can see another floating box.
(6) Go to the side of the house and there's another floating statue near the tree stump.
(7) There's another dilapidated house (smaller one) and a floating statue inside it.
(8) The last one is the floating statue between the 2 houses.
Stage 3 - Hidden Dangerous Materials
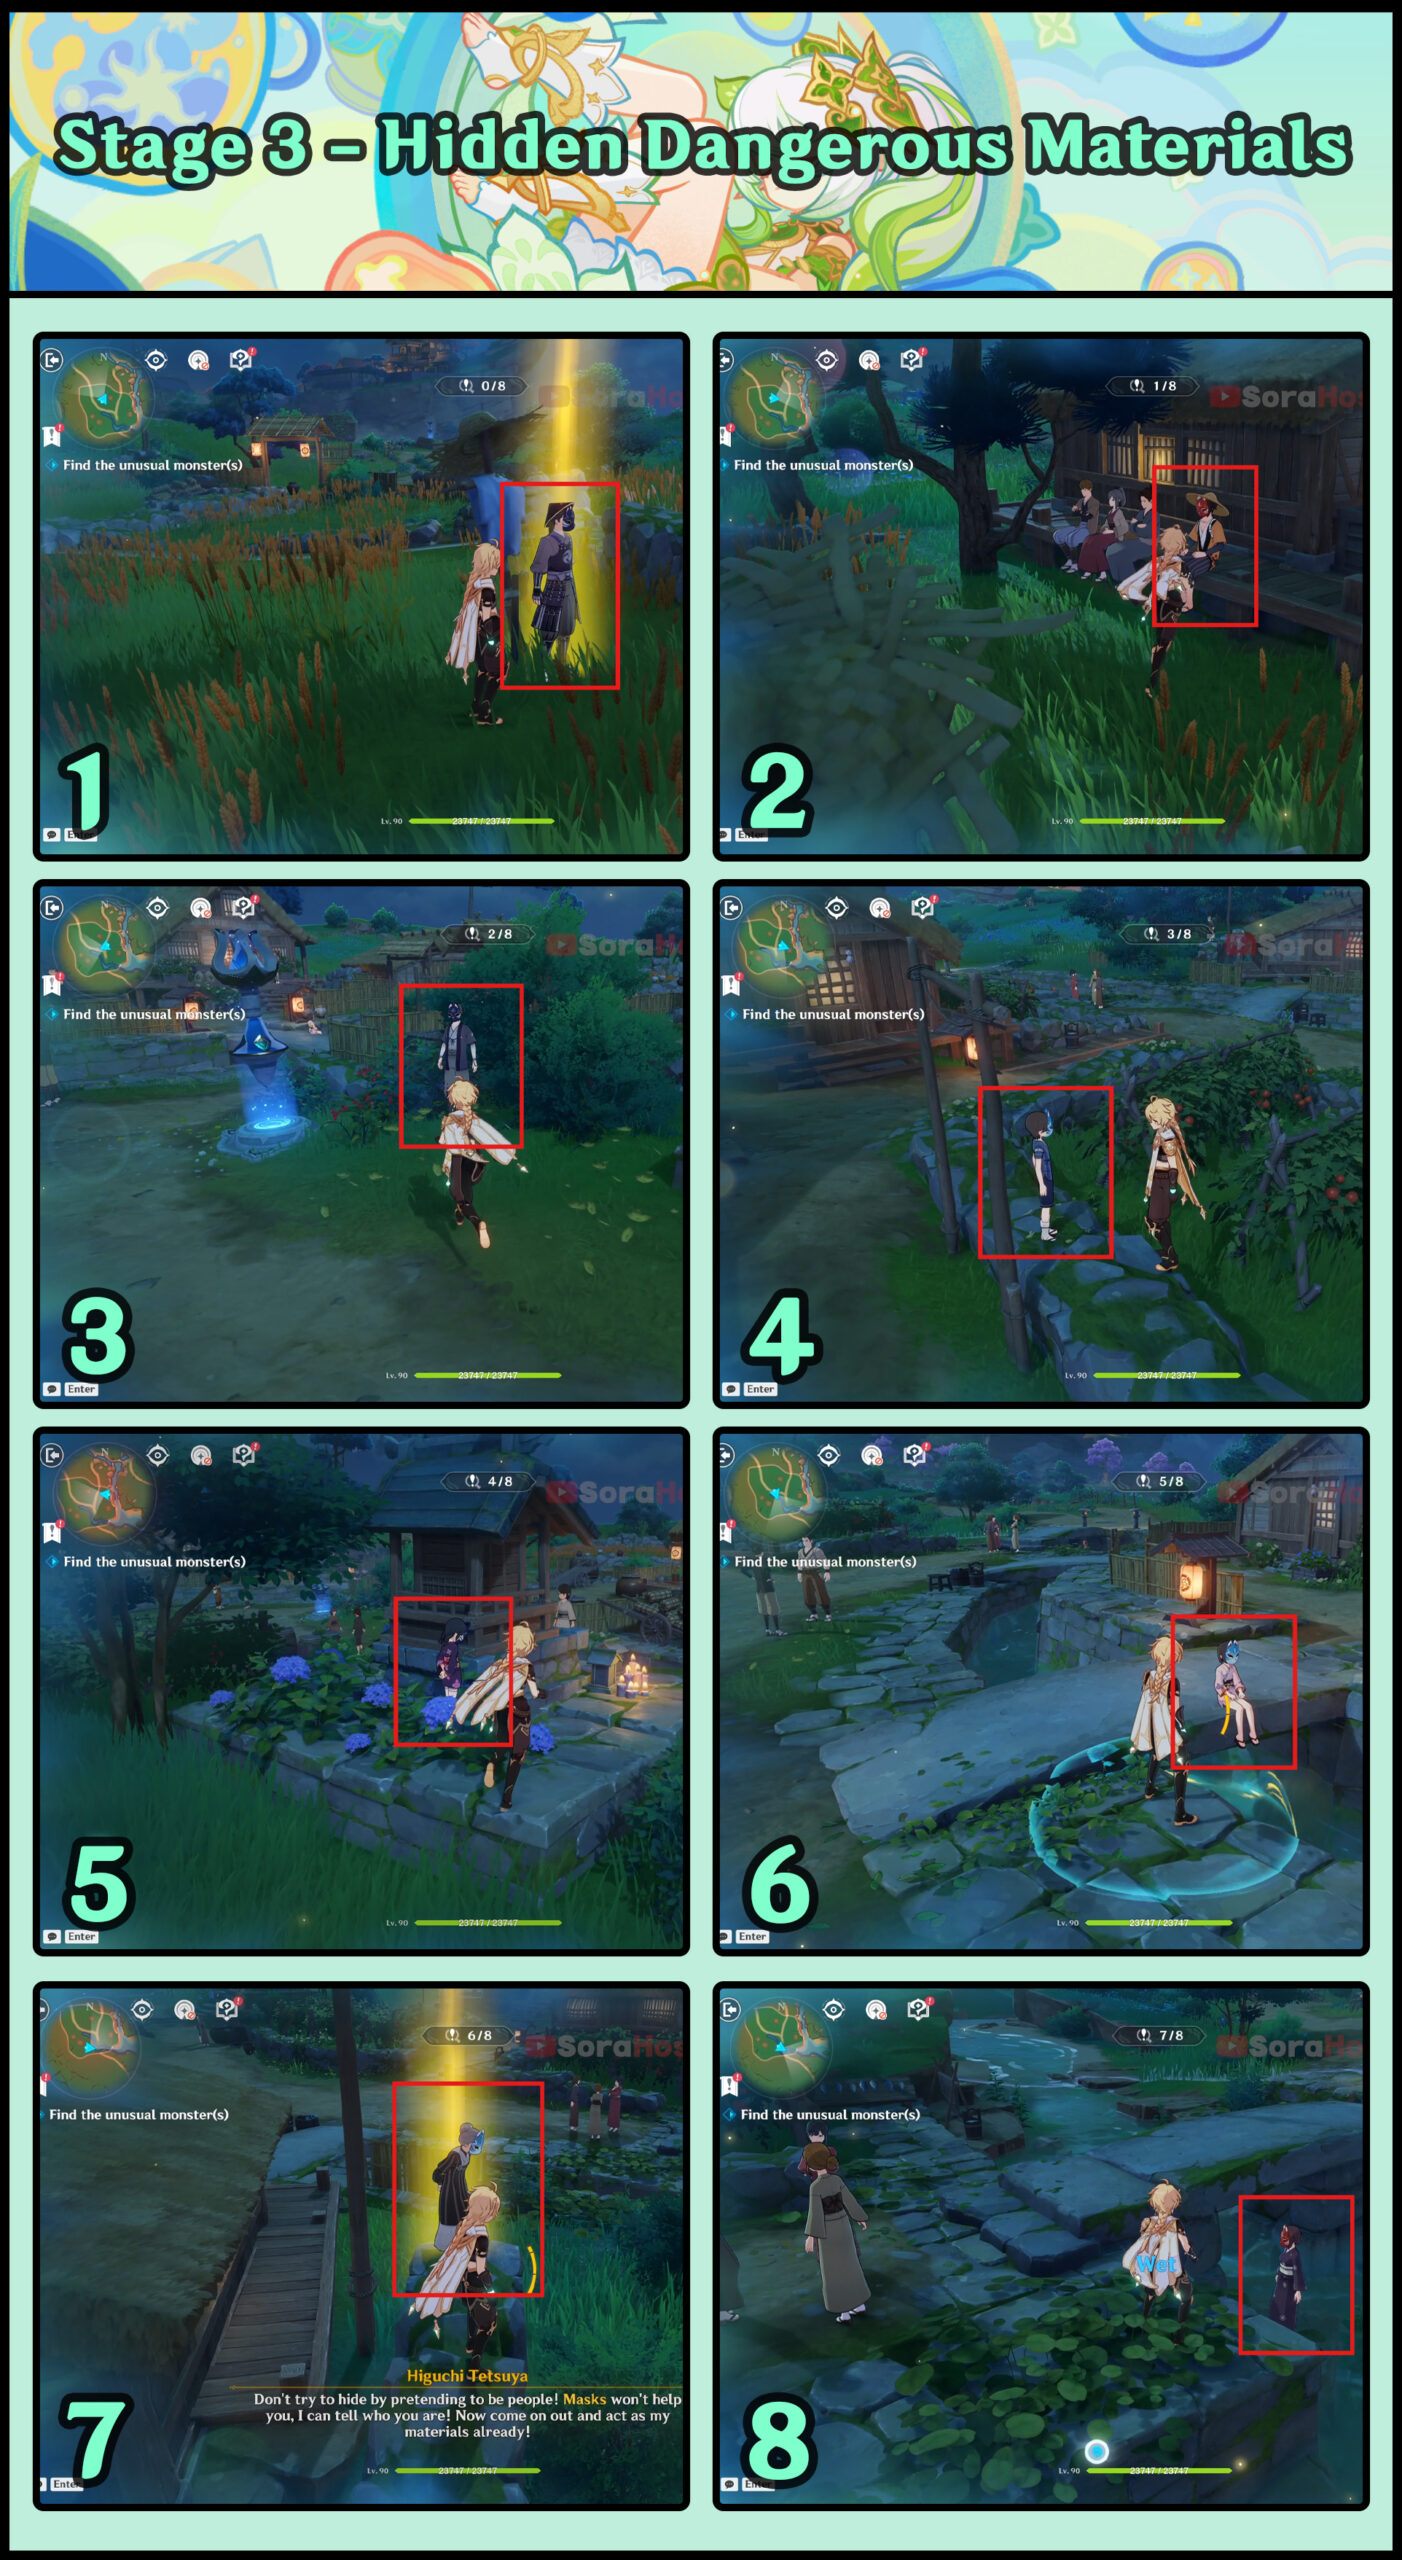
(1) Once you start the challenge, look to the left side for a blue scarecrow. There's a masked person near it.
(2) Opposite the previous one is another masked man, sitting near the normal NPCs.
(3) Near the teleport waypoint.
(4) A small masked child can be seen near the two old NPCs.
(5) Another small masked child is standing behind the small temple (there's a normal kid NPC on the other side of the temple).
(6) Near the waypoint, there's a masked child sitting on the stone bridge.
(7) An old NPC wearing a mask can be seen at the edge of the map (quite hidden behind a house).
(8) The last masked person is standing in the river also at the edge of the small map.
Stage 4 - Settled, Stable, and Safe

(1) A floating book near Nitesh.
(2) Another floating book near the round table.
(3) At the Fonta vending machine, there's a floating candle.
(4) Walk to the front and you can see a floating chair.
(5) Go to the board and interact with the floating candle on top of the table.
(6) Another floating candle on the opposite side of the previous board.
(7) On the right side of Nitesh, there's a floating chair near the round table.
(8) Lastly, the floating chair in the middle.
Stage 5 - Symmetry of Divinity and Harmony
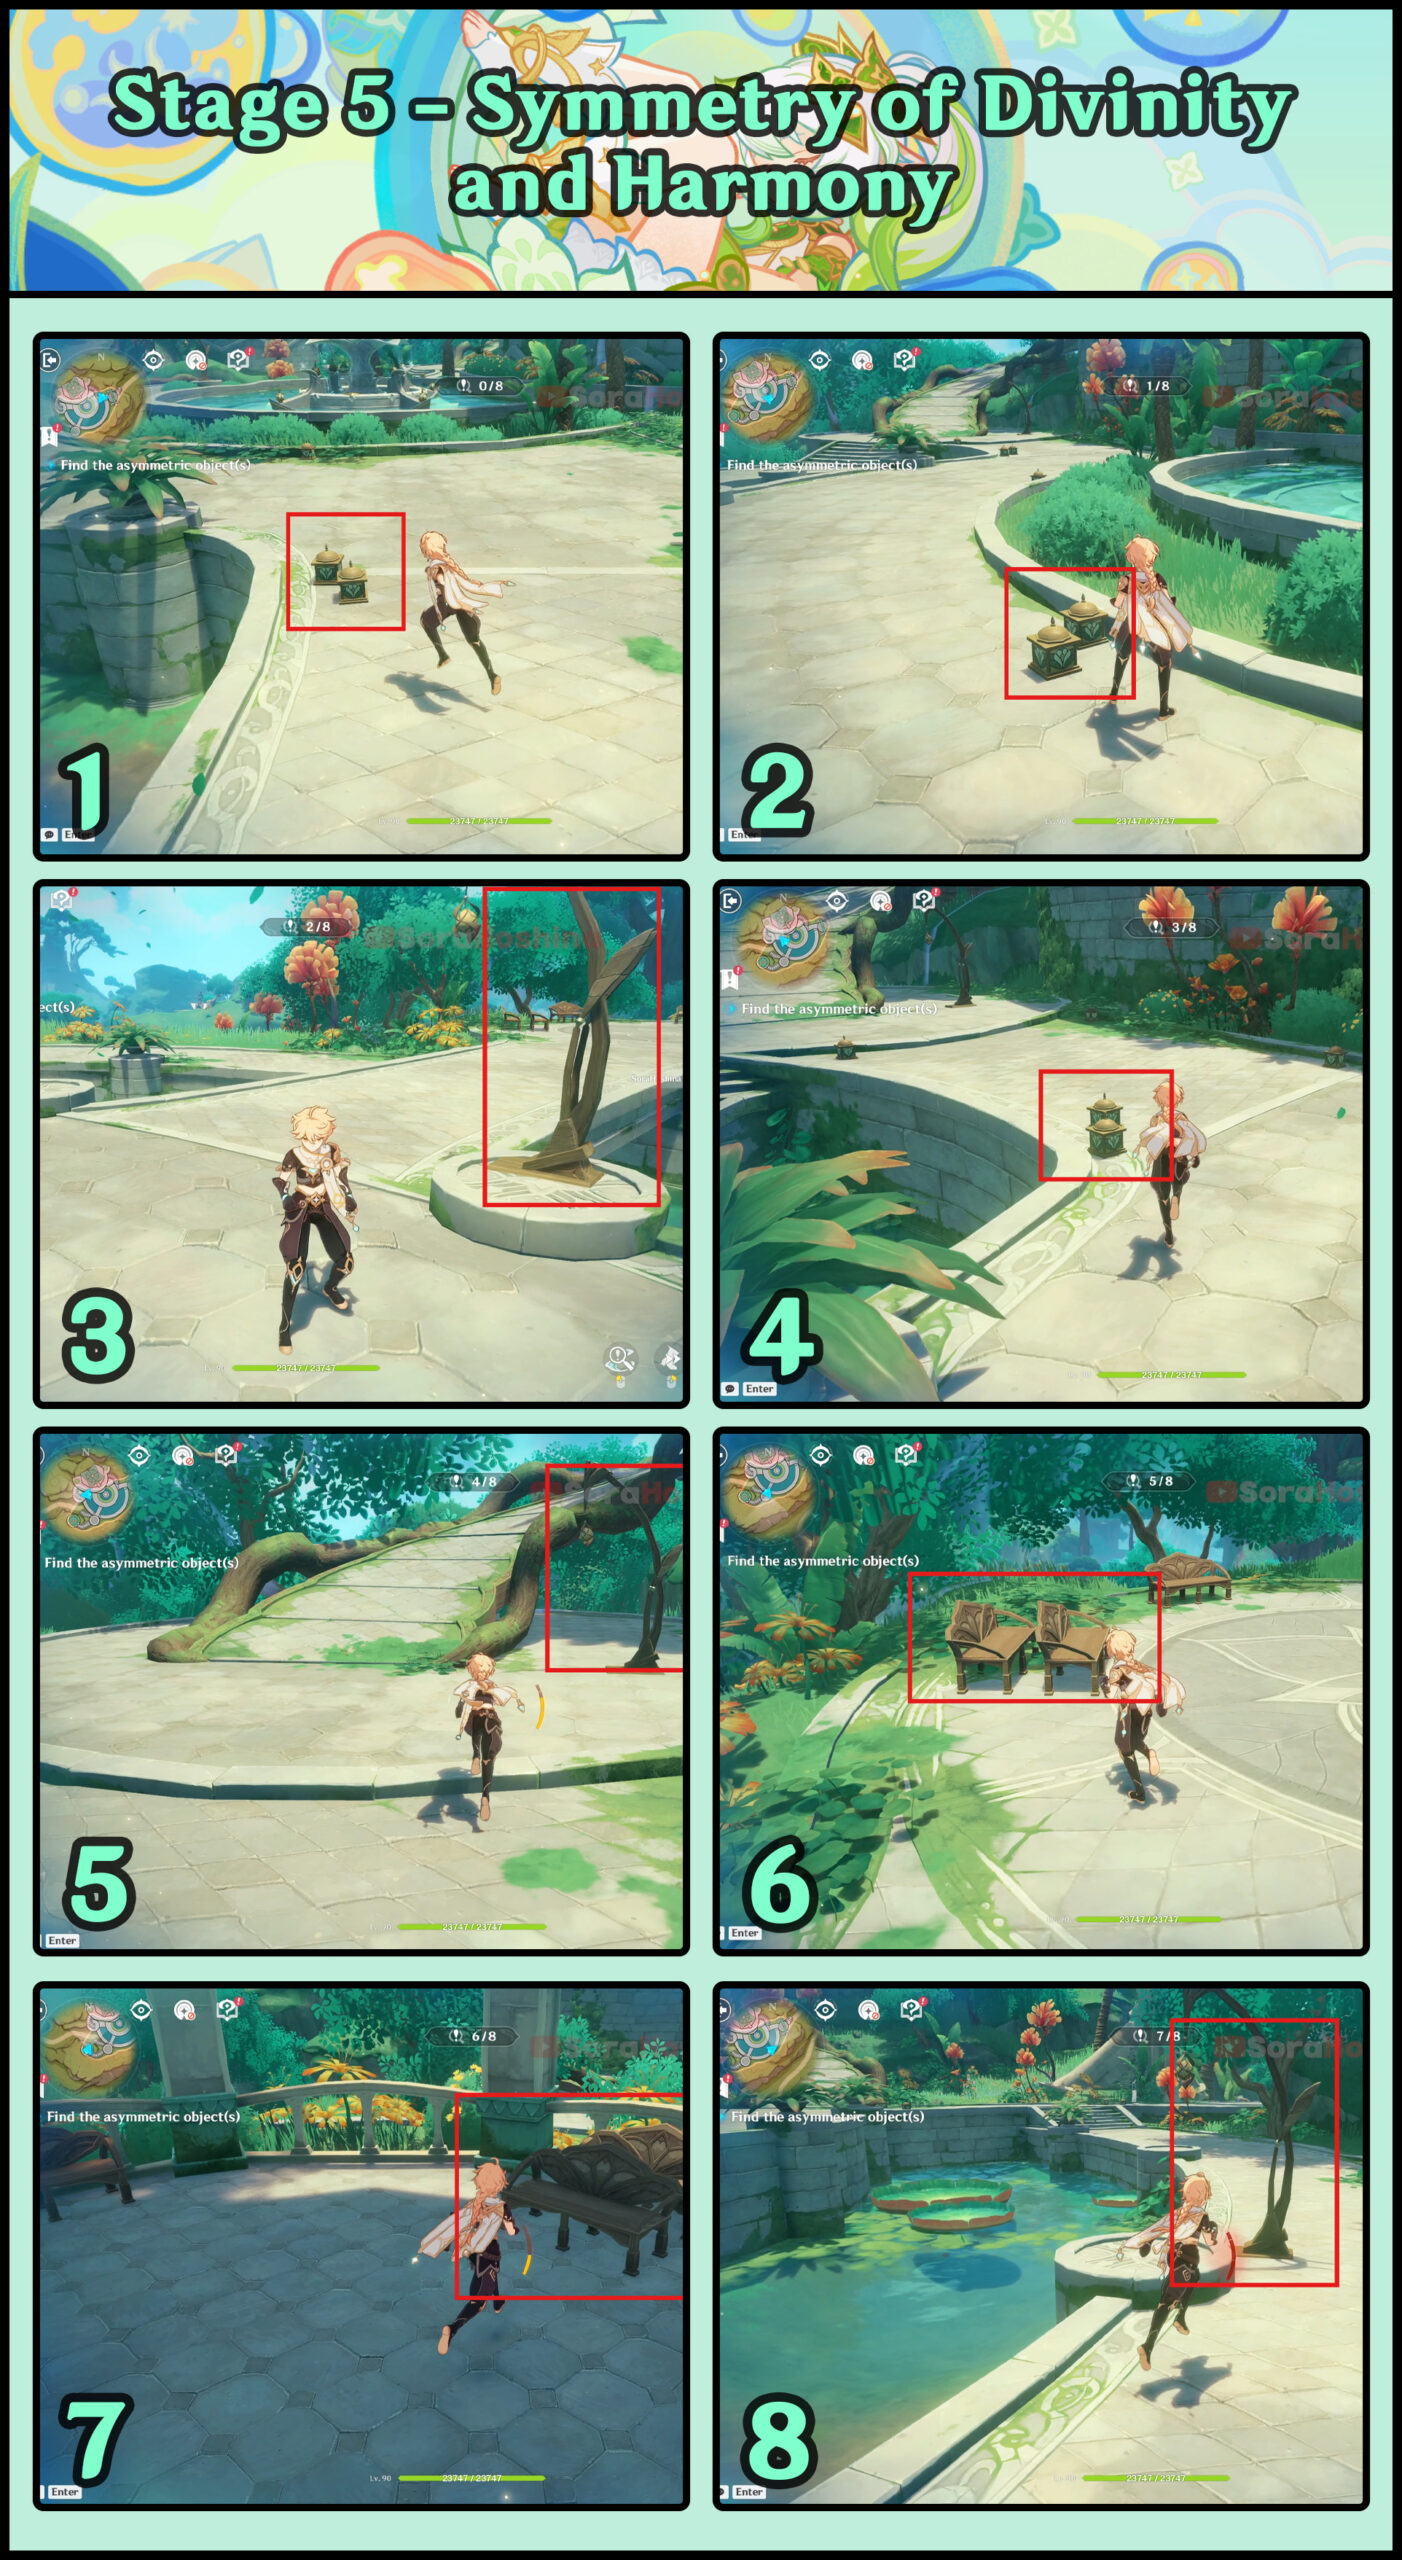
(1) Asymmetrical small lamp just in front of Piyush.
(2) Another asymmetrical small lamp in front of the fountain.
(3) Interact with the street lamp that has no symmetrical lamp opposite it.
(4) Another small asymmetrical lamp is also near the previous fountain.
(5) Keep walking and there's another street lamp with no symmetrical friend.
(6) A random chair stacked near each other.
(7) Go to the gazebo and you can see another stacked chair.
(8) The last one is a lone street lamp on the road near Piyush.
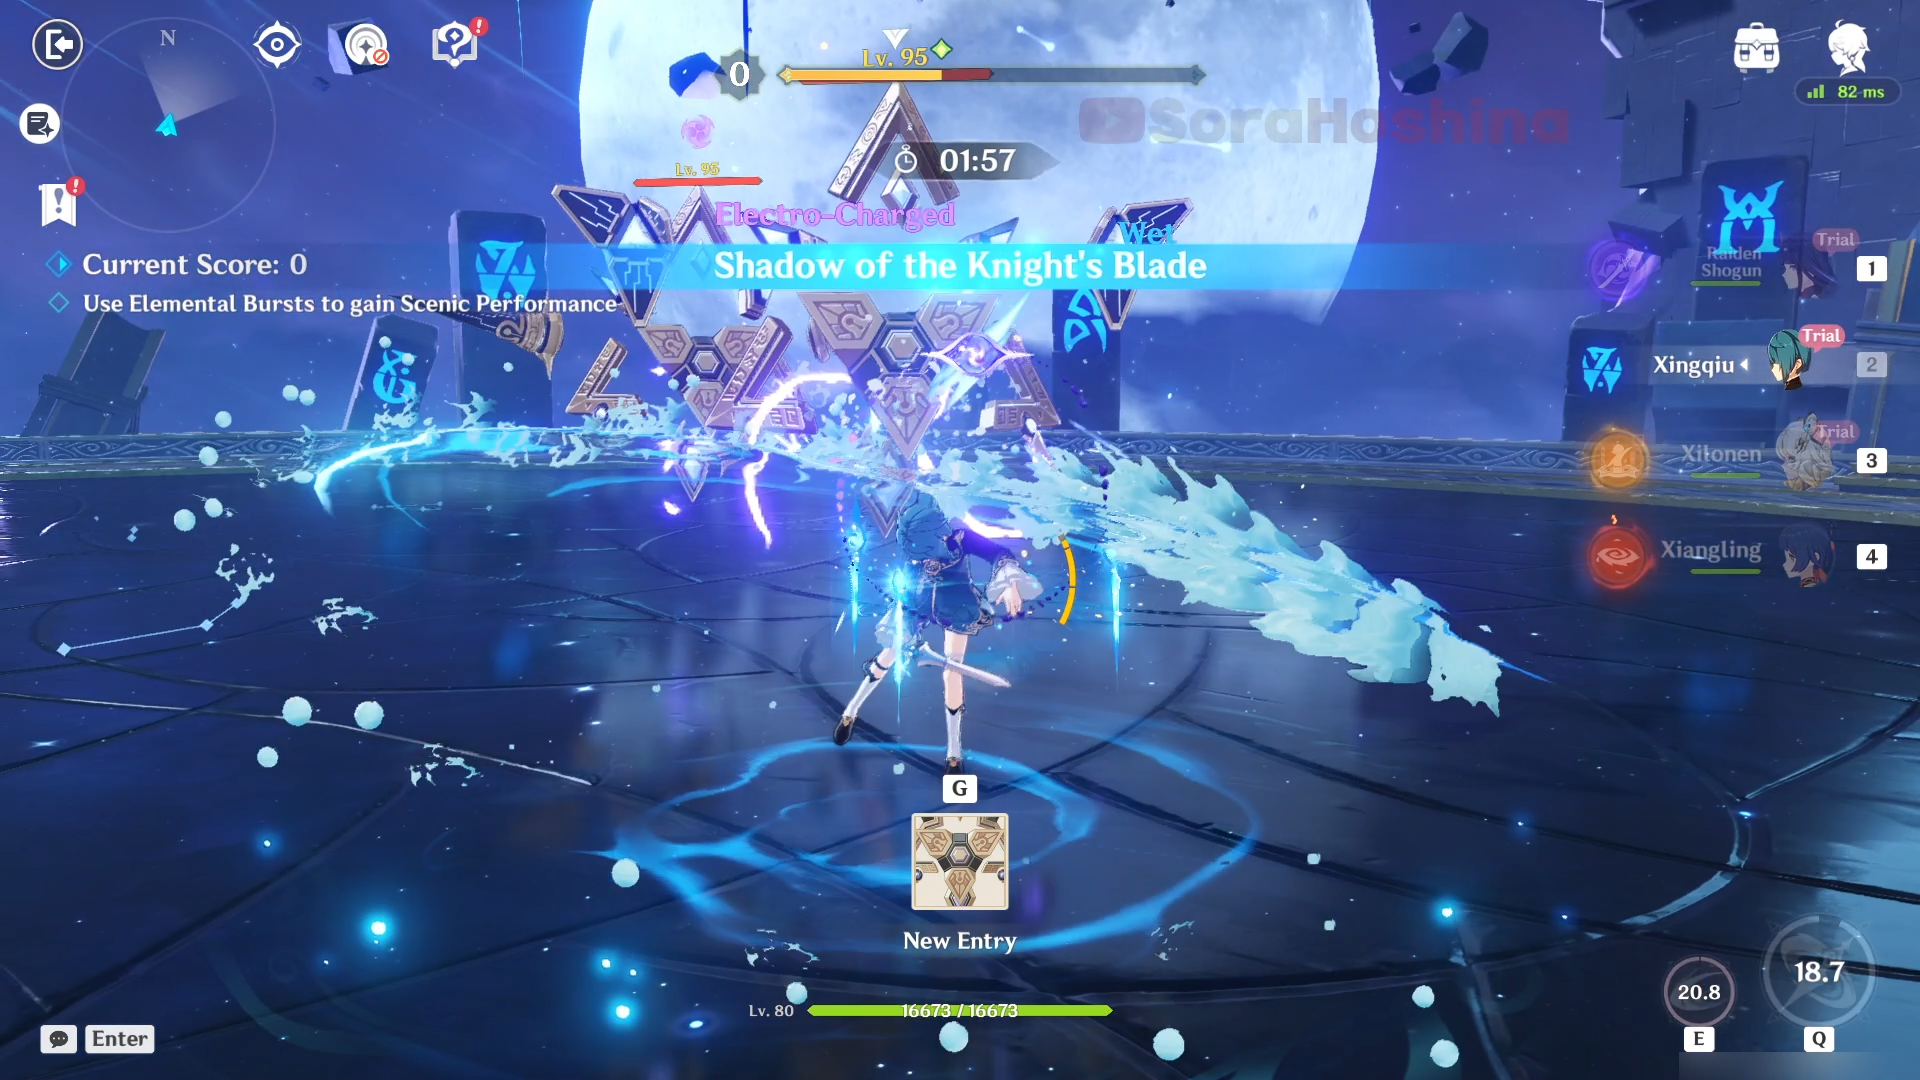
Shadow of the Knight's Blade
Event Tutorial

During "Shadow of the Knight's Blade," defeat as many enemies as possible within the time limit to obtain the highest possible score.
You may claim the rewards corresponding to the highest score obtained in the stage.
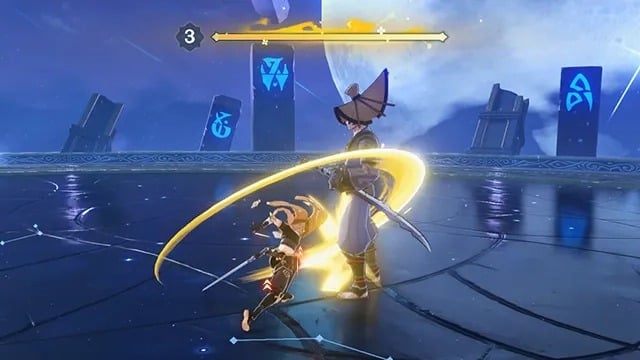
Defeat opponents or use specific Showstopper Moves to accumulate Scenic Performance. Once you gain a certain amount of Scenic Performance, you can increase your Performance Level, granting you more powerful buffs.
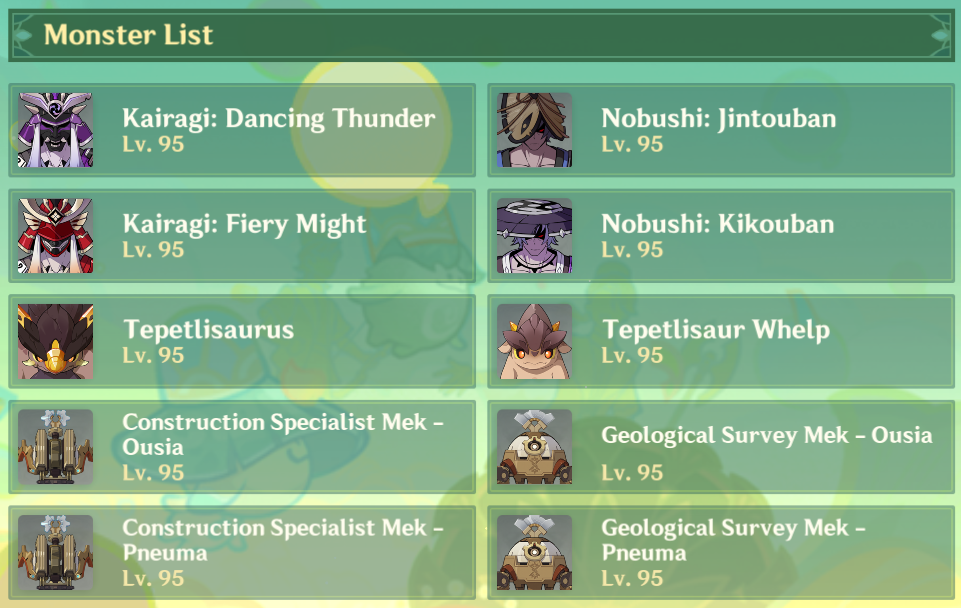
Stage 1 - Swordsmanship, Simple and Solid
> Monster List
> Team Recommendation
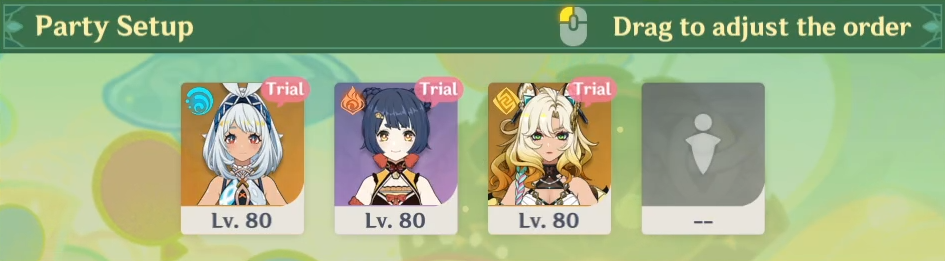
| Stage 1 - Swordsmanship, Simple and Solid | (1) Trial Mualani + Trial Xiangling + Trial Xilonen + Any suitable Pyro character (Bennett / Dehya / Thoma) (2) Neuvillette + Furina + Xiangling + Bennett/Dehya (3) Hu Tao + Yelan + Xingqiu + Flex |
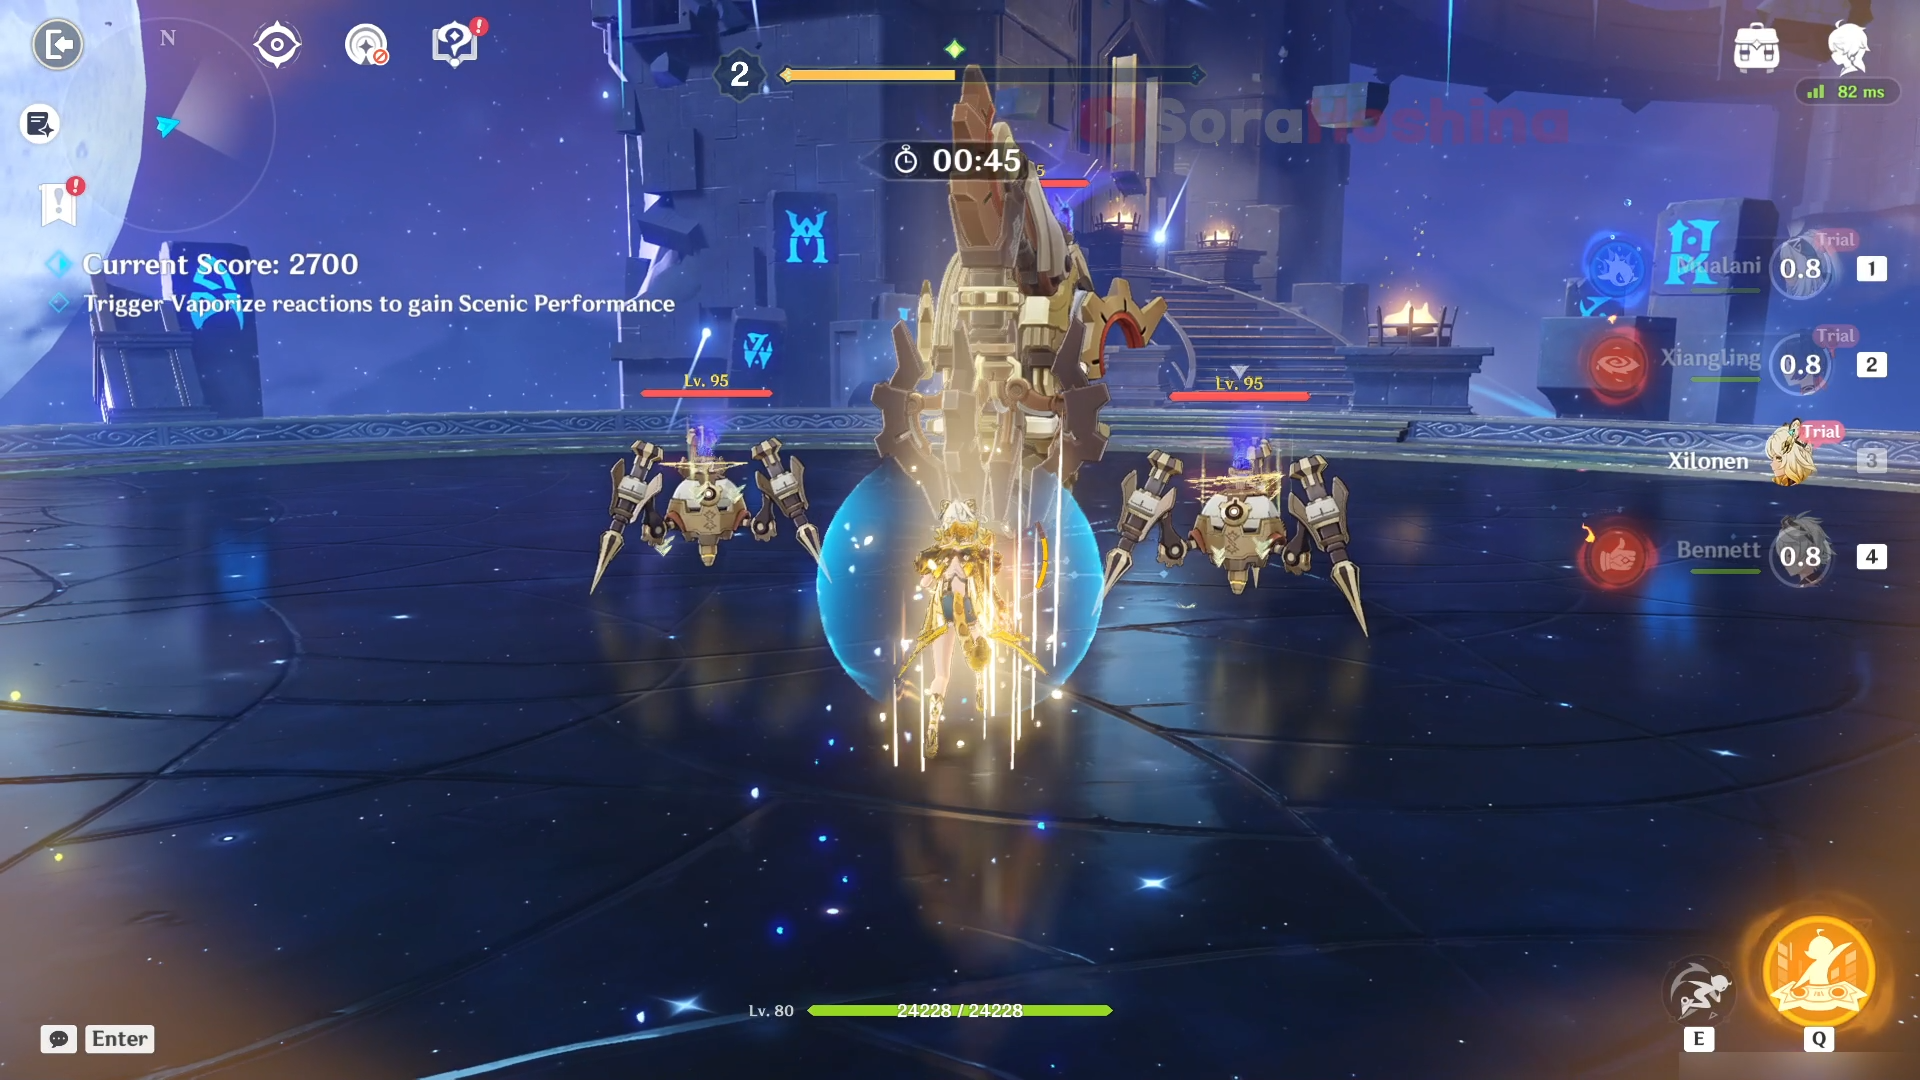
In this stage, you want to trigger a Vaporize reaction as much as you can to increase your Performance Level.
- When your Performance Level is 1/2/3 respectively, all party members' Max HP increases by 20%/50%/100% and Elemental Mastery by 60/150/300.
- In addition, when your Performance Level is at Level 3, you can unleash a Knightwave every time you trigger Vaporize (4-second cooldown).
> How To Complete Swordsmanship, Simple and Solid
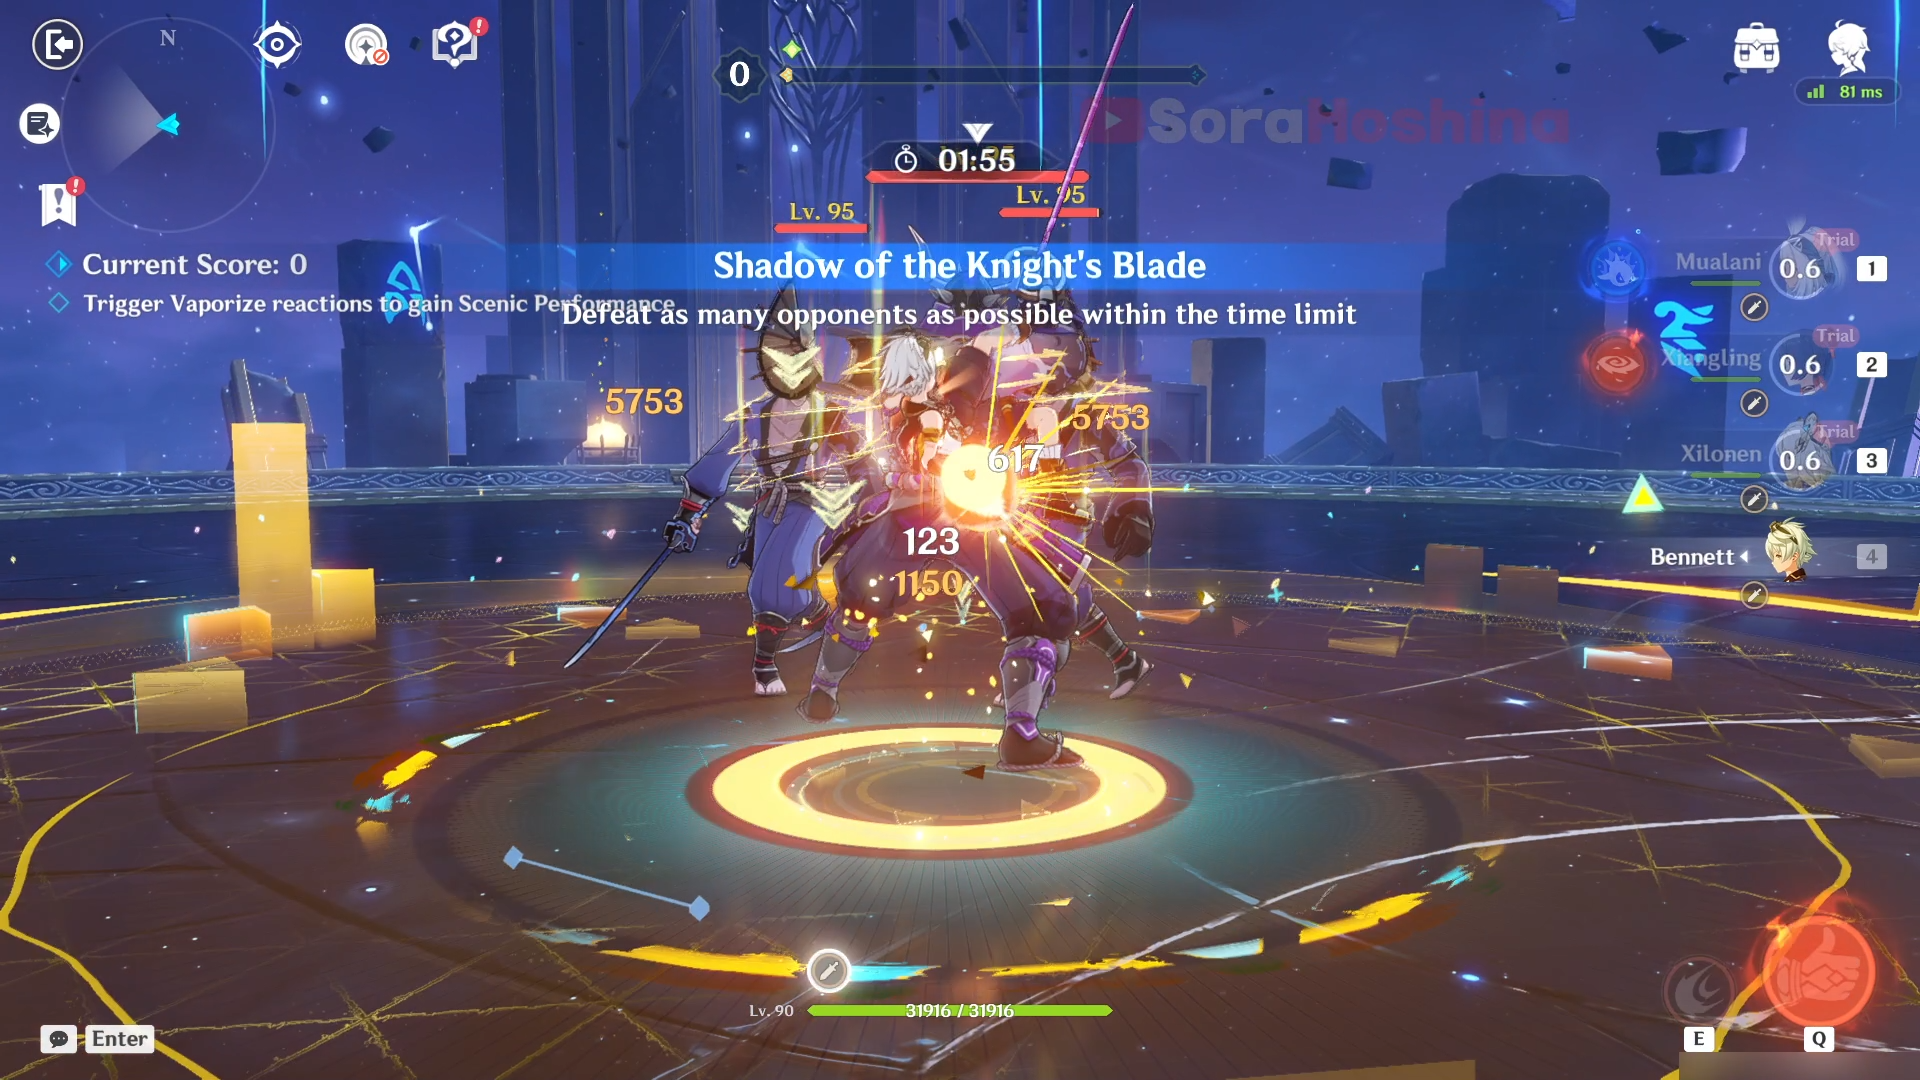
In the first wave, there are 3 enemies consisting of 1 Kairagi and 2 Nobushi in the middle area. Focus on the big guy as the other 2 will chase after you. All of them have the skill to lunge forward and if you're too far away, they may activate this skill. But it's best if you just focus on the Kairagi before attacking the Nobushi since it has the most HP.

In the second wave, it's the same as before but this Kairagi is fire-type, and the Nobushi is also in a different type. Same as before, focus on the Kairagi first and hopefully the Nobushi will be defeated at the same time by the collateral damage.
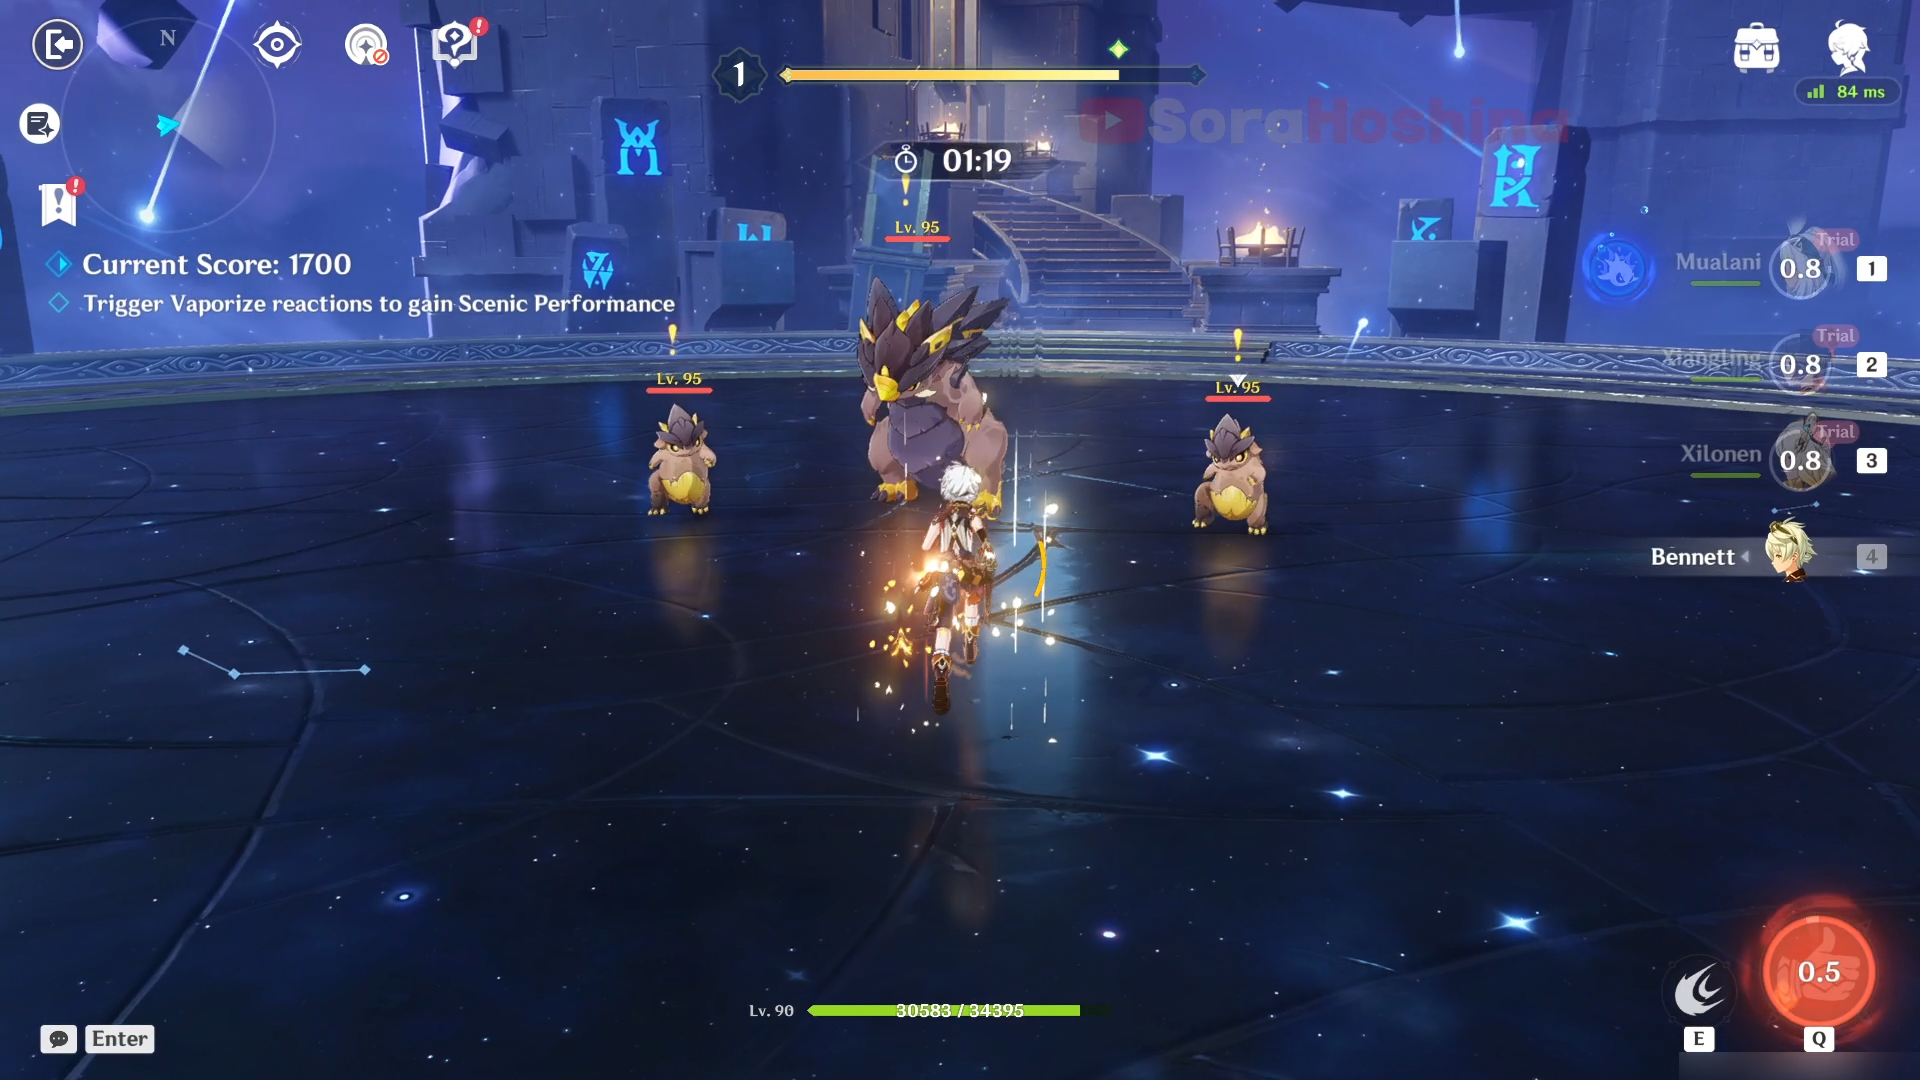
In the third and fourth wave, we have mom Tepetlisaurus and 2 Whelps. Sorry for the Saurian lovers but you need to defeat the babies too to progress to this stage and get the rewards. The Whelps have very low HP and they keep clinging to you so focus on the parent and the younglings will also be defeated by the collateral damage.
In the fifth wave, you will face Ousia Specialist Mek and 2 Ousia Survey Meks. The sixth wave also spawns the same enemies but a different Arkhe type (it's Pneuma). You know what I'm going to say; focus on the Specialist Meka and only attack the other Mekas after the big one is defeated. After this wave, it will reset and you will face enemies from wave 1 again.
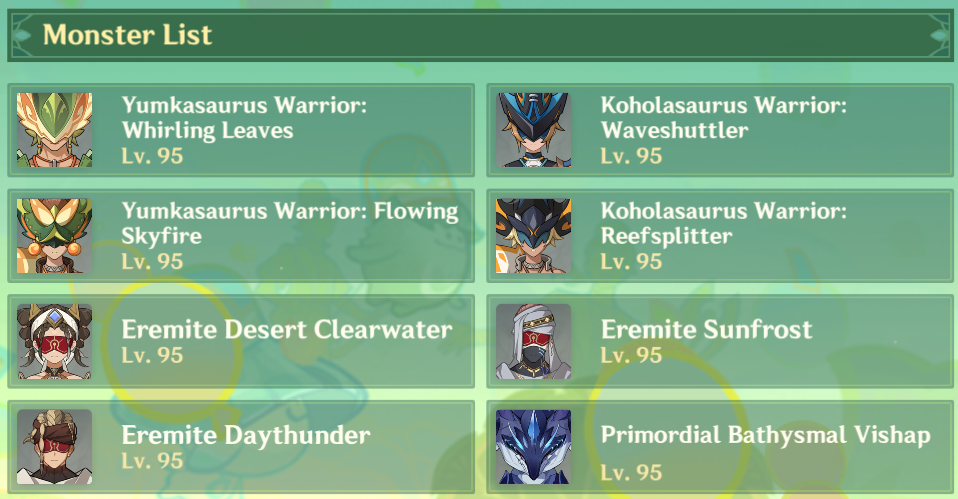
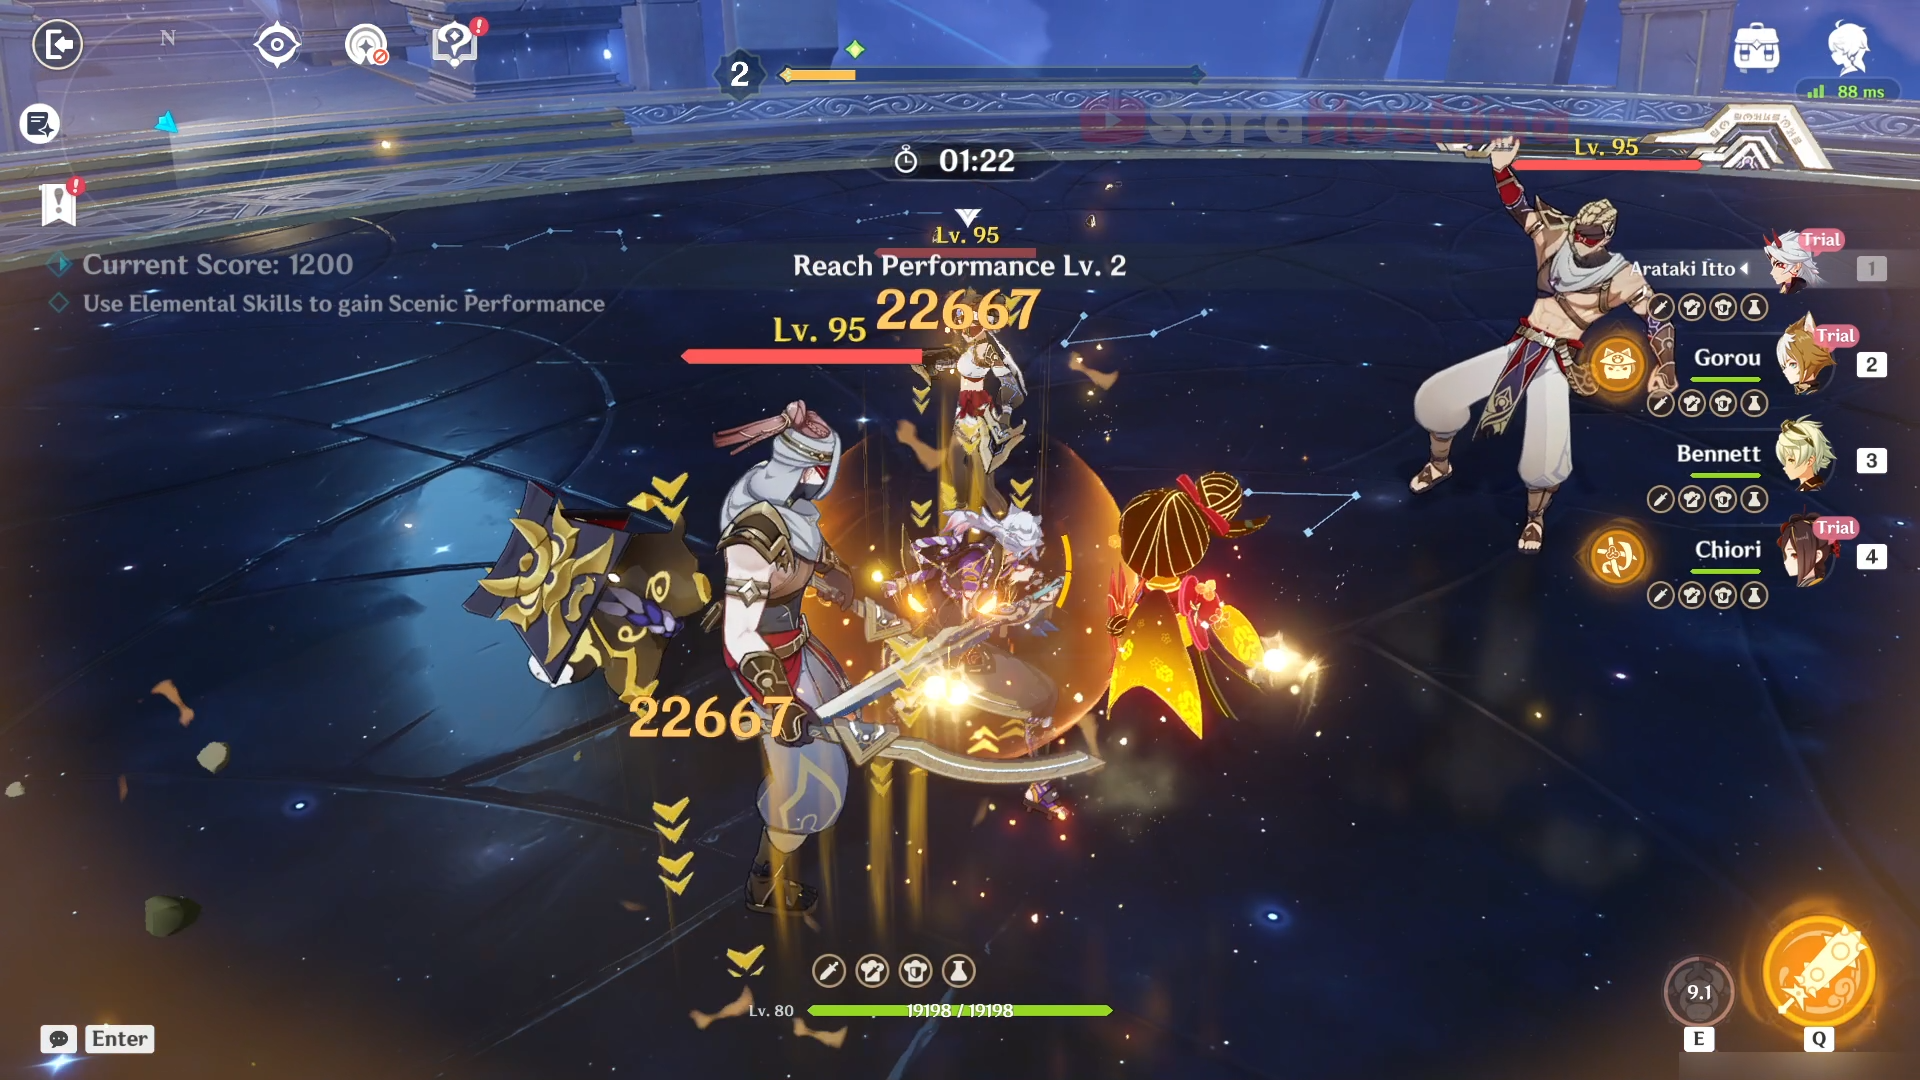
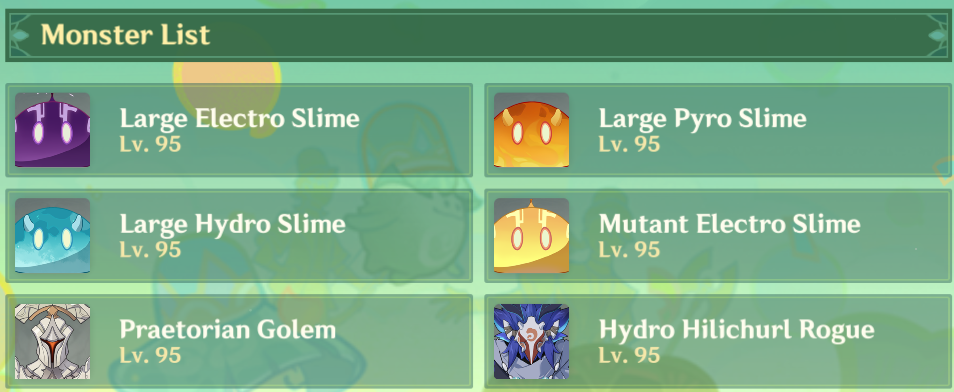
Stage 2 - Will, Tough as Rock
> Monster List
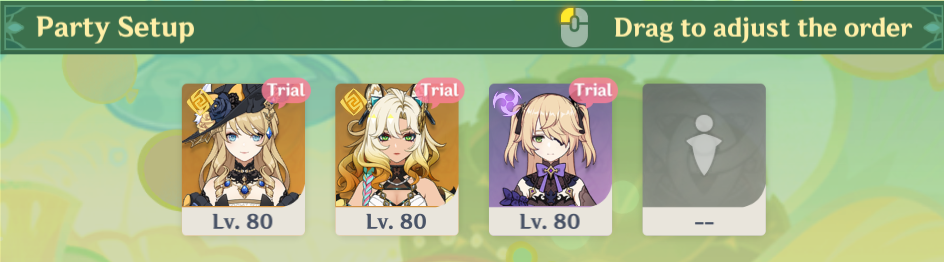
> Team Recommendation
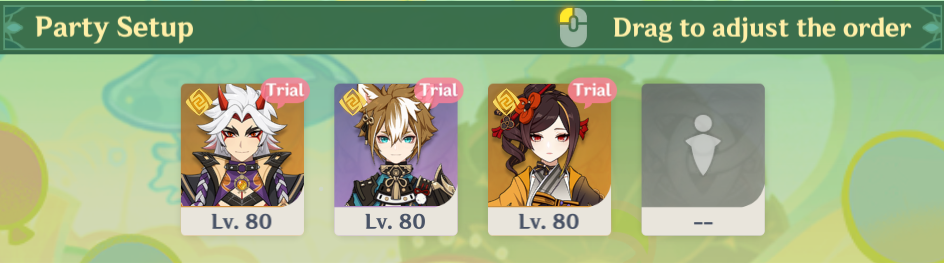
| Stage 2 - Will, Tough as Rock | (1) Trial Itto + Trial Gorou+ Trial Chiori + Any suitable character (Bennett / Kachina / Zhongli) (2) Navia + Chiori + Bennett + Fischl |
In this stage, you want to use Elemental Skill as much as you can to increase your Performance Level.
- When your Performance Level is 1/2/3 respectively, all party members' DEF increases by 40%/100%/200%.
- In addition, when your Performance Level is at Level 3, you can unleash a Knightwave every time you use Elemental Skill (3-second cooldown).
> How To Complete Will, Tough as Rock
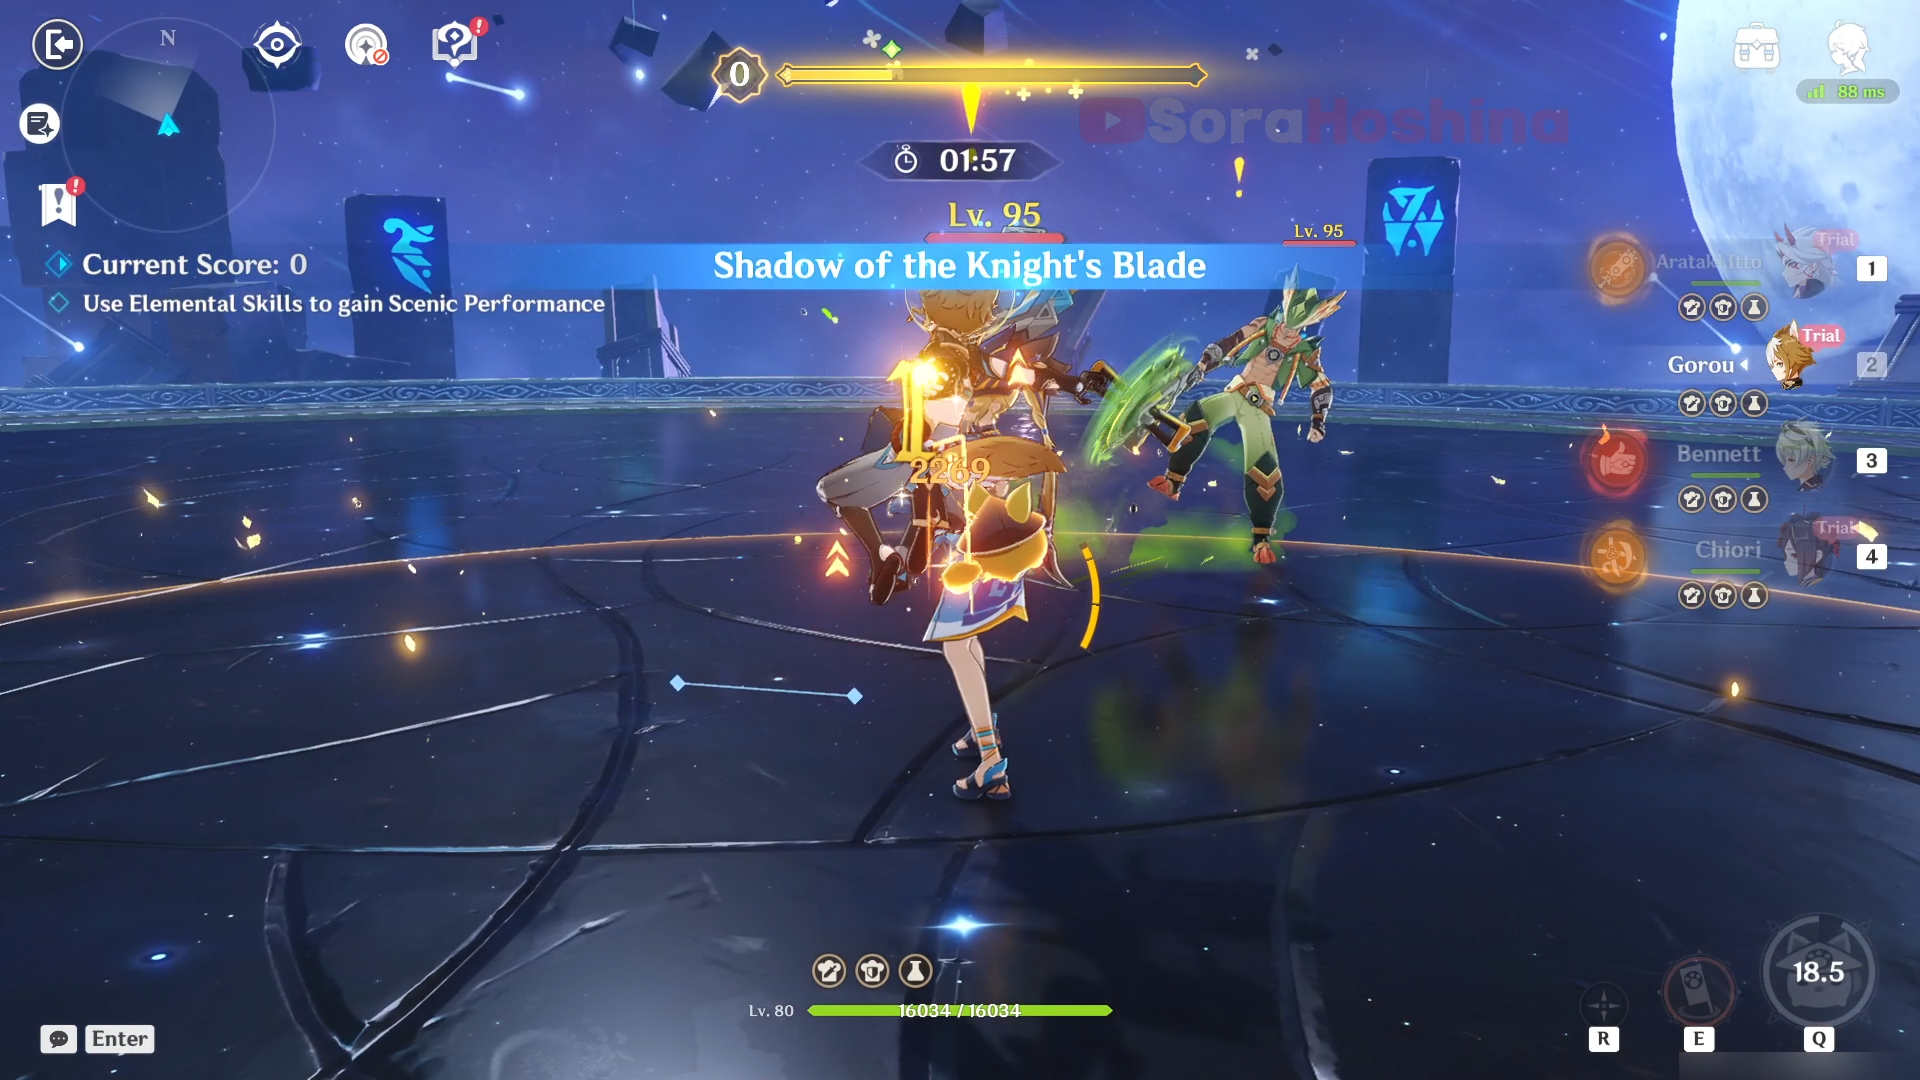
In the first and second wave, you'll face 2 Tribal Warriors. In both waves, the 2 enemies moves a lot and it's quite hard to make sure they stay put. Focus on attacking one of them but make sure the other one is in your line of sight so you can avoid their incoming attack. There's a chance for that other enemy to lunge at you so when that happens, make sure they get near the other enemy. If not, unfortunately, you can only attack one of them and go to the other one later.
In the third and fourth wave, there will be 3 Eremite enemies. When they spawn, immediately go to the Desert Clearwater and defeat her first. This is because her attack can inflict you with Hydro and when the Sunfrost attacks you, you can get frozen. Of course, you can also attack the Sunfrost first, but Desert Clearwater moves around a lot and it's annoying, so I recommend taking her out first.
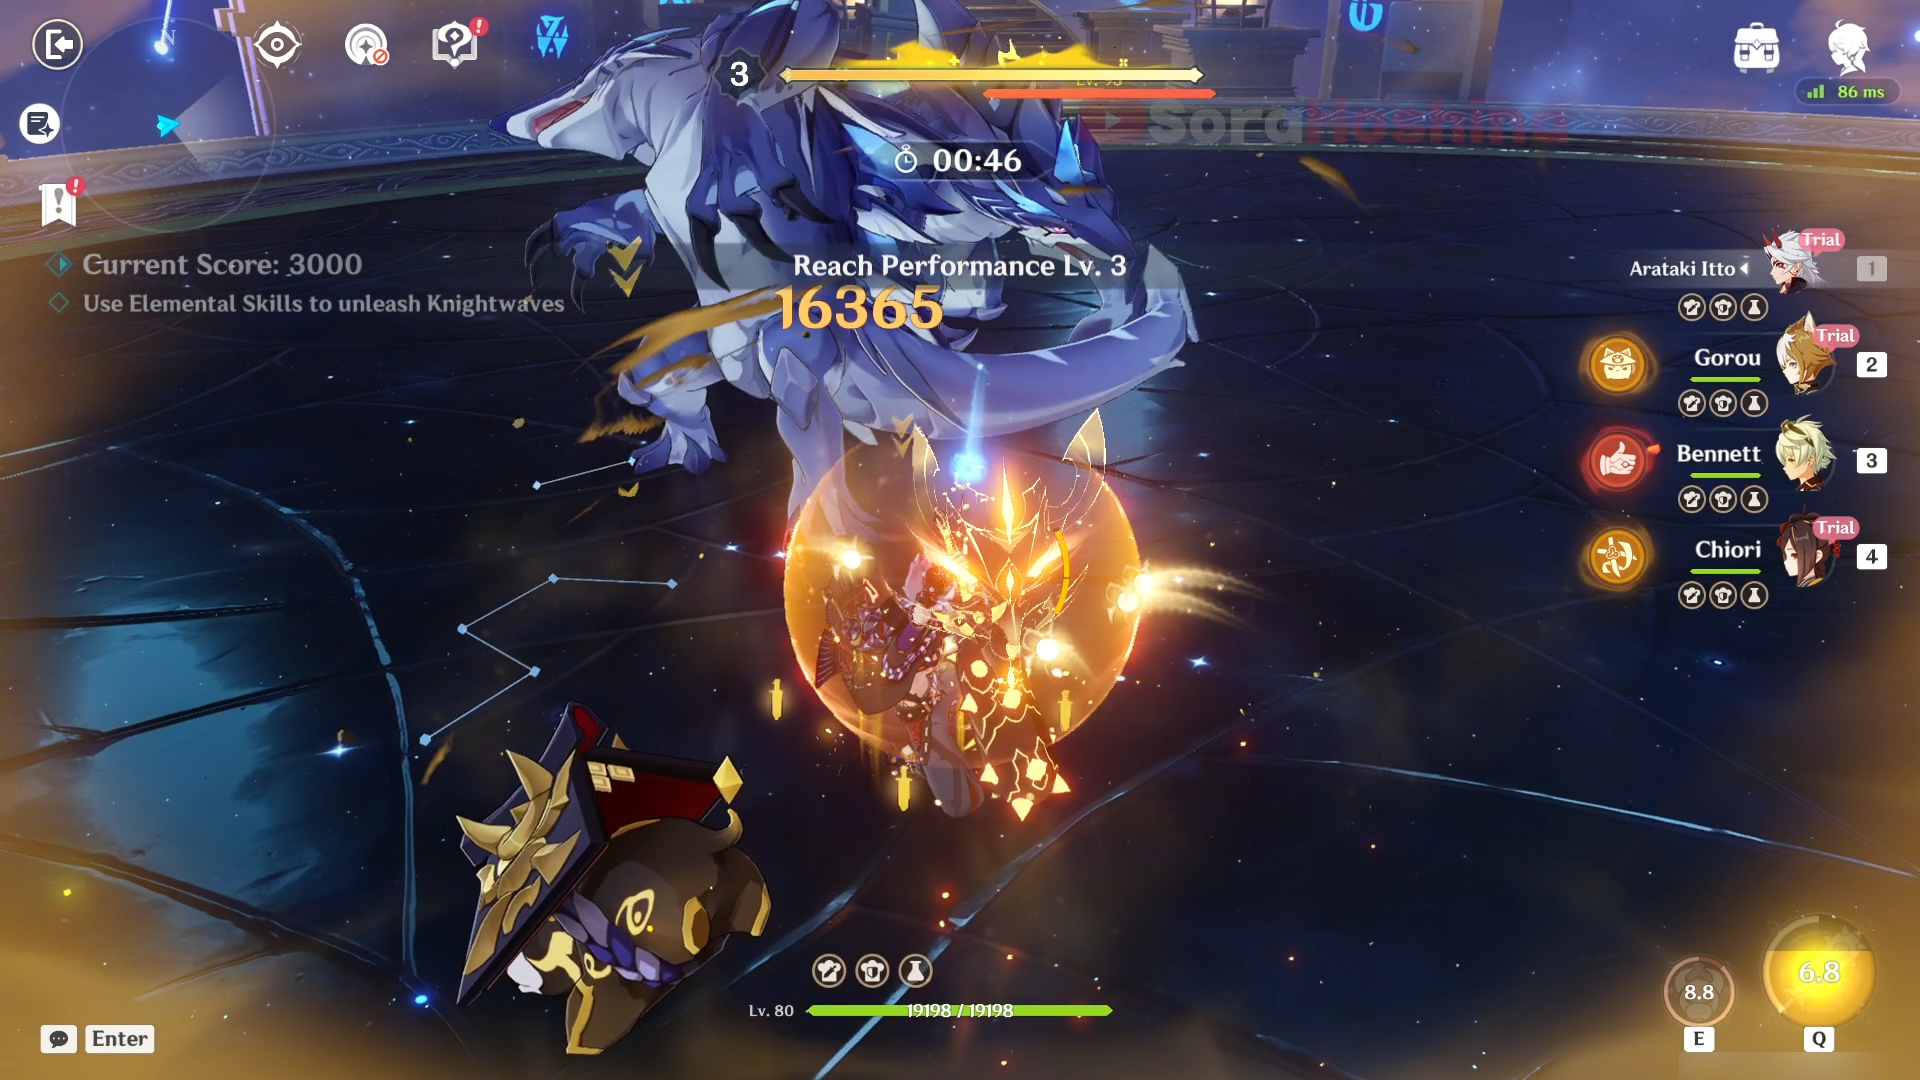
In the fifth and sixth wave, you will face 2 Vishaps. The most troublesome enemy is here and it's not because they're strong. No, it's because they're too easy to stagger (making them go away from each other) and one of their Skill absorbs Energy (wrecking your rotation). In these 2 waves, make sure to focus on one Vishap, but make sure that the other one is right behind the Vishap you're attacking. So when you're attacking the Vishap at the front > it gets staggered > and will stagger to the back where the other Vishap is. This way, you won't break the CC and possibly hit both of them at the same time. After this wave, it will reset and you will face enemies from wave 1 again.
Stage 3 - Tension, Beautiful to Bursting
> Monster List
> Team Recommendation
| Stage 3 - Tension, Beautiful to Bursting | (1) Trial Navia + Trial Xilonen + Trial Fischl + Any suitable off-field character (Bennett / Raiden / Yae / Kuki Shinobu) (2) Navia + Chiori + Bennett + Fischl |
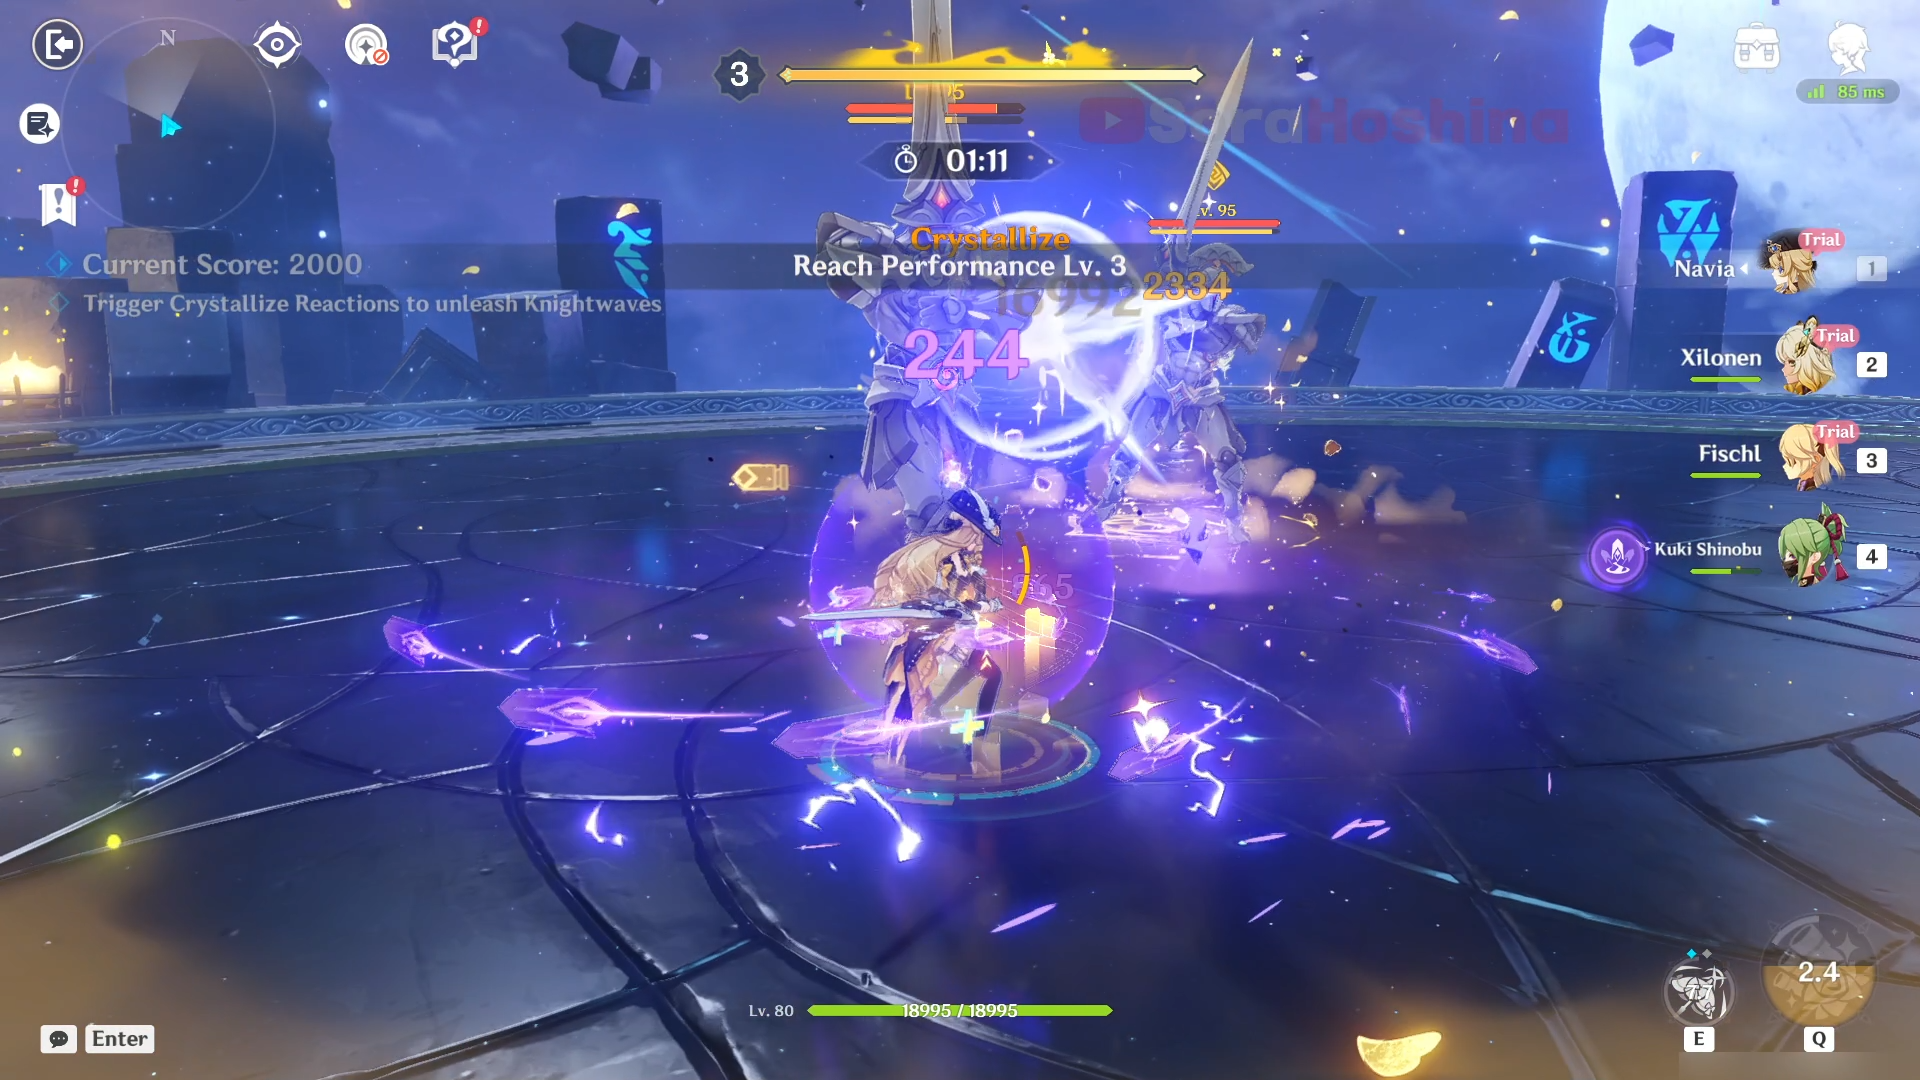
In this stage, you want to trigger Crystallize reaction as much as you can to increase your Performance Level.
- When your Performance Level is 1/2/3 respectively, all party members' gain 40%/80%/160% Geo DMG Bonus.
- In addition, when your Performance Level is at Level 3, you can unleash a Knightwave every time you trigger Crystallize (4-second cooldown).
> How To Complete Tension, Beautiful to Bursting
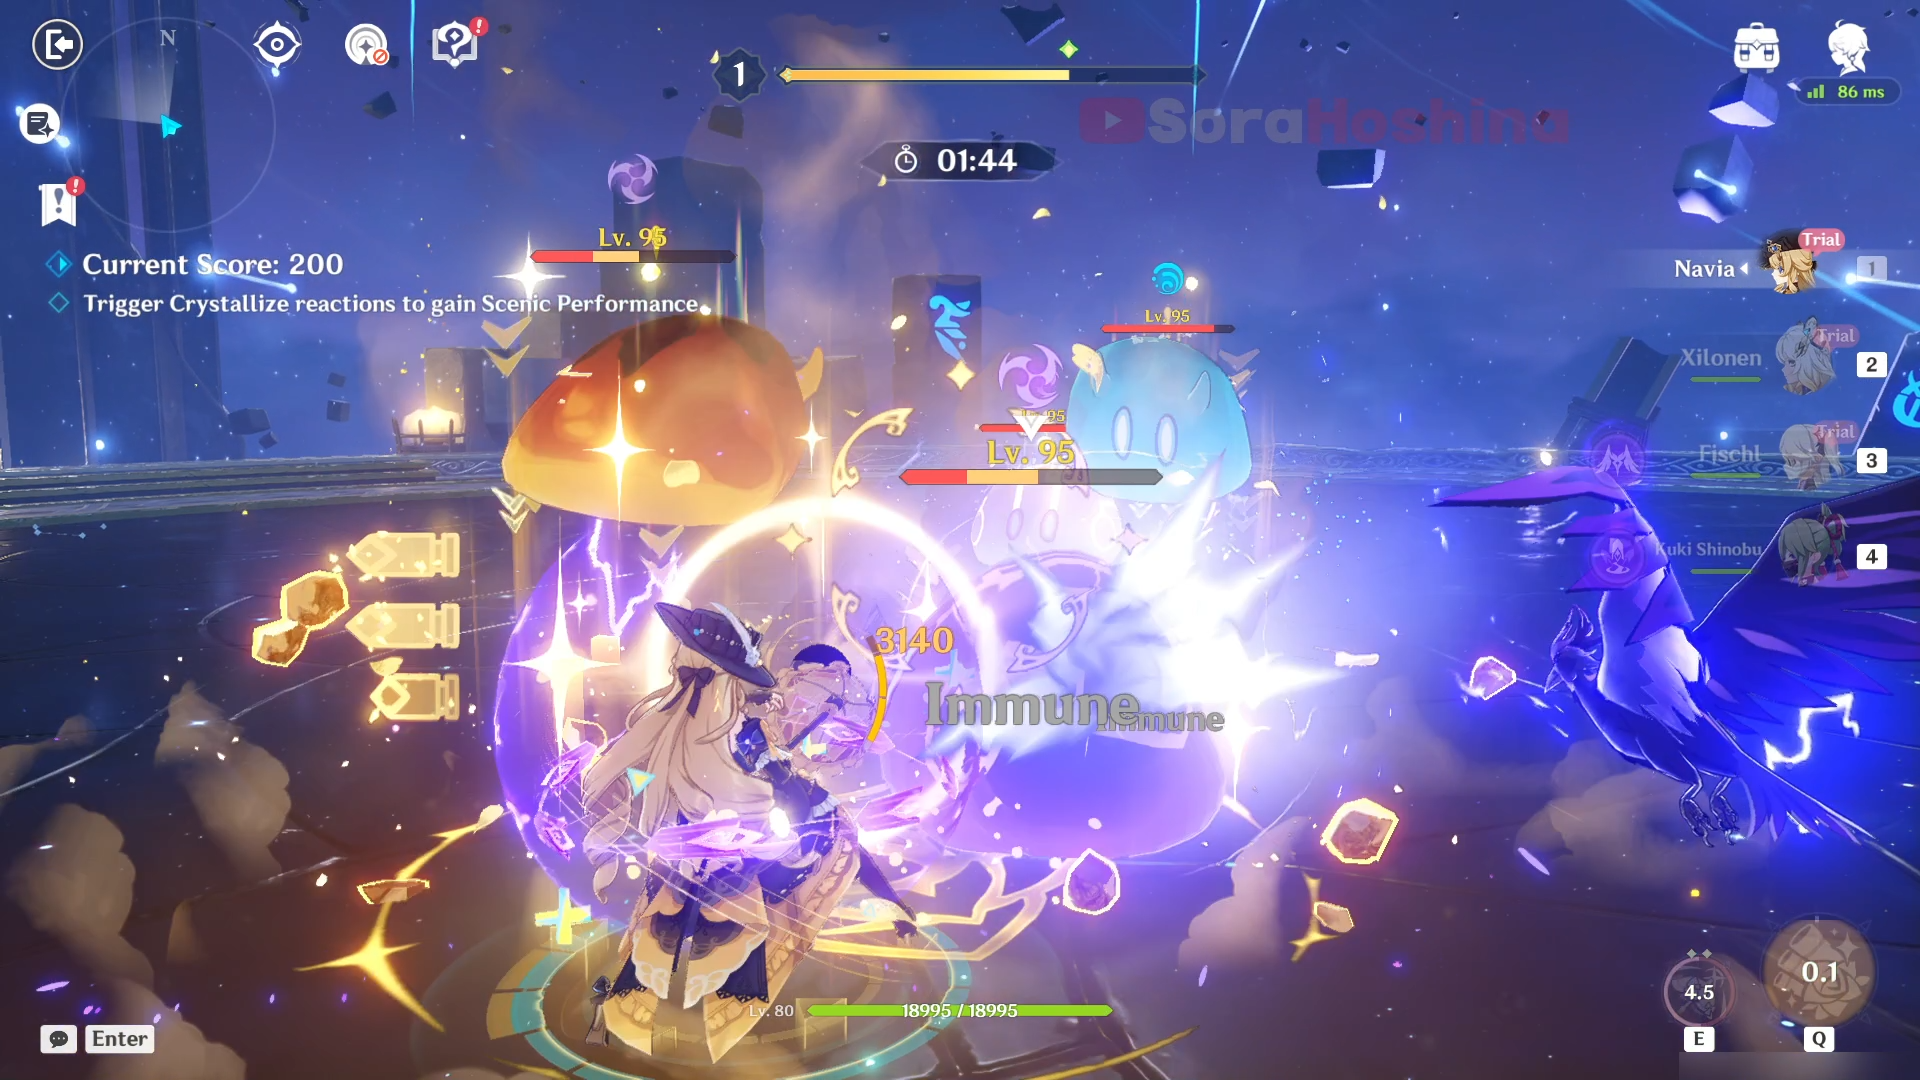
In the first and second waves, there will be multiple Slimes with different elements. There's no priority here but whenever you use Navia's Skill, make sure to line them all up in one straight line so it will hit all of them - this trick also applies to other waves. If not, you will waste her Skill and consume more time to defeat these (making you not get the Gold medal).
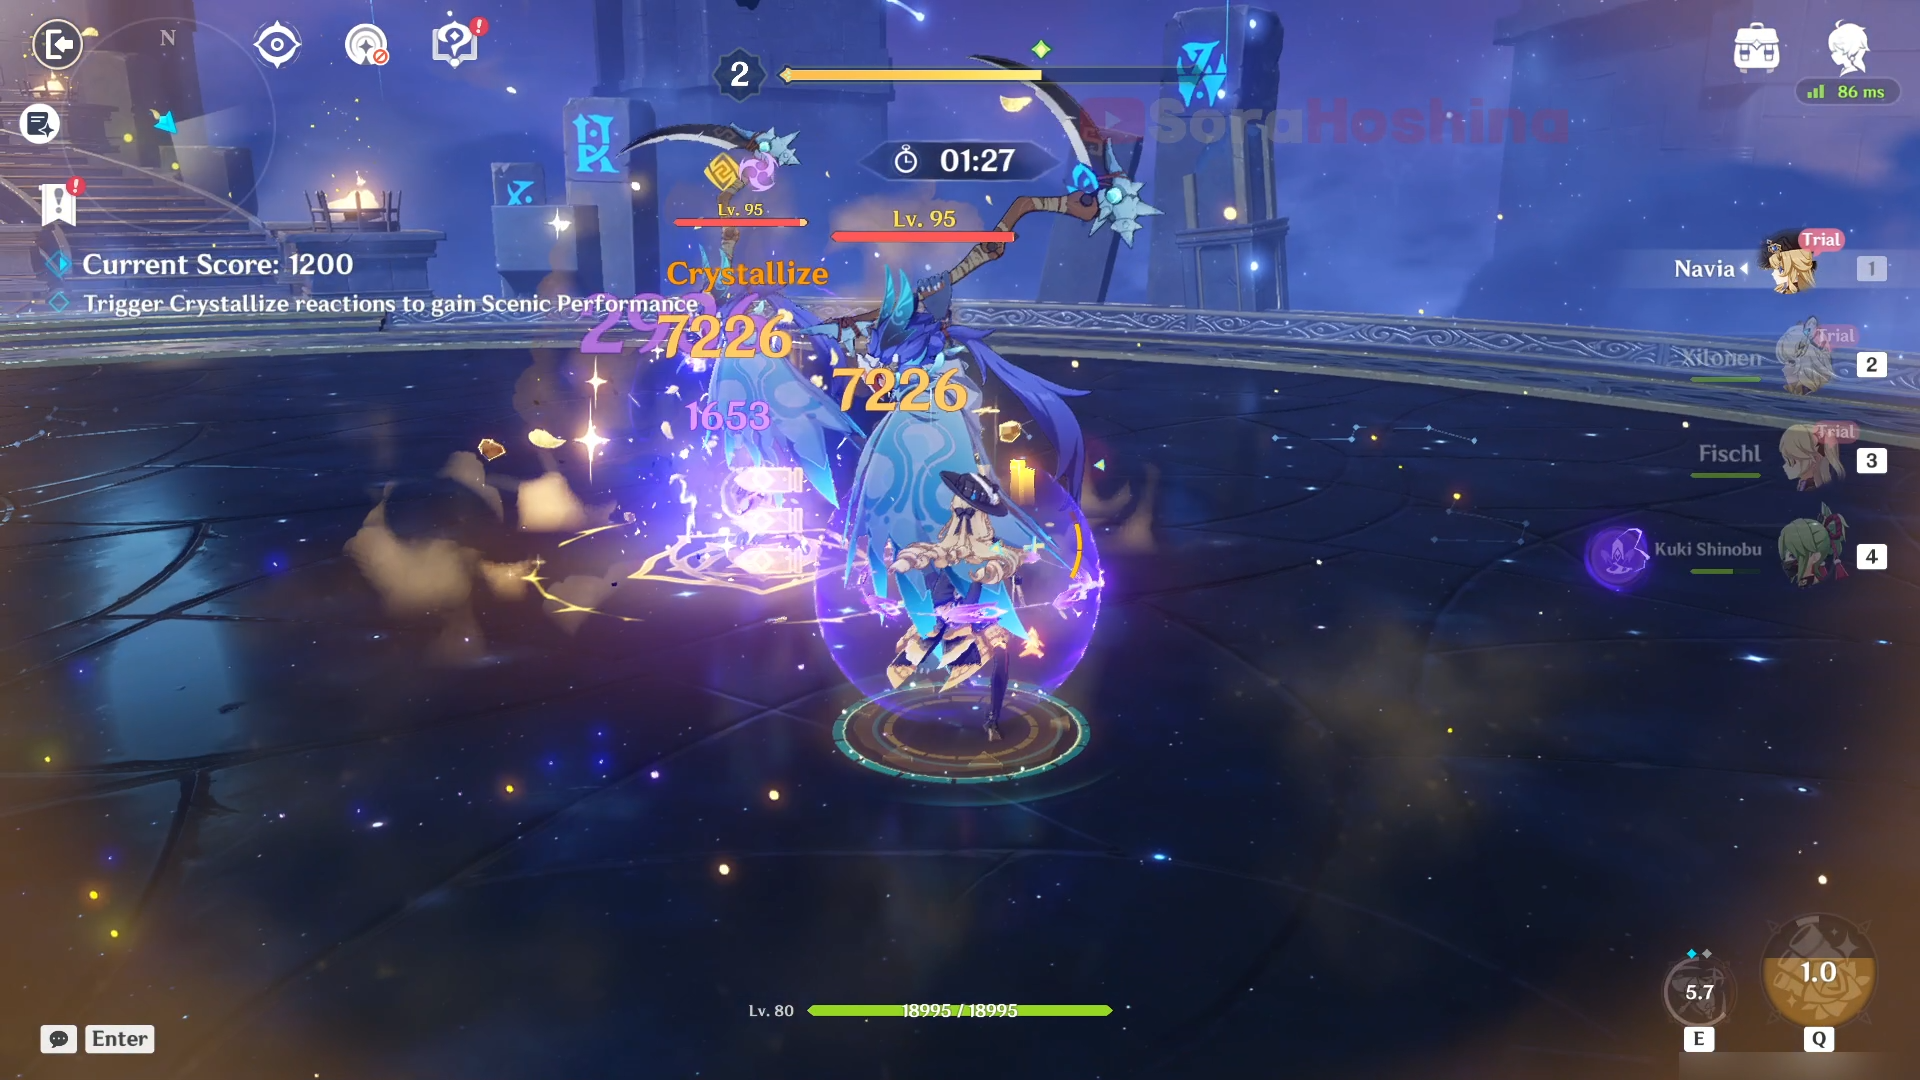
In the third and fourth waves, you will face 2 Hydro Hilichurl Rogue. In these 2 waves, make sure to focus on one Hilichurl, but make sure that the other one is right behind the Hilichurl you're attacking. So when you're attacking the Hilichurl at the front > it gets staggered > and will stagger to the back where the other Hilichurl is. This way, you won't break the CC and possibly hit both of them at the same time. Of course, when using Navia's Skill, you'd want these two to be in a straight line so the Skill can hit them both.
In the fifth wave, there are 2 Praetorian Golems. These 2 spawns with small distance between them but no matter. The strategy is the same as before where you focus on one of them and make sure the other Golem is directly behind the one you're attacking. After this wave, it will reset and you will face enemies from wave 1 again.
Stage 4 - Passion, Blazing as a Bonfire
> Monster List
> Team Recommendation

| Stage 4 - Passion, Blazing as a Bonfire | (1) Trial Kinich + Trial Emilie + Trial Thoma + Any Pyro off-field character (Bennett / Xiangling / Dehya) (2) Nahida + Dehya + Thoma + Zhongli / Xingqiu (3) Ayato + Yelan + Dendro MC + Thoma (4) Alhaitham + Xingqiu + Collei + Thoma (5) Wanderer + Yelan + Nahida + Thoma |
In this stage, you want to use Elemental Skill as much as you can to increase your Performance Level.
- When your Performance Level is 1/2/3 respectively, after characters trigger Burning or Burgeon, all party members' Elemental Skill DMG is increased by 30%/75%/150% for 5 seconds. Repeated triggers reset the duration.
- In addition, when your Performance Level is at Level 3, you can unleash a Knightwave every time you use Elemental Skill (3-second cooldown).
> How To Complete Passion, Blazing as a Bonfire
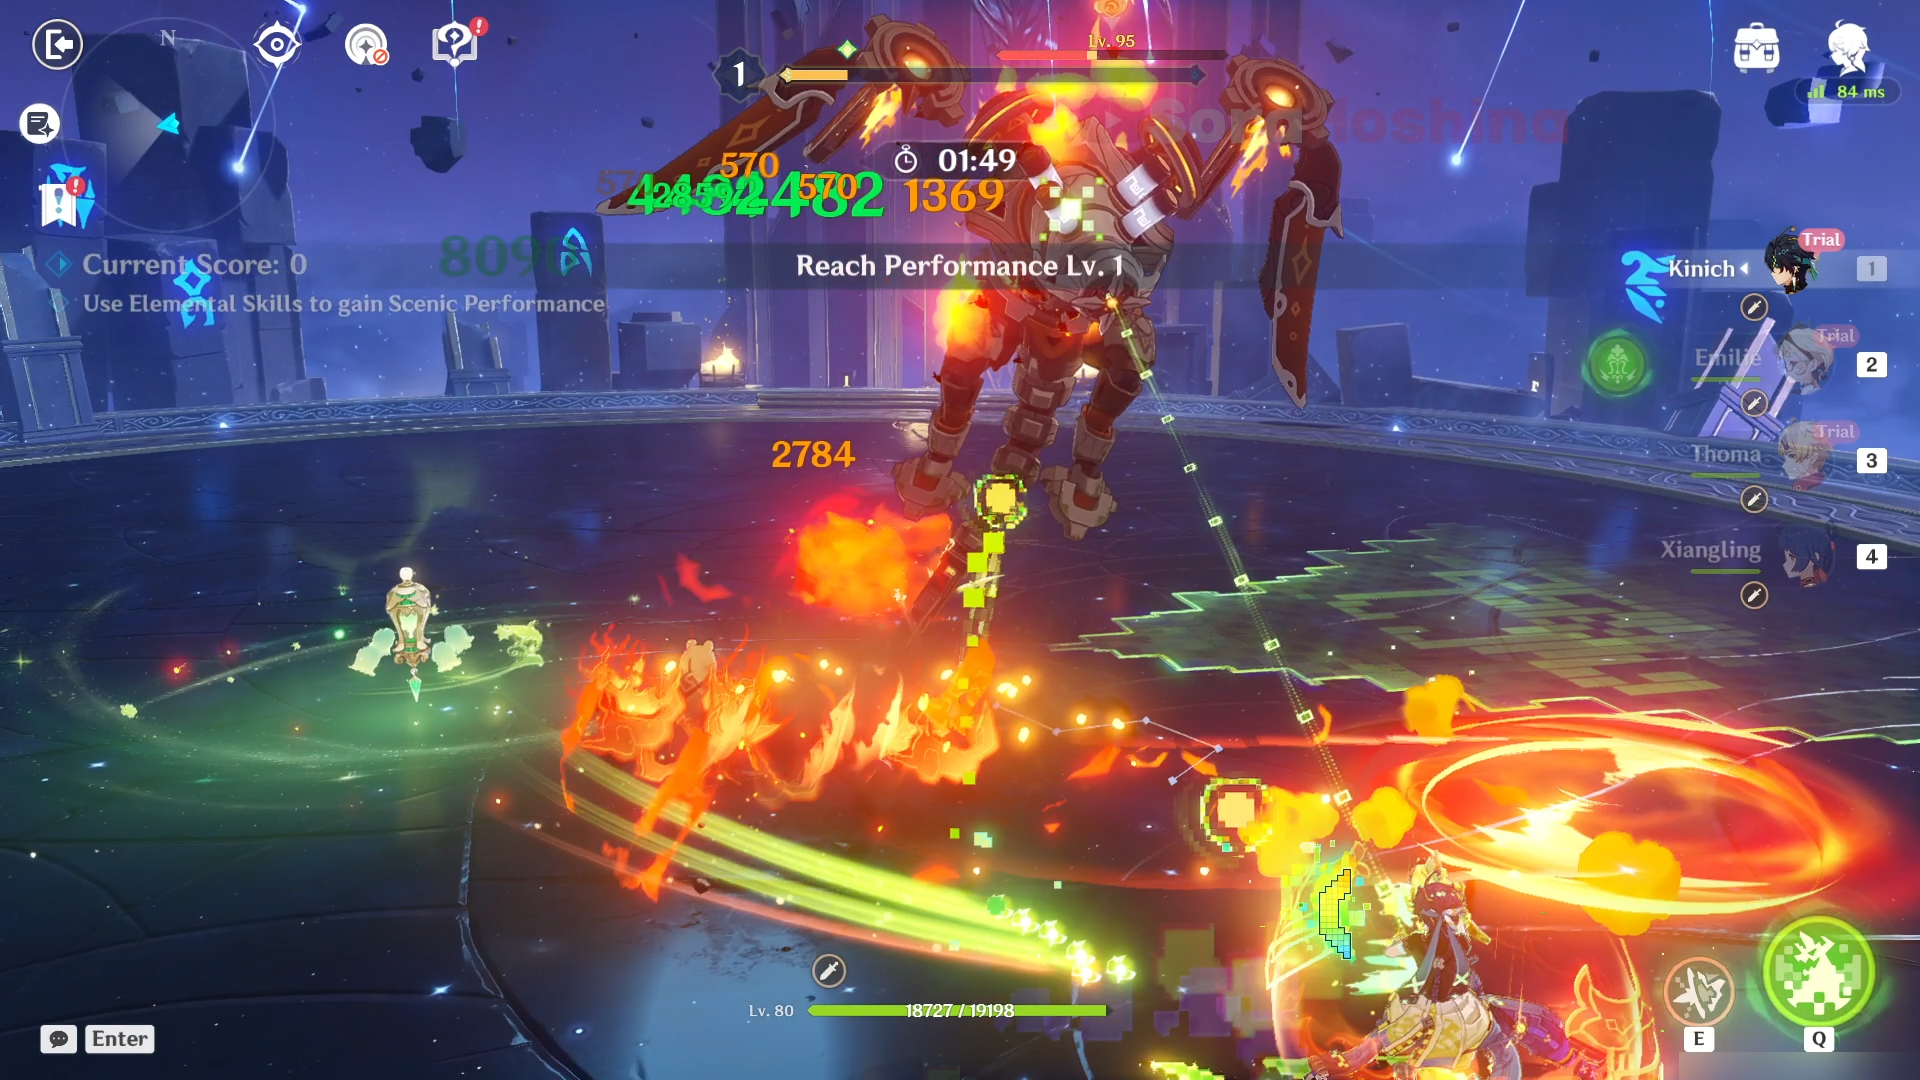
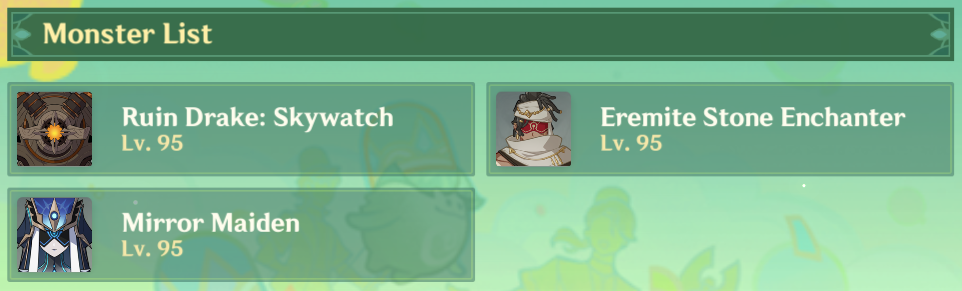
There are only 3 waves here and in each wave, there is only one enemy so you can focus on them easily. After the third wave, it will reset and you will face enemies from wave 1 again. The enemies are;
Wave 1: Ruin Drake: Skywatch
Wave 2: Mirror Maiden
Wave 3: Eremite Stone Enchanter
There's no strategy here except making sure to always trigger Burning or Burgeon reactions. If you're using Kinich's Trial team, then the rotation can be:
Emilie Skill > Thoma Burst and Skill > Xiangling Burst and Skill > Emilie Burst > Kinich Skill, Normal Attack, Skill.
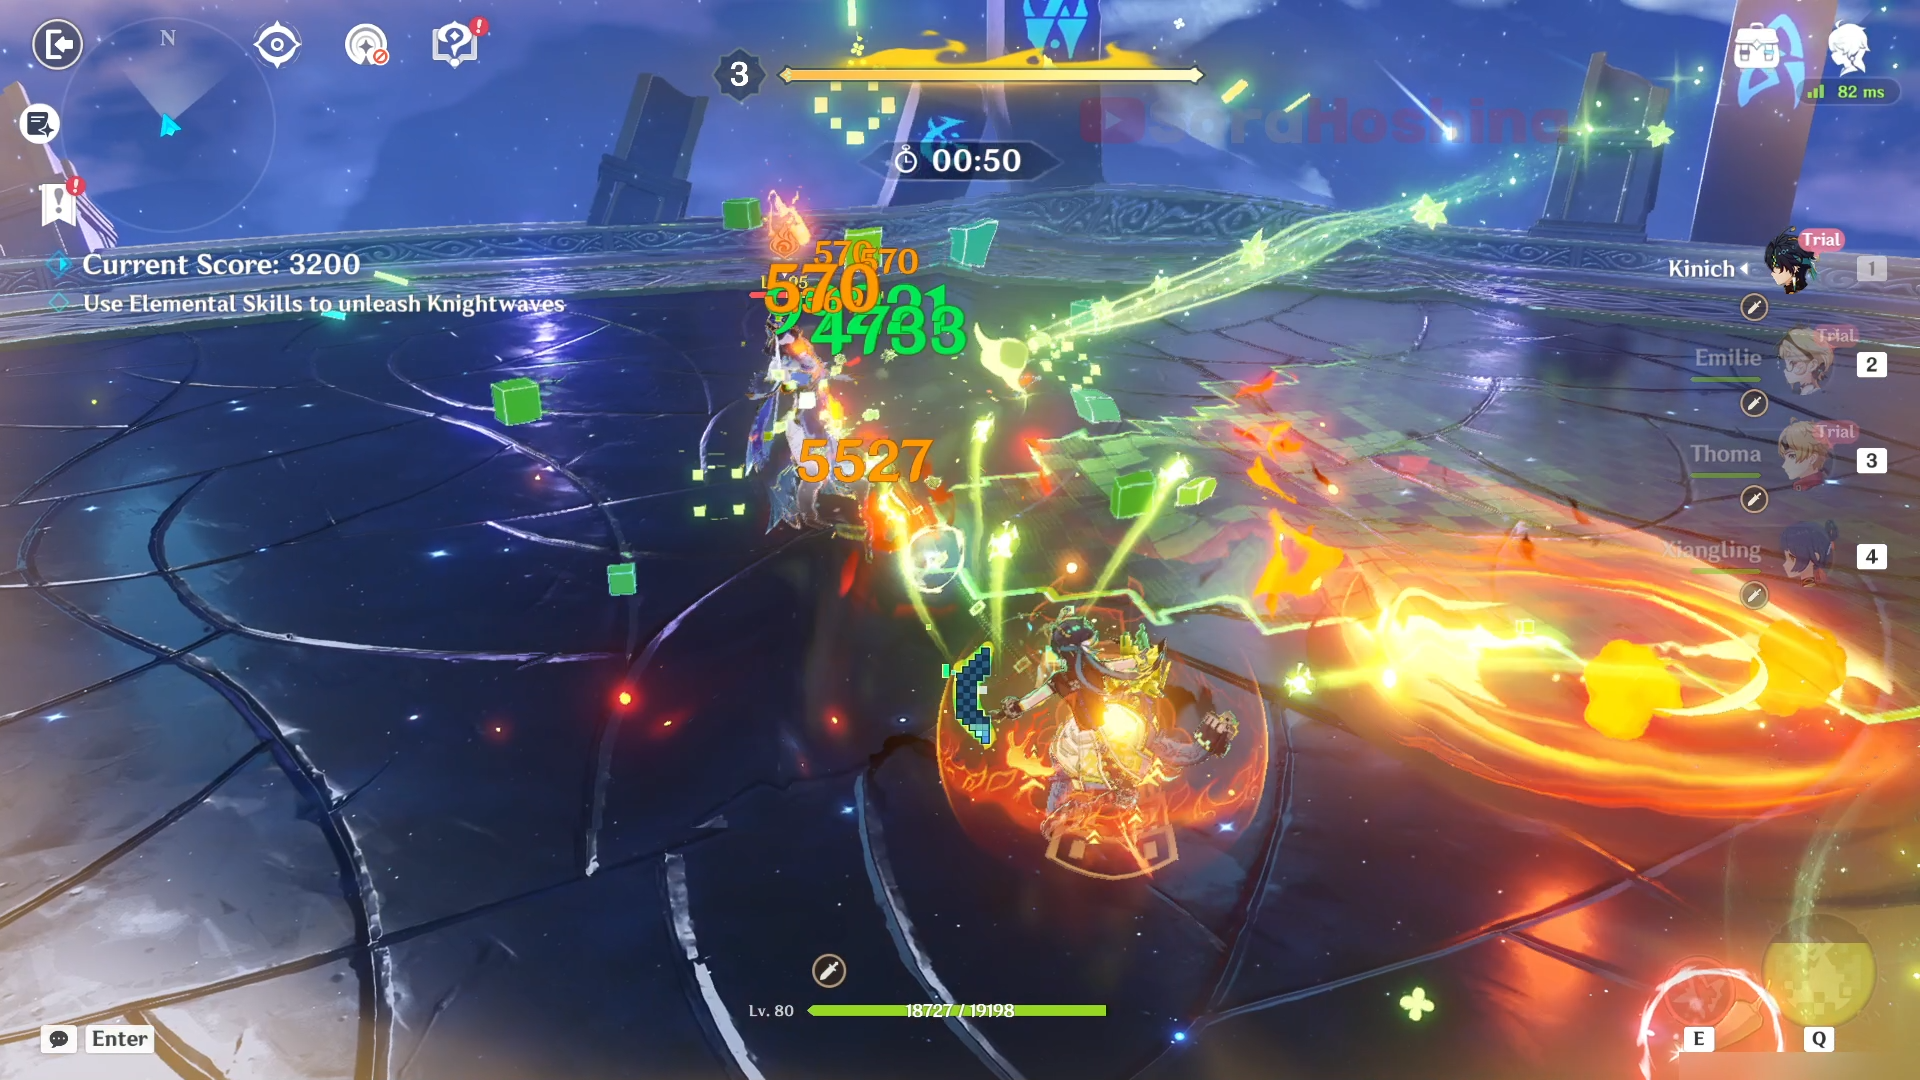
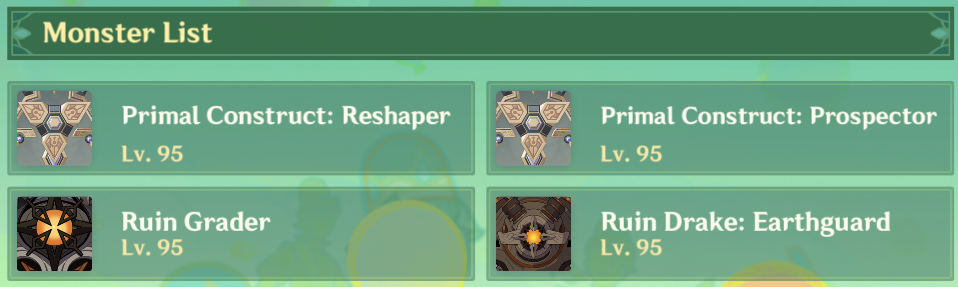
Stage 5 - Swift Shadows, Splendid as Flowers
> Monster List
> Team Recommendation
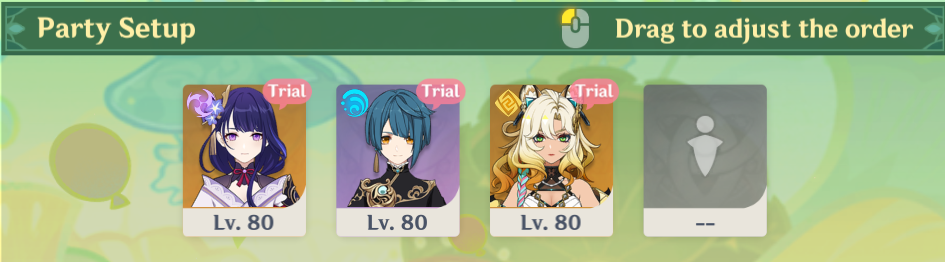
| Stage 5 - Swift Shadows, Splendid as Flowers | (1) Trial Raiden + Trial Xingqiu + Trial Xilonen + Xiangling (2) Raiden + Xingqiu + Bennett + Xiangling |
In this stage, you want to use Elemental Burst as much as you can to increase your Performance Level.
- When your Performance Level is 1/2/3 respectively, all party members' Energy Recharge is increased by 10%/30%/60% and Elemental Burst DMG by 20%/50%/100%.
- In addition, when your Performance Level is at Level 3, you can unleash a Knightwave every time you use Elemental Burst (0.5-second cooldown).
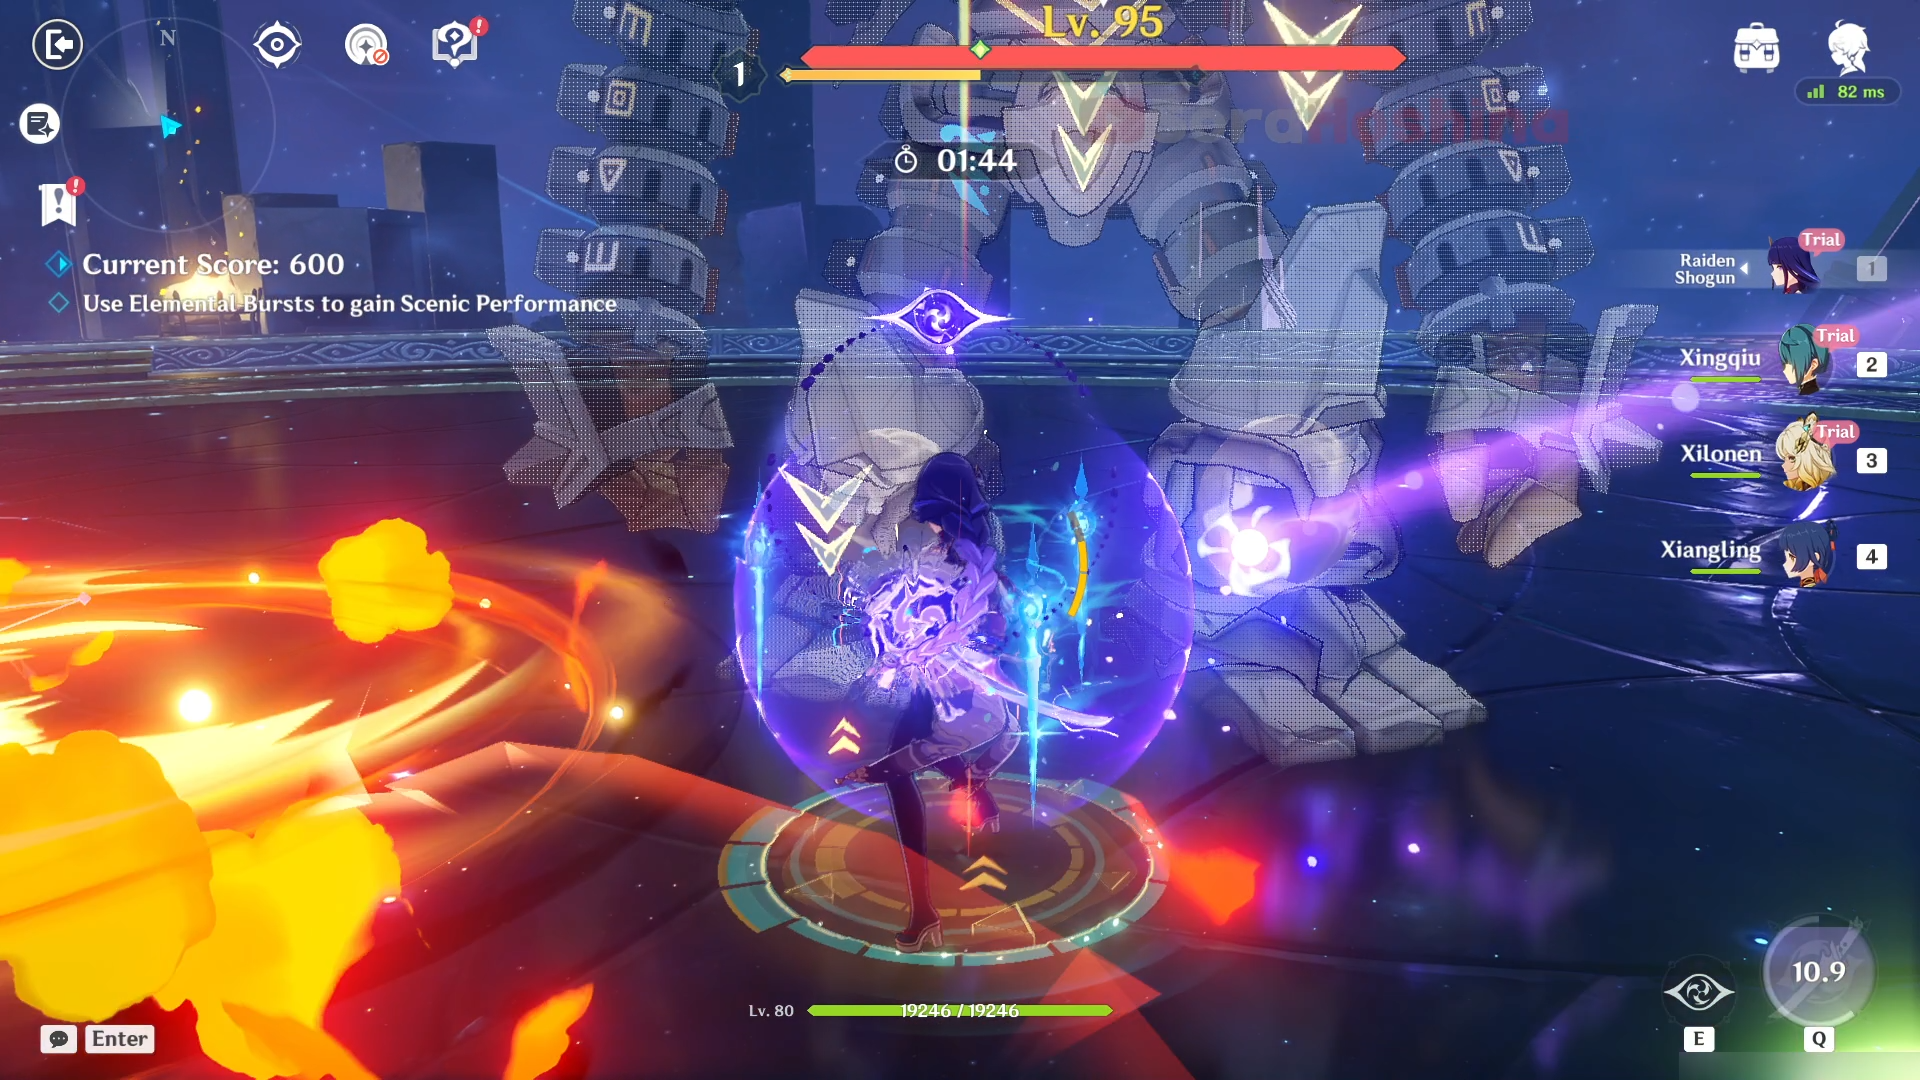
> How To Complete Swift Shadows, Splendid as Flowers
In the first wave, there are 2 Primal Constructs. When the challenge begins, go to the right side of the (your) right Primal Construct and use Xingqiu's Elemental Burst. His Burst can stagger small enemies backward so this will make the right Primal Construct to stagger back near the left Primal Construct. Easy CC. After that, attack both of them and make sure they can't enter invisibility mode because that will waste a lot of time and hinder you from Gold medal.
In the second wave, there is only a single Ruin Grader. There's no strategy here except brute force. I don't recommend focusing on its weak point because you don't have much time, that is, unless the lots of Skill and Burst you use can conveniently break both weak points.
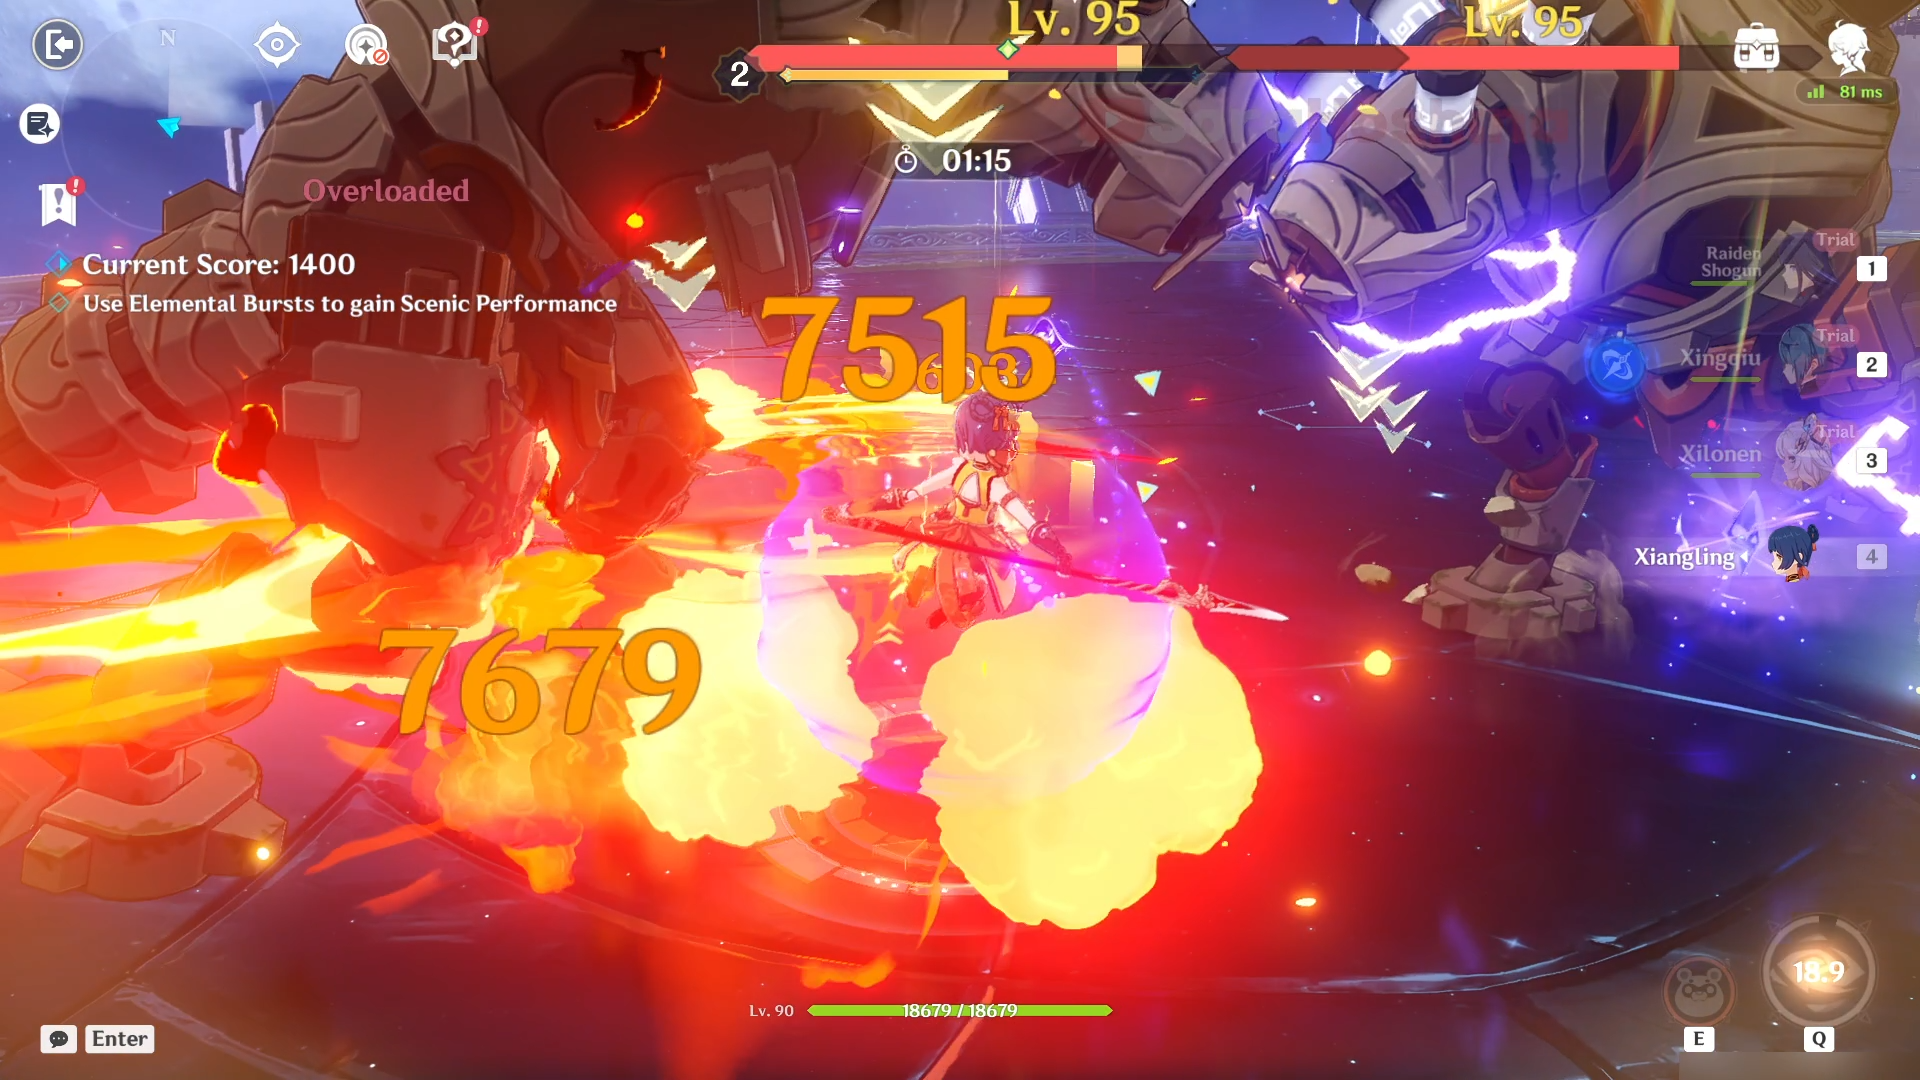
In the third wave, you will face 2 Ruin Drake: Earthguards. These 2 moves really slow so get in between both of them so the Elemental Burst you use has a high chance of hitting both enemies.
Event Rewards
➥ Don’t forget to manually claim your rewards from the event page. By completing all the event challenges, you will get the following rewards:
- Primogem x 970
- Mora x 520000
- Philosophies of Admonition x 3
- Philosophies of Ingenuity x 3
- Philosophies of Praxis x 3
- "Sorry to Keep You Waiting, Dear Archon" Furniture x 1
- Crown of Insight x 1
- Guide to Admonition x 5
- Hero's Wit x 57
- Sanctifying Unction x 48
- Guide to Ingenuity x 5
- Guide to Praxis x 5
- Agnidus Agate Fragment x 3
- Nagadus Emerald Fragment x 3
- Varunada Lazurite Fragment x 3
- Vajrada Amethyst Fragment x 3
- Shivada Jade Fragment x 3
- Vayuda Turquoise Fragment x 3
- Prithiva Topaz Fragment x 3
- Silver Talisman of the Forest Dew x 3
- Iron Talisman of the Forest Dew x 5
- Mystic Enhancement Ore x 50
- Copper Talisman of the Forest Dew x 5
- Oasis Garden's Mourning x 3
- Oasis Garden's Kindness x 5
- Oasis Garden's Reminiscence x 5
- Dream of Scorching Might x 3
- Remnant Glow of Scorching Might x 5
- Echo of Scorching Might x 5
- May This Moment Last Forever Furniture x 1
- Adventurer's Experience x 6
- Wanderer's Advice x 12