
Table of Contents [Hide]
Ochkanatlan is a home for a dragon and many puzzles. On this area, find 5 sigils and solve their puzzles to get an achievement called [Embers Rekindled]. Each of them provides a treasure chest so you shouldn't miss it out!
How to Get Embers Rekindled Achievement in Genshin Impact
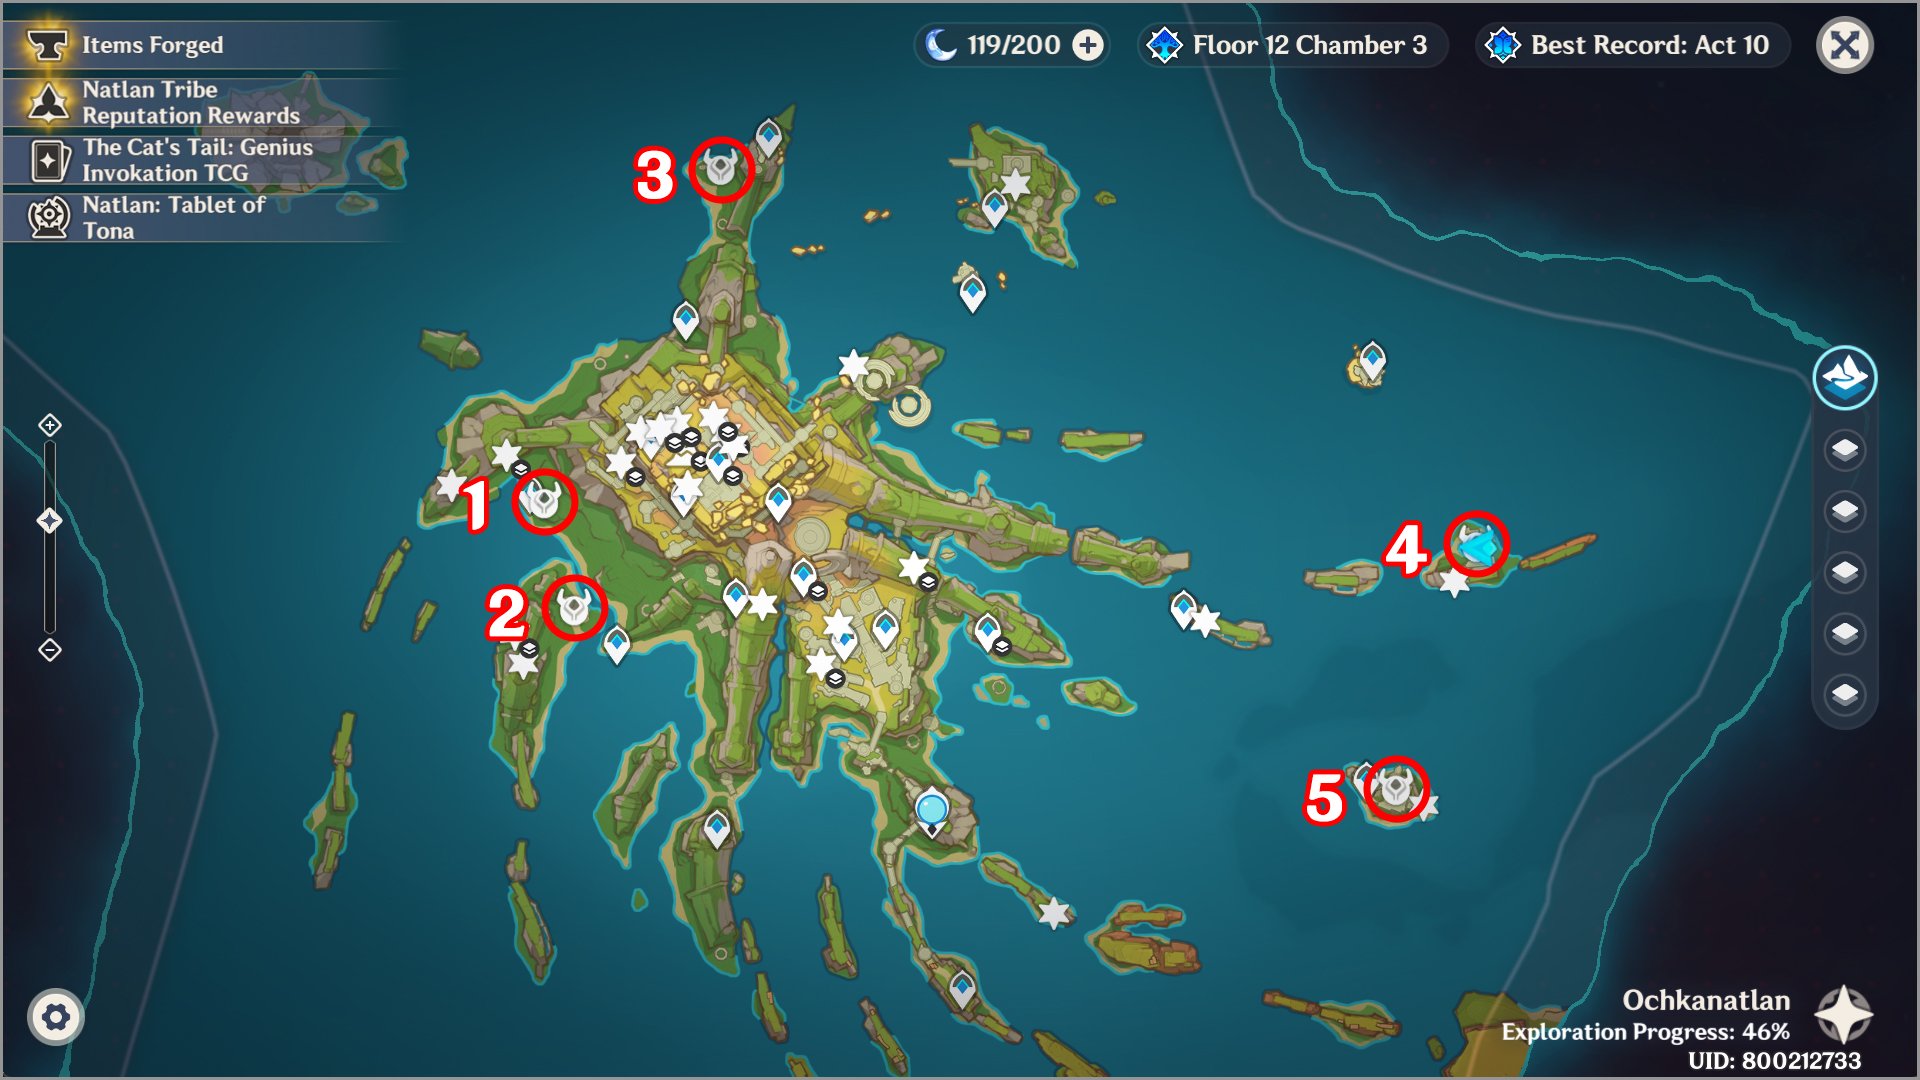
Reactivate the Source Mechanisms at the five Furnaces of Fiery Embers. All five locations (entrance) have been marked in the image above. You need to complete a puzzle first before you can enter the area where the sigils is.
First Source Mechanisms
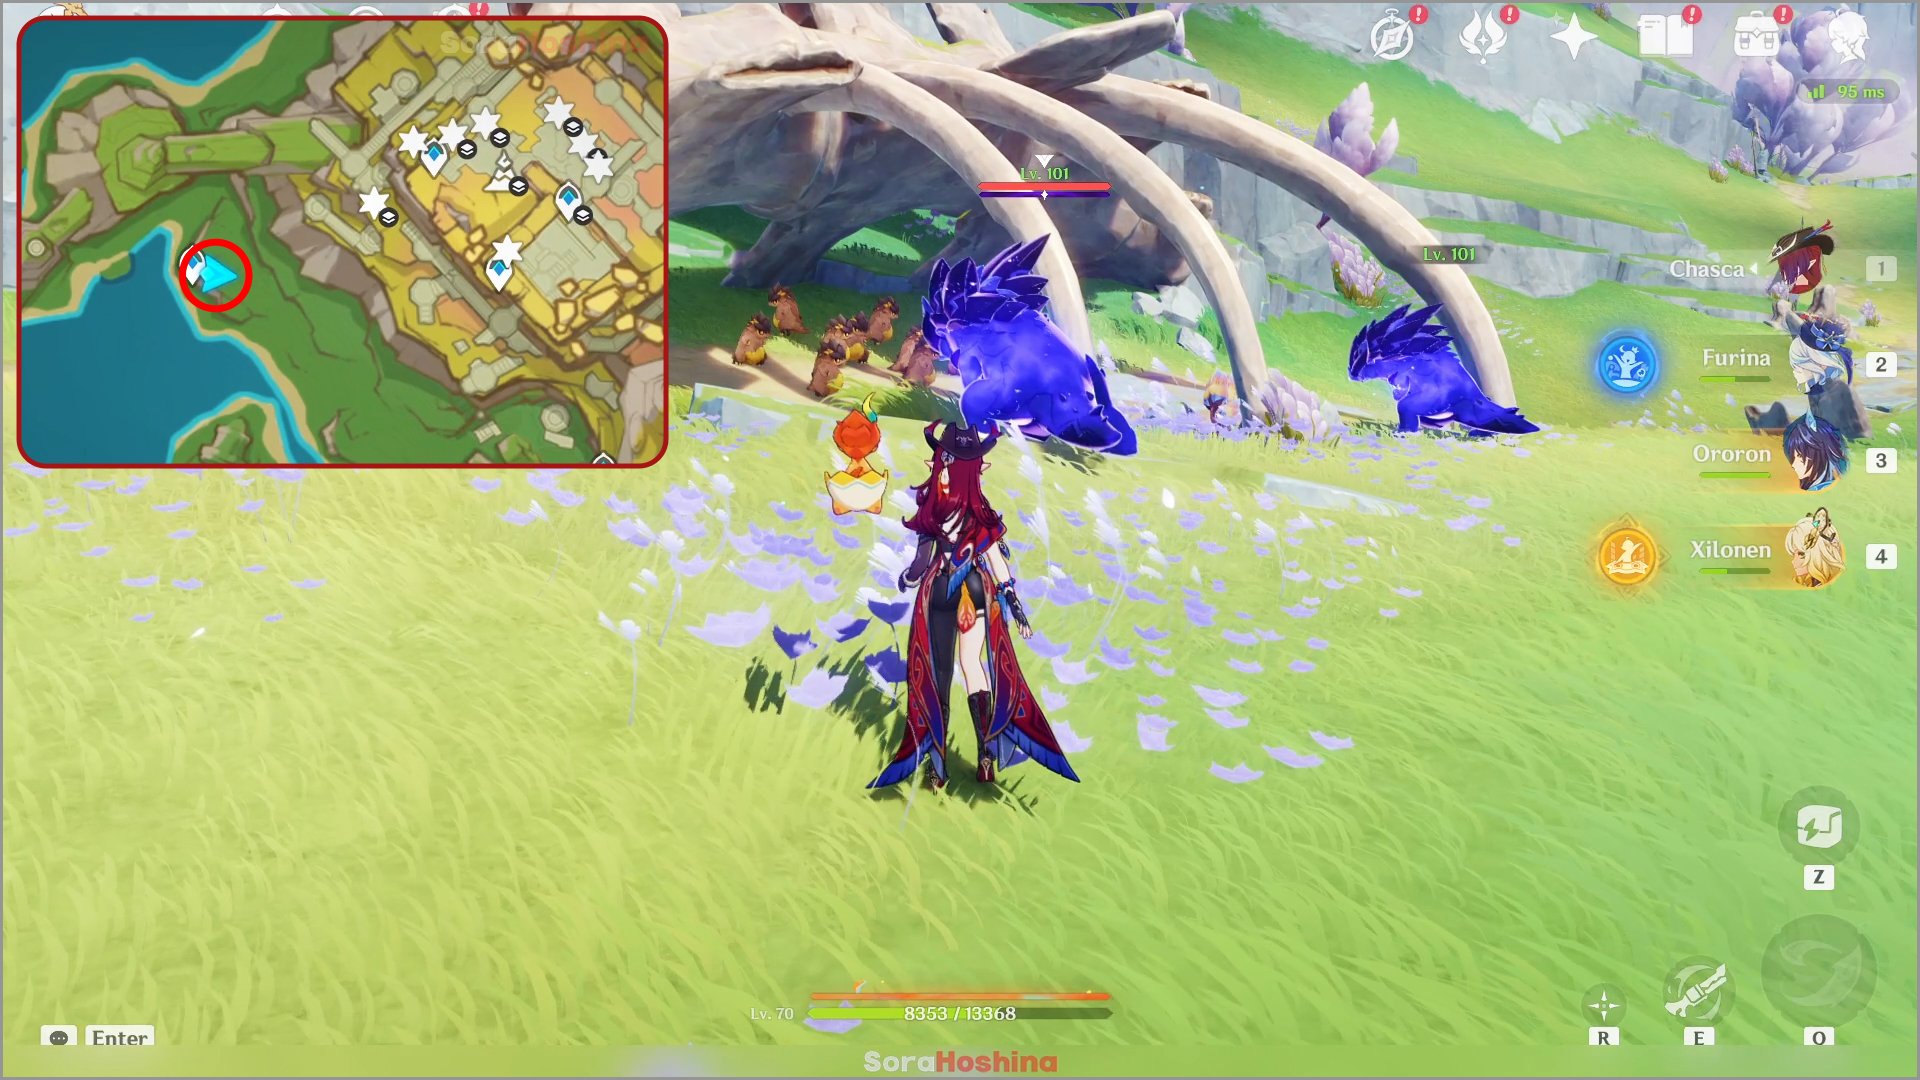
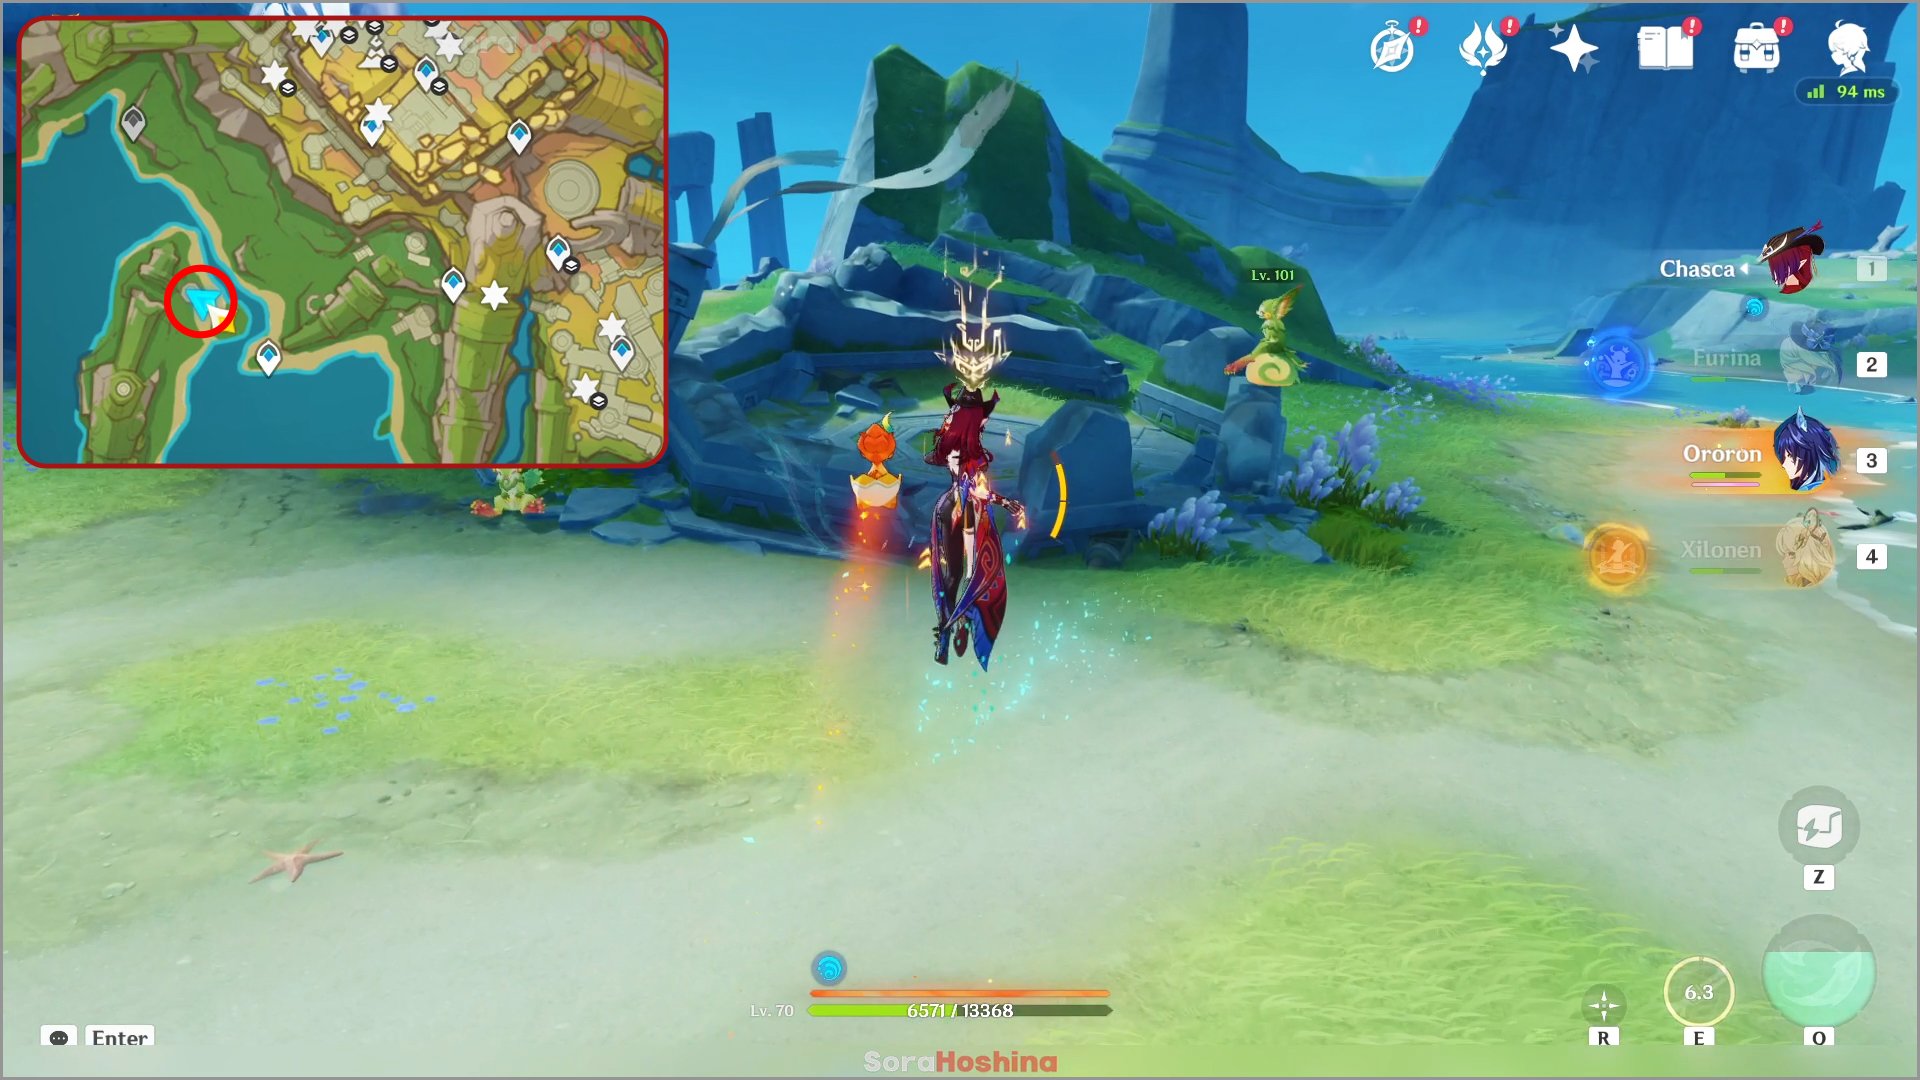
Teleport to the waypoint west of Ochkanatlan and defeat the enemies around the Tepetlisaurus babies. After claiming the spawned Common Chest, the Tepetlisaurus will help you to uncover a new hidden area and you will get an achievement called [Clear the Area, Please!].
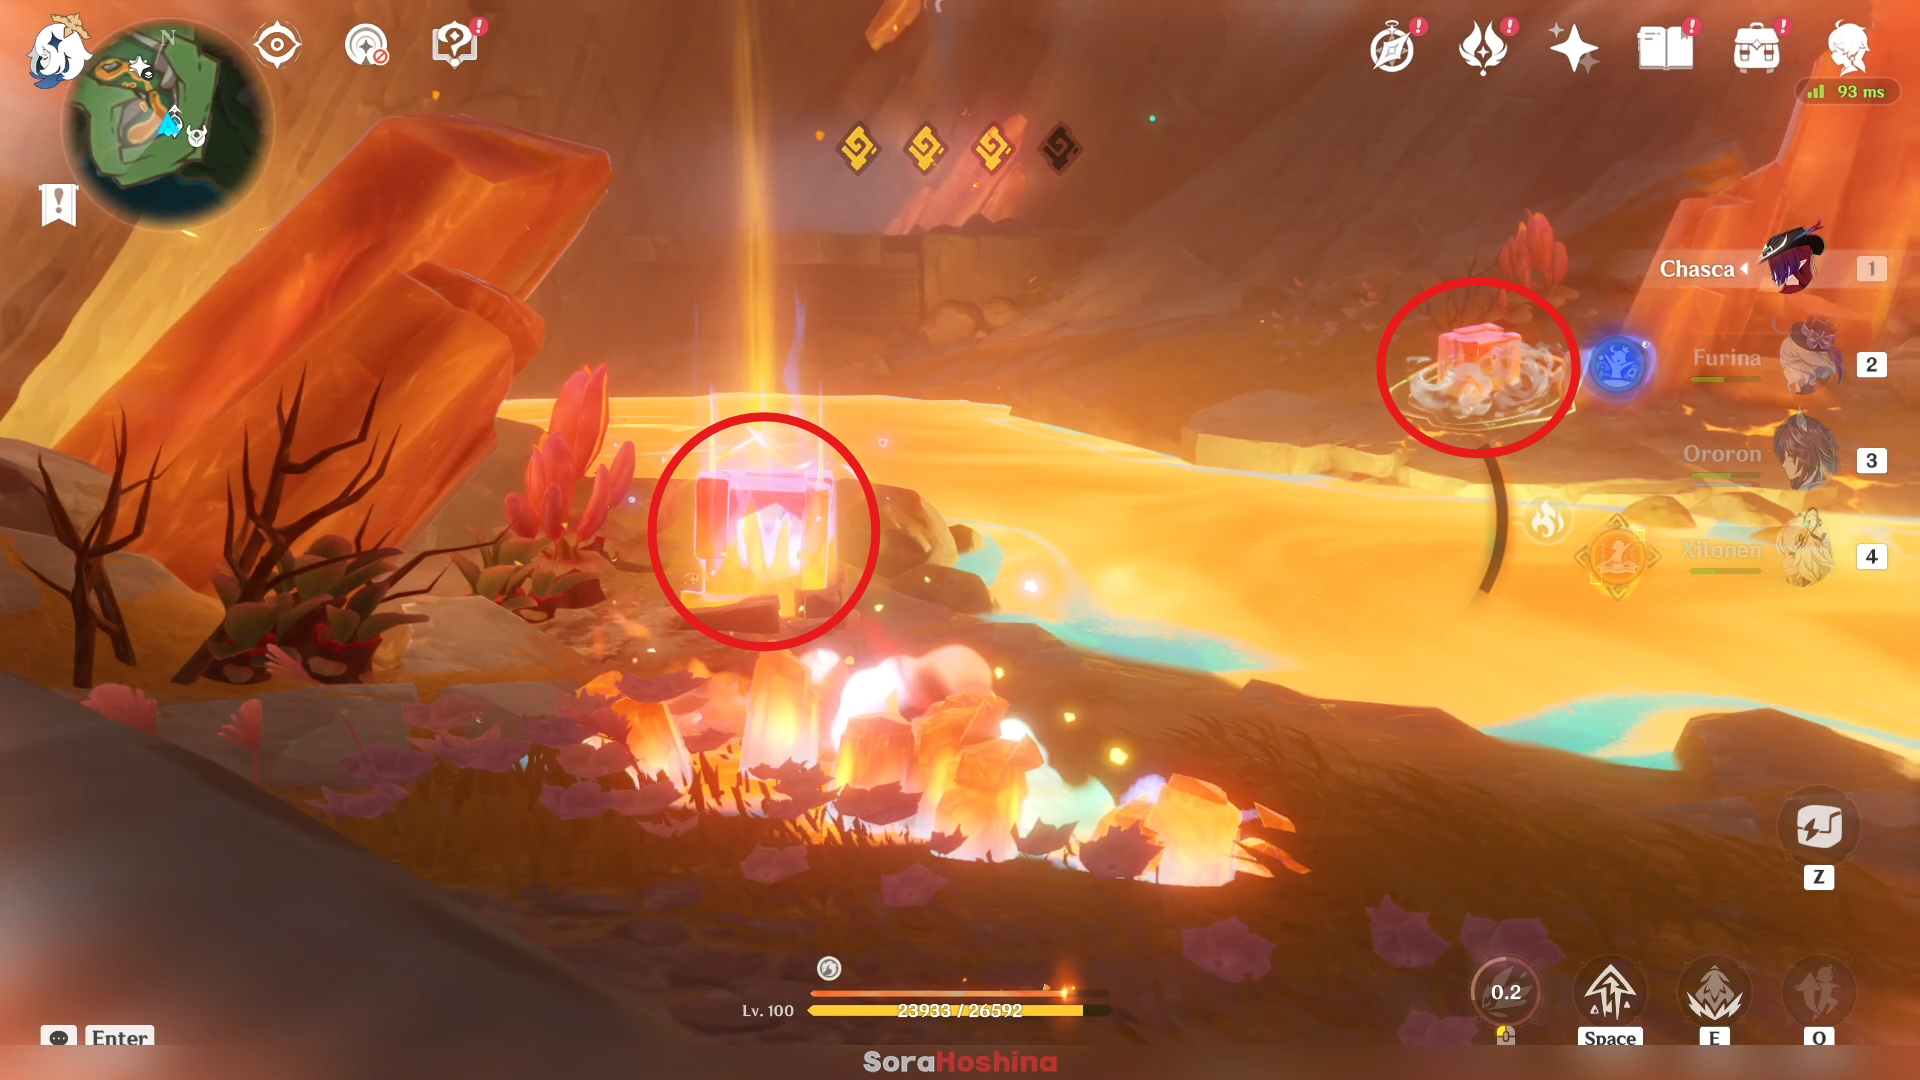
Head deeper to the Furnaces of Fiery Embers and use Tepetlisaurus to break the Phlogiston rocks and uncover another area. Keep going.
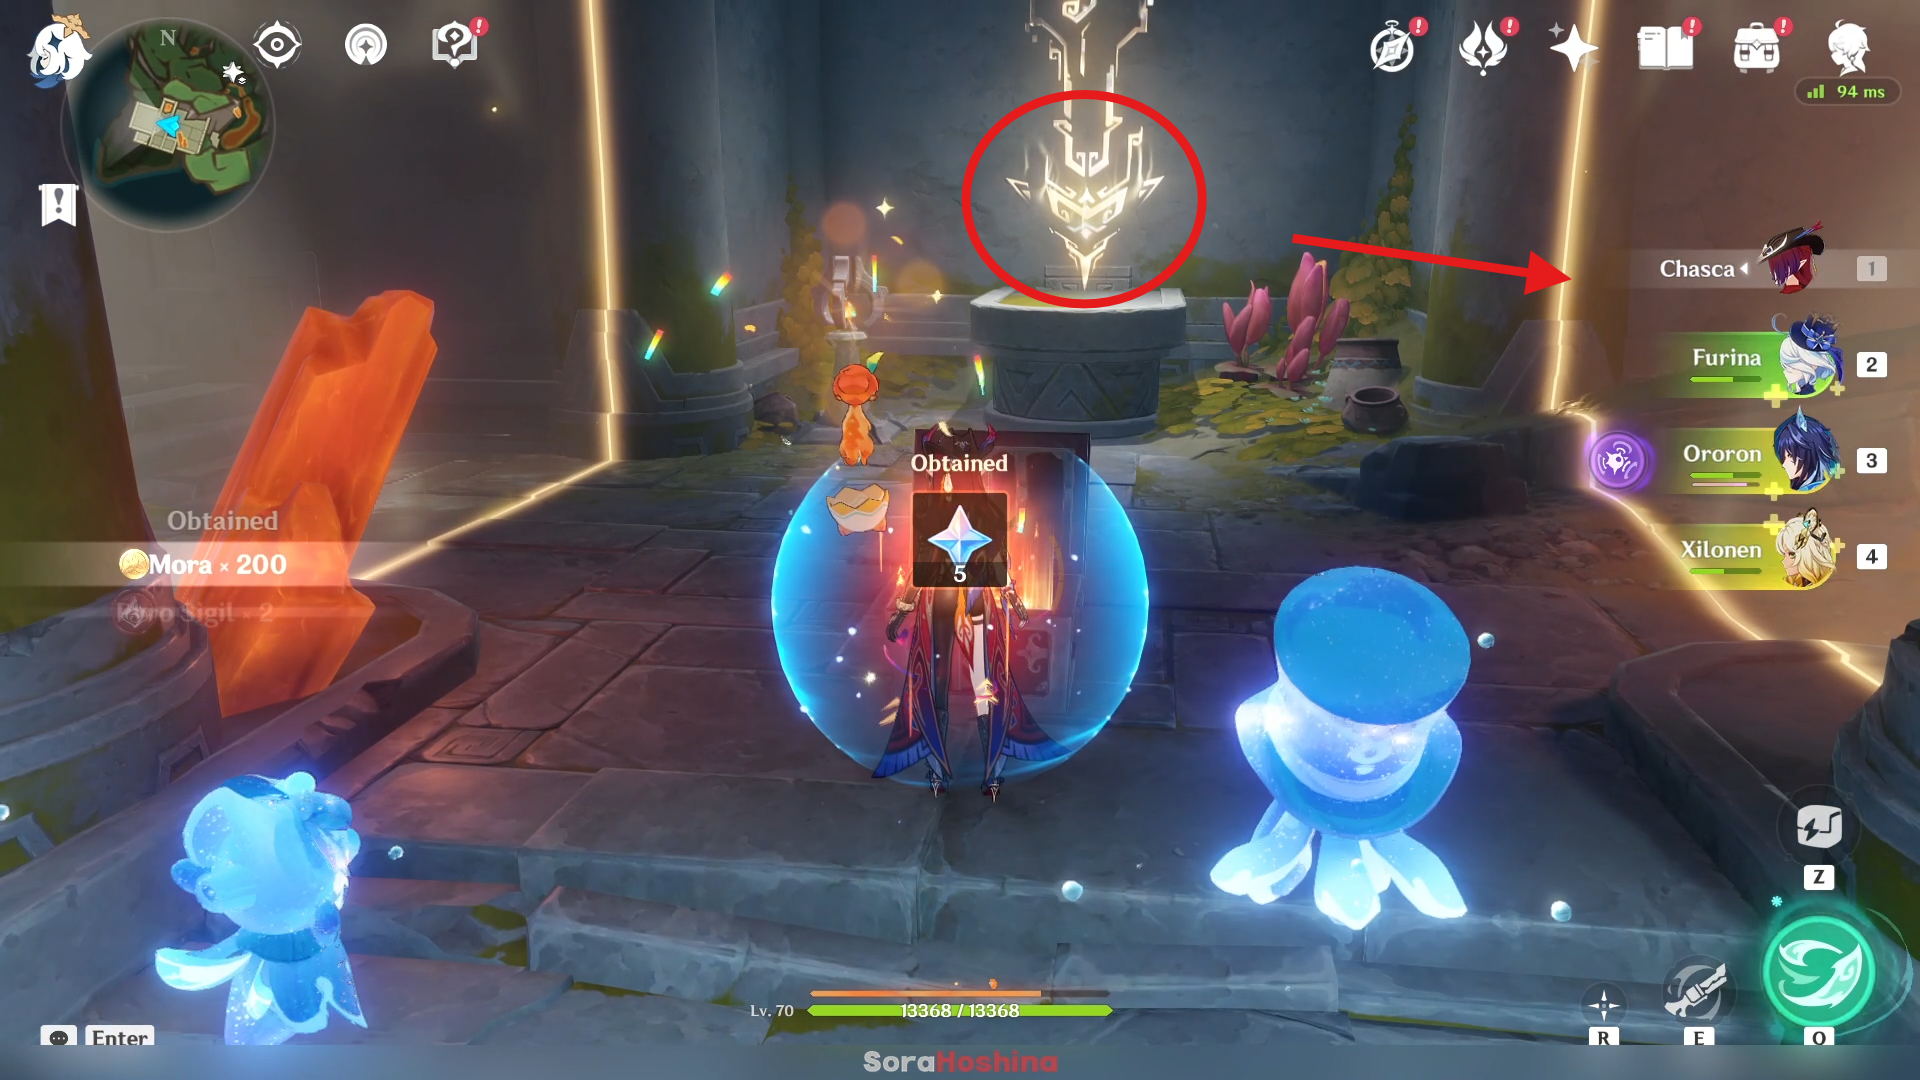
When you interact with the first sigil, it will fly to the right side. The barrier will disappear and you can follow it.
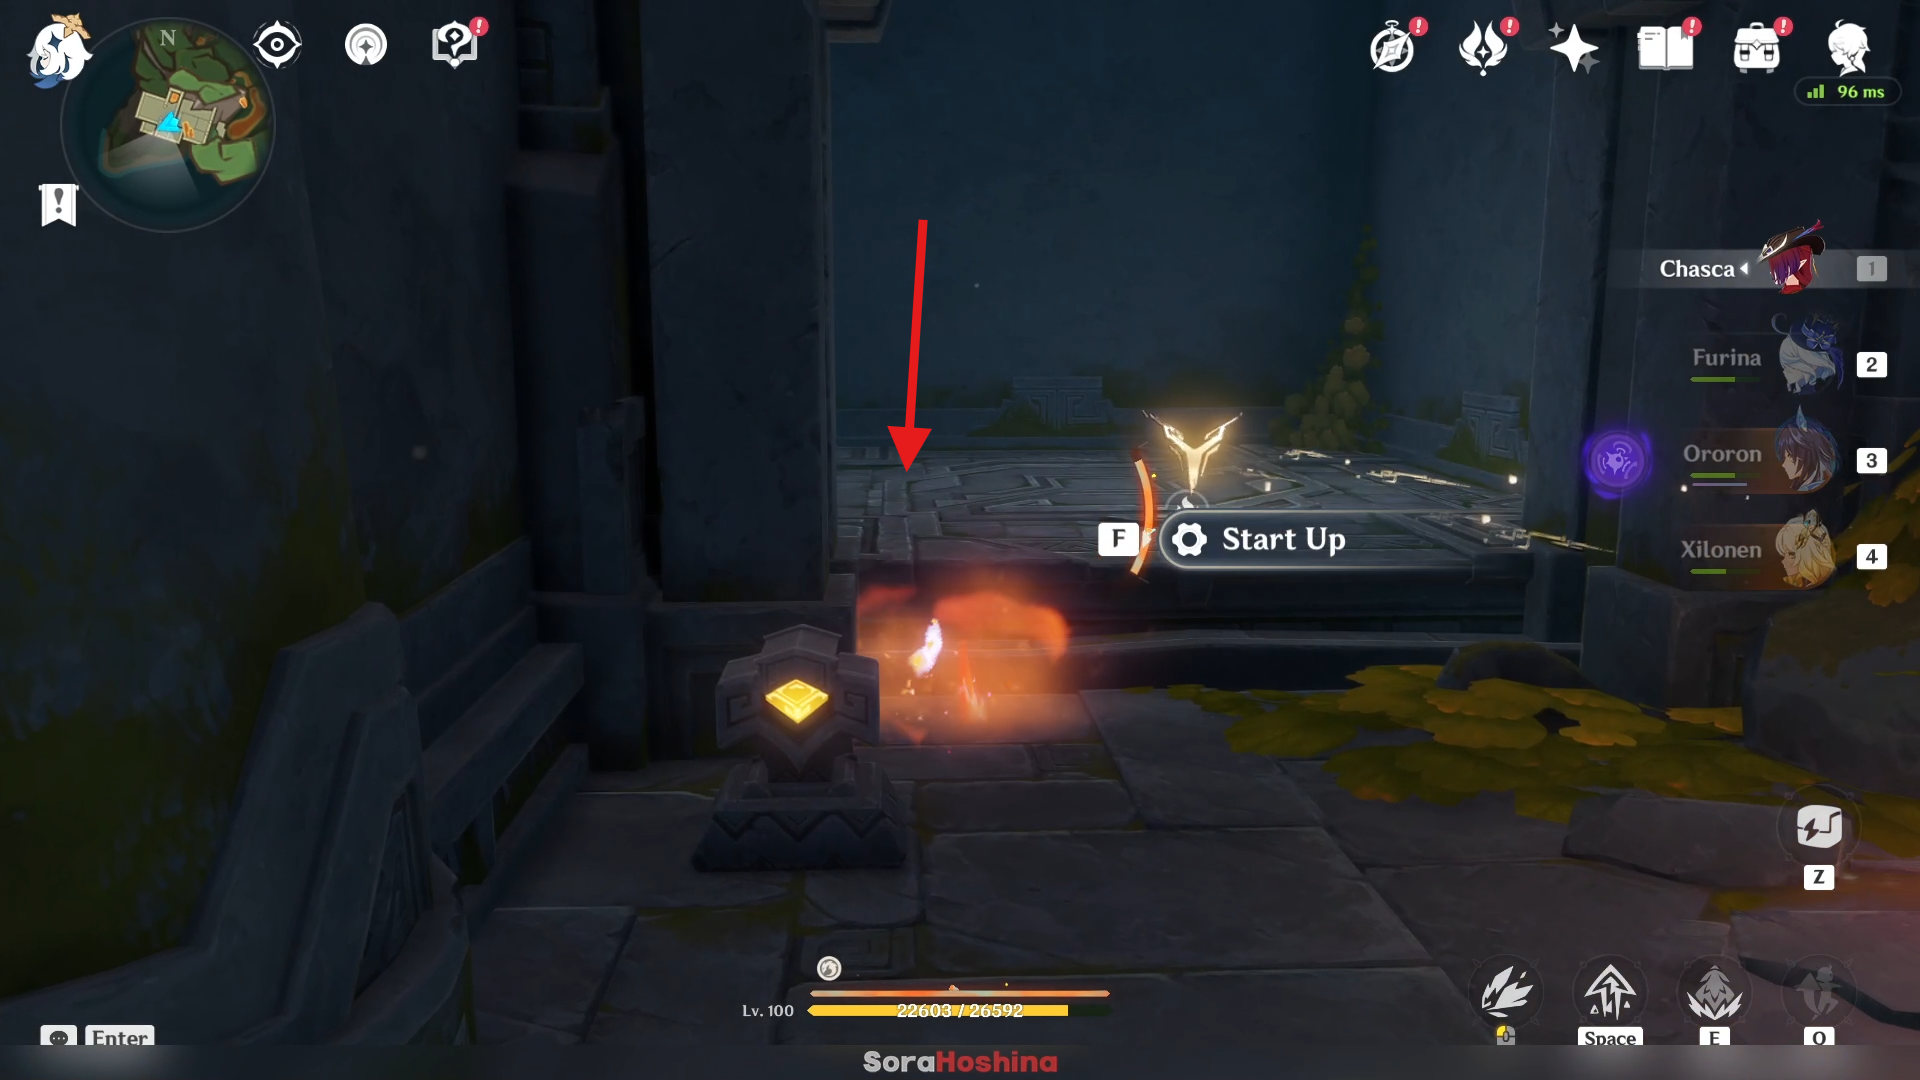
The sigil will go up but you need to go down first. At the elevator, start it up and go inside the elevator. It will bring you down.
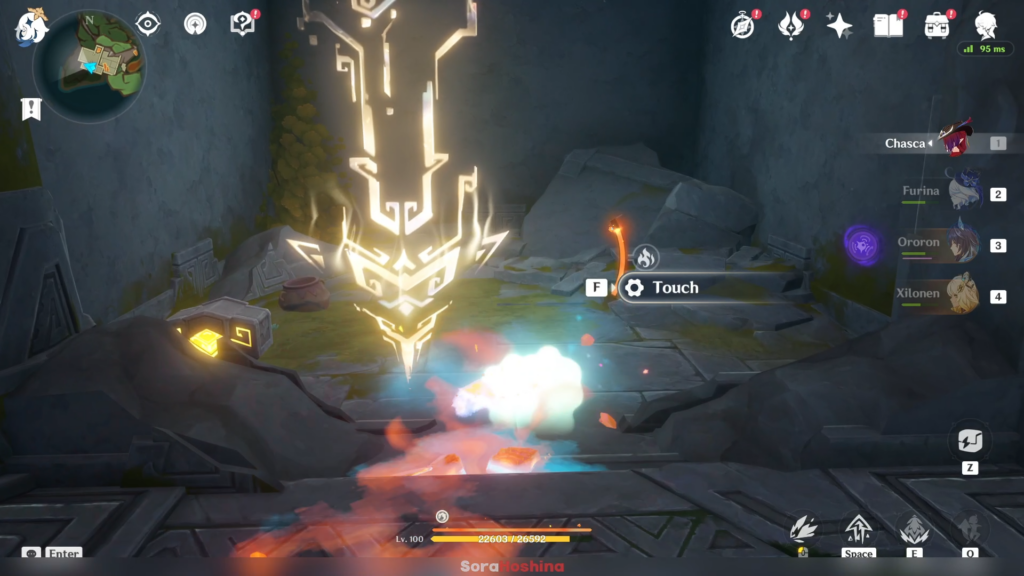
At the bottom, you will find another sigil. Touch it and then you can follow it again. The sigil will also leads you to the elevator.
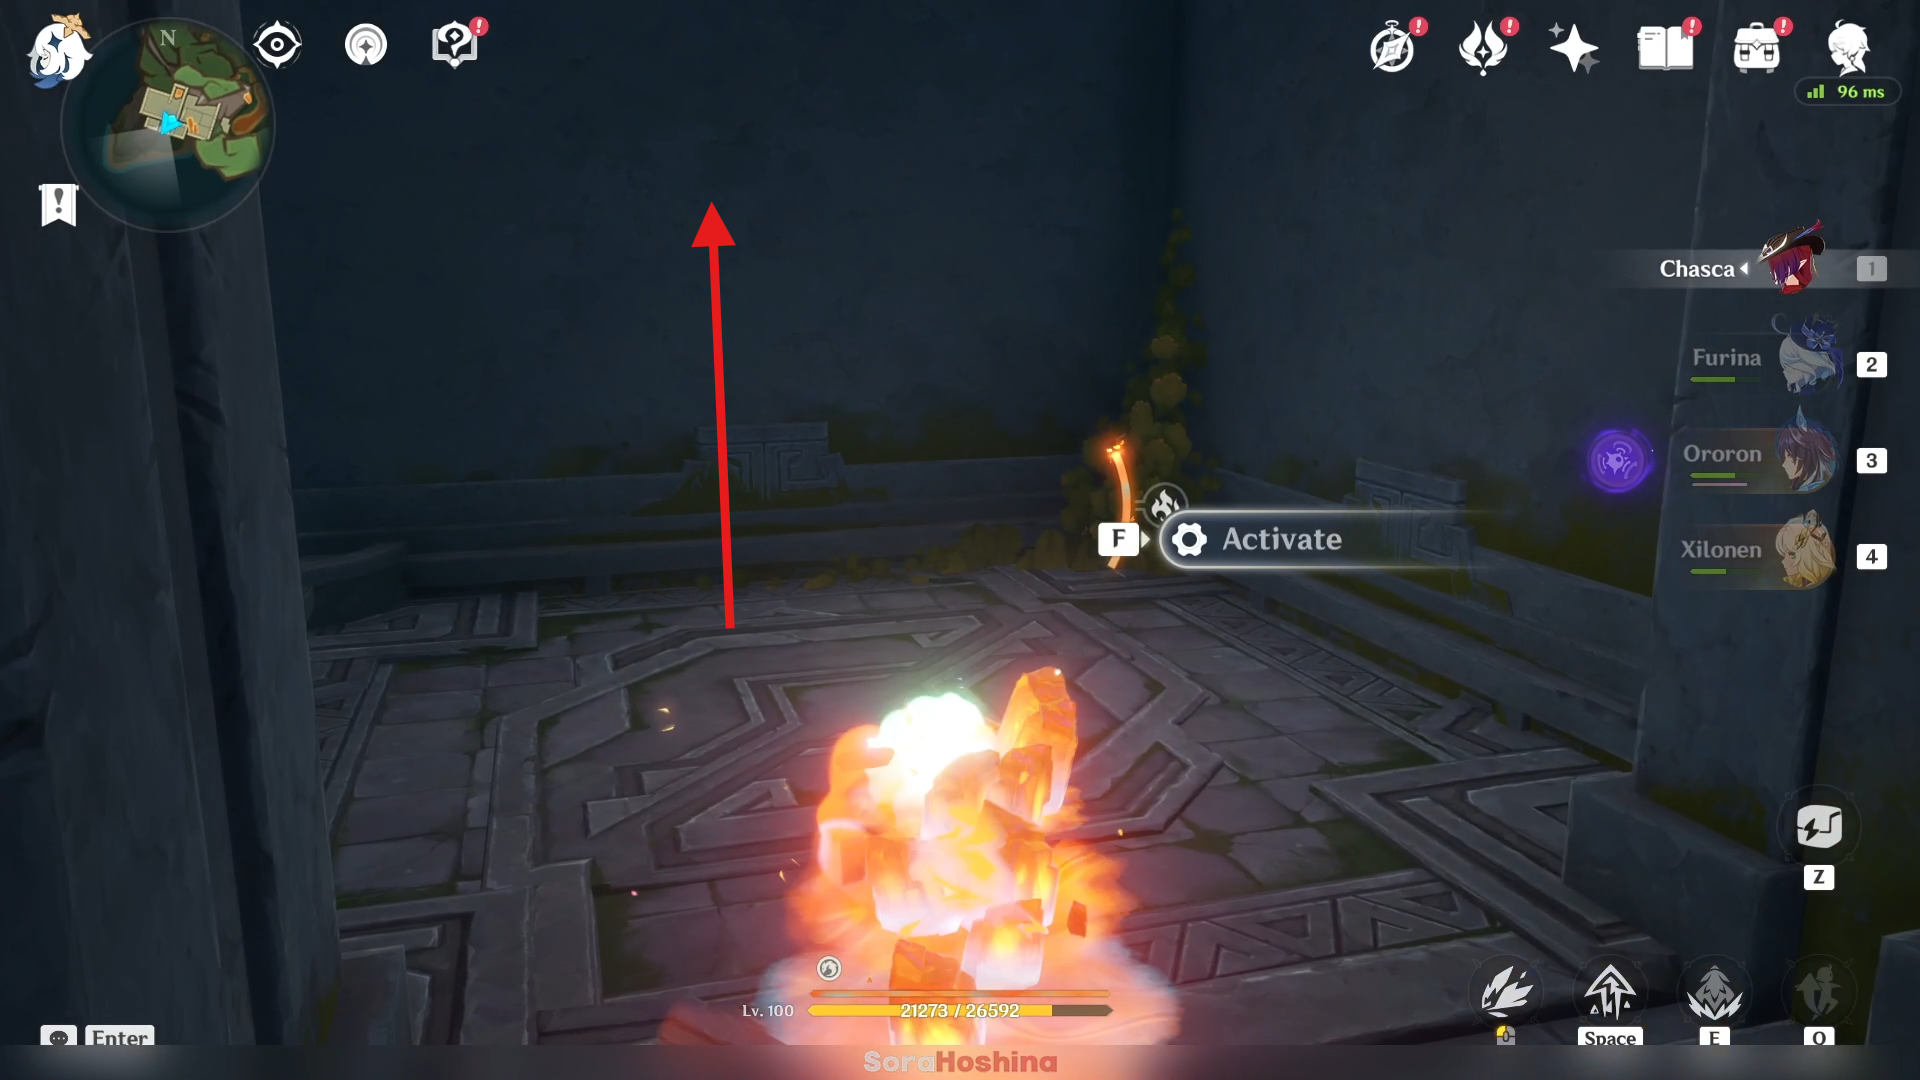
This time, don't touch the switch outside the elevator and stand on top of the current lift and activate it so it will bring you up. Follow the 2 sigils to complete the puzzle.
Second Source Mechanisms
For the second one, you can immediately interact with the sigil. It will teleport you to the Furnaces of Fiery Embers.
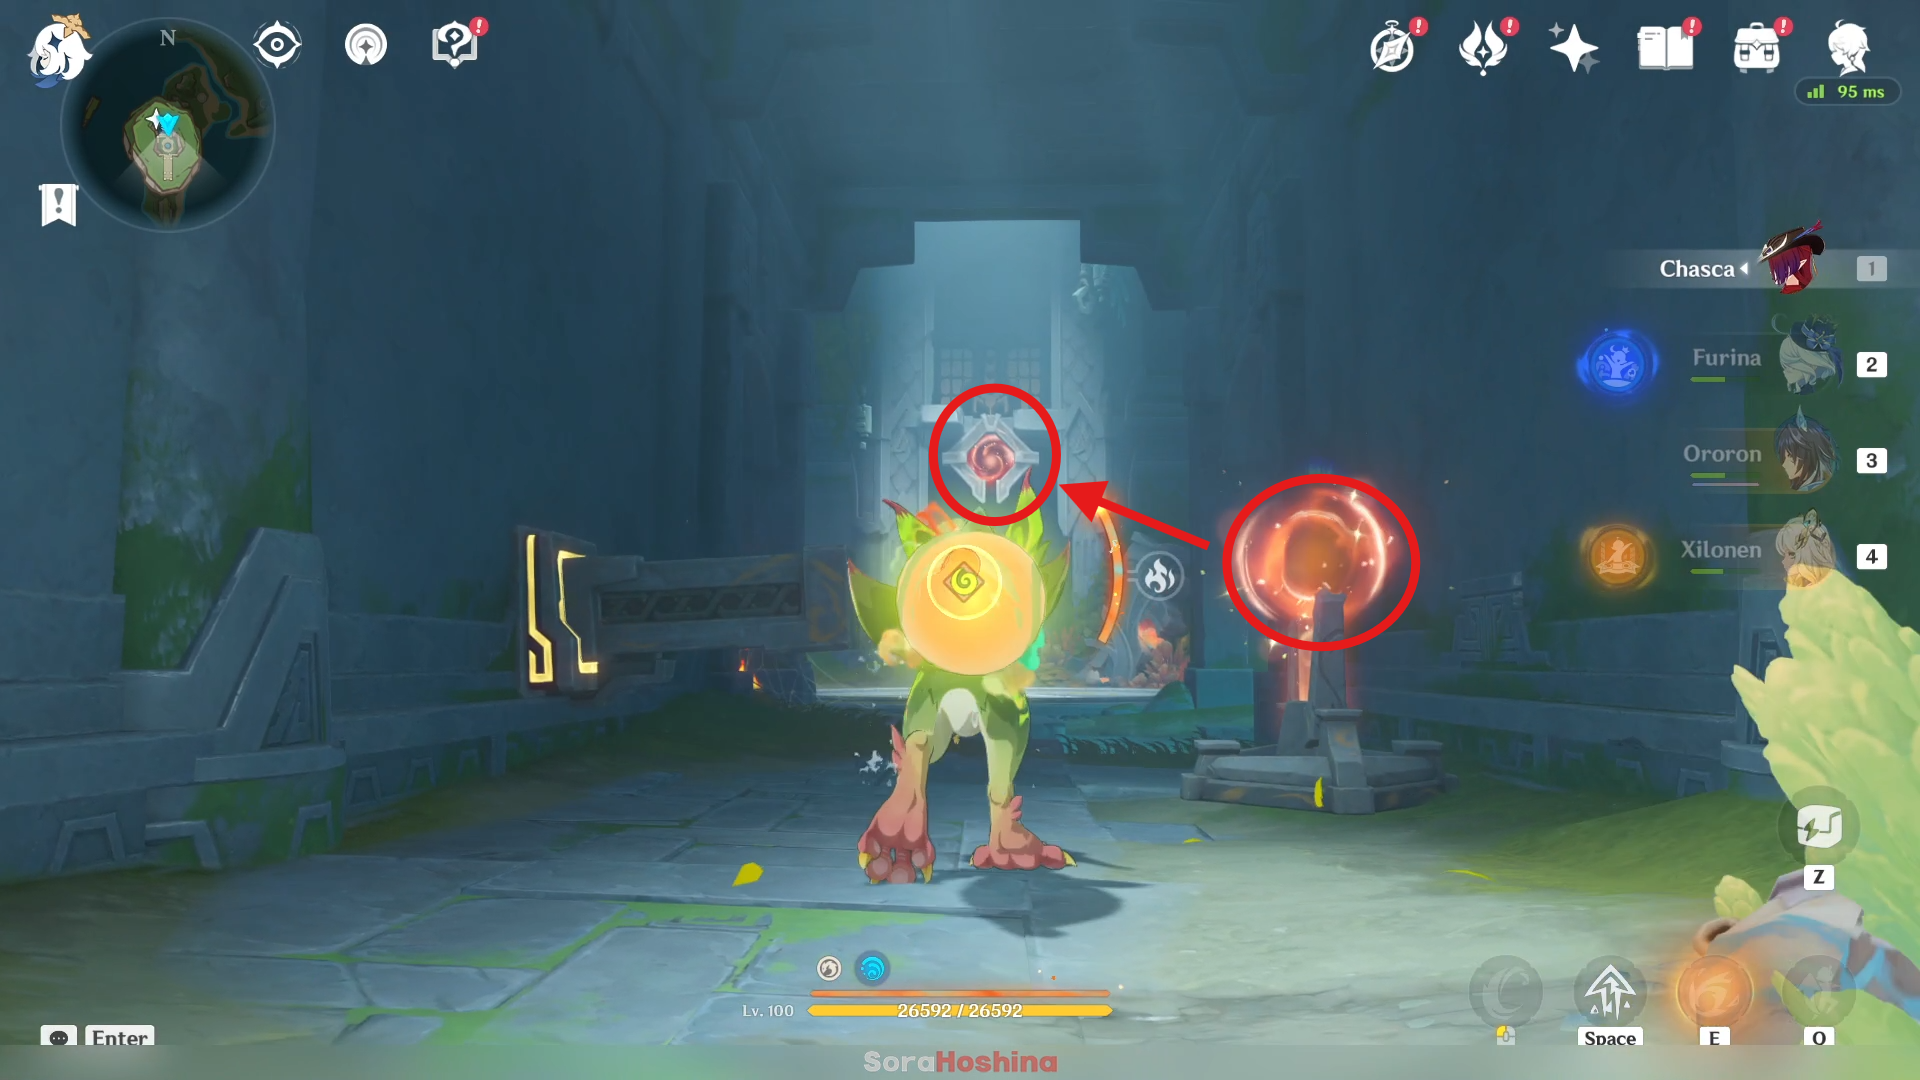
The puzzle here is, you need to throw the Relay Ball to the goal using the Yumkasaurus. But there are 2 doors that will block you.
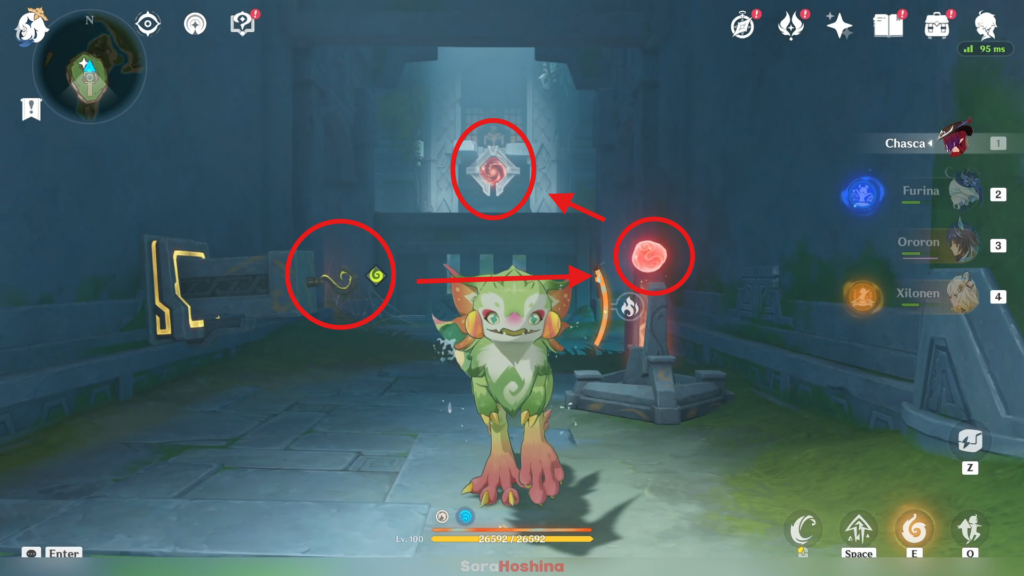
First of all, pull the Grappling Hook to so both the doors will opened for a few seconds. Once the door is out of the sight immediately take the ball and throw it to the goal. After that, a new path will open and you can go there.
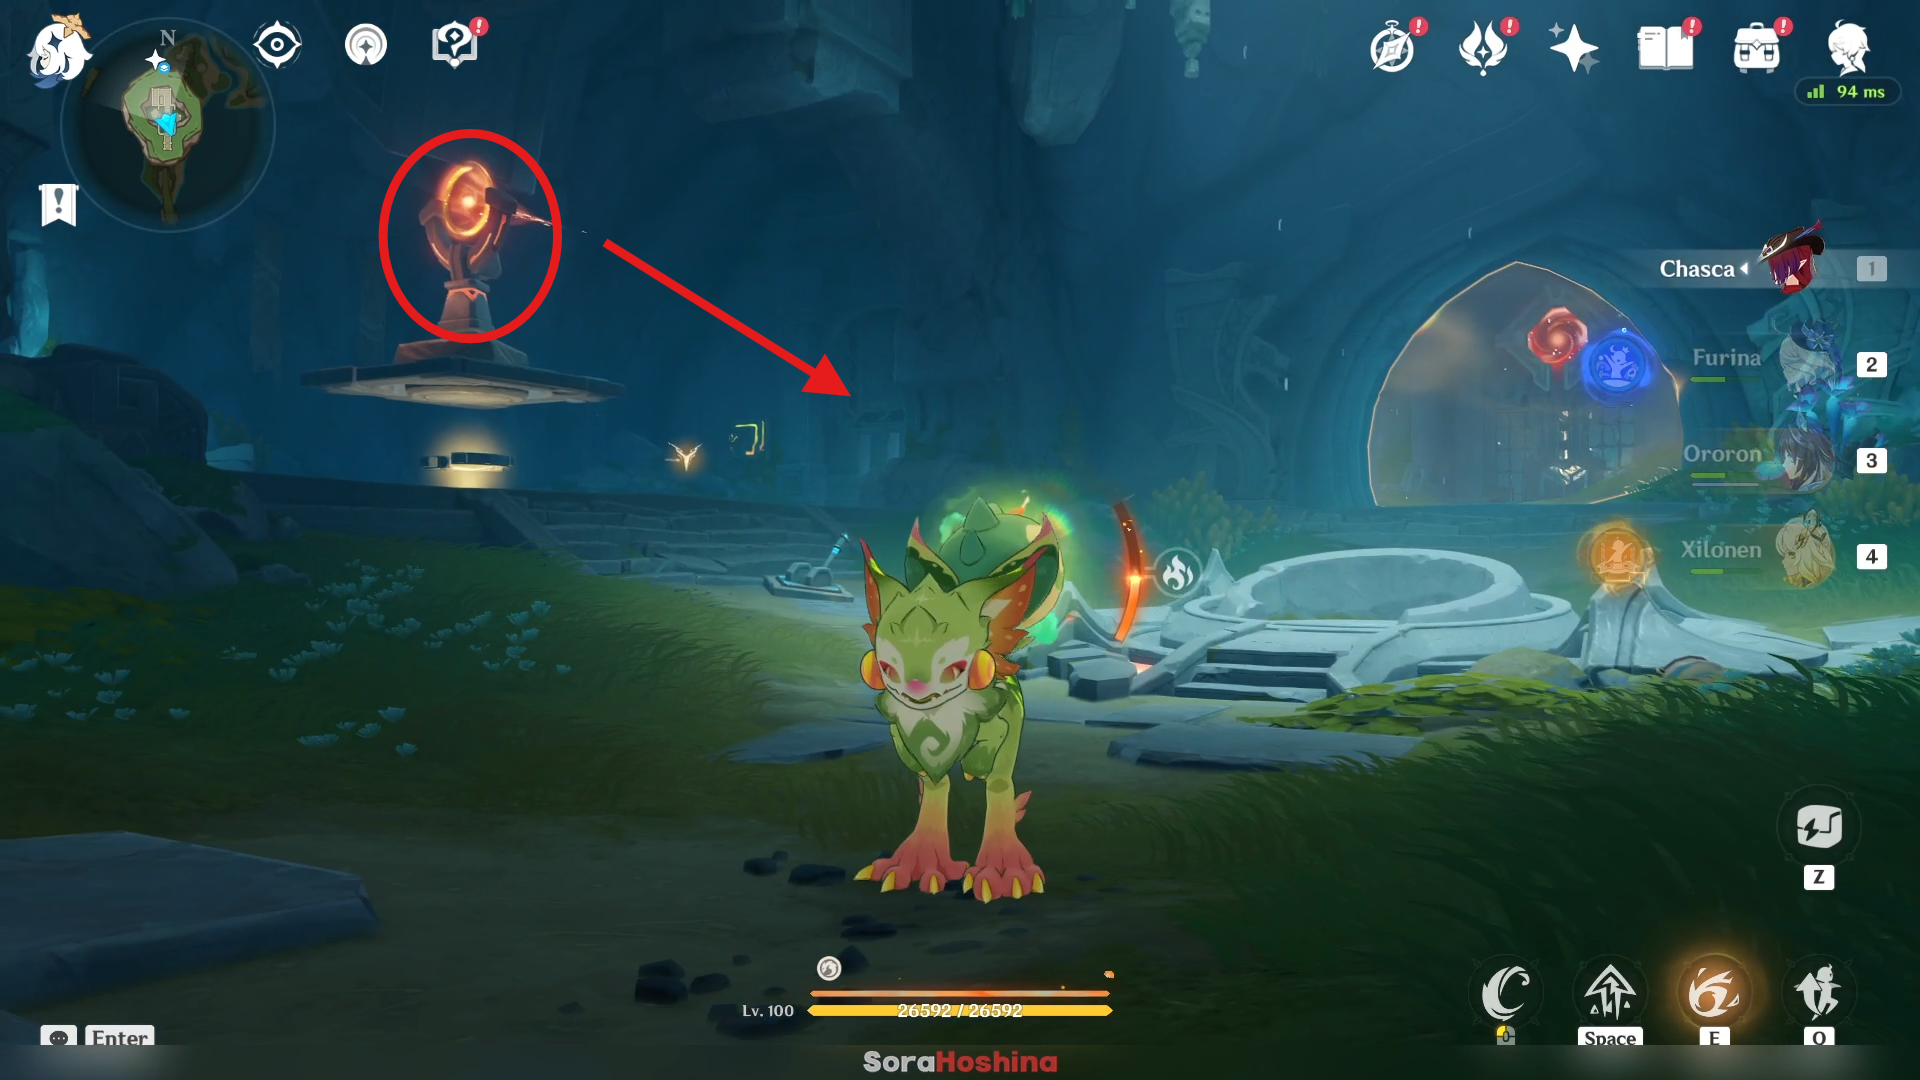
In the new area, complete the puzzle on the left room first. It's the same puzzle as previous one. But this time, you need to throw the ball to the Ball Path Converter first before opening the door using the Grappling Hook.
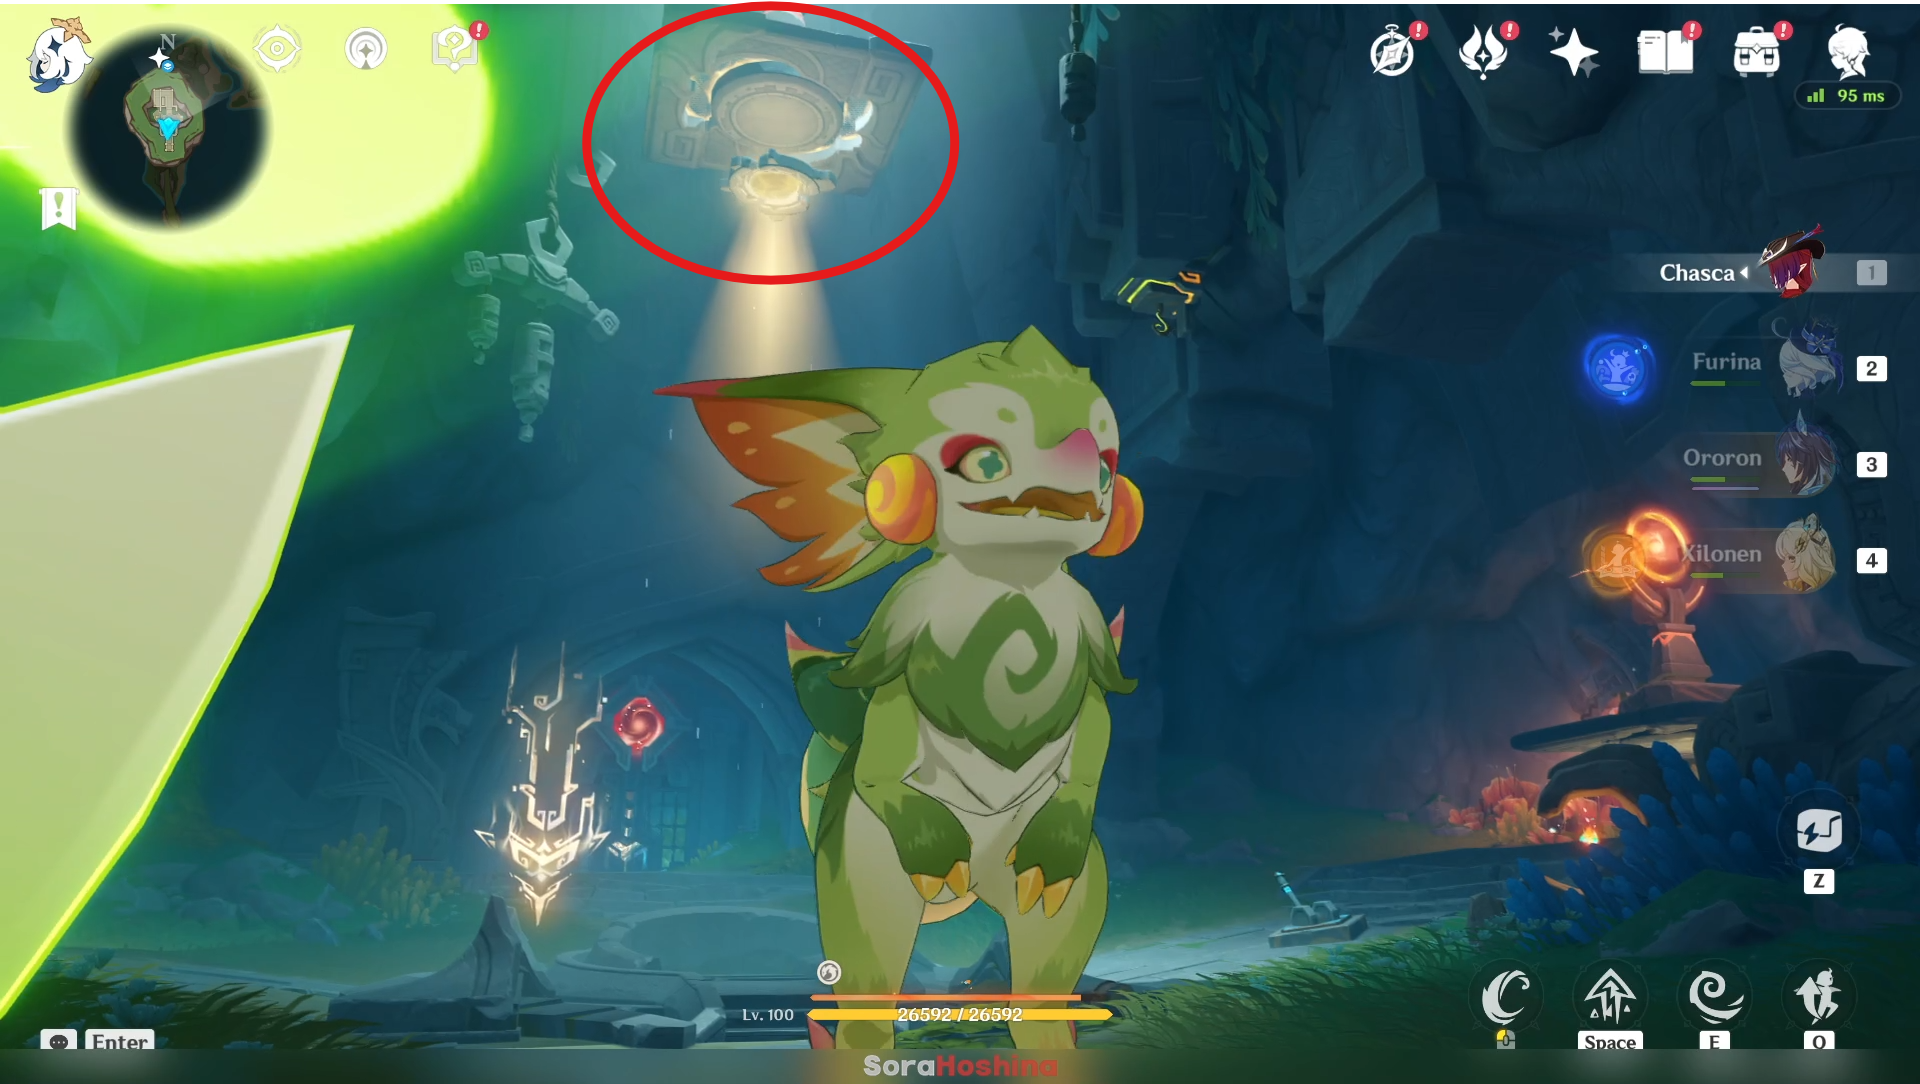
After you get the first sigil here, a platform will go down. You need this platform for the puzzle on the right side.
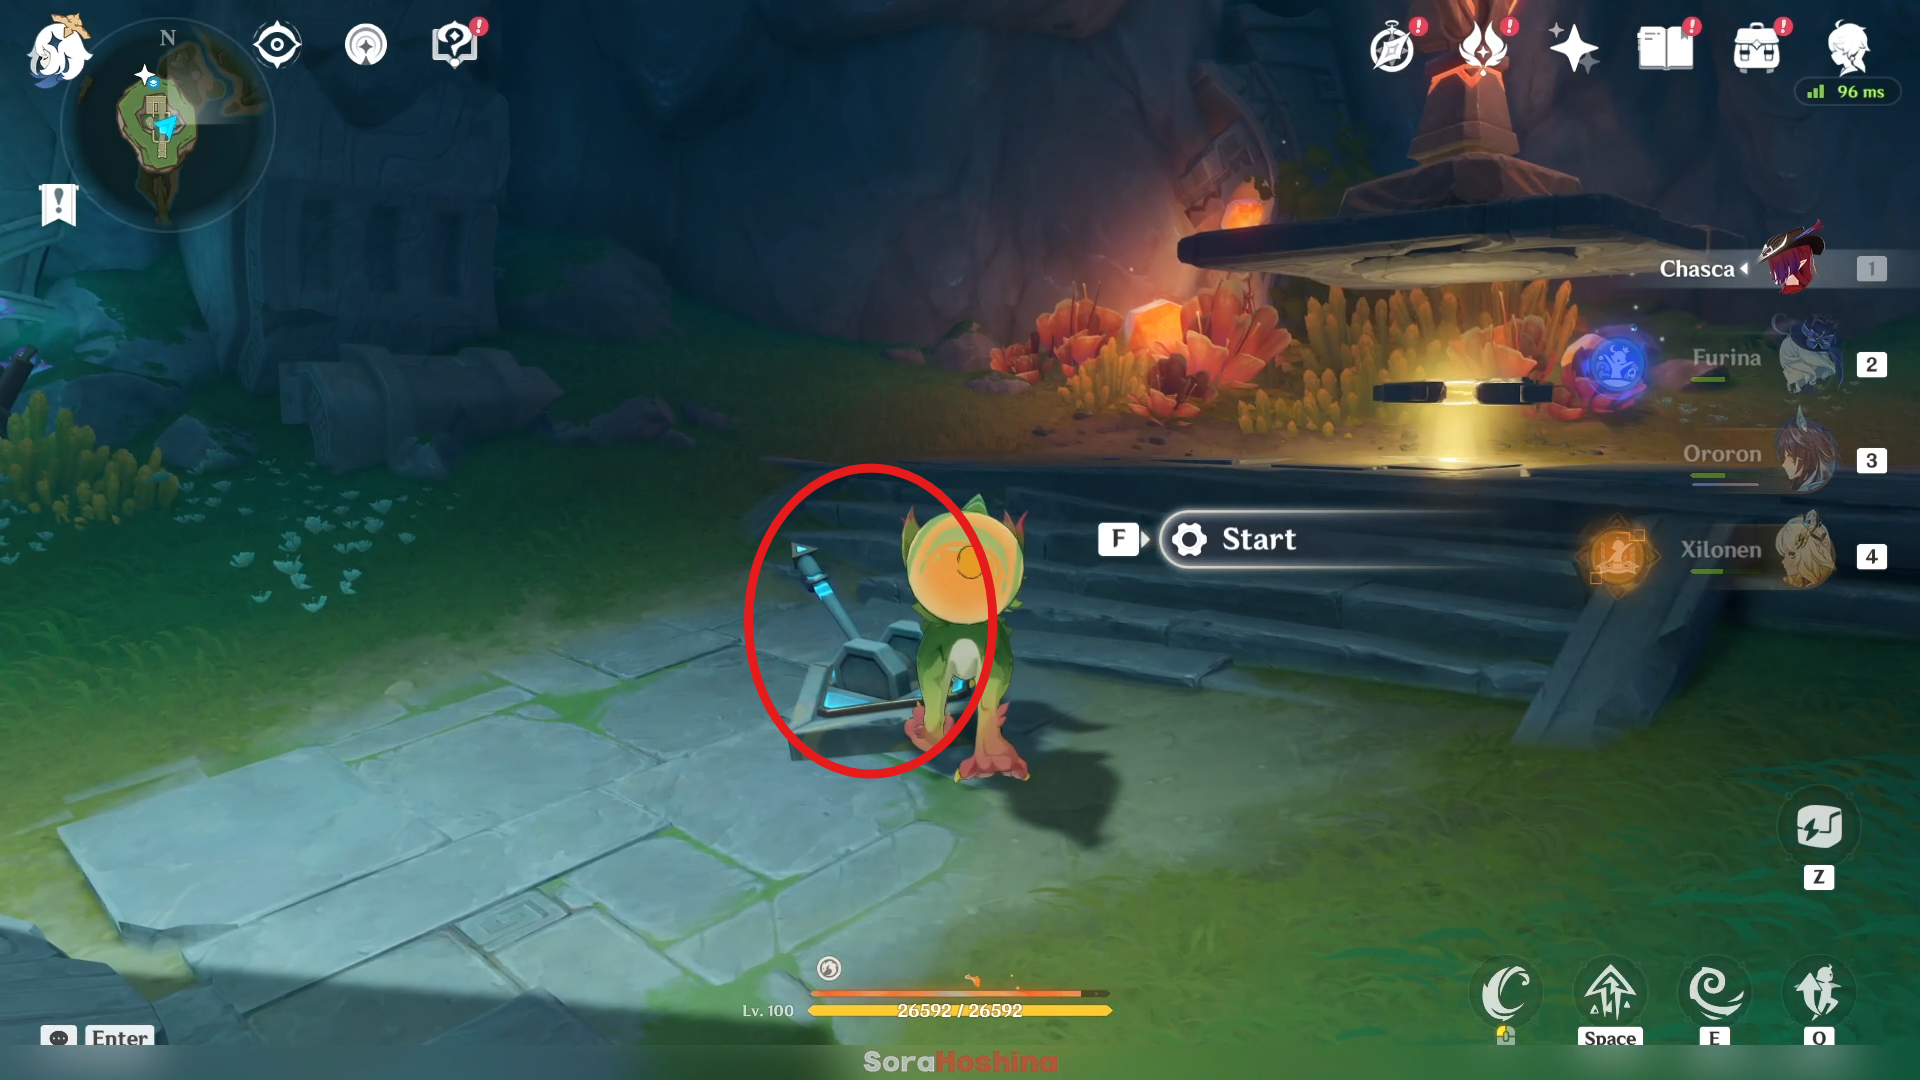
First, start the switch on the ground so the Ball Path Converter will change direction.
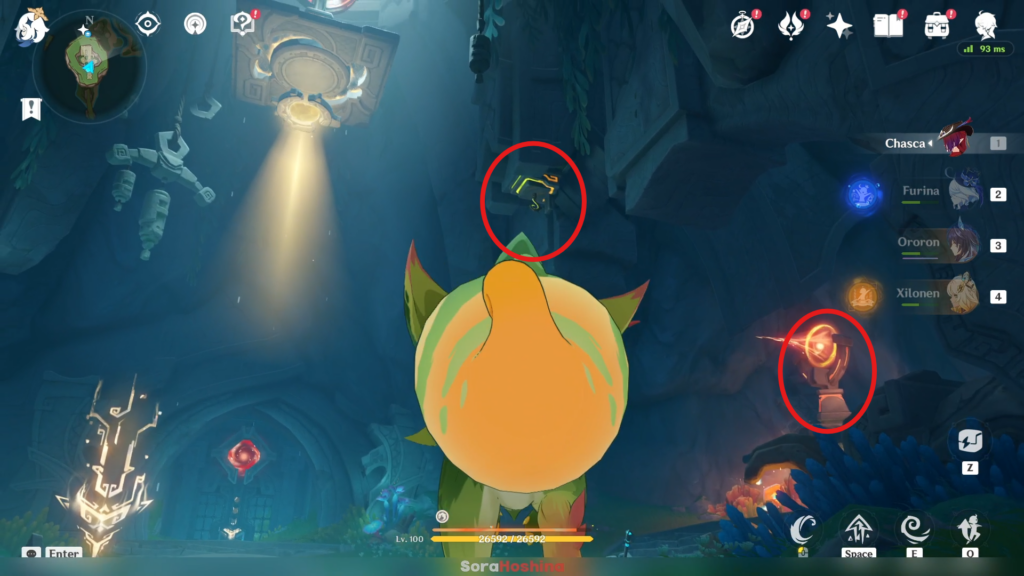
Then, pull the grappling hook to lower the platform even more (this is temporary). Finally, get the Relay Ball and throw it to the Ball Path Converter on the right side.
Third Source Mechanisms
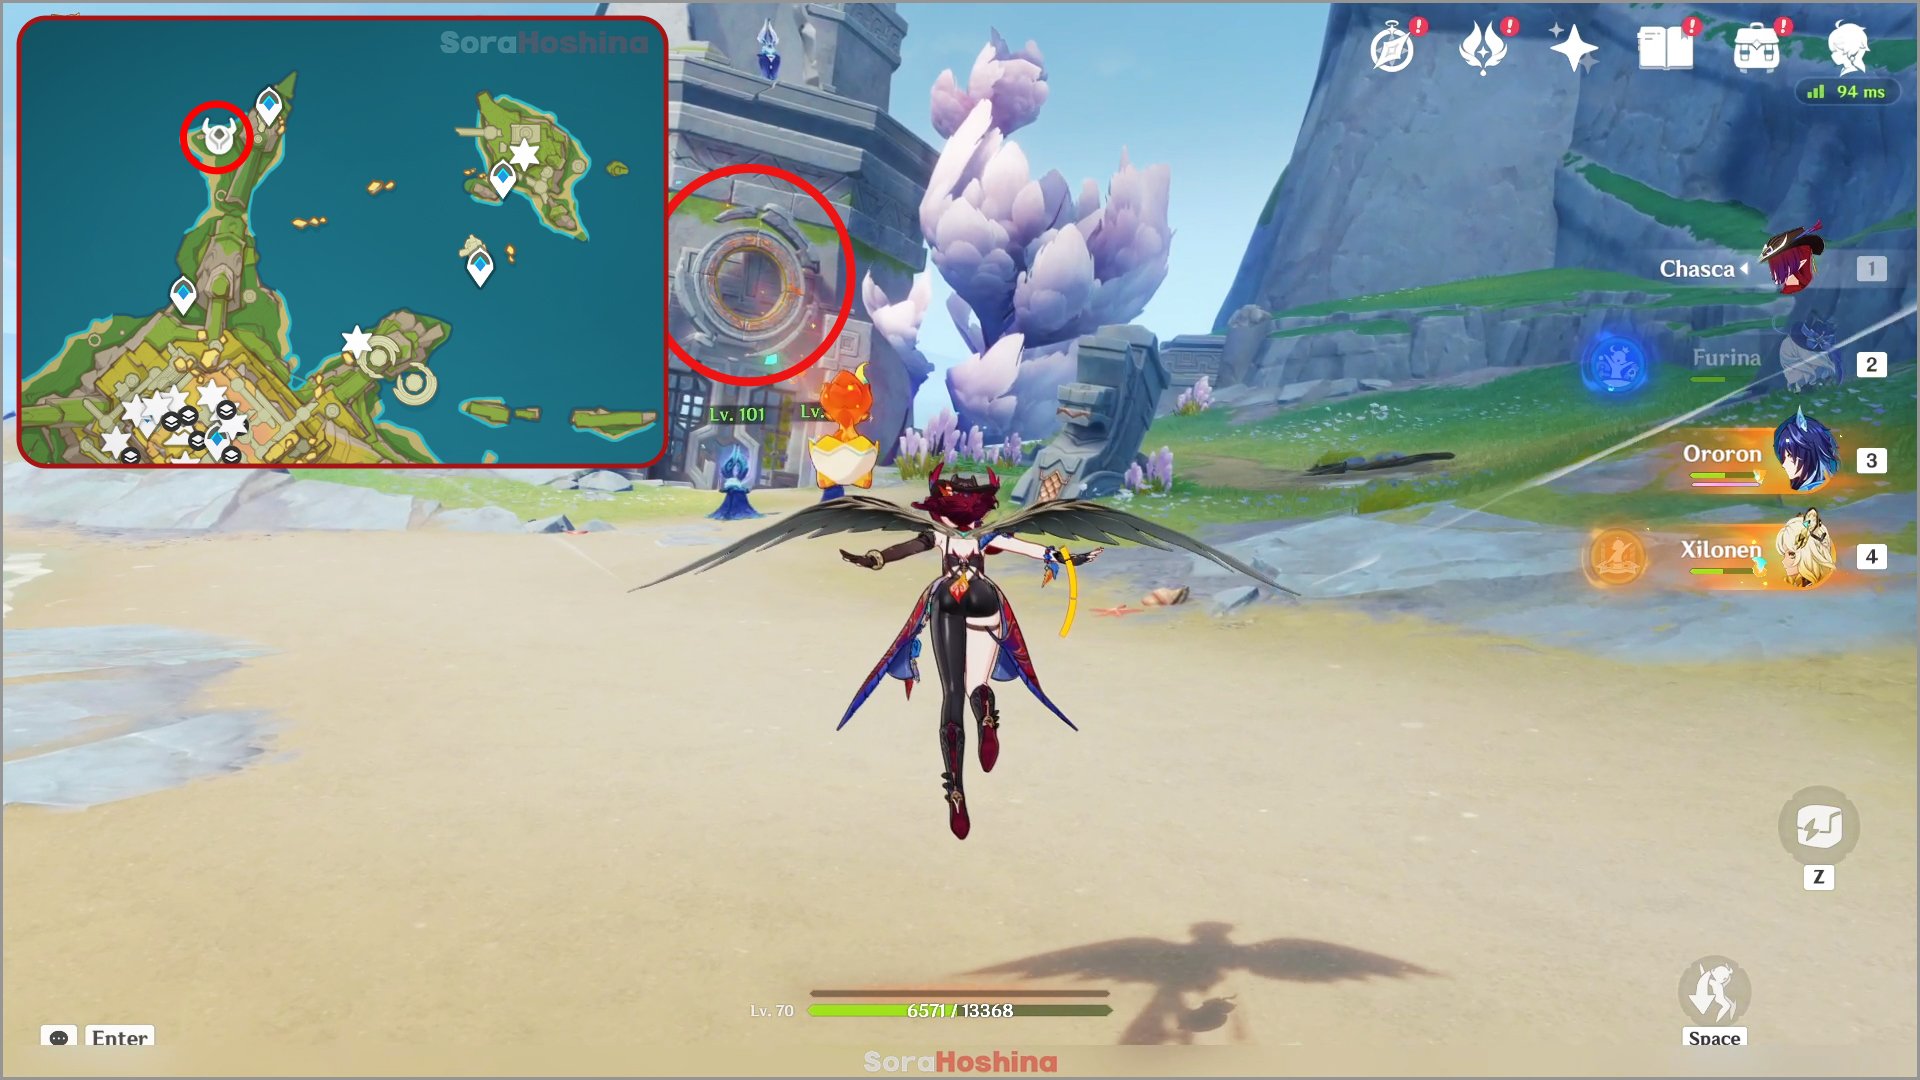
To get to the Furnaces of Fiery Embers, you need to scan the Ancient Inscribed Rings using Iktomisaur or Ororon to open the door. Once the door is opened, claim the Common Chest inside and the floor will give out to a hidden area.
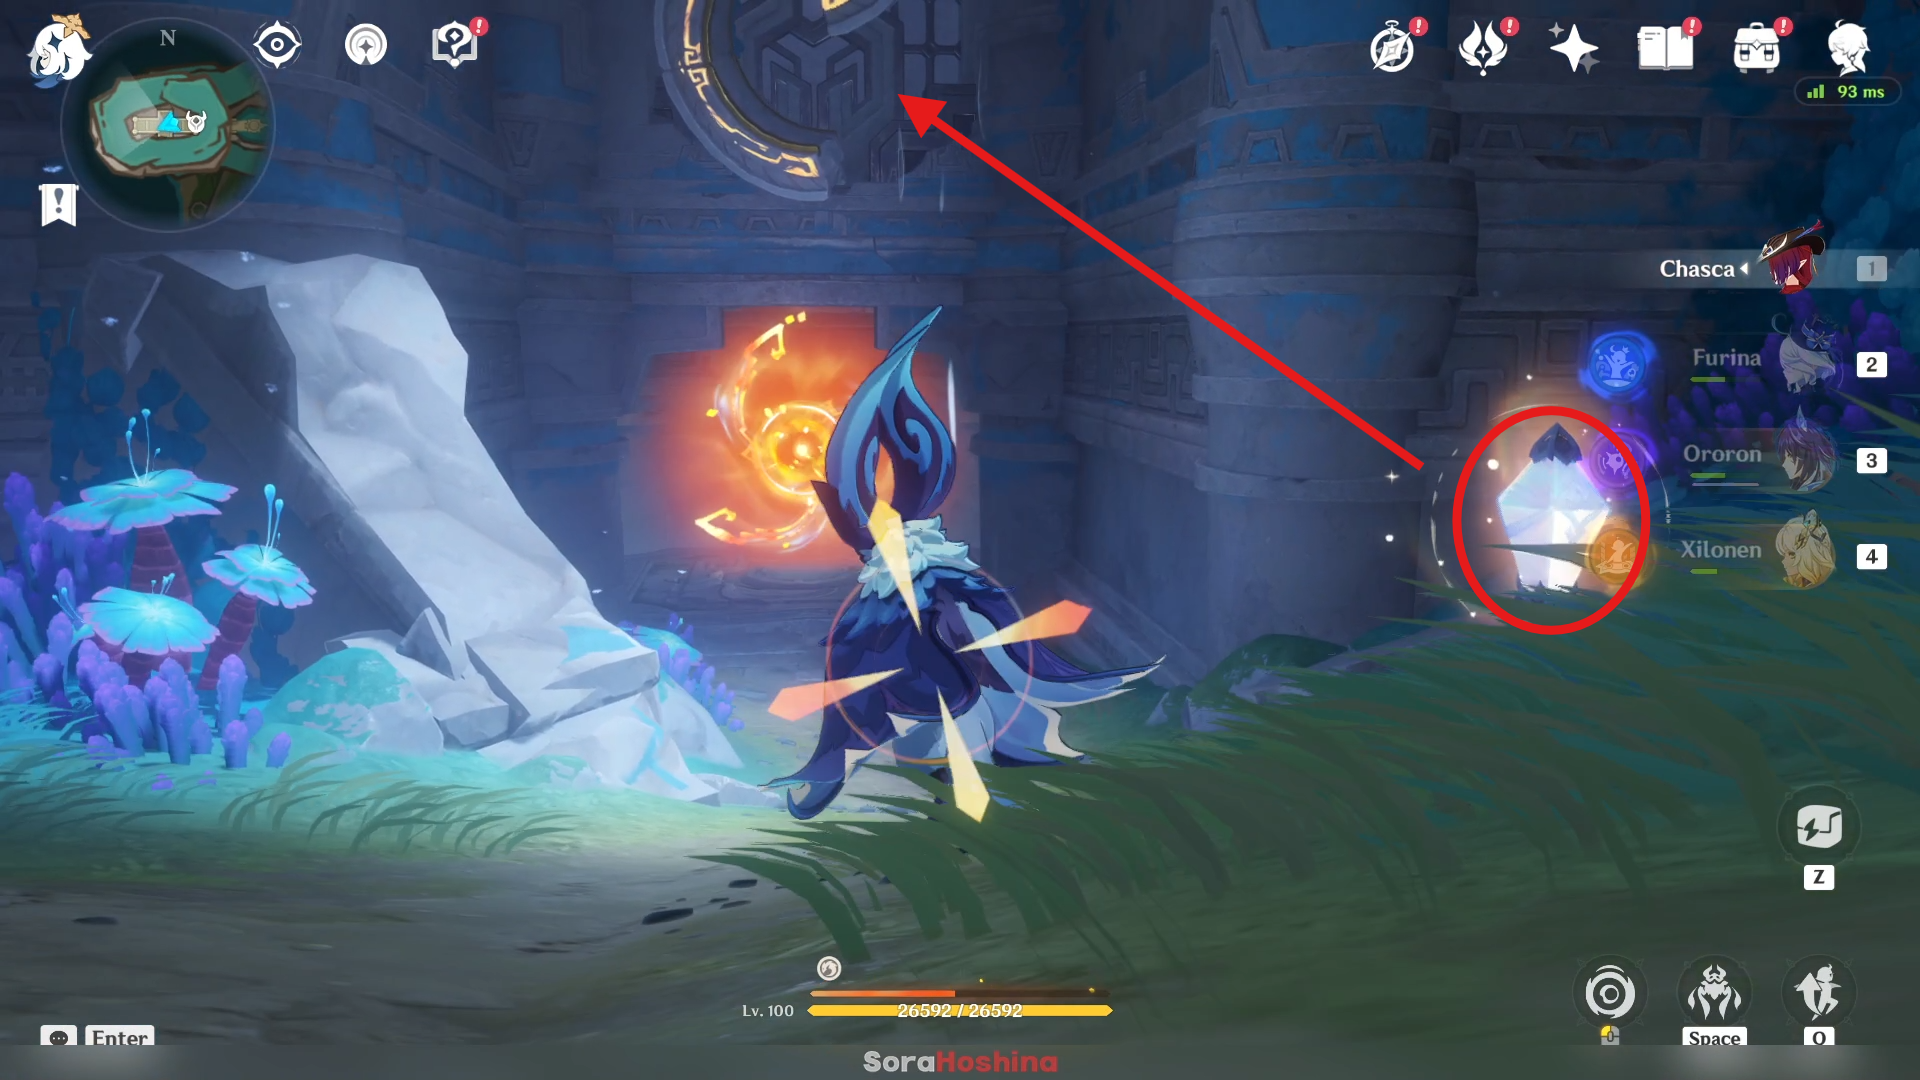
The whole puzzle in this area needs Iktomisaur to complete. First, attack the crystal so the Ancient Inscribed Ring will be completed and you can scan using Iktomisaur's power. After that, head deeper until you find another puzzle.
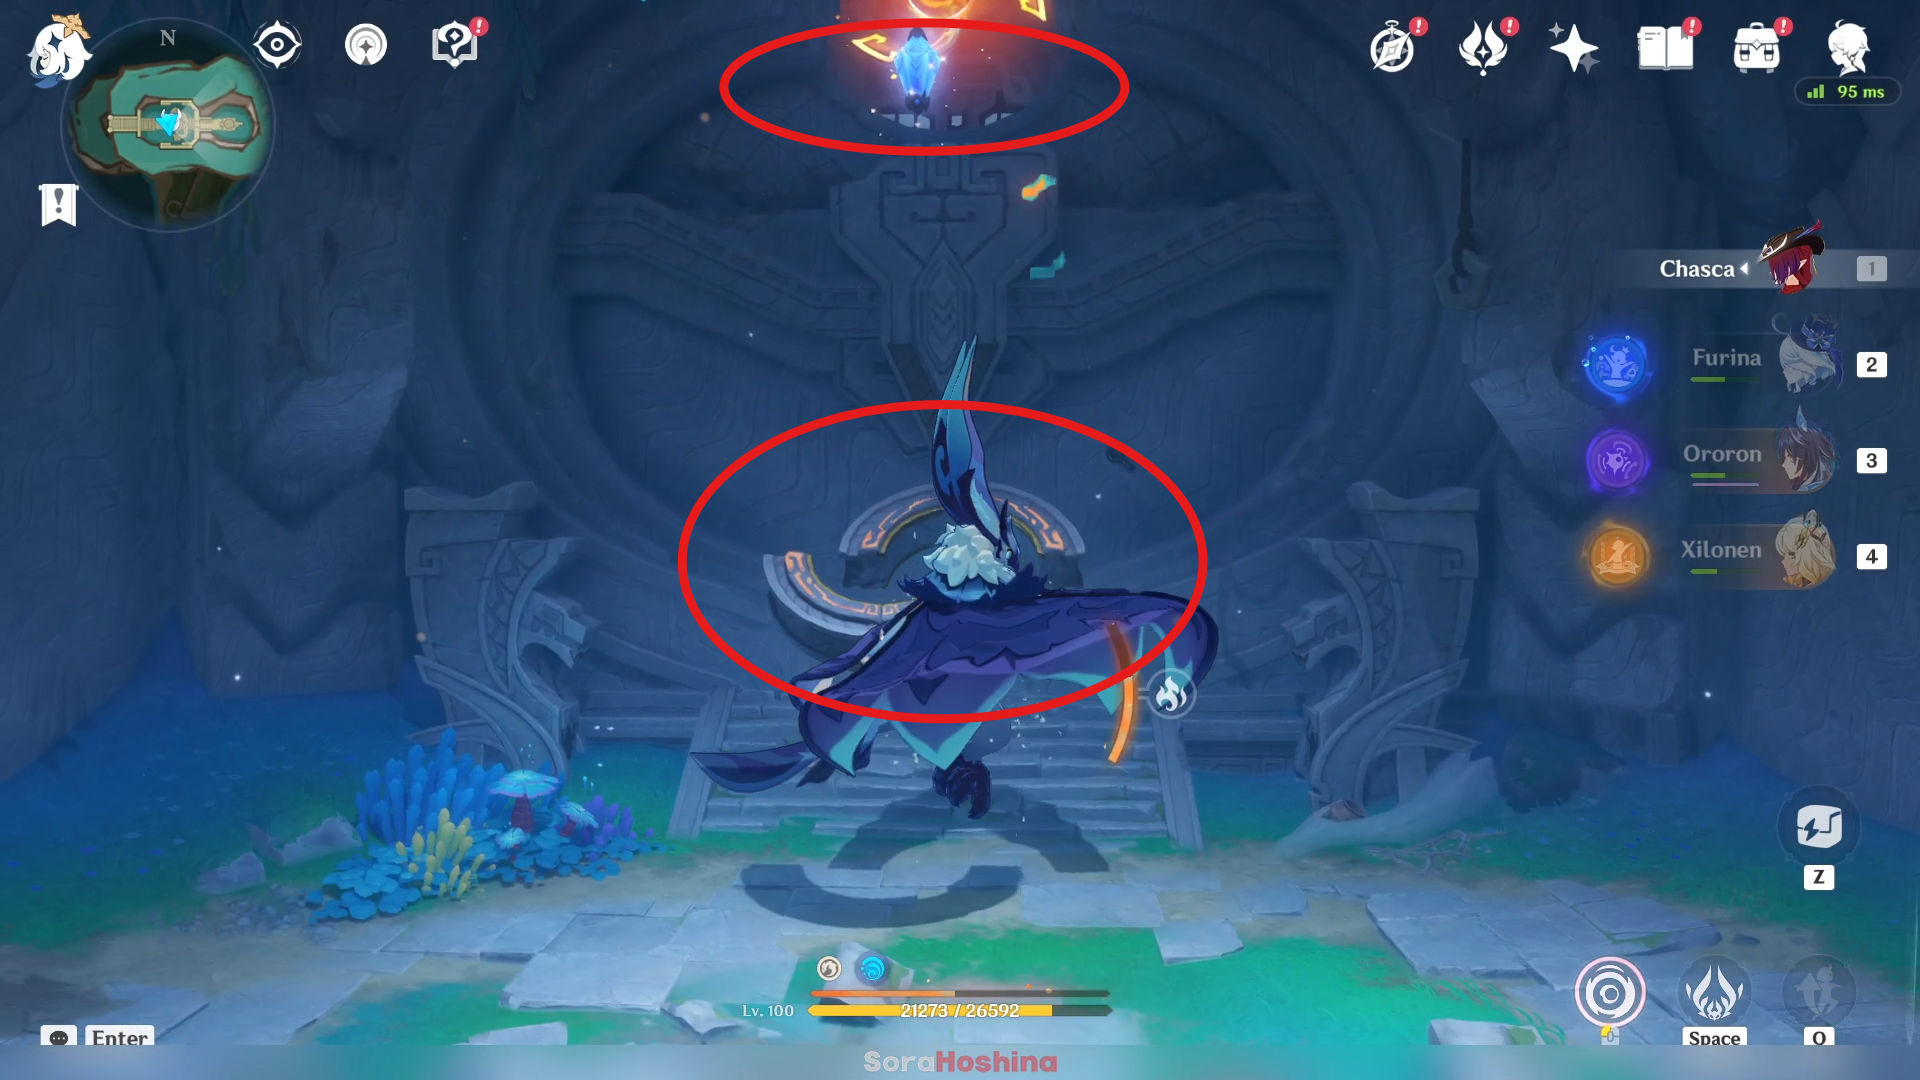
The puzzle is the same as before. This time, control your Iktomisaur so it will float in front of the crystal. This will let the fire orb attack the crystal > combining the two Ancient Inscribed Ring for you to scan.
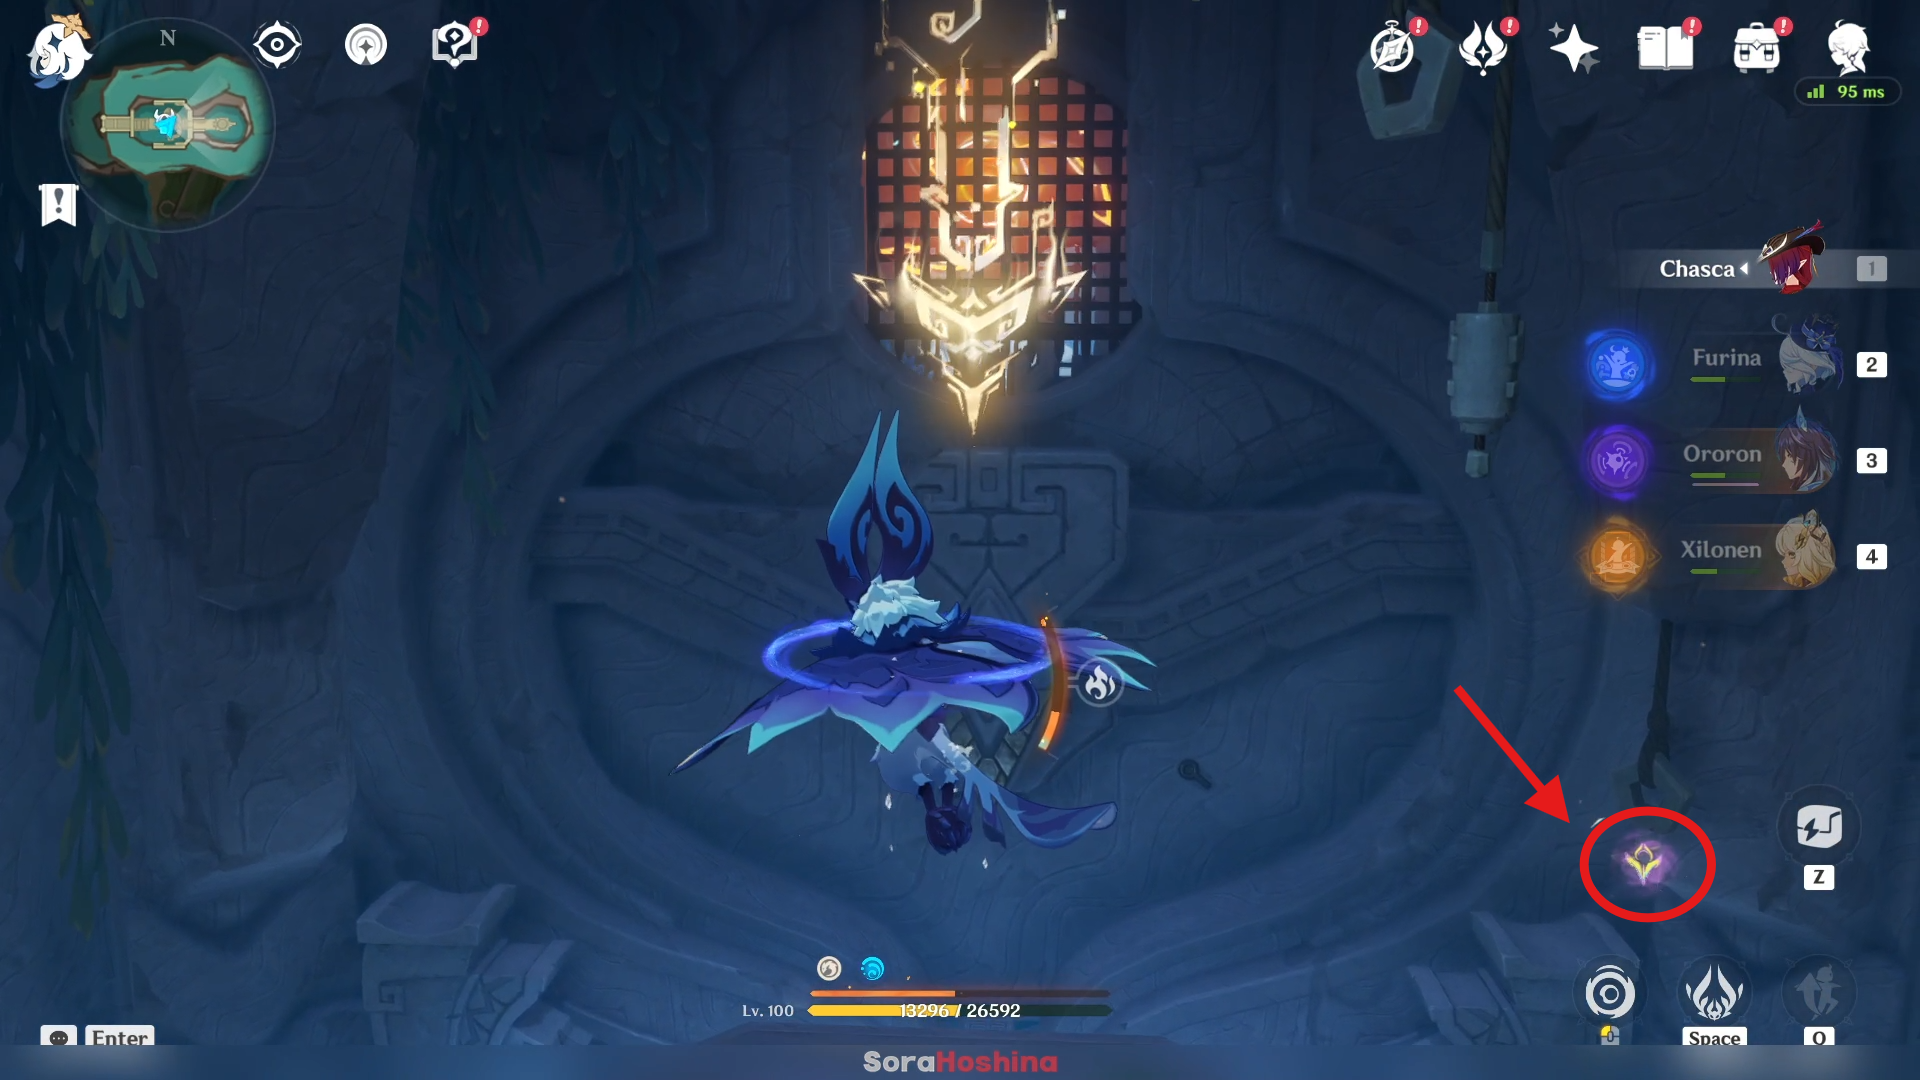
When you need to reach the sigil, absorb the graffiti on the wall first to let Iktomisaur jump even higher. You will be transported to the surface again.
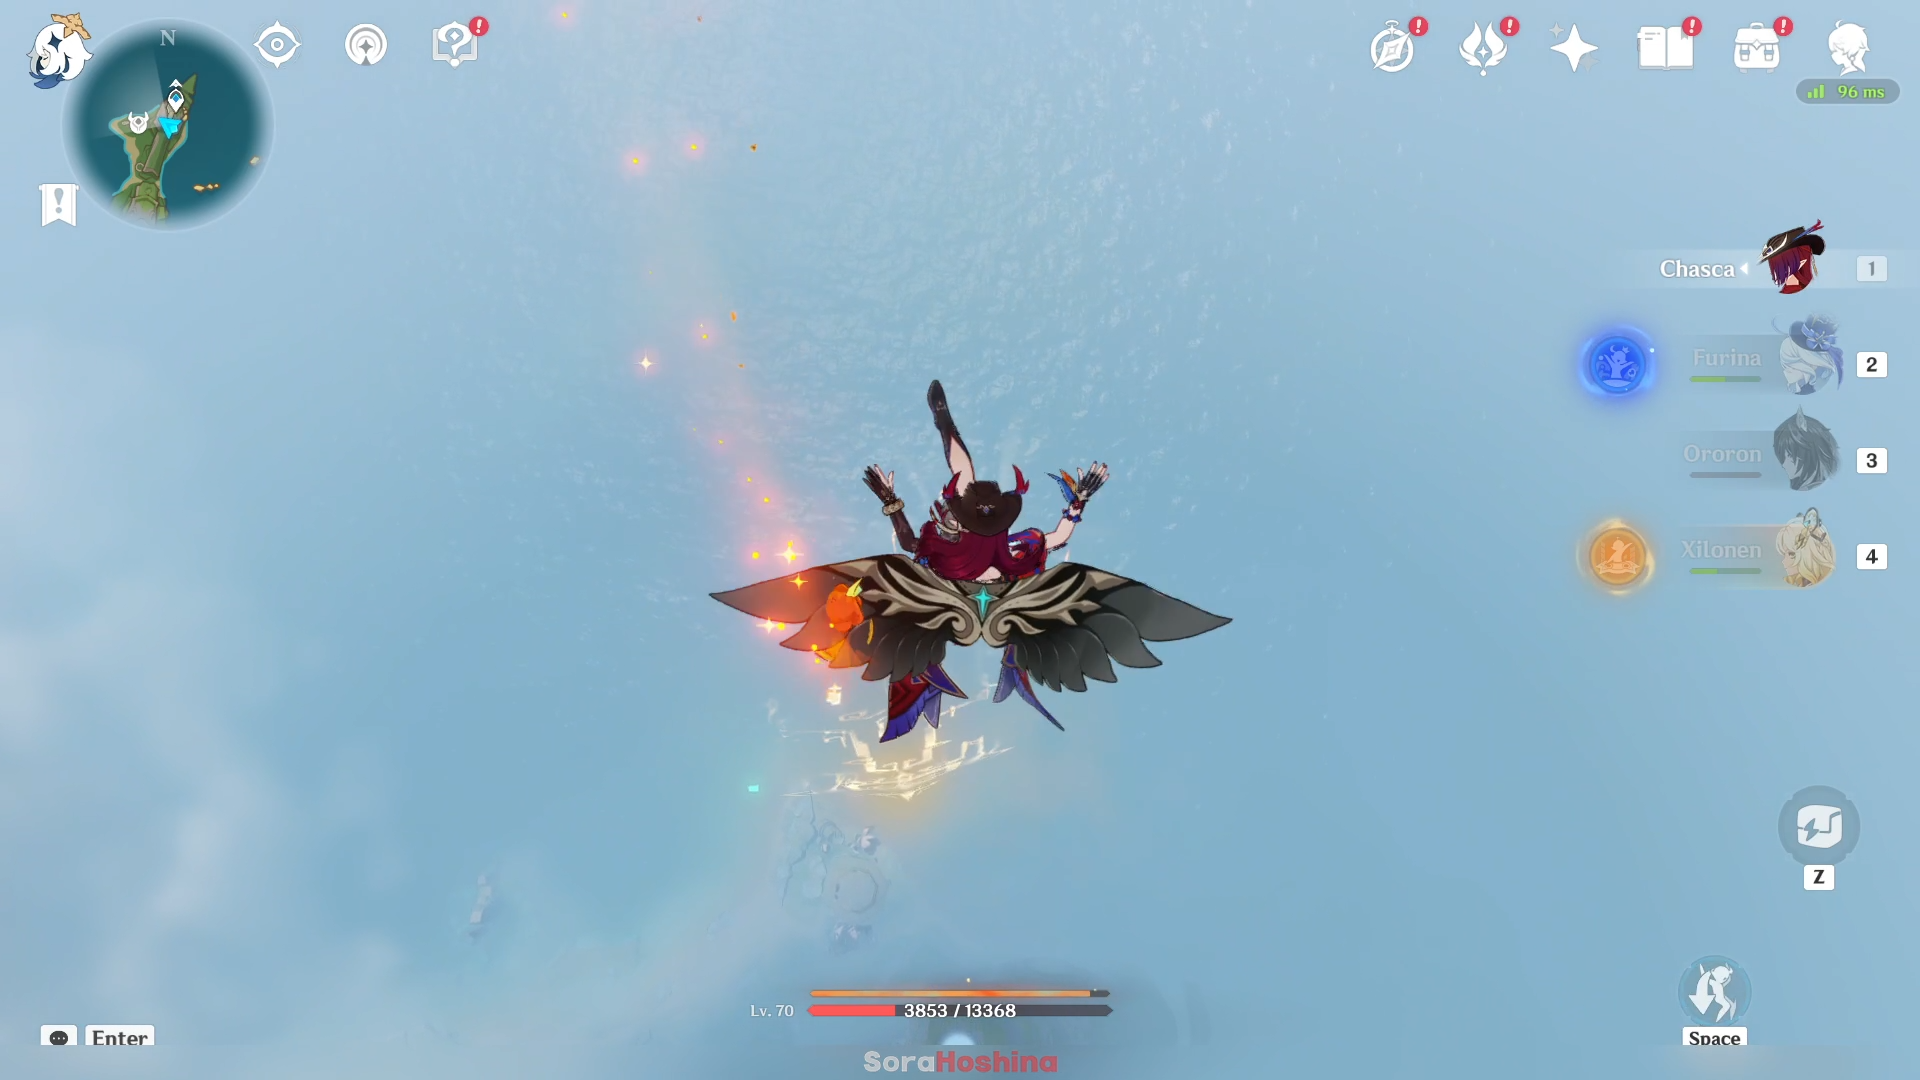
After defeating the enemy, keep following the sigil until it reach the bottom.
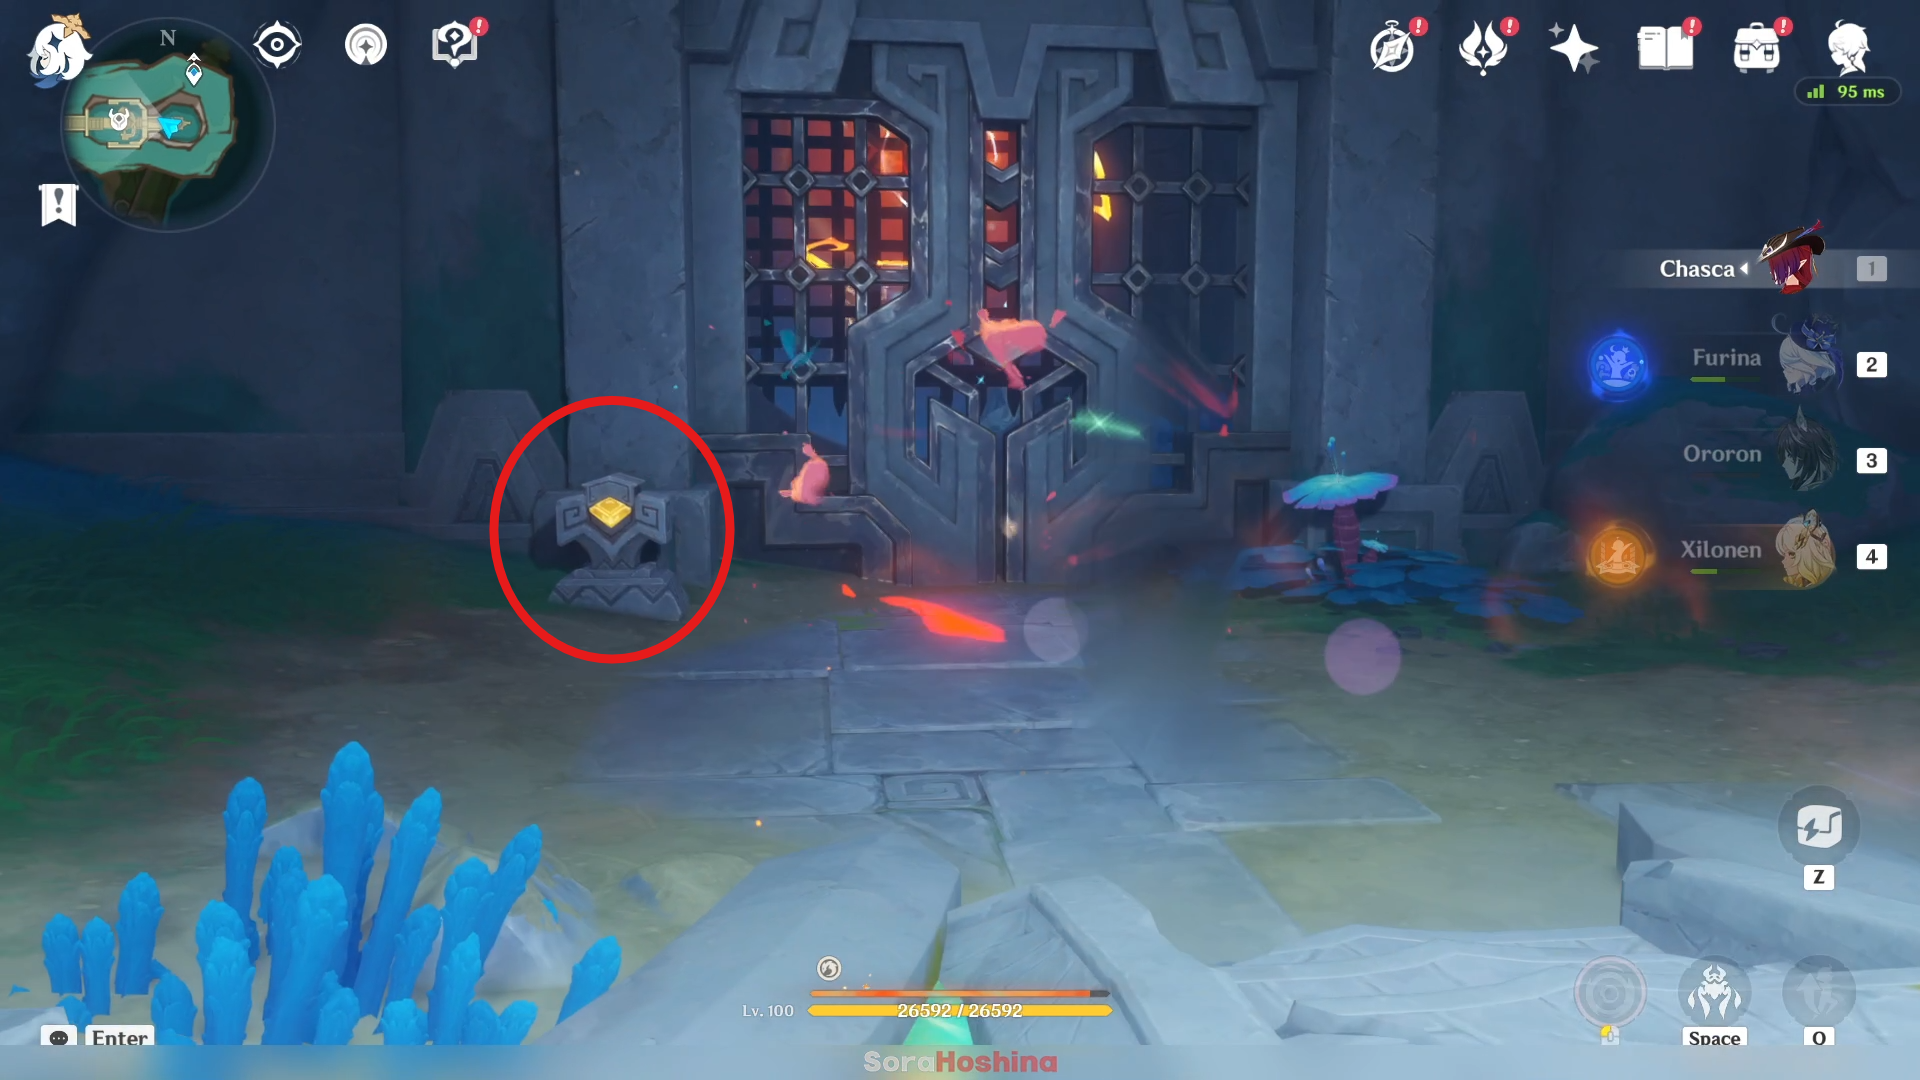
Open the door and get the second sigil to complete the puzzle in this location.
Fourth Source Mechanisms
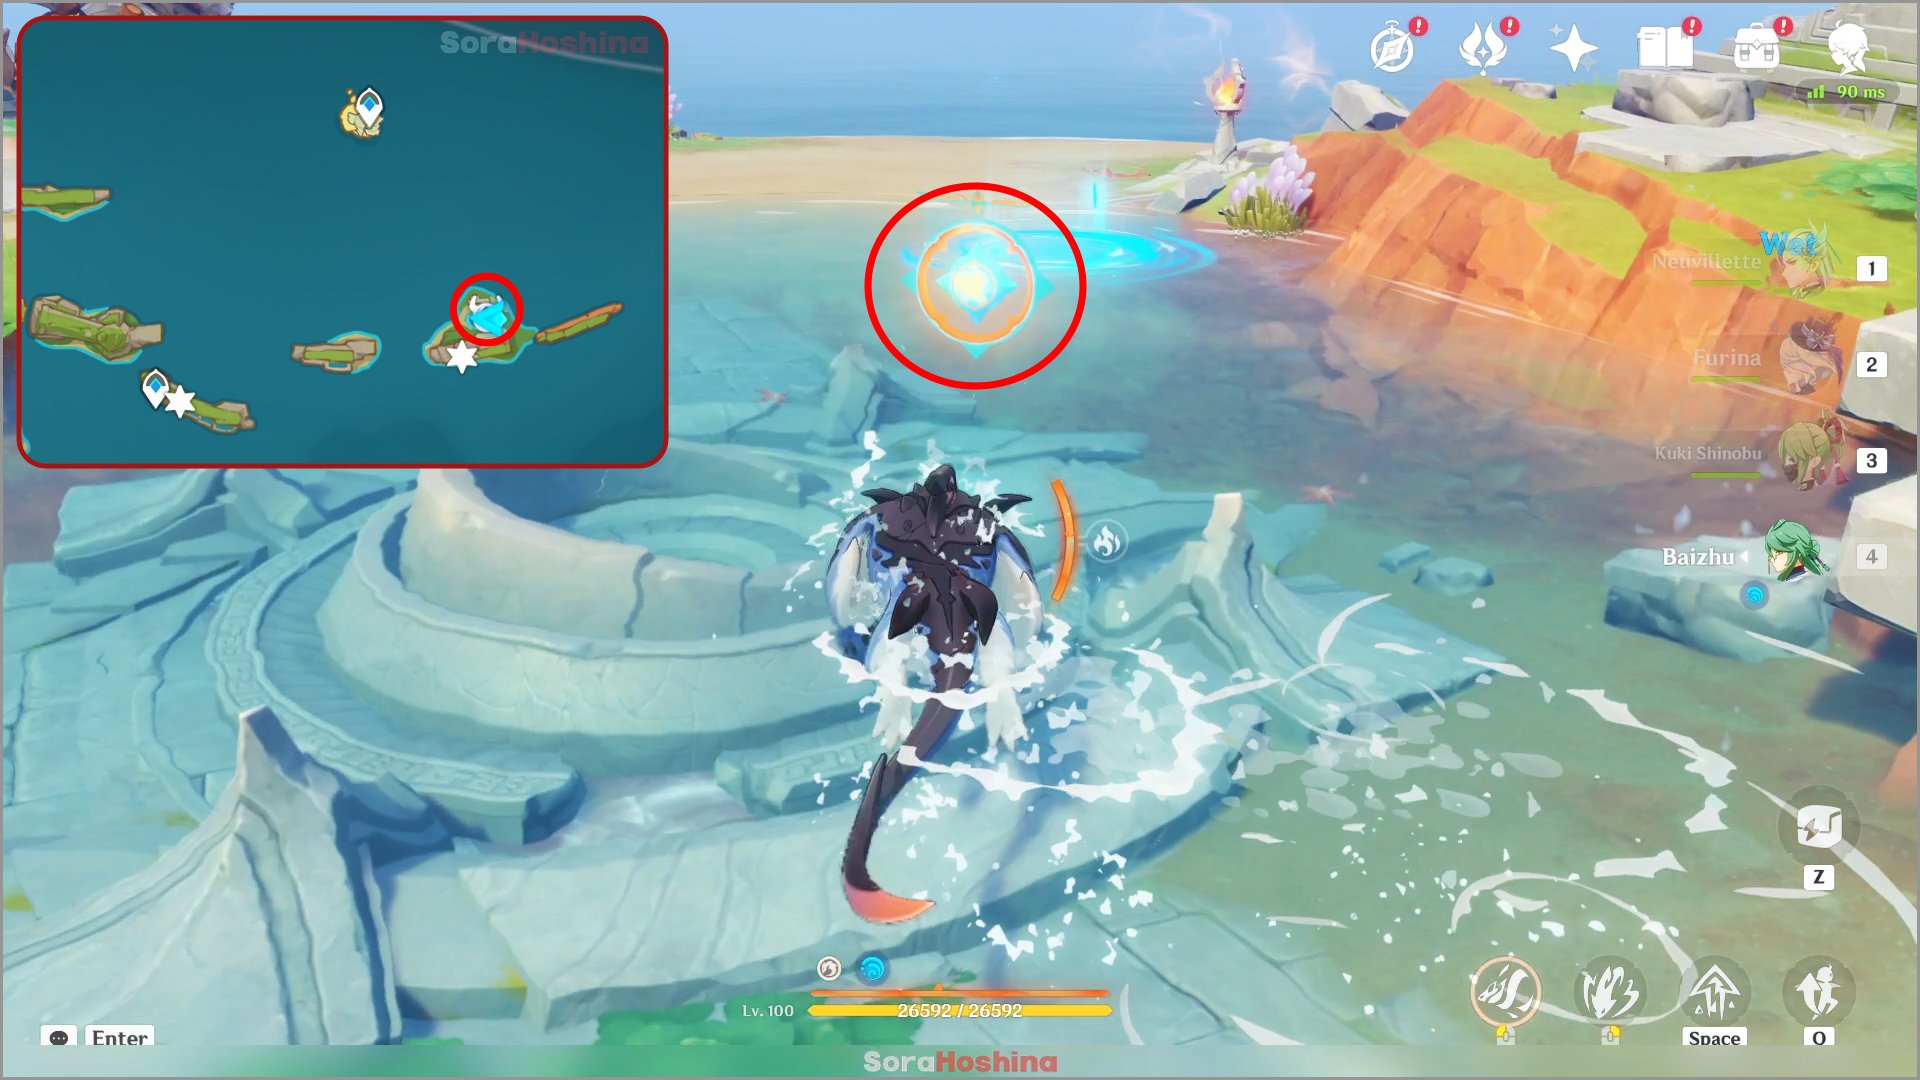
Teleport to any of the nearby waypoint and head to the island far east of Ochkanatlan. There, indwell a Koholasaurus and destroy all the Flowlight Orbs. After all are destroyed, you will unlock unlock a Spiritway that brings you to the floating island up north. On that island is a Local Legend.
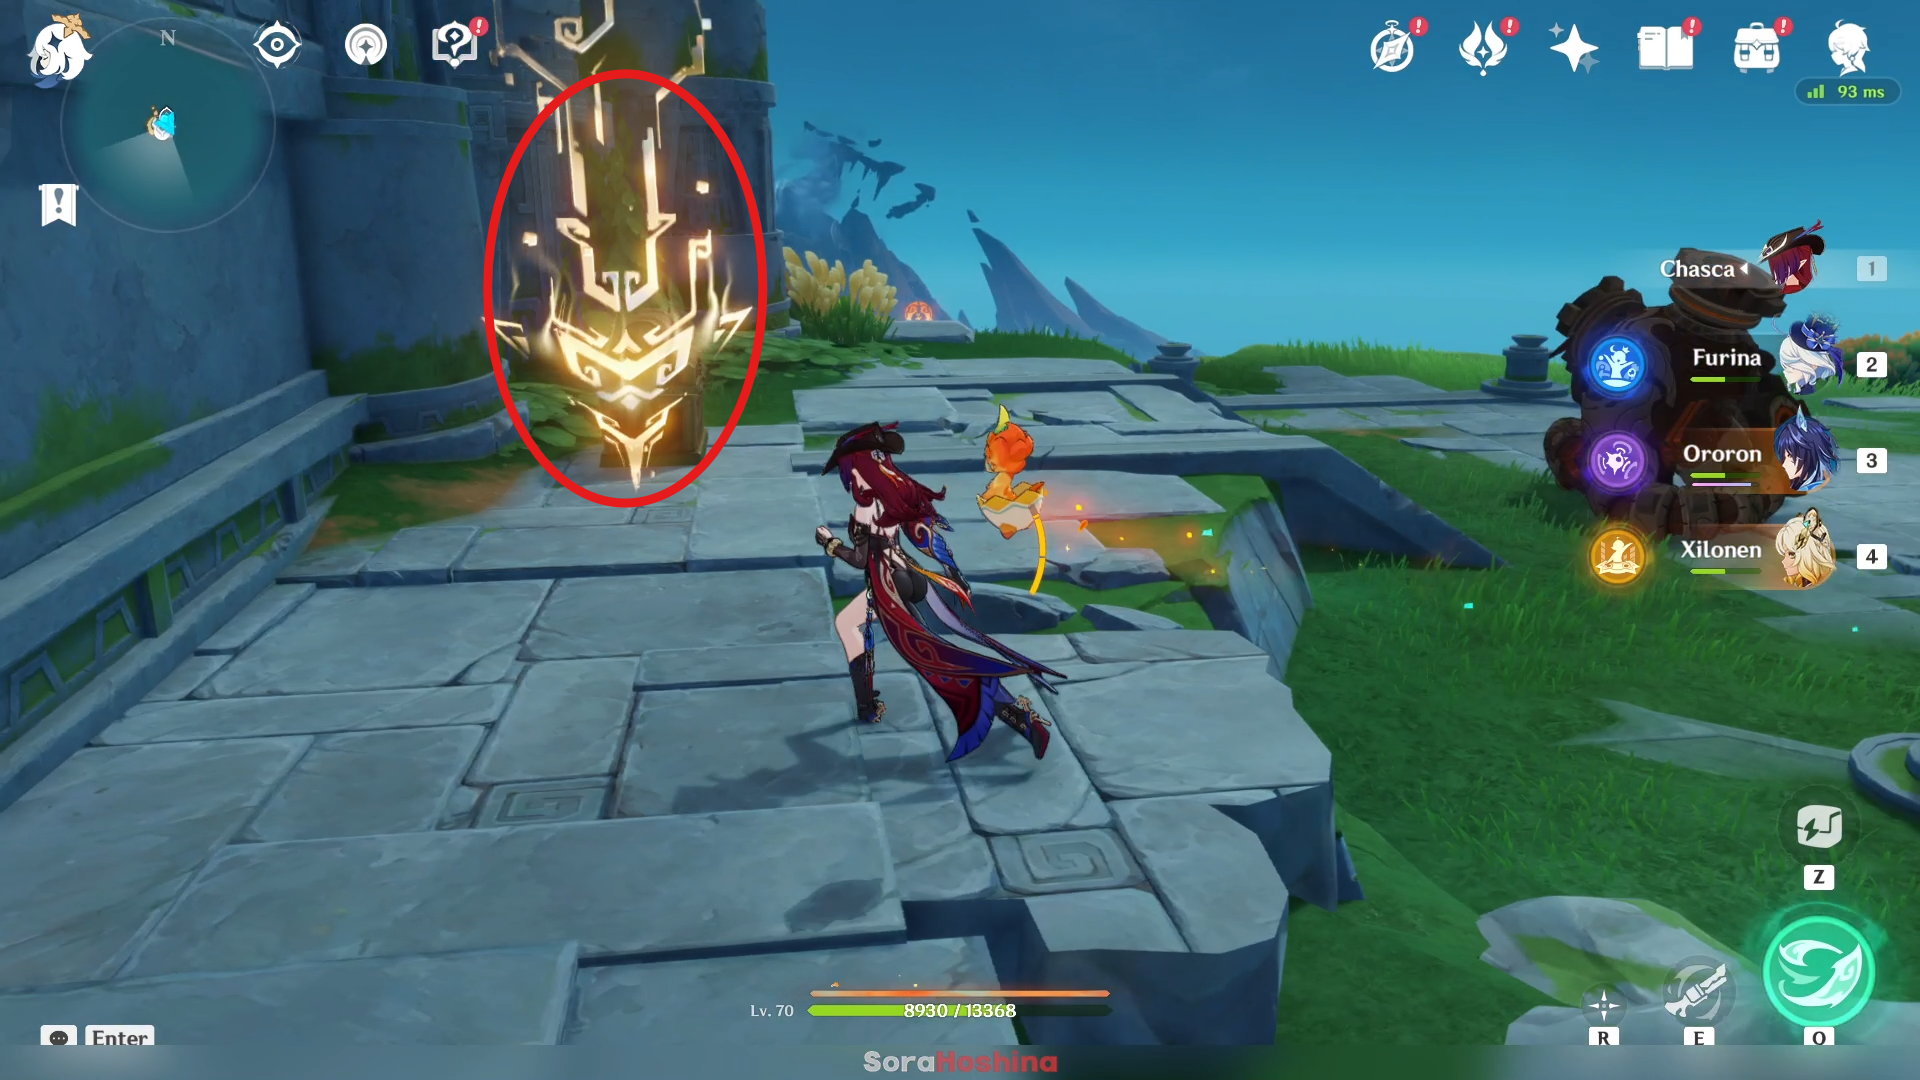
But ignore that Local Legend and interact with the sigil. It will instantly be transported to the previous island.
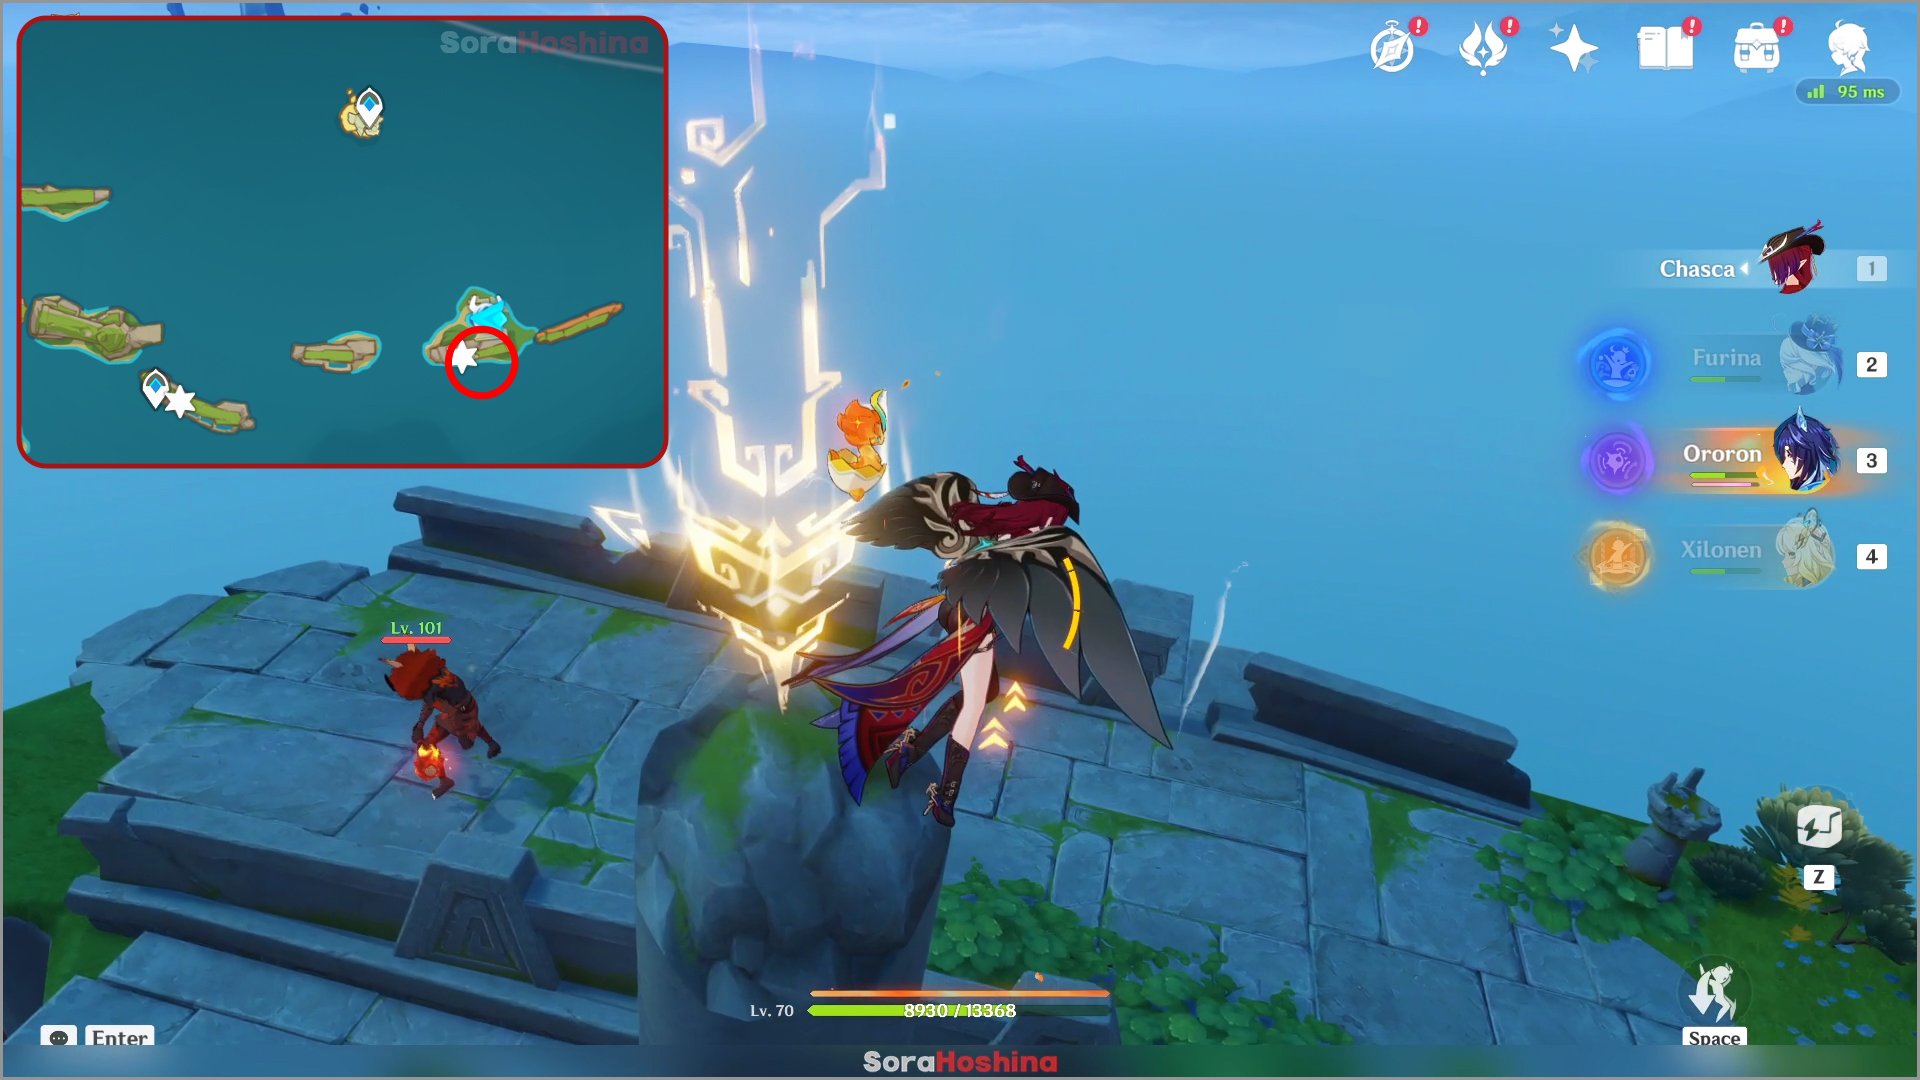
Next, go back to the previous island where you break the Flowlight Orb and go to the top of the mountain to find the second sigil.
Fifth Source Mechanisms
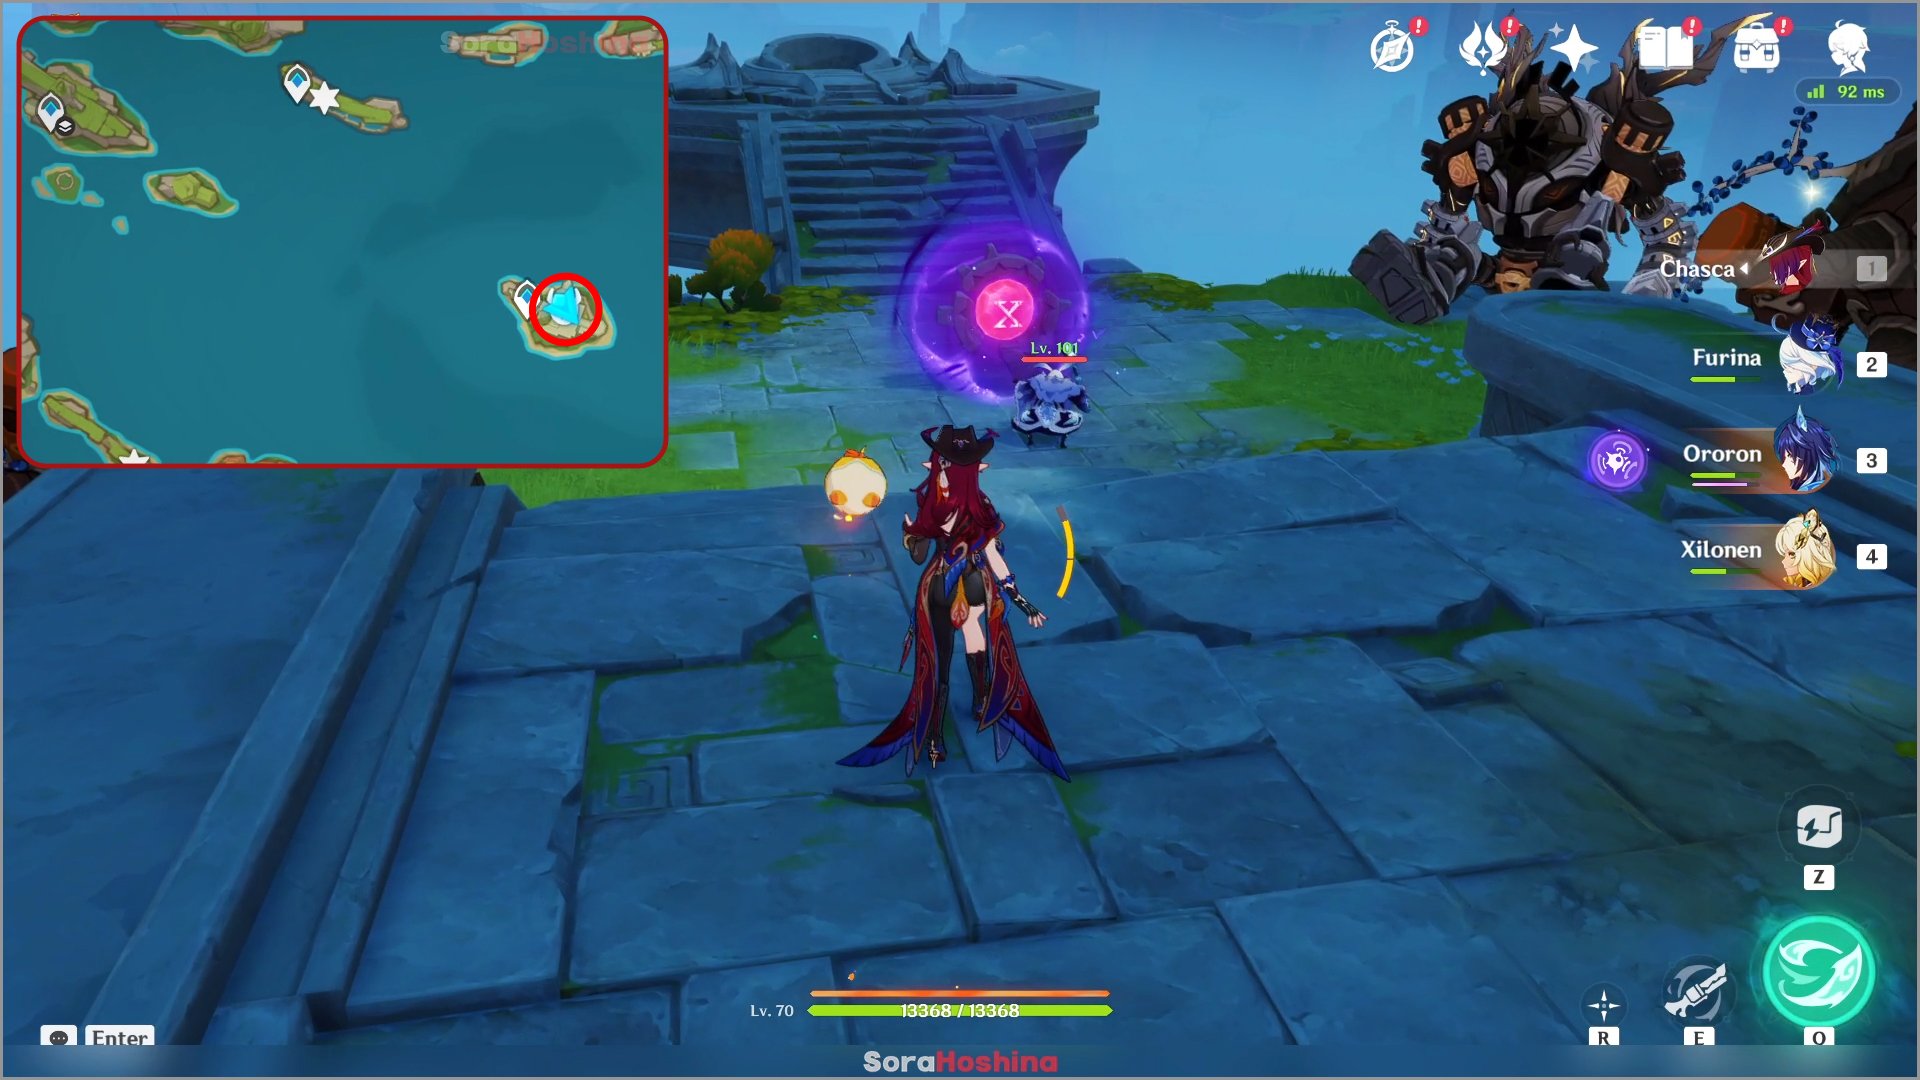
Teleport to the waypoint far southeast of Ochkanatlan and defeat the Abyss Mage to activate the button. When you start it, 2 sigils will appear.
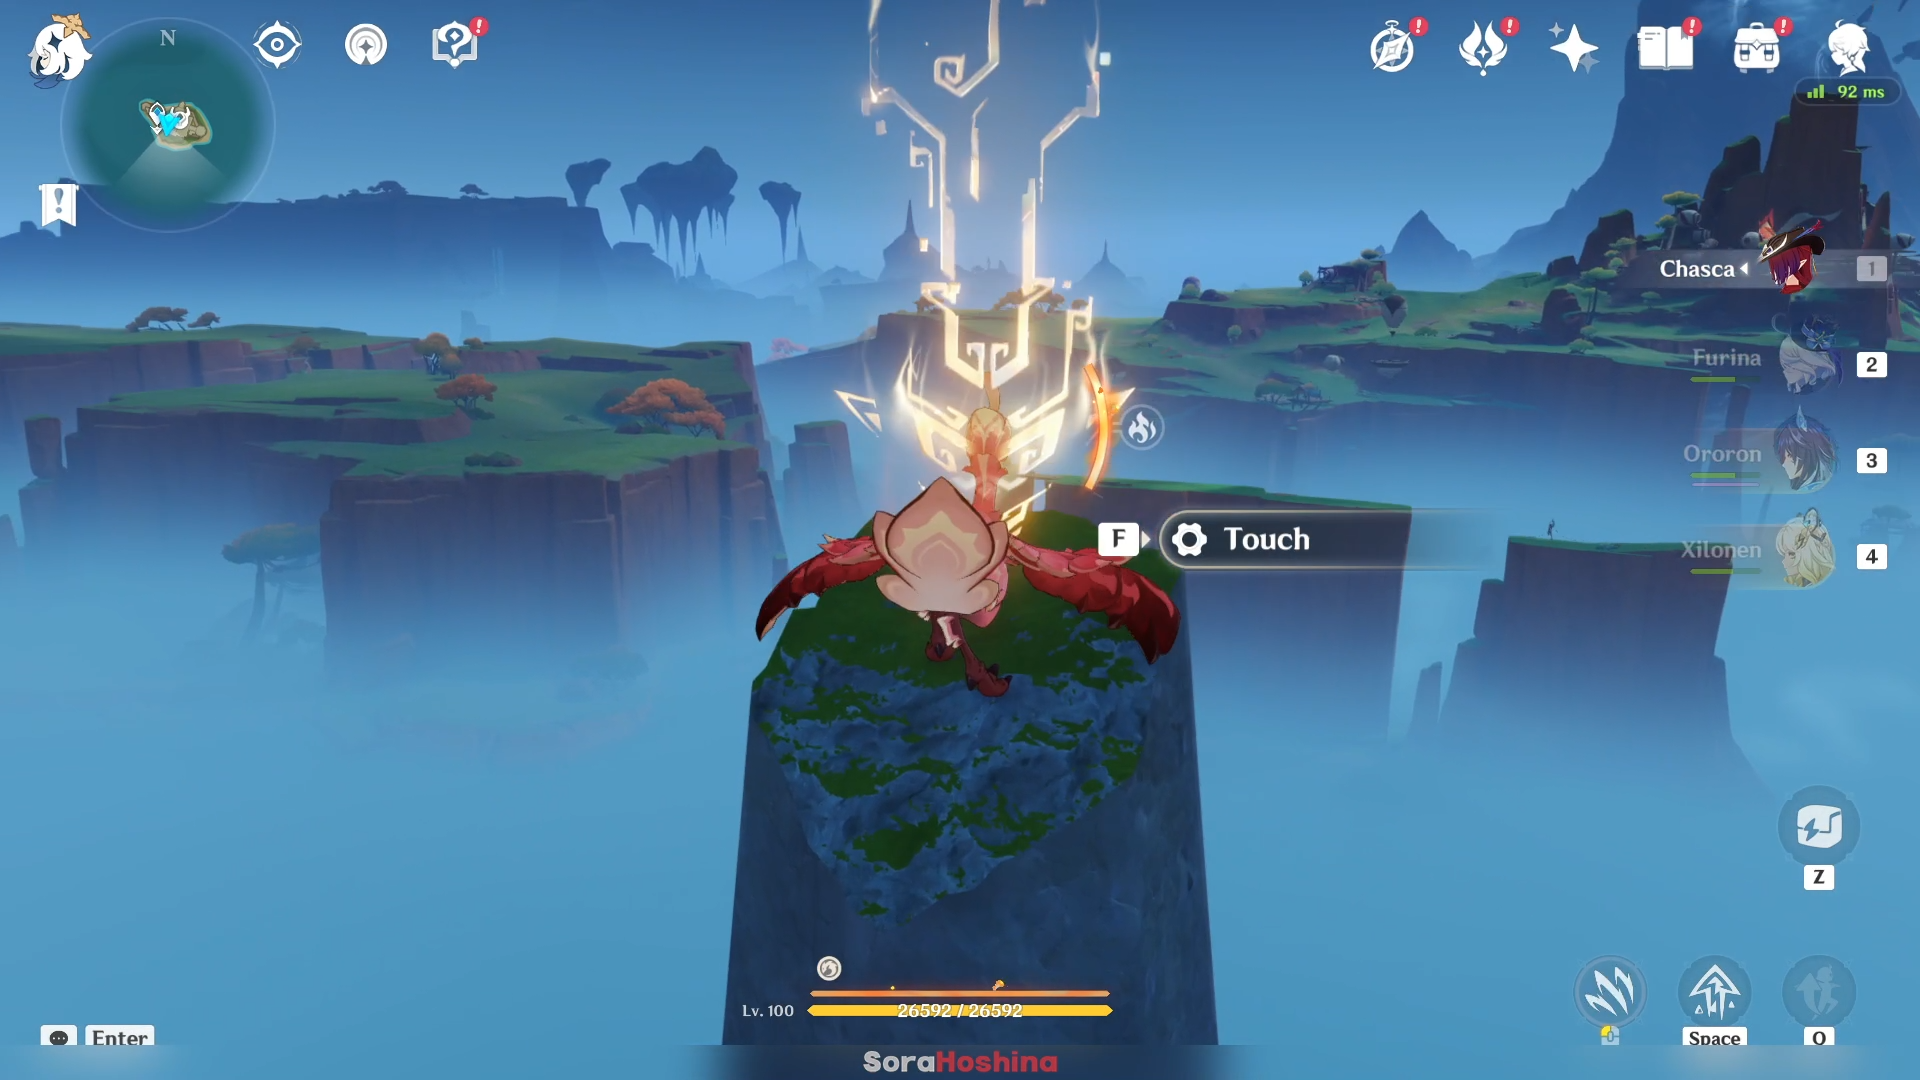
The first sigil is on top of the mountain where you can fly using Qucusaur. While the second one is below the waypoint in this island.
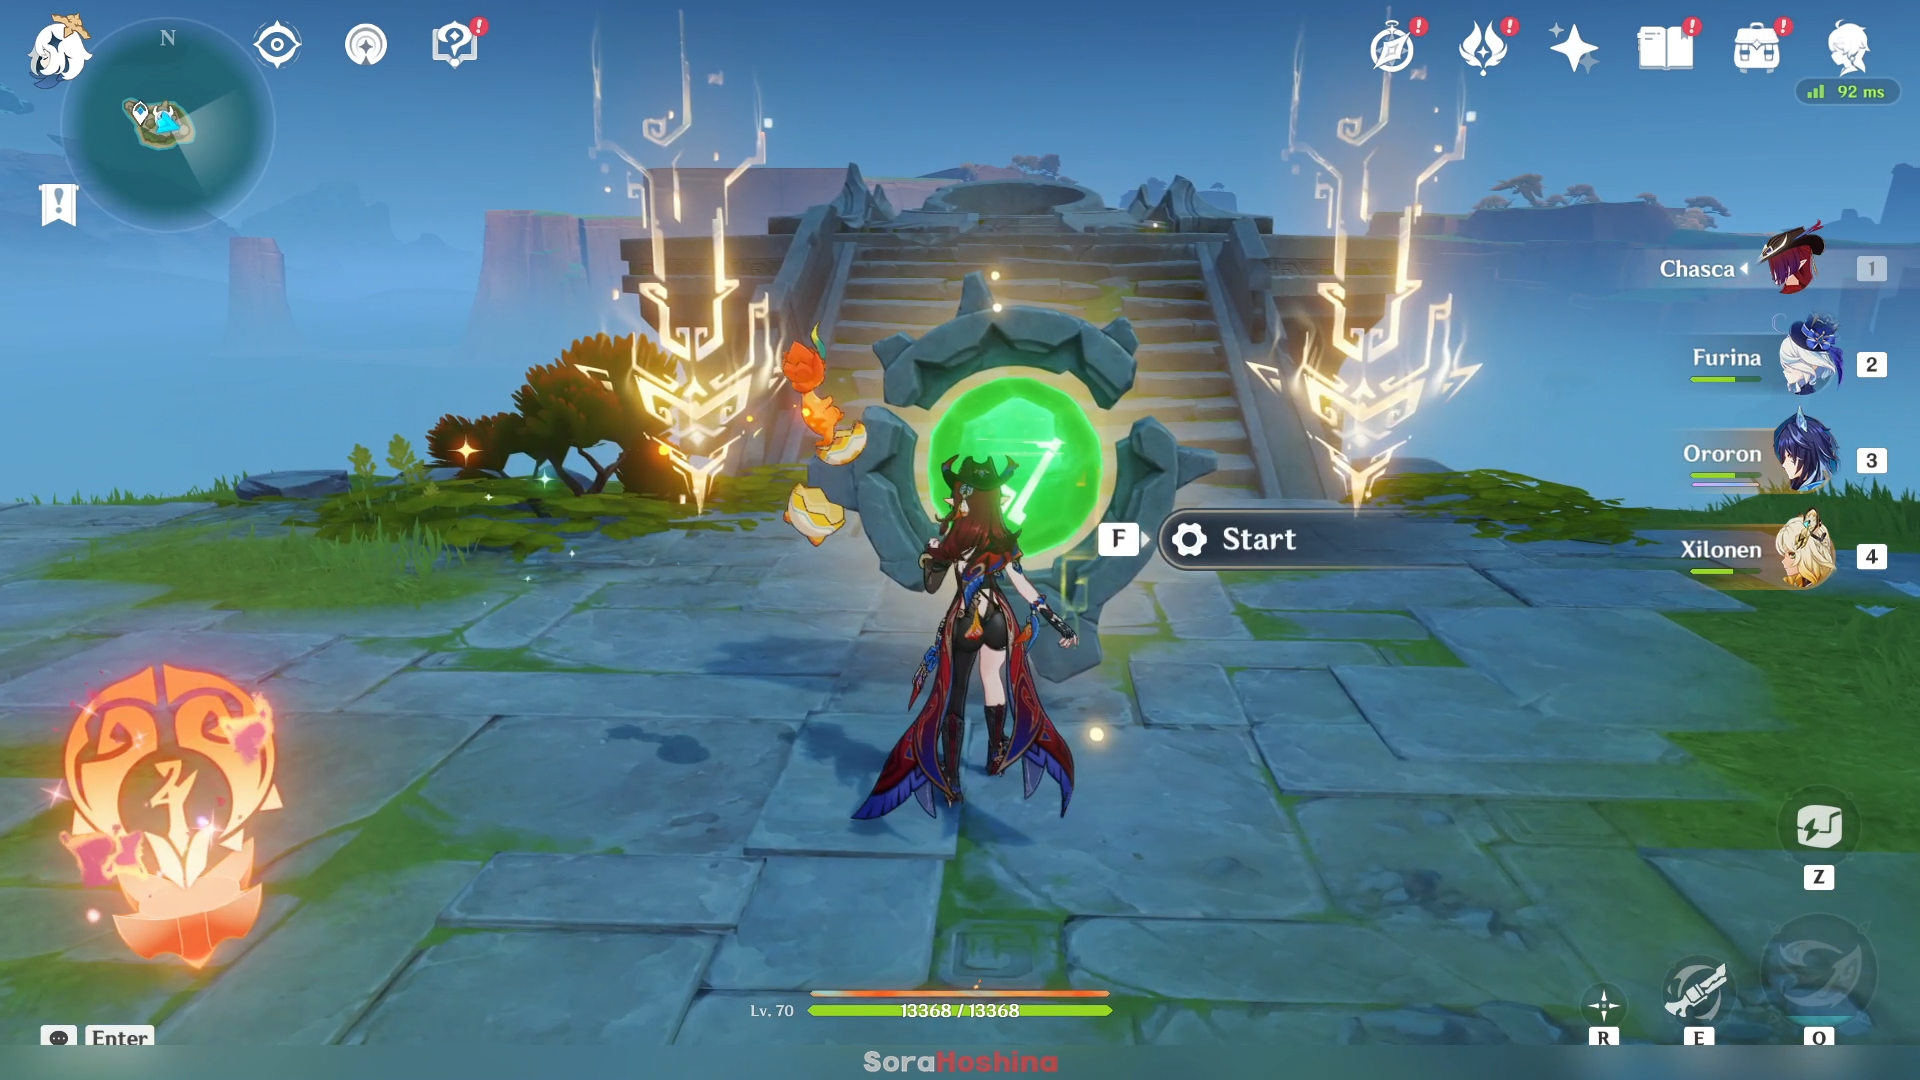
Once the sigils area back, interact with the button to start the challenge. Defeat the enemies to complete the puzzle. For an easy puzzle, we get a Luxurious Chest as a reward, which is great.
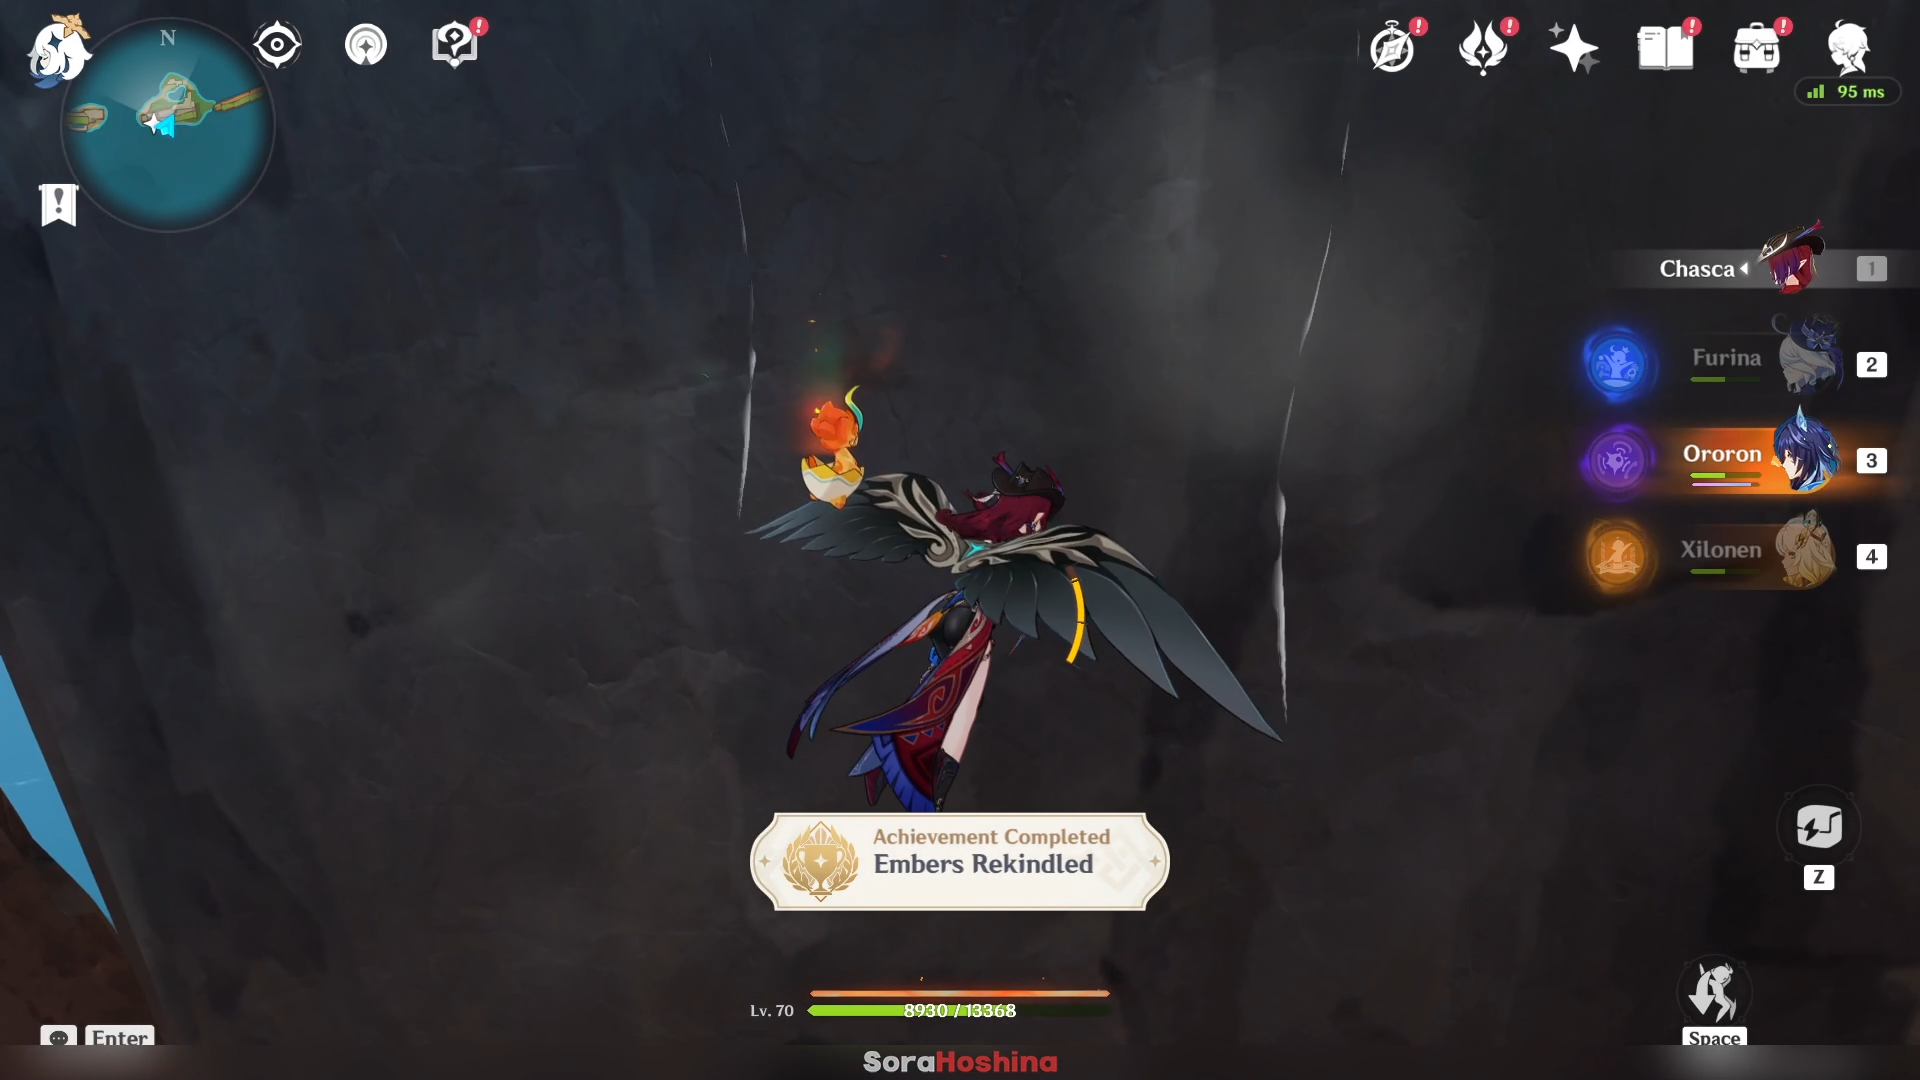
After all 5 Source Mechanisms are activated, you will get this achievement!


