
Table of Contents [Hide]

Just as the flames never die before they utterly burn out, so too should the pace of the pursuit never falter, even for a moment. Surmount all obstacles, and advance ever onward towards the title of "Teyvat's Strongest"!
The contents (images) below are from the Creator Server.
Event Overview
Event Gameplay Duration:
➥ 2024/11/01 10:00 – 2024/11/15 03:59
Eligibility:
➥ Adventure Rank 20 or above
➥ And complete Archon Quest Prologue: Act III "Song of the Dragon and Freedom"
Event Overview:
➥ A new challenge will become available each day for the first six days of the event.
Each challenge features four difficulty levels. When completing a challenge on a higher difficulty, challenges of lower difficulty will be automatically considered completed.
➥ Each challenge will have unique "Pursuit Providence" with unique effects, and paying attention to and taking advantage of these effects will be beneficial in battle.
➥ Please note that during Feast of Pursuit challenges, you cannot gain Phlogiston or use Phlogiston battle mechanics.
※ Changing your World Level will not affect the difficulty of said event challenges.
Event Tutorial

You must defeat all opponents within the time limit to complete the challenge. Each challenge will come with unique "Pursuit Providences." Take note of and make use of them to do well in challenges. During these challenges, you will be unable to use Phlogiston or combat mechanics that require Phlogiston usage.
Feast of Pursuit Event Guide
Stage 1 - Vines Are His Arrow
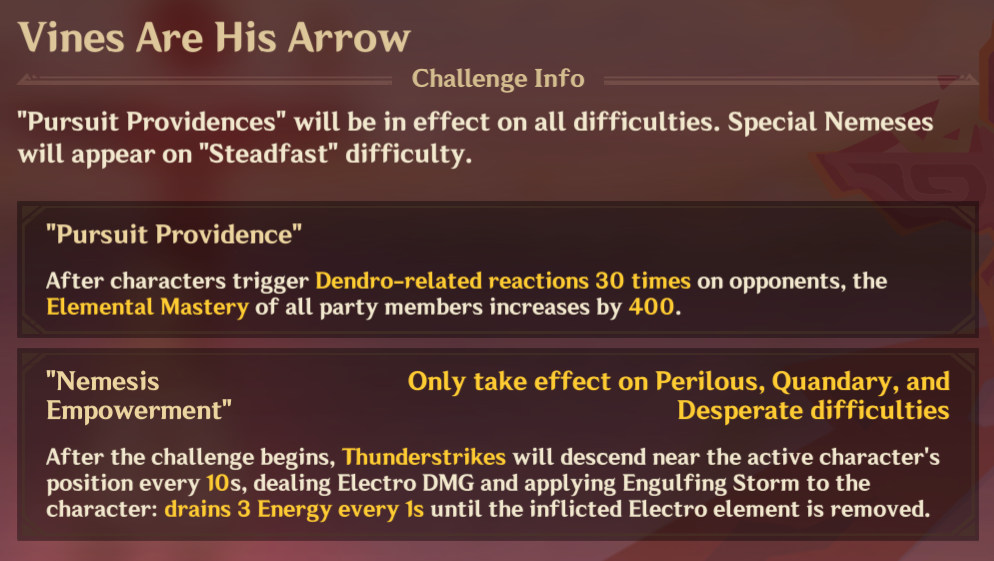
Difficulty: Desperate
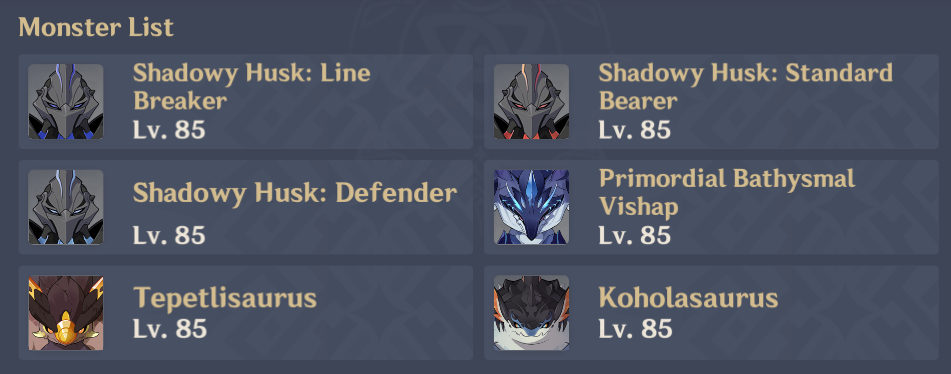
> Monster List
> Team Recommendation
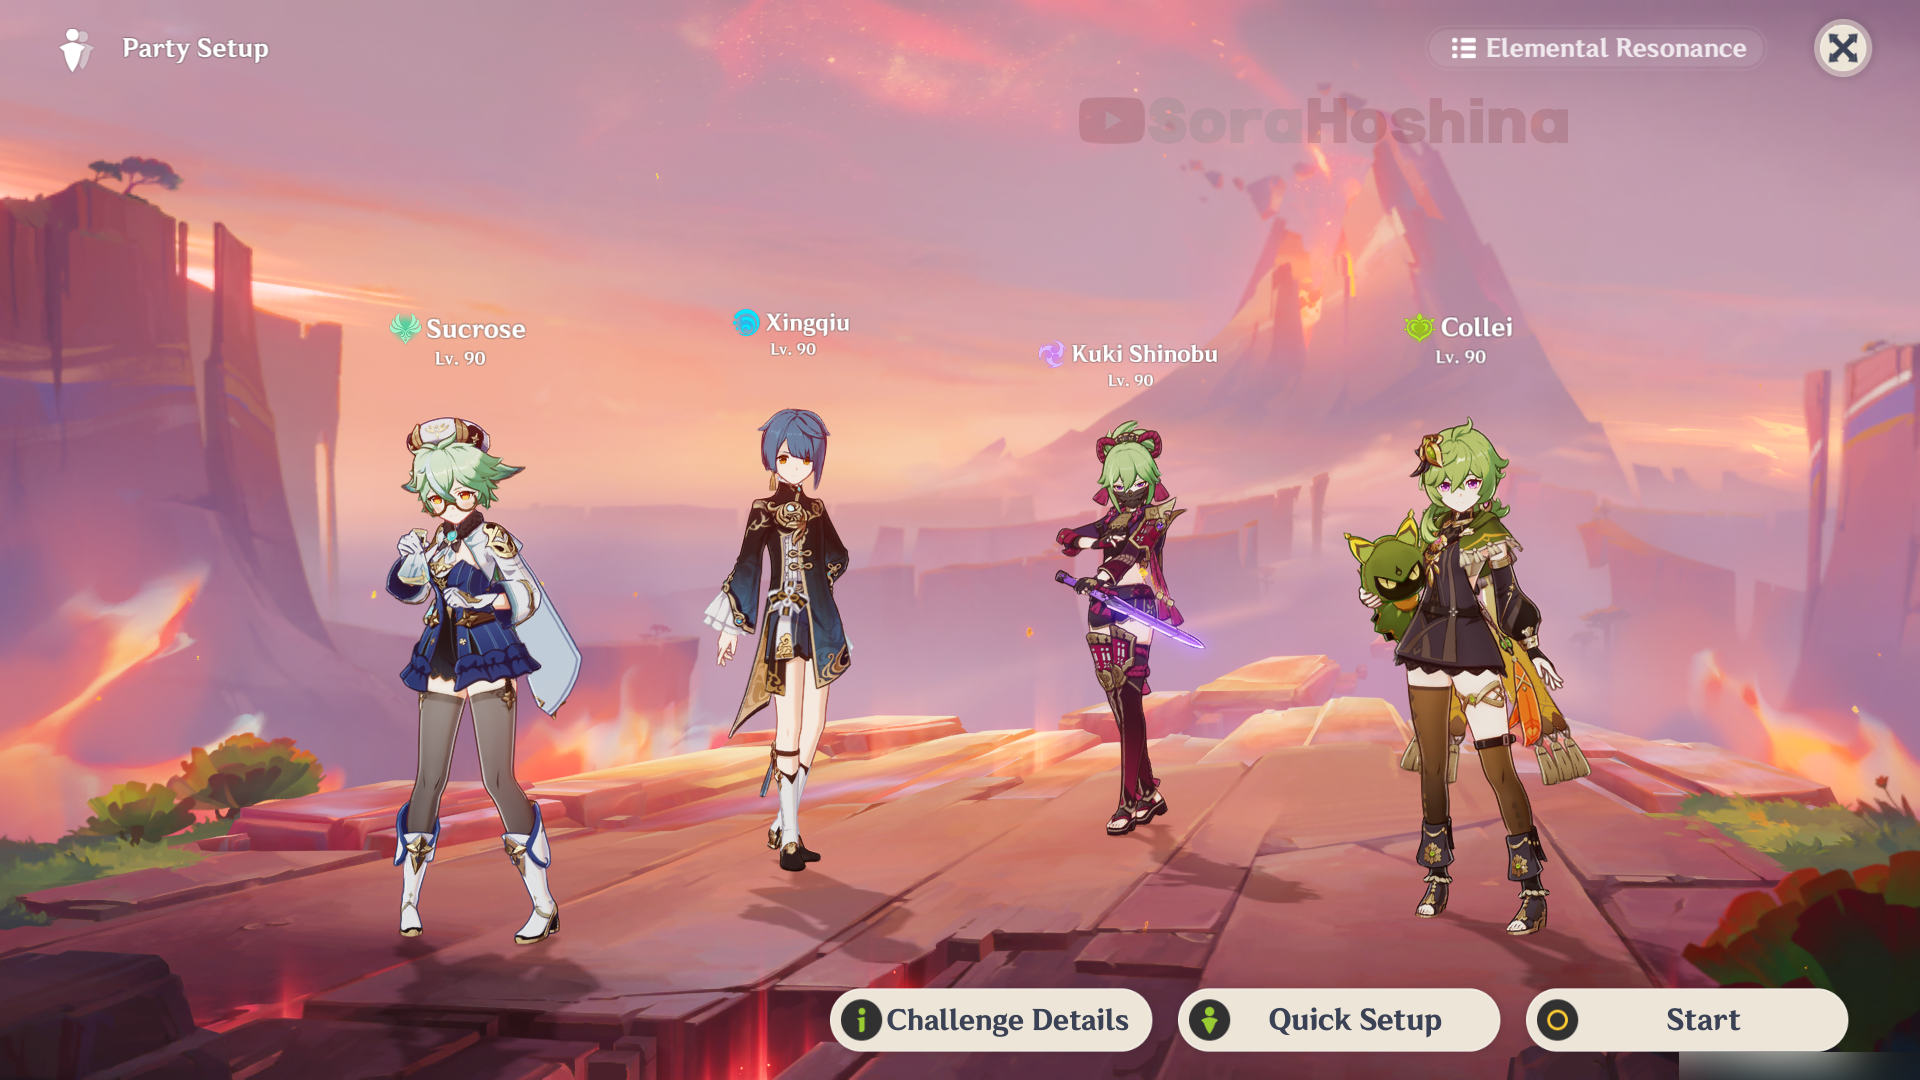
| Difficulty: Desperate | (1) Bloom Team: Nilou + Nahida + Dendro + Hydro (2) Burning Team: Nahida/Kinich + Emilie + Thoma + Xiangling (3) Hyperbloom Team: Alhaitham/Nahida + Xingqiu + Kuki Shinobu + Flex (4) Catalyze Team: Tighnari + Yae Miko + Nahida + Zhongli (5) 4-Star Team: Sucrose + Xingqiu + Kuki Shinobu + Dendro MC/Collei |
The stage buff provides free 400 Elemental Mastery if you can trigger Dendro-related reactions 30 times. Bring at least 1 Dendro in the team so you can take advantage of the buff. But remember that it may take time to stack 30 Dendro-related reactions if you only bring one Dendro. If you want the buff faster, bring 2 Dendro characters.
> How To Defeat

In the first wave, there are 2 Tepetlisaurus and 2 Koholasaurus. They spawn with some distance between each other so when the challenge starts, go to one of the Koholasaurus and let the others come to you (Tepetlisaurus is pretty fast but Koholasaurus takes their sweet time).
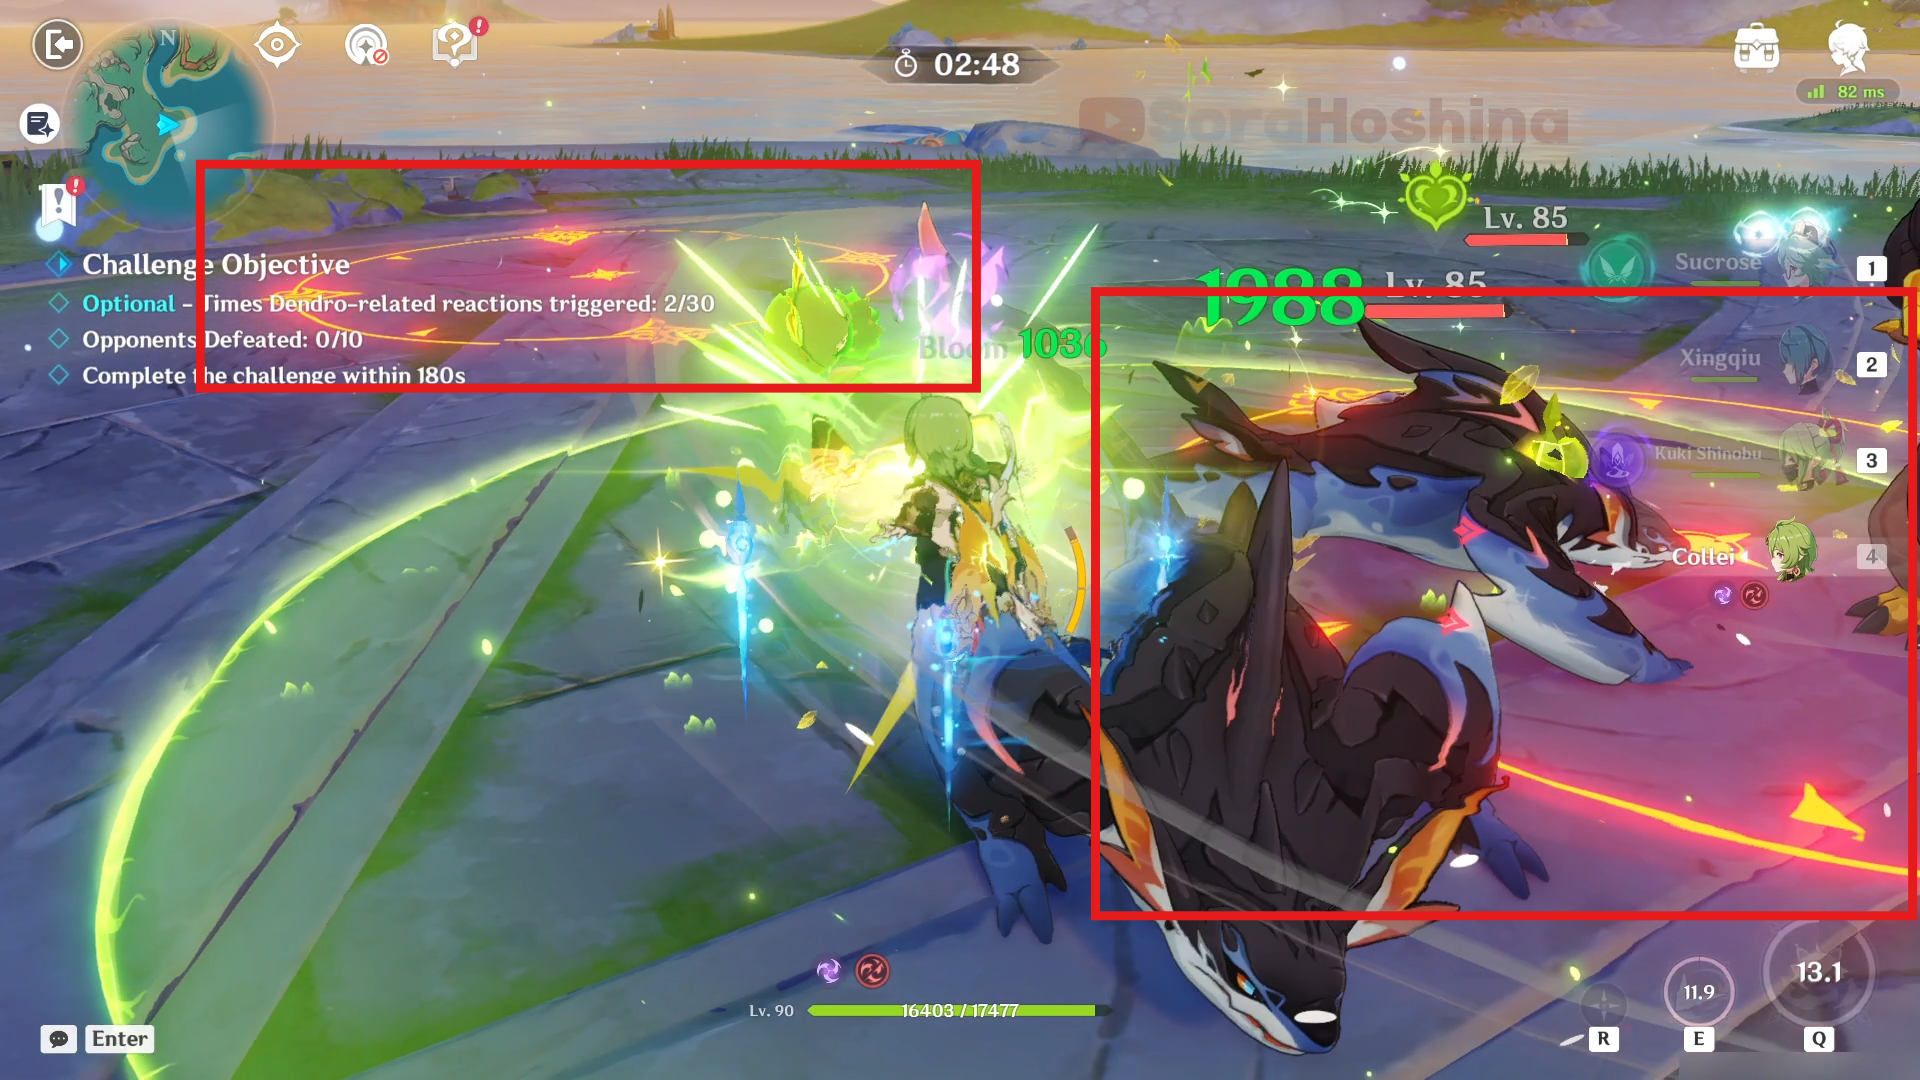
During the challenge, beware of the Thunderstrikes that will descend near your character position. It will strike every 10 seconds and if you get attacked by it, your character will get Engulfing Storm status: drain 3 Energy every 1 second until the inflicted Electro element is removed by waiting for 5 seconds or using a cleanser like Bennett or Jean.
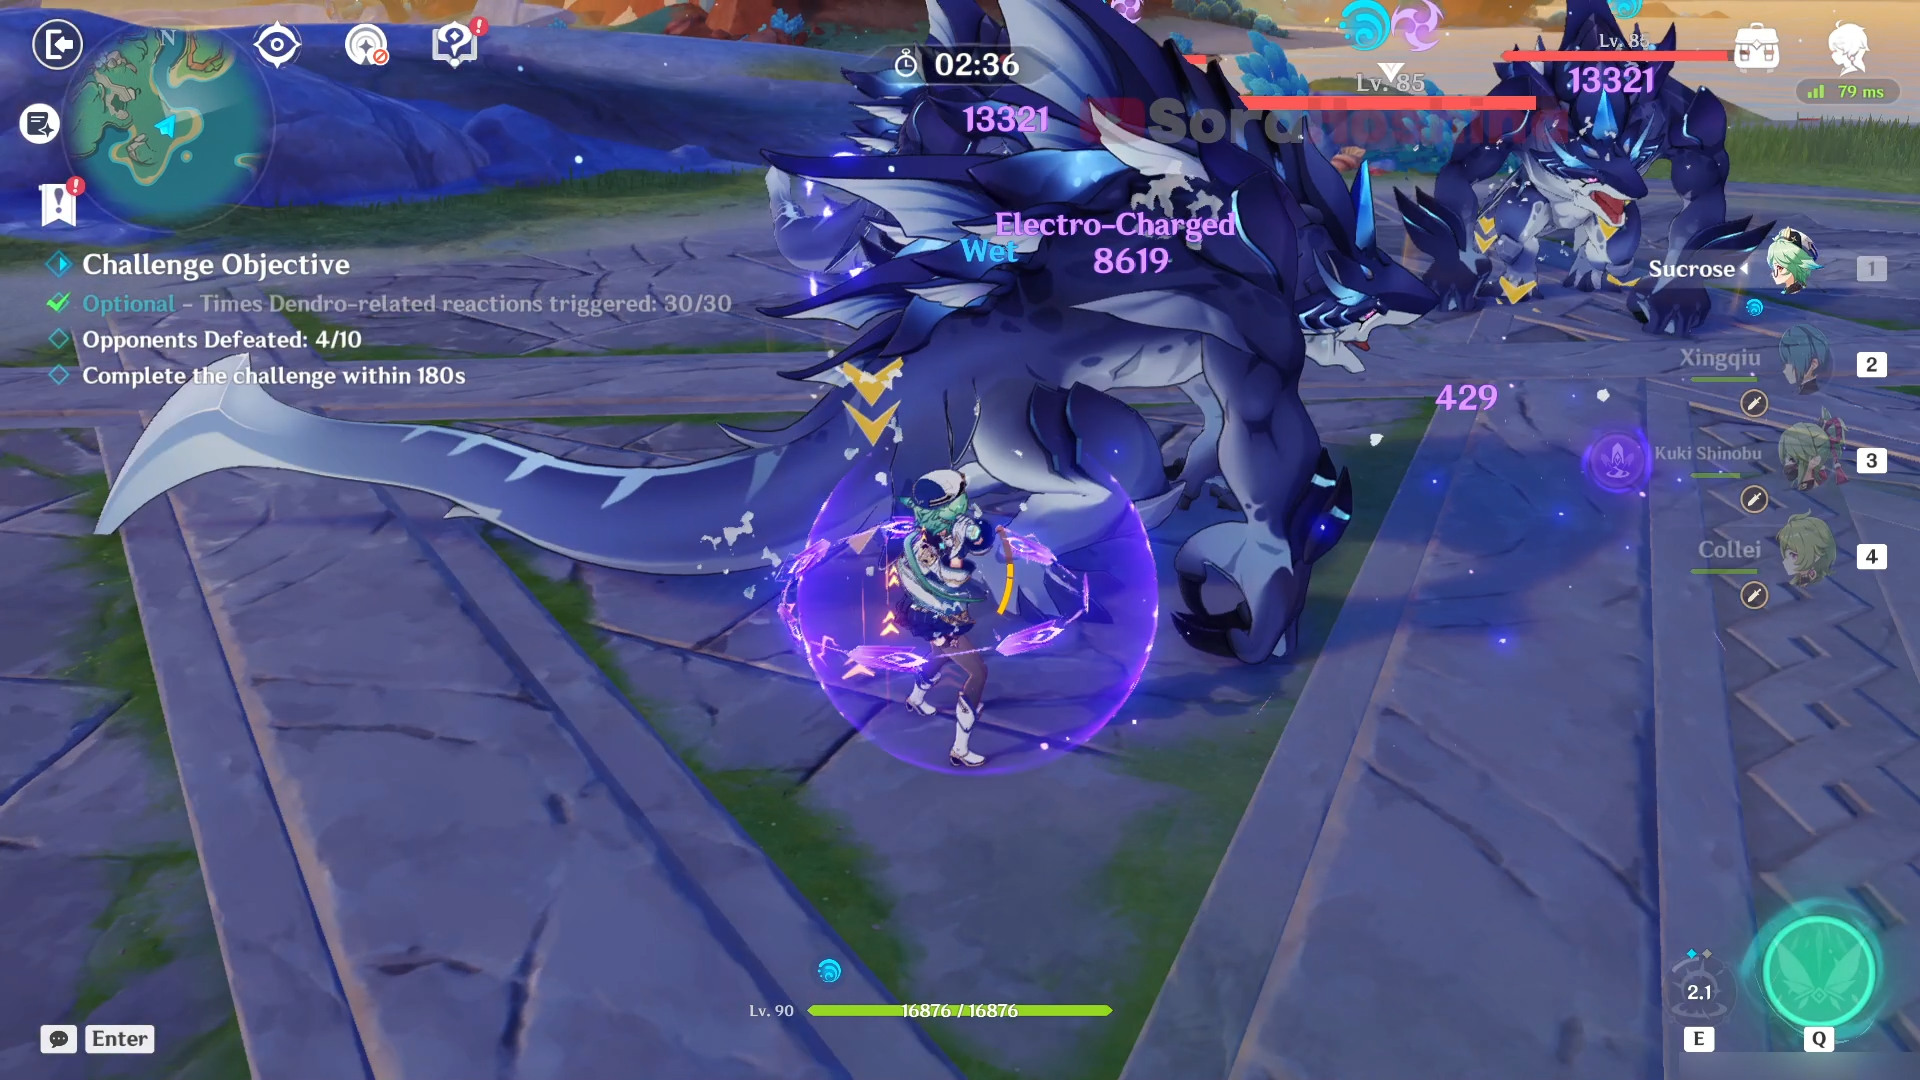
In the second wave, there are 3 Vishaps that spawn near each other. Go to the last one in the line and fix your camera angle so all 3 of them are in the same line. So when one staggers, they won't stagger too far away from the others. Although they do have a skill that makes them sprint far away from you so good luck with that!
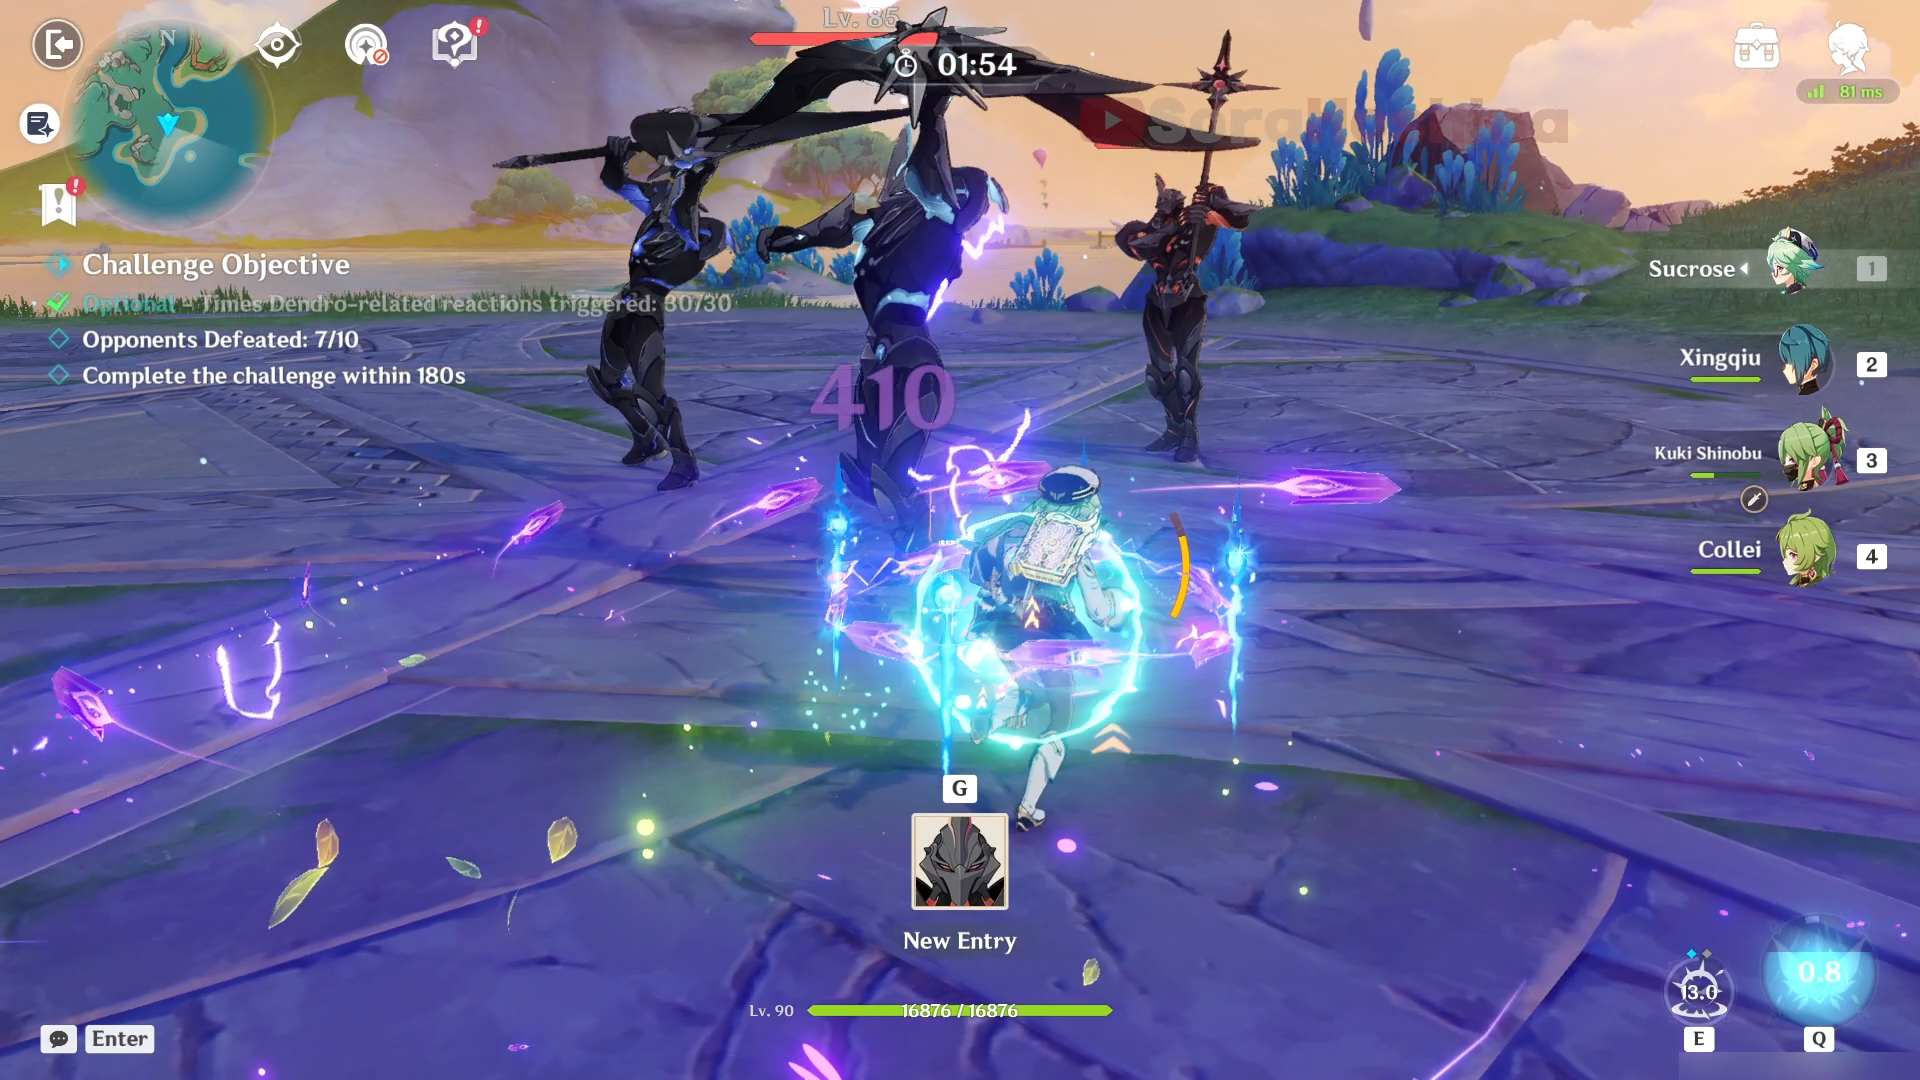
In the last wave, there are 3 Shadowy Husks. Similar to the previous wave, try to gather all of them in one place. Start with the Hydro one (Line Breaker) because he can lunge forward with his lance, making him stray far away from the others. If you bring a shield to this stage, and the Shadowy Husks hit the shield, they will consume a portion of their health to gain a buff. It's a good thing because their HP will go down, but also a bad thing because they gain a buff.
Shadowy Husk: Defender — Wields a bow and will create a shield that protects itself from attacks from the front and obtain a stackable ATK increase upon hitting a shielded player.
Shadowy Husk: Line Breaker — Wields a lance and will heal nearby Black Serpents upon hitting a shielded player.
Shadowy Husk: Standard Bearer — Wields a war banner and will create a Pyro shield for nearby Black Serpents upon hitting a shielded player.
Difficulty: Steadfast
> Monster List

> Team Recommendation

| Difficulty: Desperate | (1) Bloom Team: Nilou + Nahida + Dendro + Hydro (2) Dragon Team: Neuvillette + Furina + Xilonen + Kazuha (3) Hyperbloom Team: Nahida + Yelan/Xingqiu + Kuki Shinobu + Alhaitham/Xilonen |
Bring an AoE DPS because you'll be facing 3 Maguu Kenki and boy, they don't hold back at all. In addition, if you want to bring a Hydro character, Xingqiu and Barbara are not recommended because their self-inflicted Hydro can freeze you (because of Cryo Maguu Kenki's Cryo AoE field).
> How To Defeat
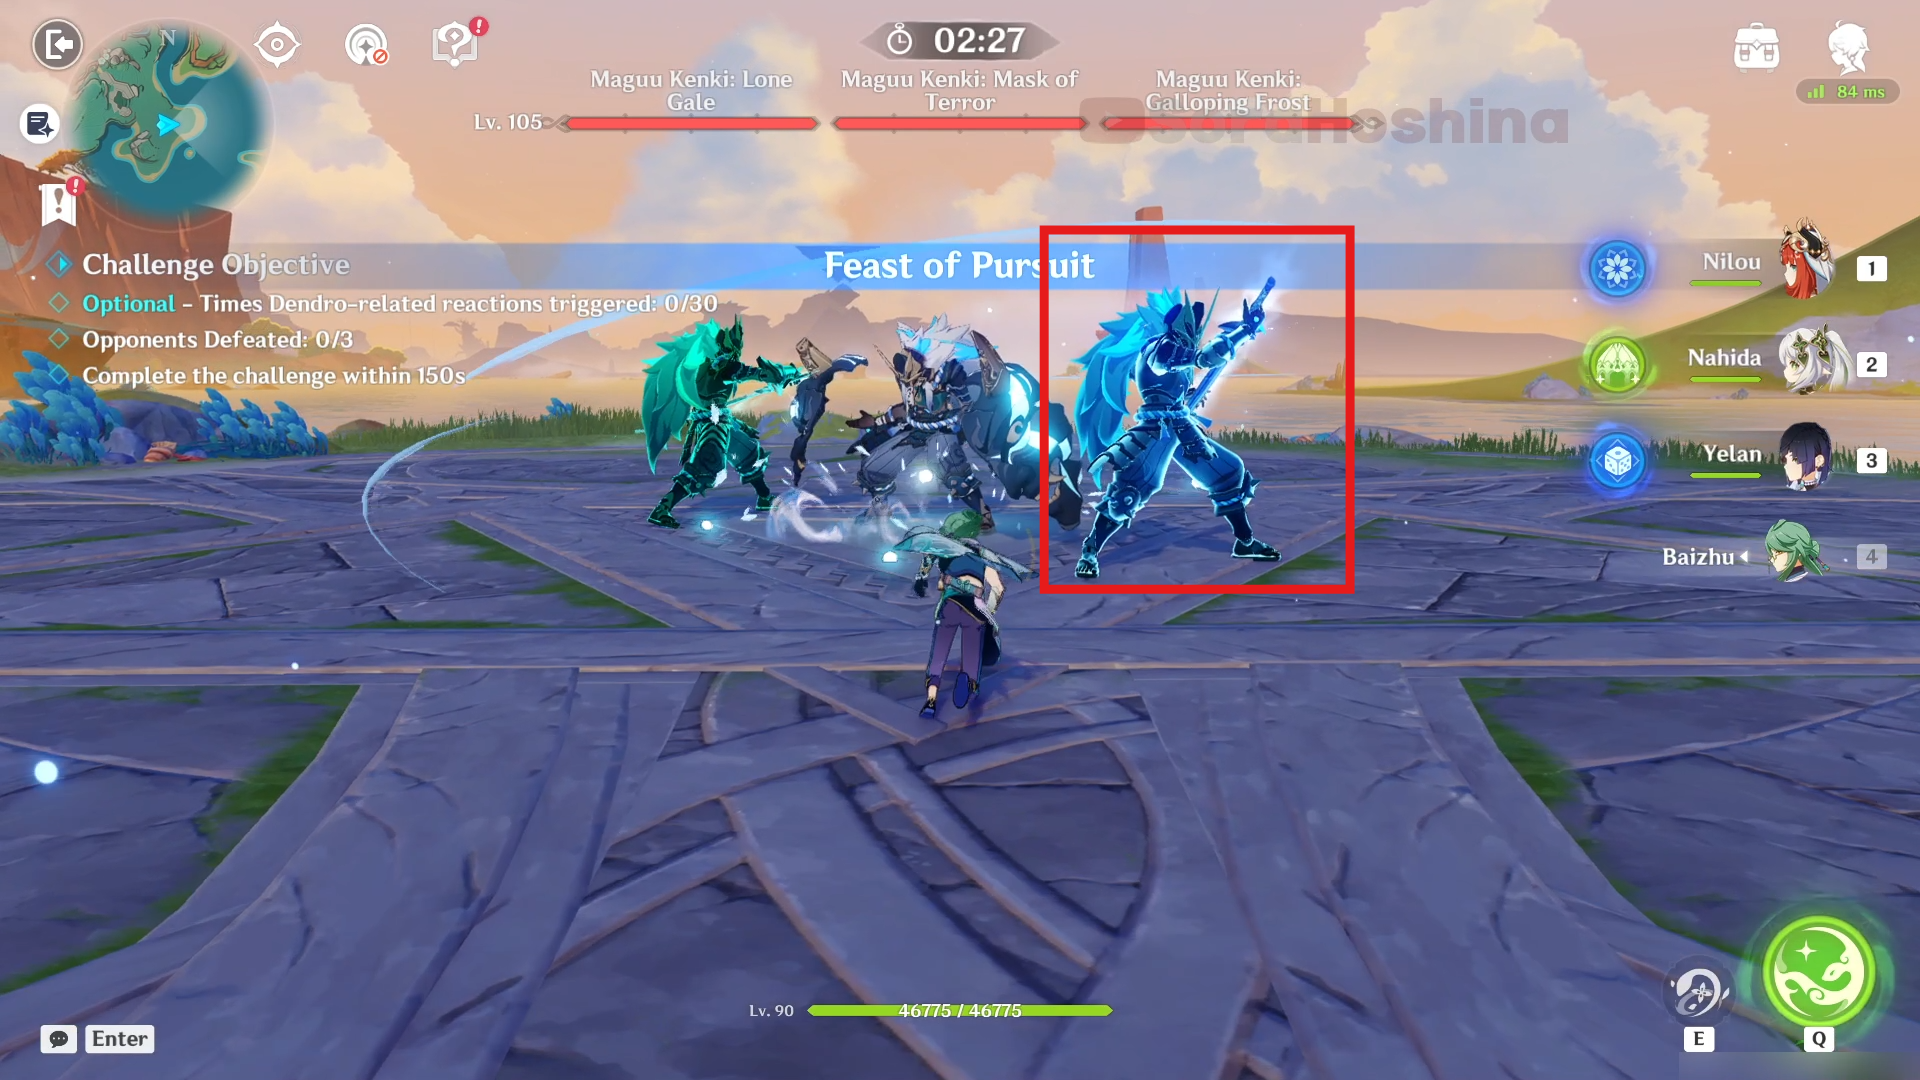
When the challenge starts, all 3 Maguu Kenki spawns near each other and there are no starting animations. I recommend you immediately sprint to the normal Maguu Kenki and use one Elemental Burst because all of them will start with their 'Ultimate' attack. So you can avoid all of them by cheating using the iframe from Burst. In addition, the Cryo Maguu Kenki always starts with a dash and then creates a Cryo DoT field.
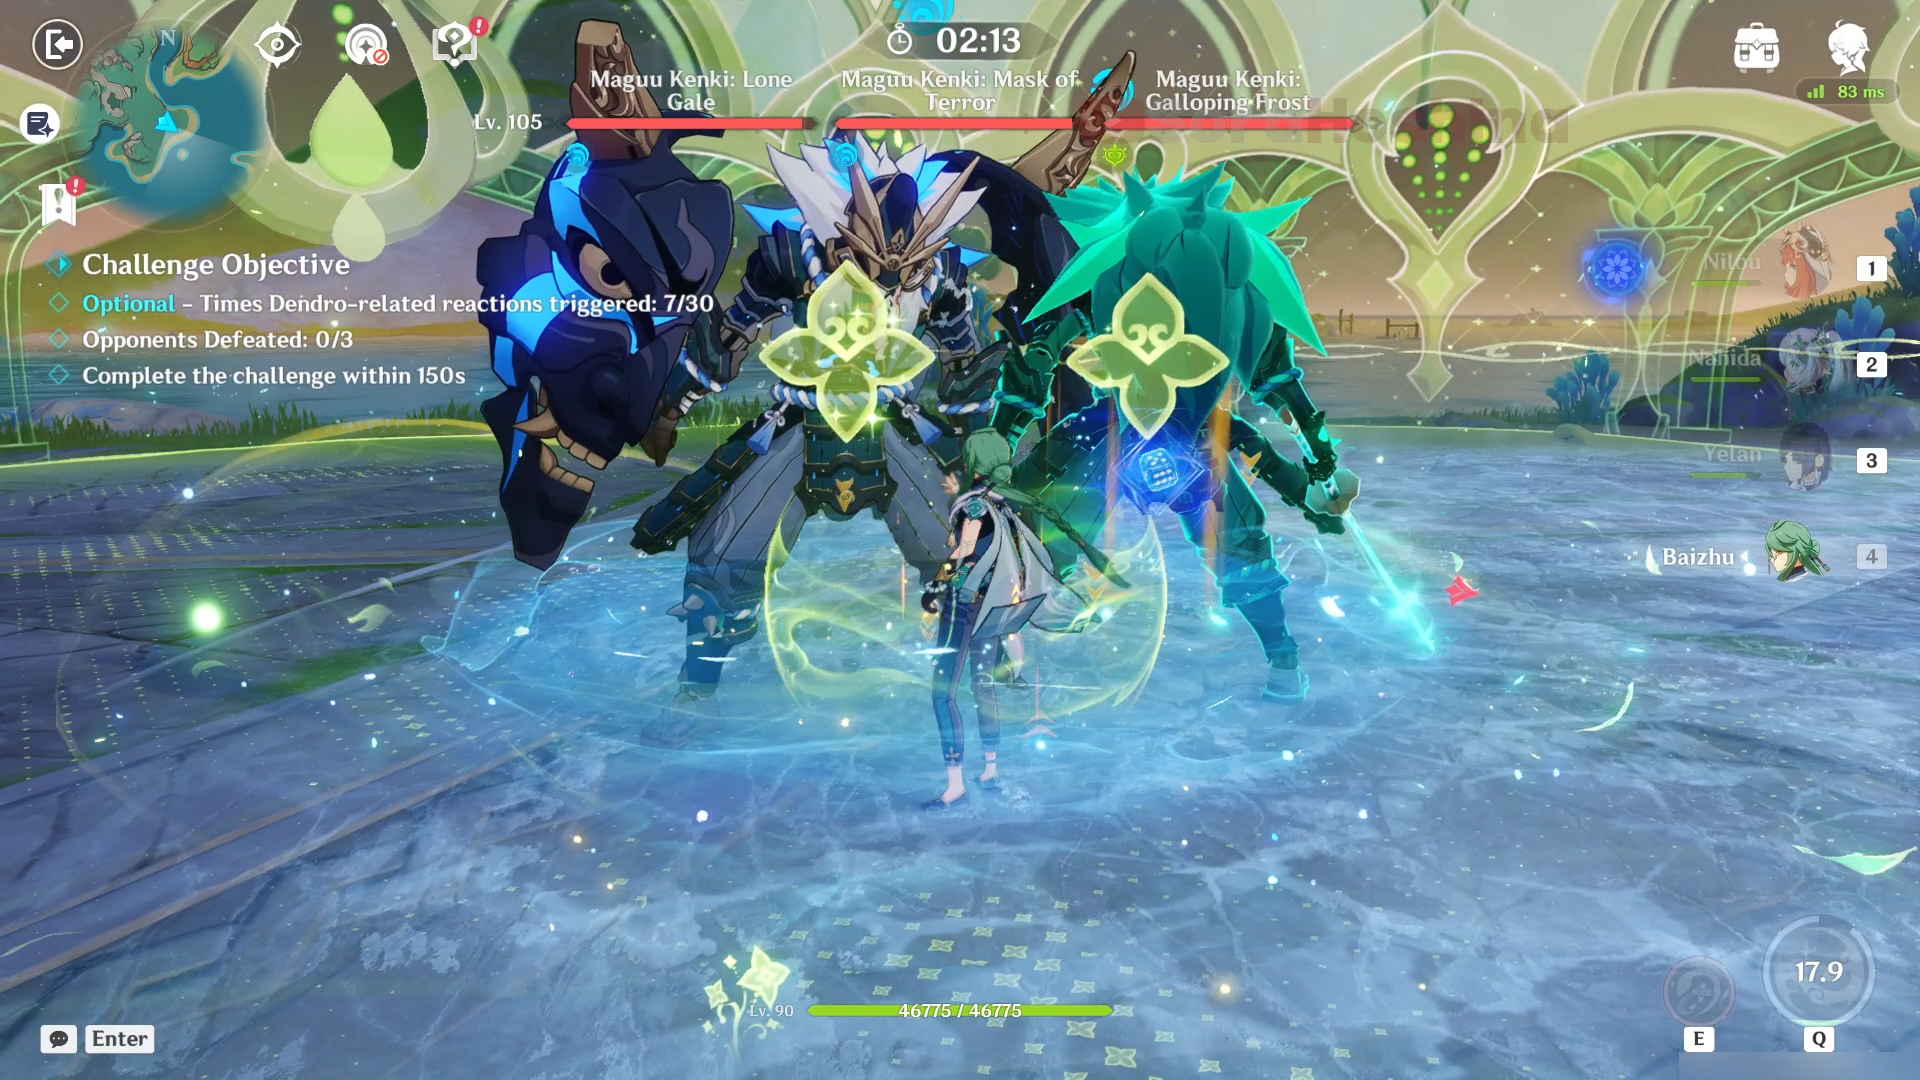
After the initial heads-up, position yourself so that the Anemo and normal Maguu Kenki are near you (or you're in between both of them). By doing this, the Cryo Maguu Kenki should be lured to get near you too. Once all 3 Maguu Kenki are near each other, unleash all sorts of Skill and Burst you have.
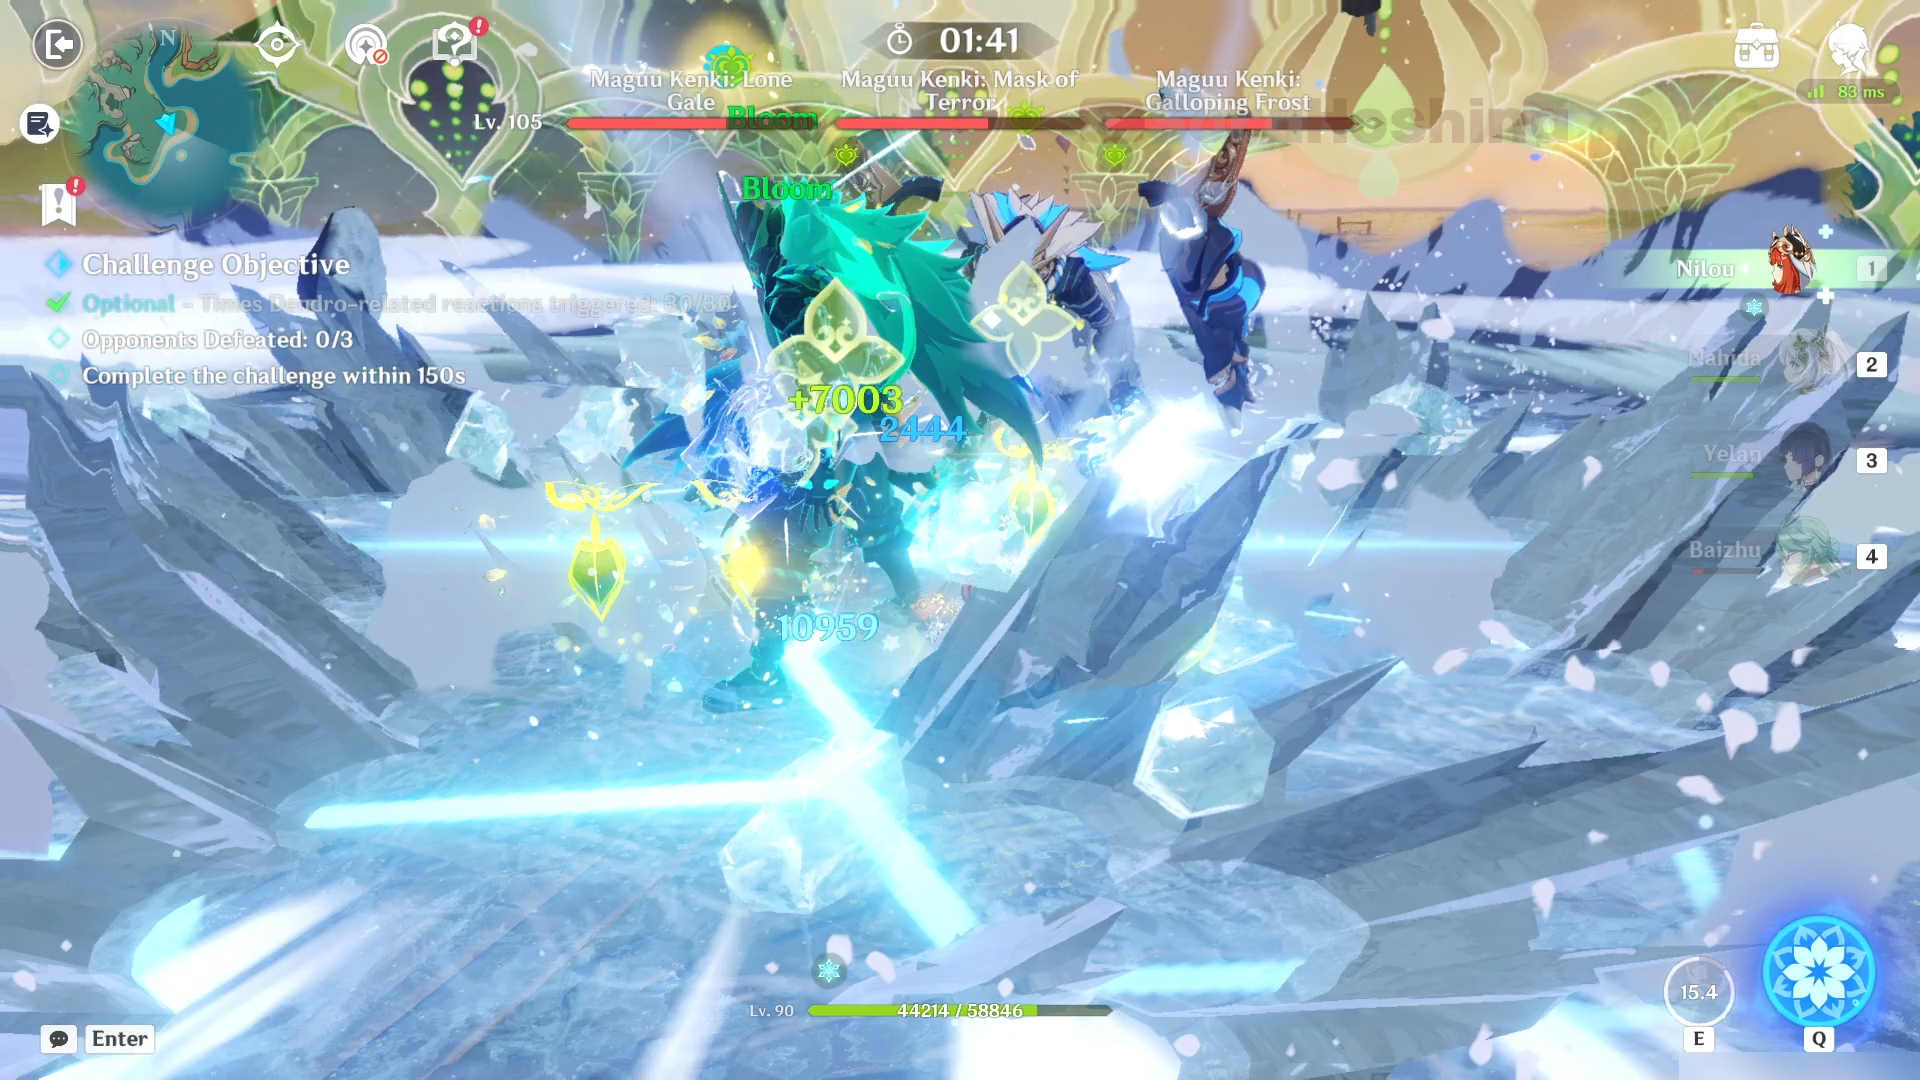
Of course, you can also save some Elemental Burst and use it to iframe whenever the Cryo Maguu Kenki starts charging for his Cryo DoT field. Other than that... avoid their deadly attacks and keep dishing big damage. Bad advice, I know, but there's really nothing to add here except that~
Stage 2 - "Those Who Devour Elements"
Difficulty: Desperate
> Monster List

> Team Recommendation
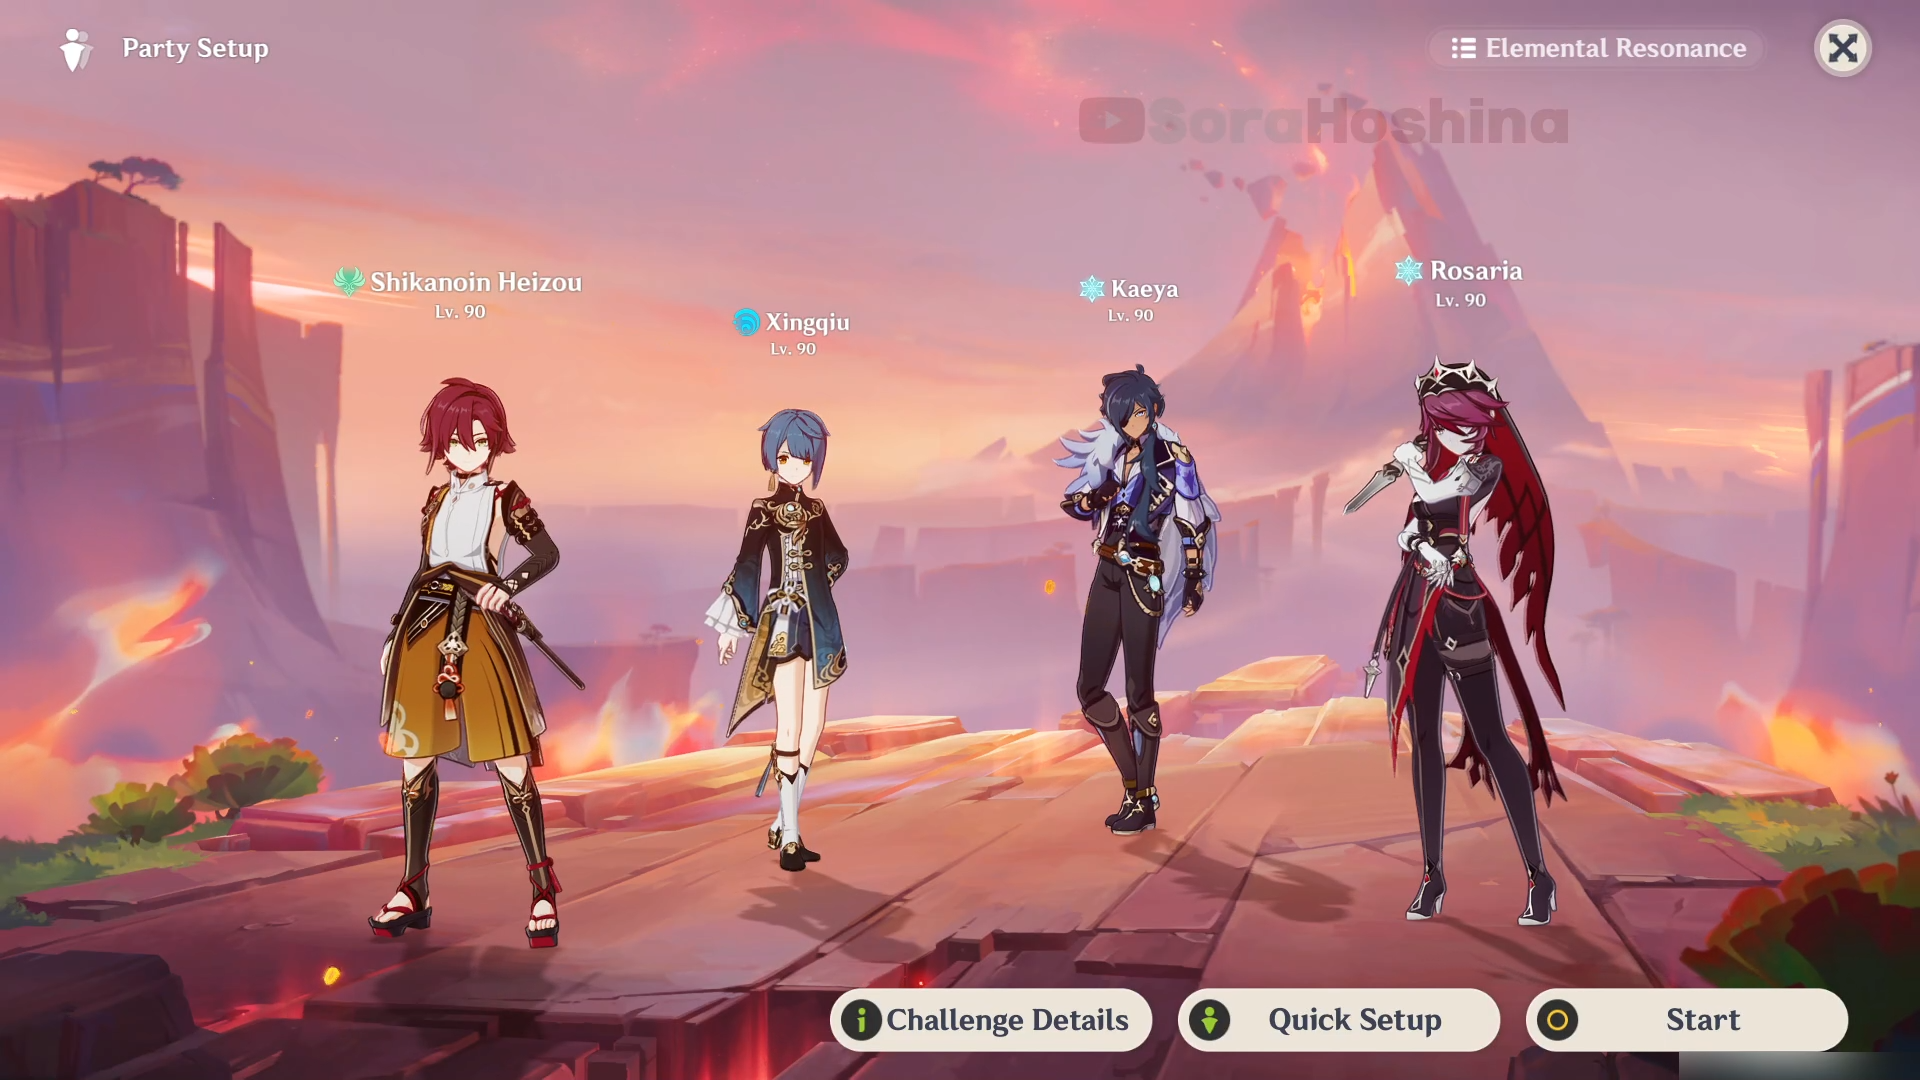
| Difficulty: Desperate | (1) Burning Team: Kinich + Emilie + Thoma + Xiangling (2) Vaporize Team: Mualani + Xiangling + Bennett + Kazuha/Xilonen (3) Mono-Pyro: Arlecchino/Hu Tao + Kachina + Kazuha + Bennett (4) 4-Star Team: Heizou + Xingqiu + Kaeya + Rosaria (5) 4-Star Team: Bennett + Xiangling + Kaeya + Rosaria |
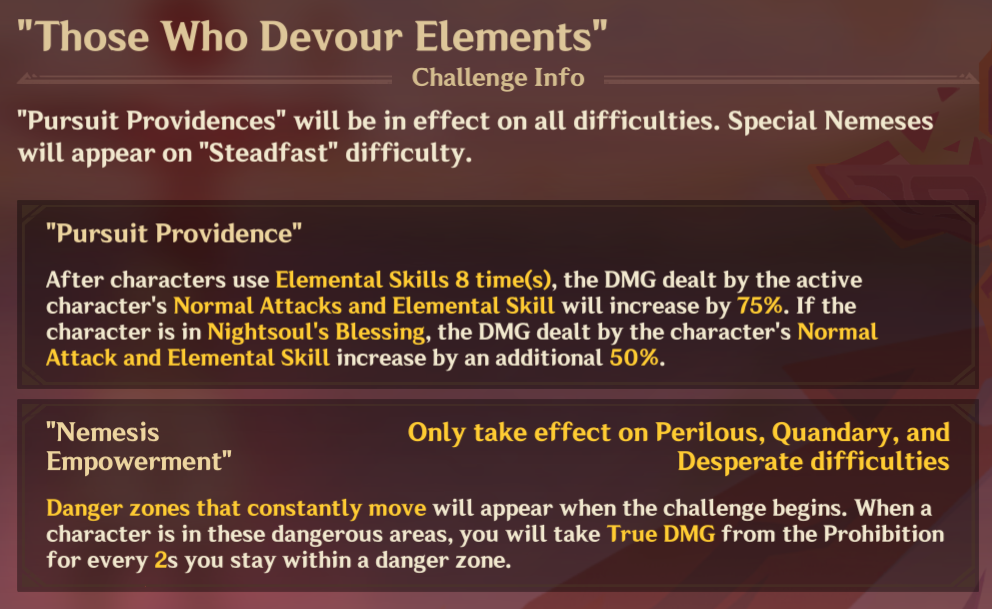
The stage buff provides free 75% DMG for Normal Attack and Elemental Skill after the characters use their Elemental Skill 8 times. You can also get an additional 50% DMG if said characters are from Natlan. If you have Kinich and Mualani (DPS from Natlan), it's best if you bring them so they can get 125% DMG Bonus for NA and Skill. But if you don't have them, other characters are also okay, as long as the Main DPS' damage output is from Normal Attack and Elemental Skill.
> How To Defeat

In the first wave, there is only one Mirror Maiden. Since there is no other enemy, you don't have to worry about anything except how this lady often teleports around. You can use the Freeze team to freeze her for the whole time she's in the arena. But if you bring other teams, you can just follow her around since there's only one enemy in this wave so it shouldn't be too hard.

In the second wave, you will face 2 Eremite elite enemies. Thankfully, they won't summon their beast right from the start, but only after they reach lower than 70% HP. Before that, you can focus on any one of the Eremite, but make sure the other Eremite is right behind the one you're attacking. So when the Eremite at the front is staggered, they will get near the Eremite at the back.
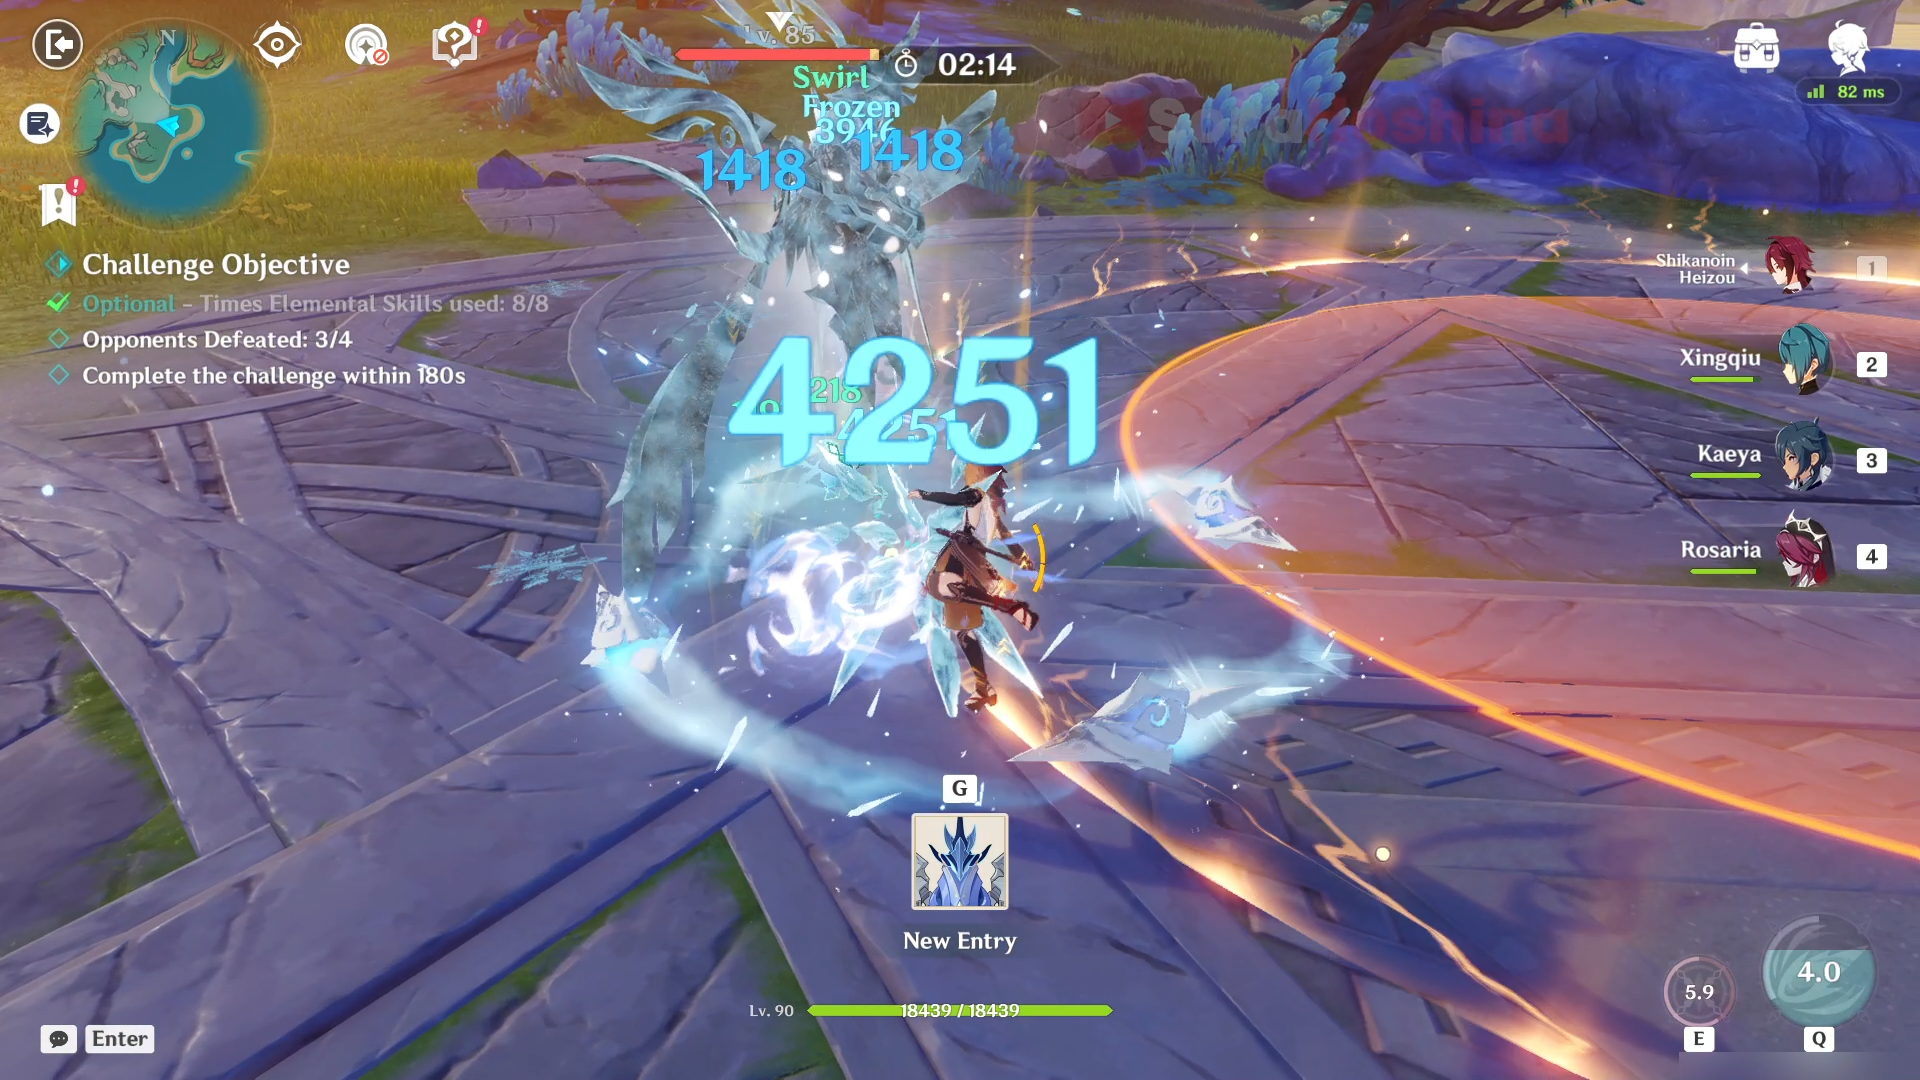
The last wave features a Hydro Wayob. This type of enemy will first deploy an Arena: creating a non-elemental shield on itself and absorb all of your Energy. If you don't manage to break the shield in time, the Wayob will create a Hydro shield based on the remaining shield. But if you manage to break it in time, you will gain a LOT of energy. Or, you can just do it like me and freeze the enemy so they can't even move from start to finish.
Difficulty: Steadfast
> Monster List

> Team Recommendation
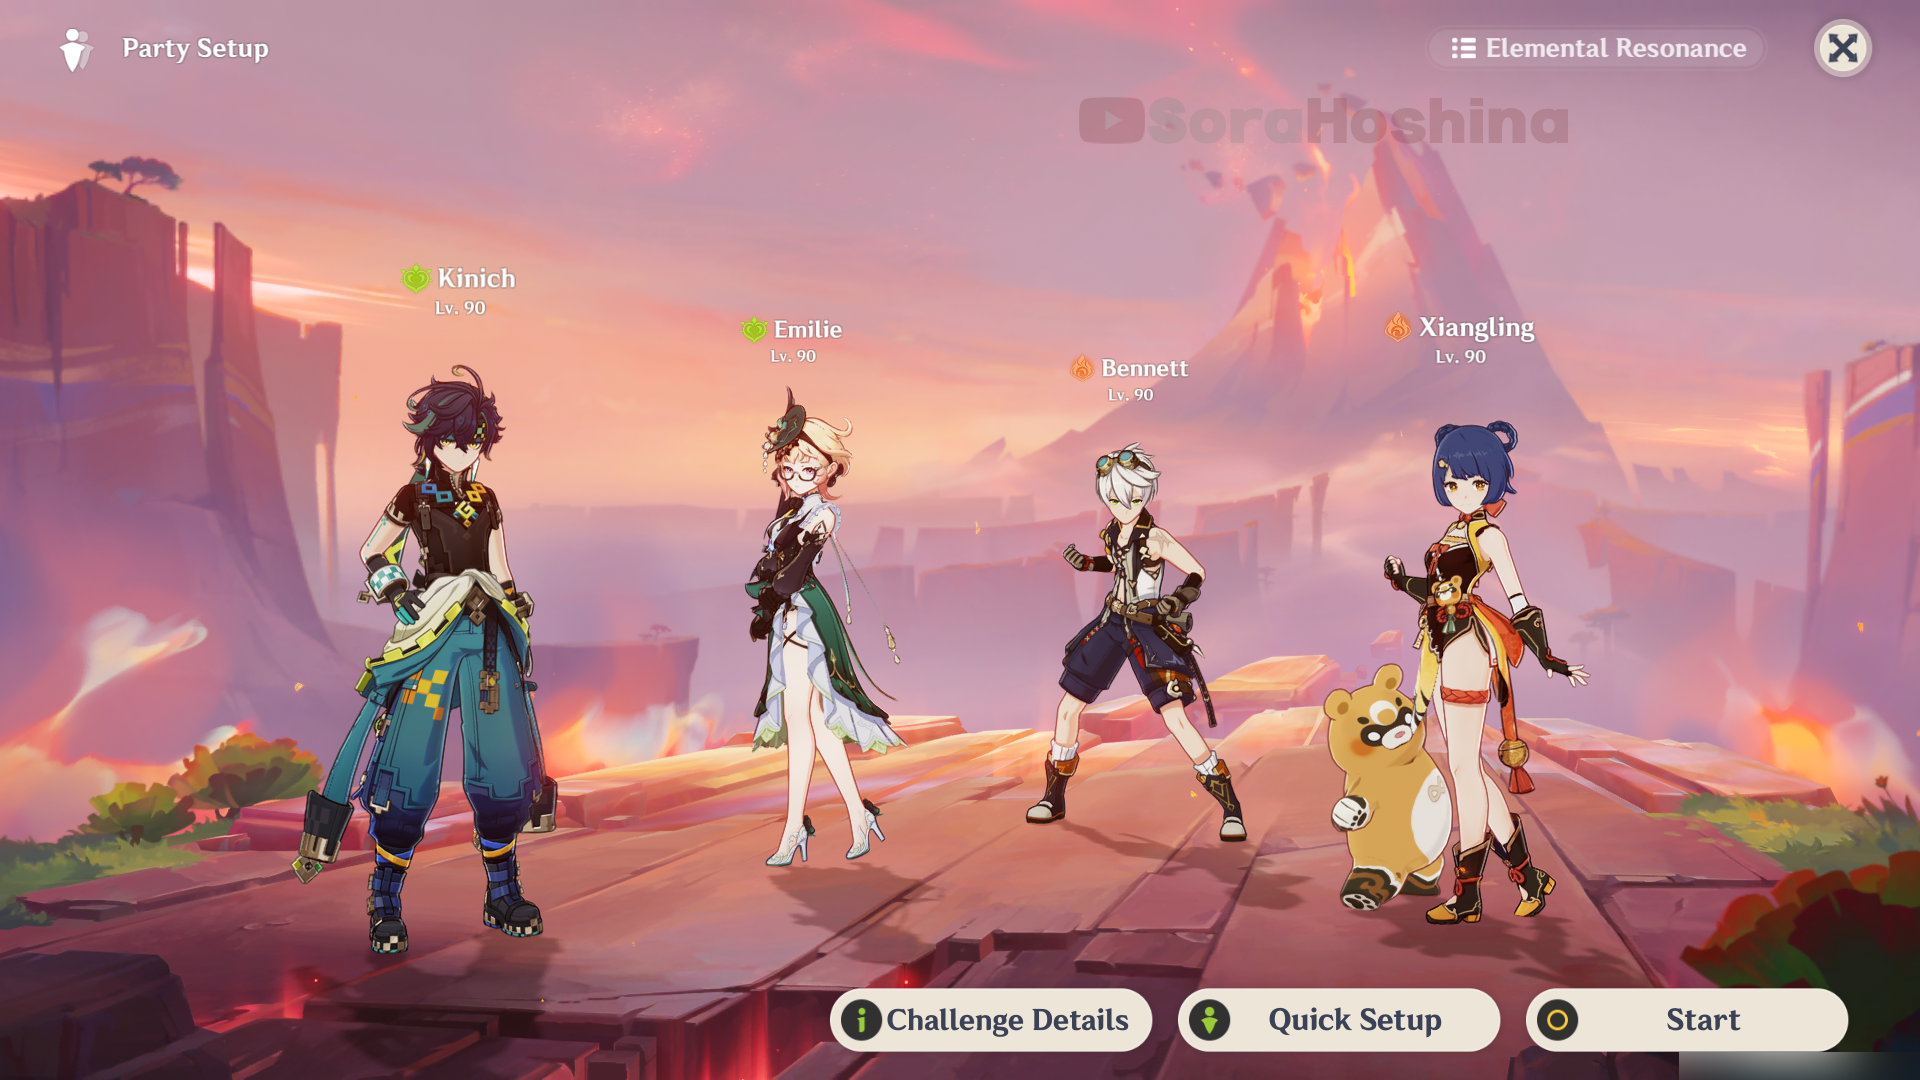
| Difficulty: Desperate | (1) Burning Team: Kinich + Emilie + Bennett + Xiangling (2) Freeze Team: Ayaka + Shenhe + Kokomi + Kazuha (3) Mono Hydro Team: Furina + Yelan + Xingqiu + Xilonen (4) Mono Pyro Team: Arlecchino + Xilonen + Bennett + Kazuha |
The enemies you'll be facing here are new ones where you need to destroy their 'Ward' bar using elemental damage. Natlan characters (with their Nightsoul Burst) can break the shield faster because the game said so.
> How To Defeat
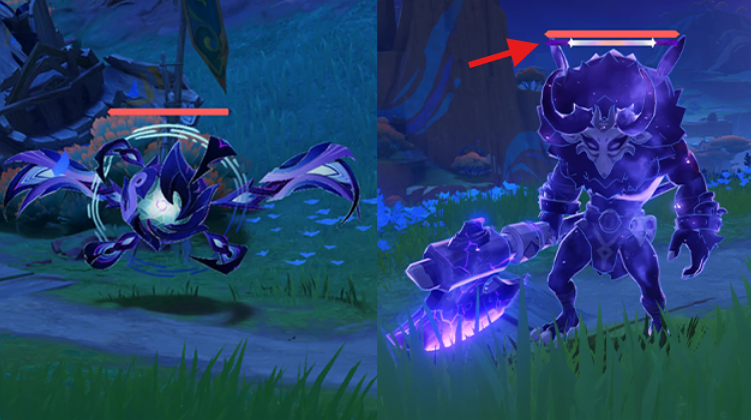
First of all, the enemies you'll be facing are called Chasmic Mimiflora. There are 2 of them in this stage and they will mimic Ruin Guard in Wave 1 and Secret Source Automaton in Wave 2.
Some of their attacks can cause stackable Attrition that after a time, will cause your active characters to lose HP.
But what's more important is that when it's mimicking, they will have a 'Ward' bar as you can see in the photo above. Use Elemental attacks to fill the bar and destroy the Ward. Nightsoul-aligned Elemental attacks (Natlan characters) can break through these defenses more effectively.
Other than Natlan characters, bring off-field characters and characters that deliver elemental damage quickly to break the shield faster.
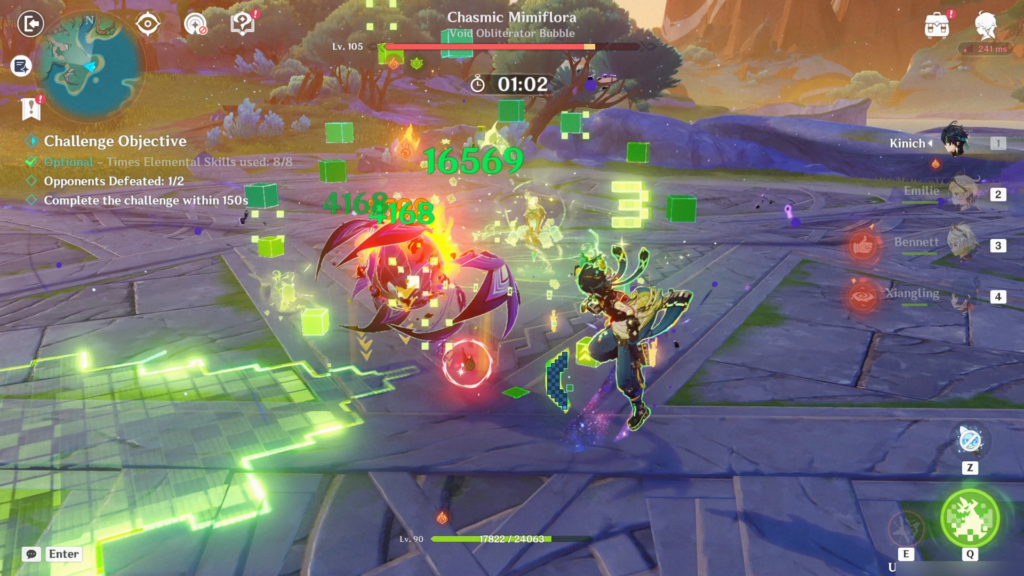
Once their Ward bar was full, they would turn back to Chasmic Mimiflora. Once they're in their original state, they're quite squishy and have a moderate recovery time so unleash everything and dish out as much damage as you can!
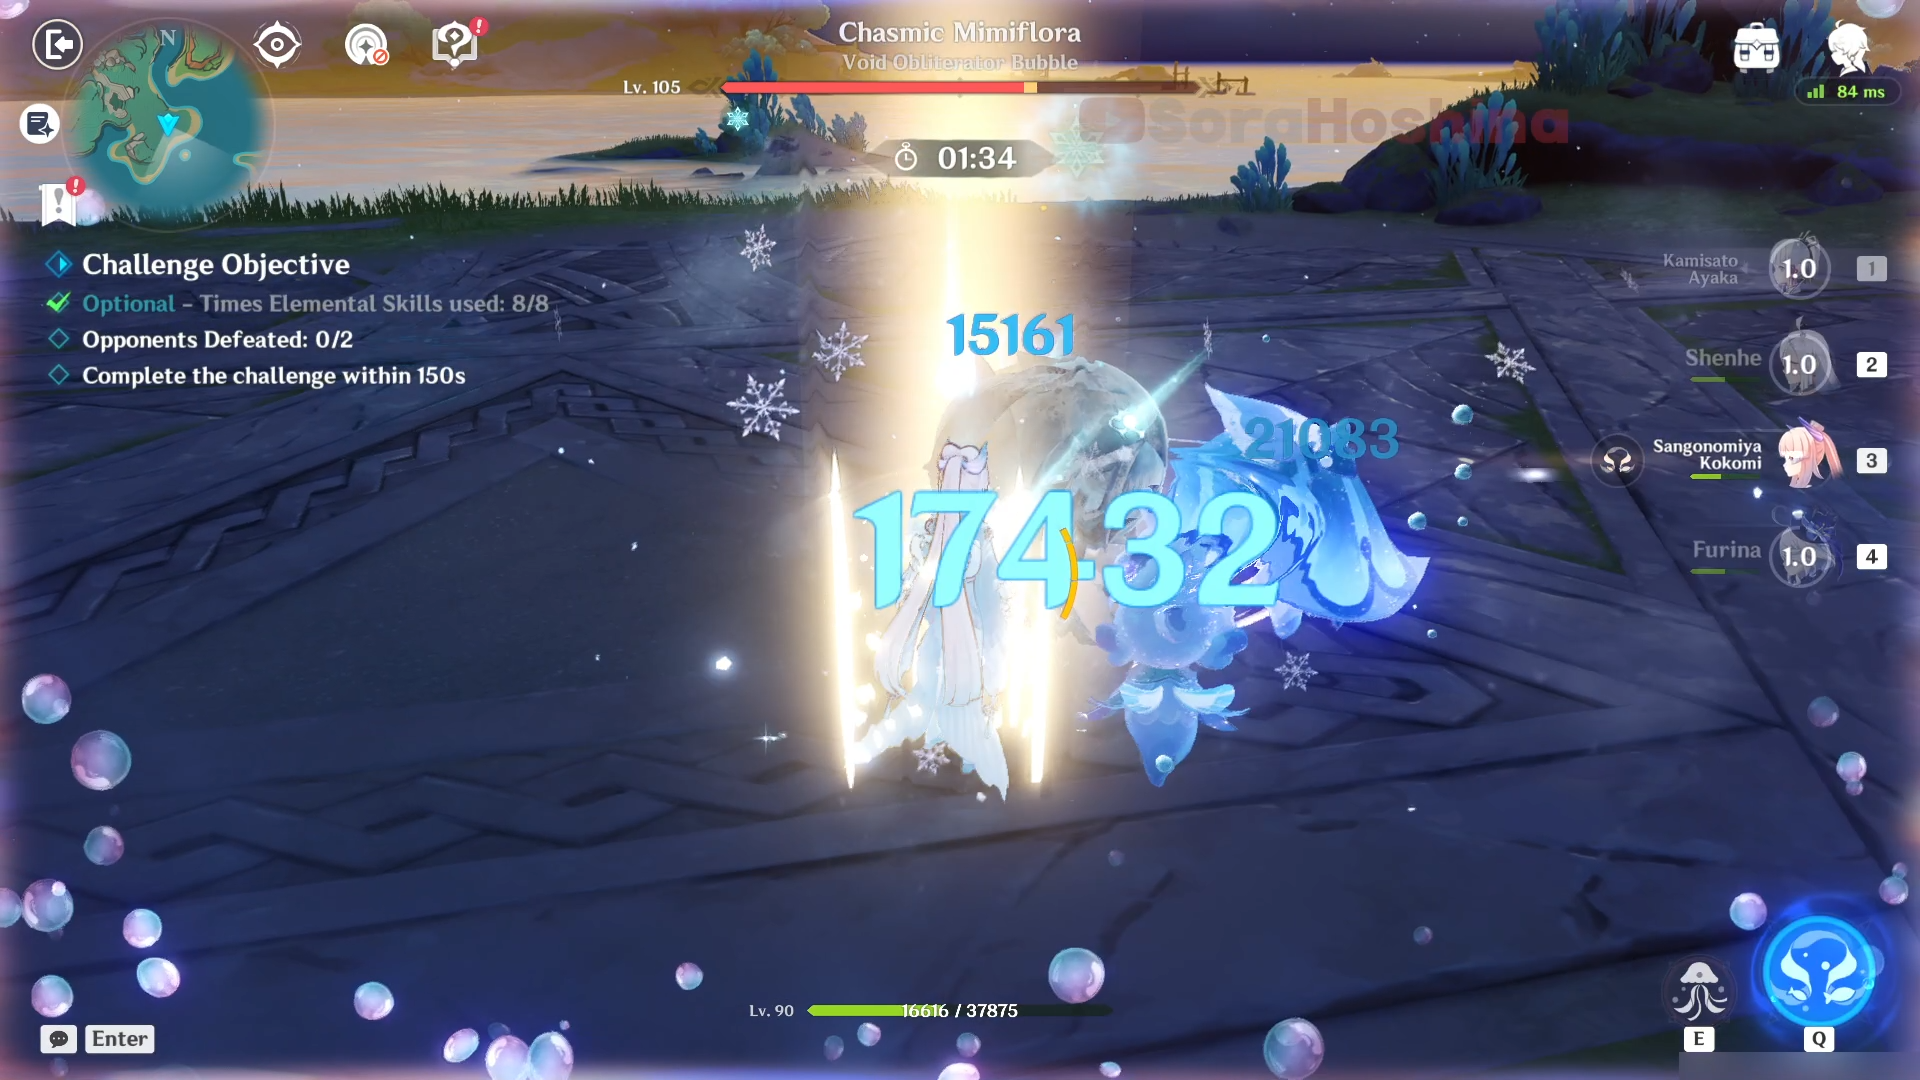
Mimiflora can be frozen with Freeze team. This reaction is great for keeping it still and delaying its Ward recovery. However, the Freeze can't completely delay the shield recovery timer. As soon as it is unfrozen after 20 seconds, it will immediately put the shield back up. But as long as the Mimiflora is frozen, it is unable to put the shield back up.
Stage 3 - Master of Fire and Water
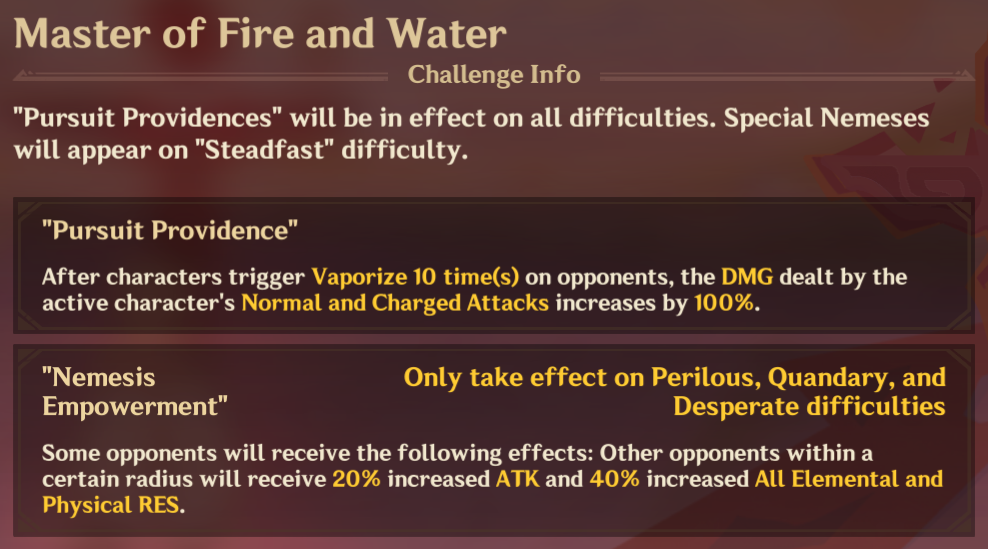
Difficulty: Desperate
> Monster List

> Team Recommendation
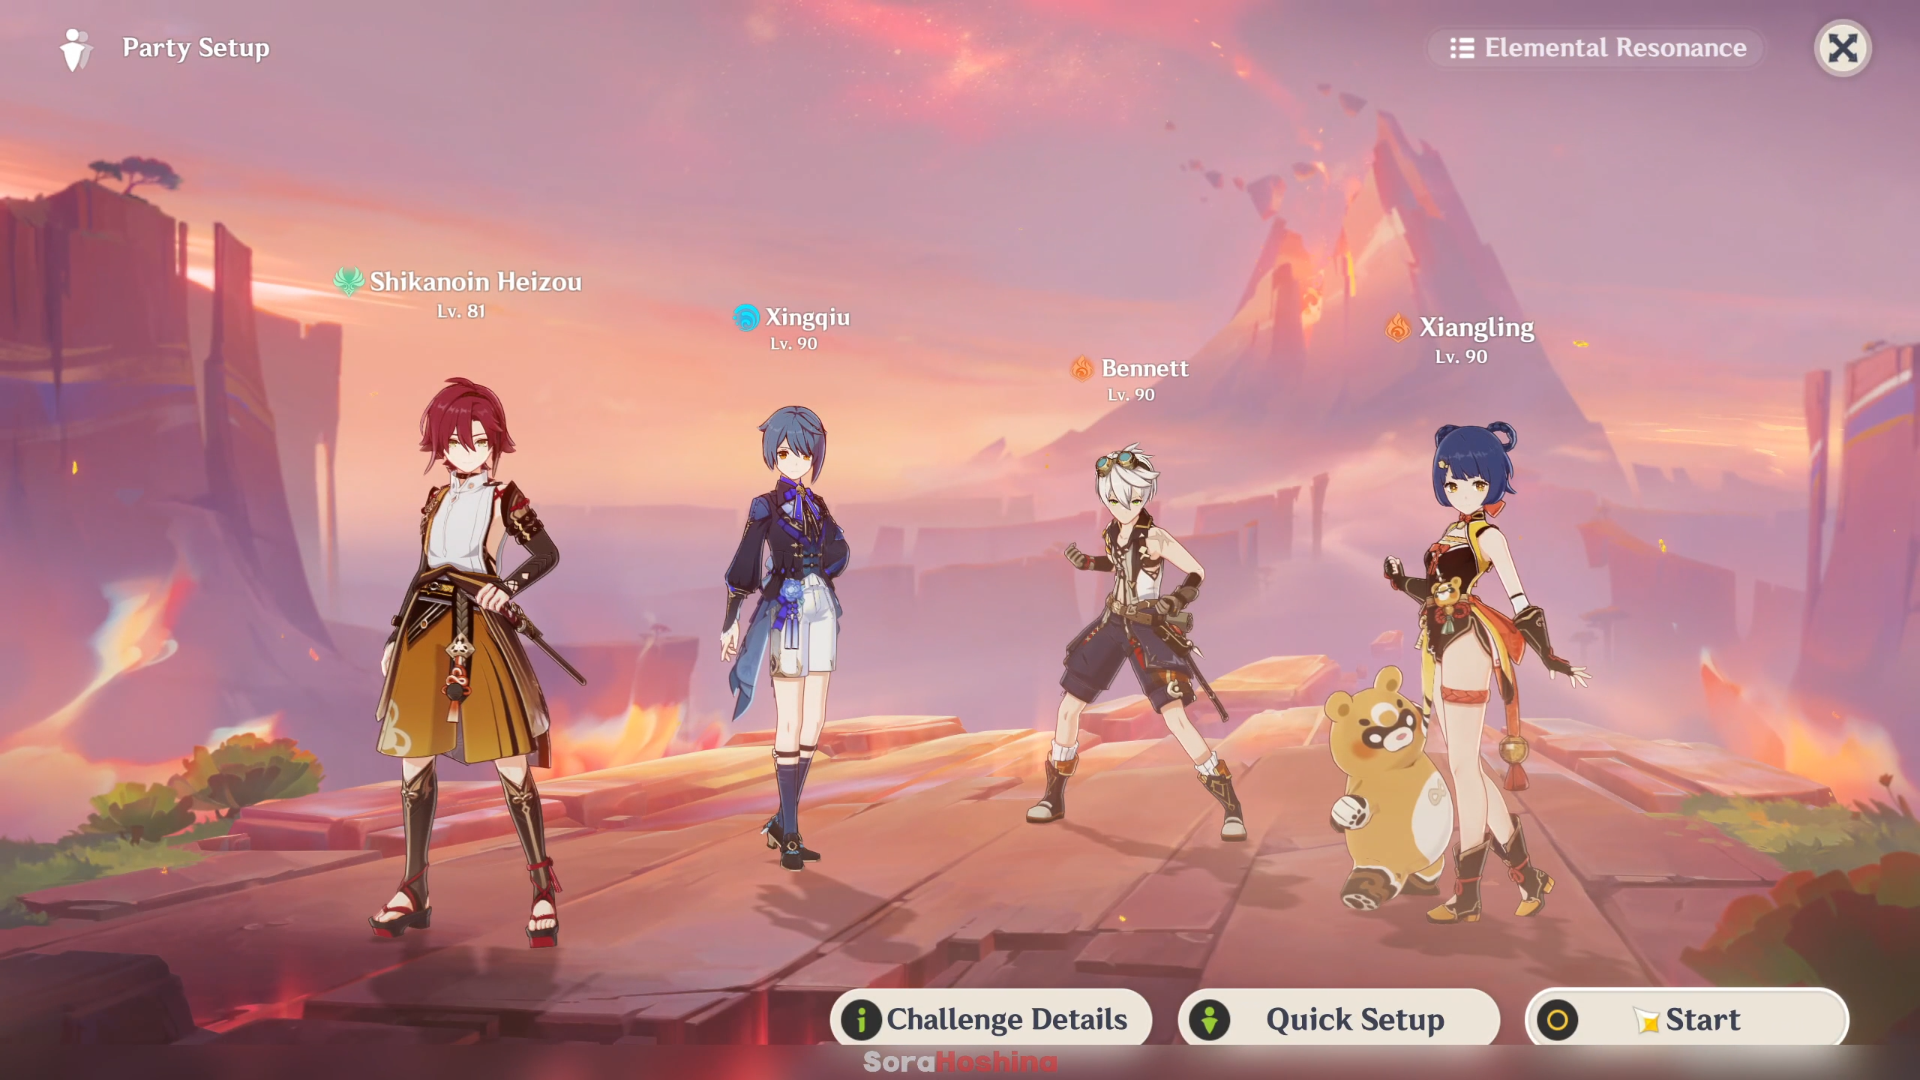
| Difficulty: Desperate | (1) Vaporize Team: Mualani + Xiangling + Bennett + Kazuha/Xilonen (2) Vaporize Team (2): Arlecchino + Yelan + Flex + Flex (3) 4-Star Team: Heizou + Xingqiu + Bennett + Xiangling |
The stage buff provides free 100% DMG for Normal and Charged Attacks after the team triggers Vaporize 10 times. It's best if you use the Vaporize team for this stage to get those free buffs. But remember that the buff is ONLY for Normal and Charged Attacks, so bring a DPS that can benefit from the buff.
> How To Defeat
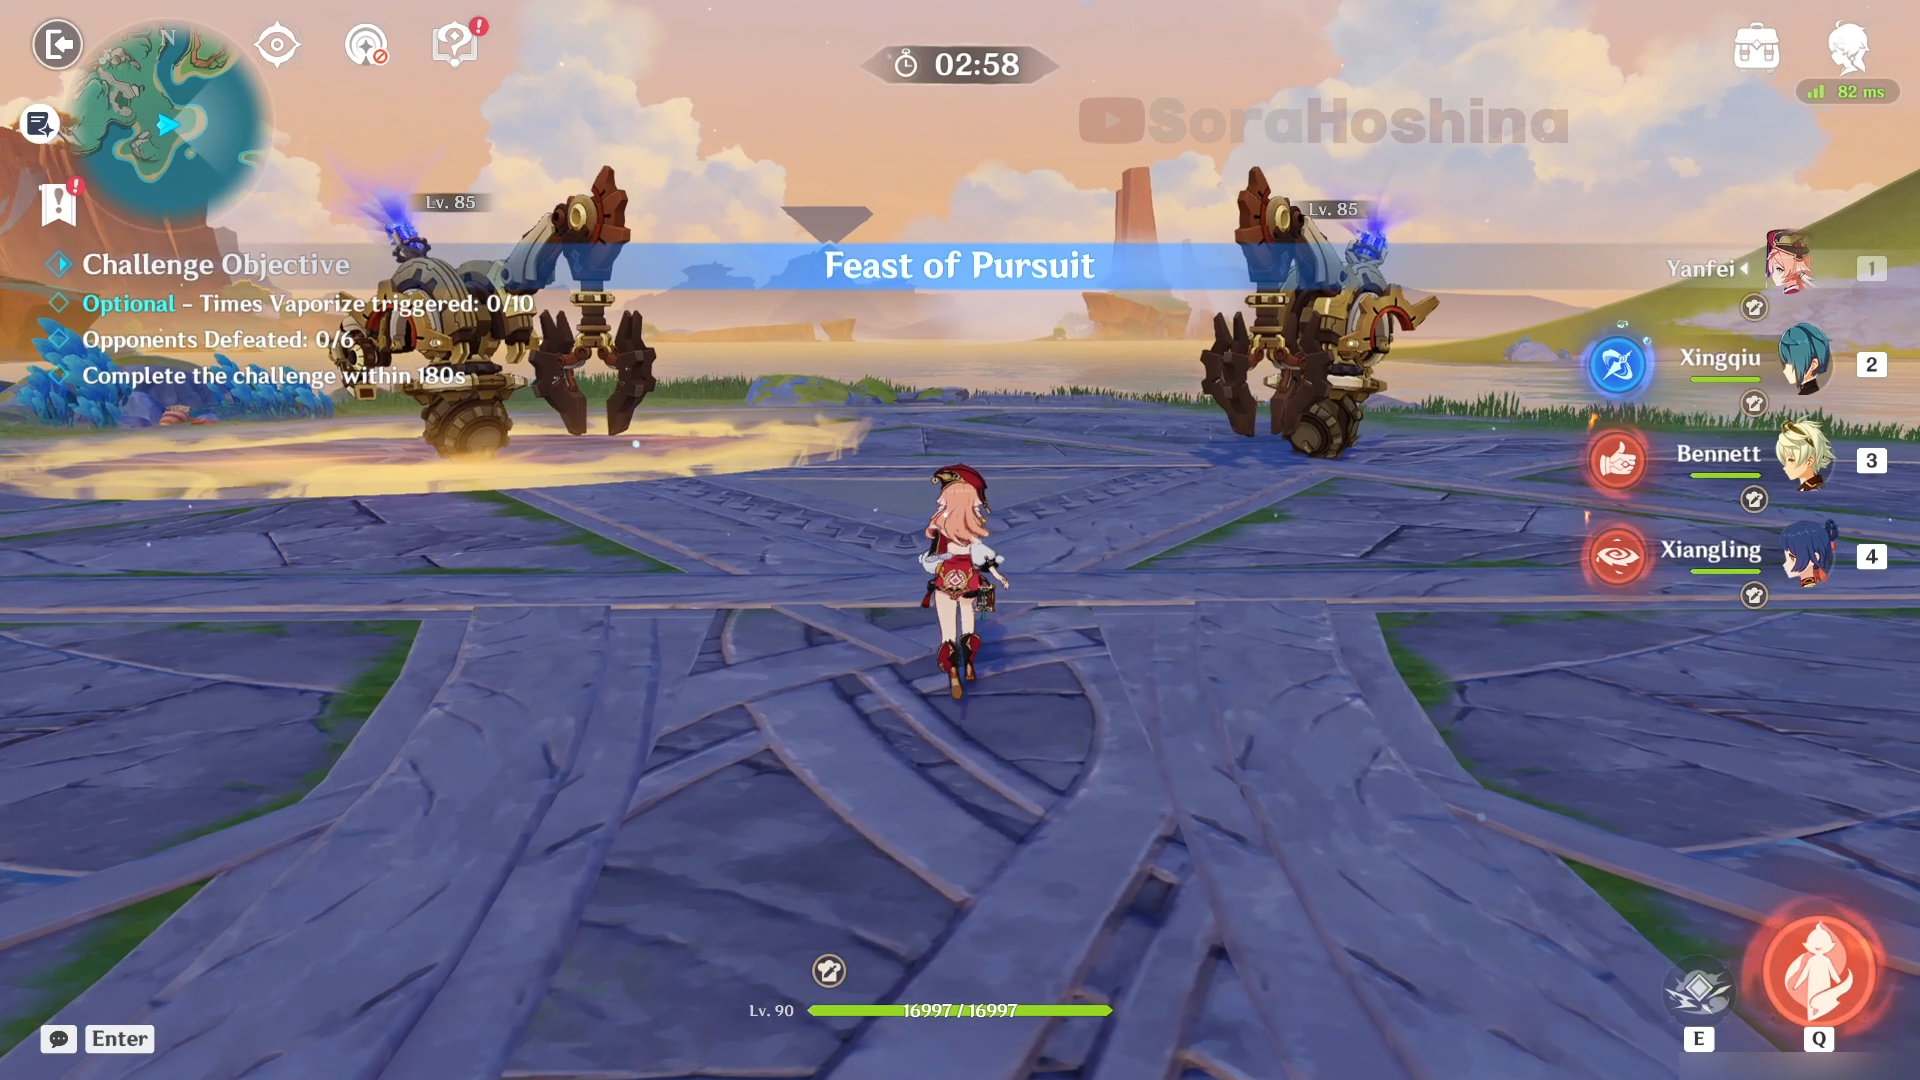
In the first wave, there are 2 Construction Specialist Meka (Ousia). You can see in the image above that one of the enemy has an AoE around them. Those AoE will provide the enemy inside with an ATK buff and Elemental RES. Although it's pretty distracting, you should ignore it and focus on one of the enemies before going to the other one. It's best if you manage to defeat the one outside of the AoE before going after the buffed enemy. Of course, if you want to group them in one spot, feel free to do so.
P/S: What I don't like about this wave is how both of them deal Cryo damage. If you bring a Hydro character that deals Hydro on self like Barbara and Xingqiu, you can get frozen pretty easily.
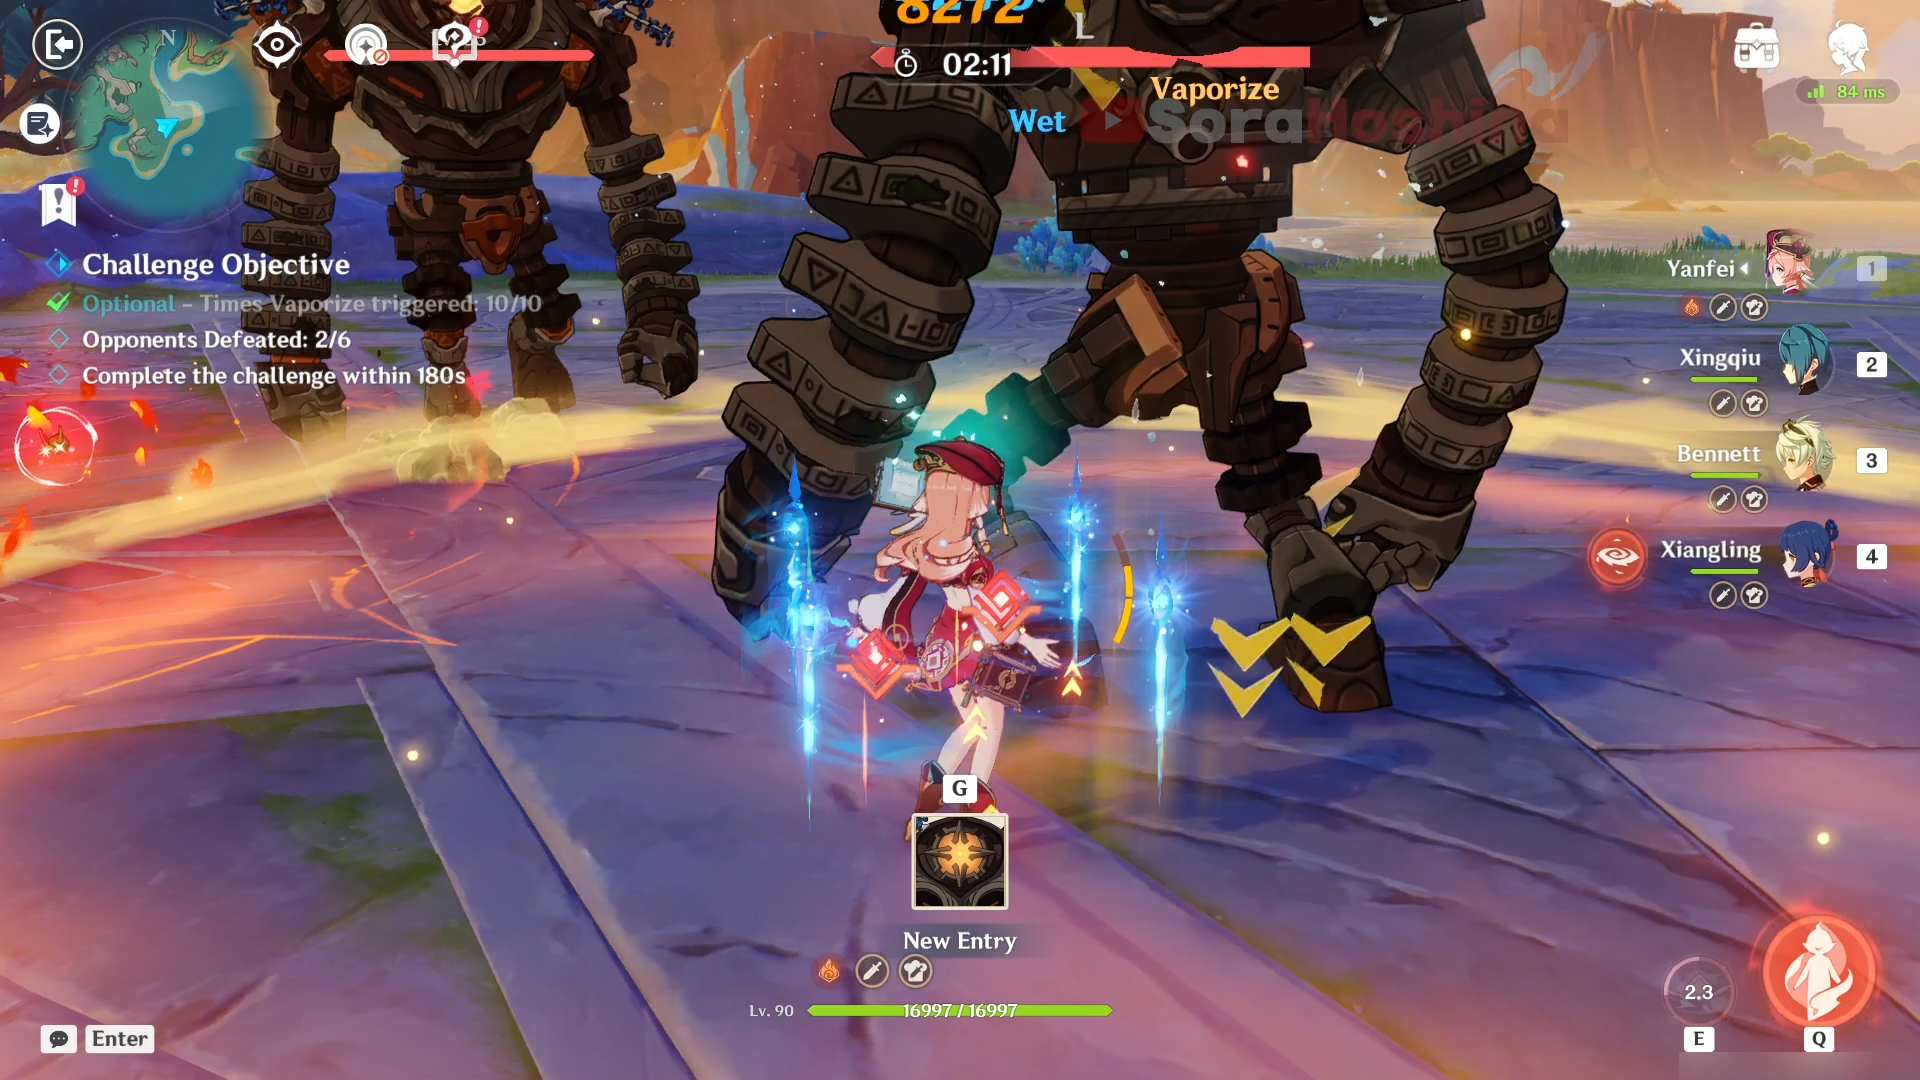
In the second wave, you're facing 2 Ruin Guards. Both of them will chase after you so it's a matter of time before they're gathered in one spot. And once they do, brute force. You can aim for the weak spot if you want (if you bring a Bow character), but if you're confident with your DPS, you don't have to and just spam Skill/Burst.
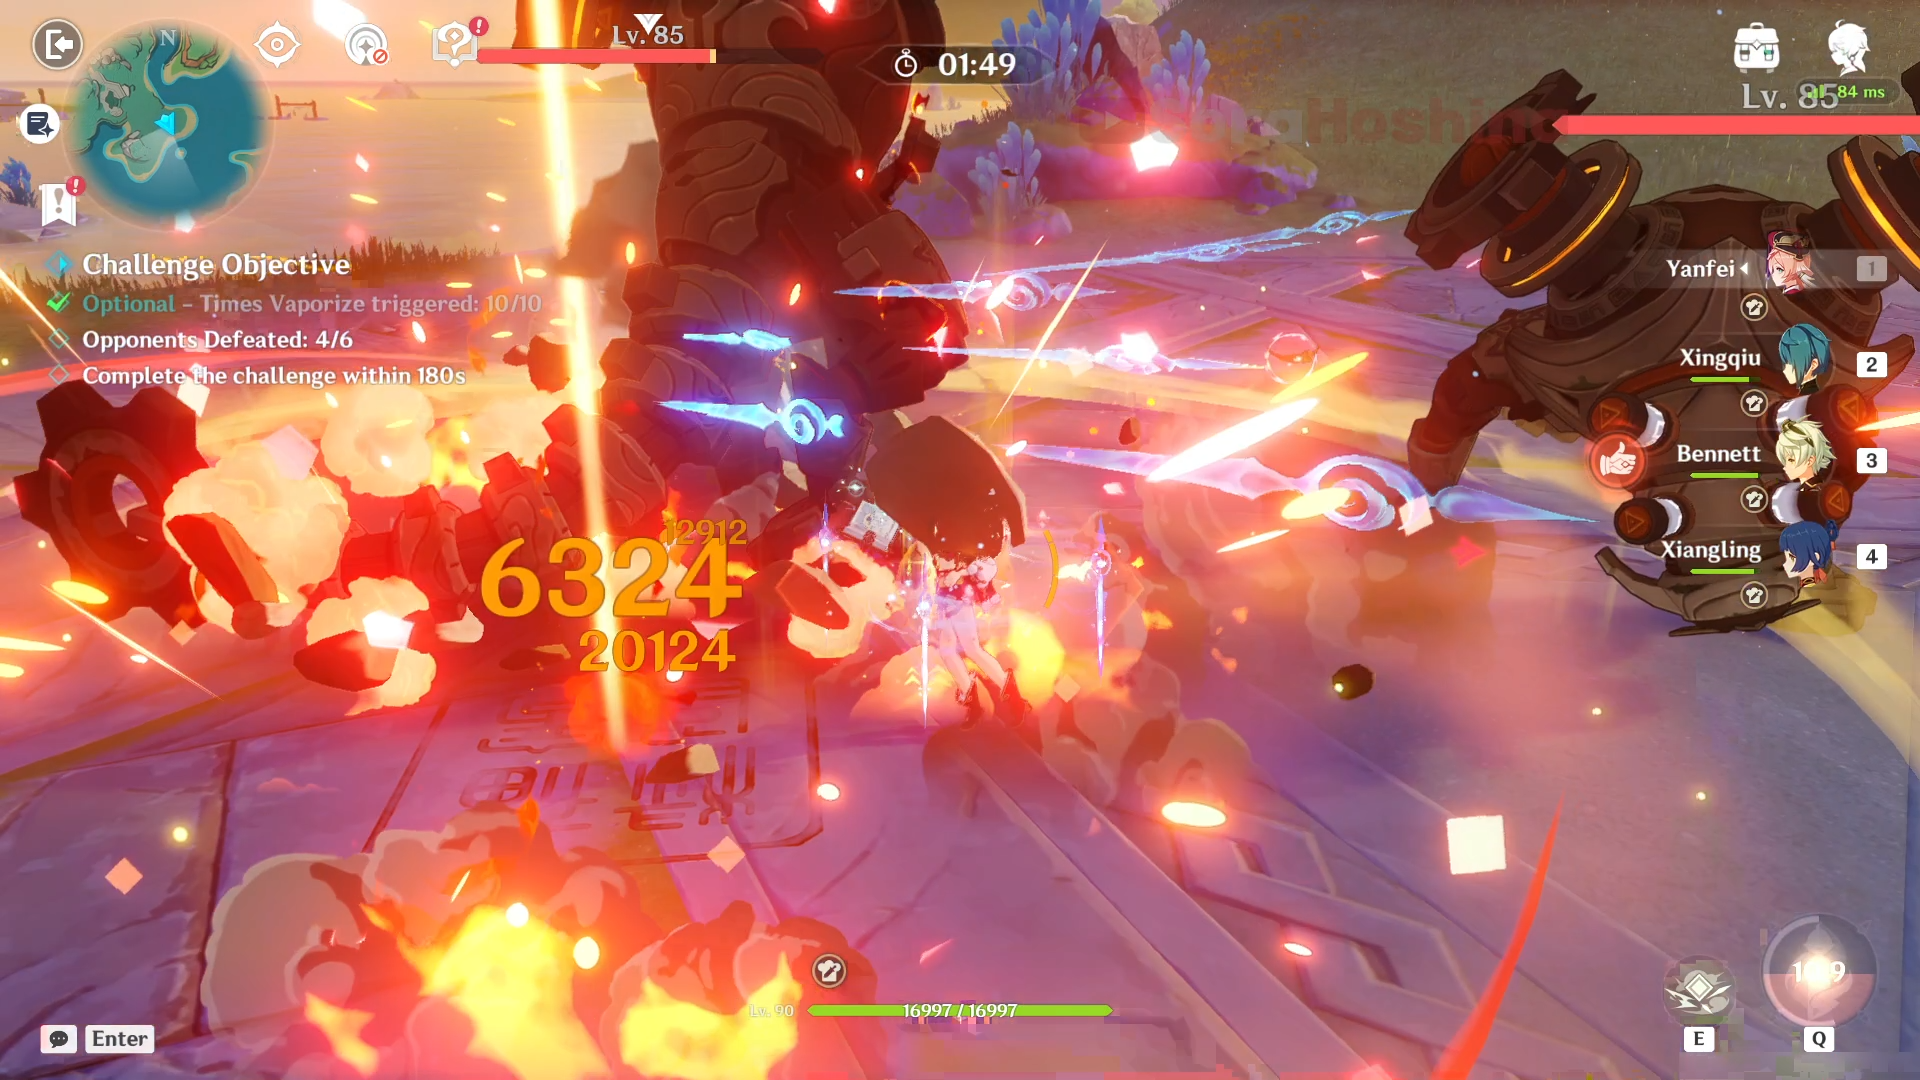
In the third wave, there are 2 Ruin Drakes. Similar to the previous one, they will also group to your location so that's easy CC. For these 2, when they start to charge, it's best if you aim for the weak spot so they can't get more Elemental RES (see the photo below).
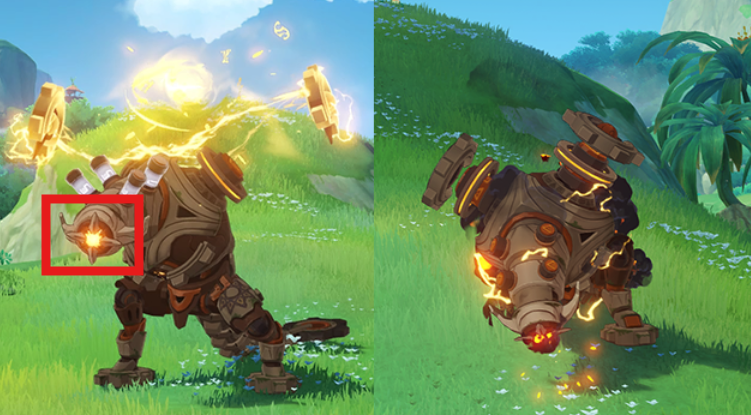
The one on the left is when they start 'charging'. Aim at the shining core on its face to paralyze the Ruin Drake. If you don't paralyze the enemy within the short time, it will gain Elemental RES against the previous main type of Elemental DMG it suffered. They already have the stage buff that increases ATK and Elemental RES, you don't want to add more RES for them.
Although at this point, you should have triggered enough Vaporize reaction to get the 100% DMG bonus for Normal and Charged Attacks.
Difficulty: Steadfast
> Monster List

> Team Recommendation
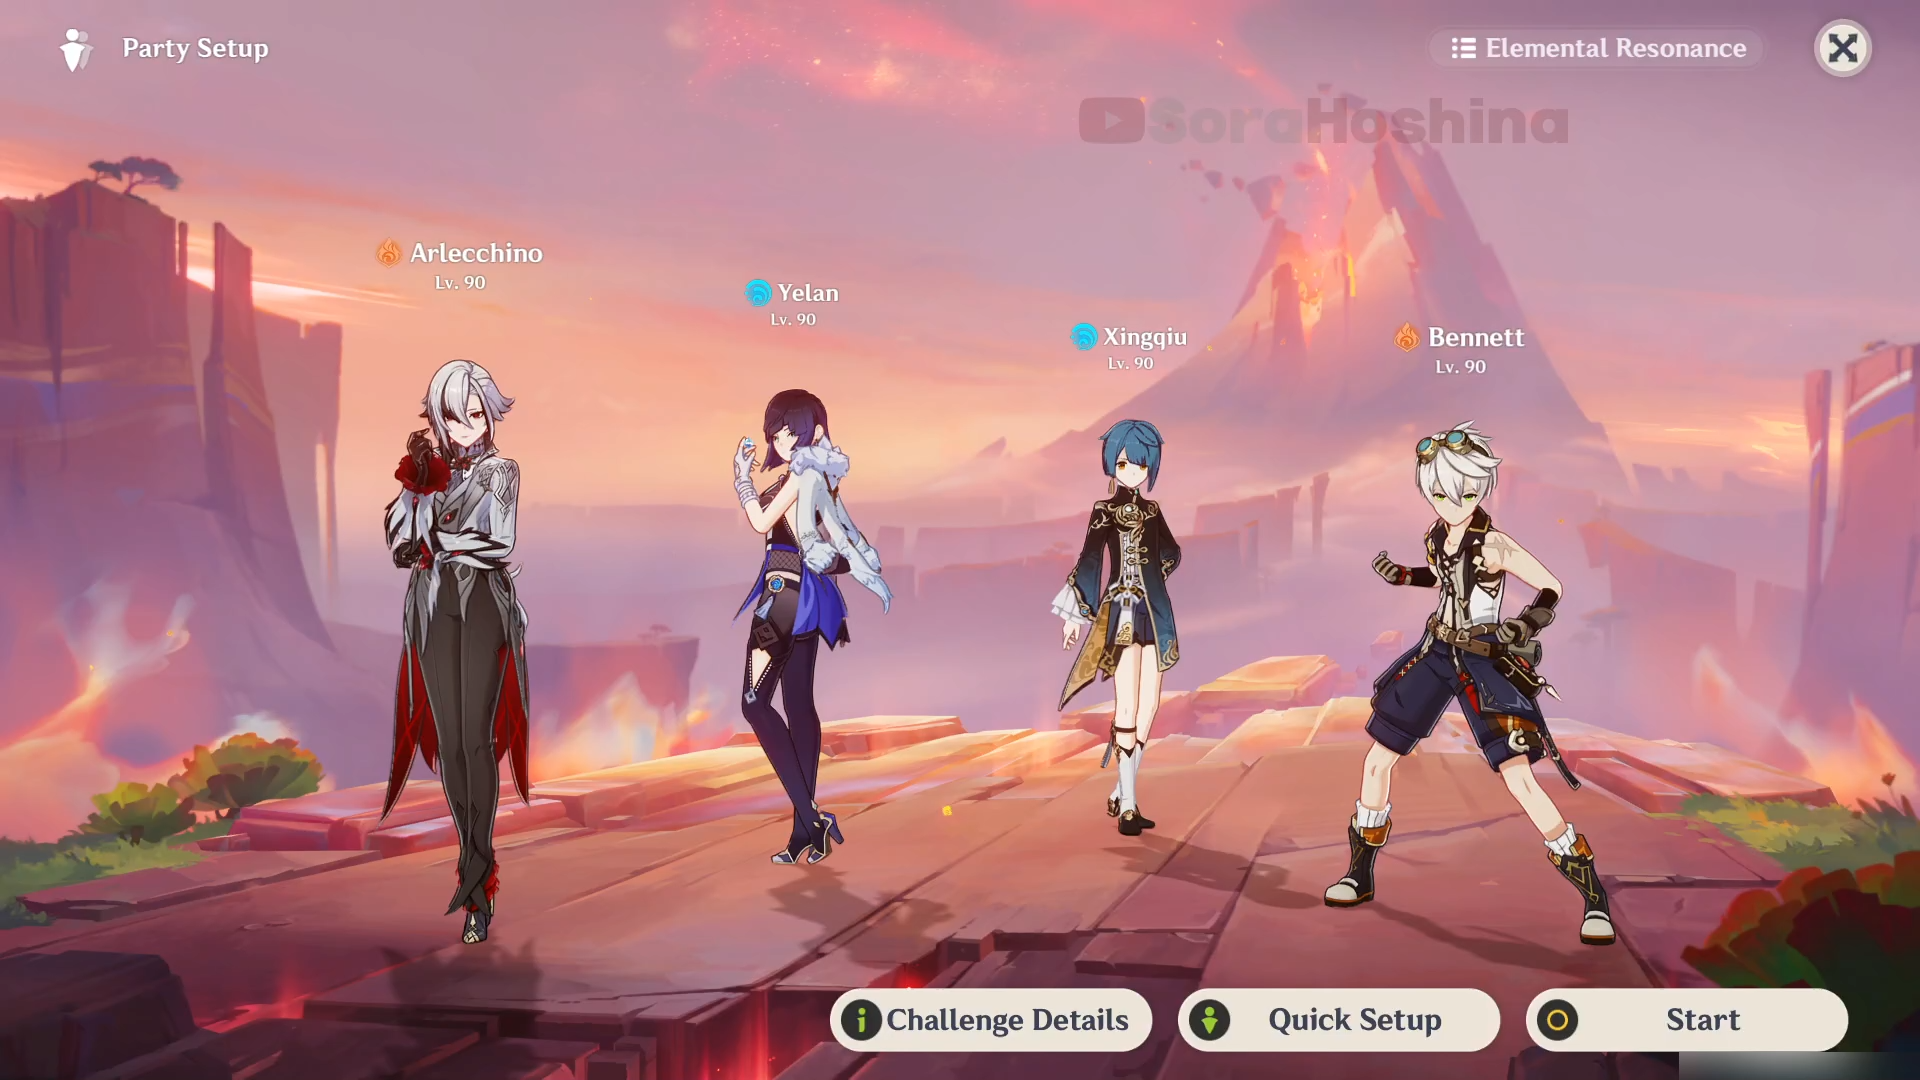
| Difficulty: Desperate | (1) Vaporize Team: Mualani + Xiangling + Bennett + Kazuha/Xilonen (2) Vaporize Team (2): Arlecchino + Yelan + Flex + Flex (3) Vaporize Team (3): Furina + Yelan + Bennett + Xiangling |
Prioritize Vaporize in the team because with said reaction, you can get a 100% NA and CA DMG bonus. In addition, make sure there are at least 1 Pyro character because you need to burn Flamegranates in this stage when the boss summons them.
> How To Defeat
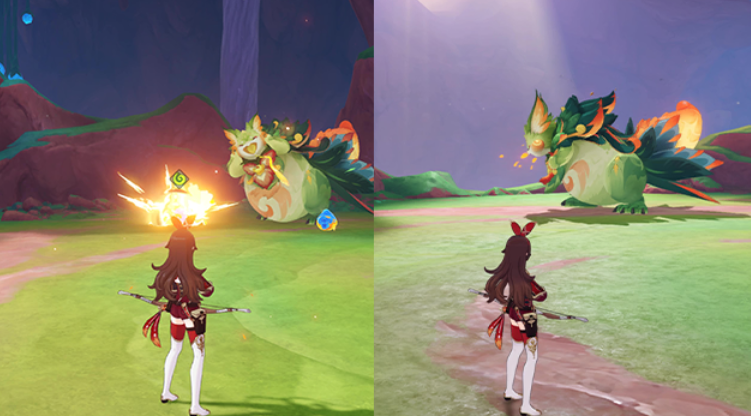
There are no differences between this enemy and the overworld boss. It has 70% Dendro RES so try not to use Dendro DPS against this boss. If there's anything different, then maybe their damage is higher than usual. This big boy mostly has a melee skill set so try not to stray far away from it, unless you have a ranged DPS. If you do get too far away from it, the boss may use its tongue to swing itself to your location.
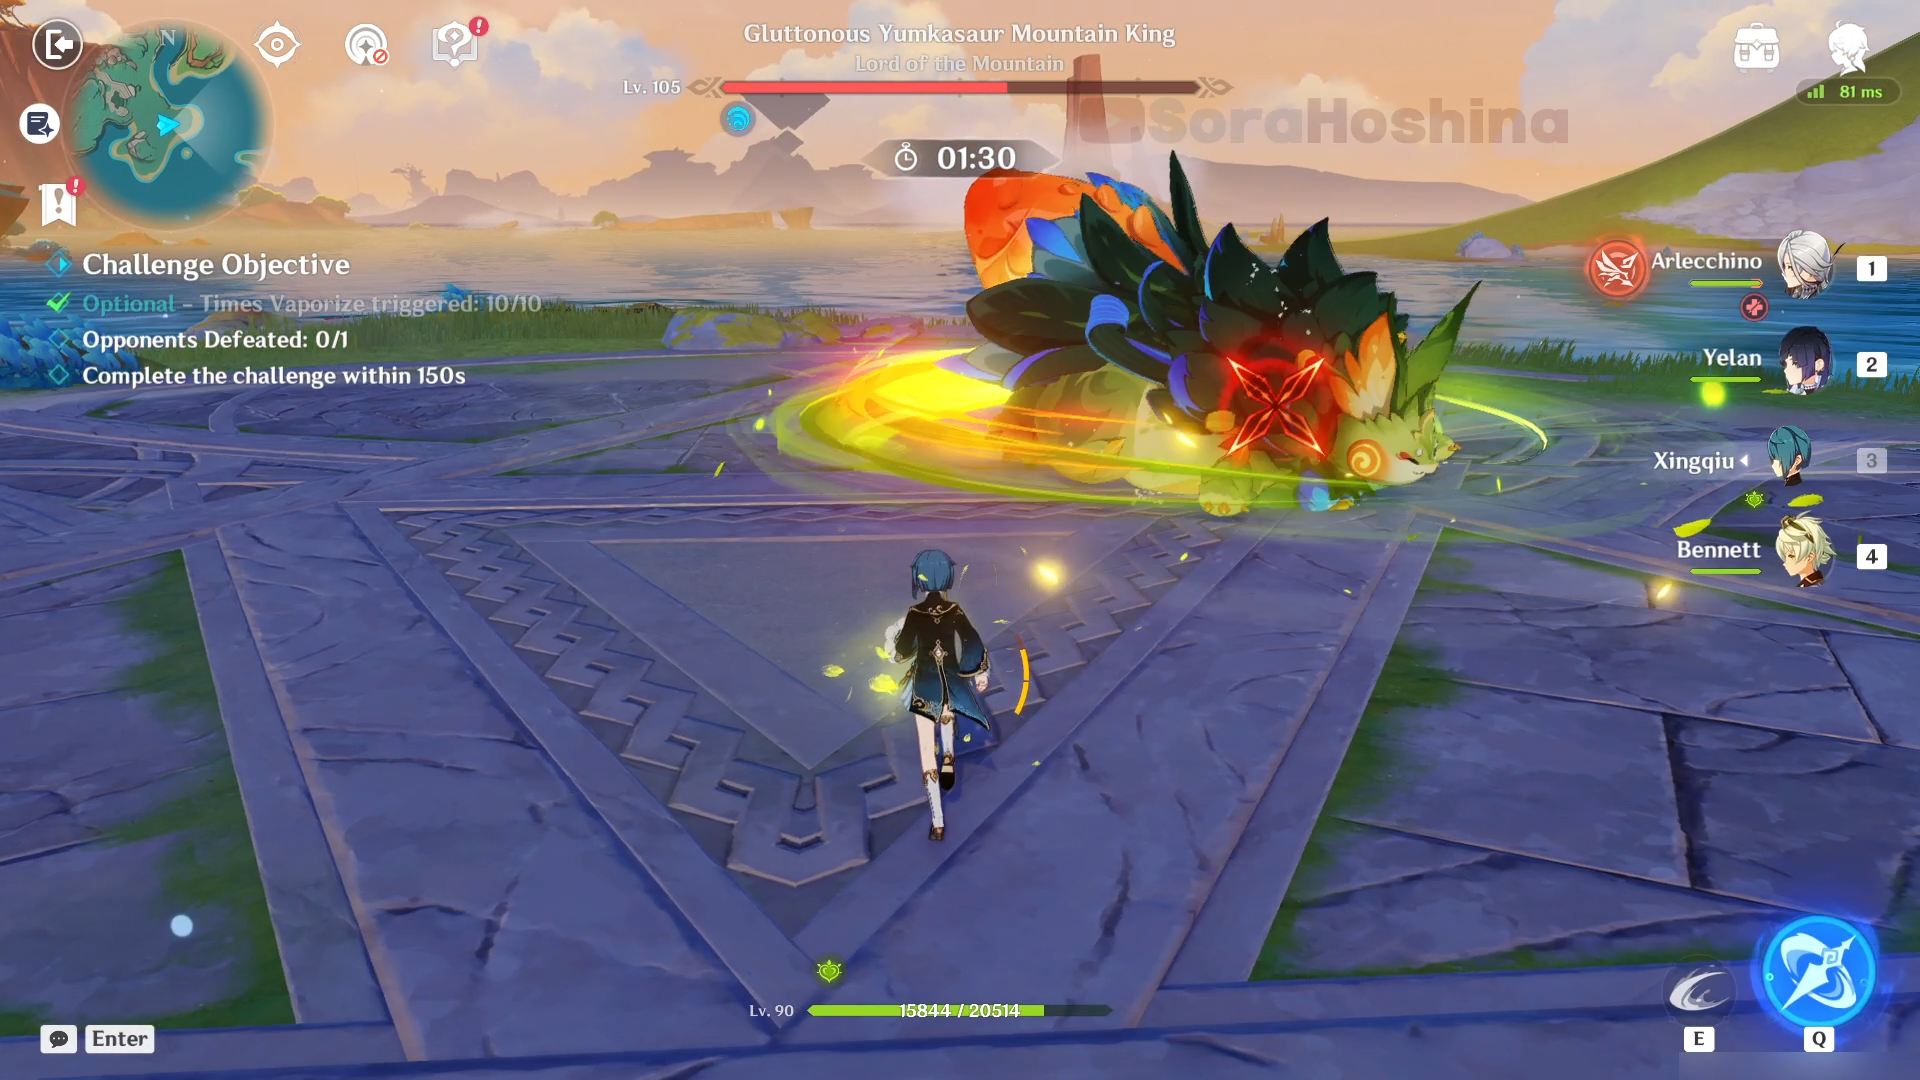
One of the two skills you need to be wary of is the Belly Spin (not an official name) where it will rapidly spin on top of its belly while approaching you. The damage itself is not astronomically high, but your character will be thrown back if you don't have a shield set up beforehand.
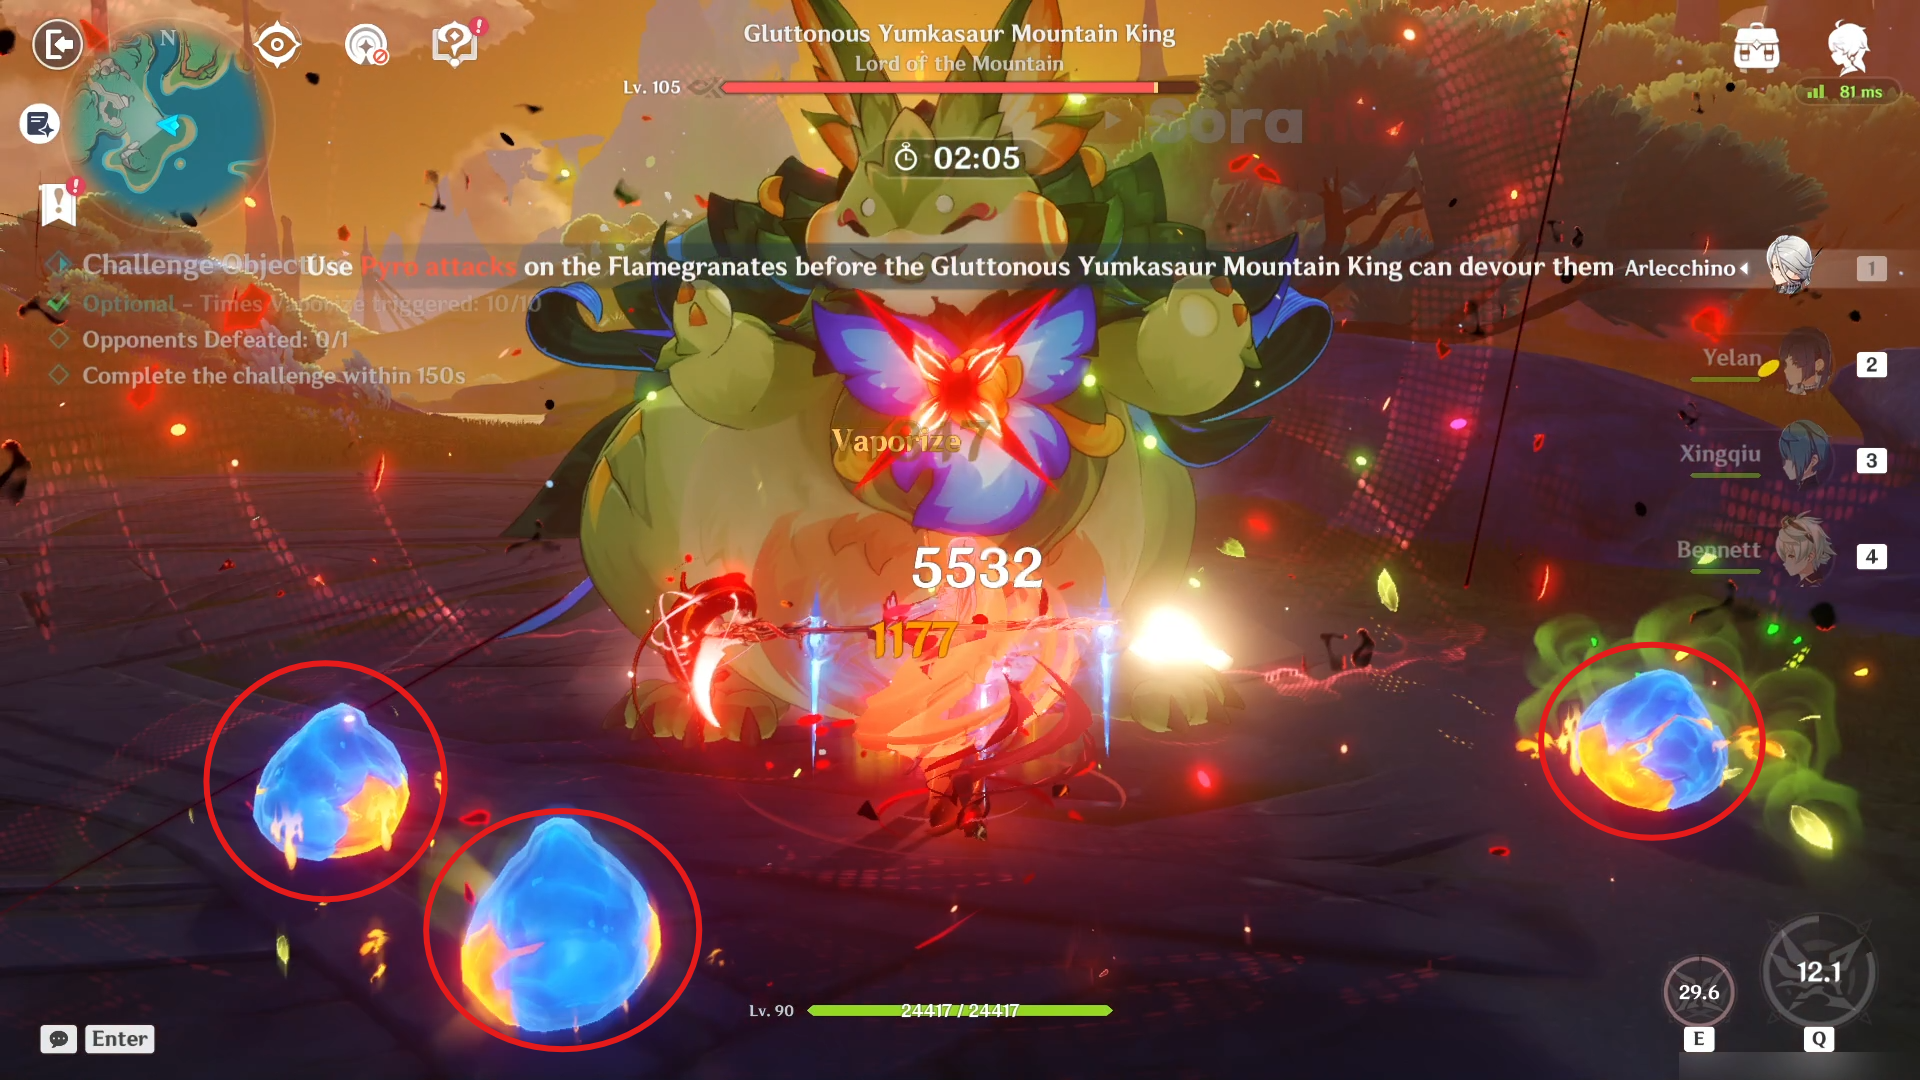
Another skill set is when the Yumkasaur summons Flamegranates on the ground. What you need to do here is to light up the Flamegranates with Pyro when you see them. It will explode on the floor if Yumkasaur doesn't devour it in time, and it will explode inside the boss' mouth if it manages to eat it beforehand. Of course, each time the Flamegranates explode, the boss will lose a decent amount of HP (each Flamegranate, when explode, deals 528020 DMG to the boss, that's HUGE).
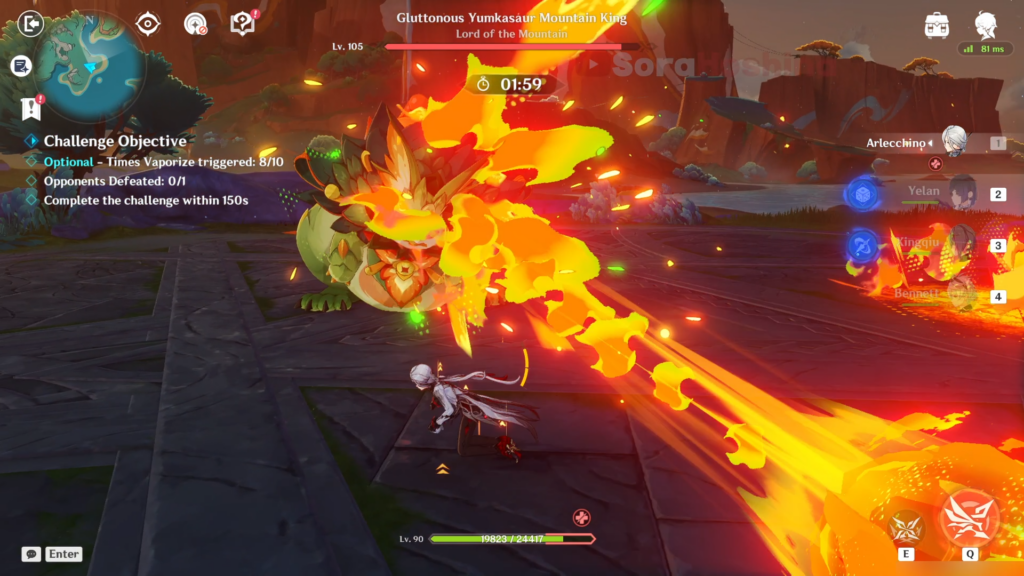
If you didn't burn all Flamegranates in time and the boss managed to devour it, it would deal damage based on how many Flamegranates it ate. If the Yumkasaur manages to eat 3, the first 2 will be used as ammo as it will spit the ignited Flamegranates and the last one will be converted to an energy beam.
Stage 4 - "Heart of the Boulder"
Difficulty: Desperate
> Monster List

> Team Recommendation

| Difficulty: Desperate | (1) Crystallize Team: Navia + Xilonen + Bennett + Xiangling (2) Vaporize Team: Arlecchino + Yelan + Kachina + Zhongli (3) Overload Team: Raiden Shogun + Bennett + Chevreuse + Kujou Sara (4) Noelle Furina Team: Noelle + Furina + Gorou + Geo (5) 4-Star Team: Kachina + Fischl + Bennett + Xiangling |
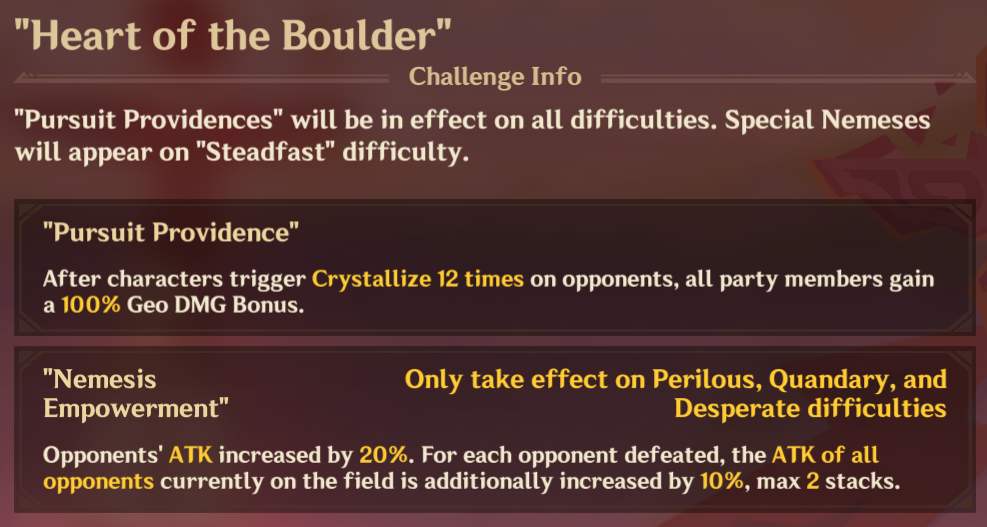
The stage buff provides a free 100% Geo DMG Bonus after the team triggers Crystallize 12 times. While the buff is good, it only shines if you use a Geo character as the main DPS. In my opinion, you shouldn't limit the team to the Geo team (if you don't have a Geo DPS) and just use any team you like, as long as they can melt the Electro/Cryo/Geo shields in this stage (like the Overload team).
> How To Defeat
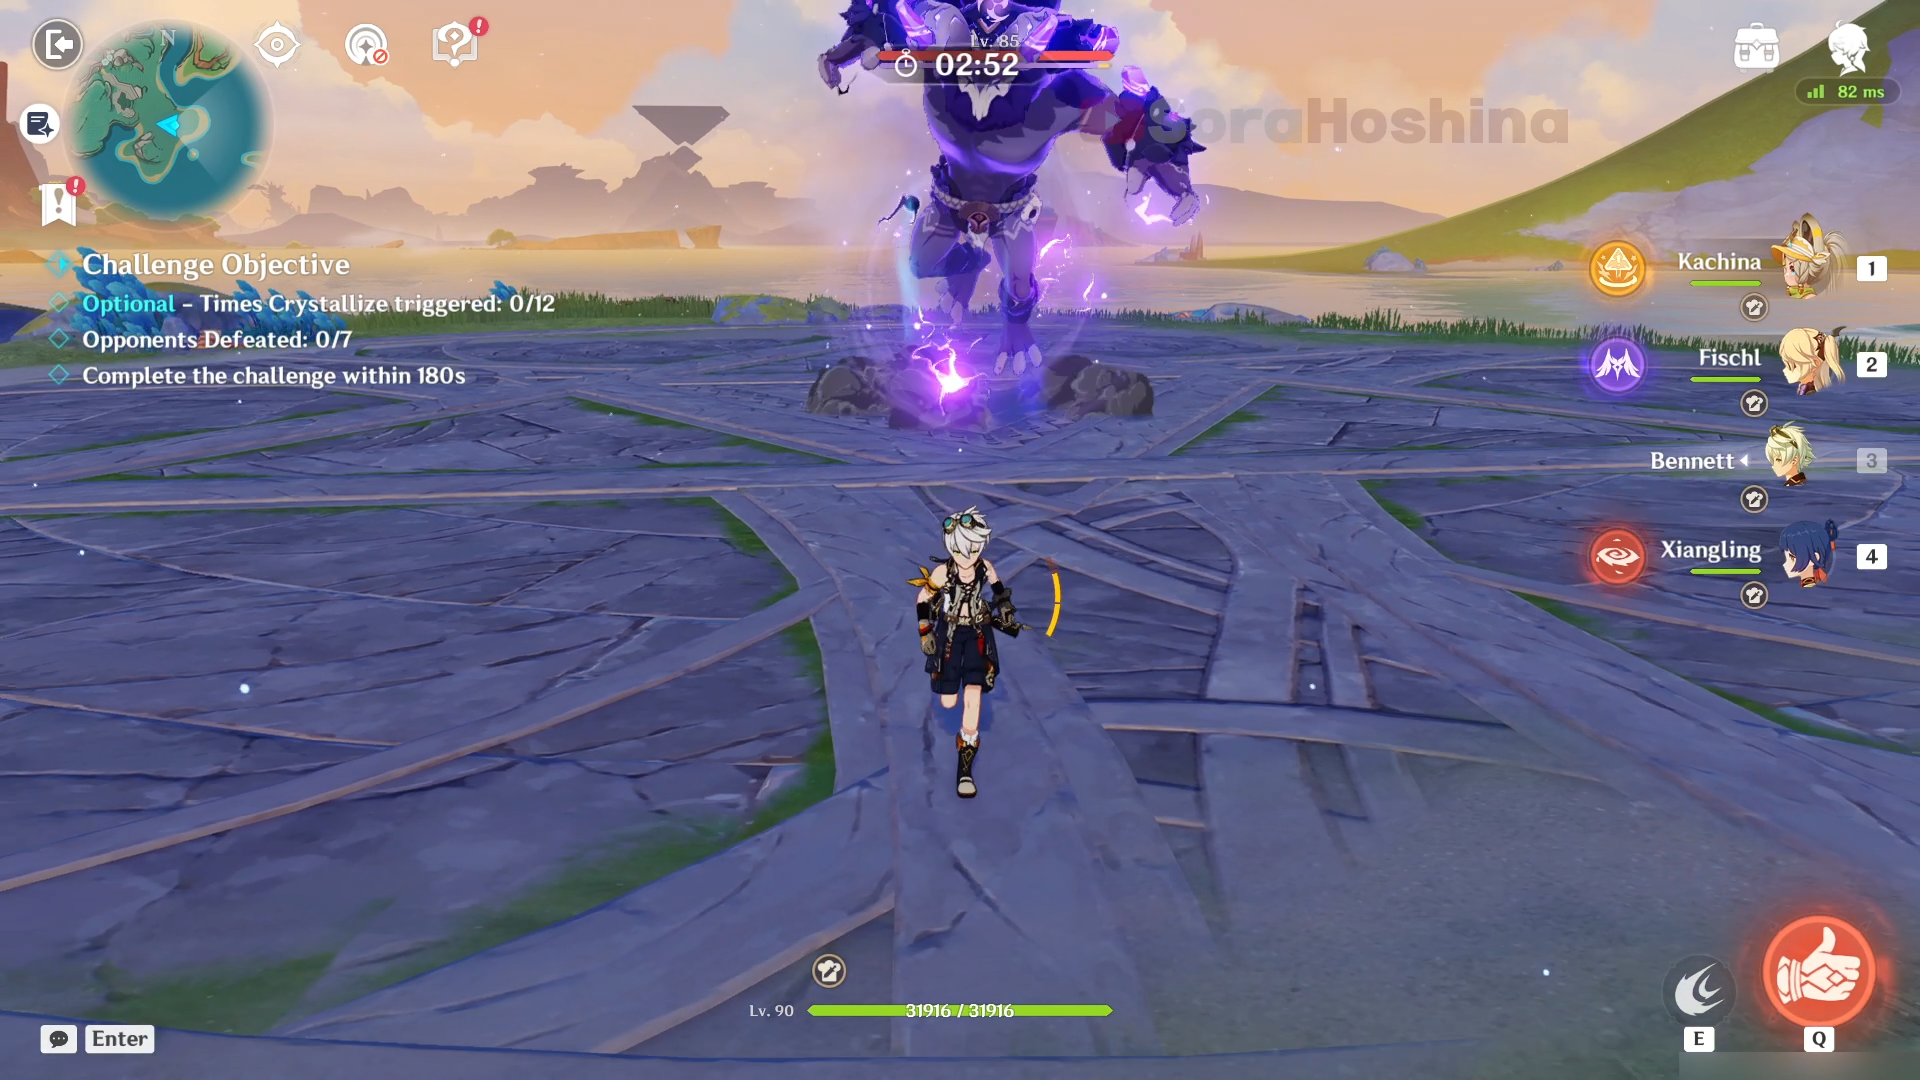
In the first wave, you will face a single Electro Lawachurl. Instead of approaching it, back up a little bit so the Lawachurl will lunge at your location. This way, that skill will have a cooldown and you don't have to worry about it lunging when you're using an Elemental Burst.
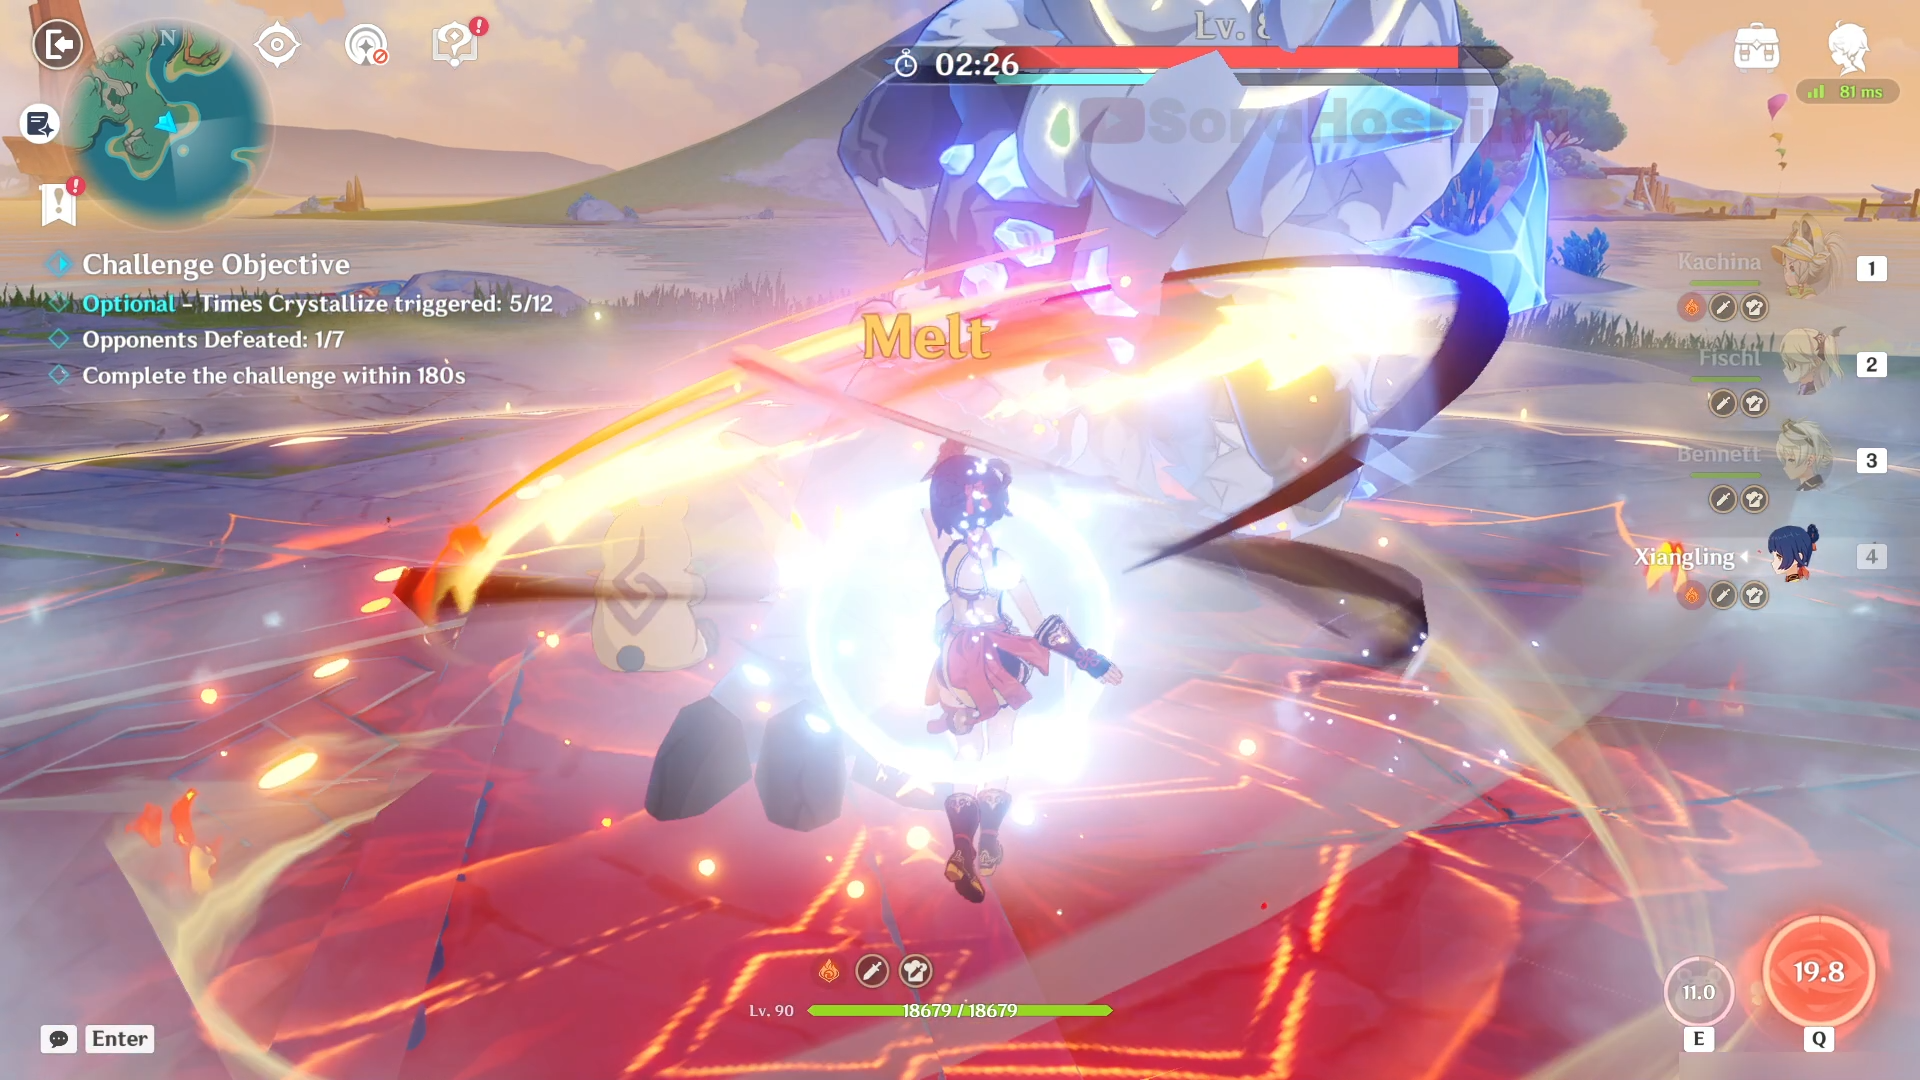
In the second wave, there is one Cryo Lawachurl. Similar to before, it's better to lure them to use a lunge attack to other location first before using your Elemental Burst. But of course, instantly using Skill and Burst without caring about its lunge attack is also a plan. It's not like they can use continuous lunge attacks.
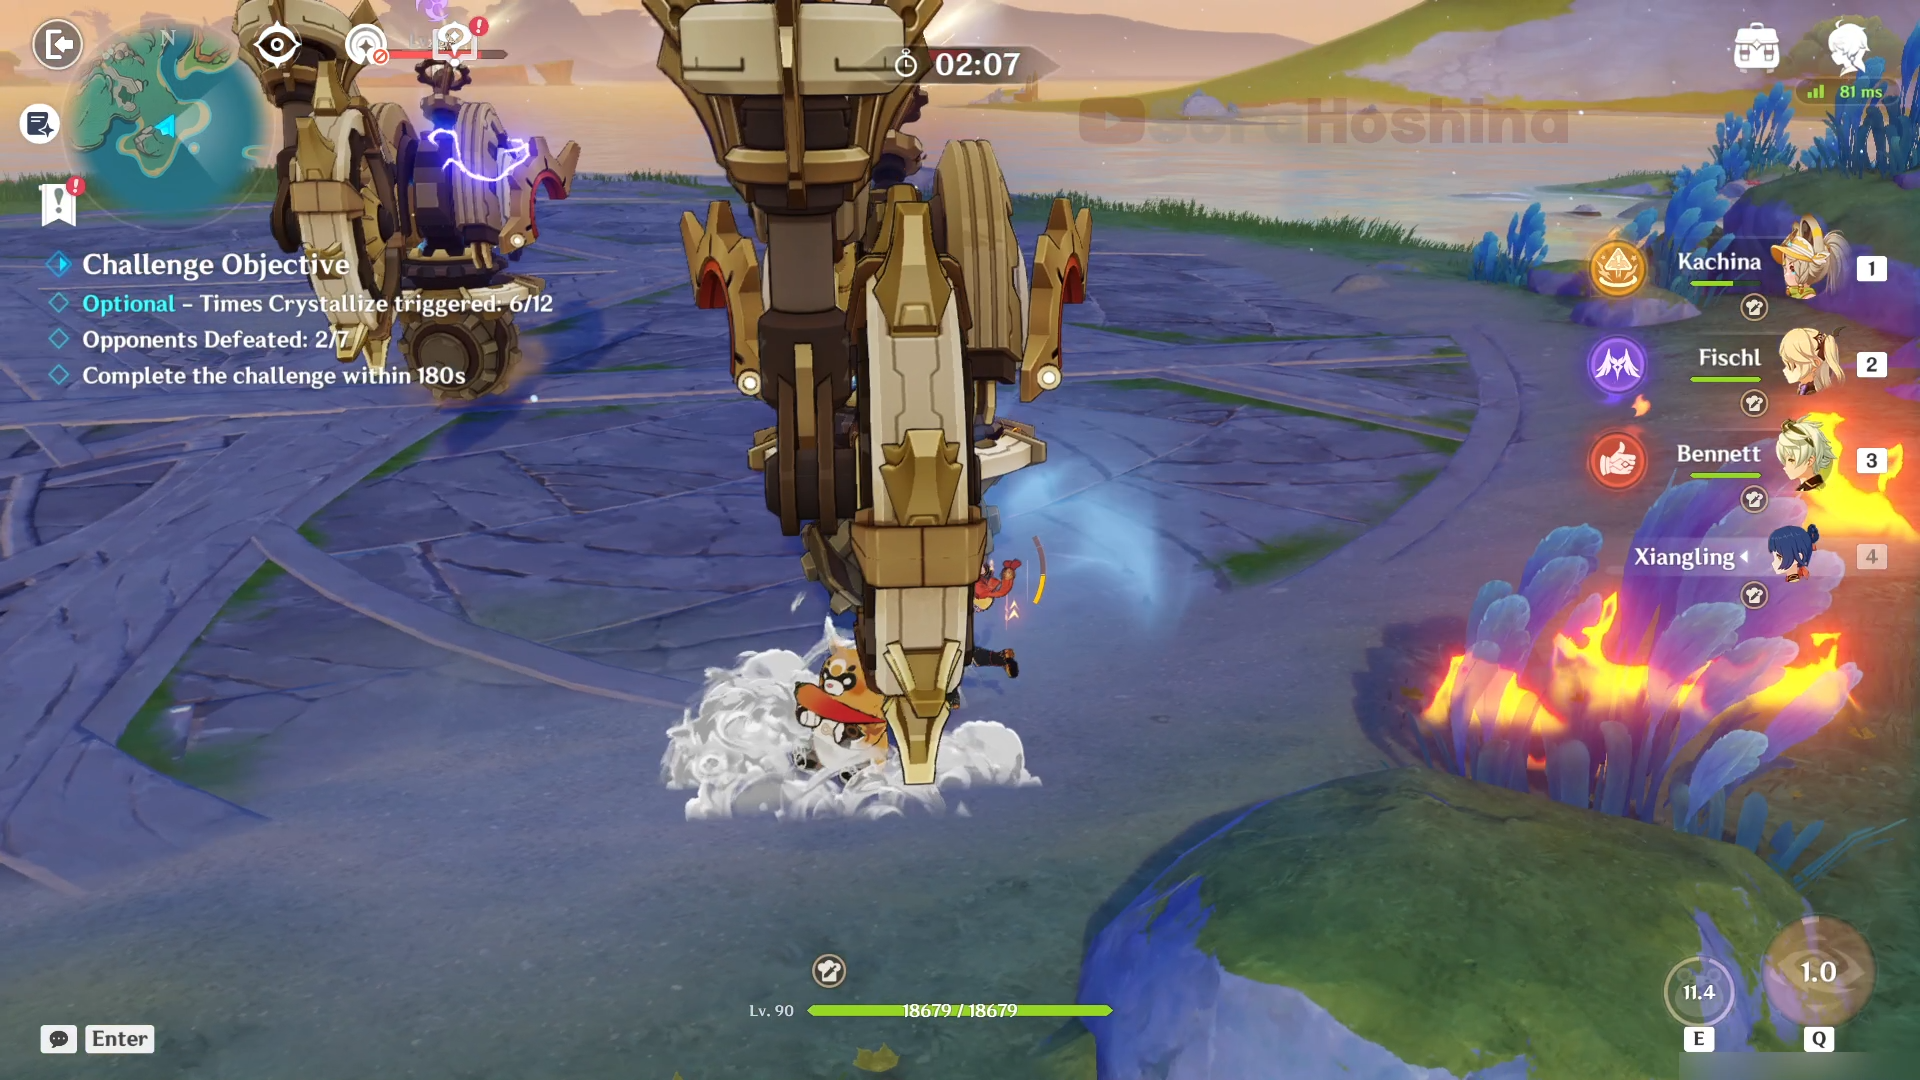
In the third wave, there are 2 Construction Specialist Mekas. There's no strategy here as they will chase after you, so all you have to do is attack them and avoid their attacks. It's best if you can lure them to the edge of the arena so they won't run too far away from each other whenever they do any attacks.
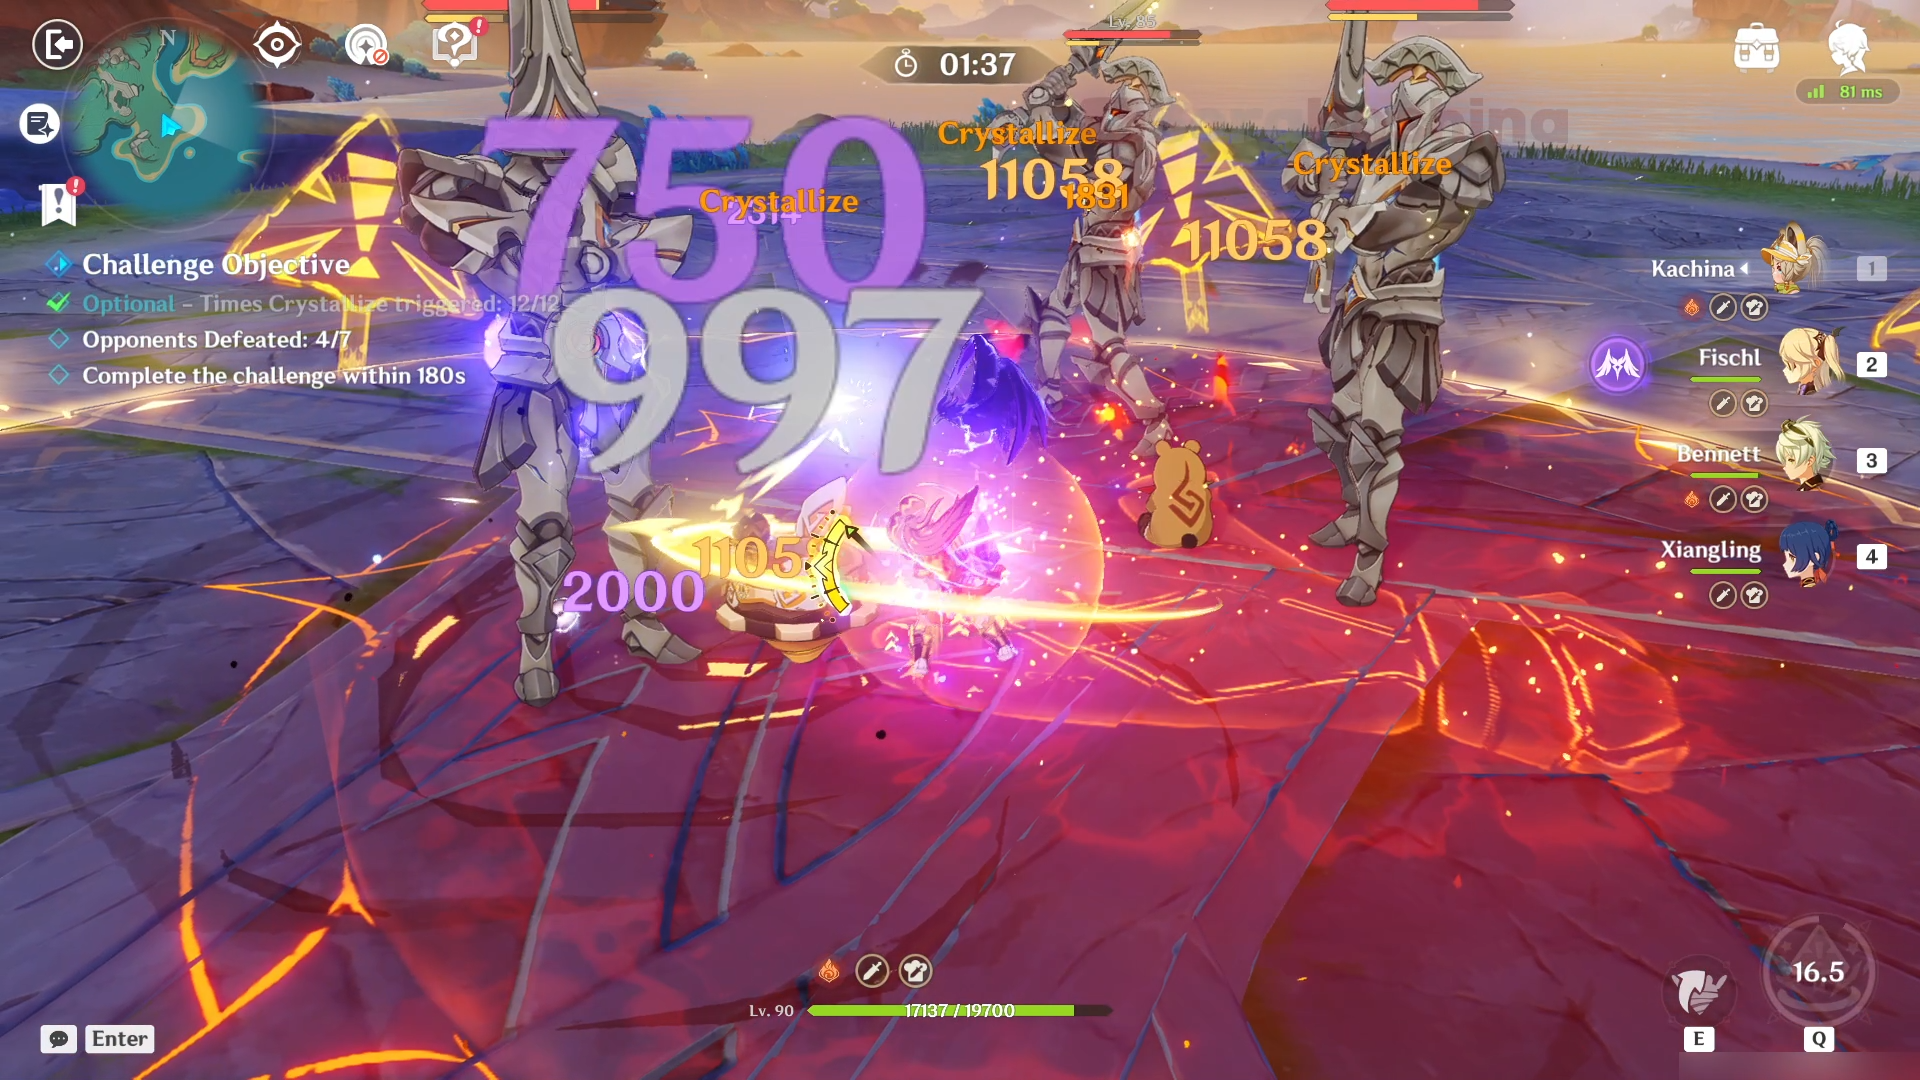
For the last wave, we have 3 Praetorian Golems. When they spawn, go to the middle one and let the others go after you. Then, all you have to do is destroy their Geo shields to paralyze them.
Difficulty: Steadfast
> Monster List

> Team Recommendation

| Difficulty: Desperate | (1) Crystallize Team: Navia + Xilonen + (Furina + Kokomi) / (Bennett + Xiangling) (2) Hydro Team: Neuvillette + Xilonen + Furina + Kazuha (3) National Team: Tartaglia/Raiden + Kazuha + Bennett + Xiangling |
Although Geo DPS is highly recommended here because you'll get 100% Geo DMG after triggering Crystallize 12 times, what's more important here is a character that can climb a Phlogiston aka Xilonen and Kachina. Kazuha's Skill and Zhongli's pillar also do the tricks but definitely not as efficient as Xilonen here. As long as you bring them, you can bring other OP DPS like Neuvillette or Arlecchino if you have them.
> How To Defeat
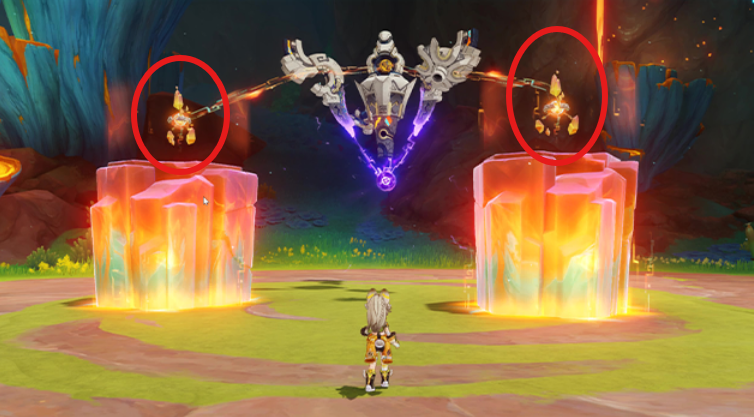
It's a new boss in 5.1, and it has a special mechanism when you bring along a Natlan character. When there's a Natlan character in the Nightsoul's Blessing state, it will fill the Adaptive Countermeasures bar under the HP bar. When it's full, it will spawn 2 Solid Phlogiston as you can see in the image above. Then, it will start charging for its Ultimate attack. What you need to do is climb the Phlogiston and attack the 'Accretion Mechanism' on top of the Phlogiston to interrupt the charging.
Yes, CLIMB. They really want to force you to use either Kachina or Xilonen because normal climbing can't do jack here. Another method is to cheat using Kazuha or Wanderer's Skill, or even climb Zhongli's pillar to reach the top of the Phlogiston.
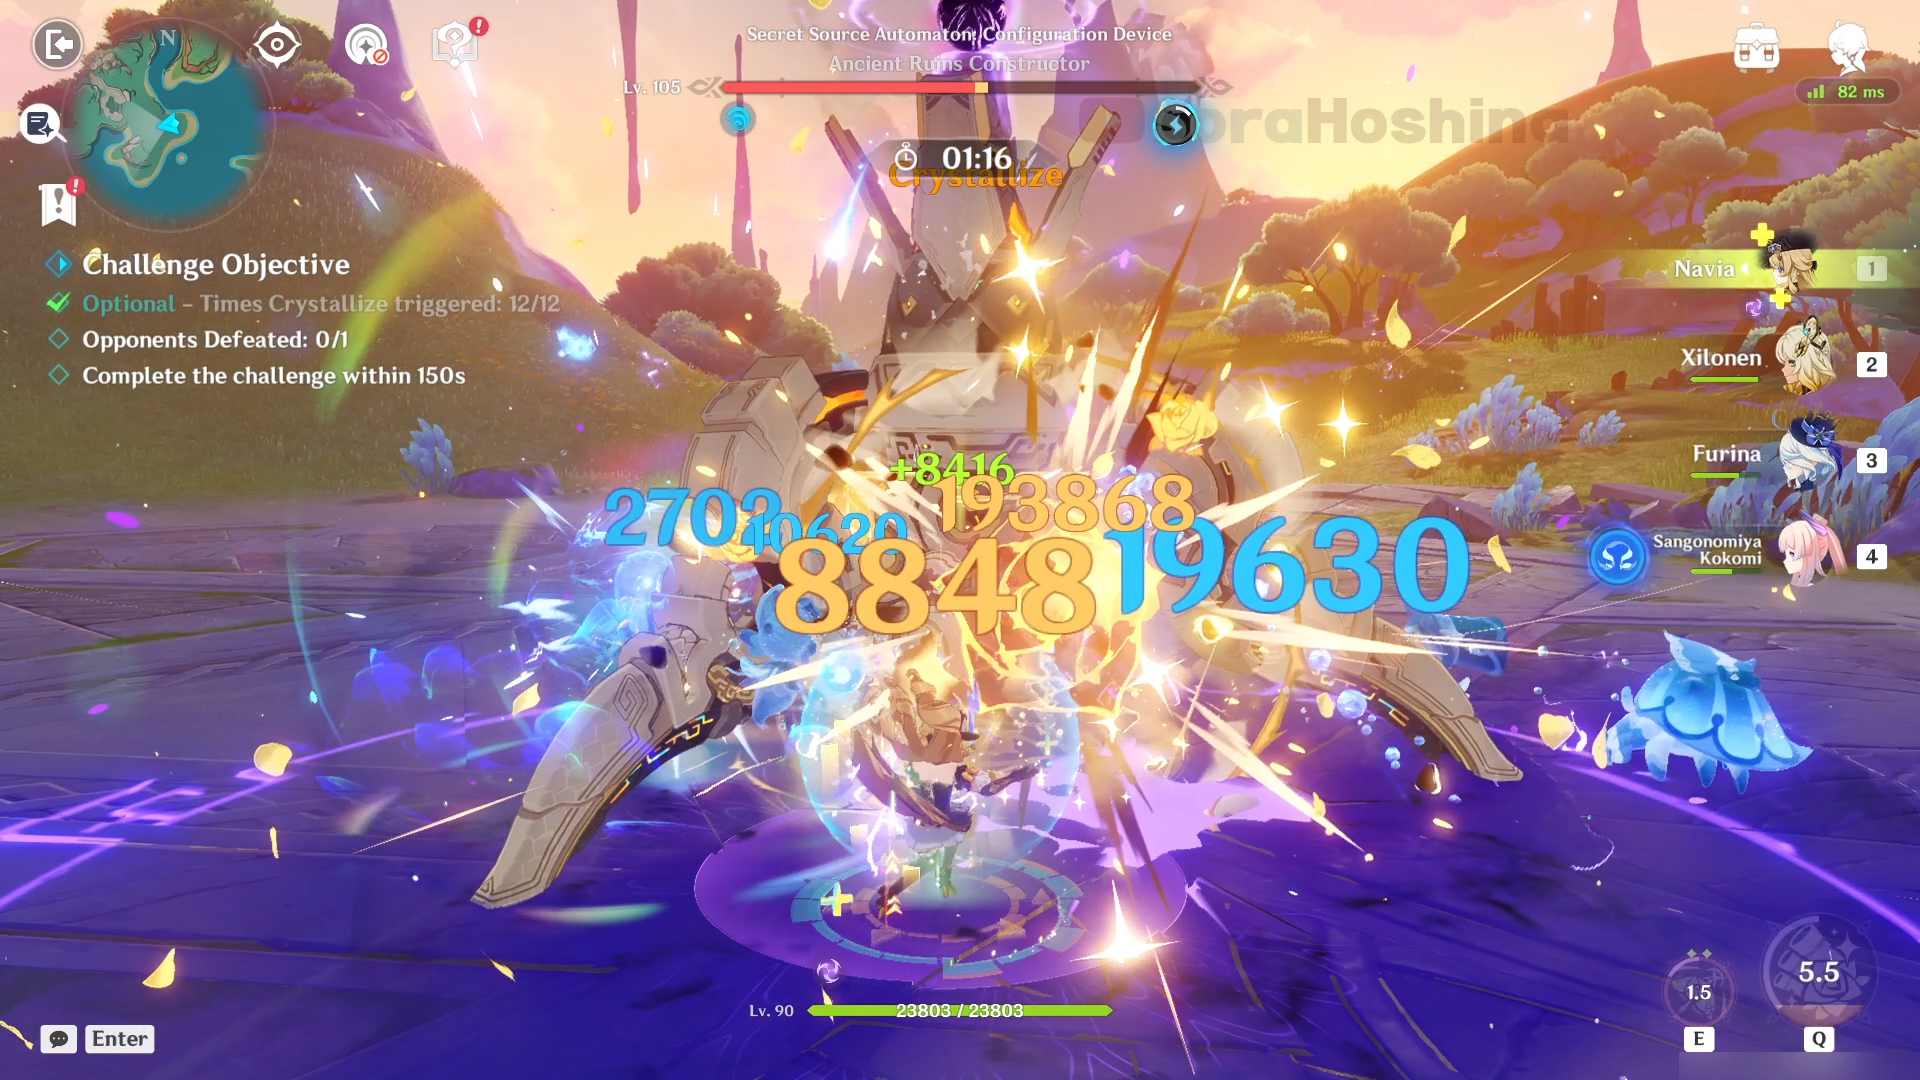
That's all you need to do. When the challenge starts, unleash every Skill and Burst you have because this boss barely moves so you can hit it easily. Keep doing this until it spawns the Solid Phlogiston.

Once it does, use Xilonen or Kachina (or other cheat methods) to reach the top of the Phlogiston and destroy the mechanisms - usually one hit is enough to destroy it. After that, the boss will be paralyzed for a bit so once again, unleash everything you have. That's it. That's the strategy. There's literally nothing else to do except hitting it until it spawns the Solid Phlogistons.
Stage 5 - "Nightsoul-Encircled Domain"
Difficulty: Desperate
> Monster List

> Team Recommendation

| Difficulty: Desperate | (1) Burning Team: Kinich + Emilie + Thoma + Xiangling (2) Vaporize Team: Mualani + Xiangling + Bennett + Kazuha/Xilonen (3) Mono-Pyro: Arlecchino/Hu Tao + Kachina + Kazuha + Bennett (4) 4-Star Team: Kachina + Fischl + Bennett + Xiangling |
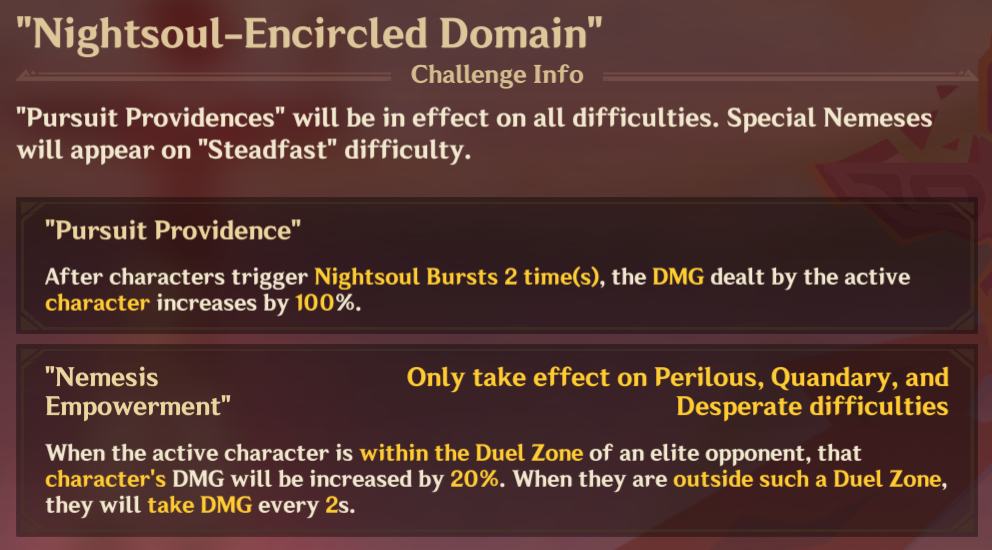
The stage buff provides 100% DMG Bonus after the team triggers Nightsoul Bursts 2 times. You can either use the available Natlan character as the DPS themselves (Mualani and Kinich) or bring a Natlan support/Sub-DPS (Kachina and Xilonen) to trigger the Nightsoul Bursts and then swap to your main DPS. The latter is also worth it because you only need to trigger Nightsoul Bursts 2 times but get a whopping 100% DMG bonus.
> How To Defeat
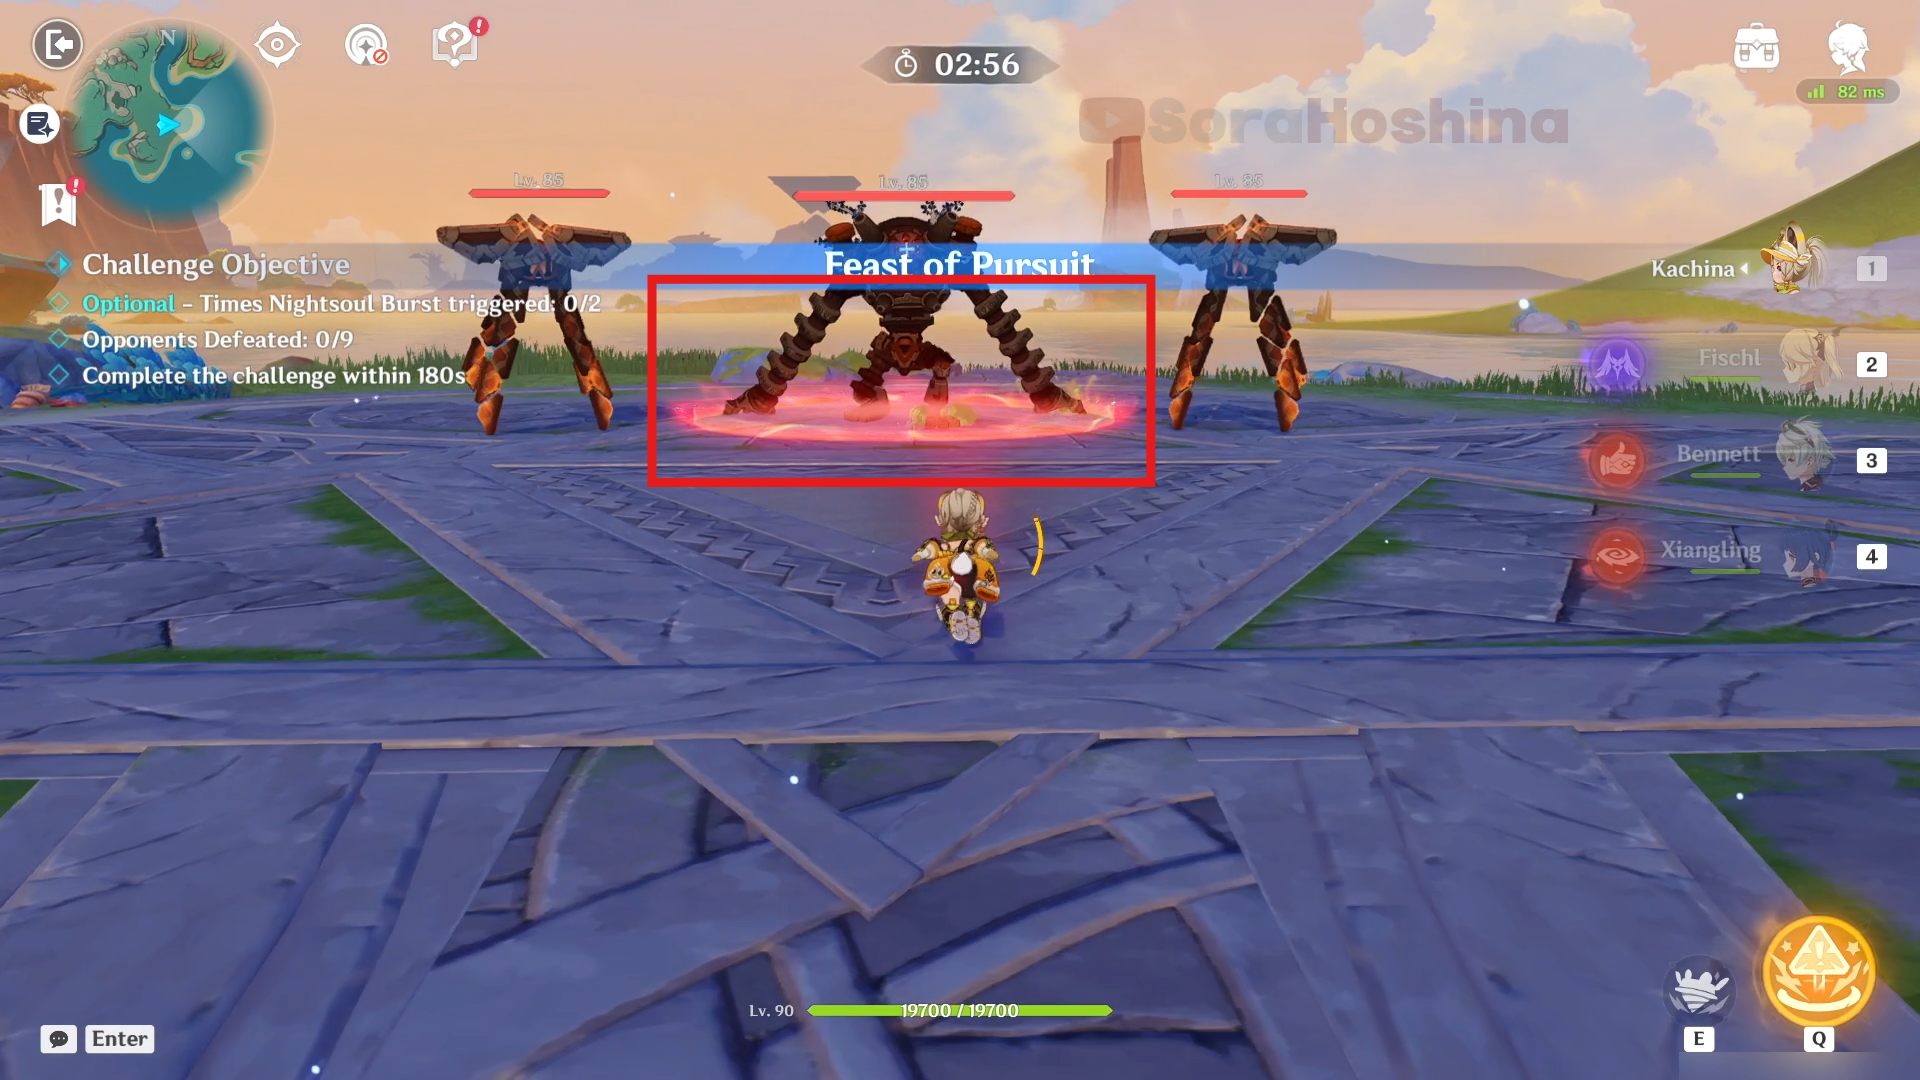
First of all, in each wave, there is an enemy with an AoE circle called Duel Zone. Get inside the Duel Zone so you can get a 20% DMG bonus. If you are outside of these AoE, your character will instead take damage every 2 seconds.
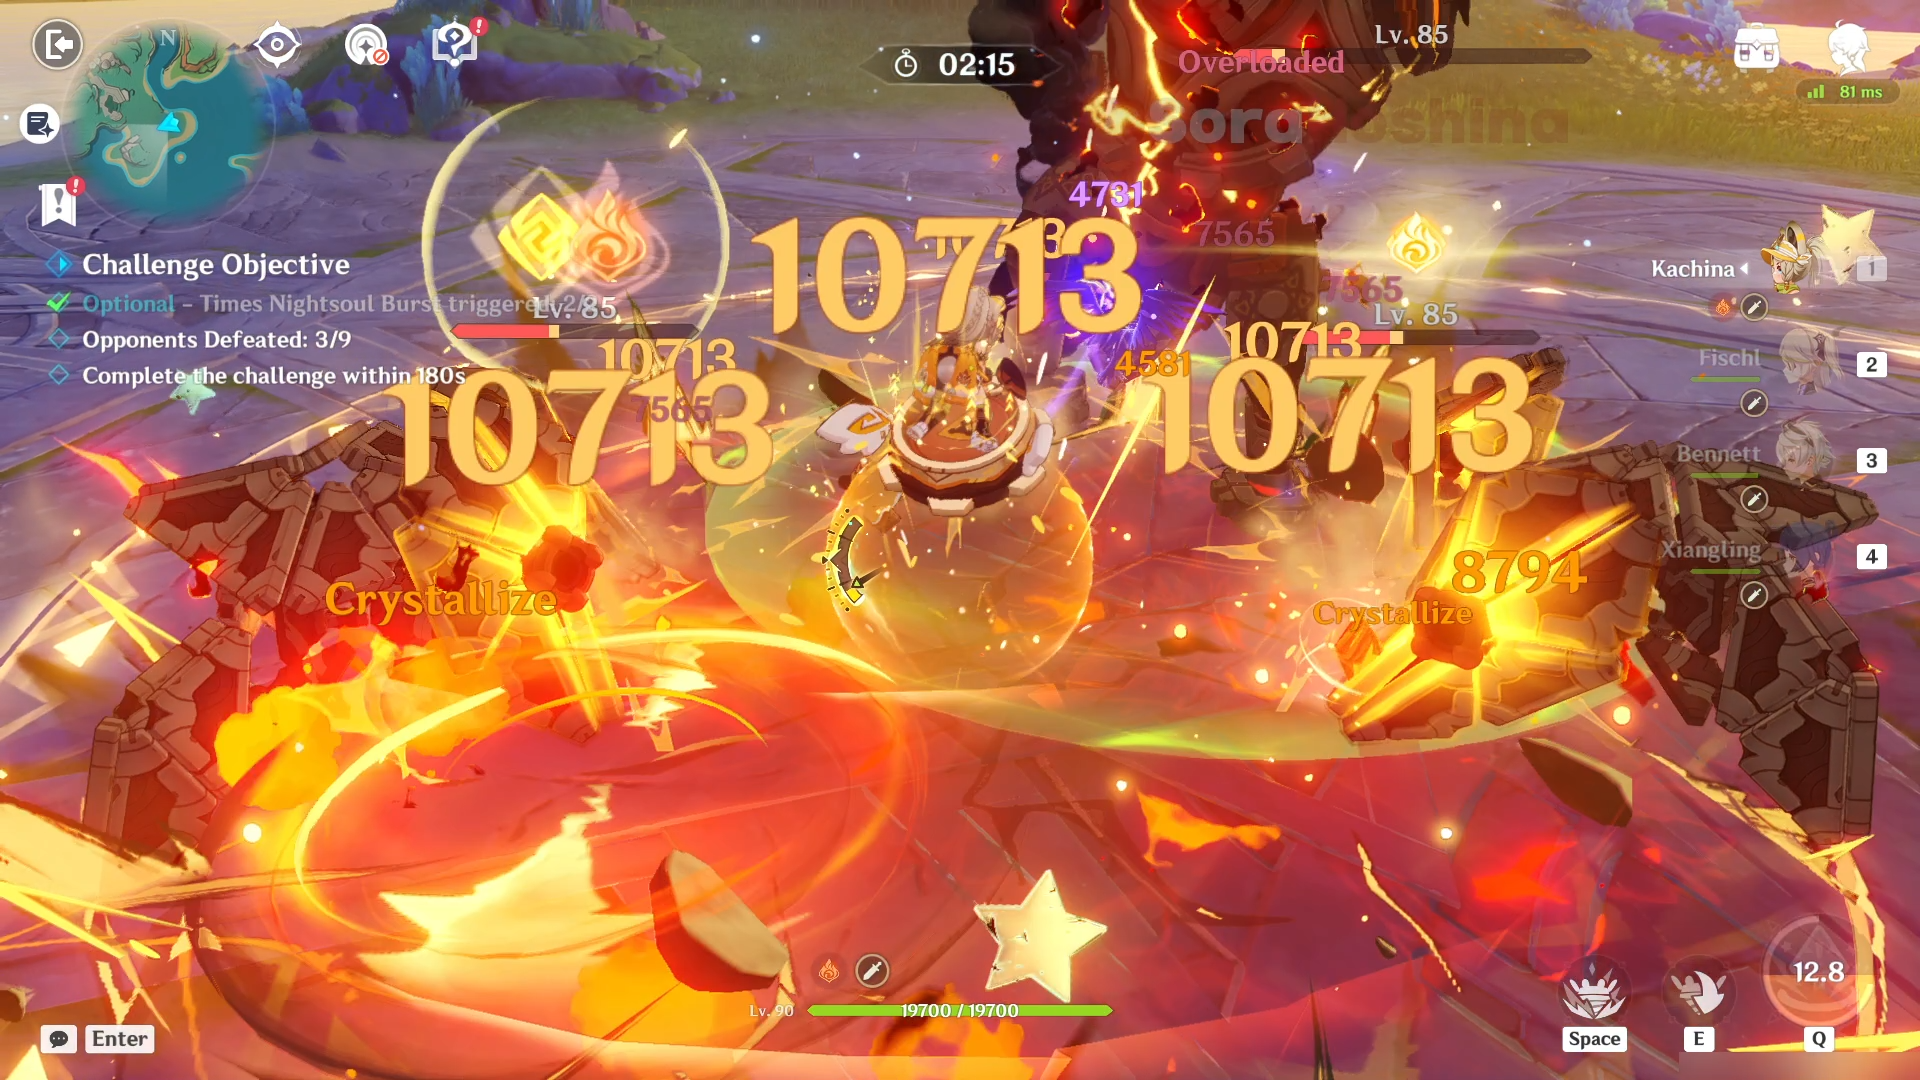
Next, there are only 3 waves here, and in each wave, there are 3 enemies. The strategy for all waves is the same, always make sure to focus on the elite enemy (the one that has the Duel Zone) and let the other mobs chase after you themselves. The mobs will almost always move fast in your direction so don't worry about them.
Wave 1: Ruin Guard (elite enemy) x1 & Ruin Scout x2
Wave 2: Ruin Drake (elite enemy) x1 & Run Defender x2
Wave 3: Ruin Grader (elite enemy) x1 & Ruin Destroyer x2
Difficulty: Steadfast
> Monster List

> Team Recommendation

| Difficulty: Desperate | (1) Burning Team: Kinich + Bennett + Dehya + Xiangling (2) Vaporize Team: Xiangling + Xilonen + Furina + Dehya (3) Vaporize Team 2: Mualani + Xilonen + Xiangling + Mona/Dehya |
Now this stage is more of survival than DPS check tbh. Actually, there's also a DPS check lol. Anyway, Dendro and Pyro are among the best elements here to shred the turtle's Electro shield. Although what's more worrying is how huge his damage is when he's spinning or when the shield is up, it can reflect back the damage you do to yourself.
> How To Defeat
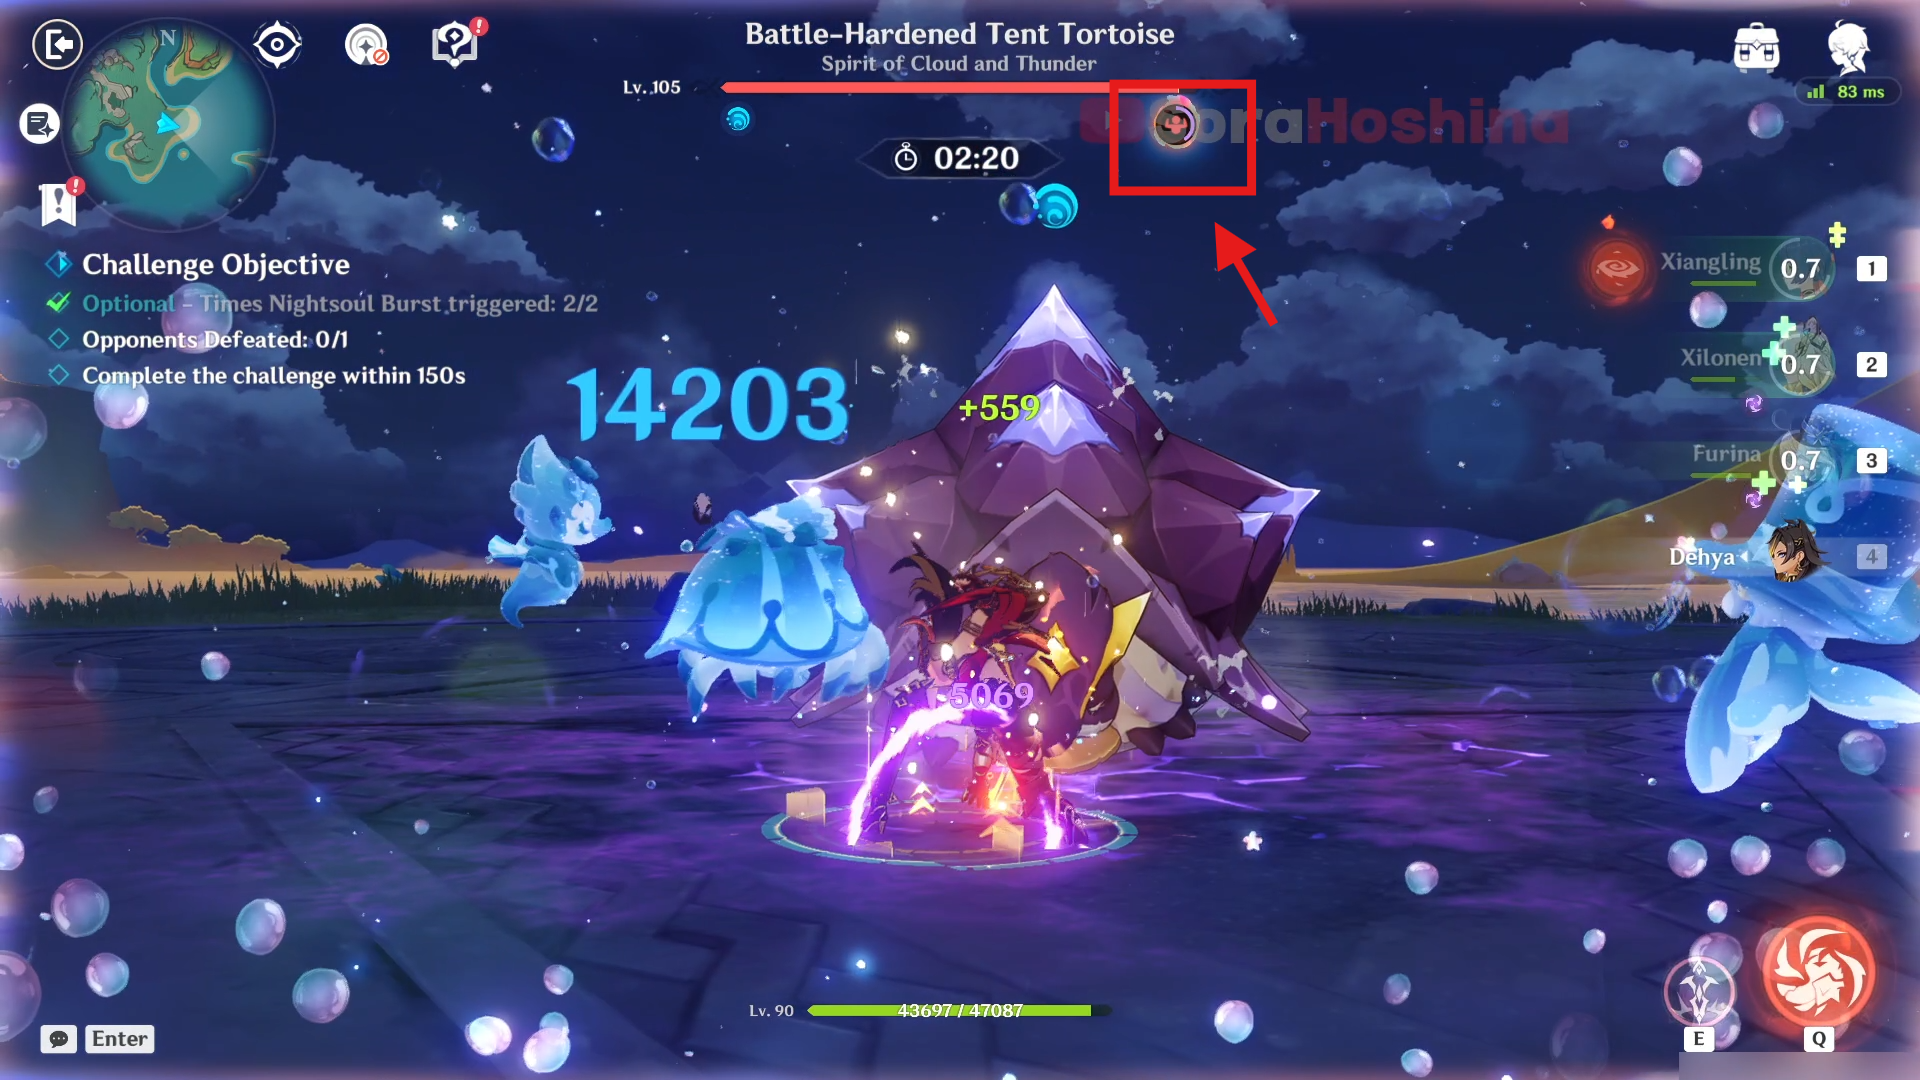
When the challenge starts, remember that the bar under the boss' HP (Fury bar) will increase every time you hit it. Once the bar is full, it will create a Thunderthorn shield. While the shield is active, this boss will gain enhanced attack and immunity to DMG. And if your character attacks it (not including damage dealt by an off-field character), the shield will counterattack.
The best elements to destroy this shield are Pyro, Cryo, and Dendro.
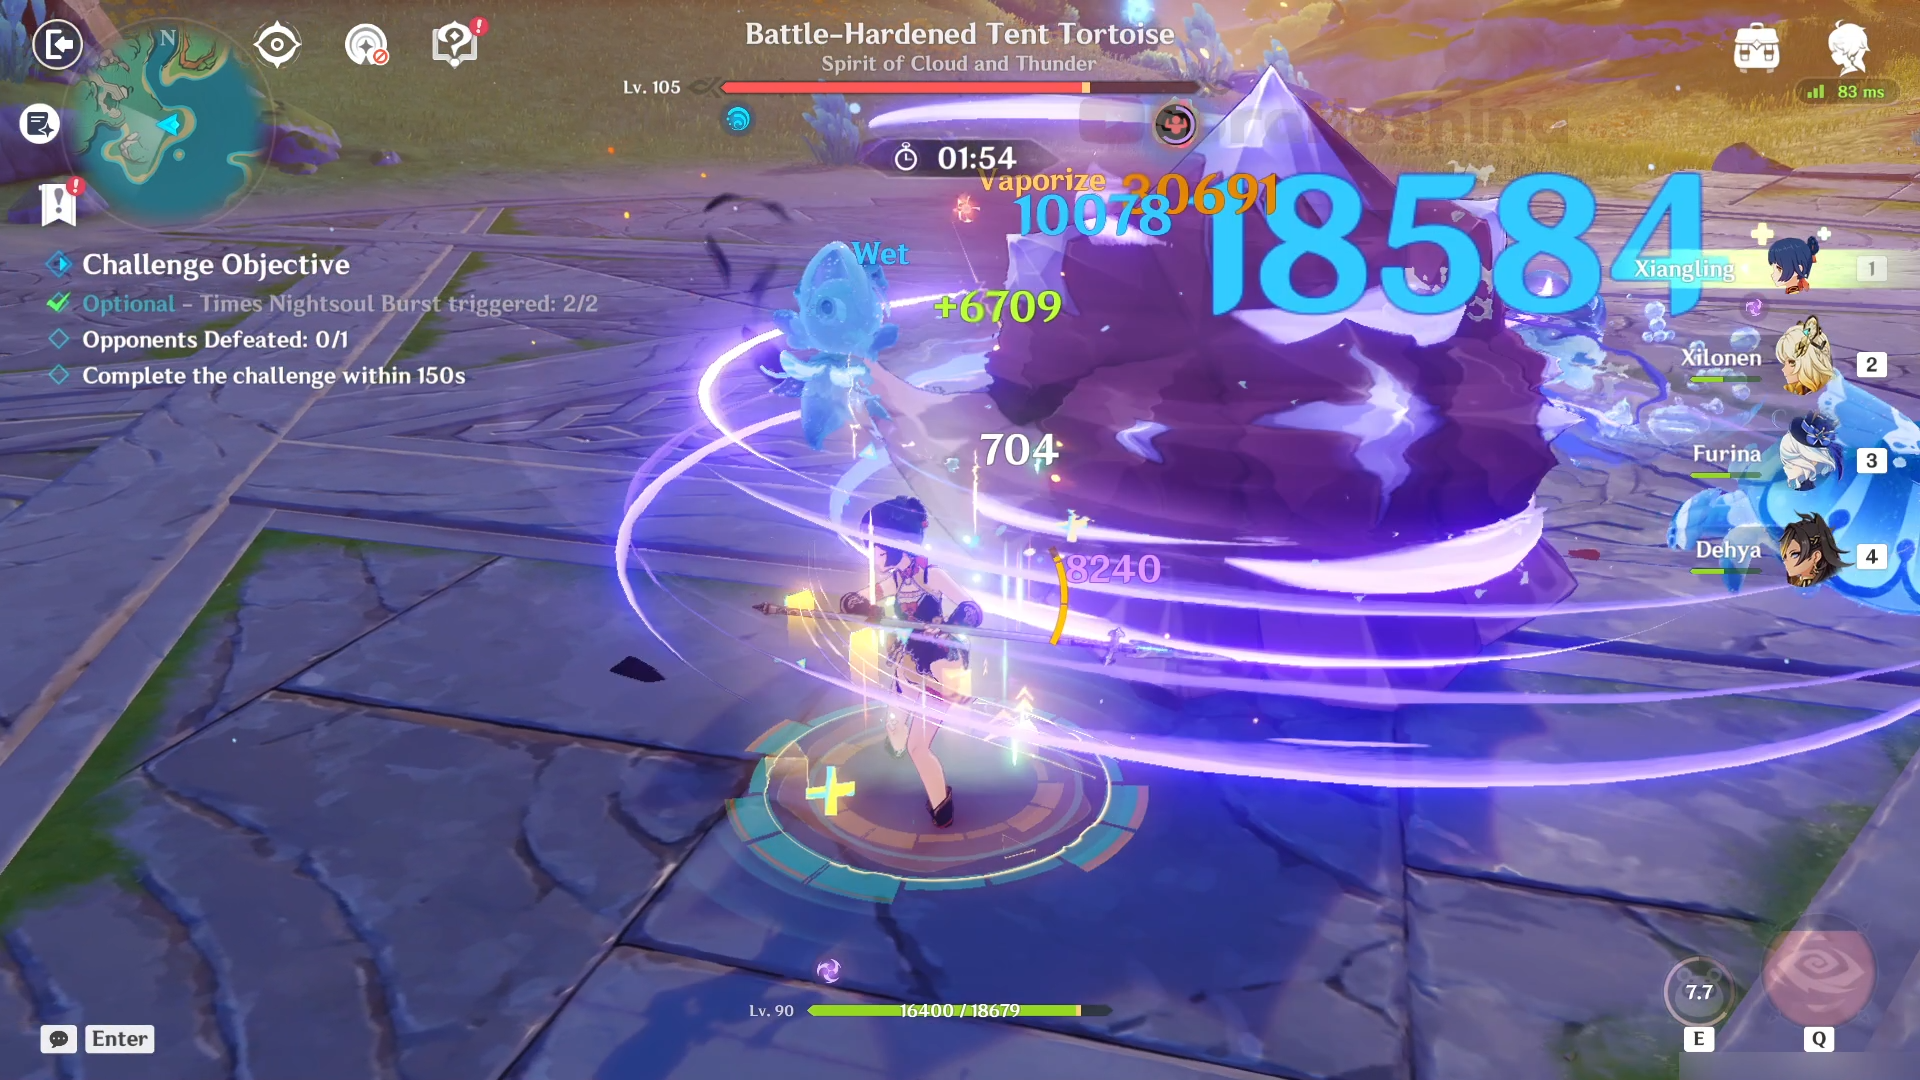
Another attack to be wary of is the spinning one where it will continue to spin for ~7 seconds. Unless you have Dehya's Sanctum Fiery field, it's best to just run away because single damage from a single spin is bad enough, but when you get hit continuously without any protection? Say goodbye to that character.
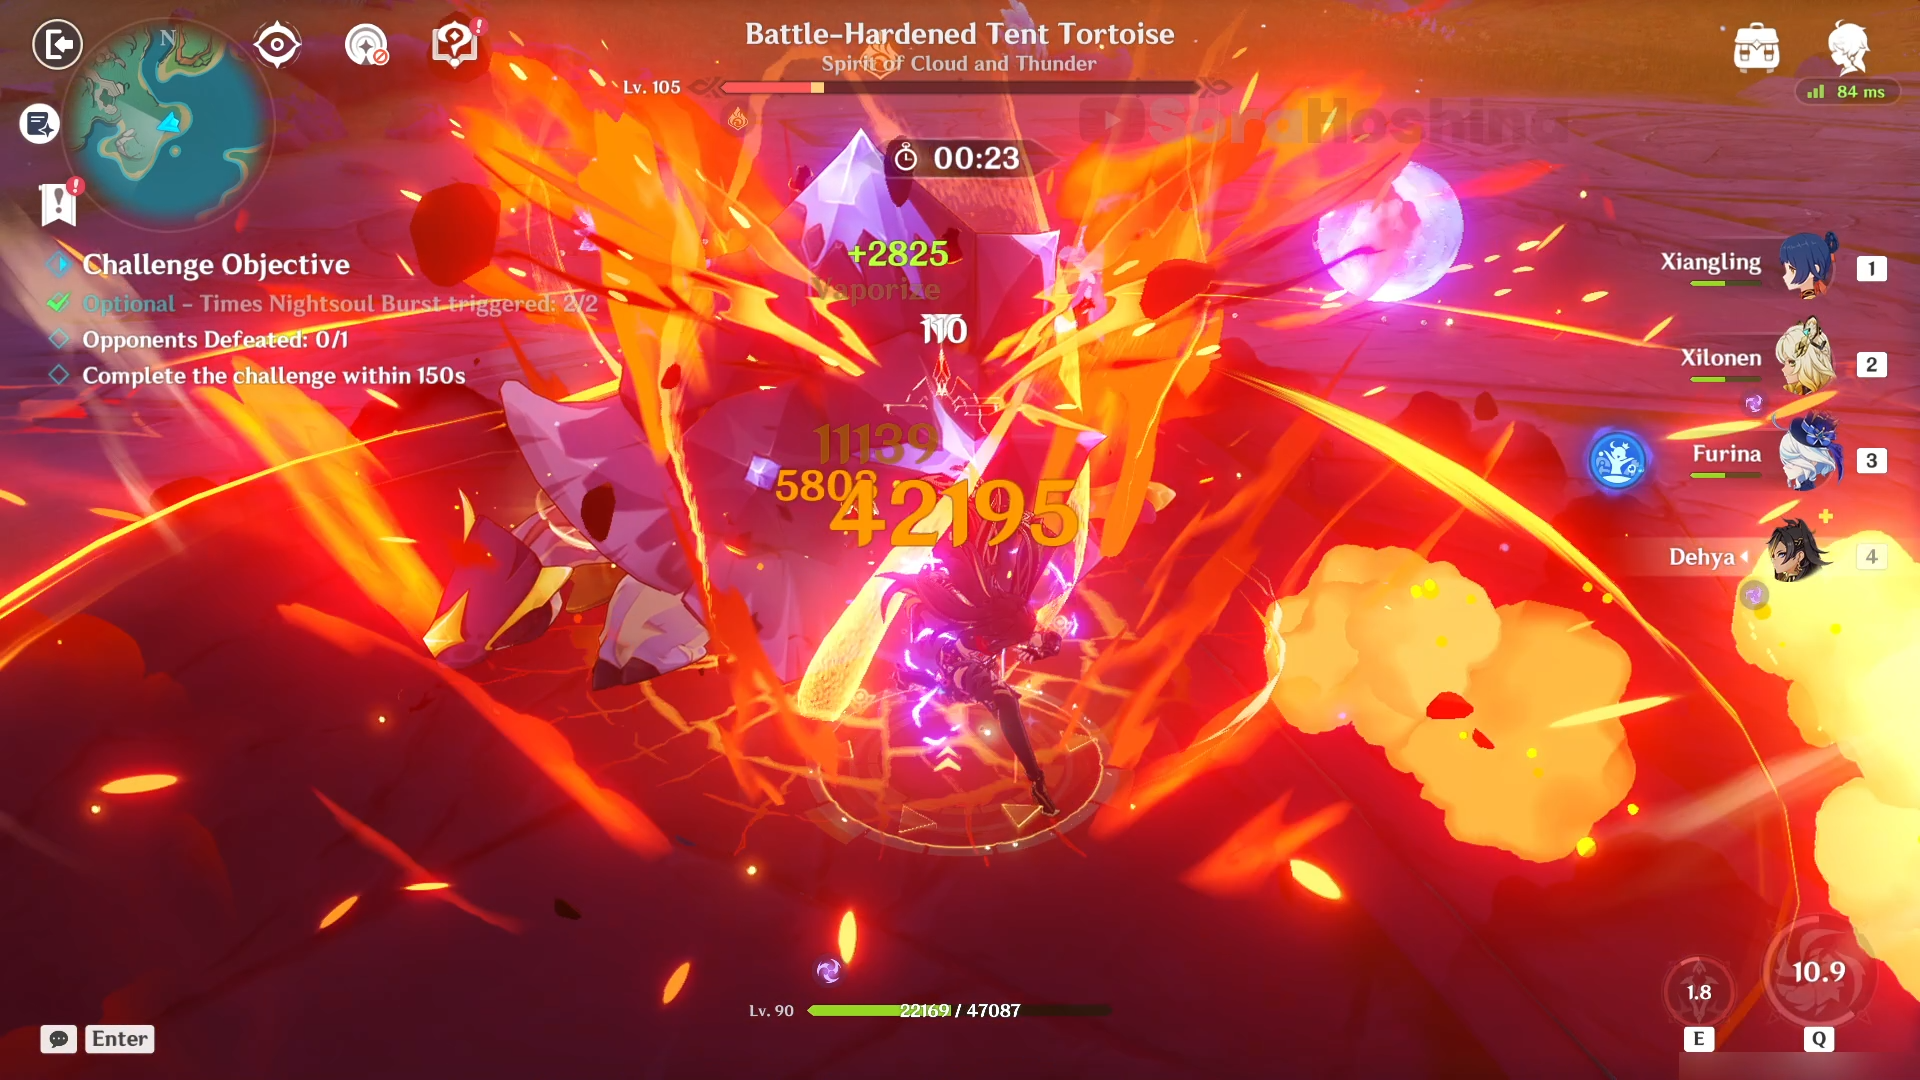
Those 2 are the most dangerous attacks that you should take note of and other than that, you can avoid normally or tank with a shield. Aside from that, brute force the turtle!
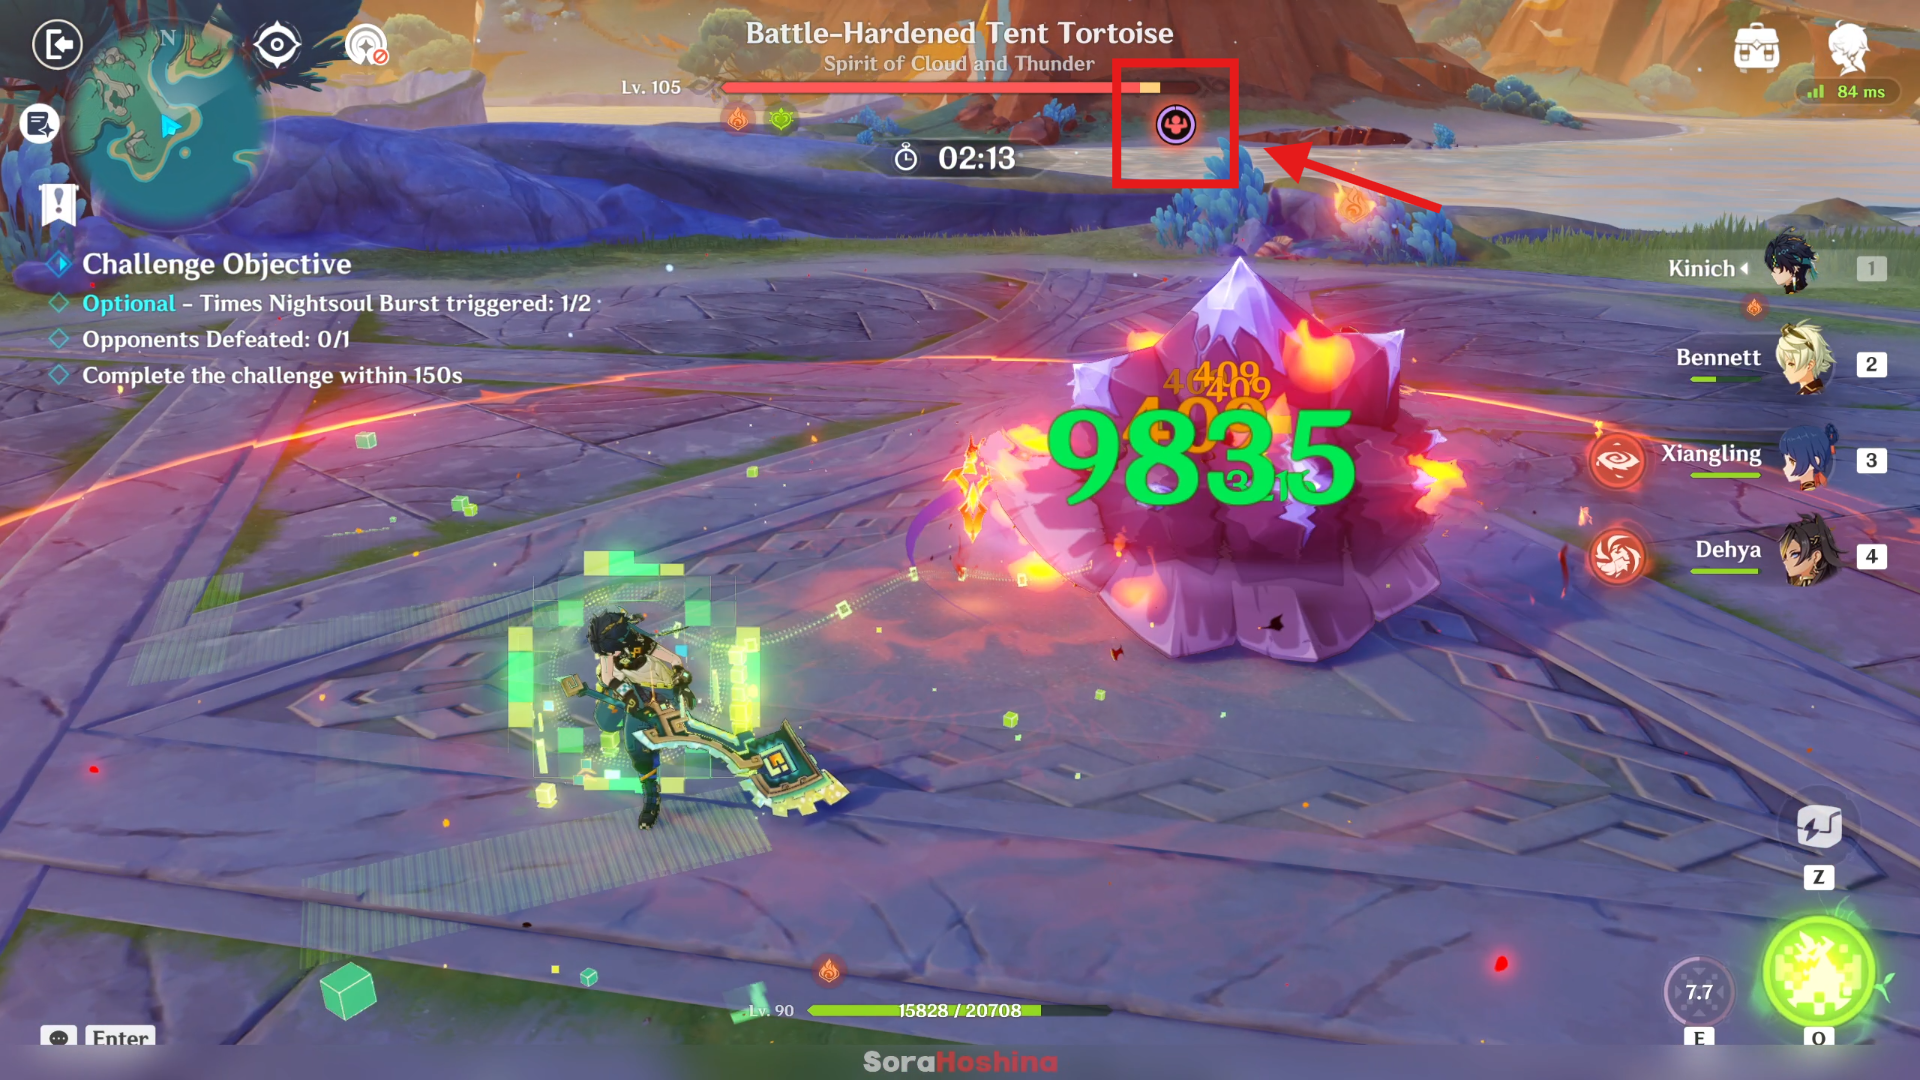
Some extra tips after I tried again with the Kinich team. When the challenge starts and you hit the turtle, if the turtle does the jumping attack, then beware. If you didn't manage to fill the Fury bar after its jumping attack, it will do the spinning attack.
This is really bad because once it stops spinning and you fill the Fury bar > it will create a Thunderstorm shield > once the shield is destroyed, it will most likely spin AGAIN. Those double spins could kill one or two of your characters. It's best if you can fill the Fury bar before its first attack set to ensure the turtle won't spin (or maybe it's RNG and I'm just incredibly unlucky).
Stage 6 - "Cadence of the Elements"
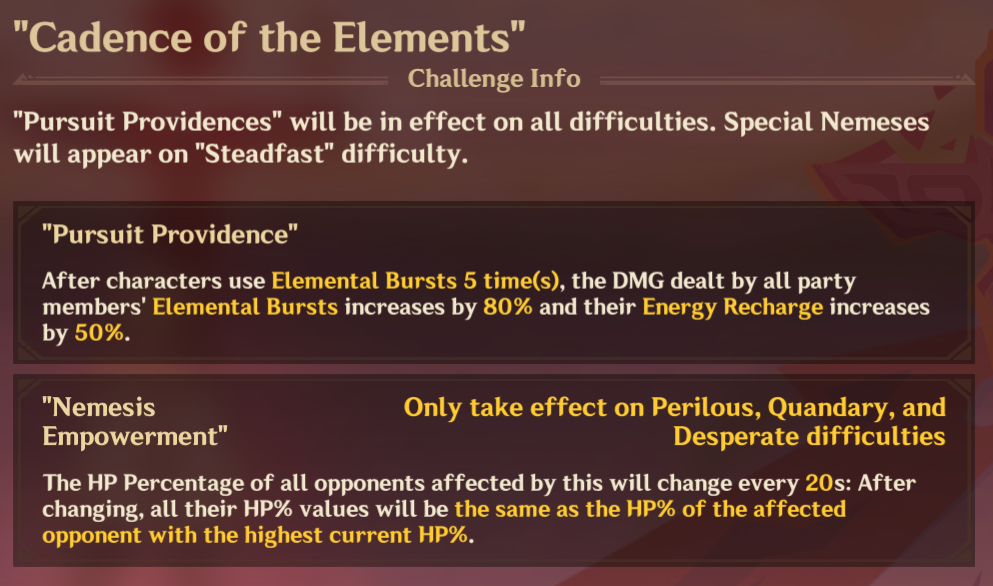
Difficulty: Desperate
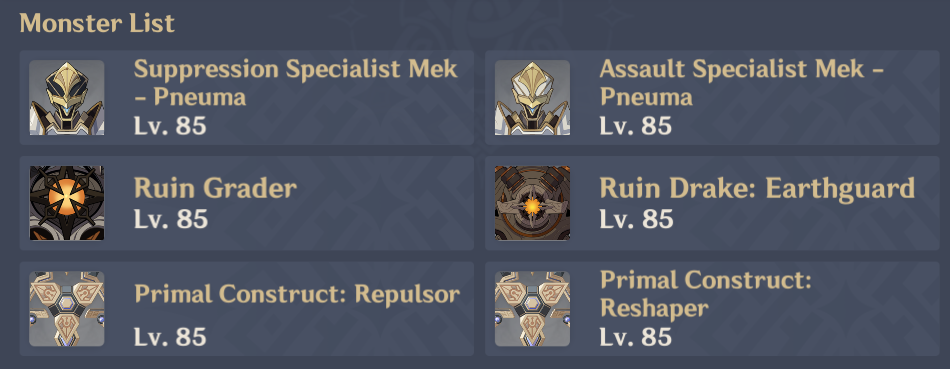
> Monster List
> Team Recommendation
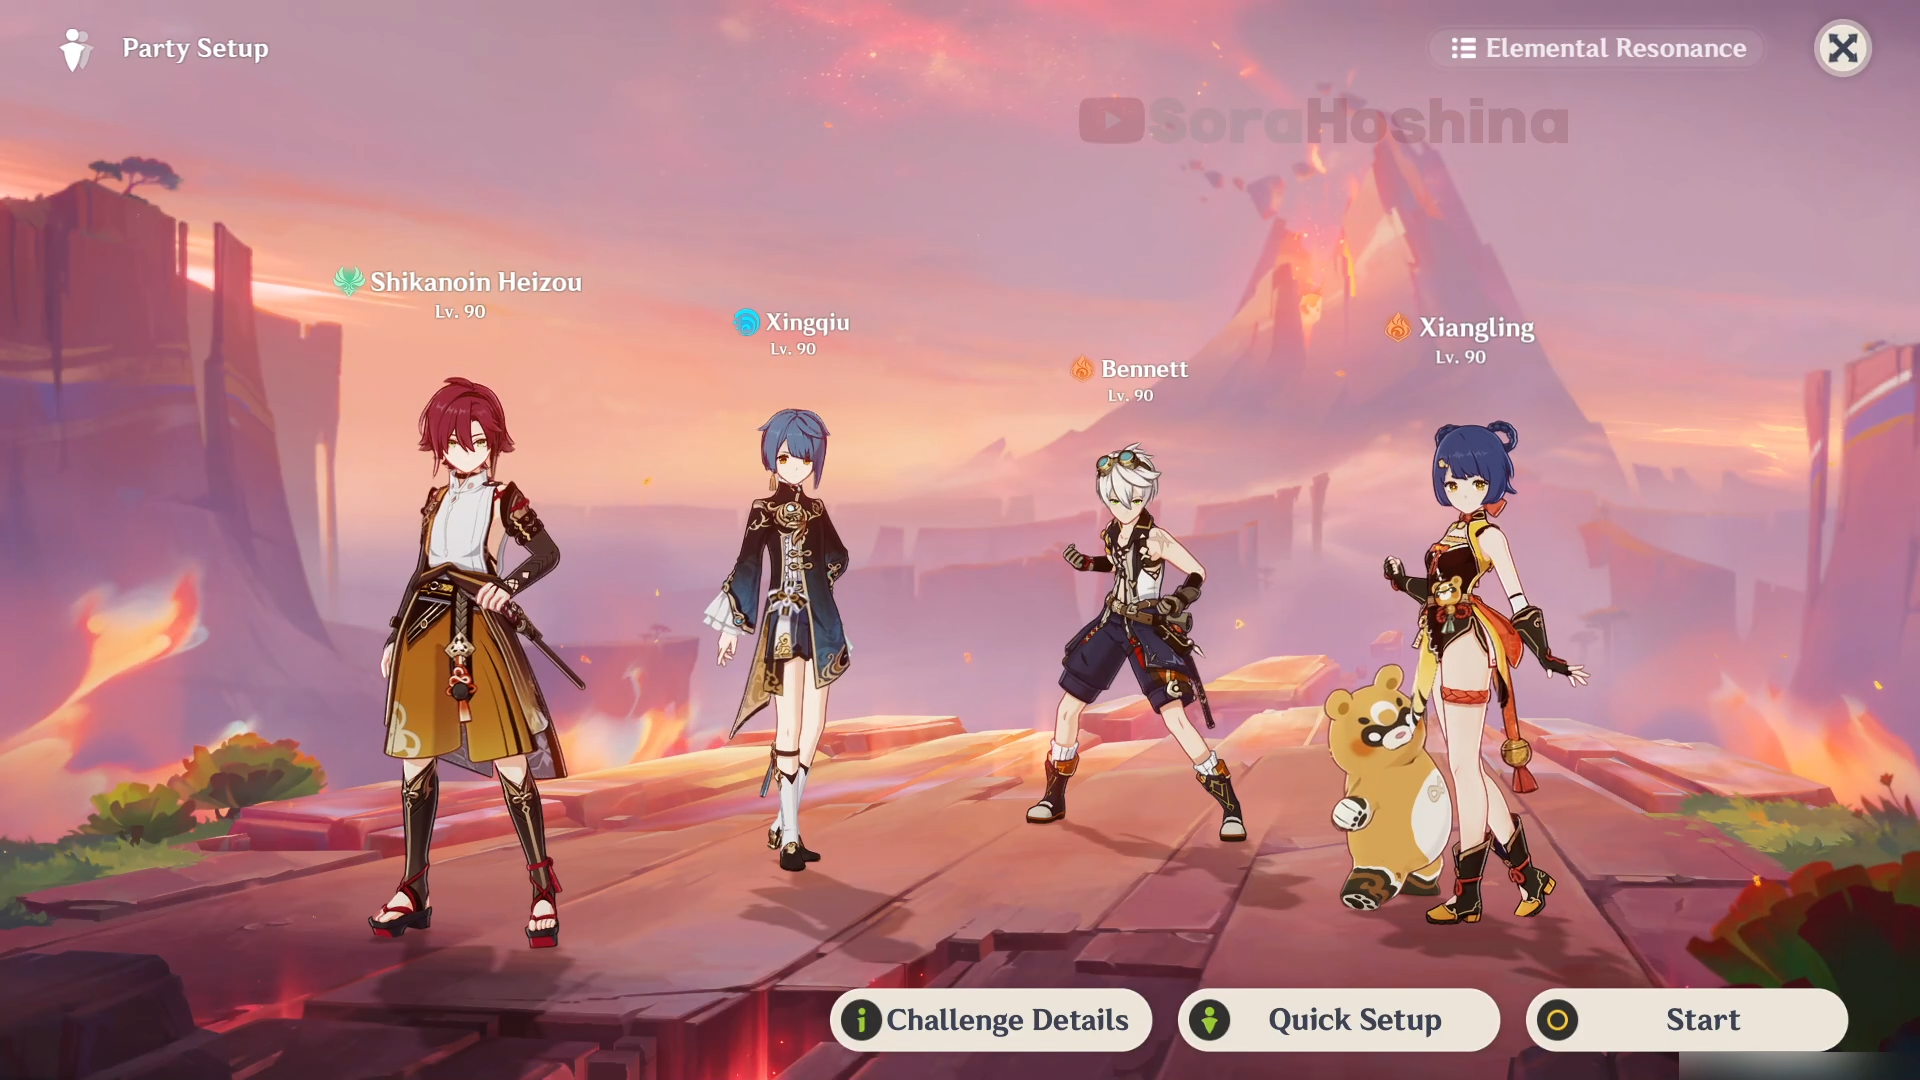
| Difficulty: Desperate | (1) Raiden National: Raiden Shogun + Xingqiu + Bennett + Xiangling (2) Taser Team: Sucrose + Xingqiu + Fischl + Beidou (3) Melt Team: Kaeya + Rosaria + Bennett + Xiangling (4) 4-Star Team: Heizou + Xingqiu + Bennett + Xiangling |
The stage buff provides 80% Elemental Burst DMG and 50% Energy Recharge after the team triggers Elemental Burst 5 times. The buffs are great and the method to get it is also easy. Bring any team with characters that have short Burst cooldown so you can repeatedly spam them (with sufficient ER of course).
> How To Defeat
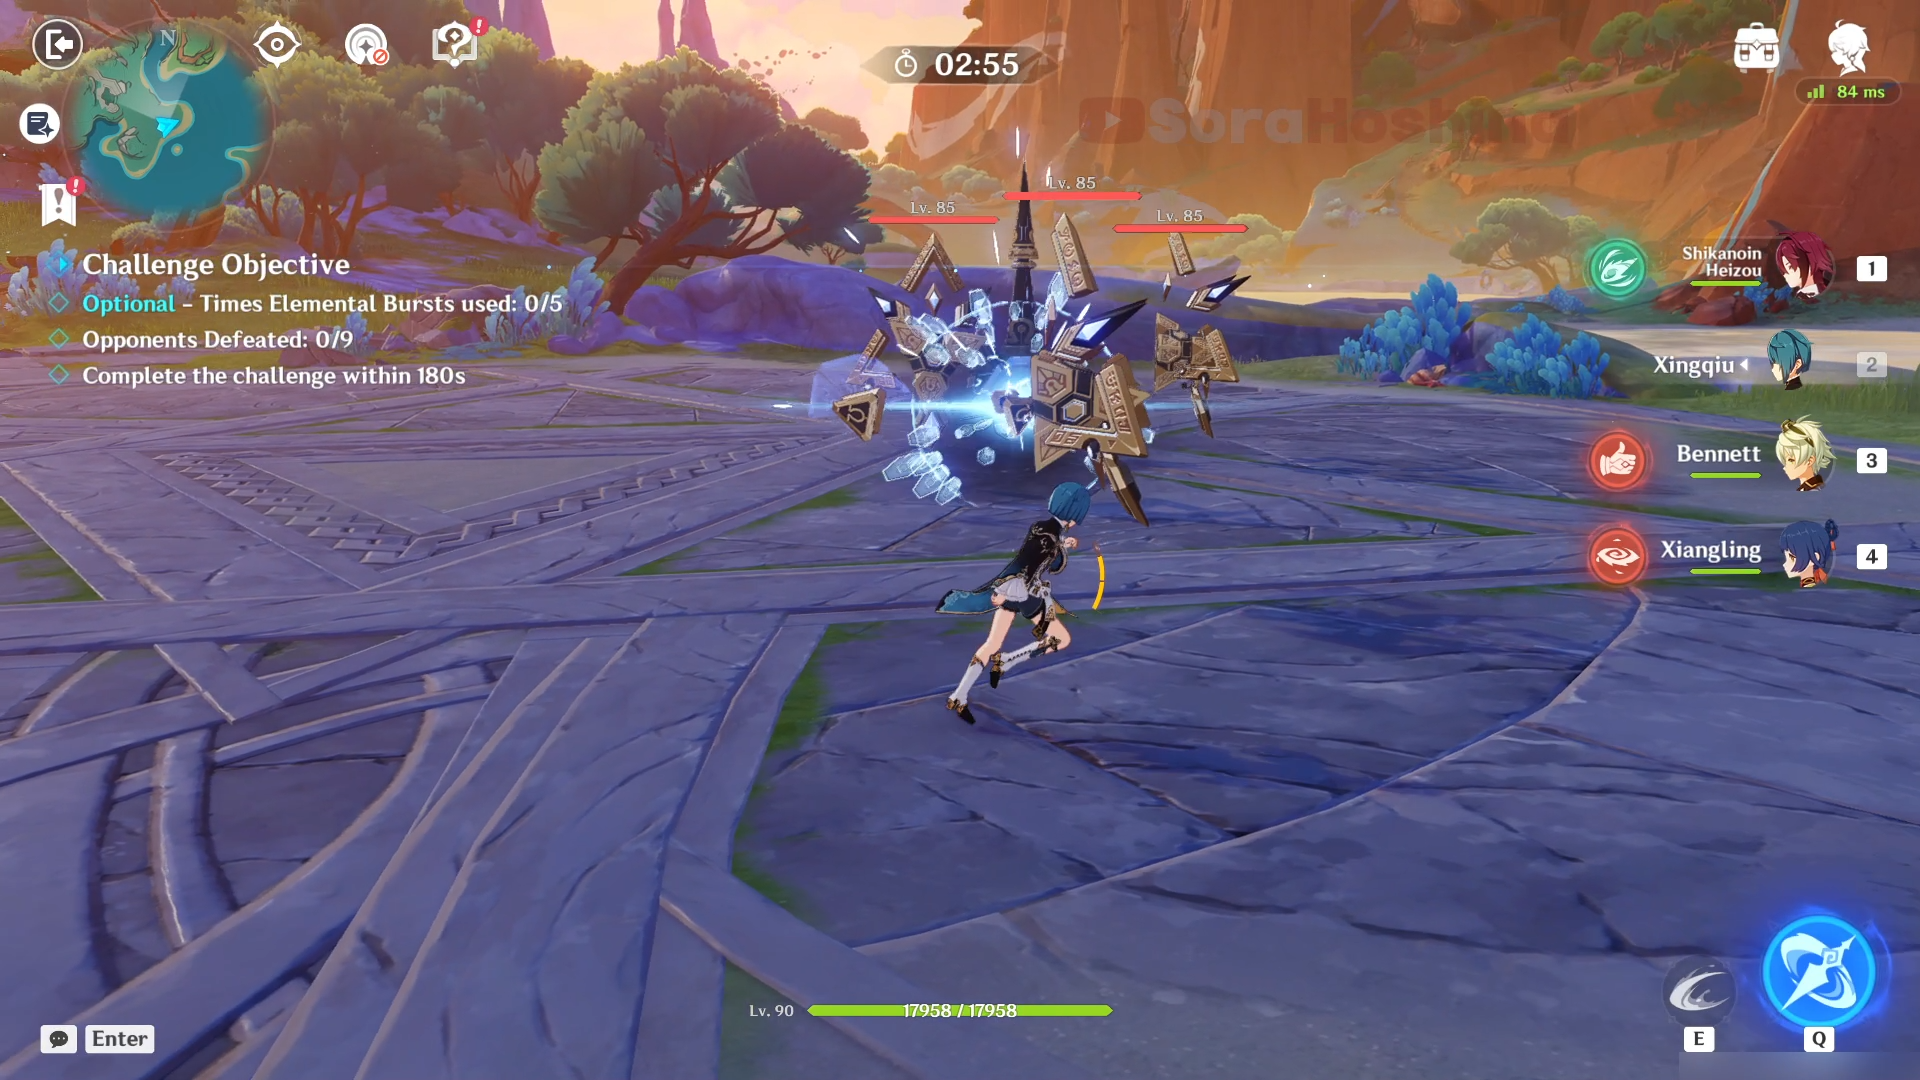
In the first wave, there are 3 Primal Constructs. When the challenge starts, go to the most left/right Primal Construct and line up all the enemies. The farthest one (most of the time) will move near you so you can gather them all in one spot without Anemo CC. If they don't get near, you can only defeat the enemy one by one. Hopefully, you can get them all before they use the invisibility skill.
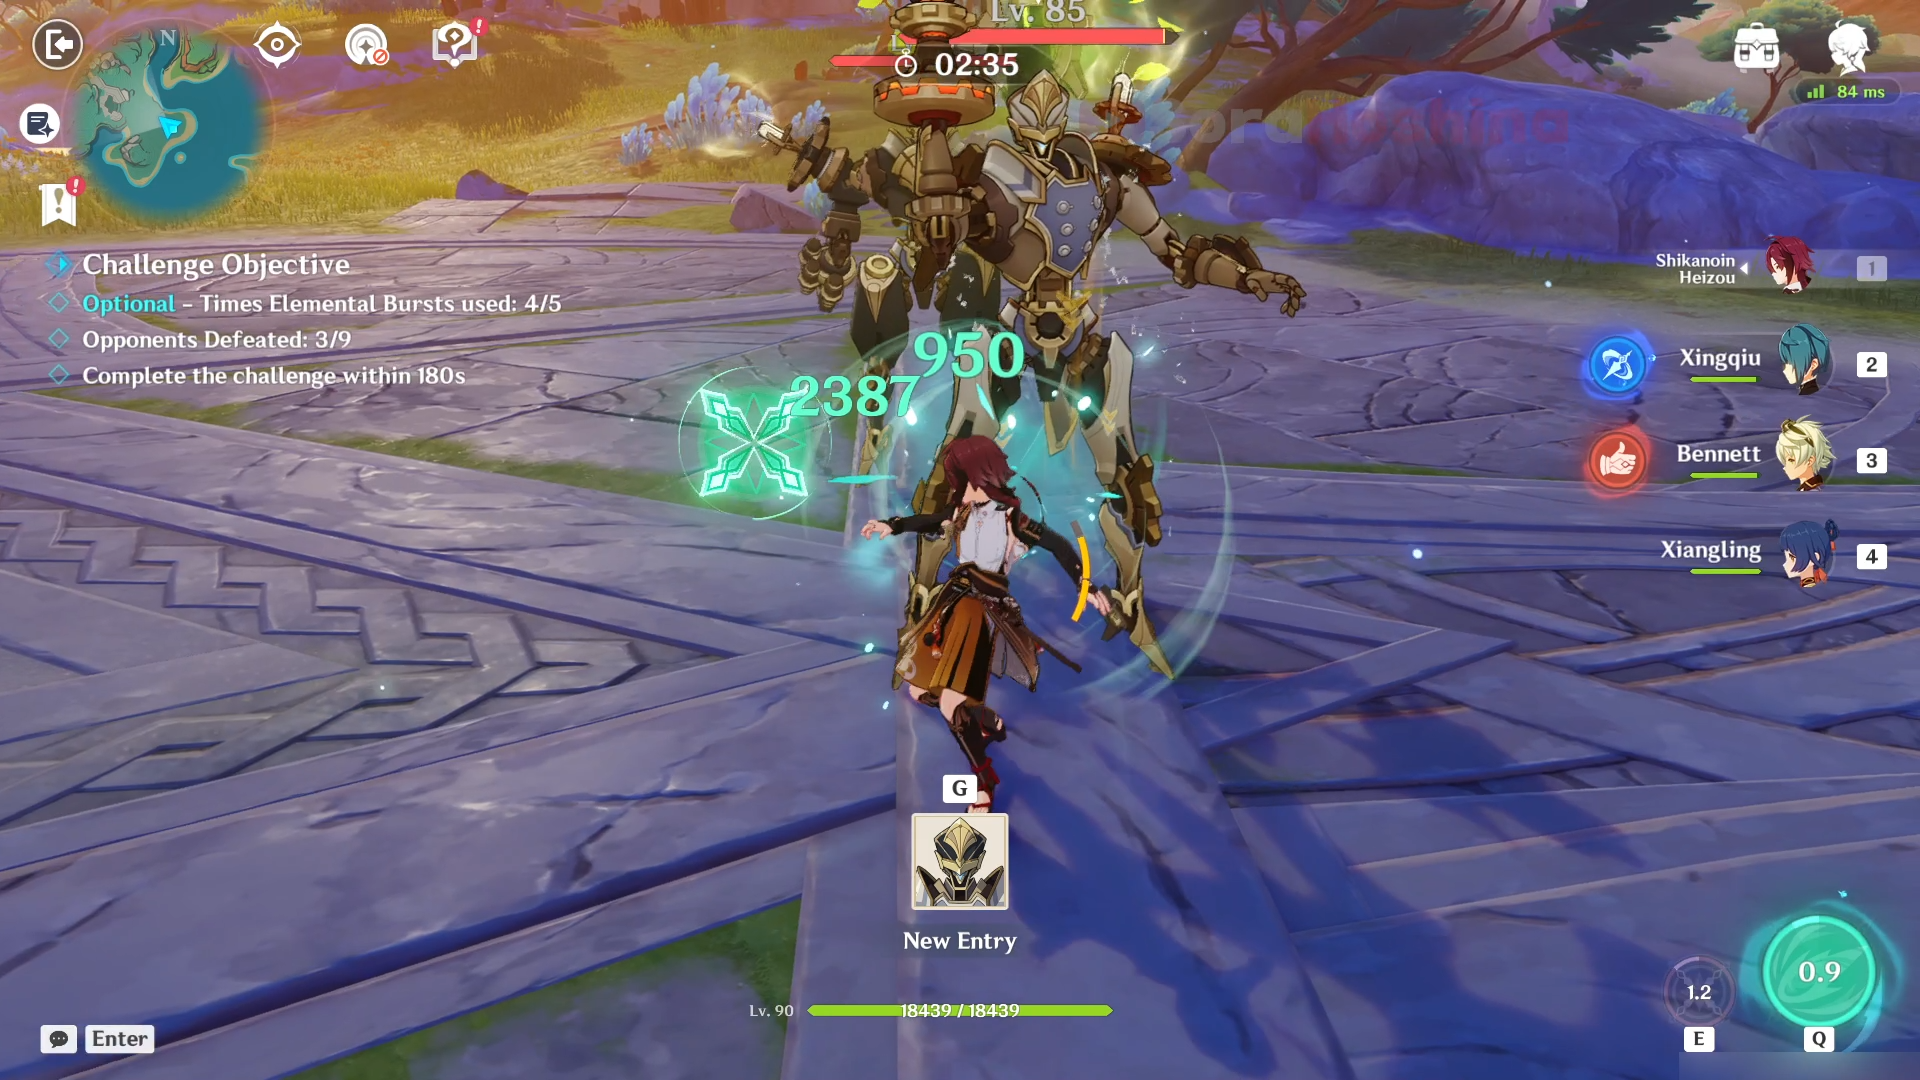
In the second wave, there is 1 Suppression Specialist Mek and 1 Assault Specialist Mek. One can use Pyro damage, and another one Dendro damage. So beware of their Burning reaction. Other than that, when attacking one of the Meka (preferably the Suppression Meka since it is slow compared to the other one), make sure the other Meka is right behind the one you're attacking.
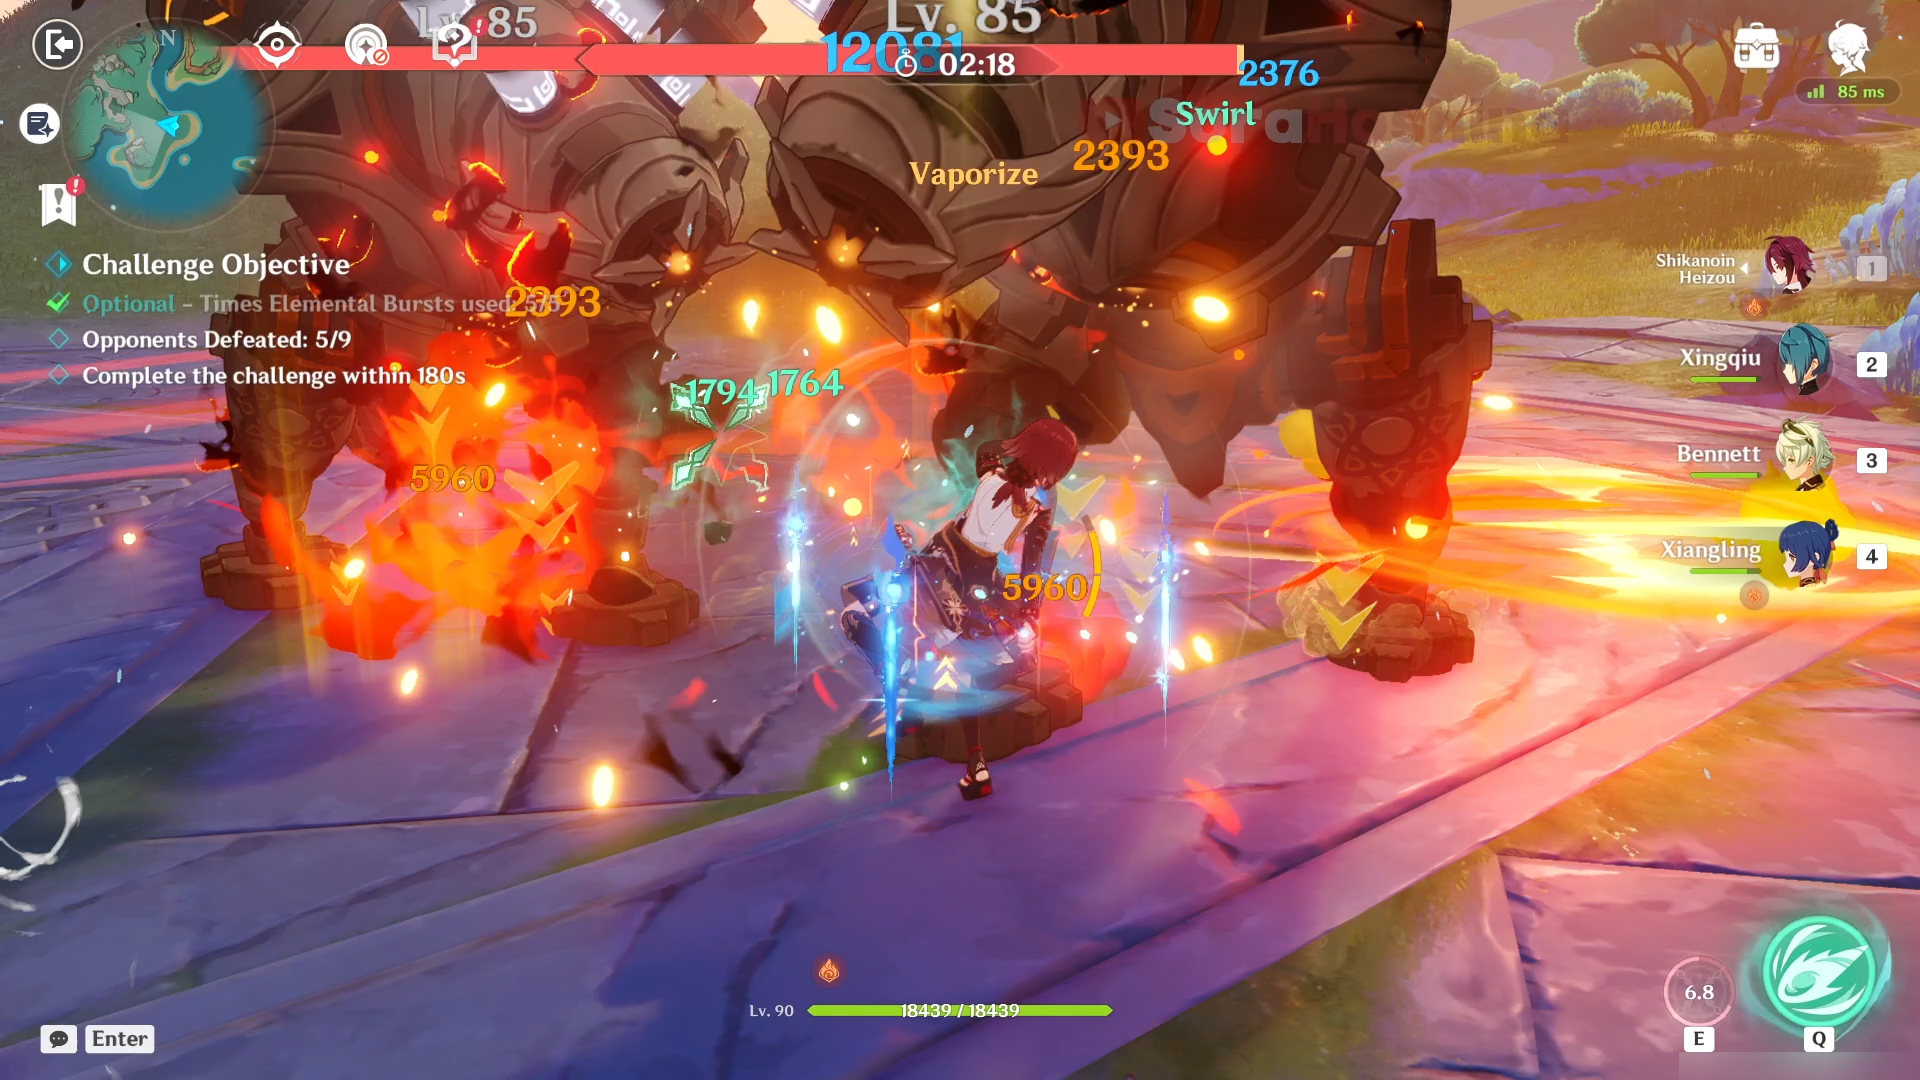
In the third wave, there are 2 Ruin Drake: Earthguards. Both of them will crowd after you so all you have to do is focus on attacking them. No need to aim for the weak spot (unless you want to do it) as you should already have the stage buff, so keep spamming the Elemental Burst and the enemies should be reduced to dust before they can start charging.
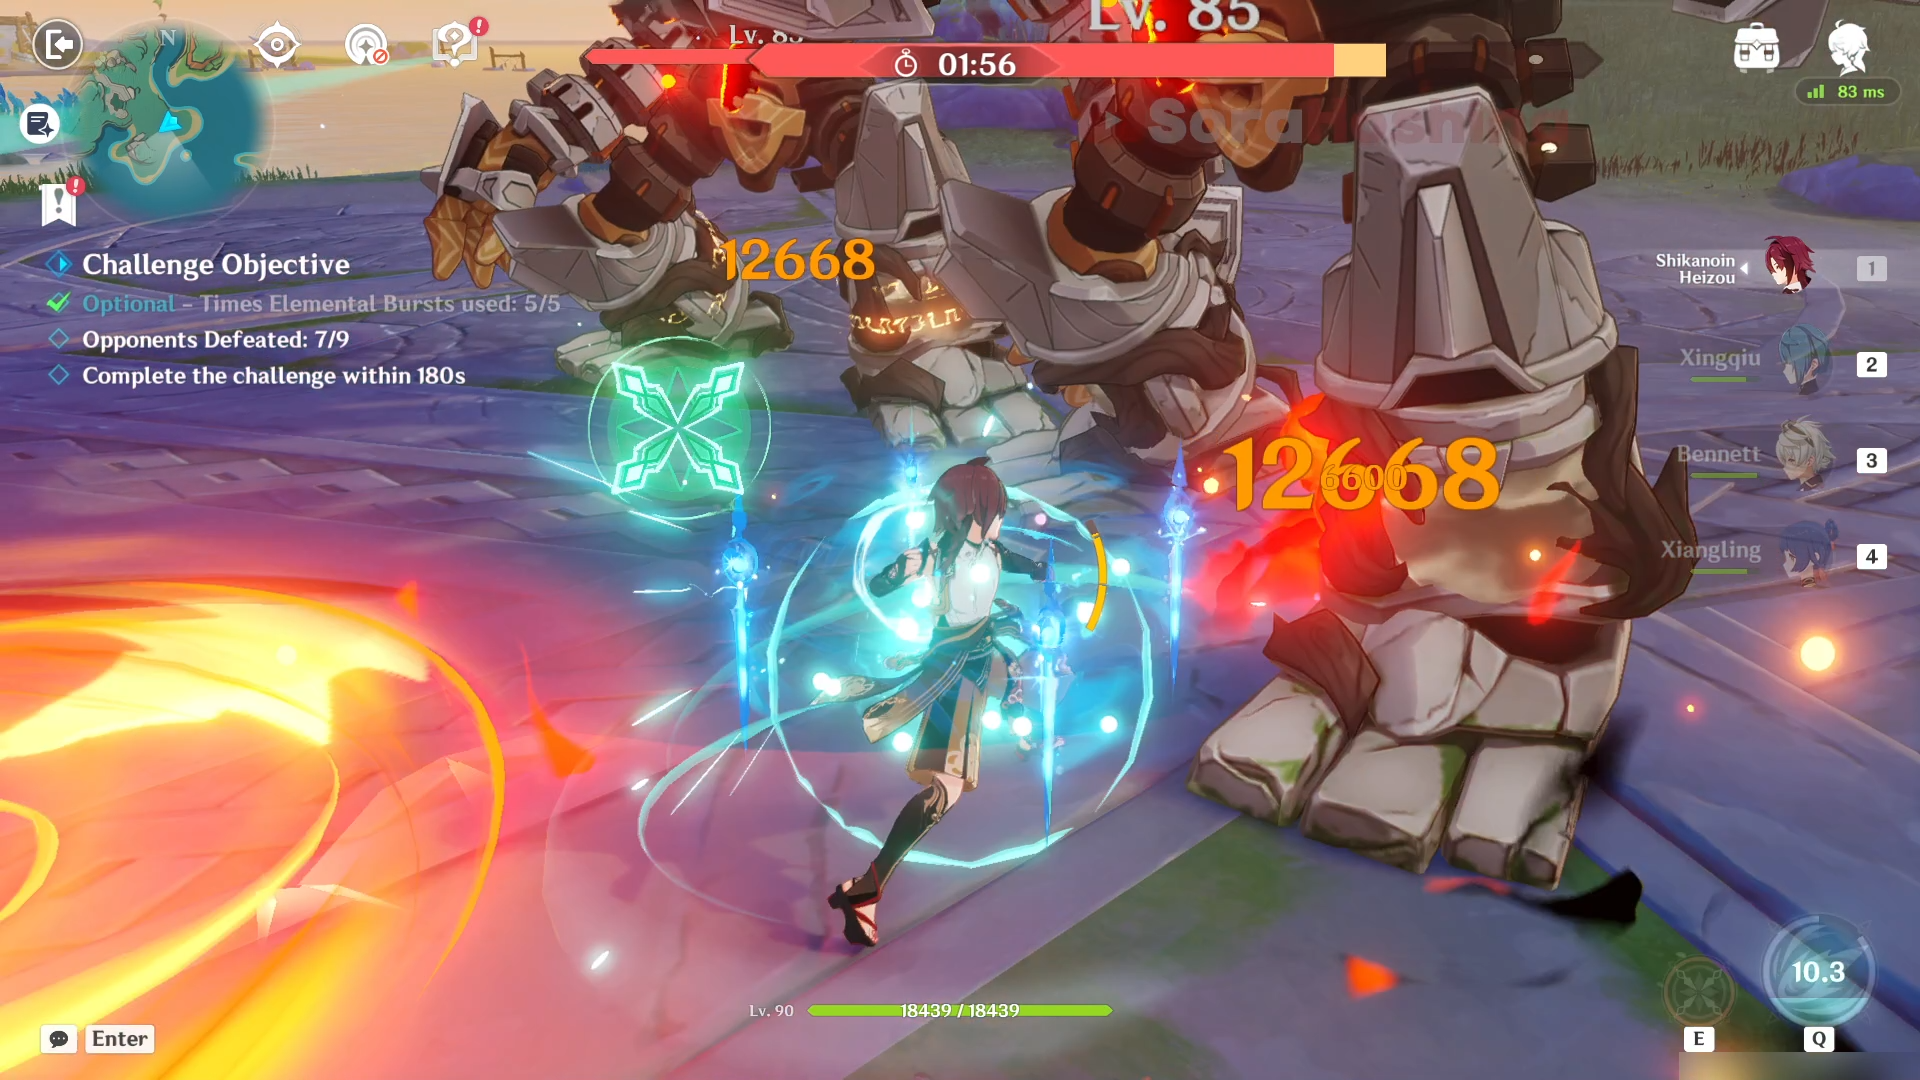
In the last wave, there are 2 Ruin Graders. Aside from one of their skill that makes them lunge in your direction, other skills are pretty easy to avoid so brute force it is! If you want to aim for their weak spot, it's best if you bring a Bow character along because aside from the core on their feet, you also need to aim for the core on the head within a short time to paralyze them.
Difficulty: Steadfast
> Monster List

> Team Recommendation
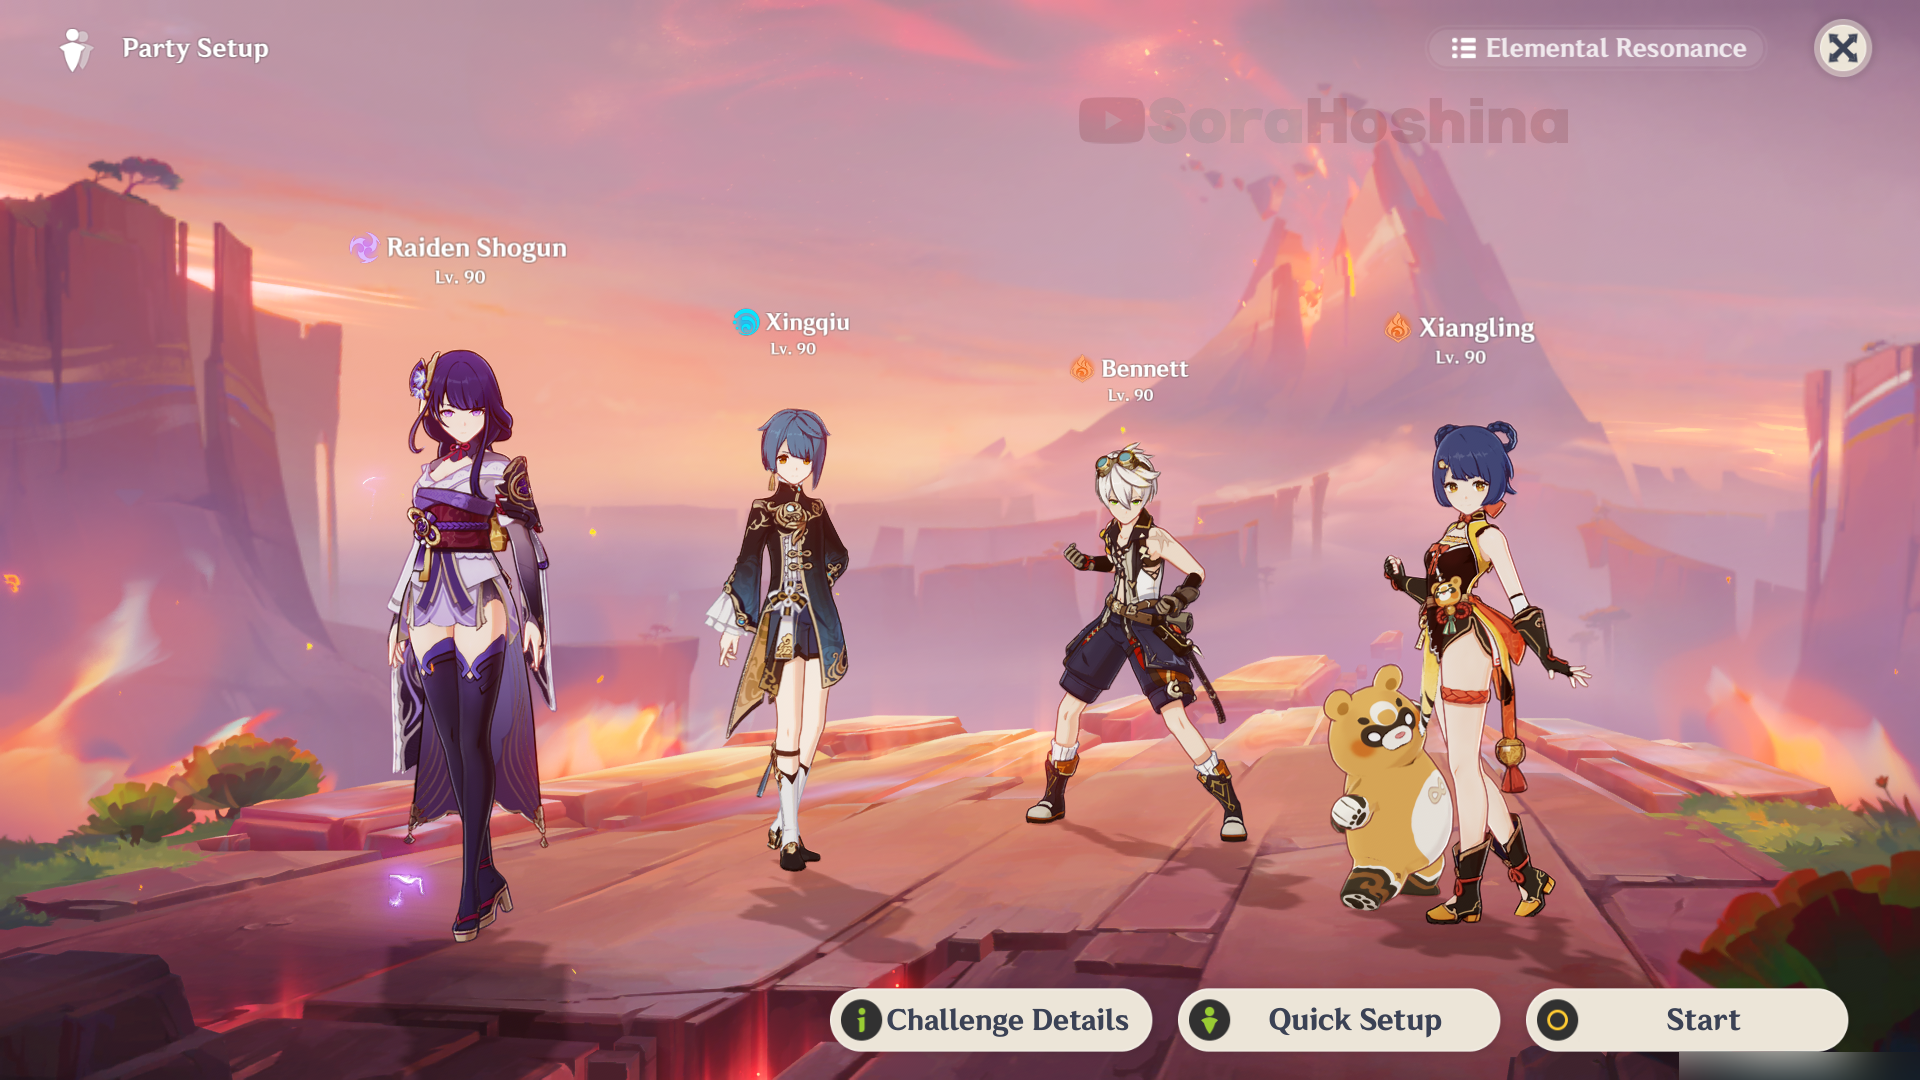
| Difficulty: Desperate | (1) Raiden National: Raiden Shogun + Xingqiu/Yelan/Furina + Bennett + Xiangling (2) Raiden Overload: Raiden + Chevreuse + Bennett + Kujou Sara (3) Xiao Team: Xiao + Furina + Faruzan + Xianyun (4) Hyperbloom Team: Cyno + Furina + Fischl + Baizhu |
> How To Defeat
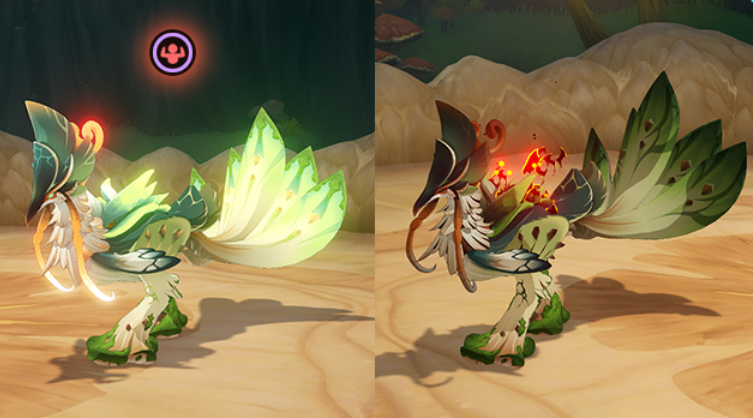
It is no different from the usual overworld boss except for maybe its humongous HP. There are 3 states of Jadeplume: Normal, Activated, and Scorched:
(1) The Normal state is the one you're dealing with in its default form.
(2) The Activated state is when the Fury bar under its HP is filled by Electro attacks from your character. When Jadeplume is in Activated form, it has different attack modes but will eventually be paralyzed from exhaustion for 15 seconds.
(3) The last state is the Scorched state when the Jadeplume is affected by Burning (Dendro+Pyro). It's not really a big deal except for its skill that can summon a maximum of 4 Fungi, which will make you lose precious time in the challenge.
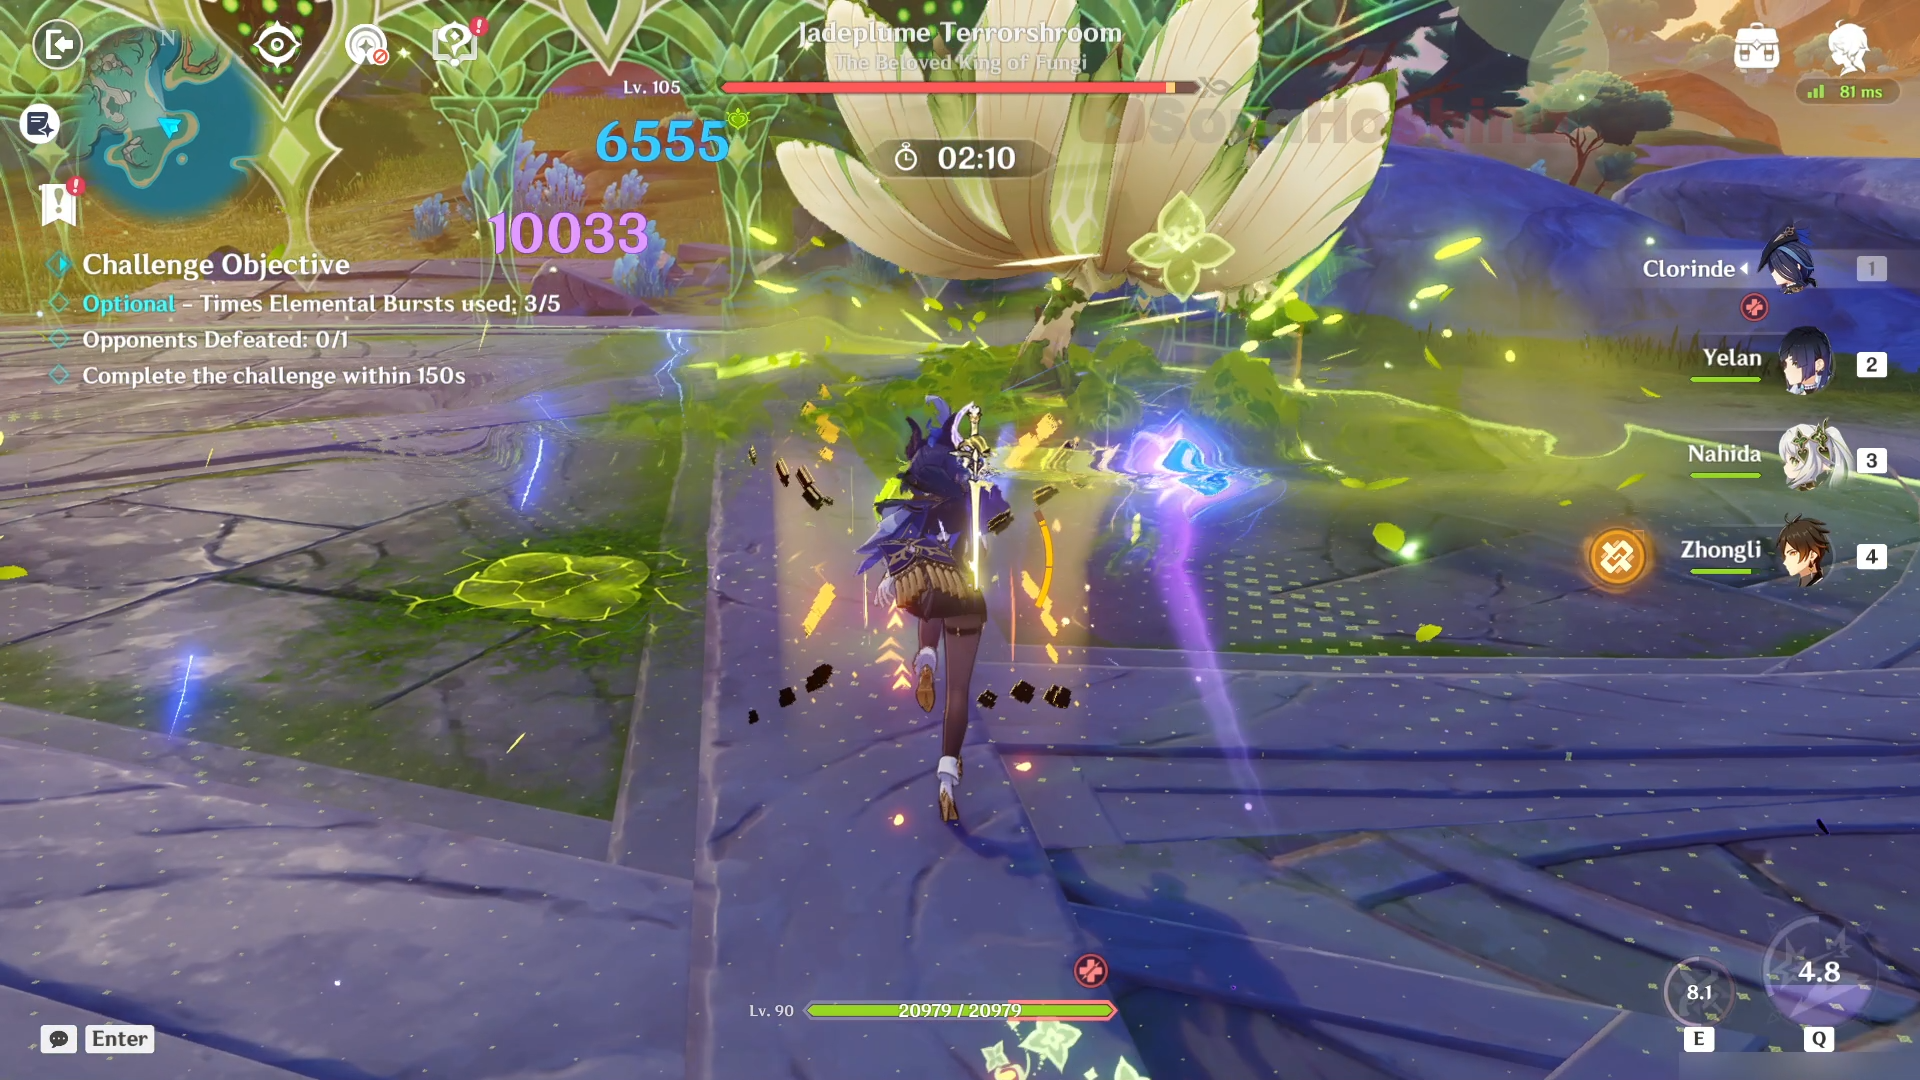
Both states are decent so you can choose which one you think is the best for your team. For the Activated state, make sure to avoid any incoming attacks from Jadeplume because those hit like a truck. Instead, wait until it's paralyzed before you can spam your attacks.
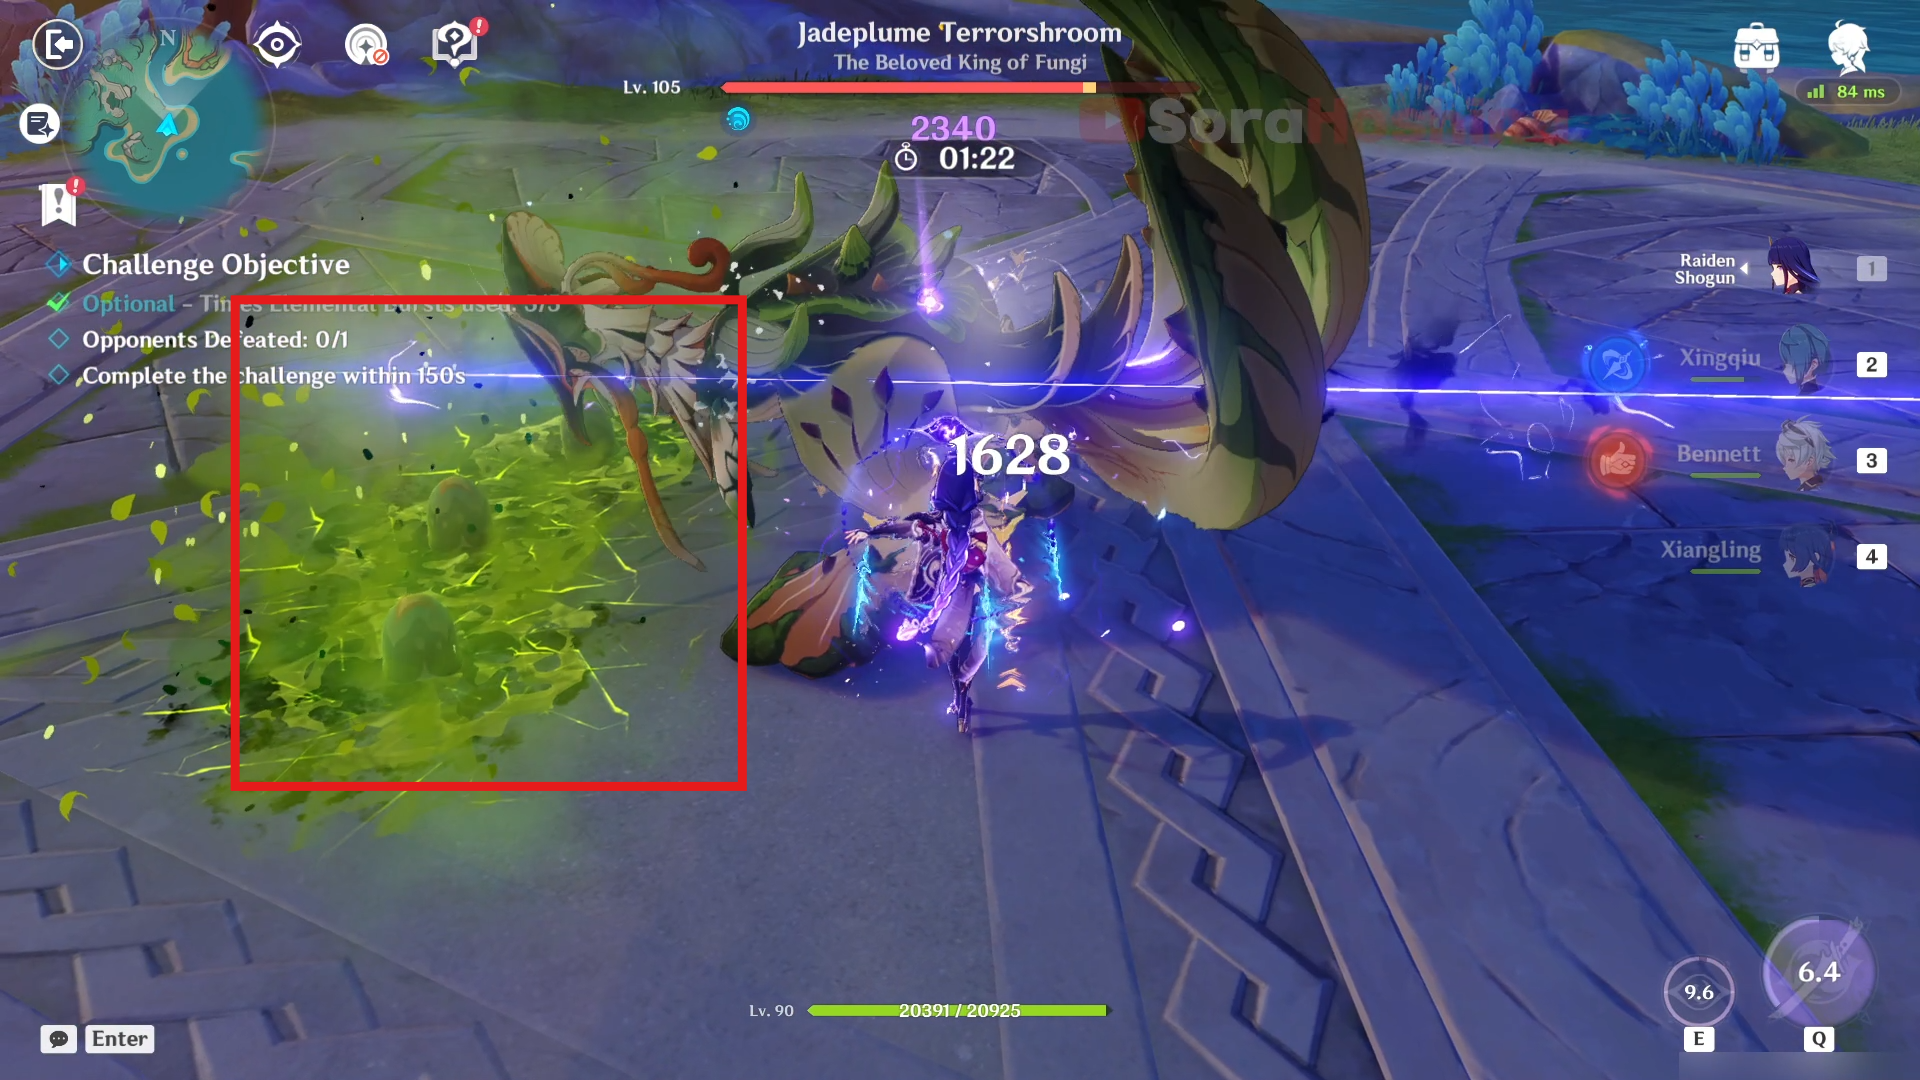
For the Scorched state and the Fungi spores, you can destroy the spores with Electro/Hydro/Pyro within 3 seconds before they can spawn, which will stop the Fungi from spawning. Any of the mentioned elemental AoE attacks are great here.
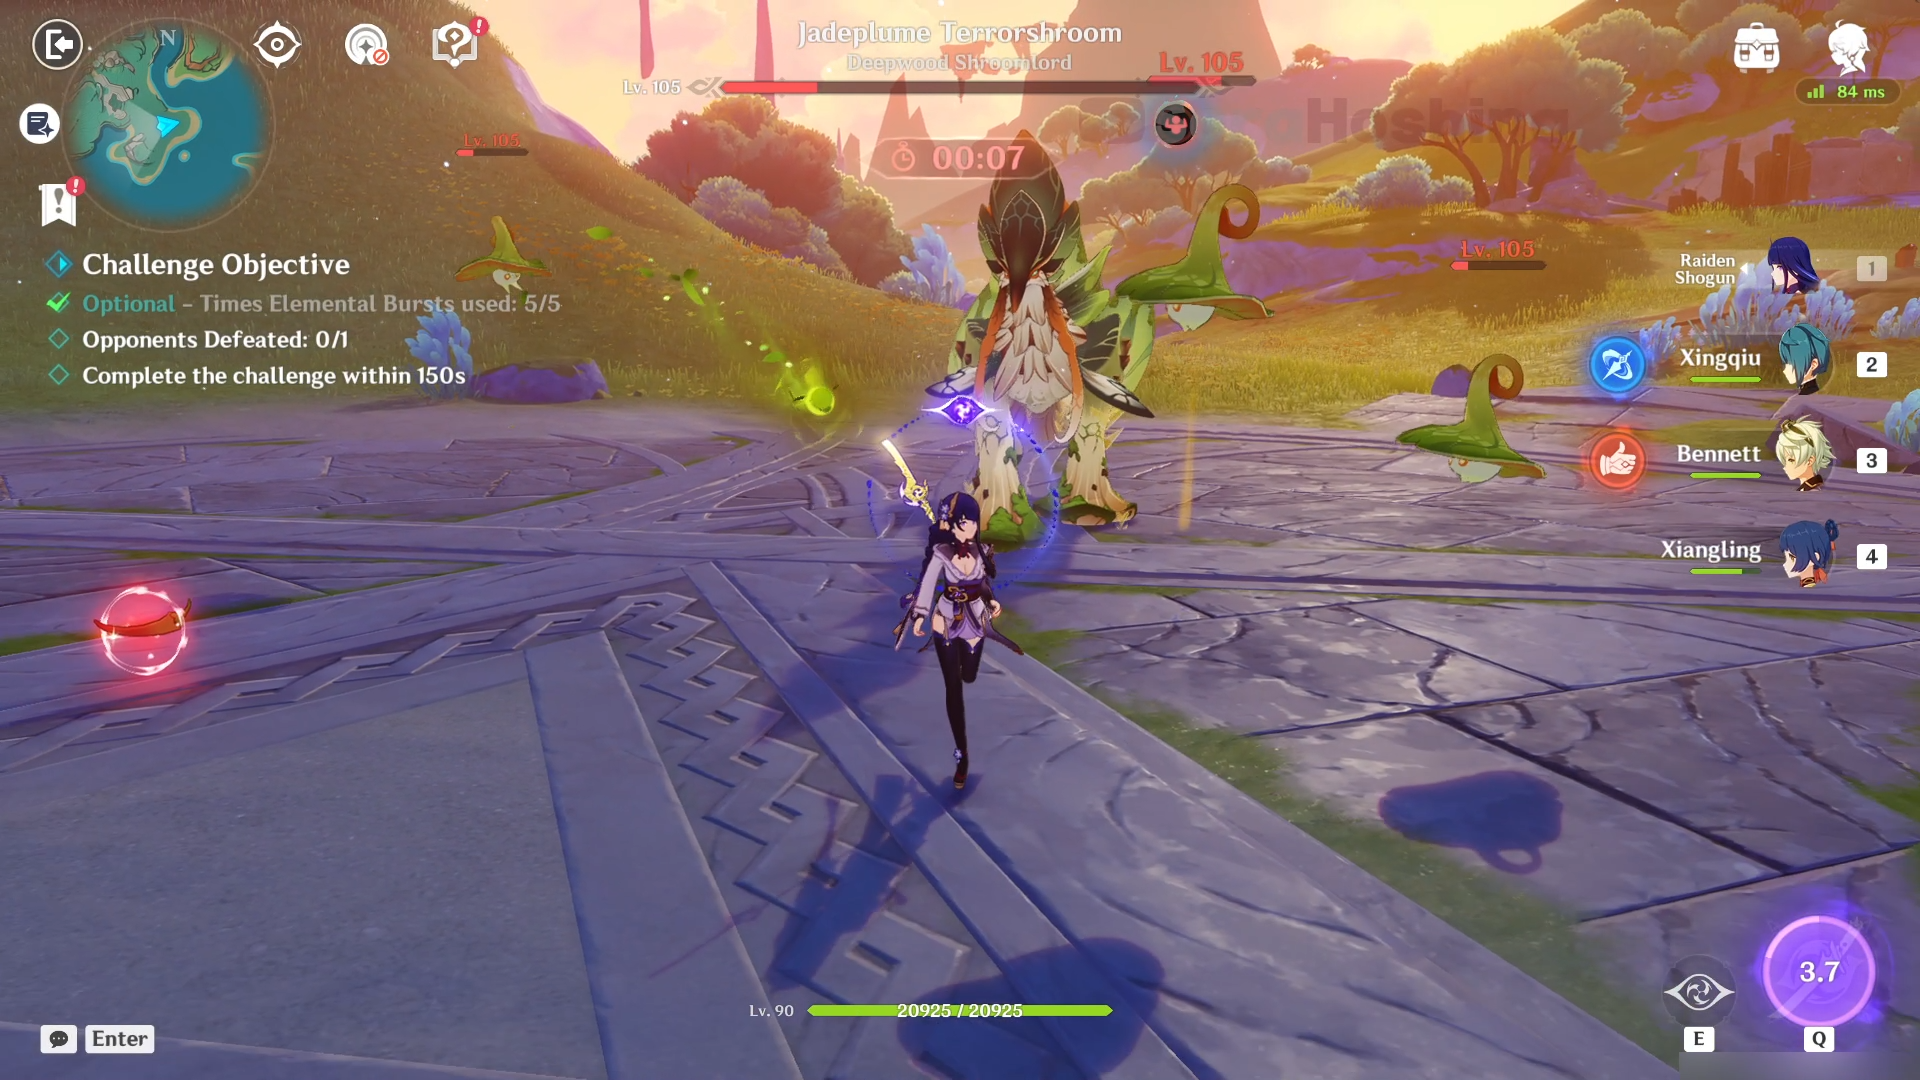
If you don't destroy those spores, Fungi will spawn and while their damage is nothing, what's annoying is that your auto-target may change from the boss to the mobs, losing precious time.
Event Rewards
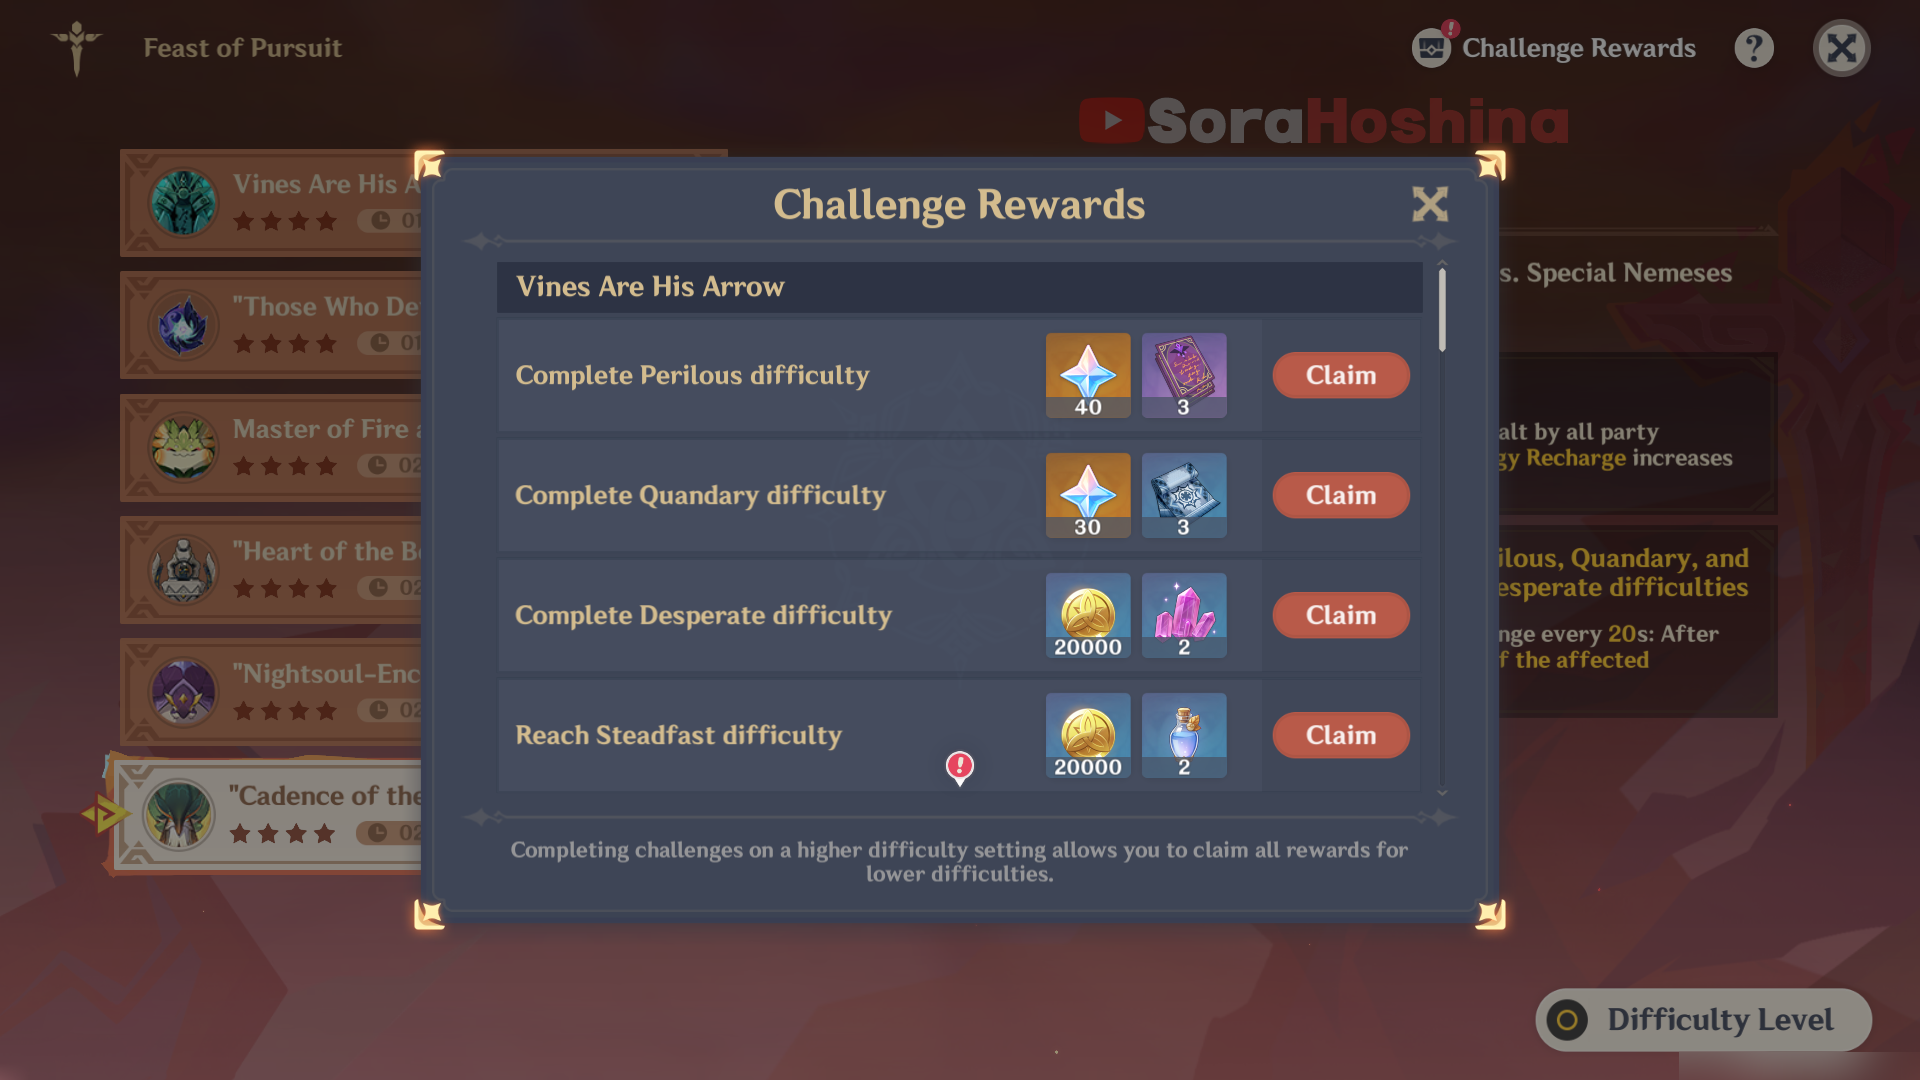
➥ Don’t forget to manually claim your rewards from the event page. By completing all the event challenges, you will get the following rewards:
- Primogem x 420
- Hero's Wit x 18
- Guide to Contention x 6
- Mora x 240000
- Mystic Enhancement Ore x 12
- Sanctifying Unction x 12
- Guide to Kindling x 6
- Guide to Conflict x 6


