Table of Contents [Hide]
- Imaginarium Theater Version 5.2 Schedule
- Elements for Imaginarium Theater Version 5.2
- Fantastical Blessings for Imaginarium Theater V5.2
- Opening Characters and Special Guests
- Recommended Characters for Imaginarium Theater 5.2
- Imaginarium Theater Season 6 Guide
- Act 1 - 3 | Emperor of Fire and Iron
- Act 4 - 6 | Goldflame Qucusaur Tyrant
- Act 7 - 8 | Setekh Wenut
- Act 9 - 10 | Experimental Field Generator

The sixth season of Imaginarium Theater is here, released in version 5.2. In this Season's Rules, only Hydro, Electro and Anemo characters, as well as Special Guest Stars, may perform in this season's show. Here's a guide on which characters to bring, and which events you should choose in the Imaginarium Theater challenge.
Imaginarium Theater Version 5.2 Schedule
Days
Hours
Minutes
Seconds
Season 6 of Imaginarium Theater version 5.2 lasts for a month from December 1, 2024, to January 1, 2025. You can refer to the countdown above to see when this season ends.
Elements for Imaginarium Theater Version 5.2

The elements for season 3 of Imaginarium Theater are Hydro, Electro, and Anemo. Remember that you can only bring characters with the elements mentioned above, with the exception of Special Guests. With these elements, the reactions you can get are:
(1) Swirl
(2) Electro-Charged
Fantastical Blessings for Imaginarium Theater V5.2
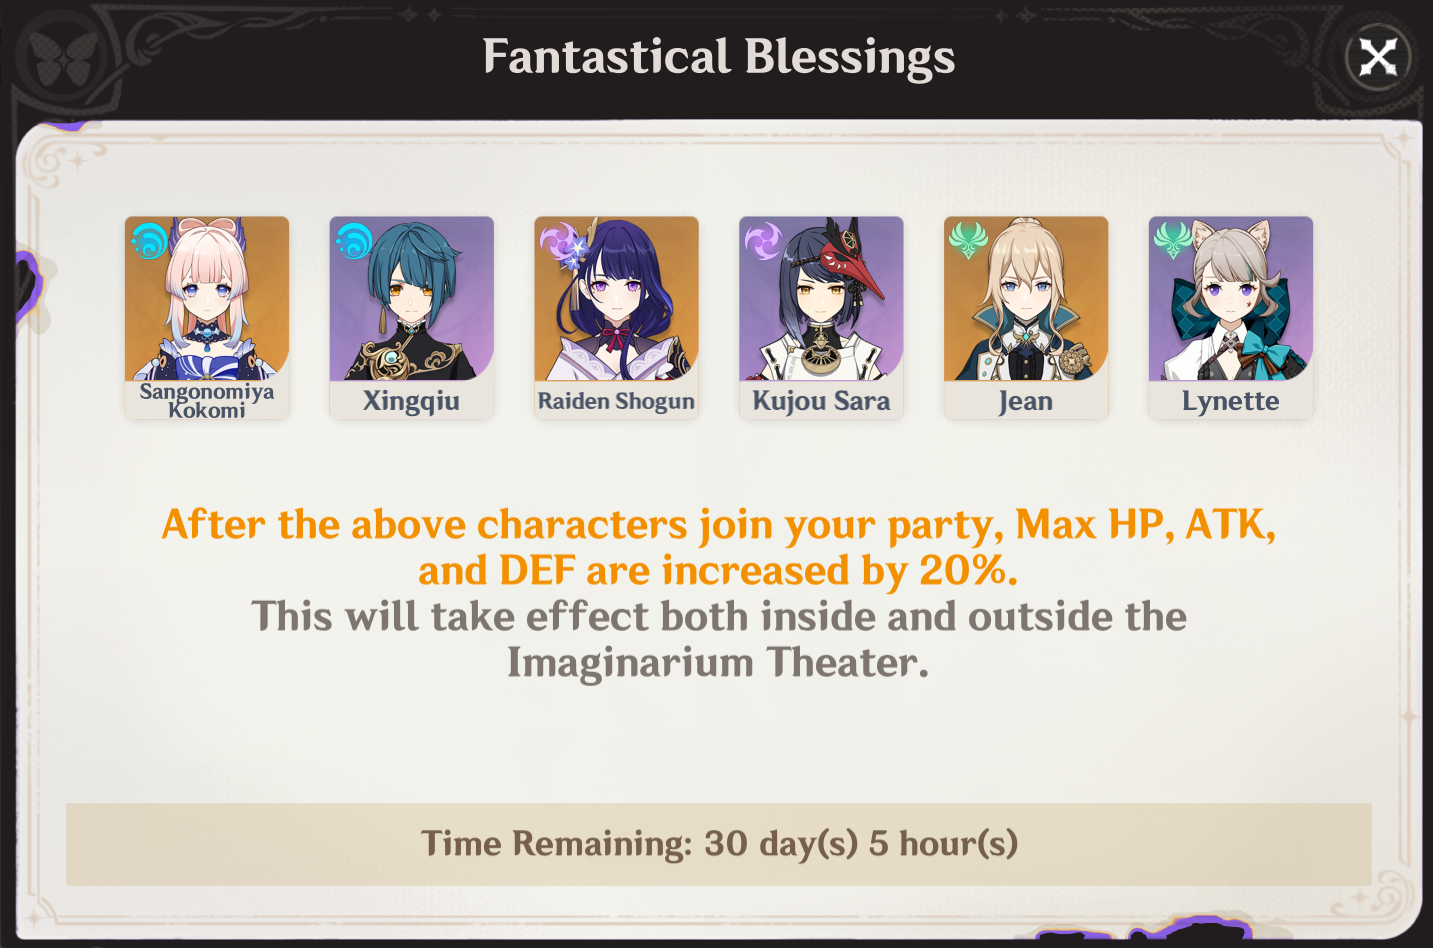
After unlocking the Imaginarium Theater, the Fantastical Blessing available will refresh each season, offering buffs for the Opening Characters. These buffs will be effective both during Imaginarium Theater challenges and in your adventures outside the theater.
Remember that only the above-mentioned characters will get the buffs!
After the above characters (Kokomi, Xingqiu, Raiden Shogun, Kujou Sara, Jean & Lynette) join your party, Max HP, ATK, and DEF are increased by 20%
Opening Characters and Special Guests
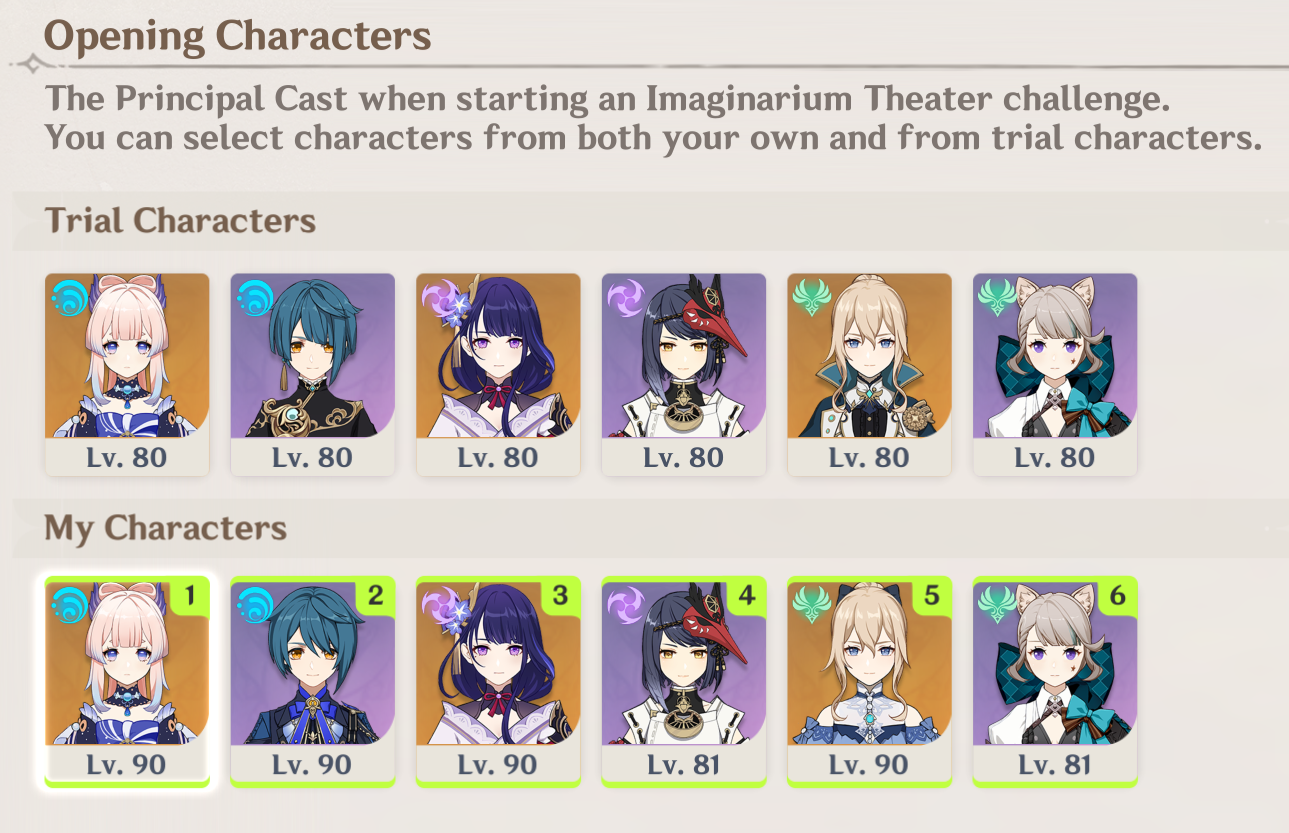
Opening Characters are the first 6 characters that you will get when you start the Imaginarium Theater. You can either use the Trial Characters given or use your own characters if they are built even better than the Trial Characters and have higher constellations. The Opening Characters in version 5.2 are (C0 for every Trial Characters):
(1) Sangonomiya Kokomi
(2) Xingqiu
(3) Raiden Shogun
(4) Kujou Sara
(5) Jean
(6) Lynette

Special Characters are the units that can be brought along in the roster who do not meet the Elemental requirements for that season. However, there are no trial characters for Special Guest Stars!
If you do not own said character or the level that does not meet the requirement, you will not be able to bring them along. The Special Guest Stars are:
(1) Zhongli
(2) Lyney
(3) Bennett
(4) Collei
Recommended Characters for Imaginarium Theater 5.2
| Difficulty | Required Number of Characters |
|---|---|
| Easy | Minimum: 8 Maximum: 10 Must be above Level 60 |
| Normal | Minimum: 12 Maximum: 14 Must be above Level 60 |
| Hard | Minimum: 16 Maximum: 20 Must be above Level 70 |
| Visionary | Minimum: 22 Maximum: 26 Must be above Level 70 Buff based on the number of extra members - Gain 30/60/90/120 Fantasia Flowers - Gain 2/4/6/8 Blessing Levels - Max HP increases by 1600/3200/4800/6400, ATK by 100/200/300/400, DEF by 100/200/300/400, and EM by 40/80/120/160 |
Please note that although you bring the exact same characters as recommended, it will be challenging to create a team because the characters you get are randomized.
And remember that you can use (maximum 1) character from your Friend's Supporting Cast.

HIGH TIER:
- Zhongli - Shielder & Elemental RES Shredder
- Bennett - Healer & Buffer
- Collei - Sub-DPS
LOW TIER:
- Lyney - DPS (Can bring only if Bennett is in the team)
HIGH TIER:
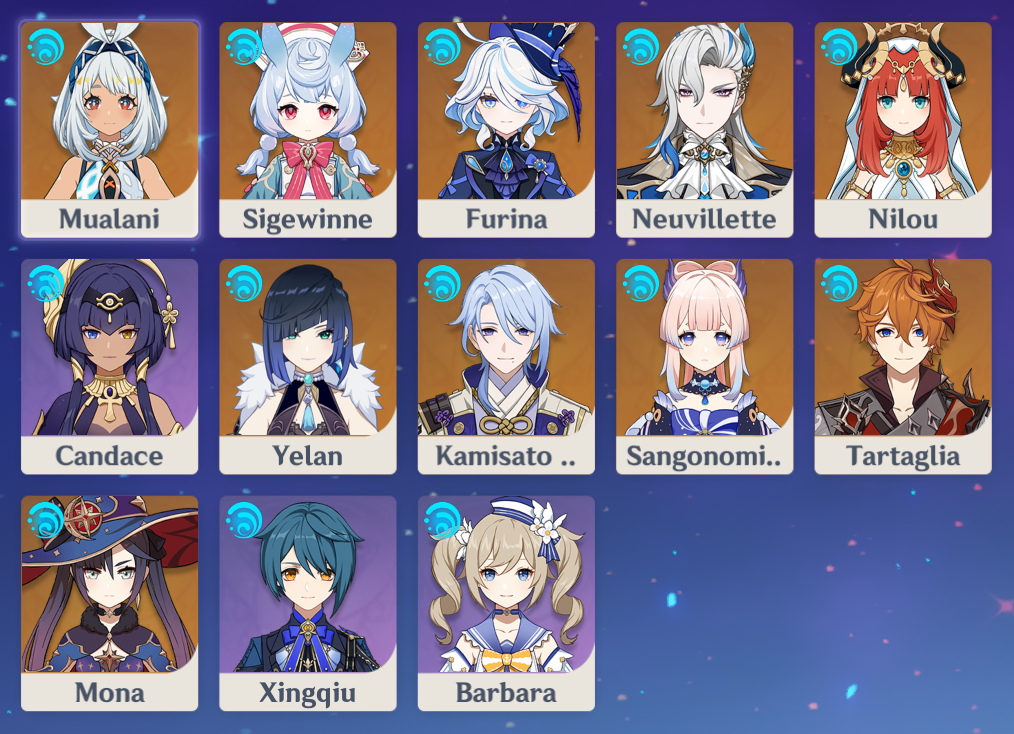
- Sigewinne - Healer (Great if you have Furina in the team, decent if not)
- Furina - Sub DPS
- Neuvillette - Main DPS
- Yelan - Sub DPS
- Kamisato Ayato - Main DPS
- Sangonomiya Kokomi - Healer
- Tartaglia - Main DPS
- Mona - Support
- Xingqiu - Sub DPS
- Barbara - Healer
LOW TIER:
- Mualani - Main DPS (Mostly suitable for Vaporize team but there are no Pyro characters for her)
- Nilou - Support (Only if you have Collei in the team to trigger Bloom)
- Candace - Sub-DPS
- Hydro Traveler - Nope
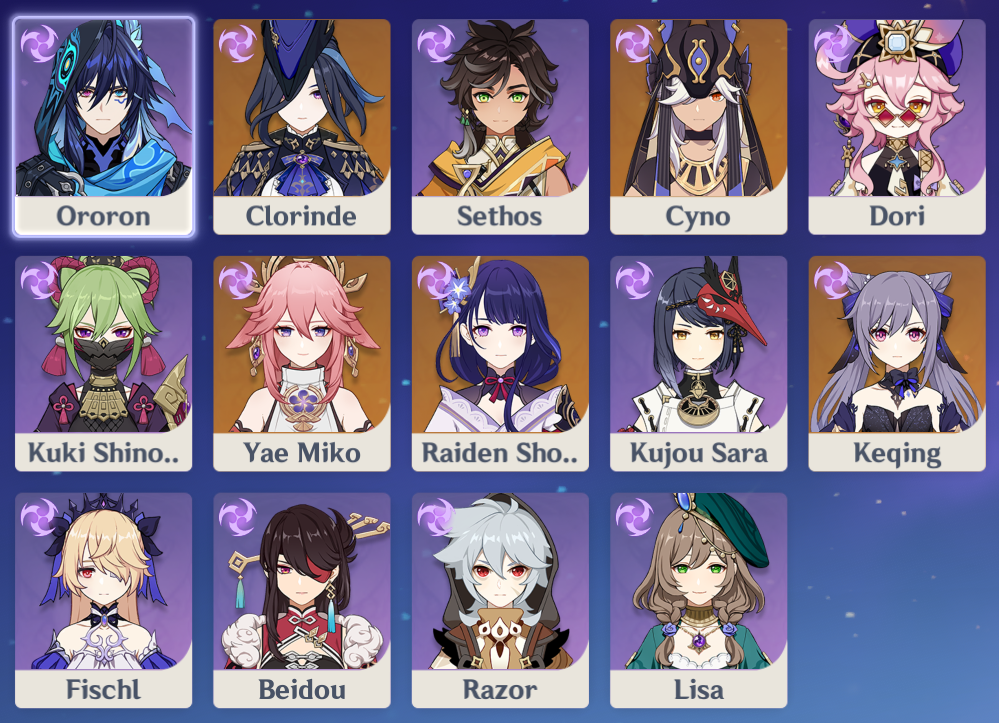
HIGH TIER:
- Ororon - Sub DPS
- Clorinde - Main DPS
- Sethos - Main DPS
- Cyno - Sub DPS
- Dori - Healer
- Kuki Shinobu - Healer
- Yae Miko - Sub DPS
- Raiden Shogun - Main DPS
- Kujou Sara - Buffer
- Keqing - Main DPS
- Fischl - Sub DPS
- Beidou - Sub DPS
LOW TIER:
- Razor - Main DPS
- Lisa - Sub DPS
- Electro Traveler - Support
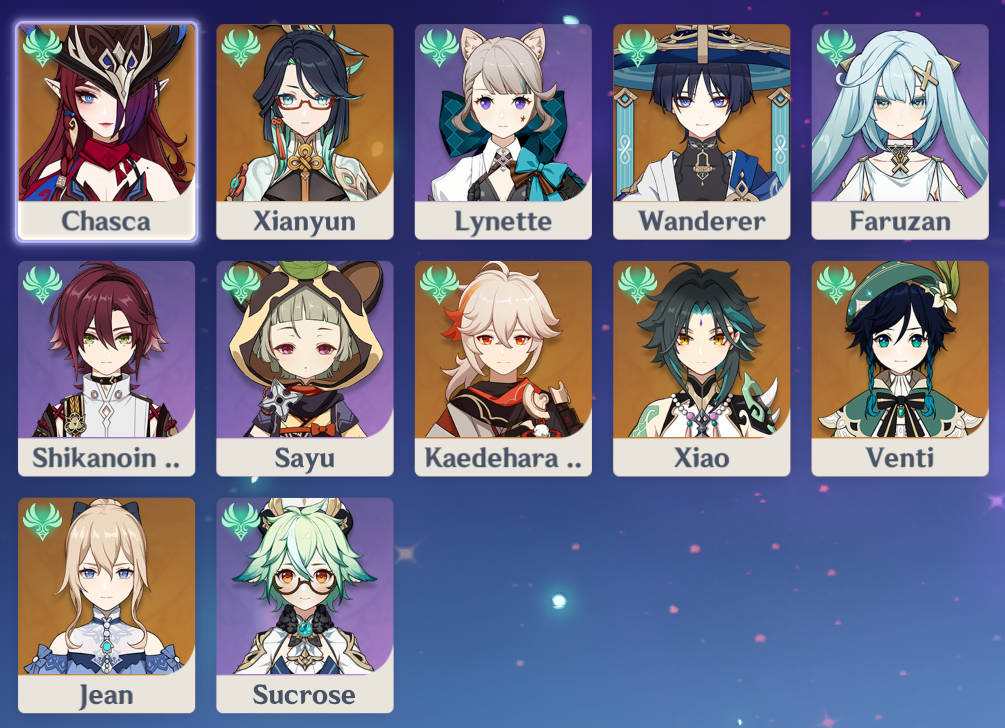
HIGH TIER:
- Chasca - Main DPS
- Xianyun - Support
- Lynnette - Sub DPS
- Wanderer - Main DPS
- Faruzan - Support
- Shikanoin Heizou - Main DPS/Enabler
- Sayu - Healer
- Kazuha - Best Support
- Xiao - Main DPS (Preferably only if you bring Faruzan/Xianyun)
- Venti - CC
- Jean - Healer
- Sucrose - CC
- Anemo Traveler - CC
LOW TIER:
- None cause Anemo characters are that good. Jokes aside, if you bring any Anemo character, be sure to bring along another Hydro and Electro characters so they can Swirl.
Imaginarium Theater Season 6 Guide

When you first start the challenge, you can see the reaction level at the top. By picking up the Brilliant Blessings event, you can choose to upgrade the reactions provided. Of course, the reactions are randomized so you can't upgrade every reaction willy-nilly.
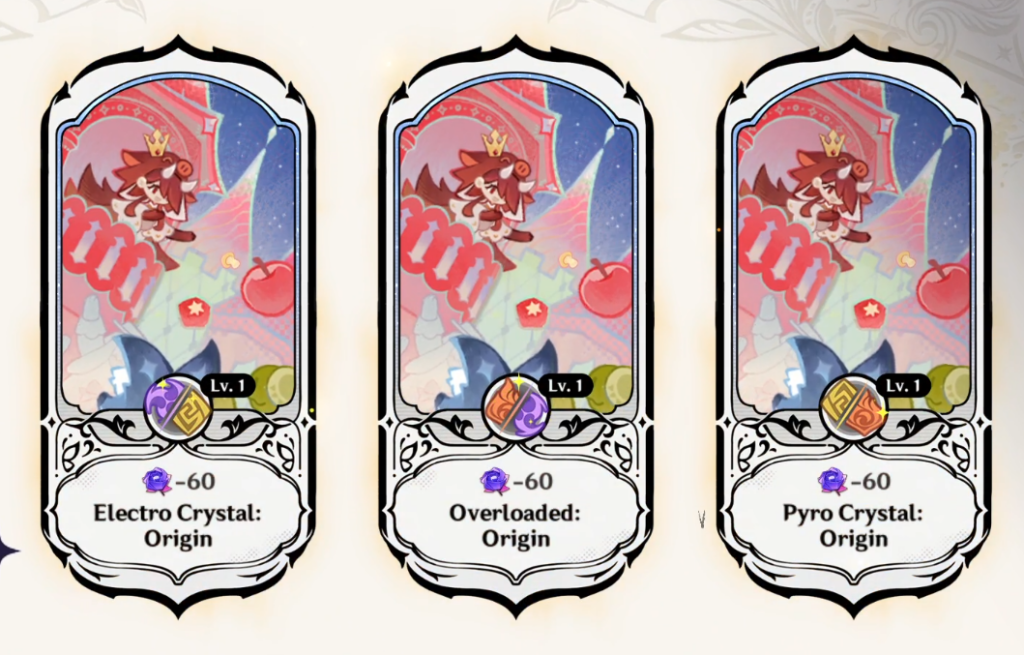
This is an example of a Brilliant Blessing event. You can use 60 Fantasia Flowers to upgrade a reaction. Don't underestimate it because these reactions will save your day, especially against bosses!
Act 1 - 3 | Emperor of Fire and Iron
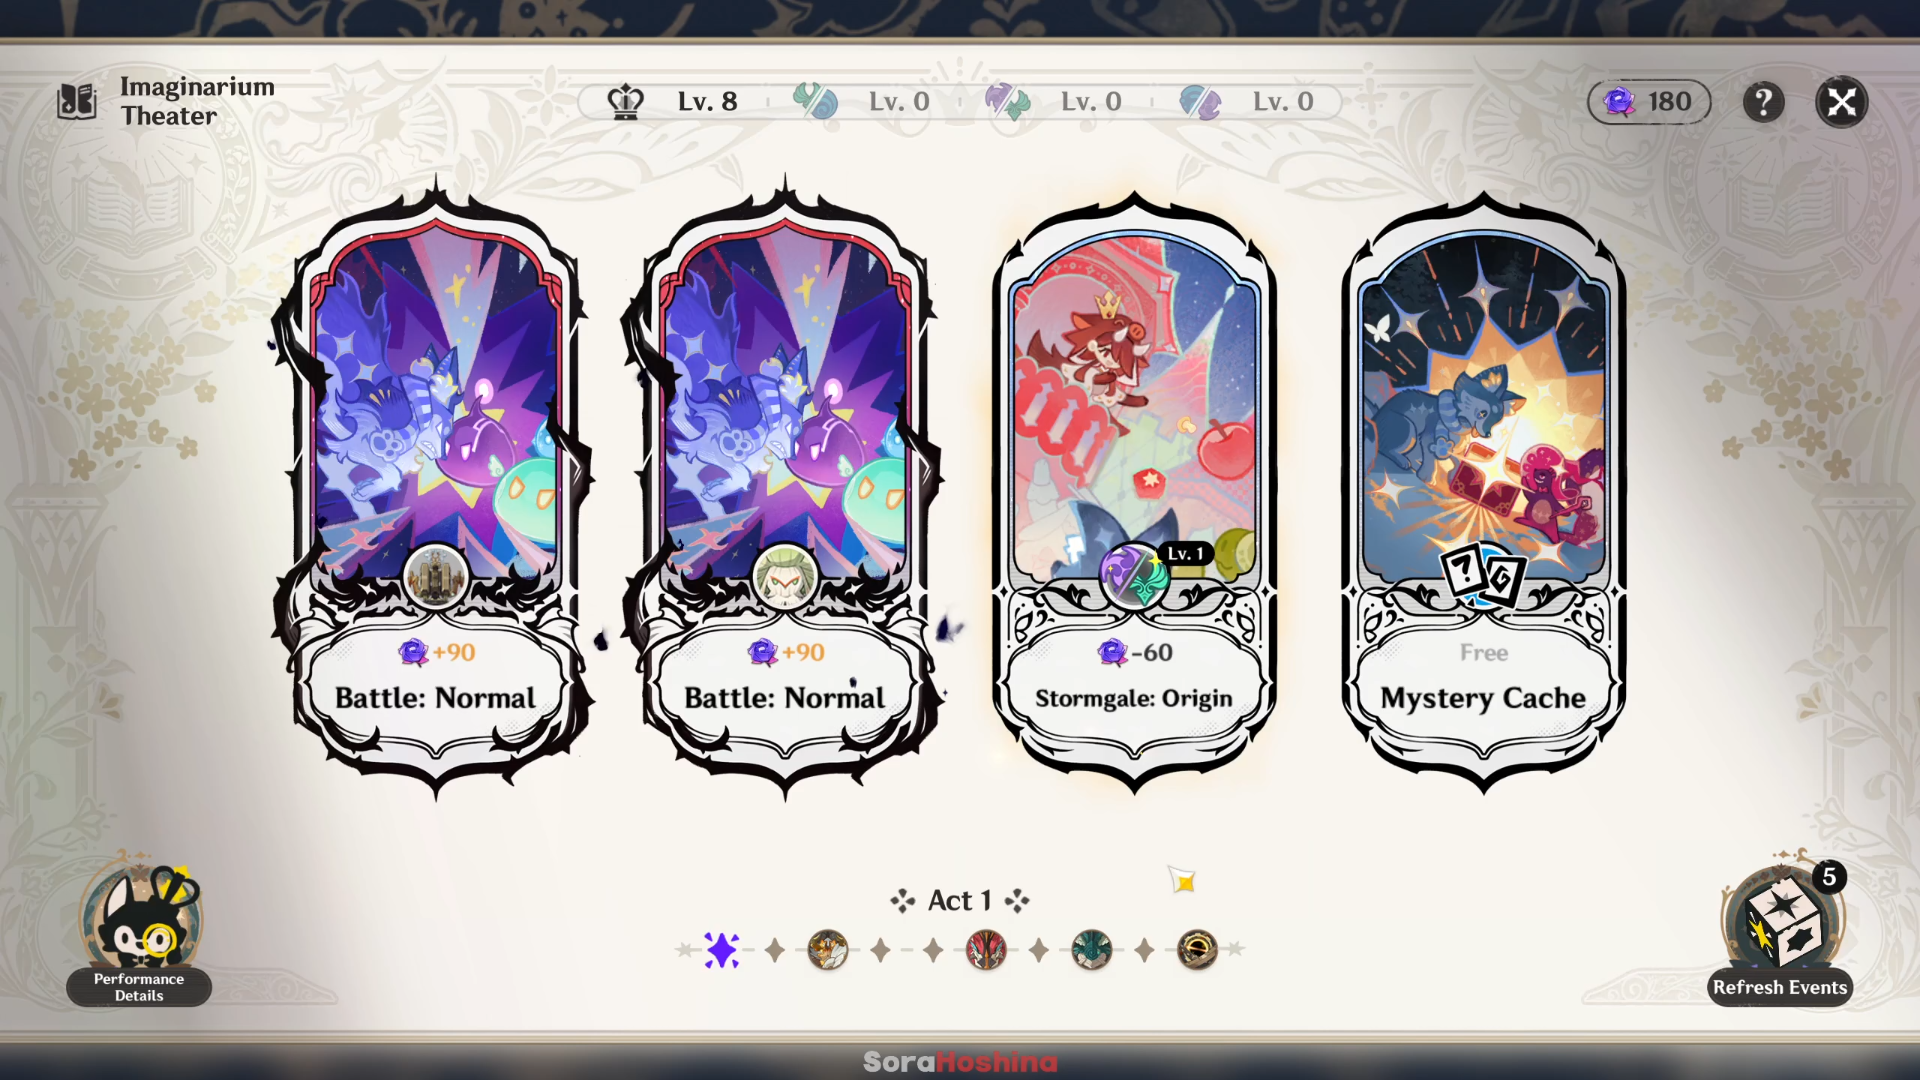
In Act 1 and 2, you will get 6 Starting Characters. The first boss you'll encounter is Emperor of Fire and Iron and it will have a Pyro shield right from the start so save at least 1 Hydro character so you can destroy that shield asap. With that said, it's best if you focus on Hydro-related blessings.
Take a look at your roster and choose either Hydro Swirl or Electro Charged Blessings depending on how many characters of that reactions you have.
In other words, in the first 2 acts, select the Brilliant Blessing event that will upgrade that reaction. After that, choose a Companion event for some new characters.
Reminder: Save your 'Refresh Event' until Act 4 so you can get the easiest stage.
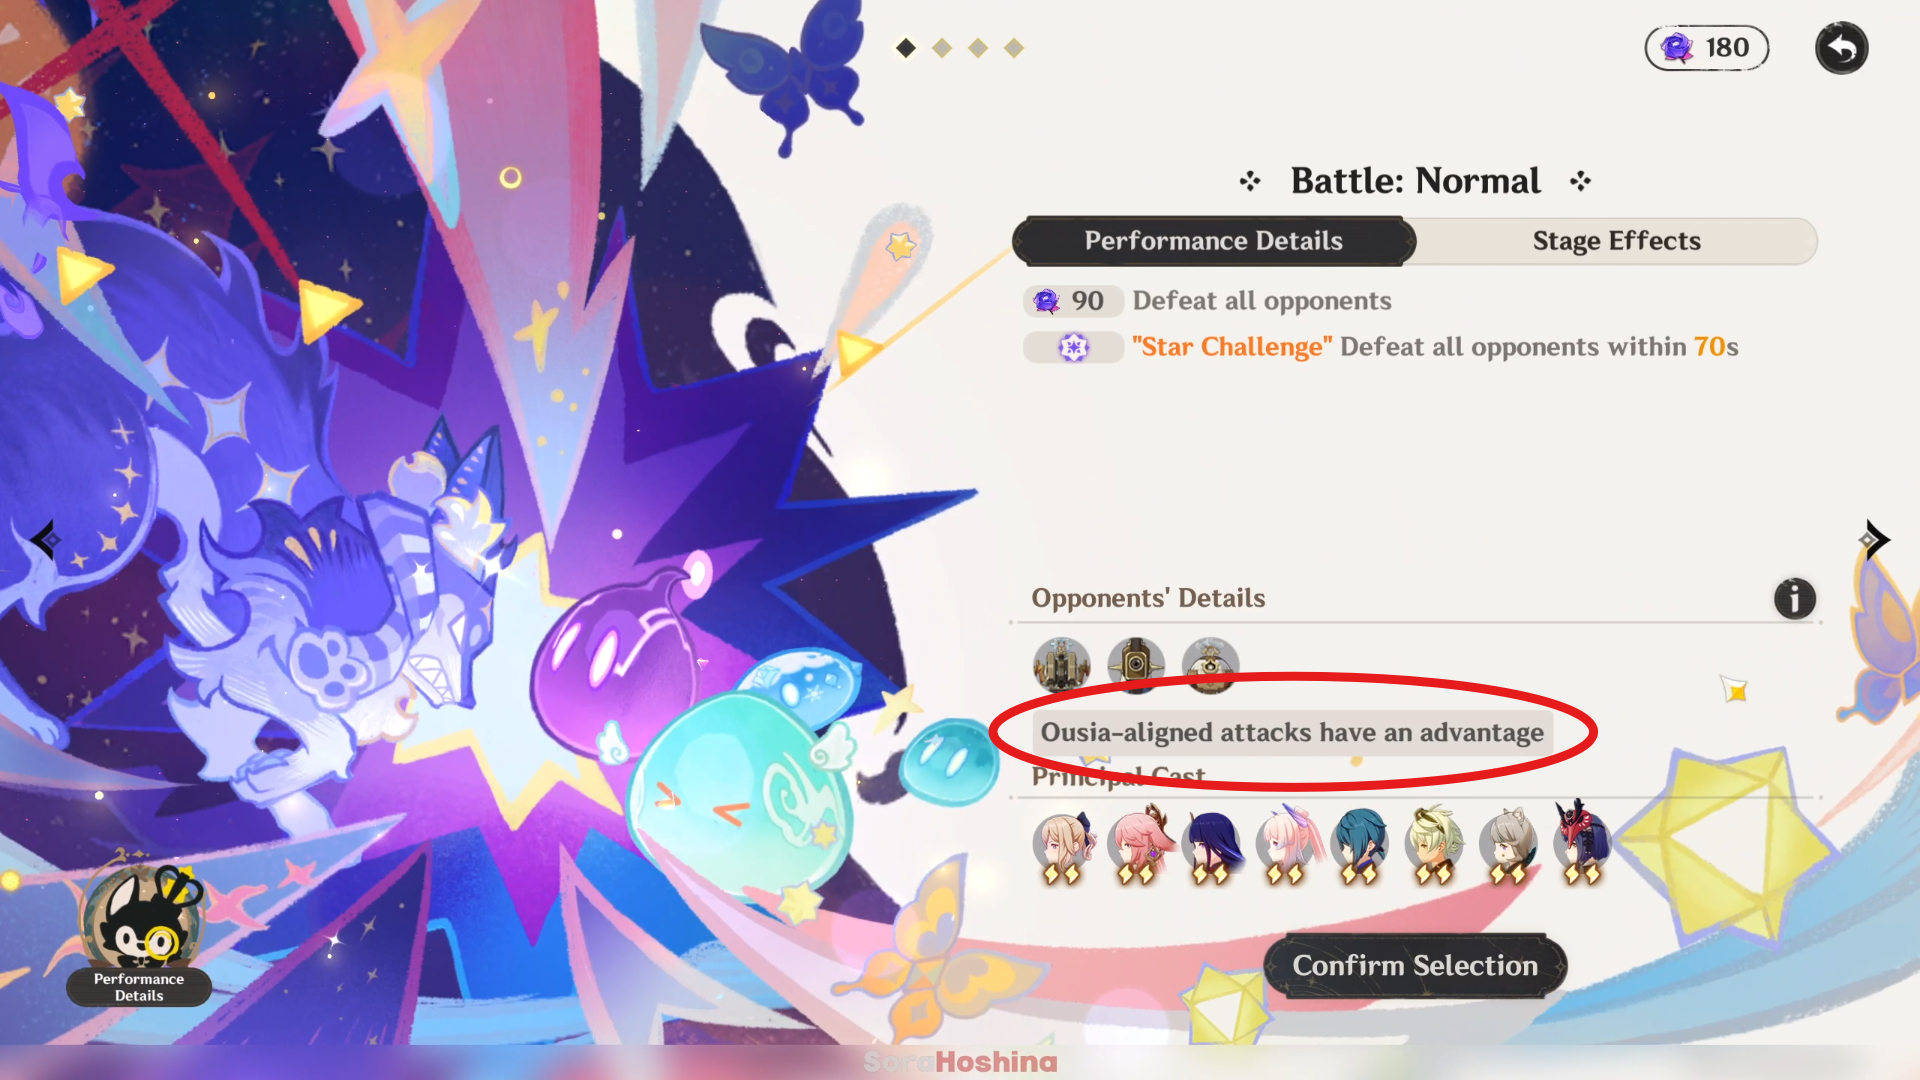
Now that you upgrade reactions and choose more characters, pick a Battle. To get the Star, you only need to defeat the enemy within the time limit. But remember that the Star is just for flexing and doesn't affect rewards.
When choosing any Battle, READ the performance and opponents' details and check whether your team have the synergy to fight the battle. The more Fantasia Flowers you get, the better since you can get more characters/buffs from the events.
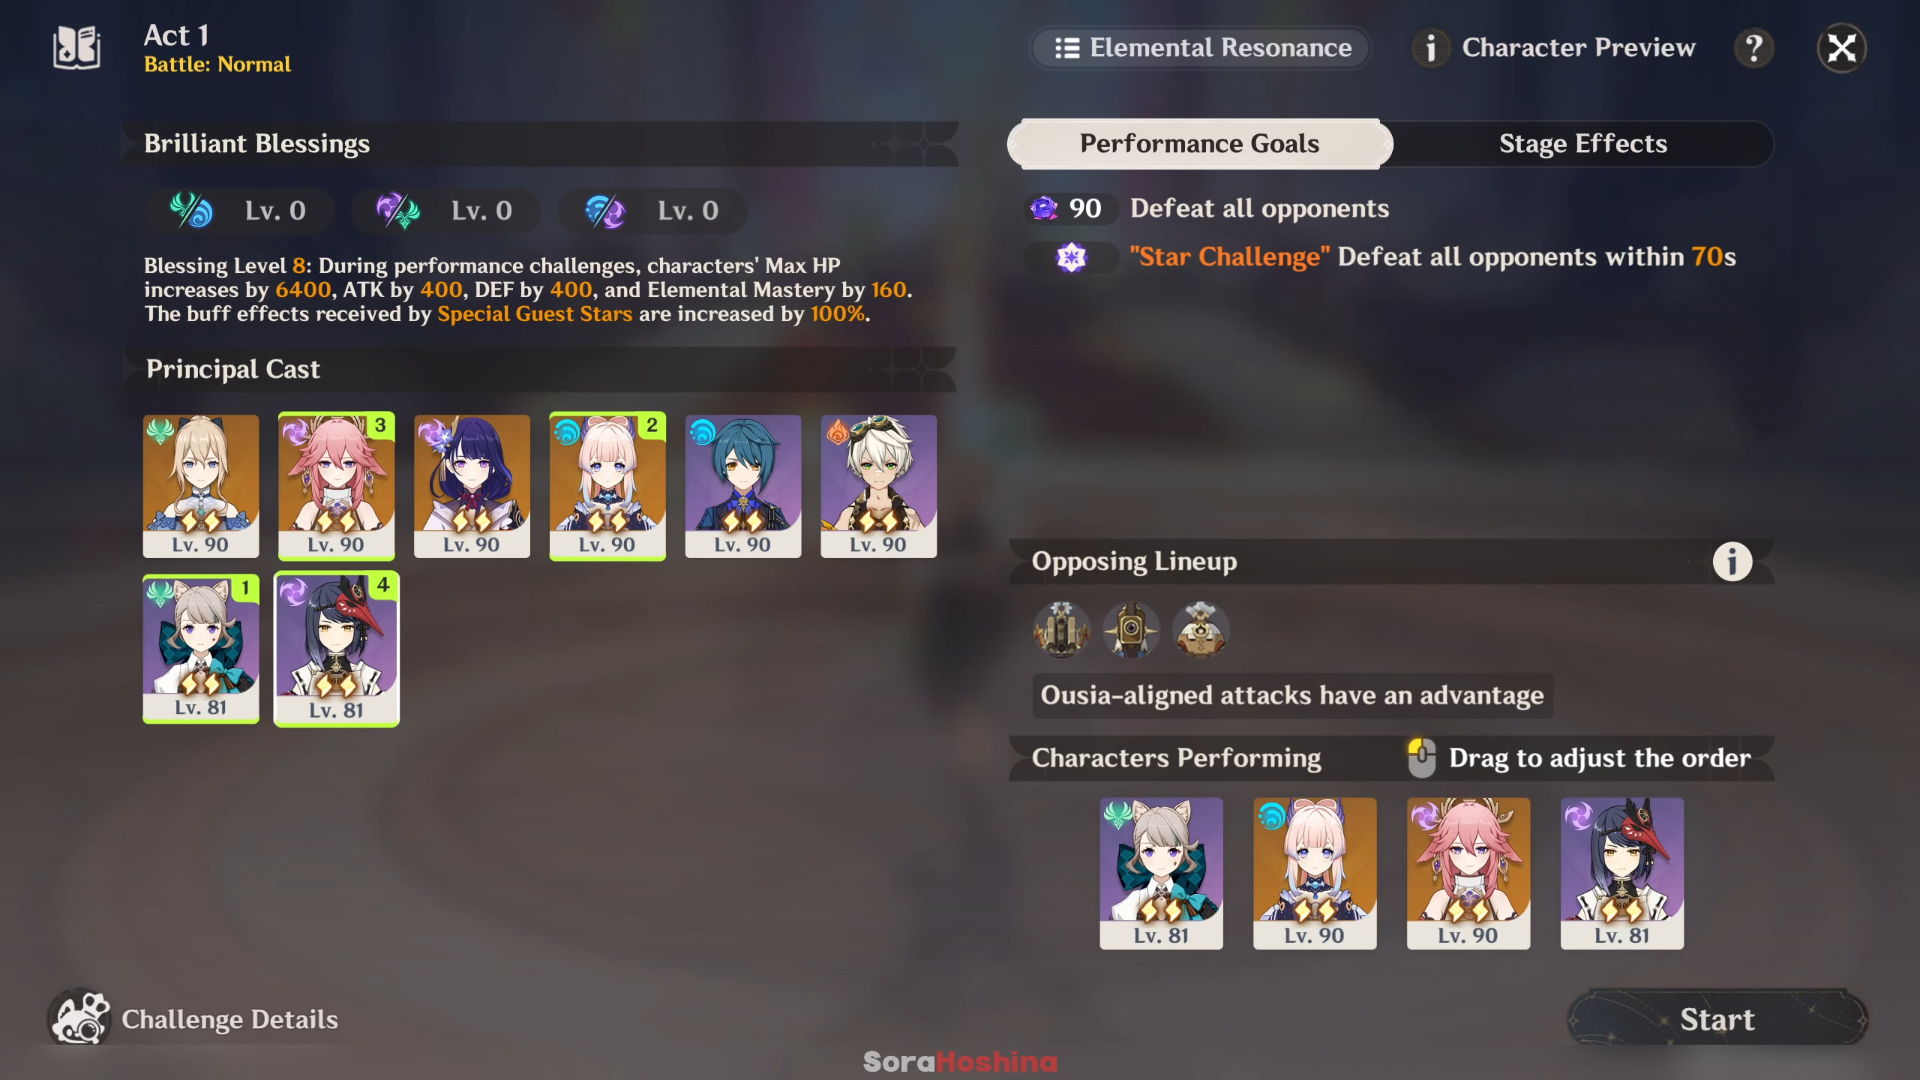
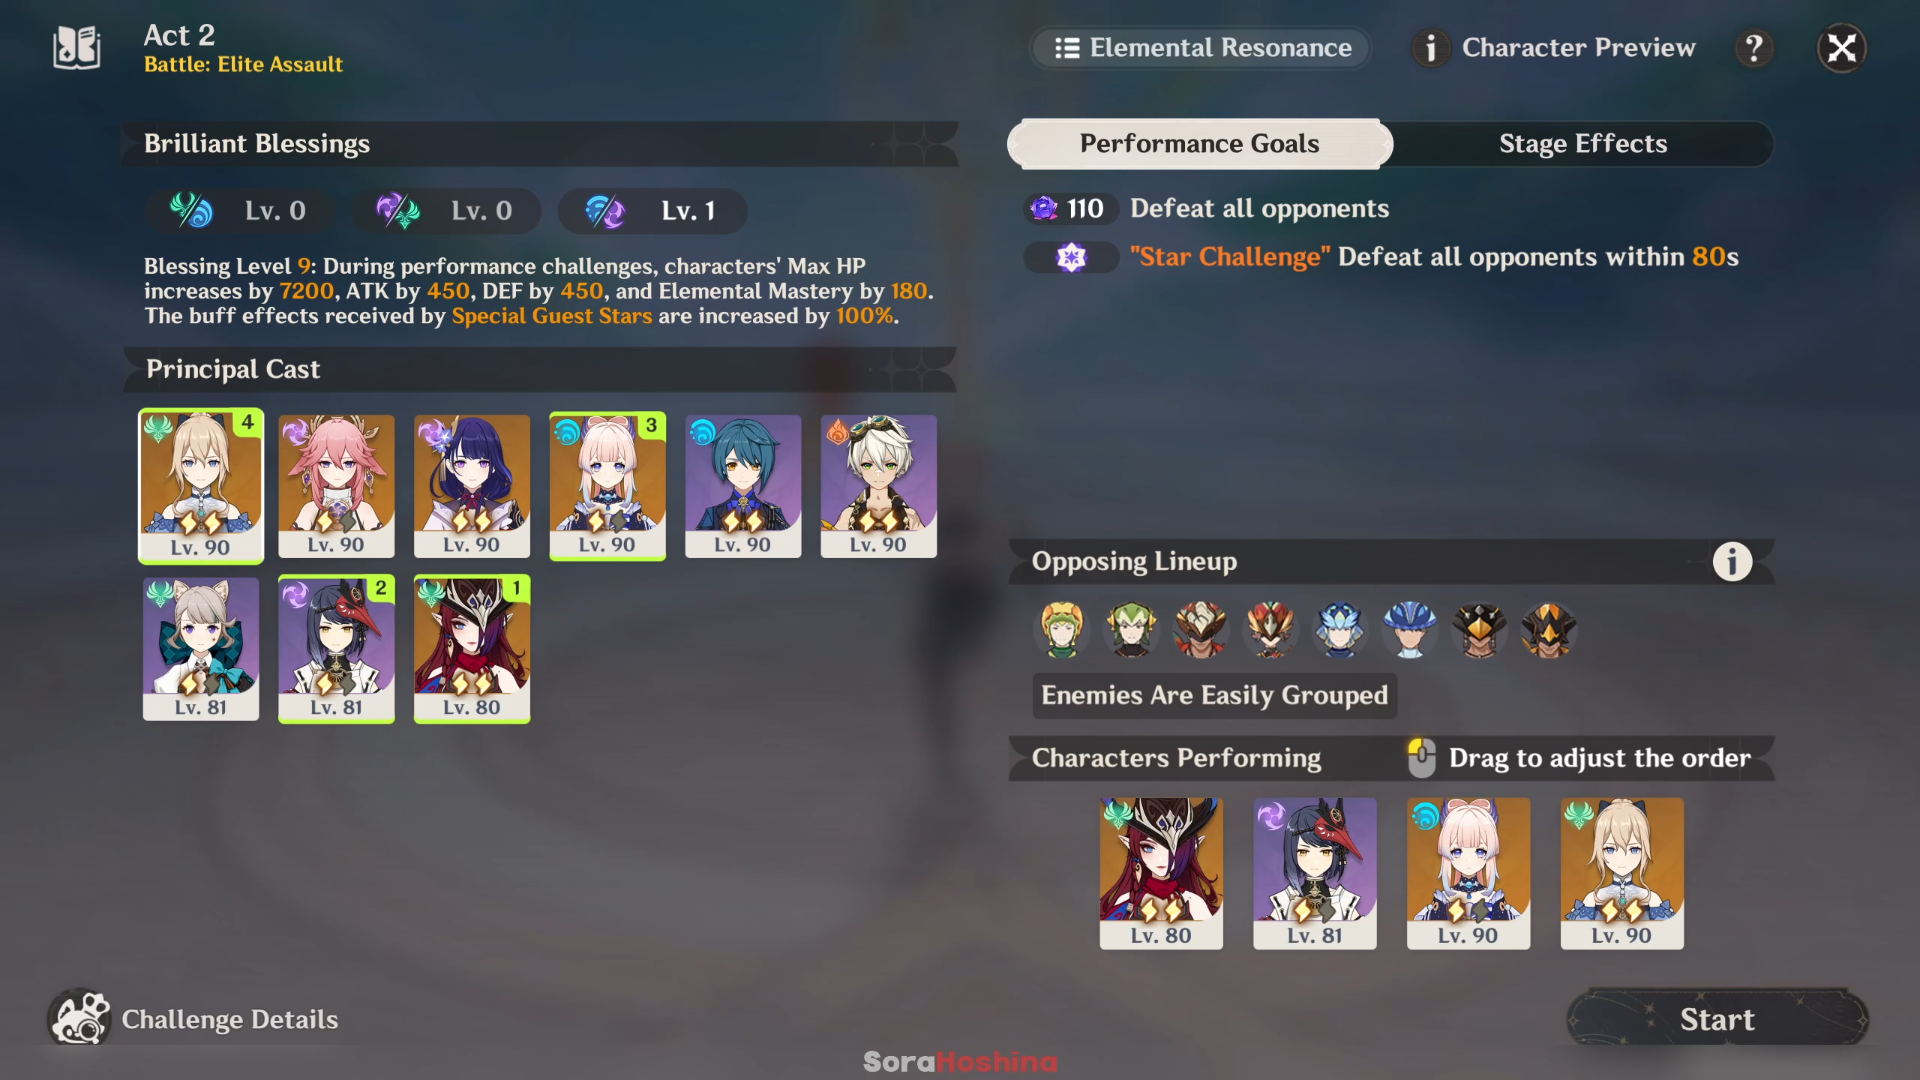
Now for the battle themselves, make sure to save the best characters (the characters for the reactions you've been upgrading) for the 1st boss battle and use other characters first.
| 1 | Select a reaction you want to be using the most when facing the boss in Act 3 (Hydro Swirl or Electro Charged) is the most recommended against Emperor of Fire and Iron Upgrade said reactions when you have the events. |
| 2 | Spend the remaining Fantasia Flowers on Companion event so you'll more characters in the roster. |
| 3 | Save the Main DPS (preferably Pyro character) and Support/Sub-DPS at least 1 Vigor for the boss battle in Act 3 |
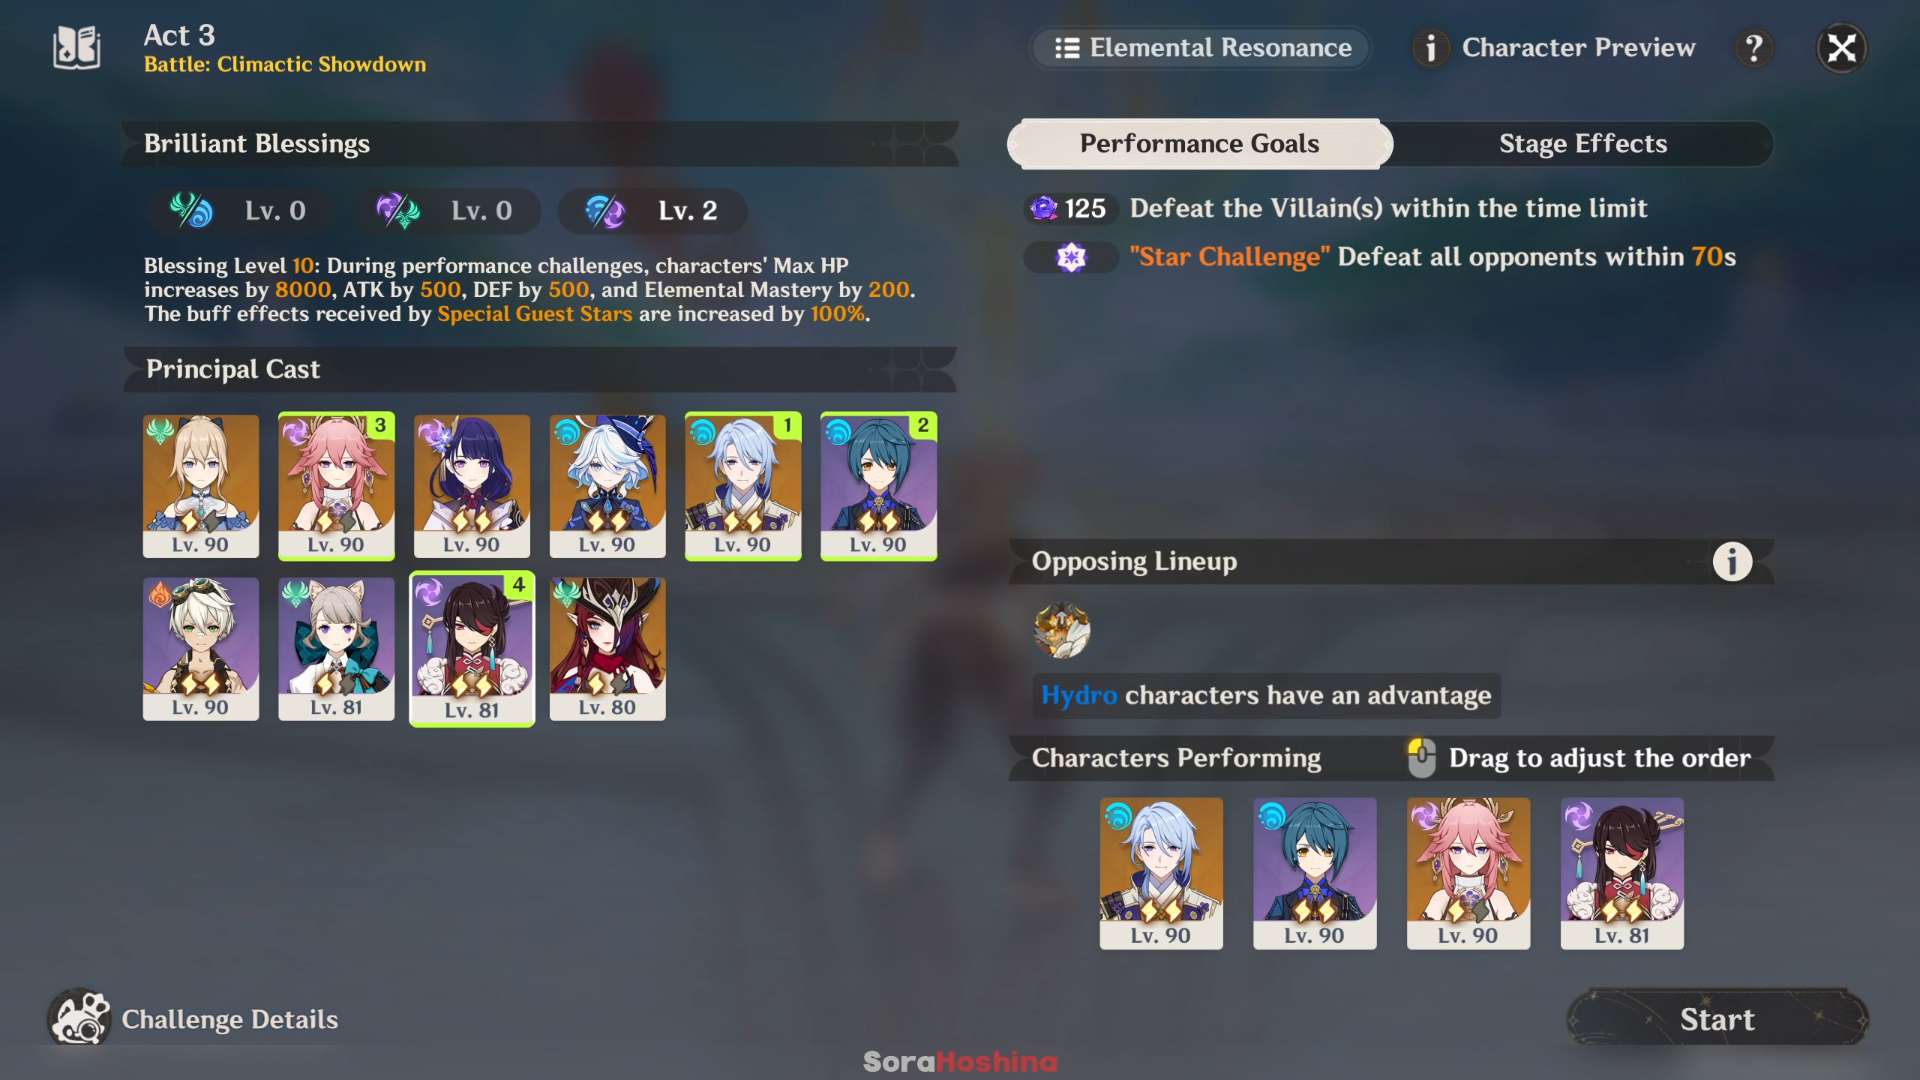
Now for Act 3, you will be facing Emperor of Fire and Iron. Bring along the Main DPS and Support you have been saving for. In my case, the main DPS is Ayato with the help of the rest of the team to trigger Electro-Charged. As you can see, there are 2 Hydro in the team so they can take care of the Pyro shield.
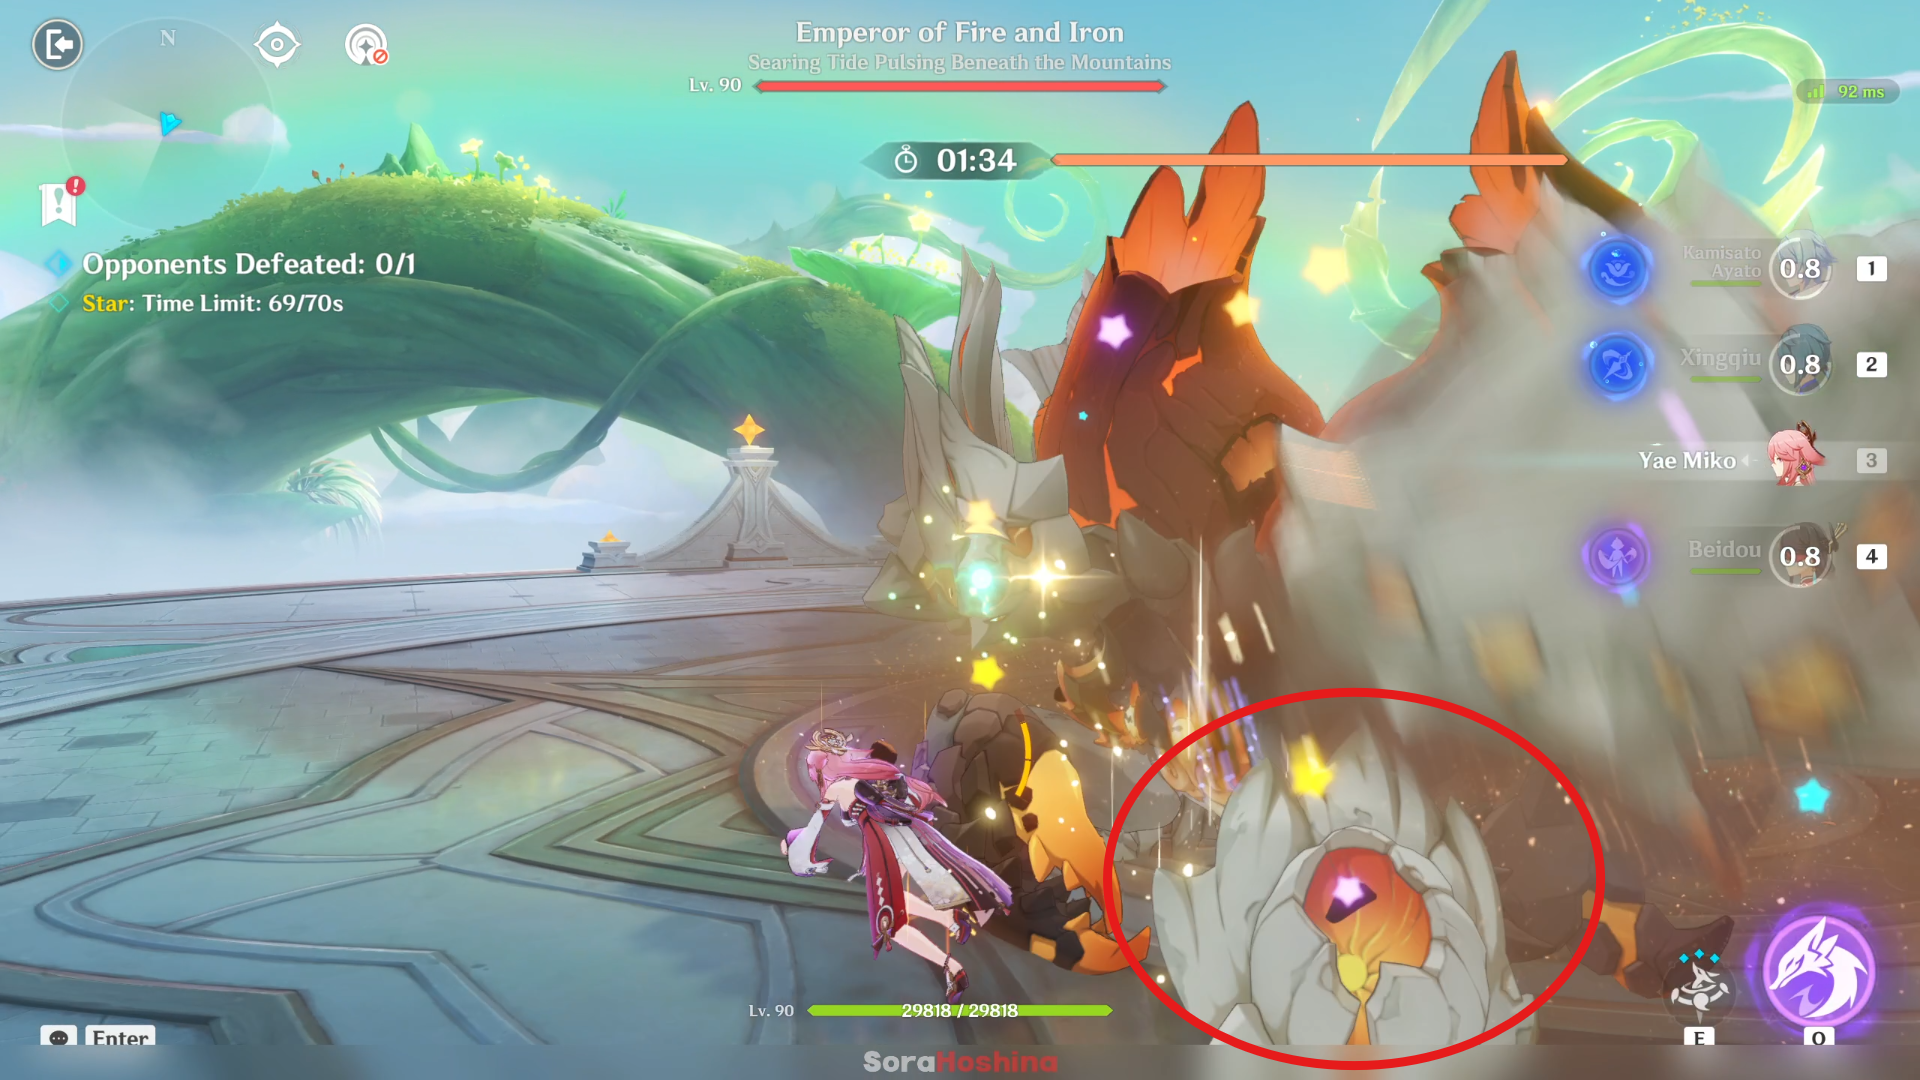
Right after you start the challenge and approach the Emperor, make sure to dash when it starts moving because it will use Ambush (not an official name) and strike the ground in front with its claw, dealing Physical DMG.
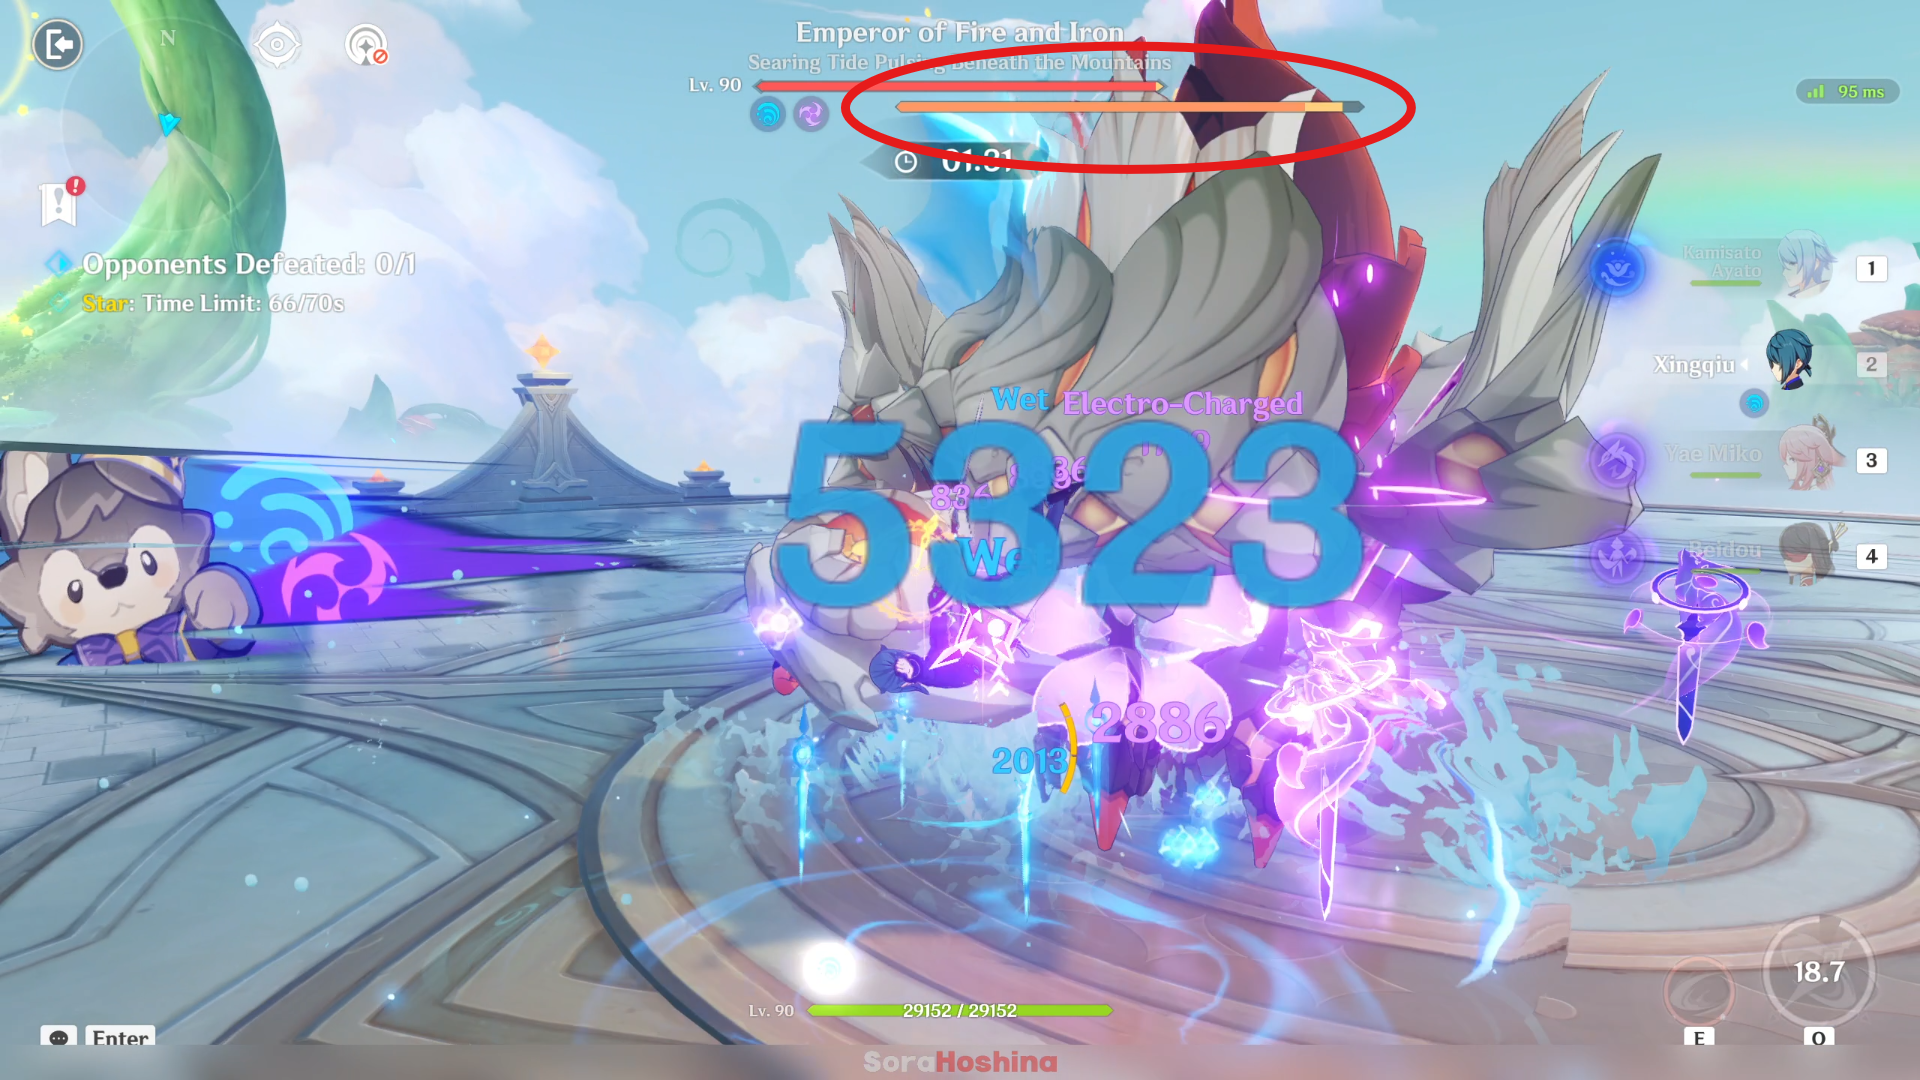
After that, focus on using Hydro attacks (Electro is the second best element) to destroy the Pyro shield on top of its horn.
That Pyro shield grants it a 60% RES increase to all DMG and enables it to use stronger attacks. When the Pyro shield is destroyed, the Emperor of Fire and Iron will become paralyzed for a period of time.
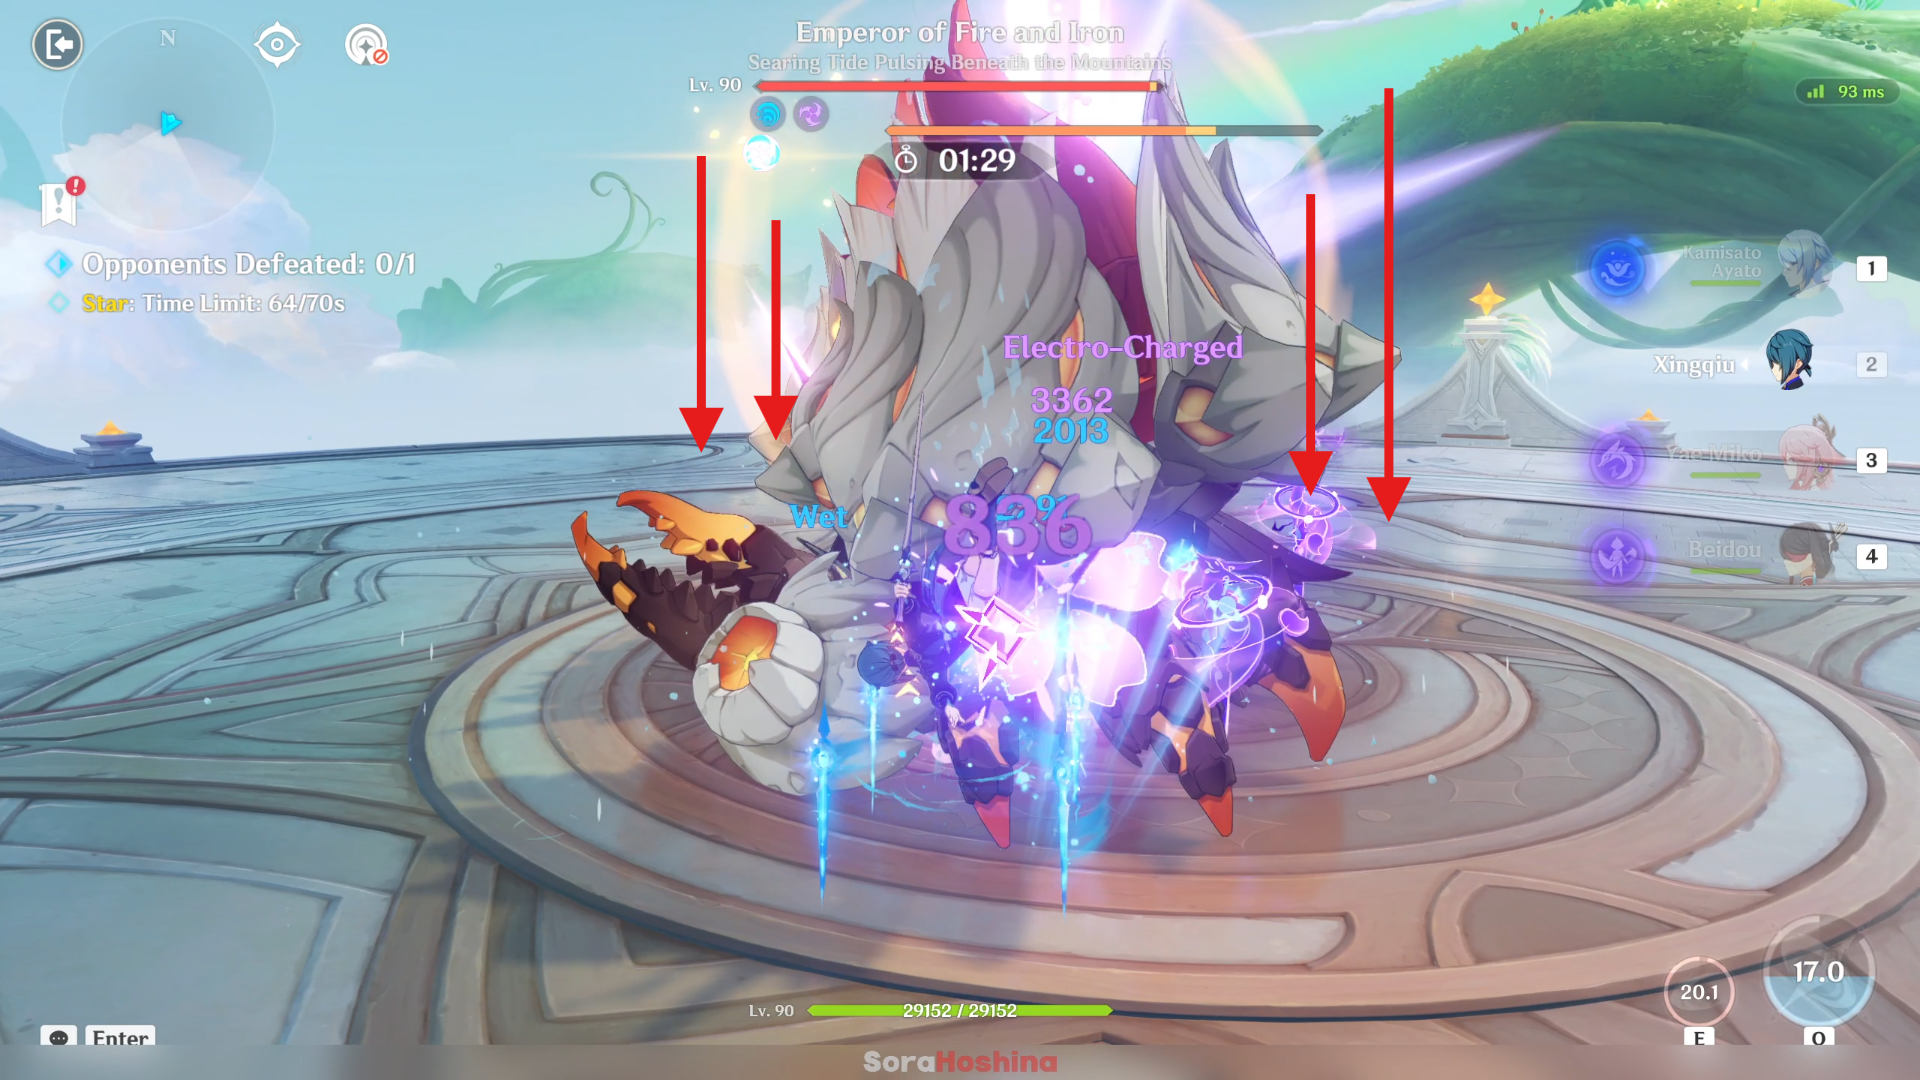
There are many of its attacks that will make it lower its body and you can reach its horn to deal damage, so you can just focus on its position and movement (Although I prefer to spam all my Hydro damage whenever possible).
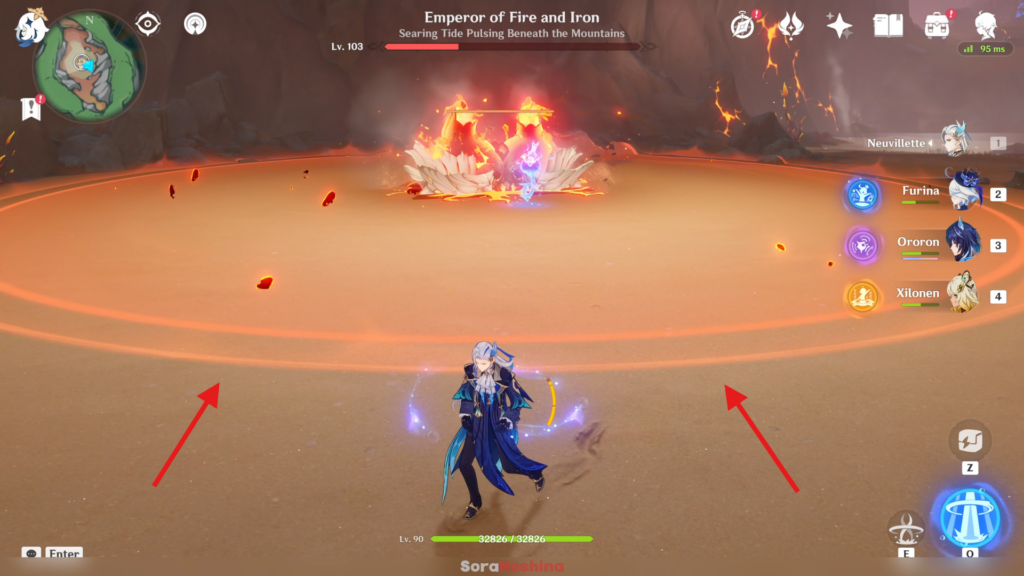
But one attack that you need to pay attention to is Searing Coronation where the Emperor will move to the center of the arena and half-buries itself to charge a massive explosion. You can see the AoE of the explosion of the ground by the red circle. If its Pyro shield is almost gone, focus on destroying the shield completely to cancel this attack (the horns/Pyro shield are exposed to melee attacks). But if you think you can't destroy the shield in time, get away from the AoE circle to avoid being caught up in the explosion.
Act 4 - 6 | Goldflame Qucusaur Tyrant
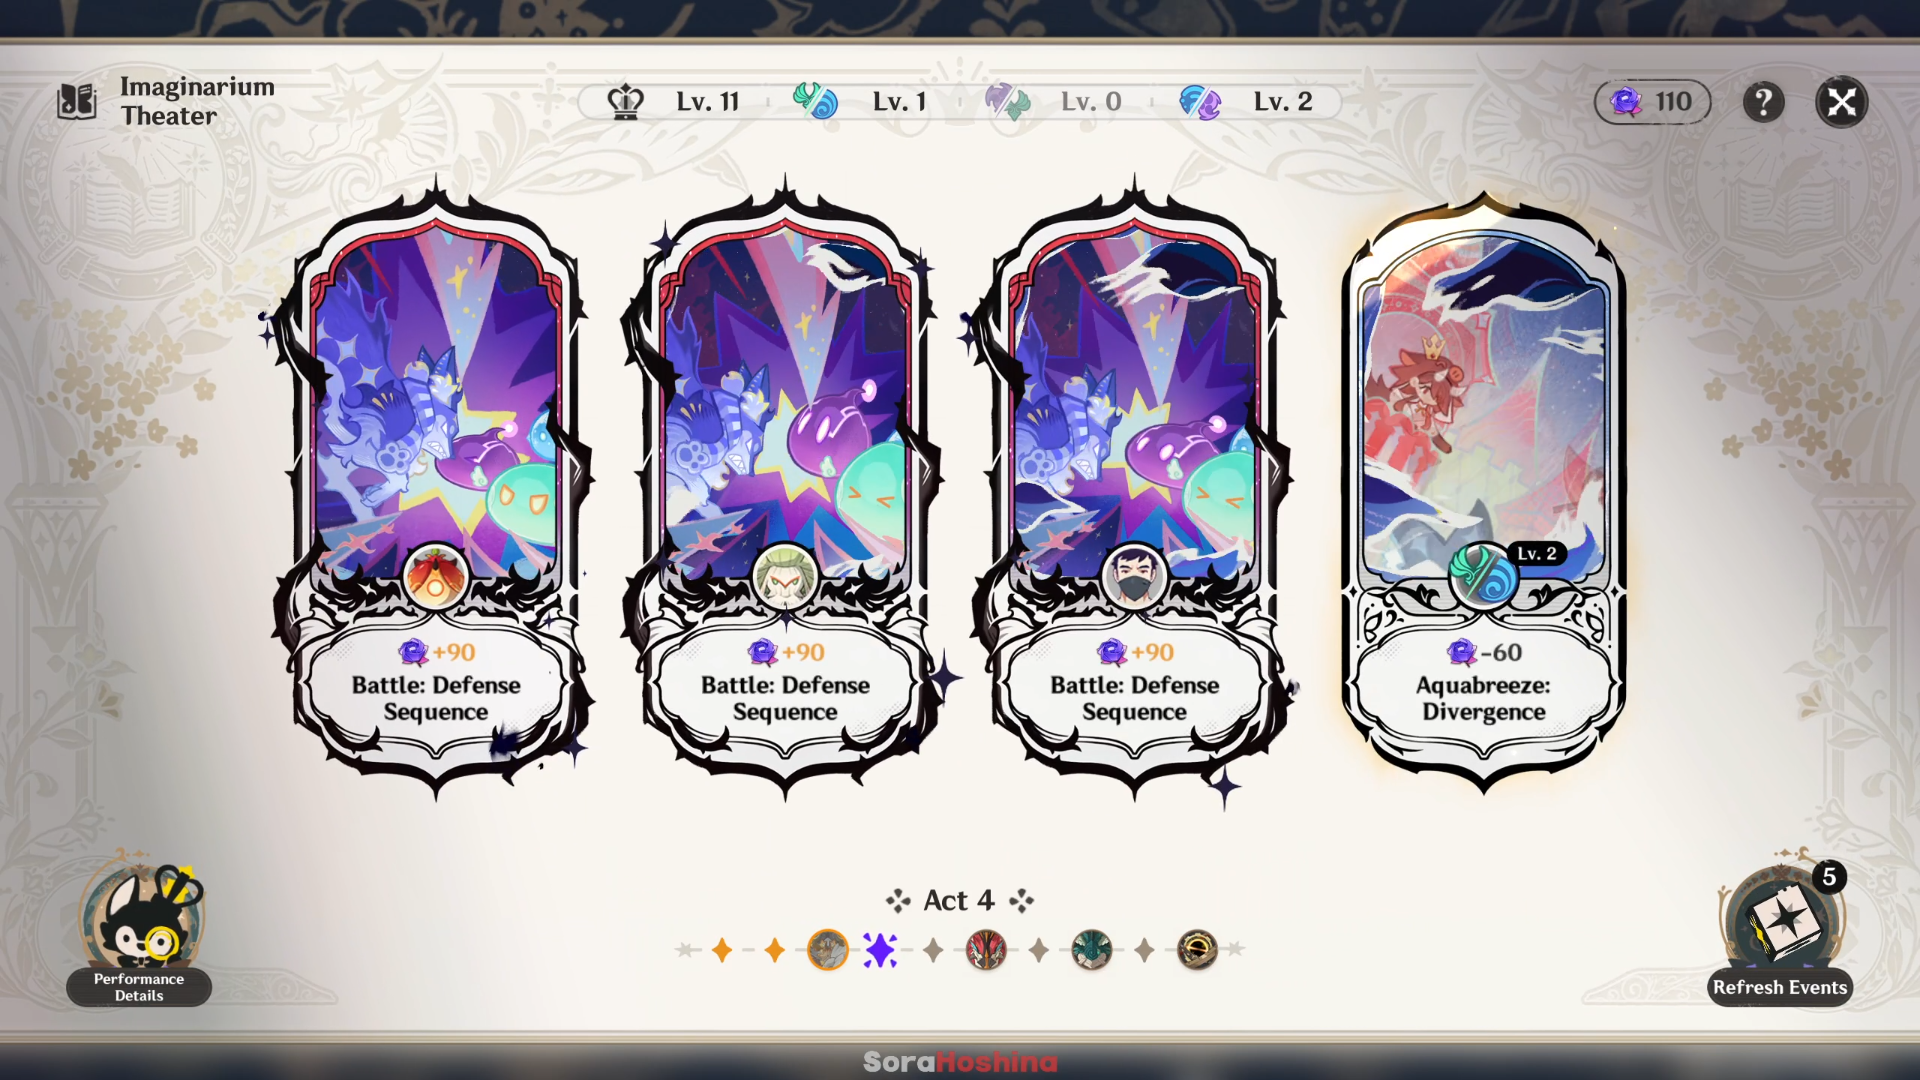
Now starting in Act 4 and Act 5, you need to think about who's the best character and team for boss battle in Act 6 (you'll be facing Goldflame Qucusaur Tyrant). Goldflame Qucusaur Tyrant also have a Pyro shield when it turns into the smaller state so Hydro character is still the best one for the boss, especially the long-ranged one or Furina.
You can also start upgrading other reactions if you see fit. If you have already completed leveling one reaction to the max, I recommend leveling others now.
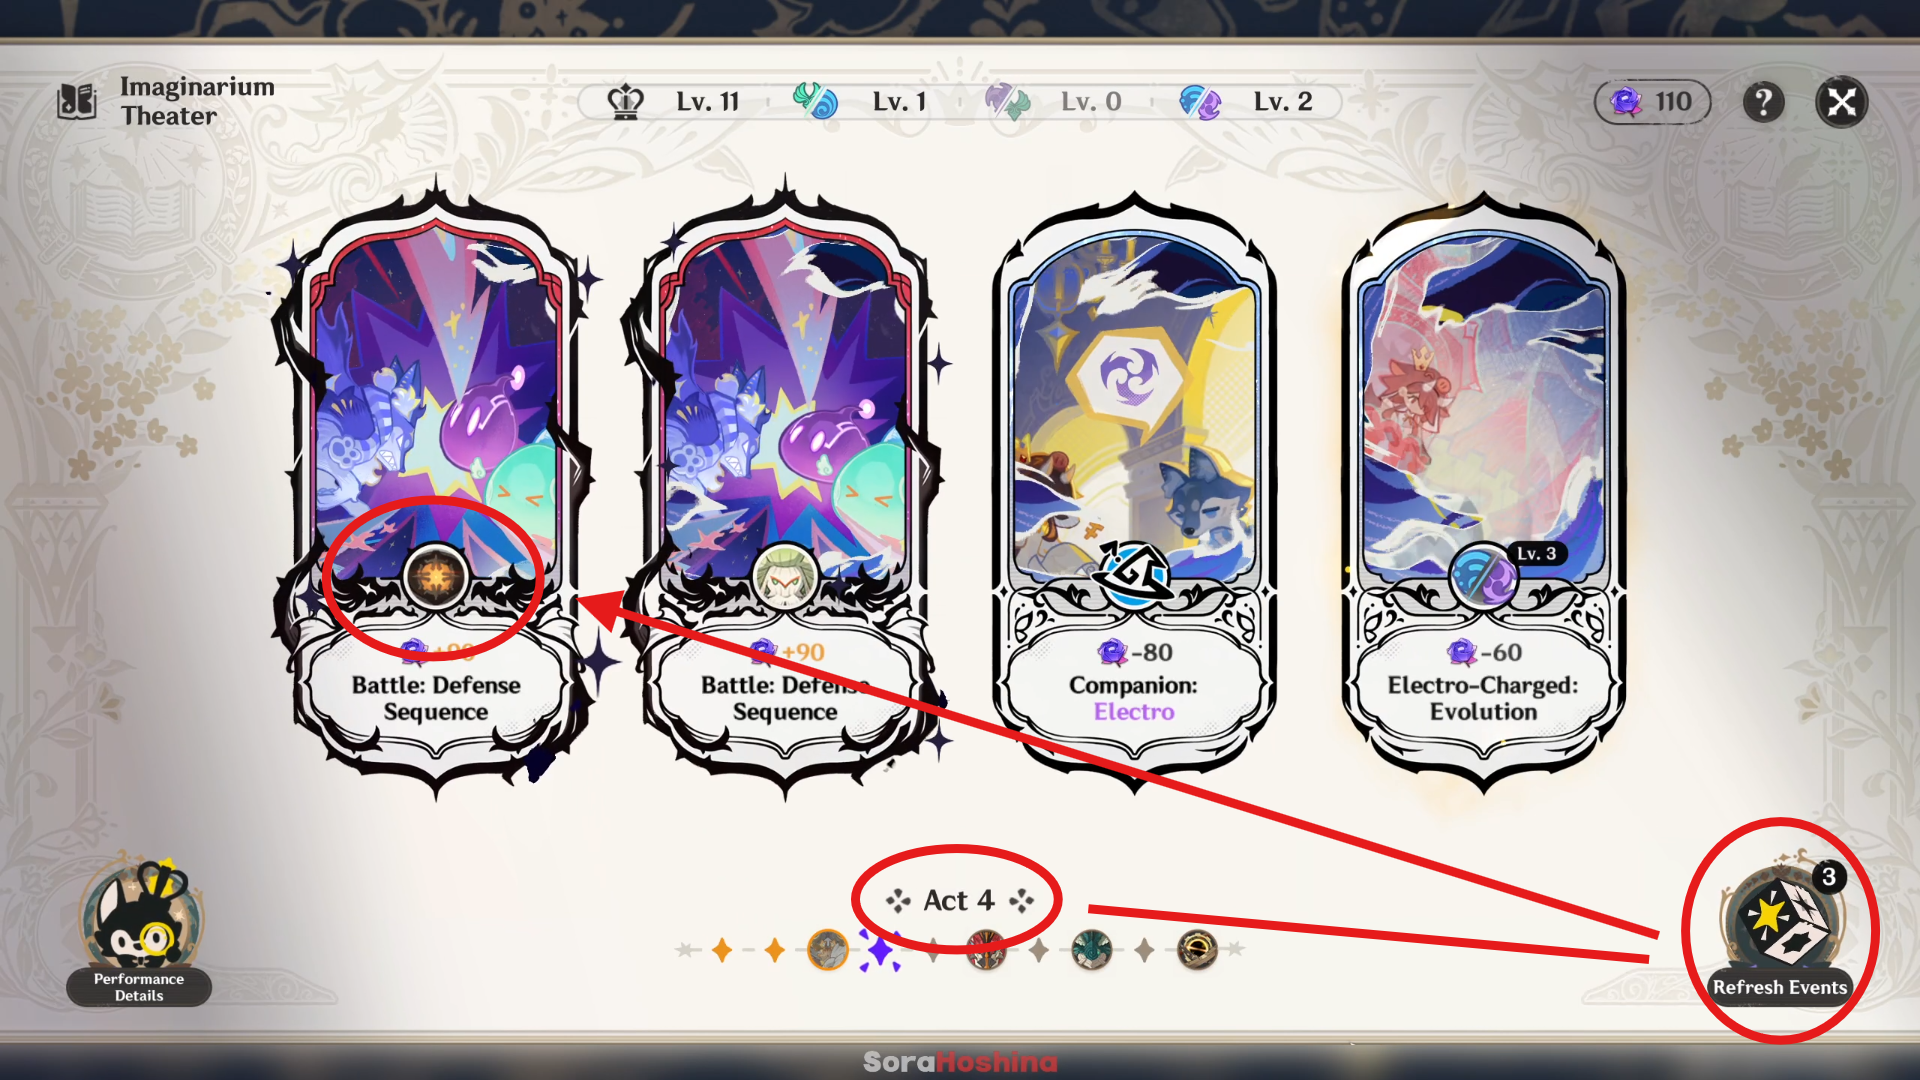
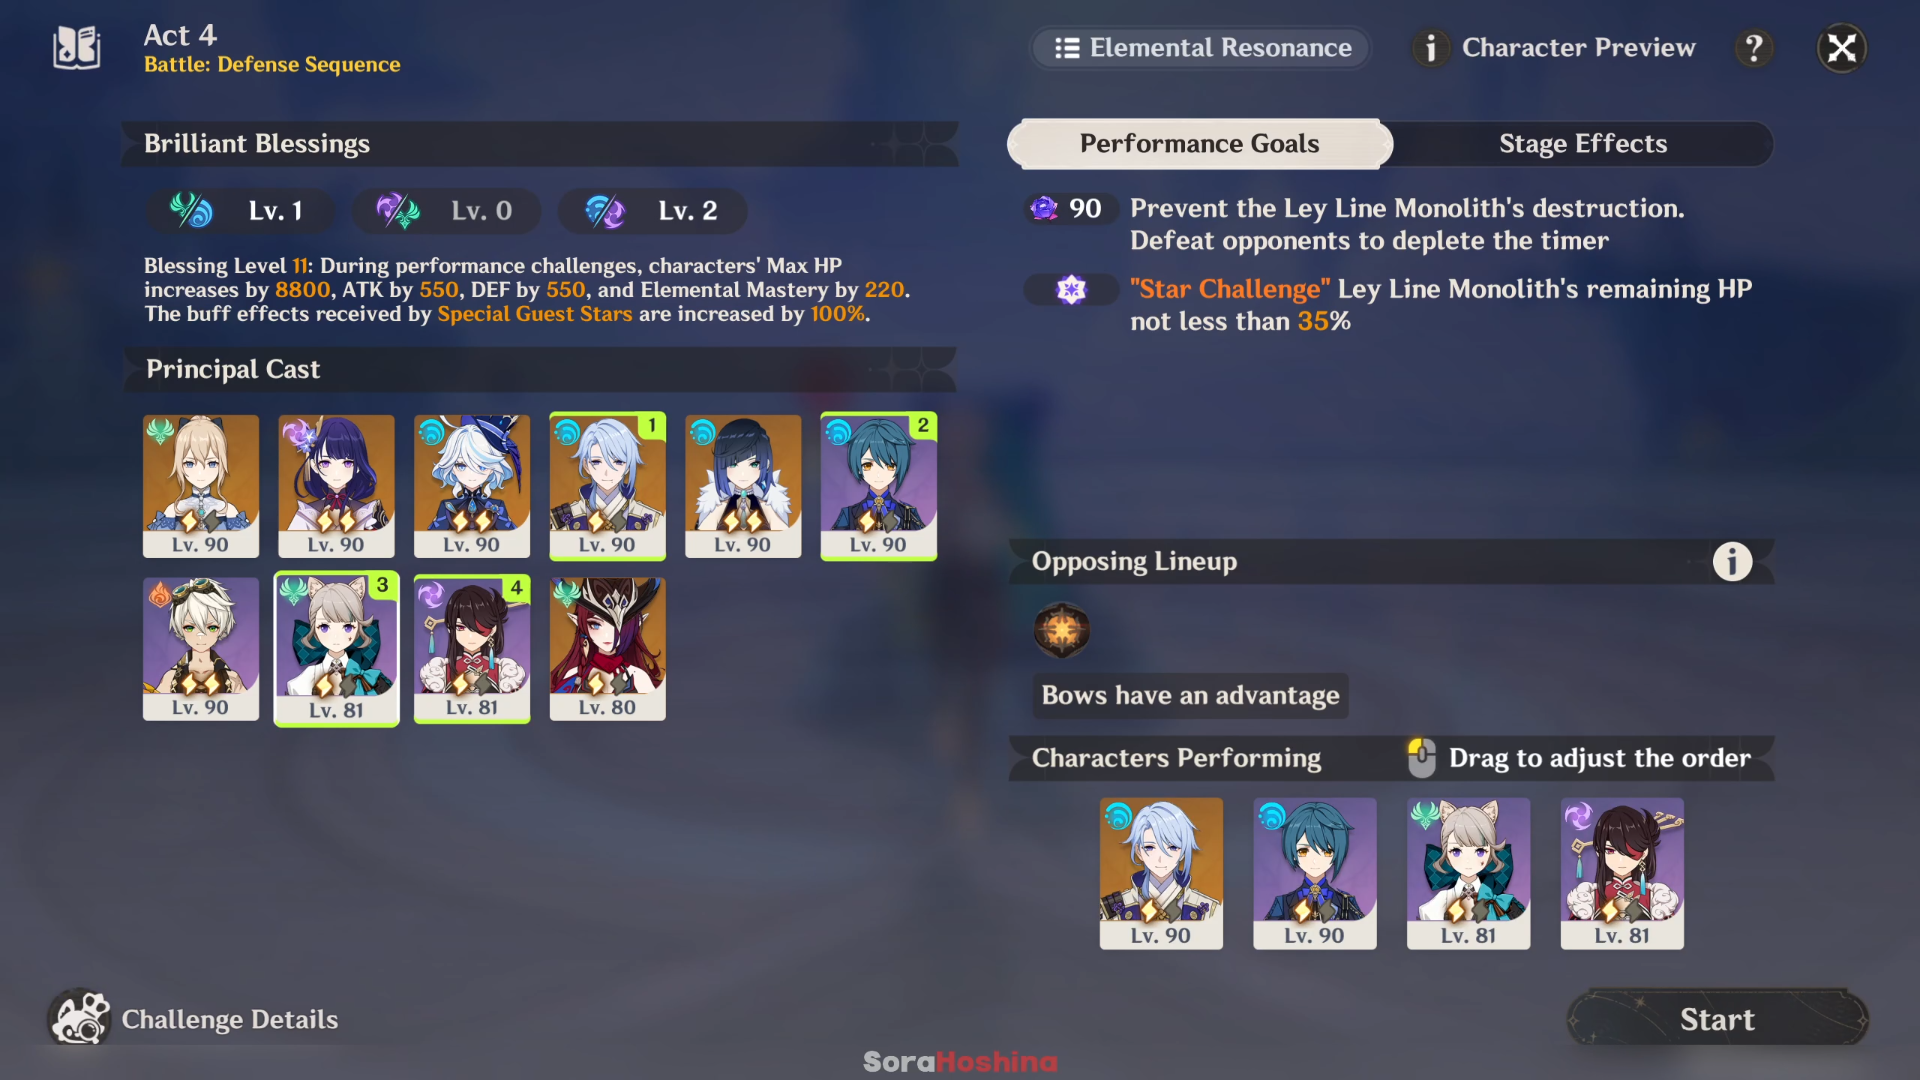
In Act 4, there is only a Monolith Defense battle like the one in Spiral Abyss. There is Anemo characters in this season so if you have Kazuha/Sucrose/Venti in the roster, gathering them in one spot is easy.
Remember how I remind you to save 'Refresh Event' until in Act 4? Now is the time to use it.
There is one easy Monolith Defense stage where the enemies are the Ruin Guards. In this stage, only one Ruin Guard will spawn at a time so if you don't have any Anemo CC, you can bring a single-target DPS to deal with the enemy. Try to refresh the Act a few times until you see Ruin Guard as the sole enemy in Act 4.
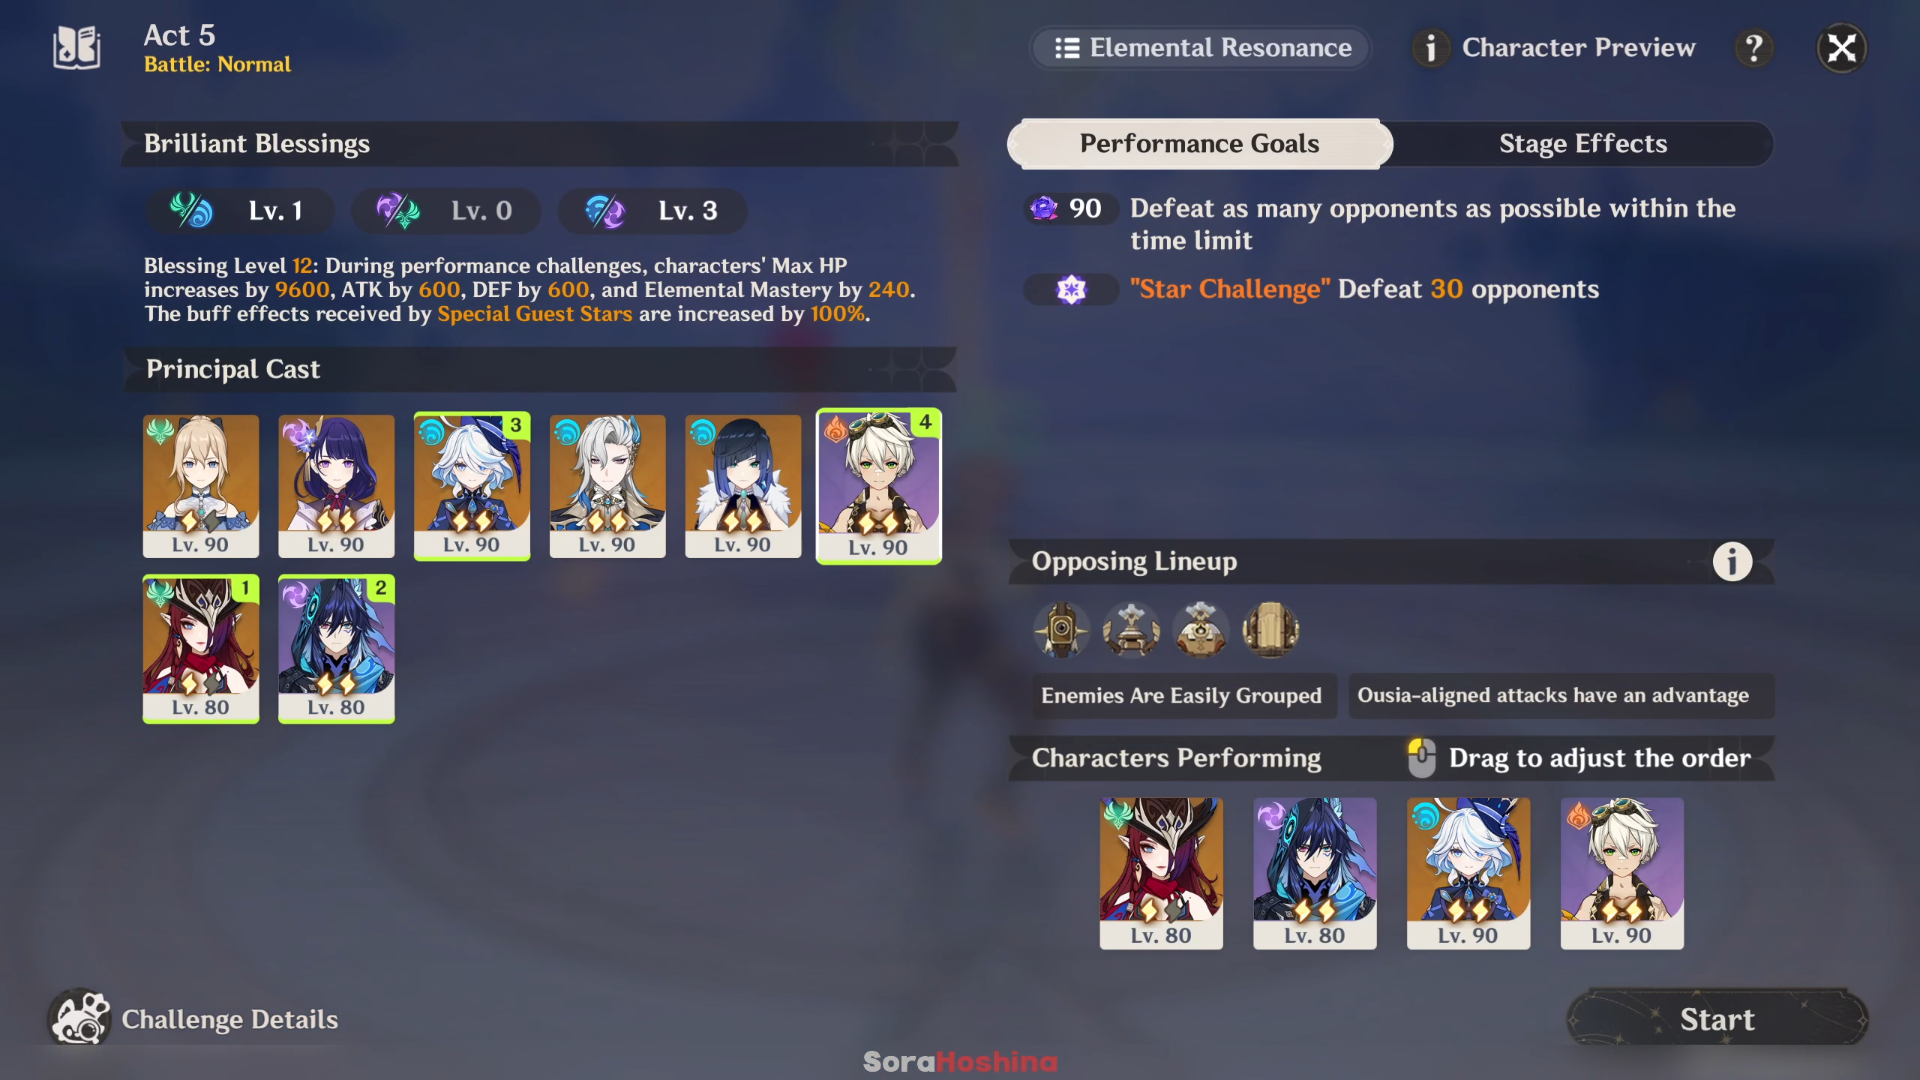
| 1 | Choose Companion event until you have that one Main DPS for boss battle Goldflame Qucusaur Tyrant. |
| 2 | If you already have the DPS you want, spend Fantasia Flowers for either more characters or upgrade other reactions you want. |
| 3 | Save the Main DPS and Support/Sub-DPS at least 1 Vigor for the boss battle in Act 6 |
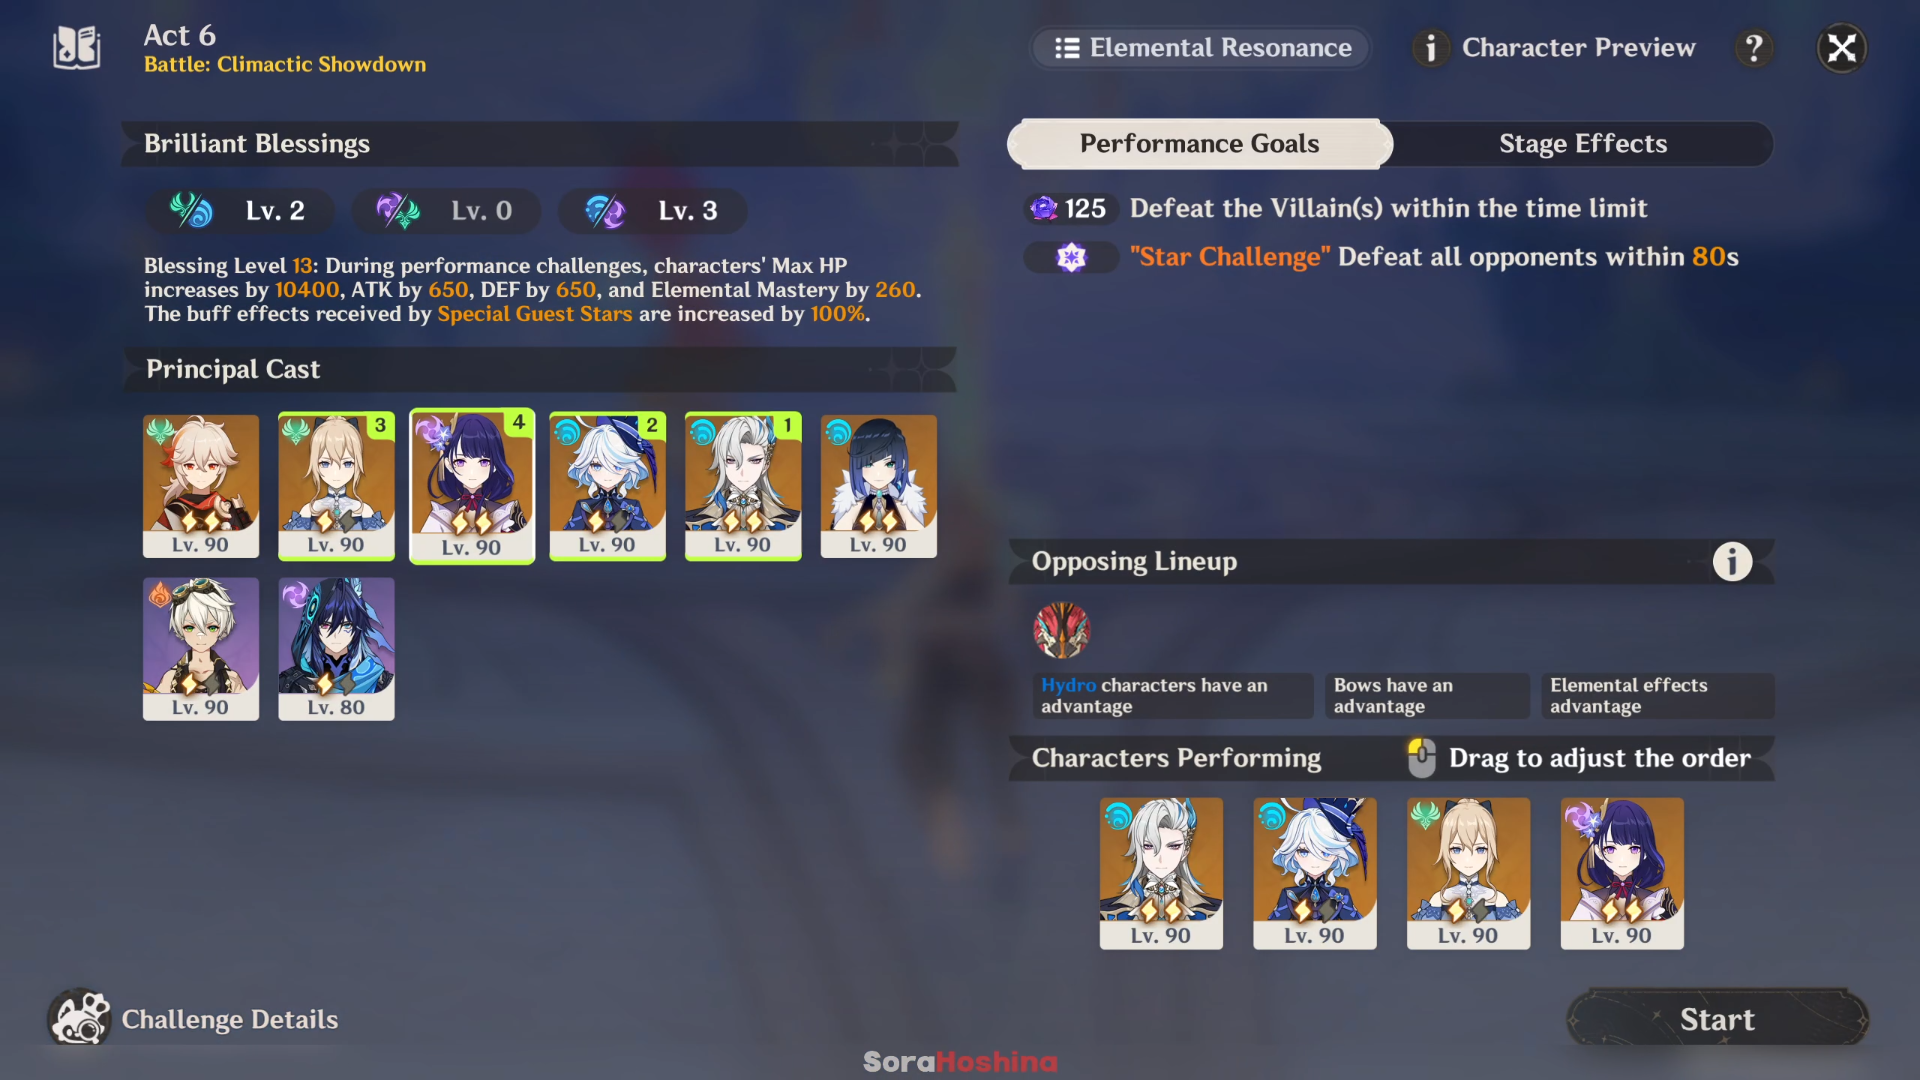
In Act 6 - the boss battle - you'll be facing the Goldflame Qucusaur Tyrant. It has 70% Pyro RES so if you bring Lyney (Special Guest), don't even think of using him because his output will be suppressed by the Pyro RES.
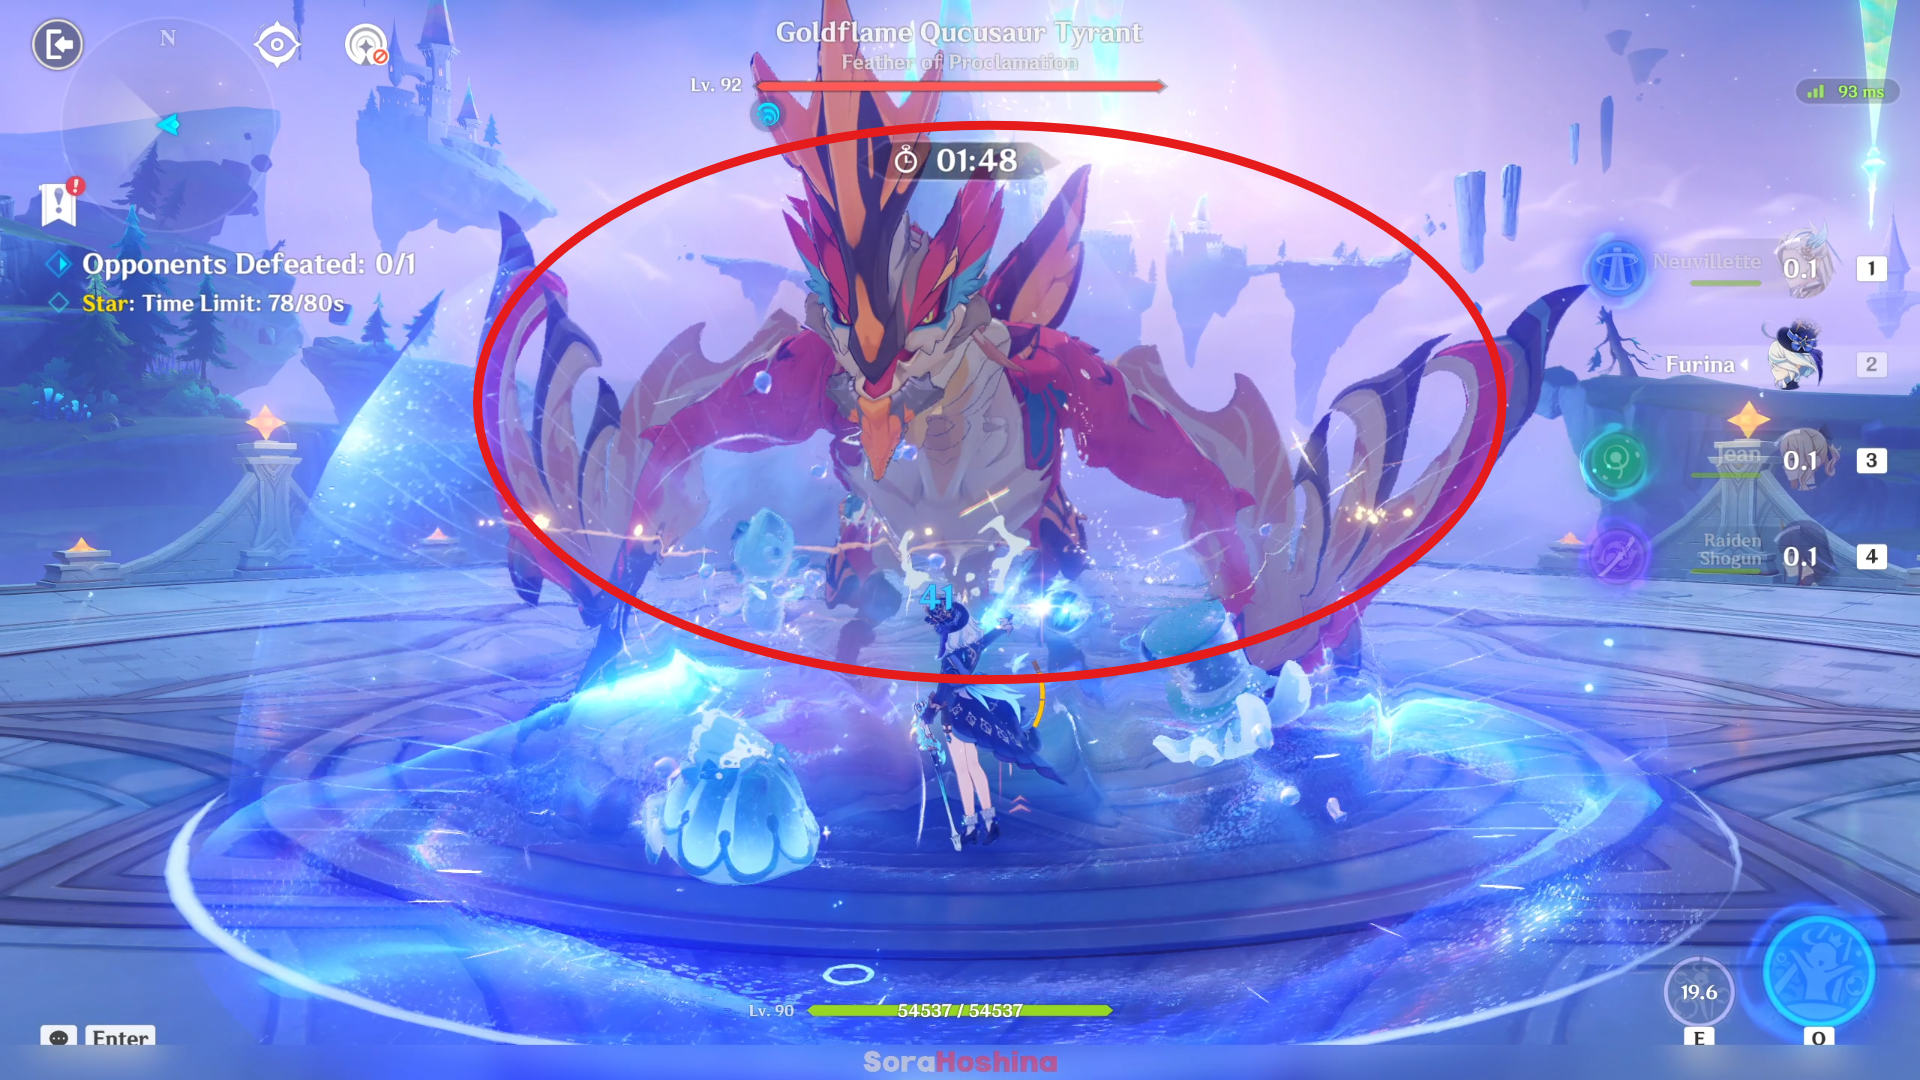
This boss has 2 forms, the normal (big) one and the small one. When you first start the challenge, it will start with the regular big bird form. In this form, it will deal melee attacks and if you're too far away, it will charge at you while also dealing damage.
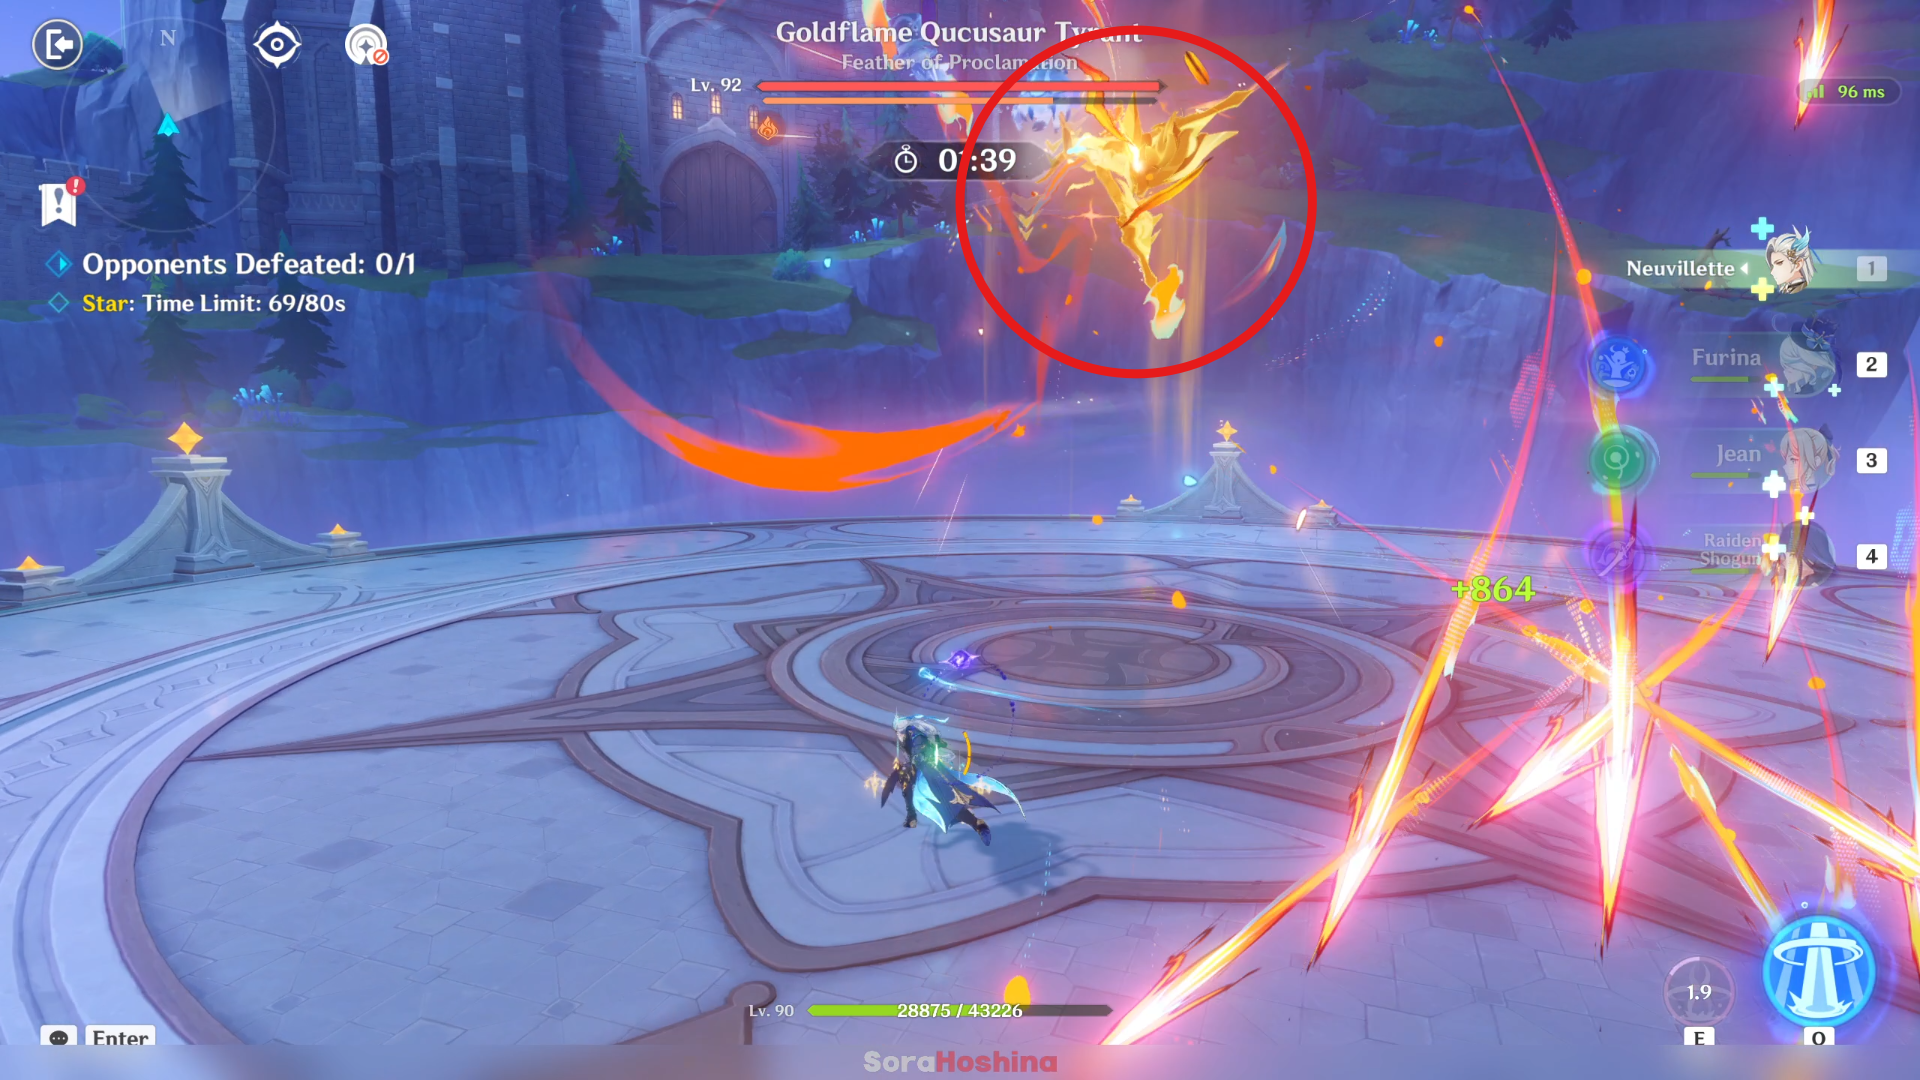
Then after some time, it will enter the smaller form, officially called the Golden Flame form, where it gains a (1) Pyro shield, (2) immunity to all damage, and (3) cannot be hit by melee attacks because it will always fly in high altitude!
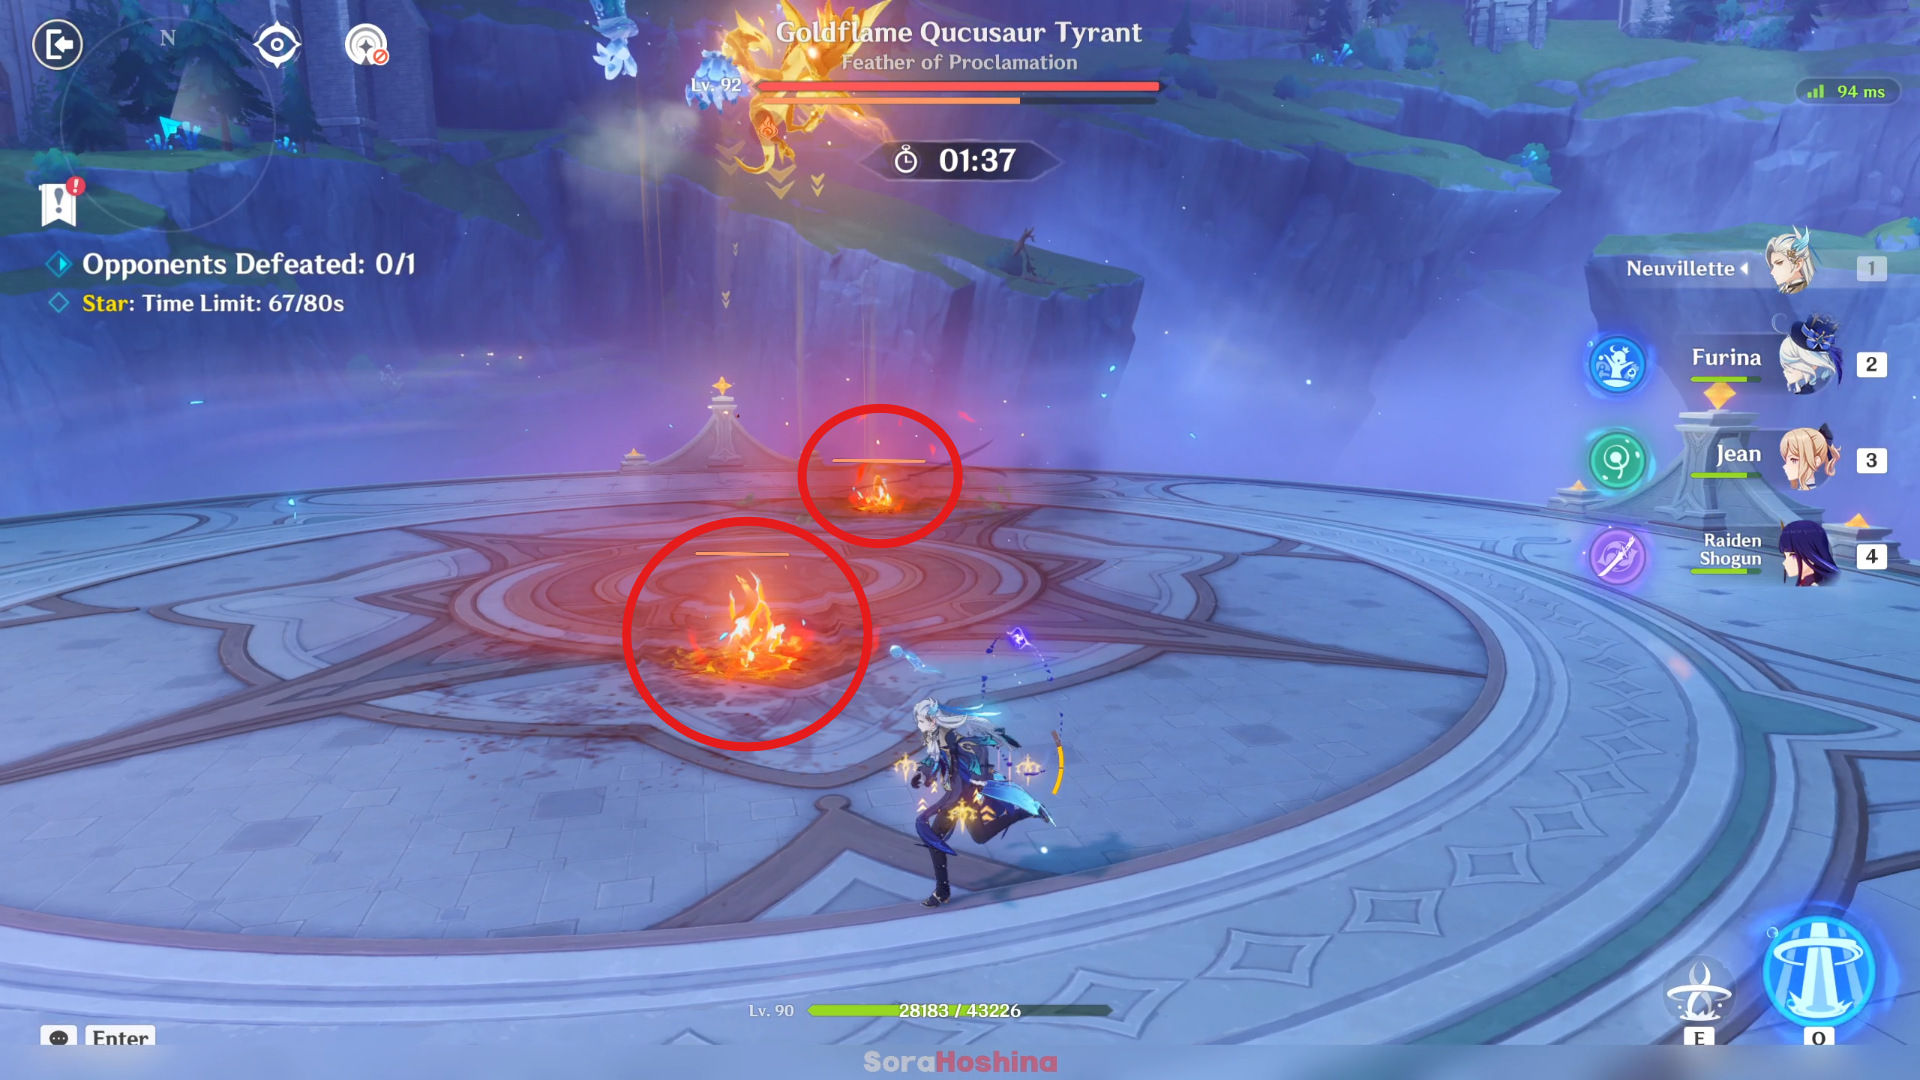
The Golden Flame form will last for 45 seconds and you need to destroy that shield ASAP if you want full stars. There are methods to remove that shield and that is:
(1) Destroy the Flamewind Feather it throws at you by using elements that react with Pyro (Hydro is the best > followed by Electro > Cryo/Anemo/Geo takes a long time but still works, you don't have these characters anyway)
(2) Use long-range Hydro attack (Hydro bow) to attack the Pyro shield it has when flying
(3) Cheat using Furina's Salon Members as they will easily remove the Pyro shield even when the boss is flying at high altitude
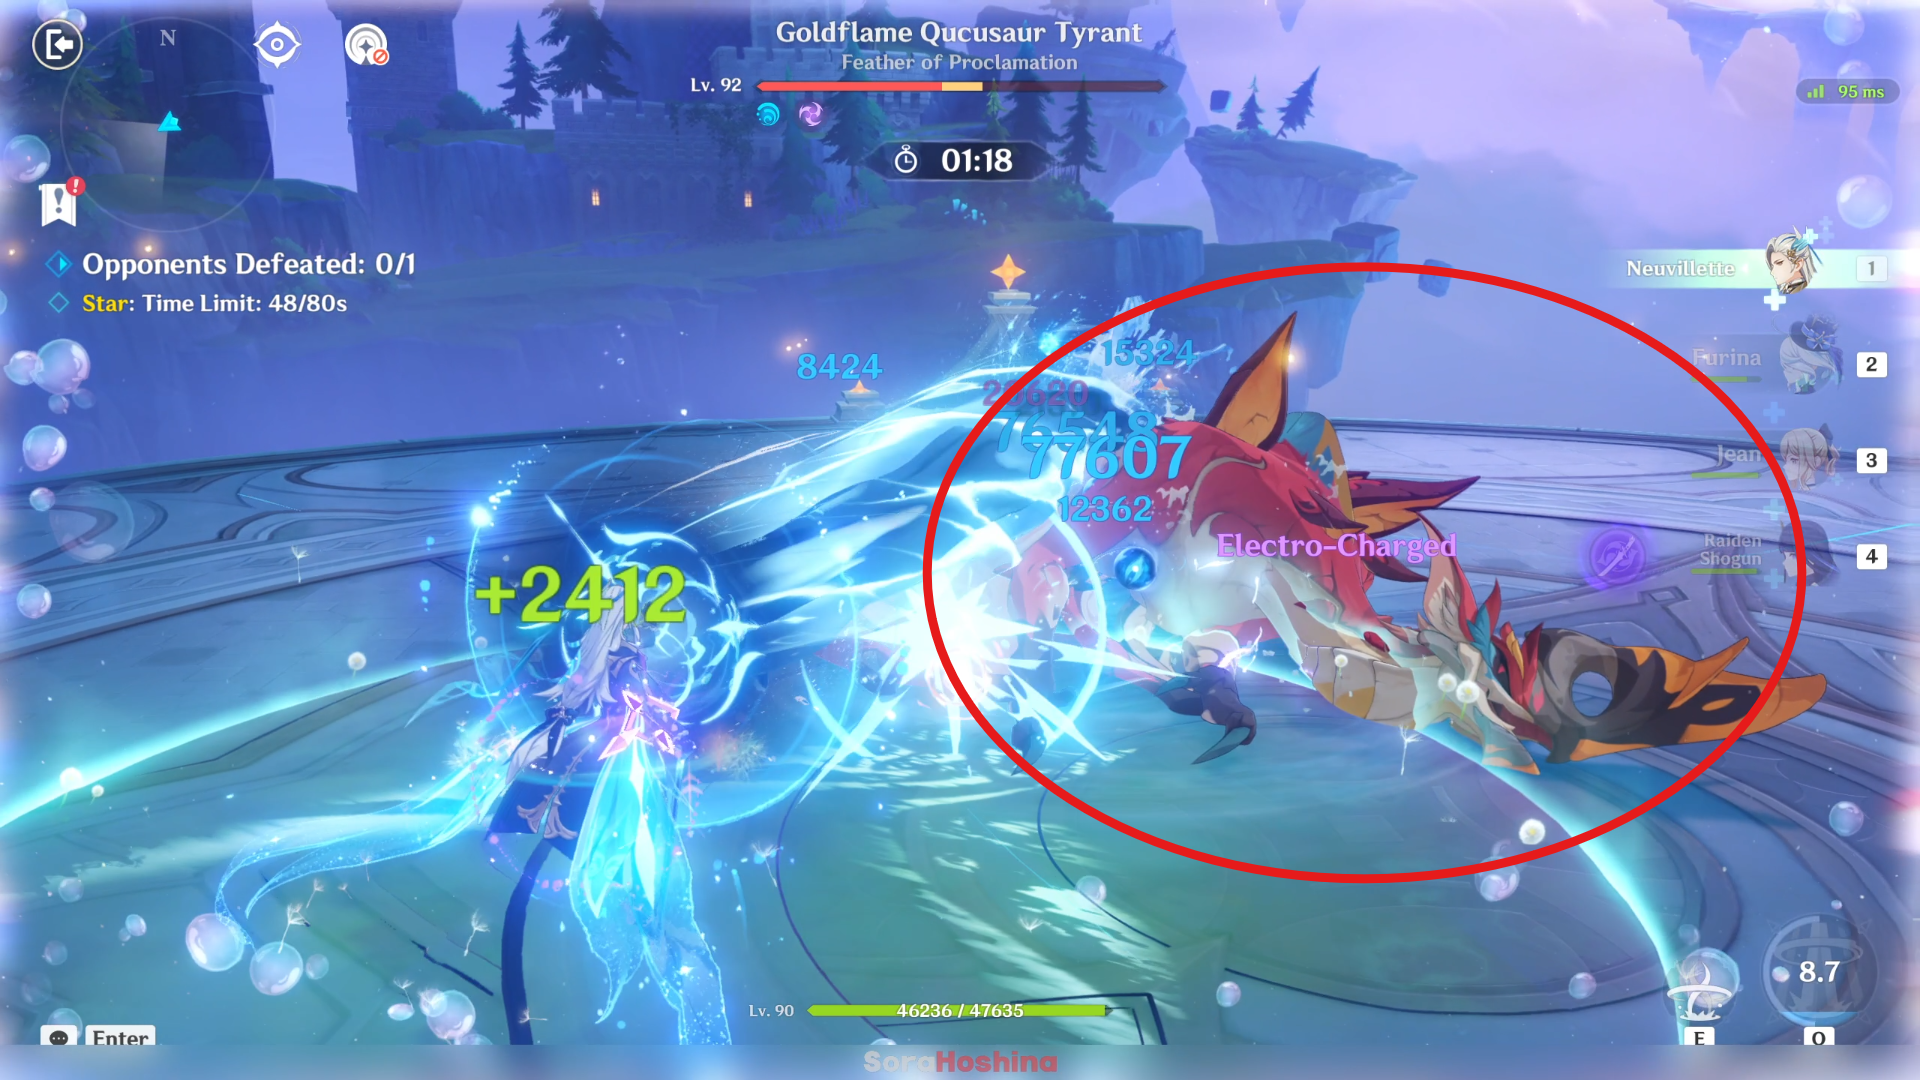
When the boss is forcefully pulled out from the Golden Flame state (by destroying its Pyro shield), it will return to its normal form and lay on the floor paralyzed for a few seconds. That's the best time to unleash all your Skills and Bursts before it can get back up.
Act 7 - 8 | Setekh Wenut
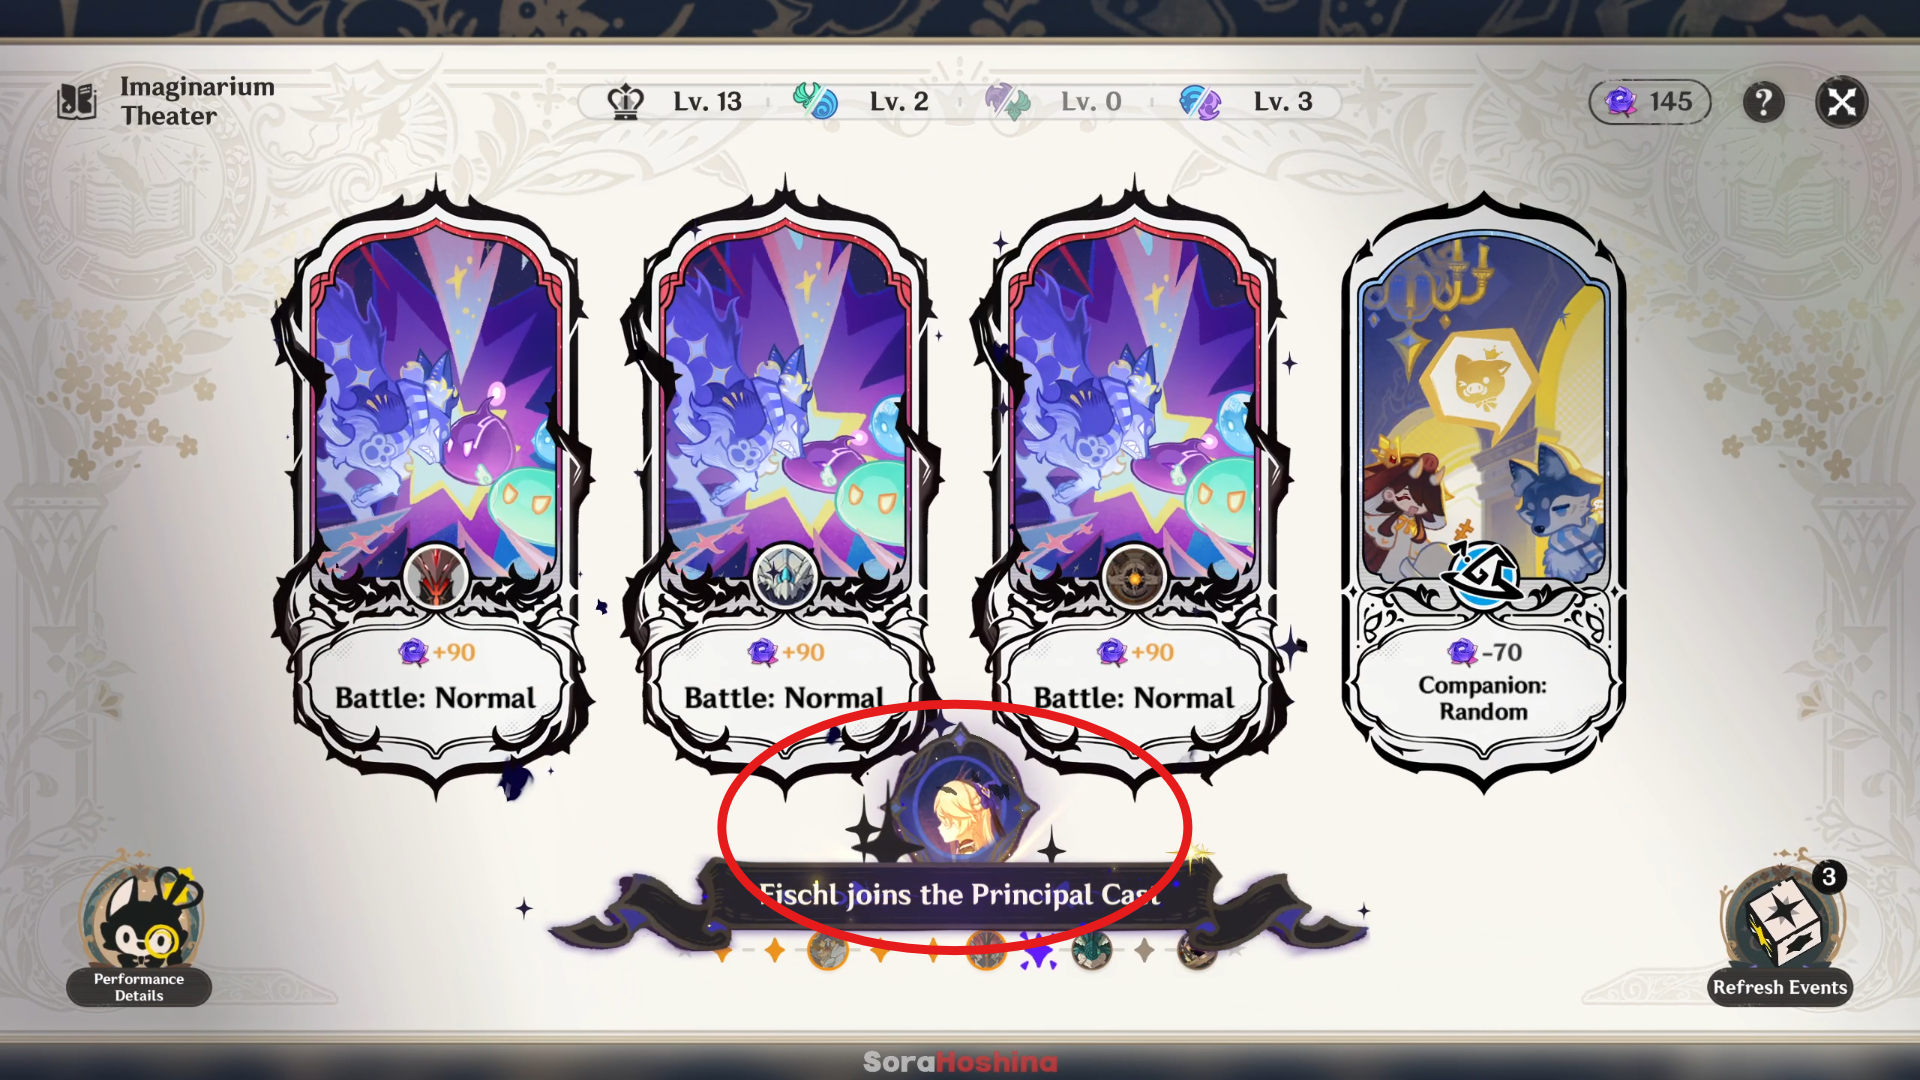
In Act 7, get your team ready for Act 8 - the Setekh Wenut. For this boss, it's best if you have Raiden Shogun or long-ranged attack so they can shoot the Windbite Bullets when it's charging for Ultimate. So, look for the Companion event, and you can also try for the Mystery Caches event to get some of your previous characters (with 0 Vigor) back.
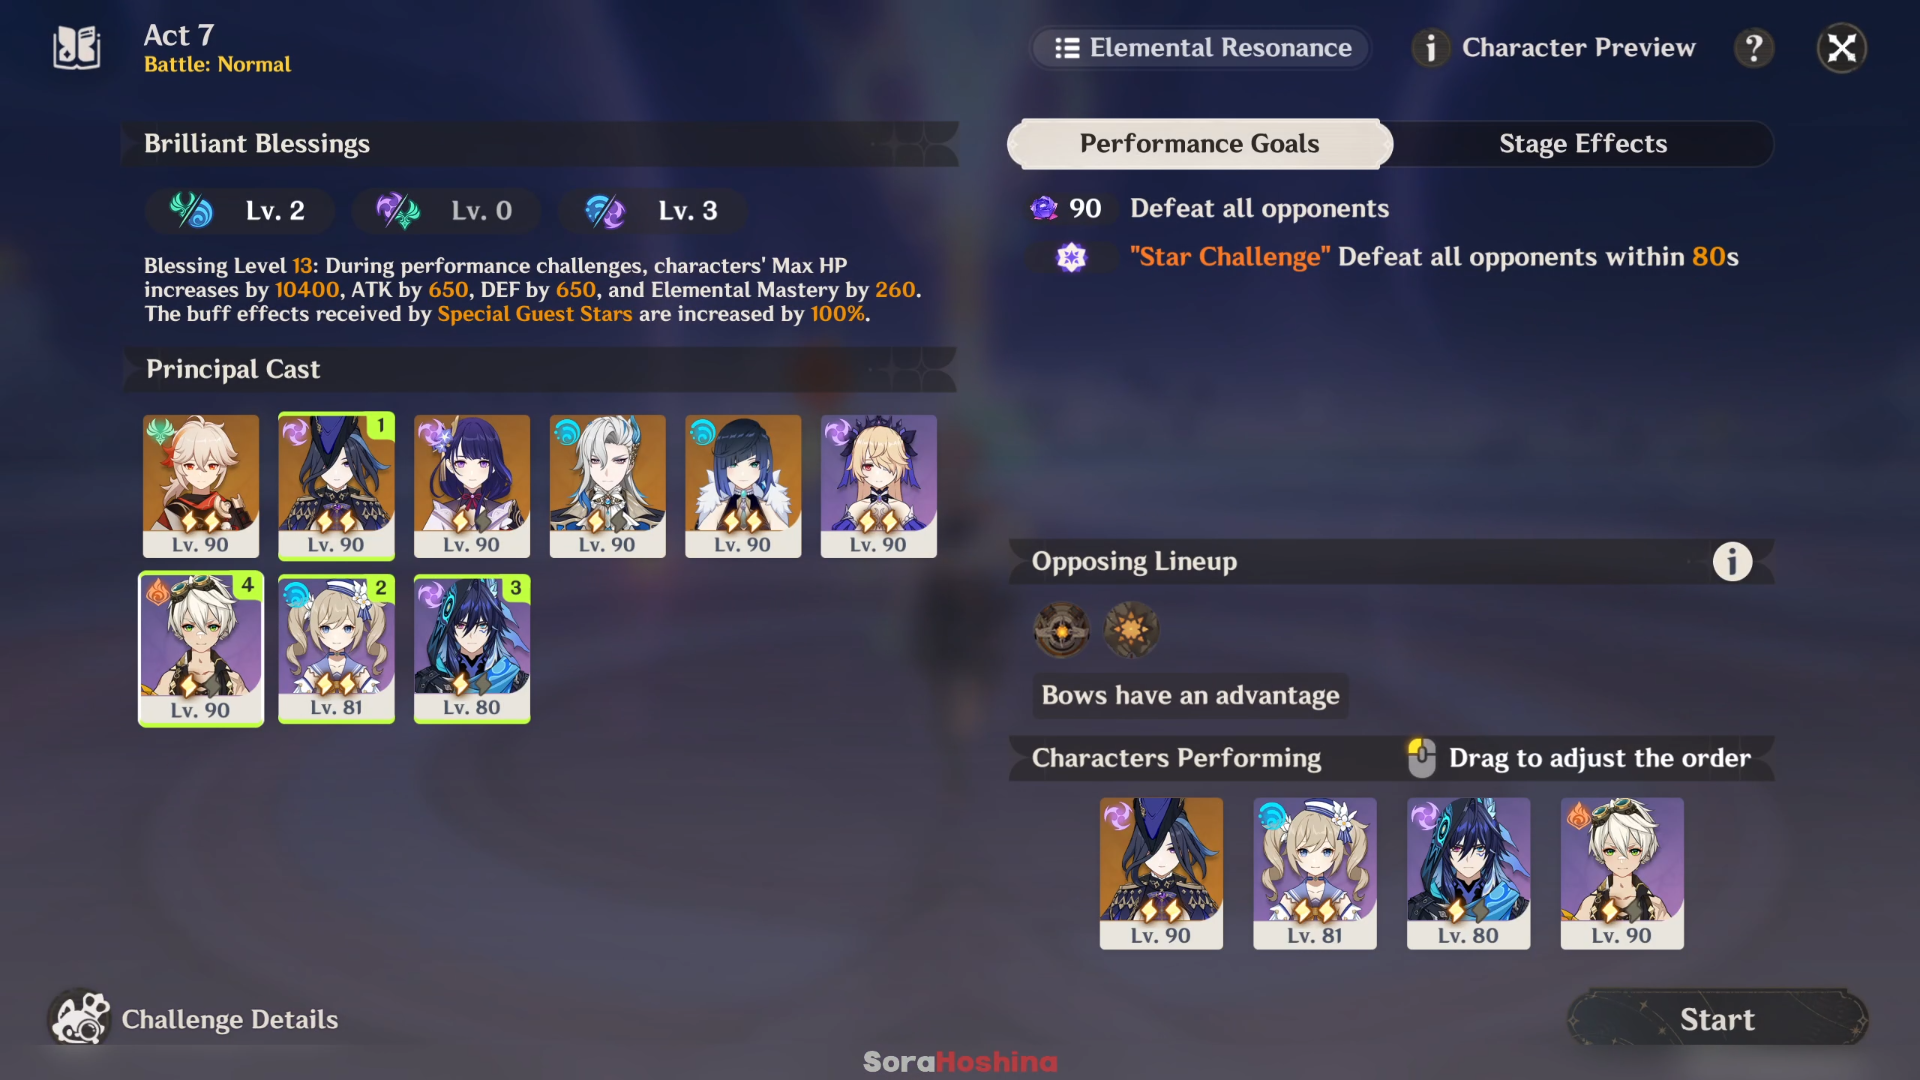
For the battle (Act 7) itself, it's a normal combat battle and there's no special mechanic so just choose any Battle you deem is best for your current roster.
| 1 | Select Companion event to get character for Setekh Wenut enemy. |
| 2 | Upgrade any reaction you want since any of them is okay with Setekh Wenut. |
| 3 | Save the Main DPS and Support/Sub-DPS at least 1 Vigor for the boss battle in Act 8. |
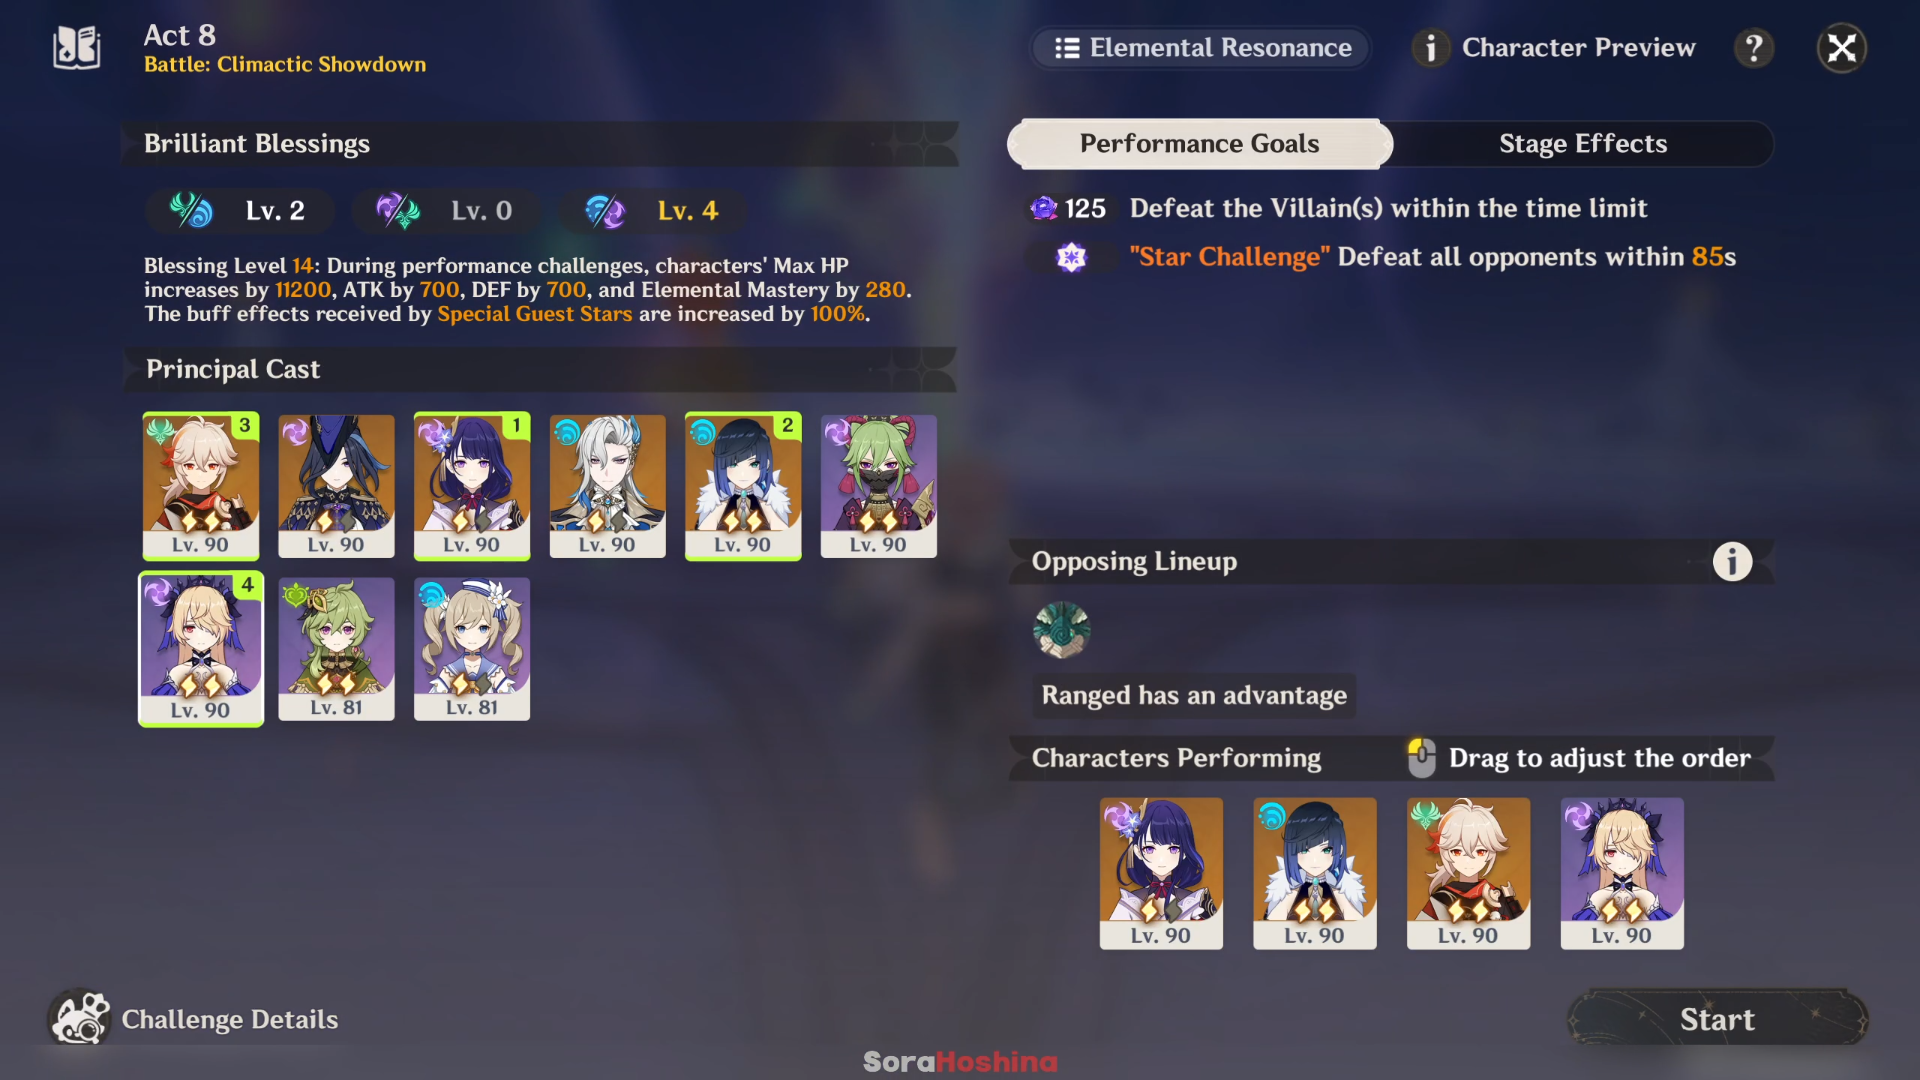
Setekh Wenut's movement is quite predictable. But keep in mind that there is one RNG involved so sometimes it may start with a different movement set. In short, Setekh Wenut will make 4 Normal Attacks > Windbite Bullet (Ultimate) > Repeat.
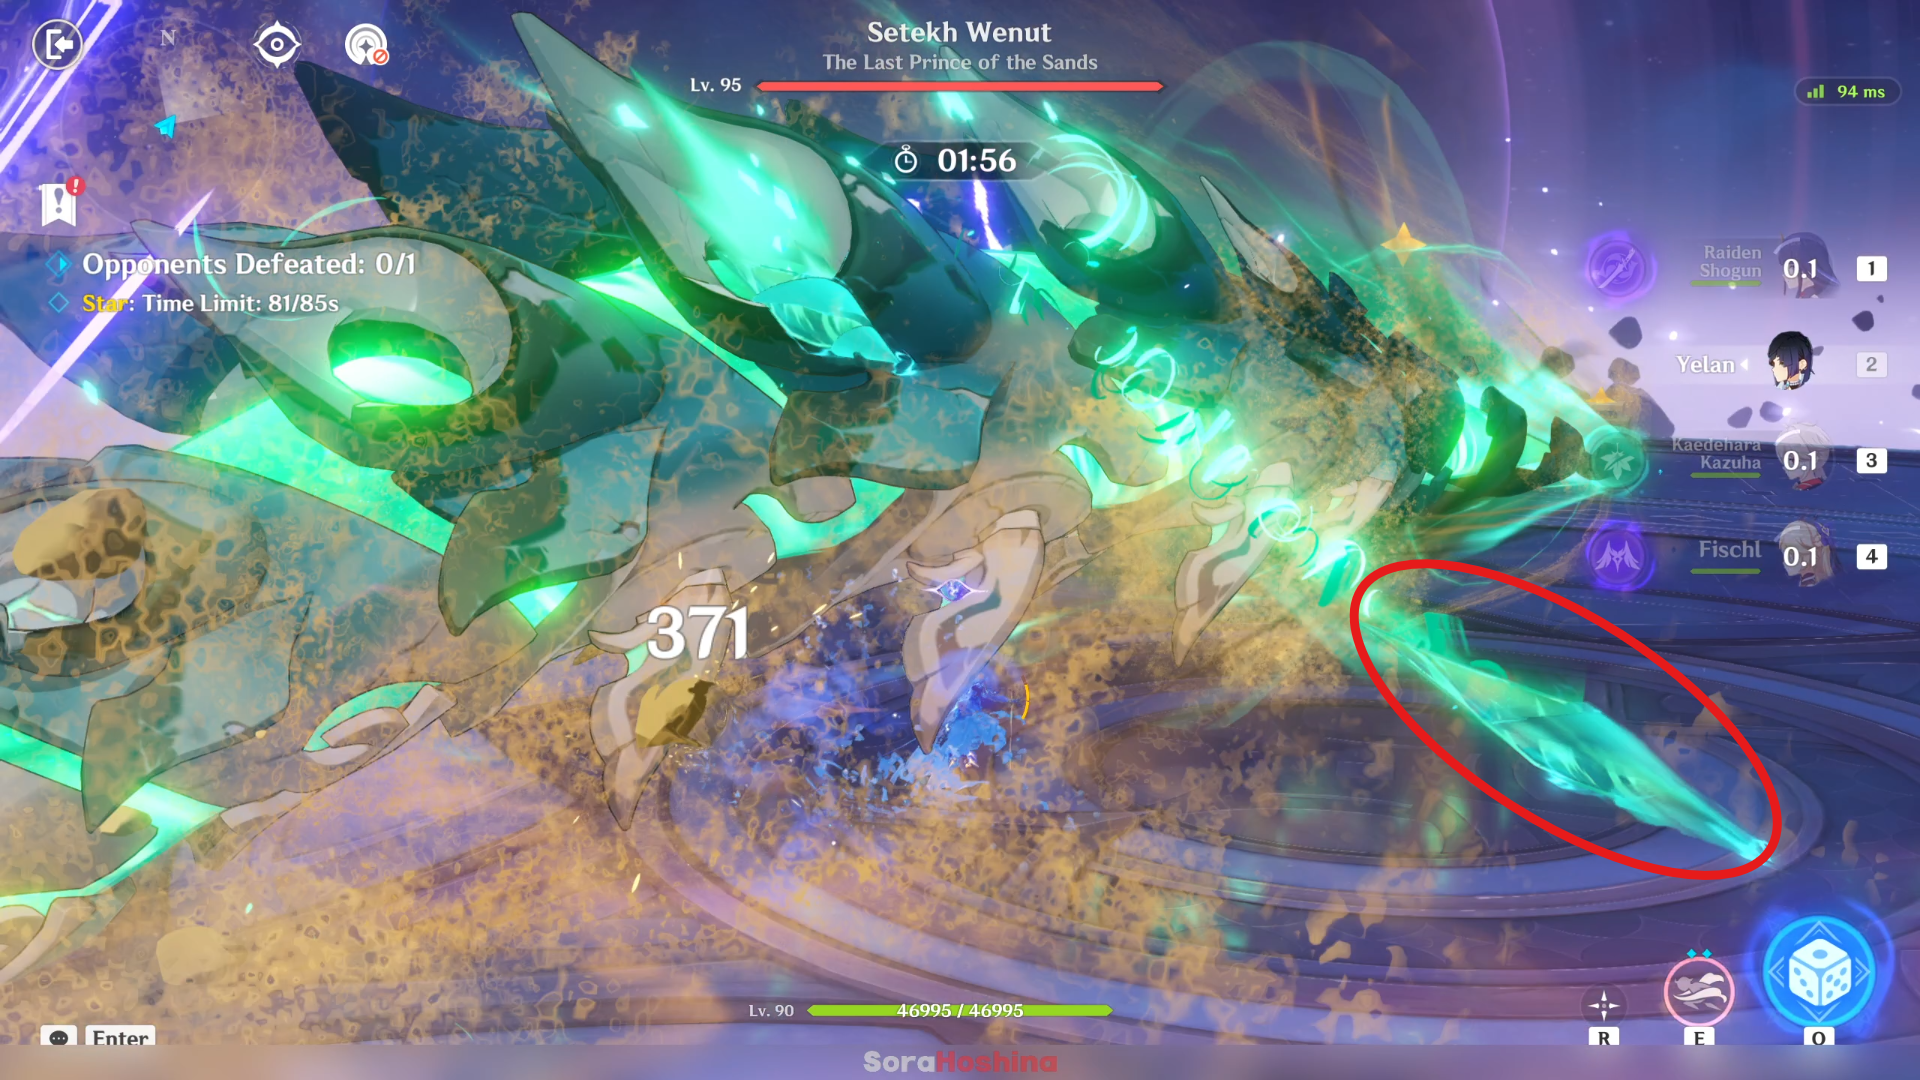
1st Attack - Thrust / Stream of Gales
There are 2 options for its first attack, either Thrust or Stream of Gales (not official names), definitely in the middle of the arena.
Stream of Gales: It will emerge from underground, releasing various Anemo drill-like bullets from its body. This attack is quite fast and the window time to attack it is really small, so definitely save your Burst rather than using it.
Thrust: Surprise thrust attack where it suddenly emerges from below. This is where the RNG I mentioned before came in. In other words, there are 2 options for Wenut's first attacks: either (1) the Anemo drill-like bullets or (2) the thrust attack from underground.
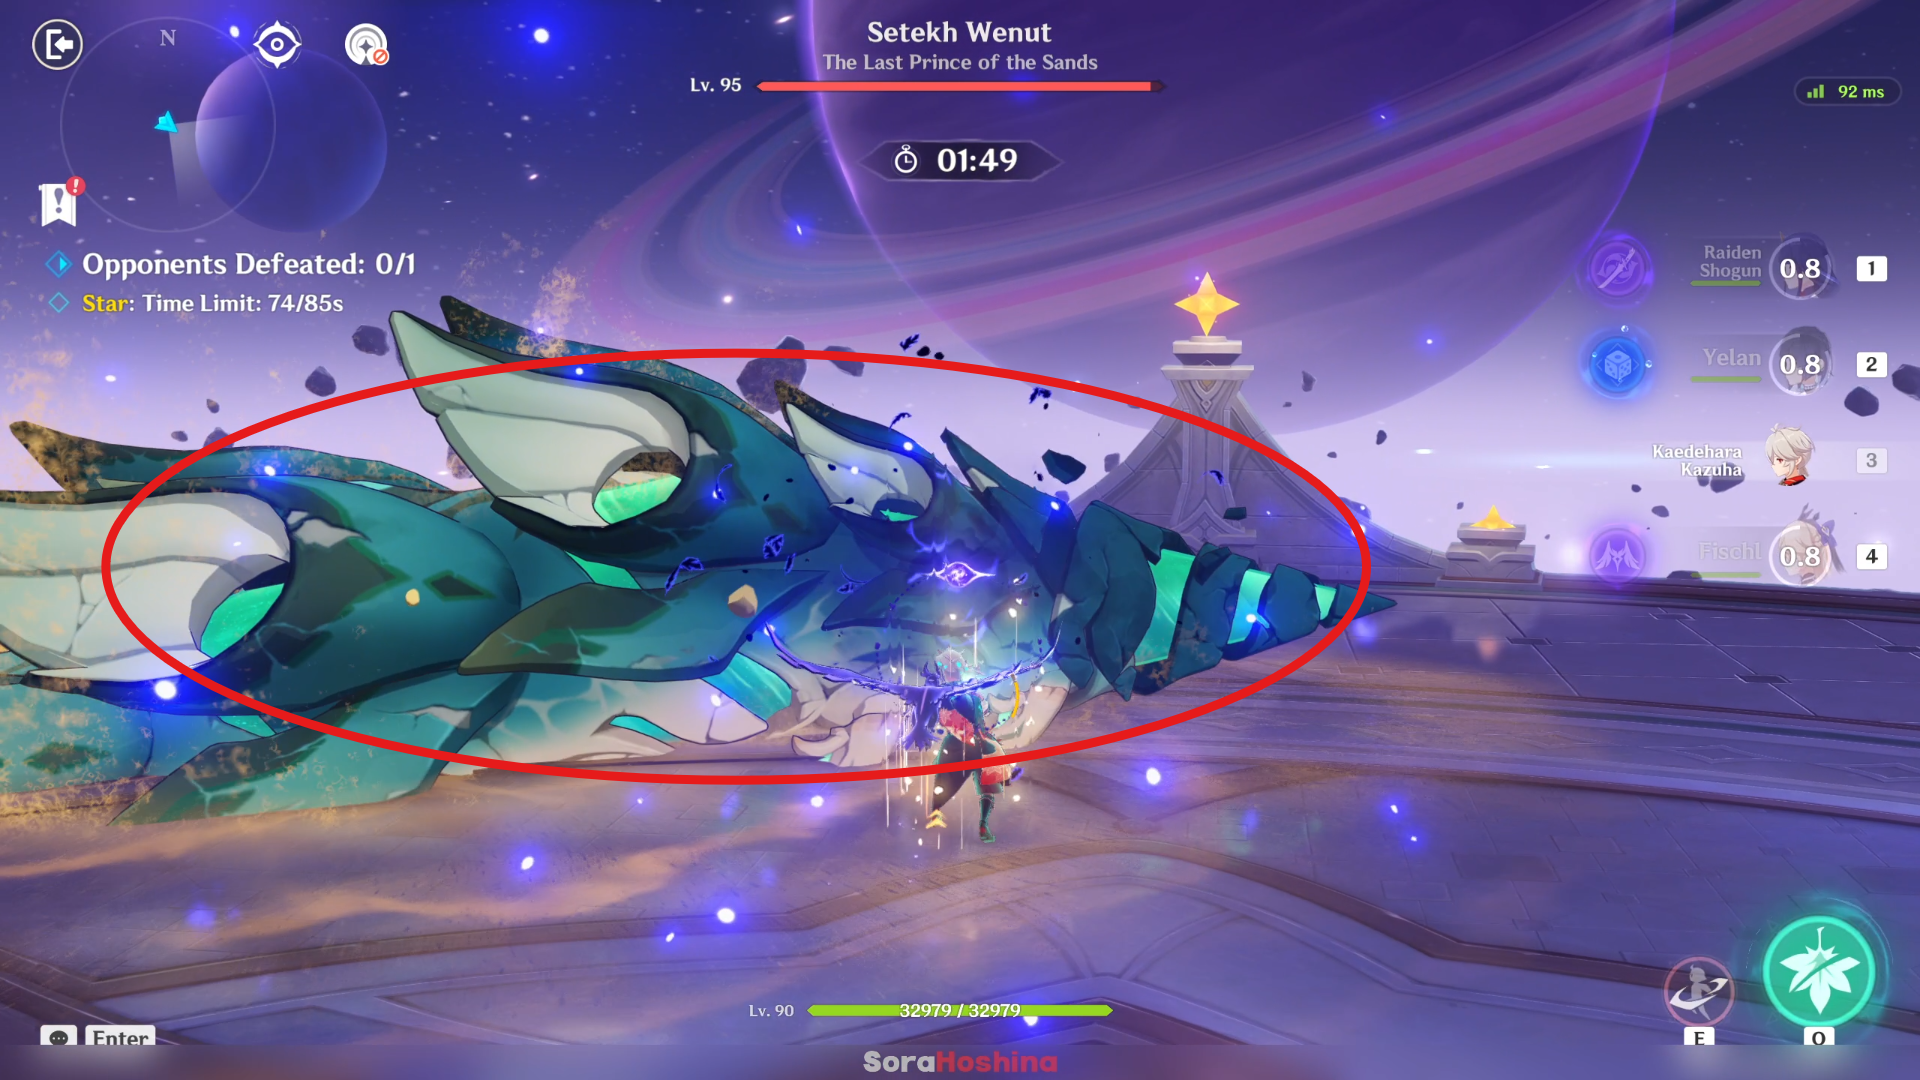
2nd Attack - Dig
For the second movement, it won't attack but still emerges its body from the floor, usually at the back area. The best way to utilize this is to leave behind an elemental item (like Miko's totem, Fischl's Oz, etc) during the first move so when Wenut emerges for the second time, you can immediately create elemental reactions. There is no optional attack as Wenut will definitely won't attack you for its second movement set.
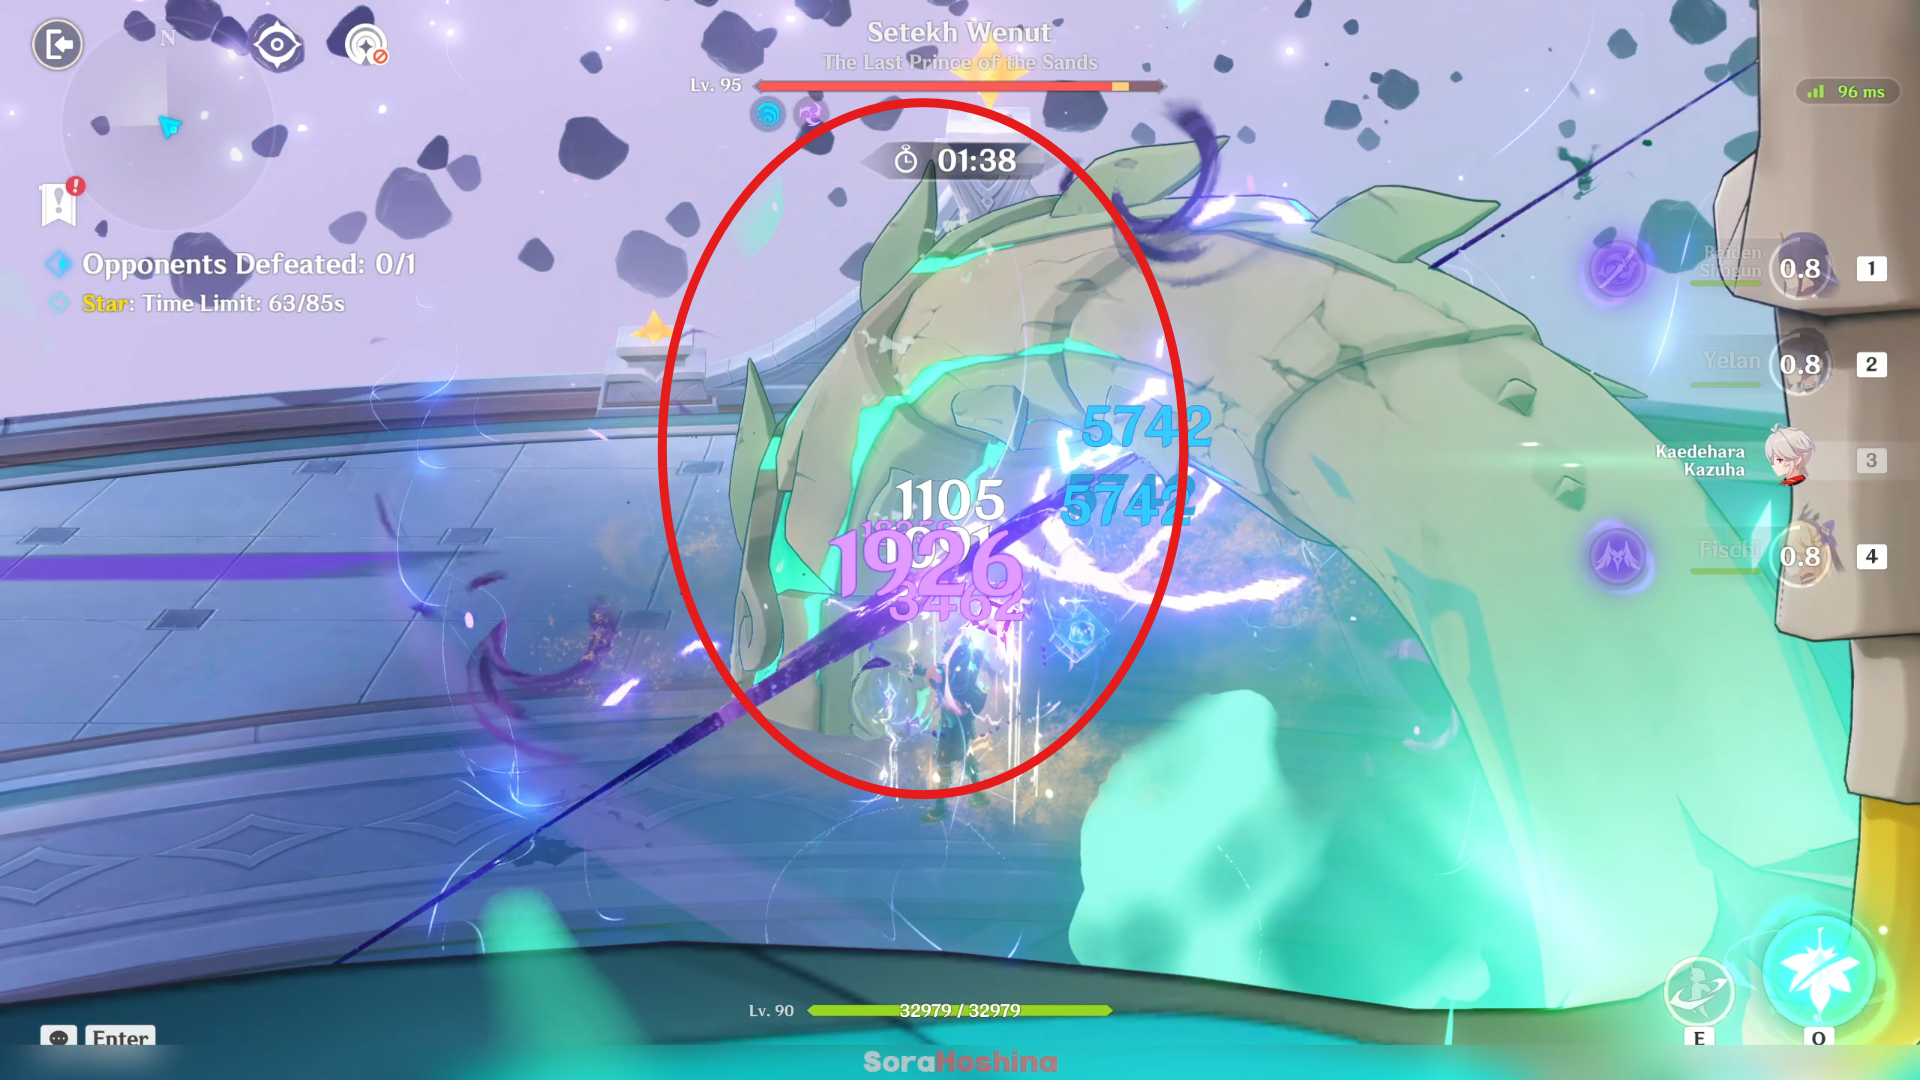
3rd Attack - Stormbreath
Unleash a breath of Anemo damage, while arcing the attack in a cone-like area in front of itself, usually at the front-right area. The third attack has a relatively decent window time for you to attack it (around 8-10 seconds depending on your location when Wenut appears), you can use your Burst if you want, but only if you can fill it up again because Wenut will do its Ultimate Skill after the 4th attack. There is no optional attack as Wenut will definitely use this wind-blower-like movement set.
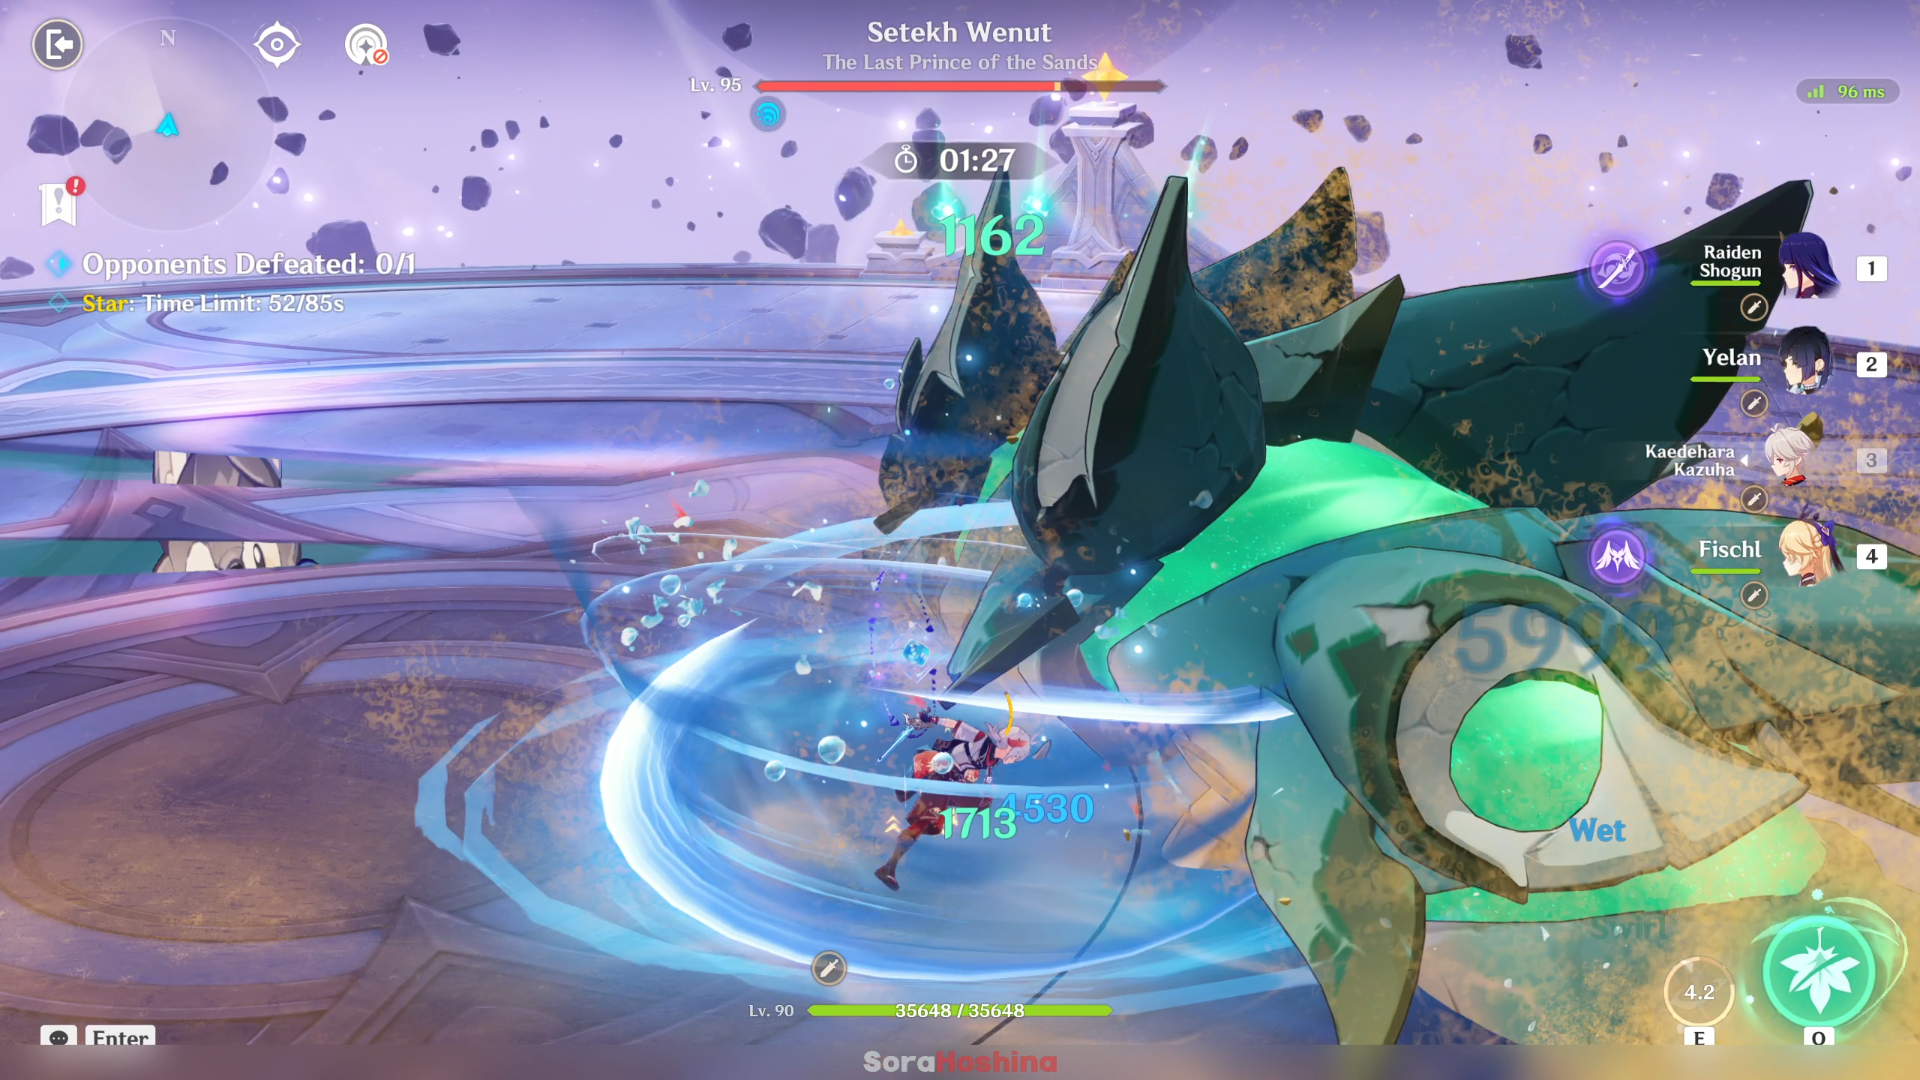
4th Attack - Dig
The last attack is similar to the 2nd one where Wenut emerges from the ground but won't attack you. I'm sure you understand that the window time here is very small. There is no optional attack as Wenut will definitely won't attack you for its fourth movement set.
Ultimate - Windbite Bullet
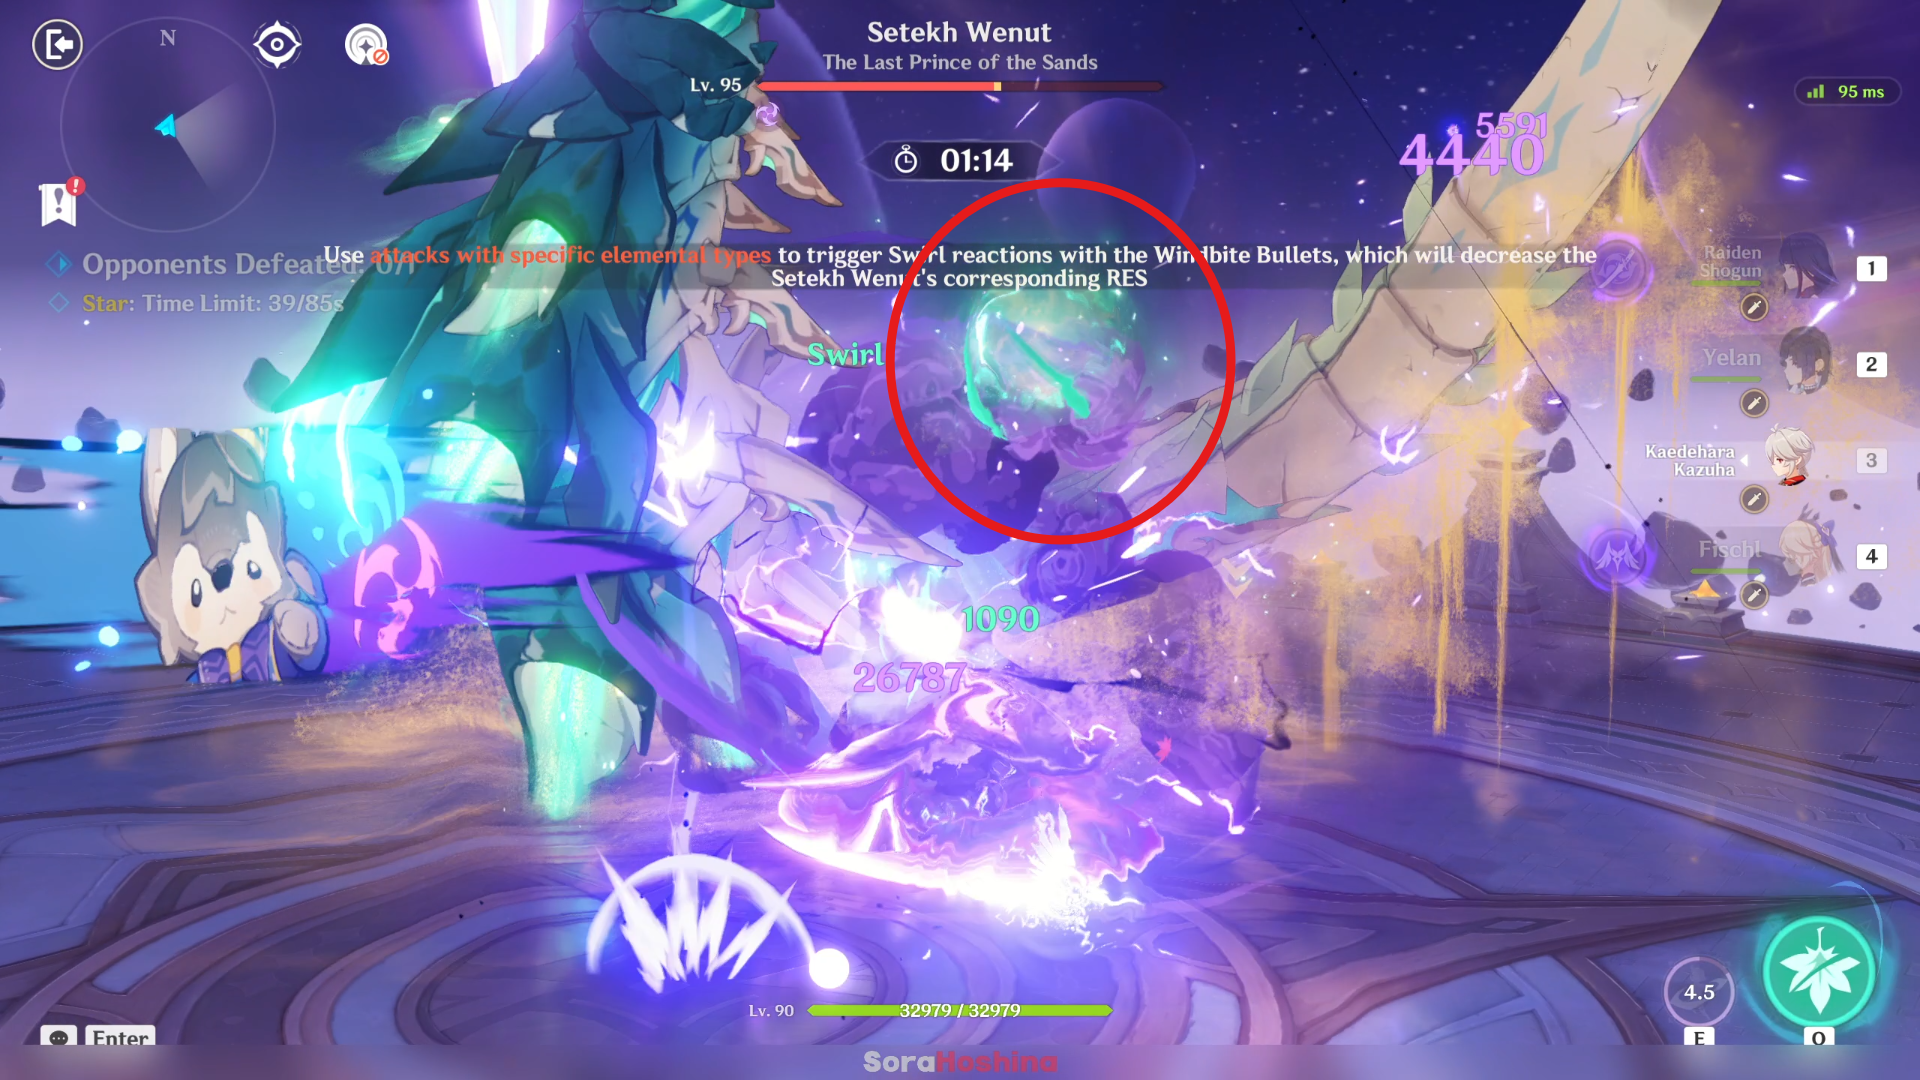
After making those 4 movement sets, Setekh Wenut will definitely use its Ultimate Attack (Windbite Bullets). This is the time when you spam all Elemental Skill & Burst possibles to destroy at least 2 Bullets (with Cryo/Electro/Hydro/Pyro attacks).
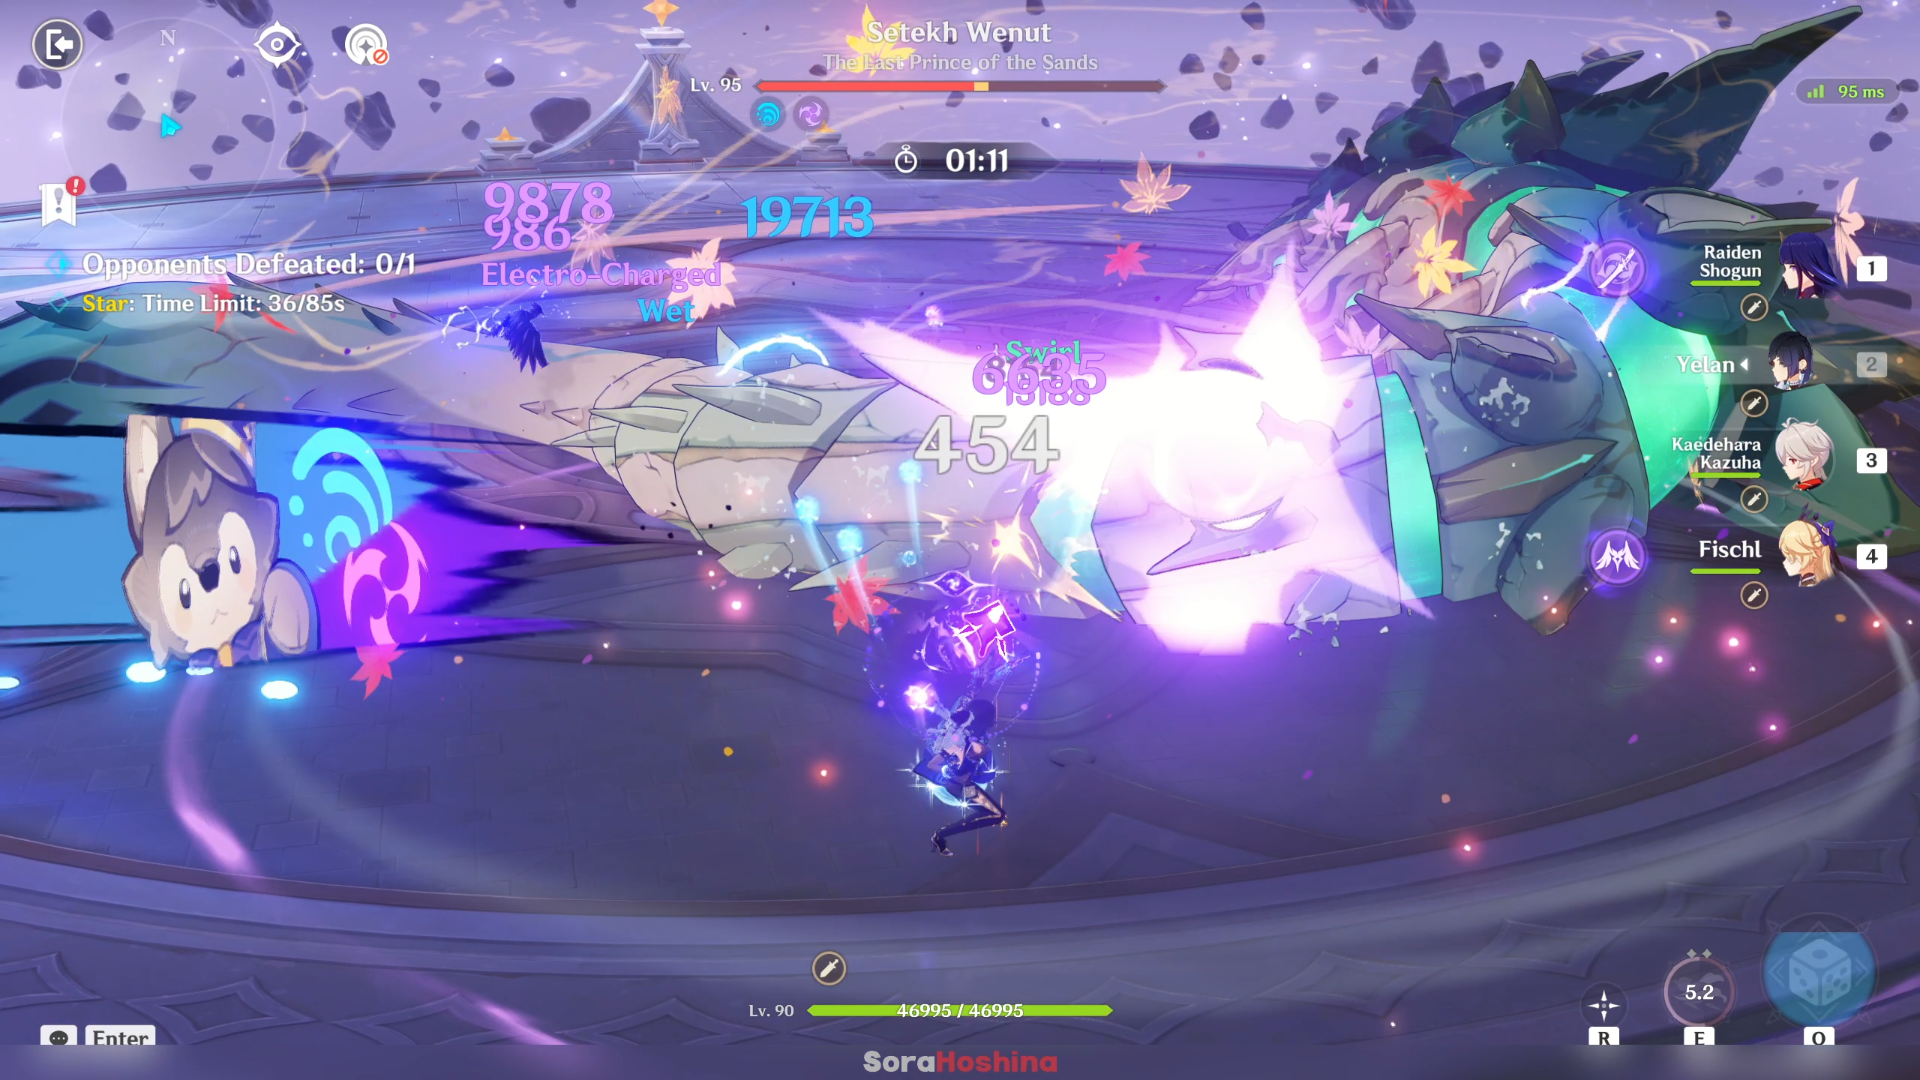
Once it's destroyed, the boss loses 45% RES to the elements that its Windbite Bullets were destroyed by and paralyzes Wenut for 10 seconds (it's so short my gawd). Once it’s paralyzed, now is the time for you to spam every Burst you have to make the most of the Setekh Wenut’s paralysis.
After waking up from the paralyzed state, Wenut will start again from the 1-4 movement set and then use the Ultimate again.
Act 9 - 10 | Experimental Field Generator
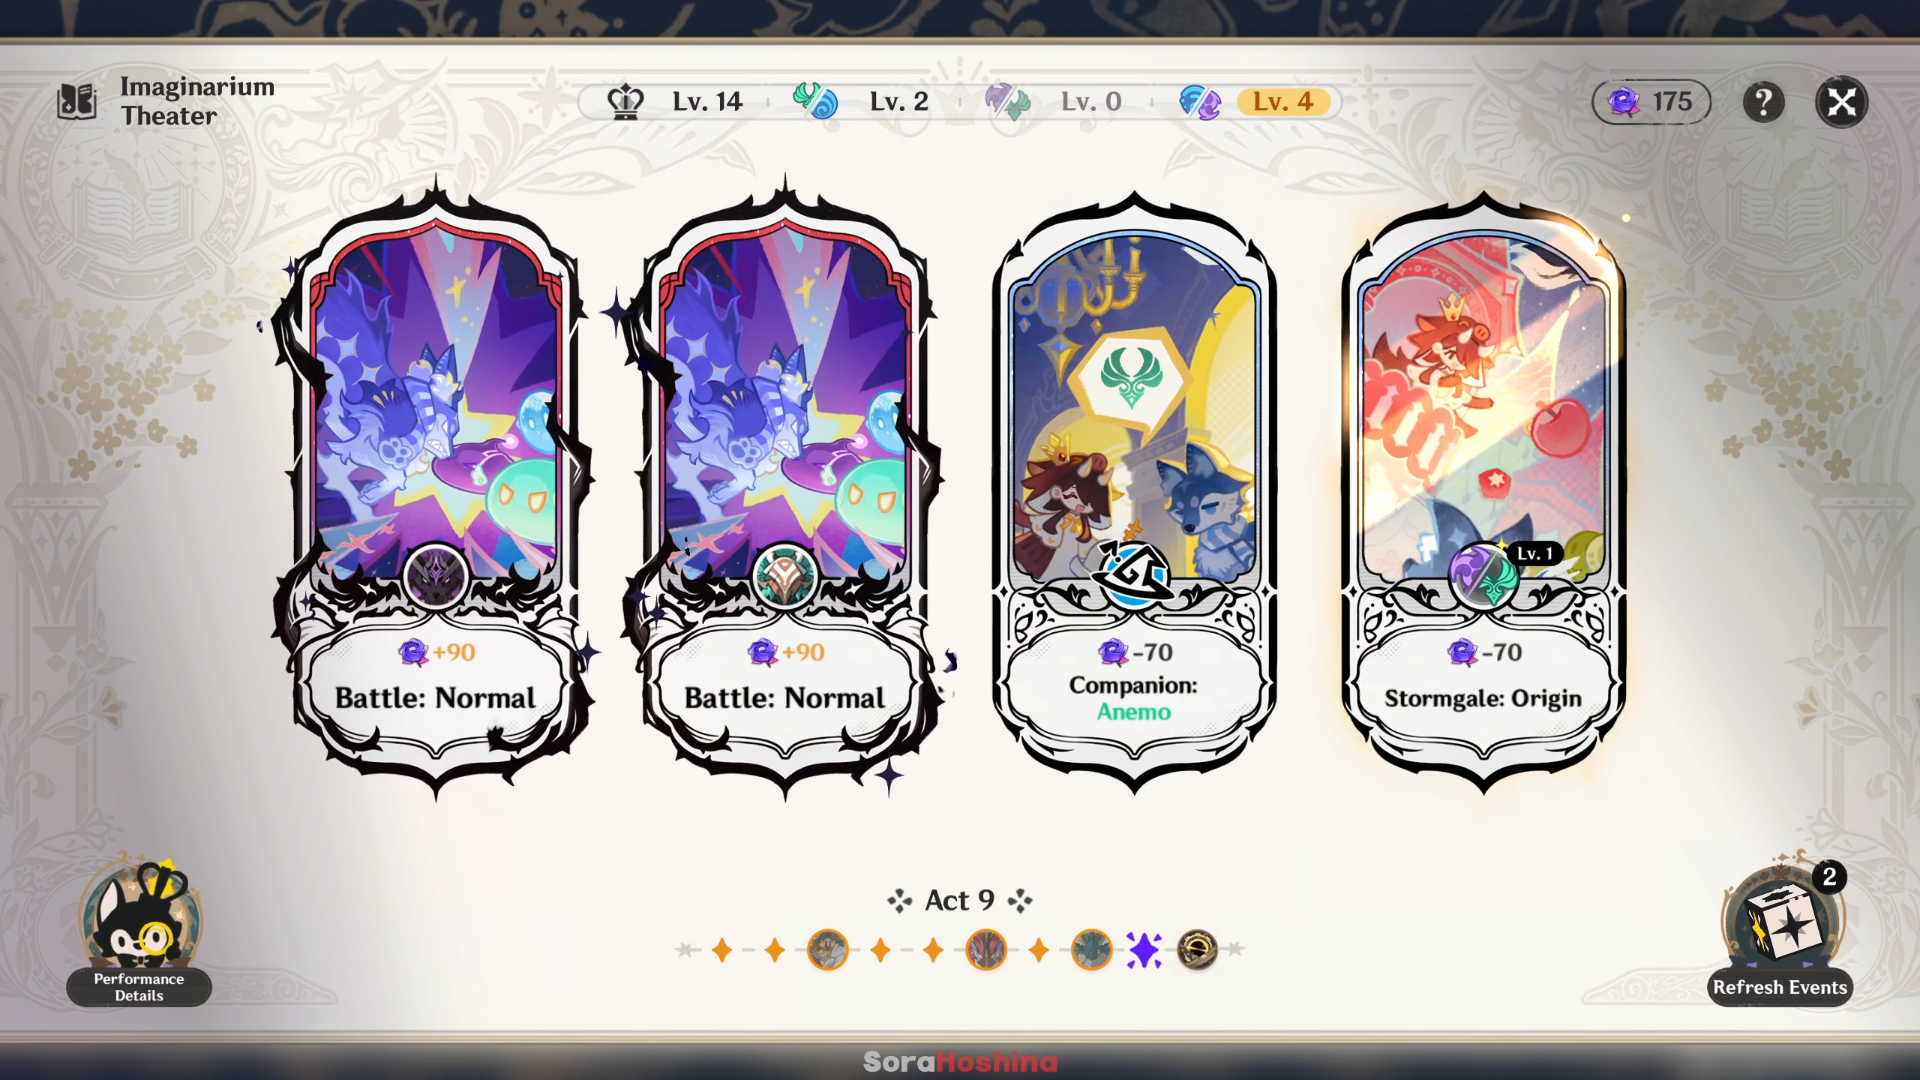
In Act 9, focus on creating the best team for Act 10. Any team you can create with decent synergy between the Main DPS and Sub DPS is okay since the boss only have Physical RES and you don't have them in the roster anyway.
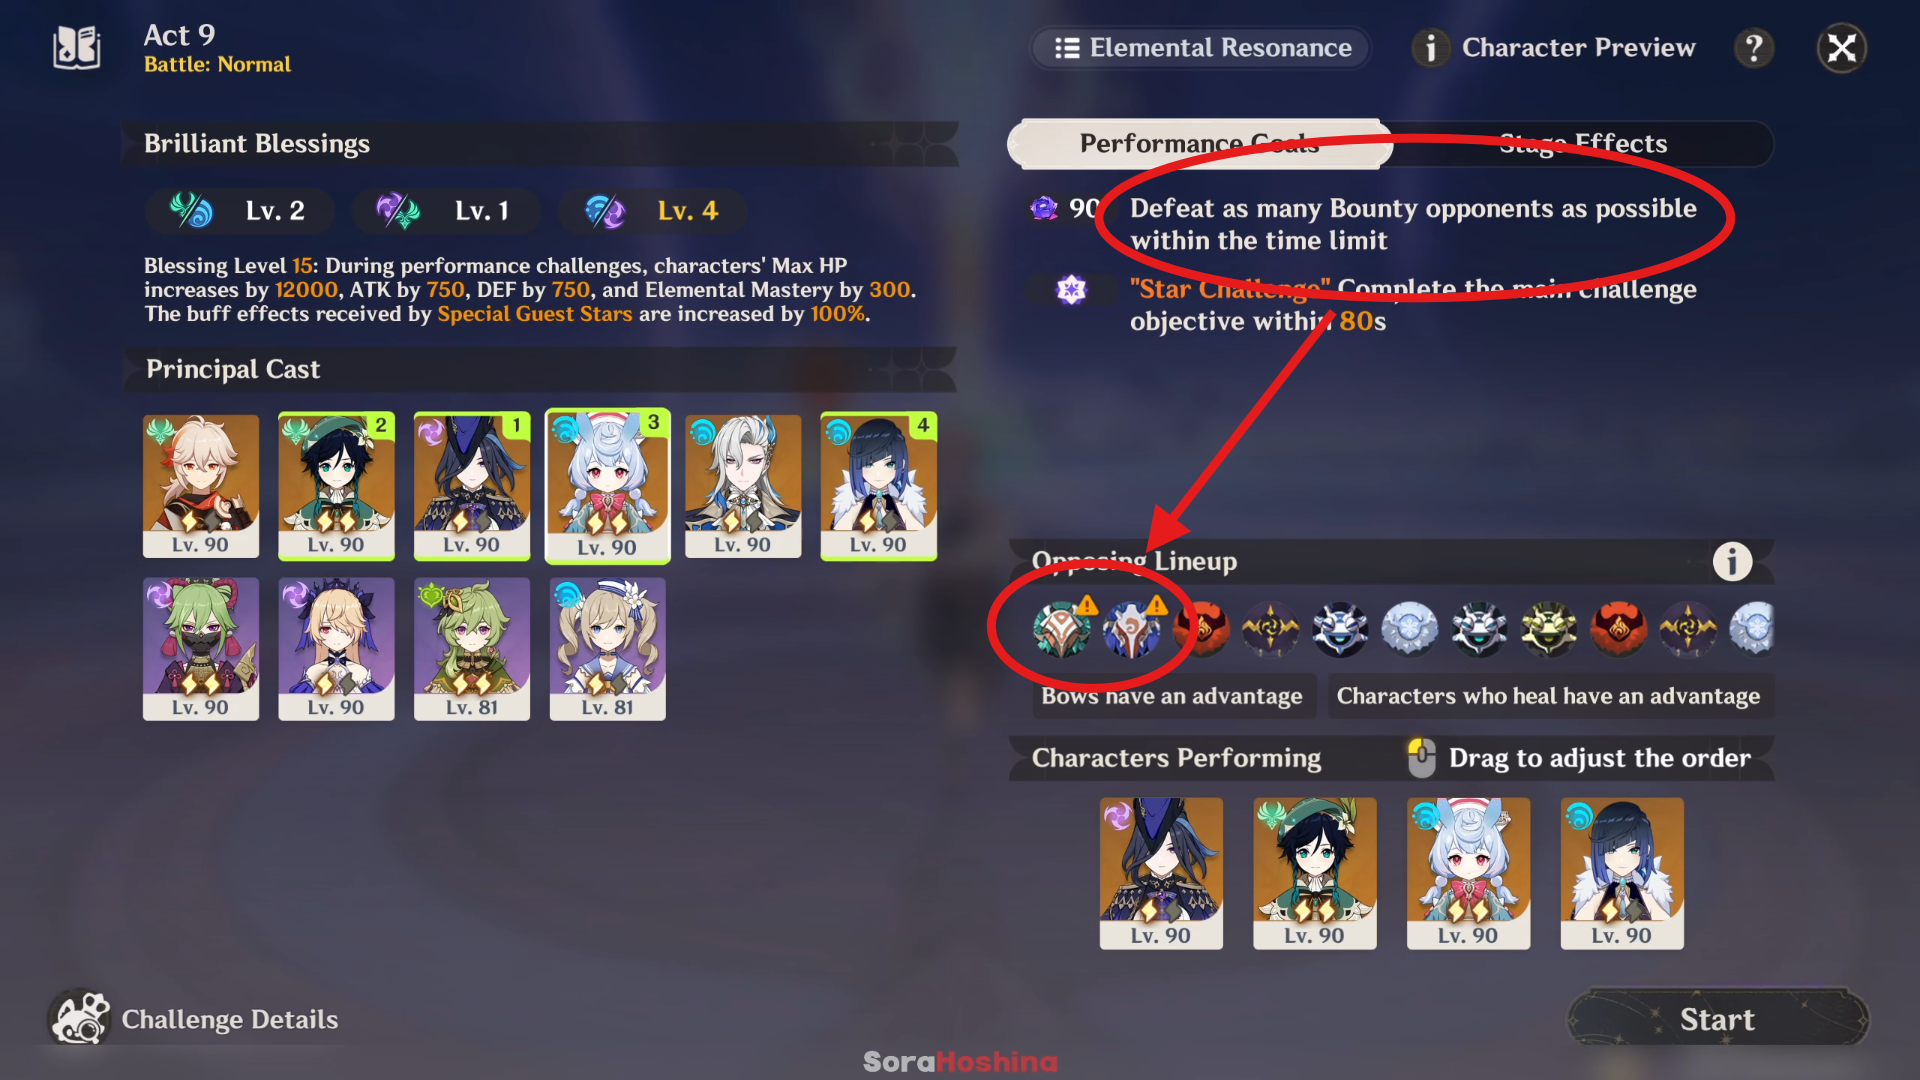
Once you create a team for Act 10, use the remaining character to form a team in Act 9. If you don't have a great synergy among the remaining characters, try using the Companion event for a chance of getting a better character. If you have enough characters already, then use the remaining Fantasia Flowers for buffs.
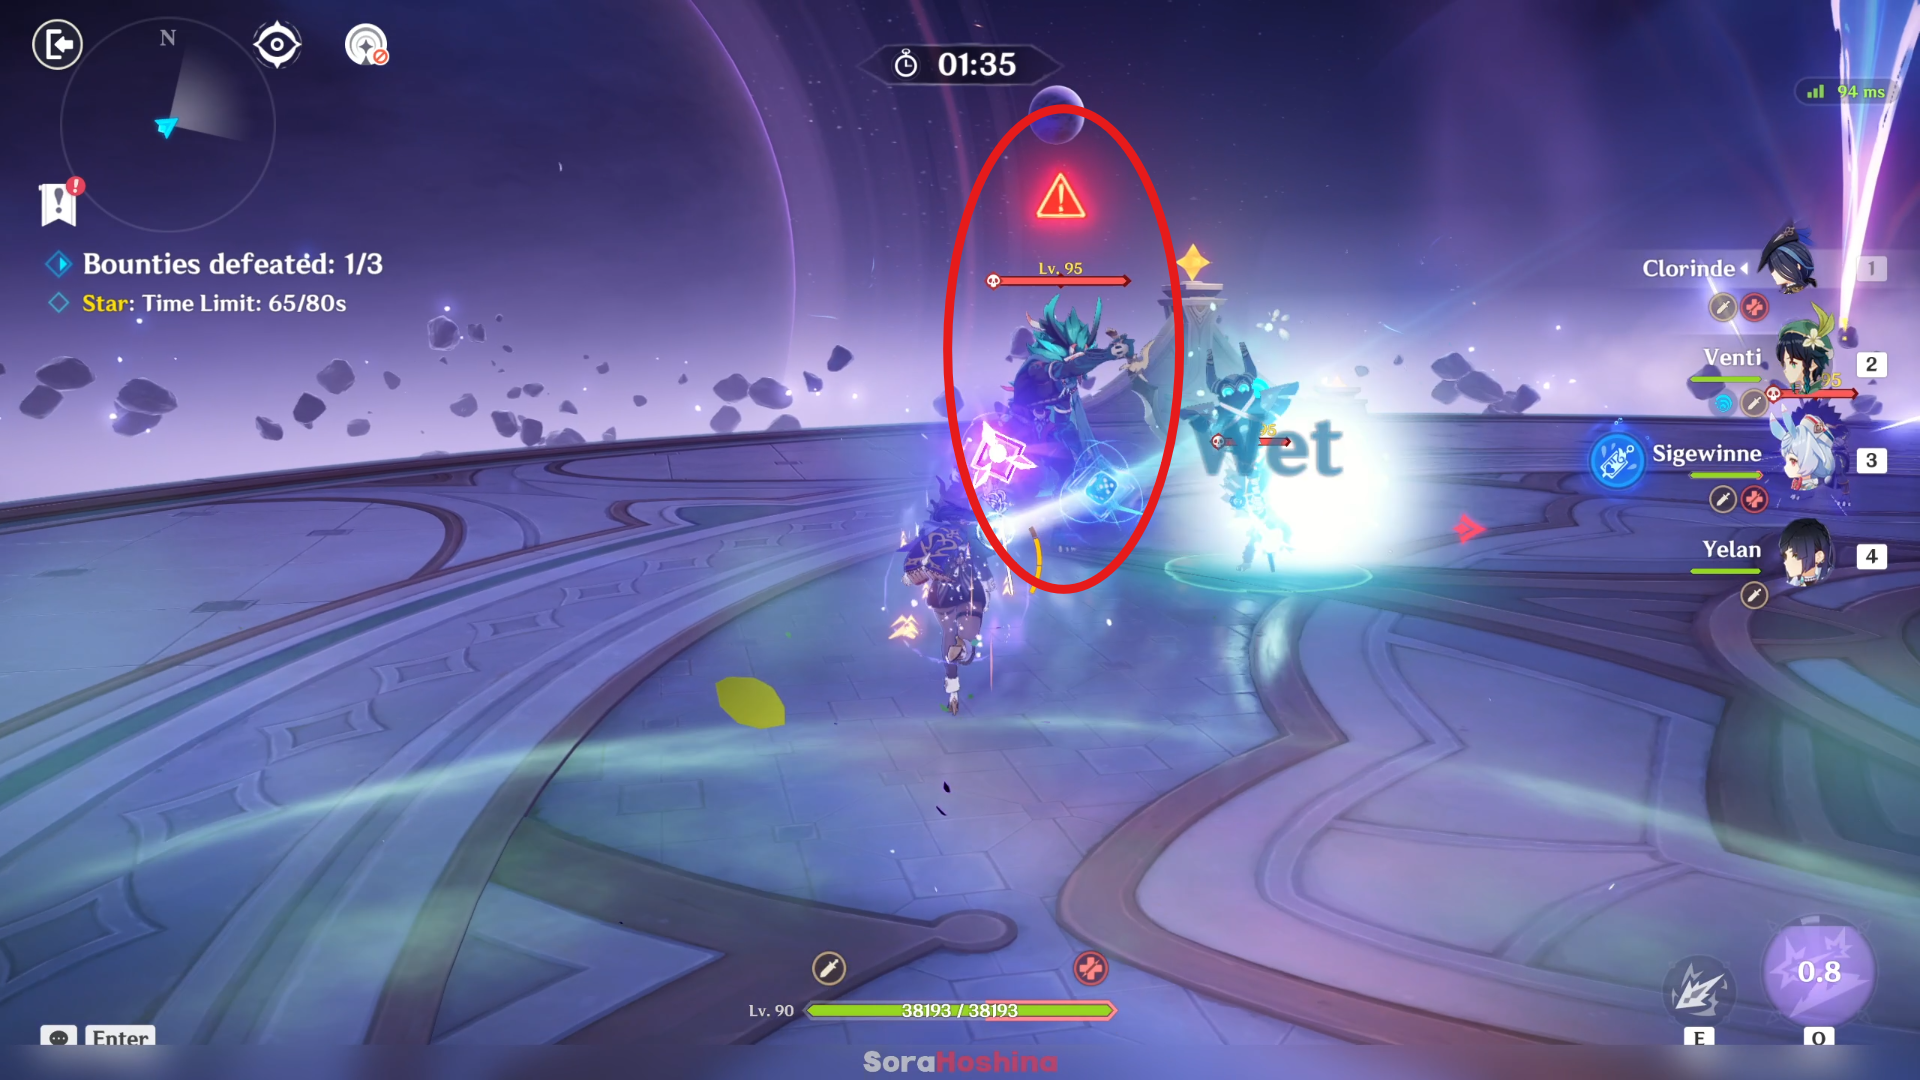
For Act 9, remember that you need to defeat the Bounty opponent, and not target all enemies! If you defeat the mobs and not the Bounty opponent, you would get nothing except wasting your time so look at the Opposing Lineup first and remember who's the Bounty opponent is.
During the battle, the Bounty opponent will be marked with an exclamation icon on top of their head but I don't think anyone would be looking for that.
| 1 | Create the team for Act 10 beforehand. Then, use the leftover characters for Act 9. |
| 2 | If you don't have the right DPS for Act 9, use Companion event to try and get a better character. |
| 3 | Once you have the right Main DPS (and team) for both Act 9 and 10, use the remaining Fantasia Flowers on Blessing event to upgrade reactions that you want to focus on in Act 10 (if the said reaction is not at Level 4 yet). |
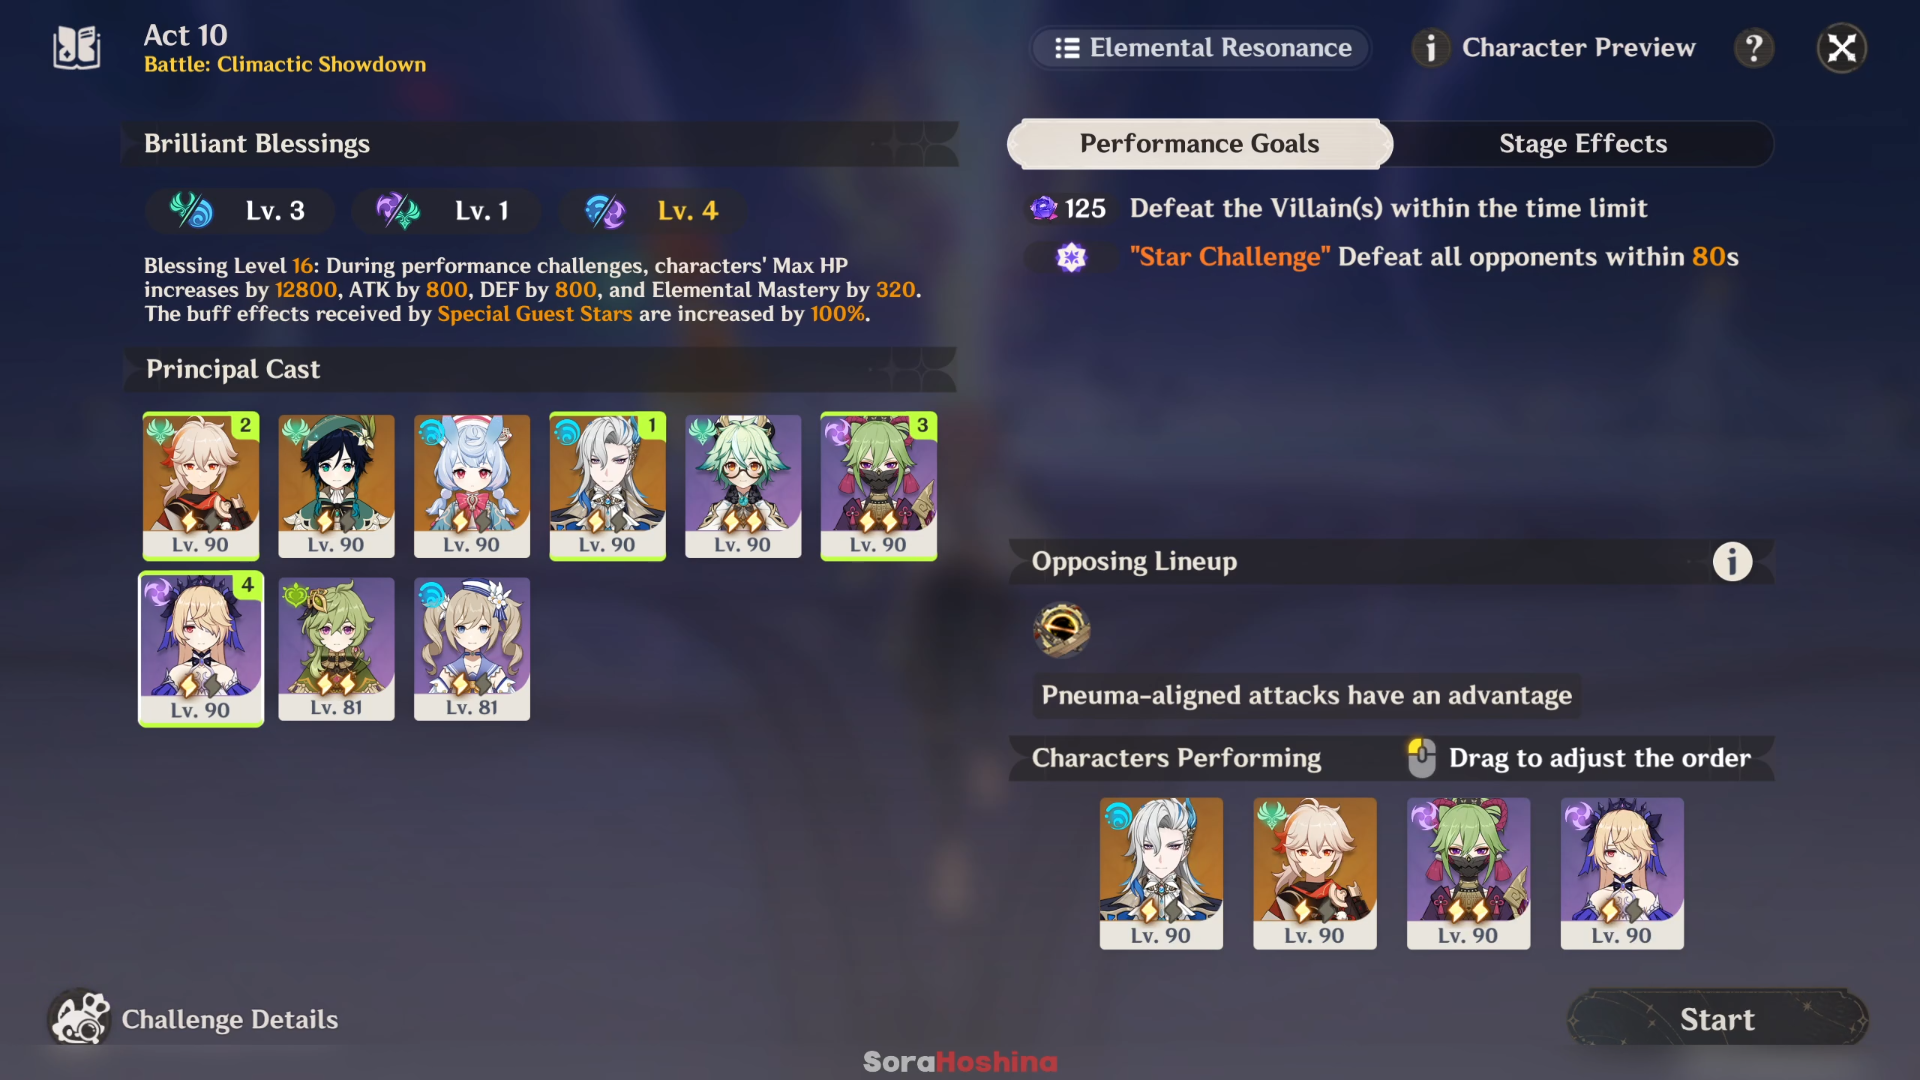
This boss is an Ousia-type and can be paralyzed by 3 Pneuma attacks like Freminet, Lyney, Neuvillette, and Hydro Traveler (but only during its ultimate attack). Although you can't really rely on these because the team is not practical enough.
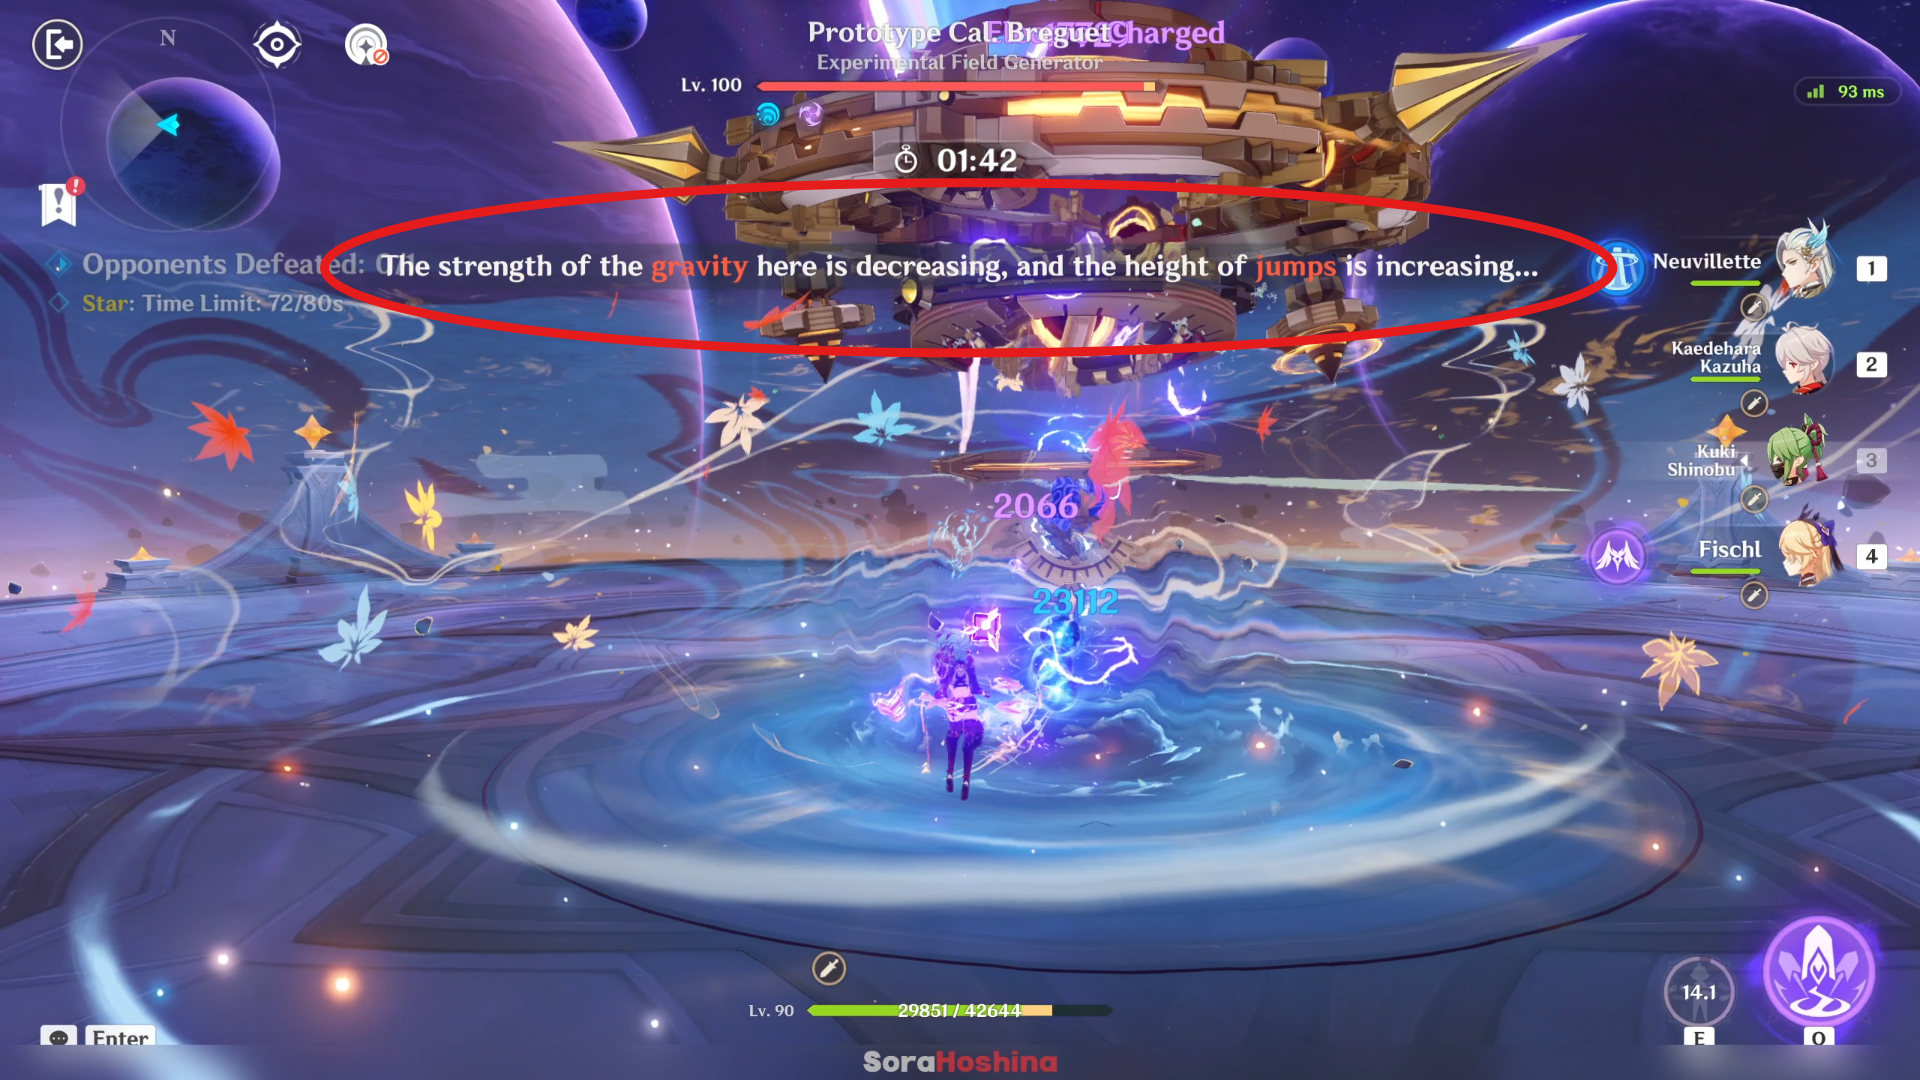
The said 'ultimate attack' is when it will channel Ousia energy to unleash a Gravity Reduction Field and you receive a warning about 'the strength of the gravity here is decreasing, and the height of jumps is increasing.' Characters within this field can jump significantly higher. During this moment, it will expose its Ousia core and you can paralyze it by attacking it with Pneuma attacks 3 times.
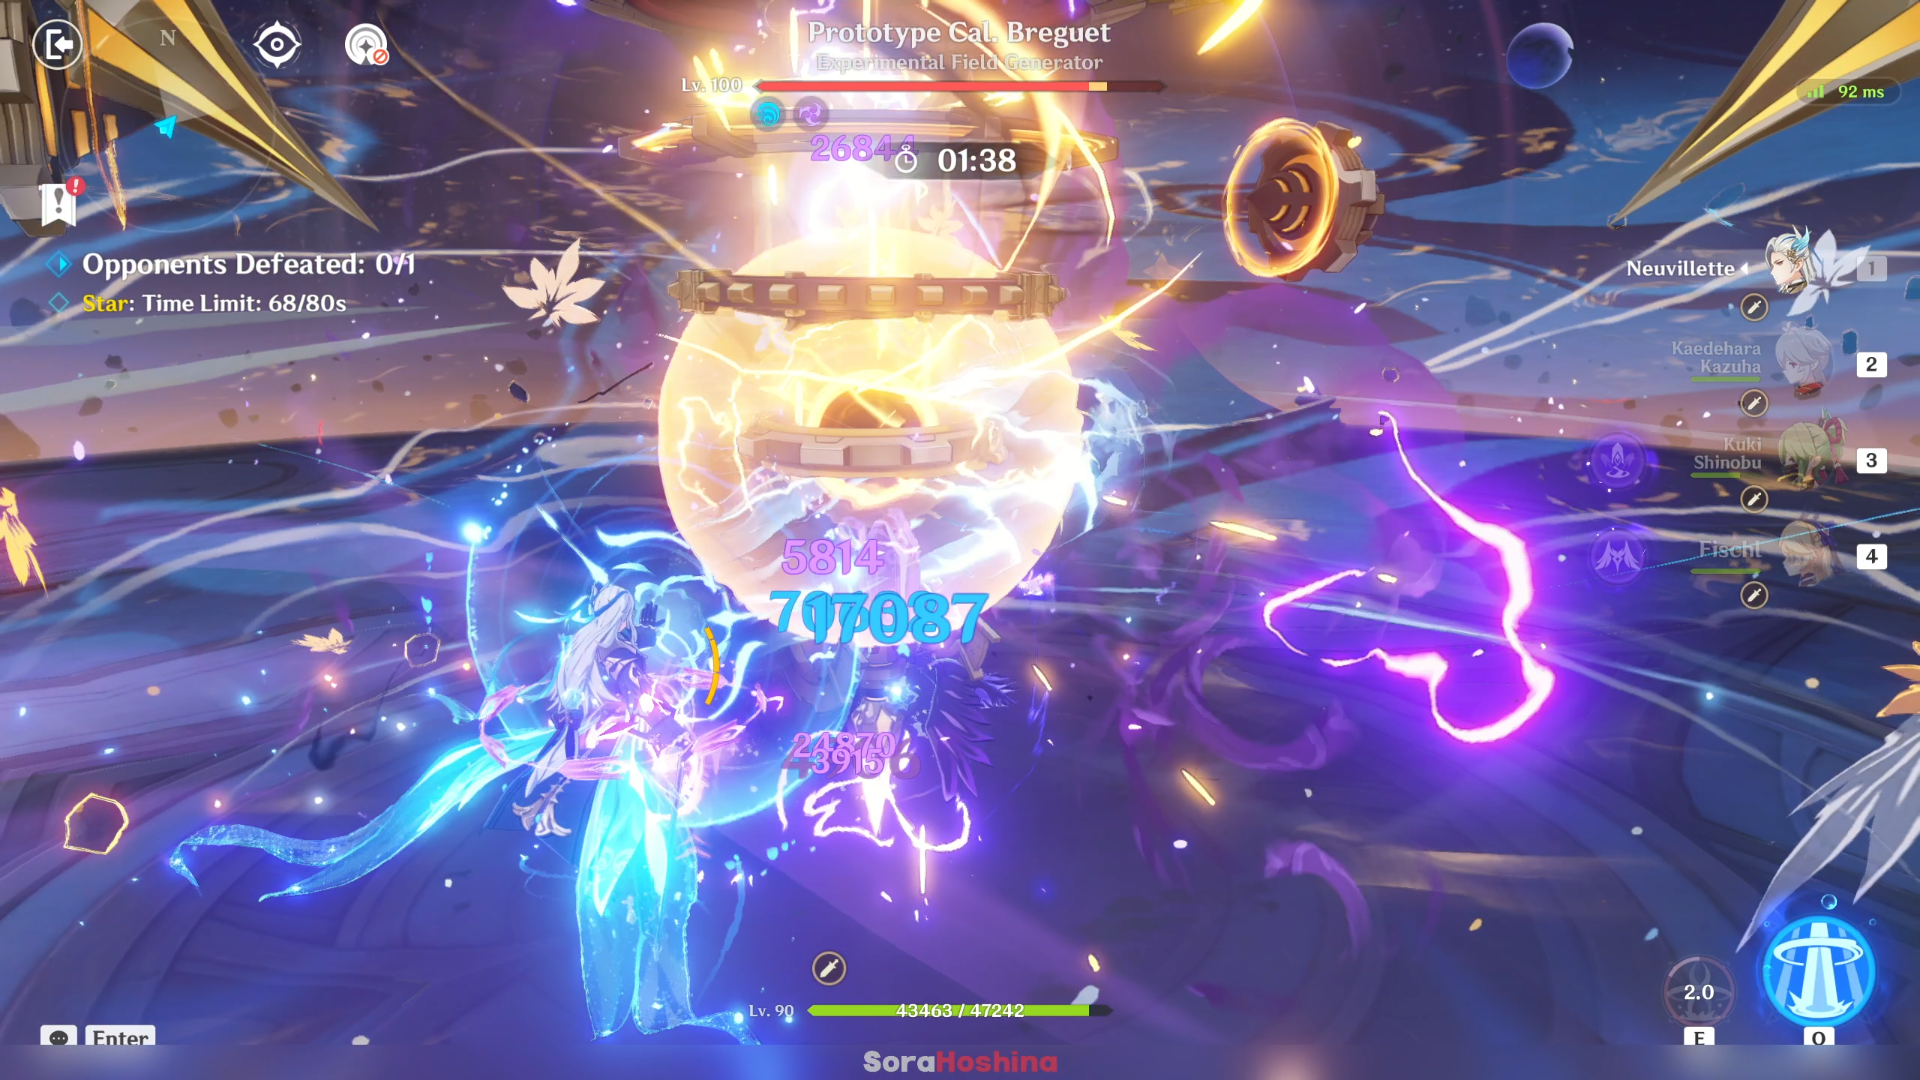
But honestly, unless you bring 3 Pneuma characters (which will result in a bad team since most Pneuma characters don't synergize with each other), I don't recommend focusing on paralyzing it with Pneuma attacks. Instead, most of its attacks are pretty easy to avoid so you should just focus on brute forcing this enemy until its HP reaches 0 while also avoiding any incoming attacks (unless you bring a shield).


