Table of Contents [Hide]

One day, while stopping by the Adventurers' Guild, you and Paimon receive a mysterious commission from an "organization whose details may not be disclosed." It seems that this might just be a toughie...
This content is created with the Creator Experience Server.
Event Overview
Event Gameplay Duration
➥ TBA
Eligibility
➥ Reach Adventure Rank 30
➥ Complete the Archon Quest "Song of the Dragon and Freedom."
Event Overview
➥ From the first day of the event, you will be able to unlock the corresponding challenge every 2 days, until all challenges have been unlocked on day 7.
➥ During challenges, Travelers can select the difficulty and their "Special Topics".
➥ Different ratings will be given based on the challenge difficulty and Special Topics chosen, and rewards will be awarded based on the rating achieved.
Event Tutorial
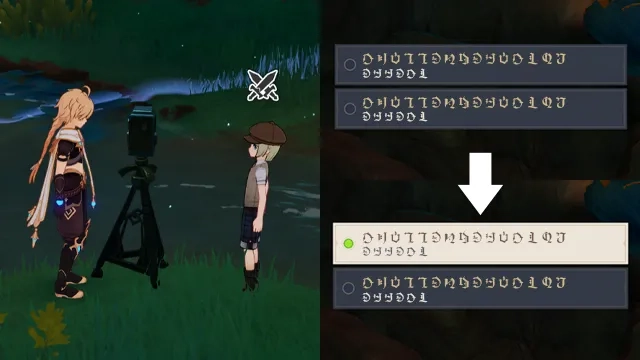
During "On the Trail of Behemoths," you can speak to Heca and engage in challenges of different difficulties.
Fearless difficulty even allows you to adjust Special Topics, which will make for a more difficult challenge.

Complete different challenges at different difficulties to obtain the corresponding ratings and rewards.
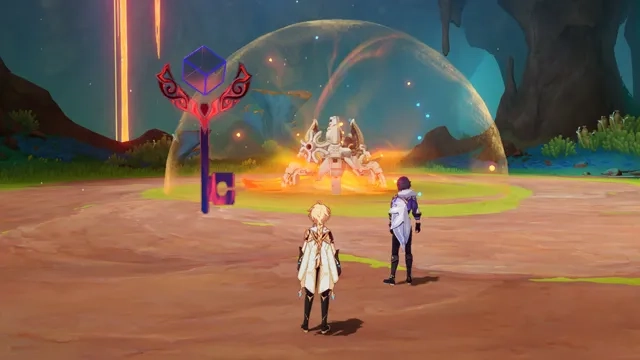
You can invite a maximum of one other player in your team to do the challenge together in Co-Op Mode. The results of the challenge will be recorded for both players.
Only challenge records achieved in Single-Player Mode can be reviewed or exhibited.
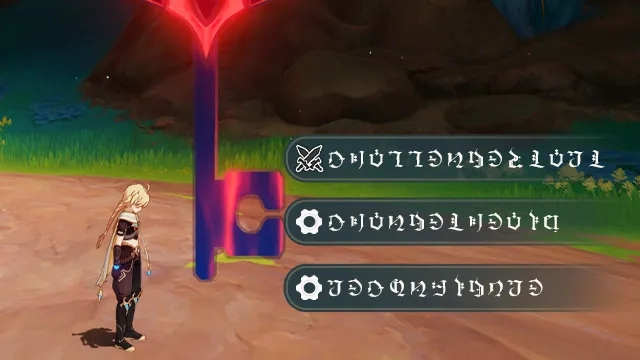
During the challenge, you can configure your party. In Fearless difficulty, you can also adjust your Special Topics before the battle begins to take on tougher challenges.
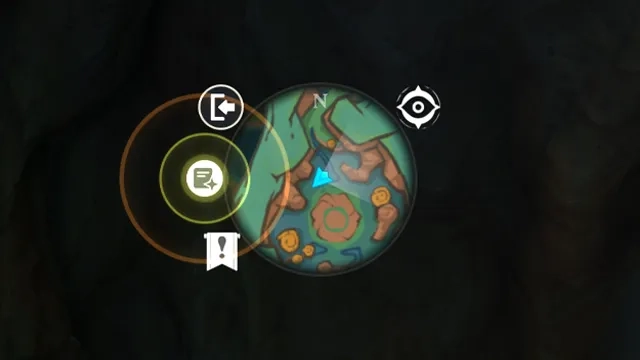
Press the button on the left side of the minimap to review challenge information and the selected Special Topics.
Event Guide
Before starting, I want to emphasize that the highest difficulty (Platinum) for this event is really hard and may be impossible for F2P to finish. But remember that you can get all rewards by completing the Gold 2-star rating (All Primogem rewards can be obtained with Silver 1-star rating). In fact, completing Platinum will not give you any rewards except the ability to flex the badge. Thus, do not stress yourself in completing the highest difficulty.
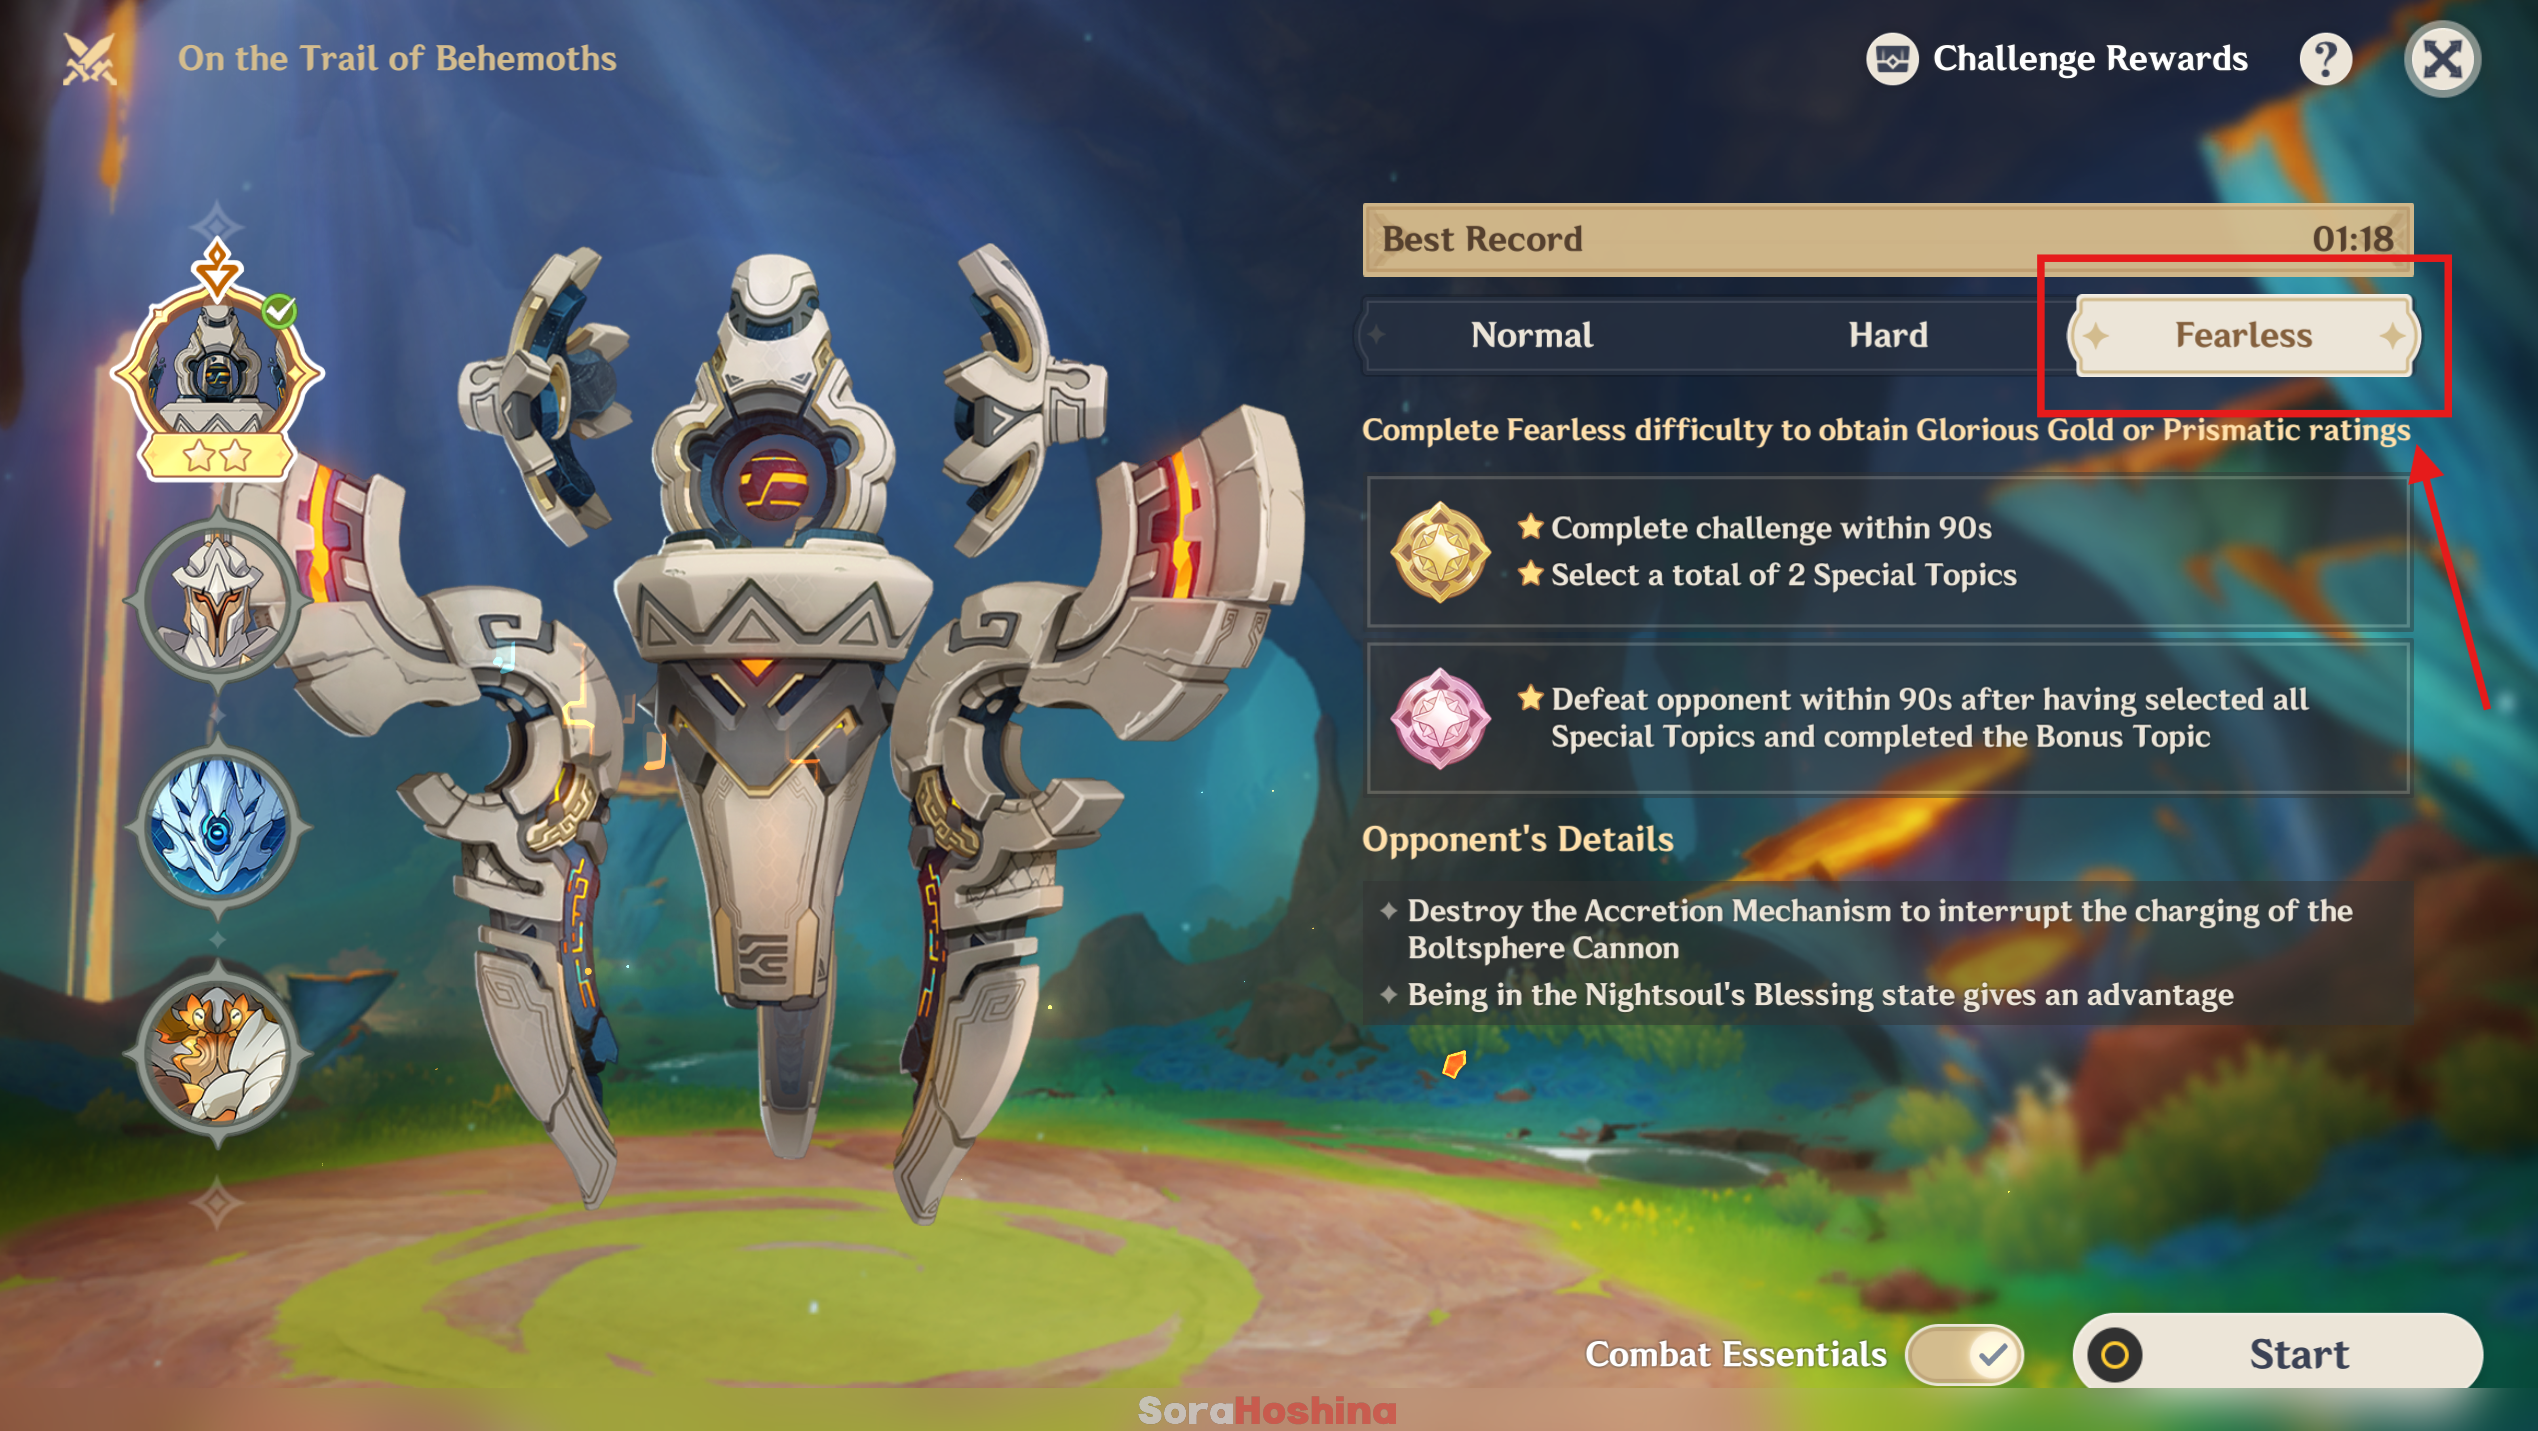
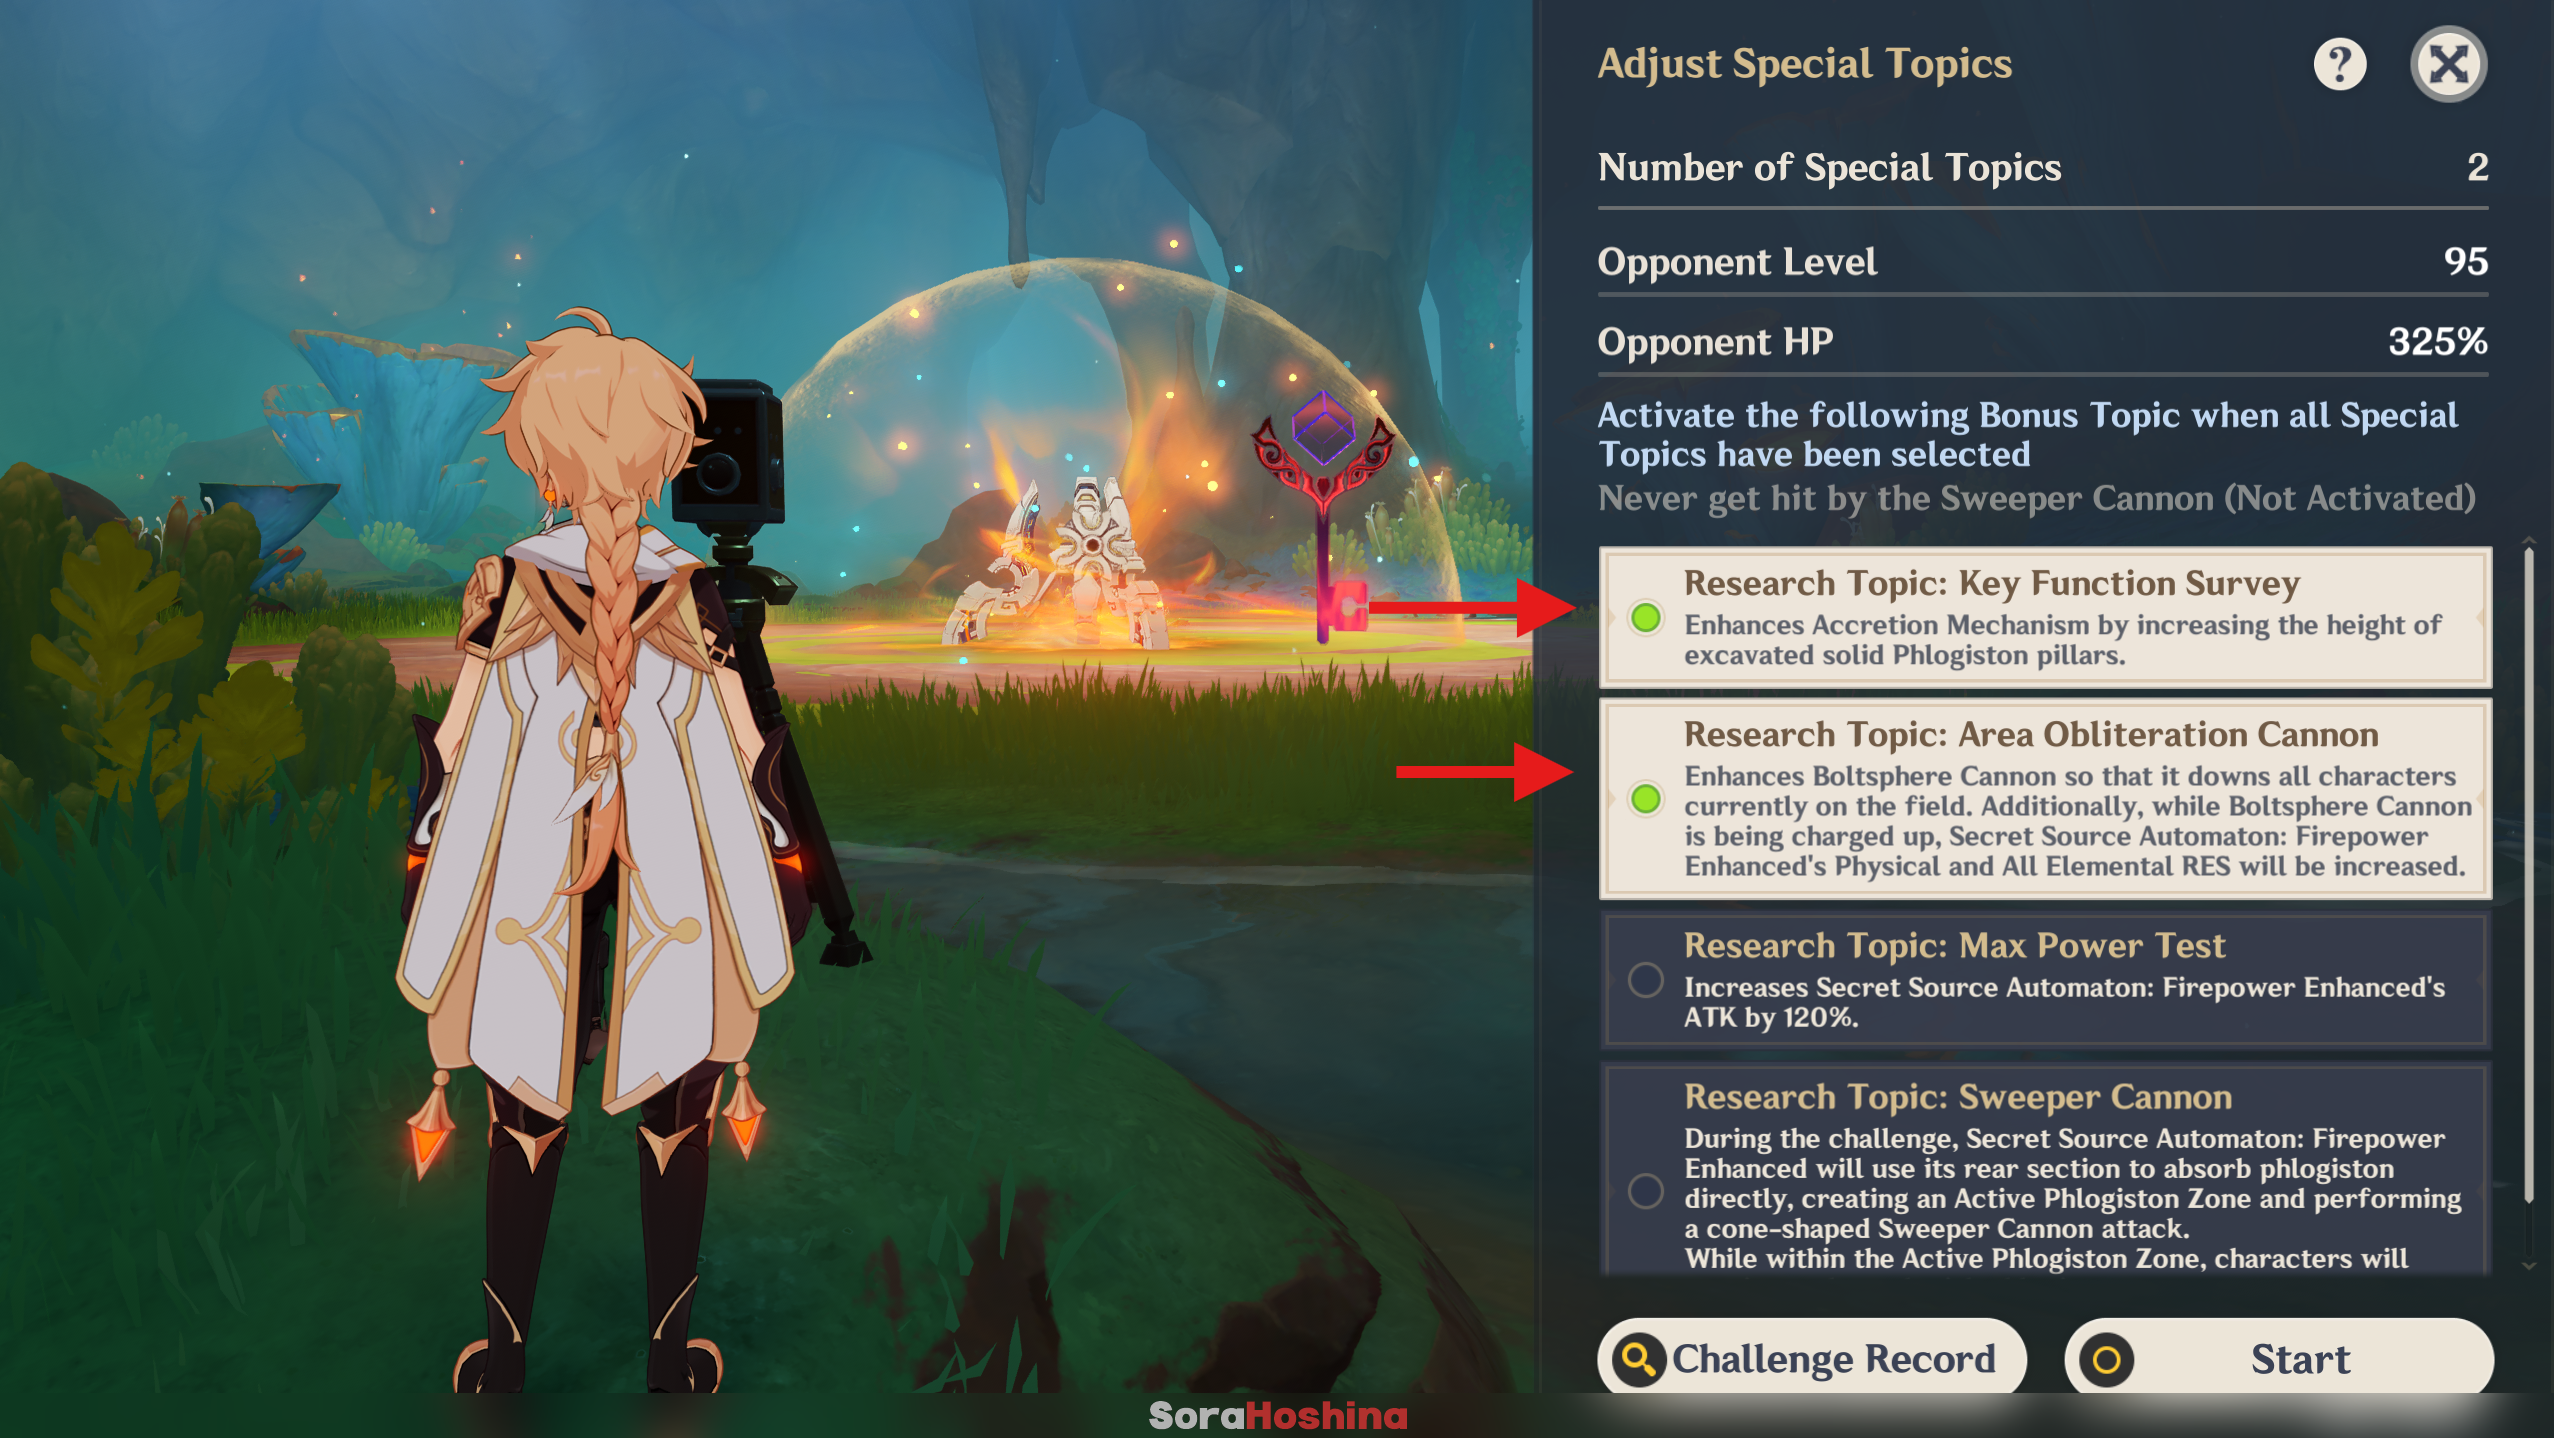
How to get the Gold 2-star rating?
● First of all, choose Fearless from the difficulty.
● Then, choose 2 Research Topics of your liking. Make sure to read them first so you know what to expect from the boss!
● Complete the challenge.
Stage 1 | Why Do the Automata Stand Tall in the Ruins?
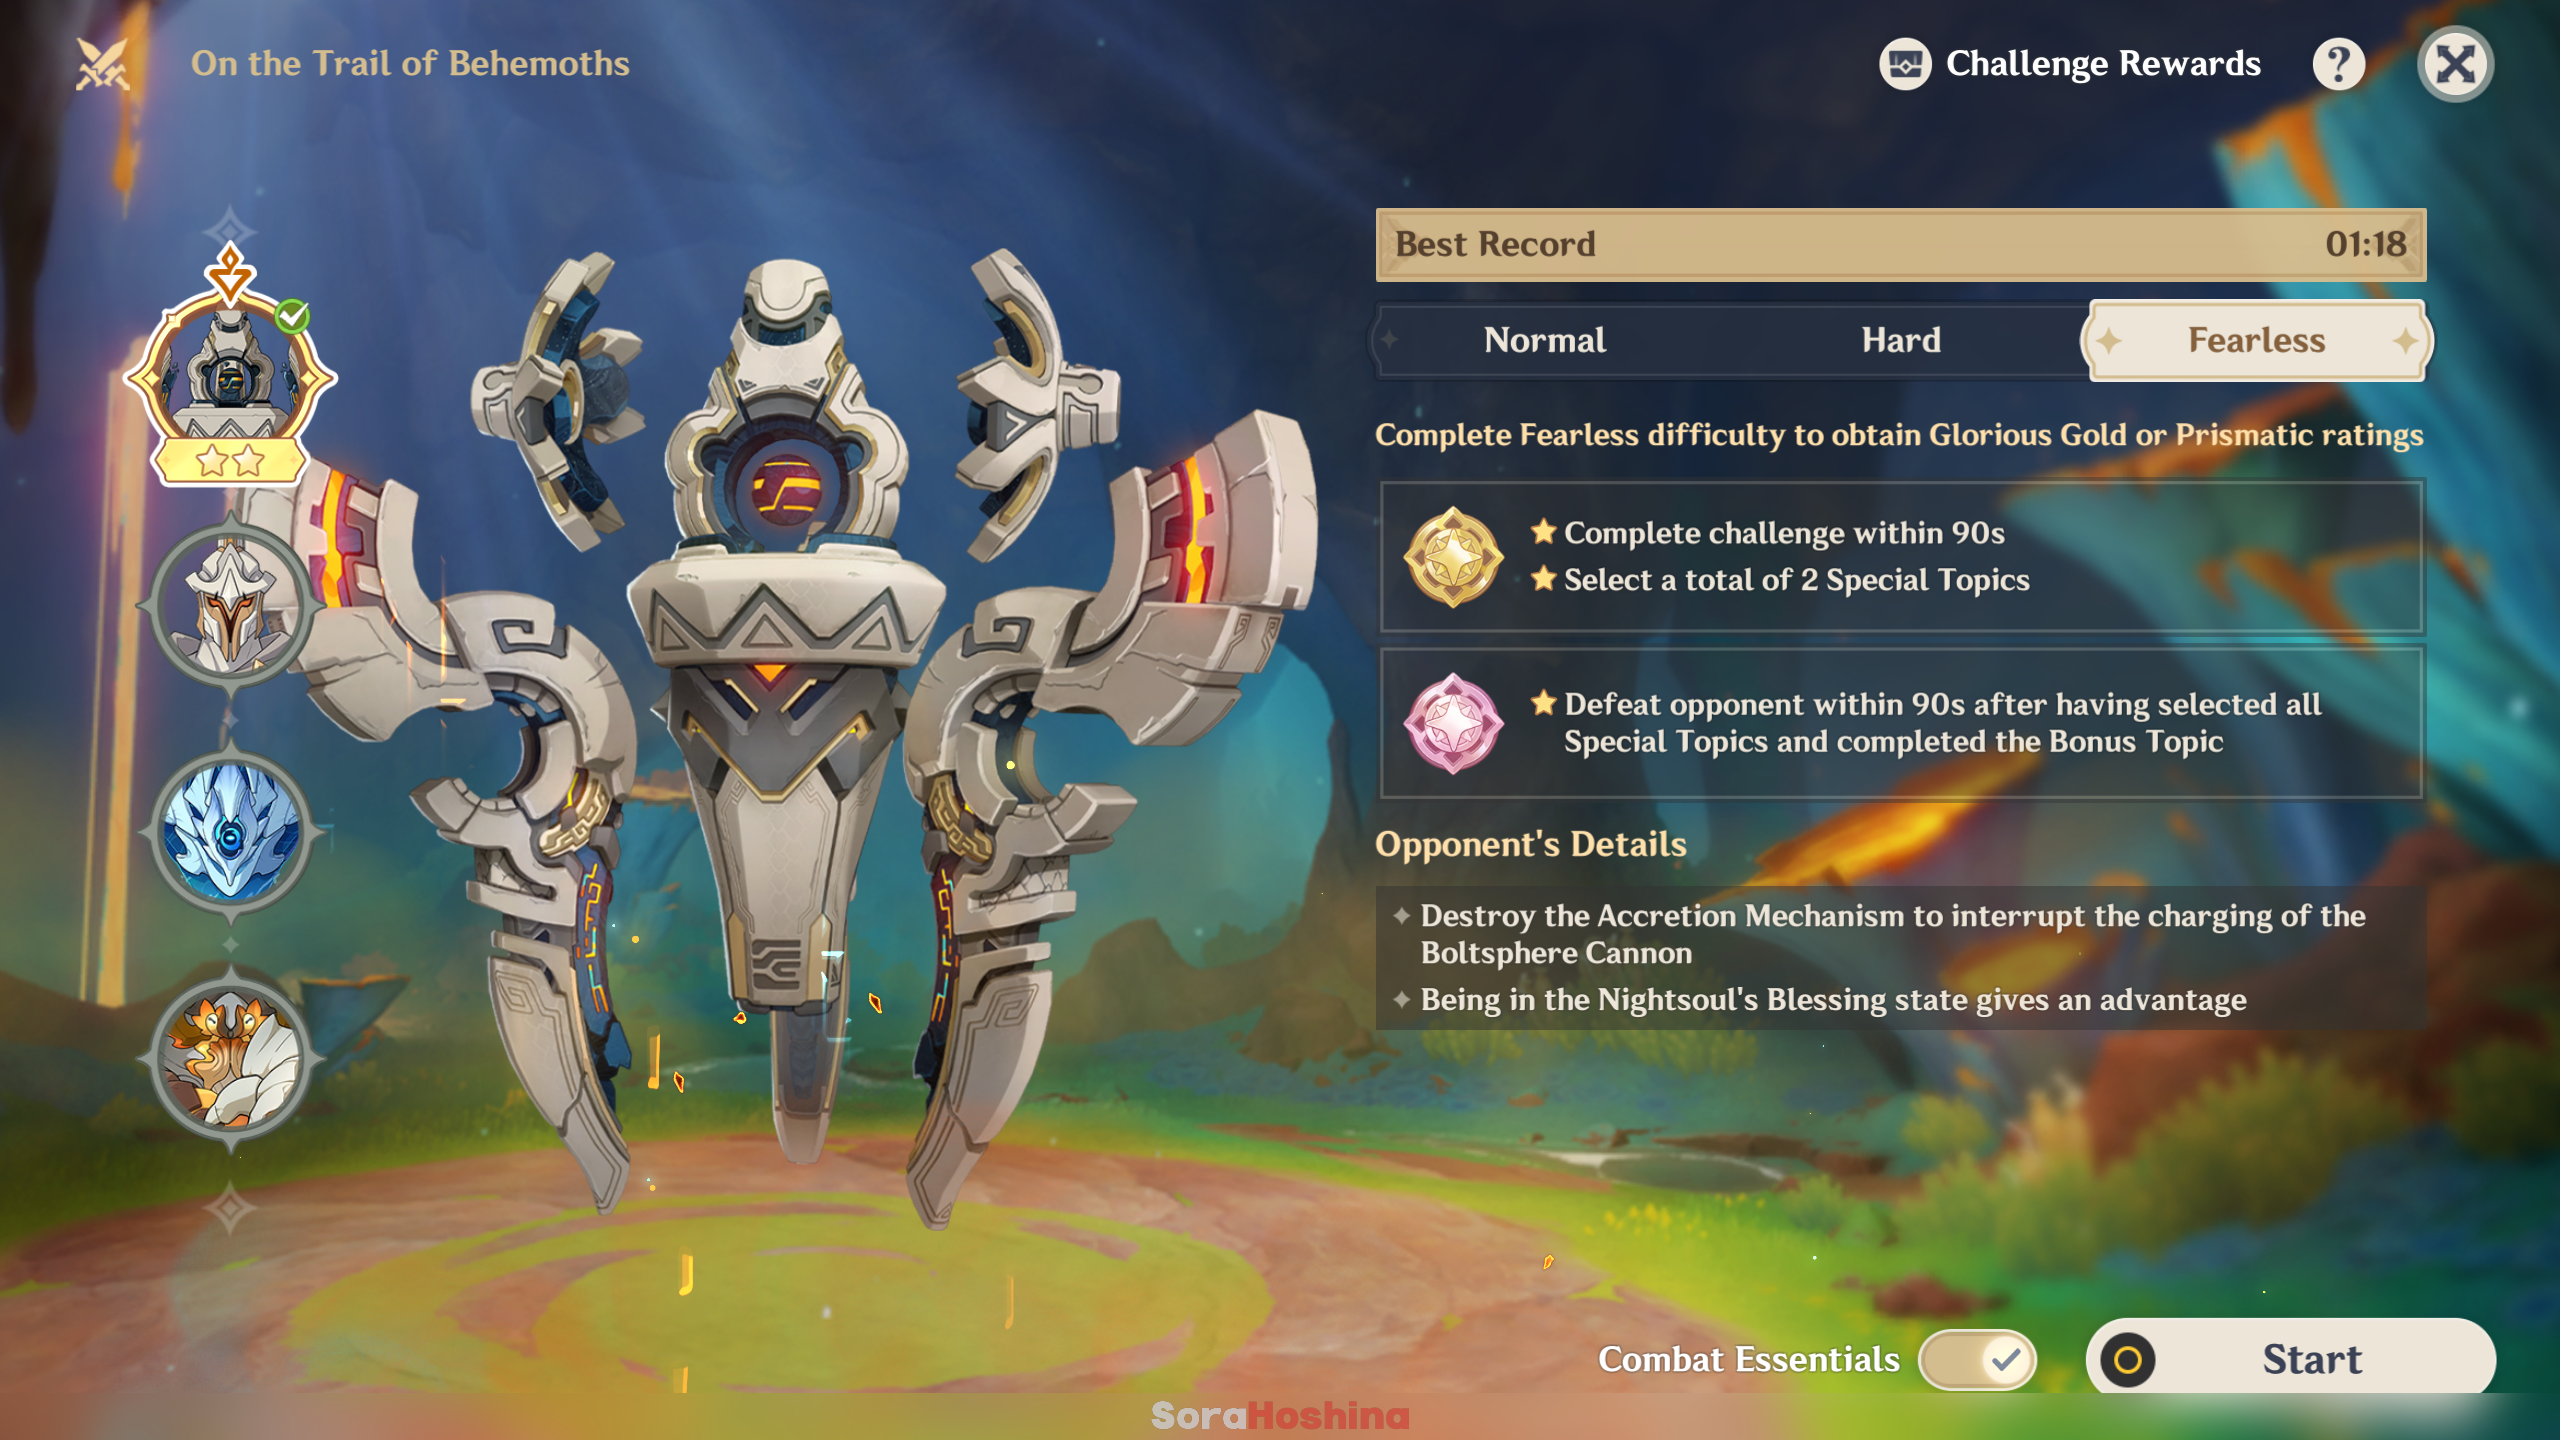
| Difficulty | Requirements |
|---|---|
 | ★ Complete challenge within 360s |
 | ★ Complete challenge within 210s Complete this challenge to get all Primogem rewards |
 | ★ Complete challenge within 90s ★ Select a total of 2 Special Topics Complete this challenge to get every rewards |
 | ★ Defeat opponent within 90s after having selected all Special Topics and completed the Bonus Topic |
Team Recommendation
If you had fight this boss before, you know you'll need a Natlan characters that can climb the Phlogiston pillar such as Mavuika/Xilonen/Kachina, so bring at least one of them to the battle. Of course, there are other methods to climb the pillar using non-Natlan character, but if you choose the Research Topic: Key Function Survey that makes the pillar taller, only Natlan characters can climb such high Phlogiston pillar.
| No. | Characters |
|---|---|
| 1 | Mavuika + Citlali + Bennett + Xilonen |
| 2 | TBA |
Research Topic: Key Function Survey ⭐
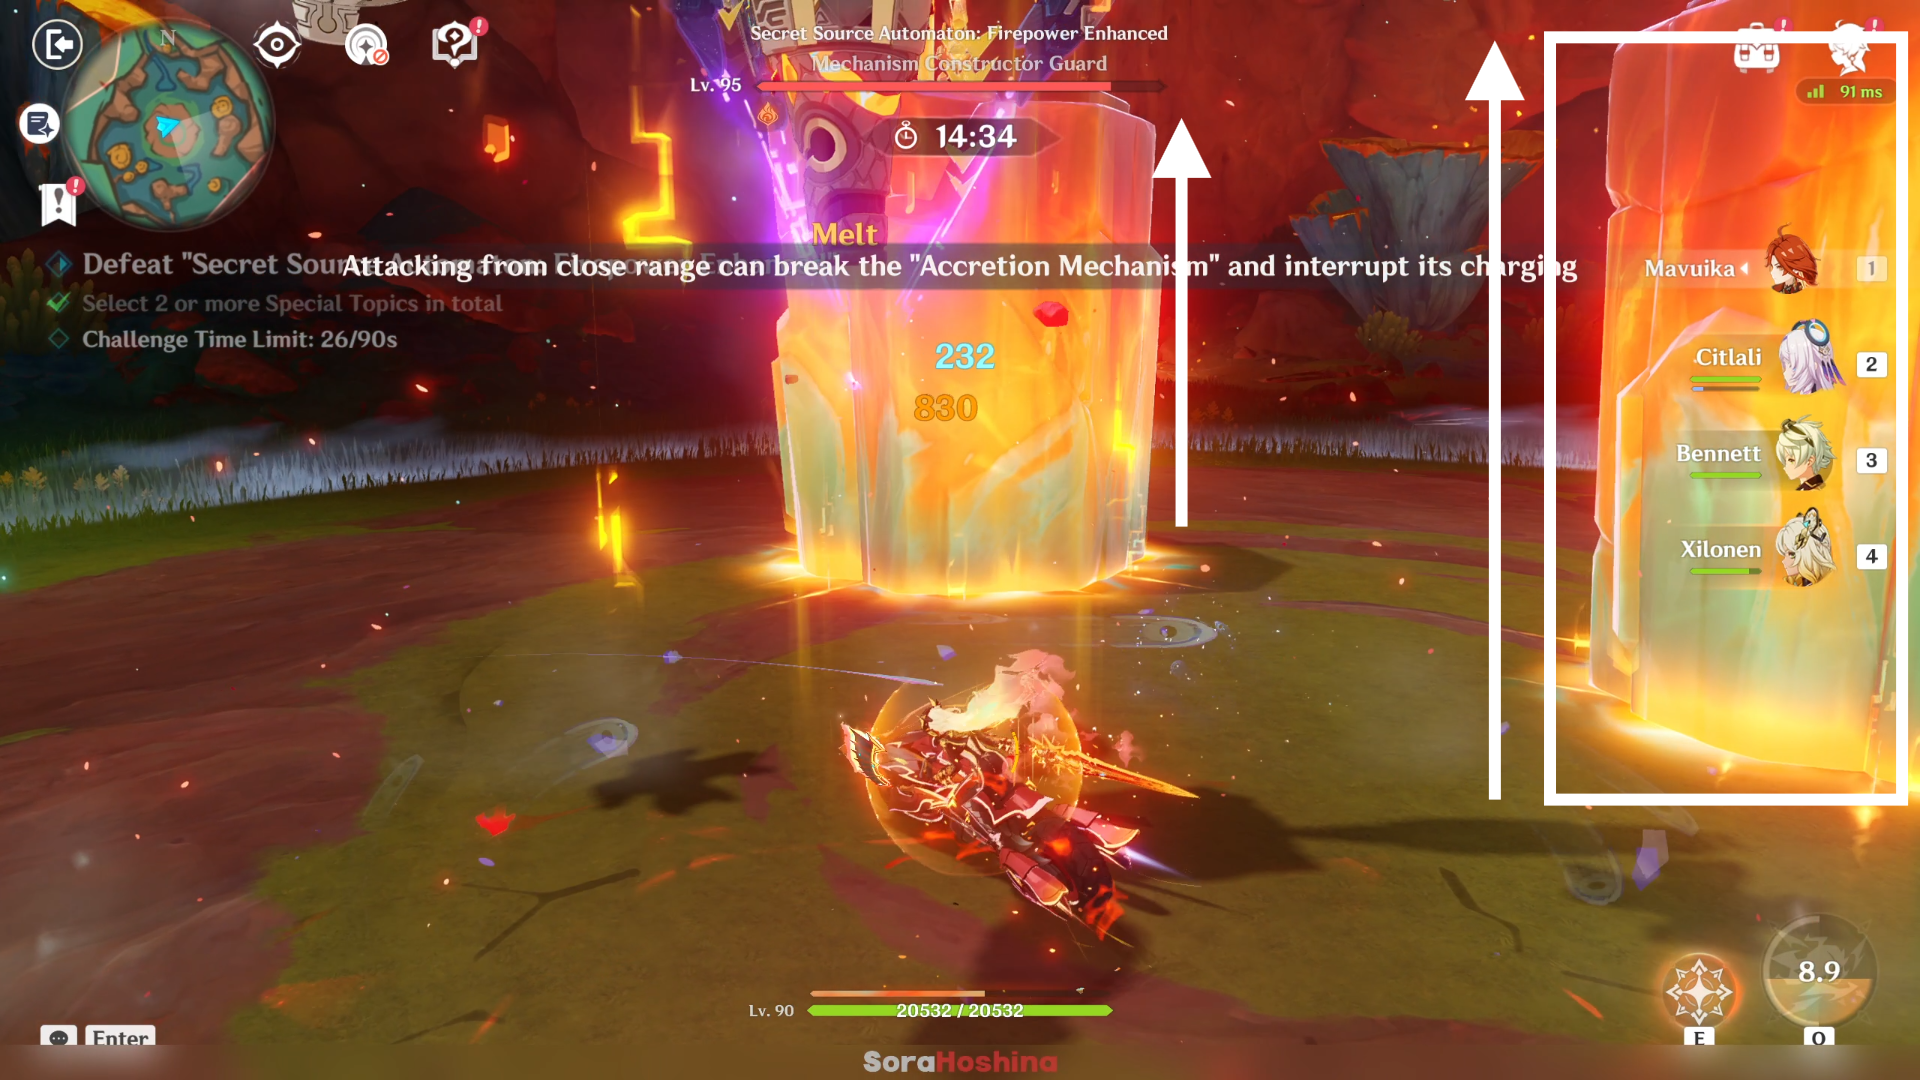
Enhances Accretion Mechanism by increasing the height of excavated solid Phlogiston pillars.
➥ The easiest Research Topic and you should choose this one since it does not increase the boss' stat at all. As long as you have suitable Natlan character (Mavuika, Xilonen, Kachina), this topic is pretty much non-existent.
Research Topic: Area Obliteration Cannon ⭐
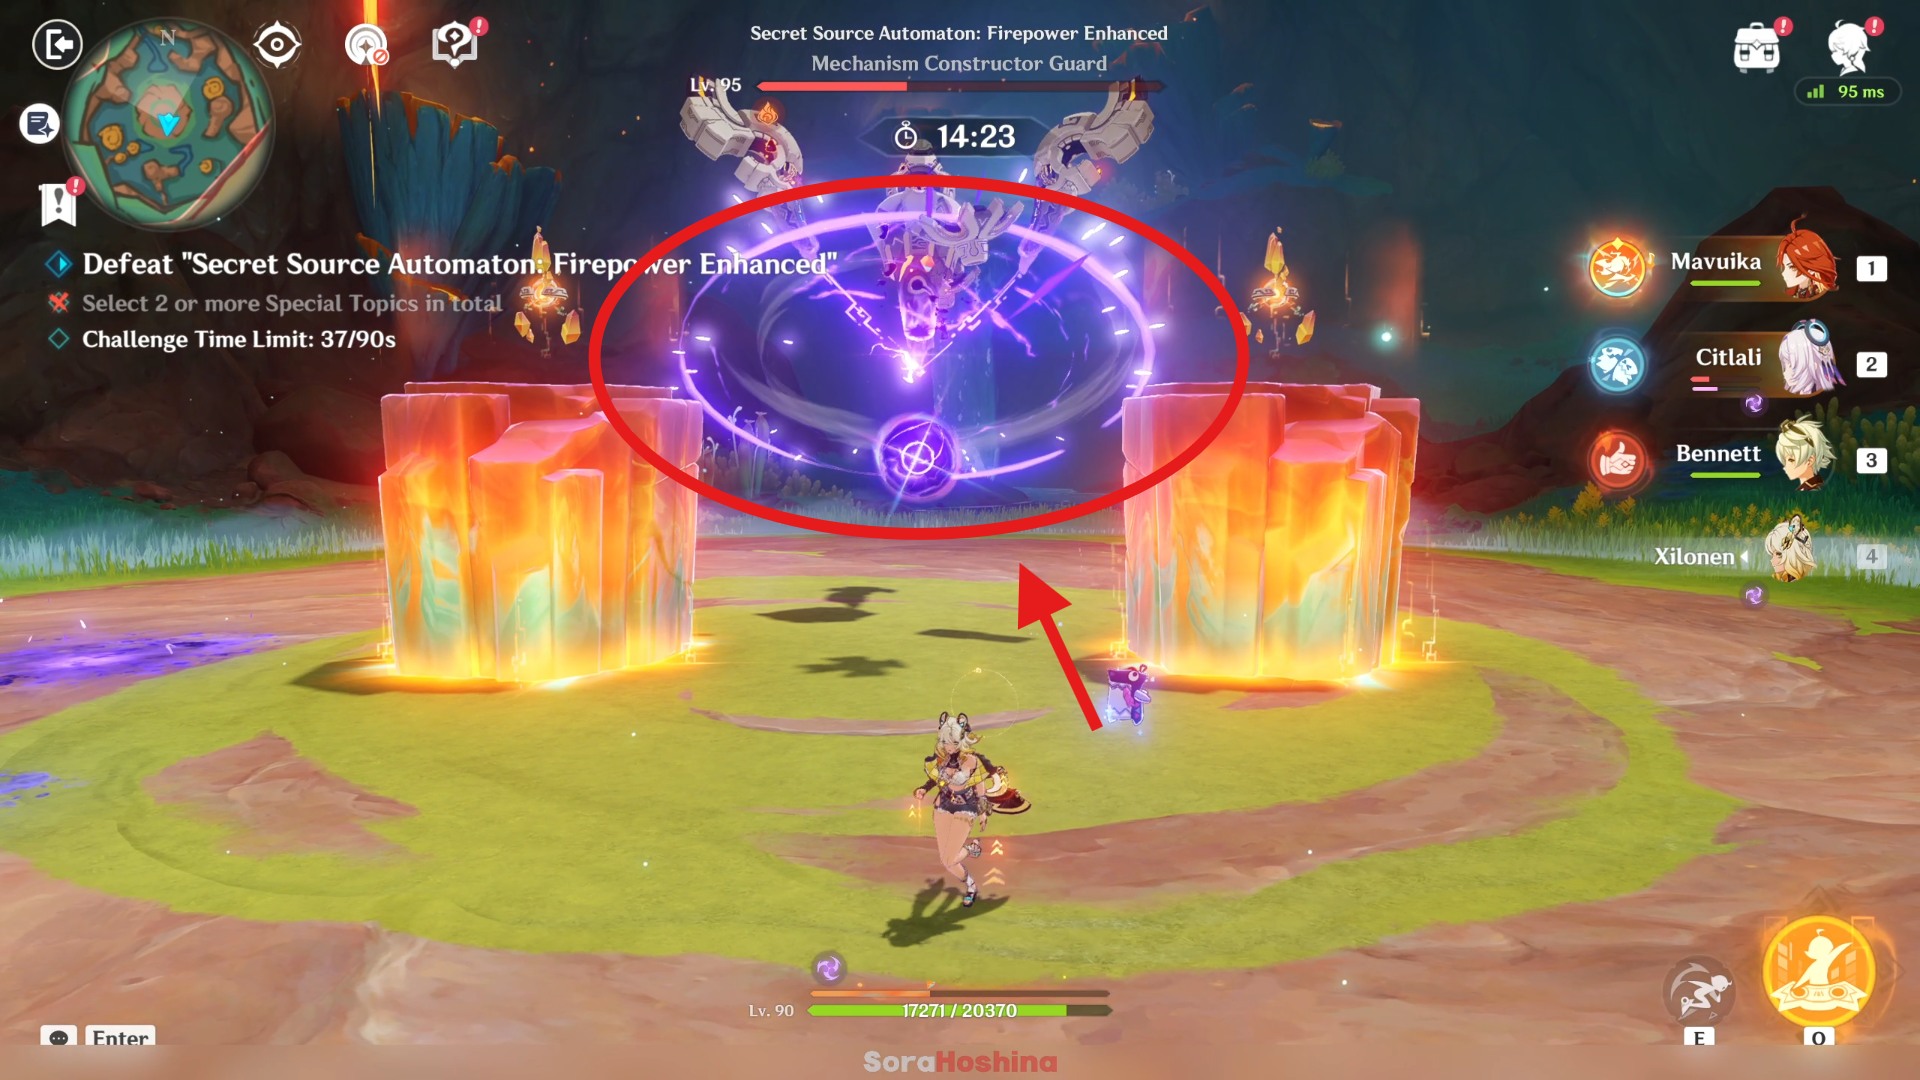
Enhances Boltsphere Cannon so that it downs all characters currently on the field. Additionally, while Boltsphere Cannon is being charged up, Secret Source Automaton: Firepower Enhanced's Physical and All Elemental RES will be increased.
➥ Okay so cmiiw, when it mentioned 'down all characters', I believe it meant that the boss' Ultimate attack will kill all characters on the field (if you're alone; your active character will die, if you're in Co-Op; your active character and friend's active character will die) and you can't i-frame out of this (both by dodging or using Ultimate).
➥ While the second one is straight to the point, when the boss is charging, it's Physical and All Elemental RES will be increased. This topic is a bit difficult but not THAT bad because both the buff (for the boss) will only occur when it's charging for Boltsphere Cannon. As long as you can destroy the two Phlogiston pillar before the boss is using it's Ultimate, you should be good.
Research Topic: Max Power Test
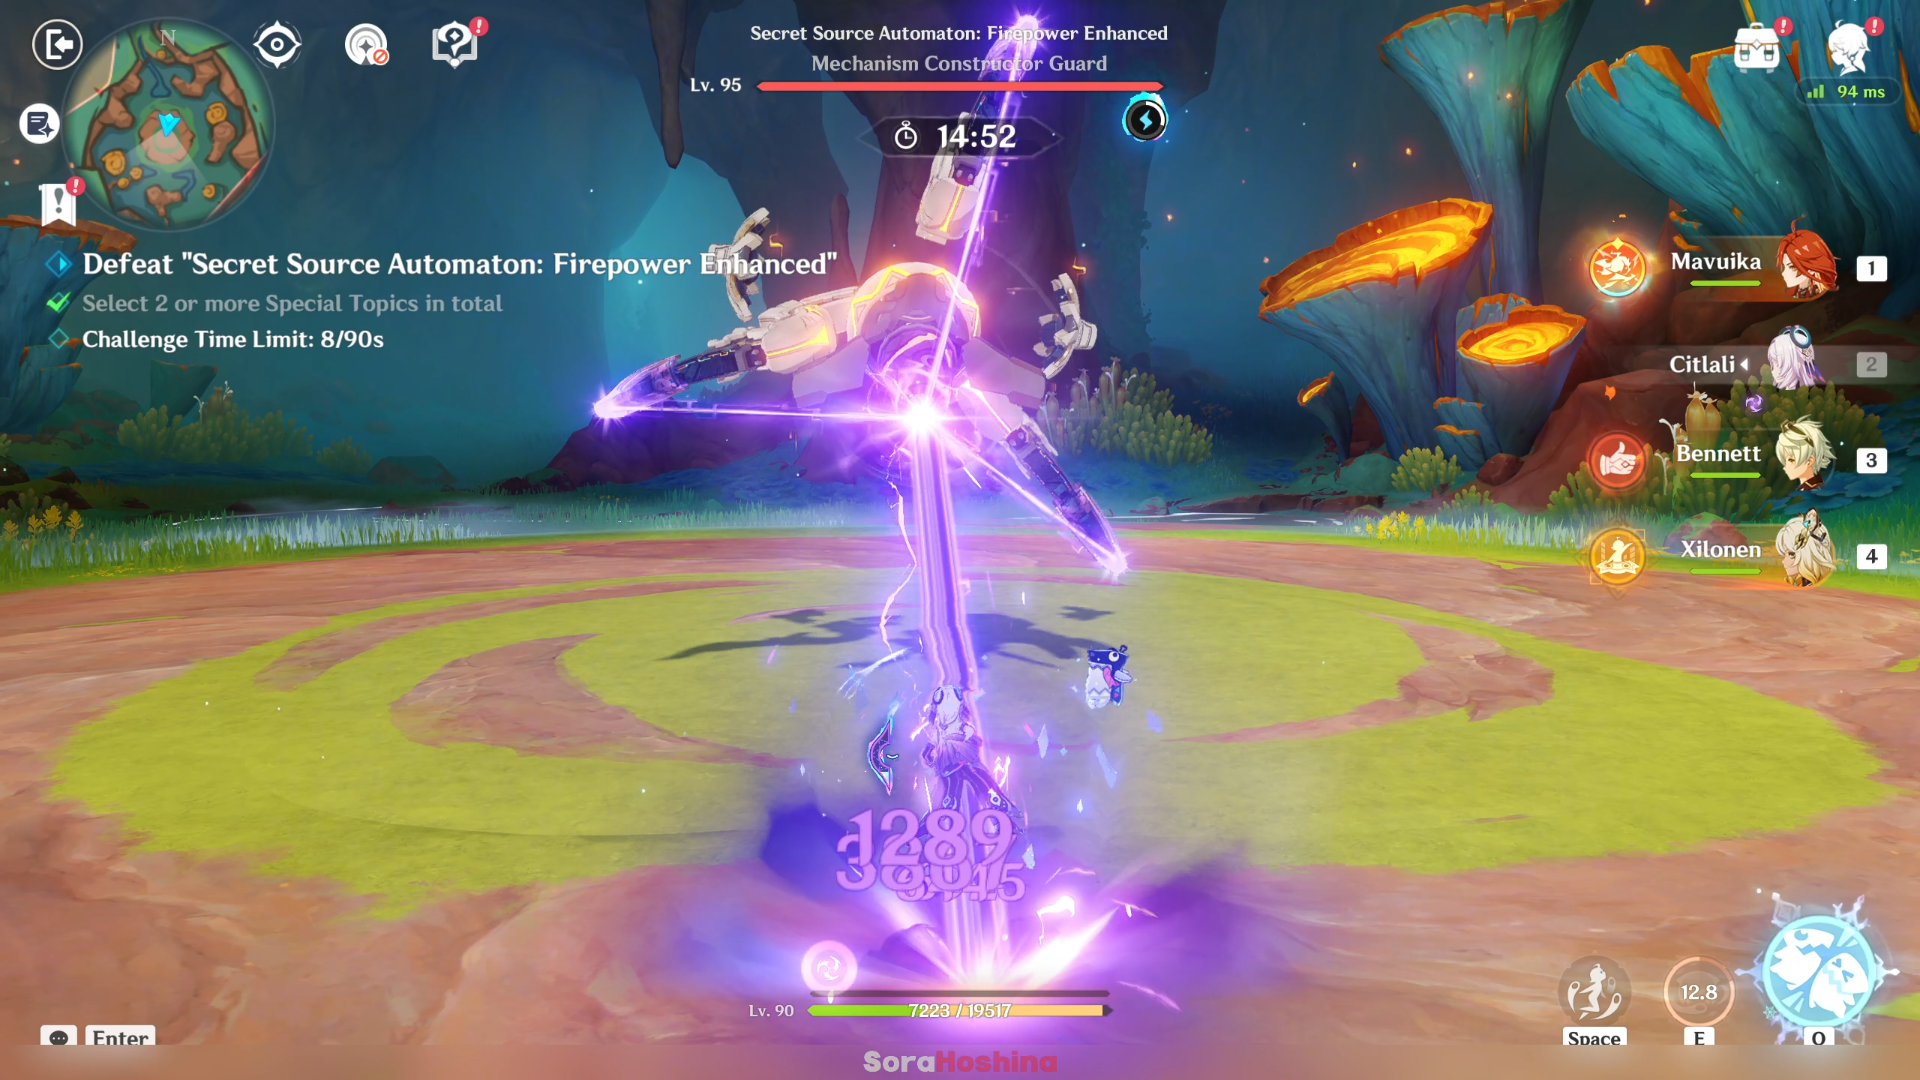
Increases Secret Source Automaton: Firepower Enhanced's ATK by 120%.
➥ Straightforward buff for the boss where it's ATK is pretty much double than usual. Unless you have an extremely strong shield, one hit from this boss may one-shot your character, especially if they're squishy. A dangerous topic if you're not good at avoiding attacks from the boss.
Research Topic: Sweeper Cannon
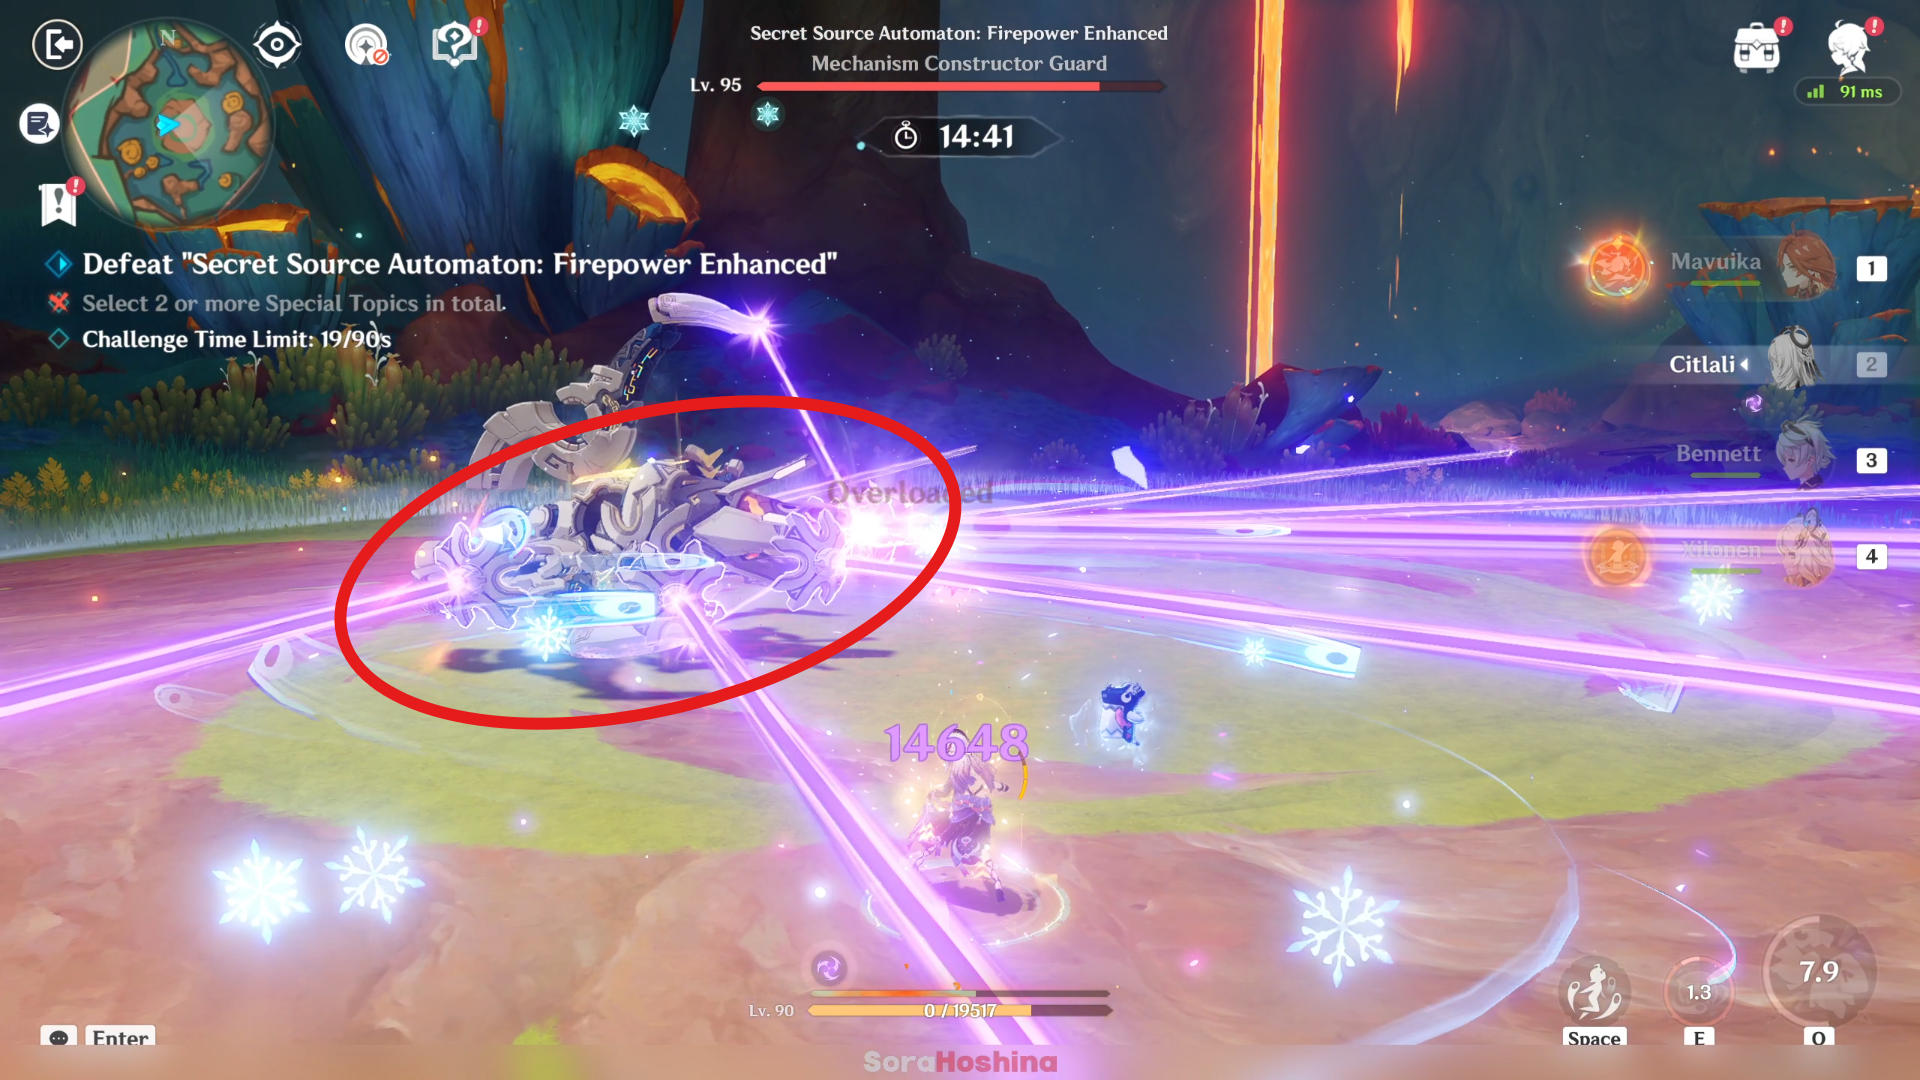
During the challenge, Secret Source Automaton: Firepower Enhanced will use its rear section to absorb phlogiston directly, creating an Active Phlogiston Zone and performing a cone-shaped Sweeper Cannon attack.
While within the Active Phlogiston Zone, characters will continuously replenish phlogiston.
➥ In short, the boss will get one new move which is very lethal and also have a wide AoE as you can see in the image above. It has 180 degree of coverage and since the laser beams are near each other, your character can easily got hit multiple times with no chance of avoiding if you're in the line of sight.
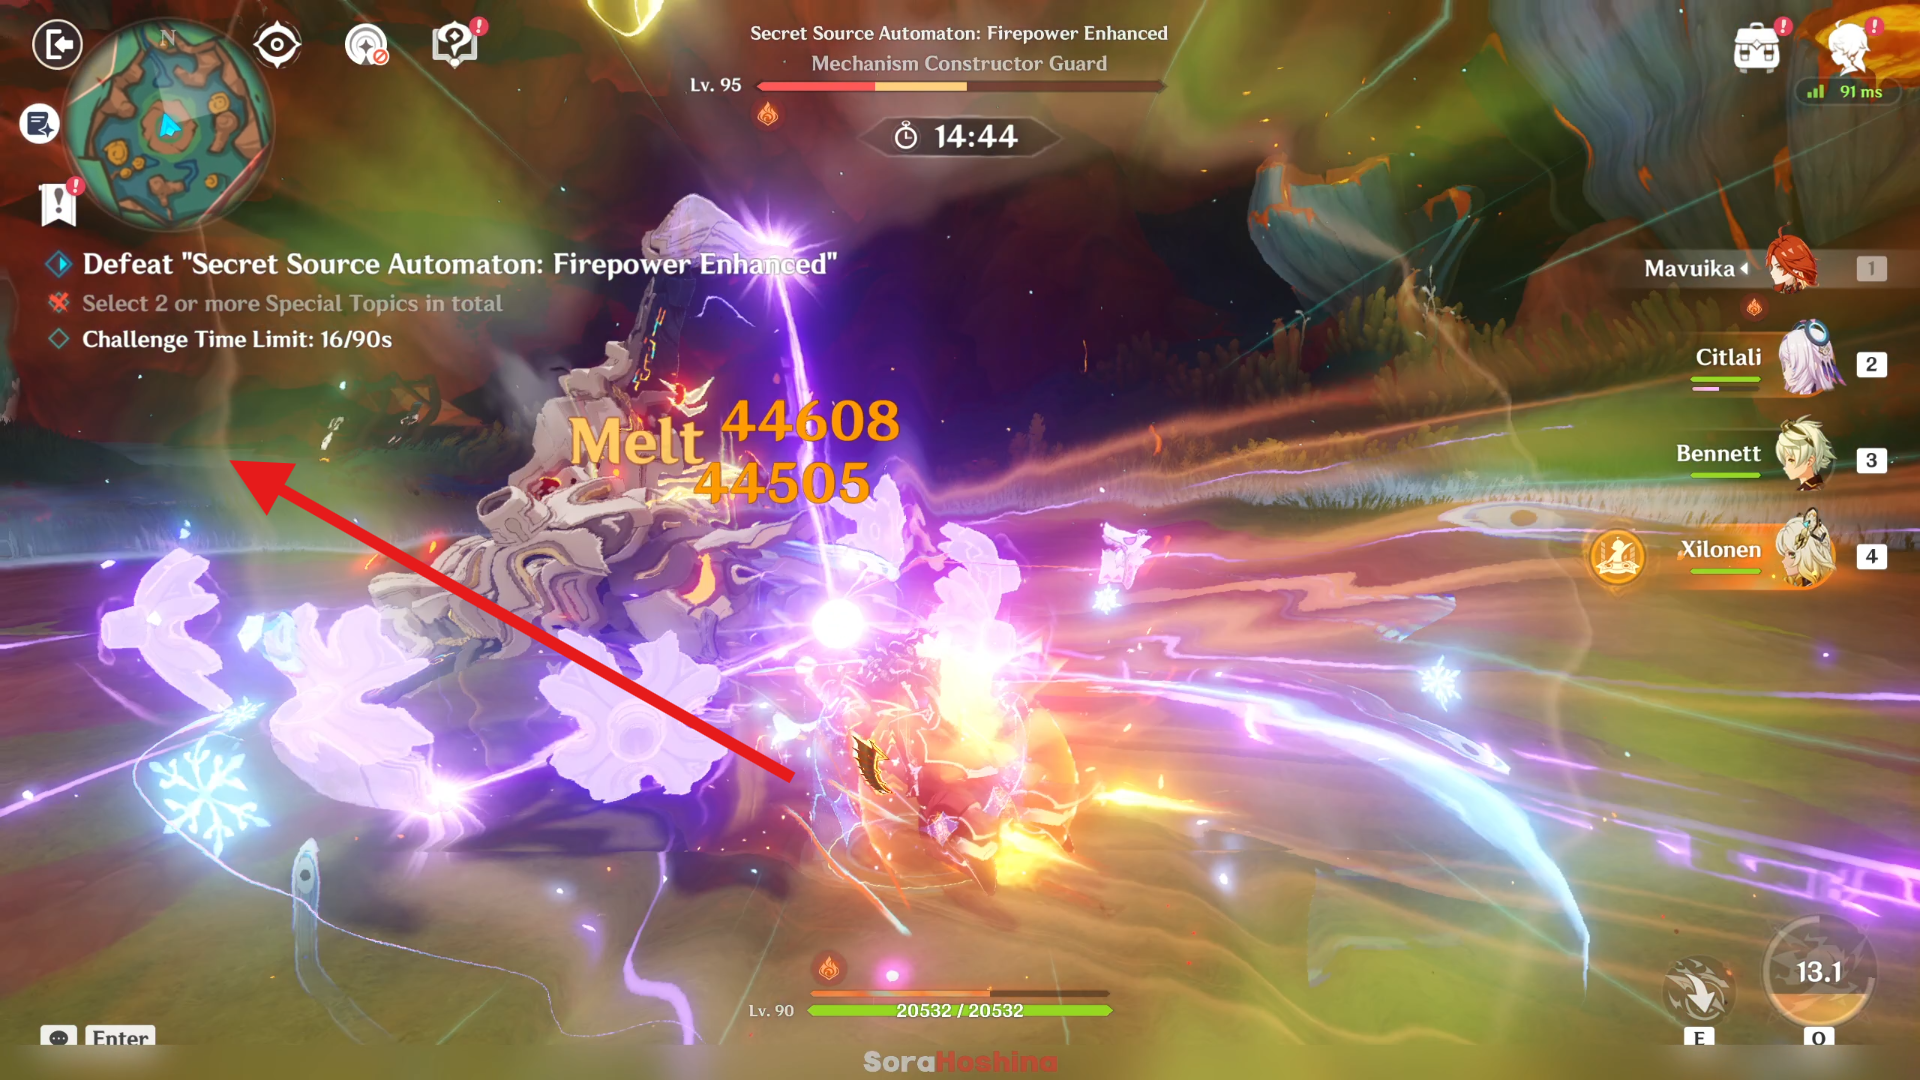
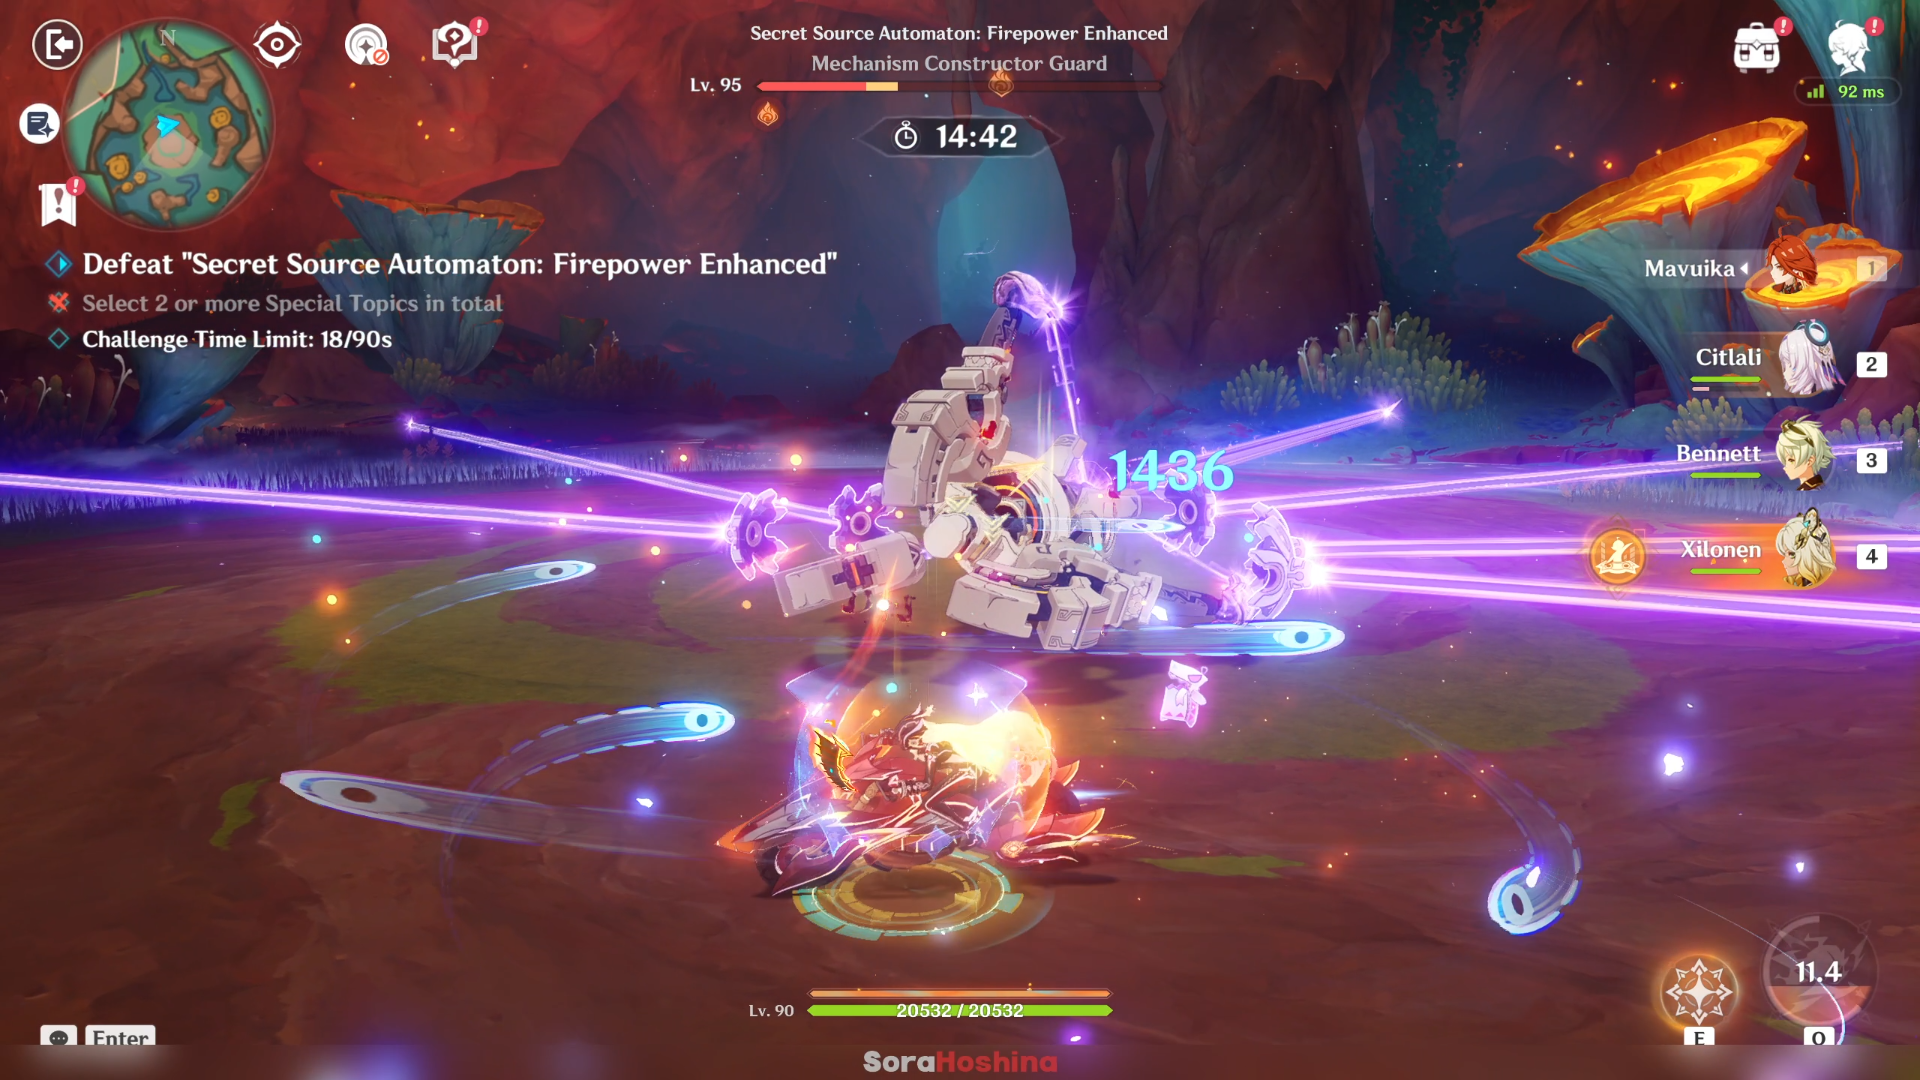
On the bright side, once you see the boss trying to use this move, you need to immediately go to the back side of the boss where the laser beams won't be constructed and move along there until this attack ended so you won't get hit. During this move, your character will continuously gain Phlogiston so if you bring any Natlan characters with great mobility, it's best to use them to sprint/float.
Video Showcase
Stage 2 | Why Did the Ancients Craft Stone Statues?
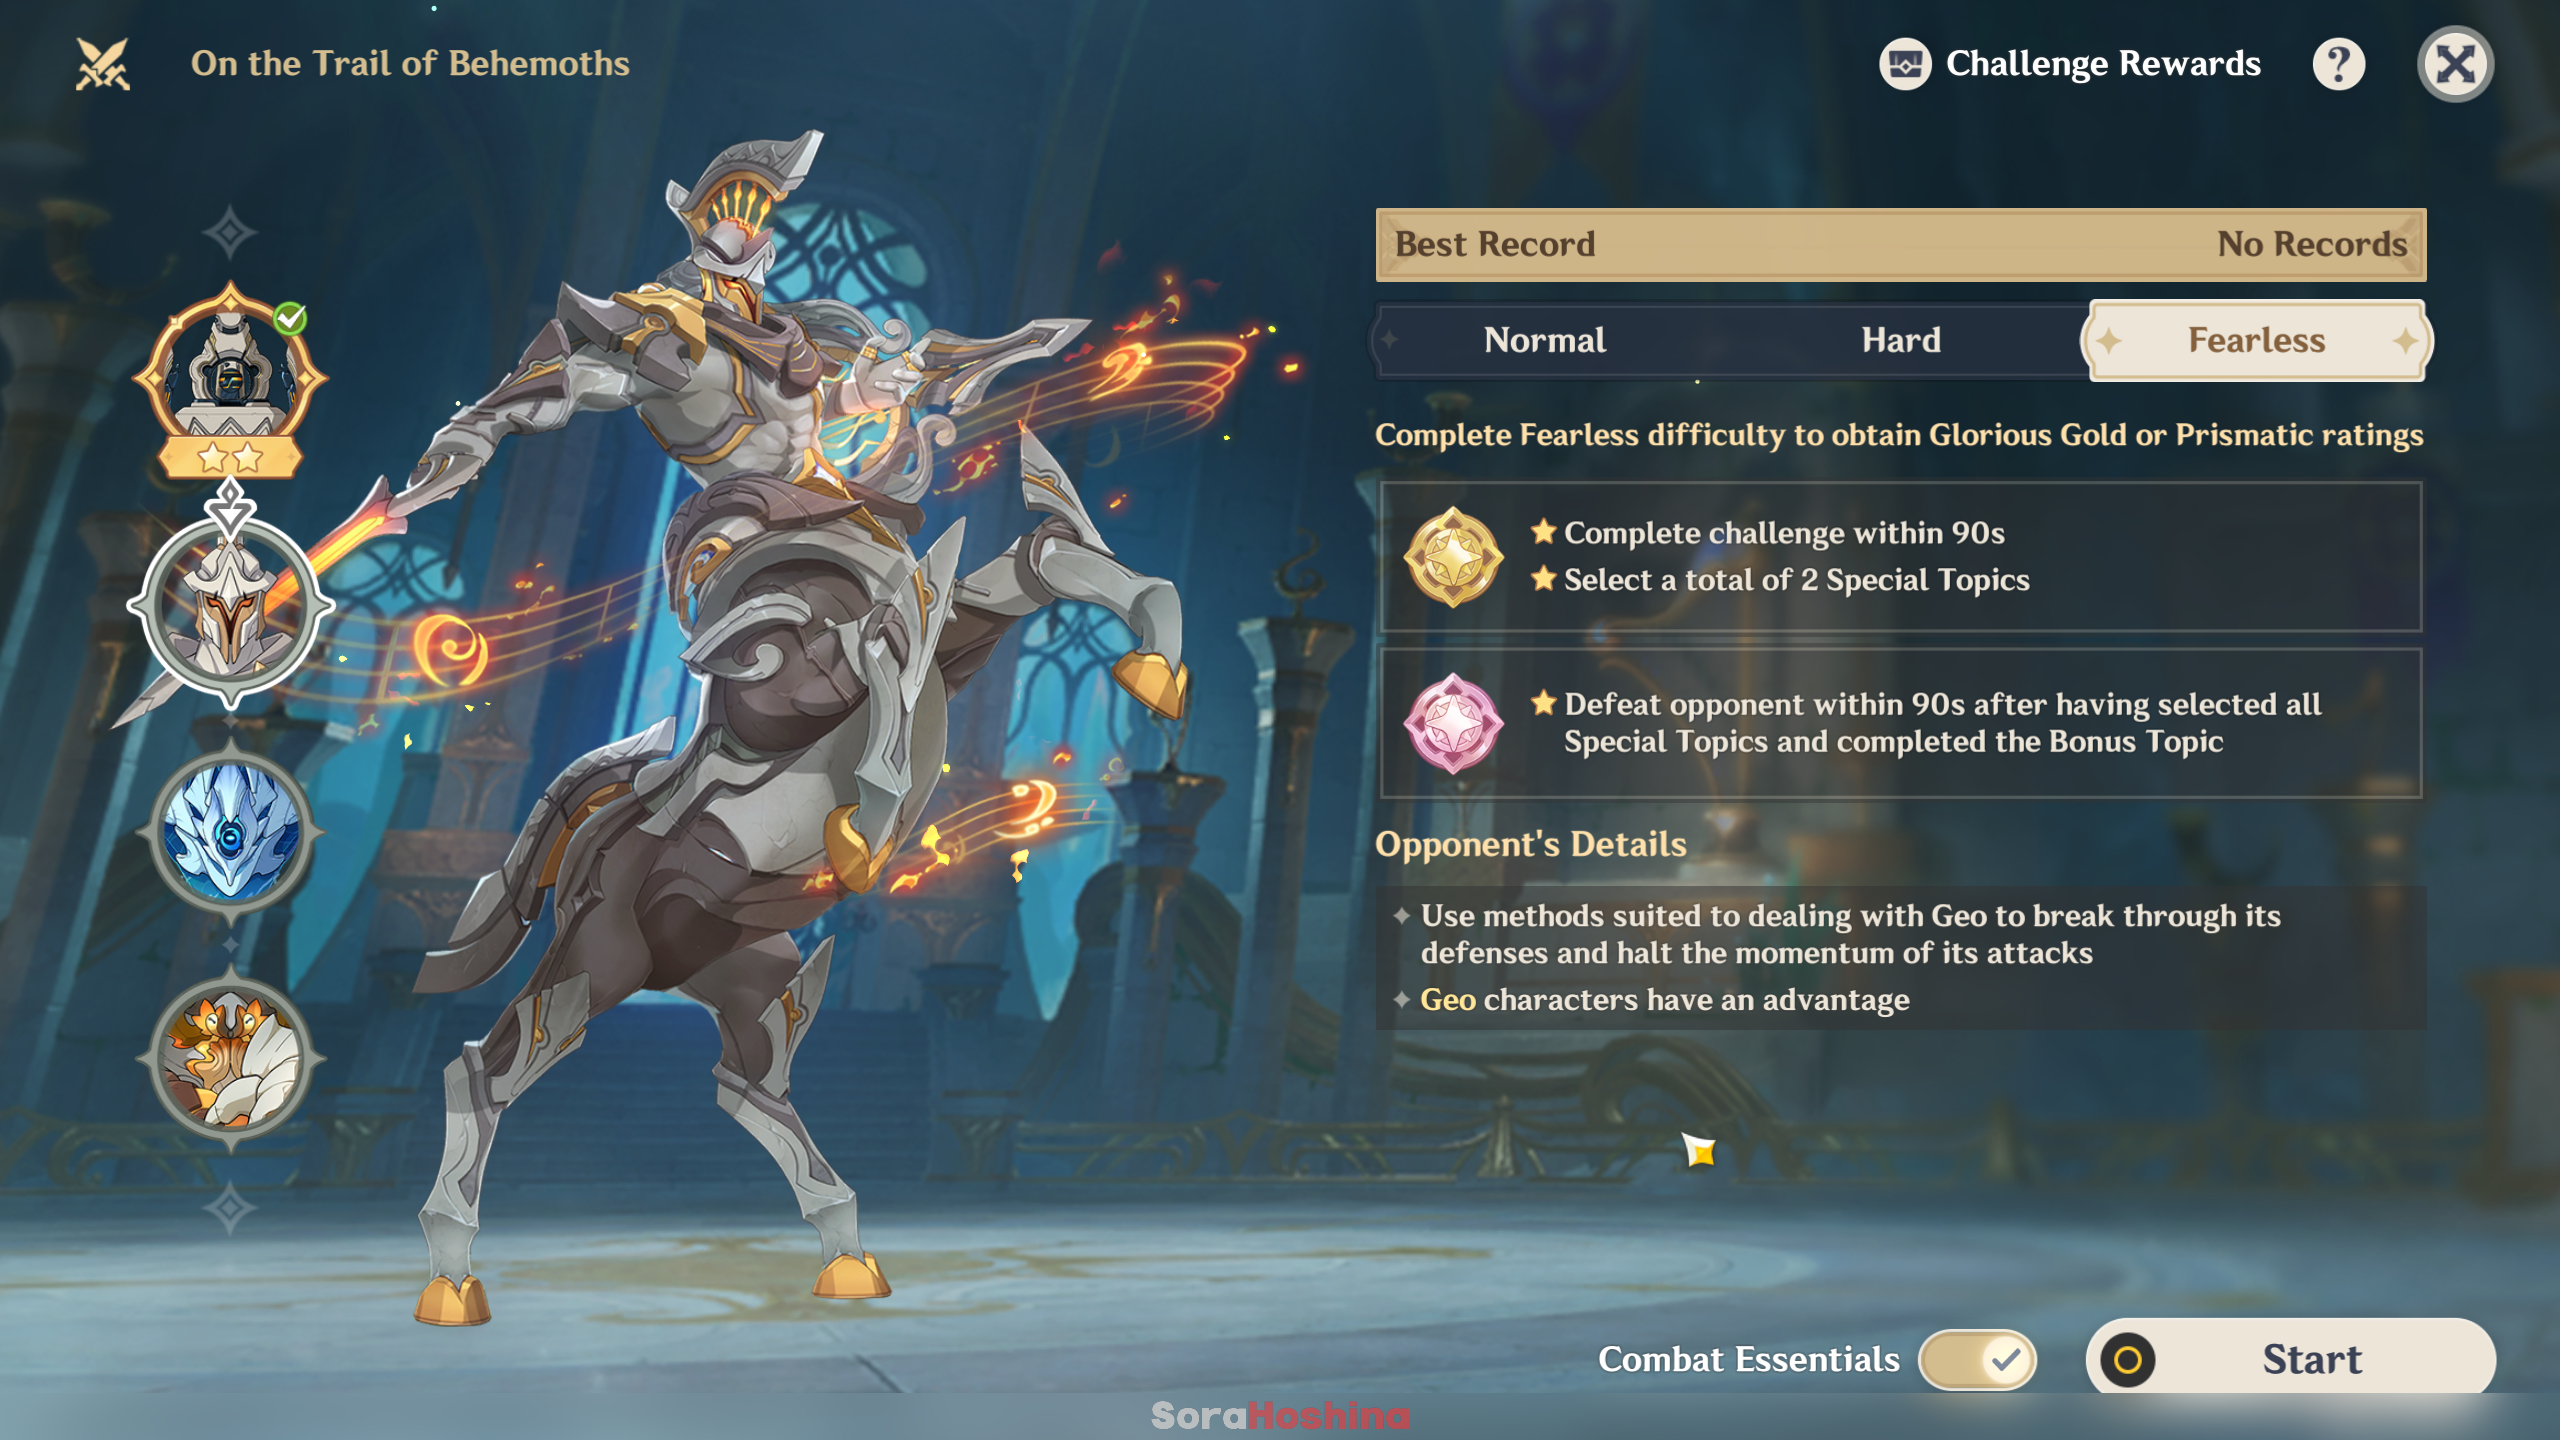
| Difficulty | Requirements |
|---|---|
 | ★ Complete challenge within 360s |
 | ★ Complete challenge within 210s Complete this challenge to get all Primogem rewards |
 | ★ Complete challenge within 90s ★ Select a total of 2 Special Topics Complete this challenge to get every rewards |
 | ★ Defeat opponent within 90s after having selected all Special Topics and completed the Bonus Topic |
Team Recommendation
The Legatus Golem is protected by a Geo shield that increases its RES to all DMG by 60%. The shield is weakest against Blunt Attacks (Claymore/Plunging attacks/most Geo attacks). If the shield is destroyed, the Legatus Golem will become paralyzed for ~12 seconds before regaining its shield. While paralyzed, its RES to all DMG decreases by 80%. So, bring a suitable character who dealt Blunt Attacks so you'll have easier time destroying the Geo shield.
| No. | Characters |
|---|---|
| 1 | Navia + Xilonen + Bennett + Fischl |
| 2 | TBA |
Research Topic: Whitestone Resilience Test
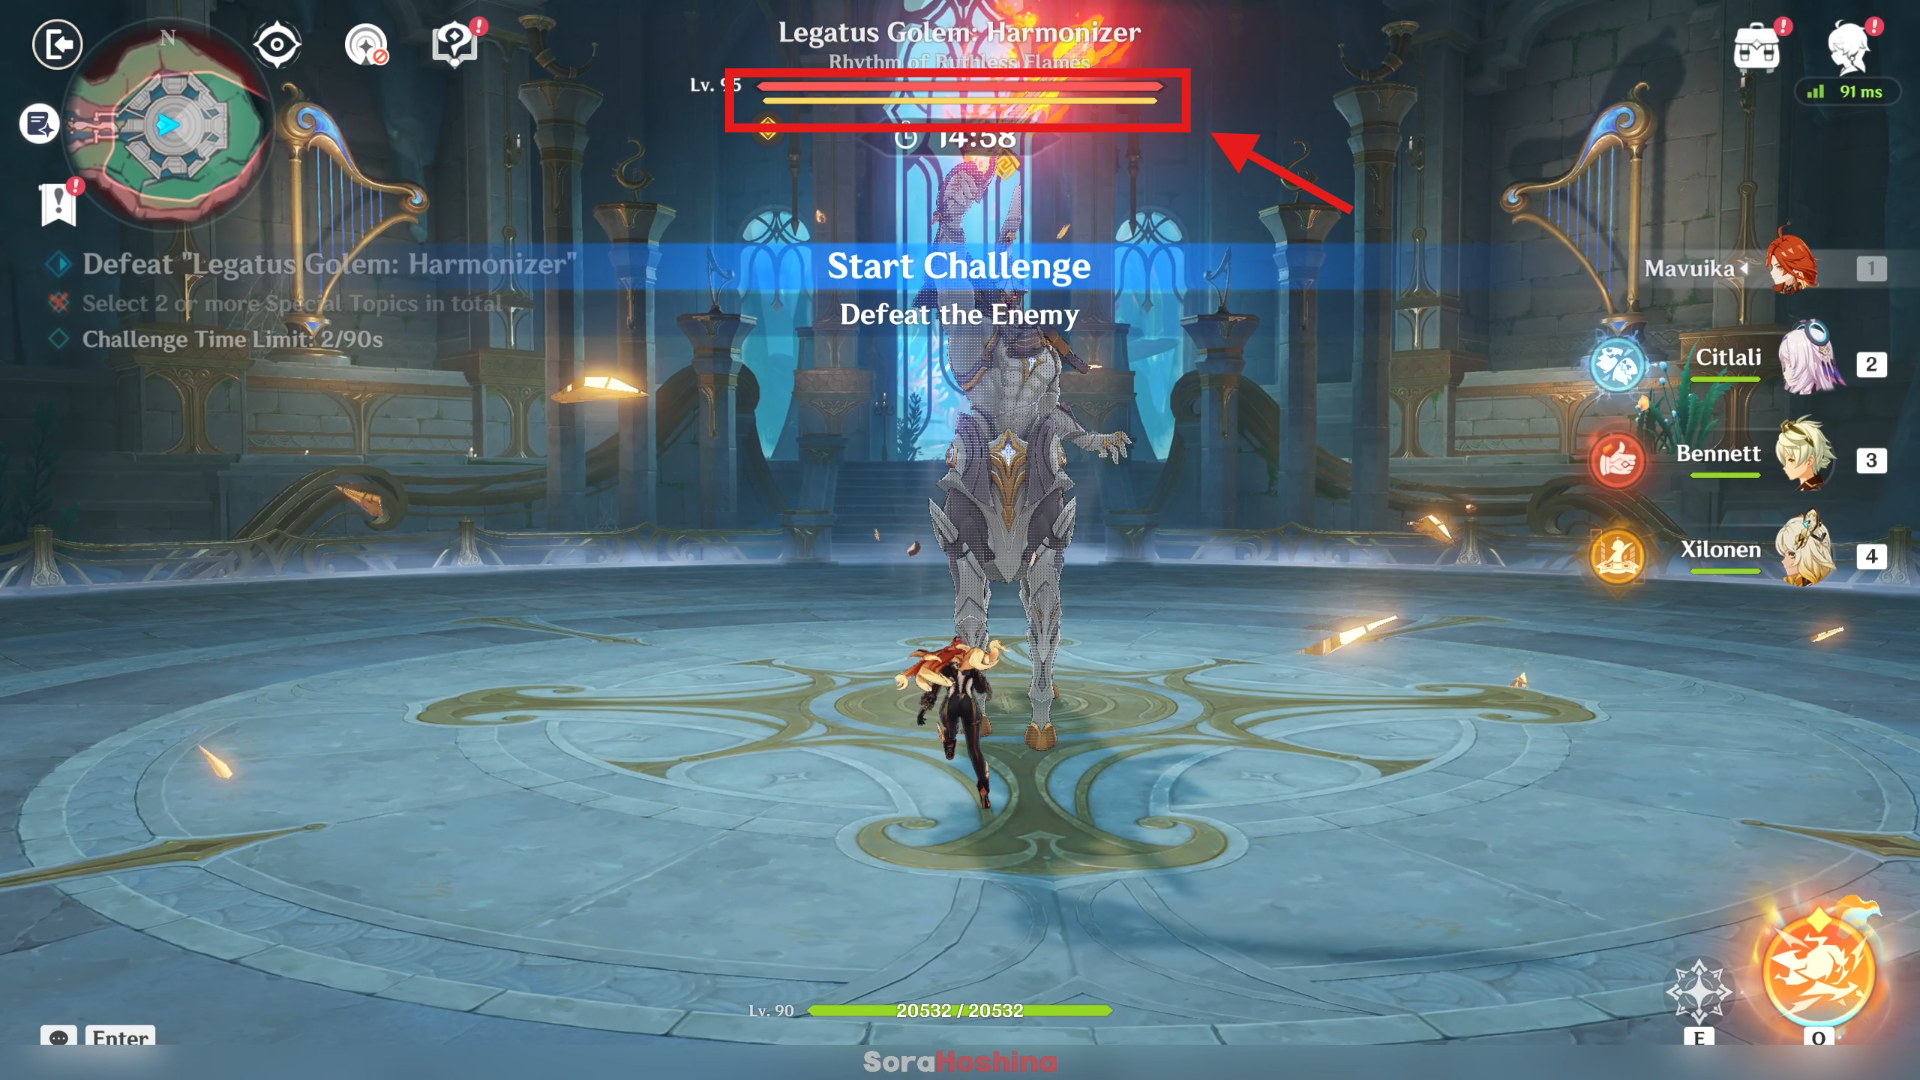
Legatus Golem: Harmonizer's Geo Ward will be harder to break. Additionally, while Legatus Golem: Harmonizer has a Geo Ward, its Physical and All Elemental RES will be increased.
➥ 'Geo Ward' is basically the boss' Geo shield. With this Topic, even with Claymore and Geo attacks, the shield bar will be harder to destroyed. While the second one will make the boss receive less damage while its Geo Ward is available because of the Physical and All Elemental RES.
Not a Research Topic that I'm fond of since even without this topic, the shield is already a bit tanky even with Geo & Claymore attacks.
Research Topic: Repair Function Survey ⭐
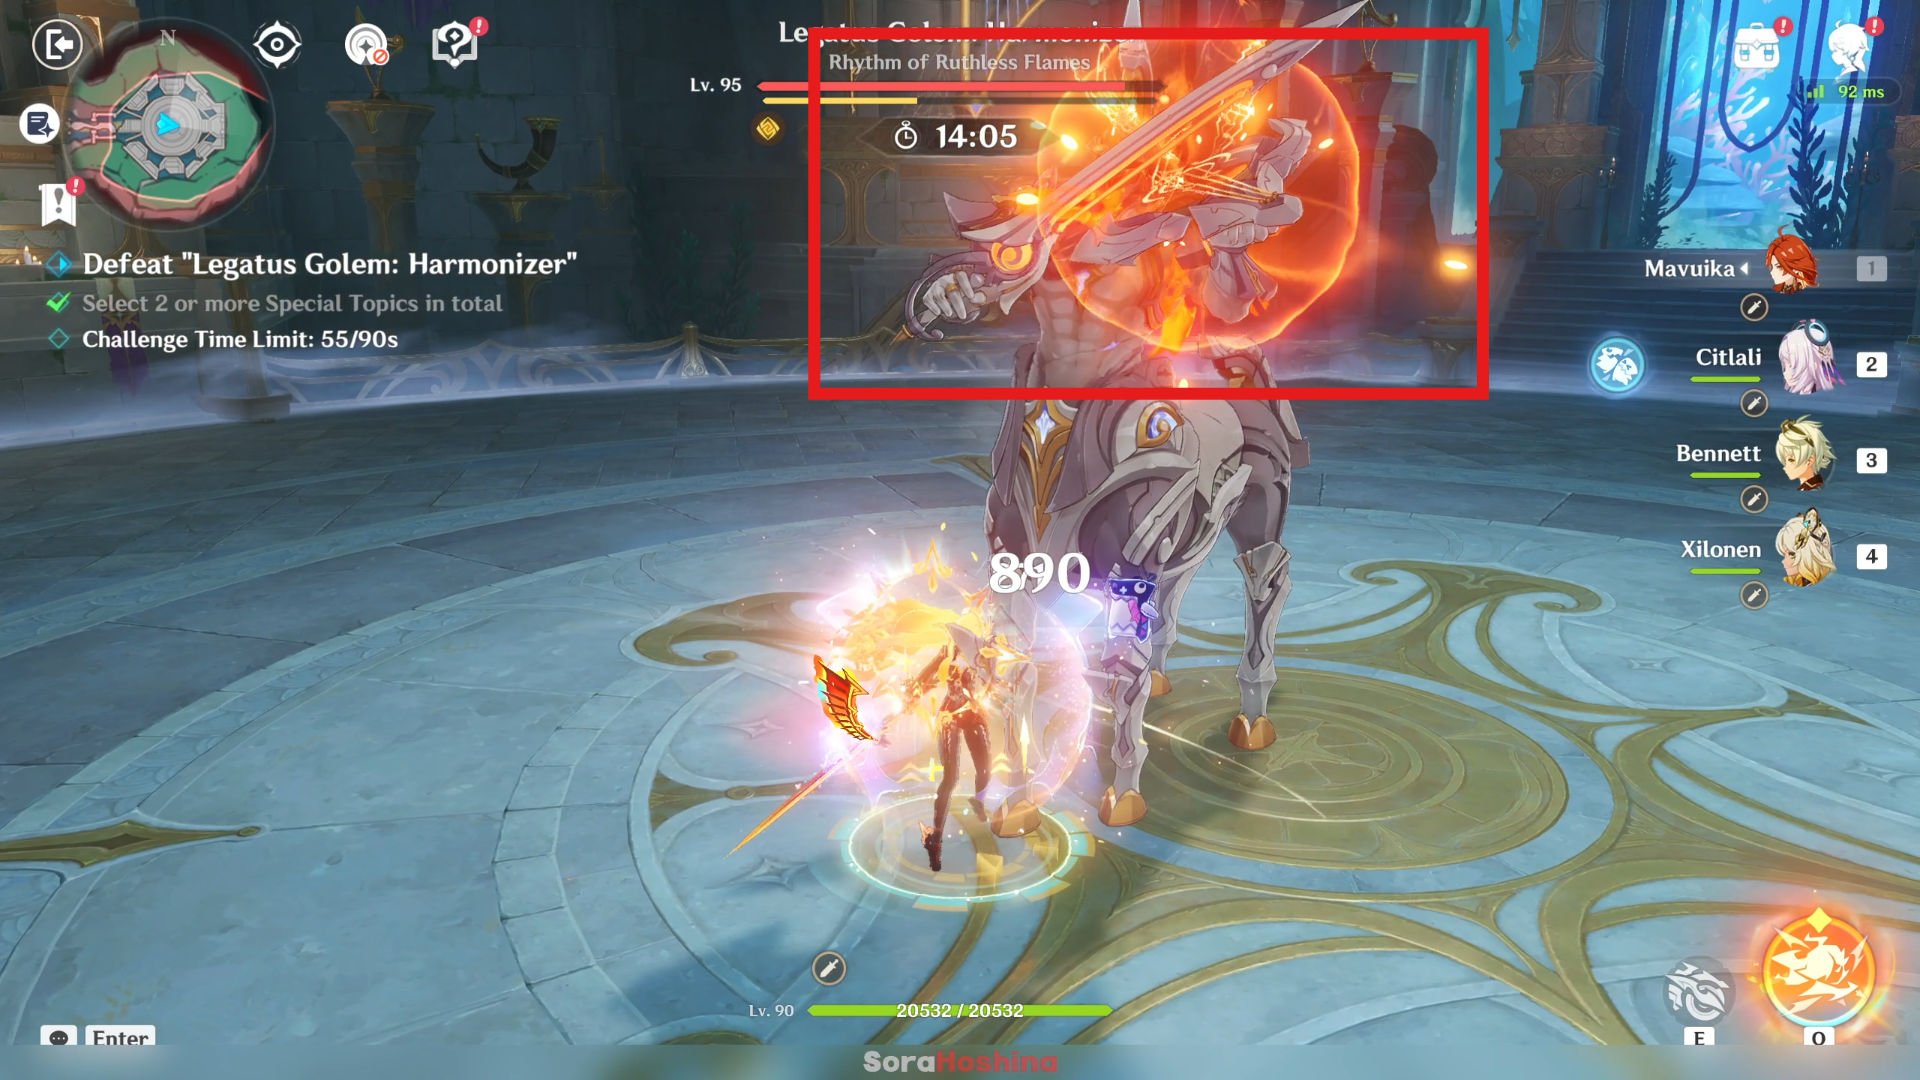
When Legatus Golem: Harmonizer's Geo Ward is about to be broken, it will begin its solo performance and start continuously restoring its Ward.
➥ When the Geo shield is less than half (or around 40%), the boss will return to the center of arena - sometimes not - and start playing its musical instrument. This will allow it to restore the Geo shield bit by bit for ~12 seconds.
This topic is pretty bad when paired with Research Topic: Whitestone Resilience Test because the shield keep regenerating faster than you can destroy it. But if it's with other Research Topics, this one should still be bearable.
Research Topic: Max Output Test ⭐
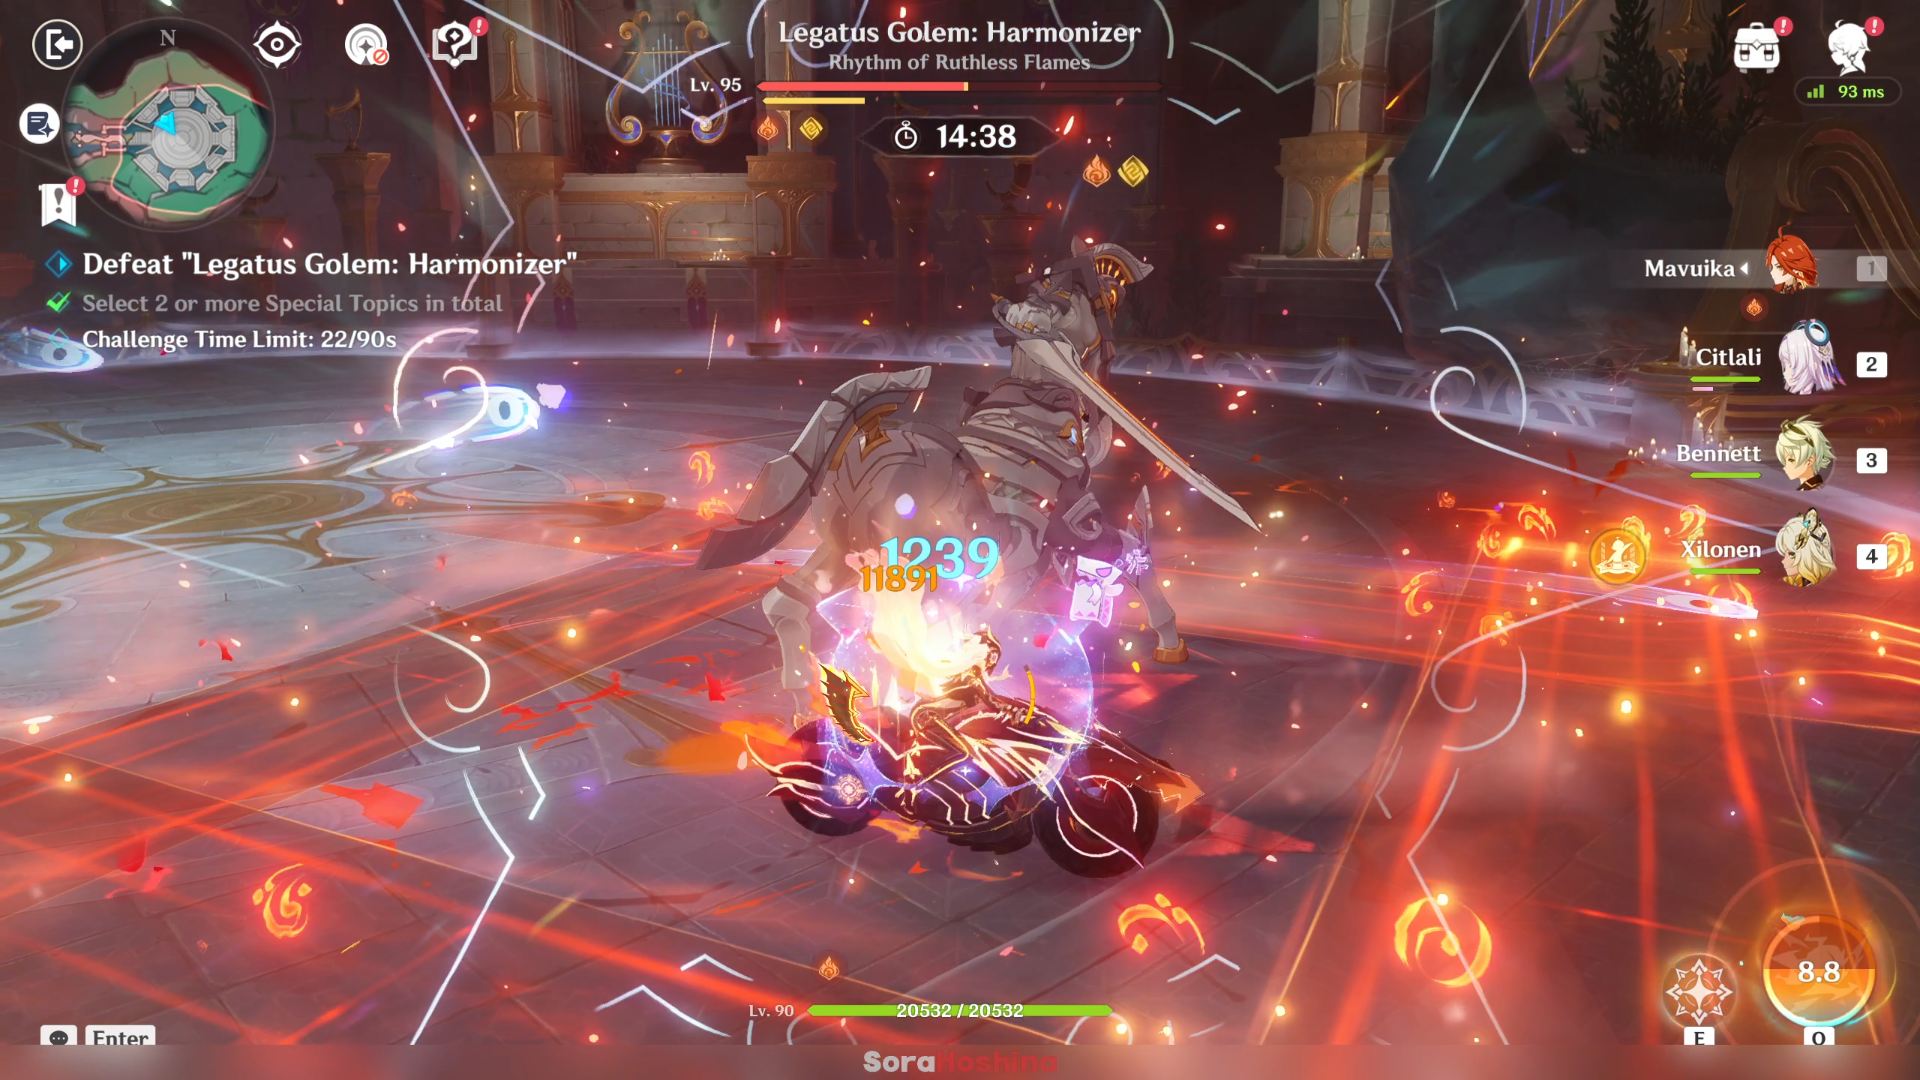
Increases Legatus Golem: Harmonizer's ATK by 120%.
➥ Straightforward buff for the boss where it's ATK is pretty much double than usual. For this boss, I think this Research Topic is a good choice because unlike the previous boss (Secret Source Automaton) who has wide range and rapid attacks, this boss' attack is much easier to spot and avoid. In addition, it also didn't attack back-to-back so you still have time to include some damage on your side.
Research Topic: Interconnected Resonance Equation
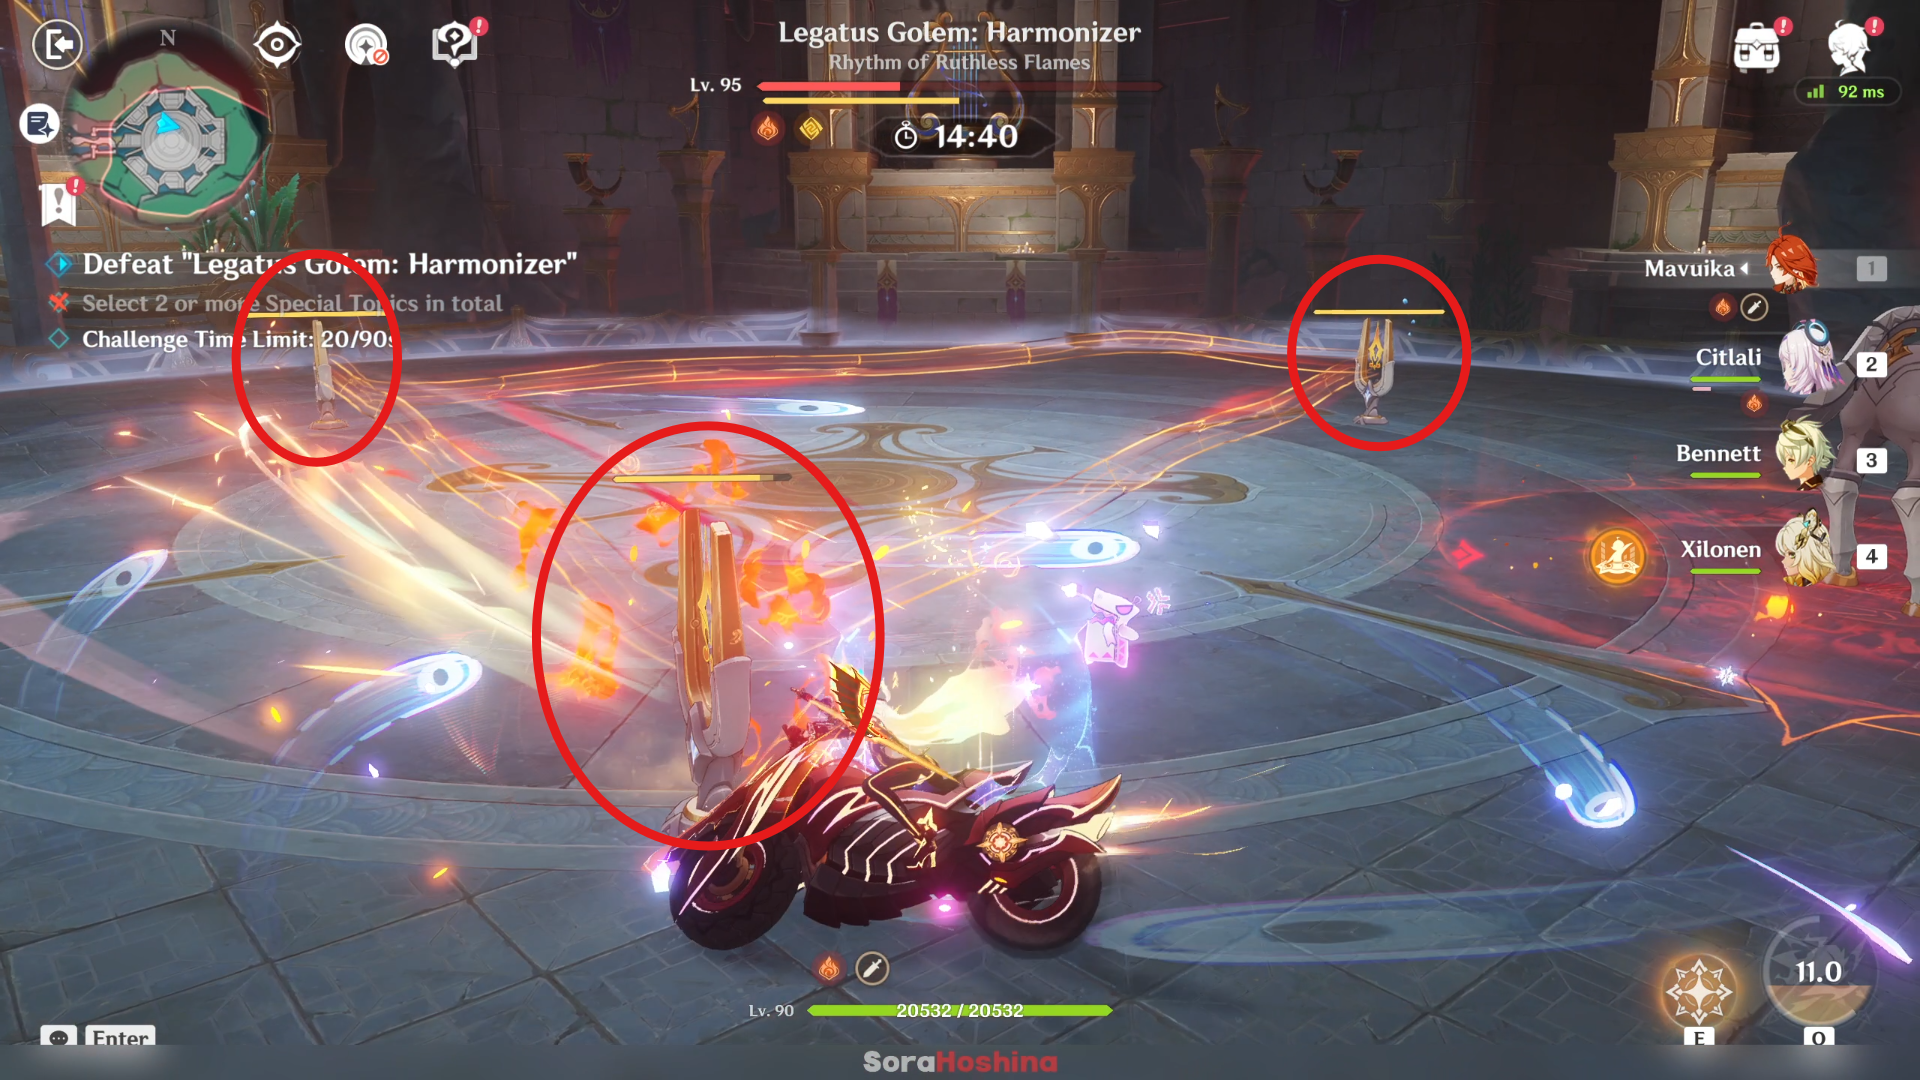
During the challenge, Legatus Golem: Harmonizer will simultaneously set up 3 interconnected resonators in combat that will assist its attacks. When a single resonator is destroyed, it will gradually repair itself by drawing upon the resonance of the remaining resonators. If all three resonators are destroyed, Legatus Golem: Harmonizer will take massive DMG and its Ward will be greatly reduced.
➥ This topic will now create 3 resonators and if one of them is destroyed, it will repair itself if there are any resonator left on the field. Not a very good topic to choose becauce you only have ~15 seconds to destroy these 3 resonators which are far from each other so you're wasting your time even by sprinting to them. The damage receive by the boss if the 3 resonators are destroyed is okay, not that 'massive.'
Video Showcase
Stage 3 | Why Does the Water Have a Will of Its Own?
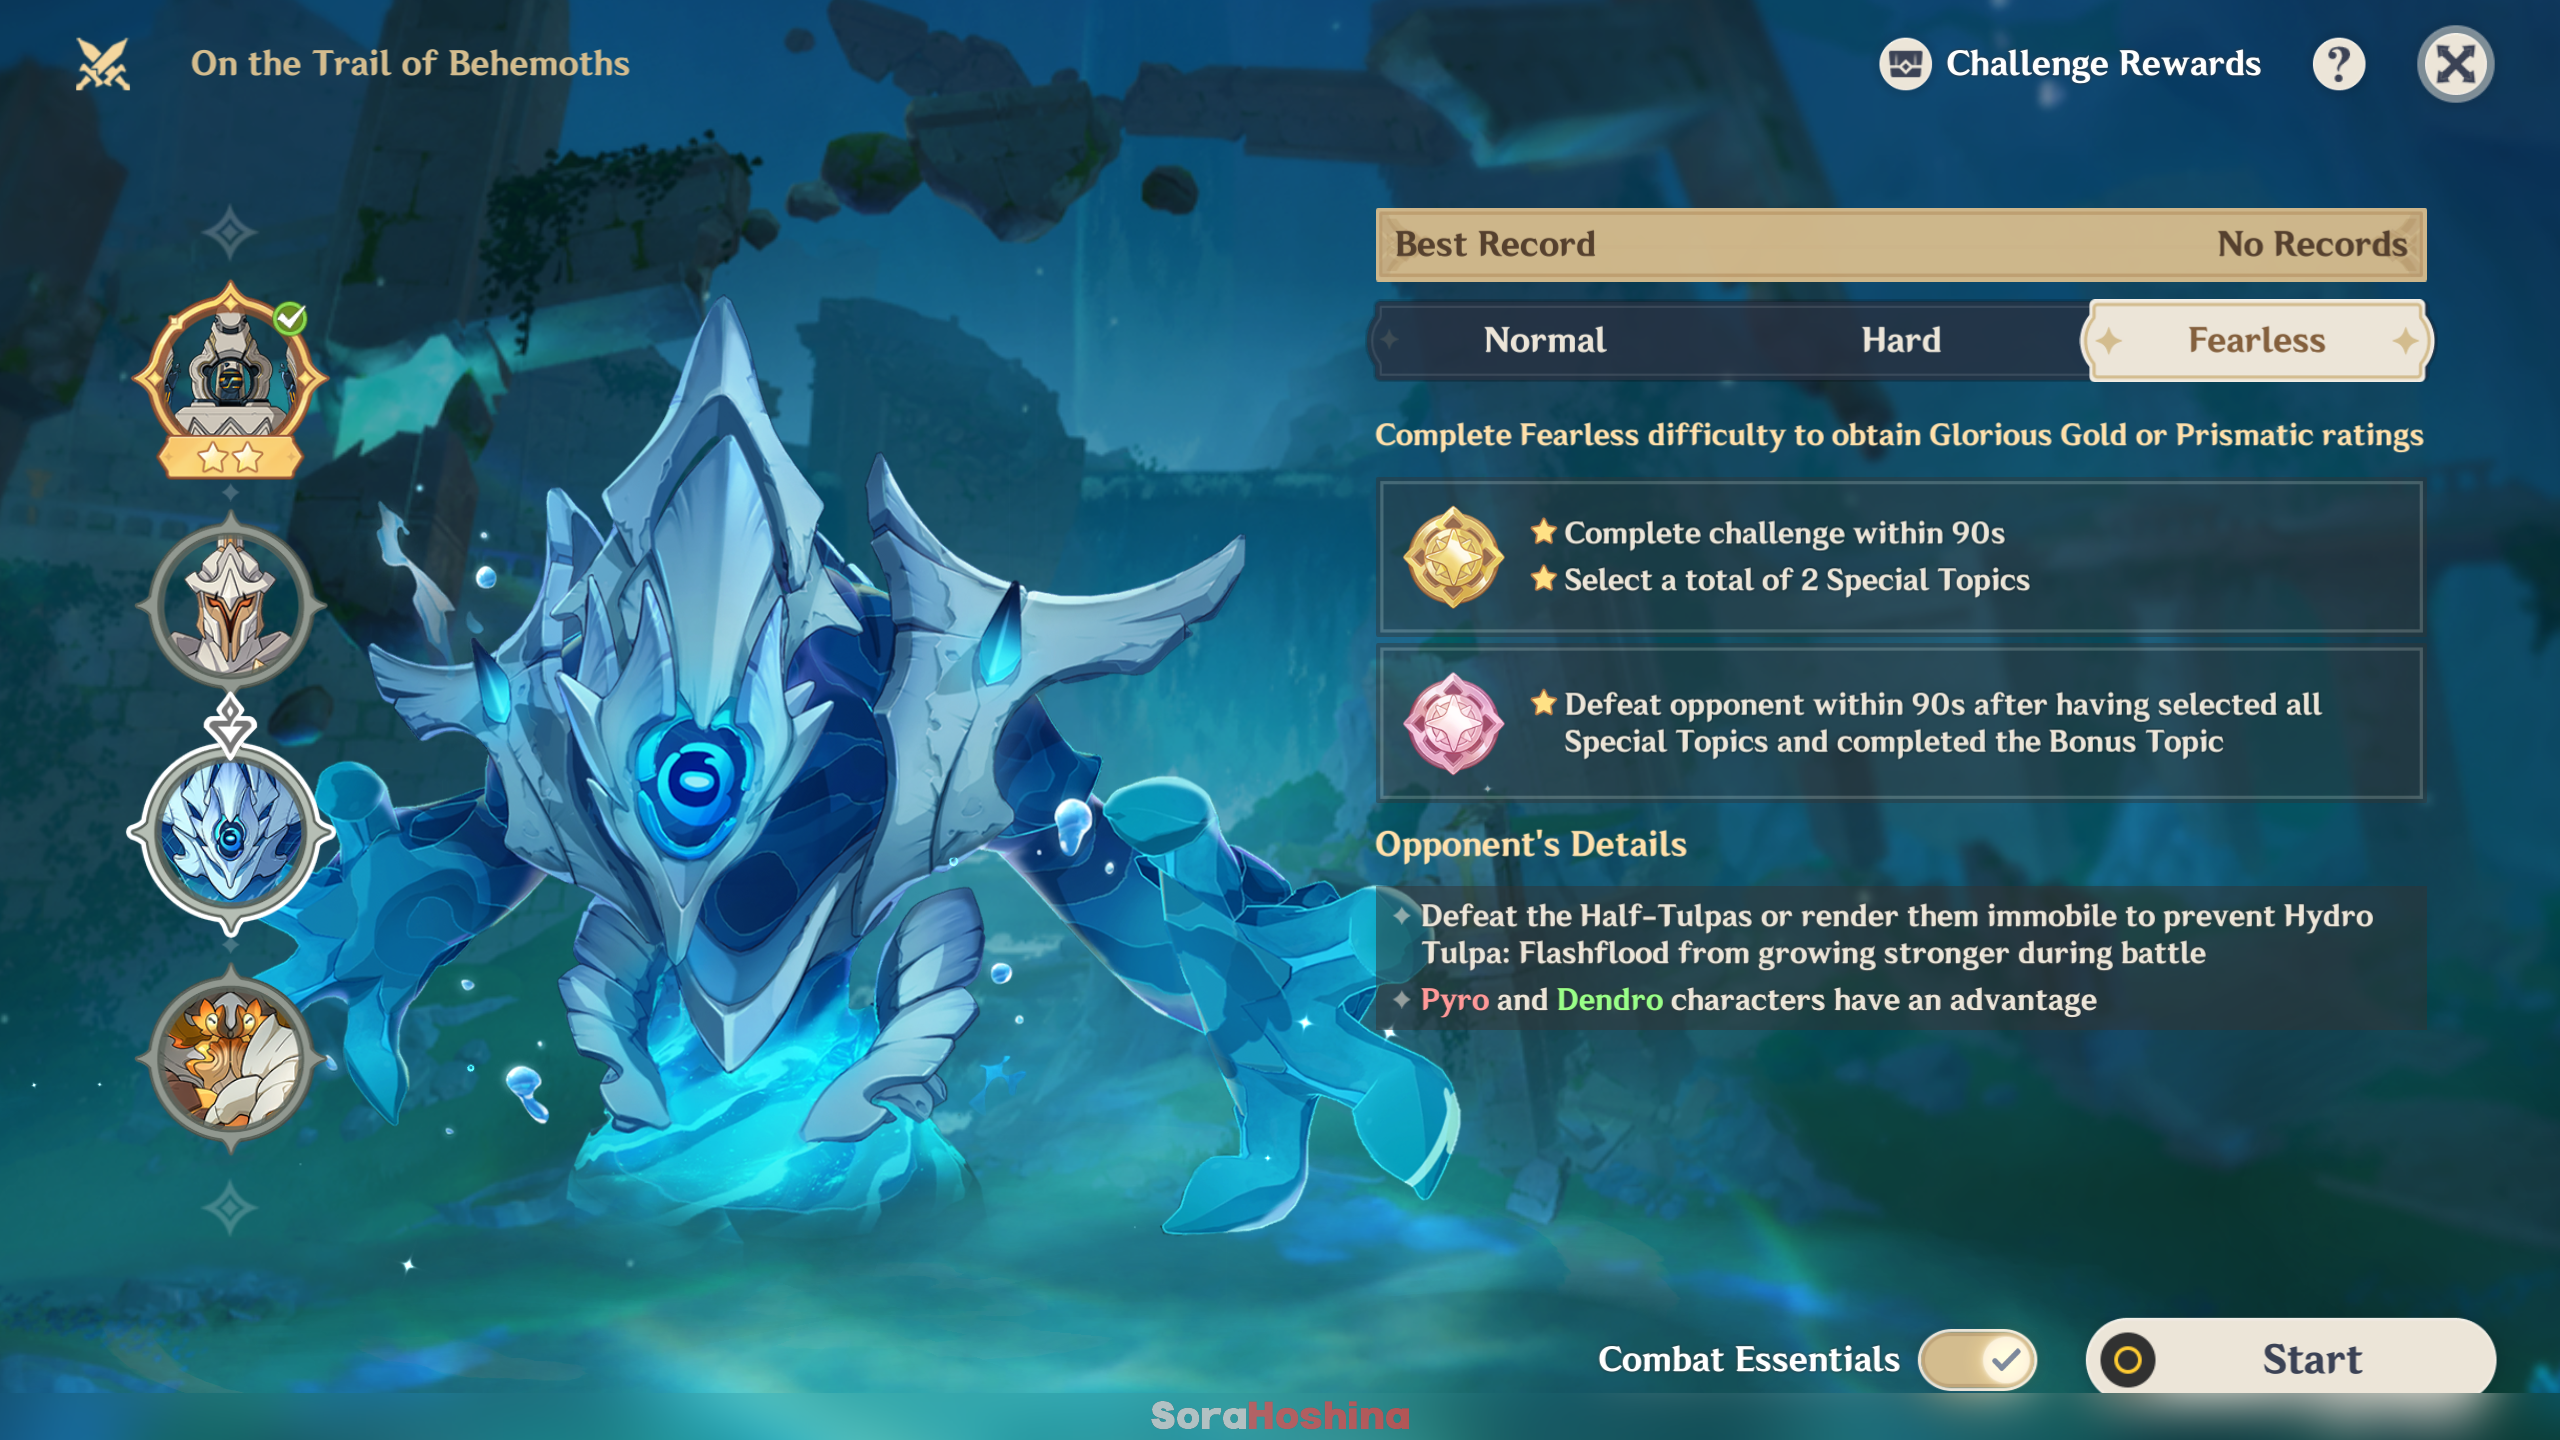
| Difficulty | Requirements |
|---|---|
 | ★ Complete challenge within 360s |
 | ★ Complete challenge within 210s Complete this challenge to get all Primogem rewards |
 | ★ Complete challenge within 90s ★ Select a total of 2 Special Topics Complete this challenge to get every rewards |
 | ★ Defeat opponent within 90s after having selected all Special Topics and completed the Bonus Topic |
Team Recommendation
Pyro and Dendro (and Burning reaction) are the best elements to complete this stage because both of them can easily destroy the Half-Tulpas and the shield when the boss is charging its Ultimate move (if you choose Research Topic: Devastating Torrent).
| No. | Characters |
|---|---|
| 1 | Kinich + Emilie + Bennett + Xiangling |
| 2 | TBA |
Research Topic: Complex Scenario Analysis ⭐
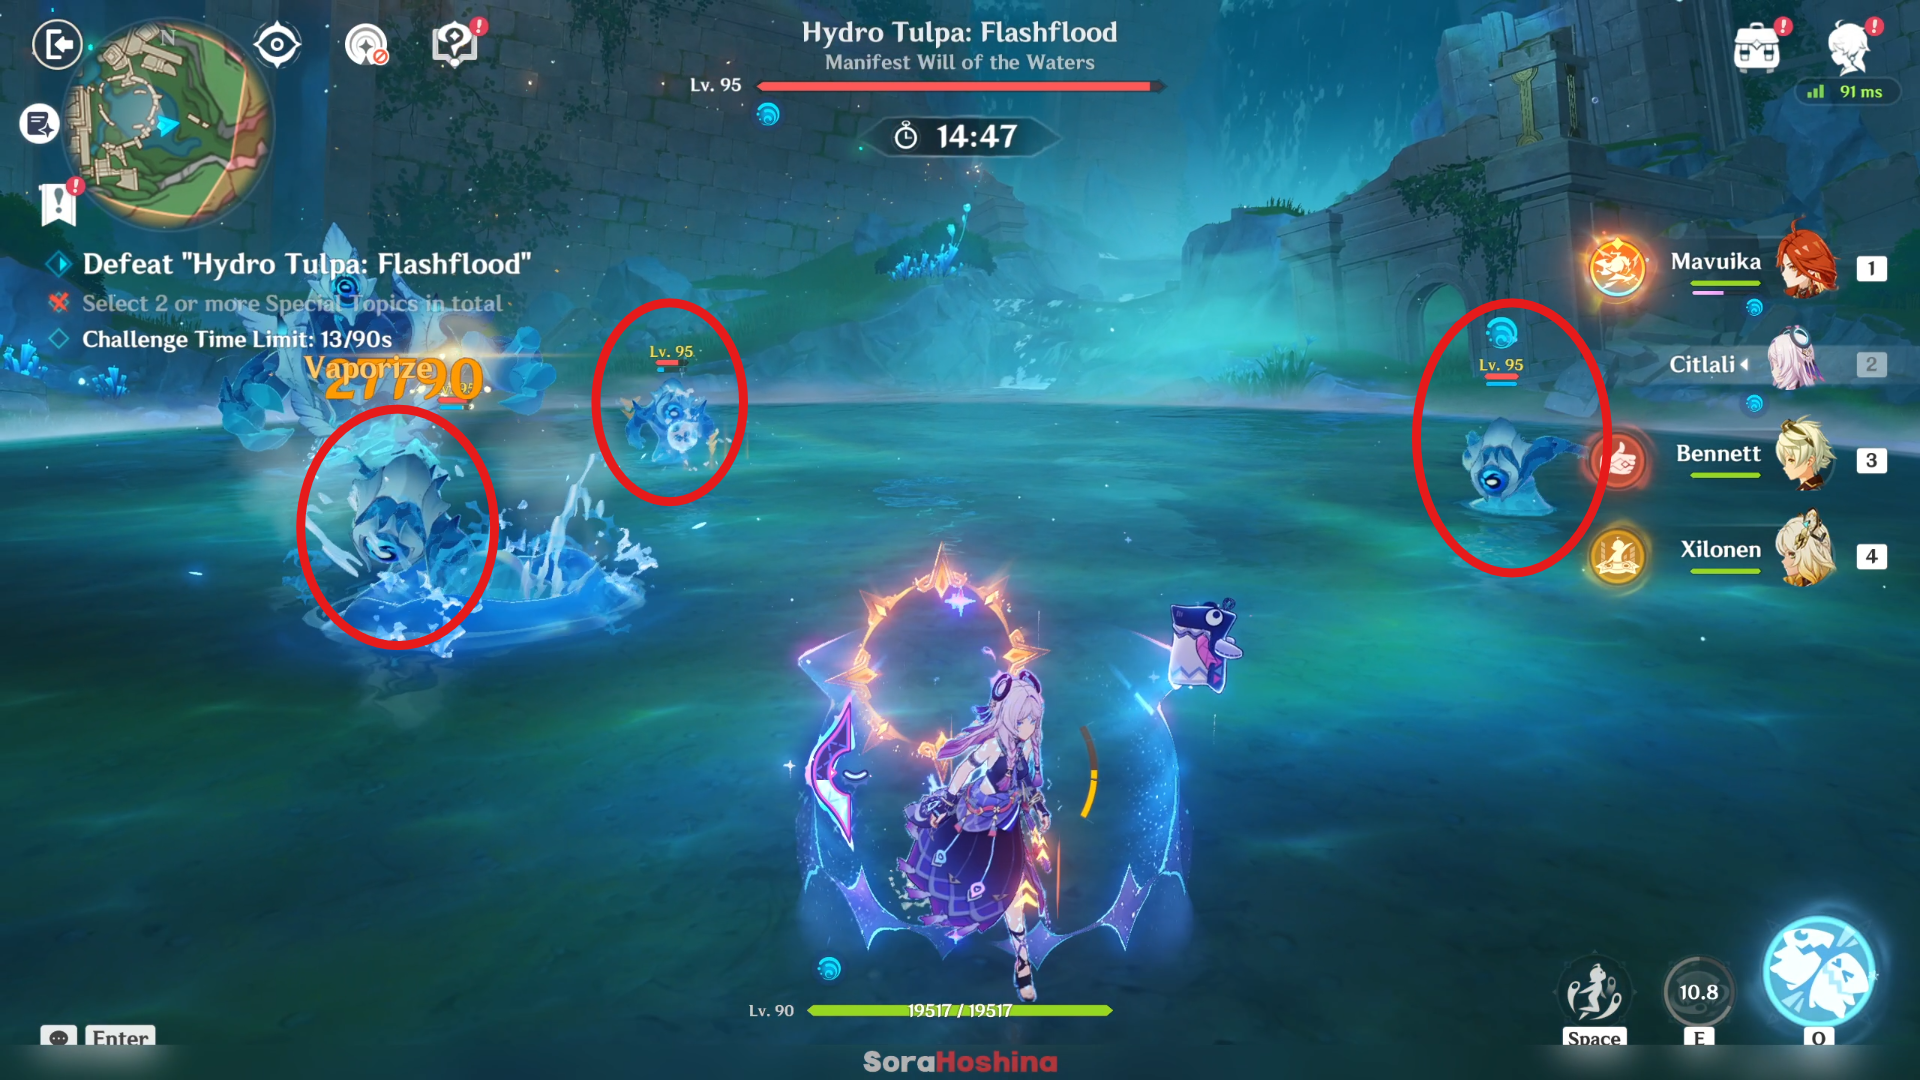
Each time a Half-Tulpa appears during the challenge, the number of Half-Tulpas on the field will be replenished to 3.
➥ Half-Tulpa's damage is very low so even if there are 3 of them, you don't have to worry too much. They're not here for damage but for the boss to absorb and make itself grow stronger and you really don't want bc those power up is really huge. These Half-Tulpas have Hydro shield but you can easily destroyed it with a few hits from the element Dendro > Cryo > Anemo/Geo/Pyro > Electro.
Research Topic: Environment Enhancement Experiment ⭐
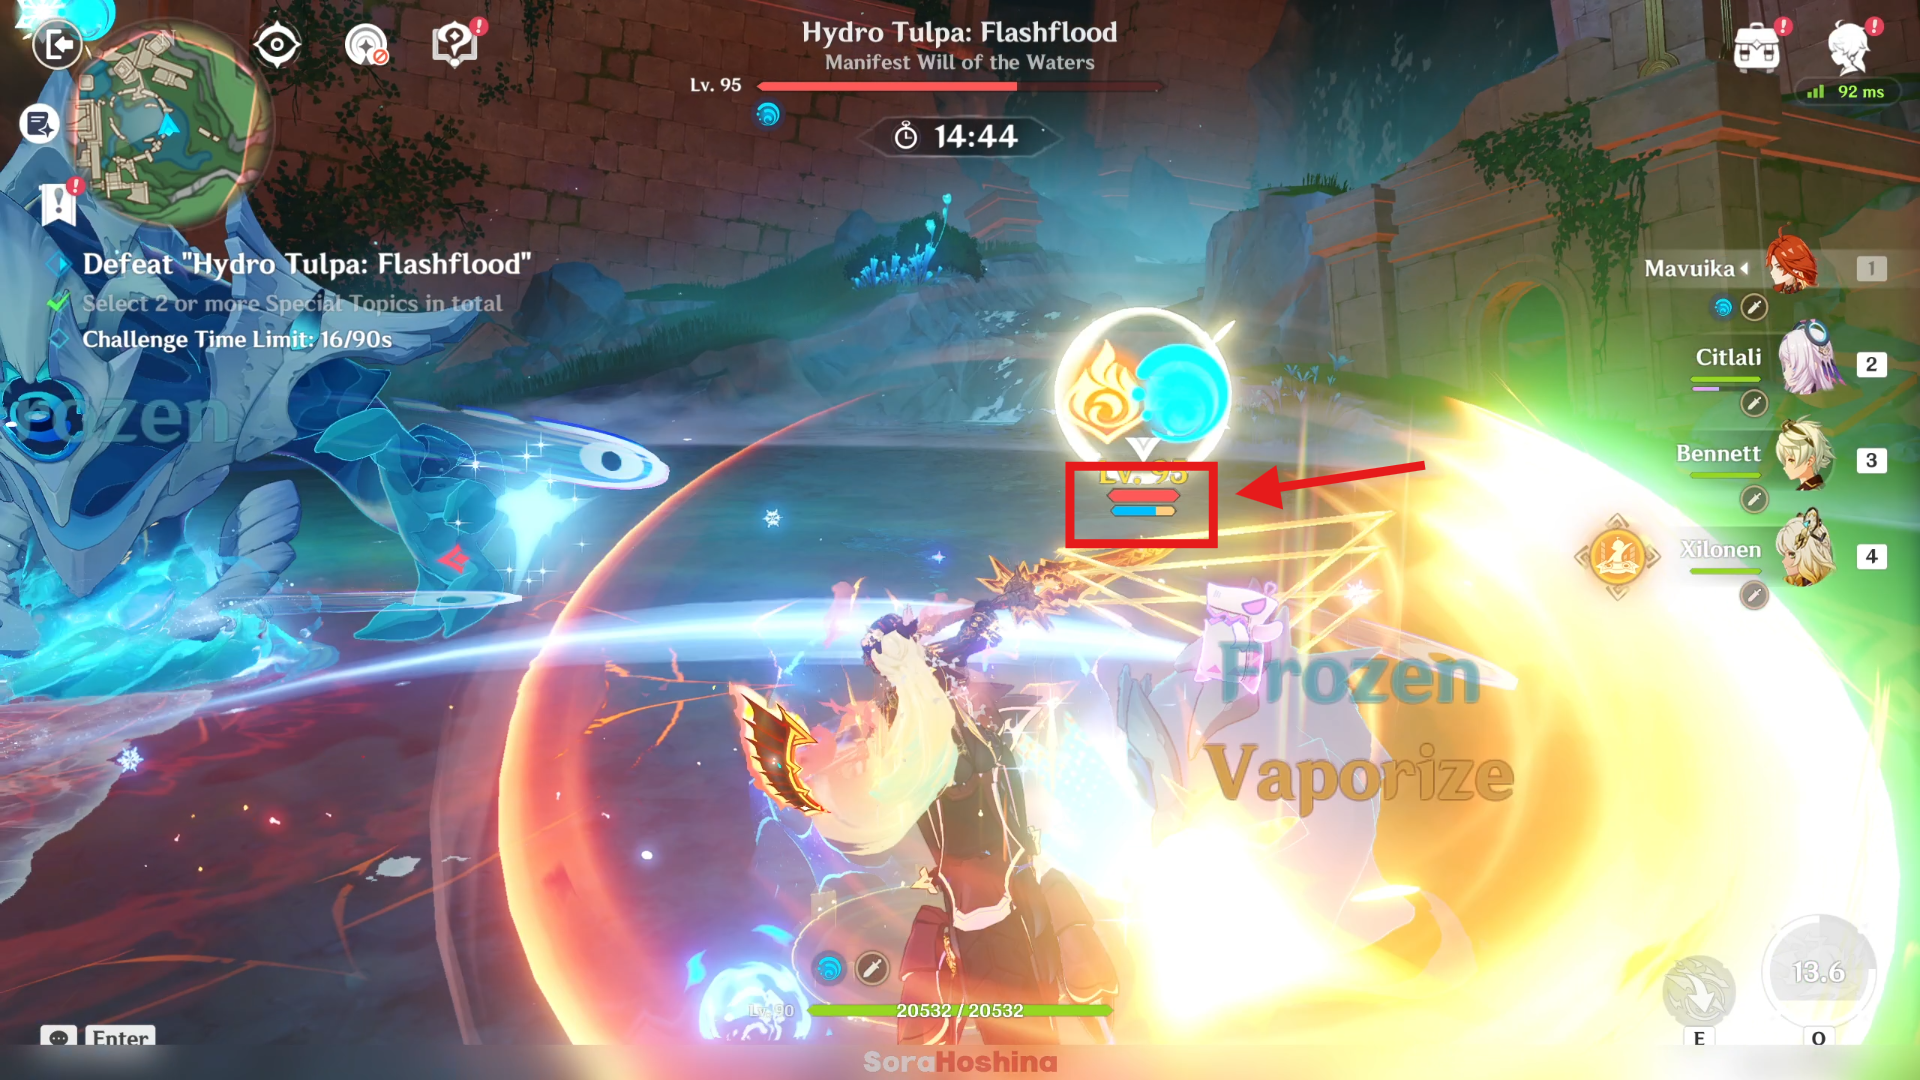
Half-Tulpas are harder to defeat with attacks and Elemental Reactions.
➥ Usually, Half-Tulpas are easy to defeat with just 1/2 attacks of different elements (Dendro is the best, followed by Cryo). With this Research Topic, you'll need triple of those attacks to destroy the Half-Tulpas. A bit annoying, but still manageable especially if you bring along a Dendro character.
Research Topic: Monster Threat Assessment
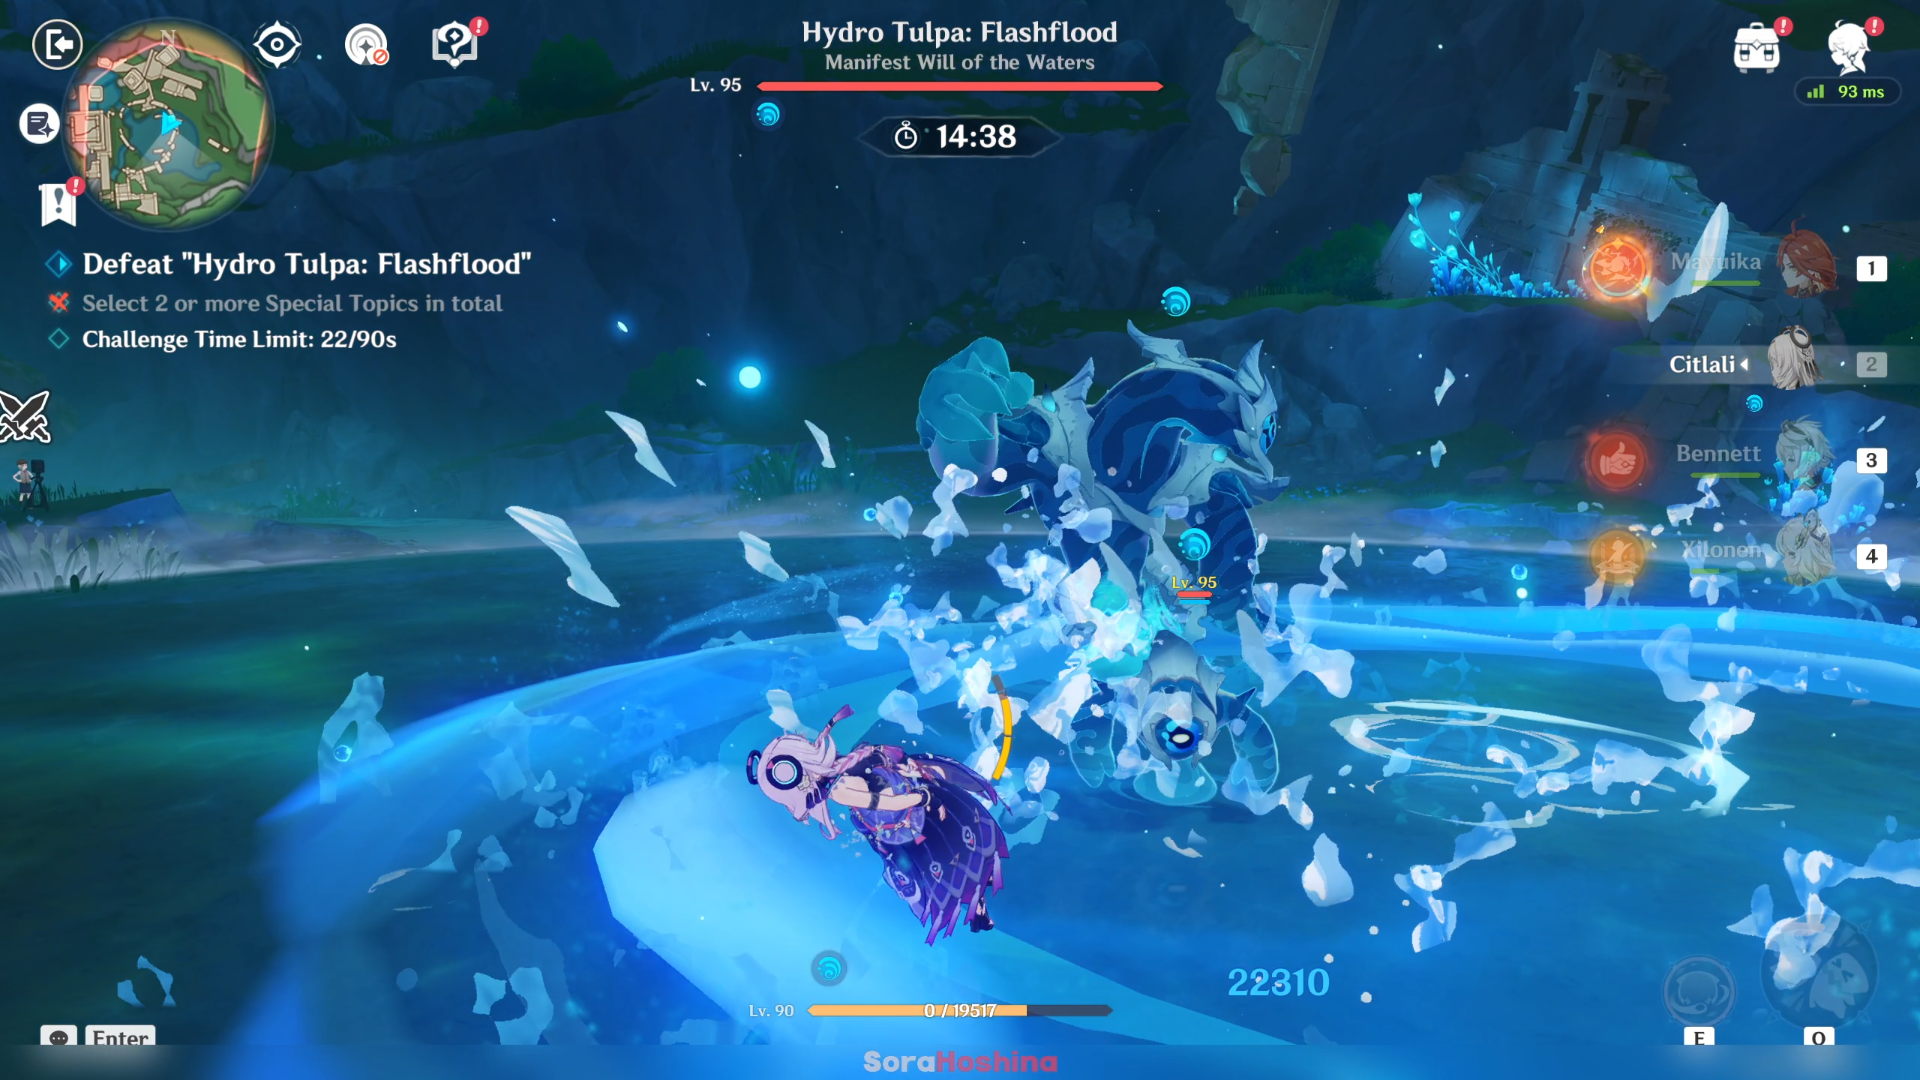
Increases Hydro Tulpa: Flashflood and Half-Tulpas' ATK by 120%.
➥ Straightforward buff for the boss (and Half-Tulpa) where it's ATK is pretty much double than usual. Not a recommended topic to choose as this boss have a huge AoE attack and while Half-Tulpa's damage is still not a threat with the buff, combined with the Hydro Tulpa, your characters will get wrecked if you didn't avoid in time.
Research Topic: Devastating Torrent ⭐
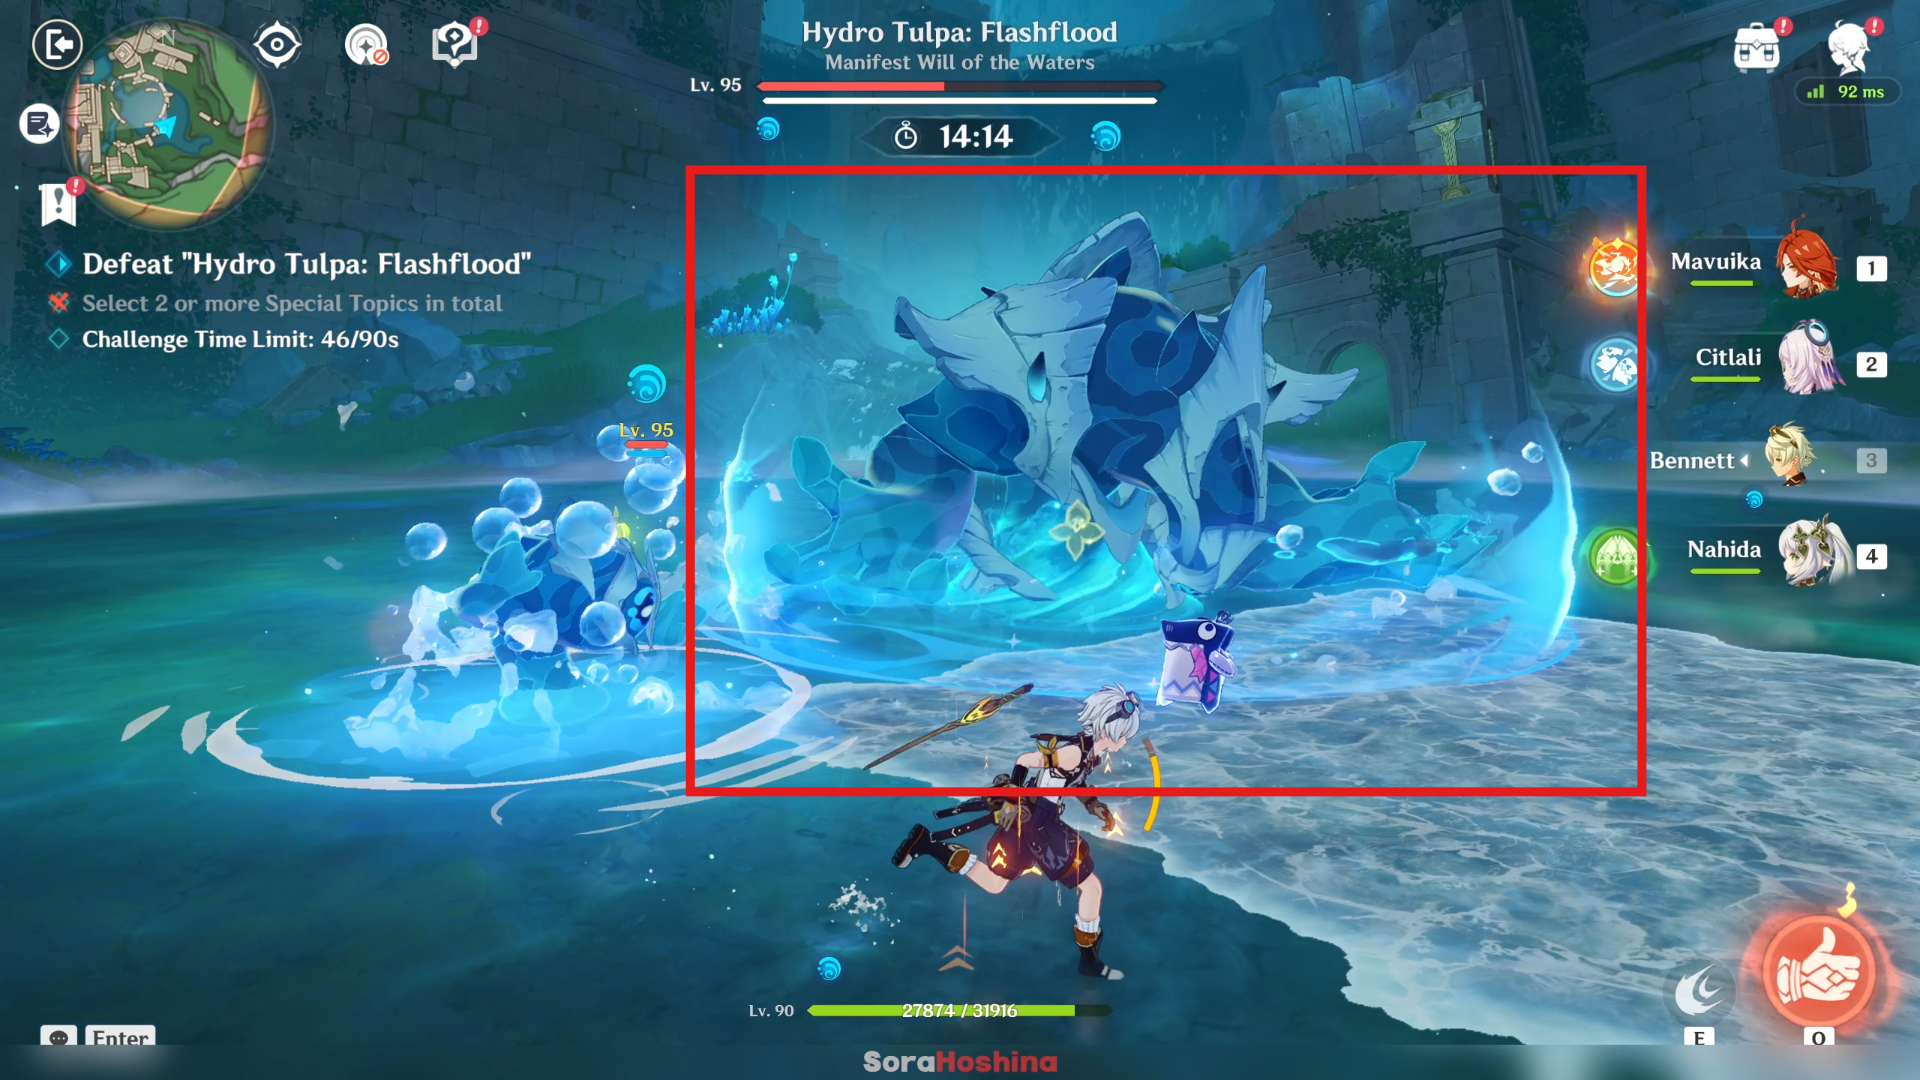
During the challenge, Hydro Tulpa: Flashflood will enter a charging state as it prepares to unleash Devastating Torrent. When it unleashes Devastating Torrent, all characters currently on the field will be downed. While charging, Hydro Tulpa: Flashflood will activate a Shield that regenerates Elemental Energy and Fighting Spirit for characters in your party and resets the CDs of Elemental Skills and Bursts. If the Shield is broken, the charging of Devastating Torrent will be interrupted.
➥ Hydro Tulpa: Flashflood is the Ultimate move. When the boss is charging for this move, it will create a dome of shield that you need to destroy to cancel the charging (the best elements for this are Pyro and Hydro). If you didn't destroy the shield in time, your active character will die as you can't avoid or i-frame out of this,
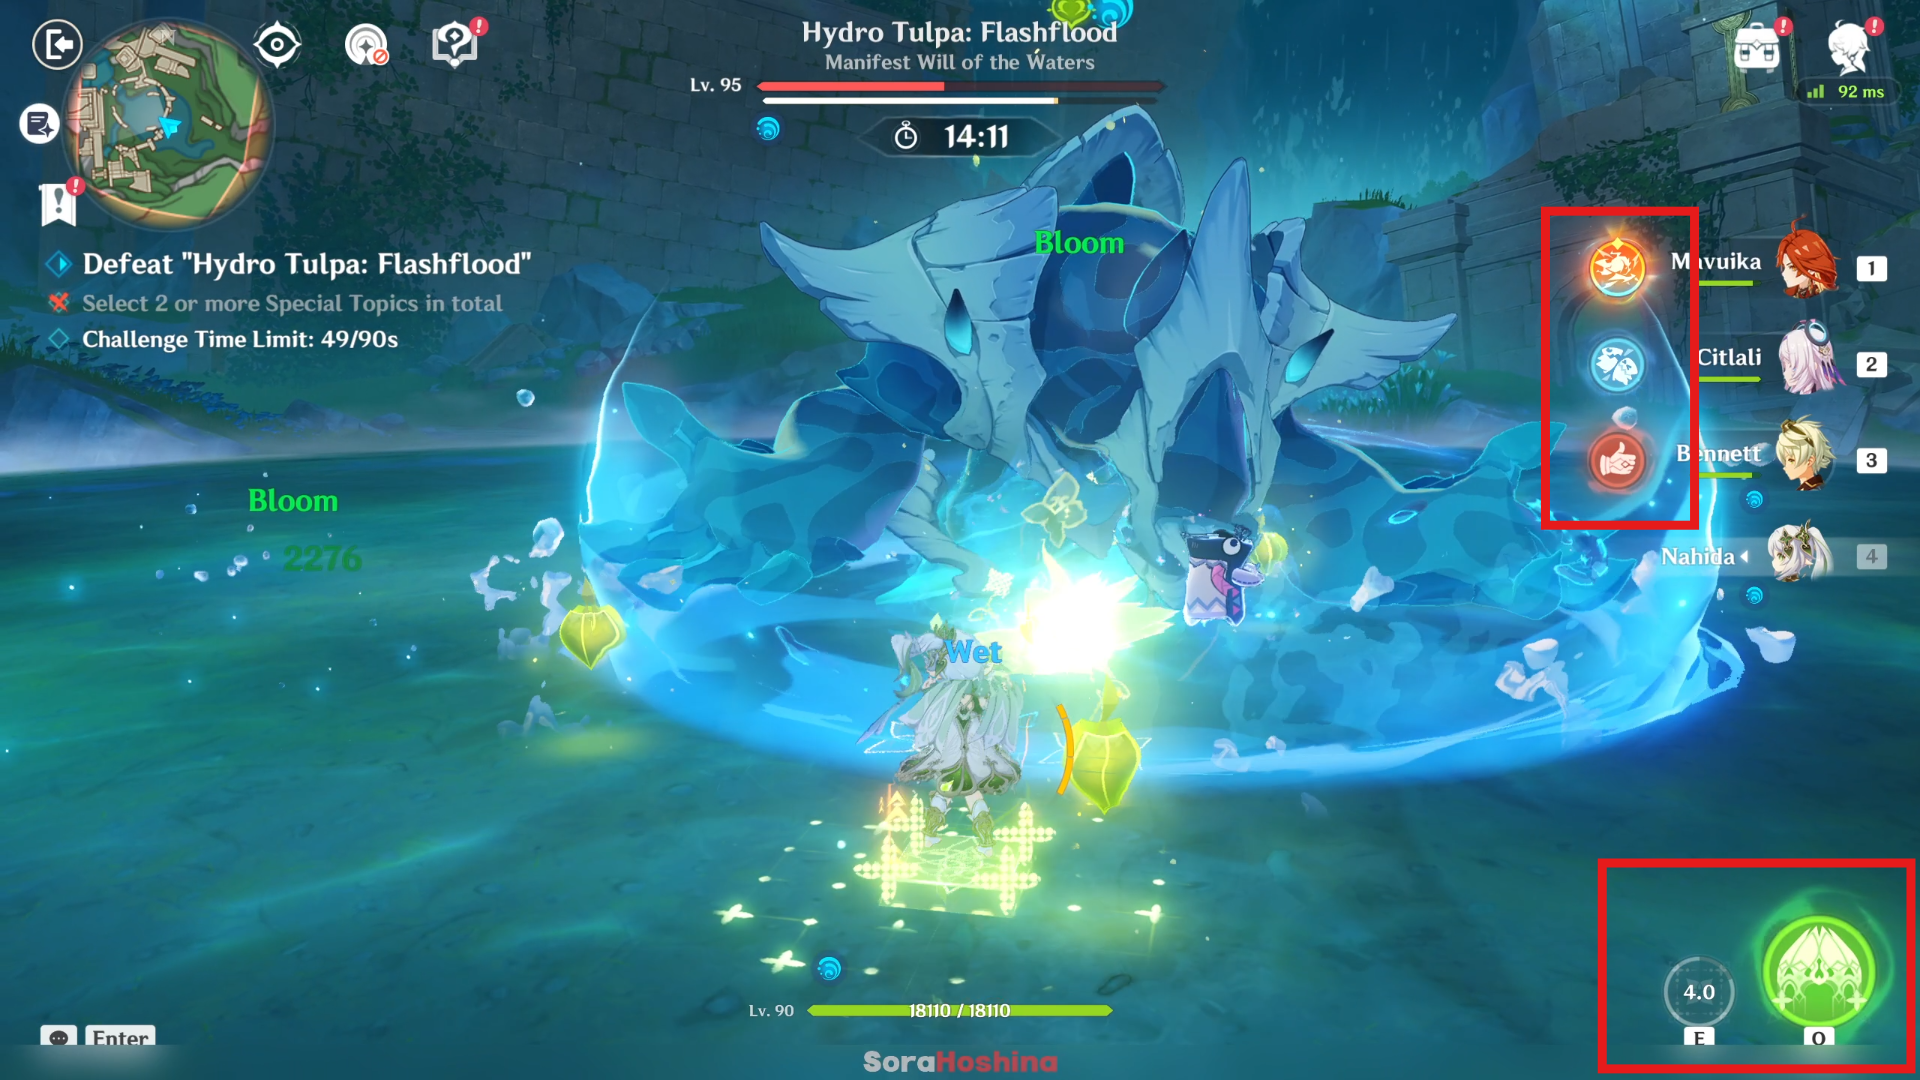
When the shield first created, the whole team will recover all Energy for Ultimate, and reset the CD for both Elemental Skill and Burst so you can use all of them the instant Hydro Tulpa create its shield. But this only occur once when the shield is created! This topic is pretty doable as long as you bring the best elements to weaken the shield.
Video Showcase
Stage 4 | Why Is There a Giant Hot Spring Underground?
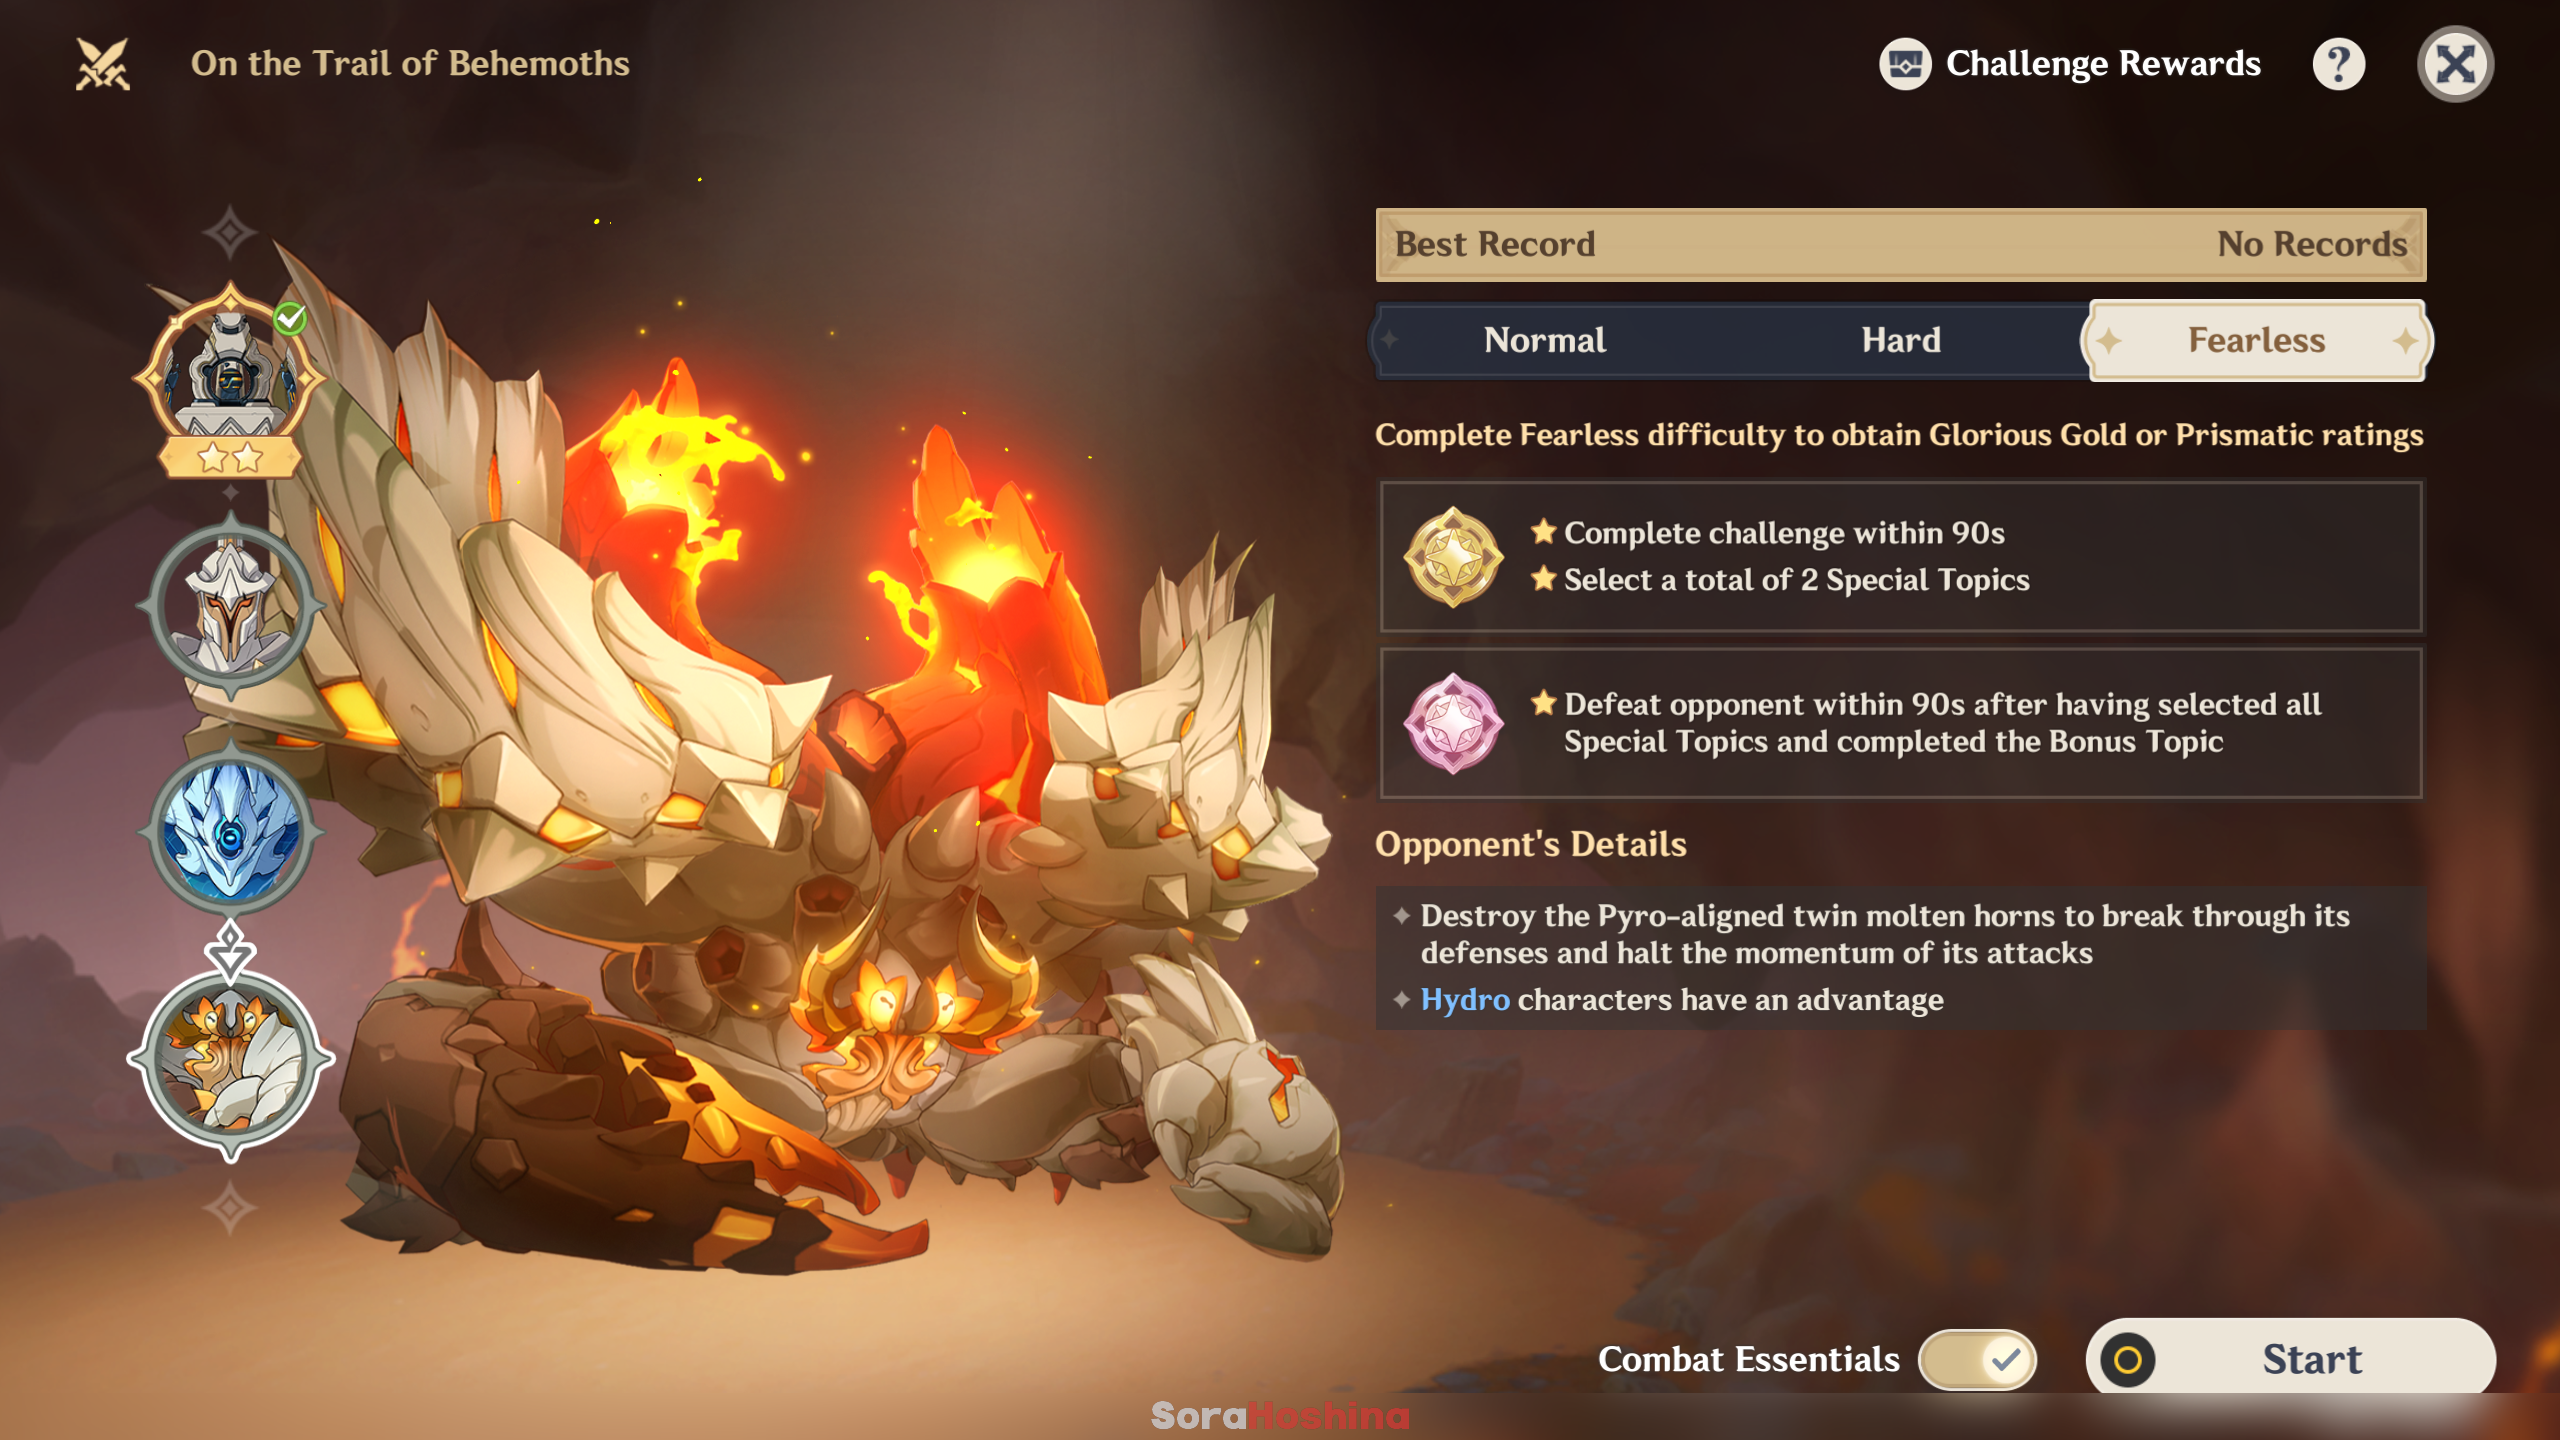
| Difficulty | Requirements |
|---|---|
 | ★ Complete challenge within 360s |
 | ★ Complete challenge within 210s Complete this challenge to get all Primogem rewards |
 | ★ Complete challenge within 90s ★ Select a total of 2 Special Topics Complete this challenge to get every rewards |
 | ★ Defeat opponent within 90s after having selected all Special Topics and completed the Bonus Topic |
Team Recommendation
Hydro character is a must since you'll need to destroy the twin molten horns on top of the boss' body. If the horns aren't destroyed, it's hard to deal huge damage to the boss.
| No. | Characters |
|---|---|
| 1 | Neuvillette + Furina + Xilonen + Kazuha |
| 2 | TBA |
Research Topic: Environment Enhancement Experiment
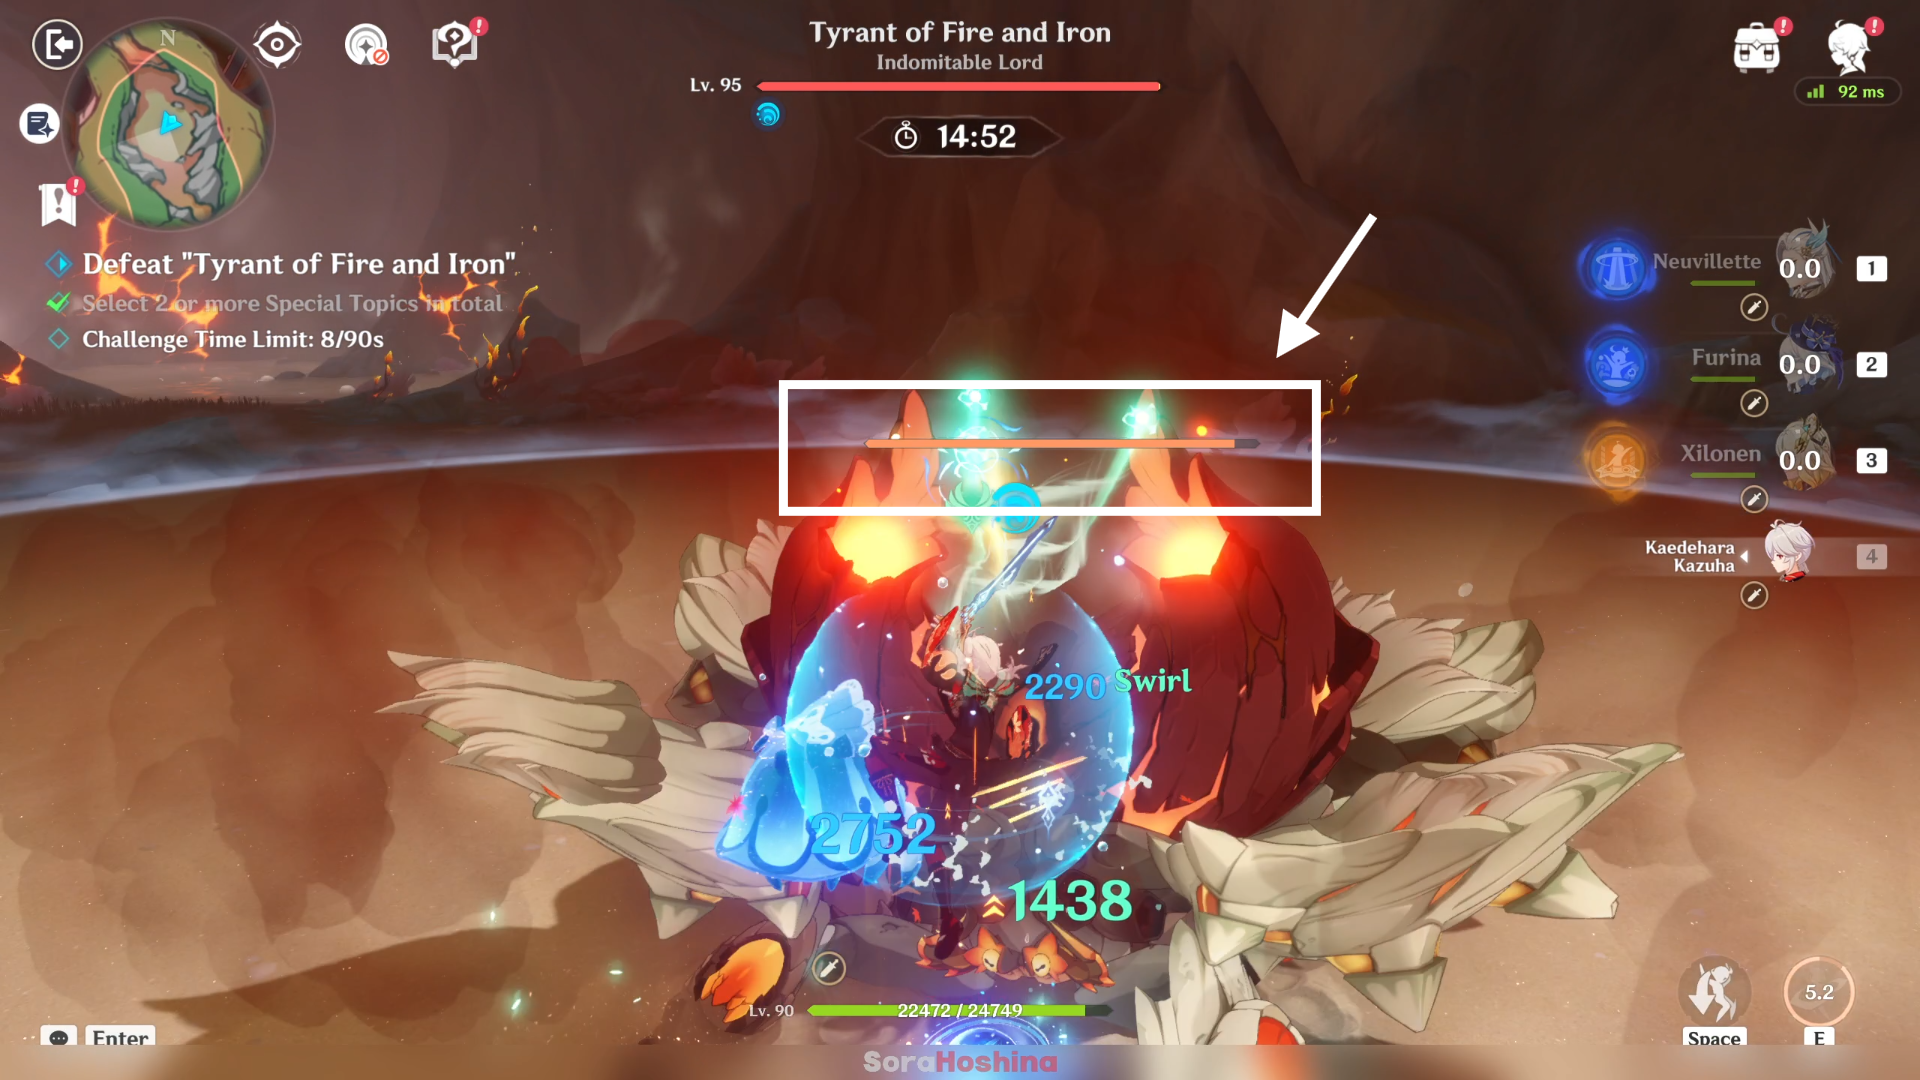
The Tyrant of Fire and Iron's twin molten horns will be harder to break, and the Physical and All Elemental RES that they provide it with will be further increased.
➥ The 'twin molten horns' are the two horns on top of the boss' body that provides Pyro shield to the boss. With this Research Topic, the horn will be much harder to destroy even if you bring full Hydro team smh. Not a recommended topic to choose because in the first place, the horns are at the top of boss' body making it's hard for you to hit it with Hydro attacks unless the boss is using certain attacks that makes it duck down. Adding this Research Topic will only makes your life harder and might be hard to complete the challenge within 90 seconds. Especially since this Tyrant will regenerate its horns ~20/30 seconds after its been broken.
Research Topic: Molten Throne ⭐
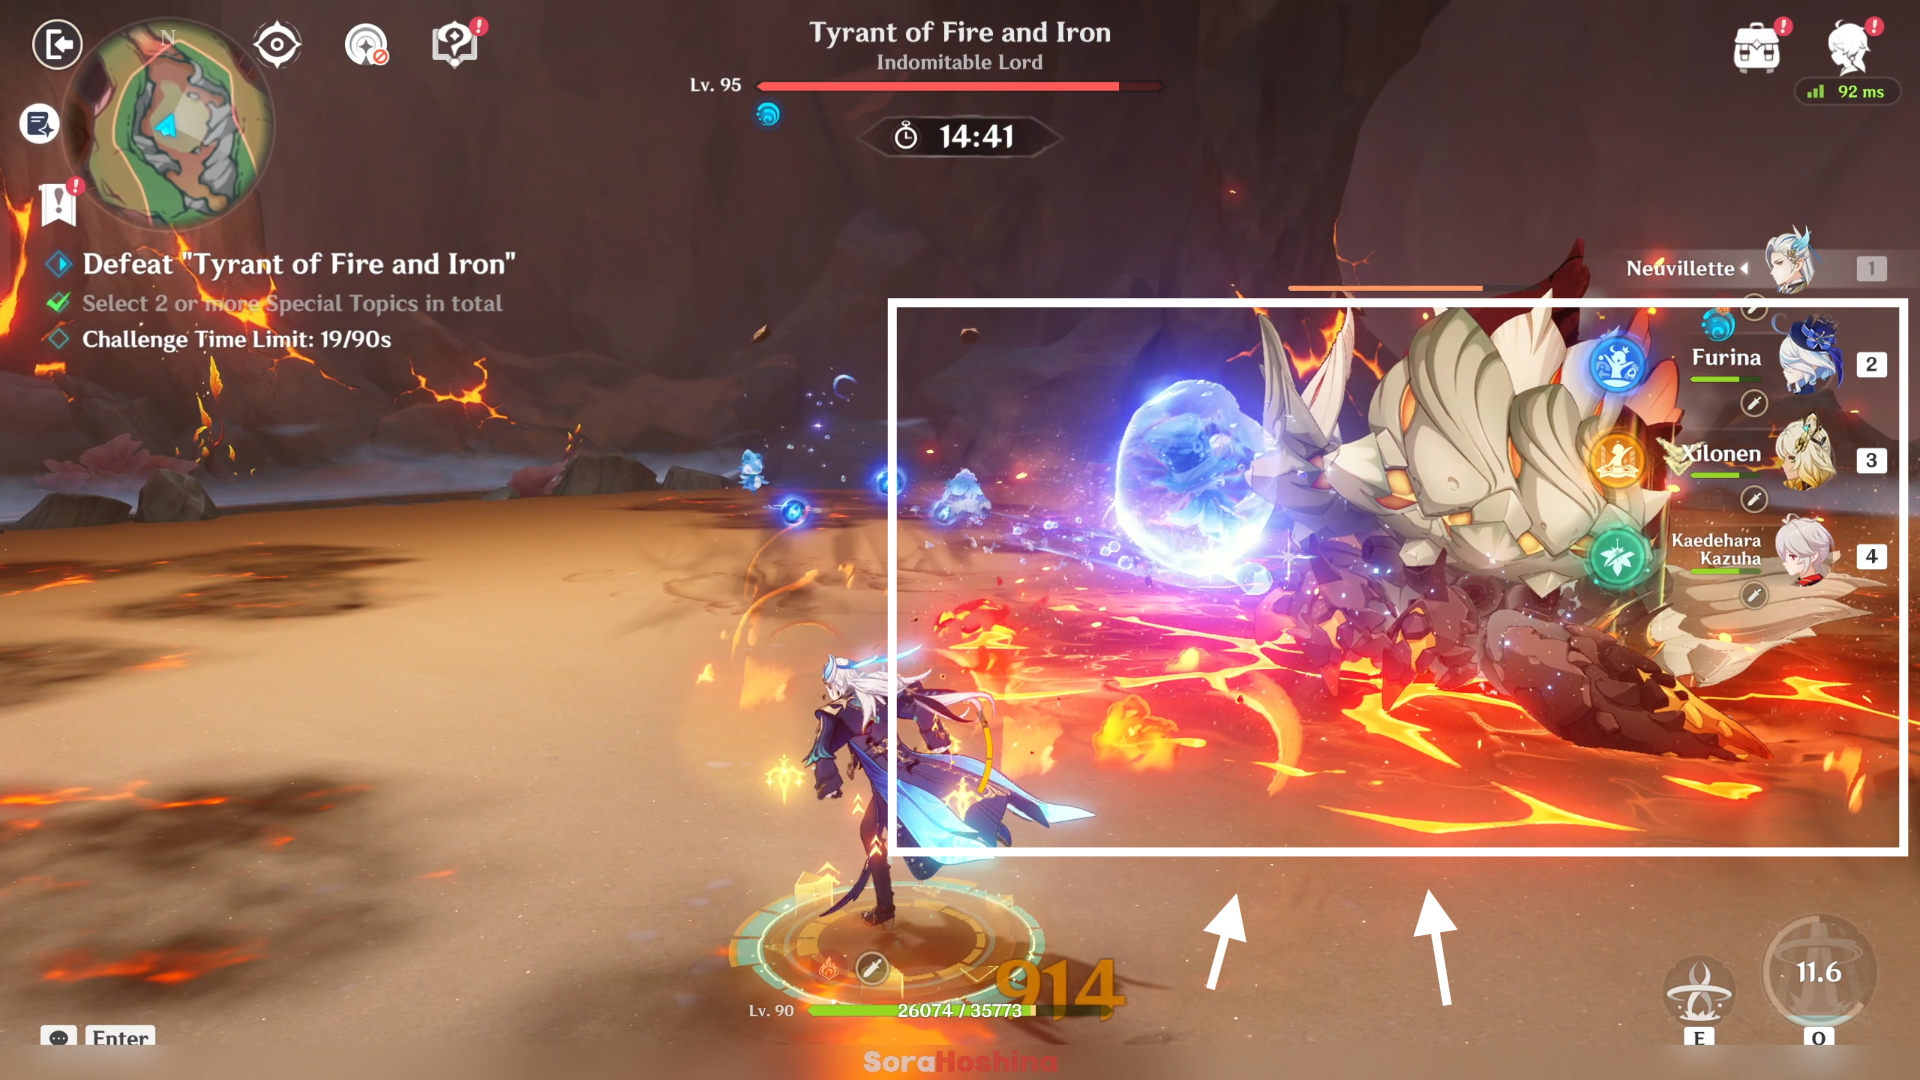
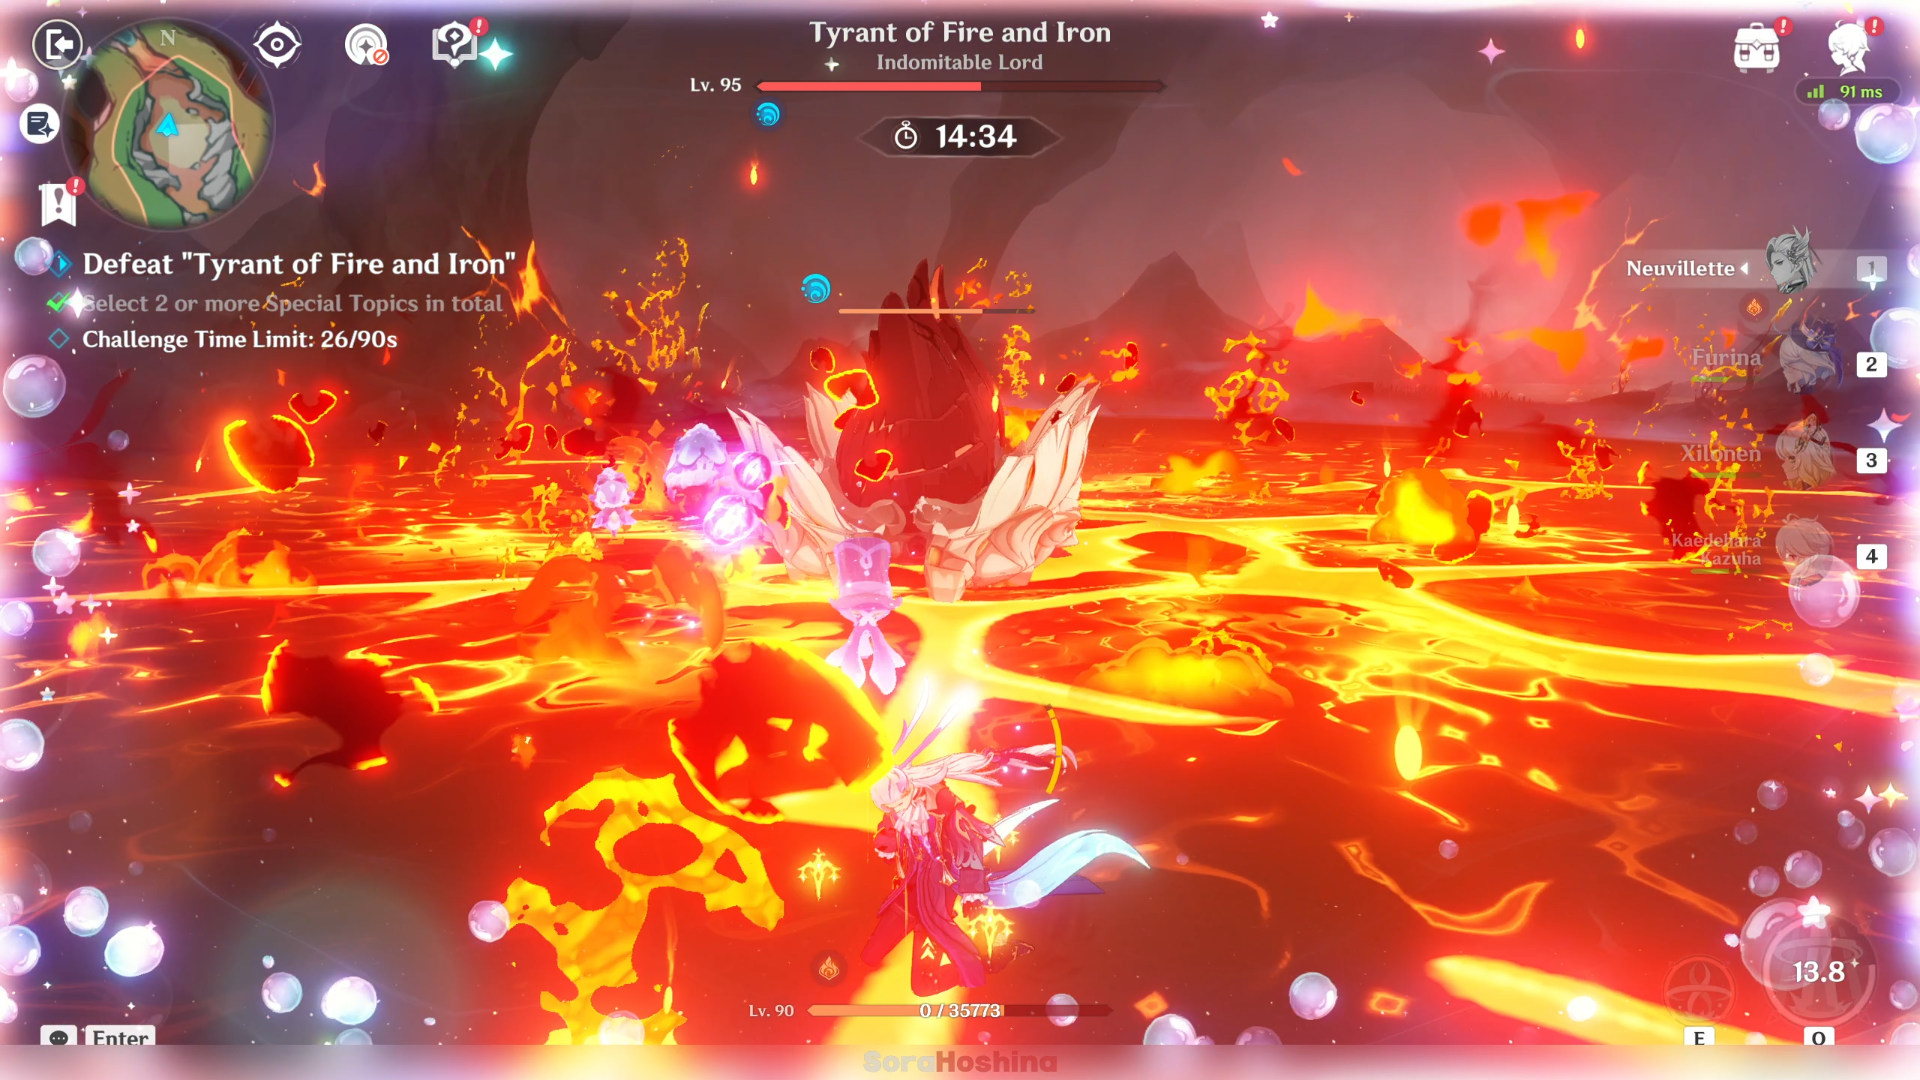
After the Tyrant of Fire and Iron performs a leaping strike, the area hit by the attack will become a Molten Throne. After the Tyrant of Fire and Iron has been within the Molten Throne area for a period of time, it will start to constantly regenerate HP.
➥ When the boss leaps and slam down to the arena, the area hit will become a Molten Throne (can be seen in the image above). The Tyrant will stay on top of that Throne for a few seconds to heal itself. This is a good Research Topic because this move is easy to avoid (you can really see it coming) and the healing is also subpar.
Research Topic: Monster Threat Assessment
Increases the Tyrant of Fire and Iron's ATK by 120%.
➥ Straightforward buff for the boss where it's ATK is pretty much double than usual. This does not boost the burning area on the floor that gives your character Pyro damage over time (cmiiw).
Research Topic: Blazing Coronation ⭐
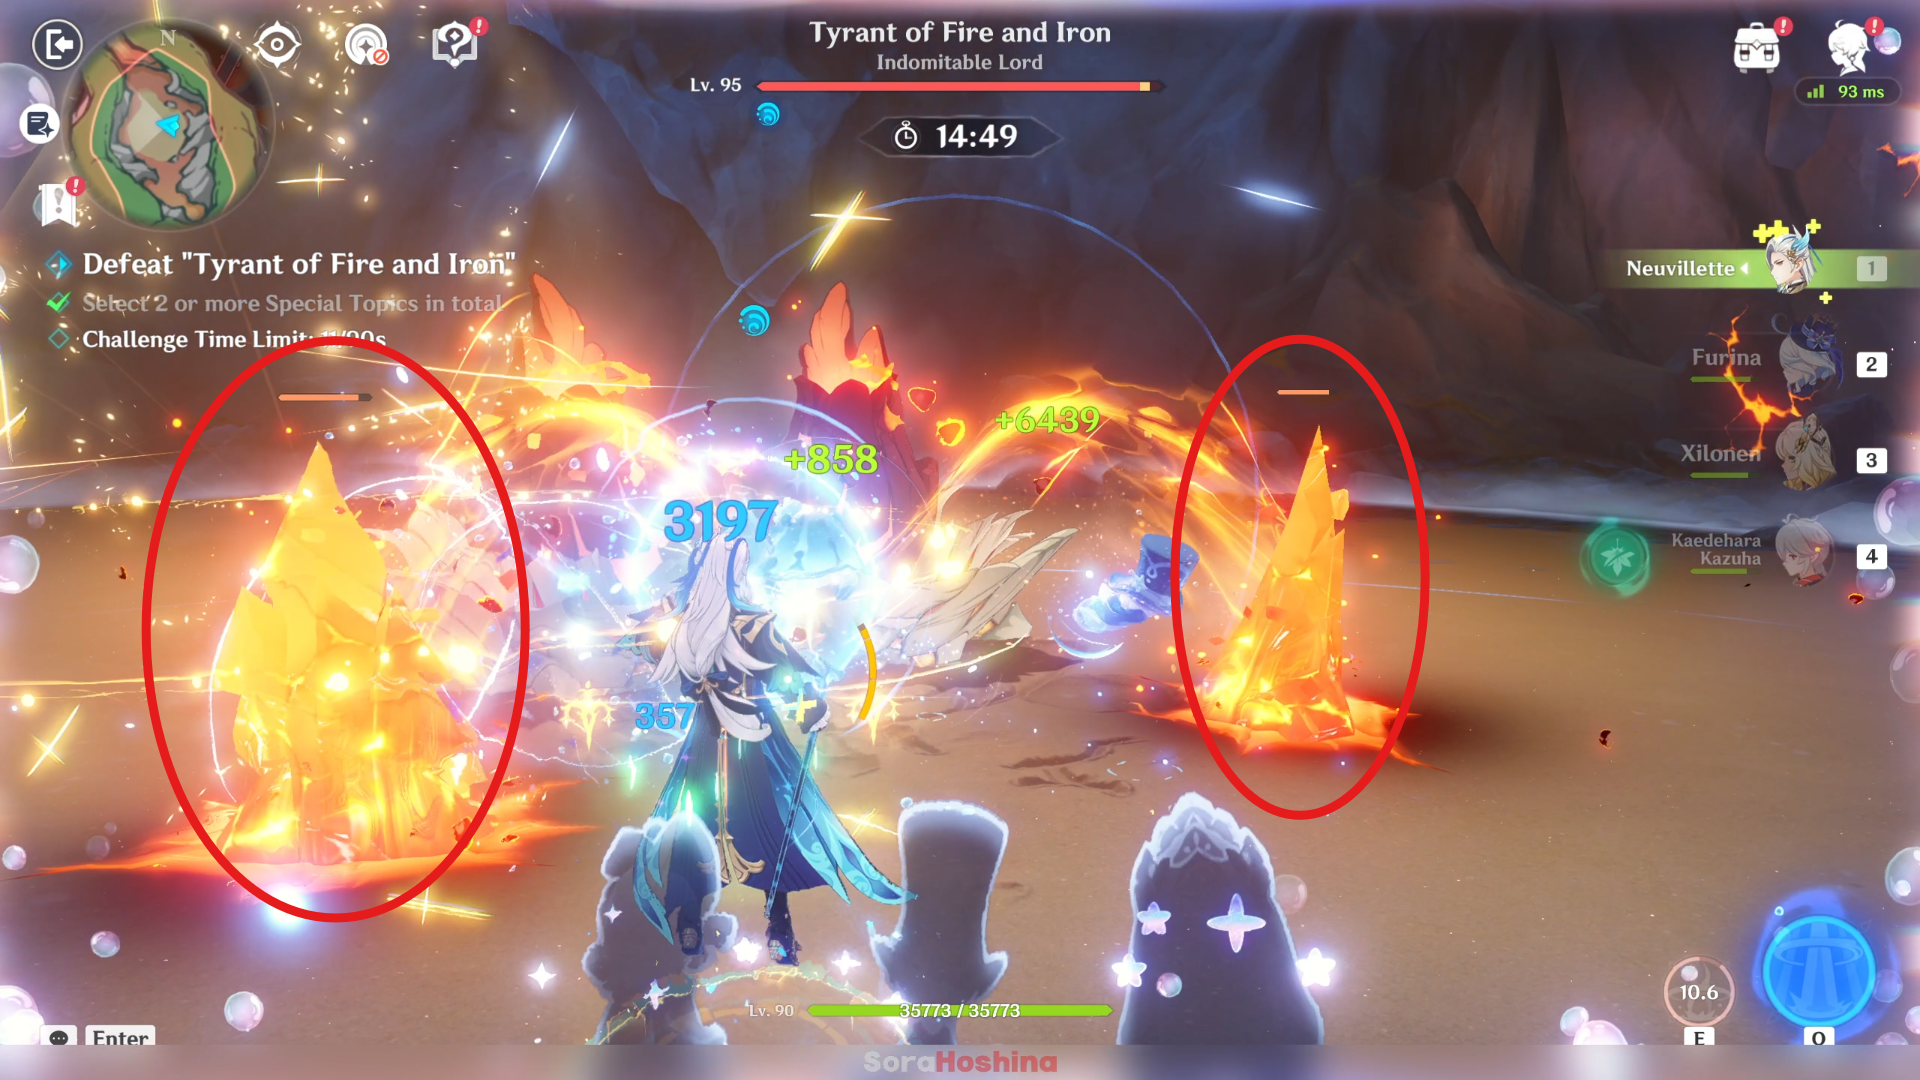
During the challenge, the Tyrant of Fire and Iron will use its twin molten horns to absorb the power of lava and charge up Blazing Coronation. Aside from downing all characters currently on the field, Blazing Coronation will also repair the Tyrant of Fire and Iron's twin molten horns. When all lava crystals on the field are destroyed, Blazing Coronation's charging will be interrupted and the Tyrant of Fire and Iron's twin molten horns will suffer backlash DMG instead.
➥ When the boss is charging for Ultimate move, it will summon 2 lava crystals near each other. If you didn't destroy these crystals within ~8 seconds (yes, very short time), the charging will be completed and your active character will die from the Ultimate attack because you can't avoid nor i-frame out of this.
8 seconds is very short but if you have the suitable characters (2 Hydro characters; 1 for off-field and 1 for on-field), it's possible to complete this challenge with this specific topic.
Note: If you bring along Furina, remember that her Salon members might not attack the crystals but the boss instead.
Video Showcase
Event Rewards
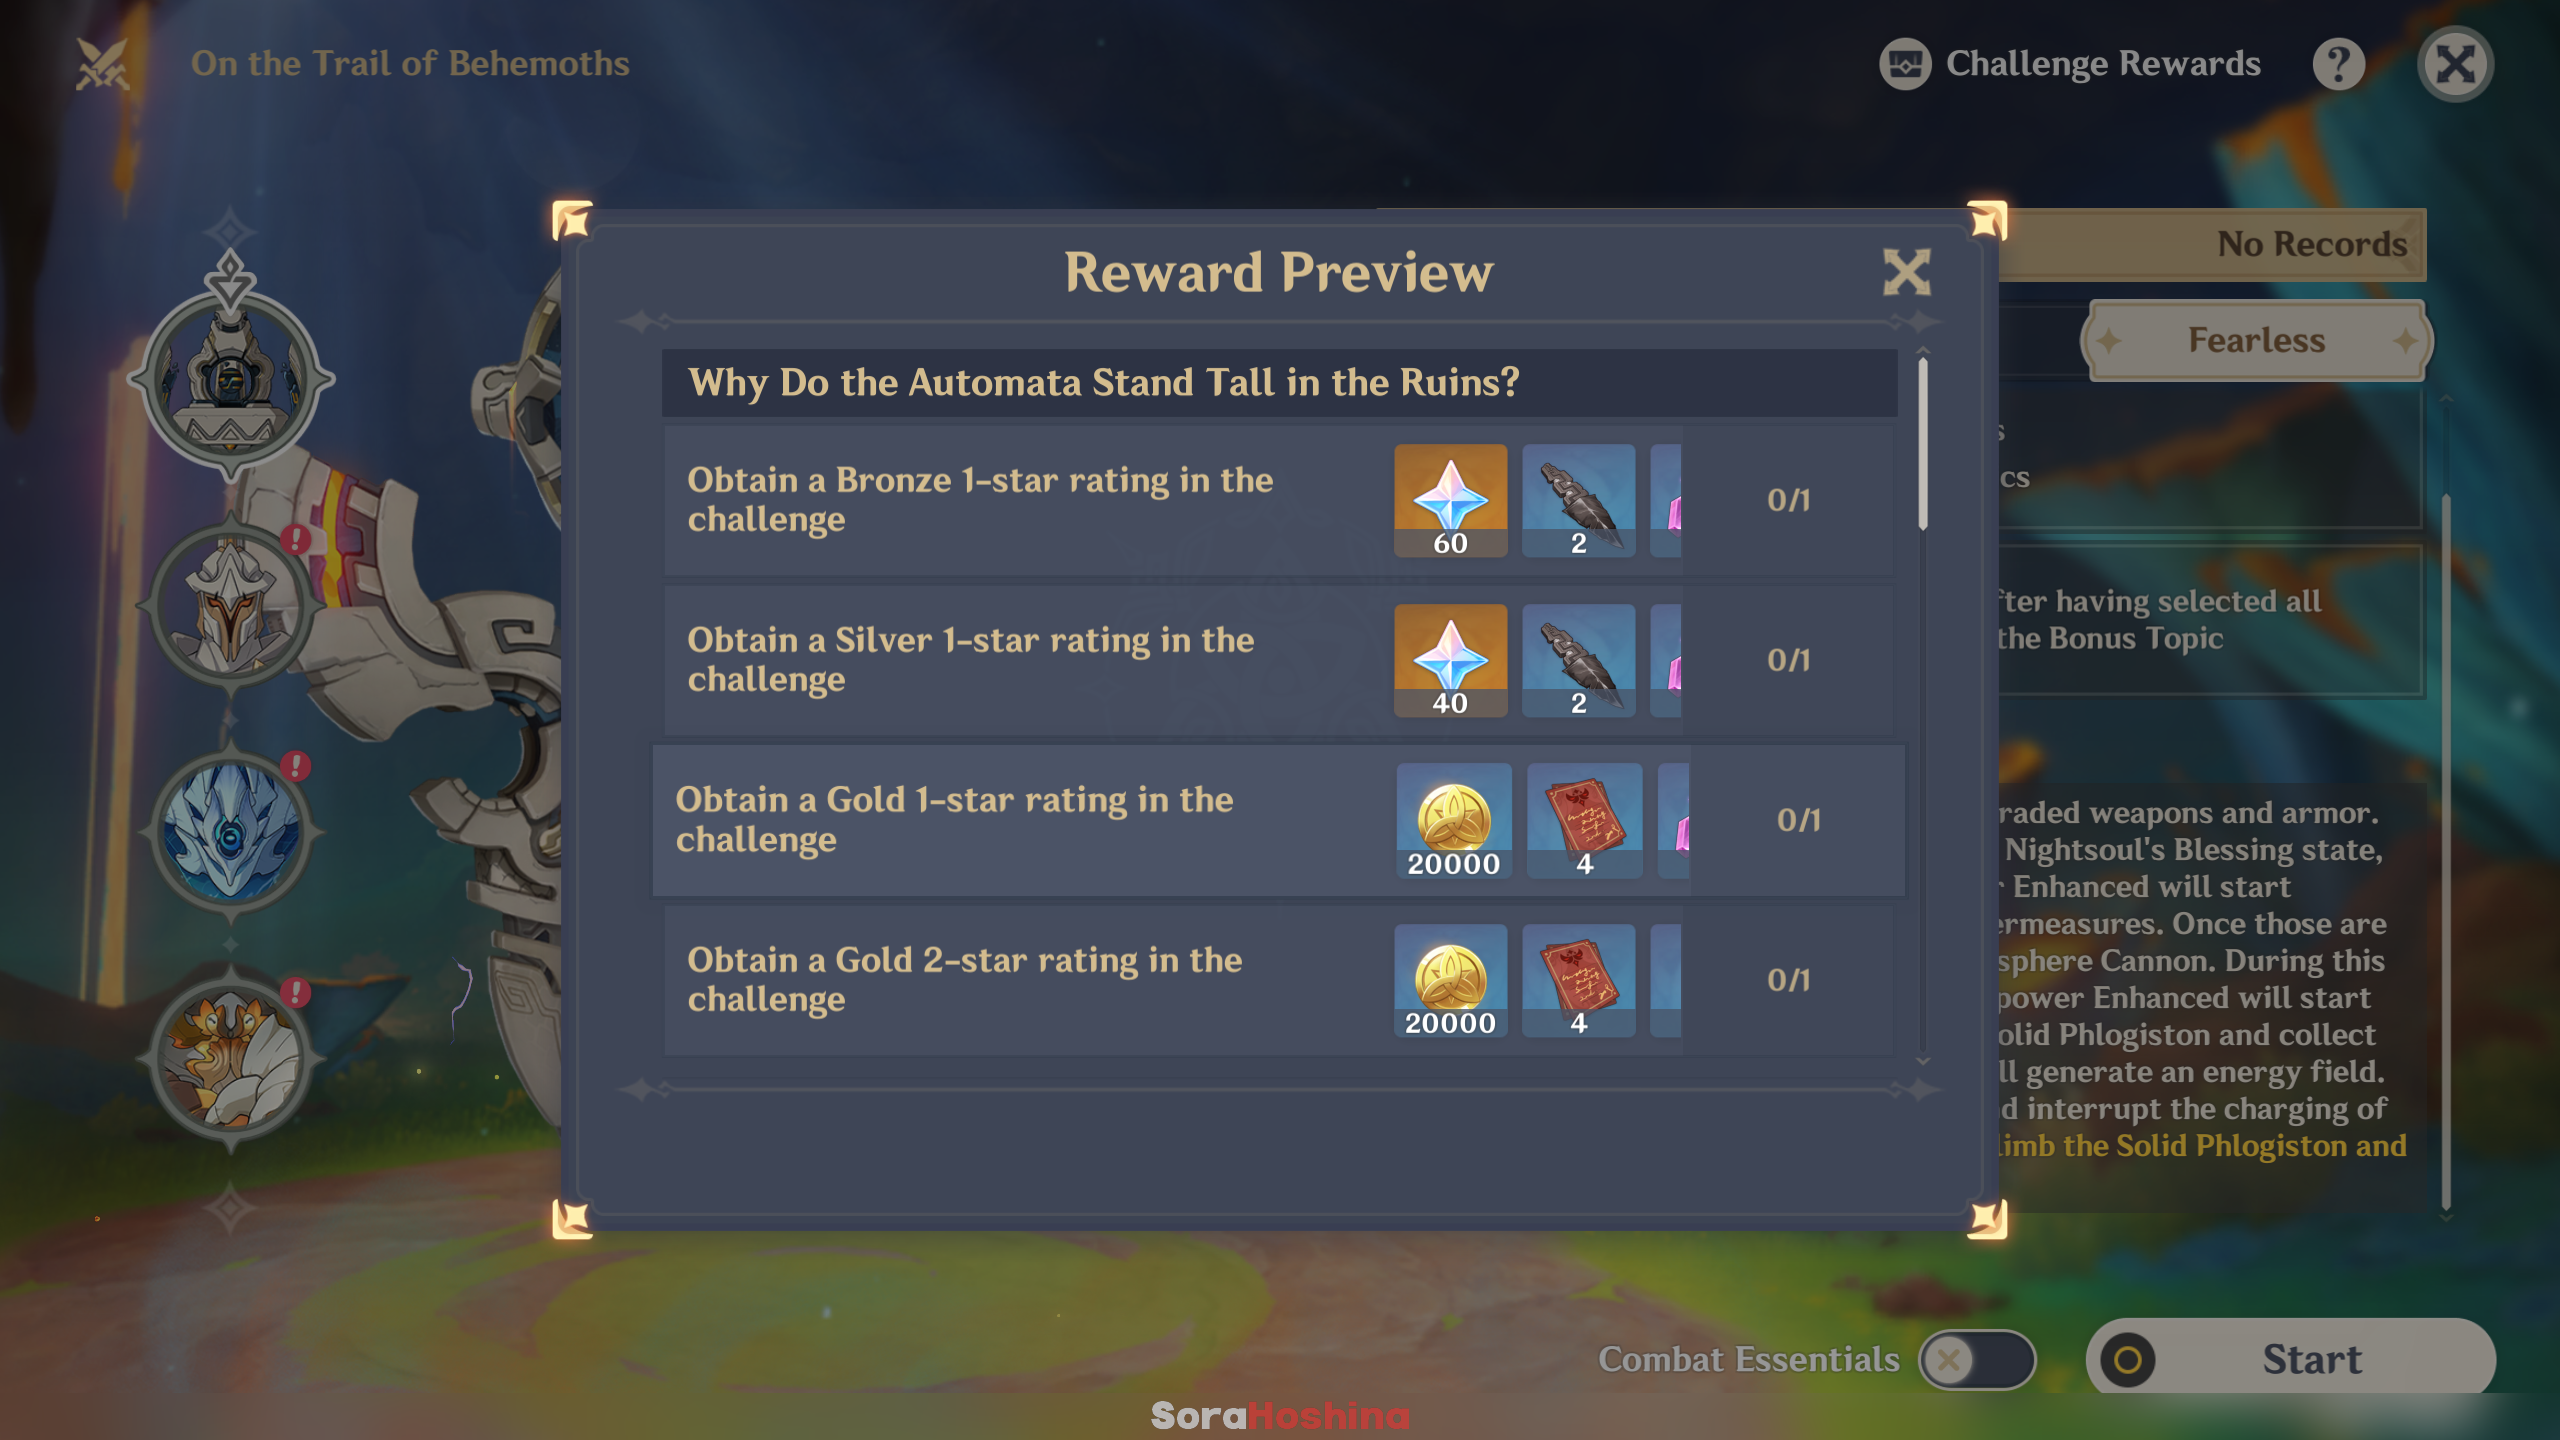
➥ Don’t forget to manually claim your rewards from the event page. By completing all the event challenges, you will get the following rewards:
- Primogem x 420
- Blazing Sacrificial Heart's Hesitance x 4
- Mystic Enhancement Ore x 36
- Mora x 180000
- Adventurer's Experience x 40
- Sanctifying Unction x 8
- Delirious Desolation of the Sacred Lord x 4
- Night-Wind's Mystic Premonition x 4
- Hero's Wit x 4


