Table of Contents [Hide]

Floor 11 is the start of a challenge in Spiral Abyss for Genshin Impact players. The difficulty spikes up a little bit from the previous floor, in addition to the ever-changing roster of enemies in each version. In version 4.8, you will only encounter lots of mobs and tons of waves. Follow this guide to know more about enemies' lineup, their weaknesses, and how to complete the entire chamber on Floor 11.
Blessing of the Abyssal Moon
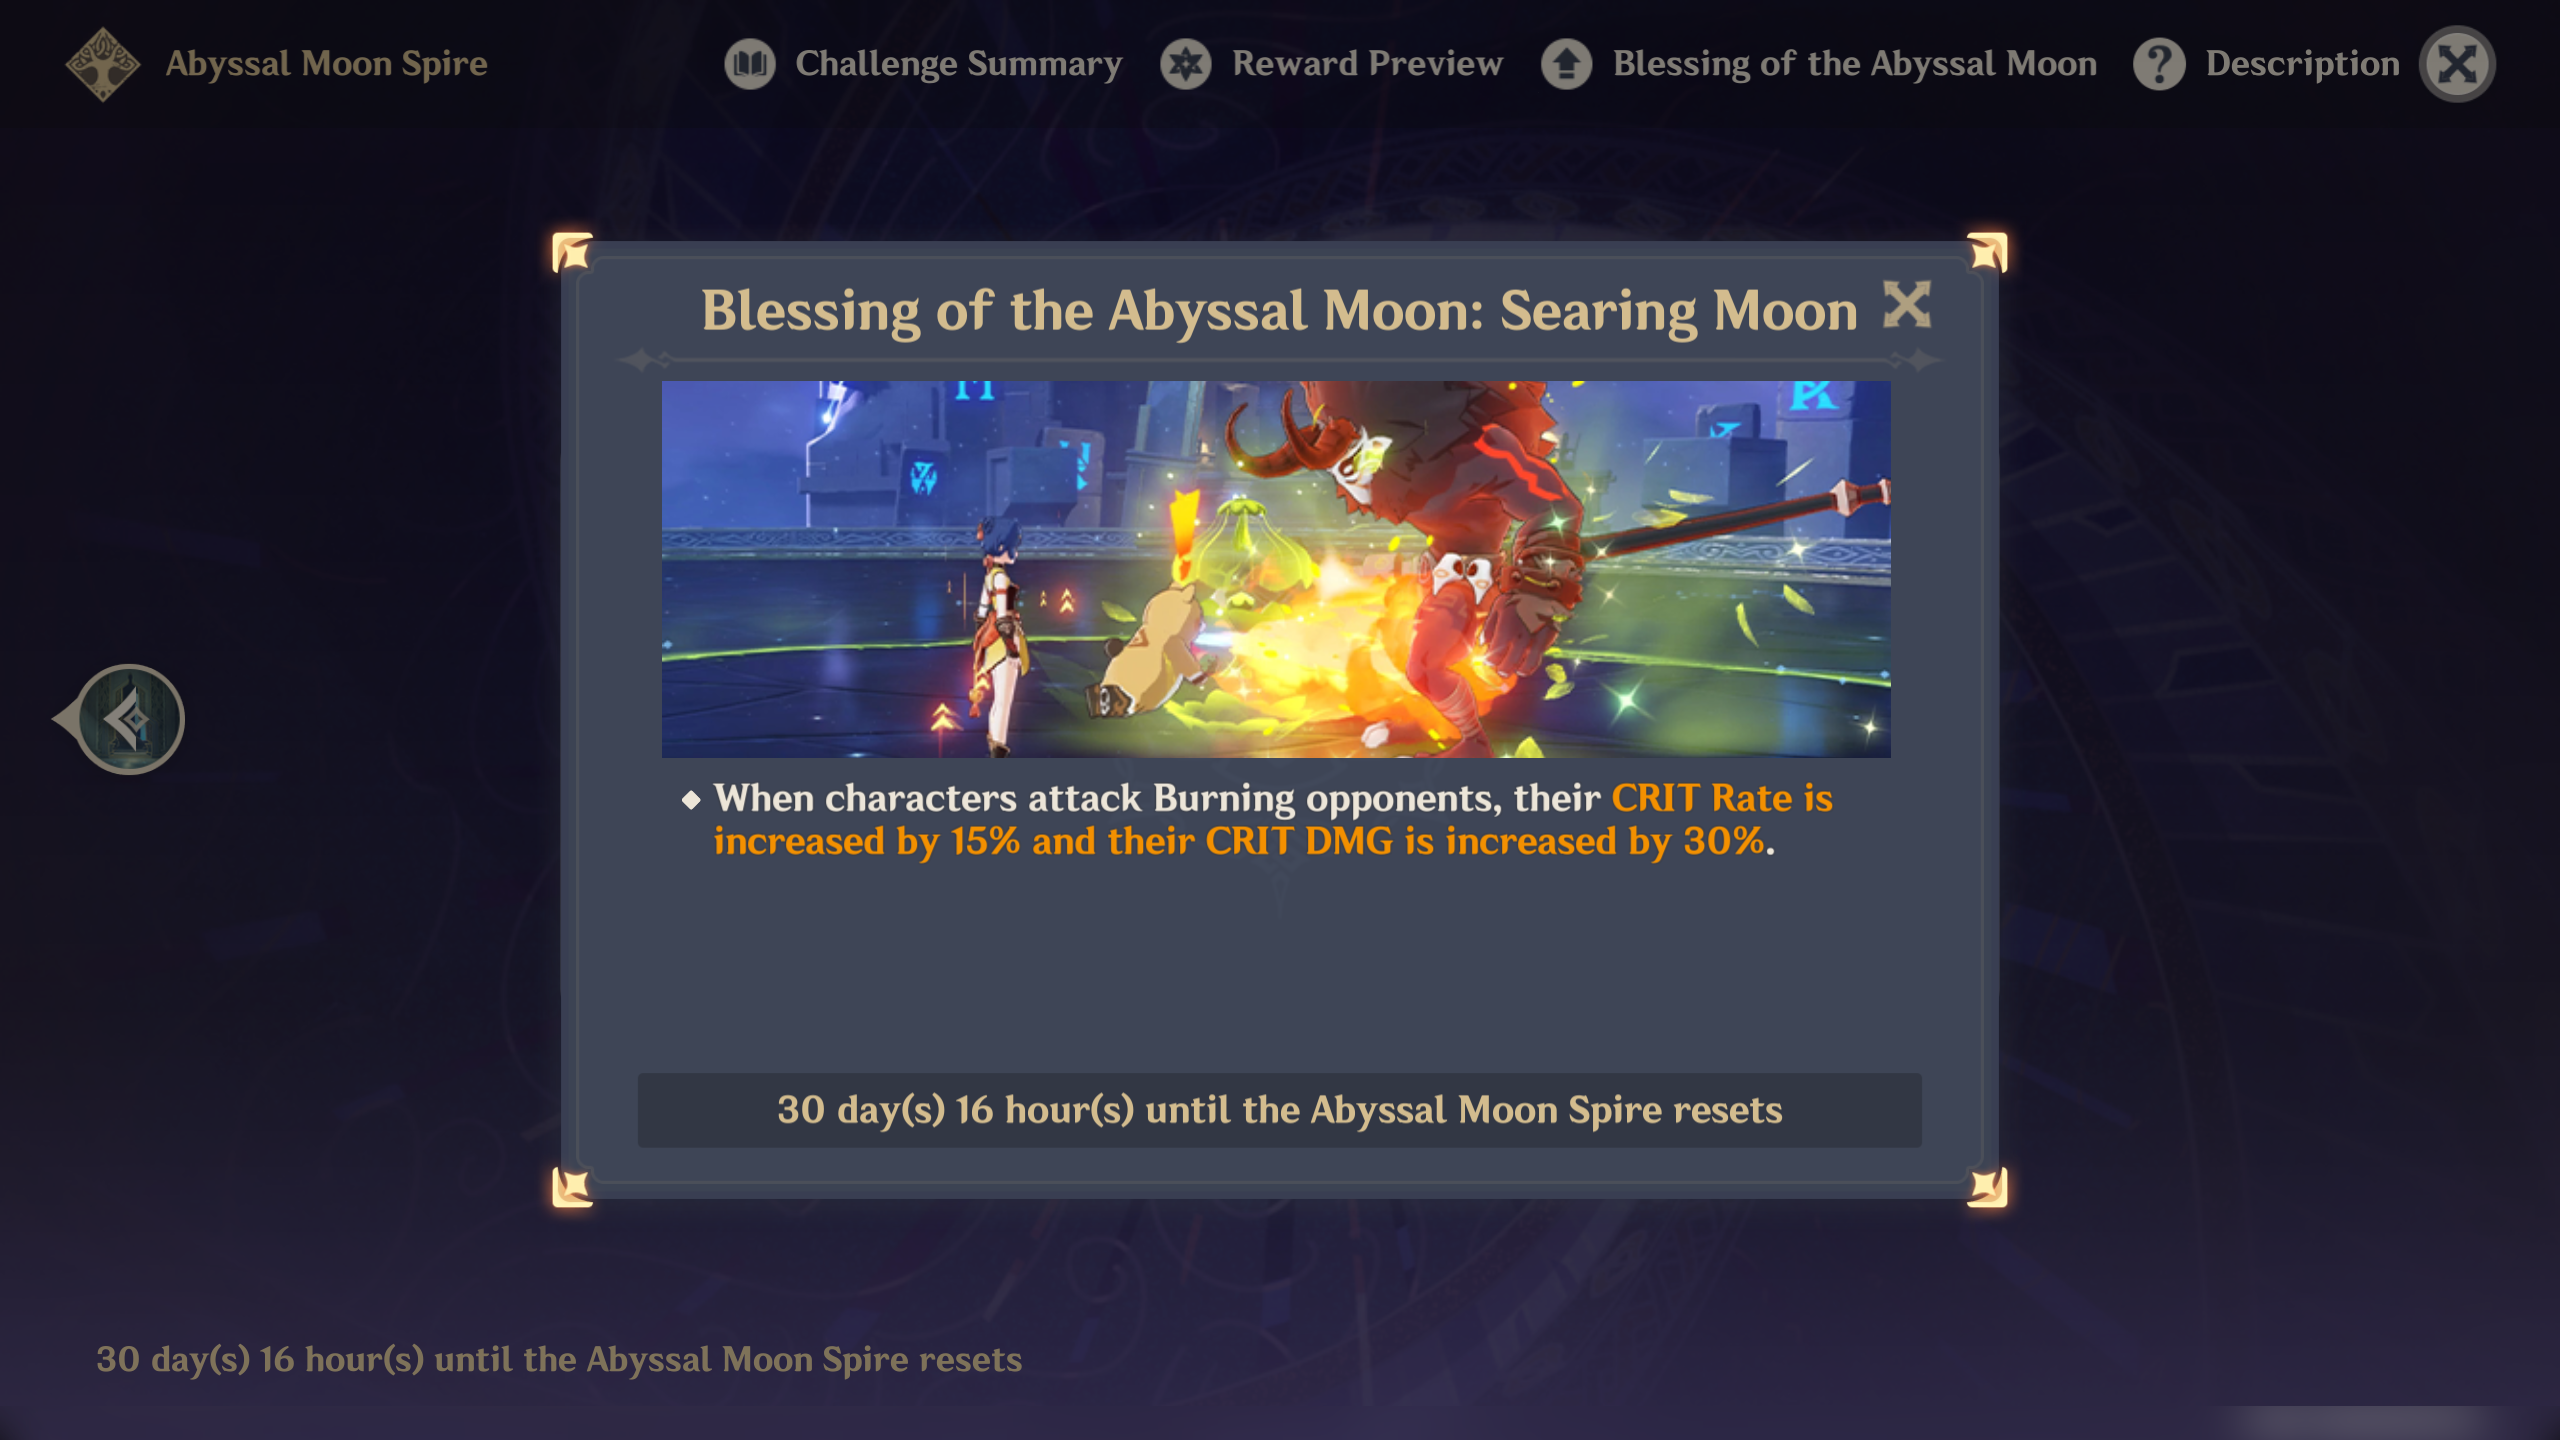
Reminder: Blessing of the Abyssal Moon will change every refresh cycle and may not be updated here. But the enemies list and strategy will remain the same.
When characters attack Burning opponents, their CRIT Rate is increased by 15% and their CRIT DMG by 30%
Ley Line Disorder

All characters in the party gain a 75% Dendro DMG Bonus.
Team Recommendations
There are Leyline Monolith stages for Chamber 1, and some enemies spawn near each other/easy to gather while some are a bit far away. You can bring along an Anemo CC to any of the teams if you want. If you only have 1 and want to bring them, then it's recommended to add them in the 2nd Half because there are more enemies that can be gathered with Anemo CC in the 2nd Half compared to the 1st Half. If you plan to bring a Bloom team, remember that the explosion from the Dendro Cores will also deal some damage and reduce the Monolith's HP.
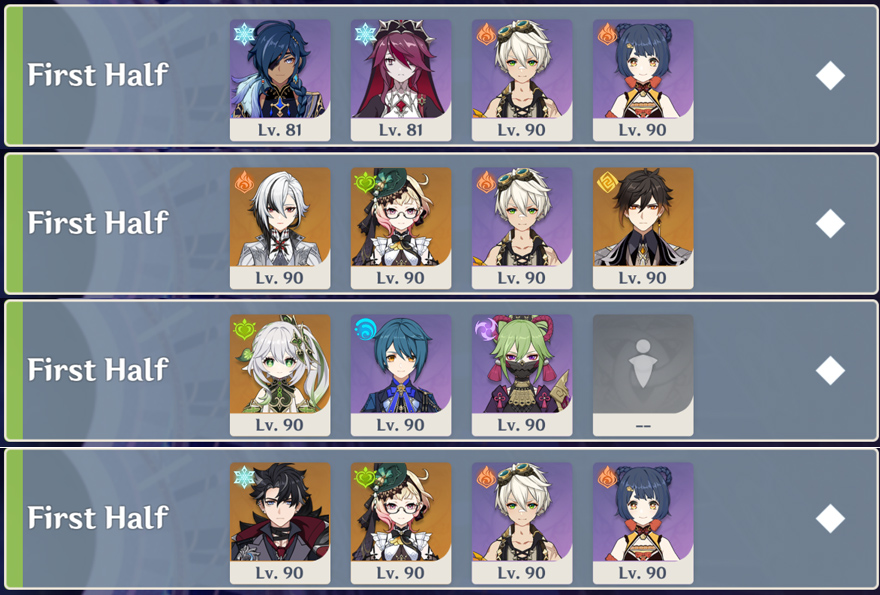
- The recommended elements for the First Half: All elements except Physical
- The not recommended elements for the First Half: Physical
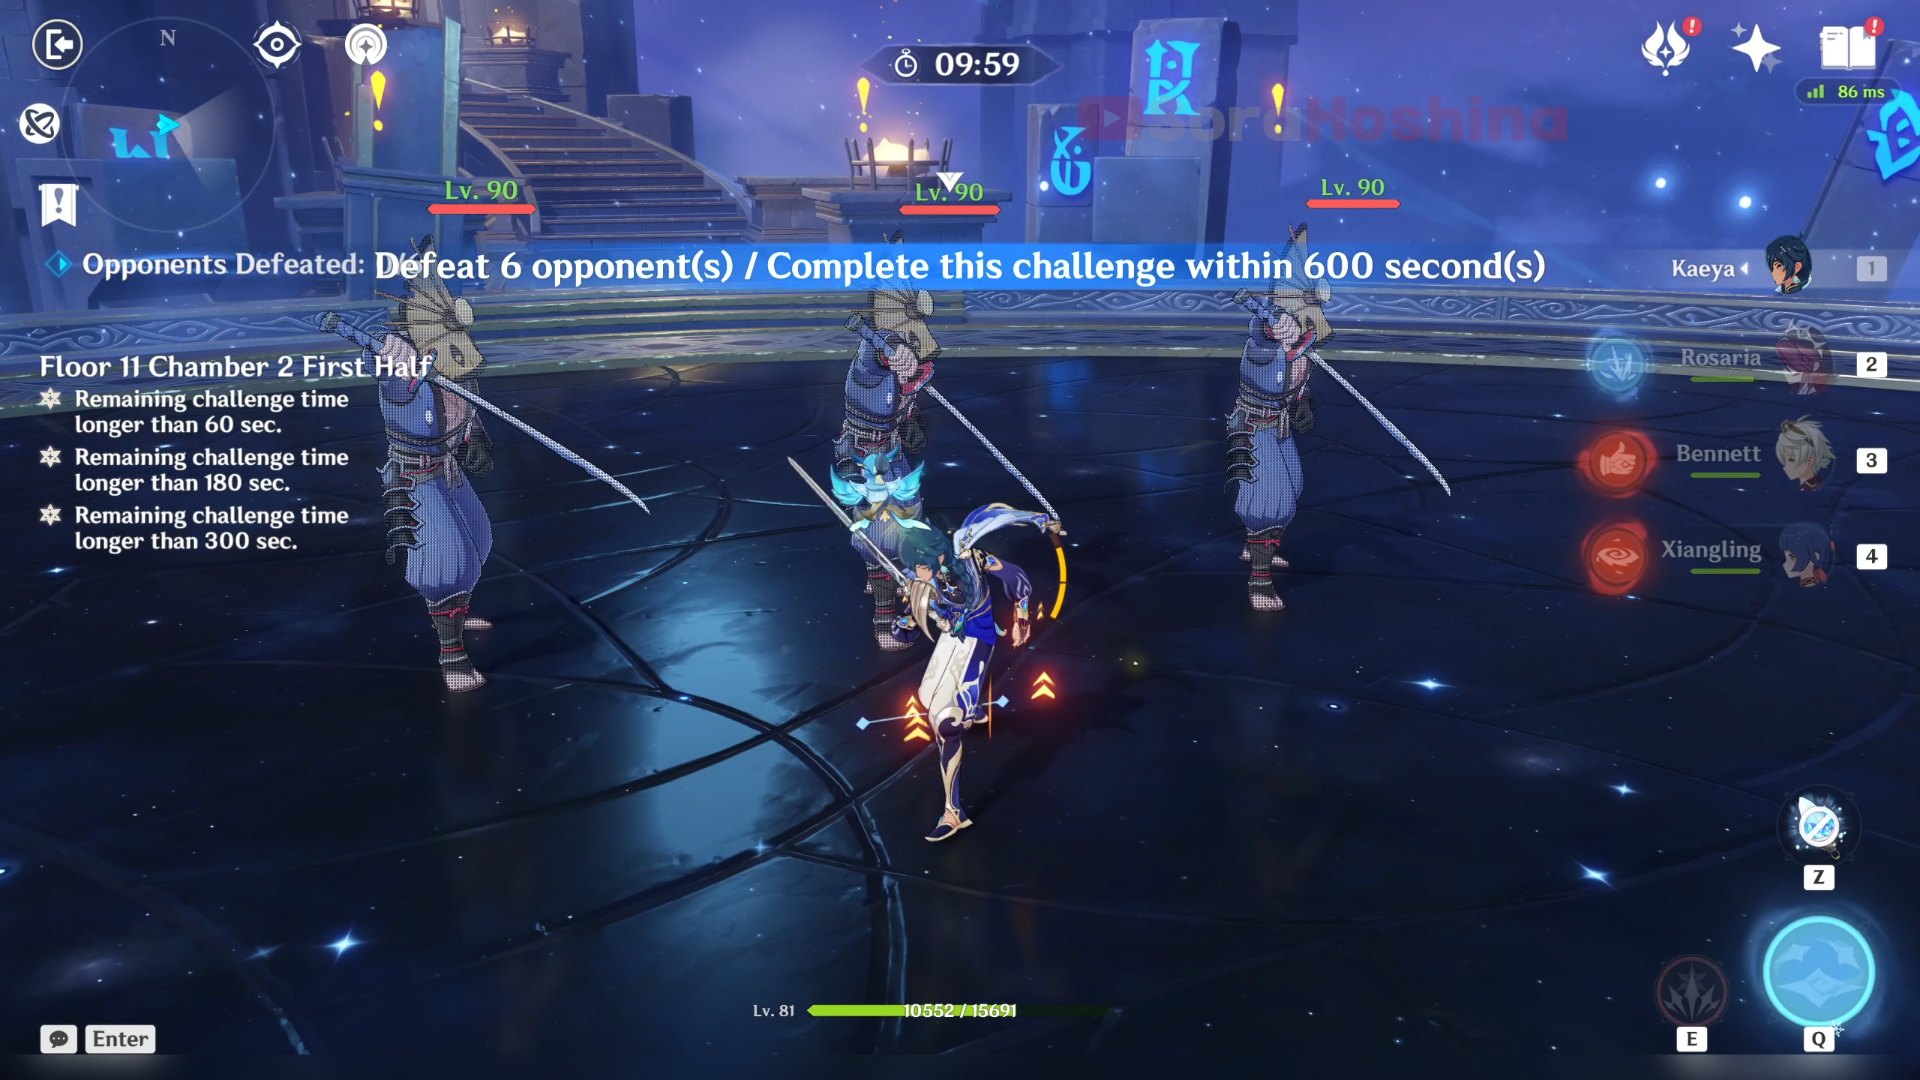
Physical because there are too many Ruin enemies here and they have decent Physical RES.- Melt Team: Kaeya + Rosaria + Bennett + Xiangling
- Burning Team: Arlecchino + Emilie + Bennett + Zhongli
- Hyperbloom Team: Nahida/Alhaitham + Xingqiu + Kuki Shinobu + Flex
- Burn + Melt Team: Wriothesley + Emilie + Bennett + Xiangling
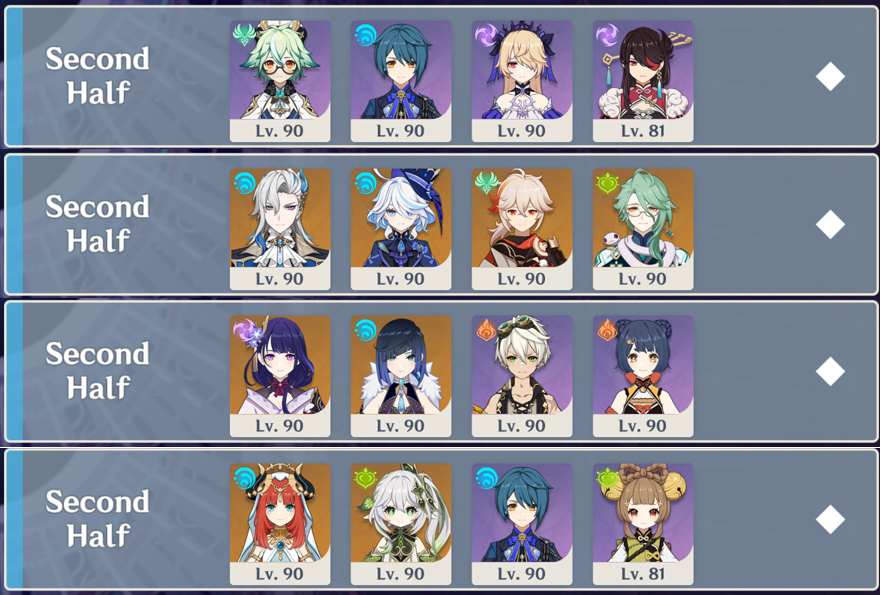
- The recommended elements for the Second Half: Hydro
Yes, there are enemies with small RES to Hydro (Primordial Bathysmal Vishap) but this Hydro is for Pyro Slimes so you can extinguish its ignite state. If you let them be, it will explode once defeated. But it's up to you though whether you want to bring a Hydro character or not. - The not recommended elements for the Second Half: Pyro
Not that big of a deal. It is not recommended just because there are Pyro Agents that have a 50% RES against Pyro.- Taser Team: Sucrose + Xingqiu + Fischl + Beidou
- Neuvi Team: Nuevillette + Furina + Kazuha + Furina
- National Team: Raiden Shogun + Yelan + Bennett + Xiangling
- Bloom Team: Nilou + Nahida + Xingqiu + Yaoyao
Floor 11 Chamber 1
First Half
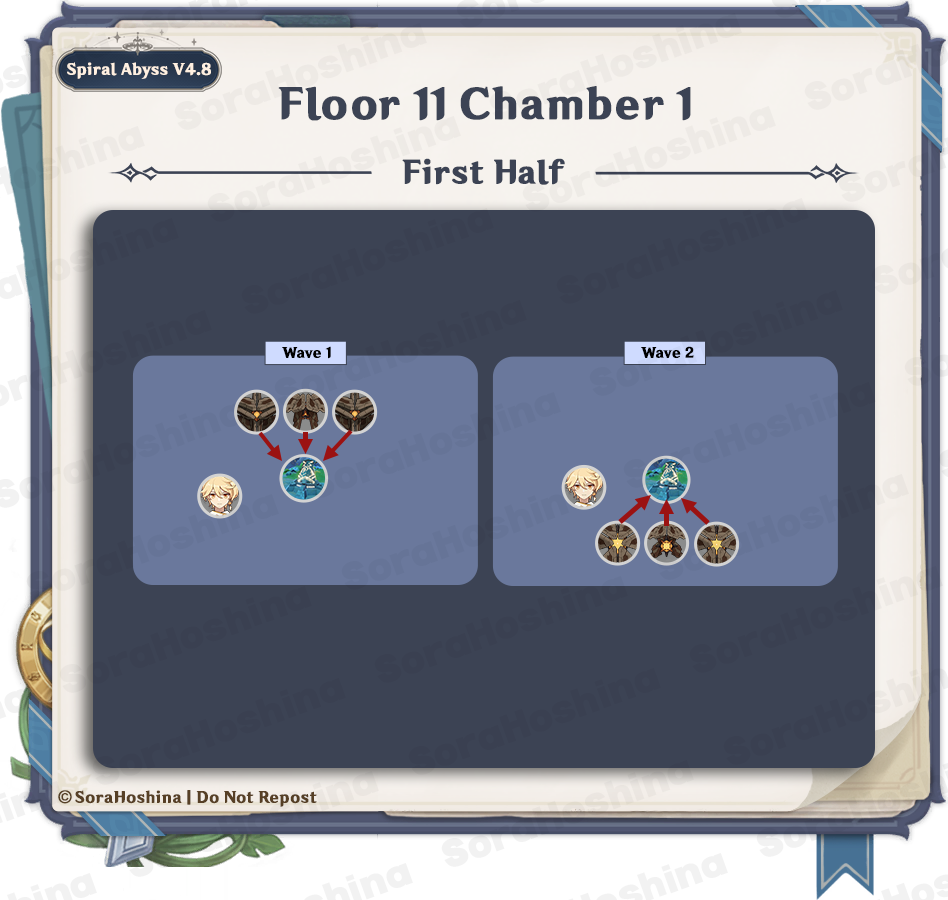
1st Wave: Ruin Scout x1, Ruin Destroyer x2
2nd Wave: Ruin Cruiser x2 & Ruin Defender x1
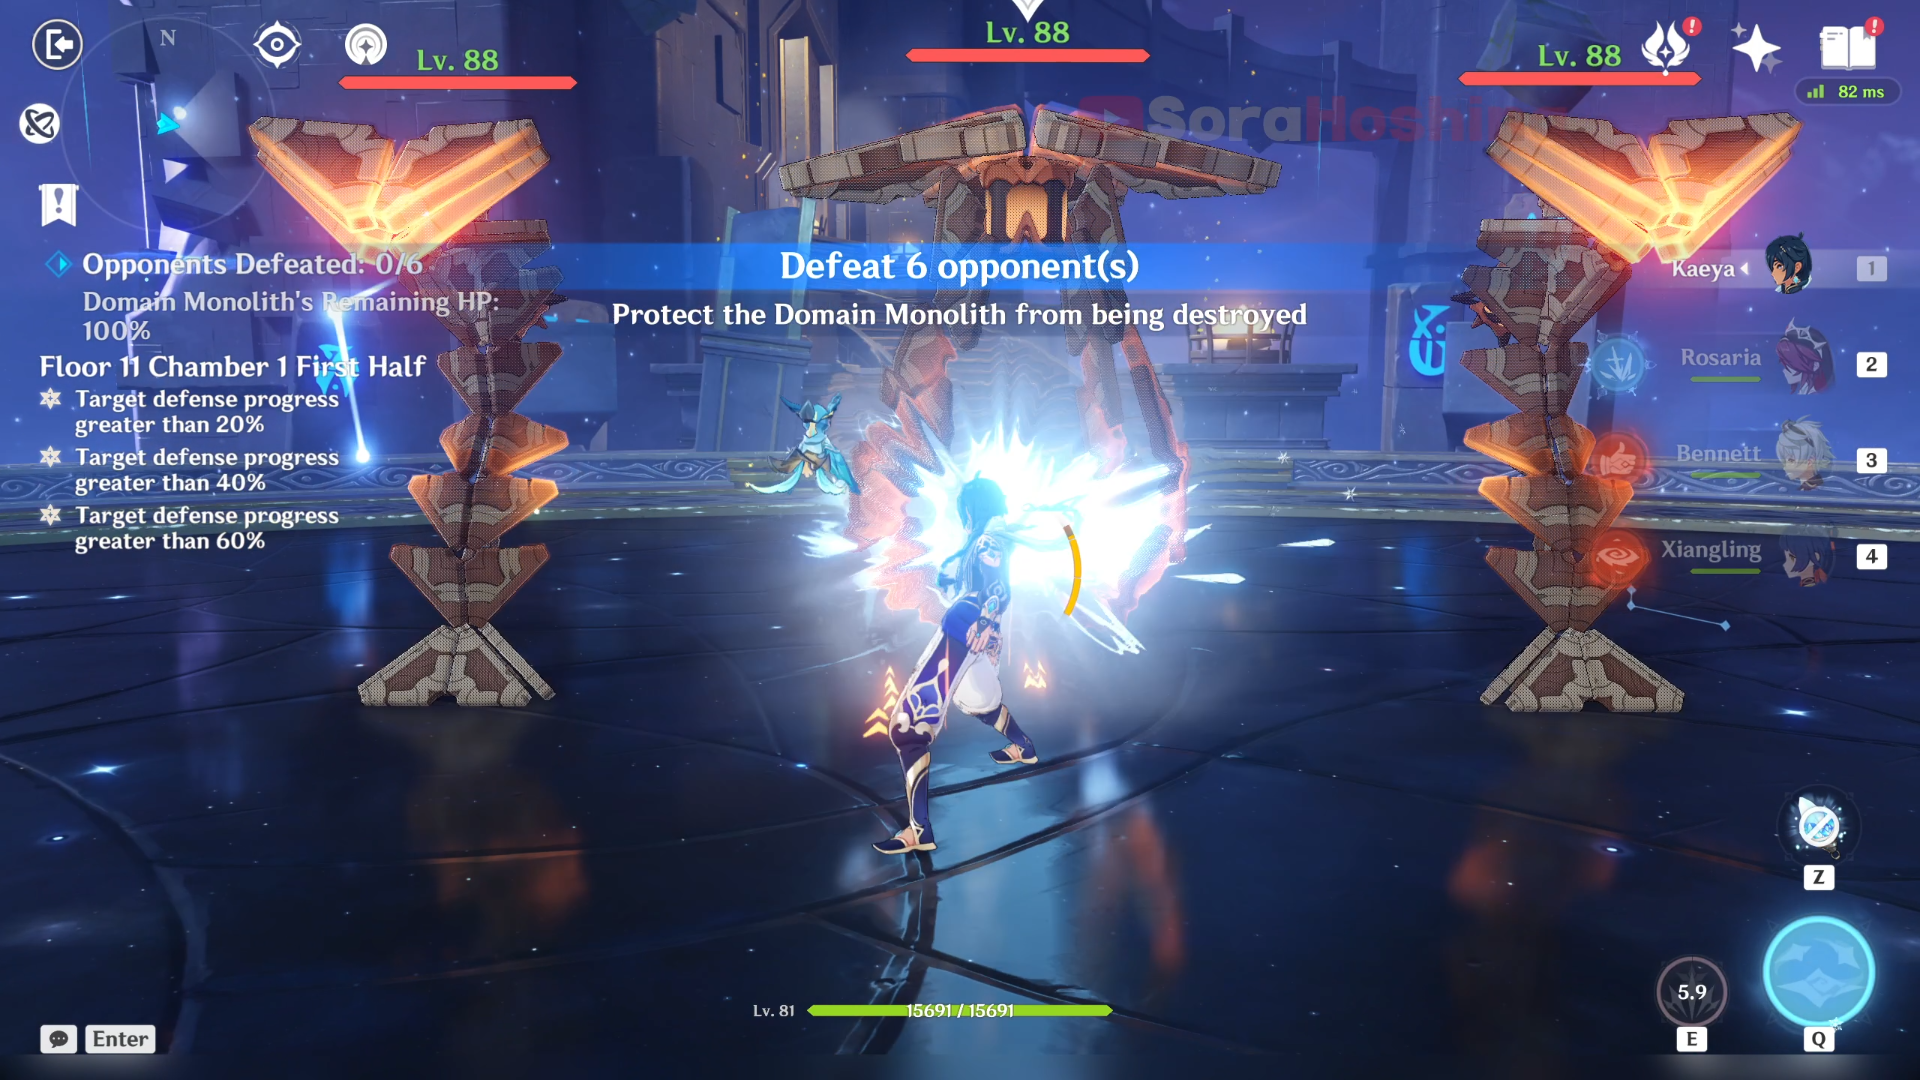
- In all 2 waves, all enemies will attack the Monolith and ignore you. When starting the challenge, go to any one of the Ruin enemies because there is a chance the Ruin enemies will move from their initial location (that are near each other) and move to the Monolith. If you attack them early on, they might start attacking you because of aggro and will ignore the Monolith.
Second Half
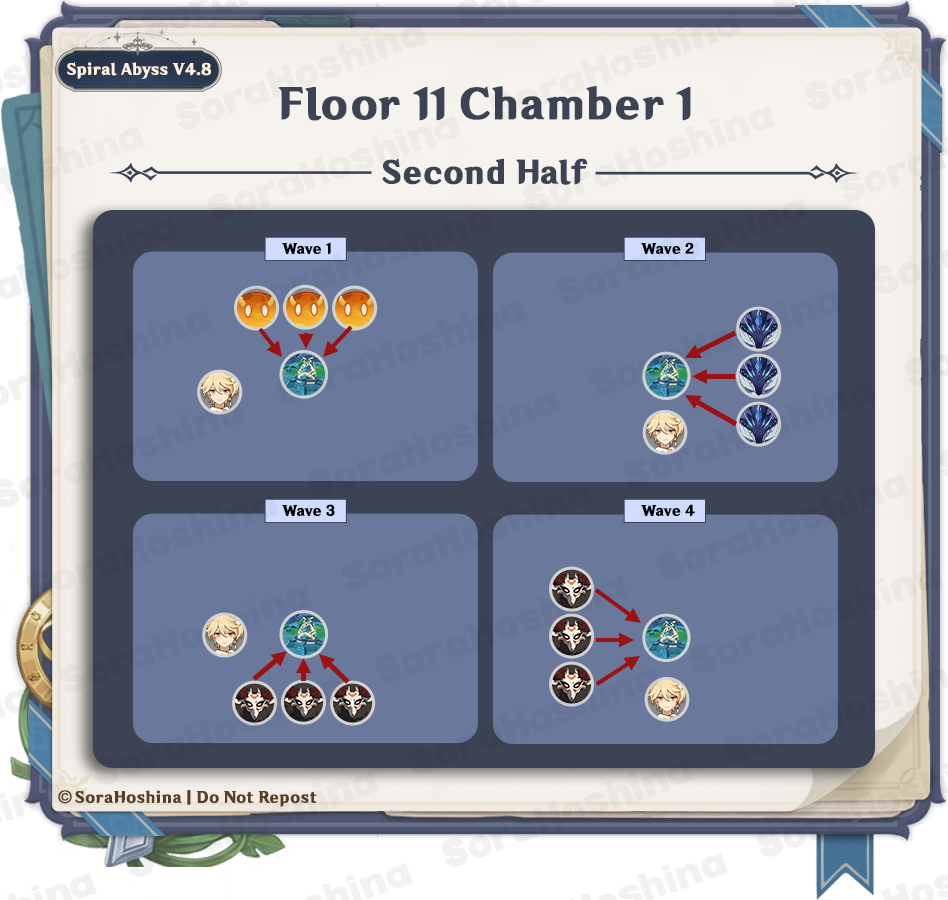
1st Wave: Large Pyro Slime x3
2nd Wave: Primordial Bathysmal Vishap Hatchling x3
3rd Wave: Blazing Axe Mitachurl x3
4th Wave: Crackling Axe Mitachurl x3
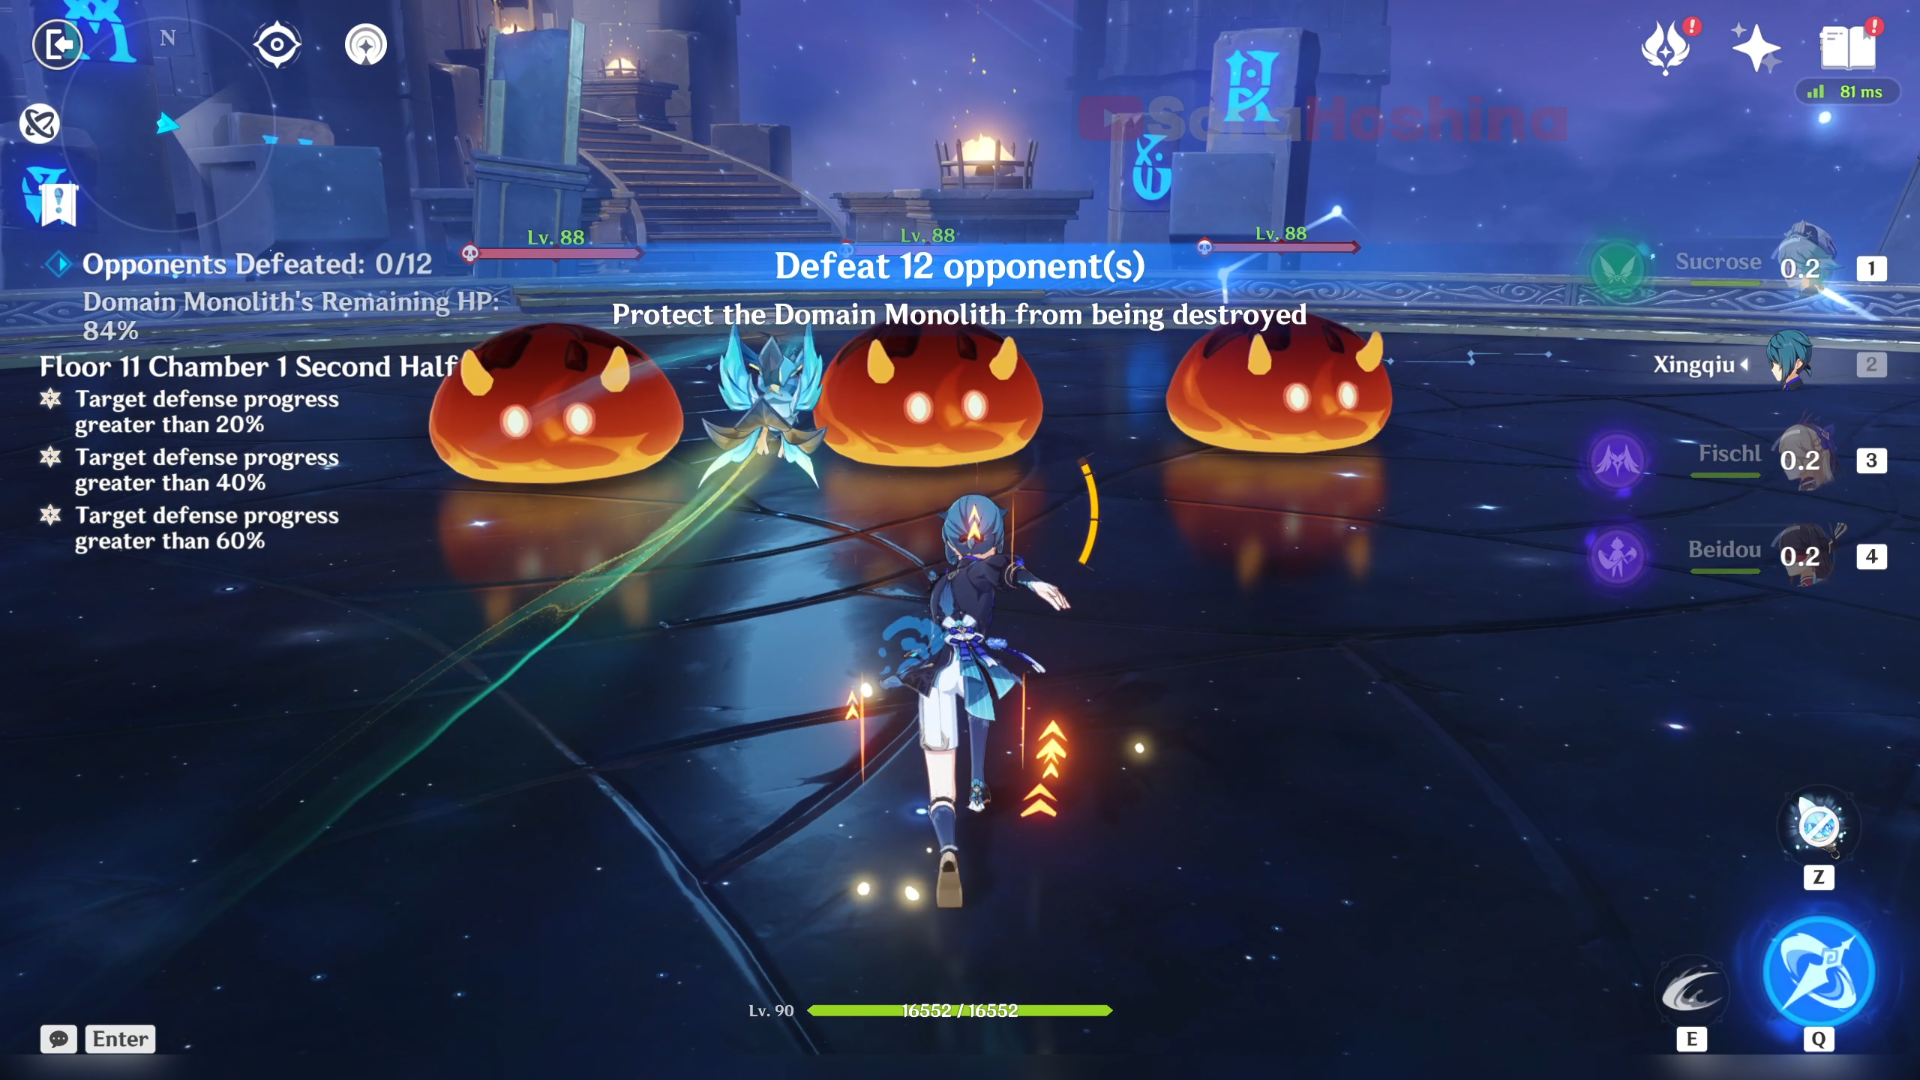
- In all 4 waves, all enemies will attack the Monolith and ignore you just like in the first half, that is, unless you attack them to trigger aggro.
- In the first wave, try to bring at least one Hydro character to remove the Pyro Slimes from their Ignite state. If you defeat them while the Slimes are in the Ignite state, they will explode and deal damage to the Monolith if they are near it.
- In the remaining waves, all the enemies will immediately charge to the Monolith so just stay in the middle.
Floor 11 Chamber 2
First Half
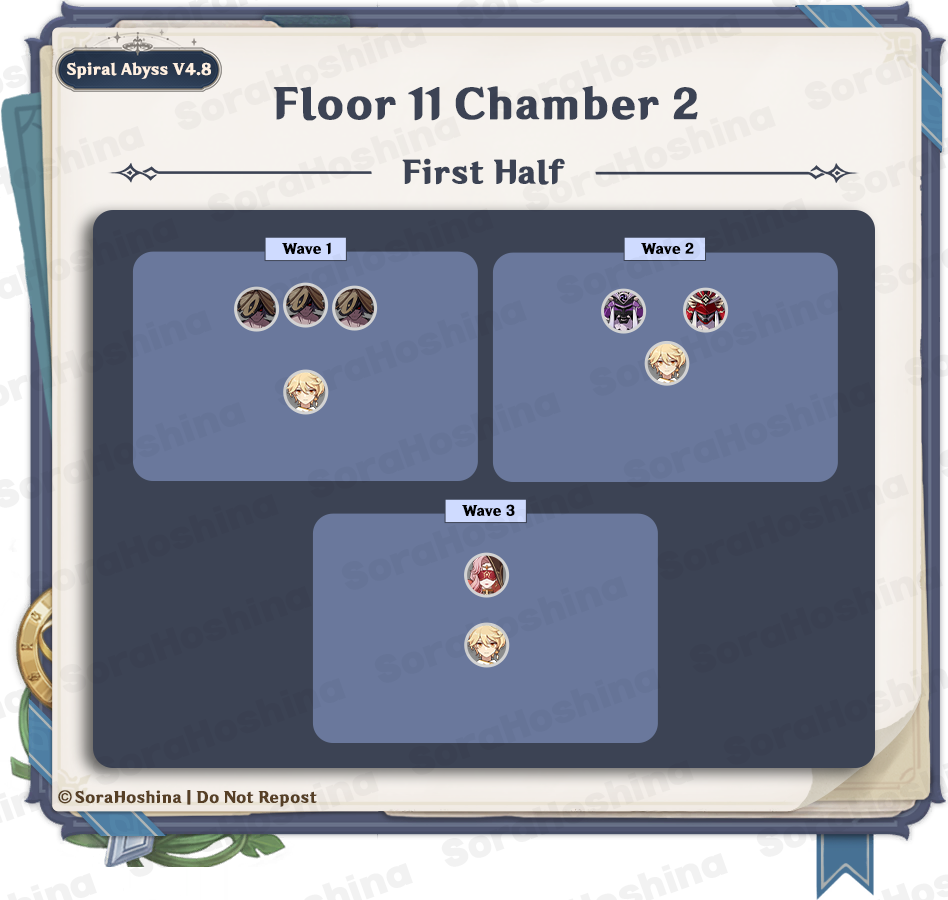
1st Wave: Nobushi: Jintouban x3
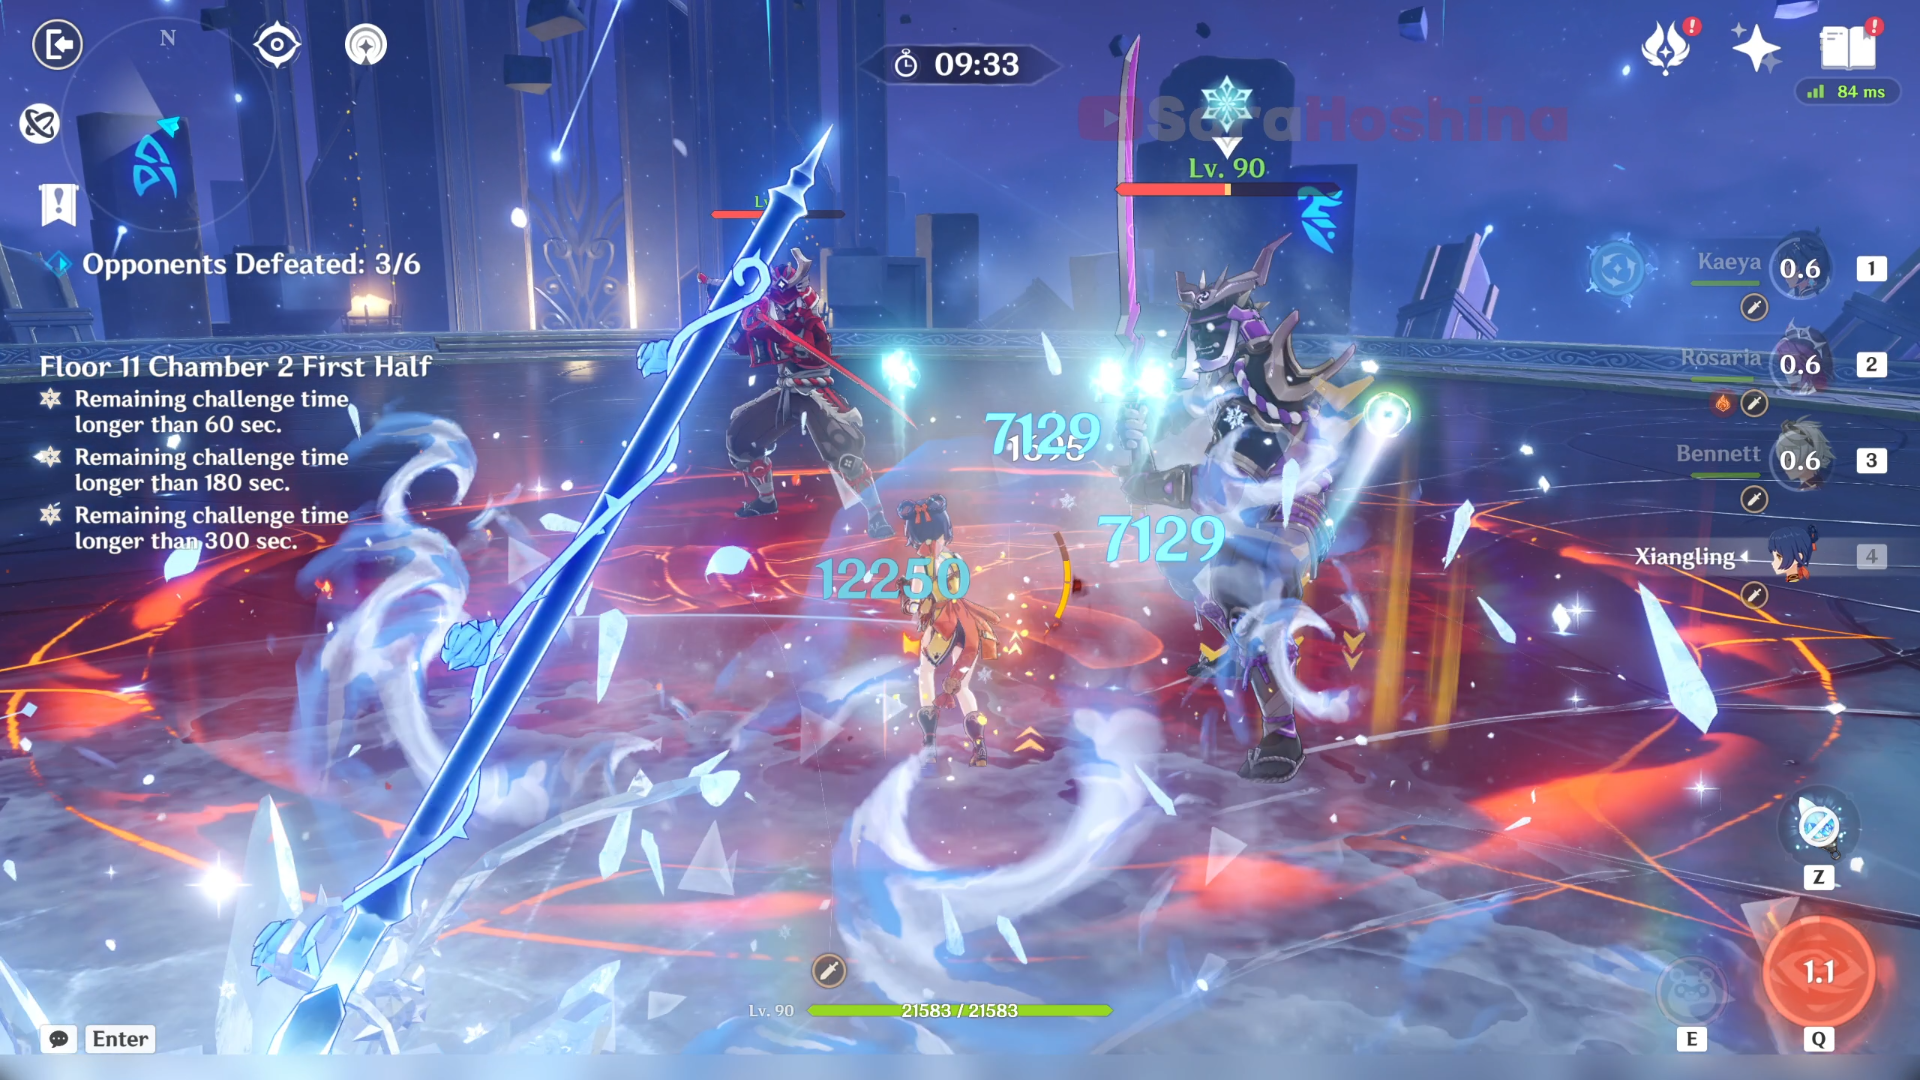
2nd Wave: Kairagi: Dancing Thunder & Kairagi: Fiery Might
3rd Wave: Eremite Scorching Loremaster x1
- In all 3 waves, all enemies will spawn near the same location. So it's better to just stay in one spot so you can get near all the enemies when they spawn.
- In the first wave, there are 3 Nobushi in the middle. They are near each other so you won't have trouble gathering them. However, if you're too far away from their liking, there's a chance it will trigger them to do a dash attack, which will disturb the CC. so try to be near all of them at all times.
- In the second wave, similar to the first one, the two Kairagi may use a dash attack whenever they want. If you don't bring an Anemo CC and don't want them to move far away, get near the wall at the front area (or make sure your back is facing the wall at the front) so if the Kairagi use a dash attack, the wall will help stop them.
- An early reminder that you have to watch out for their ability to regenerate half of their HP and be immune to CC if one of them dies. The best option to avoid one of them recovering half their HP is to (1) make sure you attack both of them until their HP is the same before finishing them off or (2) use DPS with high burst damage to kill both of them at the same time or (3) using Freeze team to immobilize the Kairagi, giving you a longer window to kill it before it can even heal.
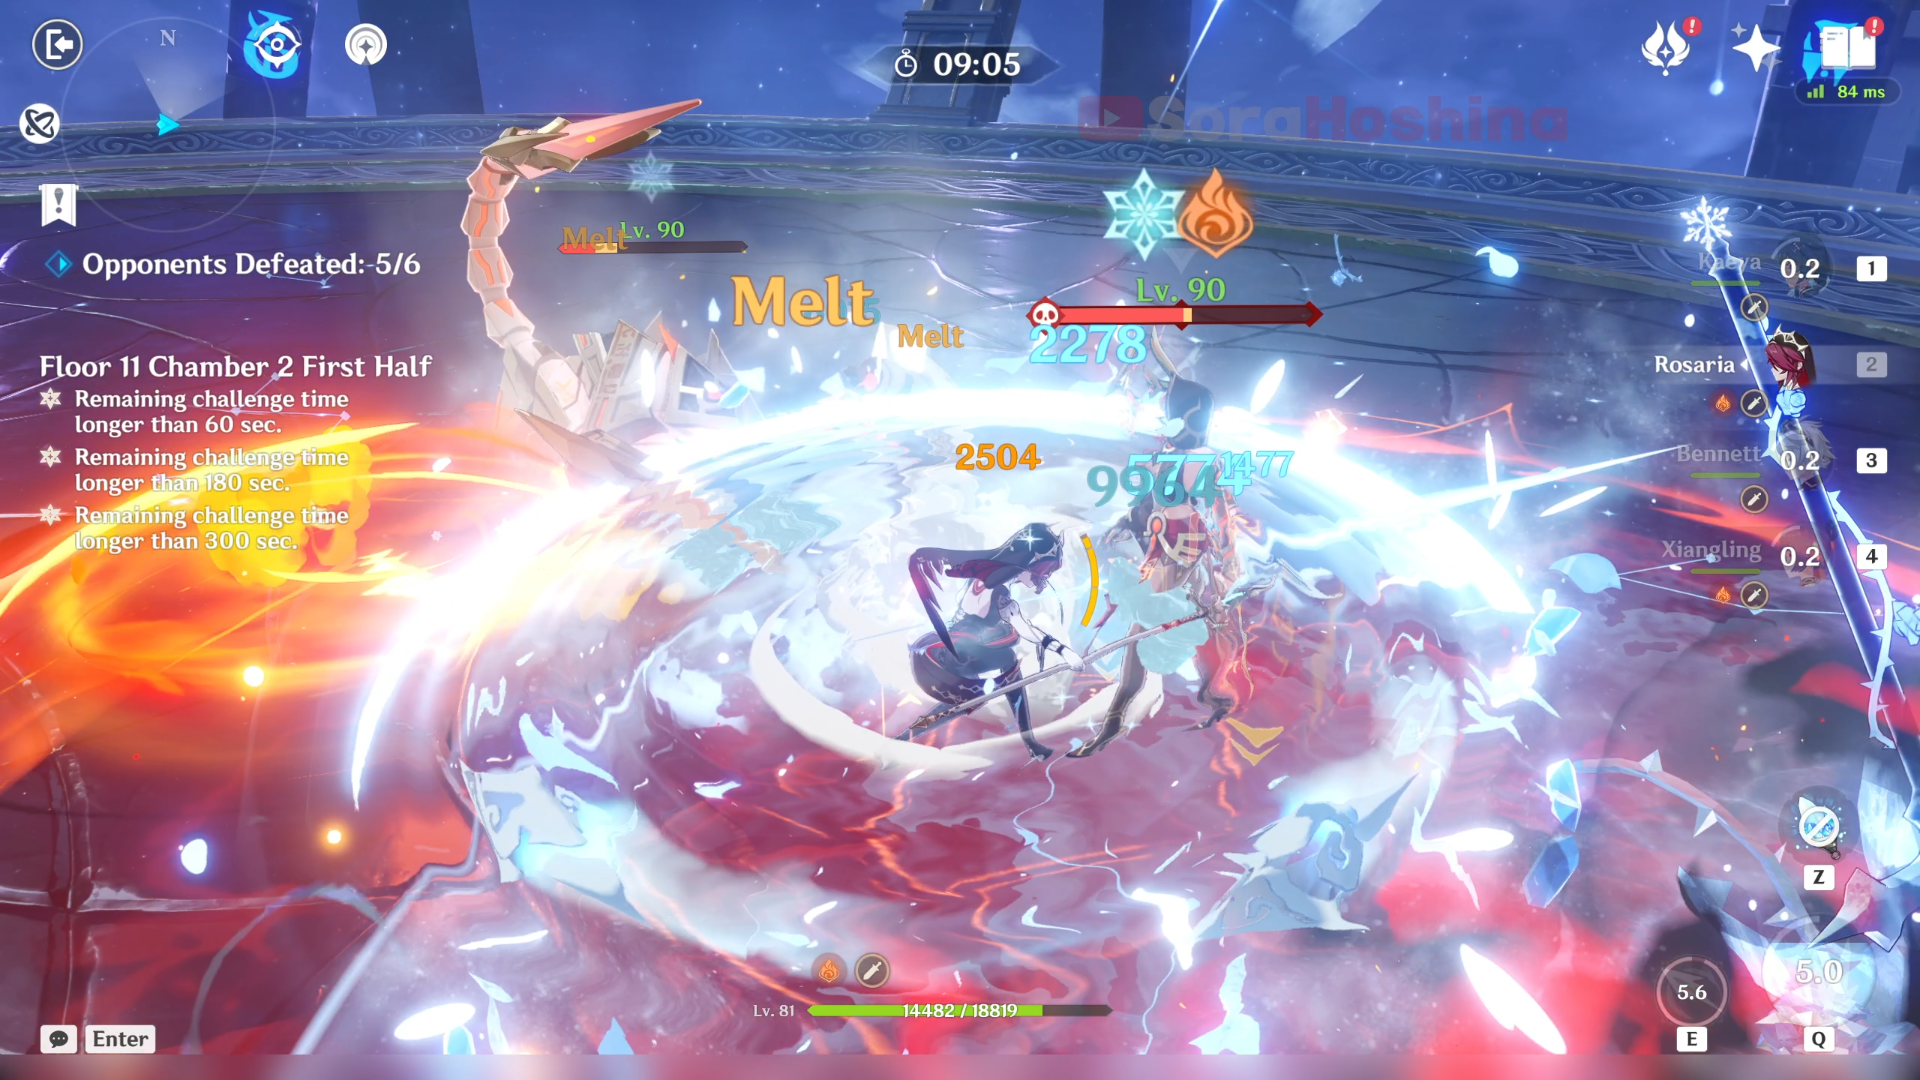
- In the third wave, there is only one Eremite enemy; the Loremaster. She's purely here to prevent you from getting those full stars smh. As with any other elite Eremite in Abyss, she will enter enhanced mode + summon her beast from the start so you can't Anemo CC her.
- When the respective spirit animal is defeated, the enhanced state will end, and the Eremite will become stunned for 10 seconds with decreased Pyro RES. They can only enter their enhanced state once.
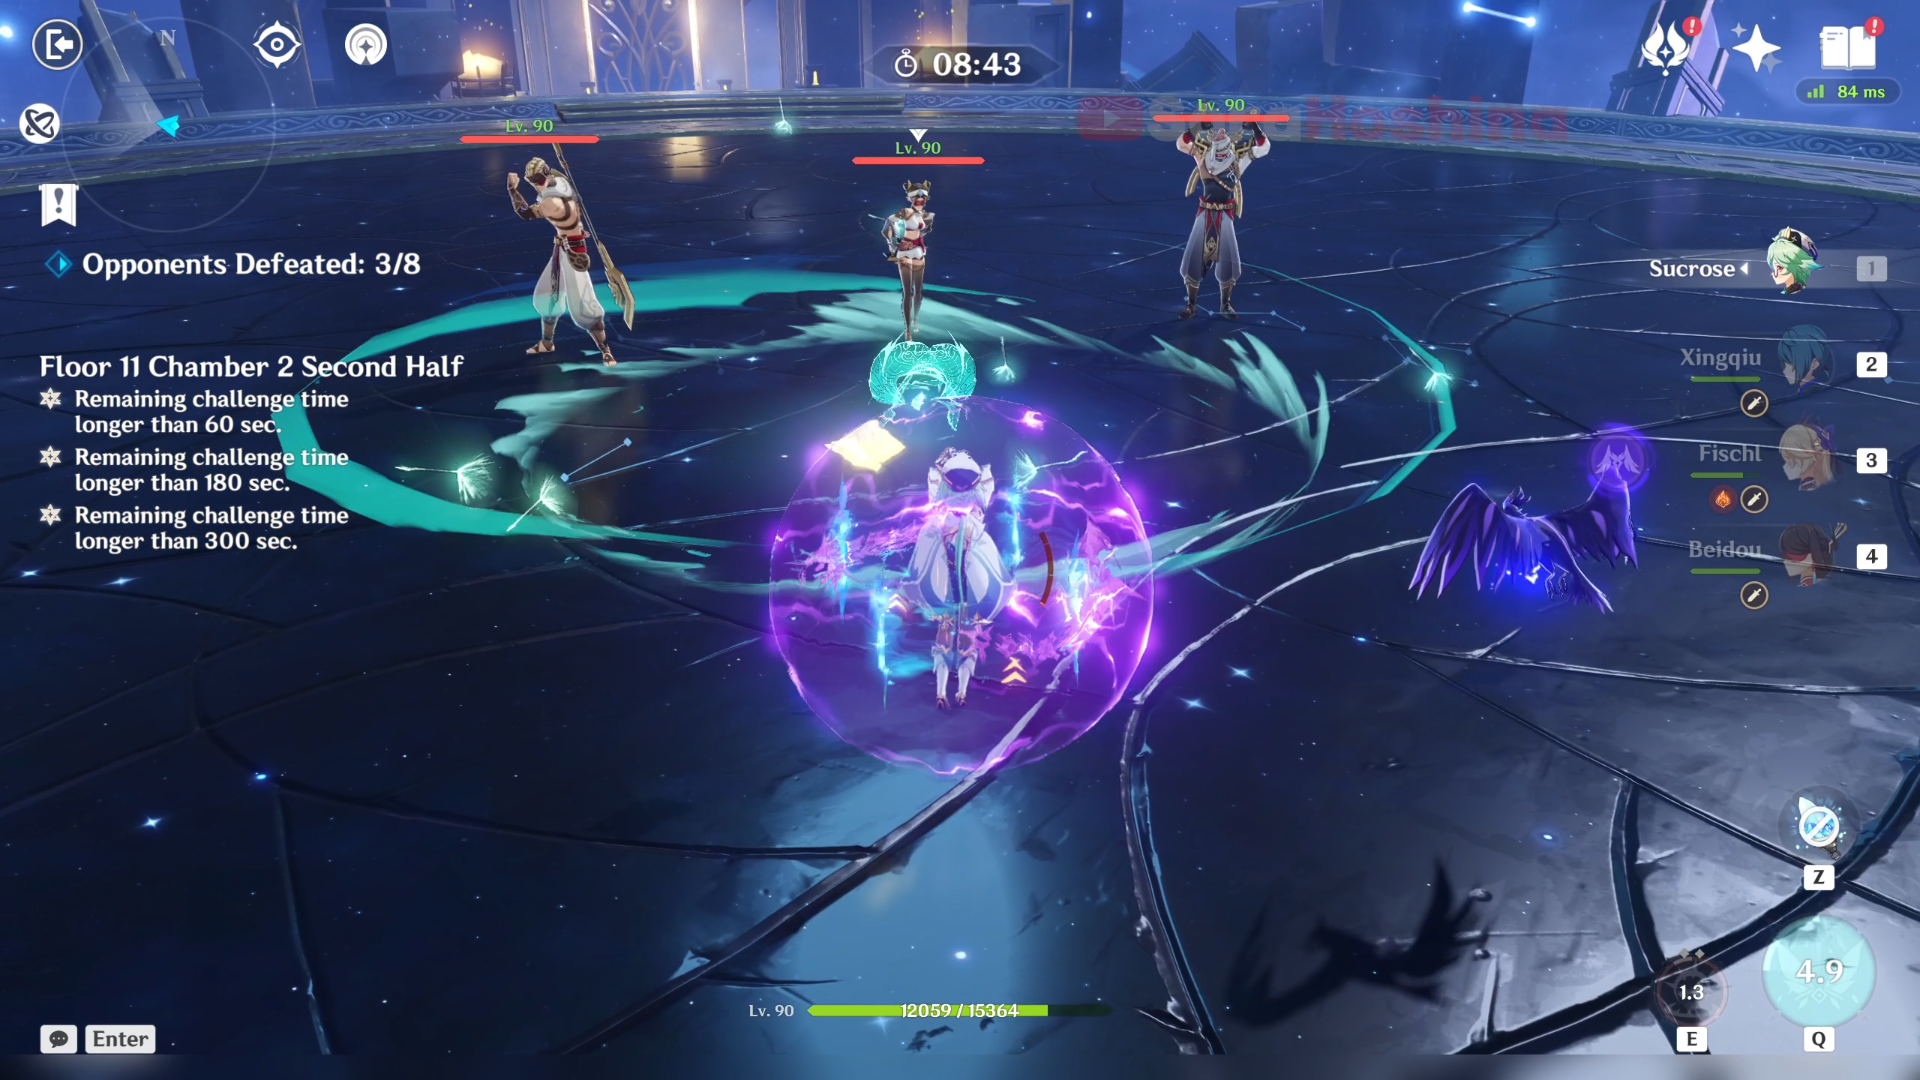
Second Half

1st Wave: Fatui Pyro Agent x3
2nd Wave: Eremite Desert Clearwater x1, Eremite Daythunder x1 & Eremite Sunfrost x1
3rd Wave: Stonehide Lawachurl x2
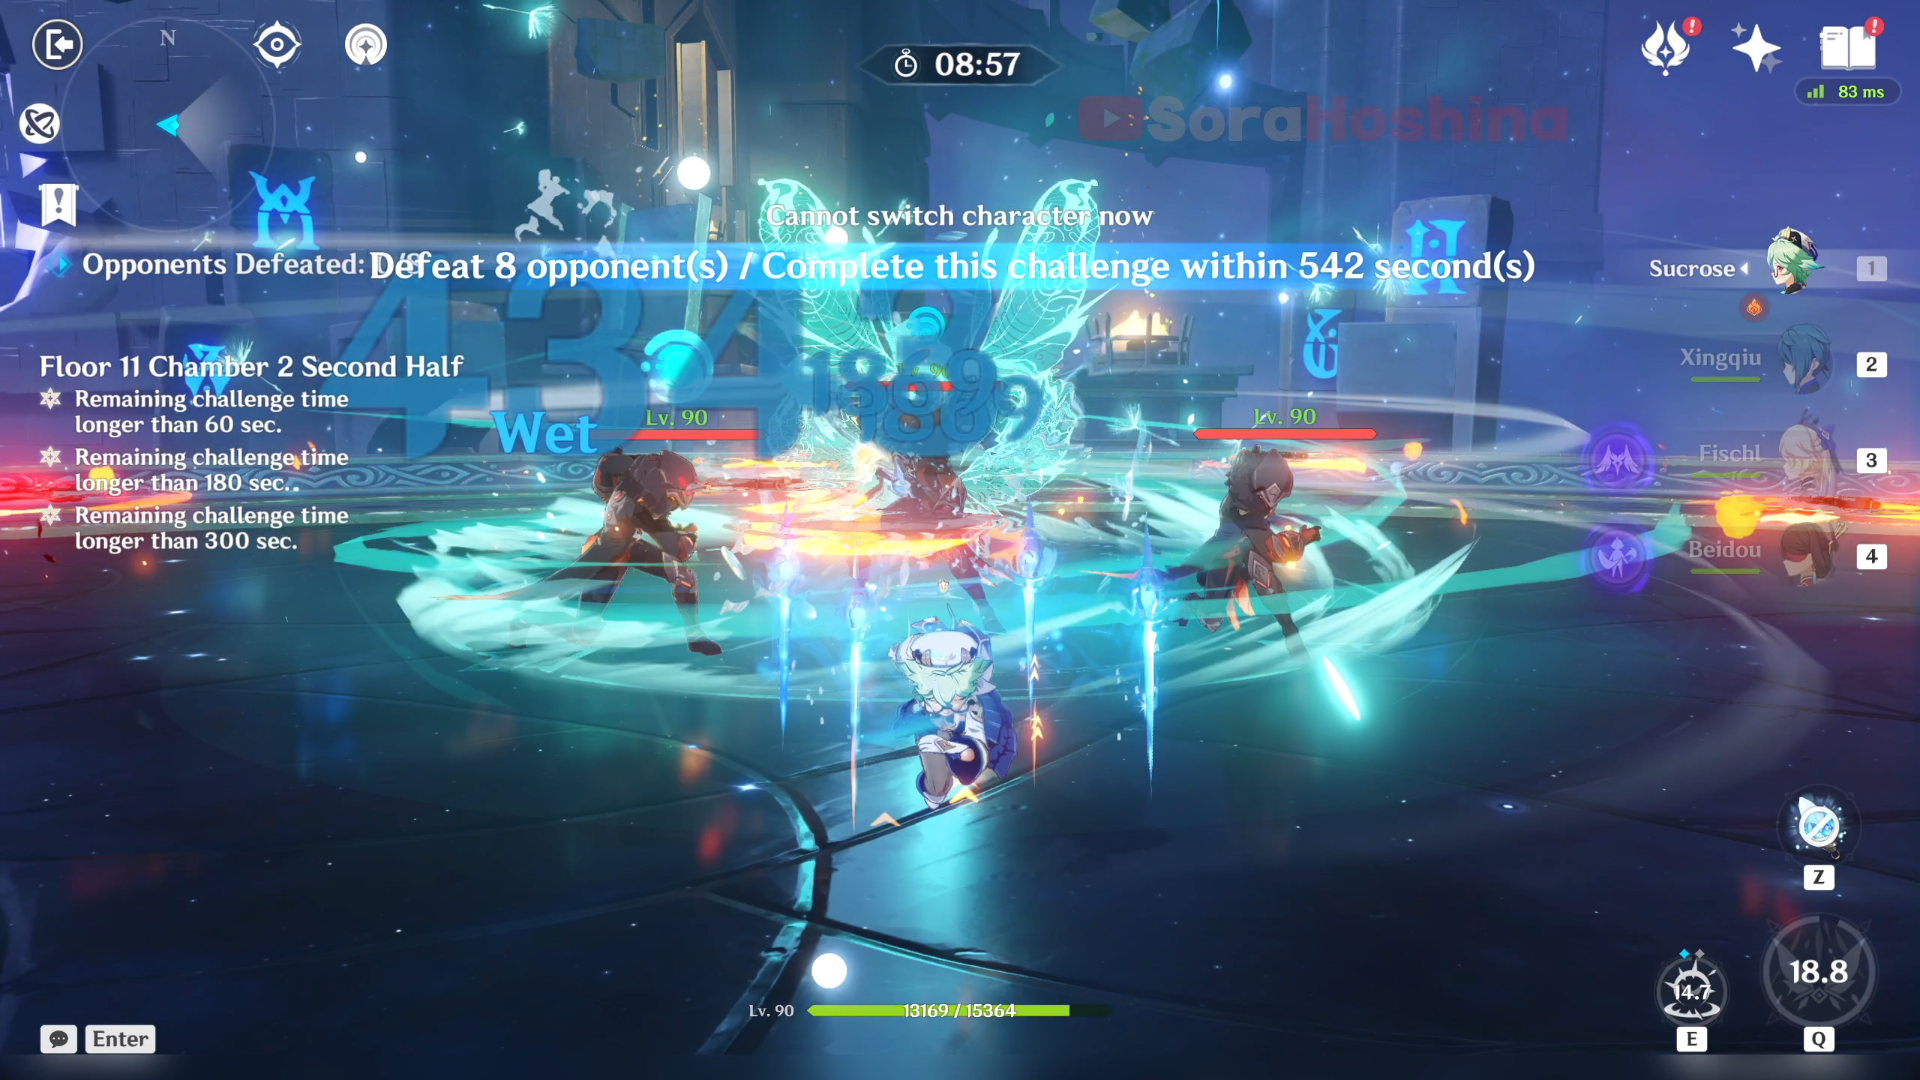
- In the first wave, there are 3 Fatui Pyro agents in the front area. Now, if you didn't bring any Anemo CC or a shielder, you might want to stay away from them at first because they will immediately summon 3 spinning blades. If you don't have a shield, you will get thrown away if you touch any of those knives, which will be often because those 3 are really near each other. But if you have Anemo CC, you can immediately go to the Agent in the middle and use Anemo vortex to stop them from summoning those knives.
- In the second wave, there are 3 Eremites still in the same position as the first wave. Among those 3 Eremites, I recommend defeating the Desert Clearwater first because her Hydro attack can cause you to Freeze if come in contact with Eremite Sunfrost.
- In the third wave, there are 2 Stonehide Lawachurls. Now that we're at the last wave, you can do whatever. But if you don't want the 2 Lawachurls to get far away from each other, go to the wall. Especially when they're doing the jump and slam attack.
Floor 11 Chamber 3
First Half
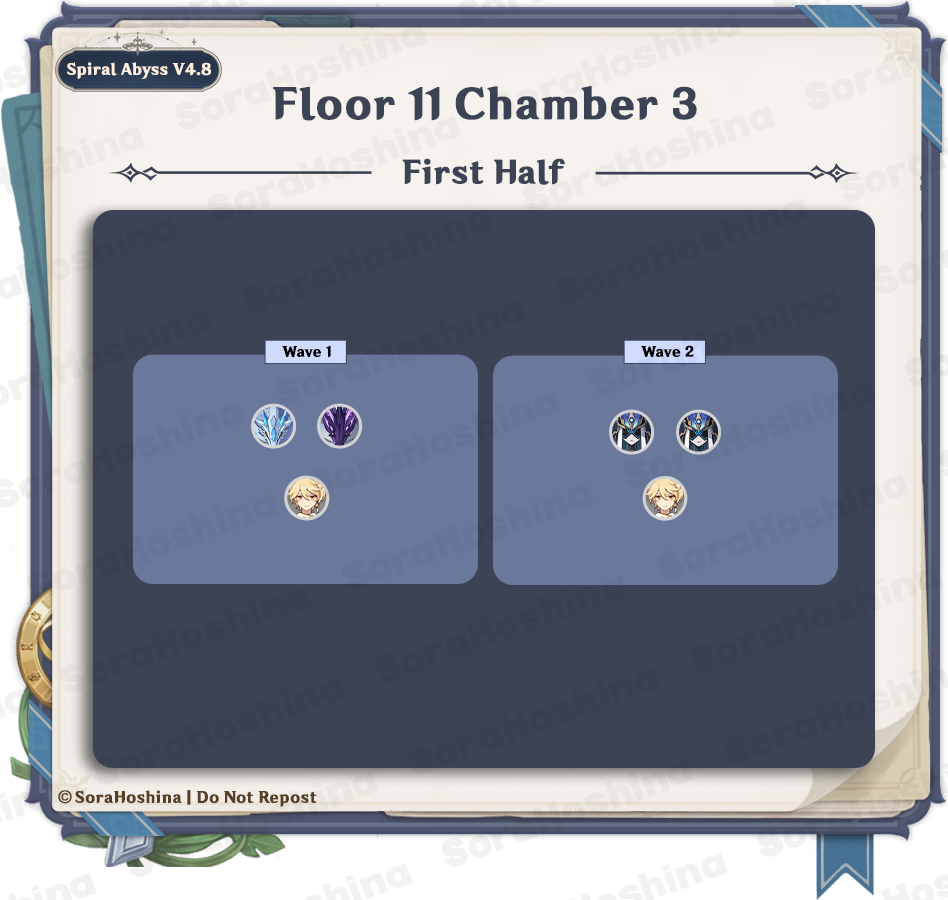
1st Wave: Rimebiter Bathysmal Vishap Hatchling x1 & Bolteater Bathysmal Vishap Hatchling
2nd Wave: Mirror Maiden x2
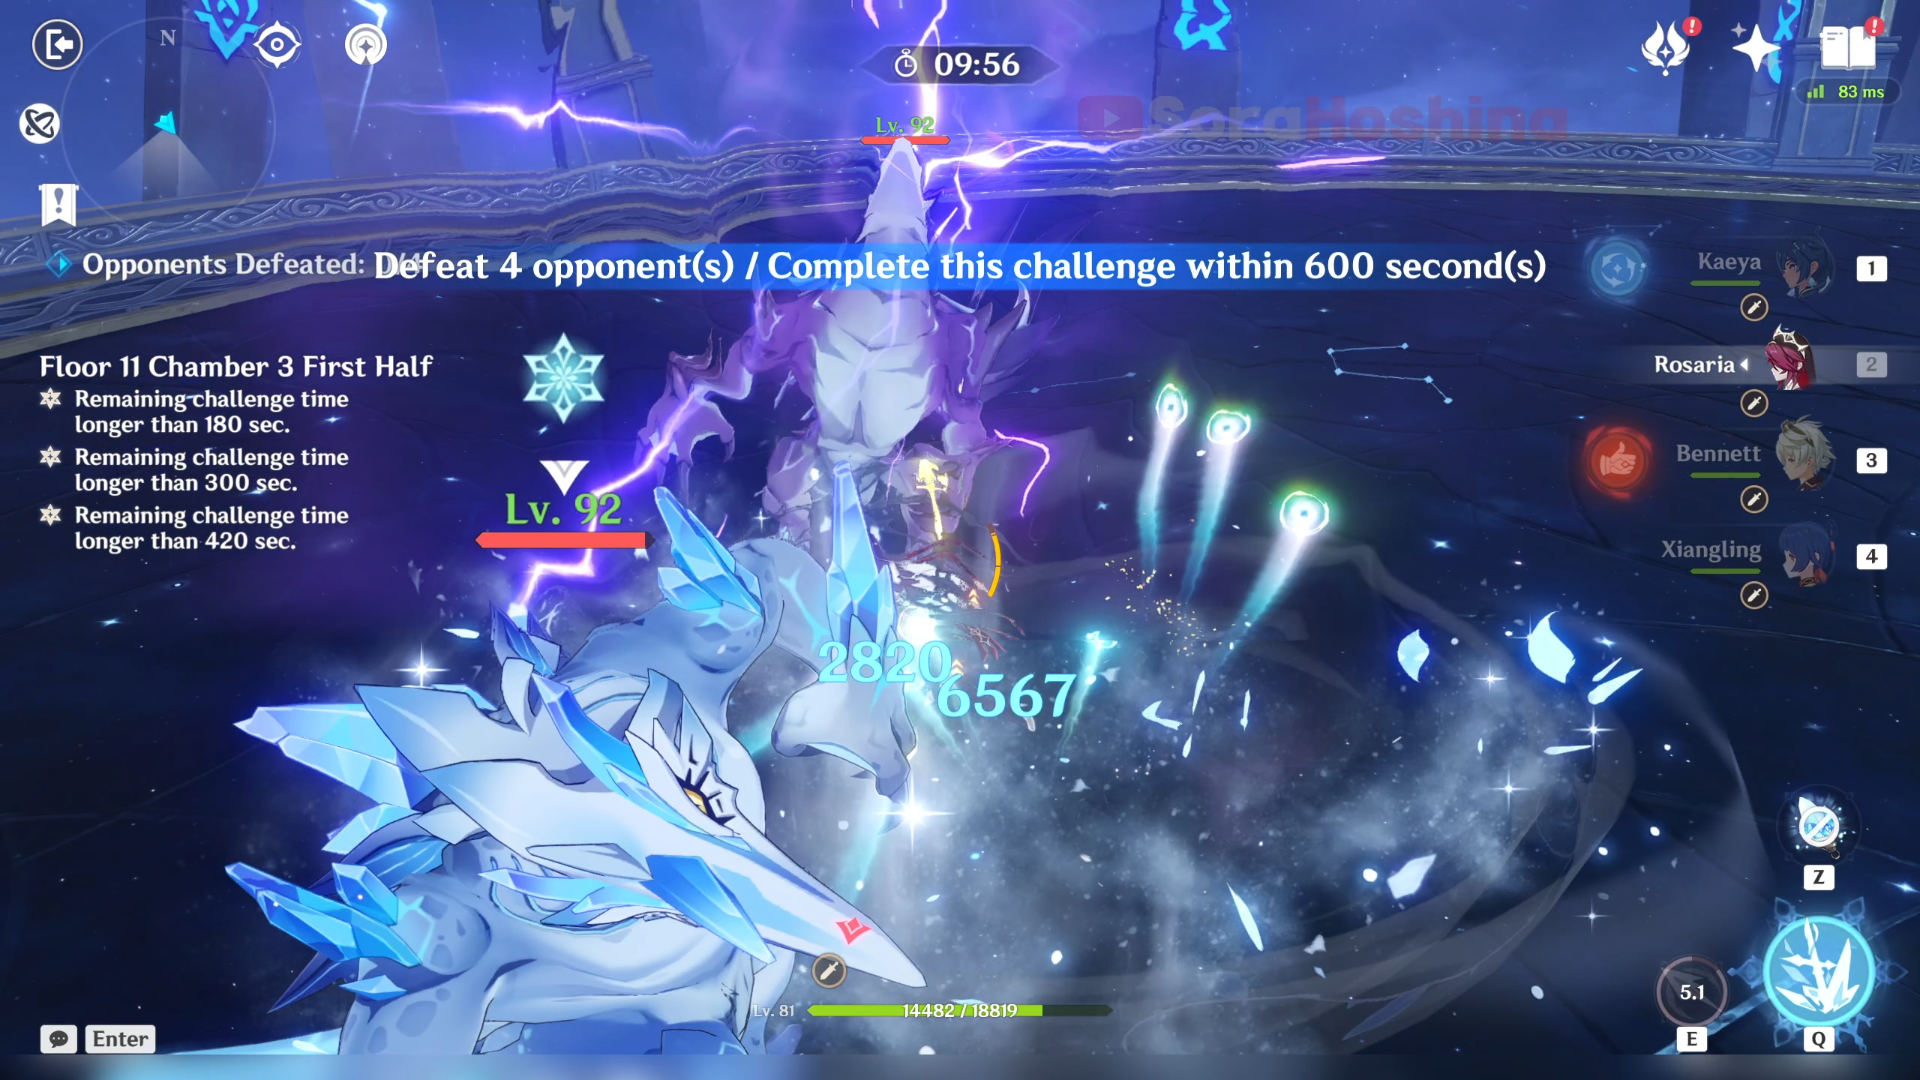
- In the first wave, there are 2 small Vishaps in the front area. They have small RES towards their own elements (just 20%) but it's not that dangerous. What dangerous (or more like annoying) is their Cleansing Shower attack. This attack will drain 10 Energy from the active character. If the active character has less than 10 Energy, inflicts HP Loss. Aside from this attack, you can brute force against these 2 Vishaps. But if you feel like they move too much and stagger easily, go to the wall.
- In the second wave, there are 2 Mirror Maidens at the same location as the Vishaps. Unfortunately, these 2 often teleport to another location so it's best if you focus on each one of them first.
Second Half
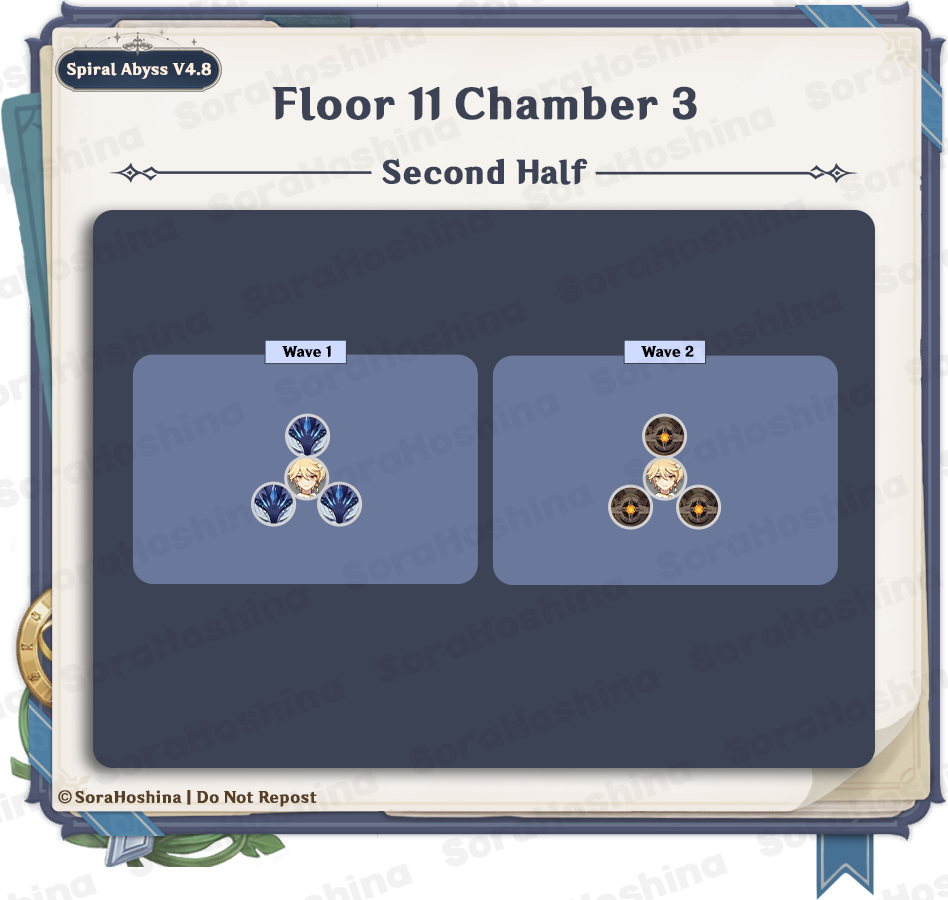
1st Wave: Primordial Bathysmal Vishap x3
2nd Wave: Ruin Drake: Earthguard x3
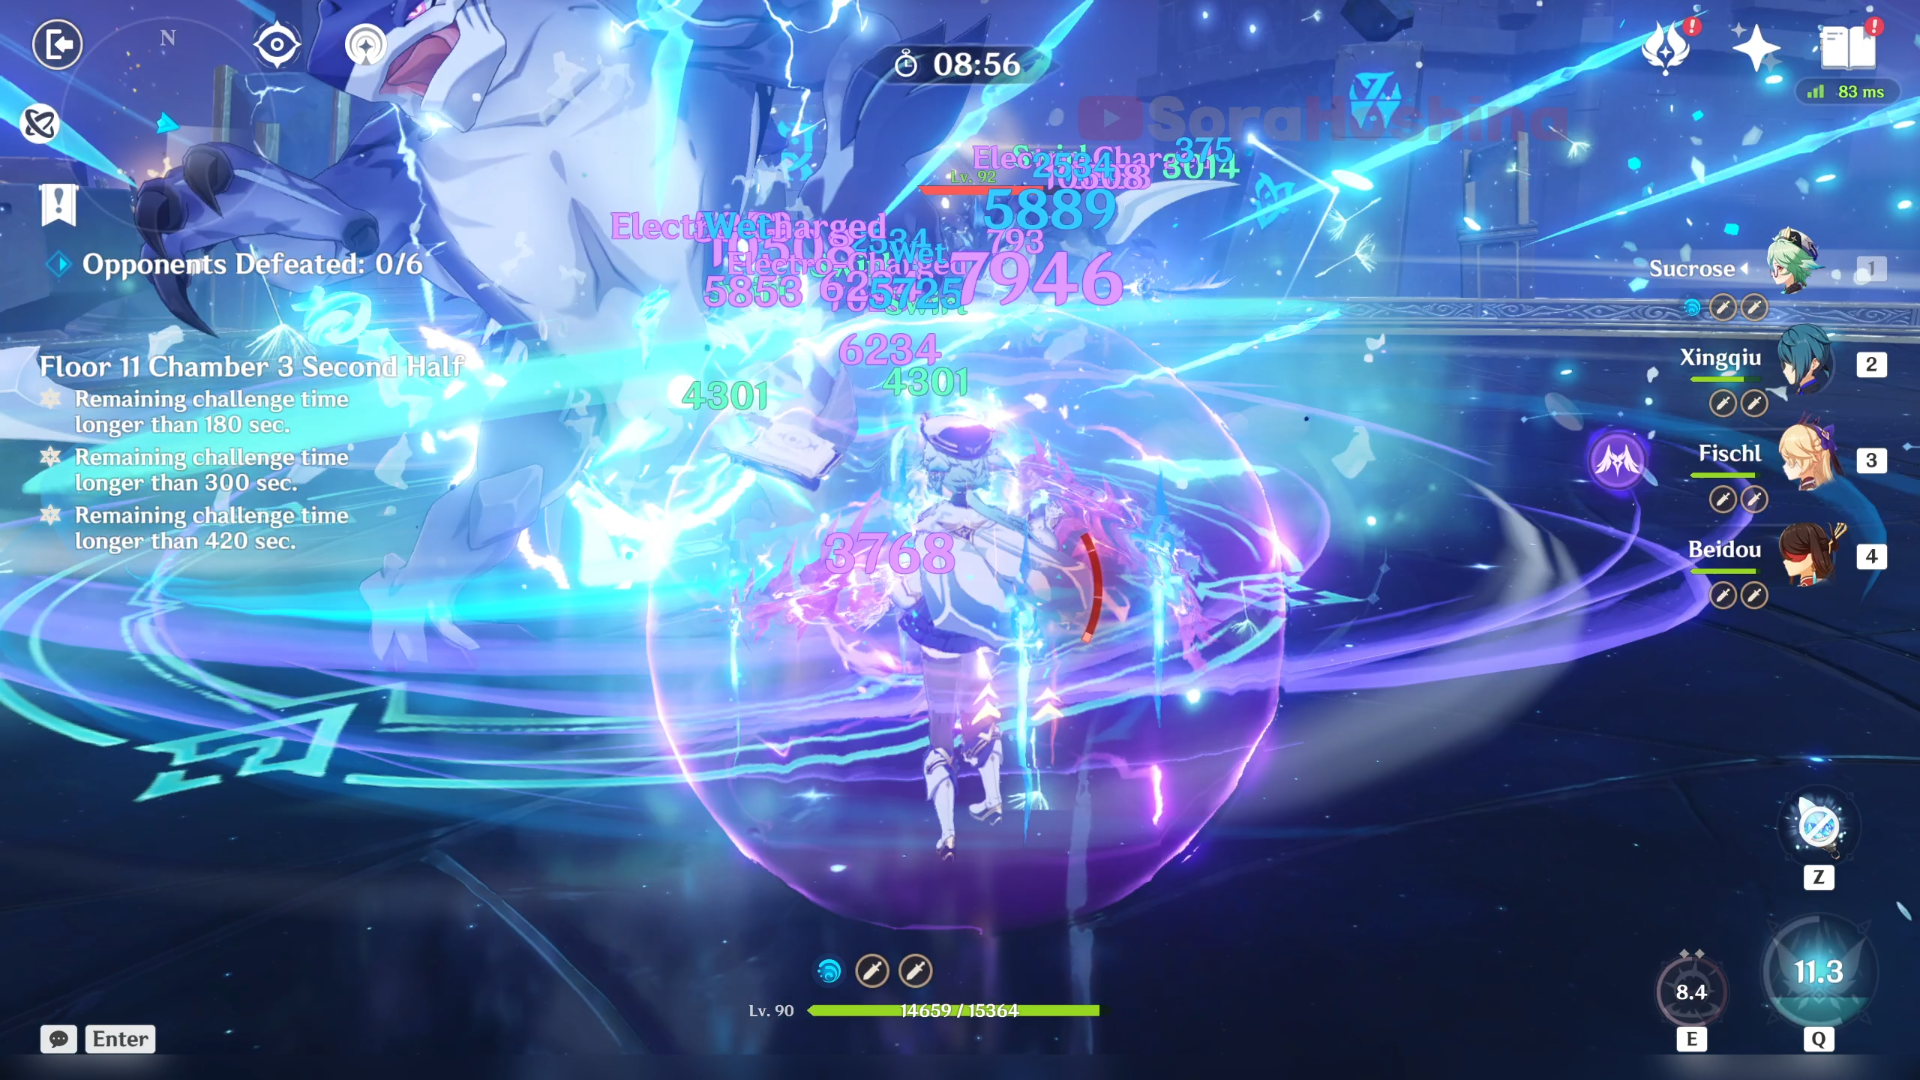
- In the first wave, you will be surrounded by 3 Vishaps. On the bright side, all of them are near each other so you can attack all of them at the same time. Unfortunately, they are super easy to stagger so they might break that CC in a second. If you don't bring an Anemo CC, as usual, go to the wall to trap them all near each other.
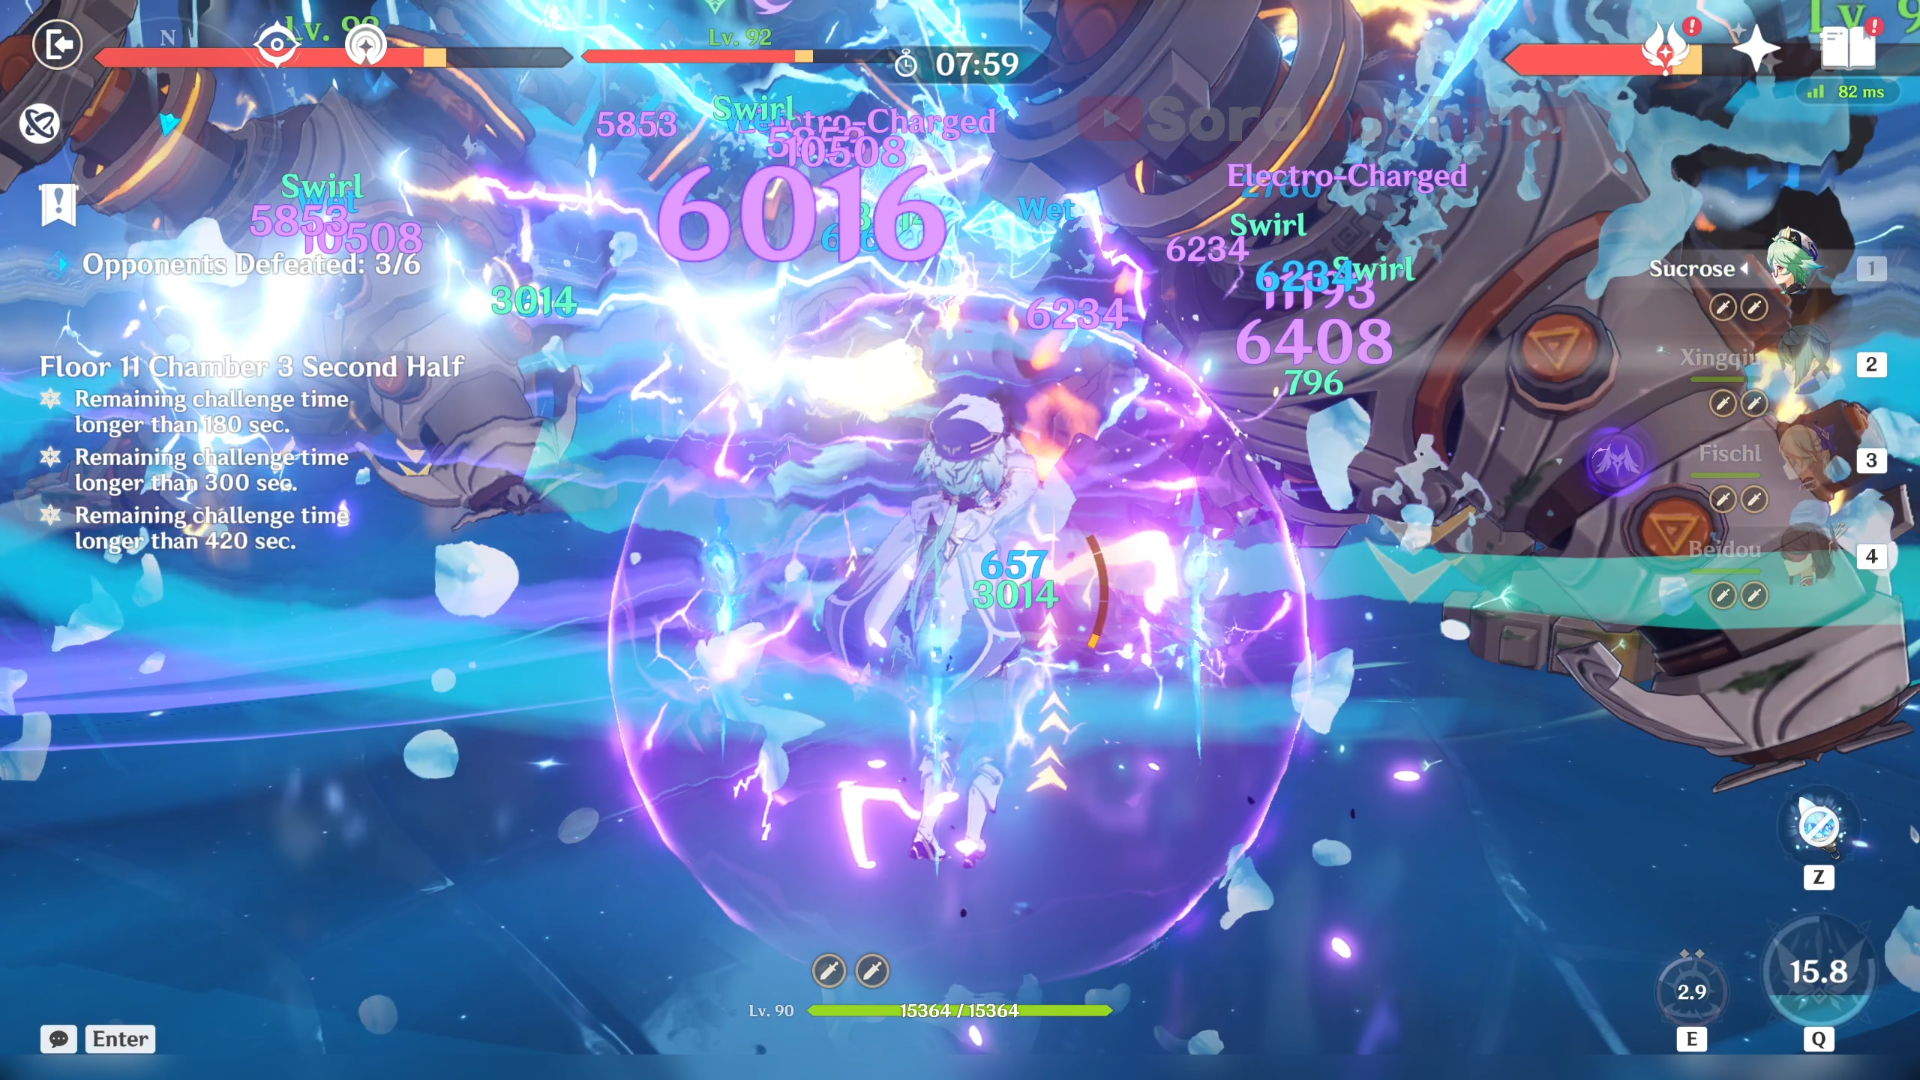
- In the second wave, the 3 Ruin Drake will spawn at the same location as before. At one point, this Ruin Drake will charge (can be seen by two devices swirling on top of Ruin Drake's body) before scattering bombs into the air. It's highly recommended to attack its weak point at the head - glowing orange orbs - to paralyze the Ruin Drake.
- If you fail to do so, after the bombs hit the ground, the Ruin Drake will gain 40% Resistance to the element it has received the most amount of damage from the beginning of the battle (you can see what elements it is from the color of the bombs).