Table of Contents [Hide]
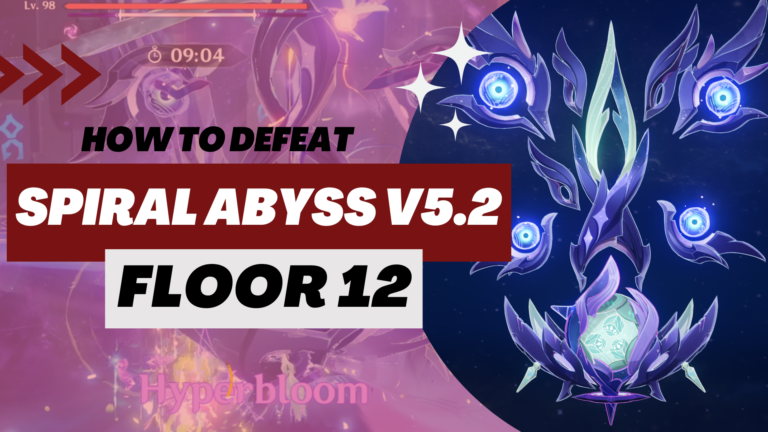
The last floor of 4.8 Abyss is here with LOTS of bosses (oh look, there's also the debut of the Legatus Golem). Continue reading this guide for the full analysis of Floor 12 in the Spiral Abyss.
Blessing of the Abyssal Moon
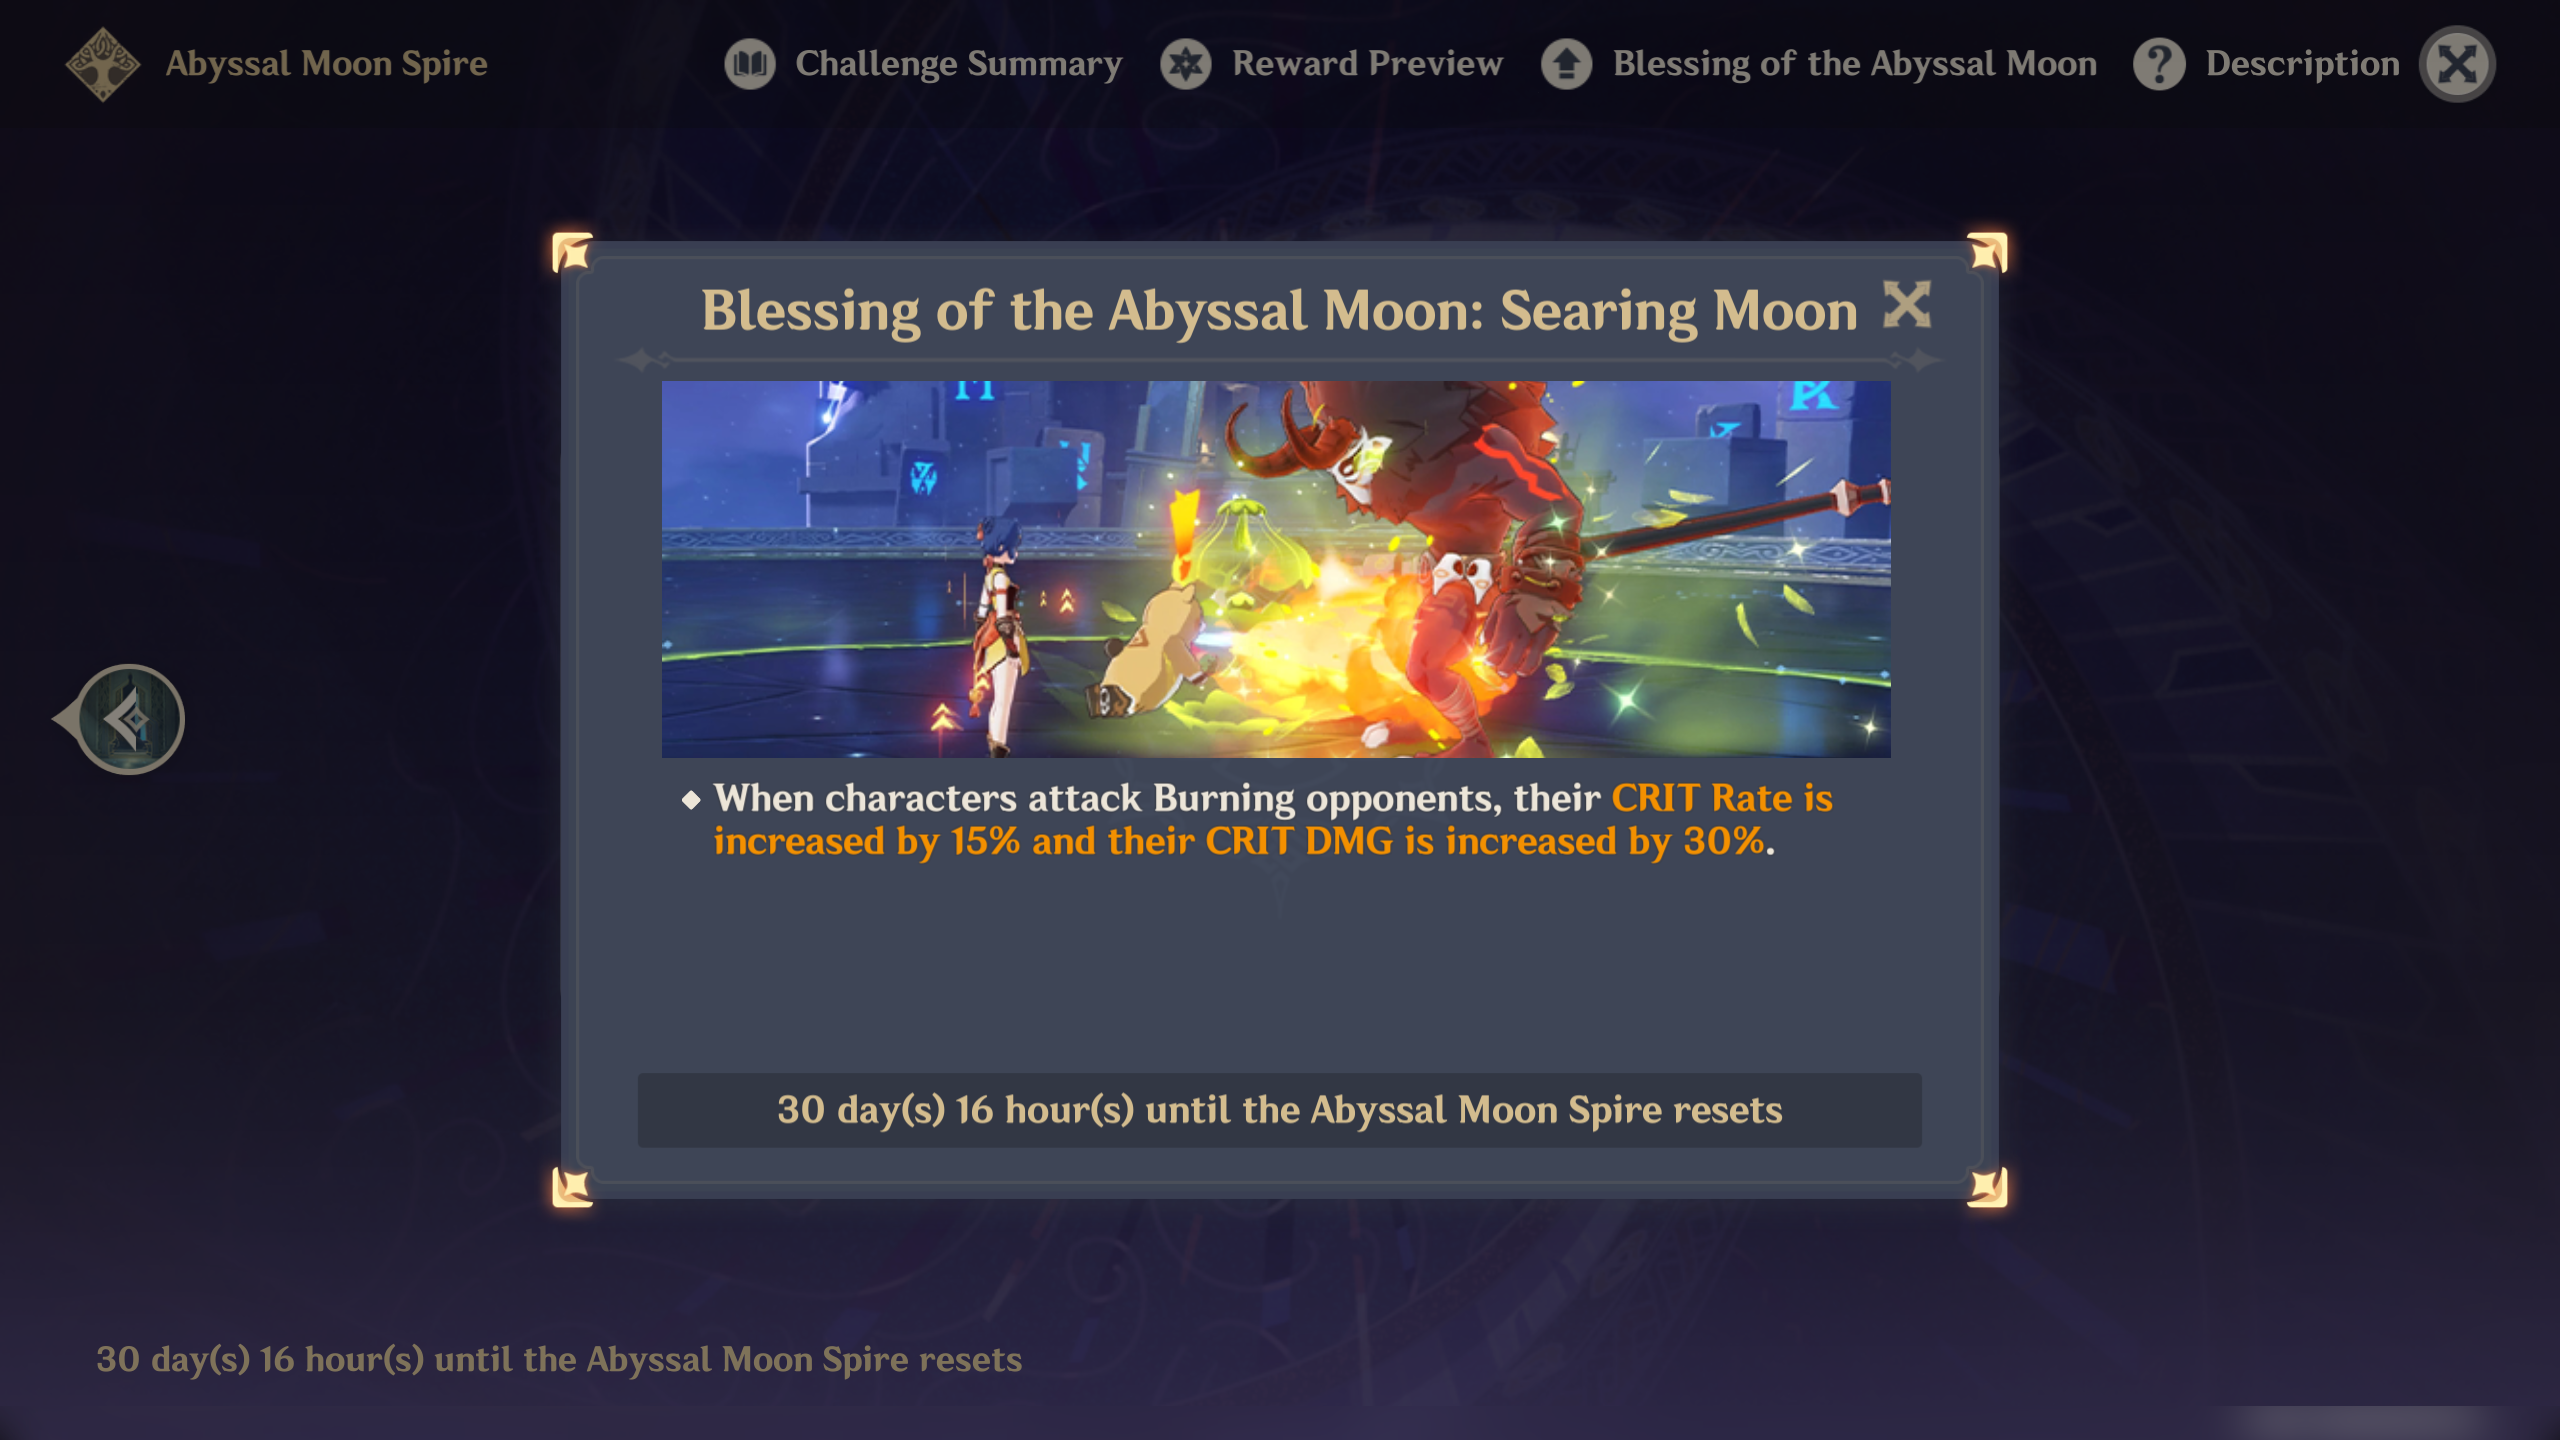
Reminder: Blessing of the Abyssal Moon will change every refresh cycle and may not be updated here. But the enemies list and strategy will remain the same.
When characters attack Burning opponents, their CRIT Rate is increased by 15% and their CRIT DMG by 30%
Team Recommendations
Ley Line Disorder:
For this floor only, the Let Line flow will be normal.
General Tips:
If the floor is too hard for you, don’t forget that changing teams is an option. Although you need to start from Chamber 1, at least you don’t have to worry about stars for the Chamber you already completed.
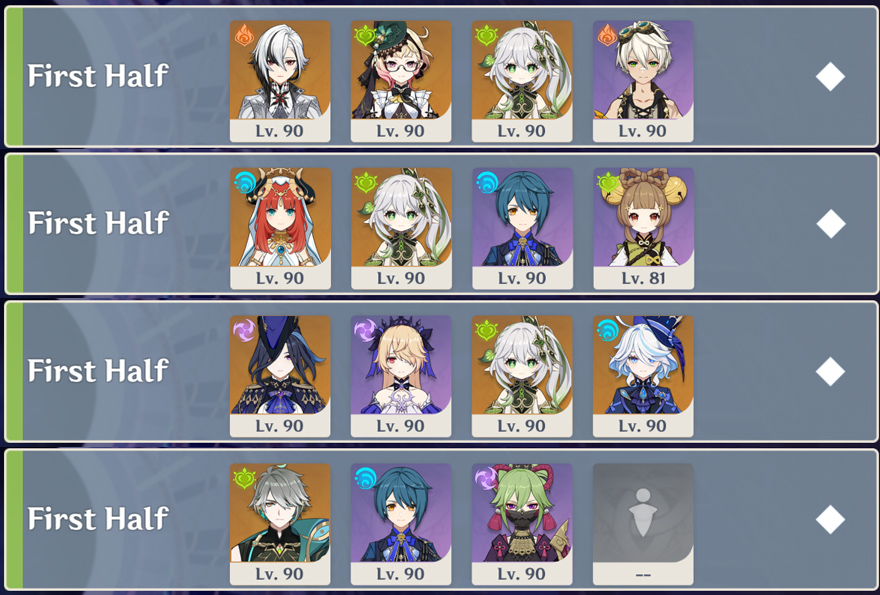
- The recommended elements for the First Half: All elements except Physical
- The not recommended elements for the First Half: Physical
Physical cause the PMA boss has high Physical RES - Example:
- Burn Team: Arlecchino + Bennett + Nahida + Emilie
- Bloom Team: Nilou + Nahida + Emilie/DMC + Sangonomiya Kokomi
- Hyperbloom Team: Clorinde + Fischl + Nahida + Furina
- Hyperbloom Team 2: Alhaitham + Kuki Shinobu + Xingqiu + Flexible
- The recommended elements for the Second Half: Geo
There are 2 enemies with Geo shield and what's best if not using Geo against Geo shield. Of course, it's even better if that Geo character is a Claymore user. - The not recommended elements for the Second Half: Hydro
There's a boss with full resistant against Hydro so it's best not to bring a Hydro DPS, but Hydro support is okay though if they're used for elemental reactions. - Example:
- Overload Team: Raiden Shogun + Chevreuse + Kujou Sara + Zhongli
- Pure Geo Team: Arataki Itto + Chiori + Gorou + Zhongli
- Crystallize Team: Navia + Chiori + Bennett + Fischl
- Plunging Team: Gaming + Furina + Kazuha + Xianyun
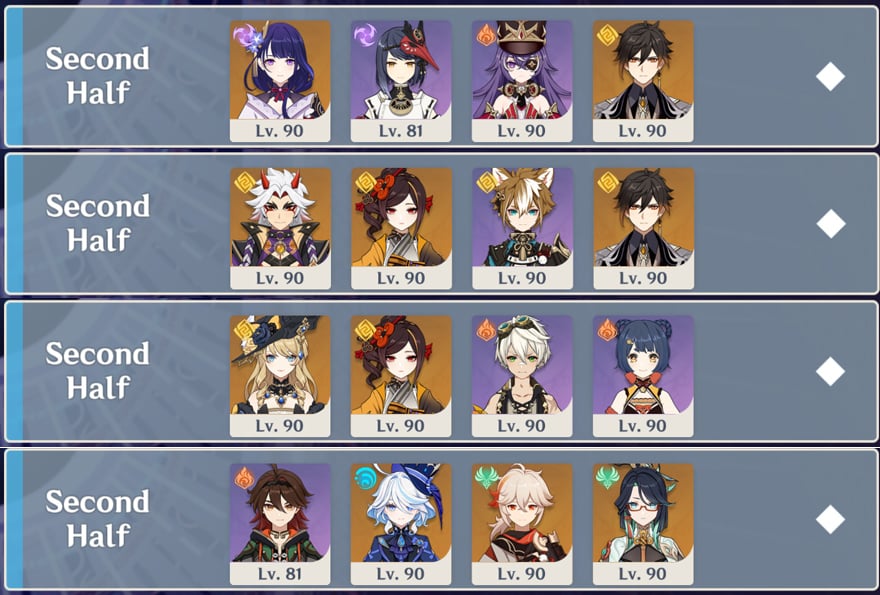
Floor 12 Chamber 1
First Half
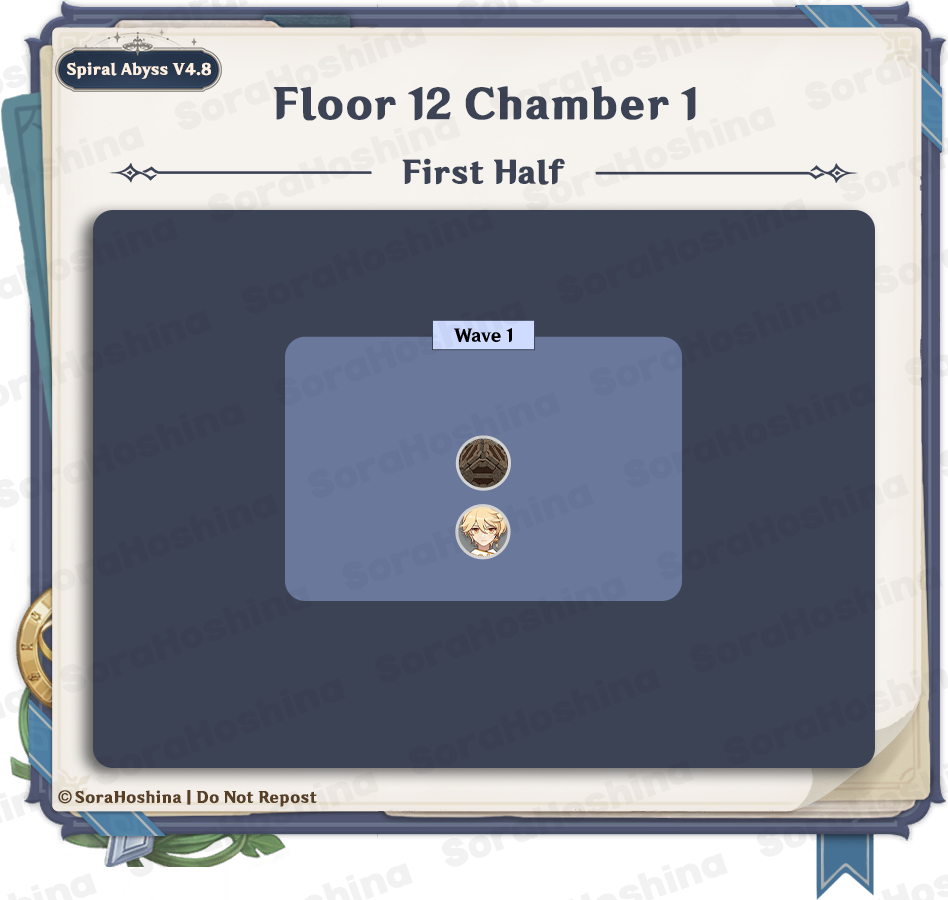
1st Wave: Perpetual Mechanical Array
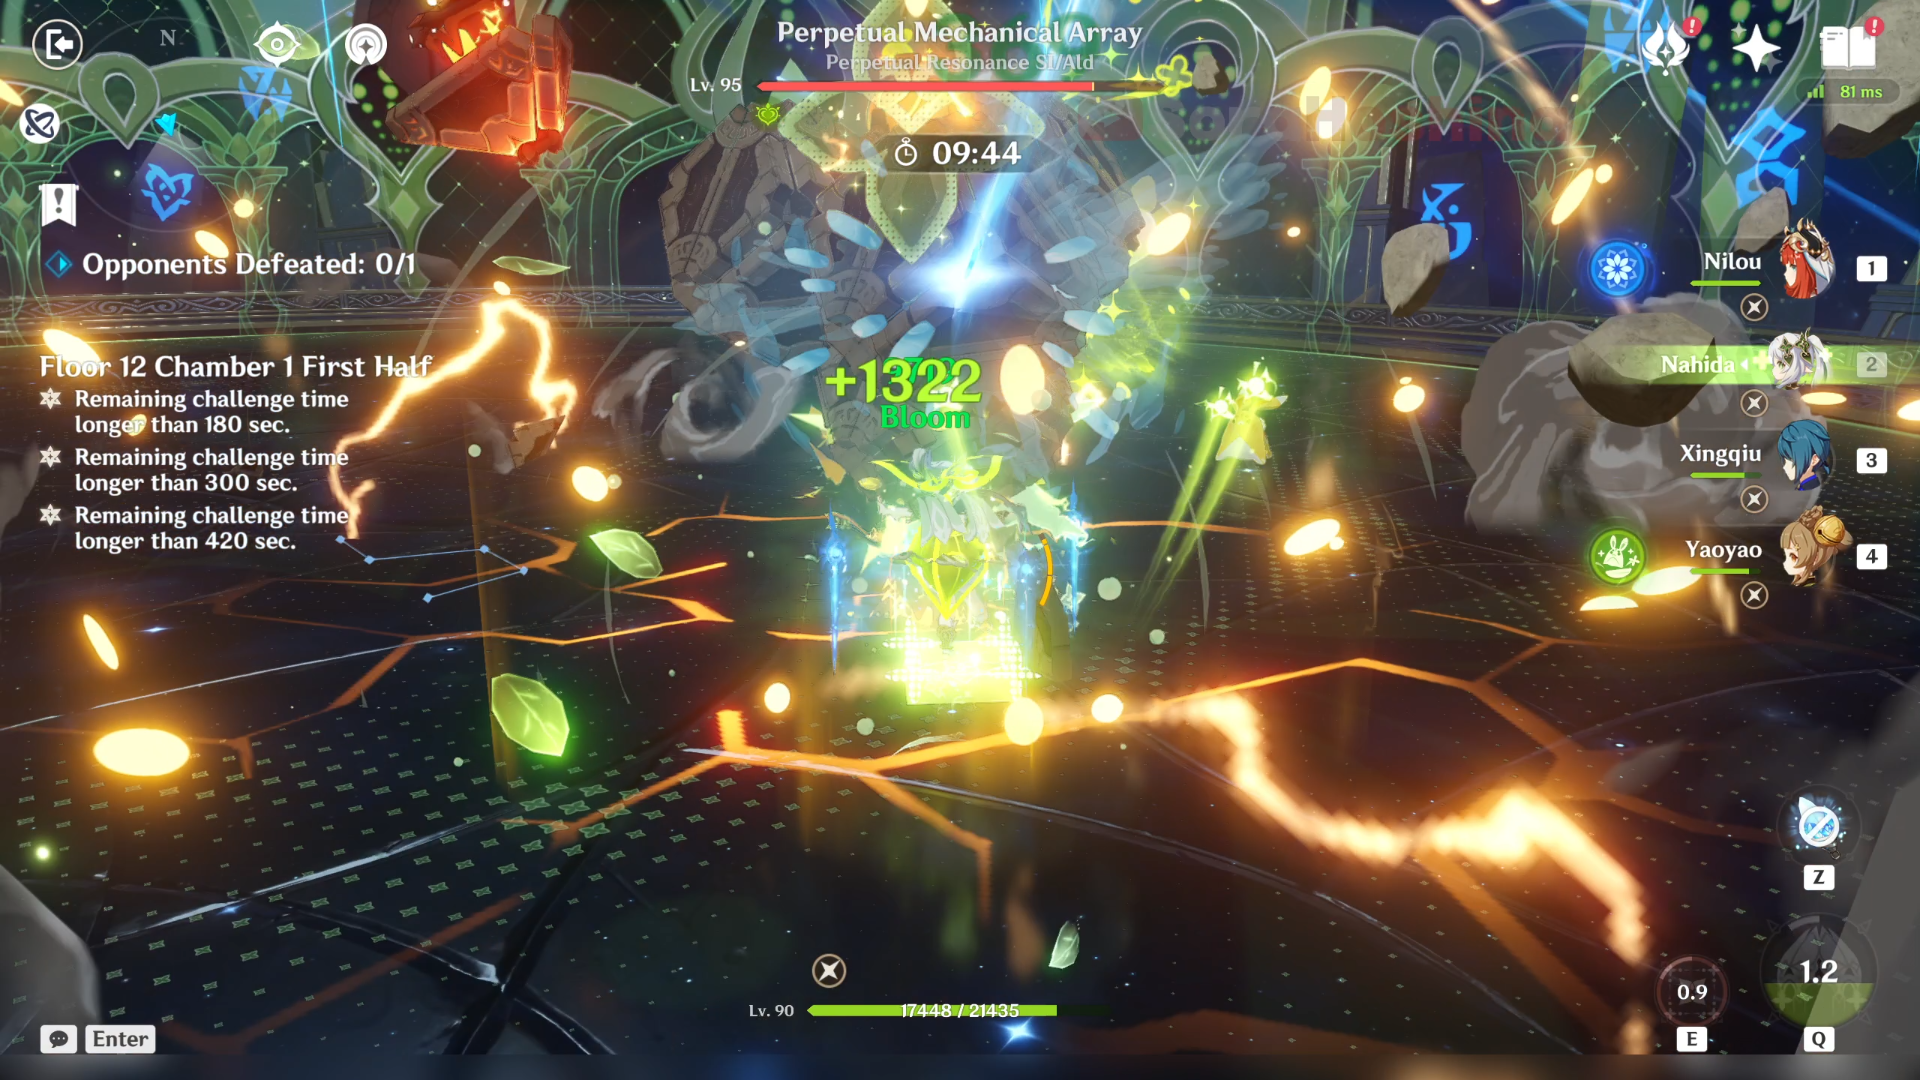
- There is only one wave here and it's the PMA boss. Your best bet is a single-target Elemental DPS to obliterate this one. Remember that this cube has a 70% Physical Resistance.
- Most of its attacks are really easy to dodge, so I believe you can handle it just fine. The problem is when the boss' HP reaches below 50% (around 35-40% HP), it will enter Defensive Mode and summon four Ruin Sentinels: Scout, Defender, Destroyer, and Cruiser.
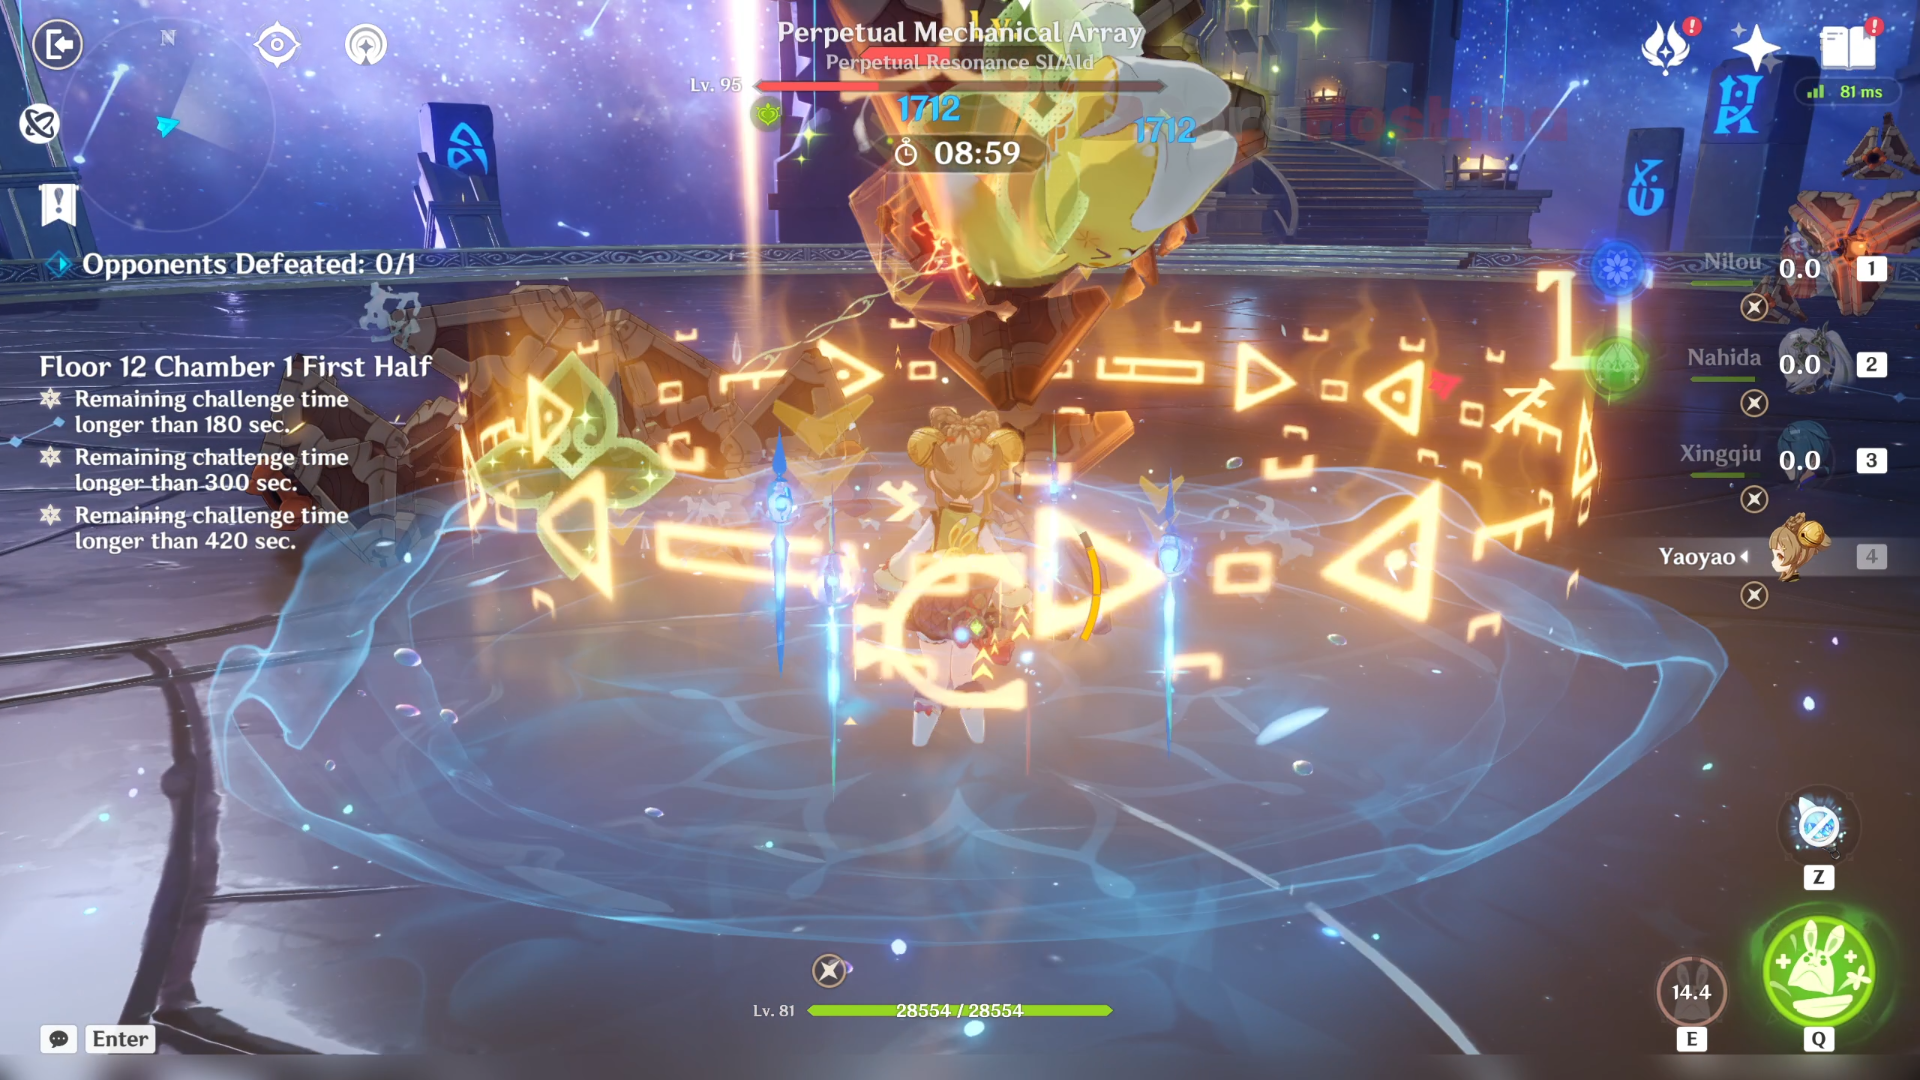
- Attack only the highlighted Sentinel (even better if you can bait the highlighted Sentinel to get near the boss)! Do not attack any other because it will be a very waste of your time.
- Once you defeat the highlighted Sentinel, the big boss will be paralyzed for around ~20 seconds and all resistance will be lowered by 50%. This is the perfect time to use all your Skills and Bursts. When the boss recovers from the paralyzed state, it will become invincible for a few seconds before resetting its state and using its normal attack patterns again.
Second Half

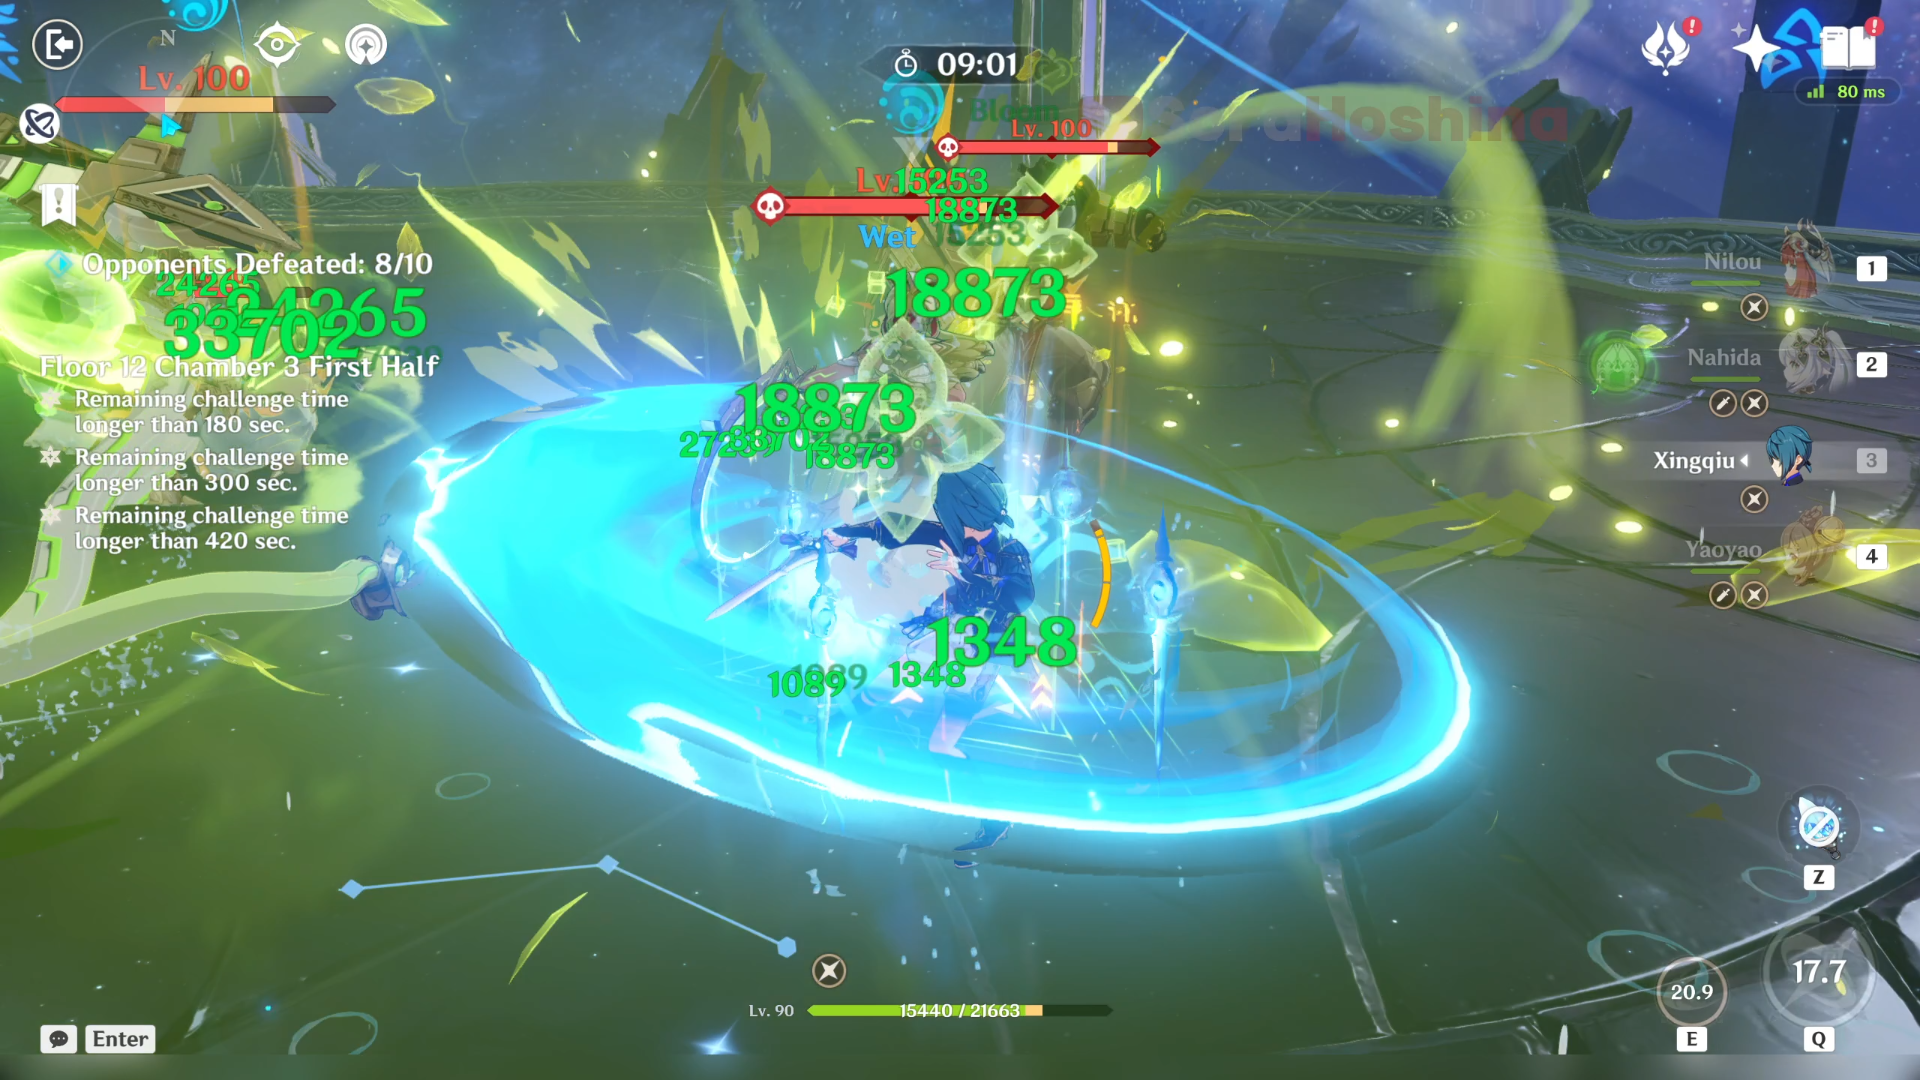
1st Wave: Tainted Water-Spouting Phantasm
2nd Wave: Hydro Tulpa
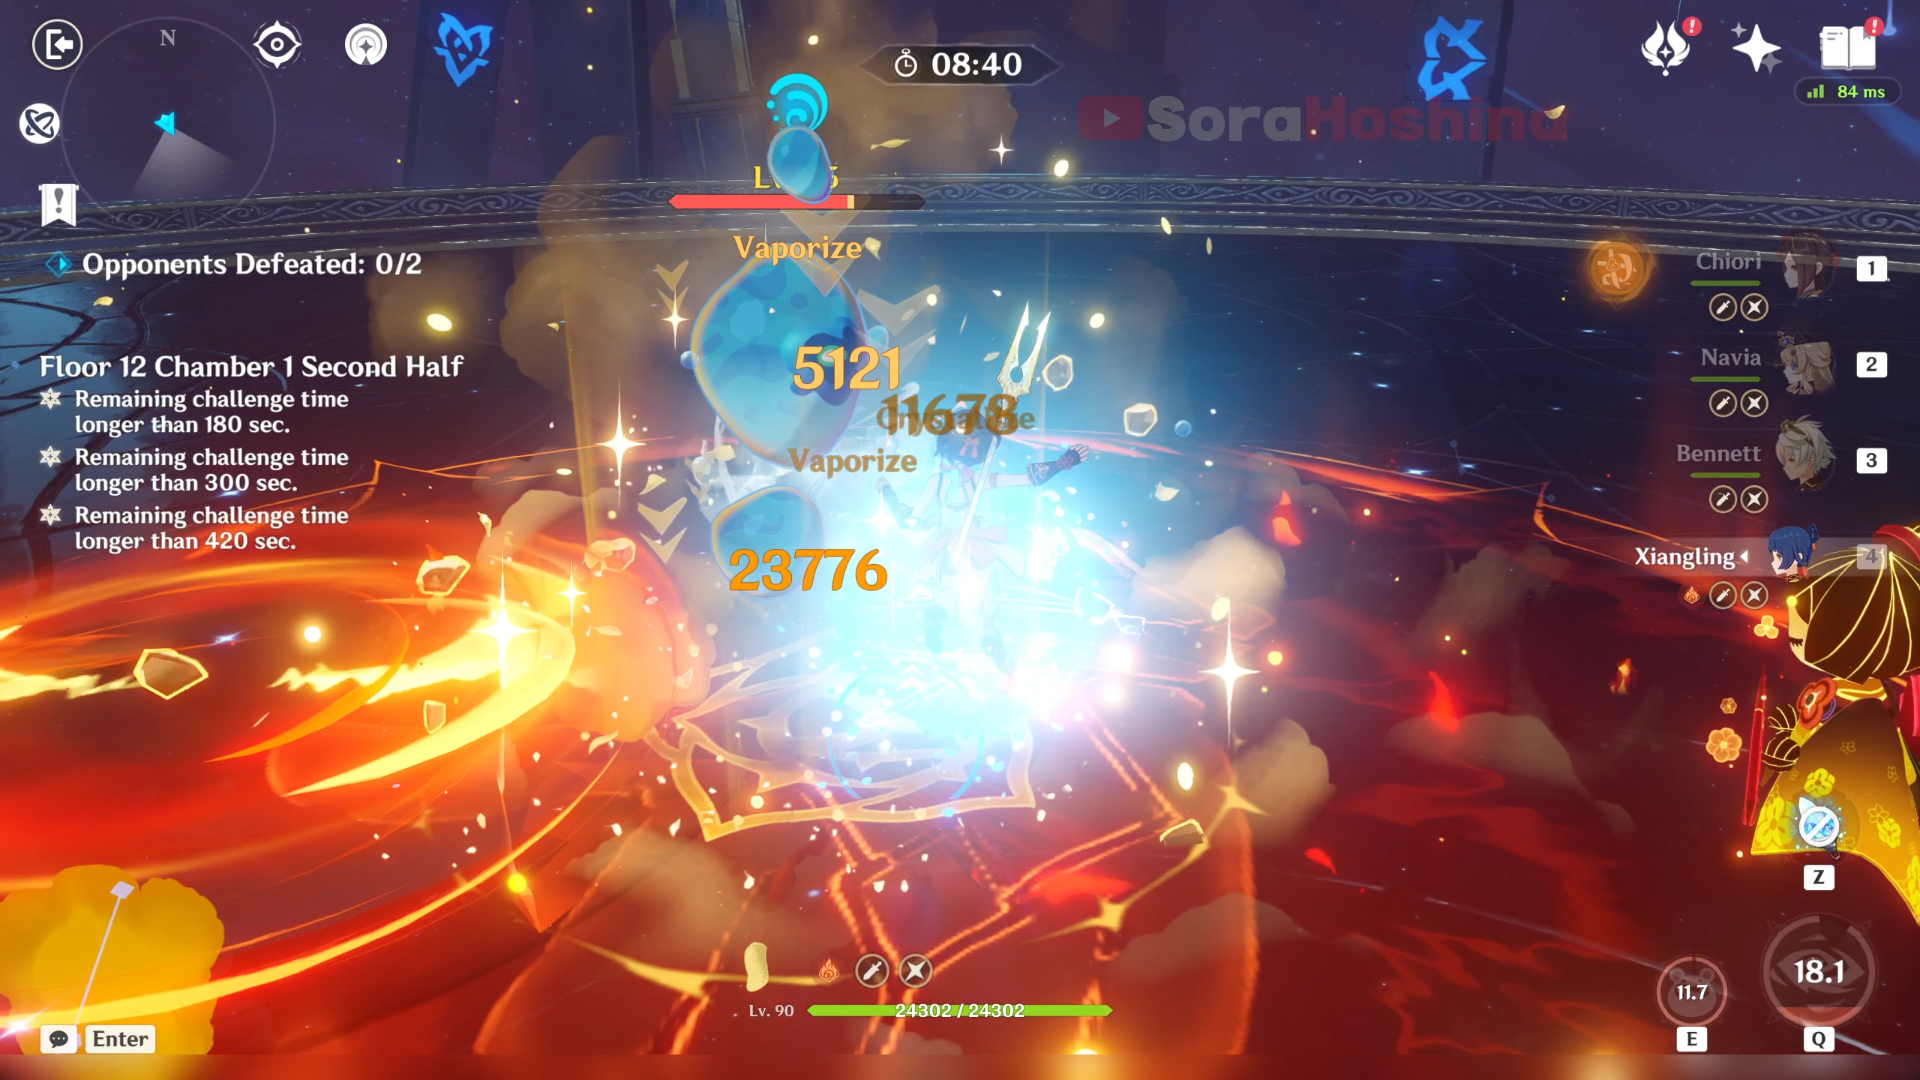
- In the first wave, there is one Phantasm in the middle arena. This one isn't even the Local Legend type so it's here purely to hinder you from the full stars. The only answer here is brute force so you can immediately face the second wave which is the real threat.
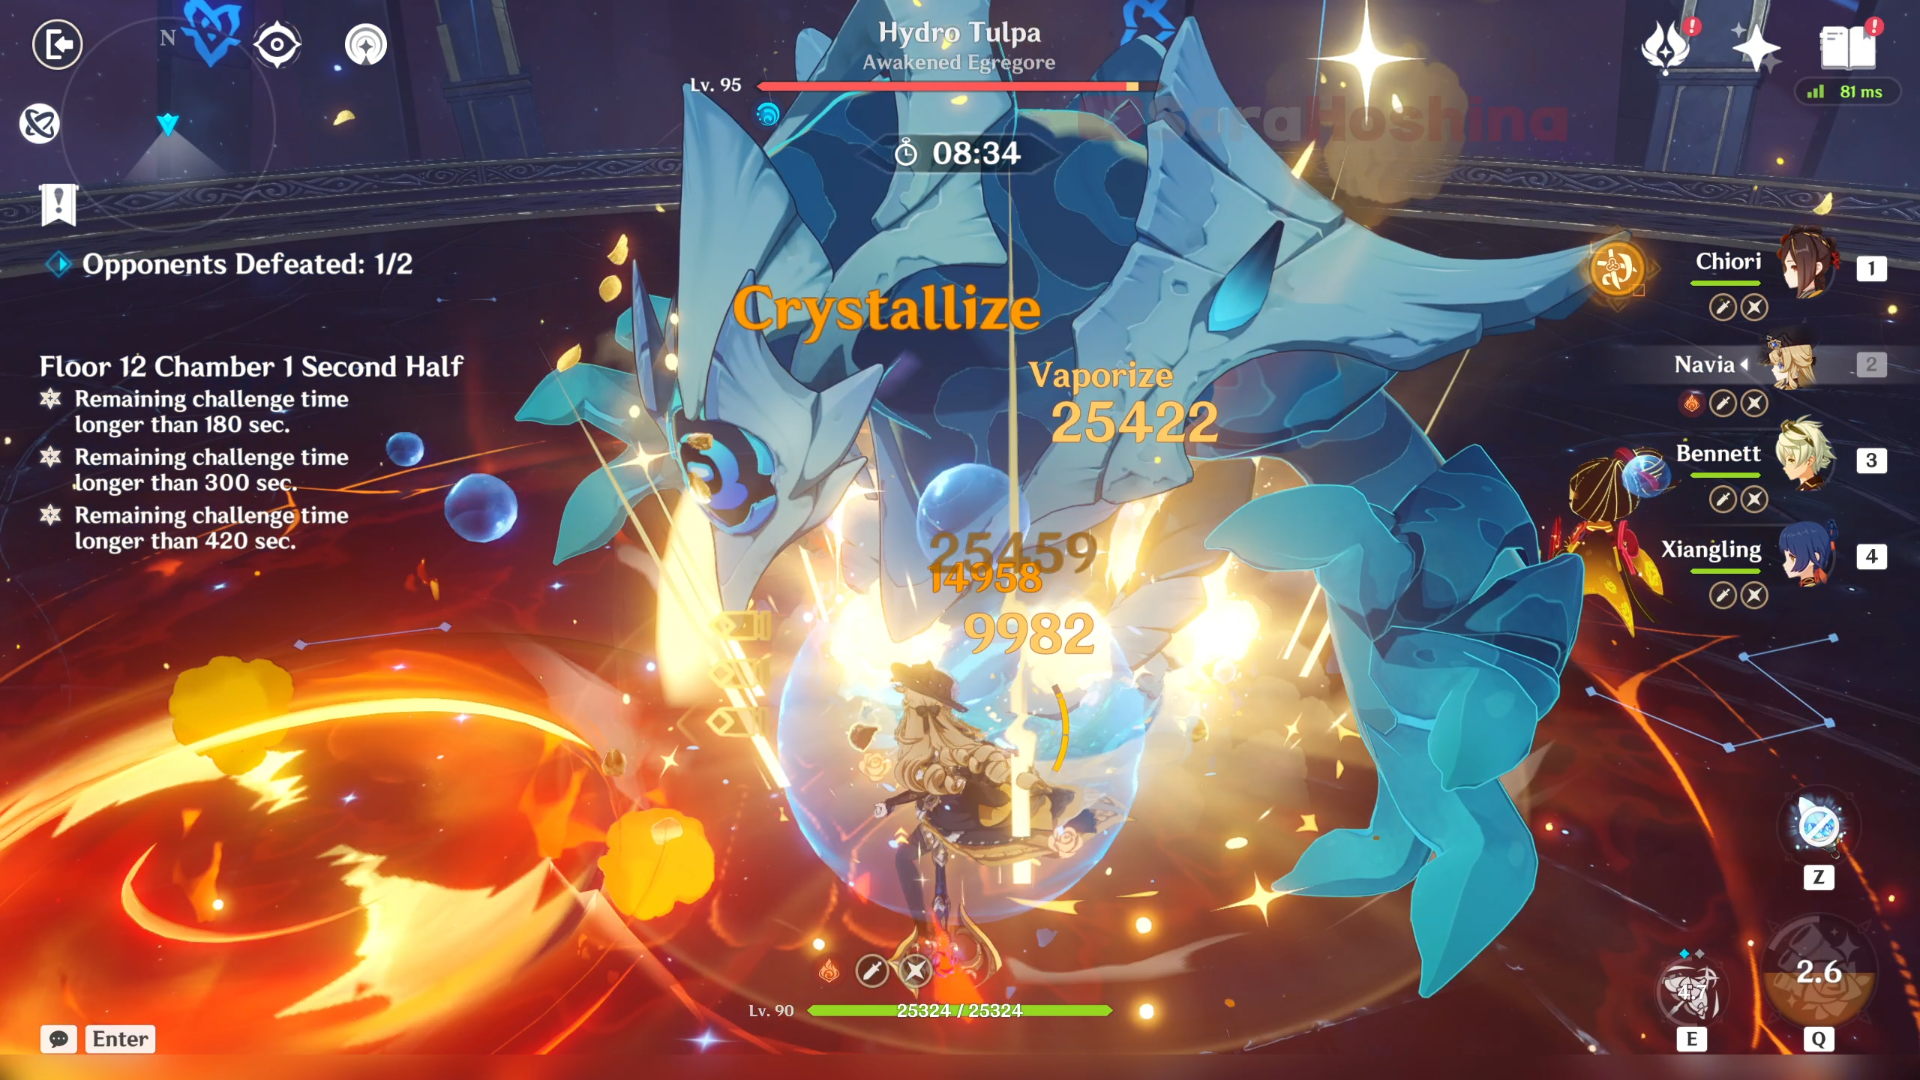
- In the second wave, we have the Hydro Tulpa and it's completely immune to Hydro! It probably doesn't want us to use Neuvillette. But alas, you can trigger any Hydro-related reactions easily so it's not that hard. Most of its base attacks are pretty easy to avoid and only deal decent damage (it has a super huge HP pool though). The hard part is when it summons a Half-Tulpa and absorbs it to enhance itself.
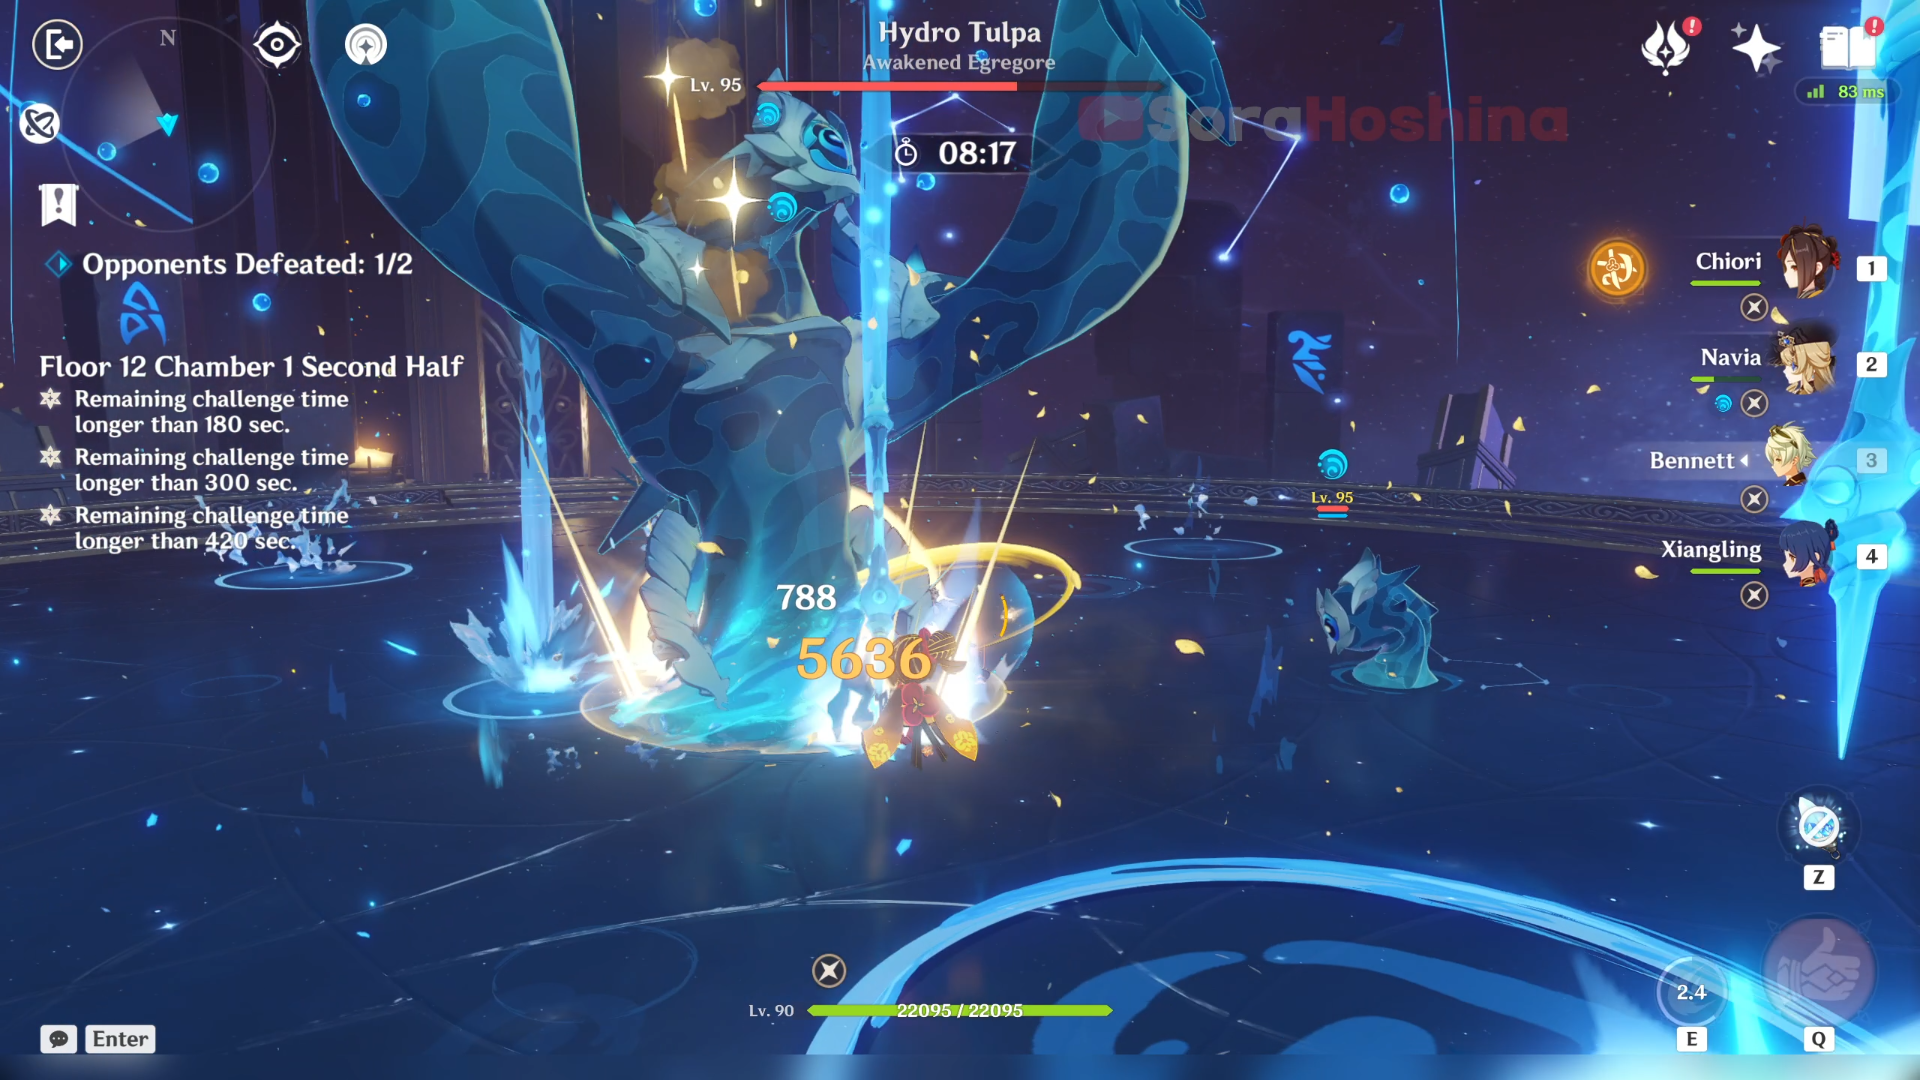
- During the battle, a Half-Tulpa will spawn every few seconds. The Hydro Tulpa will absorb the Half-Tulpa to enter an enhanced state. In this state, its AoE and DMG dealt are increased, and RES to all DMG is increased by 45%. Make defeating the Half-Tulpa your top priority because you definitely don't want the boss to enter the enhanced state. Their HP and Hydro shield is not that strong so you can easily defeat it. The best element would be Dendro followed by Cryo.
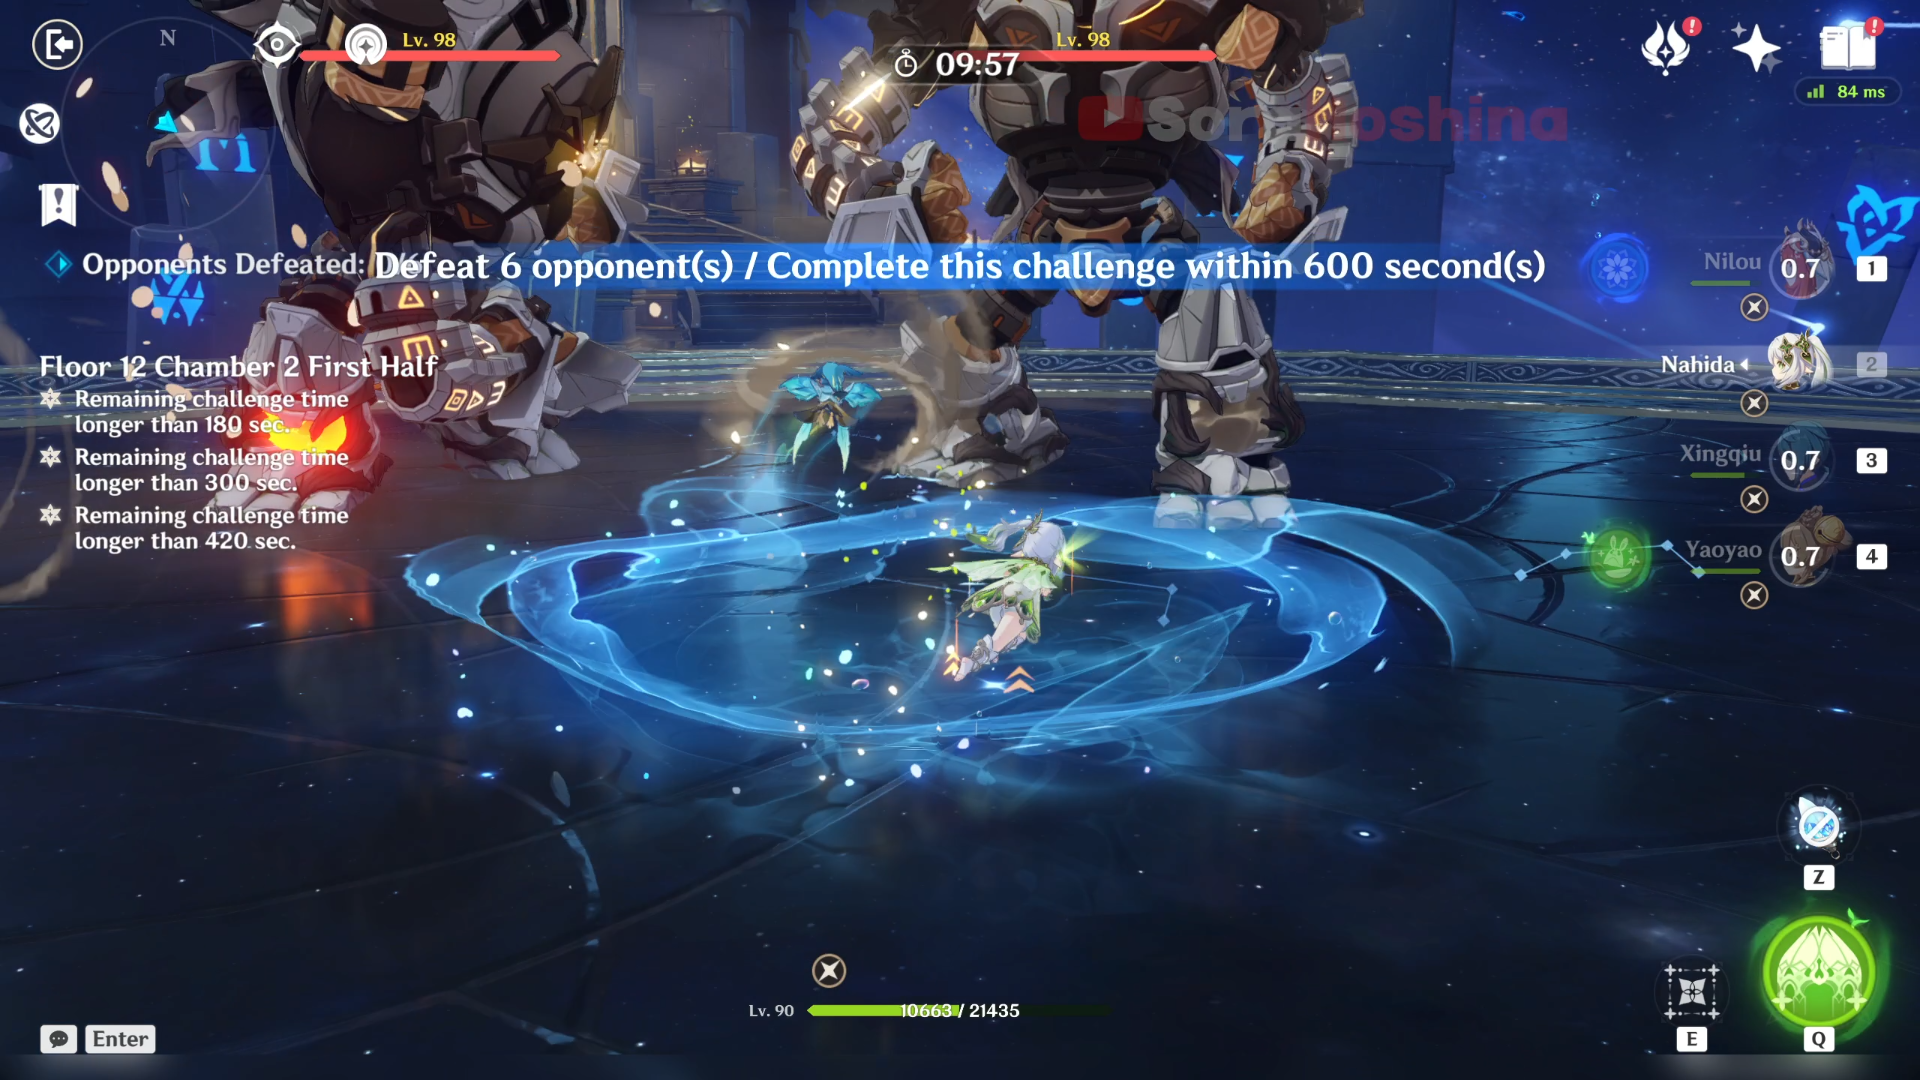
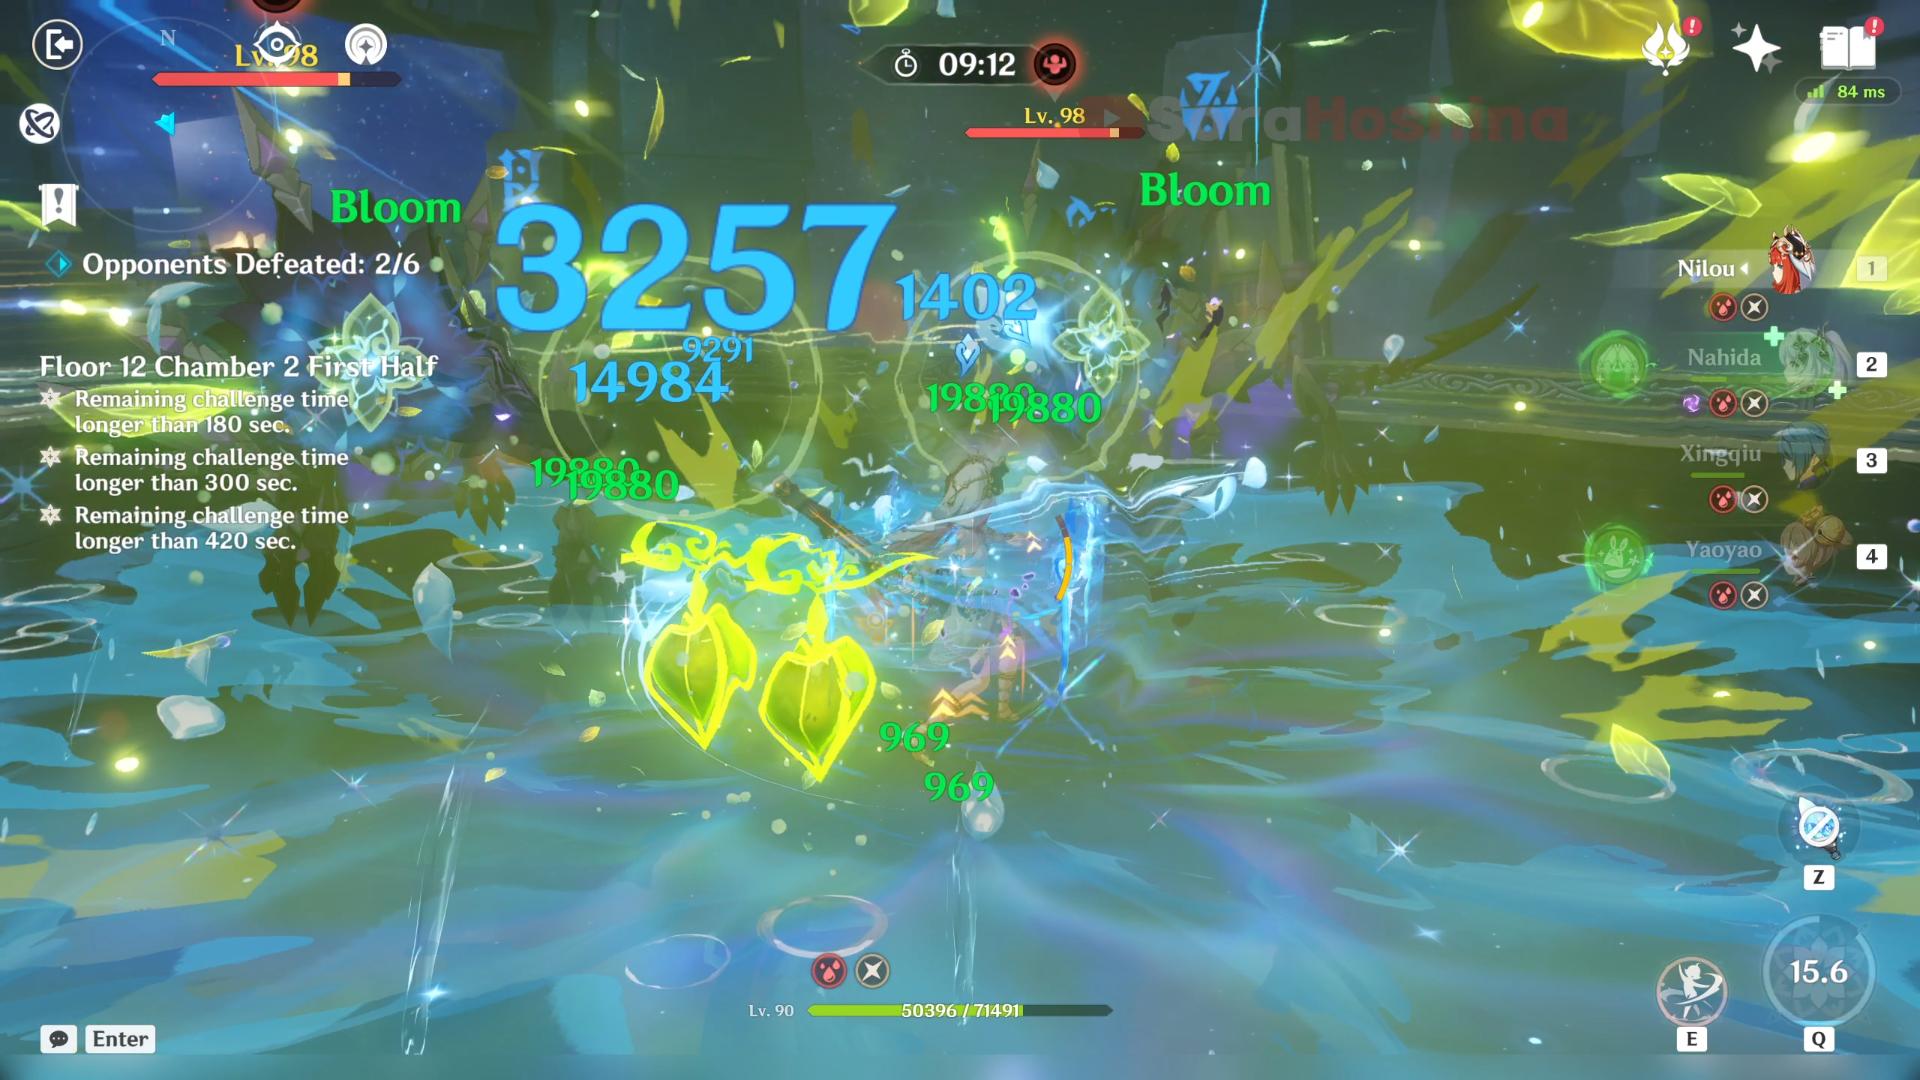
Floor 12 Chamber 2
First Half
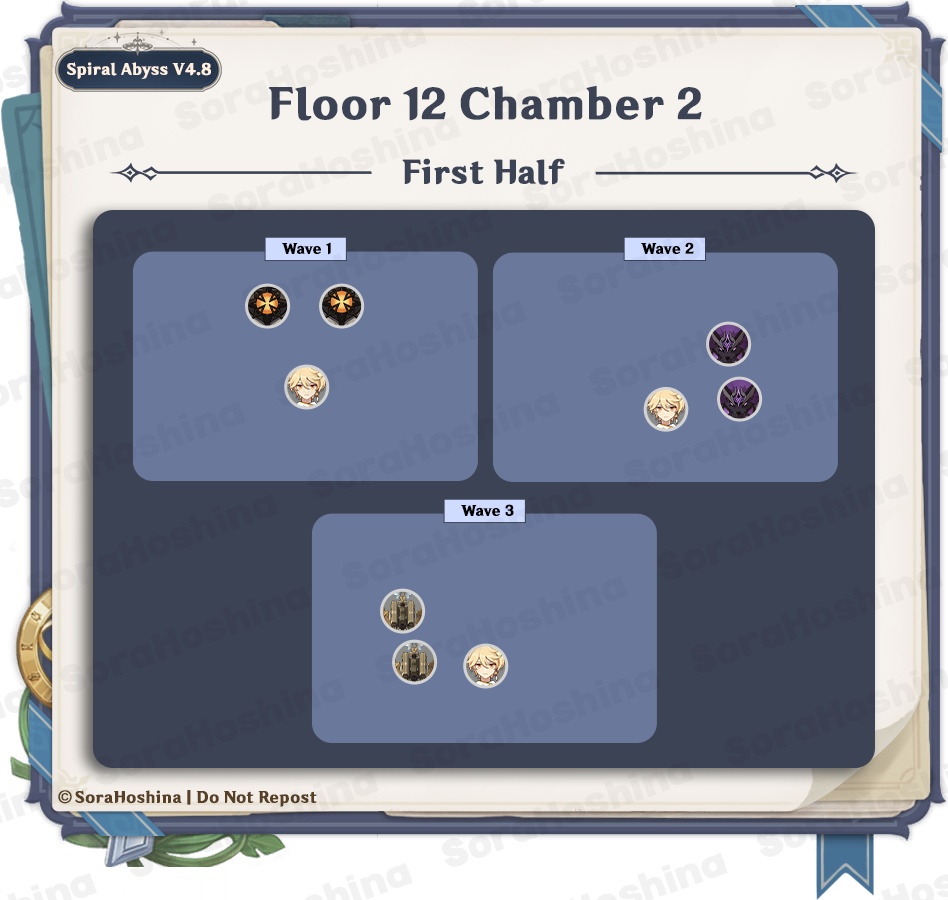
1st Wave: Ruin Grader x2
2nd Wave: Thundercraven Rifthound x2
3rd Wave: Construction Specialist Mek (Ousia) x2
- In the first wave, there are 2 Ruin Graders in the front area. Once you start the challenge, immediately run to the front near them to avoid one of them doing the charge attack which it will run in one direction. You can expect this by the shine on the orbs on their foot.
- In the second wave, this times it's the two Rifthound (did you miss them?) in the middle area. Remember that these Rifthounds & Whelps' attacks can apply stacks of Corrosion status, which will cause all your characters to continually lose HP. Shields can't help protect your team from this debuff but a healer can! Heal to remove the Corrosion status.
- In the third and final wave, it's another duo but this time it's Mekas. Since these Mekas are Ousia, you can paralyze them by using Pneuma attacks twice. Don't forget that these 2 deals Cryo DMG, although there are no reactions, if you bring a character that inflicts themselves with an element (like Barbara or Xingqiu), you will get the elemental reactions. So be careful.
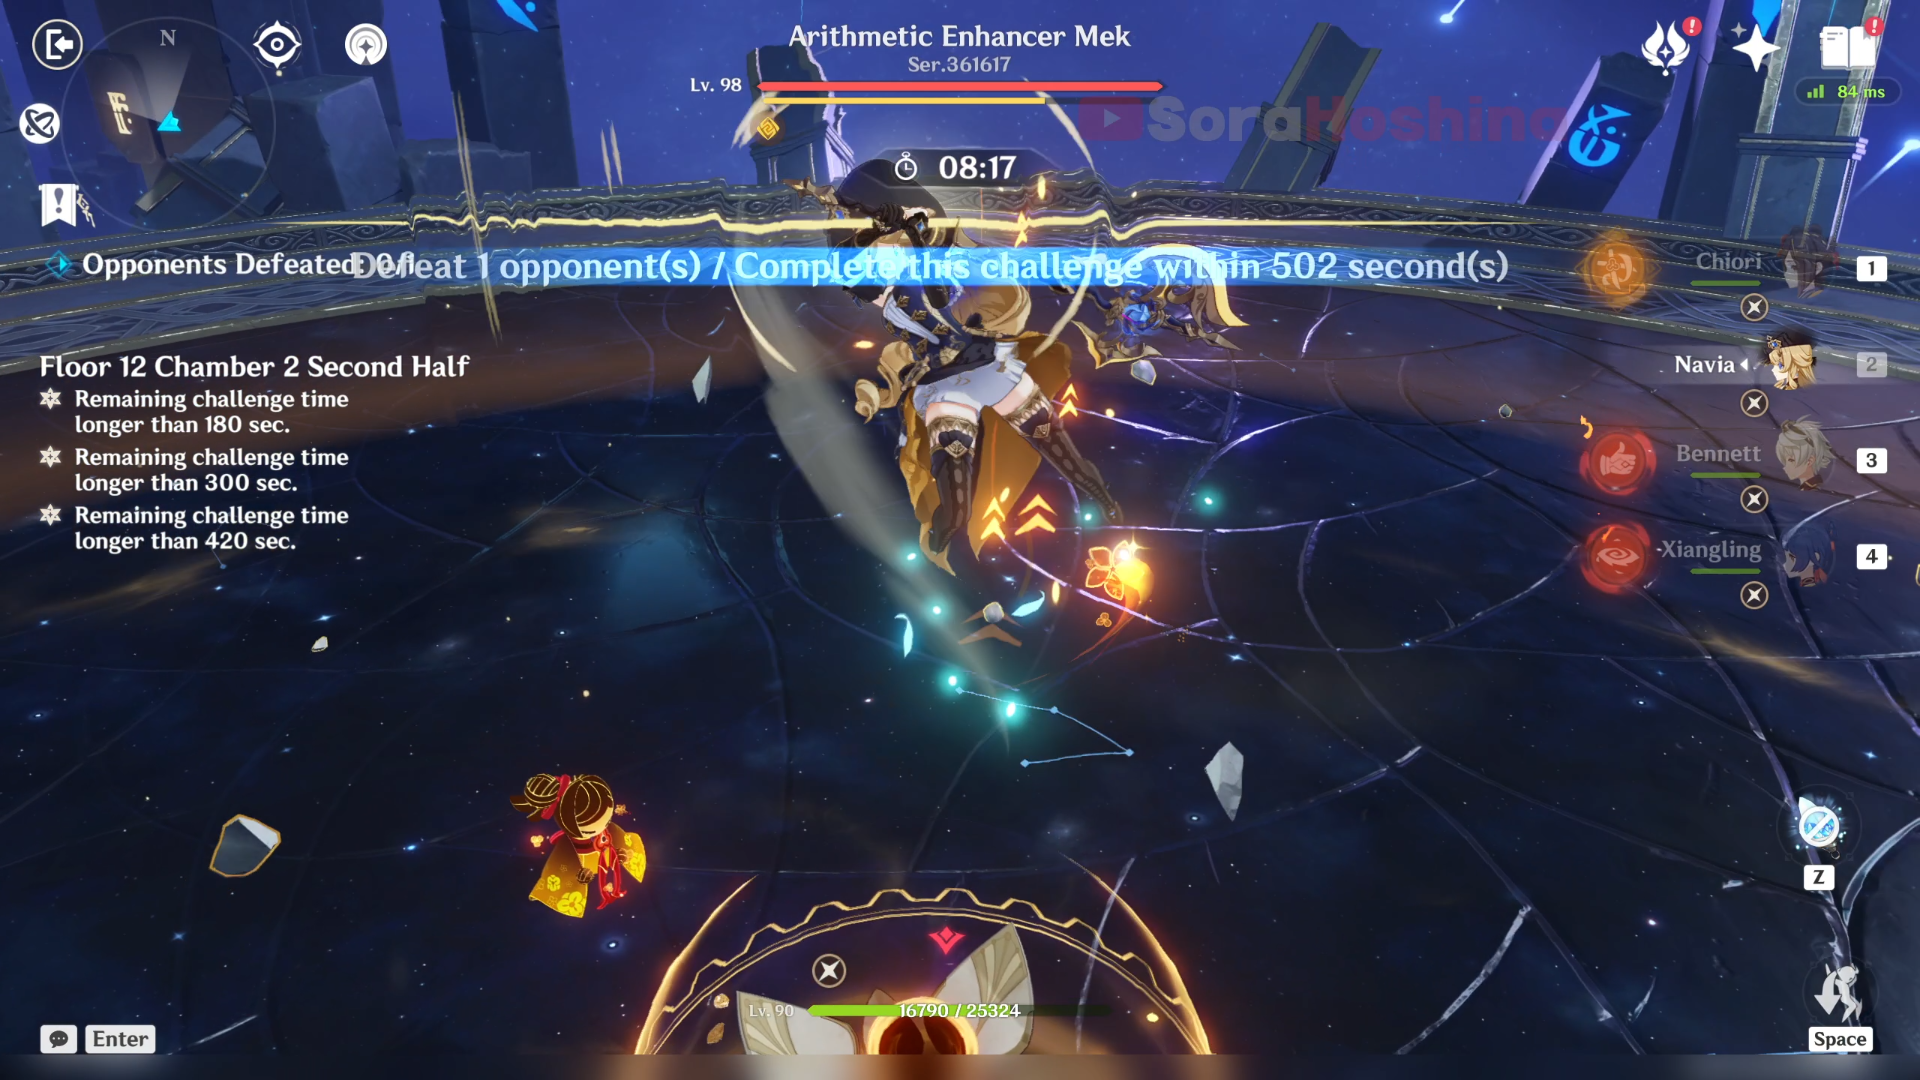
Second Half
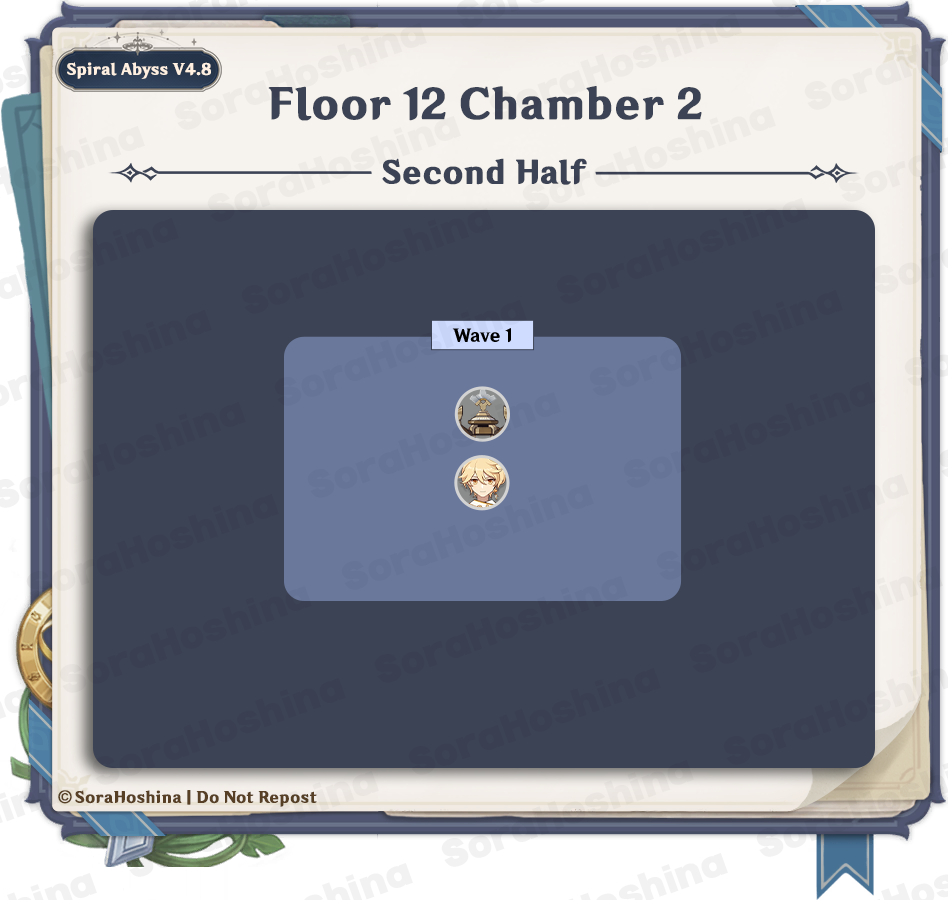
1st Wave: Veteran Arithmetic Enhancer Mek

- There is only one enemy in one wave; Veteran Arithmetic Enhancer Mek. This enemy is Ousia-type. Hitting it with the Pneuma while it is not shielded will cause it to lose Arkhe and become stunned for a short period of time.
- The Meka has a Geo shield that grants it a 200% increase to all RES while active and protects it from being paralyzed caused by Pneuma attacks. The shield is weakest against Blunt Attacks (Claymore attacks, Plunging attacks, and most Geo DMG). When destroyed, the shield will be regenerated after some time.
- This enemy will have a Gravity Reduction Field around it while Arkhe is available, which greatly boosts the jumping height of characters within.
The worst attack it has is Gravity Ripple (not its official name) where it periodically sends out a shockwave that expands outwards and can be jumped over, dealing Geo DMG on hit. This attack cannot be dodged using sprint i-frames. For this one, jumping is really recommended unless you have a sturdy shield because it can deal some big damage.
- For other attacks, I believe you can dodge it just fine. Focus on removing that Geo shield, and once it's gone, brute force it as fast as possible before it creates another shield.
Floor 12 Chamber 3
First Half
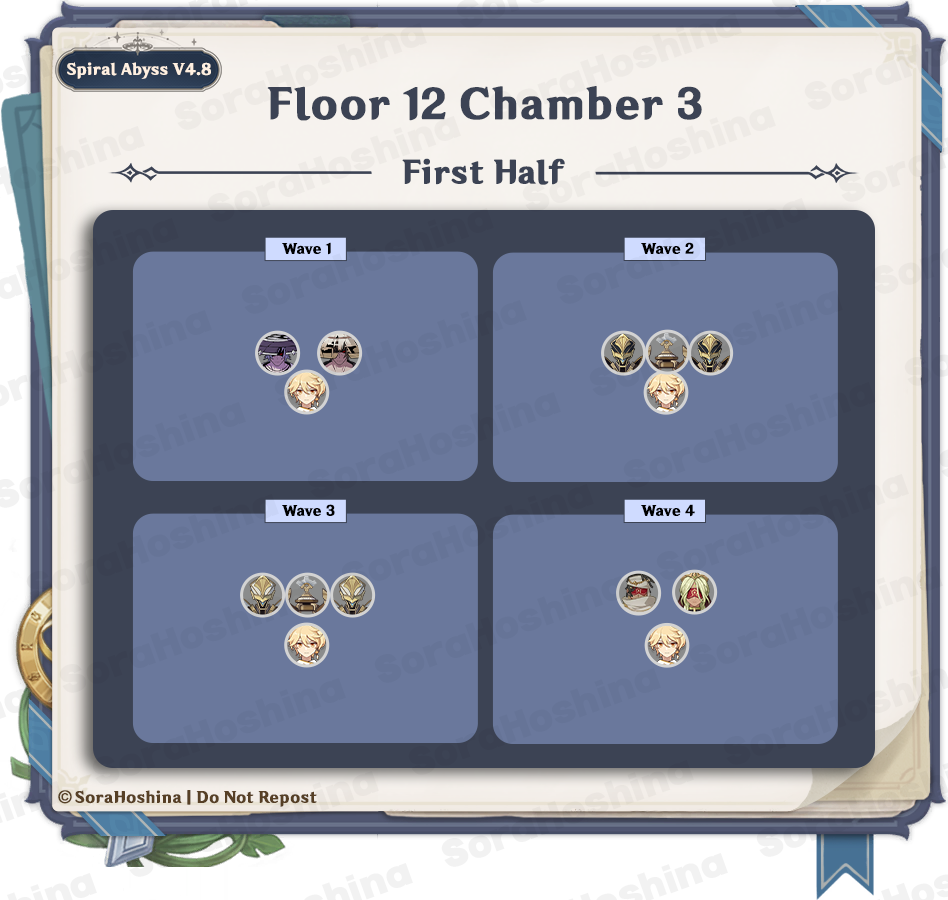
1st Wave: Nobushi: Kikouban x1 & Nobushi: Hitsukeban x1
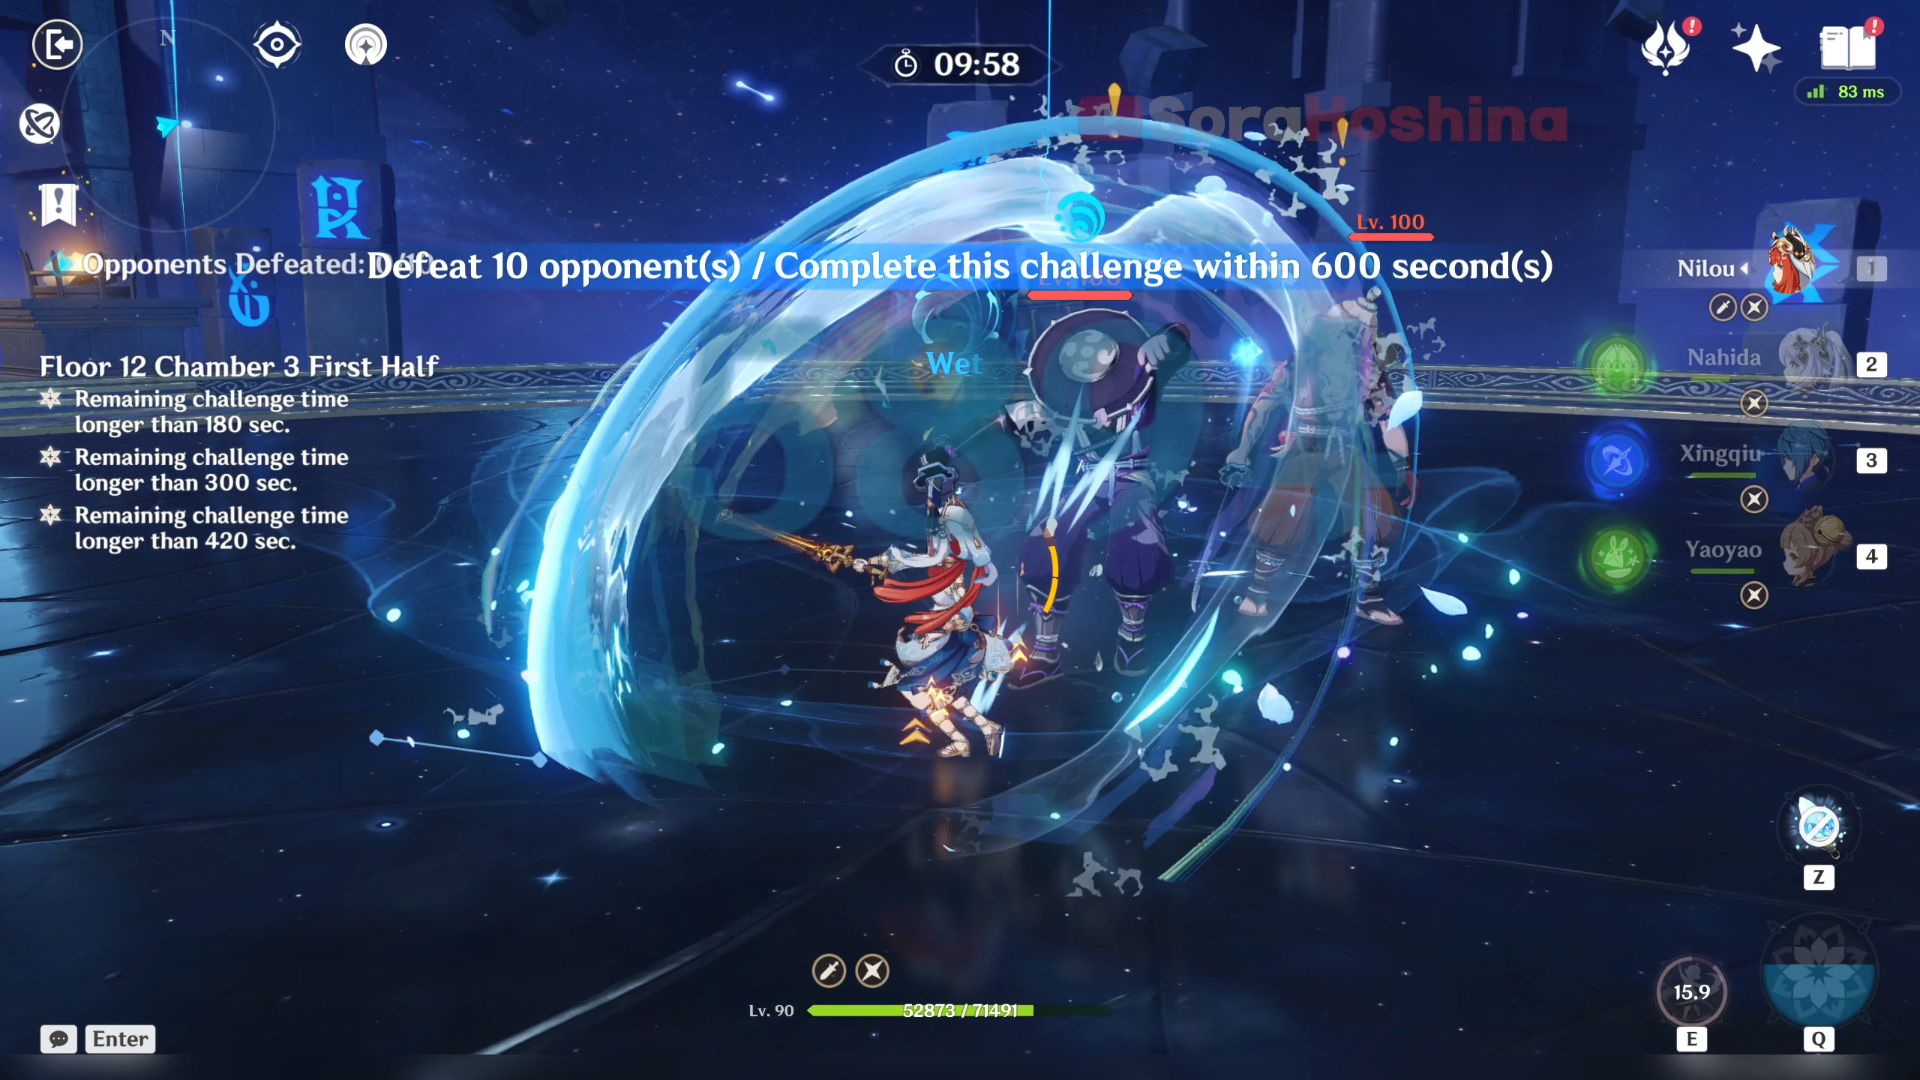
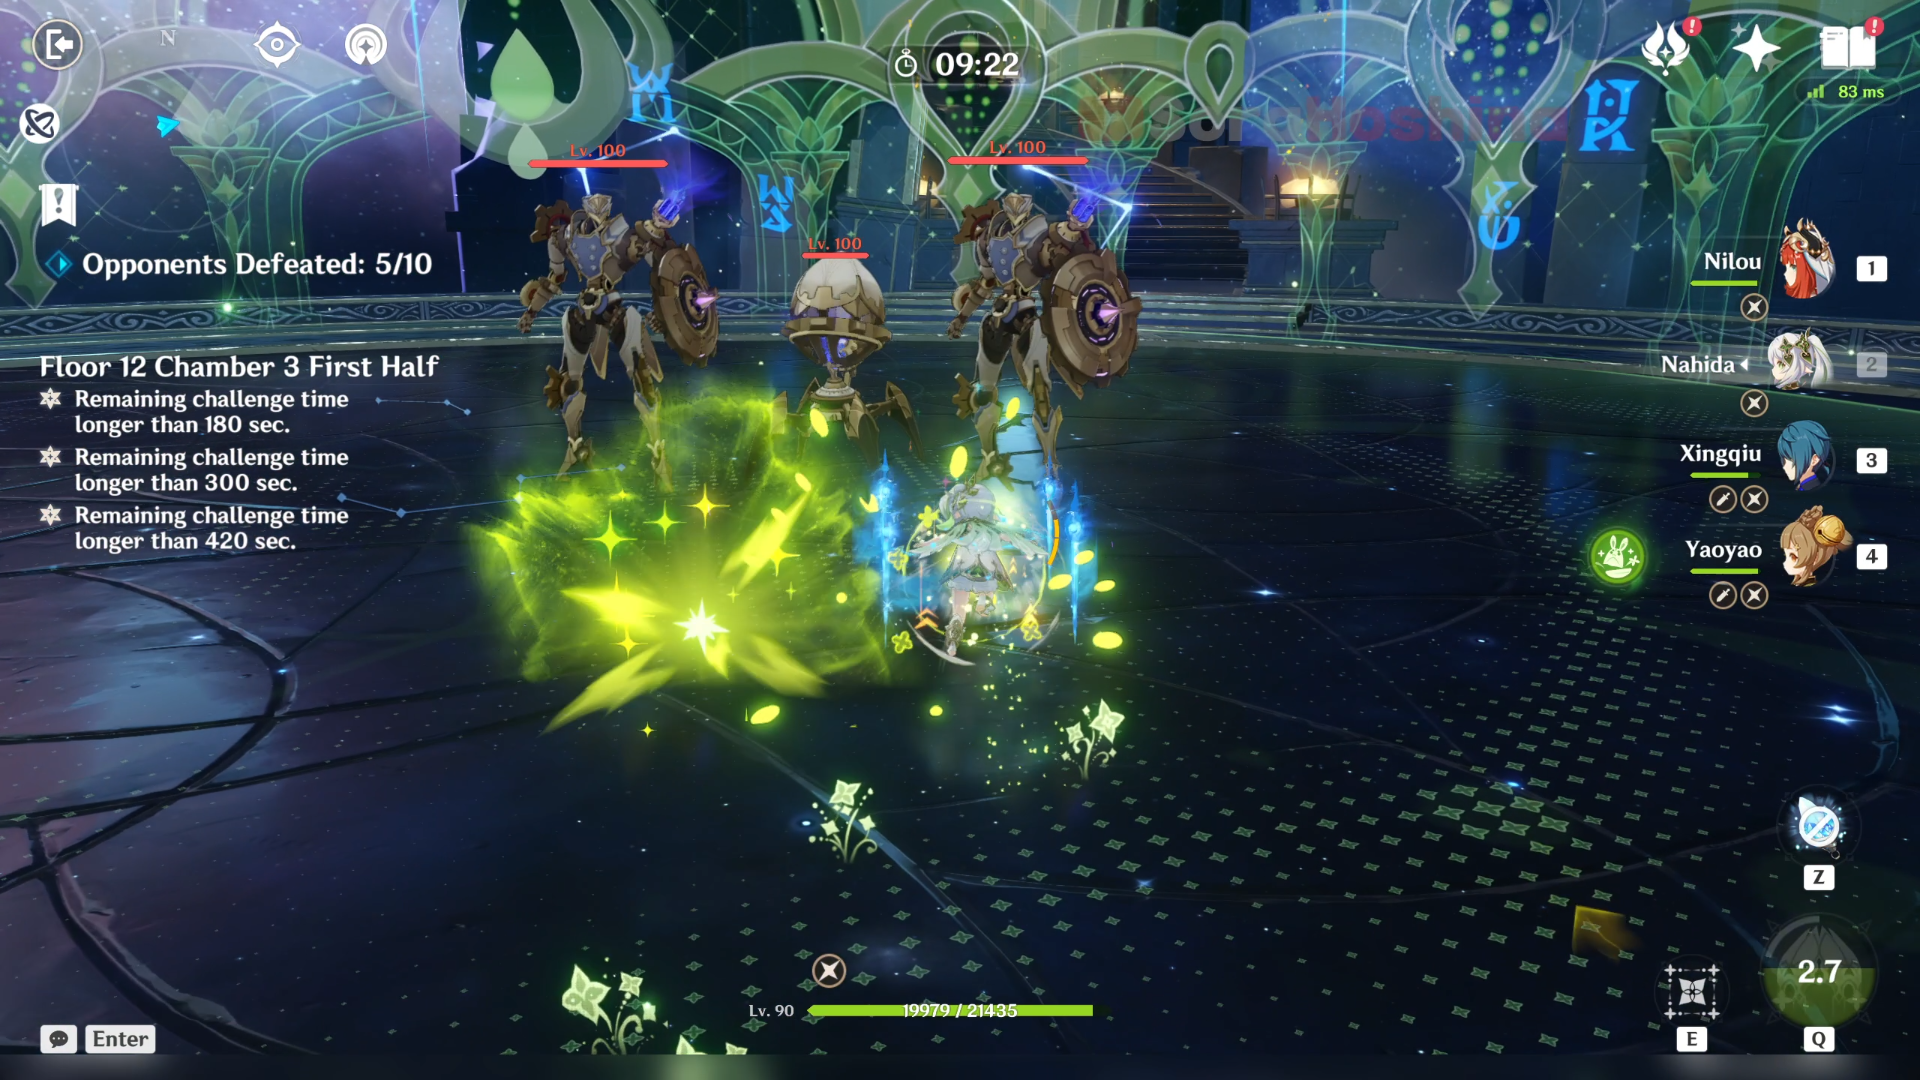
2nd Wave: Suppression Specialist Mek (Ousia) x2 & Arithmetic Enhancer Mek (Ousia) x1
3rd Wave: Assault Specialist Mek (Ousia) x2 & Arithmetic Enhancer Mek (Ousia) x1
4th Wave: Eremite Floral-Ring Dancer x1 & Eremite Stone Enchanter x1
- In the first wave, the two Nobushi will spawn in the middle of the arena. They're not that dangerous but beware that the combination of their attack can trigger an Overload reaction.
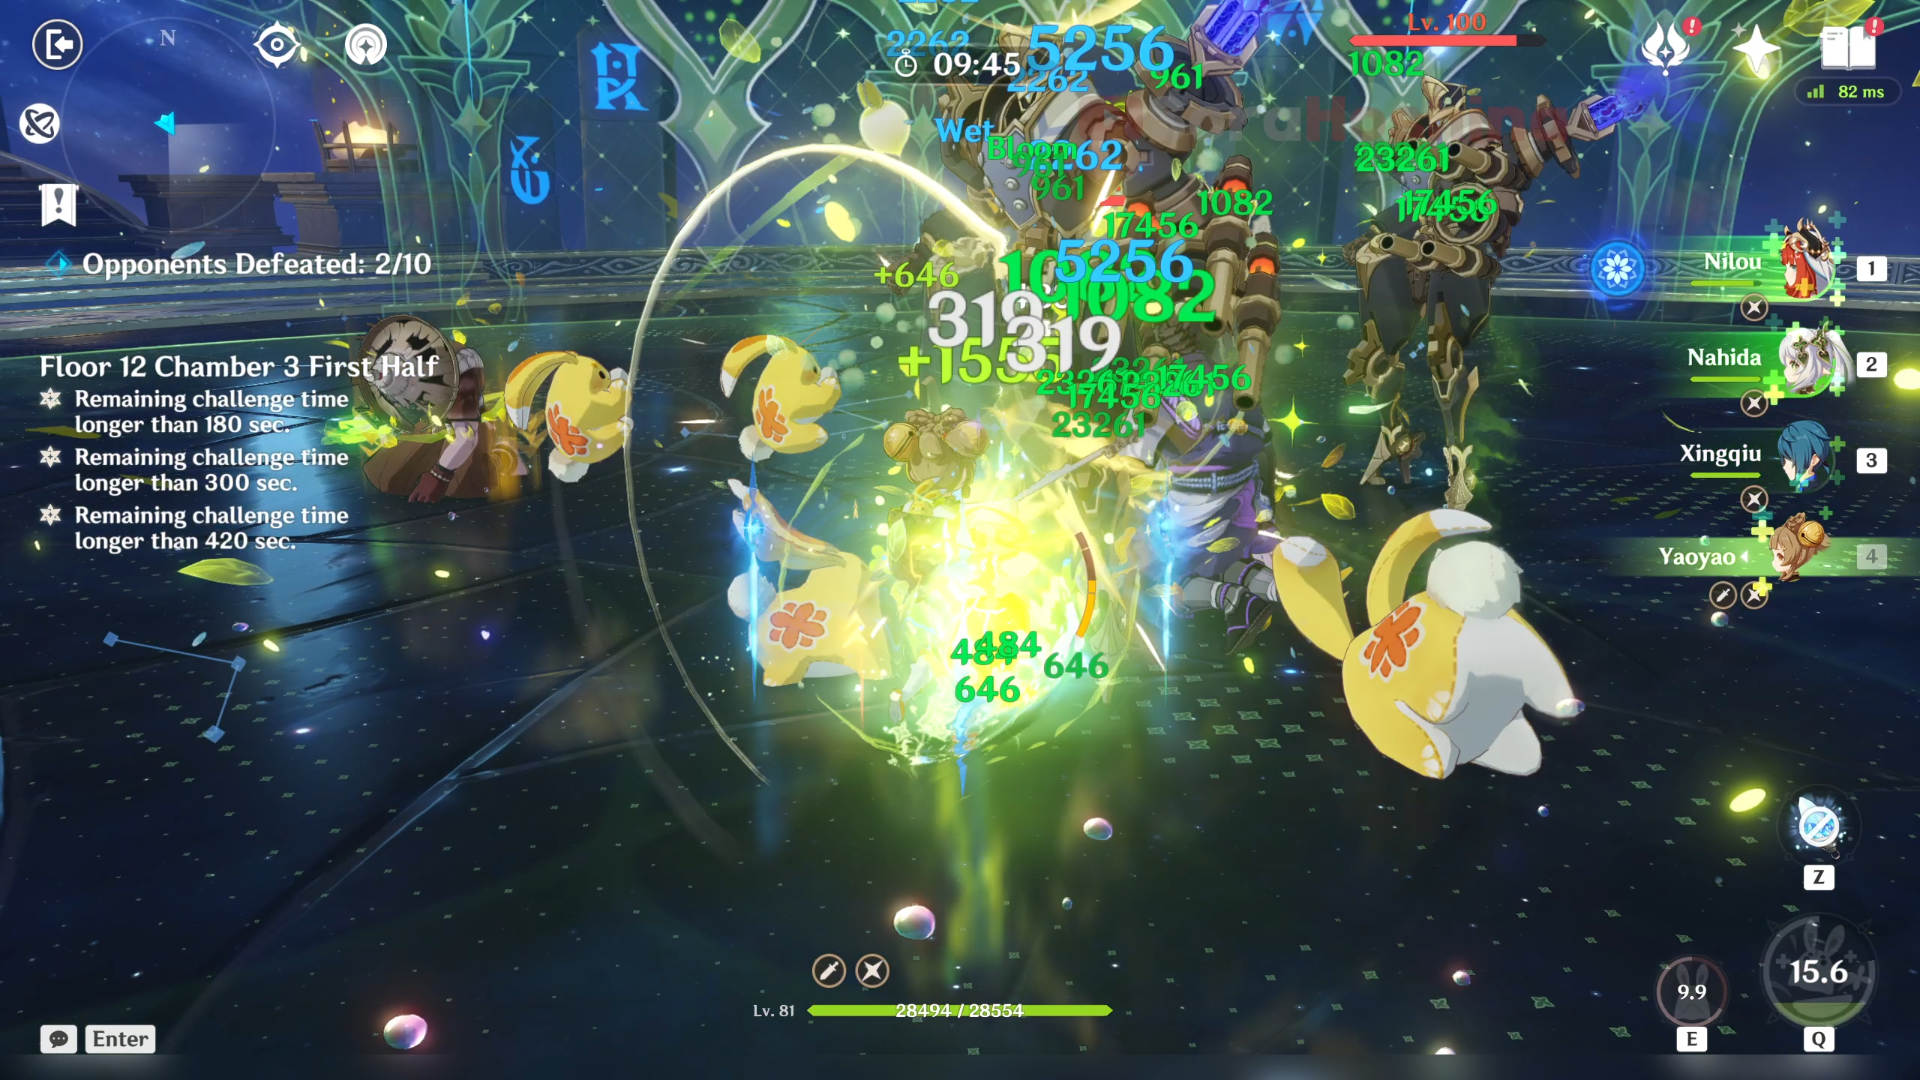
- In the seconnd wave, there are 3 Mekas in the front area. Of all 3 of them, focus on the Enhancer Meka first cause always go for their support ally first so they can't buff the damage dealers. Once the small one is gone, you can focus on either one of the Specialist Meka as it is hard to gather them at once spot because they just refuse to chase after you. It's best when you're attacking one of the Specialist Meka, make sure its back is towards another Specialist Meka. This way, they will back away toward the other one if you get too near to them (since they're a ranged DPS).
- In the third wave, it's almost the same as before with 3 Mekas in the front area but this time, it's the Assault Specialist Mekas. The strategy is also the same as before where you defeat the small Meka first. After that, you can focus on the 2 Assault Mekas. The good thing is these 2 are melee DPS so they will constantly chase after you. The bad thing is their attacks are pretty fast so you should be prepared with a healer/shielder.
- In the fourth wave, we have 2 elite Eremites. The funny thing is these 2 don't have synergies with each other at all because one deals Dendro damage and another deals Geo damage. But don't let your guard down.
- Right from the start, the two Eremites will enter an enhanced state (increased RES and high Interruption Resistance) and summon their spirit animal crocodile. If your DPS can't break through their now-increased RES, the best move is to kill the spirit animal first. That way, the enhanced state will end, and he will receive True DMG and will become stunned for 10 seconds. You can then use all sorts of Skills/Bursts during the 10 seconds DPS window. Don't worry though once they're recovered, because they can only enter the enhanced state once.
Second Half
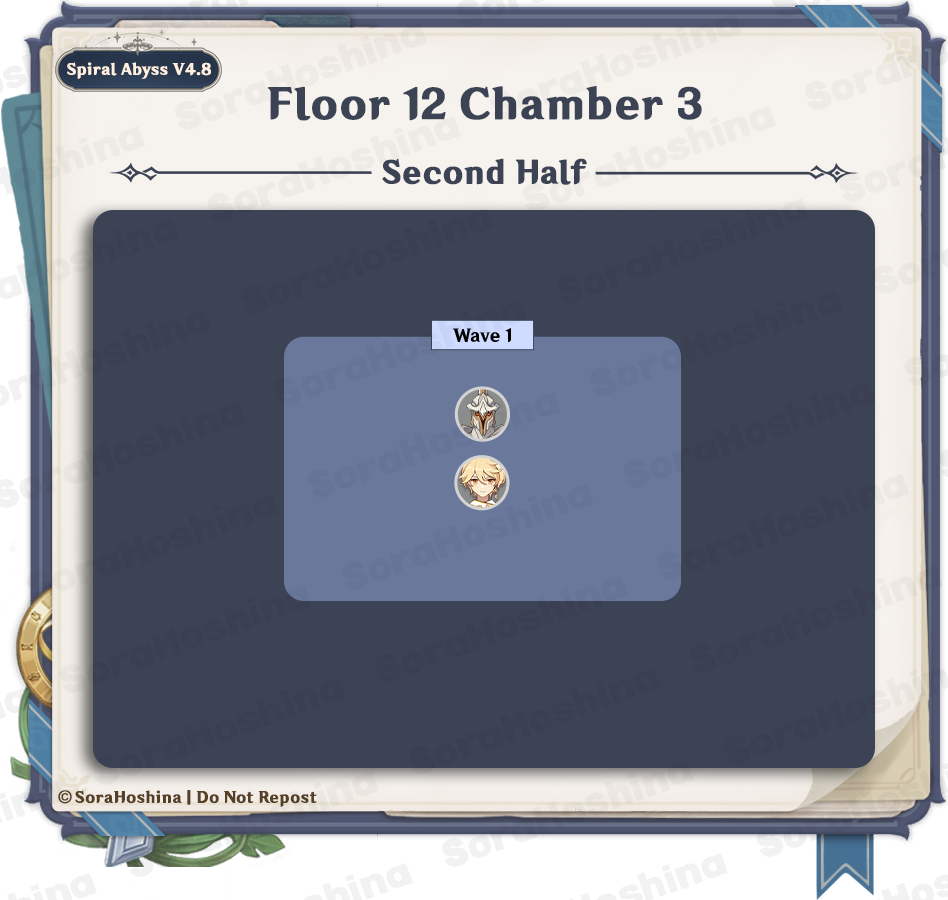
1st Wave: Legatus Golem
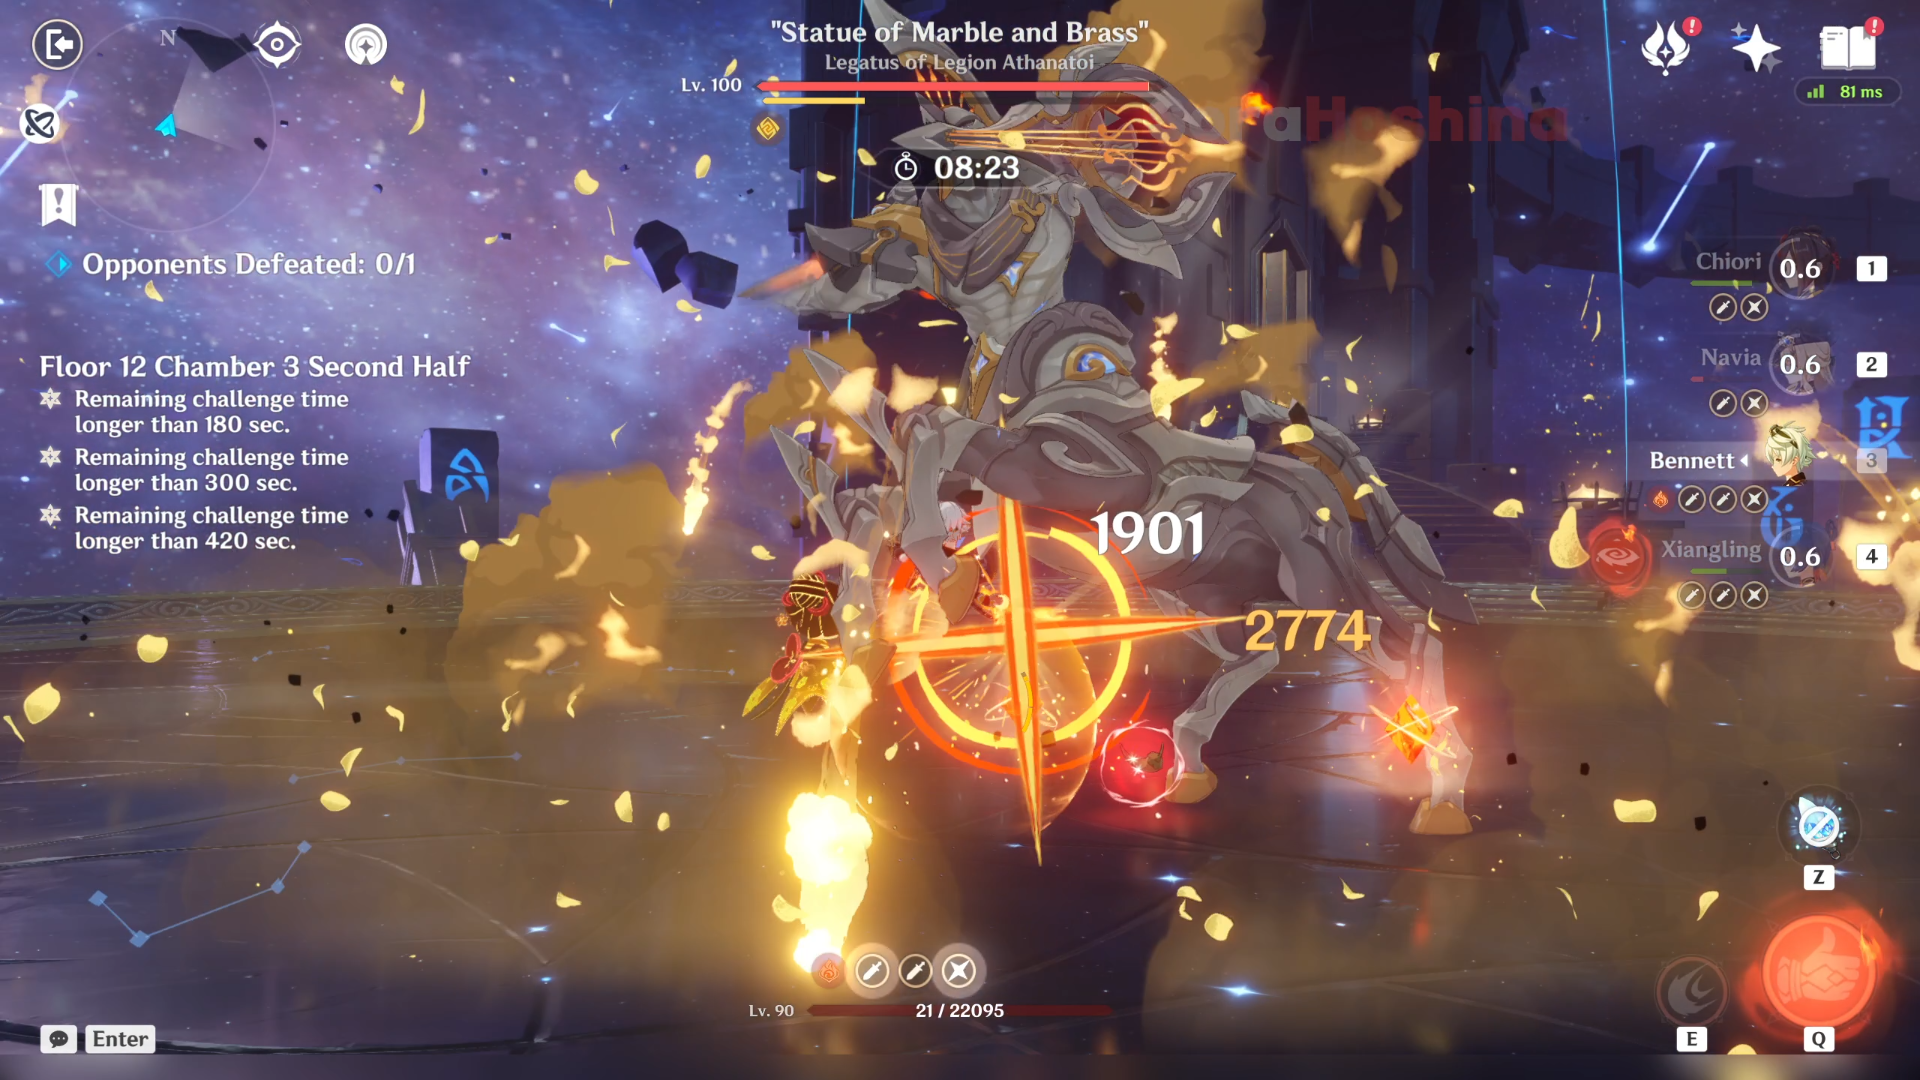
- The first and only wave here is the new boss; Legatus Golem. From the start, it will has a Geo shield which will increase RES against all elements including Physical by 70% so you want to remove that shield as fast as you can. The shield is weakest against Blunt Attacks (Claymore attacks, Plunging attacks, and most Geo DMG). Overload reactions also works to deplete the shield's HP.
- If the shield is destroyed, the Legatus Golem will become paralyzed for ~12 seconds before regaining its shield. While paralyzed, its RES to all DMG decreases by 80%.
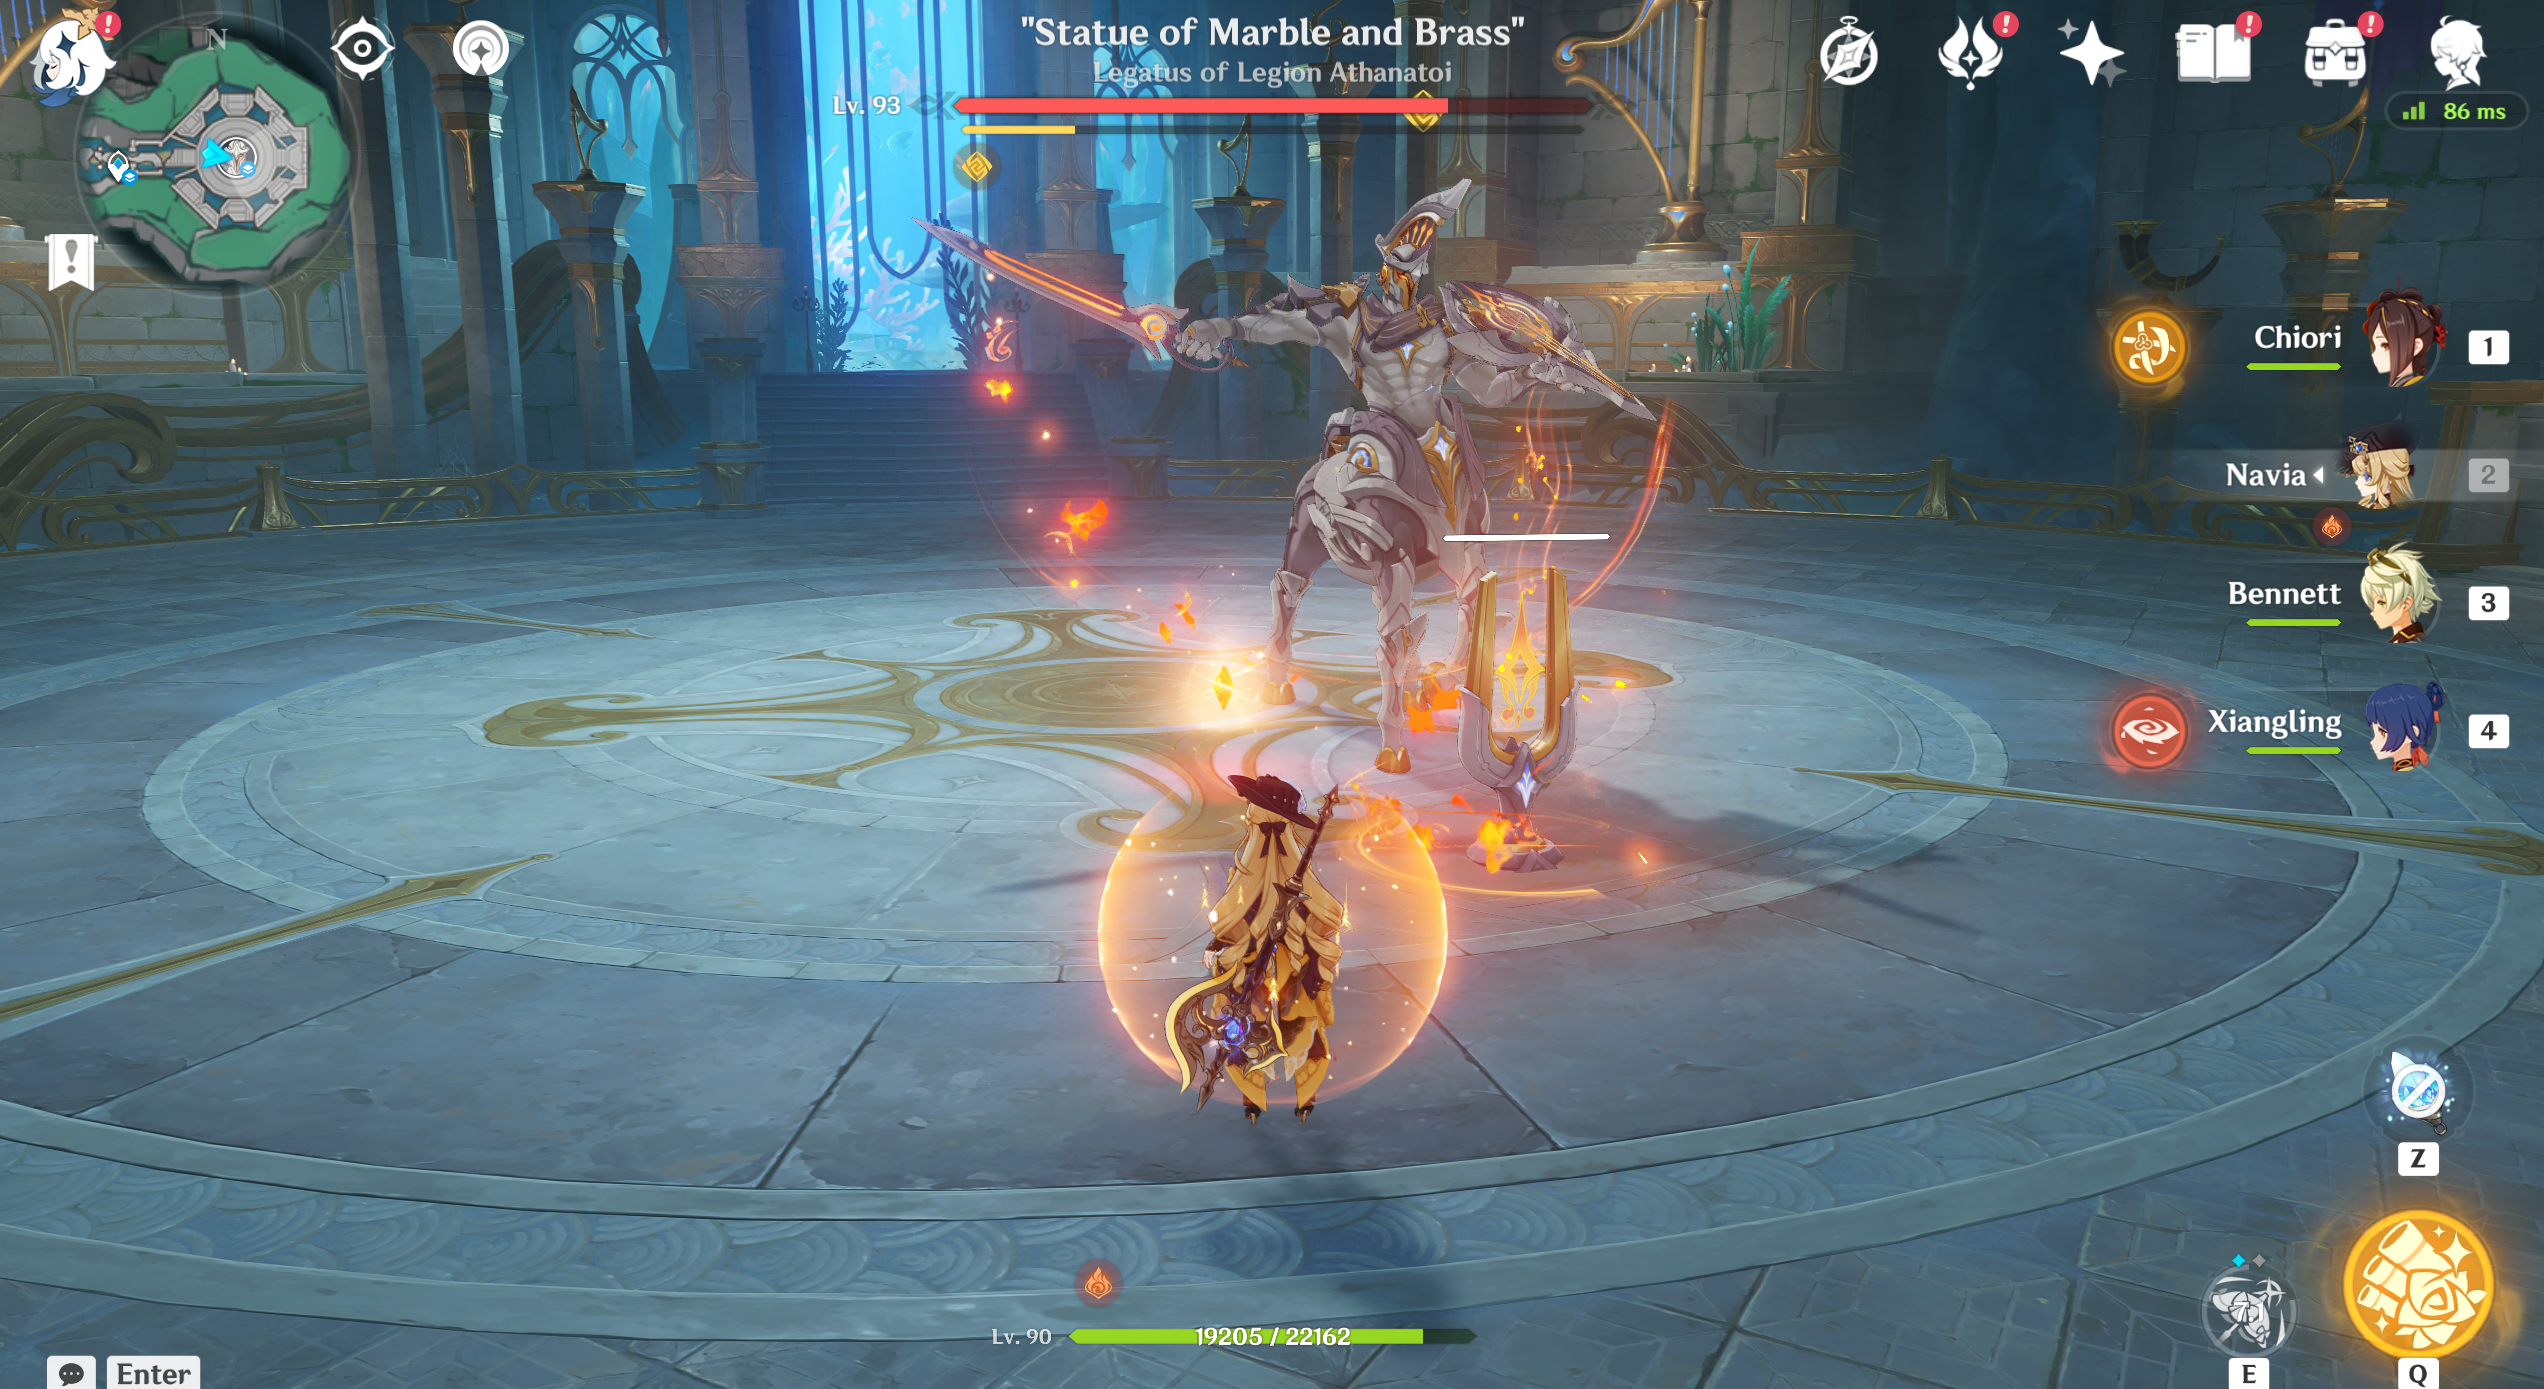
- Another method to destroy that shield fast is when the Golem summon a resonator and charges. Destroy that resonator and it will also delete a chunk of the Golem's shield. If the resonator is not destroyed by the time the Golem stopped charging, it will explode to deal damage. Other than this, most of the Golem's attacks are pretty boring so I believe you won't have much trouble with it except with the ridiculous increased RES when the shield is up.