Table of Contents [Hide]
The last floor of 5.1 Spiral Abyss is here with lots of elite enemies and some bosses. Surprisingly, there are no Natlan enemies at all here. Follow this guide to know more about enemies' lineup, their weaknesses, and how to complete the entire chamber on Floor 12.
Blessing of the Abyssal Moon

Reminder: Blessing of the Abyssal Moon will change every refresh cycle and may not be updated here. But the enemies list and strategy will remain the same.
Rugged Moon
After a character uses an Elemental Skill, said character's DEF increases by 60% for 9s.
Team Recommendations
Ley Line Disorder:
For this floor only, the Let Line flow will be normal.
General Tips:
If the floor is too hard for you, don’t forget that changing teams is an option. Although you need to start from Chamber 1, at least you don’t have to worry about stars for the Chamber you already completed.
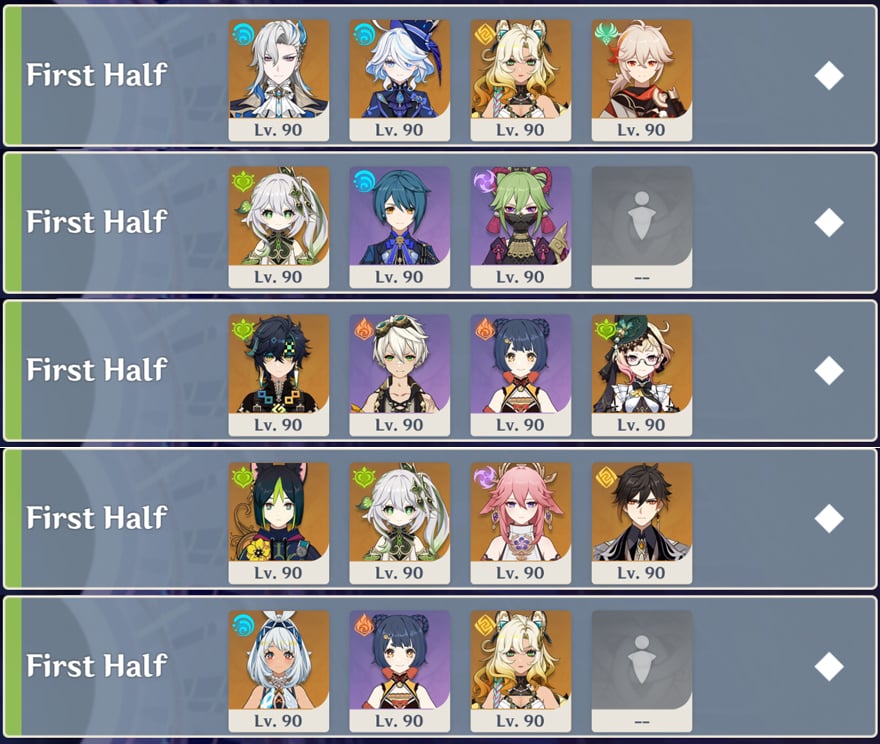
Team Recommendations for the First Half
| The recommended elements for the Second Half |        All except those mentioned below |
| The not recommended elements for the Second Half |  Physical ➥ There are multiple Ruin enemies here and they have high RES to Physical attacks so it's not recommended to bring a Physical team here. |
Example:
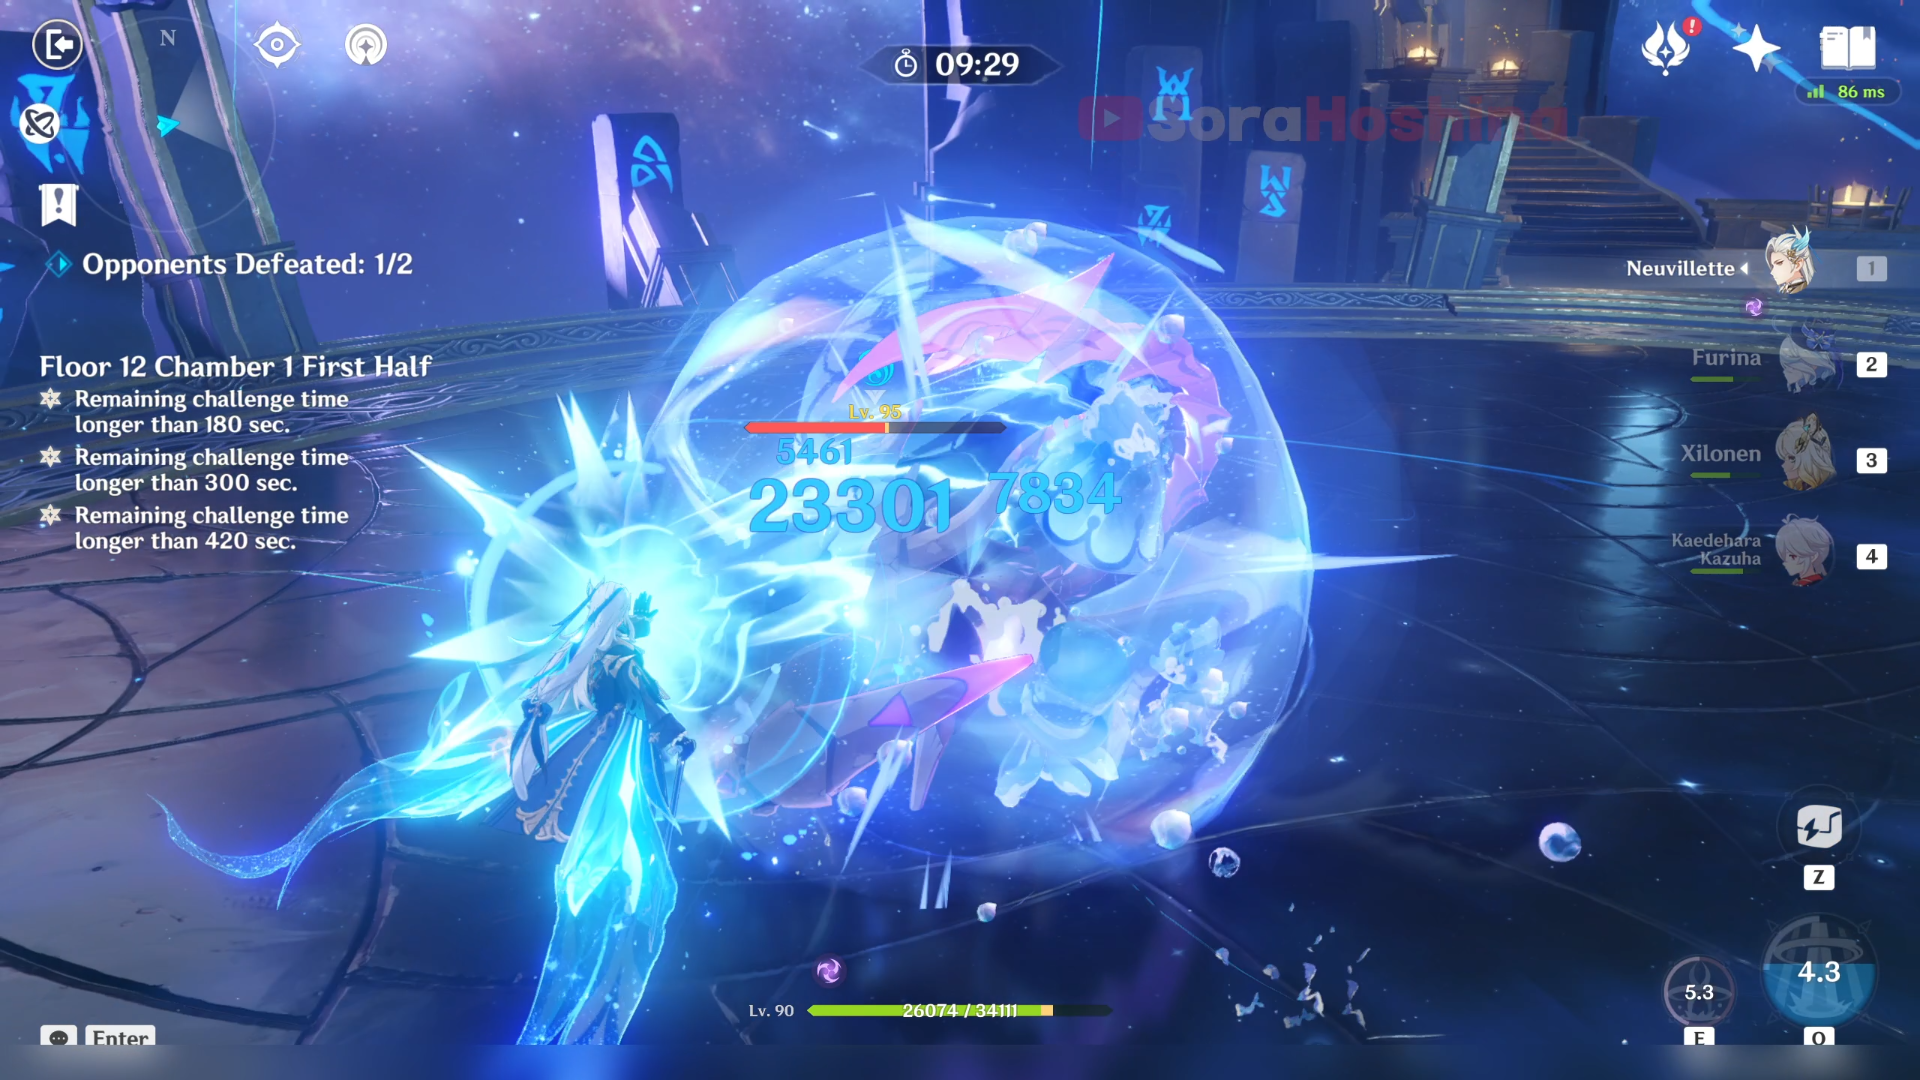
(1) Hypercarry Team: Neuvillette + Furina + Xilonen + Kazuha
(2) Hyperbloom Team: Nahida/Alhaitham + Xingqiu + Kuki Shinobu + Flex
(3) Burning Team: Kinich + Bennett + Xiangling/Dehya + Emilie/Dendro
(4) Catalyze Team: Tighnari + Nahida + Yae Miko + Zhongli
(5) Vaporize Team: Mualani + Xiangling + Xilonen + Zhongli/Flex
You can find more lineups in the official HoYoLAB Lineup Simulator here.
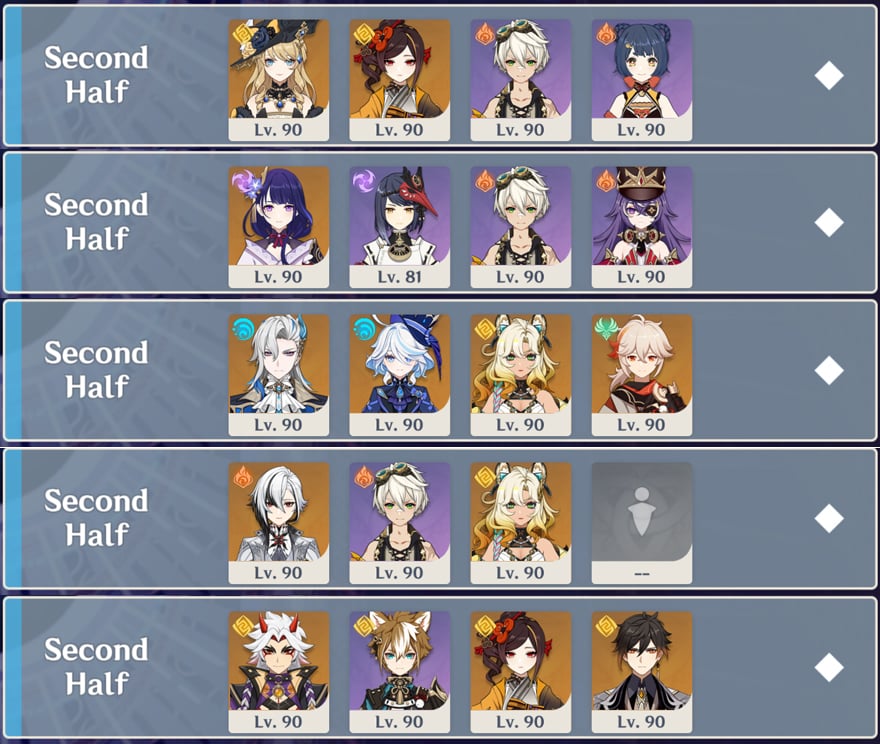
Team Recommendations for the Second Half
| The recommended elements for the Second Half | Geo ➥ Looking at the enemies list, it's clear why Geo is recommended. |
| The not recommended elements for the Second Half | Hydro ➥ Hydro is not that bad here, it's just there are 2 small enemies with small Hydro RES (Vishap Hatchlings). If your Hydro DPS is good, then you can bring them. |
Example:
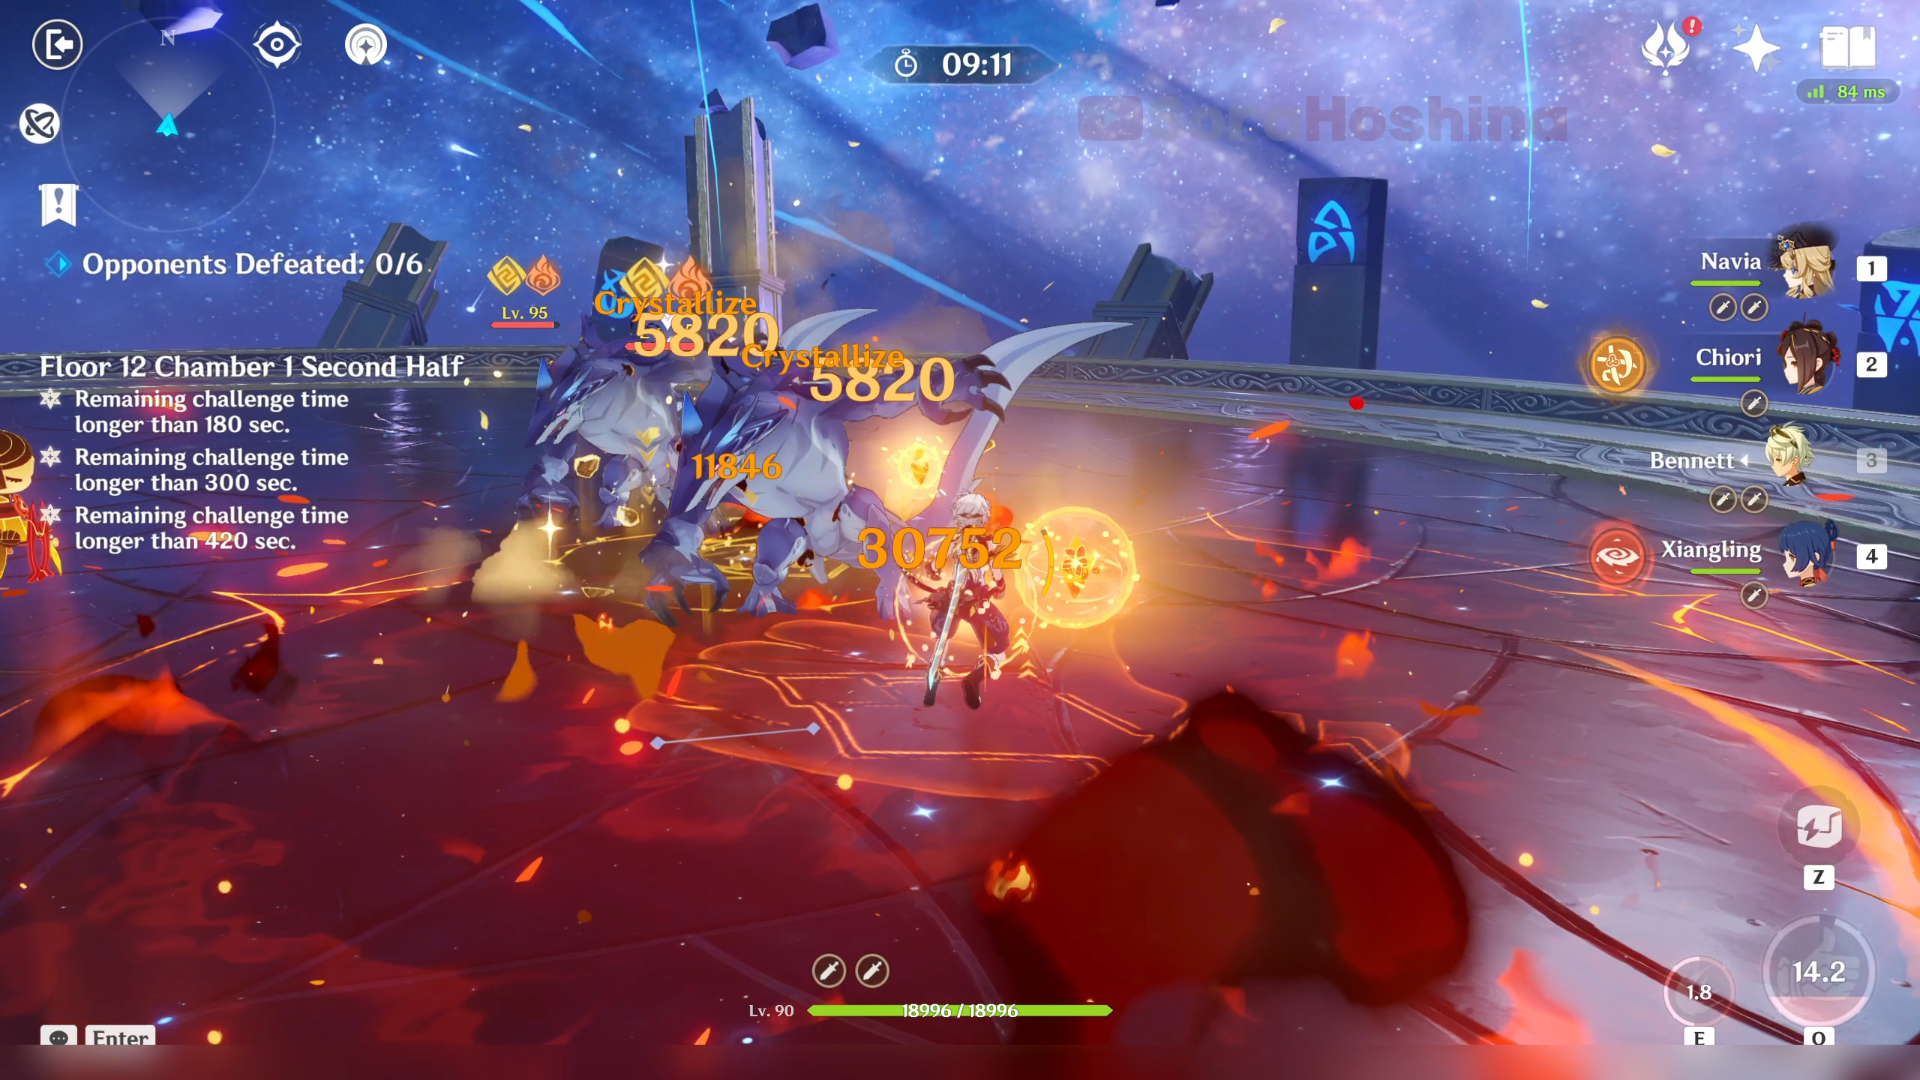
(1) Crystallize Team: Navia + Chiori + Bennett + Xiangling
(2) Overload Team: Raiden + Kujou Sara/Xiangling + Chevreuse + Bennett
(3) Hypercarry Team: Neuvillette + Furina + Xilonen + Kazuha
(4) Hypercarry Team 2: Arlecchino + Bennett + Xilonen + Flex
(5) Mono Geo Team: Itto + Gorou + Chiori + Zhongli
You can find more lineups in the official HoYoLAB Lineup Simulator here.
Floor 12 Chamber 1
First Half
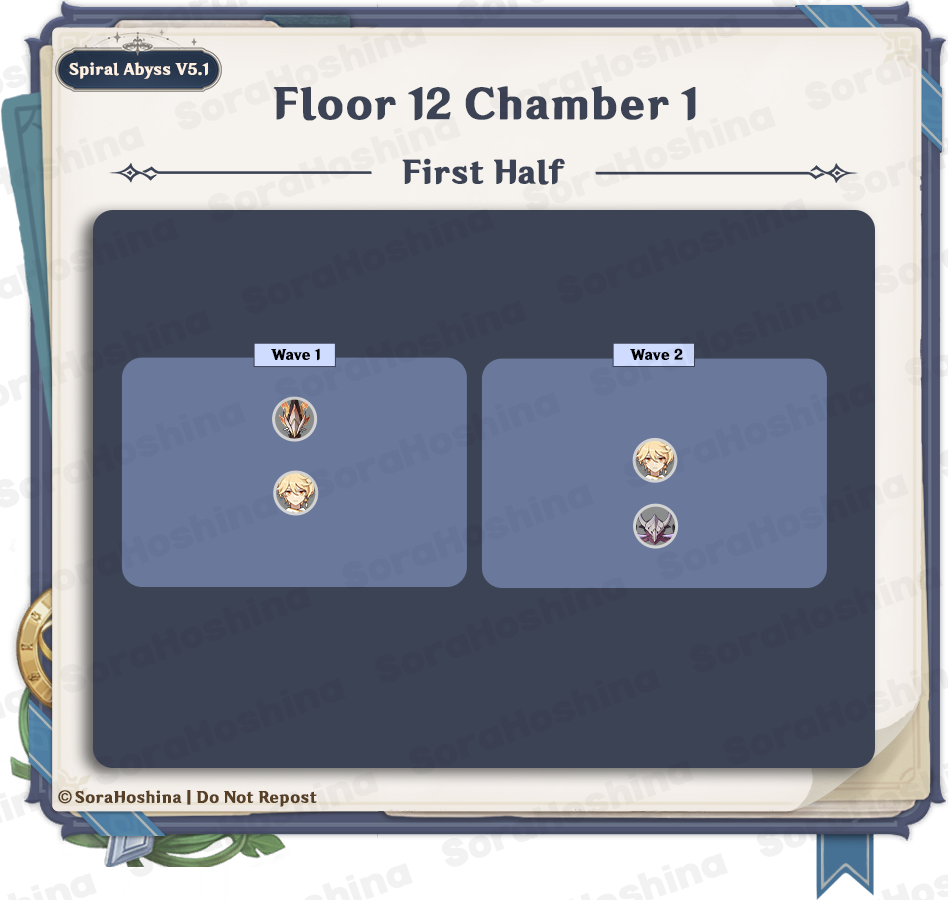
1st Wave: Consecrated Red Vulture x1
2nd Wave: Consecrated Scorpion x1

In the first wave, there is one Pyro Consecrated enemy in the front area. Although it has a high Pyro RES, bringing a Pyro support or sub-dps is better since you'll need them for the Phagocytic Energy Block.
There will be a time when it will summon a Phagocytic Energy Block. Make sure to attack this block with elemental attacks until the bar is filled so you can gain the Phagocytic energy > hit the consecrate enemy > and paralyze them. If you leave the Block alone for a period of time, the beast will reabsorb the Phagocytic Energy Block and re-enter Phagocytic Form (its more stronk form).
- The Phagocytic Energy Block can be destroyed using a single Pyro attack or 6 non-Pyro elemental attacks.
Other than Pyro RES, this enemy also possesses 50% Freeze Resistance at all times, decreasing the effectiveness of the Frozen Elemental Reaction.
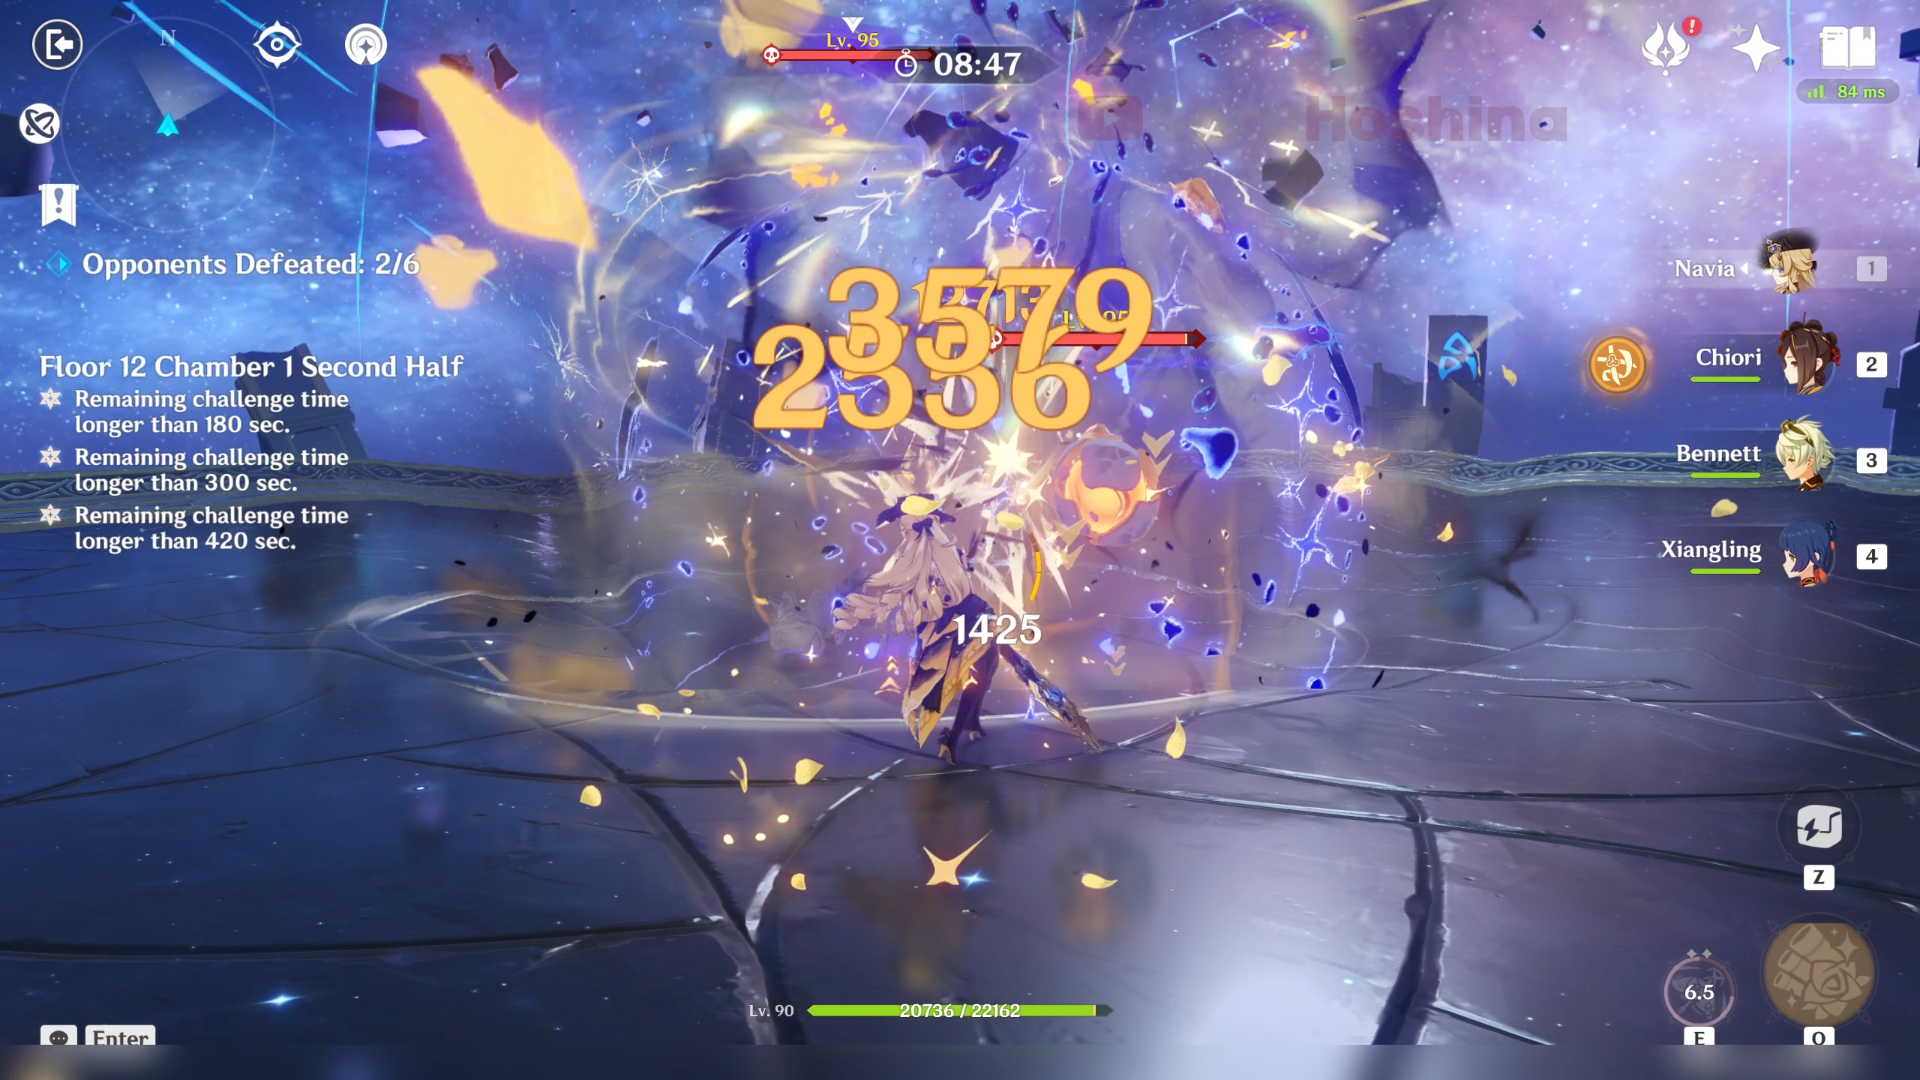
In the second wave, there is one Consecrated Scorpion in the back area. This time, it's the Electro one and has high Electro RES. It's the same as the previous beast where you should take advantage of the Phagocytic Energy Block to paralyze them.
Second Half
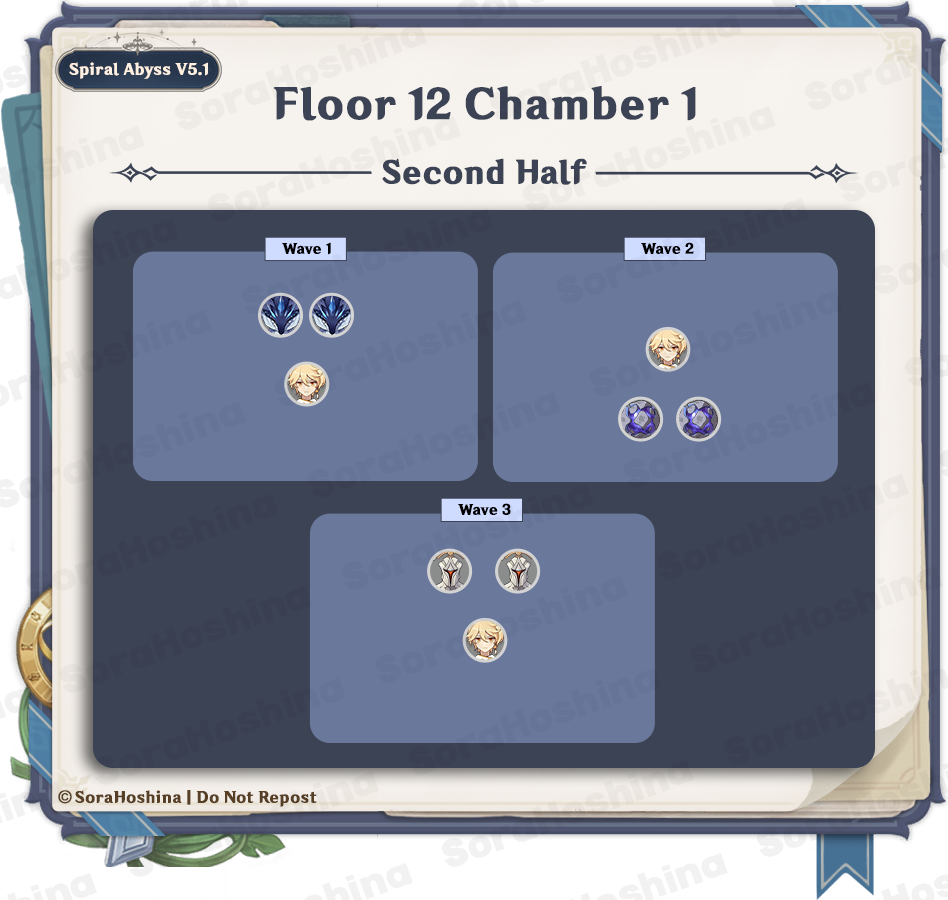
1st Wave: Primordial Bathysmal Vishap Hatchling x2
2nd Wave: Large Shatterstone Breacher Primus x2
3rd Wave: Praetorian Golem x2
In the first wave, two Vishap Hatchlings spawn in the front area near each other. But these Vishap Hatchlings can be staggered easily and when they're staggered, they usually will be knocked back a little- which in turn will make them separated from each other. If you don't bring any Anemo CC, you can walk to the nearest wall and corner yourself there so the Hatchlings won't have much space to be far from each other.
In the second wave, we have two Breacher Primus in the back area. These two are a threat only when they enter their stressed state. For the Shatterstone Breacher, its stressed state will make it create a Geo shield and deal Geo DMG repeatedly by smashing down on the ground. The shield is weakest to Blunt Attacks (Claymore attacks/Plunging attacks/Geo DMG) or a single Arkhe attack. Once the shield is broken, the Breacher Primus will become paralyzed for a long period of time.
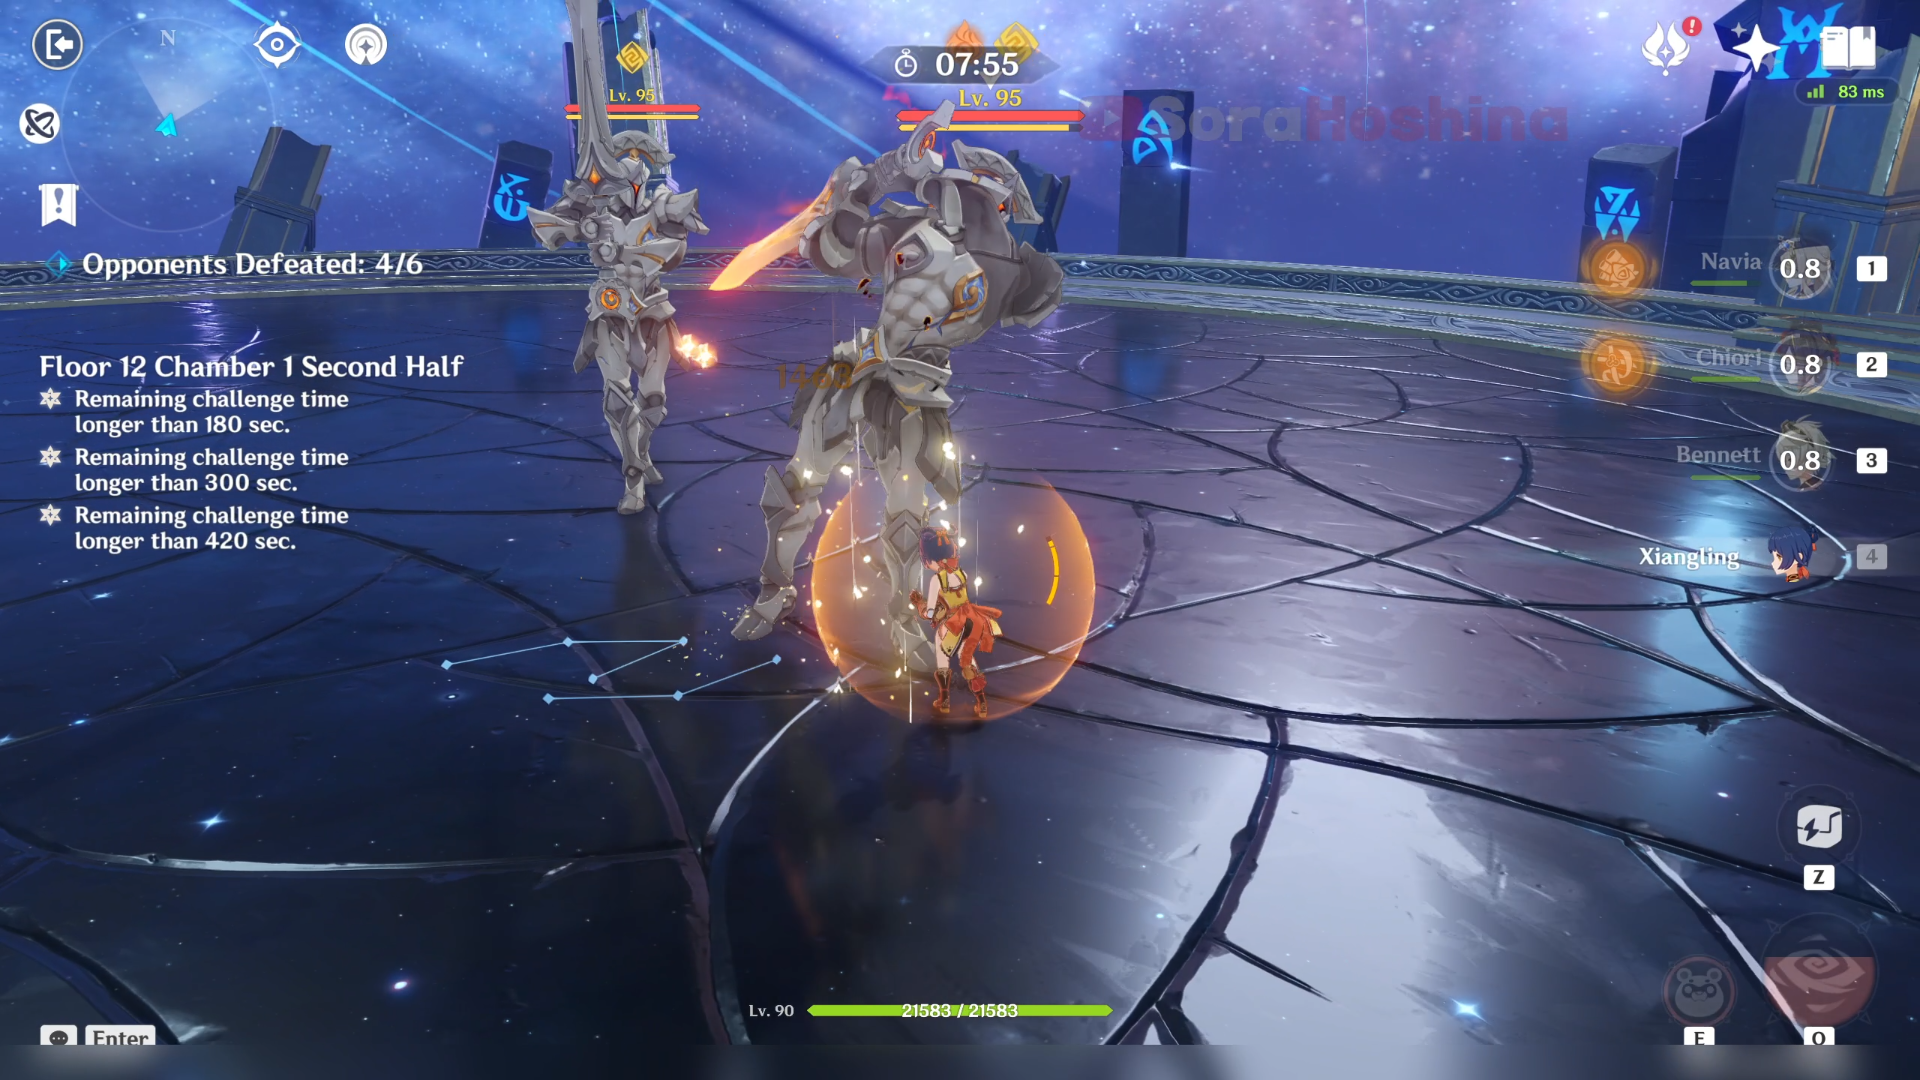
In the third wave, 2 Praetorian Golems make their first debut in Spiral Abyss. They will have Geo shields right from the start so destroy that shield with Blunt Attacks so you can paralyze them for ~8 seconds. Most of their attacks are melee and it's recommended to stay near the Golems (especially in between the 2 Golems) because sometimes, they move pretty slow when catching up to you.
Floor 12 Chamber 2
First Half
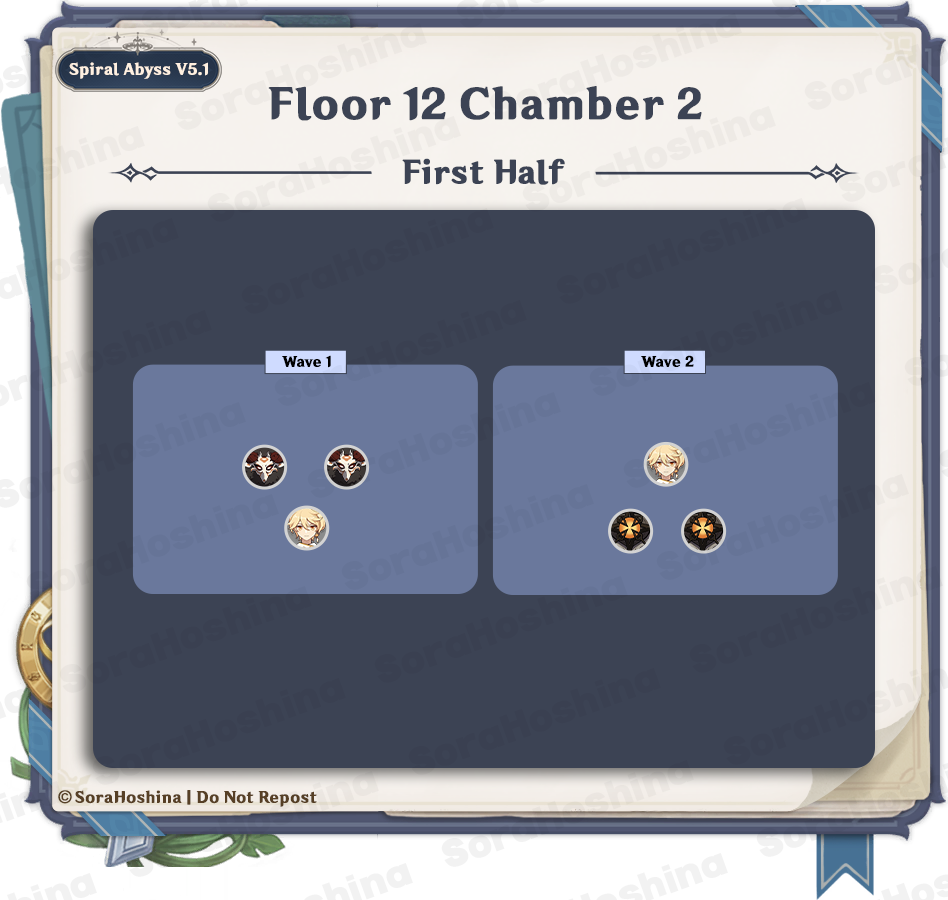
1st Wave: Blazing Axe Mitachurl x1 & Crackling Axe Mitachurl x1
2nd Wave: Ruin Grader x2
In the first wave, there are 2 Mitachurls in the middle area. These two can trigger Overload and knock back your character so be careful of that. Their normal attack can also stagger your character so make sure your evade game is on point.
In the second wave, there are 2 Ruin Graders in the back area. Ruin Grader has two weak points; the cores on its head and feet. Attacking one of the exposed weak points will interrupt the Ruin Grader's current attack. Successfully damaging the second weak point will temporarily paralyze the Ruin Grader for a few seconds.
Should you aim for the weak points? Yes and no. If you have lots of remaining time, you can try to paralyze it so you can have an easier time dealing with all sorts of damage. Use a Bow character's aimed shot for better accuracy and a higher chance to aim at the cores. But if you don't have much time, it's better to just brute force.
Second Half

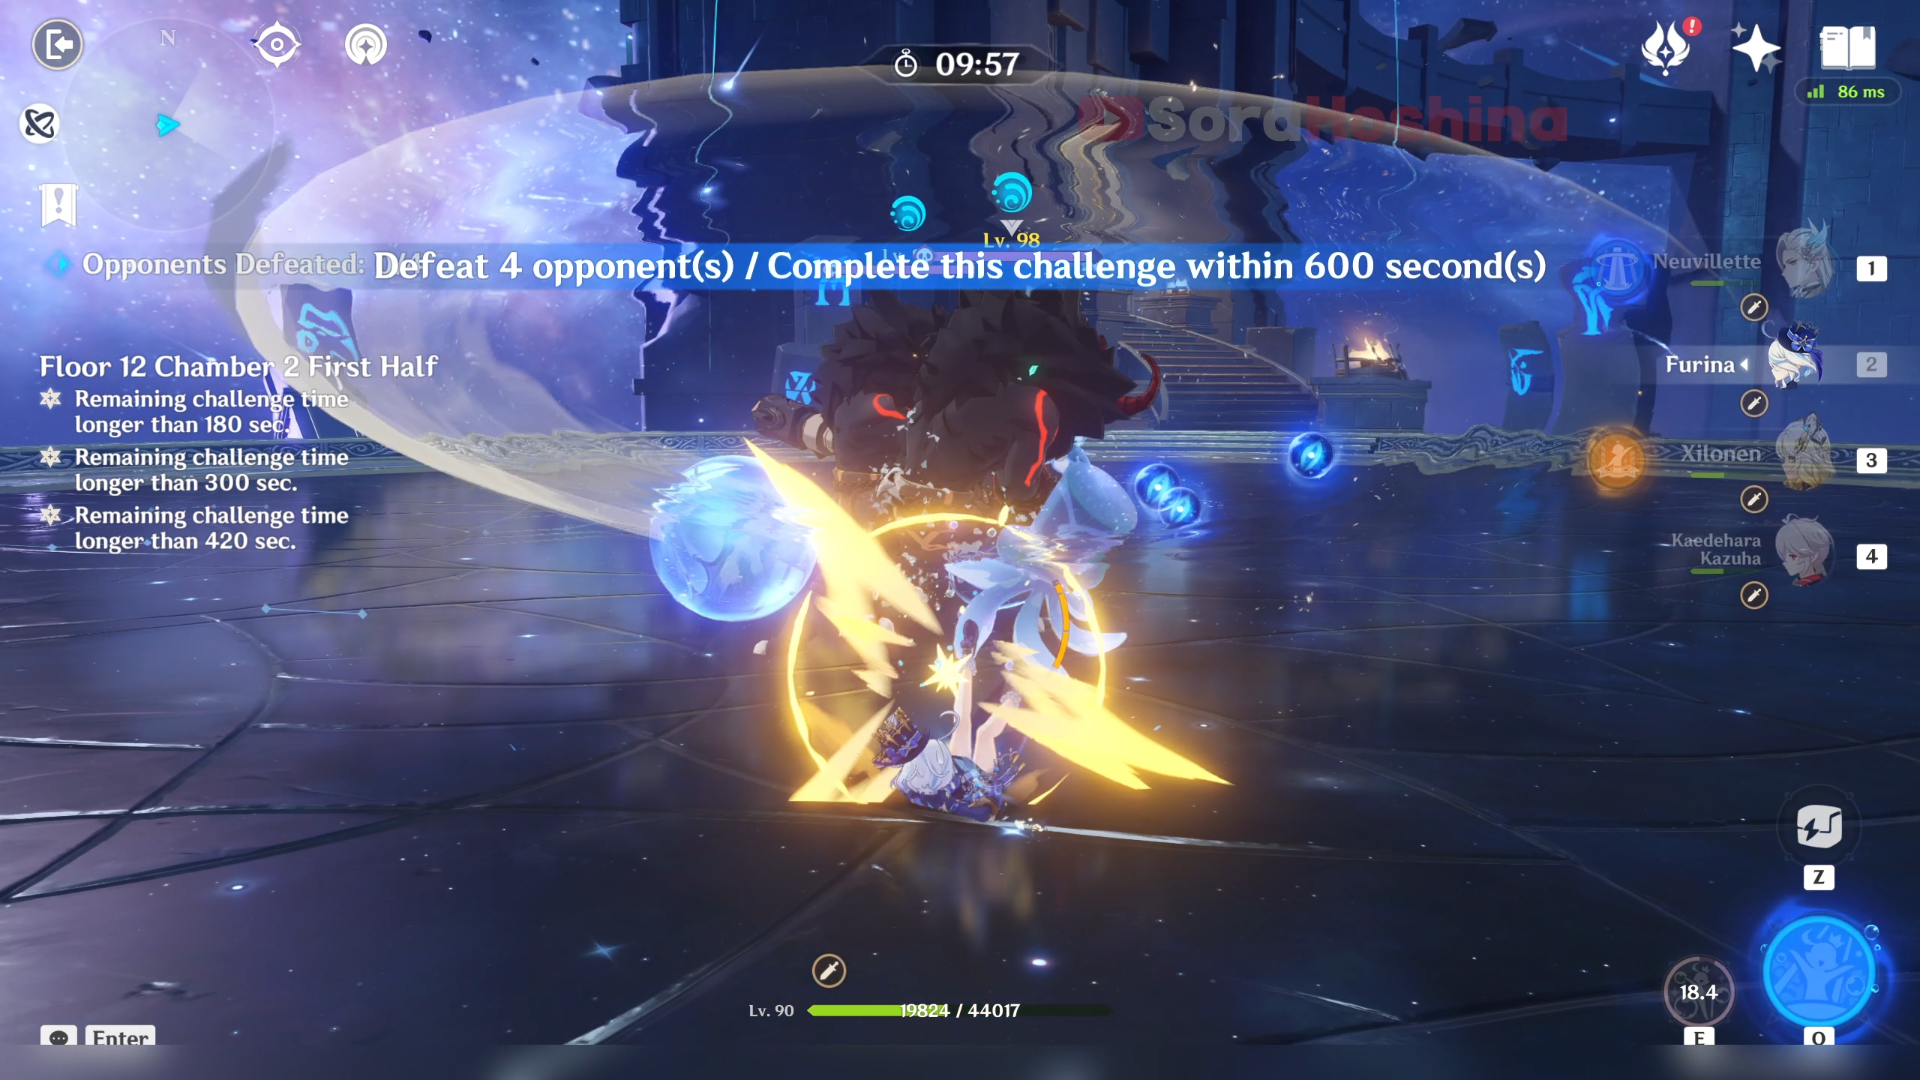
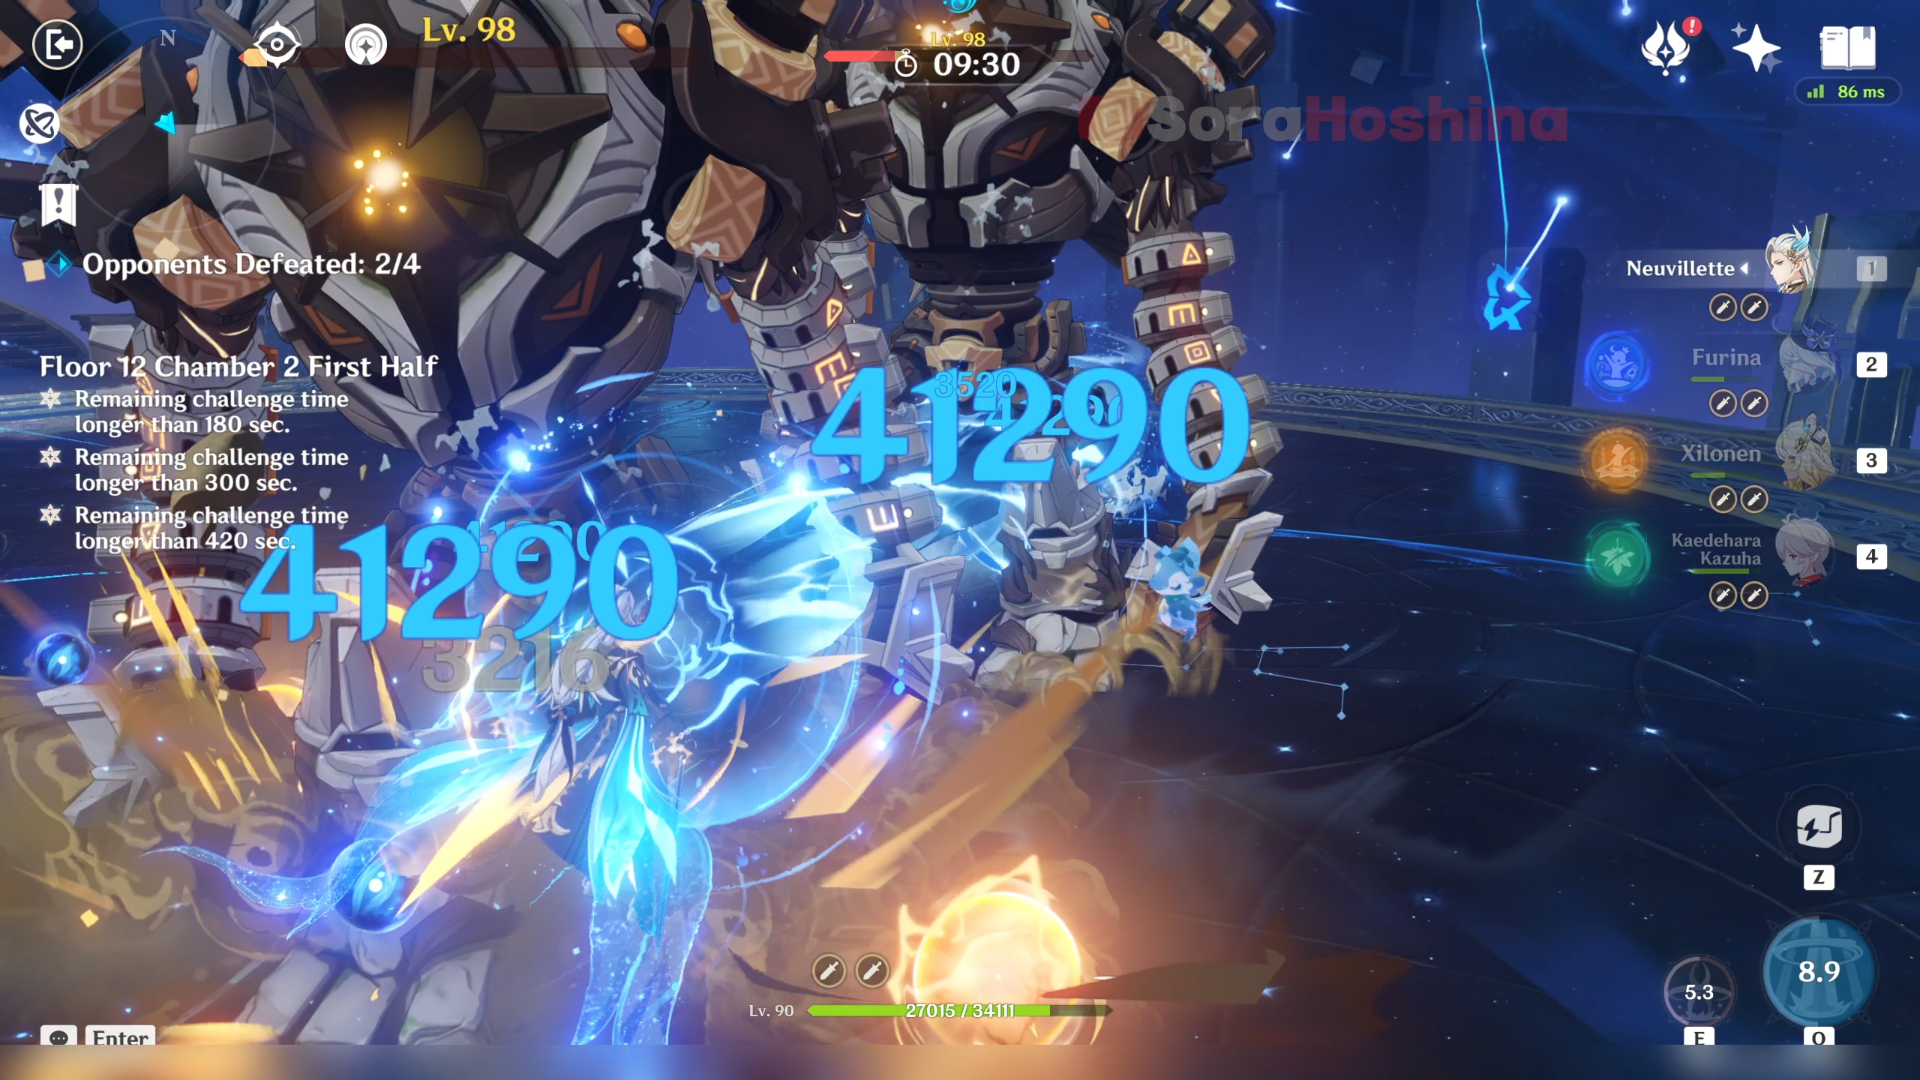
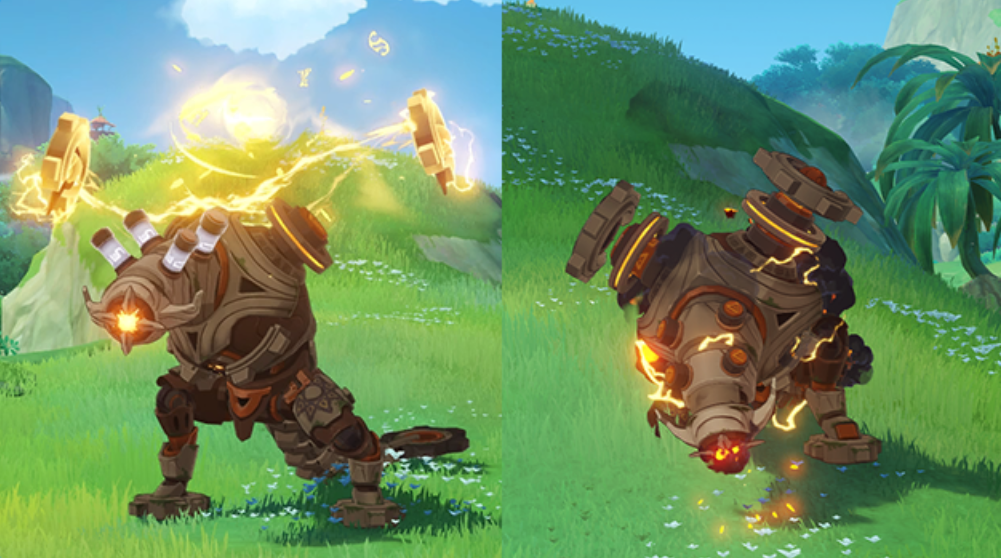
1st Wave: Veteran Arithmetic Enhancer Mek x1
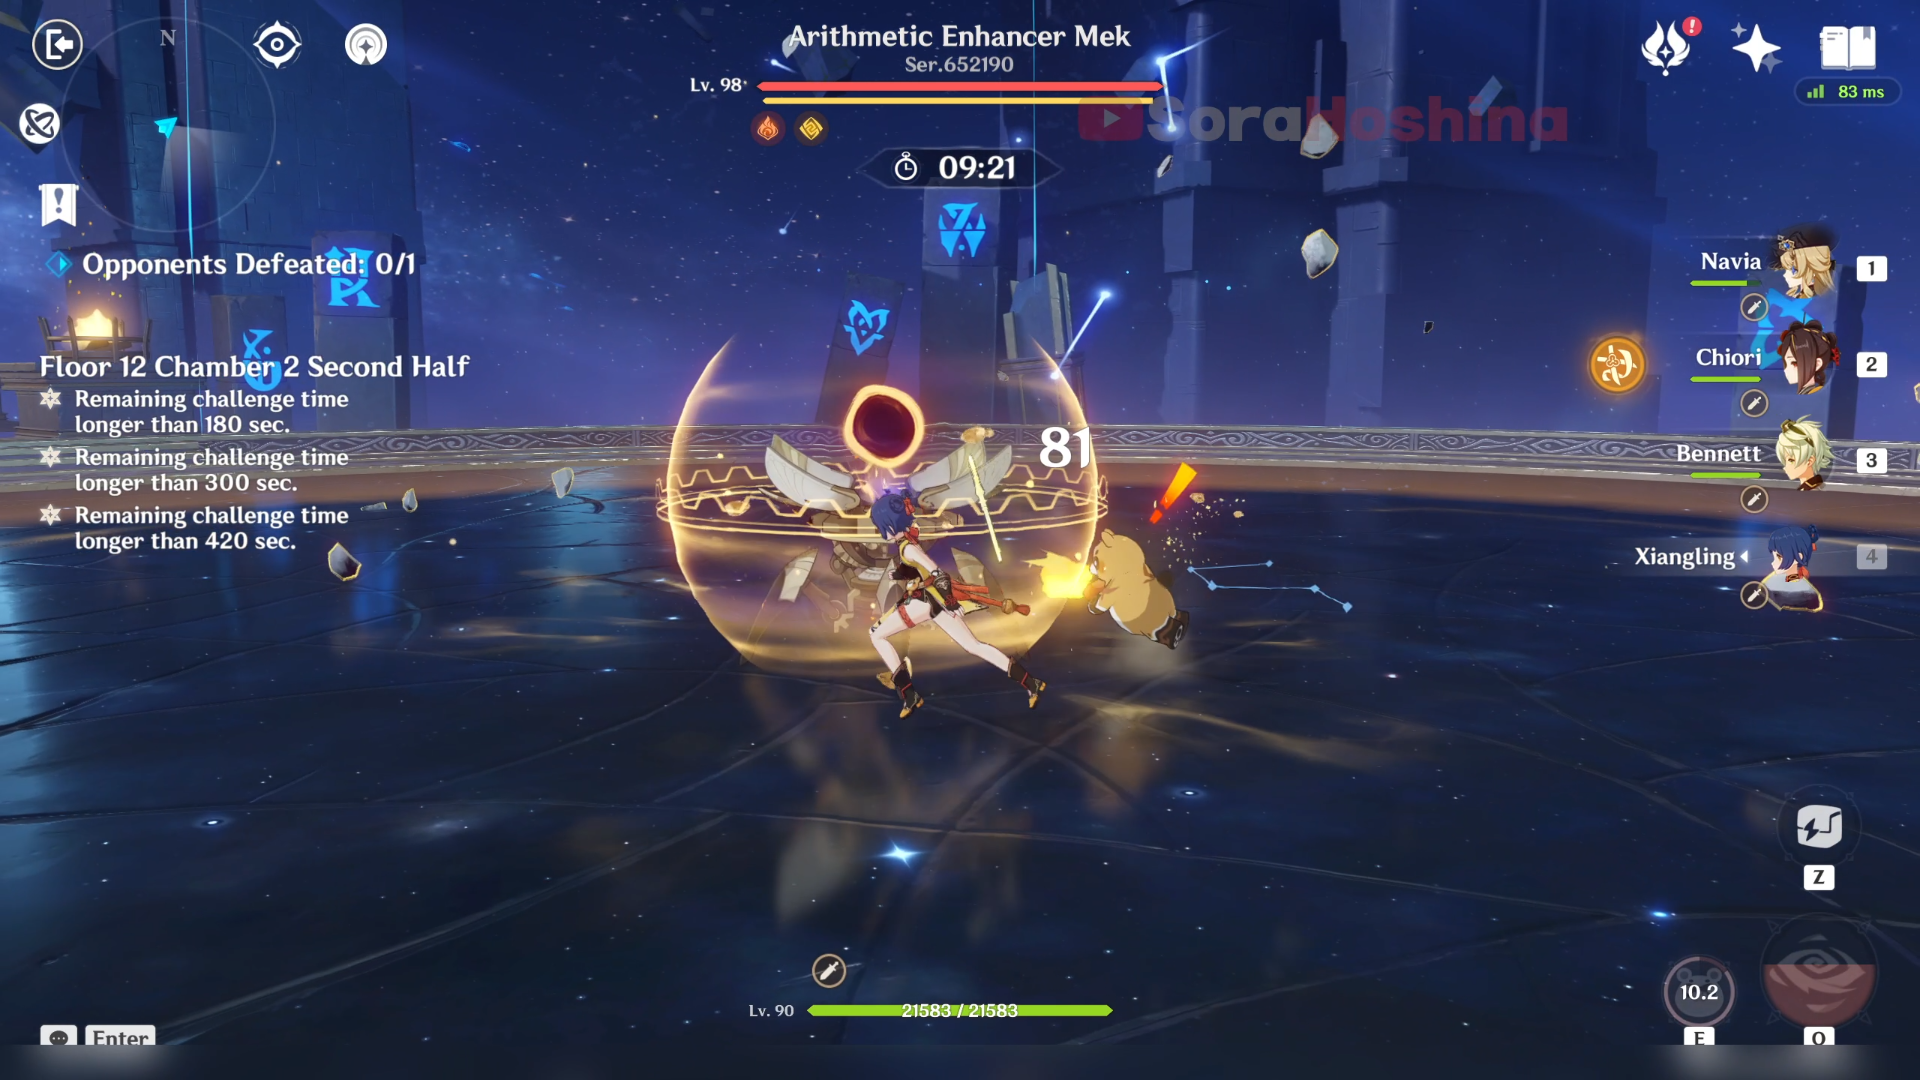
There is only one enemy in one wave; Veteran Arithmetic Enhancer Mek. This enemy is Ousia-type. Hitting it with the Pneuma while it is not shielded will cause it to lose Arkhe and become stunned for a short period of time. Unfortunately, this boss is shielded right from the start so you can't rely on the Arkhe attacks.
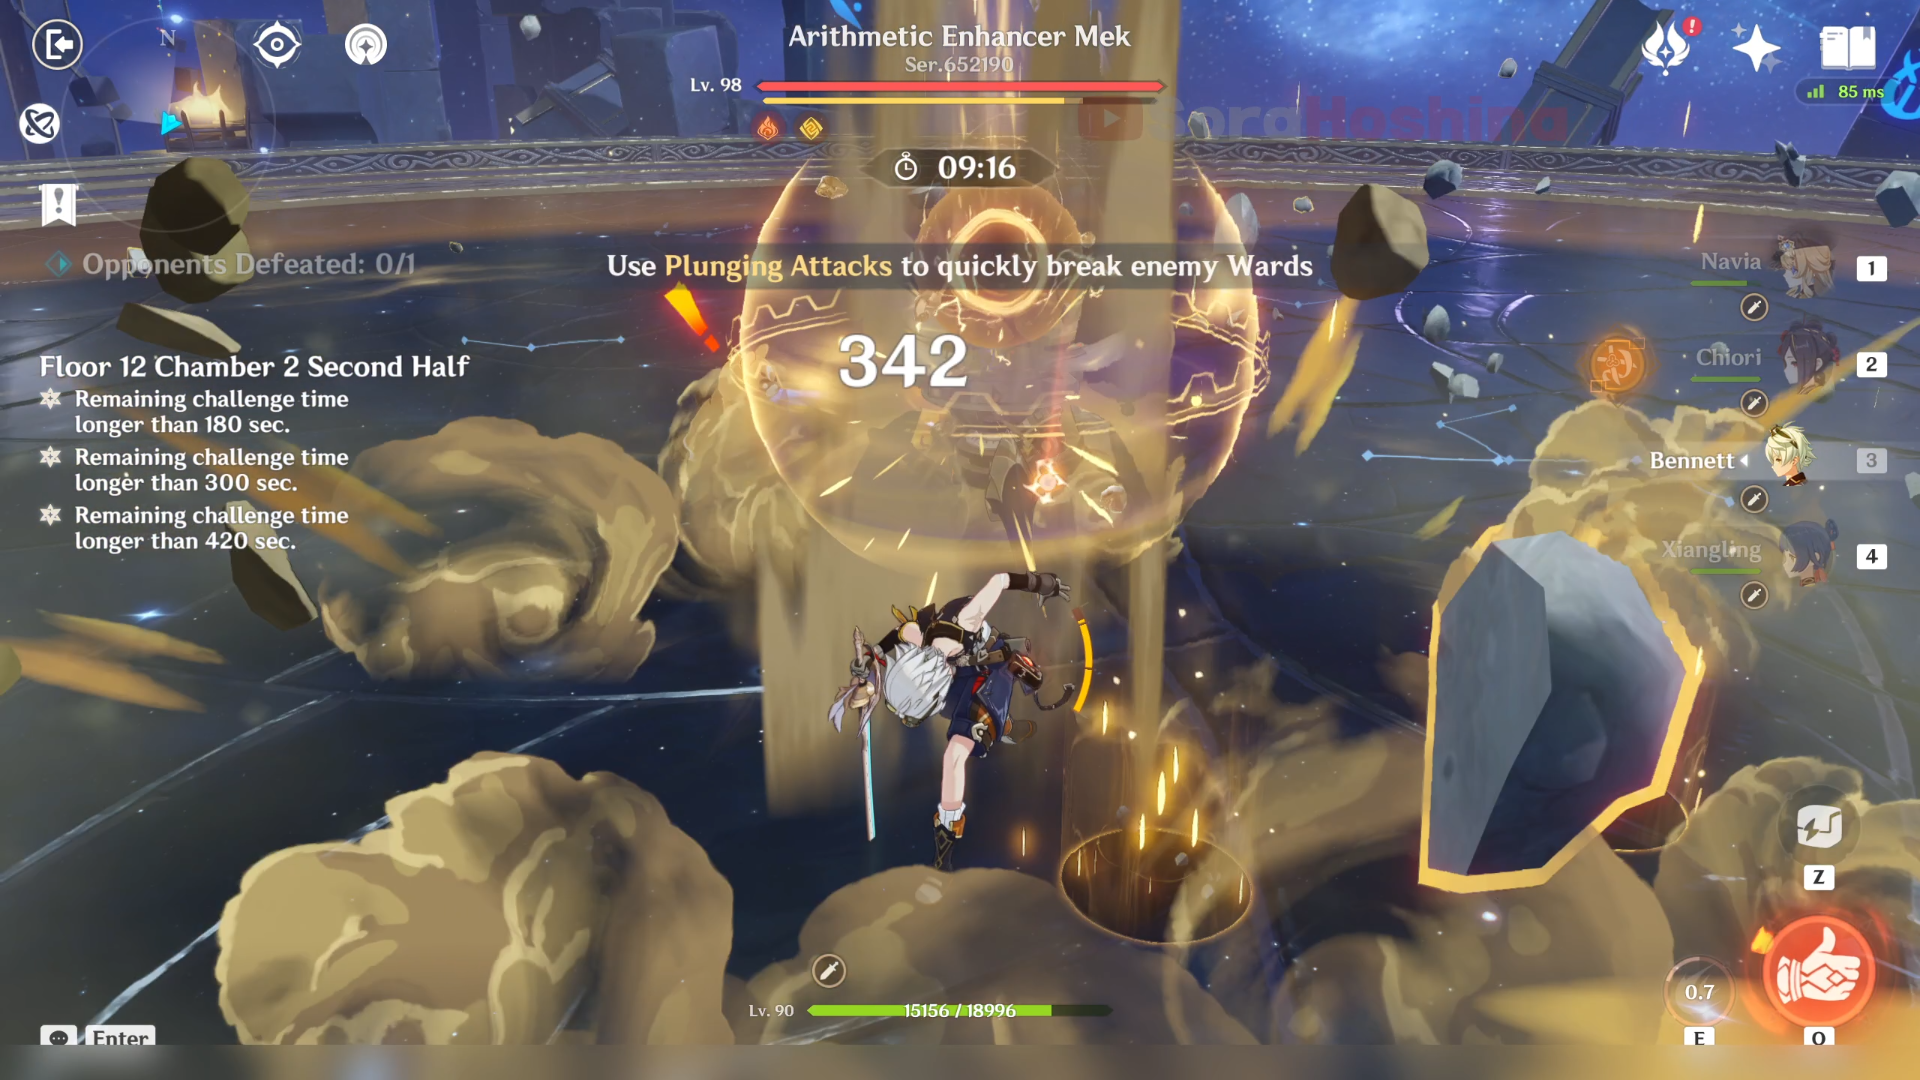
The Meka has a Geo shield that grants it a 200% increase to all RES while active (in Abyss, it's usually active right from the start) and protects it from being paralyzed caused by Pneuma attacks. The shield is weakest against Blunt Attacks (Claymore attacks, Plunging attacks, and most Geo DMG). When destroyed, the shield will be regenerated after some time.
Aside from that, this enemy will also have a Gravity Reduction Field around it while Arkhe is available, which greatly boosts the jumping height of characters within.
So the plan here is, when the challenge starts, use your character to jump high and do a plunging attack. This can be done until the Geo shield is only a few percent left. Then, right before the shield is completely broken and the boss is stunned, you can activate all Skill and Burst first so when it's truly stunned, you can continue to dish out huge damage.
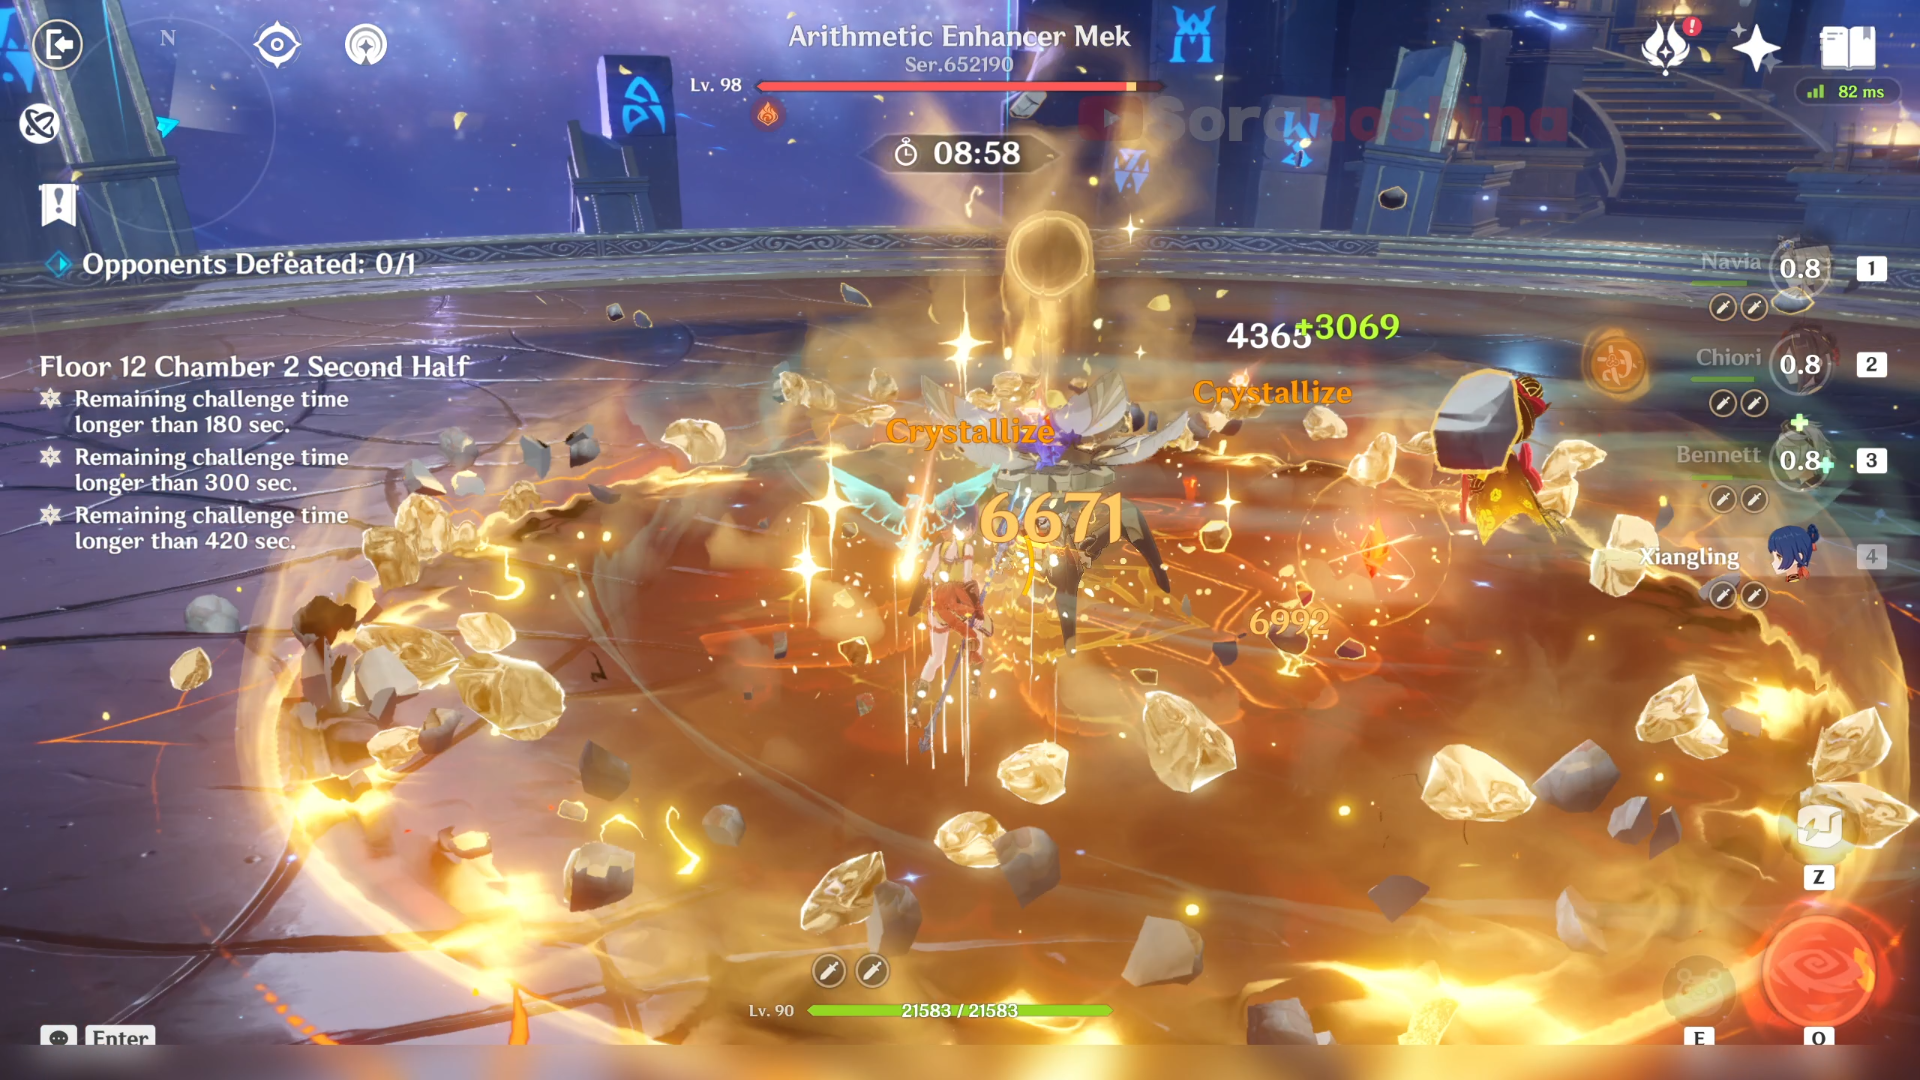
The worst attack it has is Gravity Ripple (not its official name) where it periodically sends out a shockwave that expands outwards and can be jumped over, dealing Geo DMG on hit. This attack cannot be dodged using sprint i-frames. For this one, jumping is really recommended unless you have a sturdy shield because it can deal some big damage.
For other attacks, I believe you can dodge it just fine. Focus on removing that Geo shield, and once it's gone, brute force it as fast as possible before it creates another shield.
Floor 12 Chamber 3
First Half

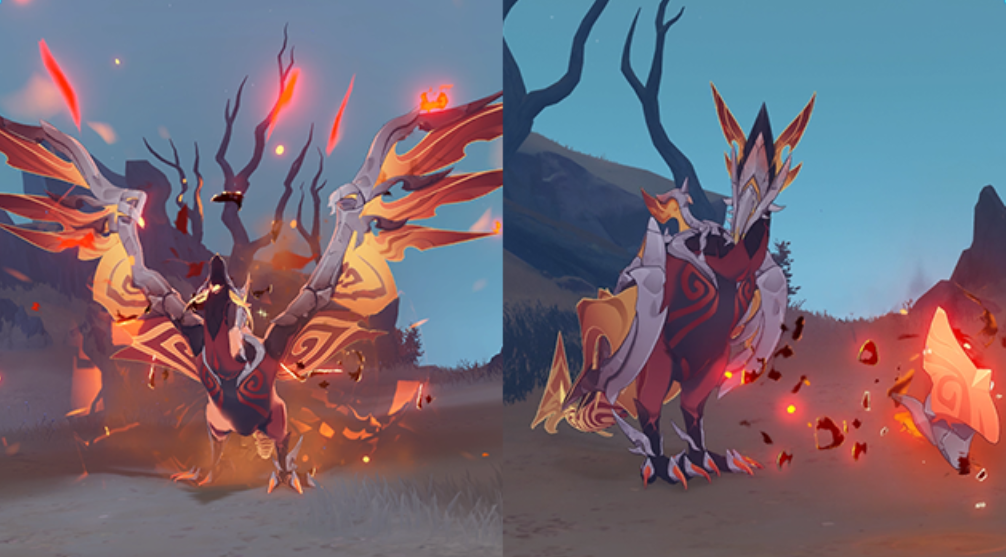
1st Wave: Ruin Drake: Earthguard x2
In the third wave, there are 2 Ruin Drakes that will either walk in your direction or back away from you. Now this is the enemy that you should aim for the weak point once it's exposed. At one point, this Ruin Drake will charge before scattering bombs into the air. This is the moment you want to attack its weak point with any suitable attacks (or Bow character's aimed shot).
If you fail to do so, after the bombs hit the ground, the Ruin Drake will gain 40% Resistance to the element it has received the most amount of damage from the beginning of the battle (you can see what elements it is from the color of the bombs). You don't want this to happen because of the limited amount of time left so make sure to hit the weakness point.
Second Half
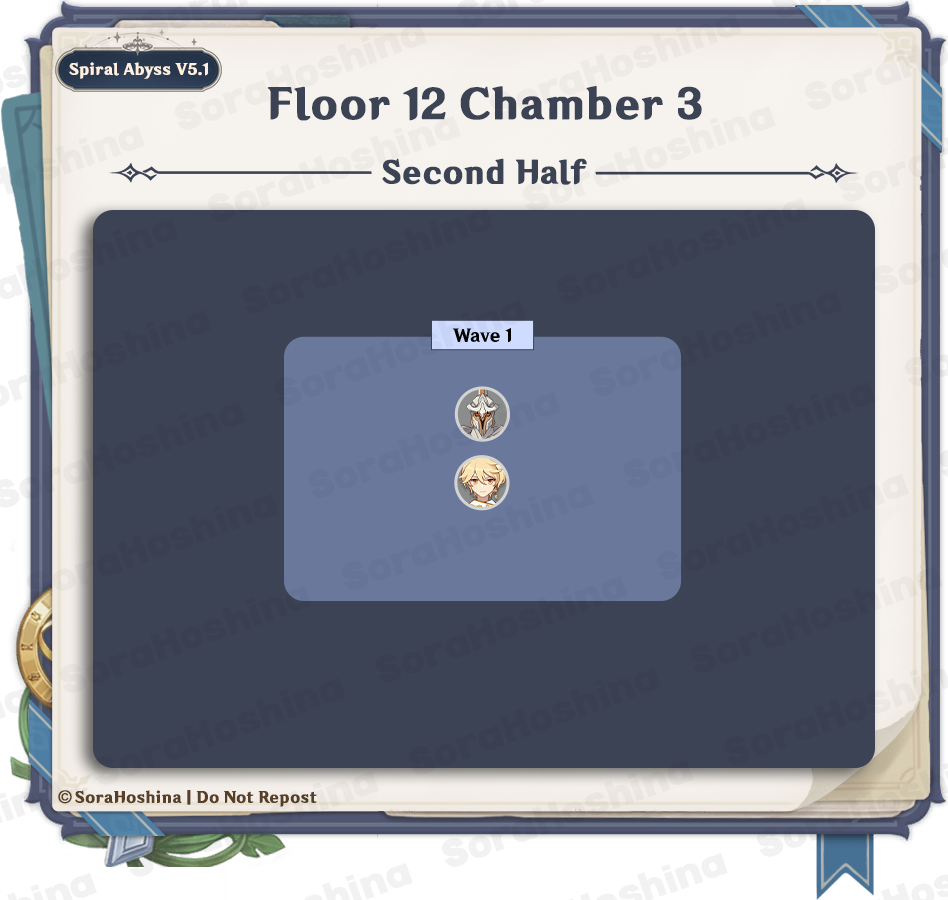
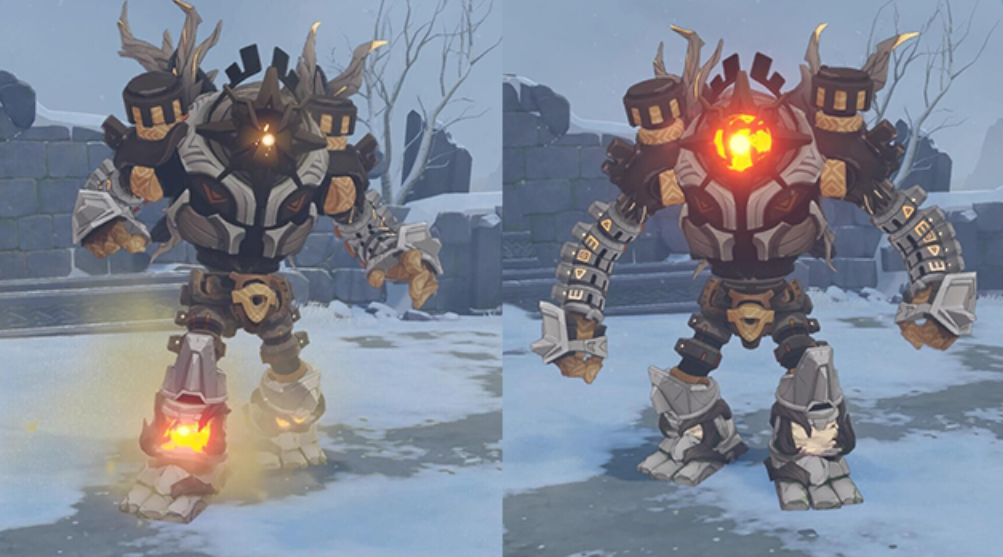
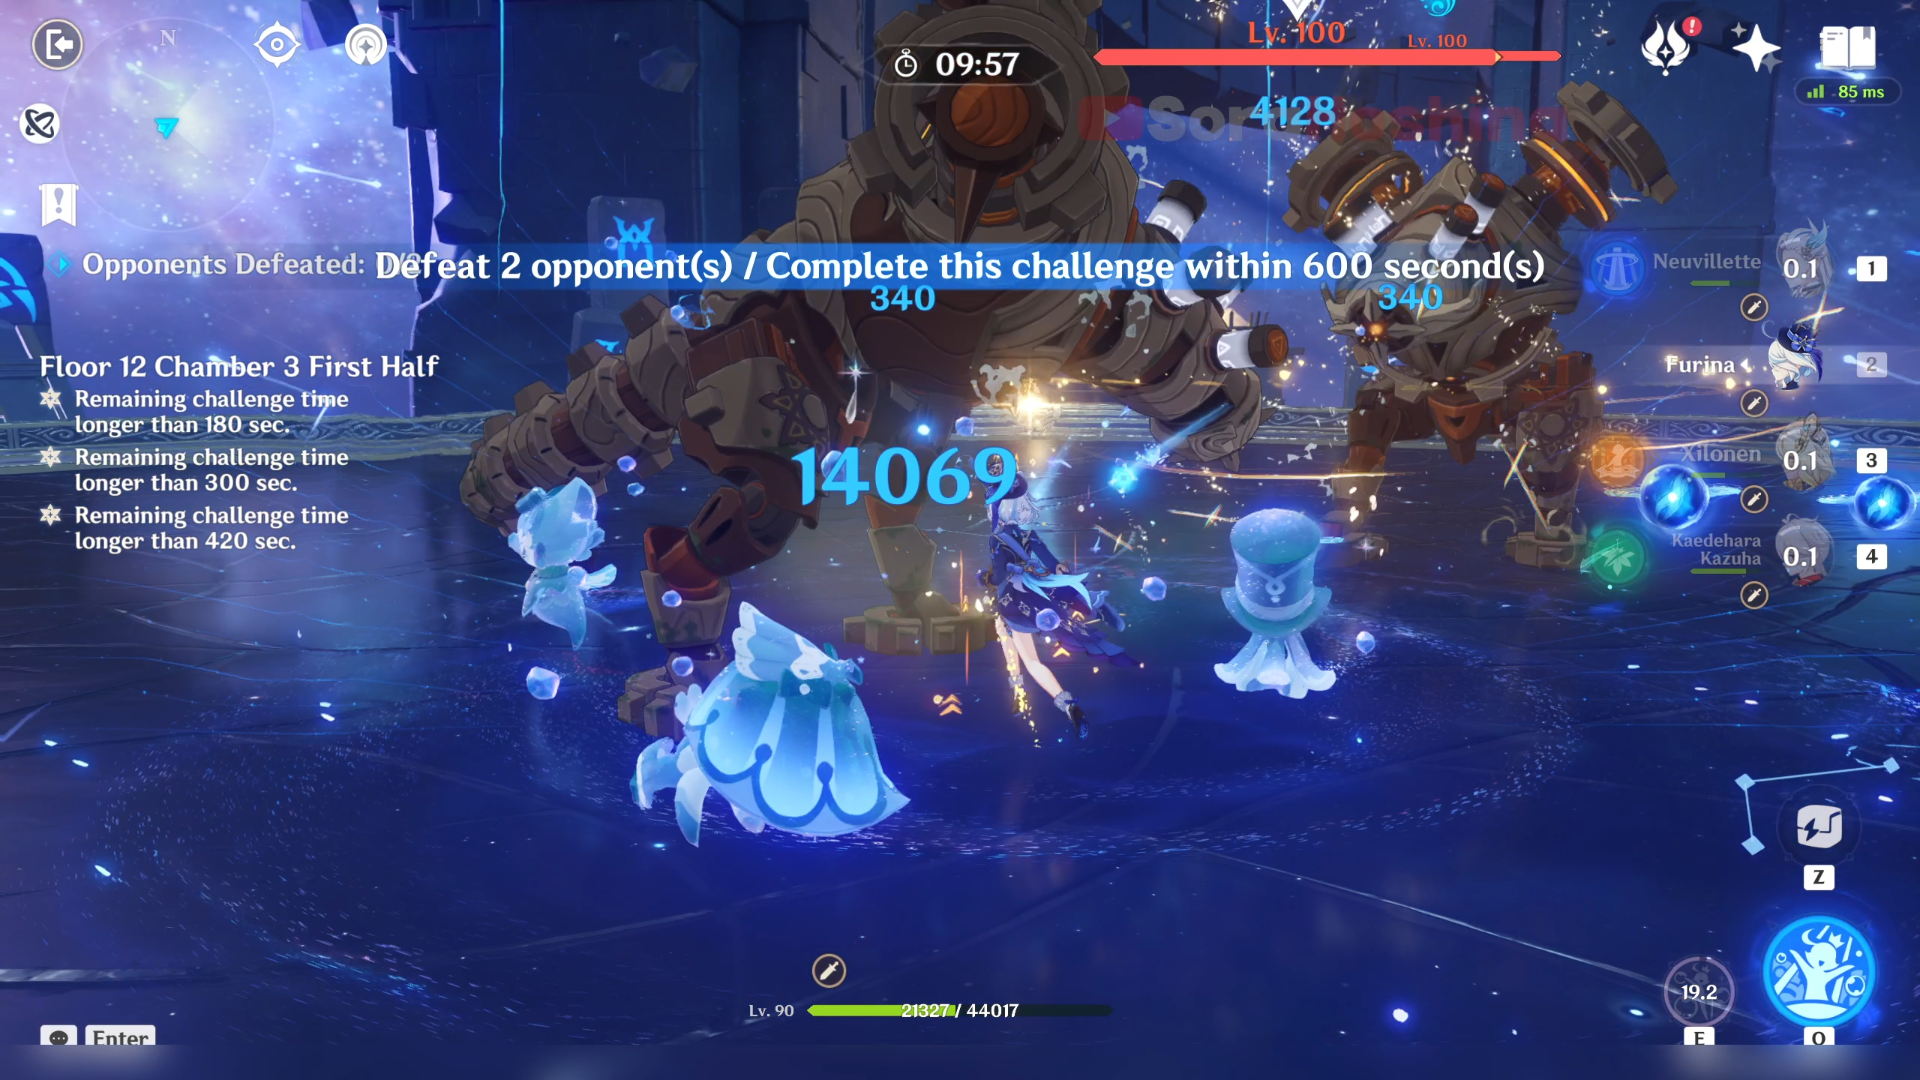
1st Wave: Legatus Golem x1

The first and only wave here is the new boss; Legatus Golem. From the start, it will has a Geo shield which will increase RES against all elements including Physical by 70% so you want to remove that shield as fast as you can. The shield is weakest against Blunt Attacks (Claymore attacks, Plunging attacks, and most Geo DMG). Overload reactions also work to deplete the shield's HP.

If the shield is destroyed, the Legatus Golem will become paralyzed for ~12 seconds before regaining its shield. While paralyzed, its RES to all DMG decreases by 80%.
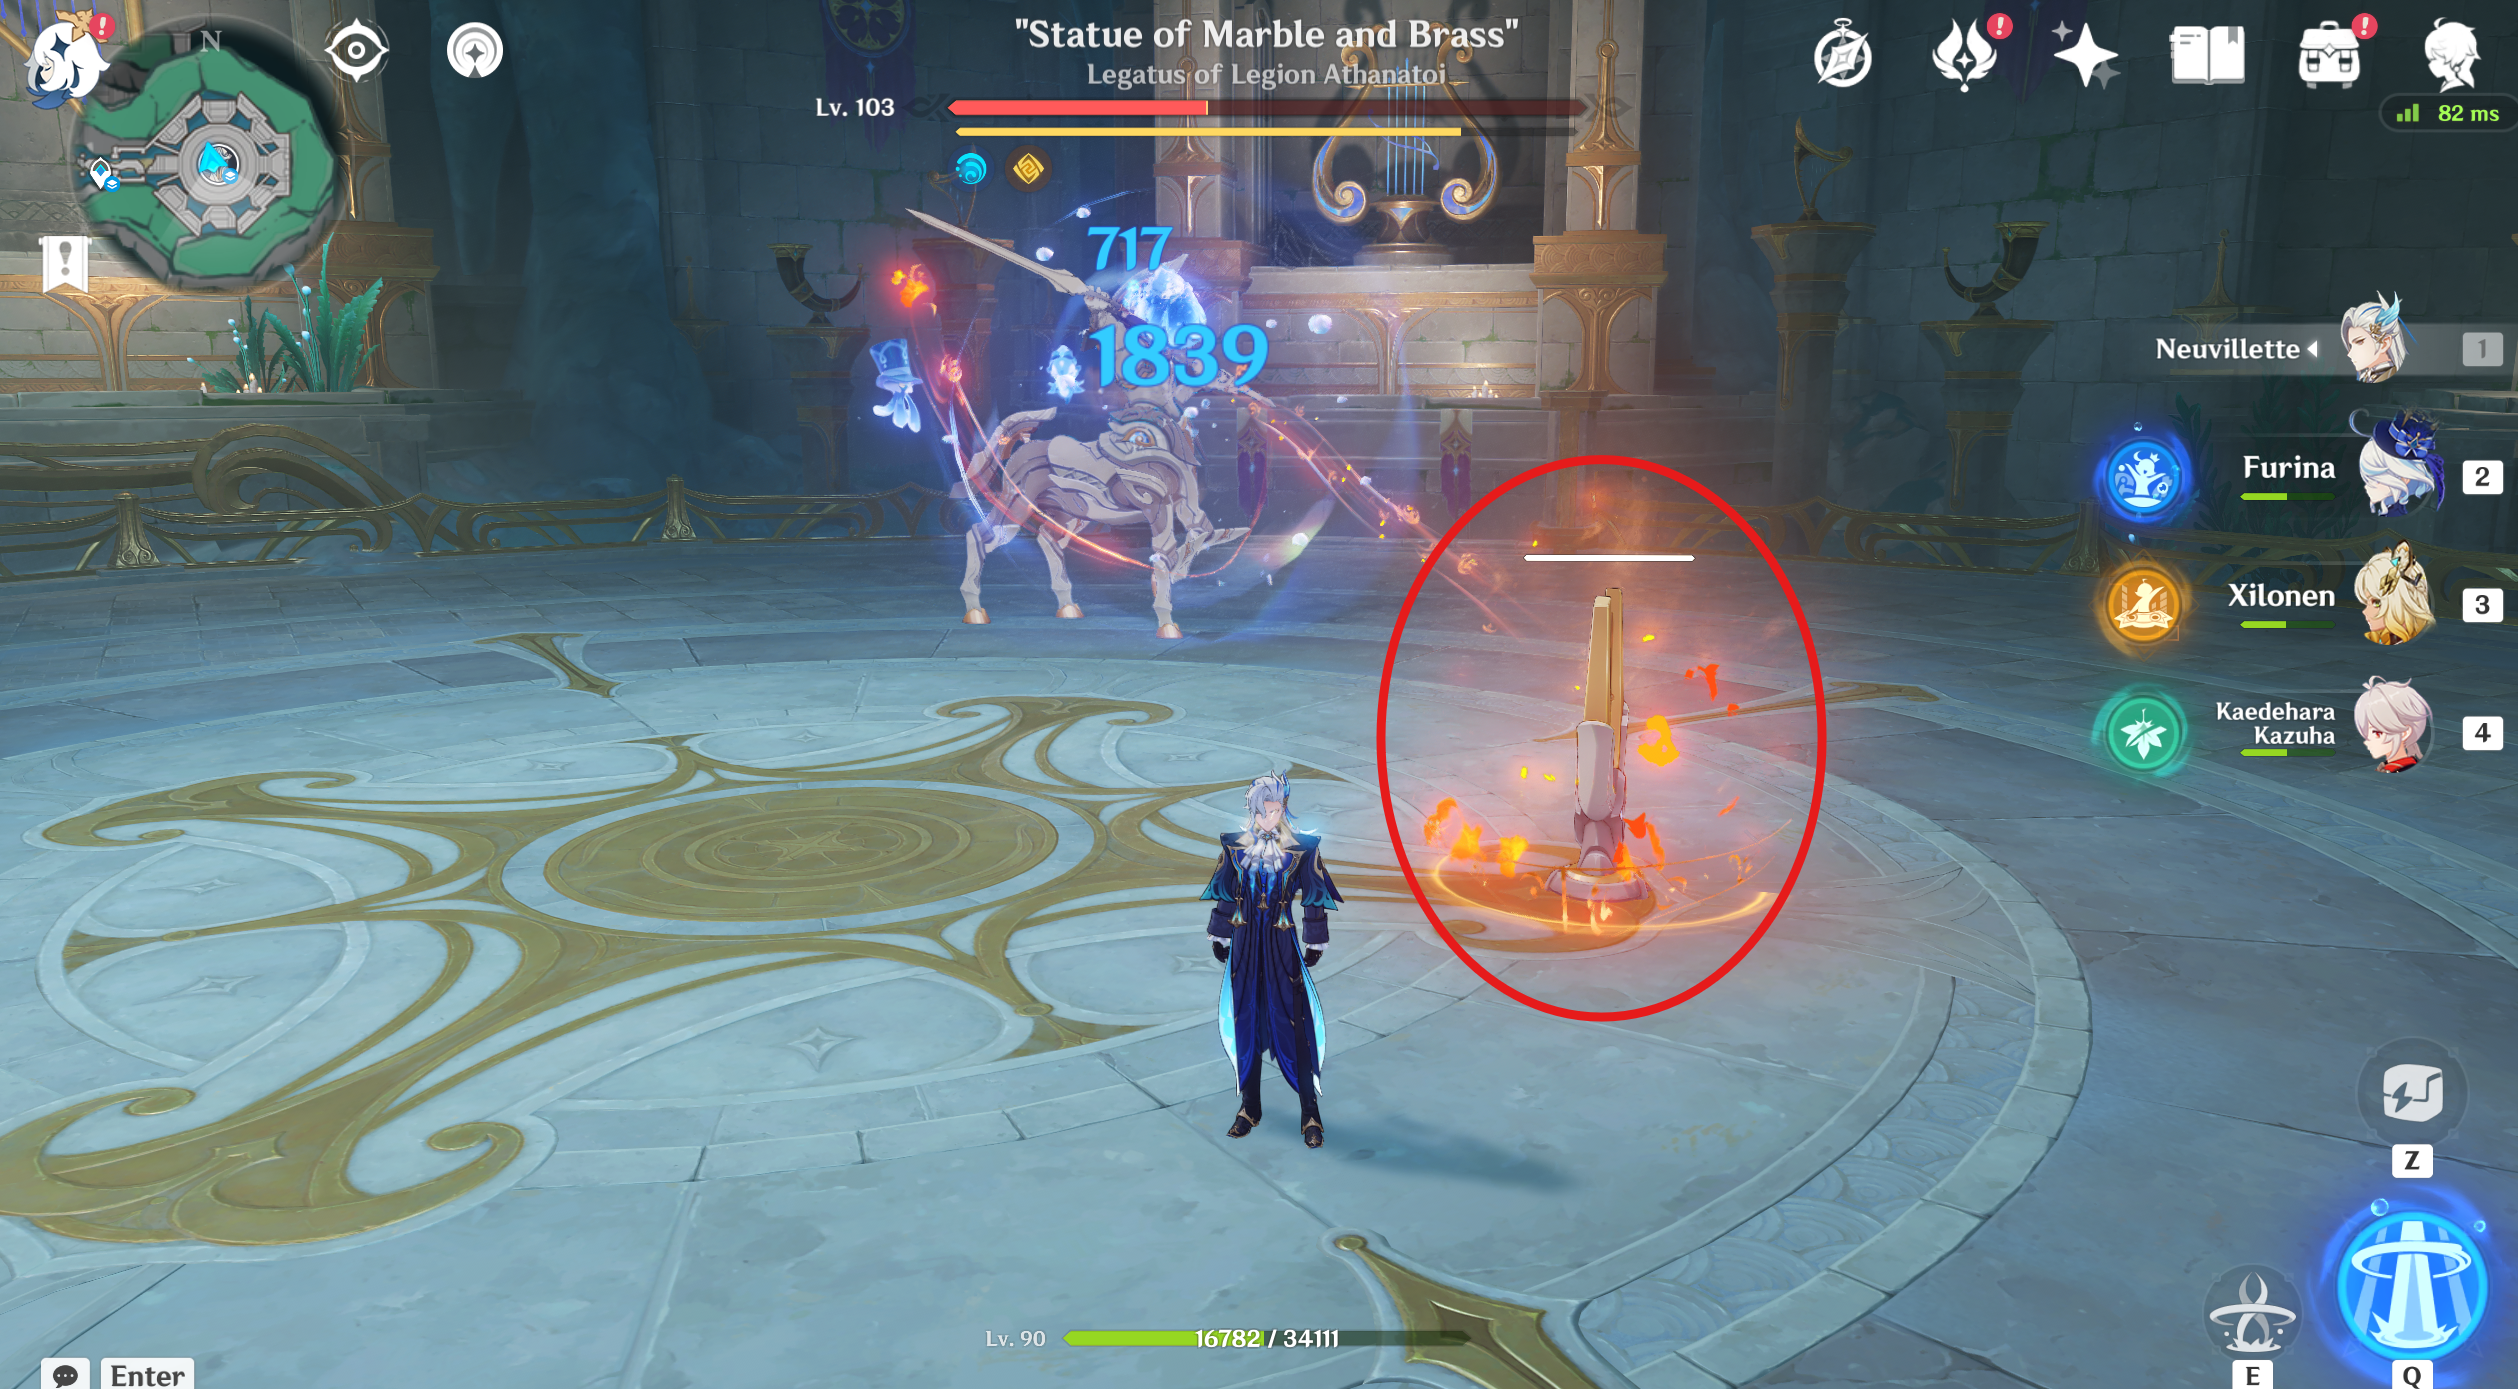
Another method to destroy that shield fast is when the Golem summon a resonator and charges. Destroy that resonator and it will also delete a chunk of the Golem's shield. If the resonator is not destroyed by the time the Golem stops charging, it will explode to deal damage. Other than this, most of the Golem's attacks are pretty boring so I believe you won't have much trouble with it except with the ridiculous increased RES when the shield is up.