
Table of Contents [Hide]
Floor 11 is the start of a challenge in Spiral Abyss for Genshin Impact players. The difficulty spikes up a little bit from the previous floor, in addition to the ever-changing roster of enemies in each version. In version 5.2, you will encounter only a few normal bosses here but there are lots of mobs and tons of waves. Follow this guide to know more about enemies' lineup, their weaknesses, and how to complete the entire chamber on Floor 11.
Blessing of the Abyssal Moon
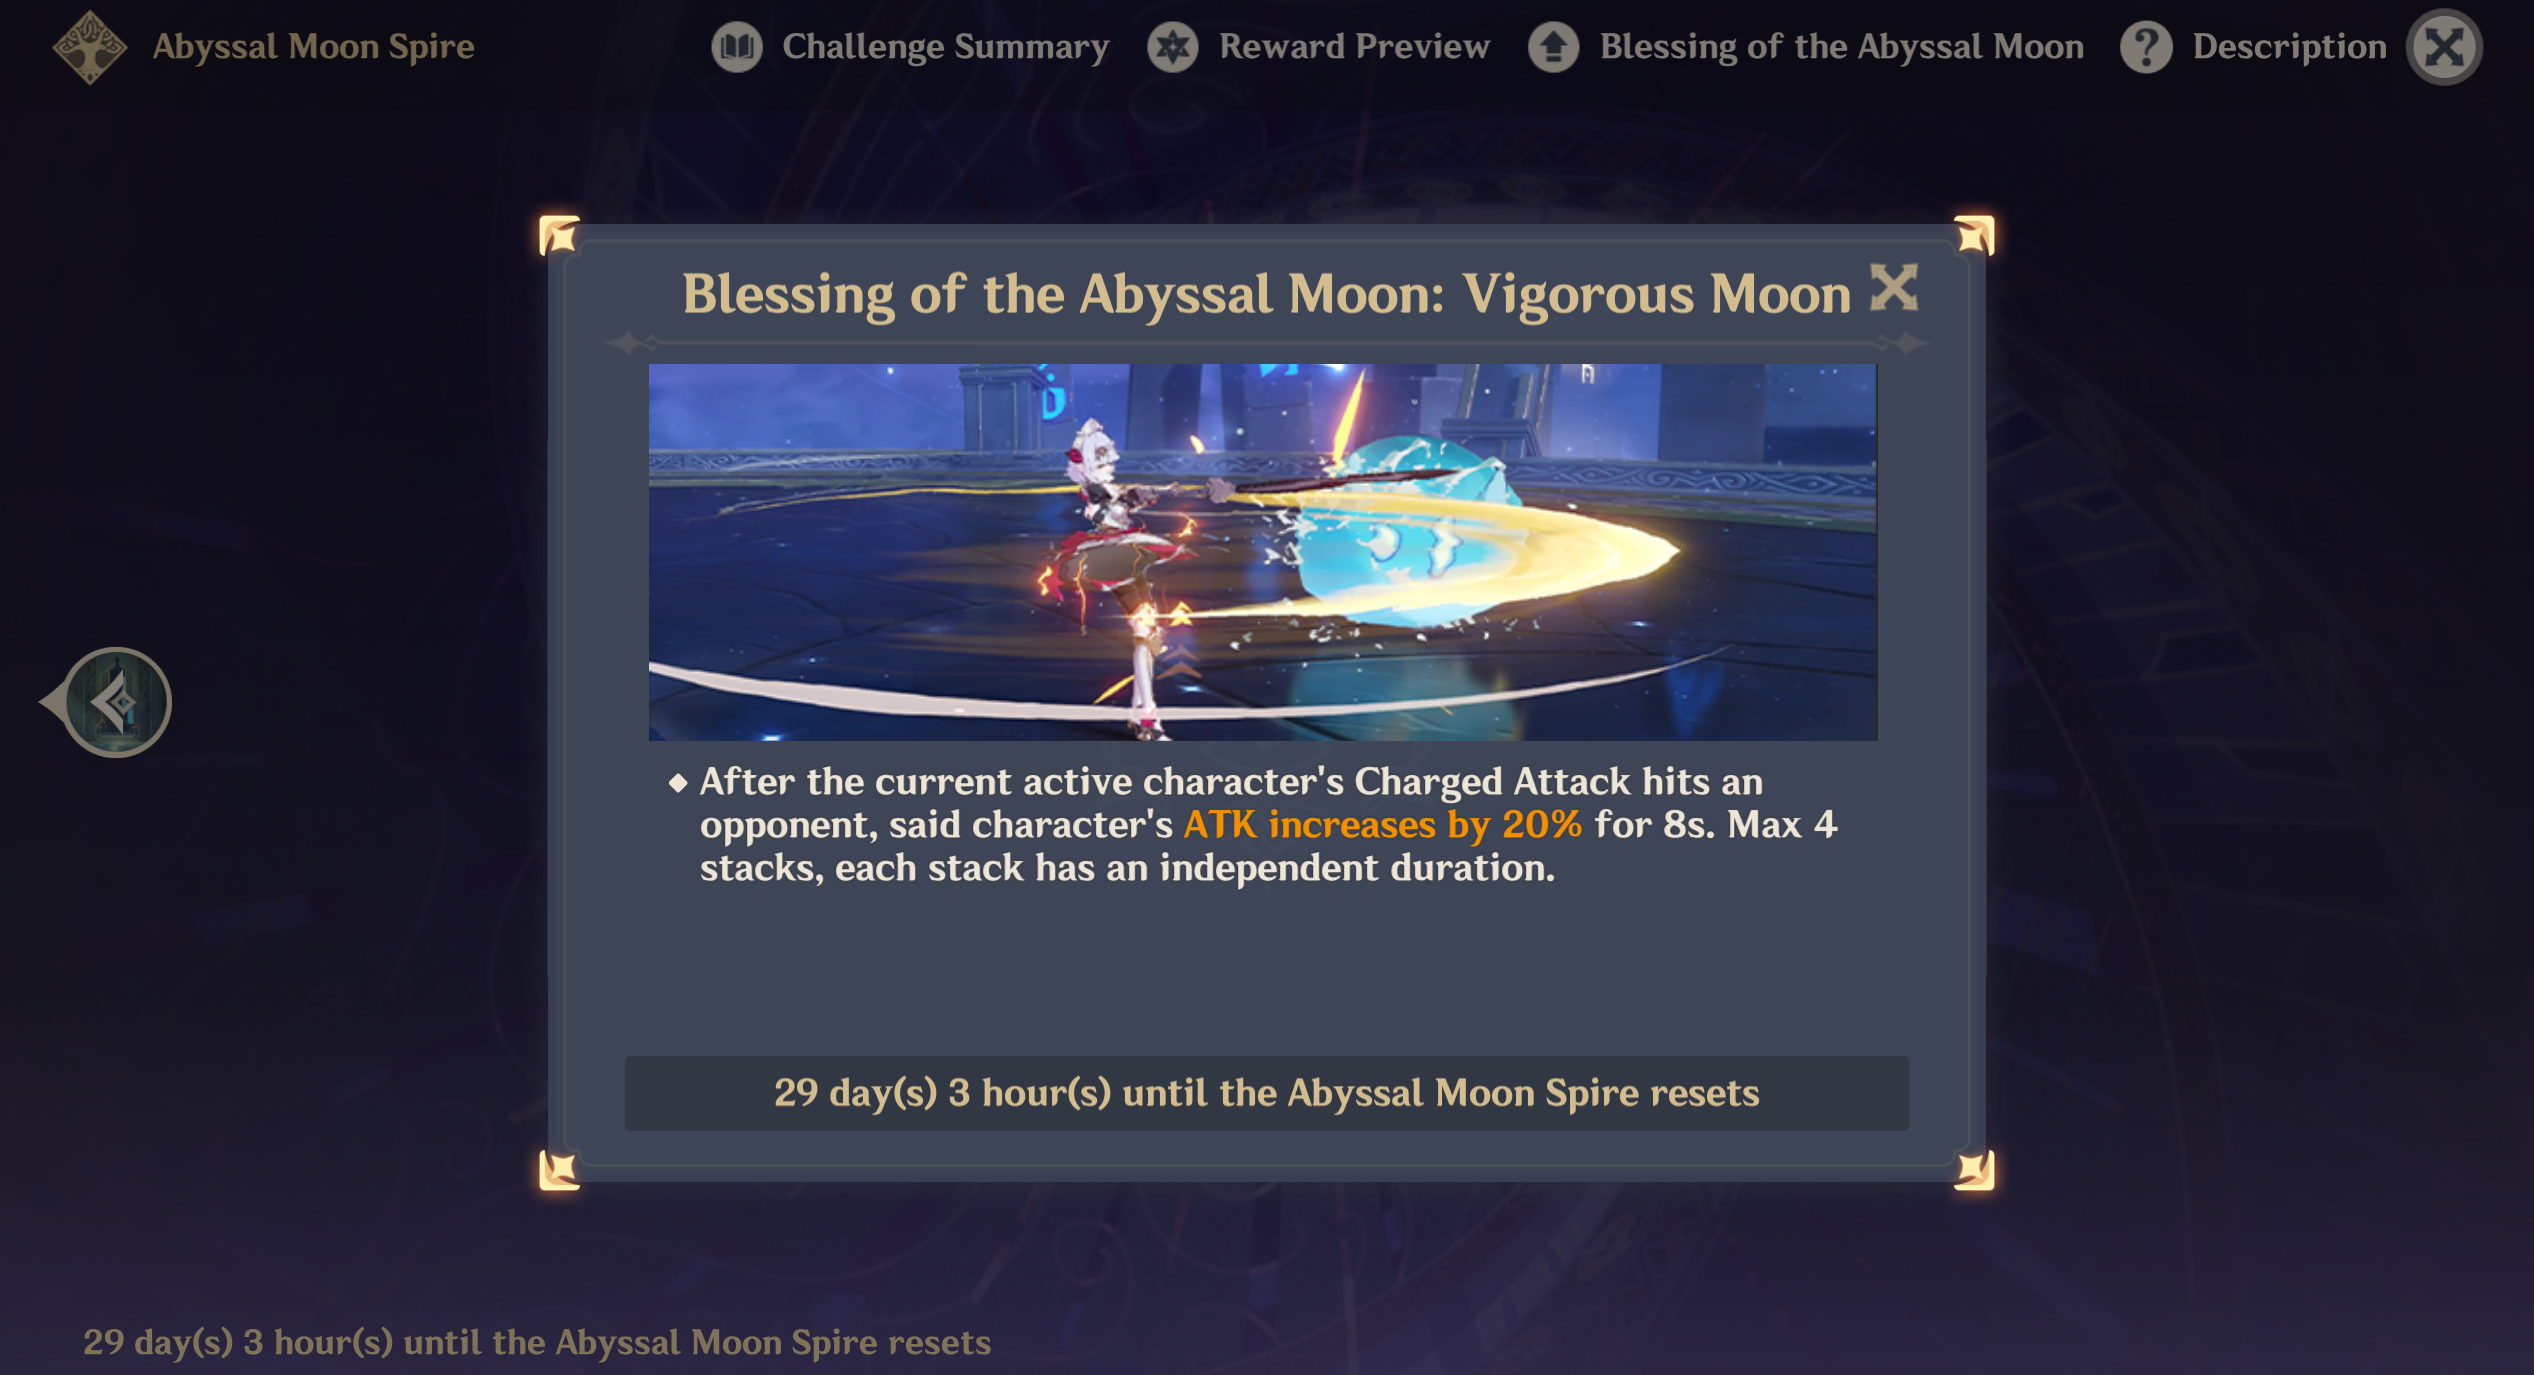
Reminder: Blessing of the Abyssal Moon will change every refresh cycle and may not be updated here. But the enemies list and strategy will remain the same.
Vigorous Moon
After the current active character's Charged Attack hits an opponent, said character's ATK increases by 20% for 8s. Max 4 stacks, each stack has an independent duration.
Ley Line Disorder
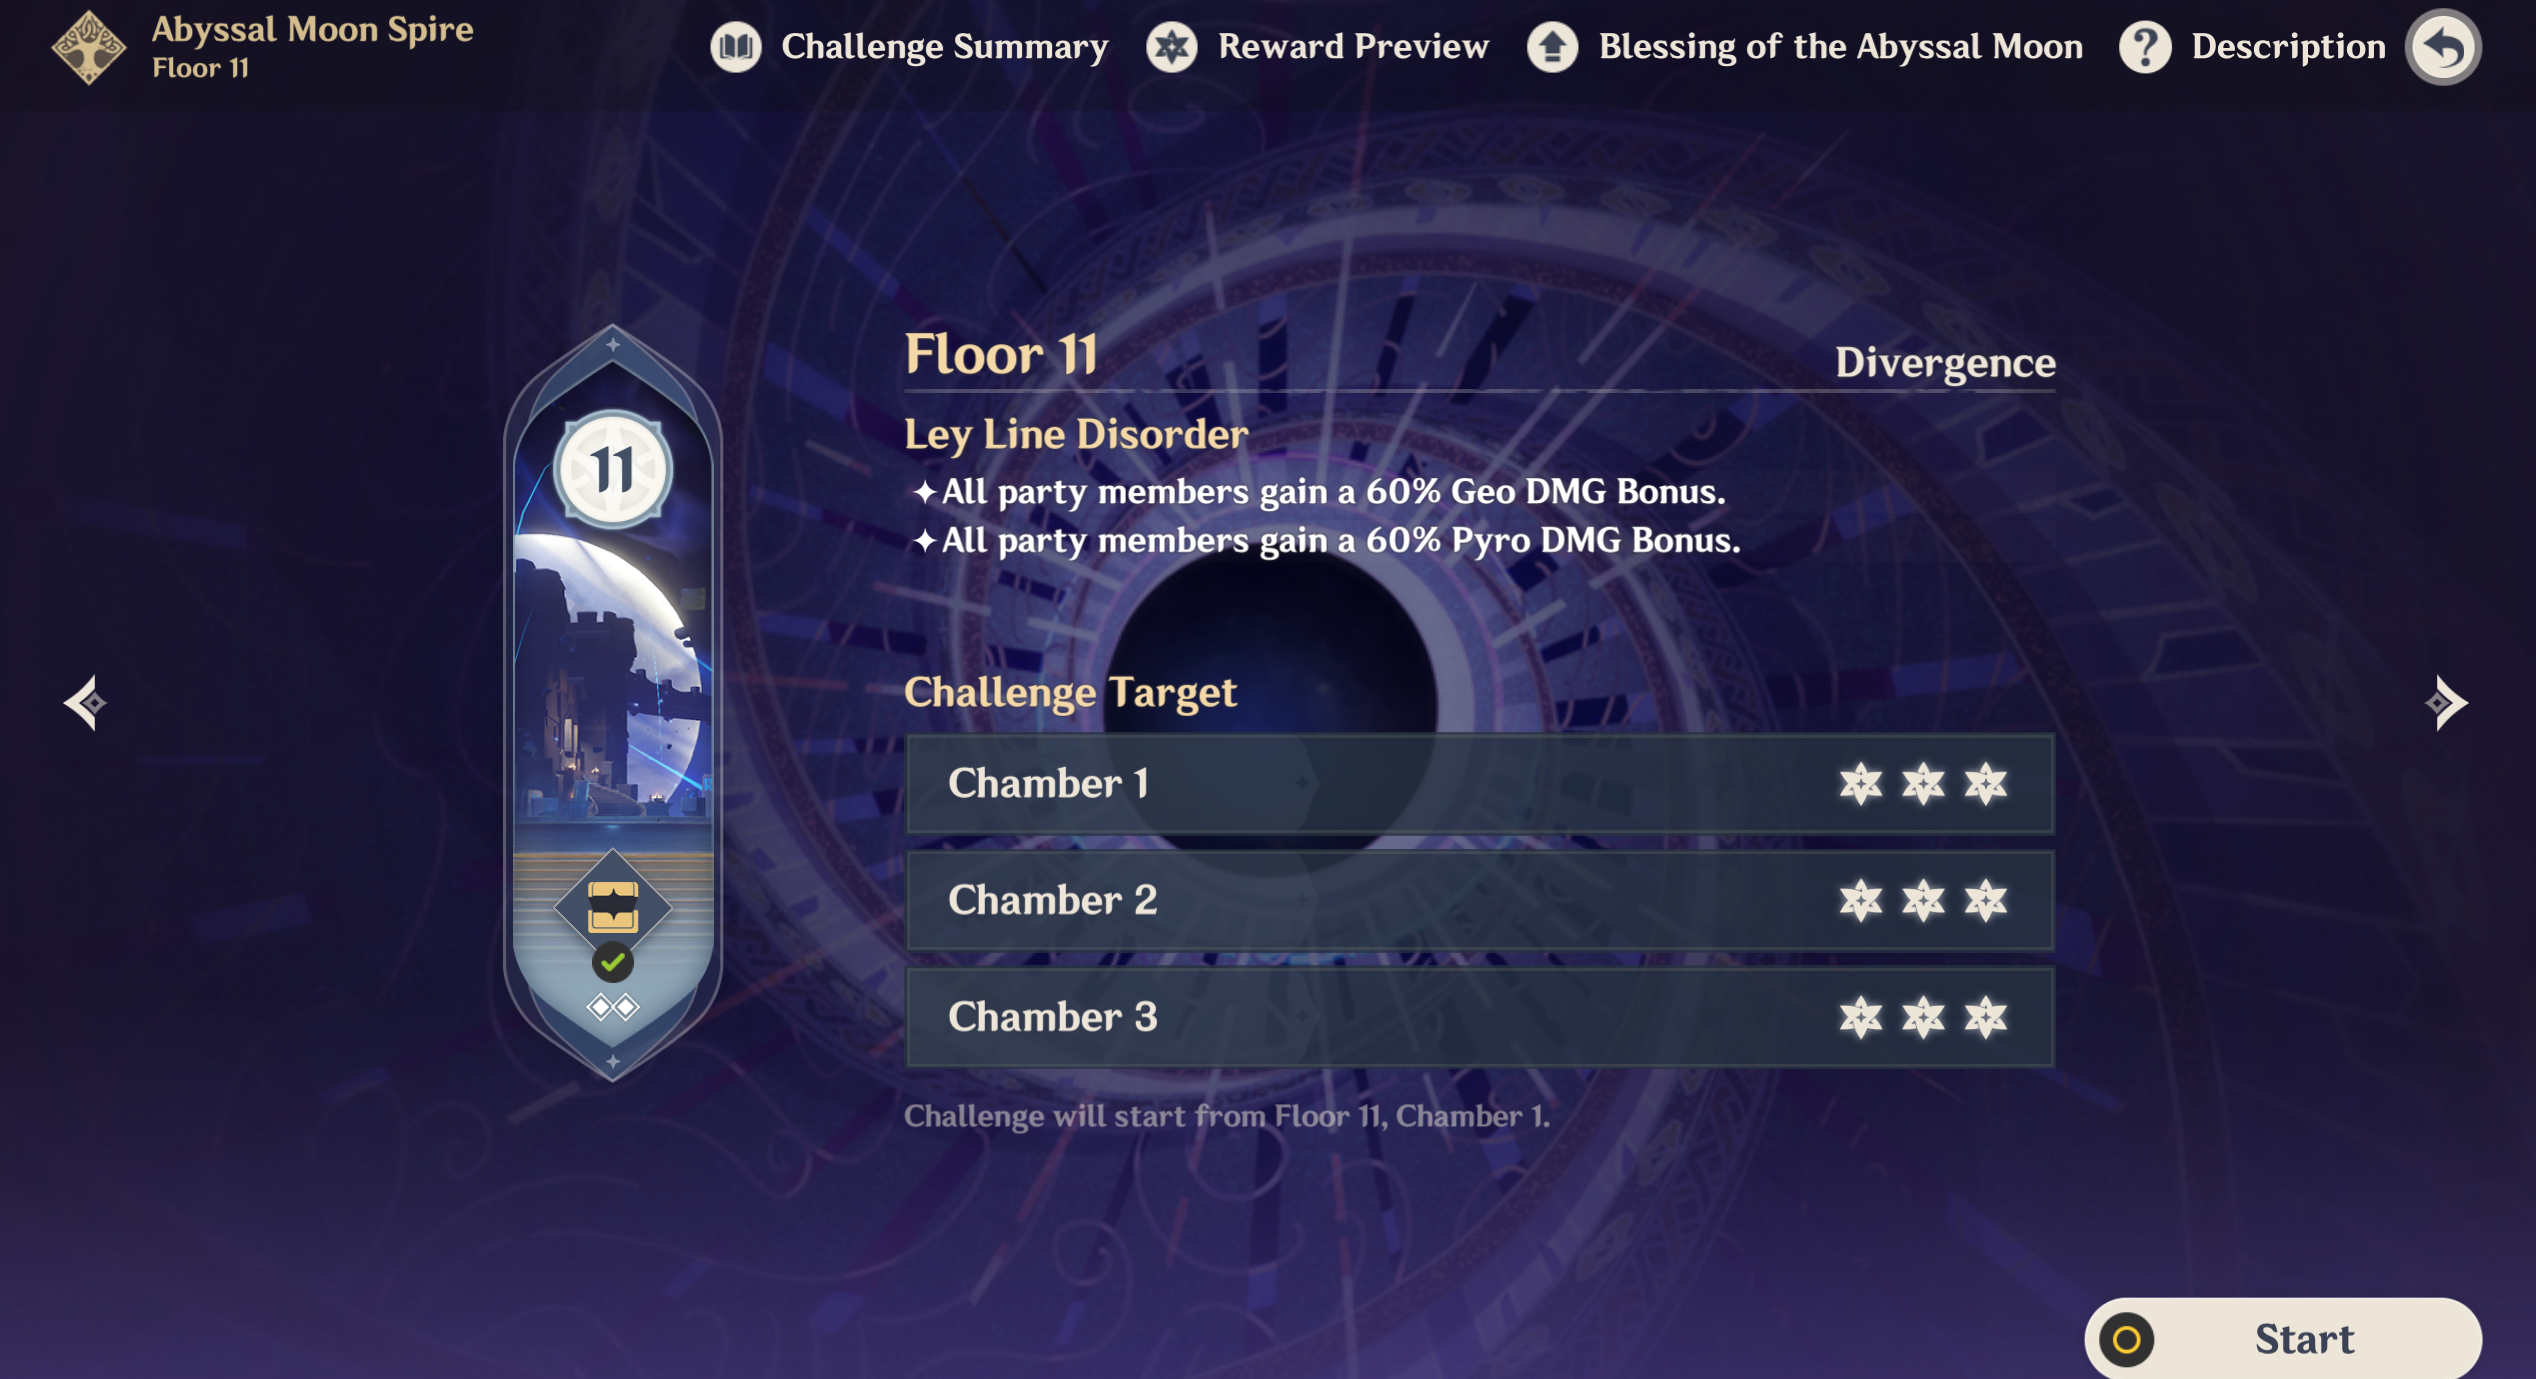
- All party members gain a 60% Geo DMG Bonus
- All party members gain a 60% Pyro DMG Bonus
Team Recommendations
There are NO Leyline Monolith stages so you don't have to worry about CC or grouping enemies at one place and blocking them from hitting the monolith.
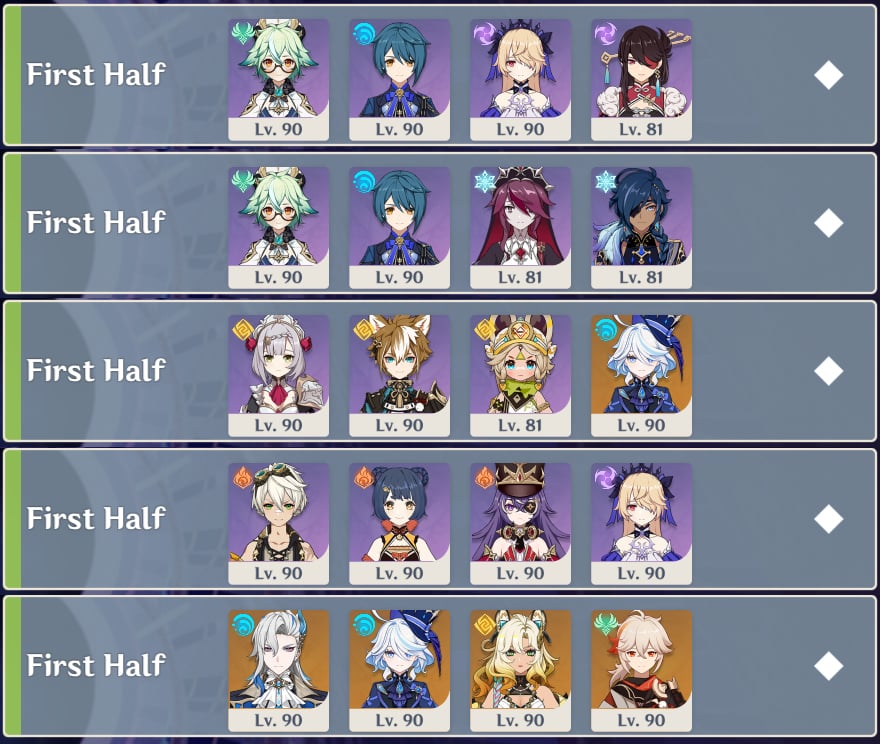
Team Recommendations for the First Half
| The recommended elements for the First Half |  Pyro & All except those mentioned below ➥ These elements are okay for all enemies, and maybe you want to bring a single Anemo CC because although there are at most 2 enemies per wave, you can gather them easily with CC rather than chasing after one by one.  Geo ➥ Special mention to Geo because the Geo Wayob in Chamber 3 has high Geo RES. But since the Leyline Disorder give extra Geo DMG, you can still bring them. |
| The not recommended elements for the First Half |  Physical ➥ Physical DPS is not recommended because there are Ruin enemies in Chamber 2 and 3. And you know they have high RES to Physical attacks. |
Example:
(1) Taser Team: Sucrose + Xingqiu + Fischl + Beidou
(2) Freeze Team: Sucrose + Xingqiu + Rosaria + Kaeya/Diona
(3) Geo Team: Noelle + Gorou + Kachina/Chiori + Furina
(4) Overload Team: Bennett + Xiangling + Fischl + Chevreuse
(5) Hypercarry Team: Neuvillette + Furina + Xilonen + Kazuha
You can find more lineups in the official HoYoLAB Lineup Simulator here.
Team Recommendations for the Second Half
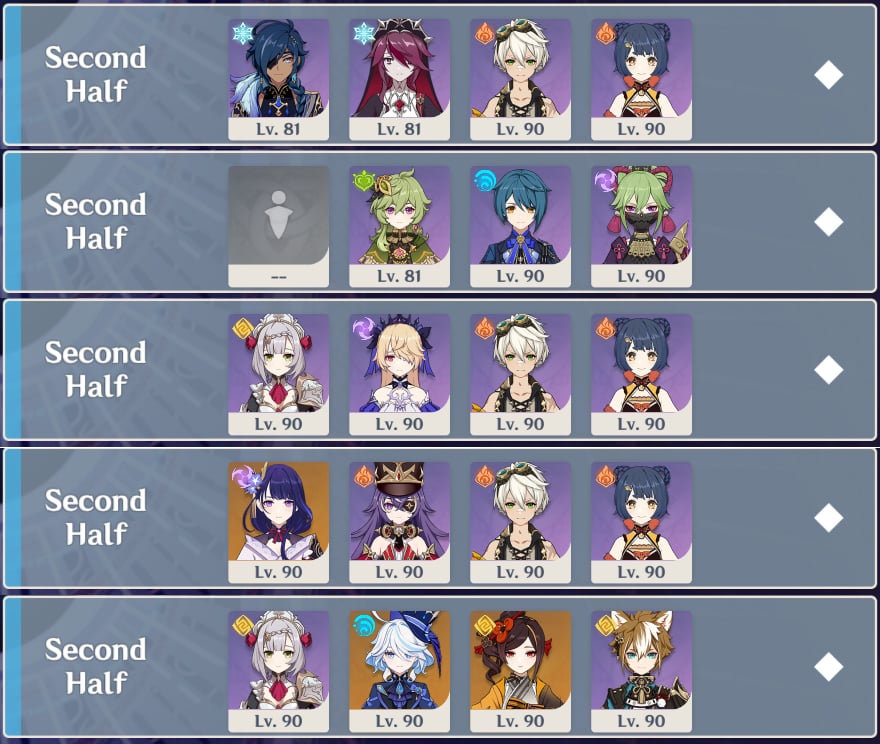
| The recommended elements for the Second Half |  Pyro & All except those mentioned below ➥ Leyline Disorder gives 60% Pyro DMG Bonus so take advantage of that.  Geo ➥ Special mention to Geo because Primo Geovishap in Chamber 3 has high Geo RES. But since the Leyline Disorder give extra Geo DMG, you can still bring them. |
| The not recommended elements for the Second Half |   Physical & Dendro ➥ Physical DPS is not recommended because there are Ruin enemies in Chamber 1 (high Physical RES). While Dendro DPS is not recommended because there are Jadeplume in Chamber 2 (high Dendro RES). |
Example:
(1) Melt Team: Kaeya + Rosaria + Bennett + Xiangling
(2) Hyperbloom Team: Noelle/Sucrose/Sethos + Collei + Xingqiu + Kuki Shinobu
(3) Overload Team: Noelle + Fischl + Bennett + Xiangling
(4) Overload Team: Raiden + Chevreuse + Bennett + Xiangling
(5) Geo Team: Noelle + Furina + Chiori/Albedo + Gorou
You can find more lineups in the official HoYoLAB Lineup Simulator here.
Floor 11 Chamber 1
First Half
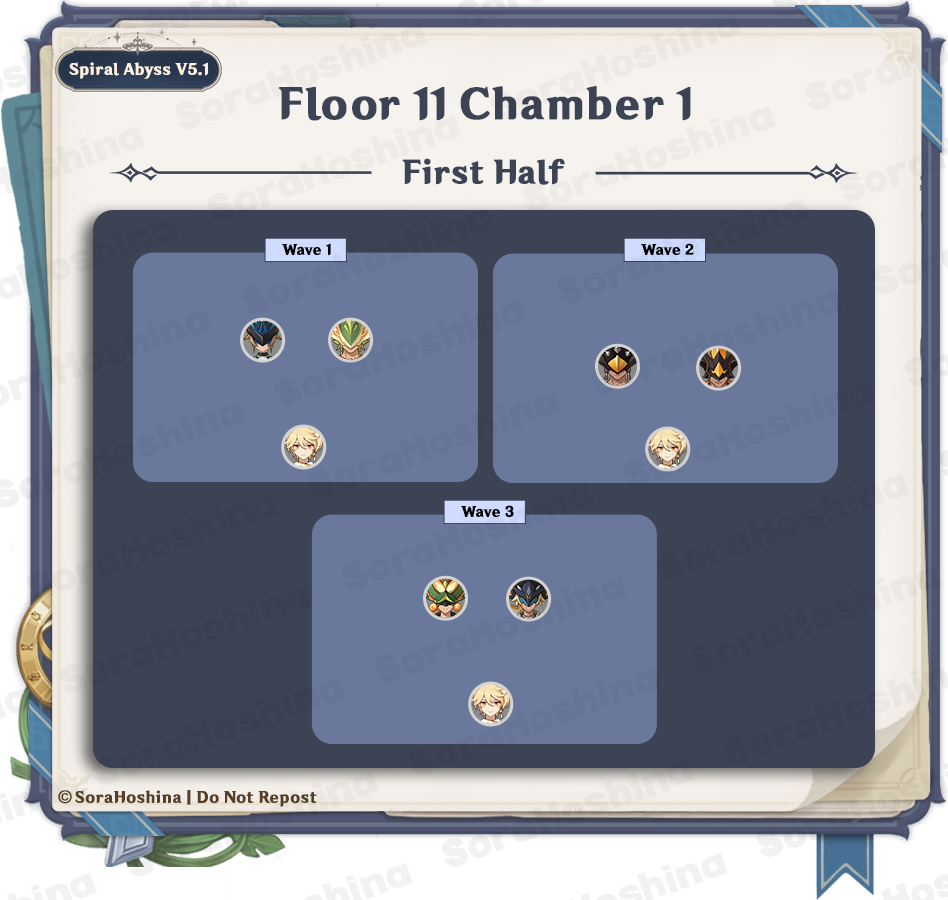
1st Wave: Koholasaurus Warrior Waveshuttler x1 & Yumkasaurus Warrior Whirling Leaves x1
2nd Wave: Tepetlisaurus Warrior Shard Striker x1 & Rockbreaker Blade x1
3rd Wave: Yumkasaurus Warrior Flowing Skyfire x1 & Koholasaurus Warrior Reefsplitter x1
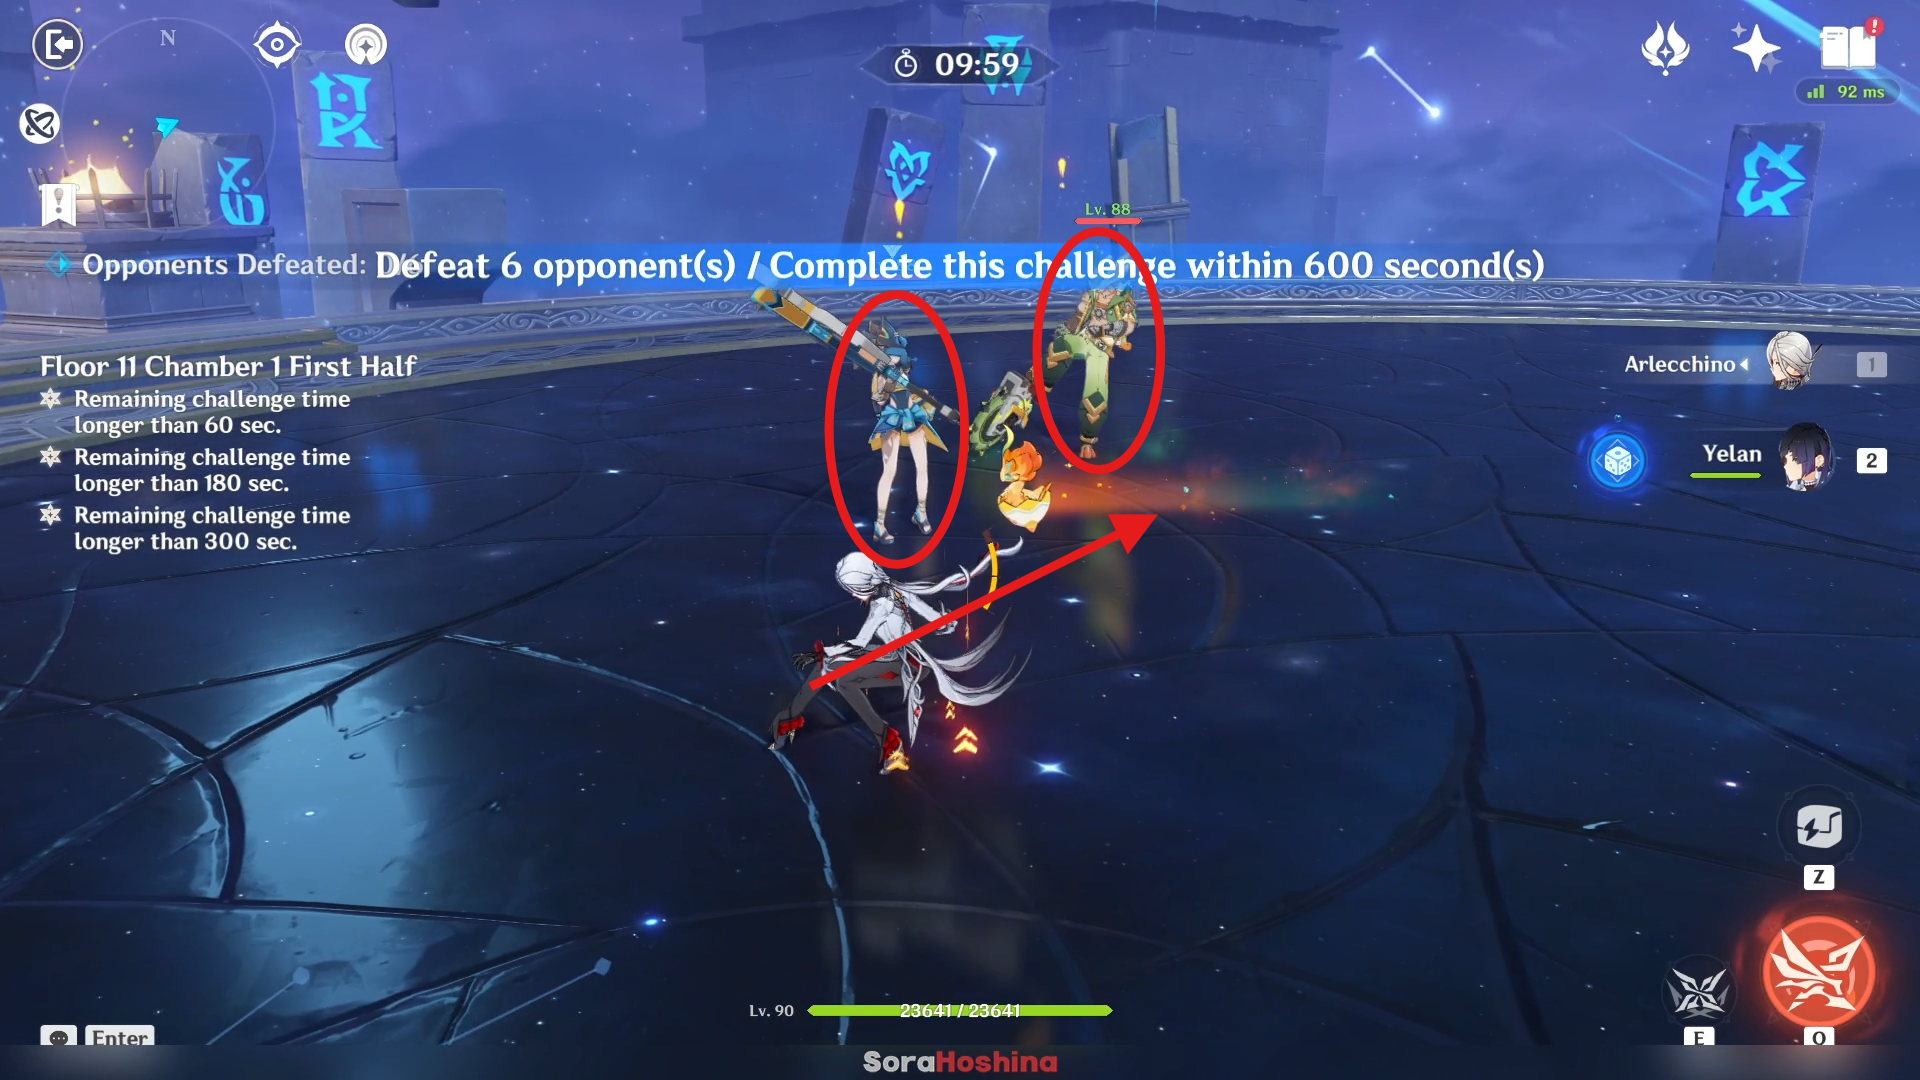
In the first wave, there are 2 enemies at the front area. Focus on the left one first because the lady mainly have long-ranged attack. When you go to the Waveshuttler, make sure the remaining enemy is right behind her so he can take some collateral damage.
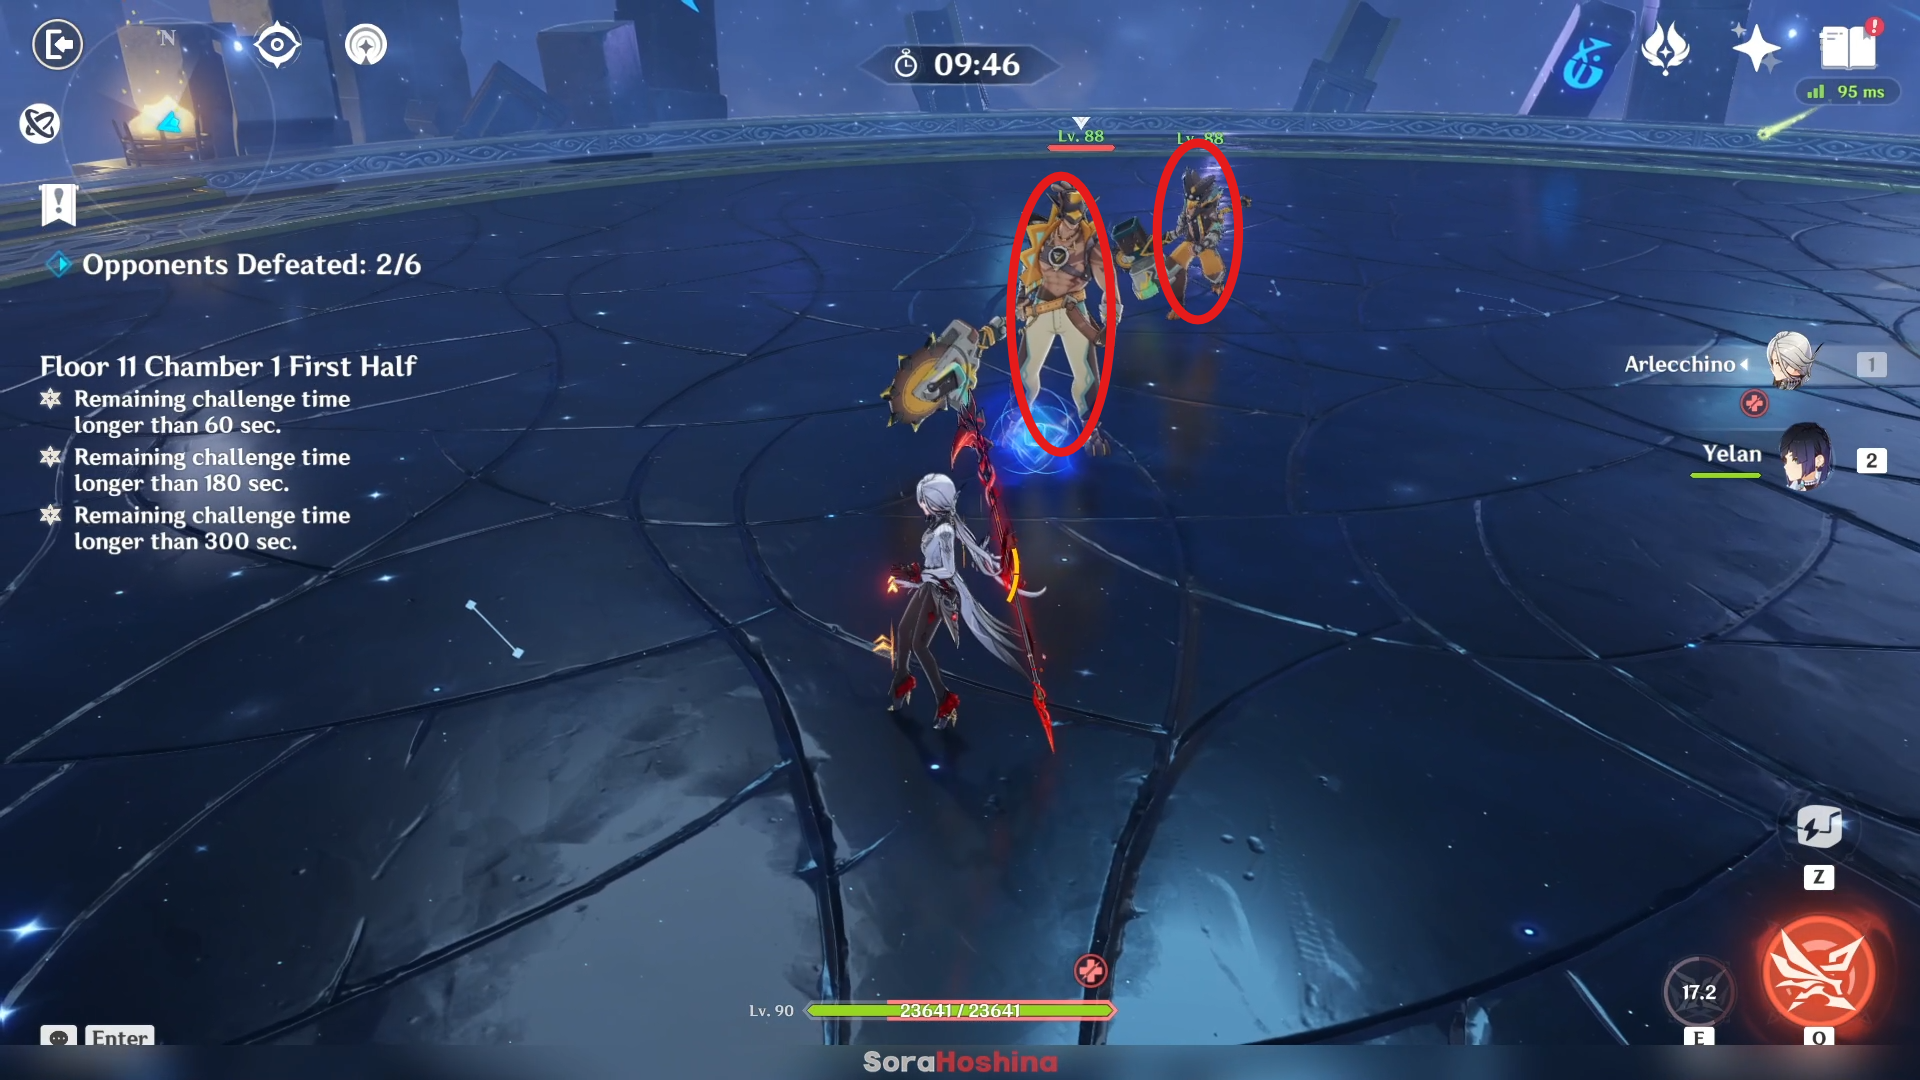
In the second wave, both Tepetlisaurus Warrior are melee attacker so they will chase after you. Get near any of them and the other will naturally comes. Beware when them summons a crystal, those thing have a decent AoE so time your evade when you see it.
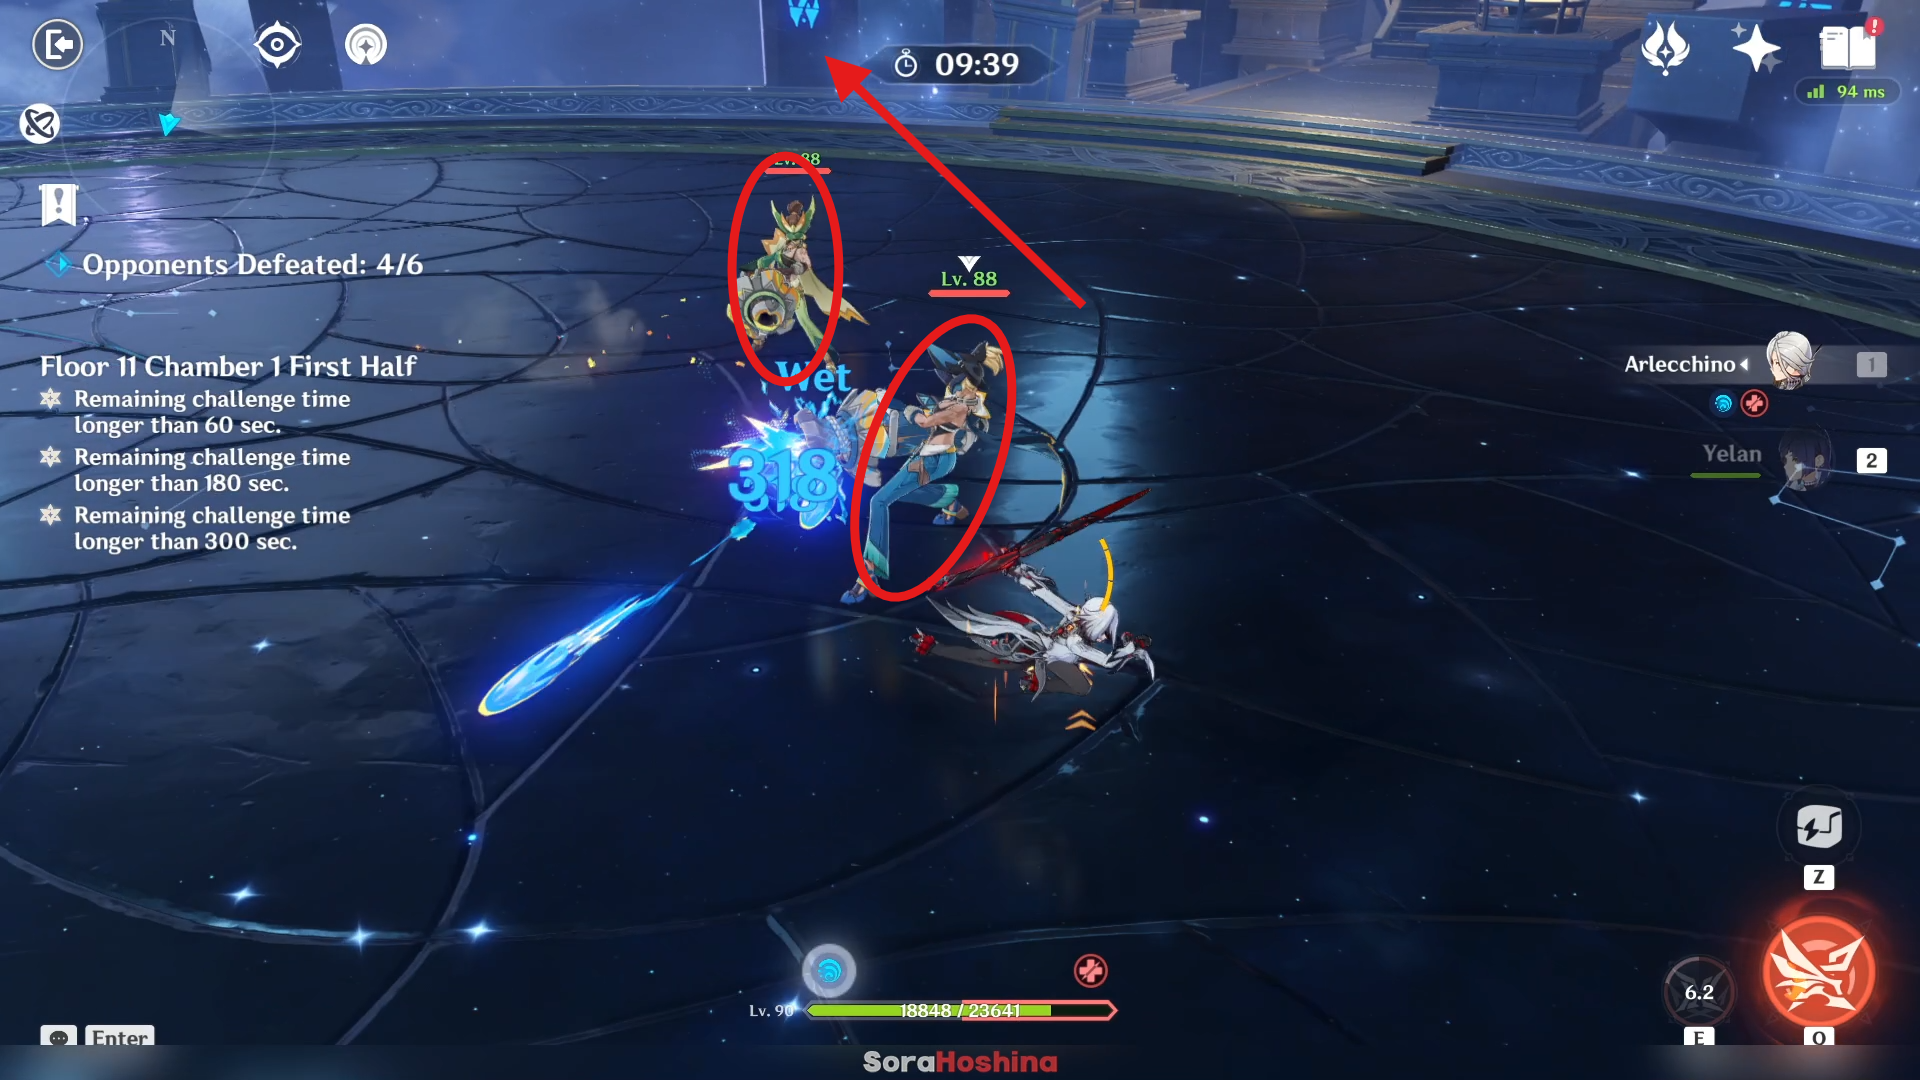
In the last wave, both warriors can do long-ranged attack so pick your choice and go to one of them (preferably the one you're closer with to save time) while making sure the other enemy is right behind the one you're aiming at.
Although in my opinion, the blue one is really annoying and should be prioritized because even if you get near her, she will keep moving around unlike the green lady which more often than not, stay put in one place. But if you're too far, she won't make the effort to get too close.
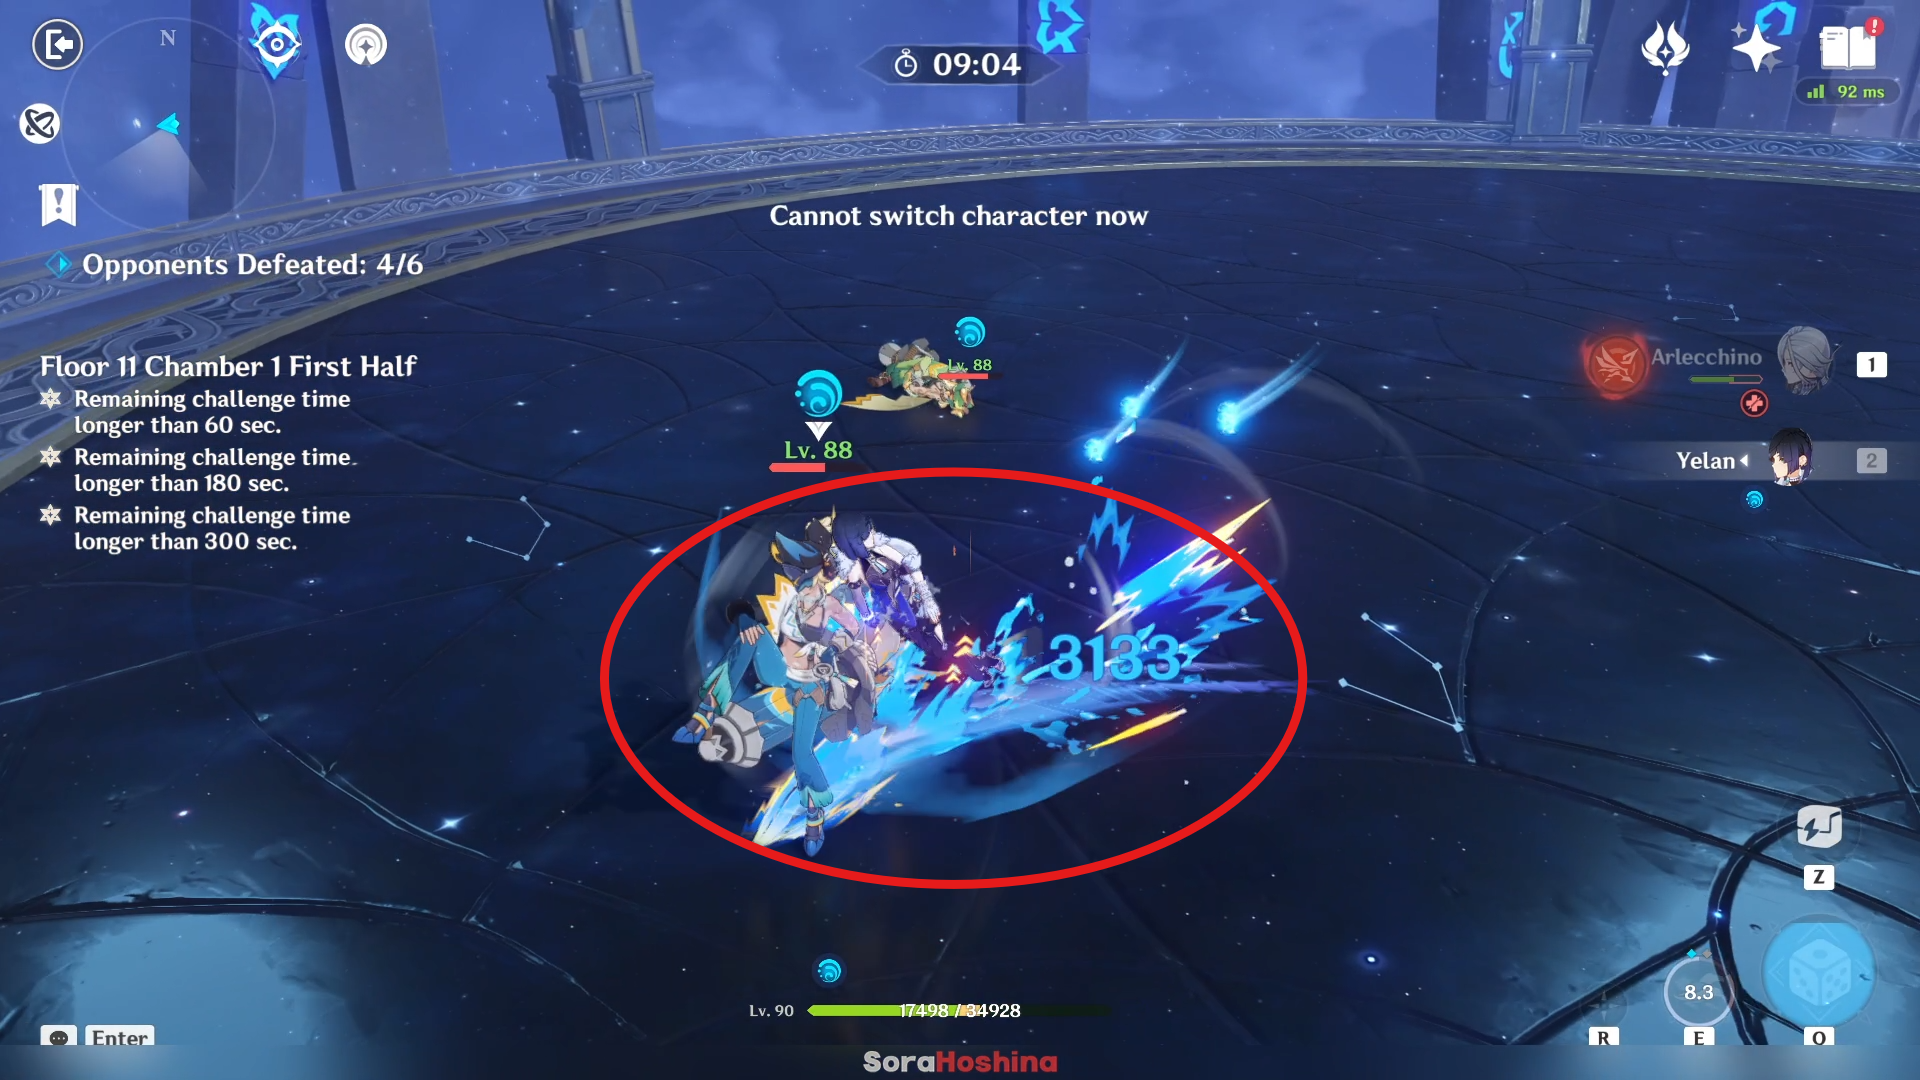
One more thing you need to note from the blue one is when she surfs on her gun, your unshielded character will get knockback so be careful of that. Sure, the damage it done doesn't look much but it differs with your HP and DEF, and you don't wanna get thrown around right?
Second Half
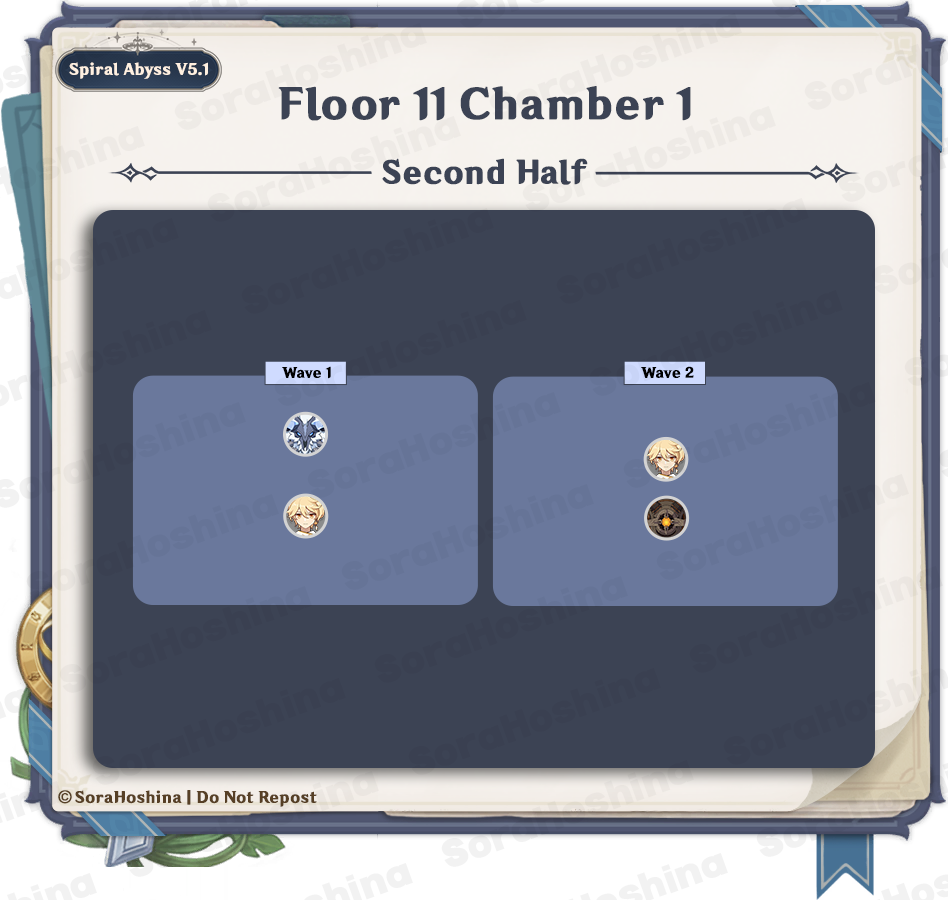
1st Wave: Frostarm Lawachurl x1
2nd Wave: Ruin Drake Skywatch x1
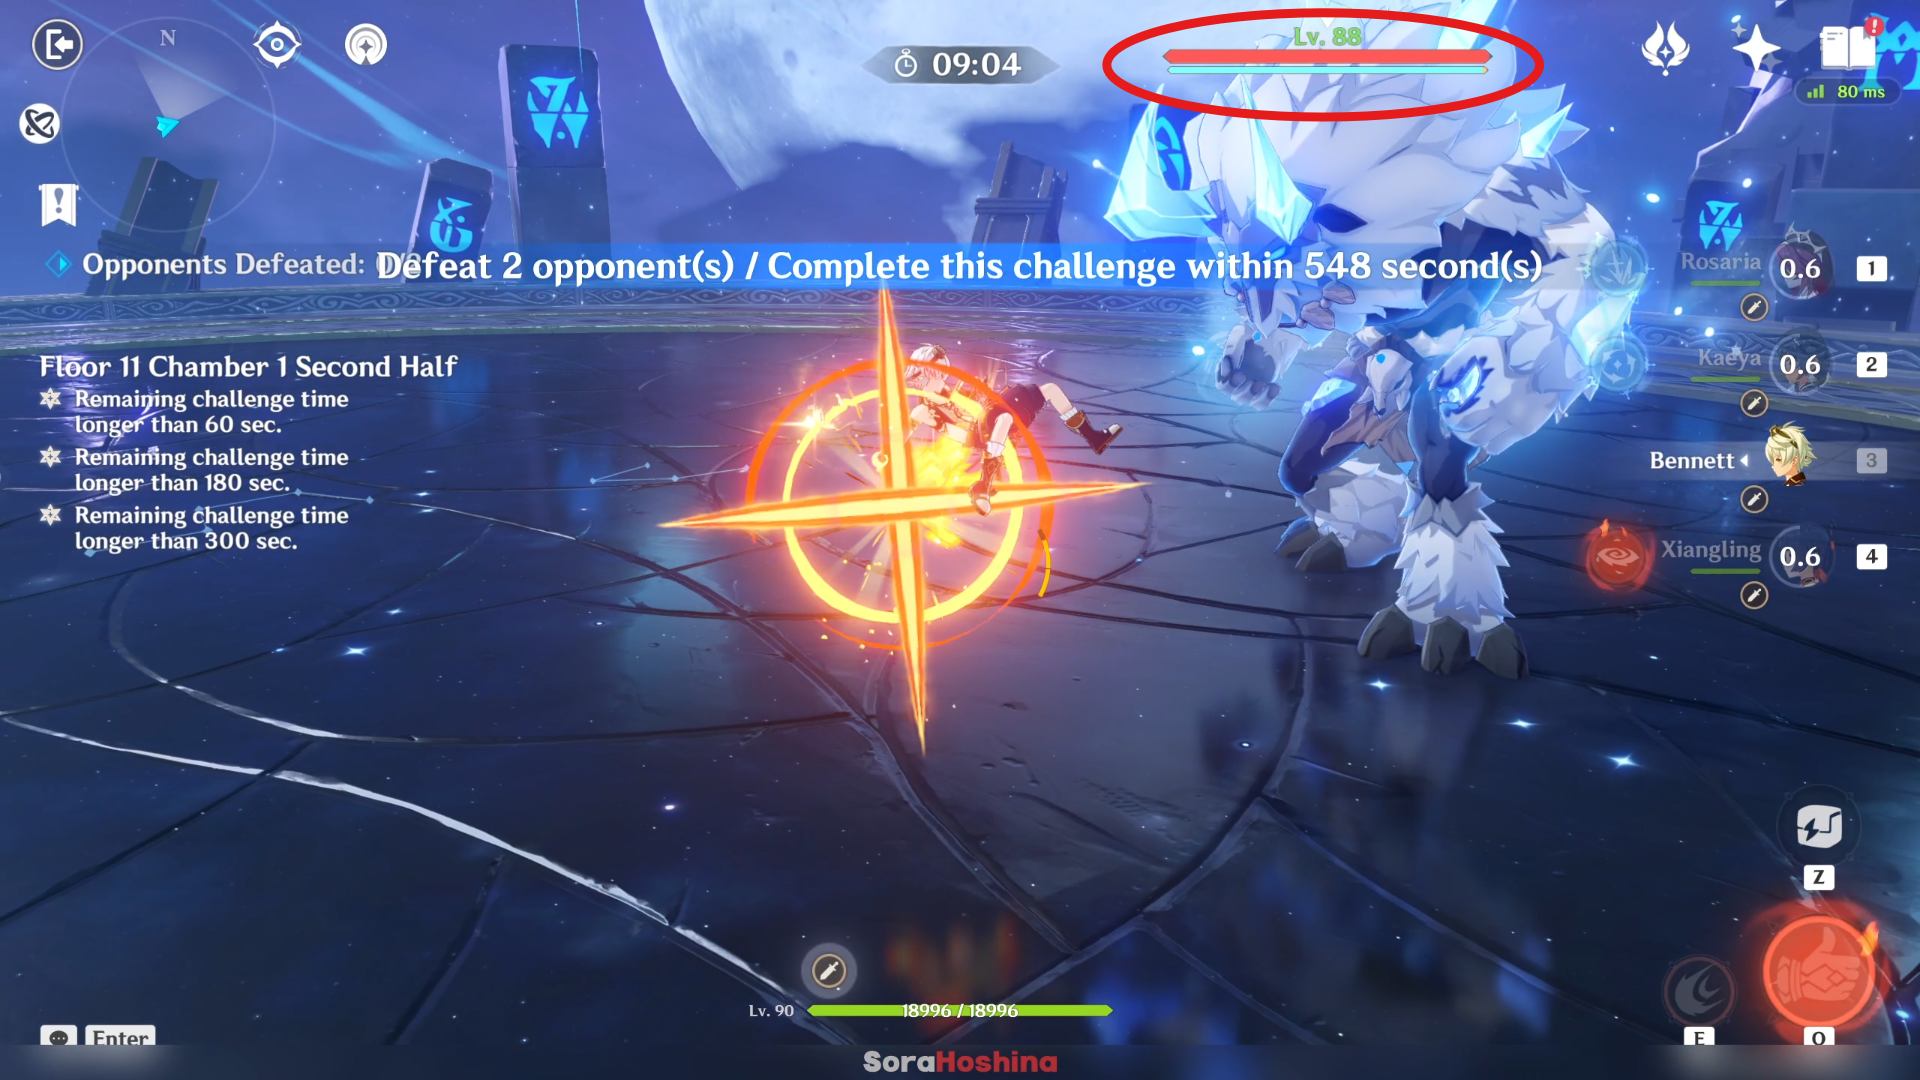
In the first wave, there is only one Frostarm Lawachurl at the front area. You shouldn't have too much of a problem here because there is only one enemy so you can focus on it alone and most of its attack is dodge-able. As you all know by, this enemy can generate a Frozen shield and the best element to break the shield would be Pyro.
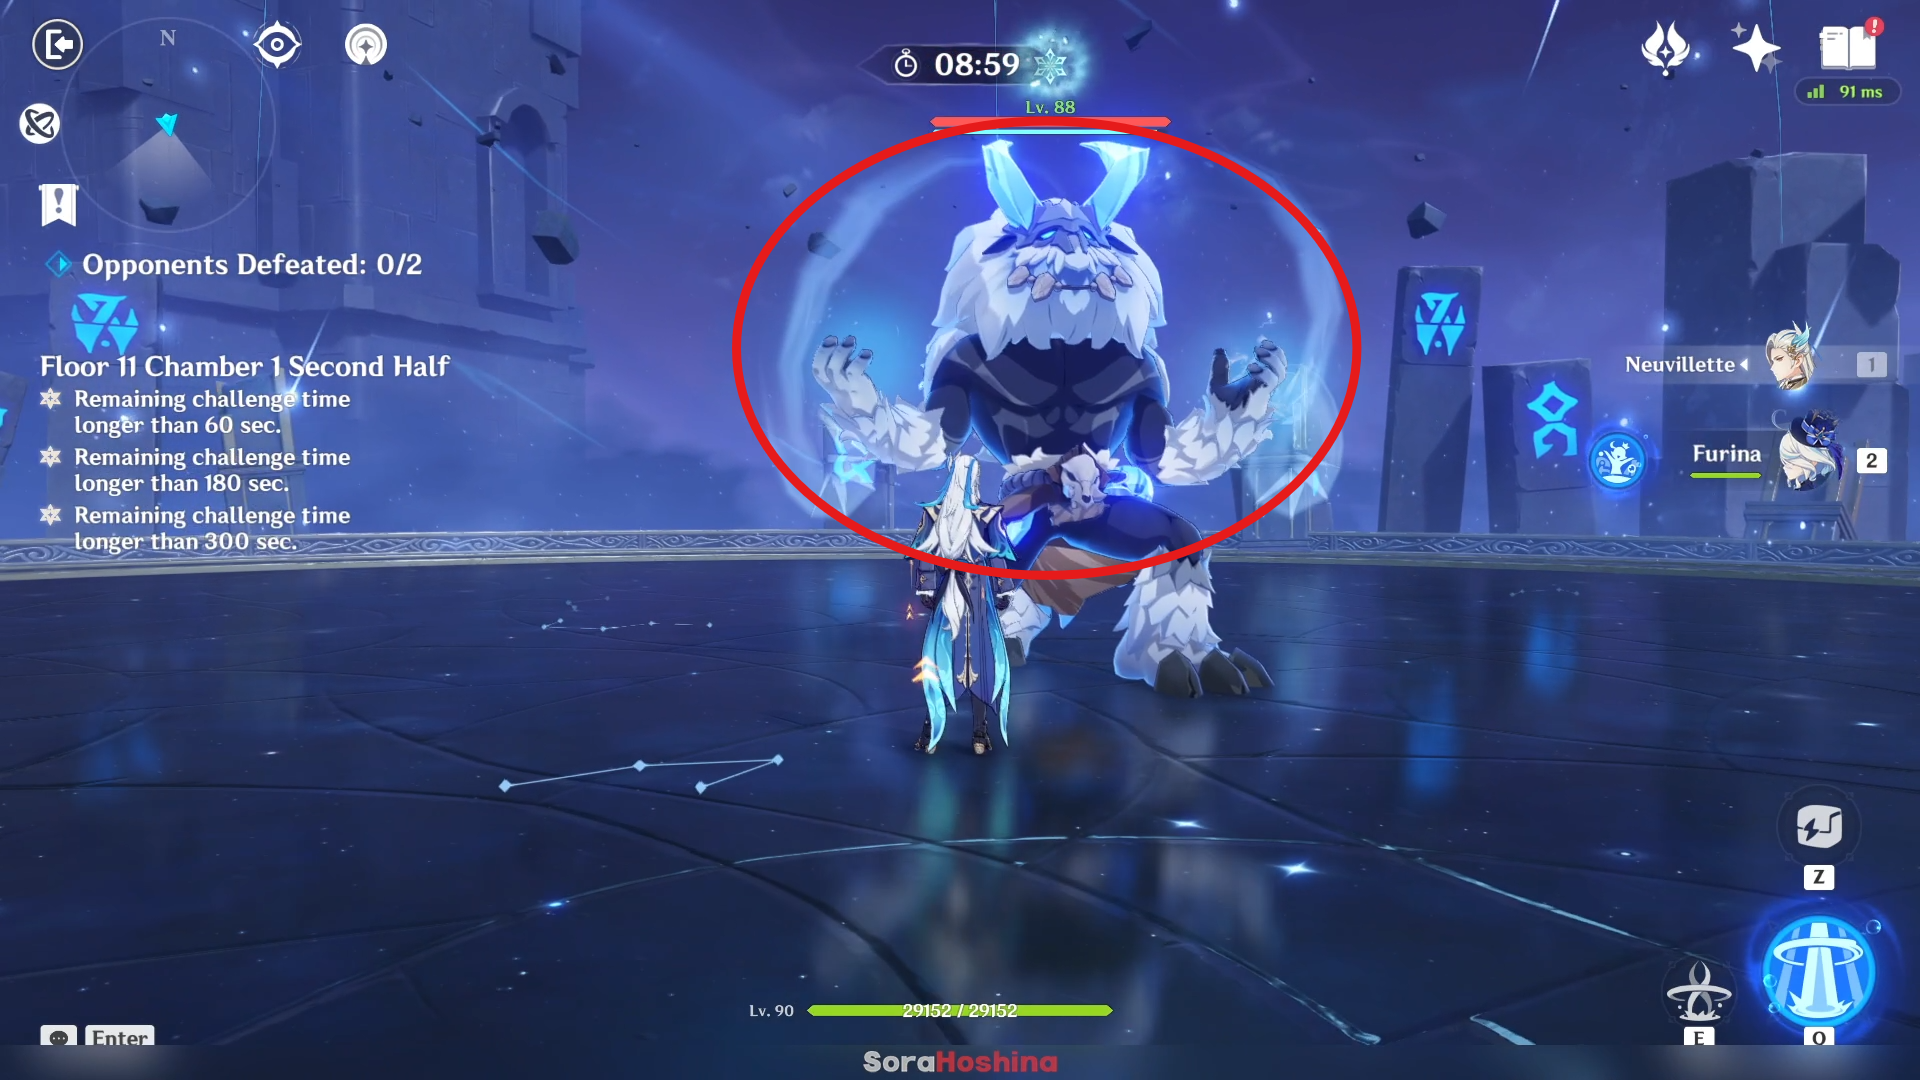
In their shielded state, the Lawachurl usually roars before charging to your spot so that's an easy giveaway for you to time and evade any of its attacks. Of course, there are some normal attacks that don't make it roar beforehand, but when it does, that means the next it will do is pretty big and should be avoided no matter what (unless you have a shield and confident you can tank it).
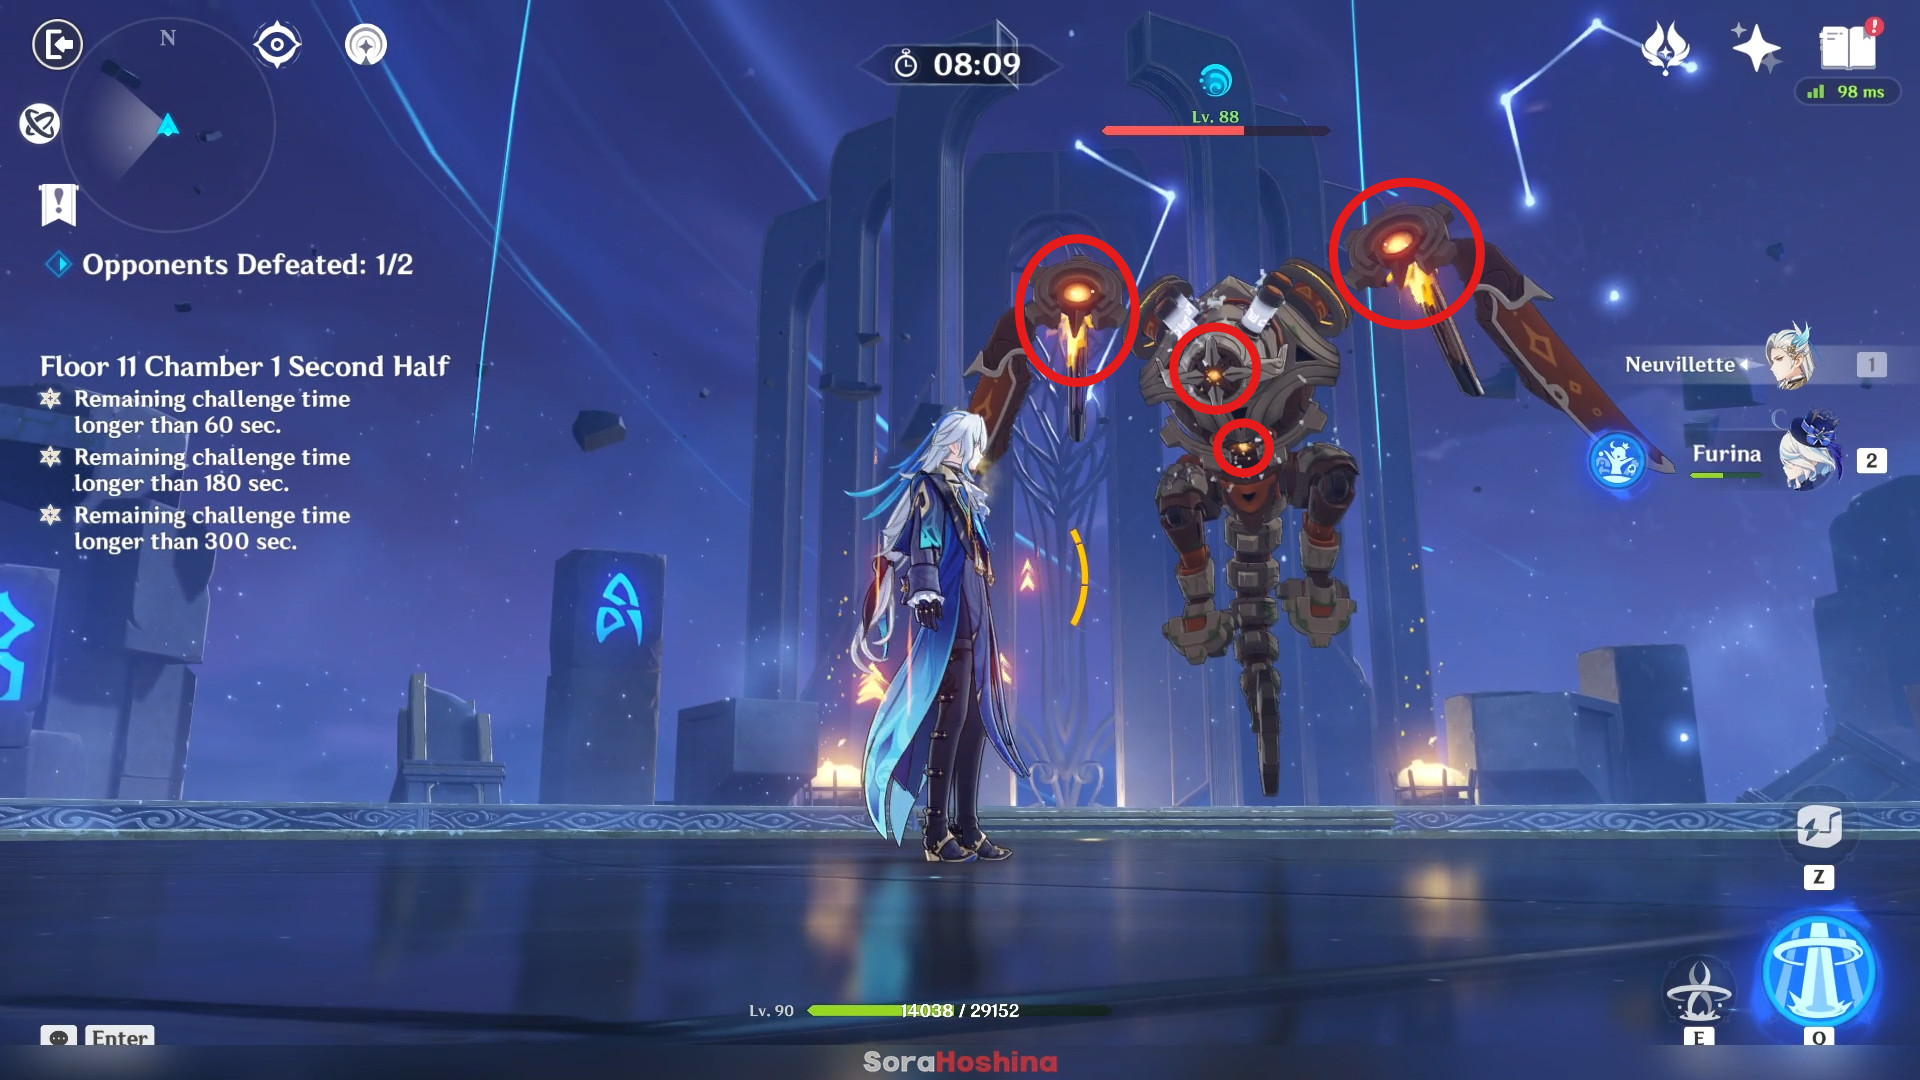
In the second wave, there is only one Ruin Drake and it's the flying type. Although it will hover most of the time, your melee character can still reach the bottom part of its body and attack it. Should you aim for its weak point? You can, and it's up to you. If you feel like attacking the hovering enemy is hard, you can paralyze it first before spamming your attacks. It does have an attack that will make it hover above your melee character so don't put your hopes up too much and get your bow character ready.
Fun Fact, Furina's Salon Members (the trio) will most of the time focus on attacking the core instead of anywhere else so she can be a replacement if you don't have any built or suitable bow character. Can't 100% rely on them to hit the core though cause sometimes they don't aim for the core.
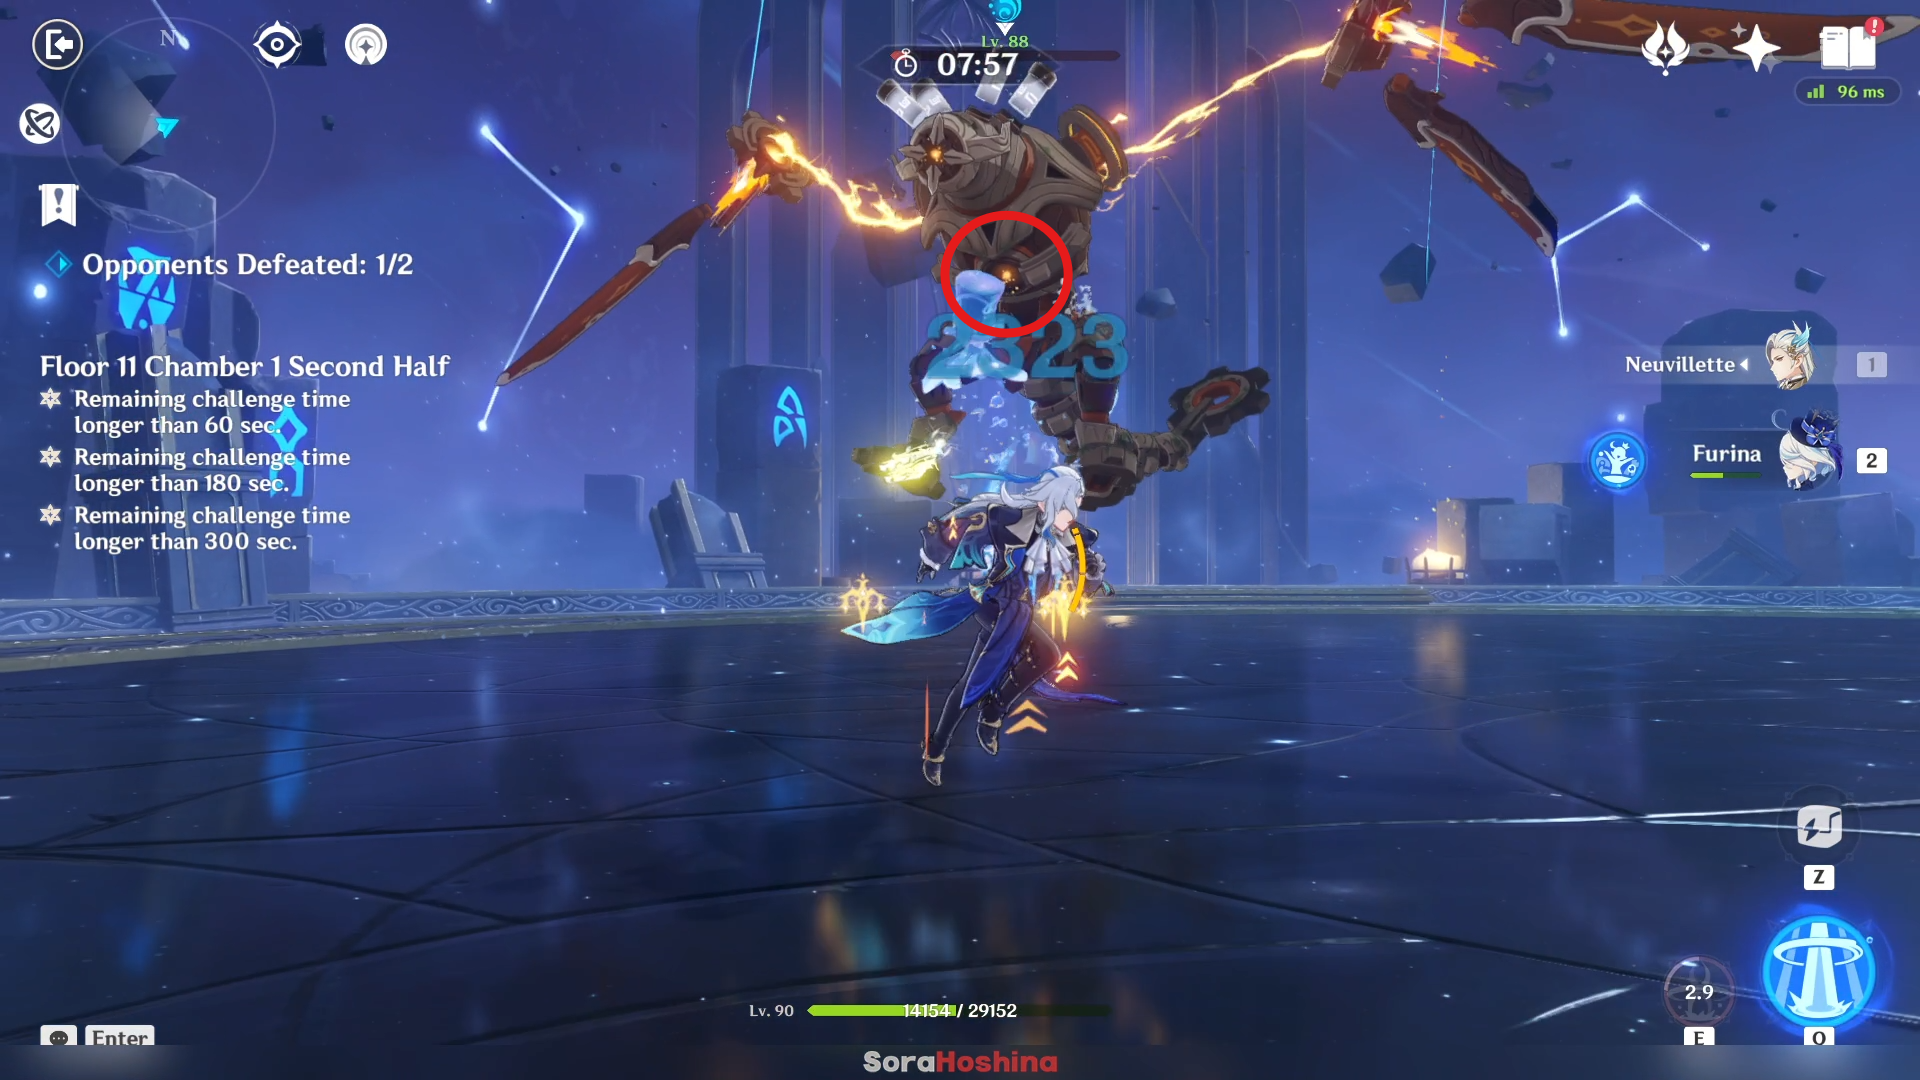
Although when you see this enemy try to spread its wing, then it is currently charging before scattering bombs into the air. Unless the enemy has low HP, it's recommended to hit the weak point on its chest to cancel its charging. If it successful in charging, aside from the bombs, the Ruin Drake will also gain an elemental RES that is has received the most amount of DMG.
Floor 11 Chamber 2
First Half
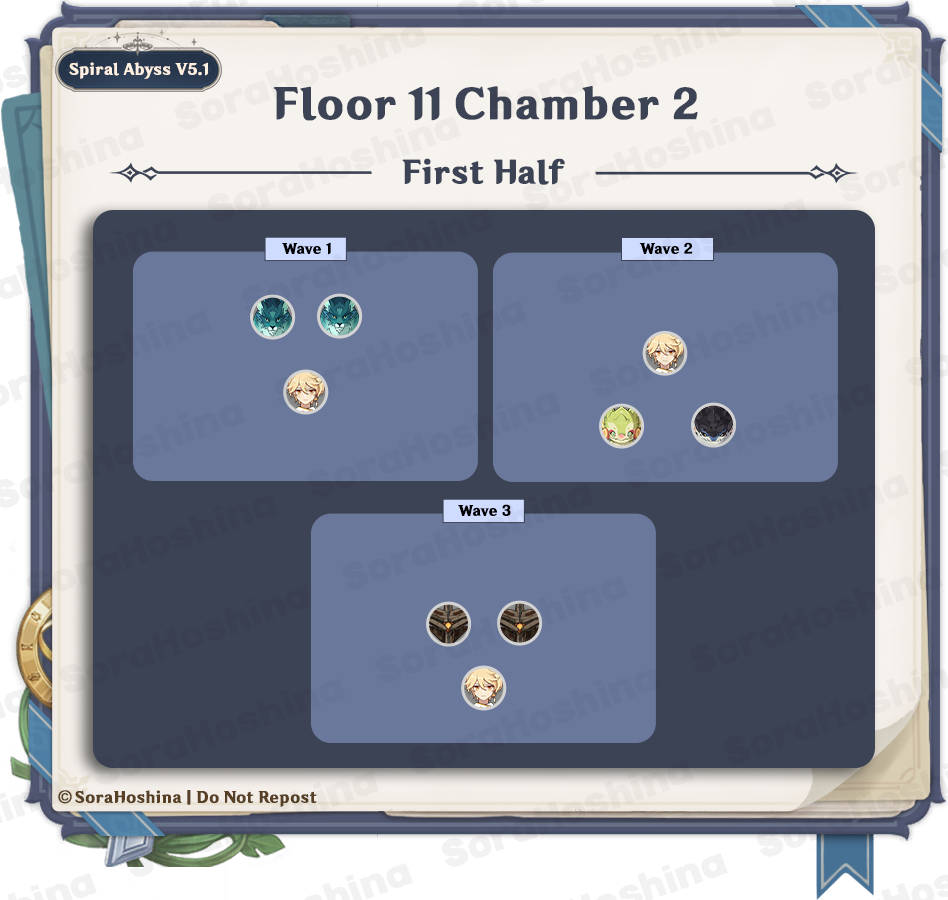
1st Wave: Xuanwen Beast x2
2nd Wave: Yumkasaurus x1 & Koholasaurus x1
3rd Wave: Ruin Destroyer x2
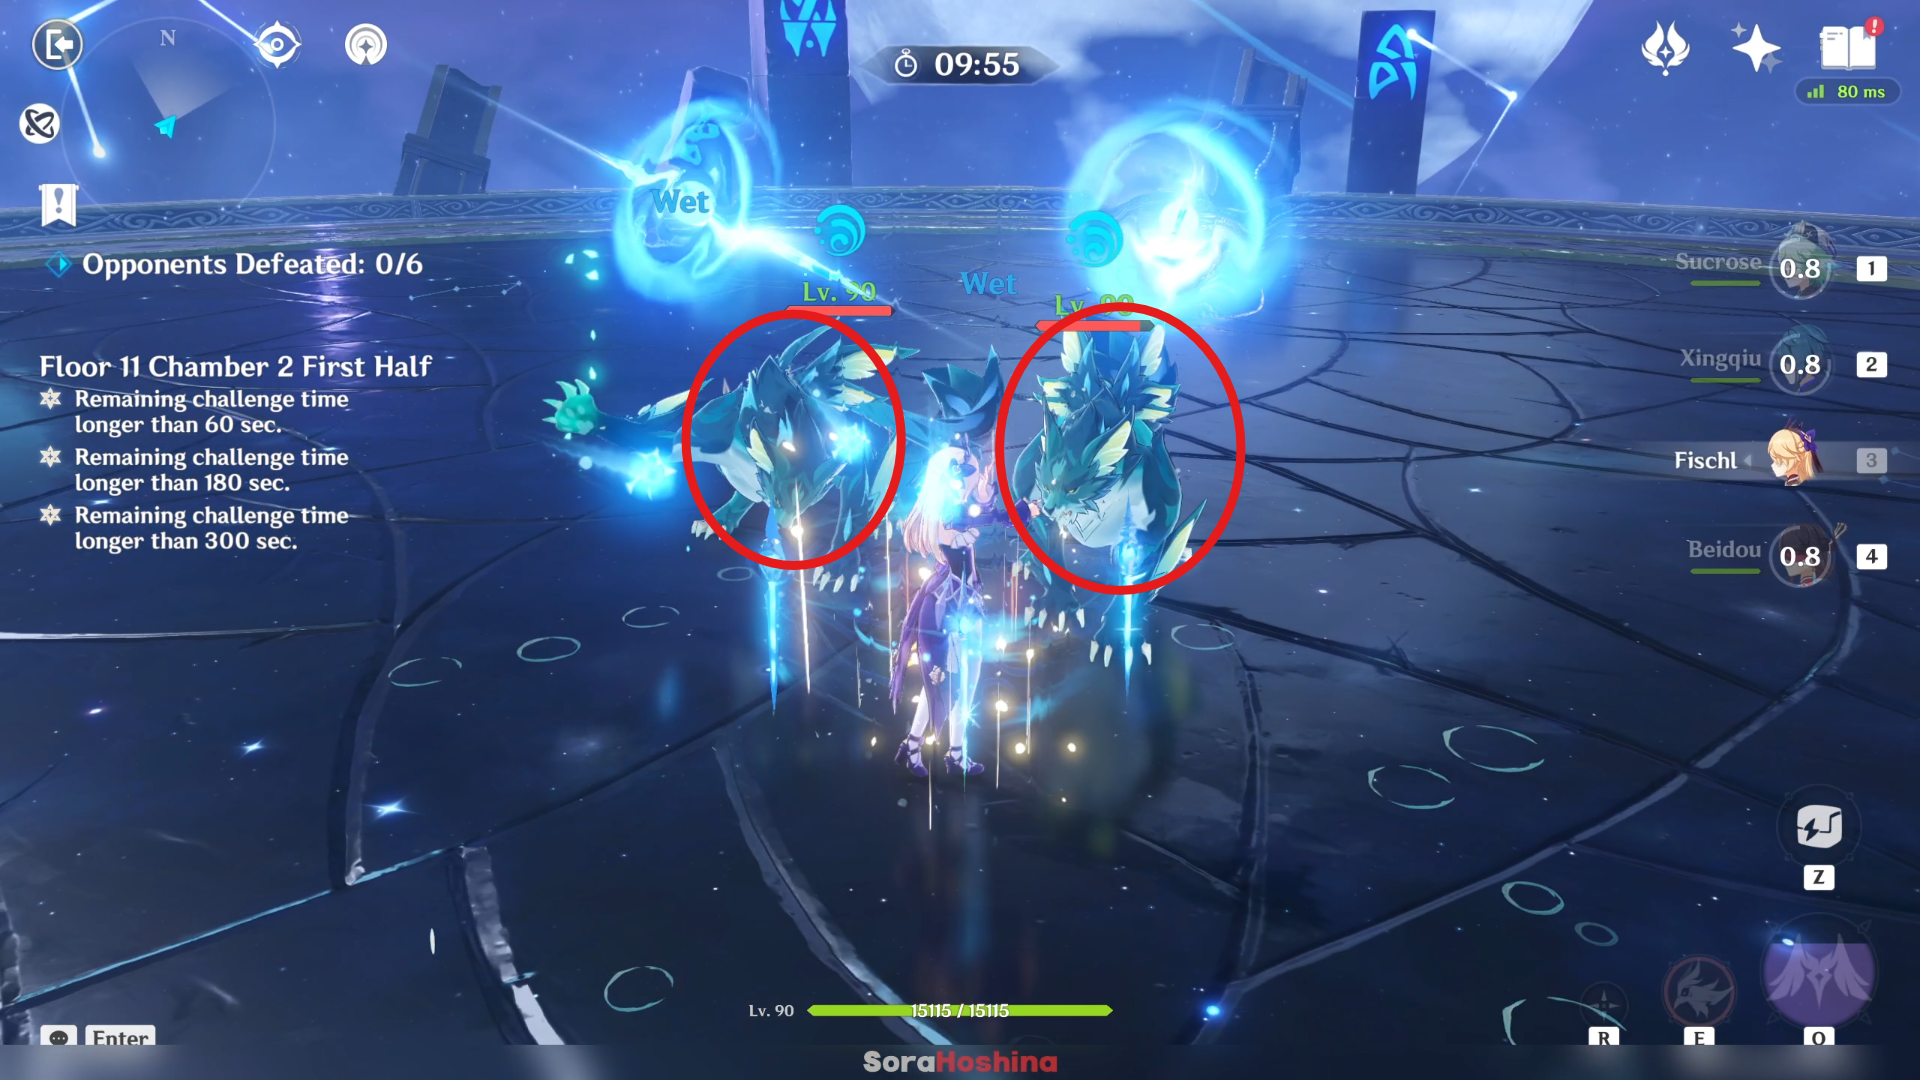
In the first wave, there are 2 Xuanwen Beasts at the front once the challenge starts. This enemy has 50% resistance against Hydro and Anemo so beware of that. But, they are very weak against the Freeze team. Freezing a Xuanwen Beast and then using Shatter / Melt / Superconduct / Swirl / or Crystallize will remove the Frozen aura and paralyze it. Just focus on one of them because the other will come after you (they're not too far away from each other anyway).
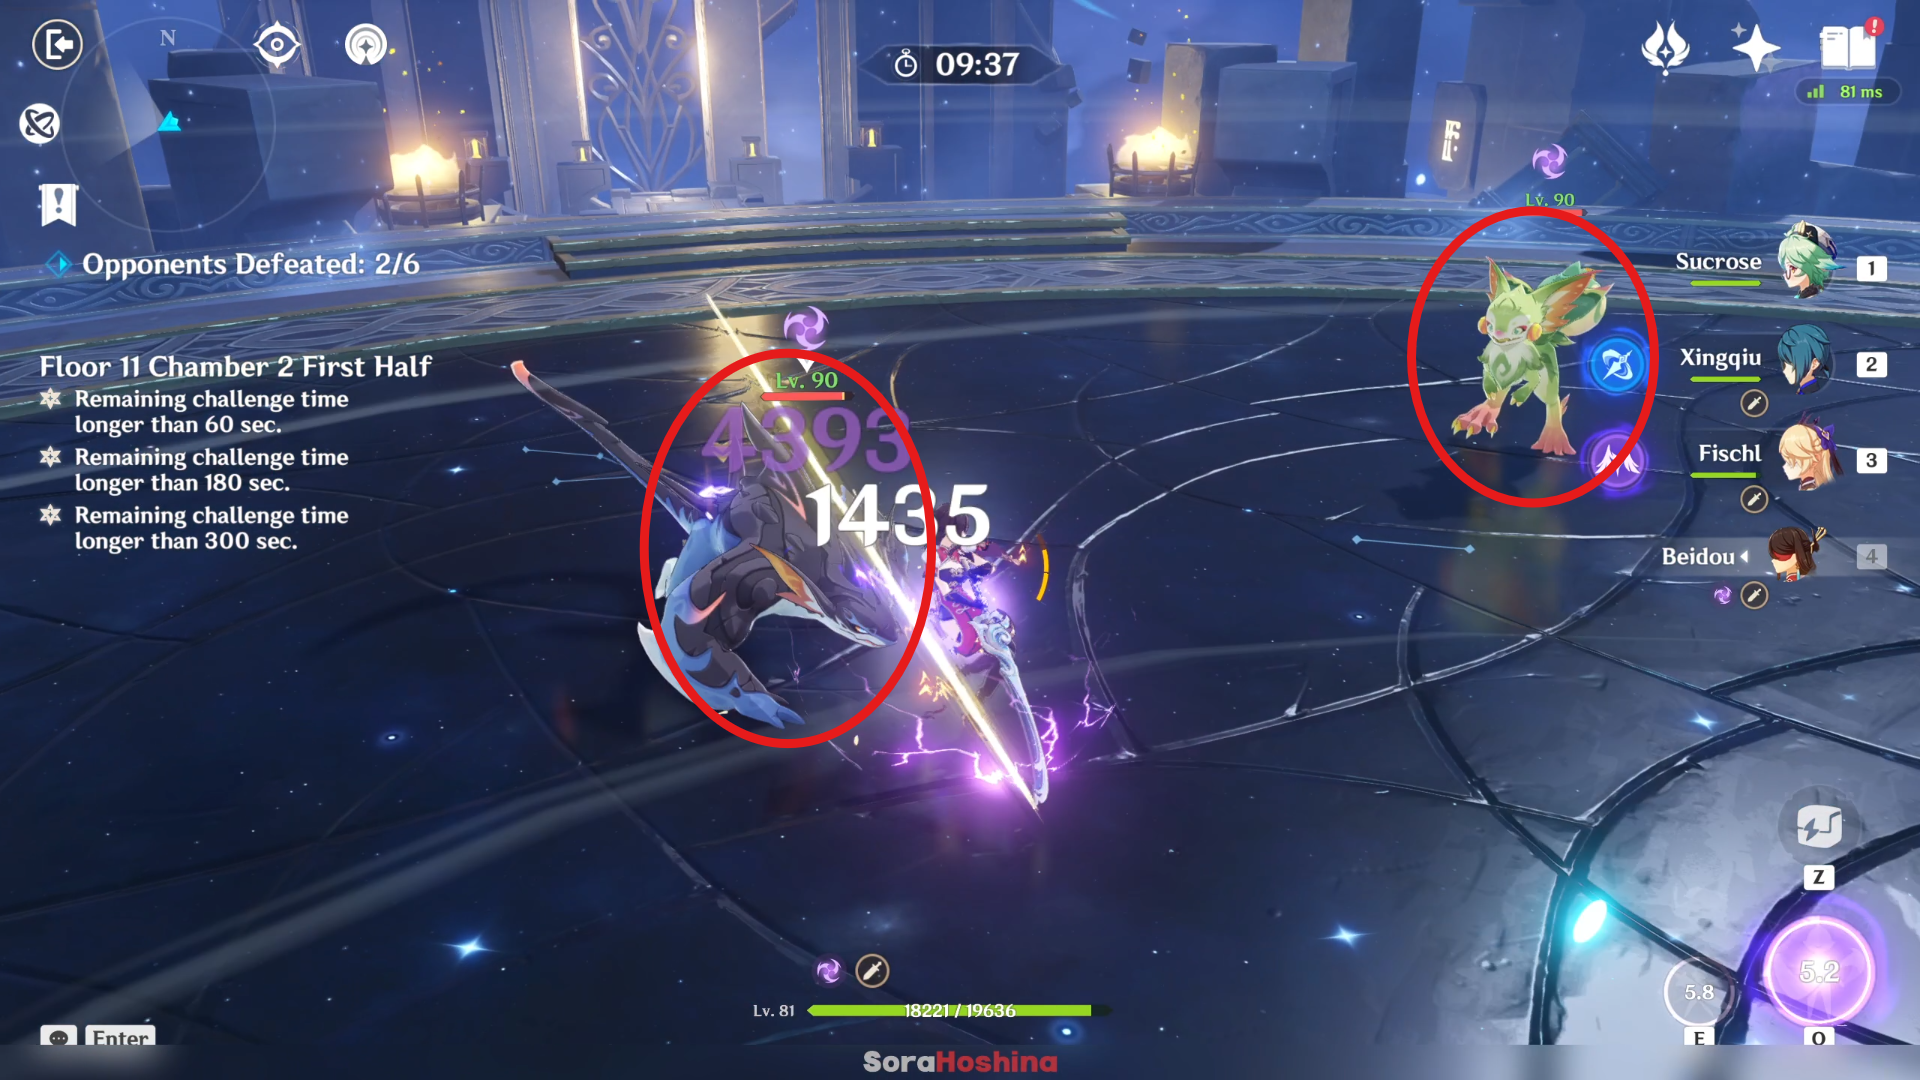
In the second wave, there are 2 Saurian. Same as before, both of them will chase after you so you can just focus on one of the cutie. Although I recommend going to the Koholasaurus because it walks pretty slow unlike Yumkasaurus that can tarzan towards you easily.
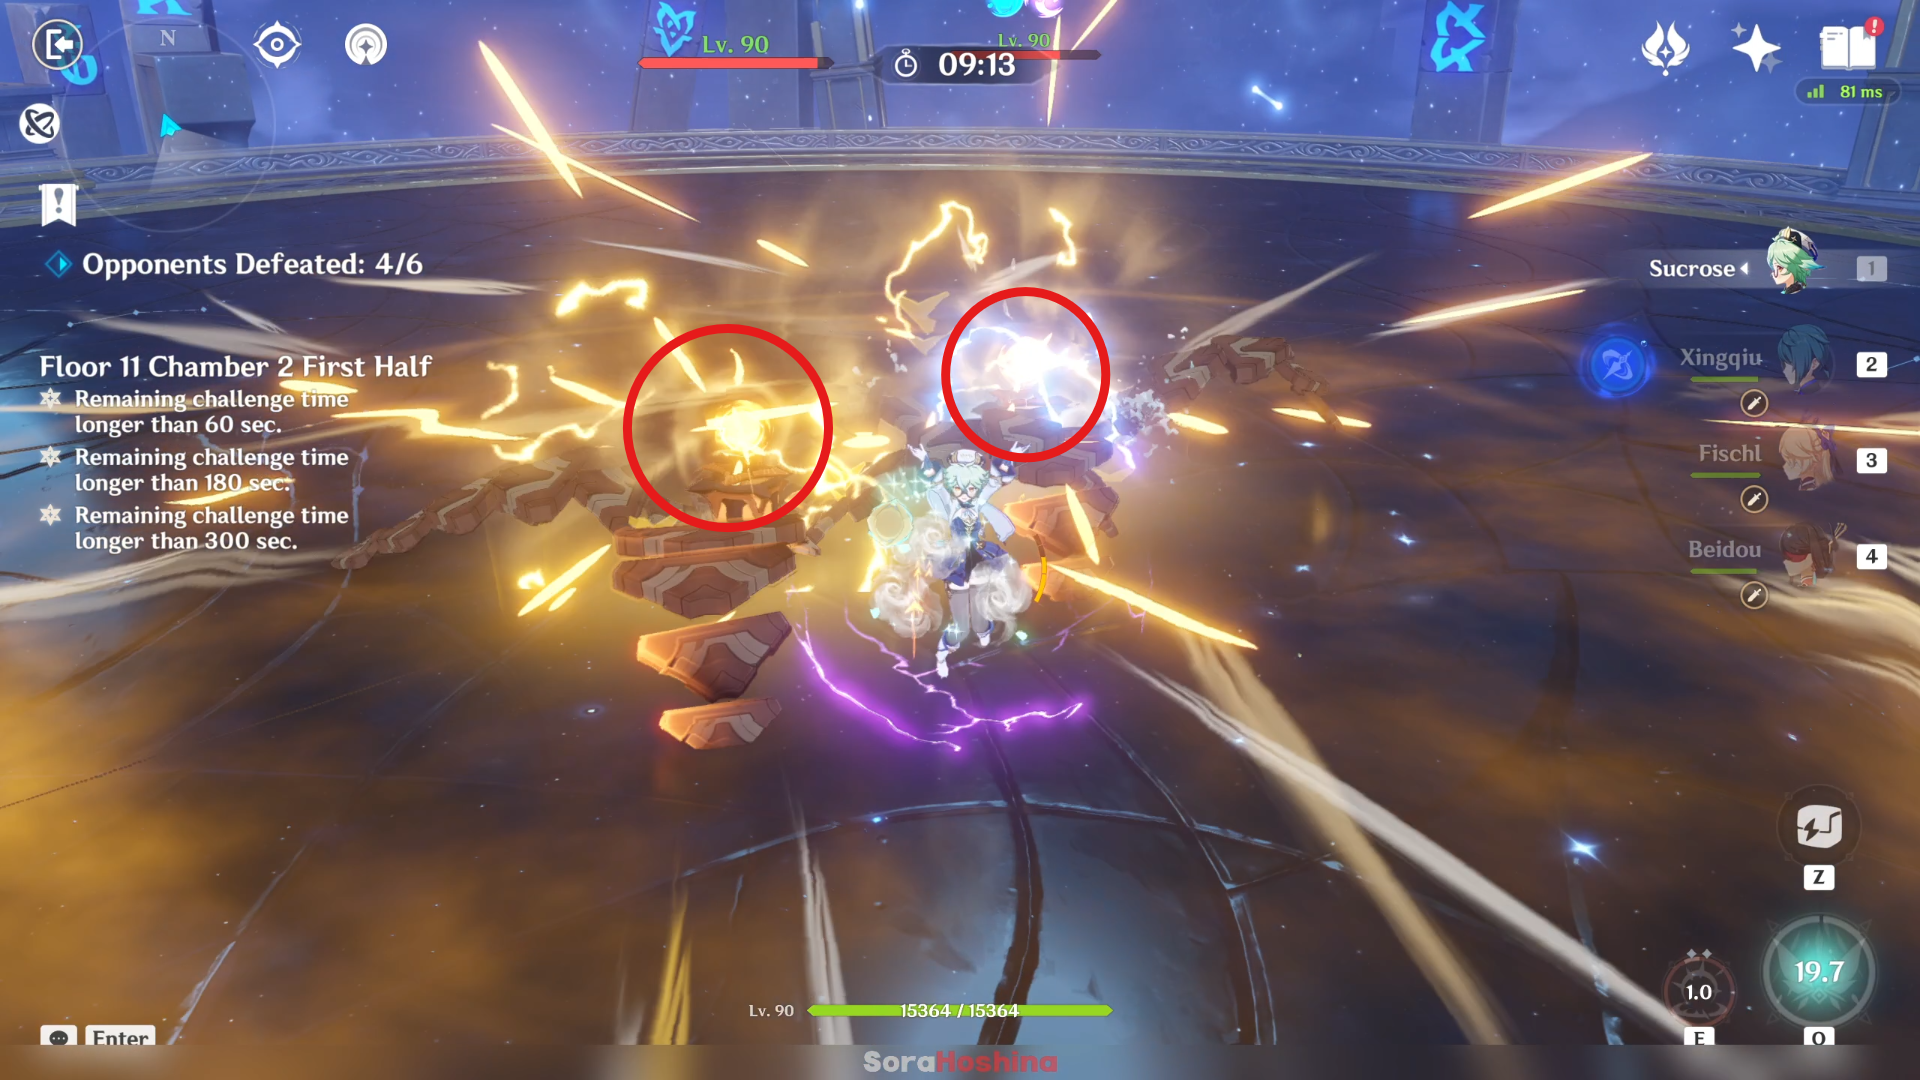
Now for the last wave, you will face 2 Ruin Destroyer. This enemy can burrow to the ground and usually emerge at your spot (by any chance it emerge on other spot, you need to chase after it). At this time, its core will be revealed and you can attack the core so it will be paralyzed.
Second Half
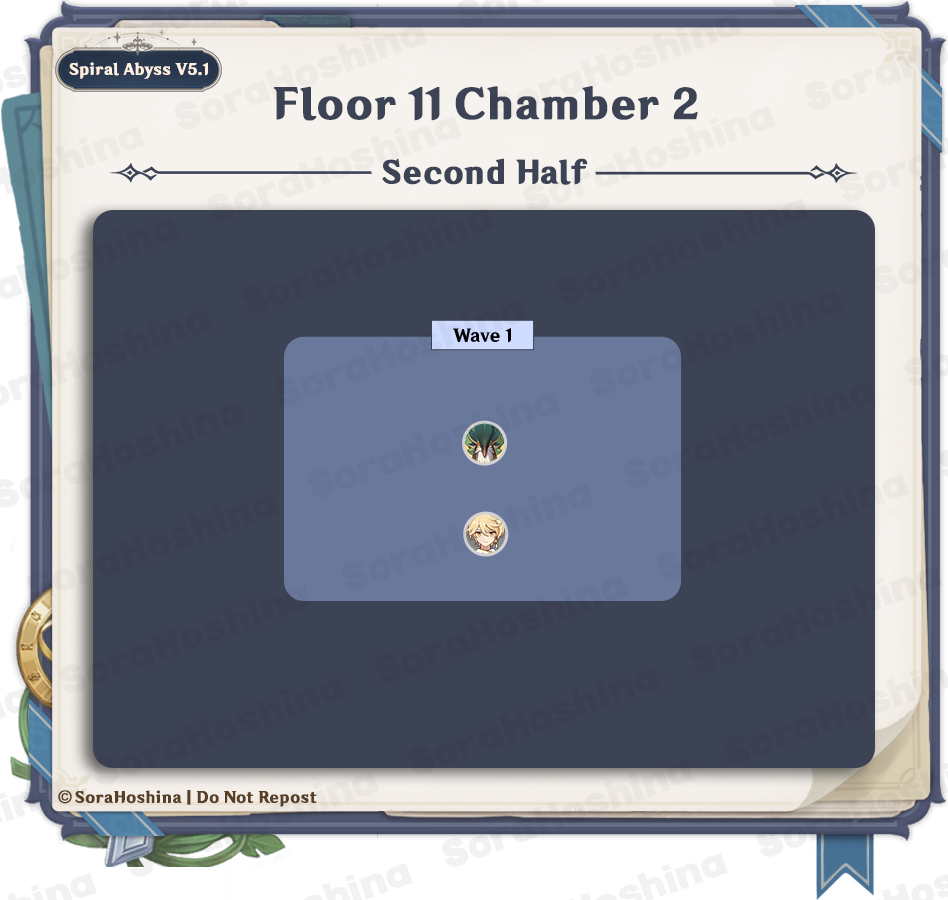
1st Wave: Jadeplume Terrorshroom x1
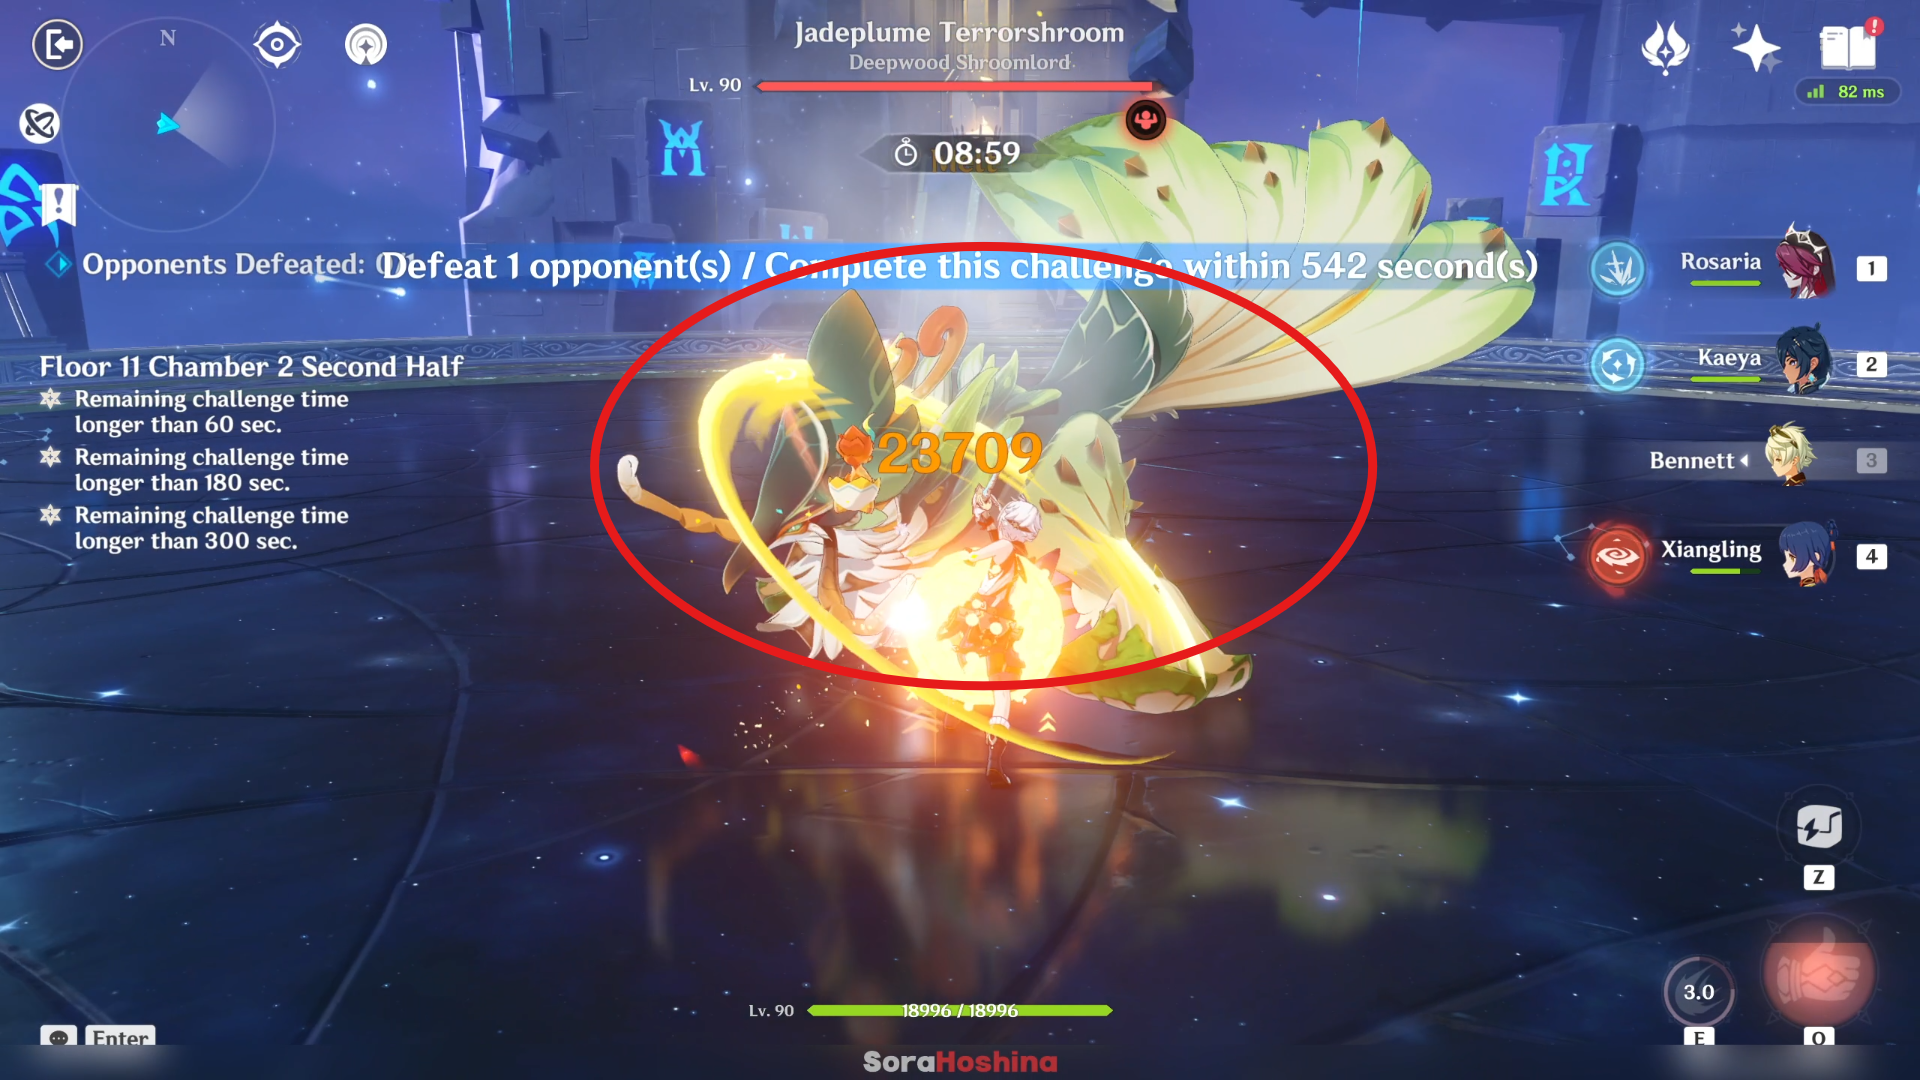
In the one and only wave, you're facing Jadeplume Terrorshroom. Make sure you are in range within Jadeplume's attack range (if you bring melee DPS) because most of their attacks are short range and you can dodge most of its attack. Of course, if you bring a shielder/healer, you can end the fight faster by brute force attacking Jadeplume.
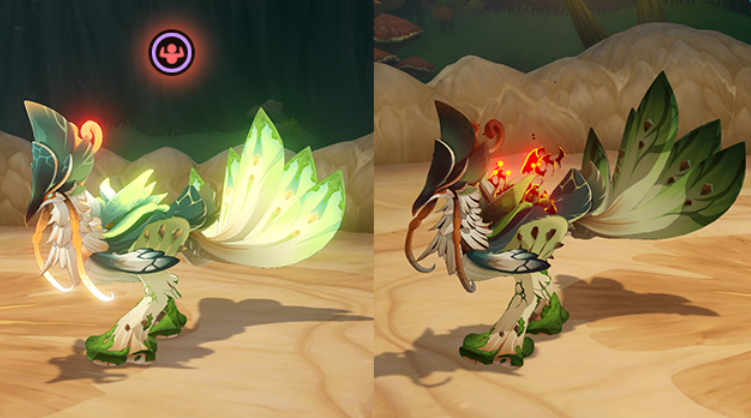
There are 3 states of Jadeplume: Normal, Activated, and Scorched:
(1) The Normal state is the one you're dealing with in its default form.
(2) The Activated state is when the Fury bar under its HP is filled by Electro attacks from your character. When Jadeplume is in Activated form, it has different attack modes but will eventually be paralyzed from exhaustion for 15 seconds.
(3) The last state is the Scorched state when the Jadeplume is affected by Burning (Dendro+Pyro). It's not really a big deal except for its skill that can summon a maximum of 4 Fungi, which will make you lose precious time in the challenge.
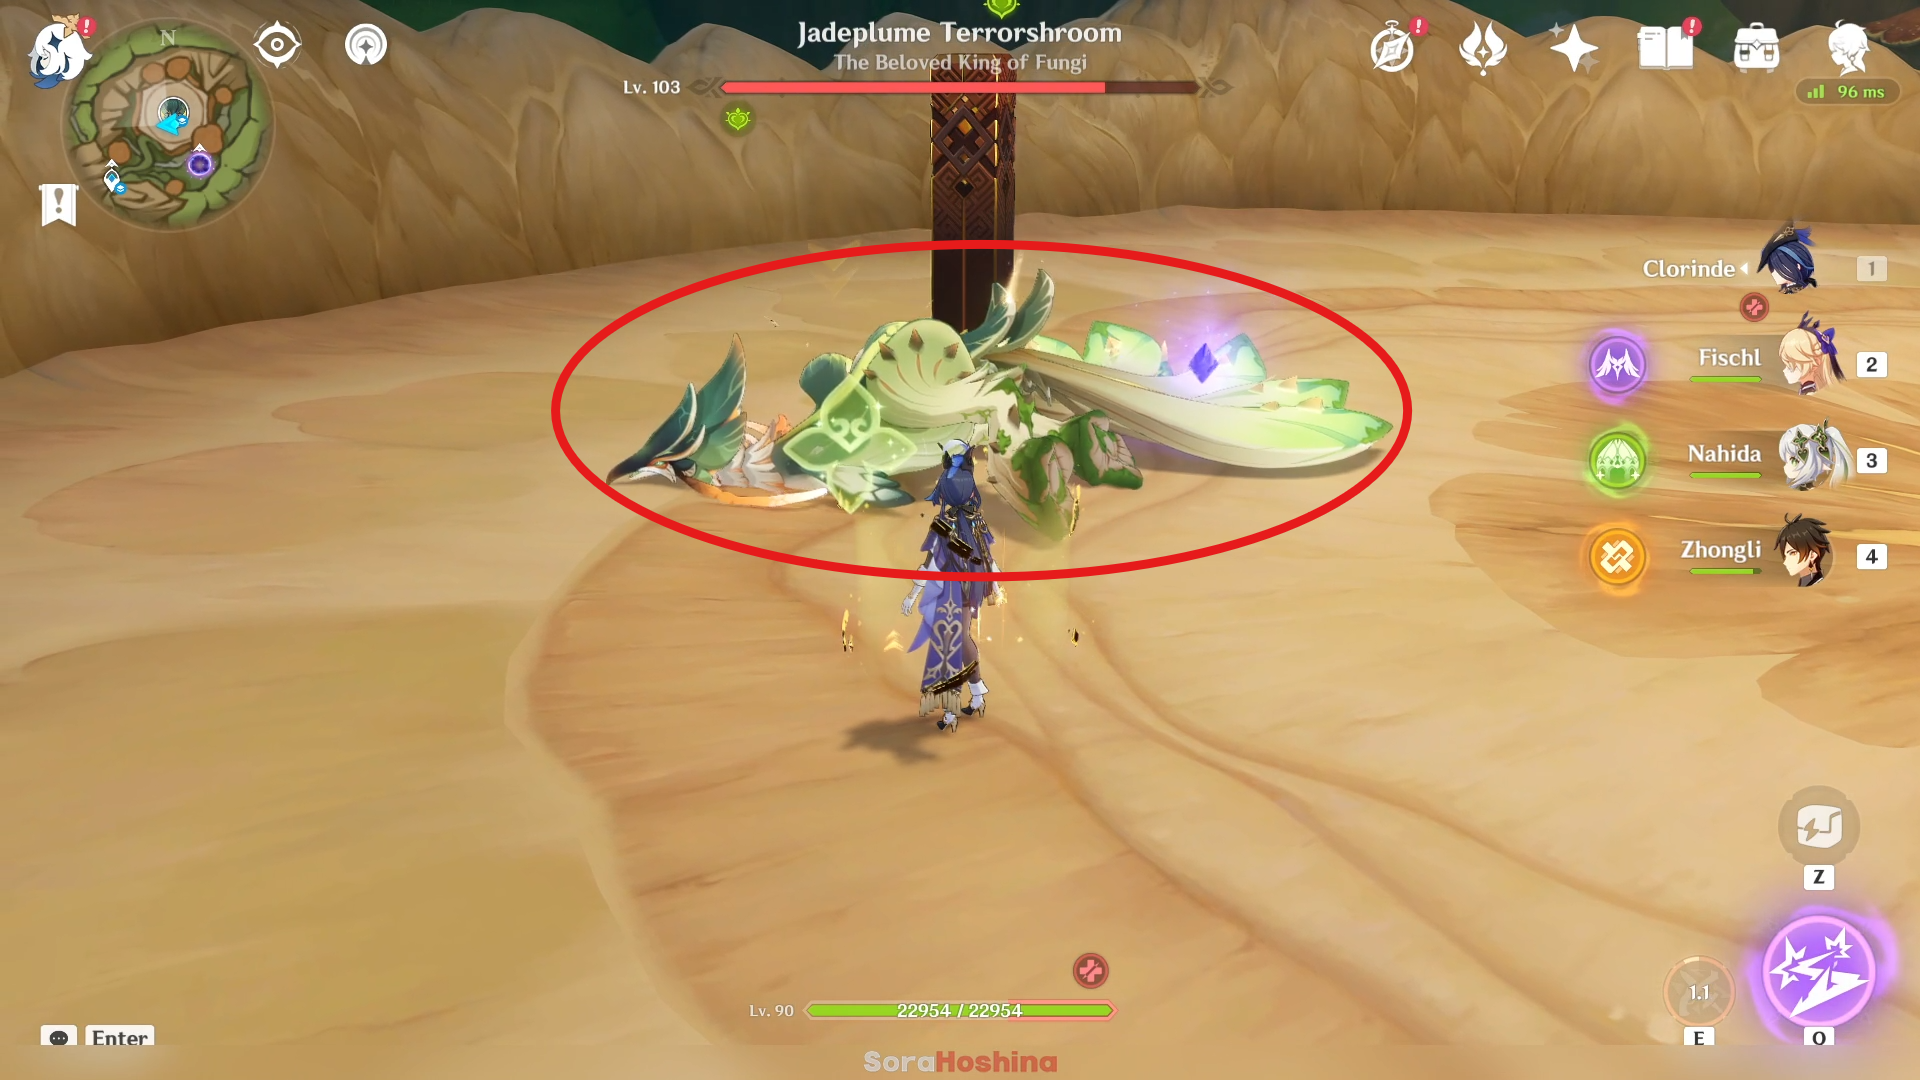
Both states are decent so you can choose which one you think is the best for your team. For the Activated state, make sure to avoid any incoming attacks from Jadeplume because those hit like a truck. Instead, wait until it's paralyzed before you can spam your attacks.
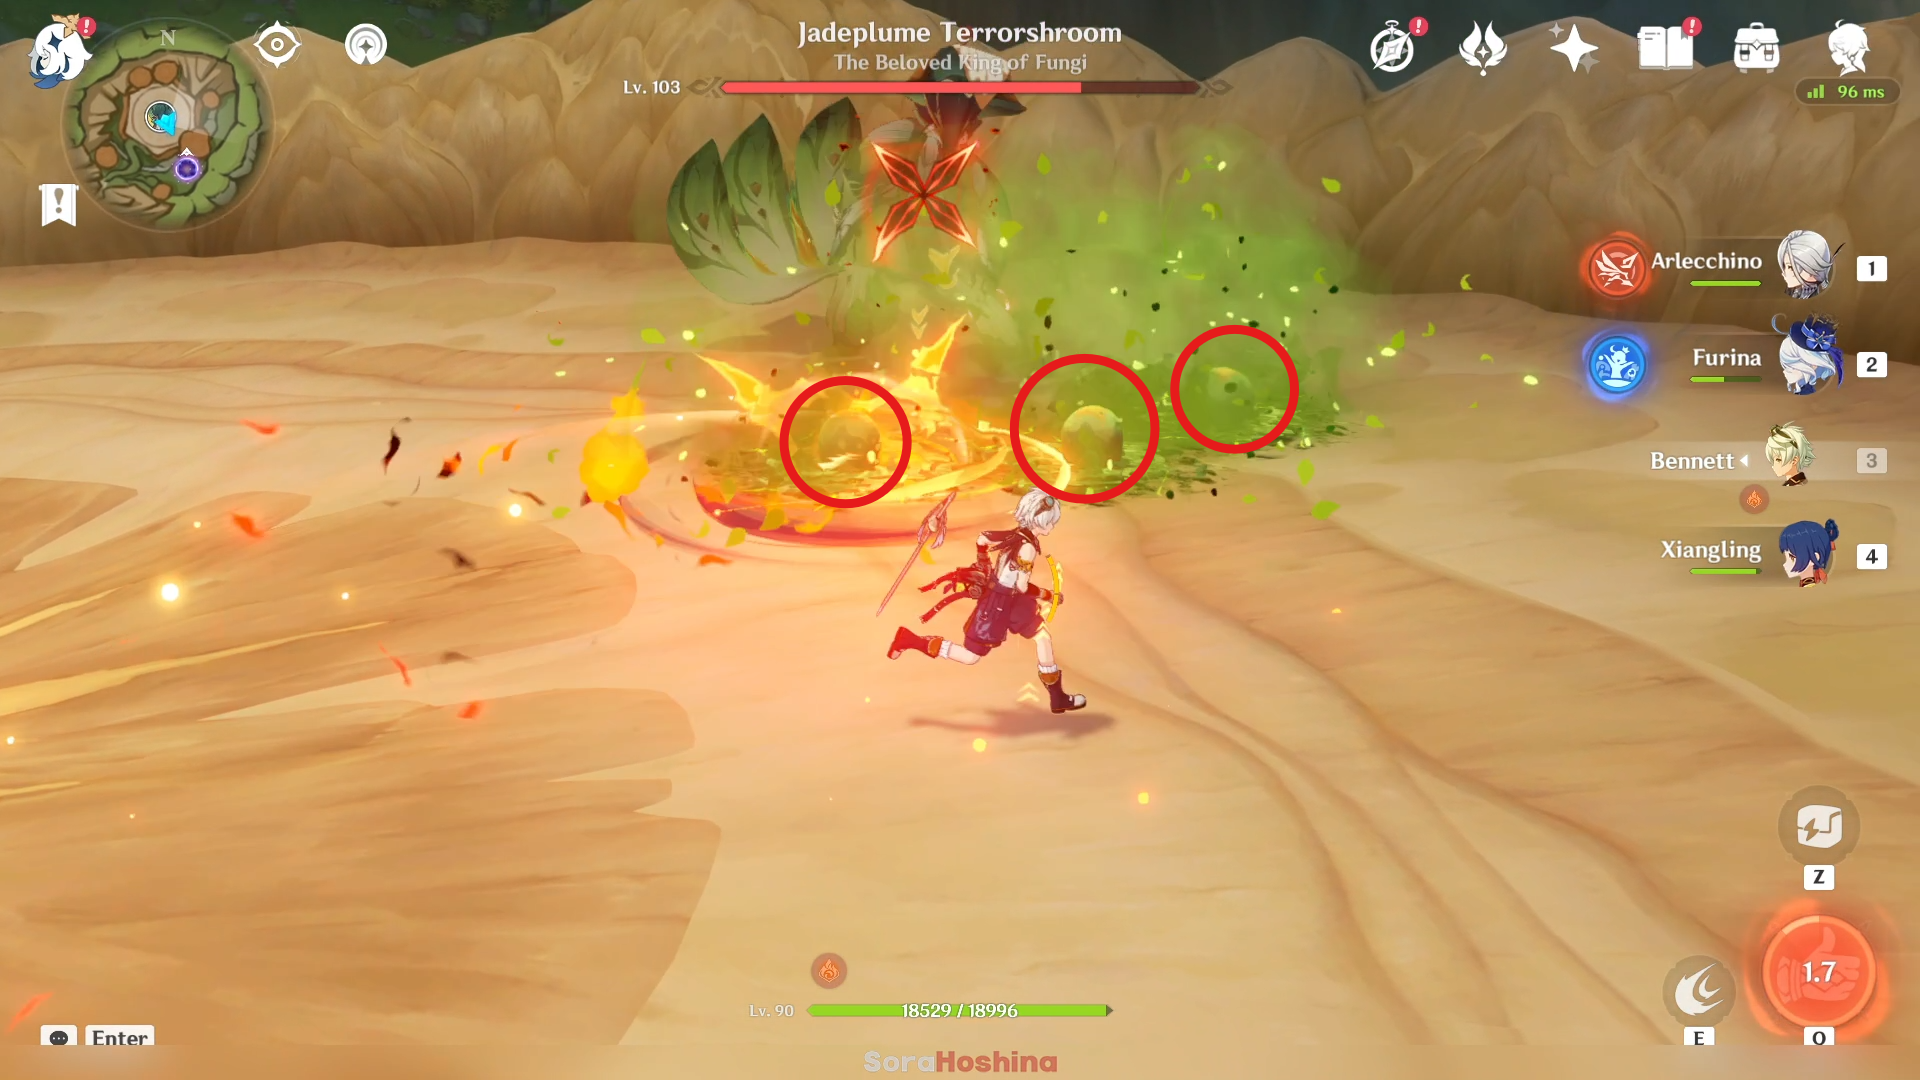
For the Scorched state and the Fungi spores, you can destroy the spores with Electro/Hydro/Pyro within 3 seconds before they can spawn, which will stop the Fungi from spawning. Any of the mentioned elemental AoE attacks are great here.
Floor 11 Chamber 3
First Half
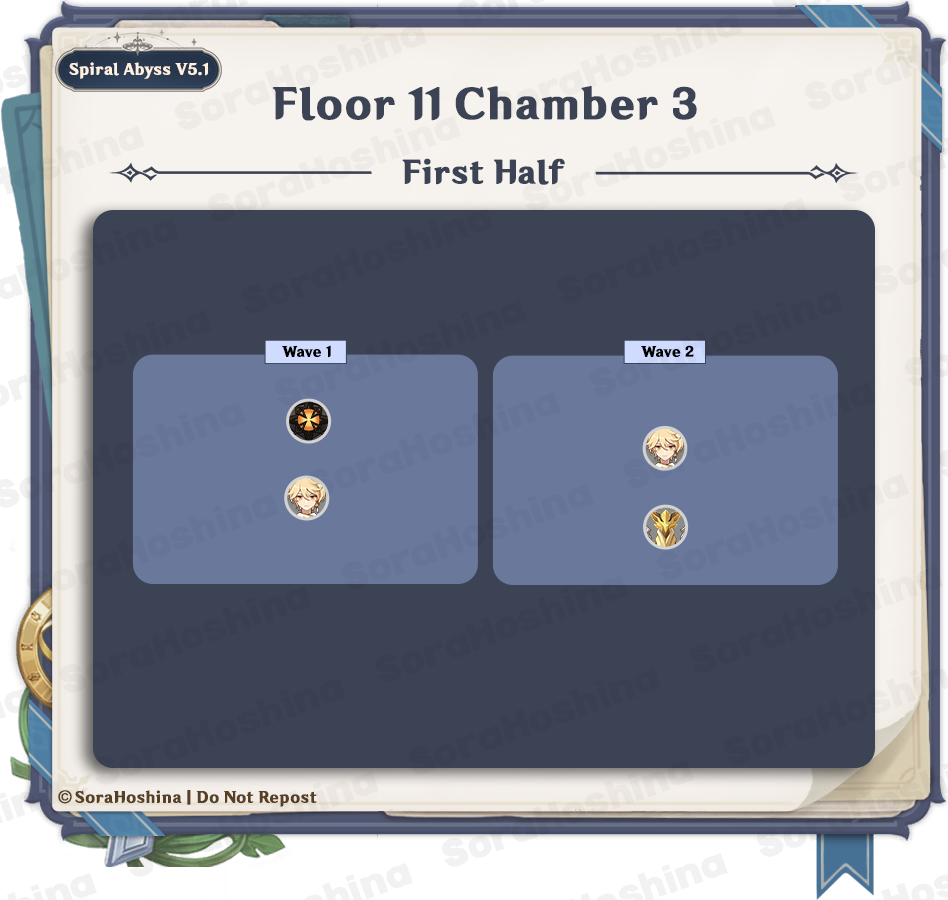
1st Wave: Ruin Grader x1
2nd Wave: Rock-Cavernous Wayob Manifestation x1
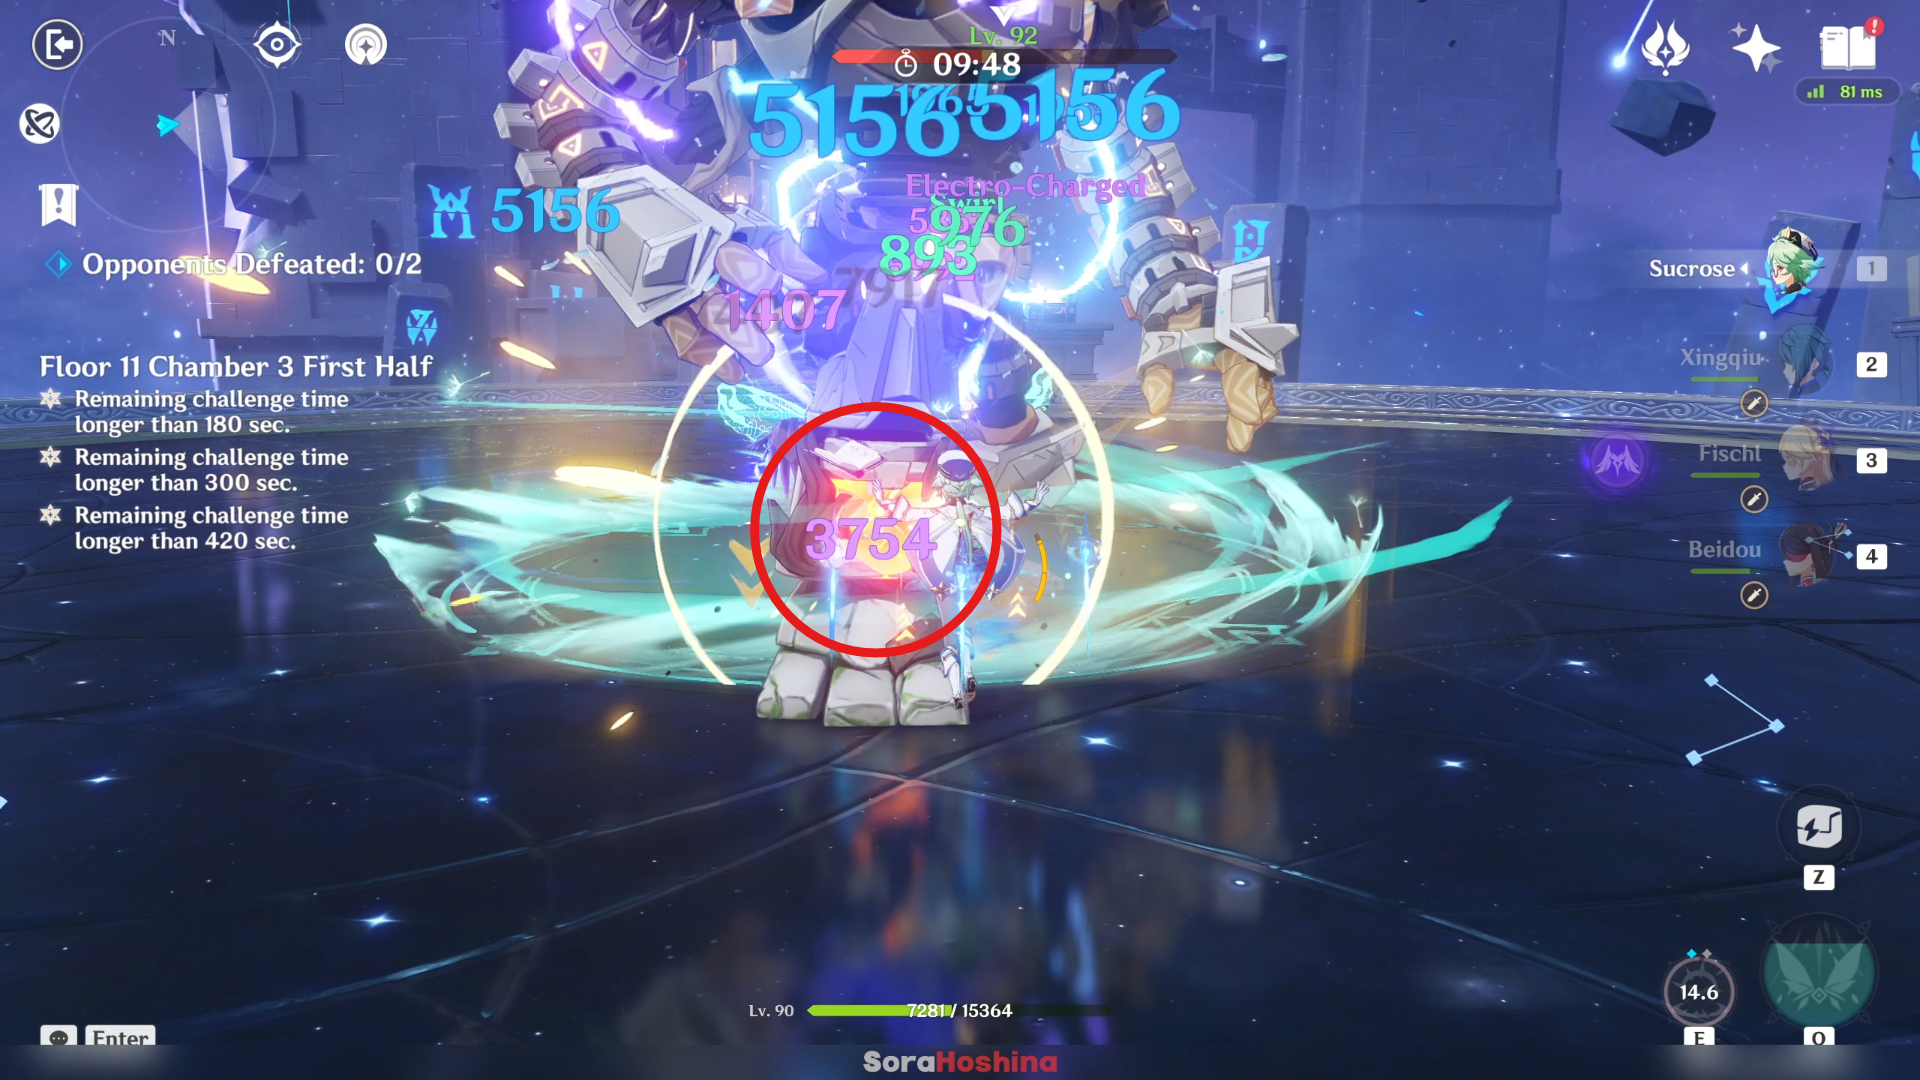
In the first wave, there is only one Ruin Grader in the front area. Ruin Grader has two weak points; the cores on its head and feet. Attacking one of the exposed weak points will interrupt the Ruin Grader's current attack. Successfully damaging the second weak point will temporarily paralyze the Ruin Grader for a few seconds.
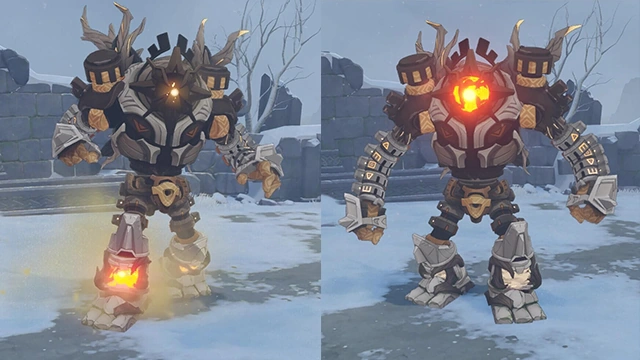
Should you aim for the weak points? Yes and no. If you have lots of remaining time, you can try to paralyze it so you can have an easier time dealing with all sorts of damage (after all, you still need to face another wave after this). Use a Bow character's aimed shot for better accuracy and a higher chance to aim at the cores. But if you don't have much time, it's better to just brute force.
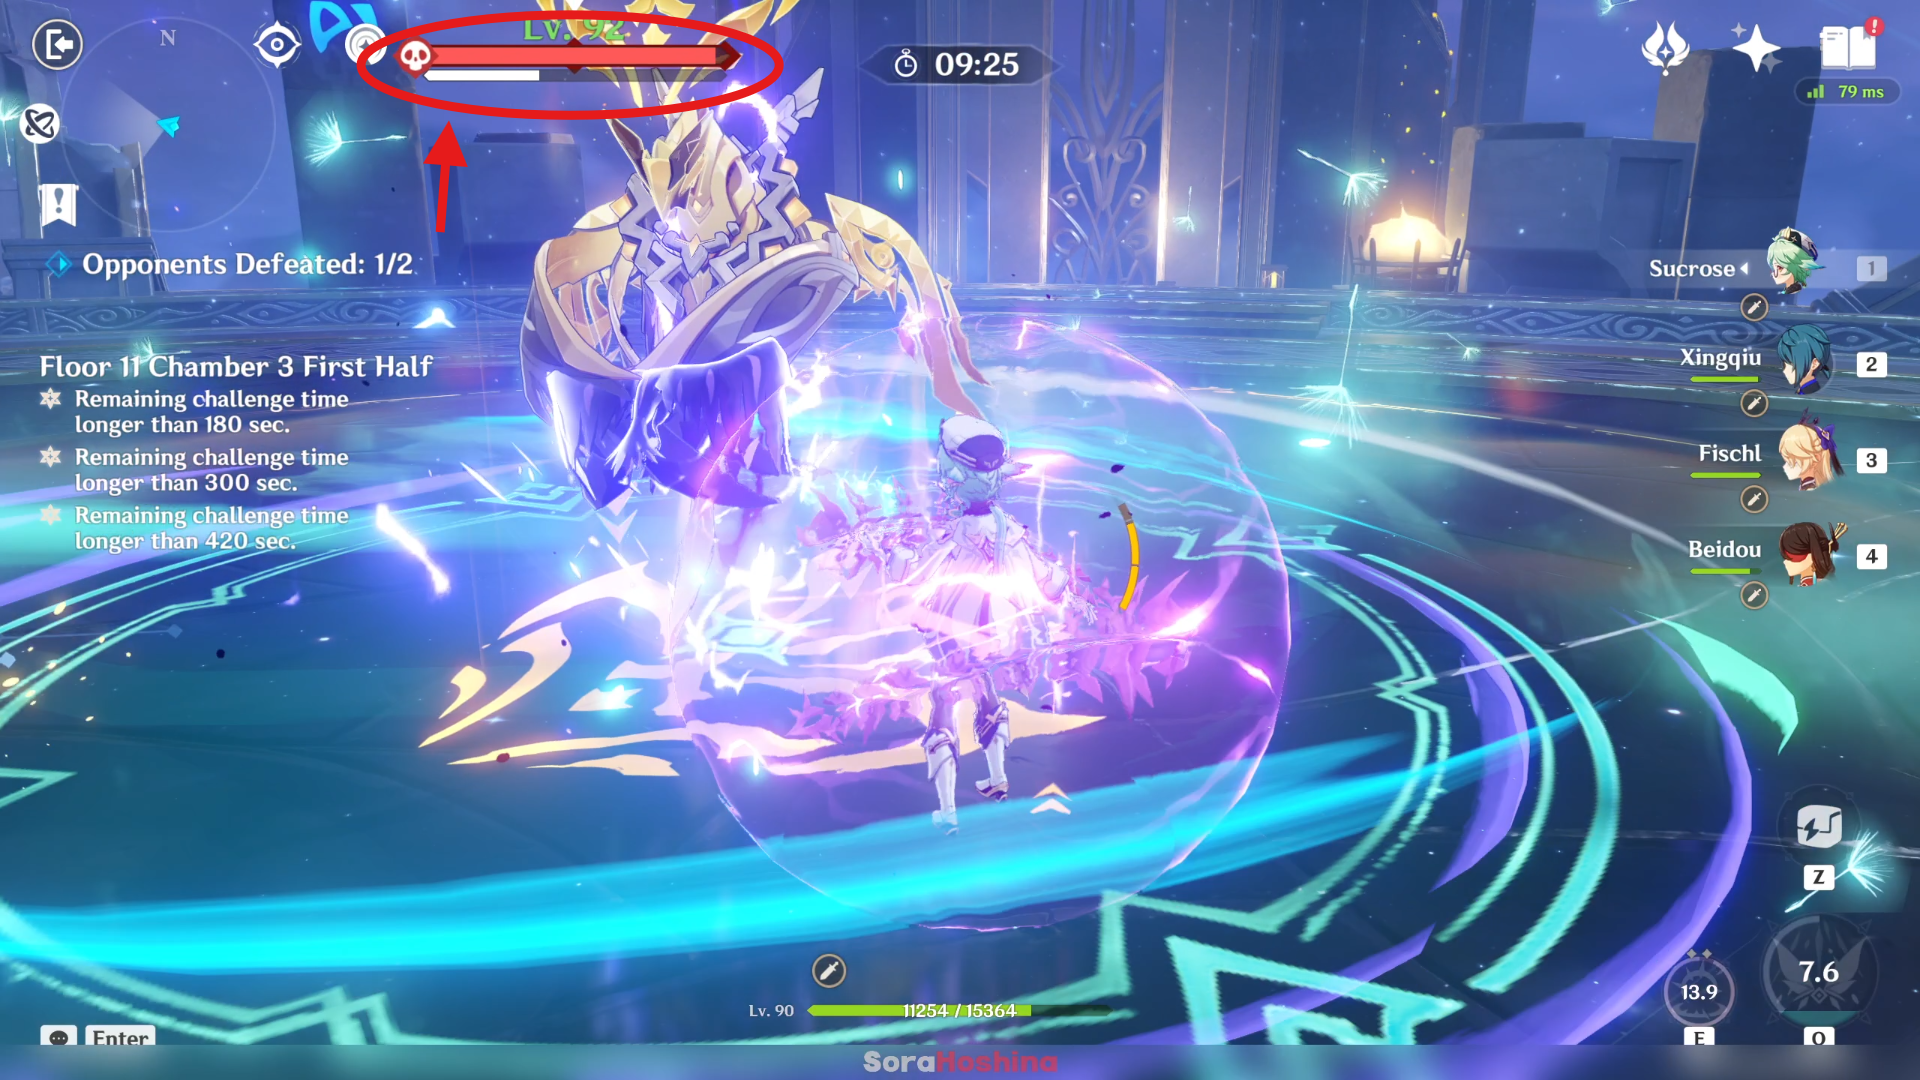
In the second wave, you will face a Geo Wayob at the back area. If you haven't fought him yet in Natlan, just know that he's the top enemy if your team focuses on Elemental Burst. Aside from all of his normal attacks, one that you should be careful of is the 'Arena'.
When the Arena is active, Wayob will gain a non-elemental shield (it's the white bar under its HP shown in the image above). You can destroy this shield by dealing damage aka just attack him relentlessly. Aside from that, while the Arena is active and you're inside it:
(1) Your characters will lose Energy and cannot gain Energy
(2) Your characters deal increased DMG, while Nightsoul-aligned (Natlan) characters deal even higher DMG than non-Natlan characters.
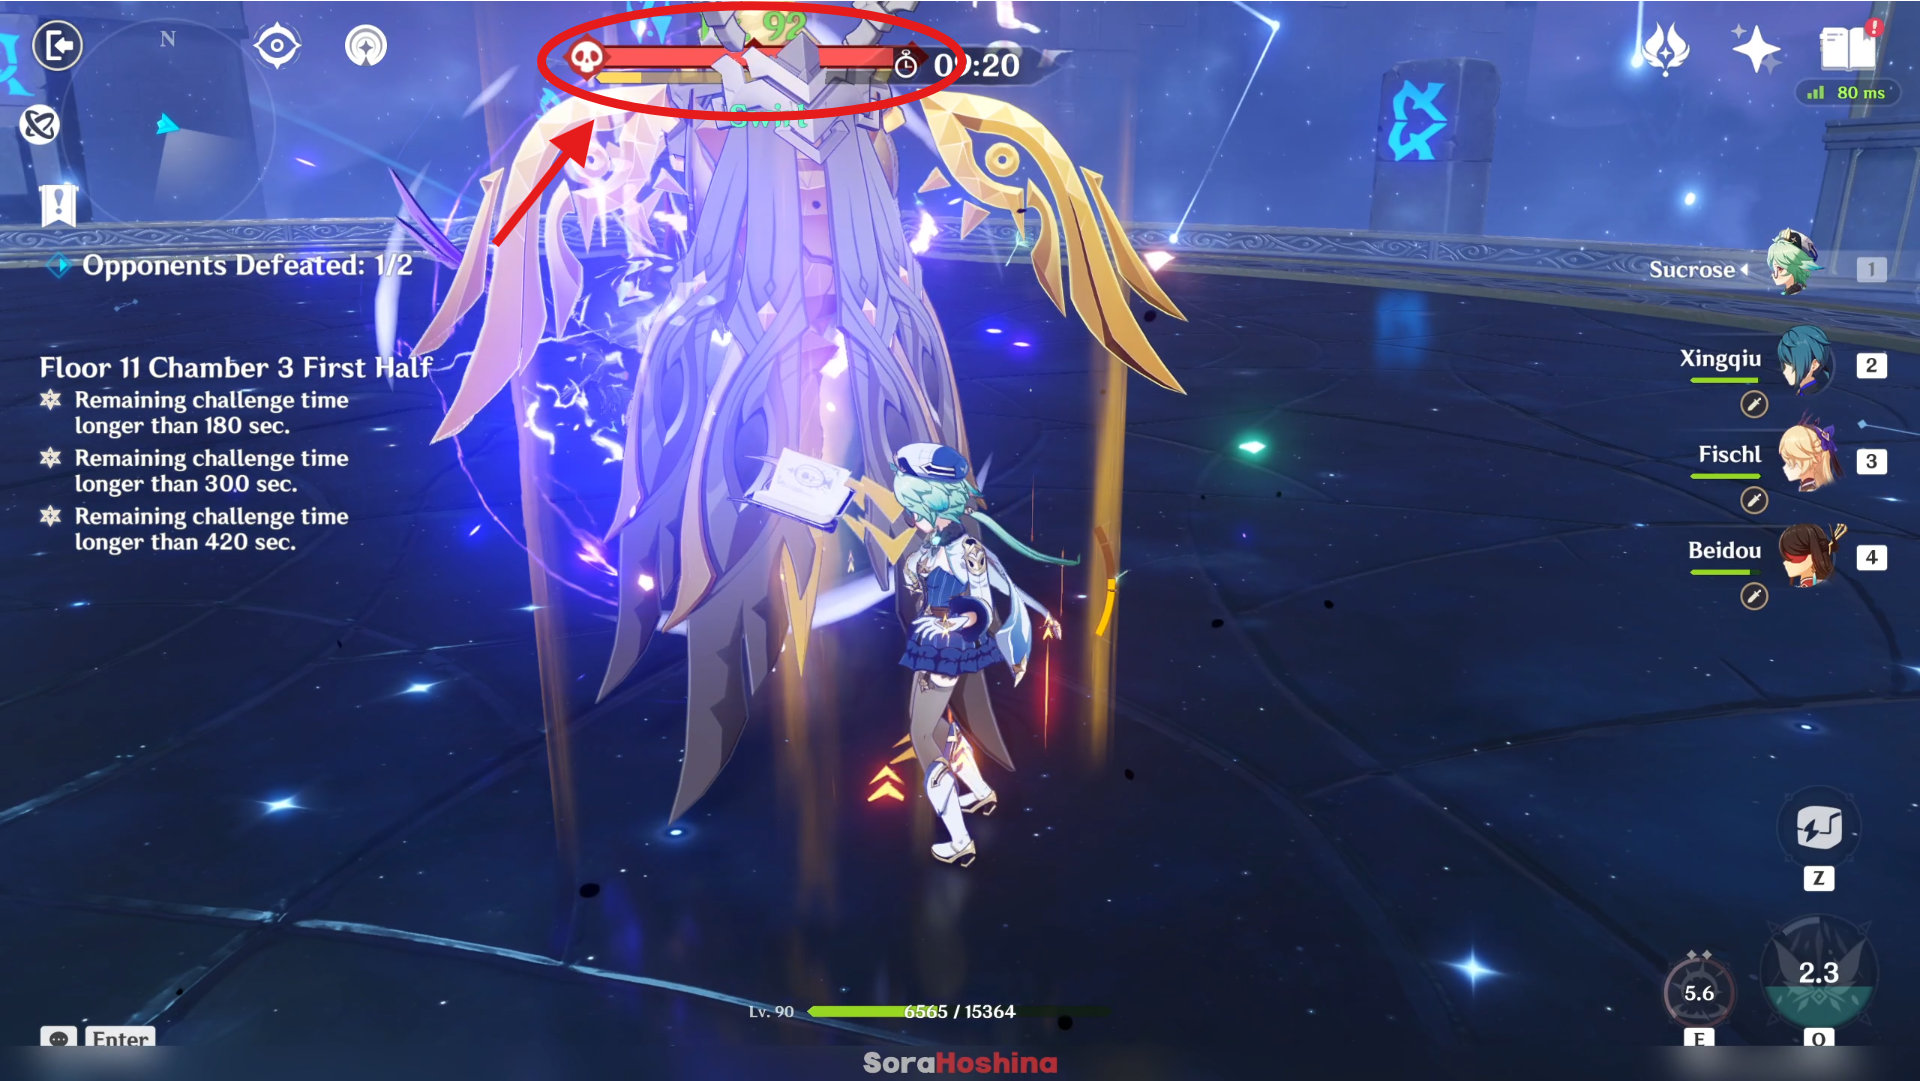
If you do not destroy Wayob's non-elemental shield until Arena's duration ends, he will convert the remaining percentage of that non-elemental shield to a Geo elemental shield. When either shield is destroyed (non-elemental shield or Hydro shield), the Wayob Manifestation becomes paralyzed for 5 seconds.
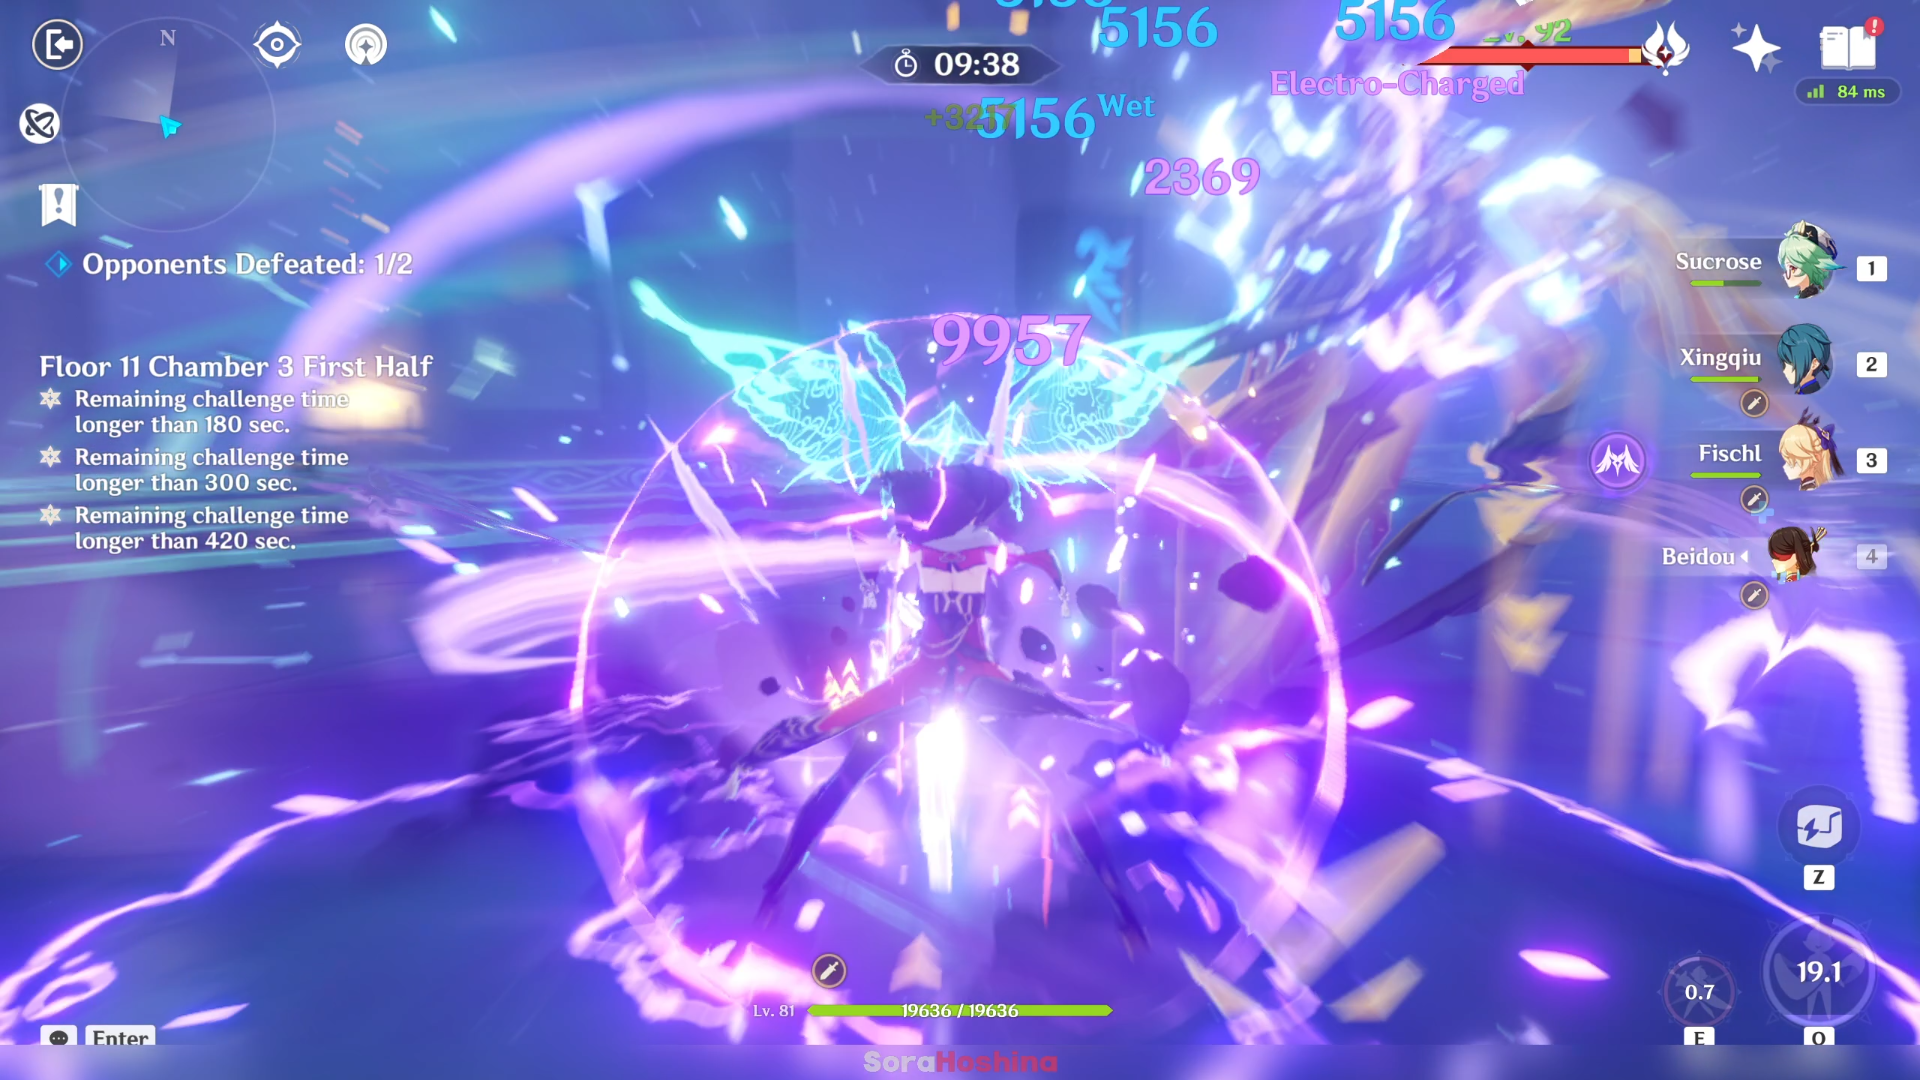
So the plan here is, when the second wave starts, immediately use all your Bursts on Wayob (even better if they can deal off-field damage) so you don't waste all the Energy that will be gone a few seconds later. Then, spam attack as much as you can until the shield breaks. If you manage to destroy the non-elemental shield before the Arena's duration ends, a MASSIVE amount of Elemental Particles will spawn.
Second Half
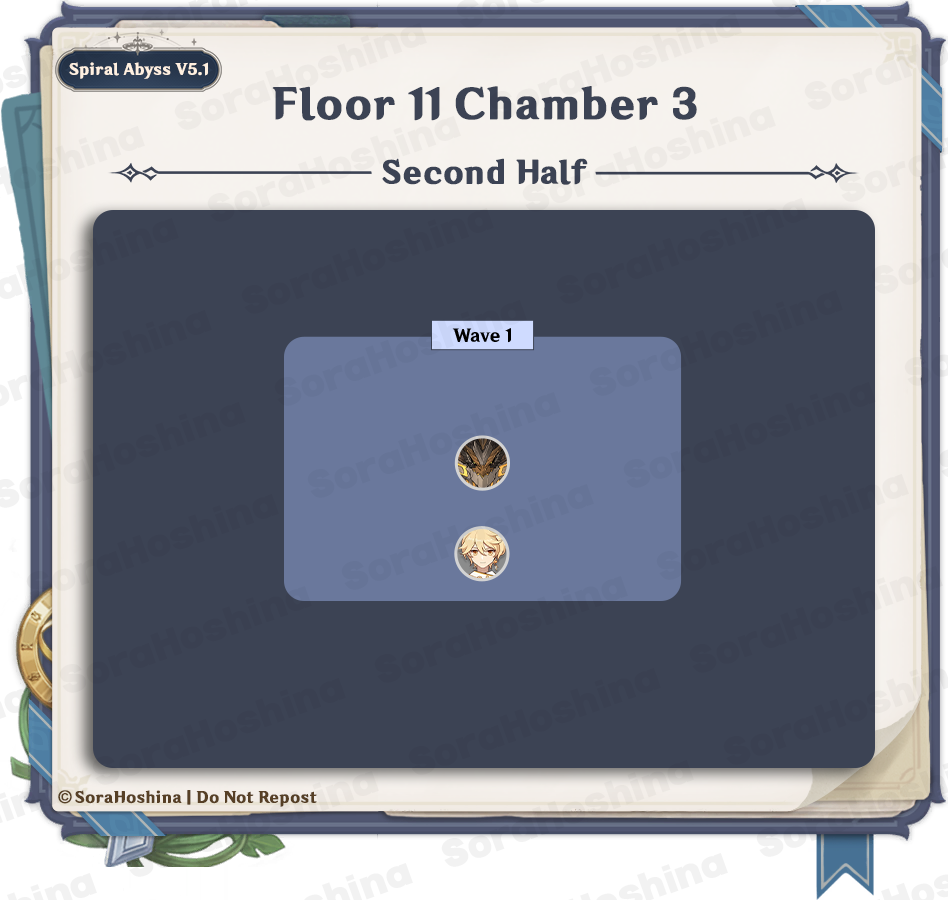
1st Wave: Primo Geovishap x1
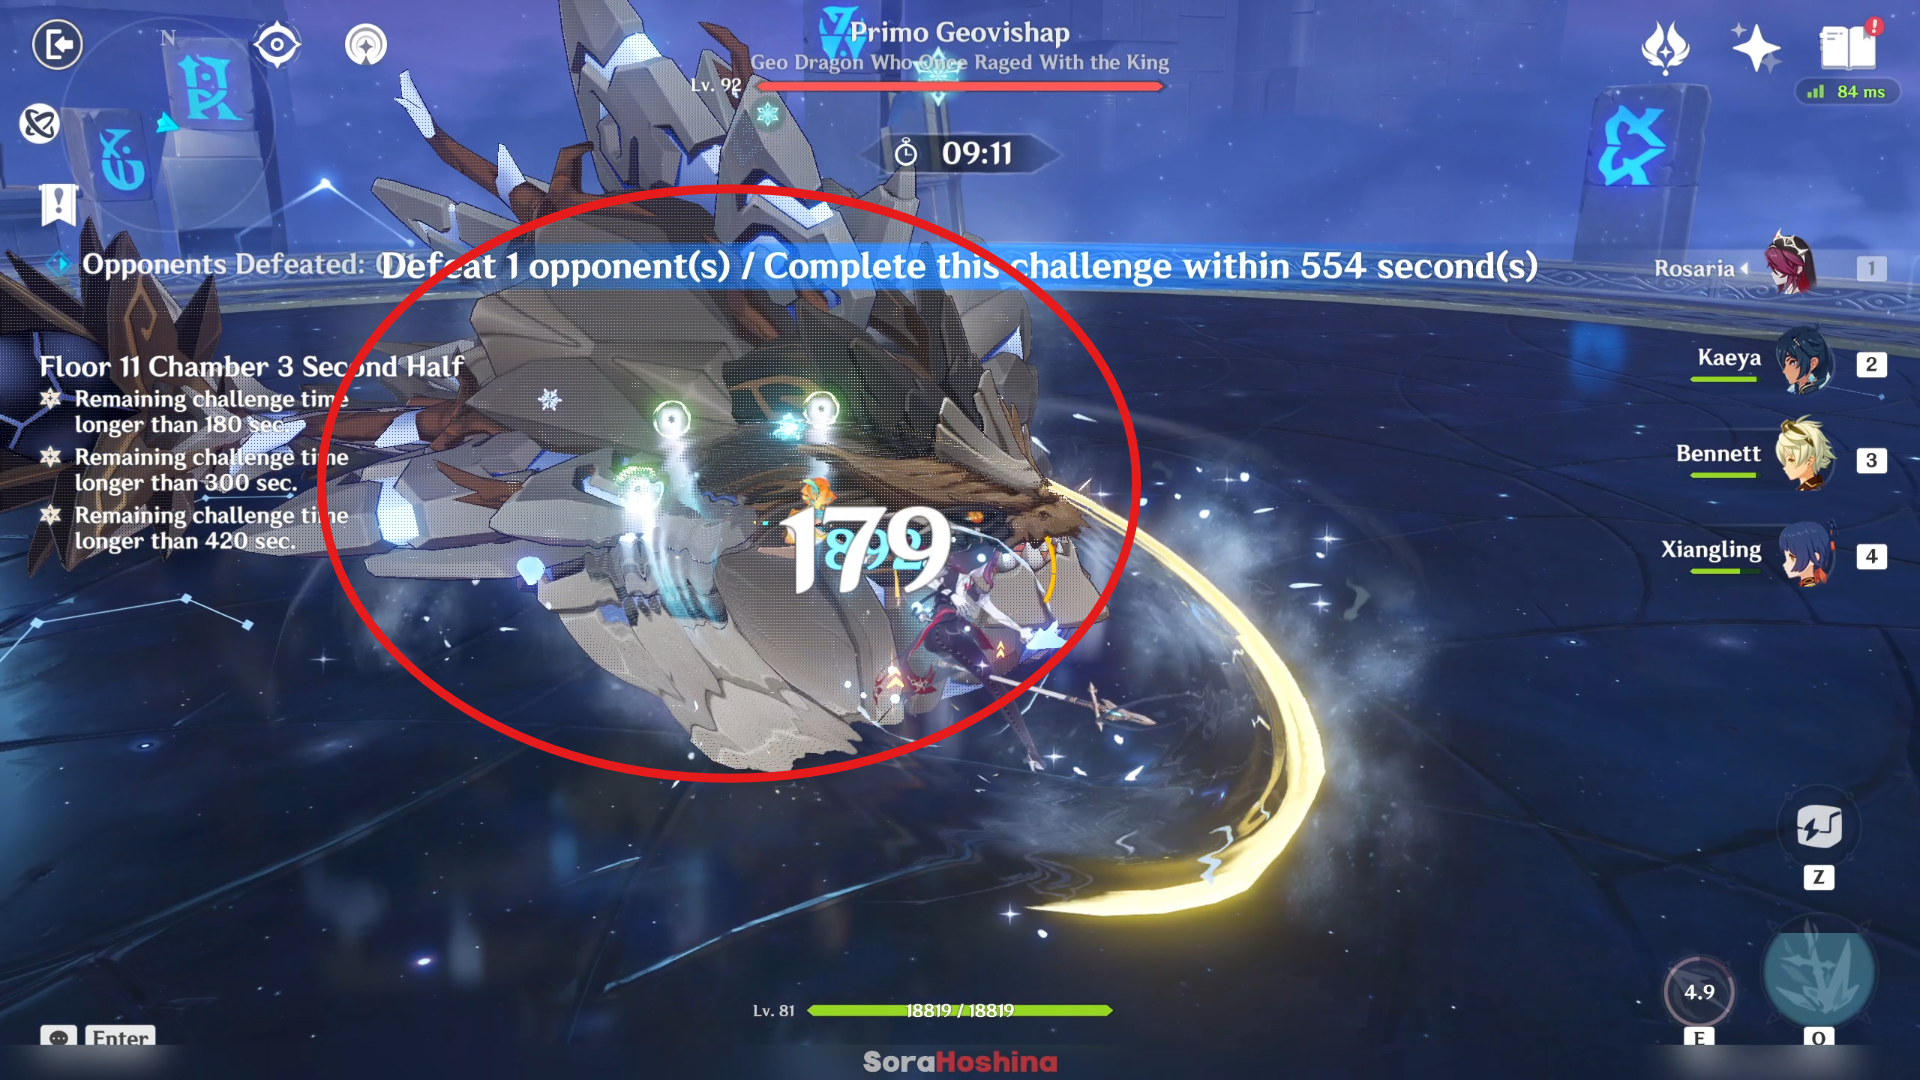
There is only one wave on this floor and it's the Primo Geovishap (Cryo variant). Remember that it has reduced damage when it just woke up so don't waste your Elemental Burst yet. You can keep attacking the boss if your character has Favonius weapon though to generate Energy particle. Also, bring along a shielder (preferably Geo or Cryo) because it has one special attack that you can take advantage of.
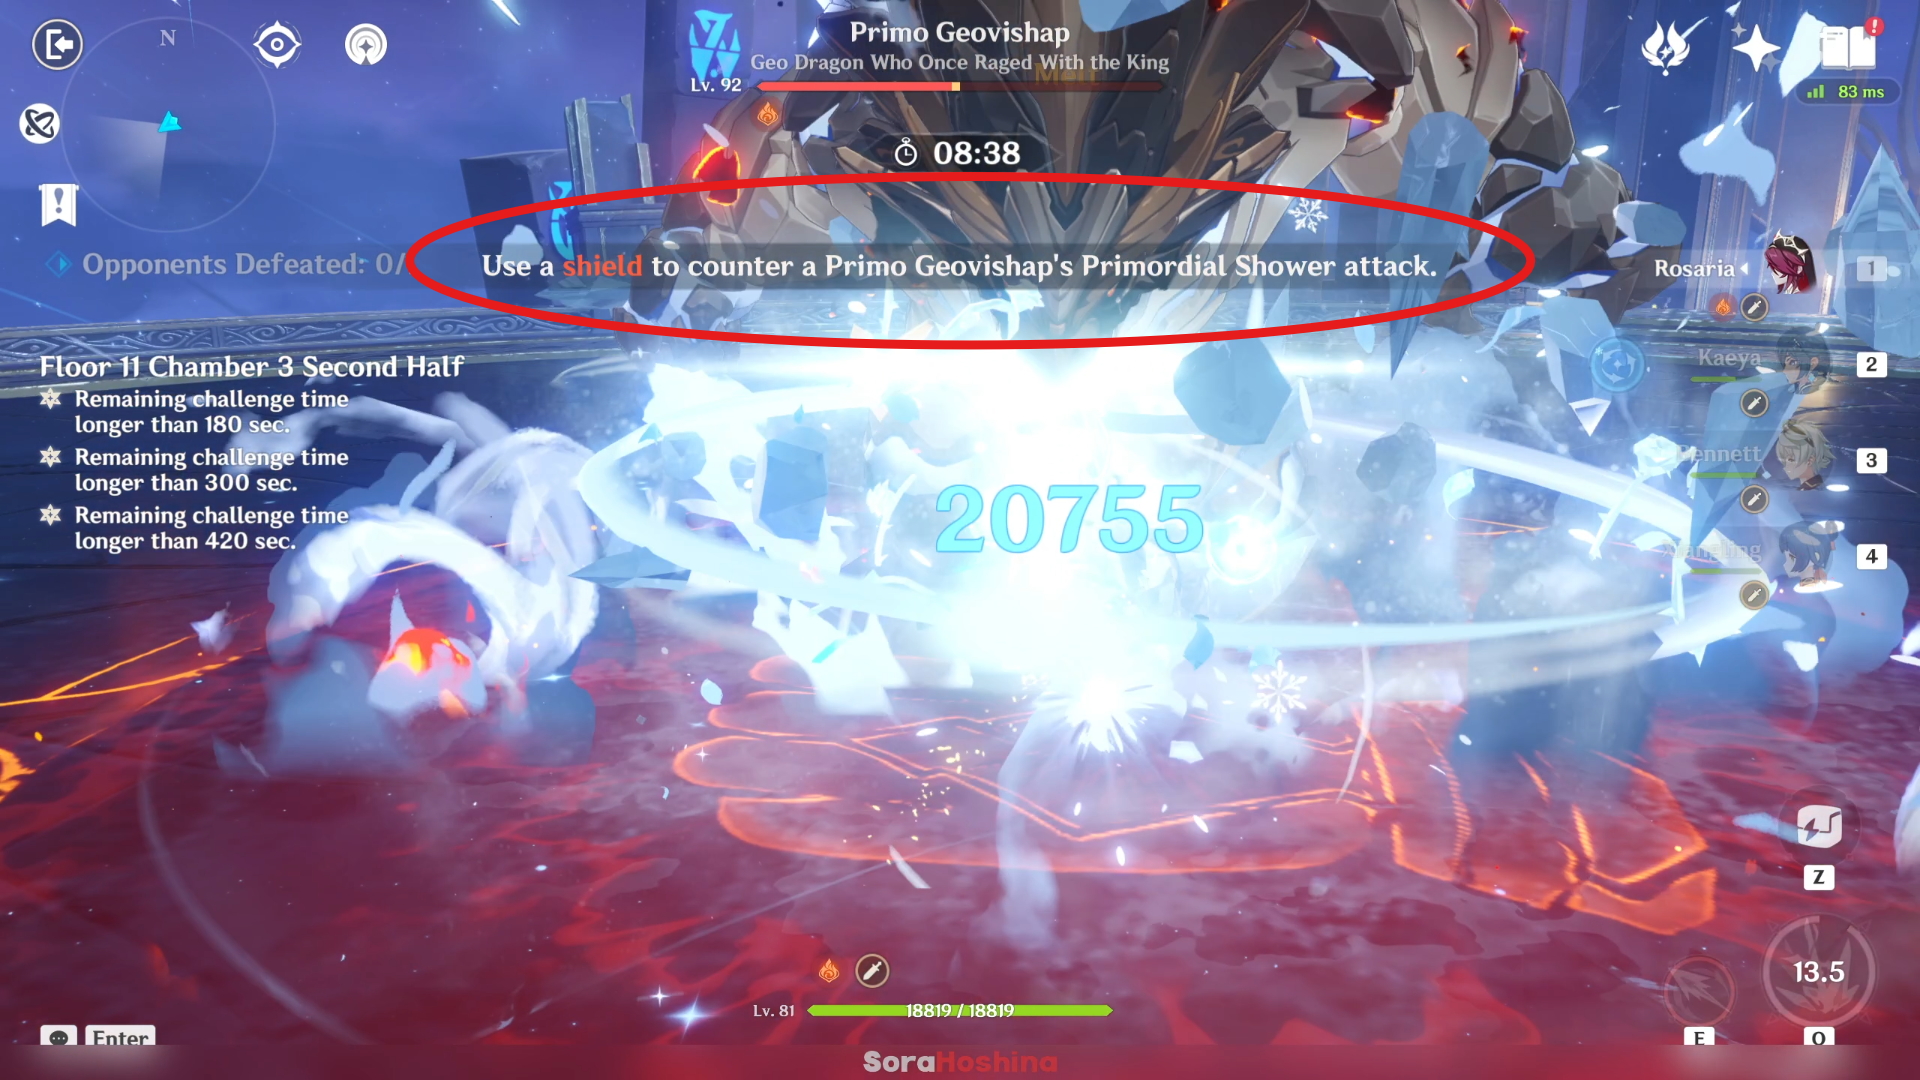
When the Primo Geovishap starts its Primordial Shower attack, the game will advise you to quickly generate a shield to block the incoming attack. When the attack connects with the shield, it will rebound back to the Primo Geovishap and deal a massive amount of damage back.
The reason I mention Geo and Cryo shields are better is because:
- If the shield's element is Geo or the Primo Geovishap's currently infused element (which is Cryo on this floor), the Geovishap will lose 15% Max HP.
- A non-Geo shield not of the corresponding element will only cause it to lose 5% Max HP.
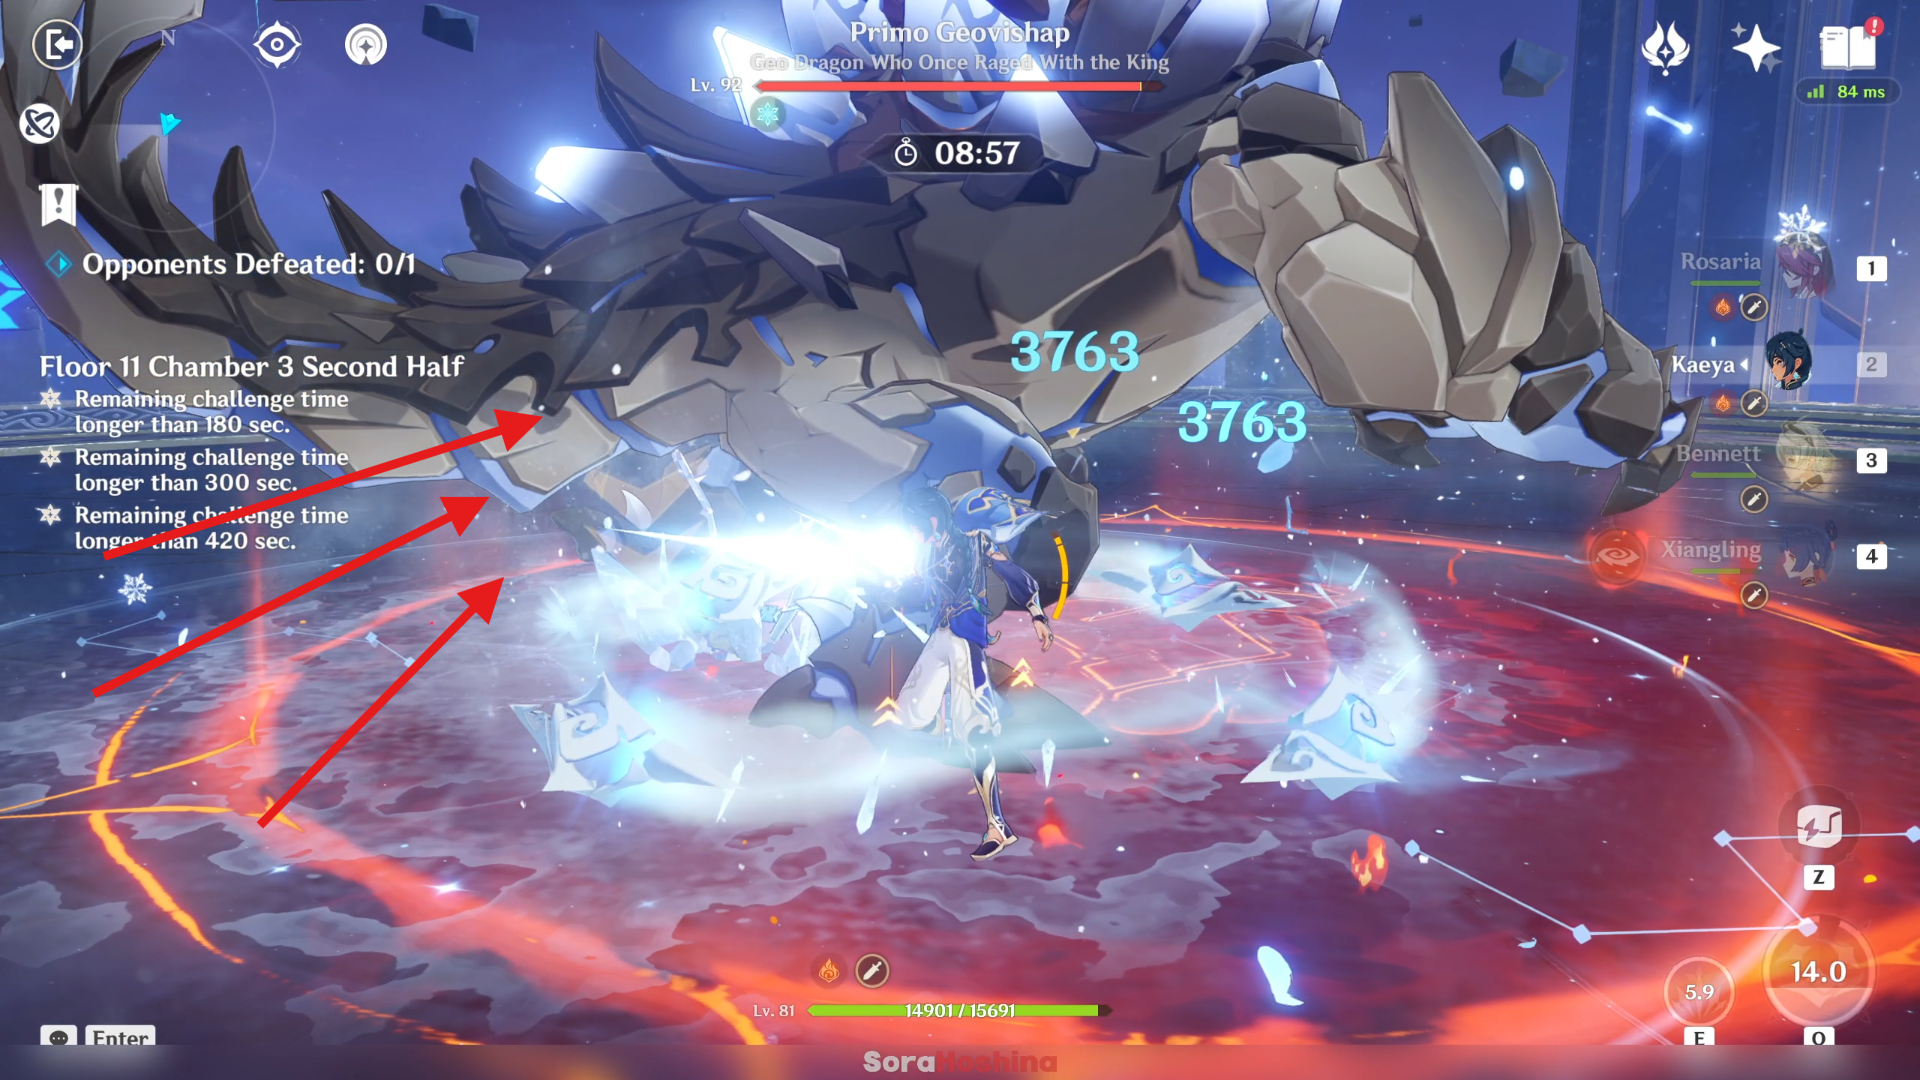
Primo Geovishap will only perform the Primordial Shower attack when it is front-facing your character, so you can avoid this attack during shield downtime by constantly running behind it, and only bait this move once a shield is ready by running in front.


