
Table of Contents [Hide]
The last floor of 5.1 Spiral Abyss is here with lots of elite enemies and some bosses. Follow this guide to know more about enemies' lineup, their weaknesses, and how to complete the entire chamber on Floor 12.
Blessing of the Abyssal Moon
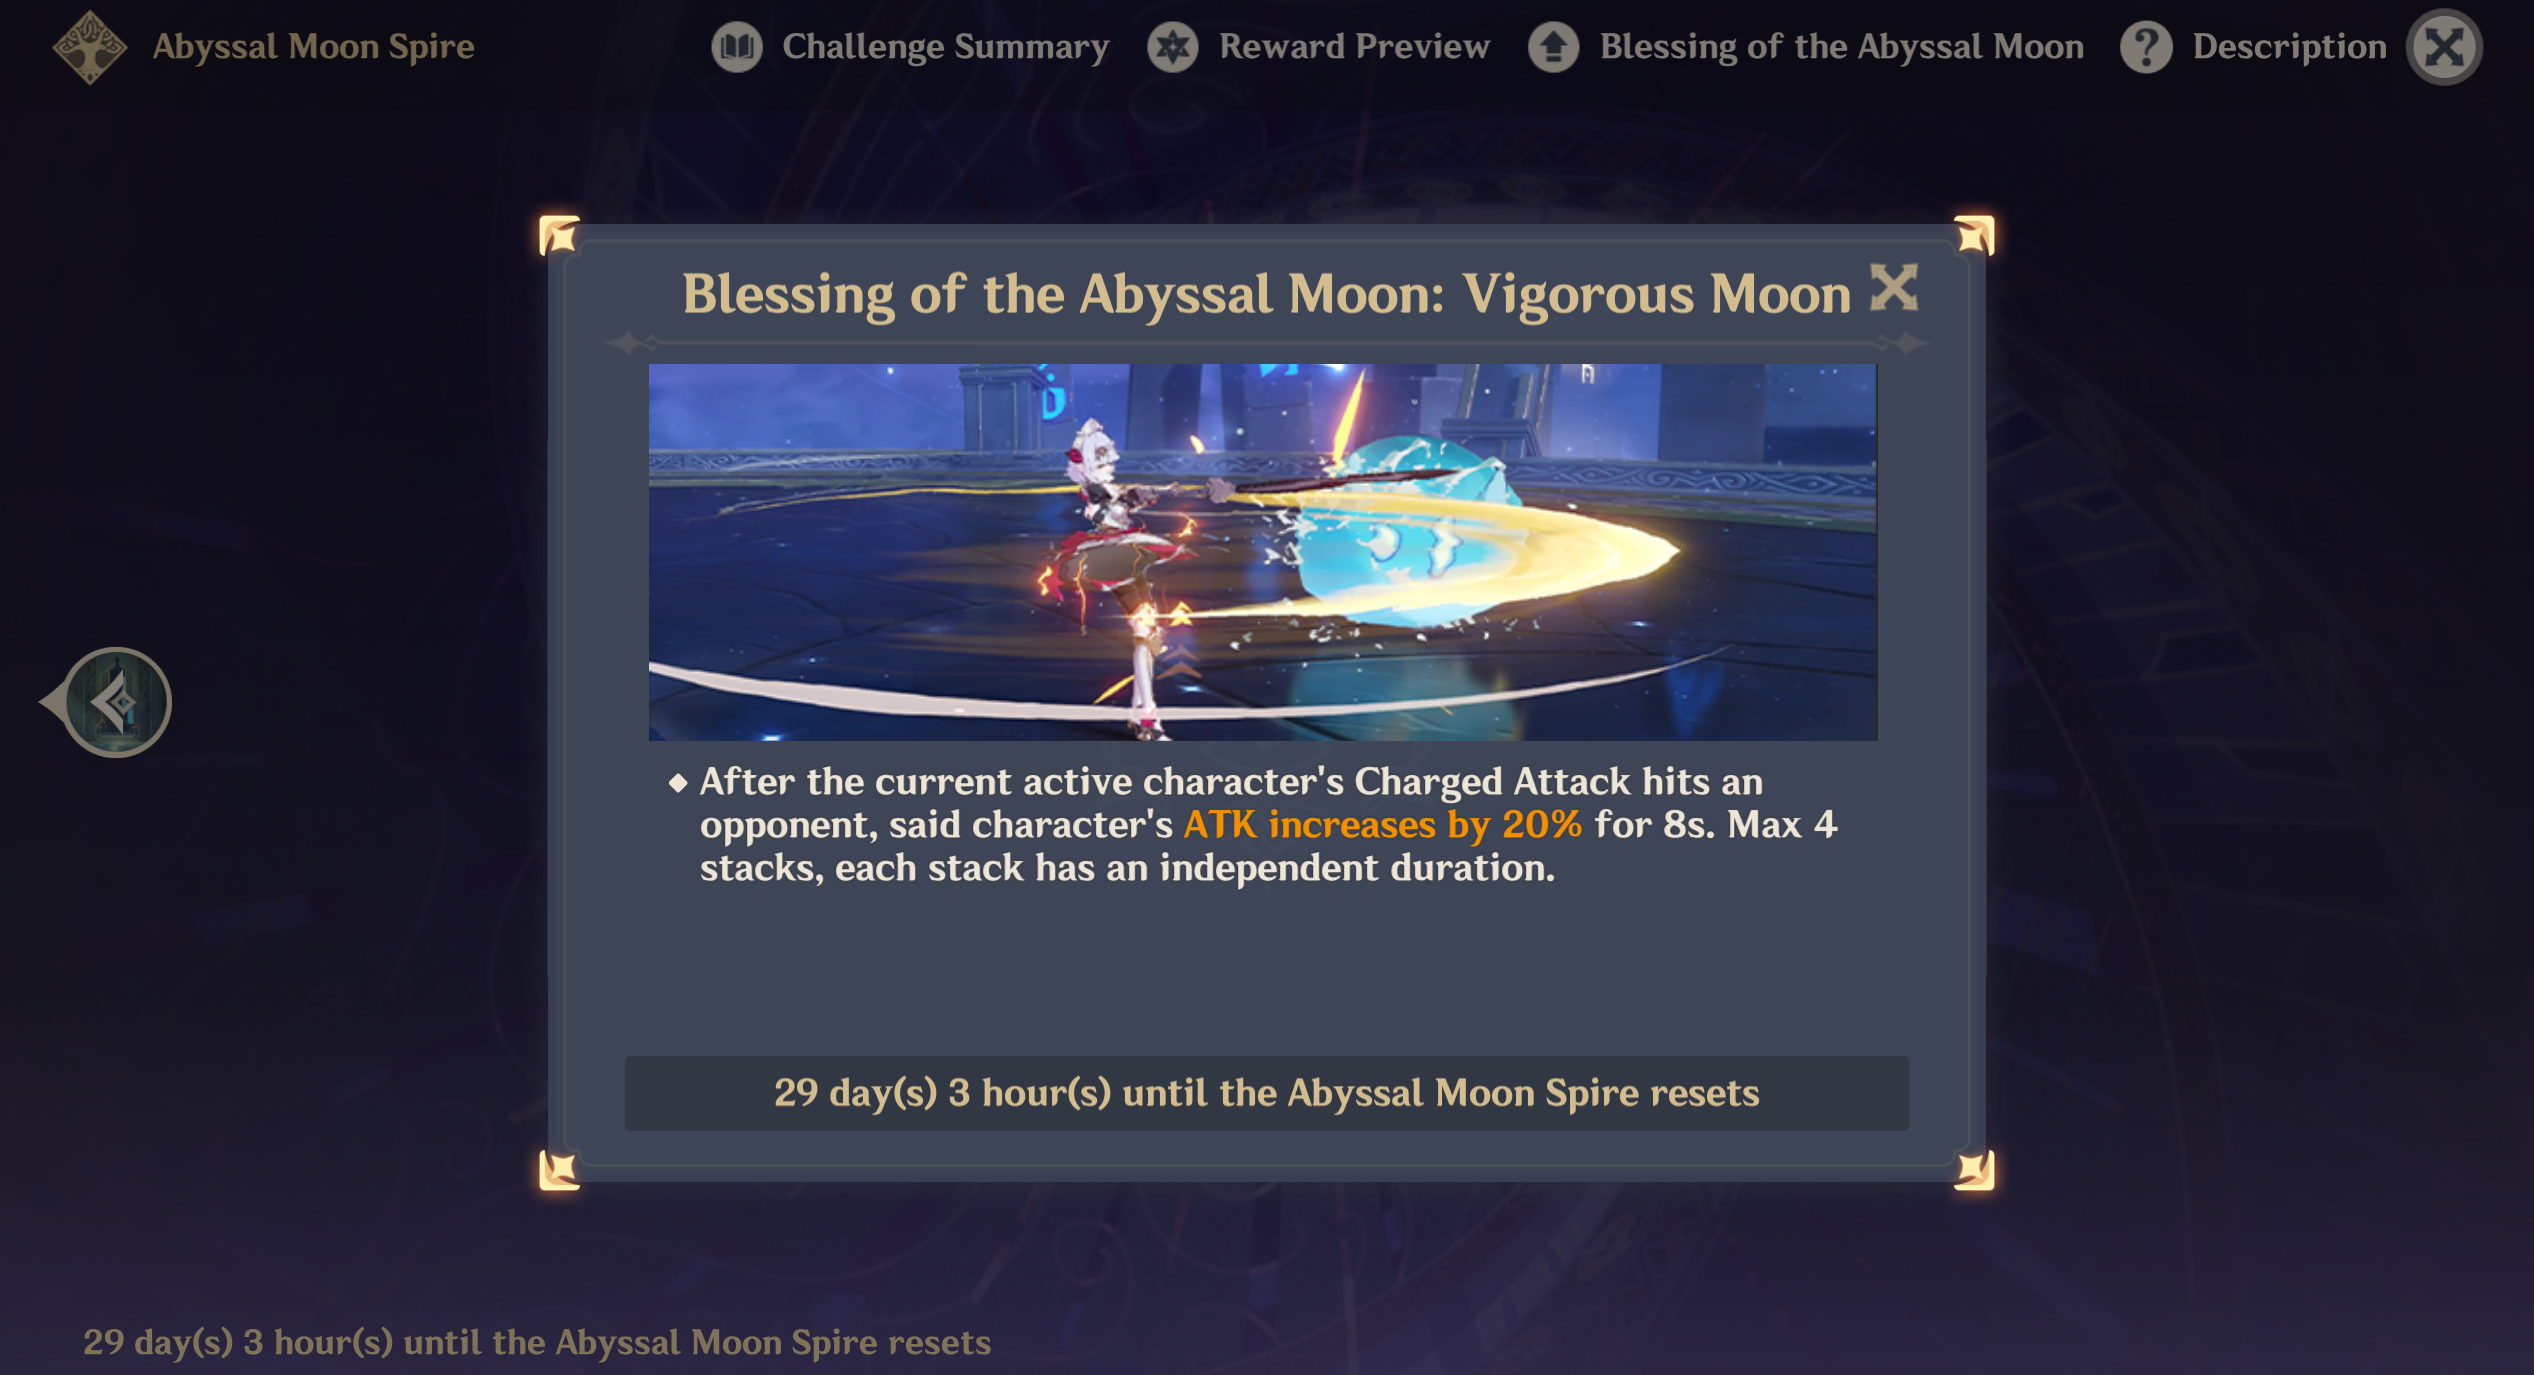
Reminder: Blessing of the Abyssal Moon will change every refresh cycle and may not be updated here. But the enemies list and strategy will remain the same.
Vigorous Moon
After the current active character's Charged Attack hits an opponent, said character's ATK increases by 20% for 8s. Max 4 stacks, each stack has an independent duration.
Team Recommendations
Ley Line Disorder:
For this floor only, the Let Line flow will be normal.
General Tips:
If the floor is too hard for you, don’t forget that changing teams is an option. Although you need to start from Chamber 1, at least you don’t have to worry about stars for the Chamber you already completed.
Team Recommendations for the First Half
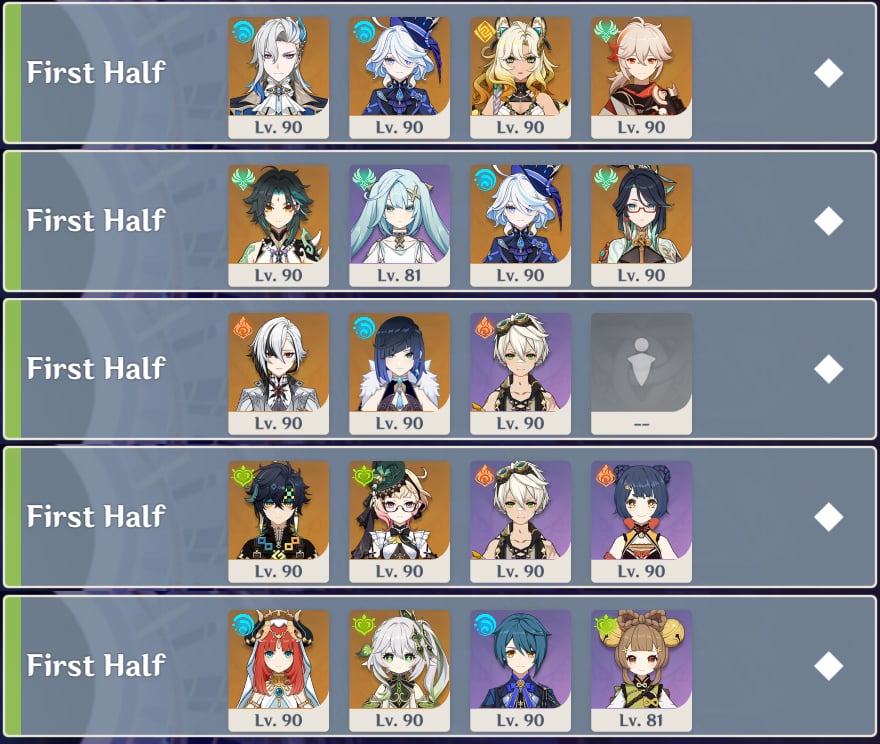
| The recommended elements for the Second Half |         All except those mentioned below ➥ Yes, Consecrated enemies have high RES to their own element but you also need said element to easily destroy the Phlogiston blocks that they spawn. So I'll say it's okay to bring a character (sub-DPS) with the same element as Consecrated enemies. |
| The not recommended elements for the Second Half | None ➥ Note that there are variety of enemies in Chamber 1 with different elemental RES.   Mono-Pyro ➥ Special mention to warn you not to bring a Mono-Pyro team because there are Lava enemies in Chamber 3 and they have constant Pyro state and have high Pyro RES. |
Example:
(1) Hypercarry Team: Neuvillette + Furina + Xilonen + Kazuha
(2) Hypercarry Team 2: Xiao + Faruzan + Furina + Xianyun
(3) Vaporize Team: Arlecchino + Yelan + Flex + Flex
(4) Hyperbloom Team: Nahida/Alhaitham + Xingqiu + Kuki Shinobu + Flex
(5) Burning Team: Kinich + Bennett + Xiangling/Dehya + Emilie/Dendro
(6) Bloom Team: Nilou + Nahida + Hydro + Dendro
(7) National Team: Raiden + Yelan + Bennett + Xiangling
(8) Geo Team: Navia + Xilonen + Furina + Bennett
You can find more lineups in the official HoYoLAB Lineup Simulator here.
Team Recommendations for the Second Half
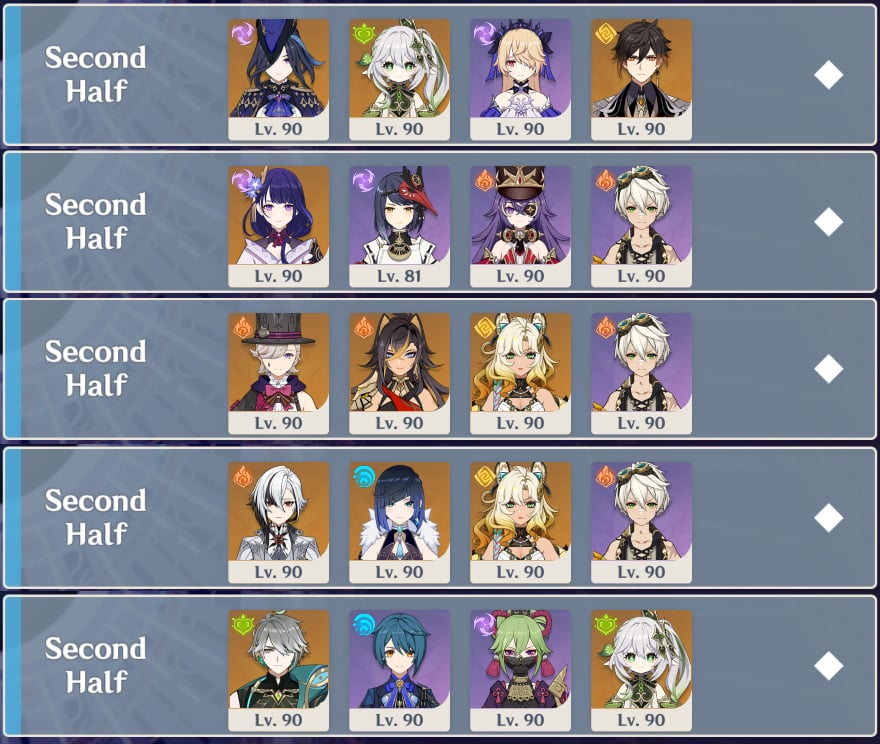
| The recommended elements for the Second Half |      All except those mentioned below ➥ Bring a single-target DPS because you'll be facing bosses so it's better for a single-target compared to AoE DPS. |
| The not recommended elements for the Second Half |    Geo, Hydro & Physical ➥ All the elements mentioned above are not recommended because the bosses in each chamber has a high RES against one of the element (Exp Field Gen has high RES to Geo, Aeonblight to Physical, and Hydro Tulpa to Hydro). |
Example:
(1) Aggravate Team: Clorinde + Nahida + Fischl + Zhongli
(2) Overload Team: Raiden/Keqing + Kujou Sara/Xiangling + Chevreuse + Bennett
(3) Mono-Pyro Team: Lyney + Dehya + Xilonen + Bennett
(4) Hypercarry Team: Arlecchino + Bennett + Xilonen + Flex
(5) Hyperbloom Team: Nahida/Alhaitham + Xingqiu + Kuki Shinobu + Flex
(6) Burning Team: Kinich + Bennett + Xiangling/Dehya + Emilie/Dendro
You can find more lineups in the official HoYoLAB Lineup Simulator here.
Floor 12 Chamber 1
First Half
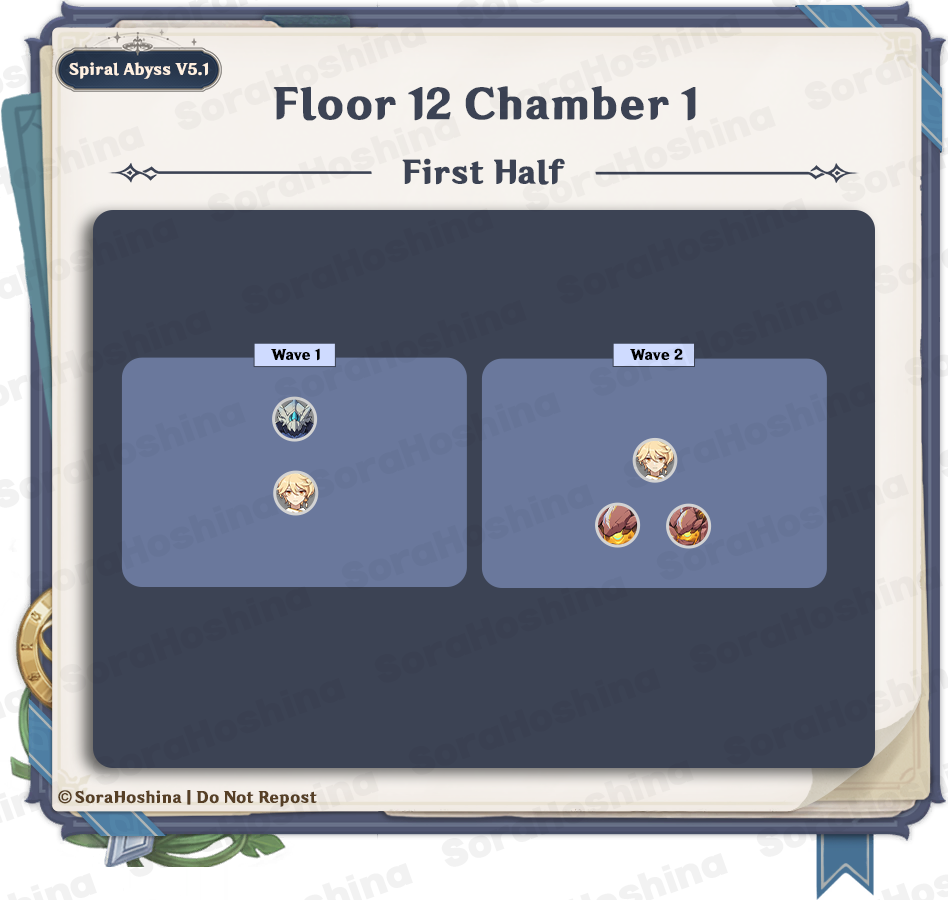
1st Wave: Consecrated Horned Crocodile x1
2nd Wave: Eroding Avatar of Lava x2
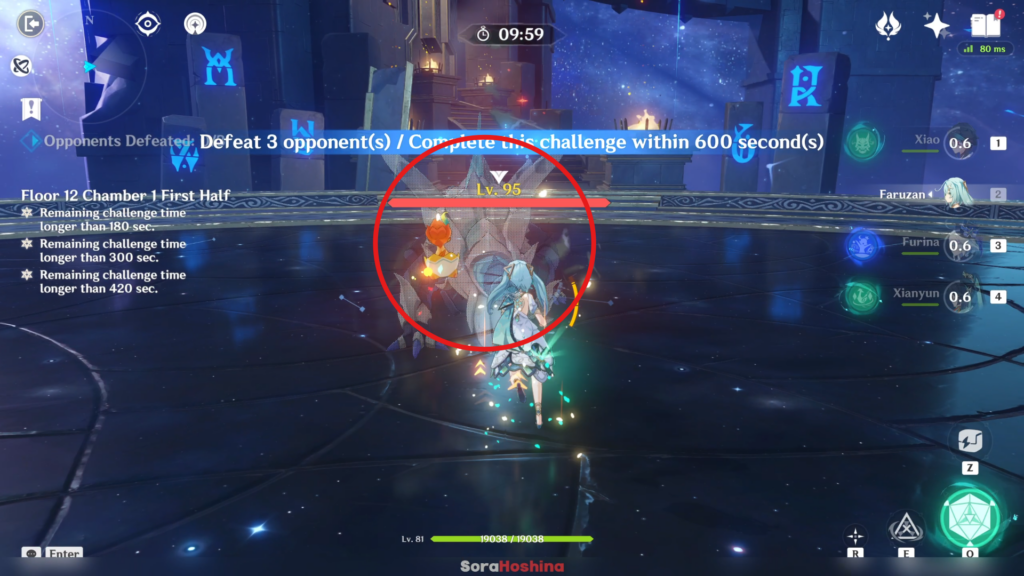
In the first wave, there is only one Hydro Consecrated enemy. Although it has a high Hydro RES, bringing a Hydro support or sub-dps is okay since you'll need them for the Phagocytic Energy Block.
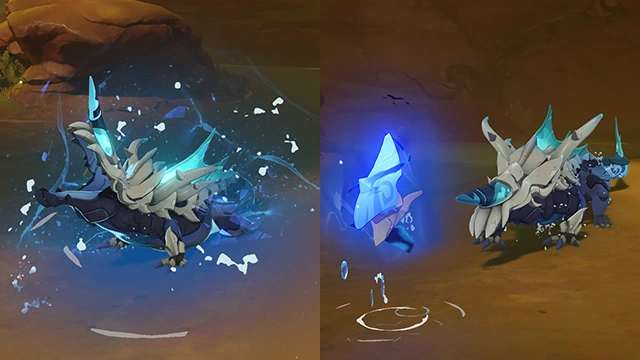
There will be a time when it will summon a Phagocytic Energy Block. Make sure to attack this block with elemental attacks until the bar is filled so you can gain the Phagocytic energy > hit the consecrate enemy > and paralyze them. If you leave the Block alone for a period of time, the beast will reabsorb the Phagocytic Energy Block and re-enter Phagocytic Form (its stronger form).
The Phagocytic Energy Block can be destroyed using a single Hydro attack or 6 non-Hydro elemental attacks.
Other than Hydro RES, this enemy also possesses 50% Freeze Resistance at all times, decreasing the effectiveness of the Frozen Elemental Reaction.
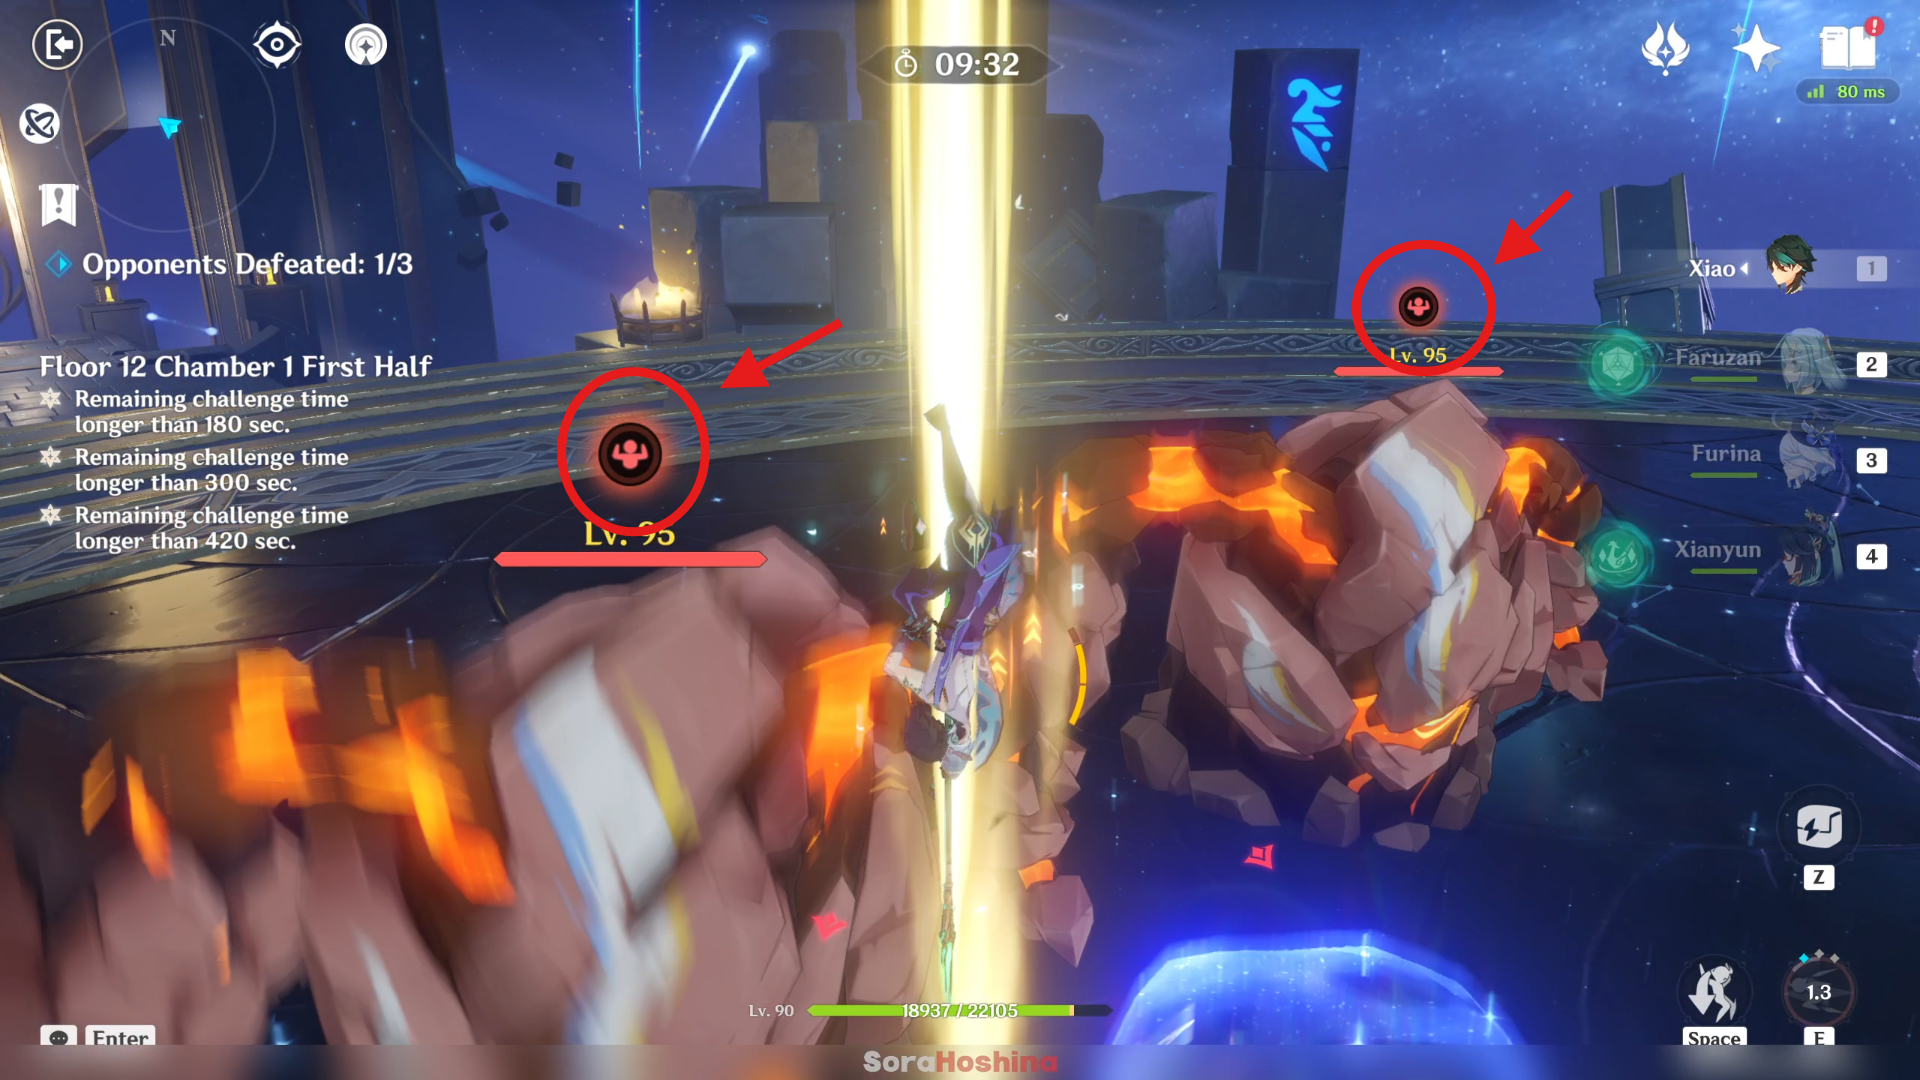
In the second wave, there are 2 Lava enemies. Despite having Lava on its name, you'll be suprised that it's actually weak to Pyro. It doesn't have Pyro RES btw. You see those Fury bar above their HP?
When the Eroding Avatar of Lava is hit by a Pyro attack, it will gain 0.7% Fury. When the Fury bar reaches 20%, 40%, and 60%, it will take True Physical DMG equal to 25%, 20%, and 15% of its Max HP respectively.
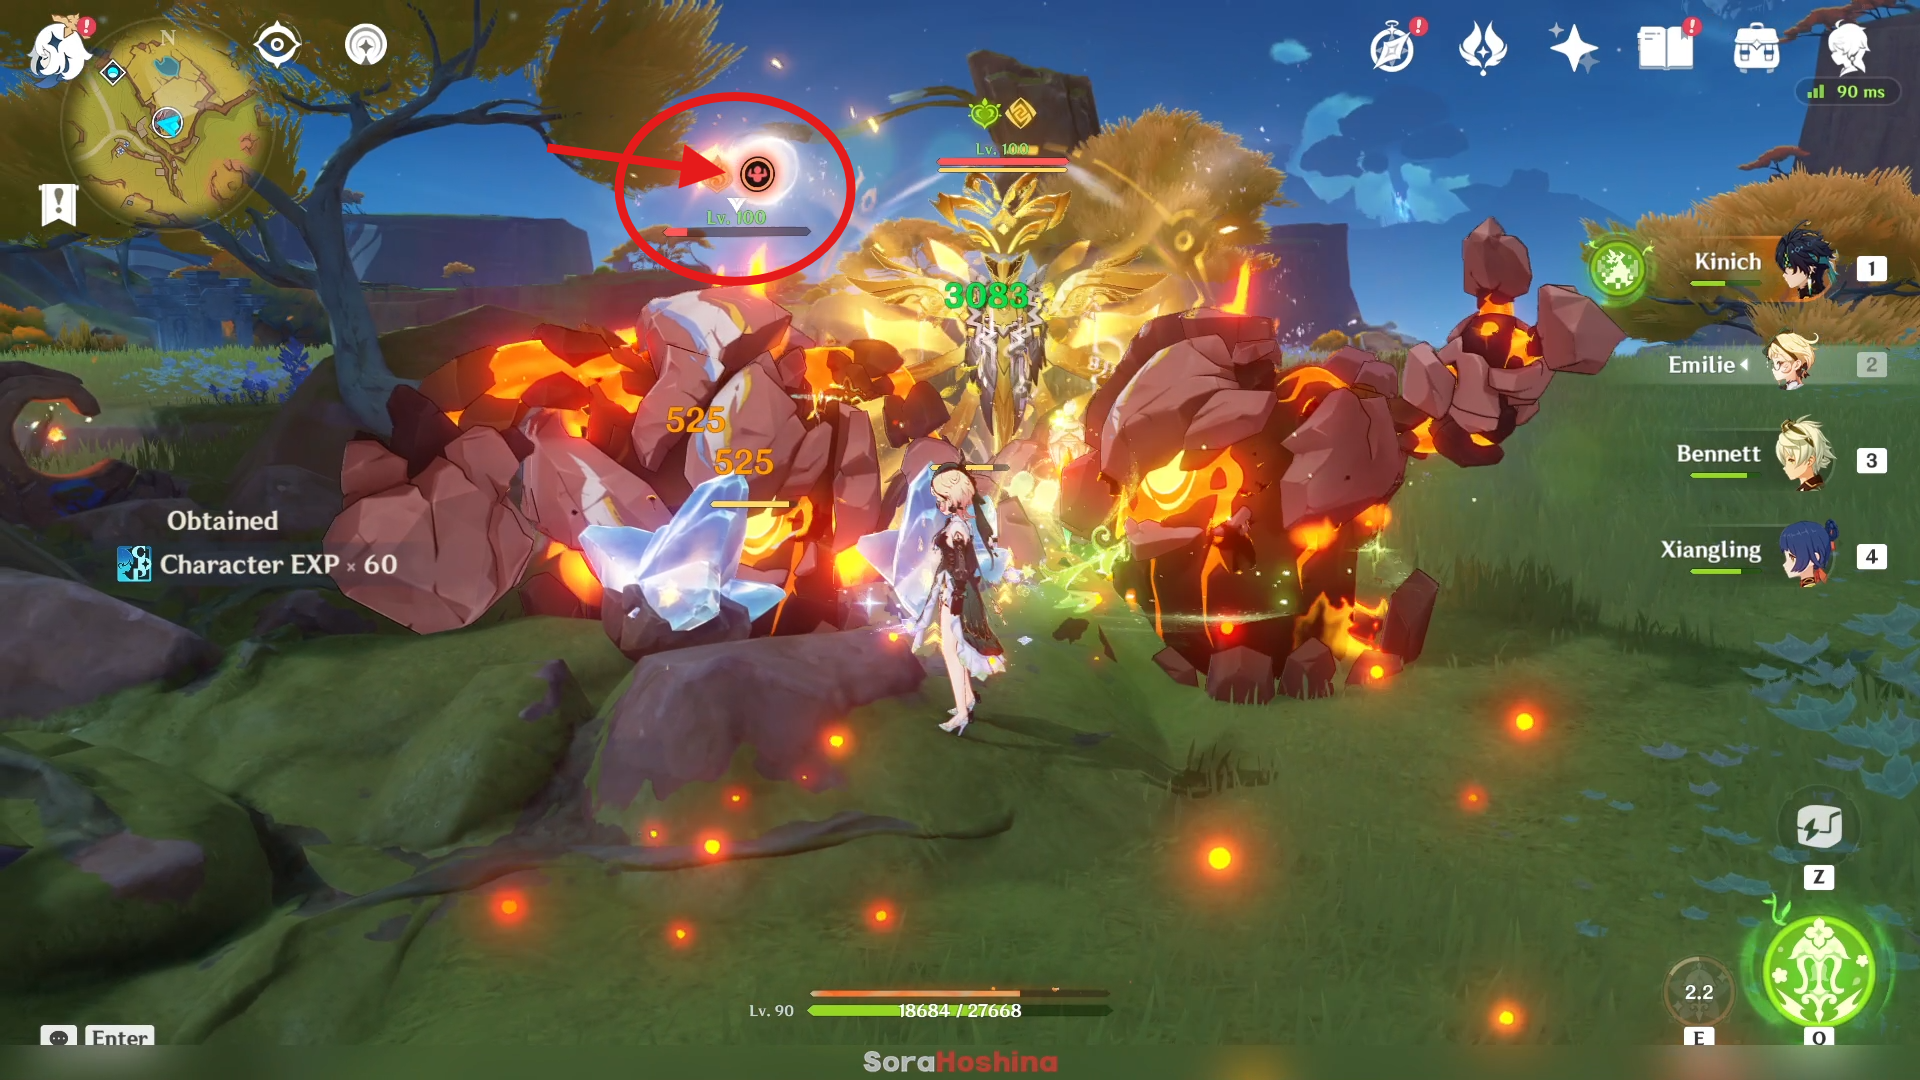
When the Fury bar is full, the Eroding Avatar of Lava is automatically defeated.
Of course, if you don't bring any Pyro character to take advantage of this is also okay, but you have to brute force a little bit.
Second Half
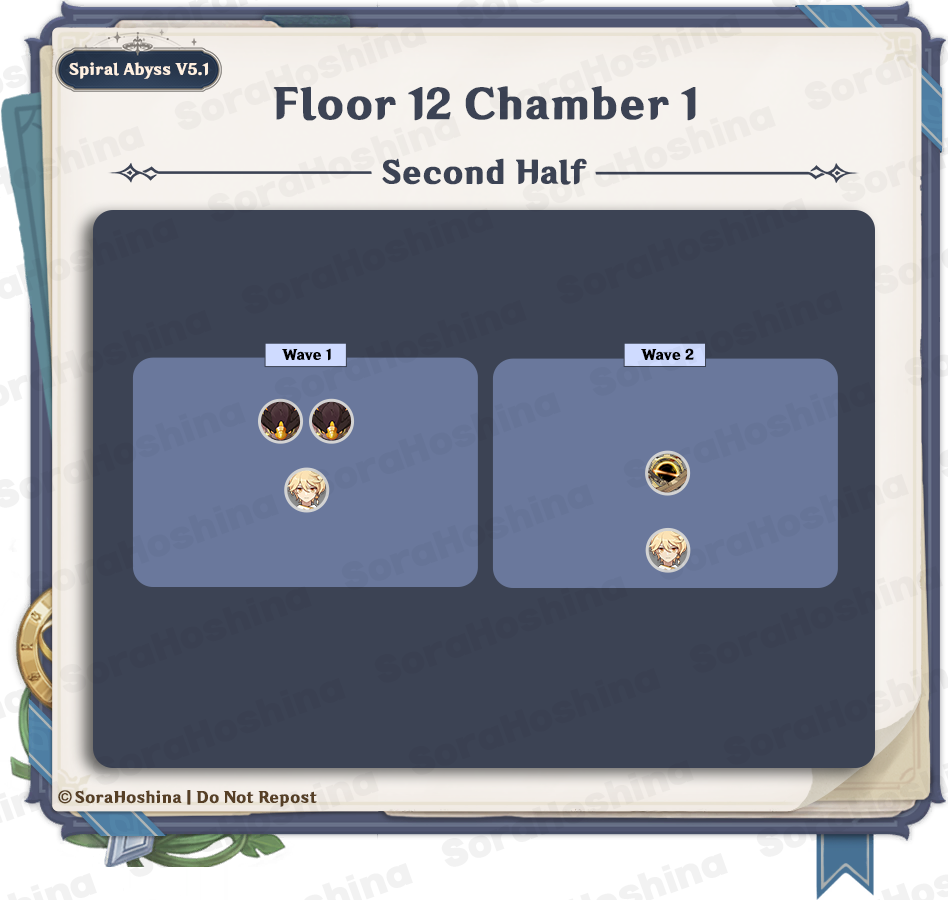
1st Wave: Tepetlisaurus x2
2nd Wave: Experimental Field Generator x1
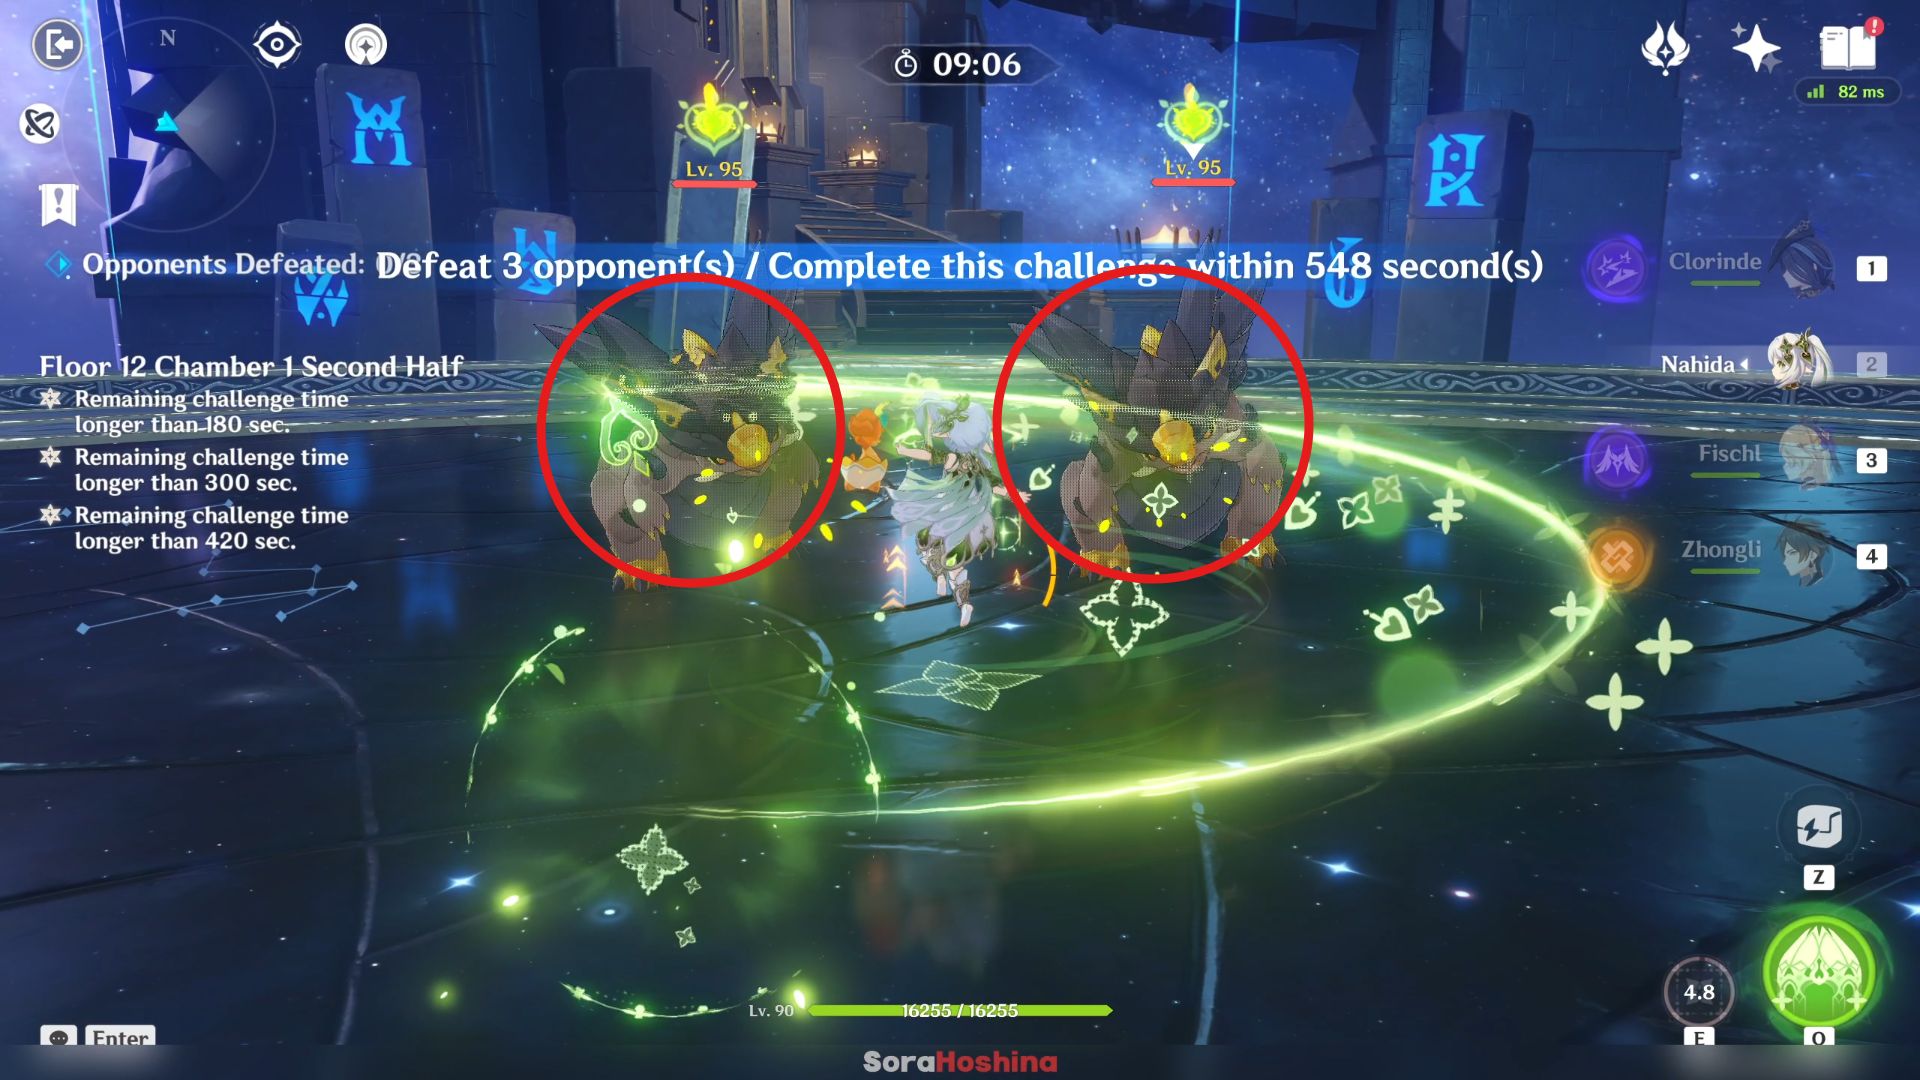
In the first half, there are 2 Tepetlisaurus. Honestly, I think these 2 are here just to waste your time because in wave 2, you'll face a boss. But no matter, you still need to defeat them or the boss won't spawn. No tricks. Just brute force.
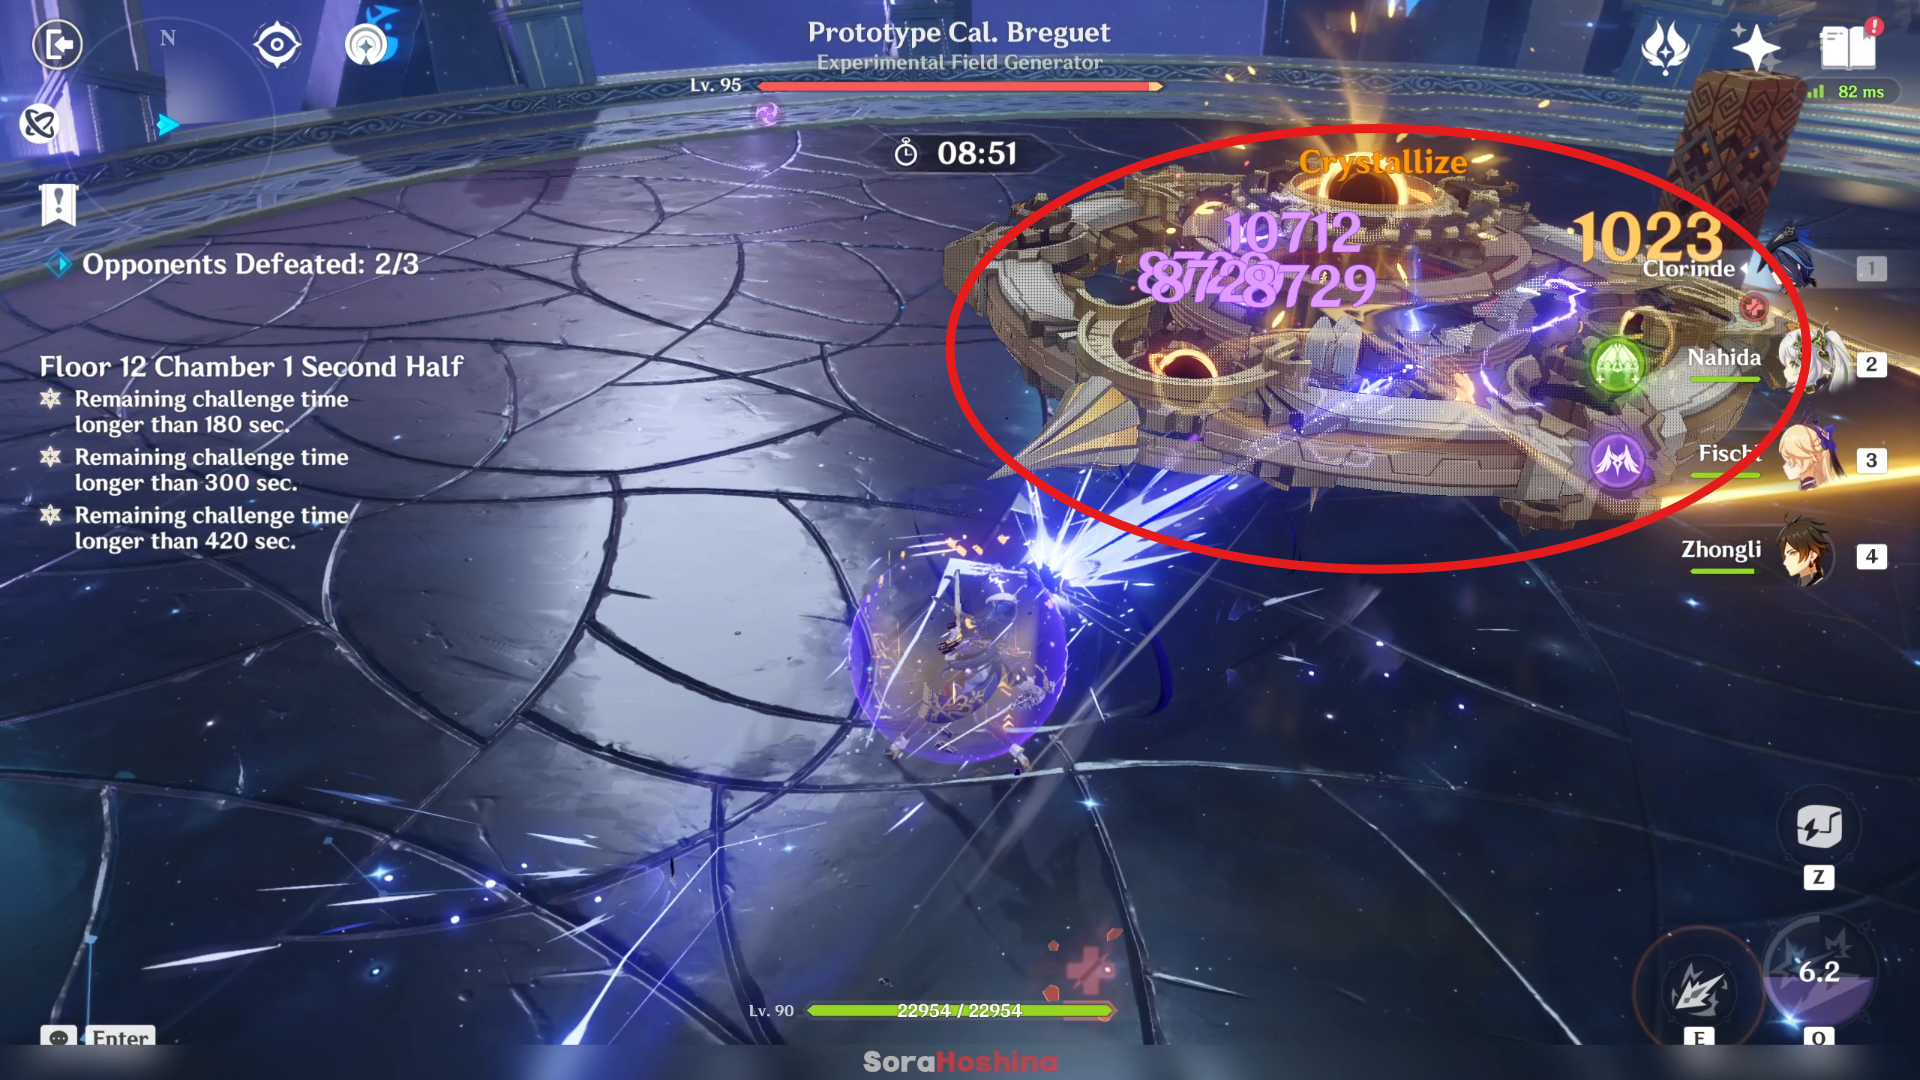
The second wave feature the boss 'Experimental Field Generator' (Useless fact: It's the second time this boss is in Abyss). This boss is an Ousia-type and can be paralyzed by 3 Pneuma attacks like Freminet, Lyney, Neuvillette, and Hydro Traveler (but only during its ultimate attack).
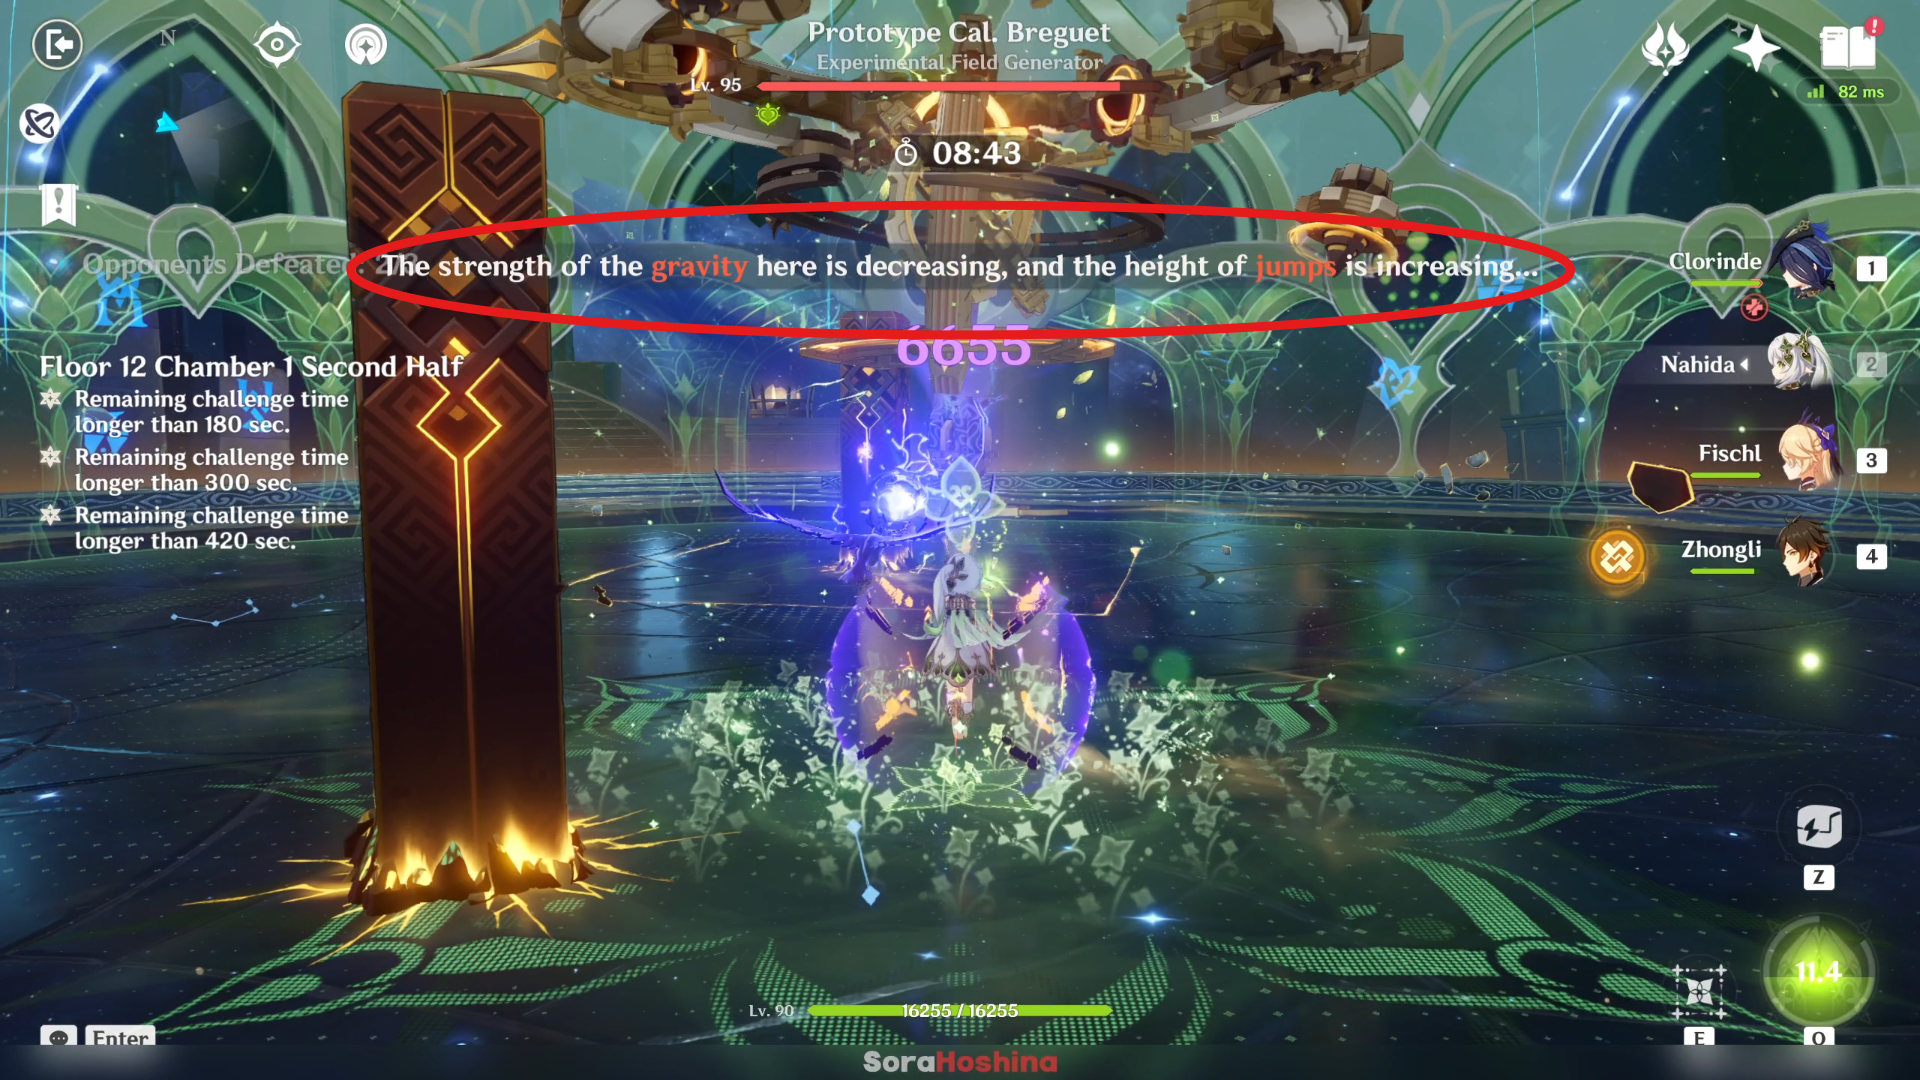
The said 'ultimate attack' is when it will channel Ousia energy to unleash a Gravity Reduction Field and you receive a warning about 'the strength of the gravity here is decreasing, and the height of jumps is increasing.' Characters within this field can jump significantly higher. During this moment, it will expose its Ousia core and you can paralyze it by attacking it with Pneuma attacks 3 times.
But honestly, unless you bring 3 Pneuma characters, I don't recommend focusing on paralyzing it with Penuma attacks. Instead, most of its attacks are pretty easy to avoid so you should just focus on brute forcing this enemy until its HP reaches 0 while also avoiding any incoming attacks (unless you bring a shield).
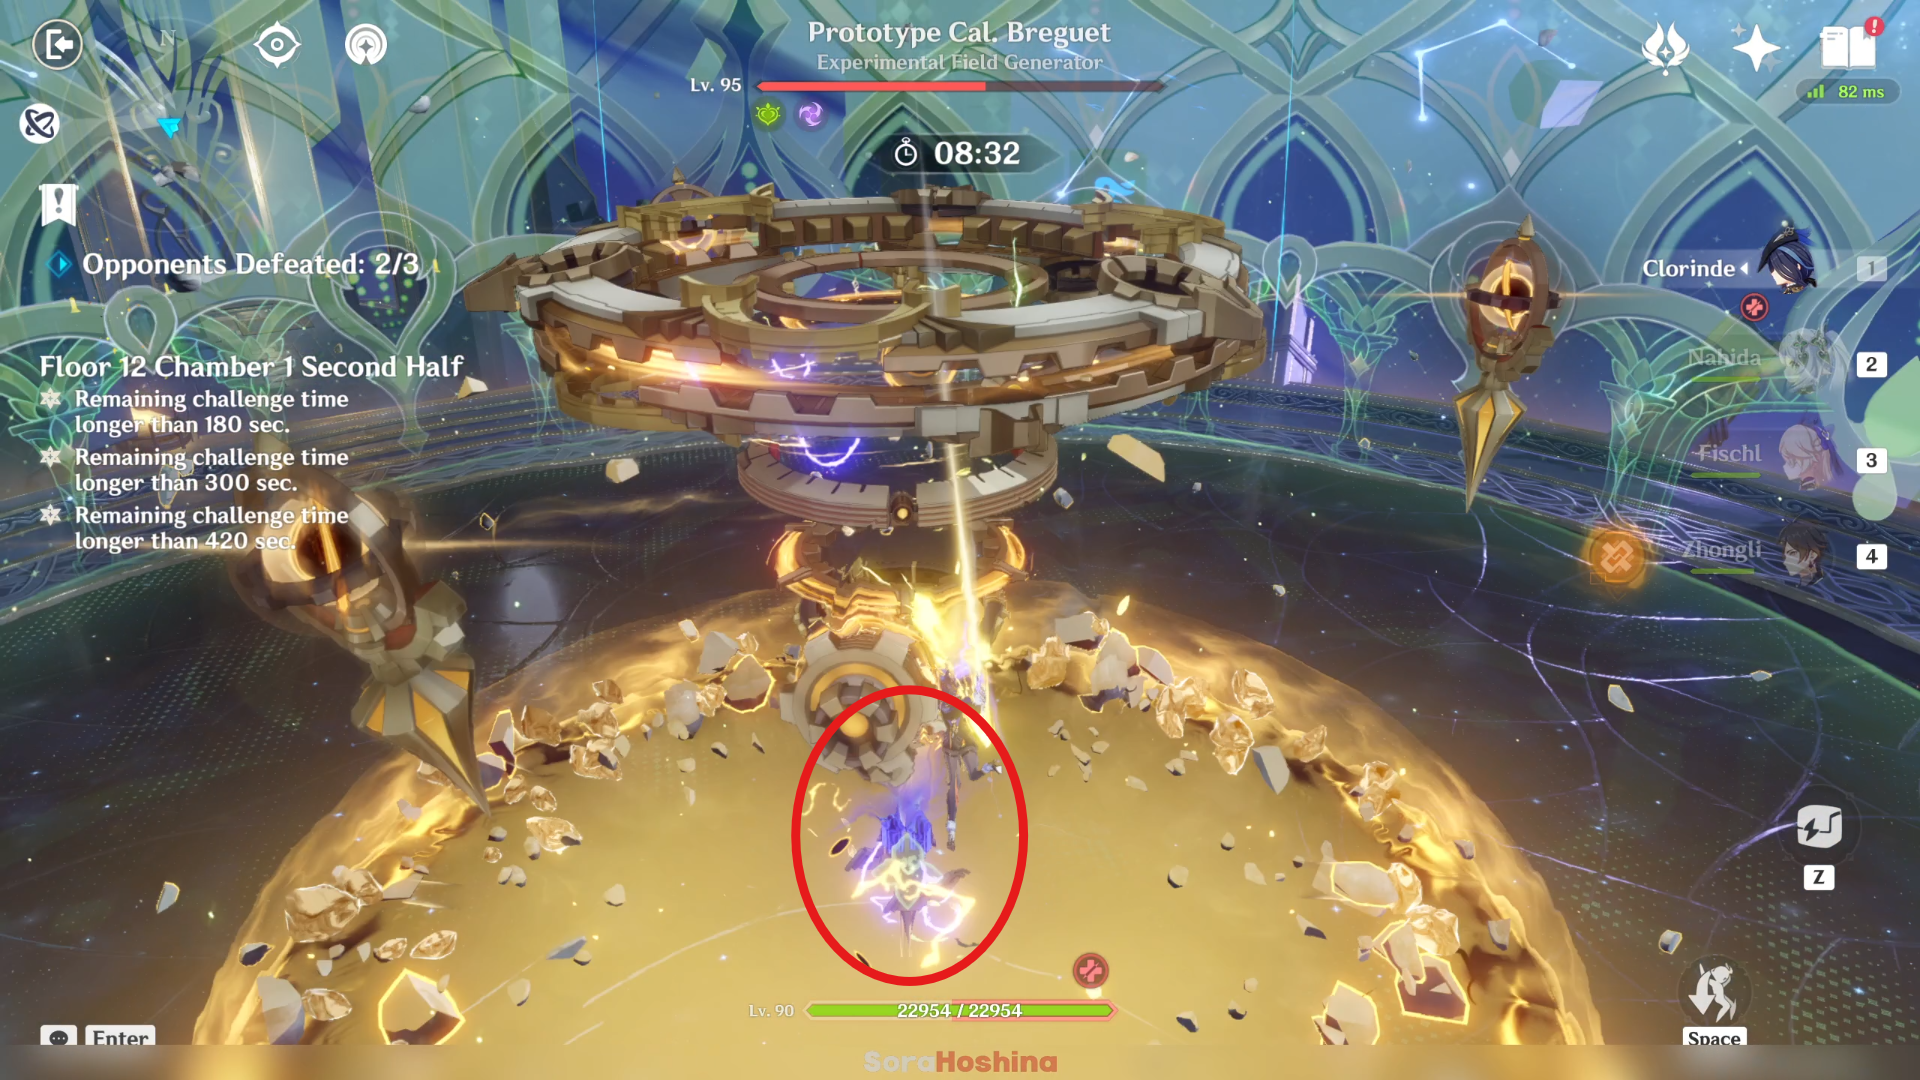
If you plan to go to brute force route, make sure to take advantage of that jumping buff and jump to avoid the incoming earthquake attack because those are pretty ruthless and can knockback your character.
Floor 12 Chamber 2
First Half

1st Wave: Consecrated Fanged Beast x1
2nd Wave: Secret Source Automaton Hunter-Seeker x1
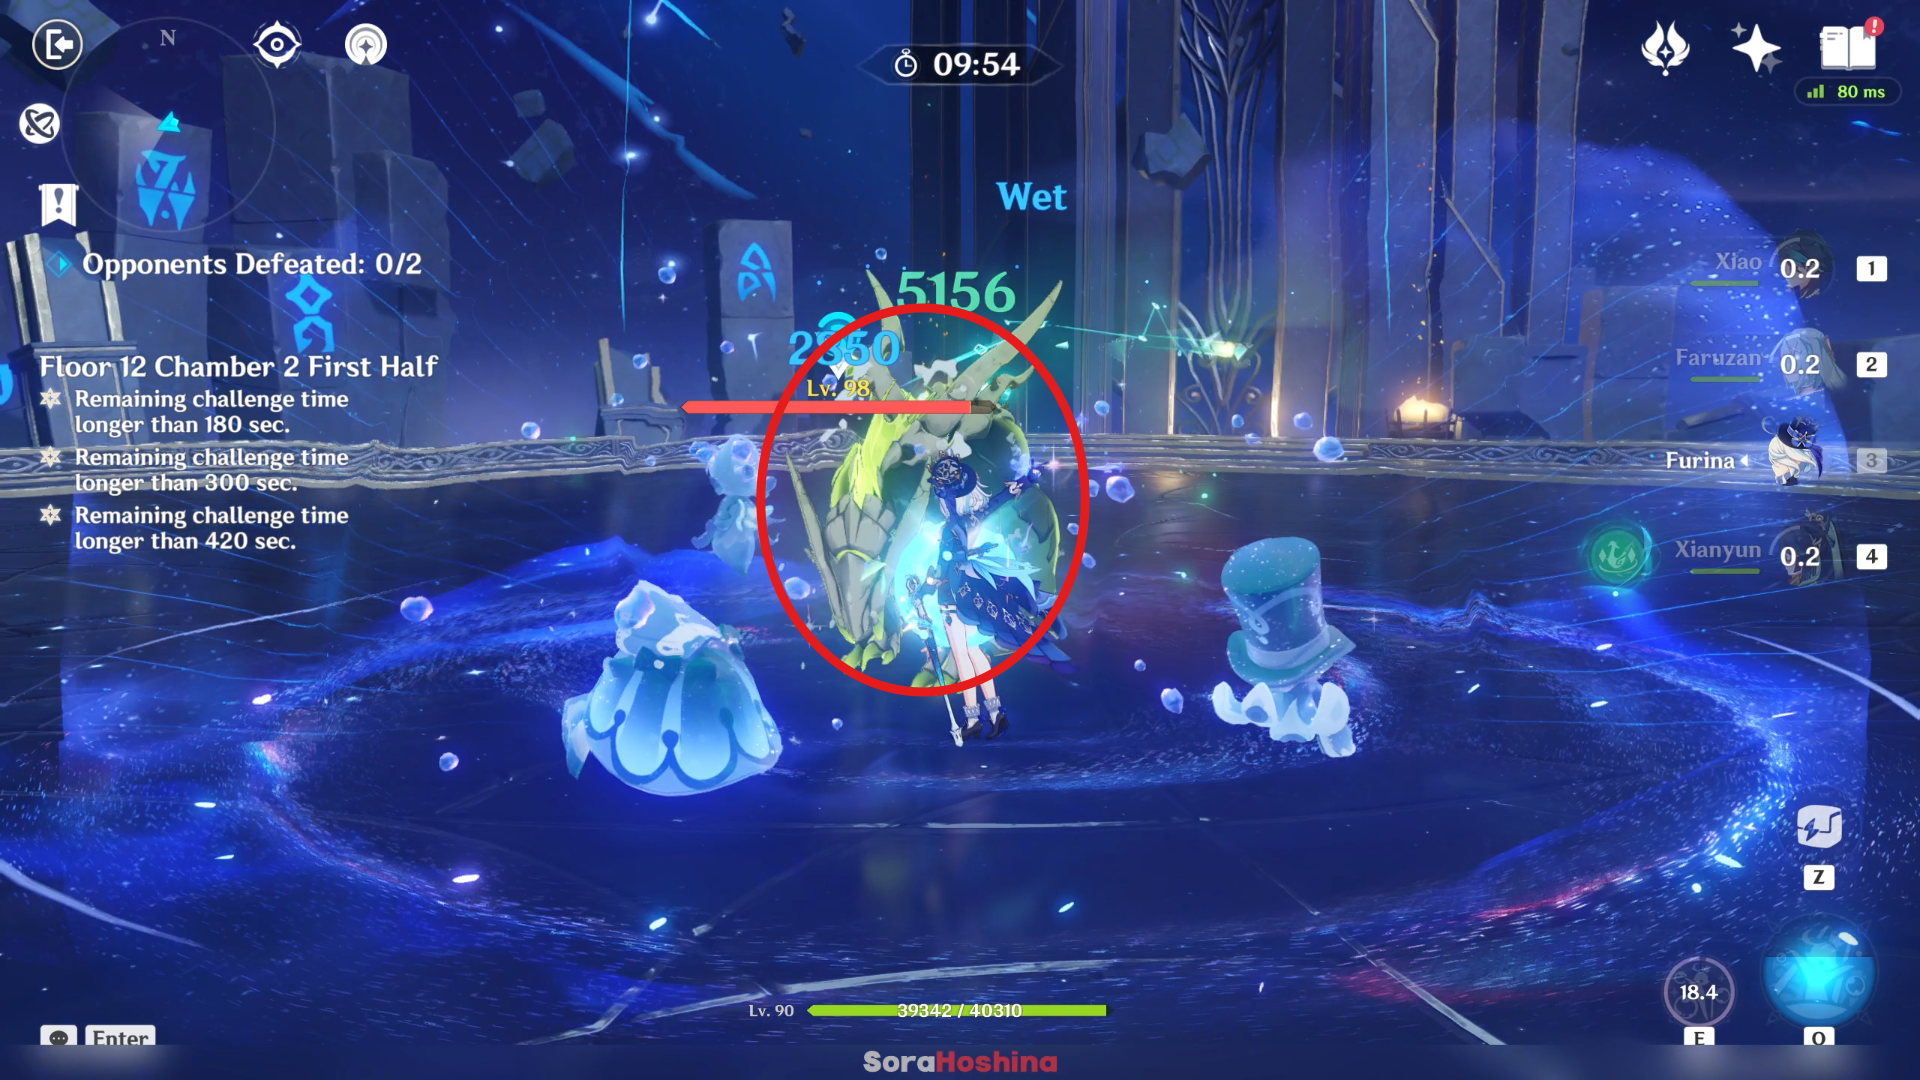
In the first wave, there is only one Dendro Consecrated enemy. Although it has a high Dendro RES, bringing a Dendro support or sub-dps is okay since you'll need them for the Phagocytic Energy Block.
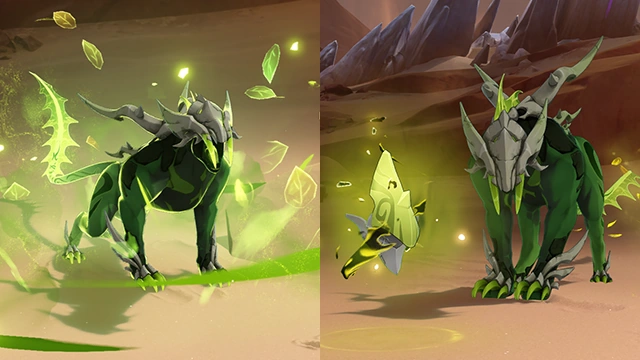
There will be a time when it will summon a Phagocytic Energy Block. Make sure to attack this block with elemental attacks until the bar is filled so you can gain the Phagocytic energy > hit the consecrate enemy > and paralyze them. If you leave the Block alone for a period of time, the beast will reabsorb the Phagocytic Energy Block and re-enter Phagocytic Form (its stronger form).
The Phagocytic Energy Block can be destroyed using a single Dendro attack or 6 non-Dendro elemental attacks.
Other than Hydro RES, this enemy also possesses 50% Freeze Resistance at all times, decreasing the effectiveness of the Frozen Elemental Reaction.
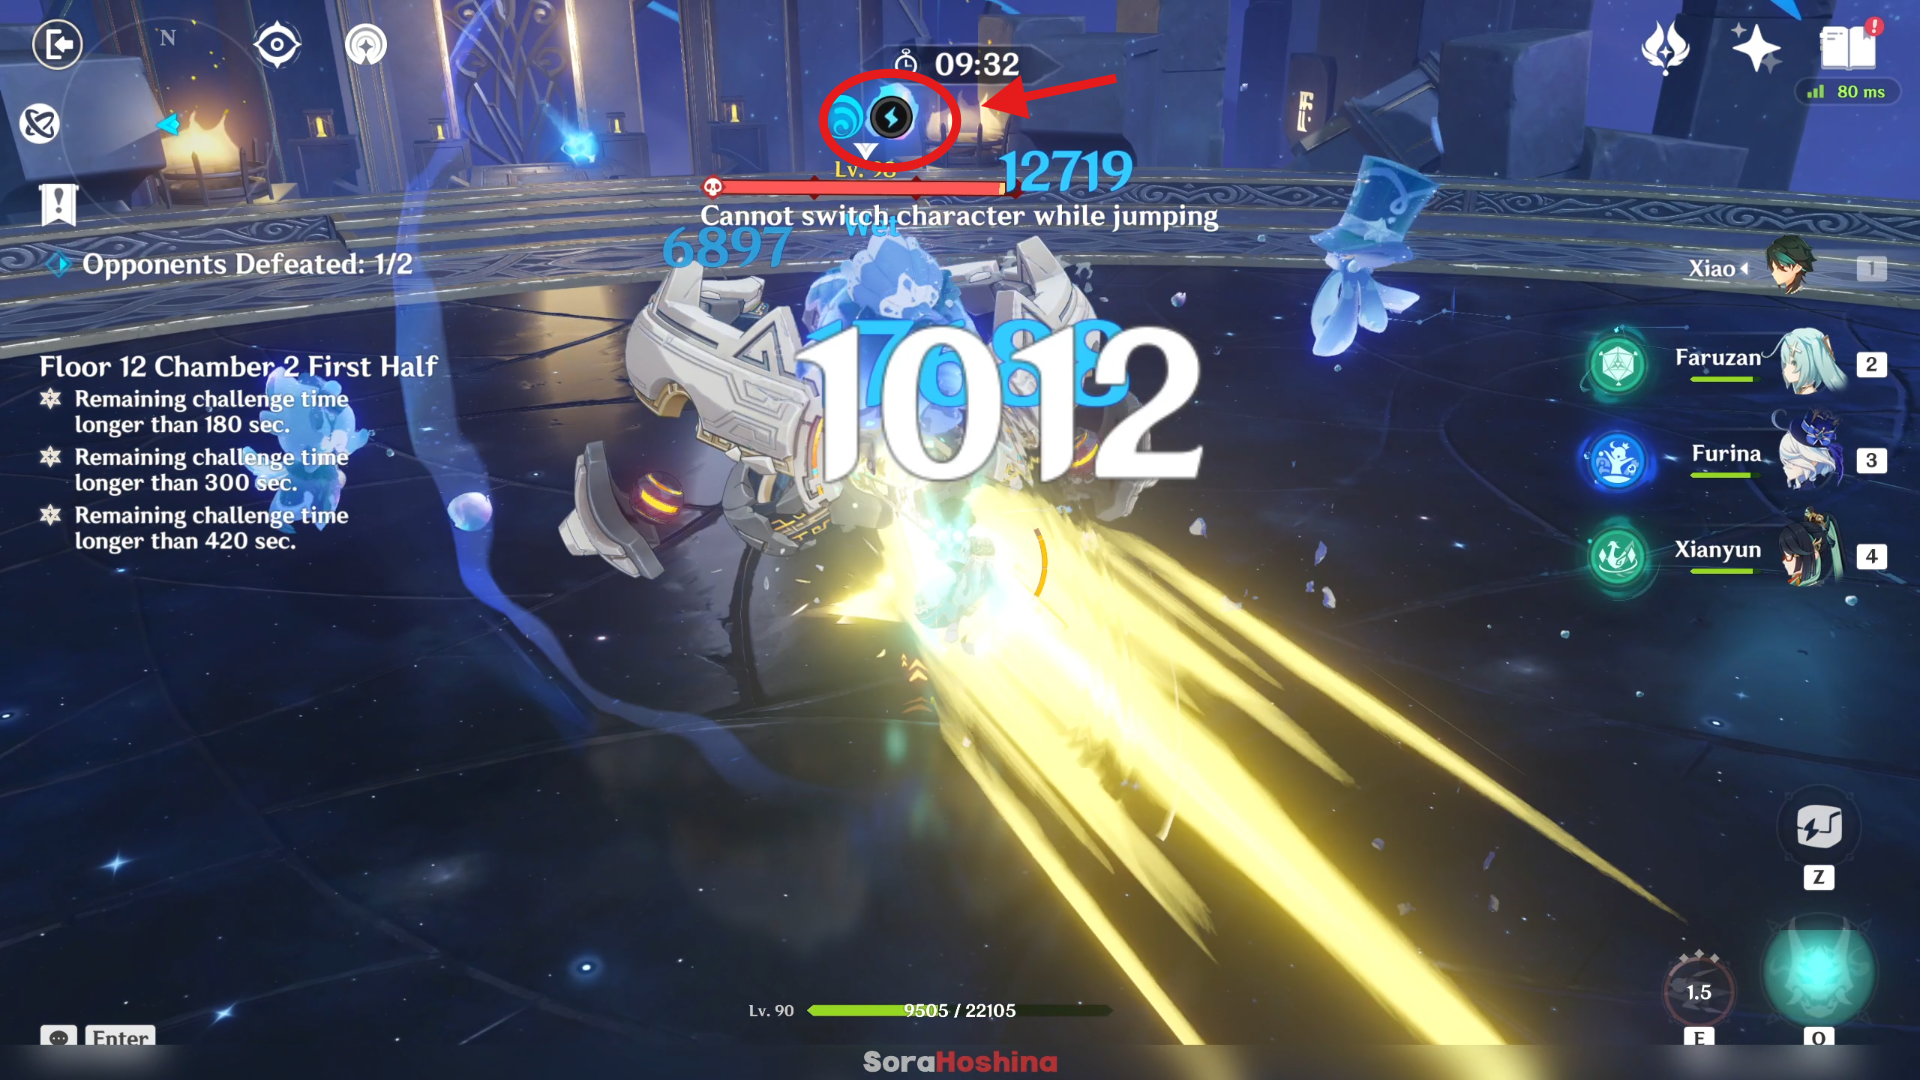
In the second wave, you'll face a Natlan elite enemy that's weak against Natlan characters. Not really weak per se, but Natlan character has an advantage non-Natlan characters don't have; the Nightsoul's Blessing. See those bar on top of their HP?
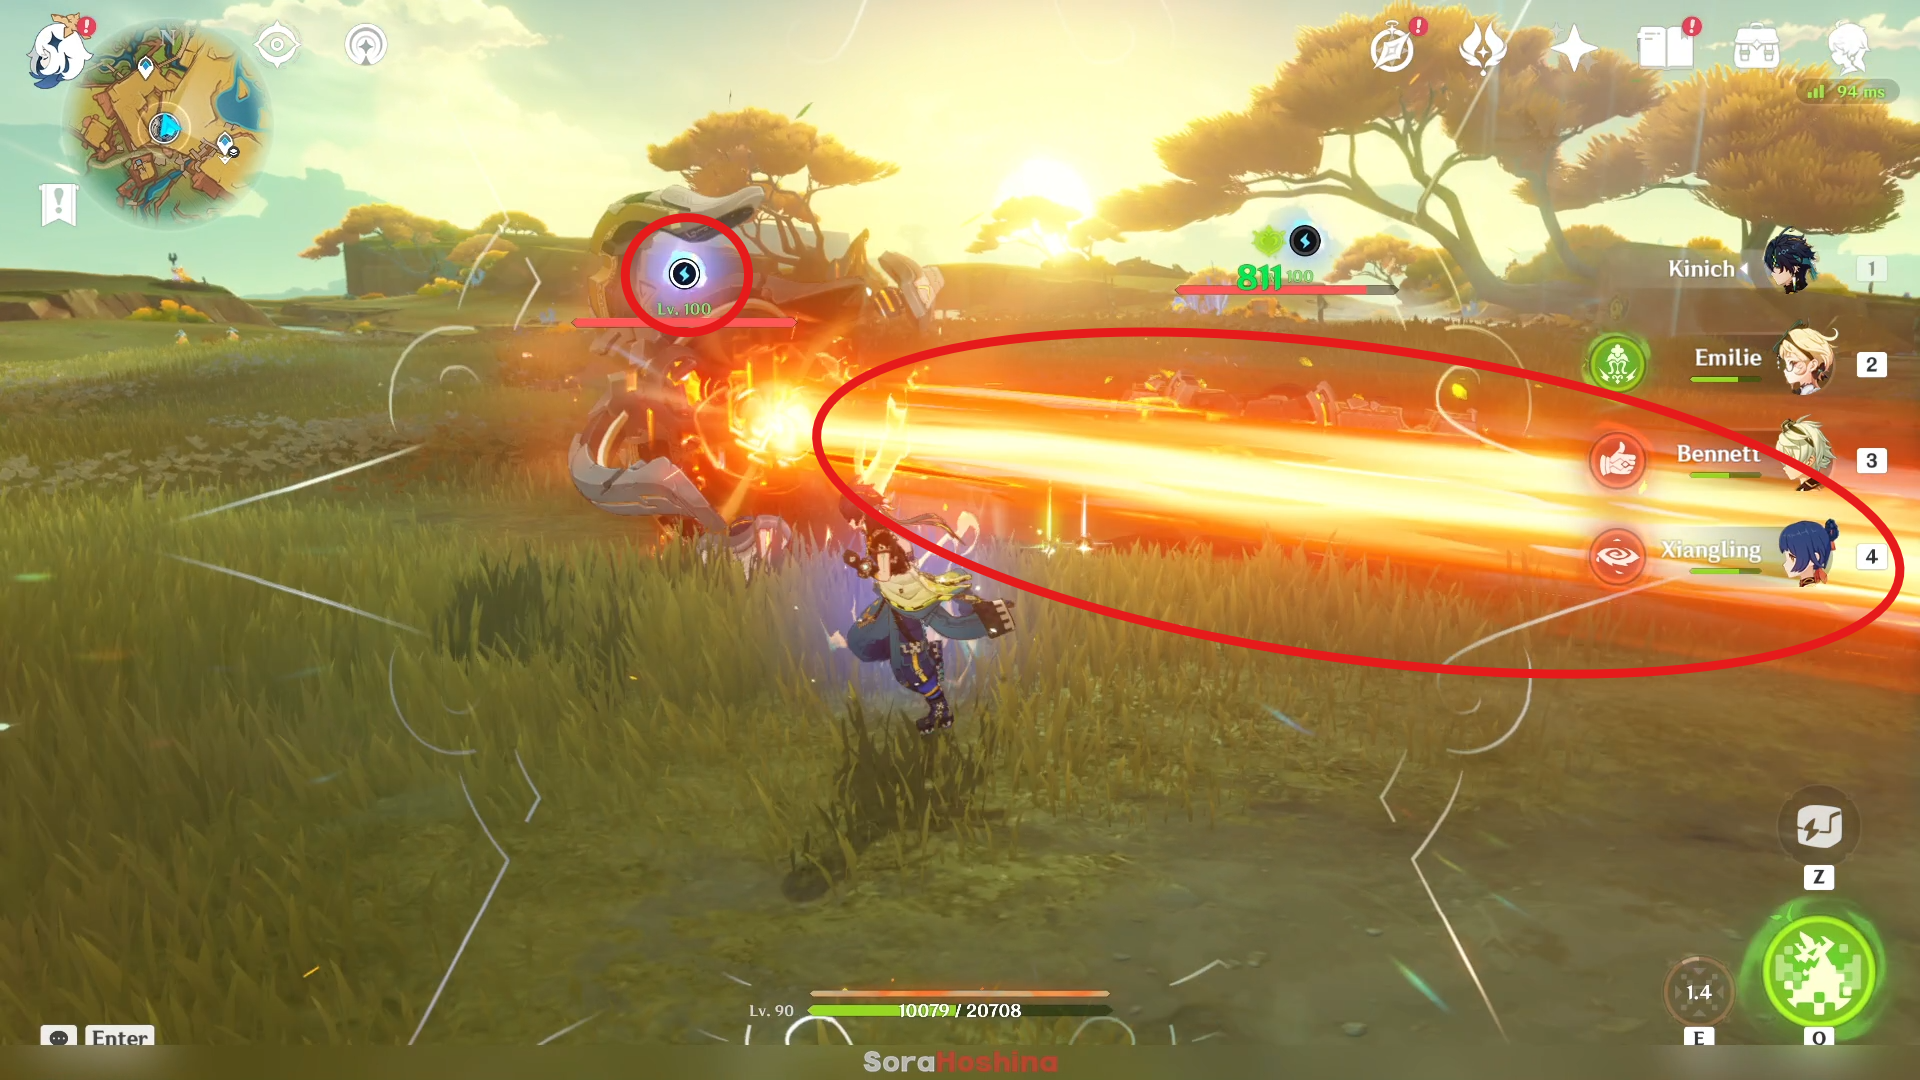
When characters enter and maintain the Nightsoul's Blessing state, the Hunter-Seeker accumulates 15 points of Adaptive Countermeasures. When 100 points are accumulated, it will unleash its special cluster laser, dealing Pyro DMG for 5 seconds. While the laser is being unleashed and for an additional 4 seconds afterwards, the Hunter-Seeker's RES to all DMG is reduced by 40%.
If you don't bring any Natlan character, brute force is the answer!
Second Half

1st Wave: Aeonblight Drake x1
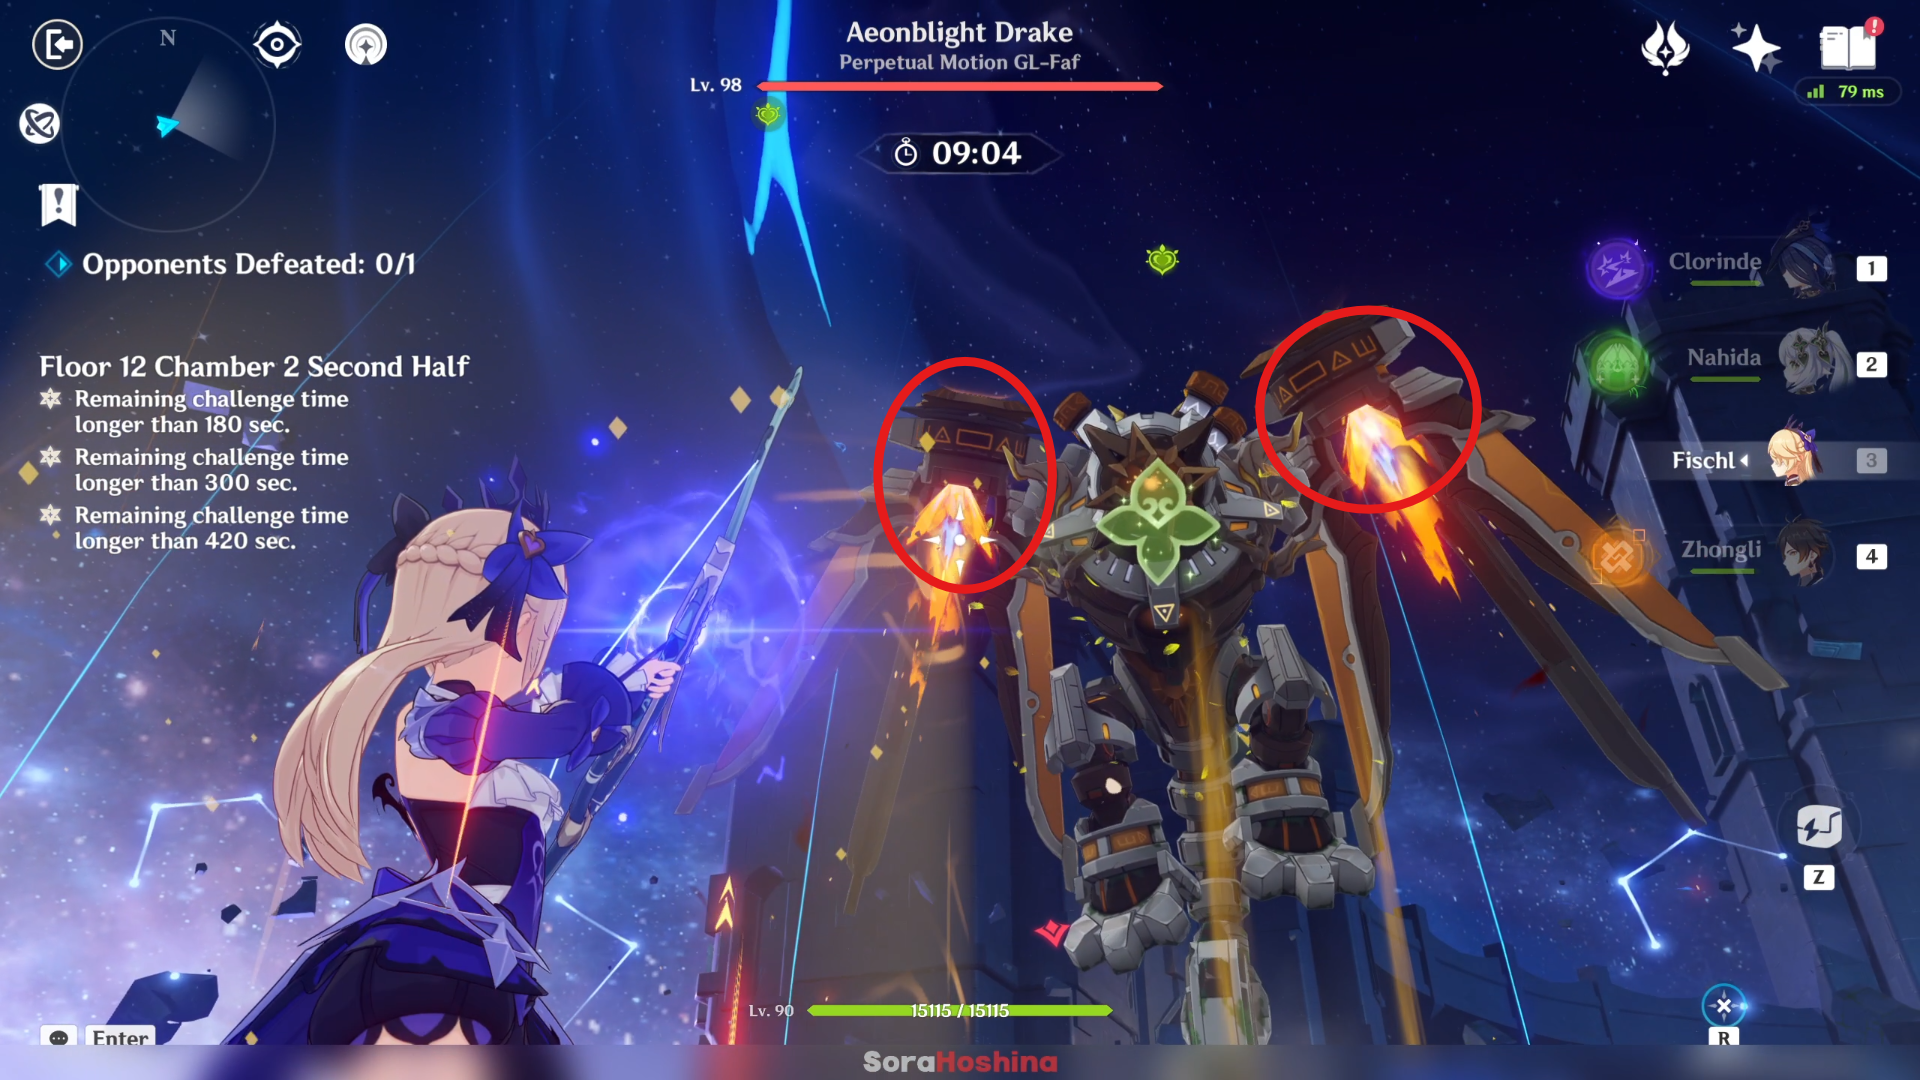
There is only one enemy in one wave; Aeonblight Drake. Please bring an archer here because once this enemy goes airborne (which it often did), most of your melee characters can't reach to attack it. And the best thing you can do is use your archer to hit the weakpoints to make it fall and paralyze it or wait for a very long time for it to come down.
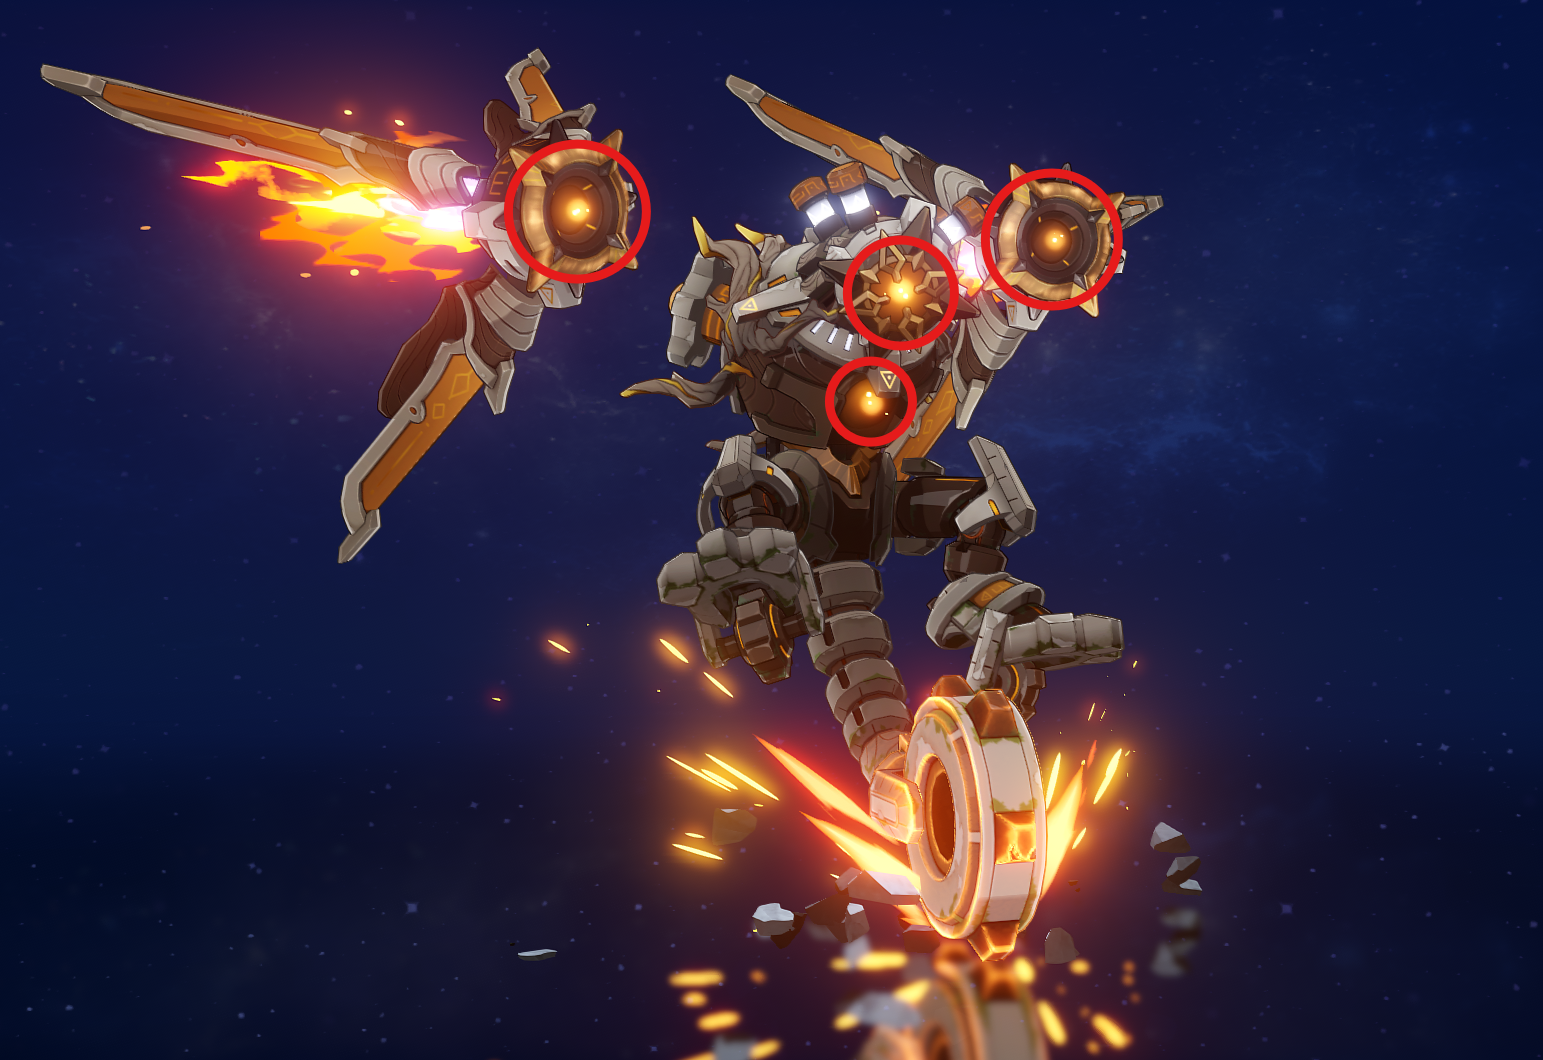
The Drake's weak points have different locations depending on its next attack, but it will either be on its head, chest, or both of its wings. You will know which one it is by observing the shining orange orb. The most notable are these two skills:
- Missile Barrage (Weakness on its chest): Locks onto the player and fires a barrage of missiles. During this attack, the weak point on its chest is exposed.
- Ultimate - Energy Surge (Weakness on its head): Charges before scattering a great number of bombs into the air, dealing damage when they land as AoE Physical DMG or AoE Elemental DMG matching the Aeonblight Drake's currently absorbed element.
- For this Ultimate attack, if you don't paralyze it before it can launch the bomb, it will gain 60% Resistance to the absorbed element that it has received the most amount of DMG.
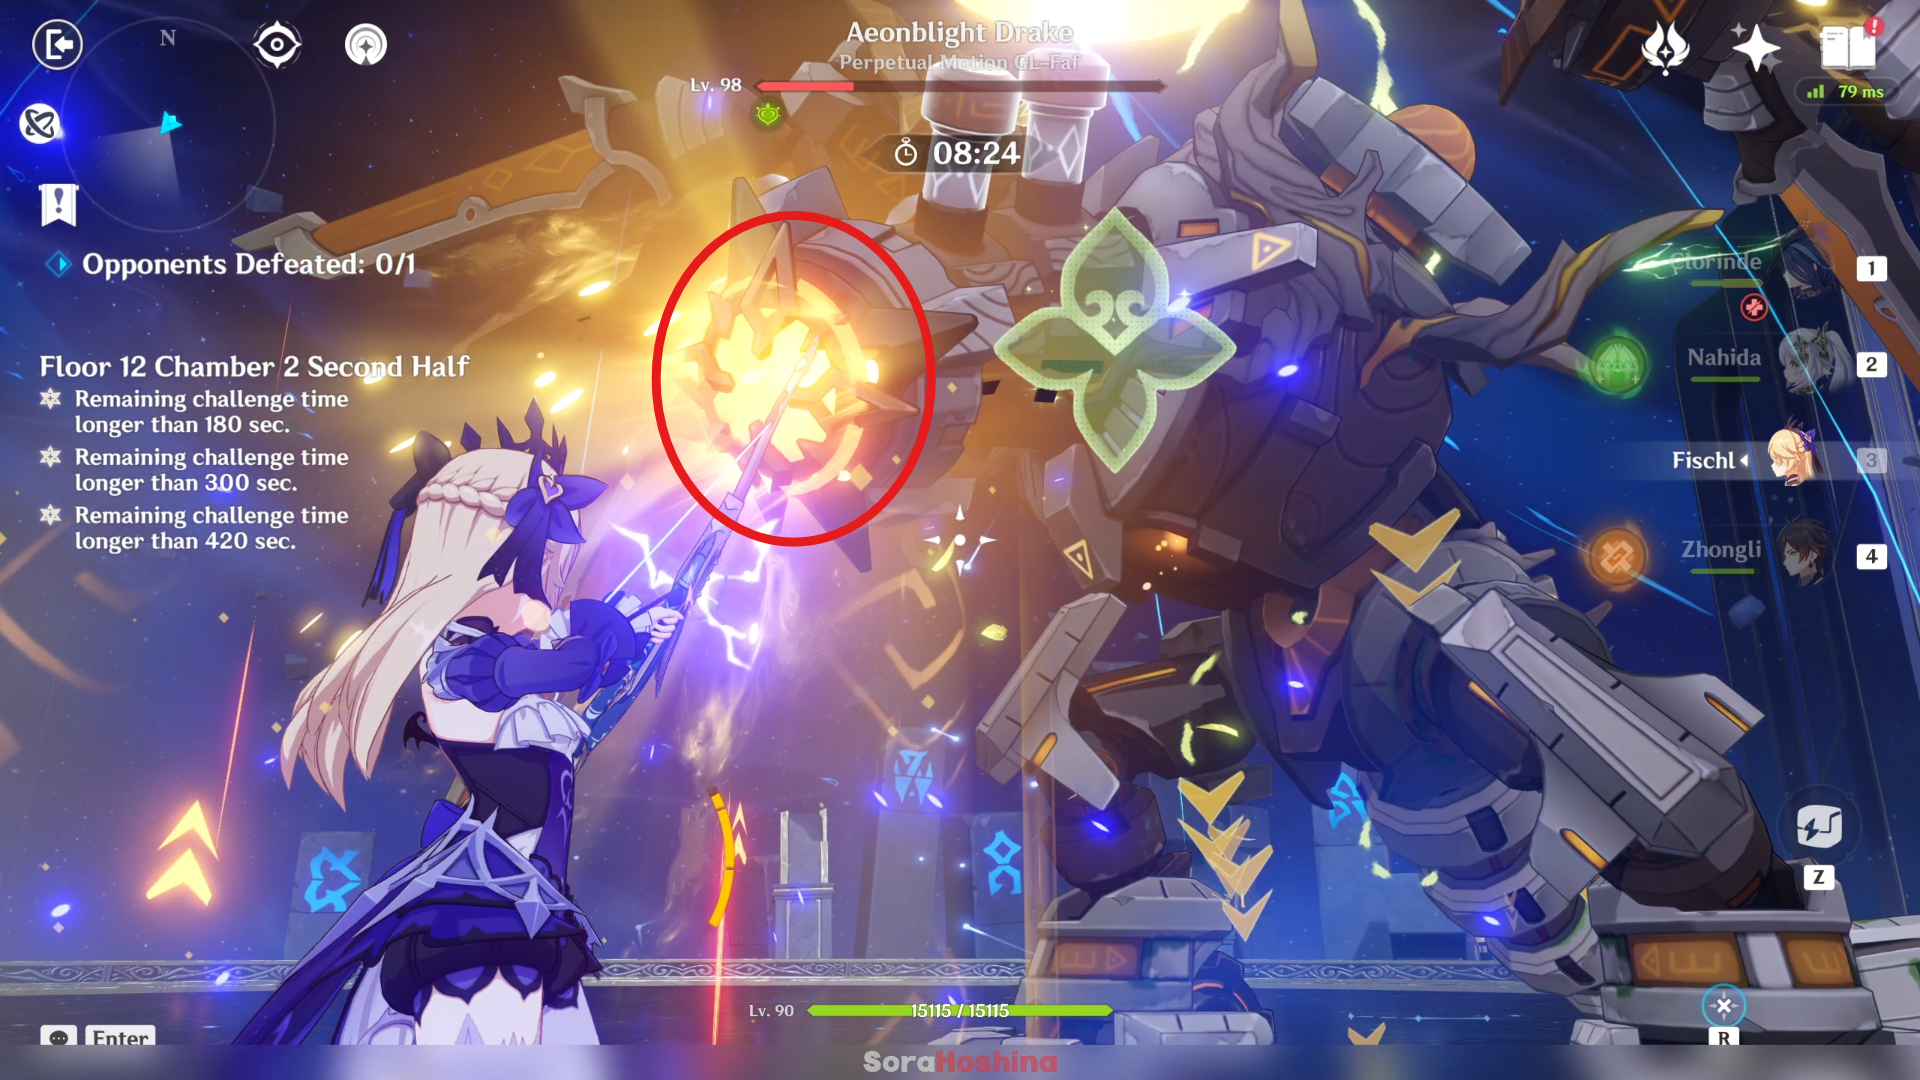
Once you hit its weak point, it will be paralyzed and you will have a steady window to unleash every Skill and Burst until it recovers itself. After that, keep repeating the same thing, where if it goes airborne, you must hit its weak point. And if it didn't fly for some time, it's your lucky time so spam those Skills and Bursts. One last thing, please don't bring Physical character it has massive Physical resistance.
Floor 12 Chamber 3
First Half

1st Wave: Fluid Avatar of Lava x2
2nd Wave: Eremite Stone Enchanter x1
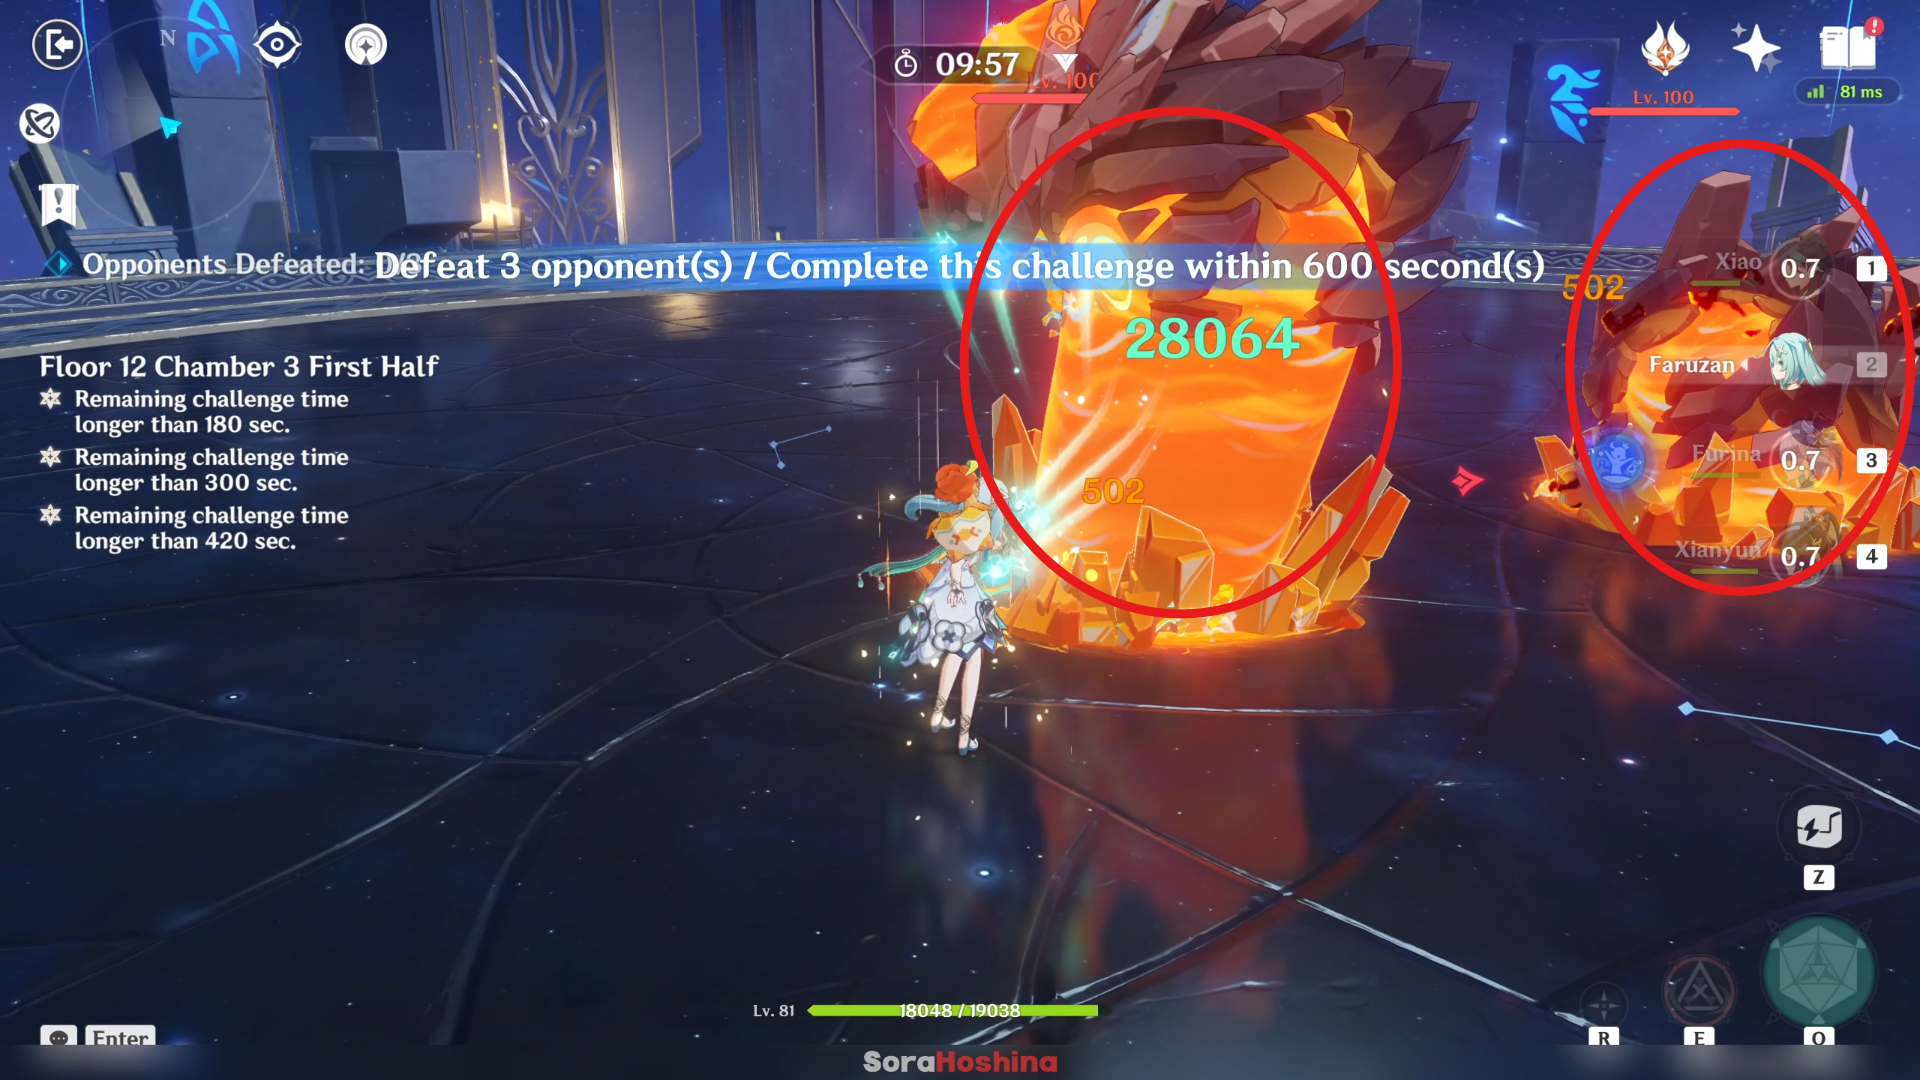
In the first wave, there are 2 Fluid Avatar of Lava. This one is different from the previous Lava enemies in chamber 1 first half. It doesn't have a Fury bar but has a massive Pyro RES. On the bright side, the Fluid Avatar of Lava possesses a constant Pyro status so you can trigger Pyro-related reactions easily. There's not really any other strategy other than that honestly.
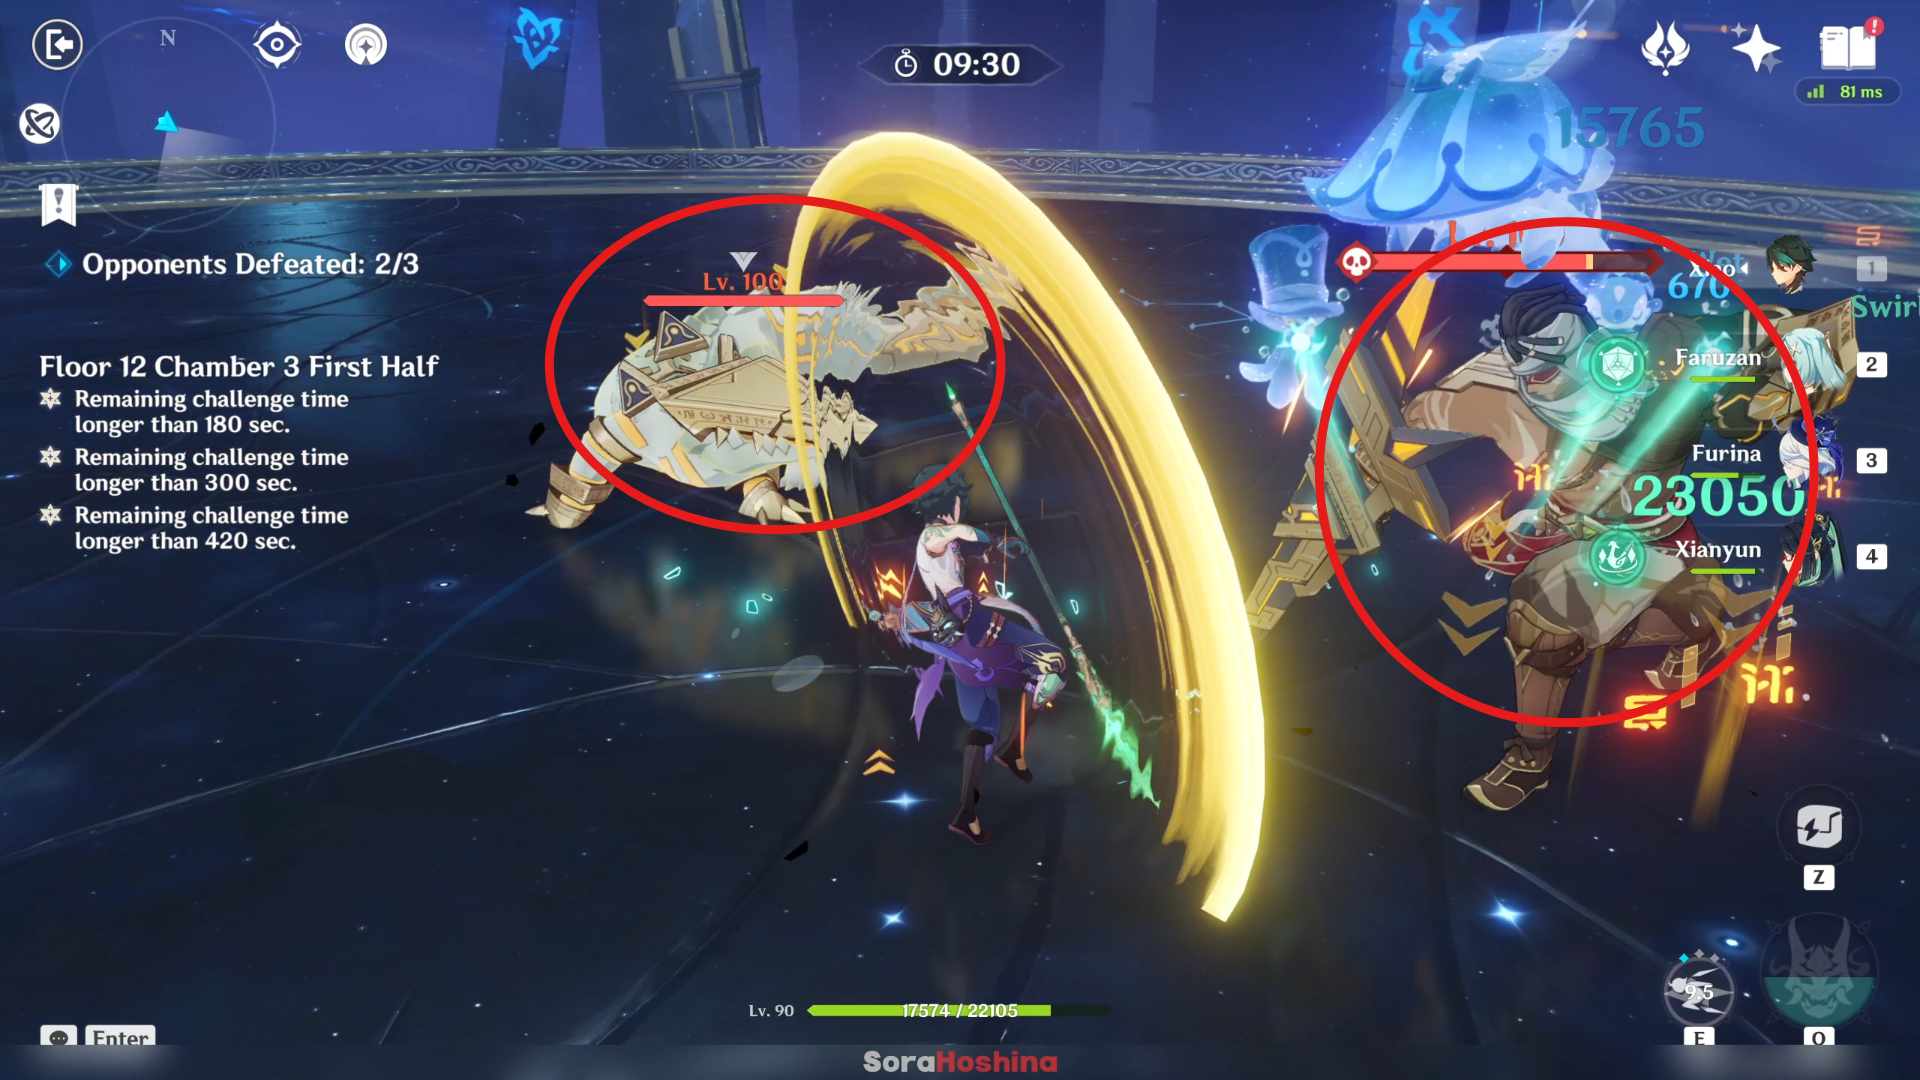
In the second wave, there is one Eremite elite enemy. Once he spawns, the Stone Enchanter will enter an enhanced state (increased RES and high Interruption Resistance) and summon his spirit animal crocodile. If your DPS can't break through his now-increased RES, the best move is to kill the spirit animal first.
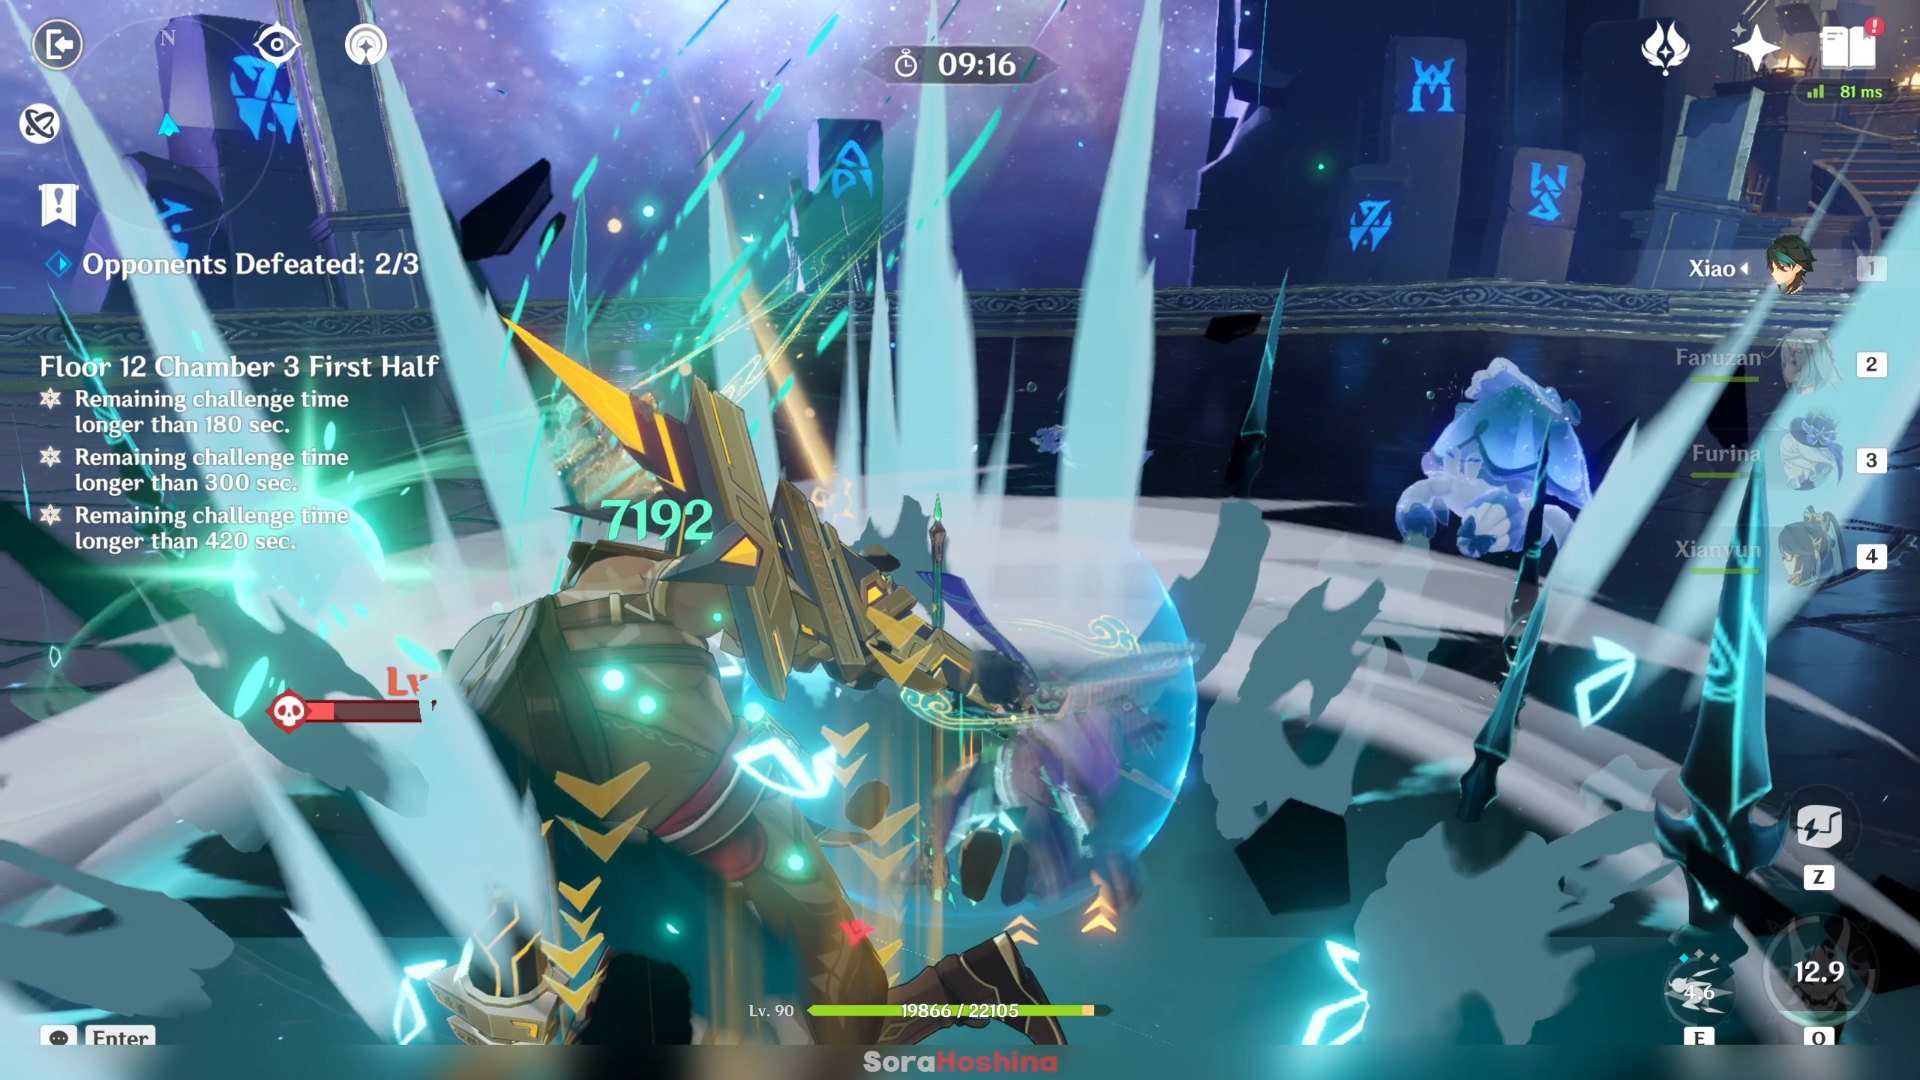
That way, the enhanced state will end, and he will receive True DMG and will become stunned for 10 seconds. You can then use all sorts of Skills/Bursts during the 10-second DPS window. Don't worry though once he's recovered, because he can only enter the enhanced state once. Remember that as long as their spirit animals are still alive, you can't pull them using Anemo CC.
Second Half
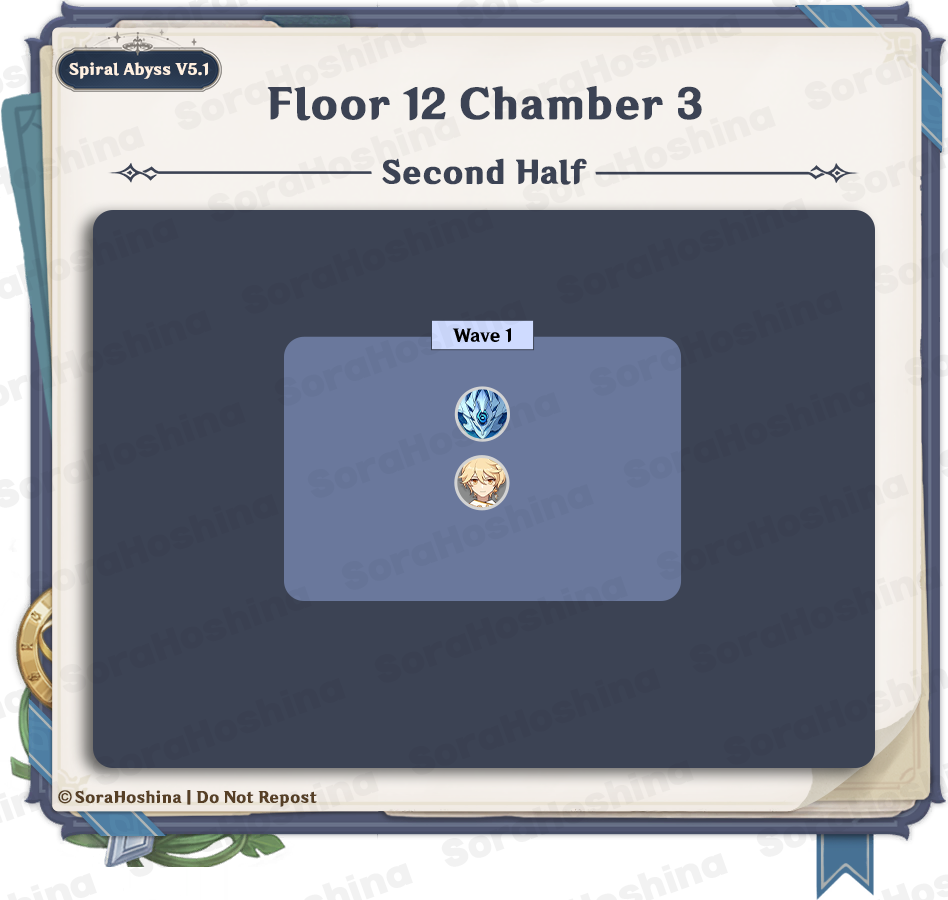
1st Wave: Hydro Tulpa x1
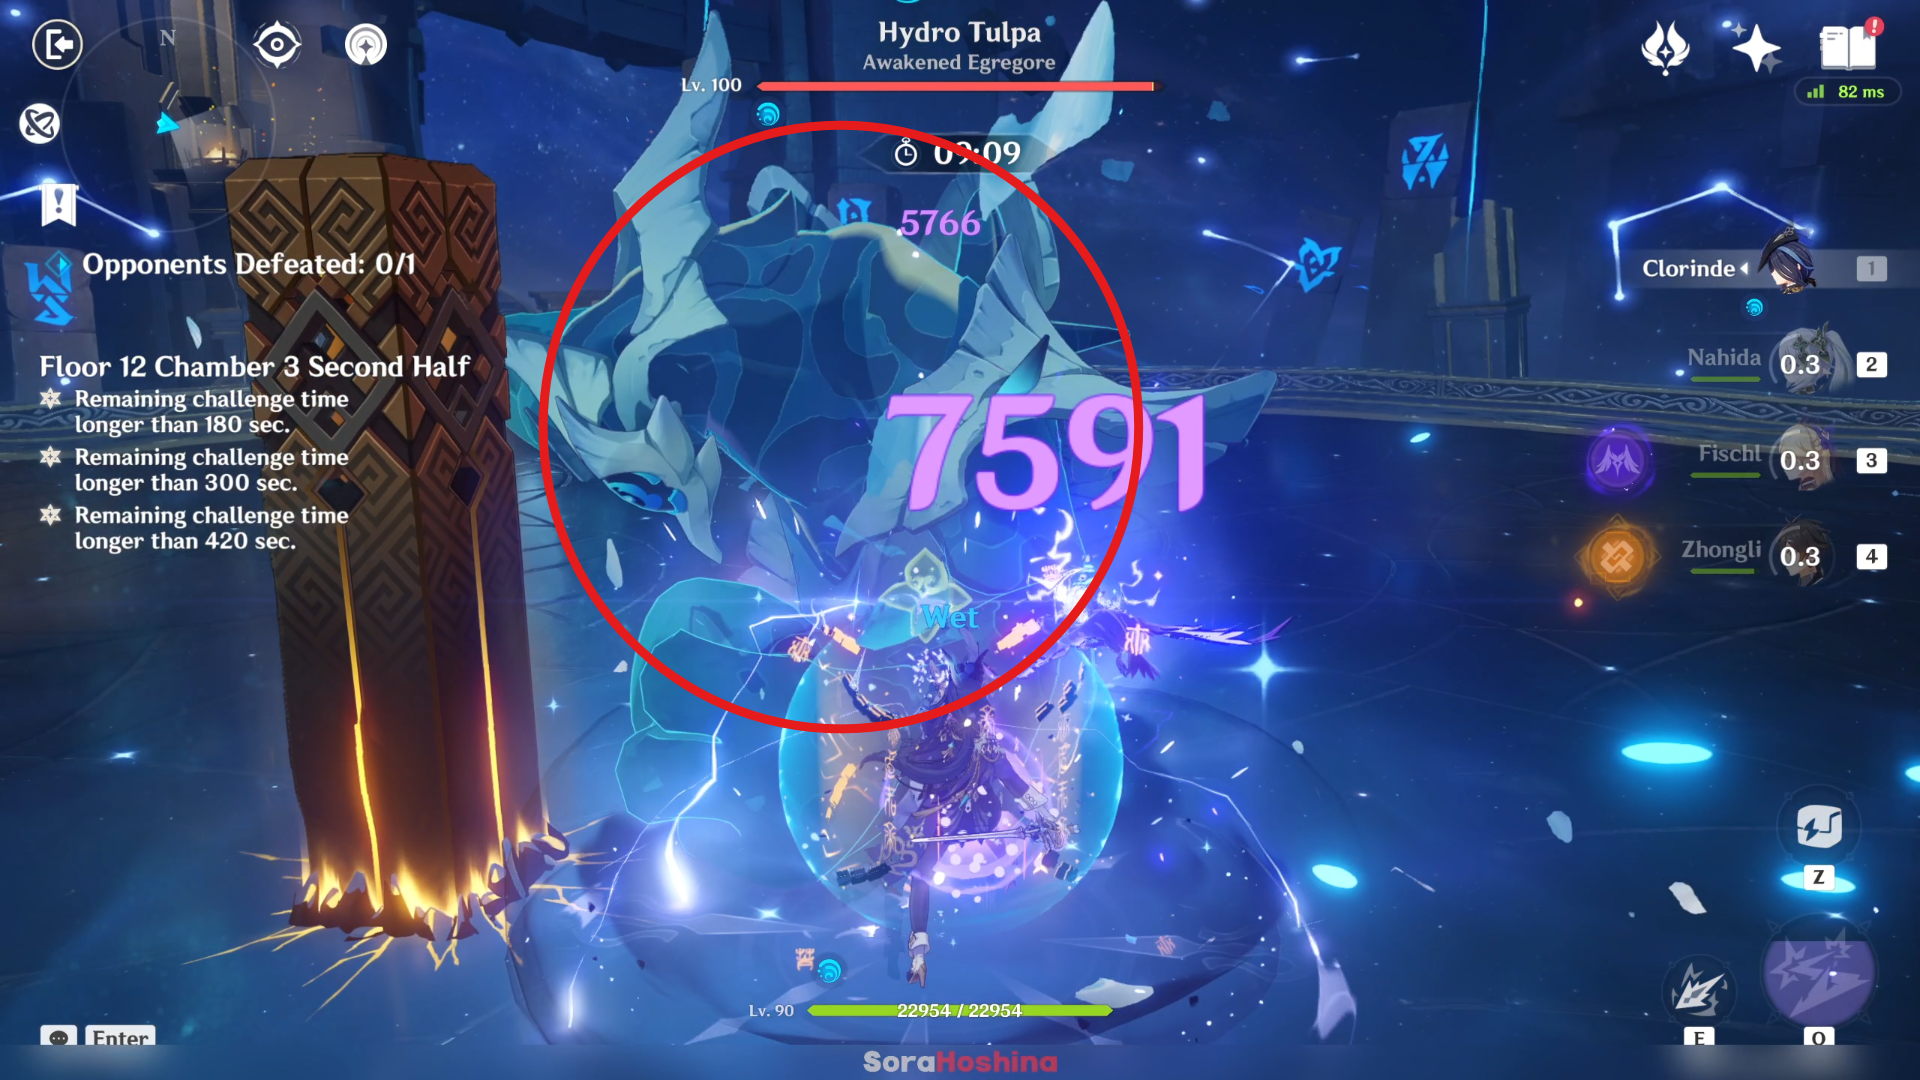
In the first and last wave, we have the Hydro Tulpa and it's completely immune to Hydro! It probably doesn't want us to use Neuvillette. But alas, you can trigger any Hydro-related reactions easily so it's not that hard. Most of its base attacks are pretty easy to avoid and only deal decent damage (it has a super huge HP pool though). The hard part is when it summons a Half-Tulpa and absorbs it to enhance itself.
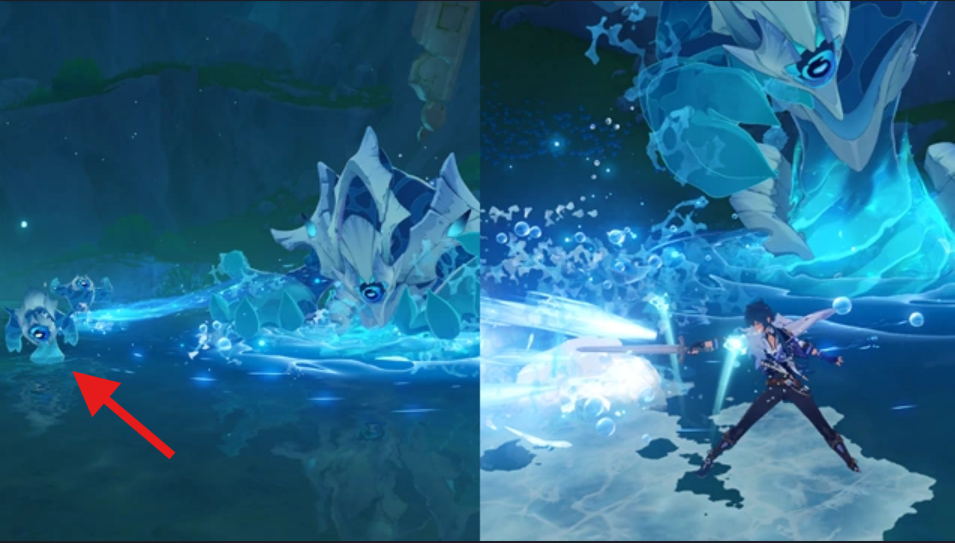
During the battle, a Half-Tulpa will spawn every few seconds. The Hydro Tulpa will absorb the Half-Tulpa to enter an enhanced state. In this state, its AoE and DMG dealt are increased, and RES to all DMG is increased by 45%. Make defeating the Half-Tulpa your top priority because you definitely don't want the boss to enter the enhanced state. Their HP and Hydro shield is not that strong so you can easily defeat it. The best element would be Dendro followed by Cryo.


