Table of Contents [Hide]

Floor 11 is the start of a challenge in Spiral Abyss for Genshin Impact players. The difficulty spikes up a little bit from the previous floor, in addition to the ever-changing roster of enemies in each version. In version 5.2, you will encounter lots of mobs and tons of waves. Follow this guide to know more about enemies' lineup, their weaknesses, and how to complete the entire chamber on Floor 11.
Blessing of the Abyssal Moon
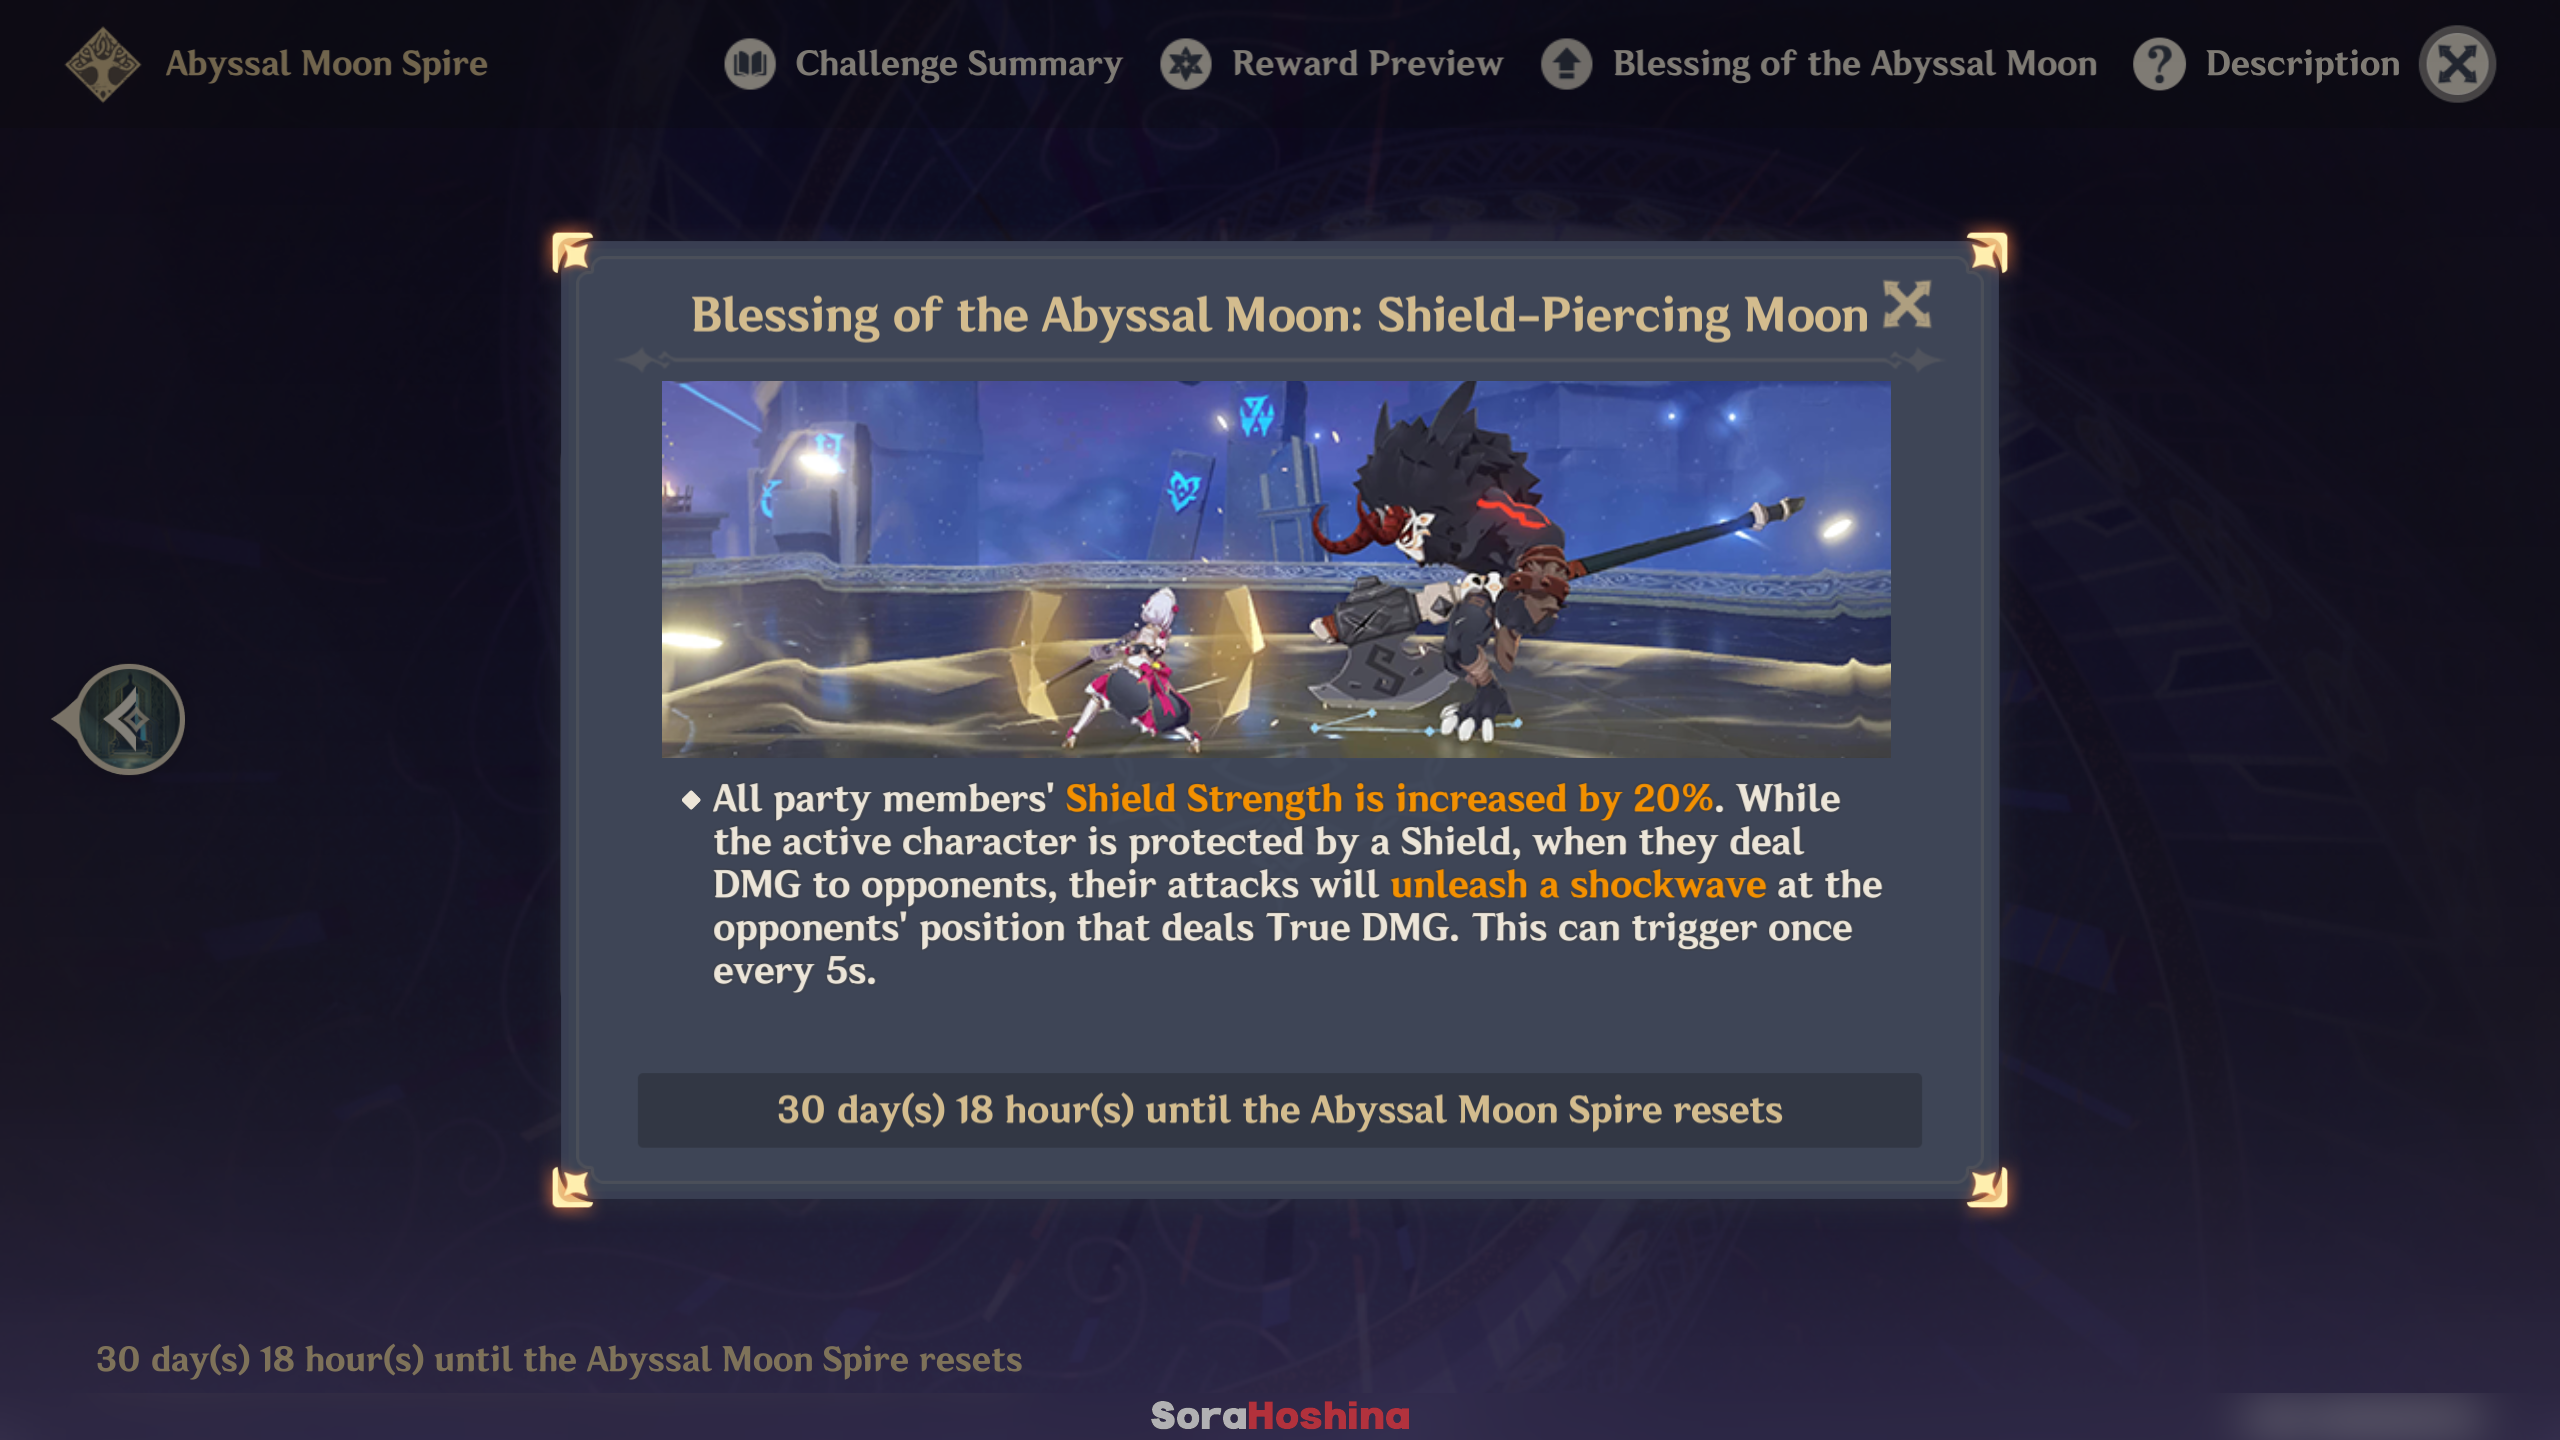
Reminder: Blessing of the Abyssal Moon will change every refresh cycle and may not be updated here. But the enemies list and strategy will remain the same.
Shield-Piercing Moon
All party members' Shield Strength is increased by 20%. While the active character is protected by a Shield, when they deal DMG to opponents, their attacks will unleash a shockwave at the opponents' position that deals True DMG. This can trigger once every 5s.
Ley Line Disorder
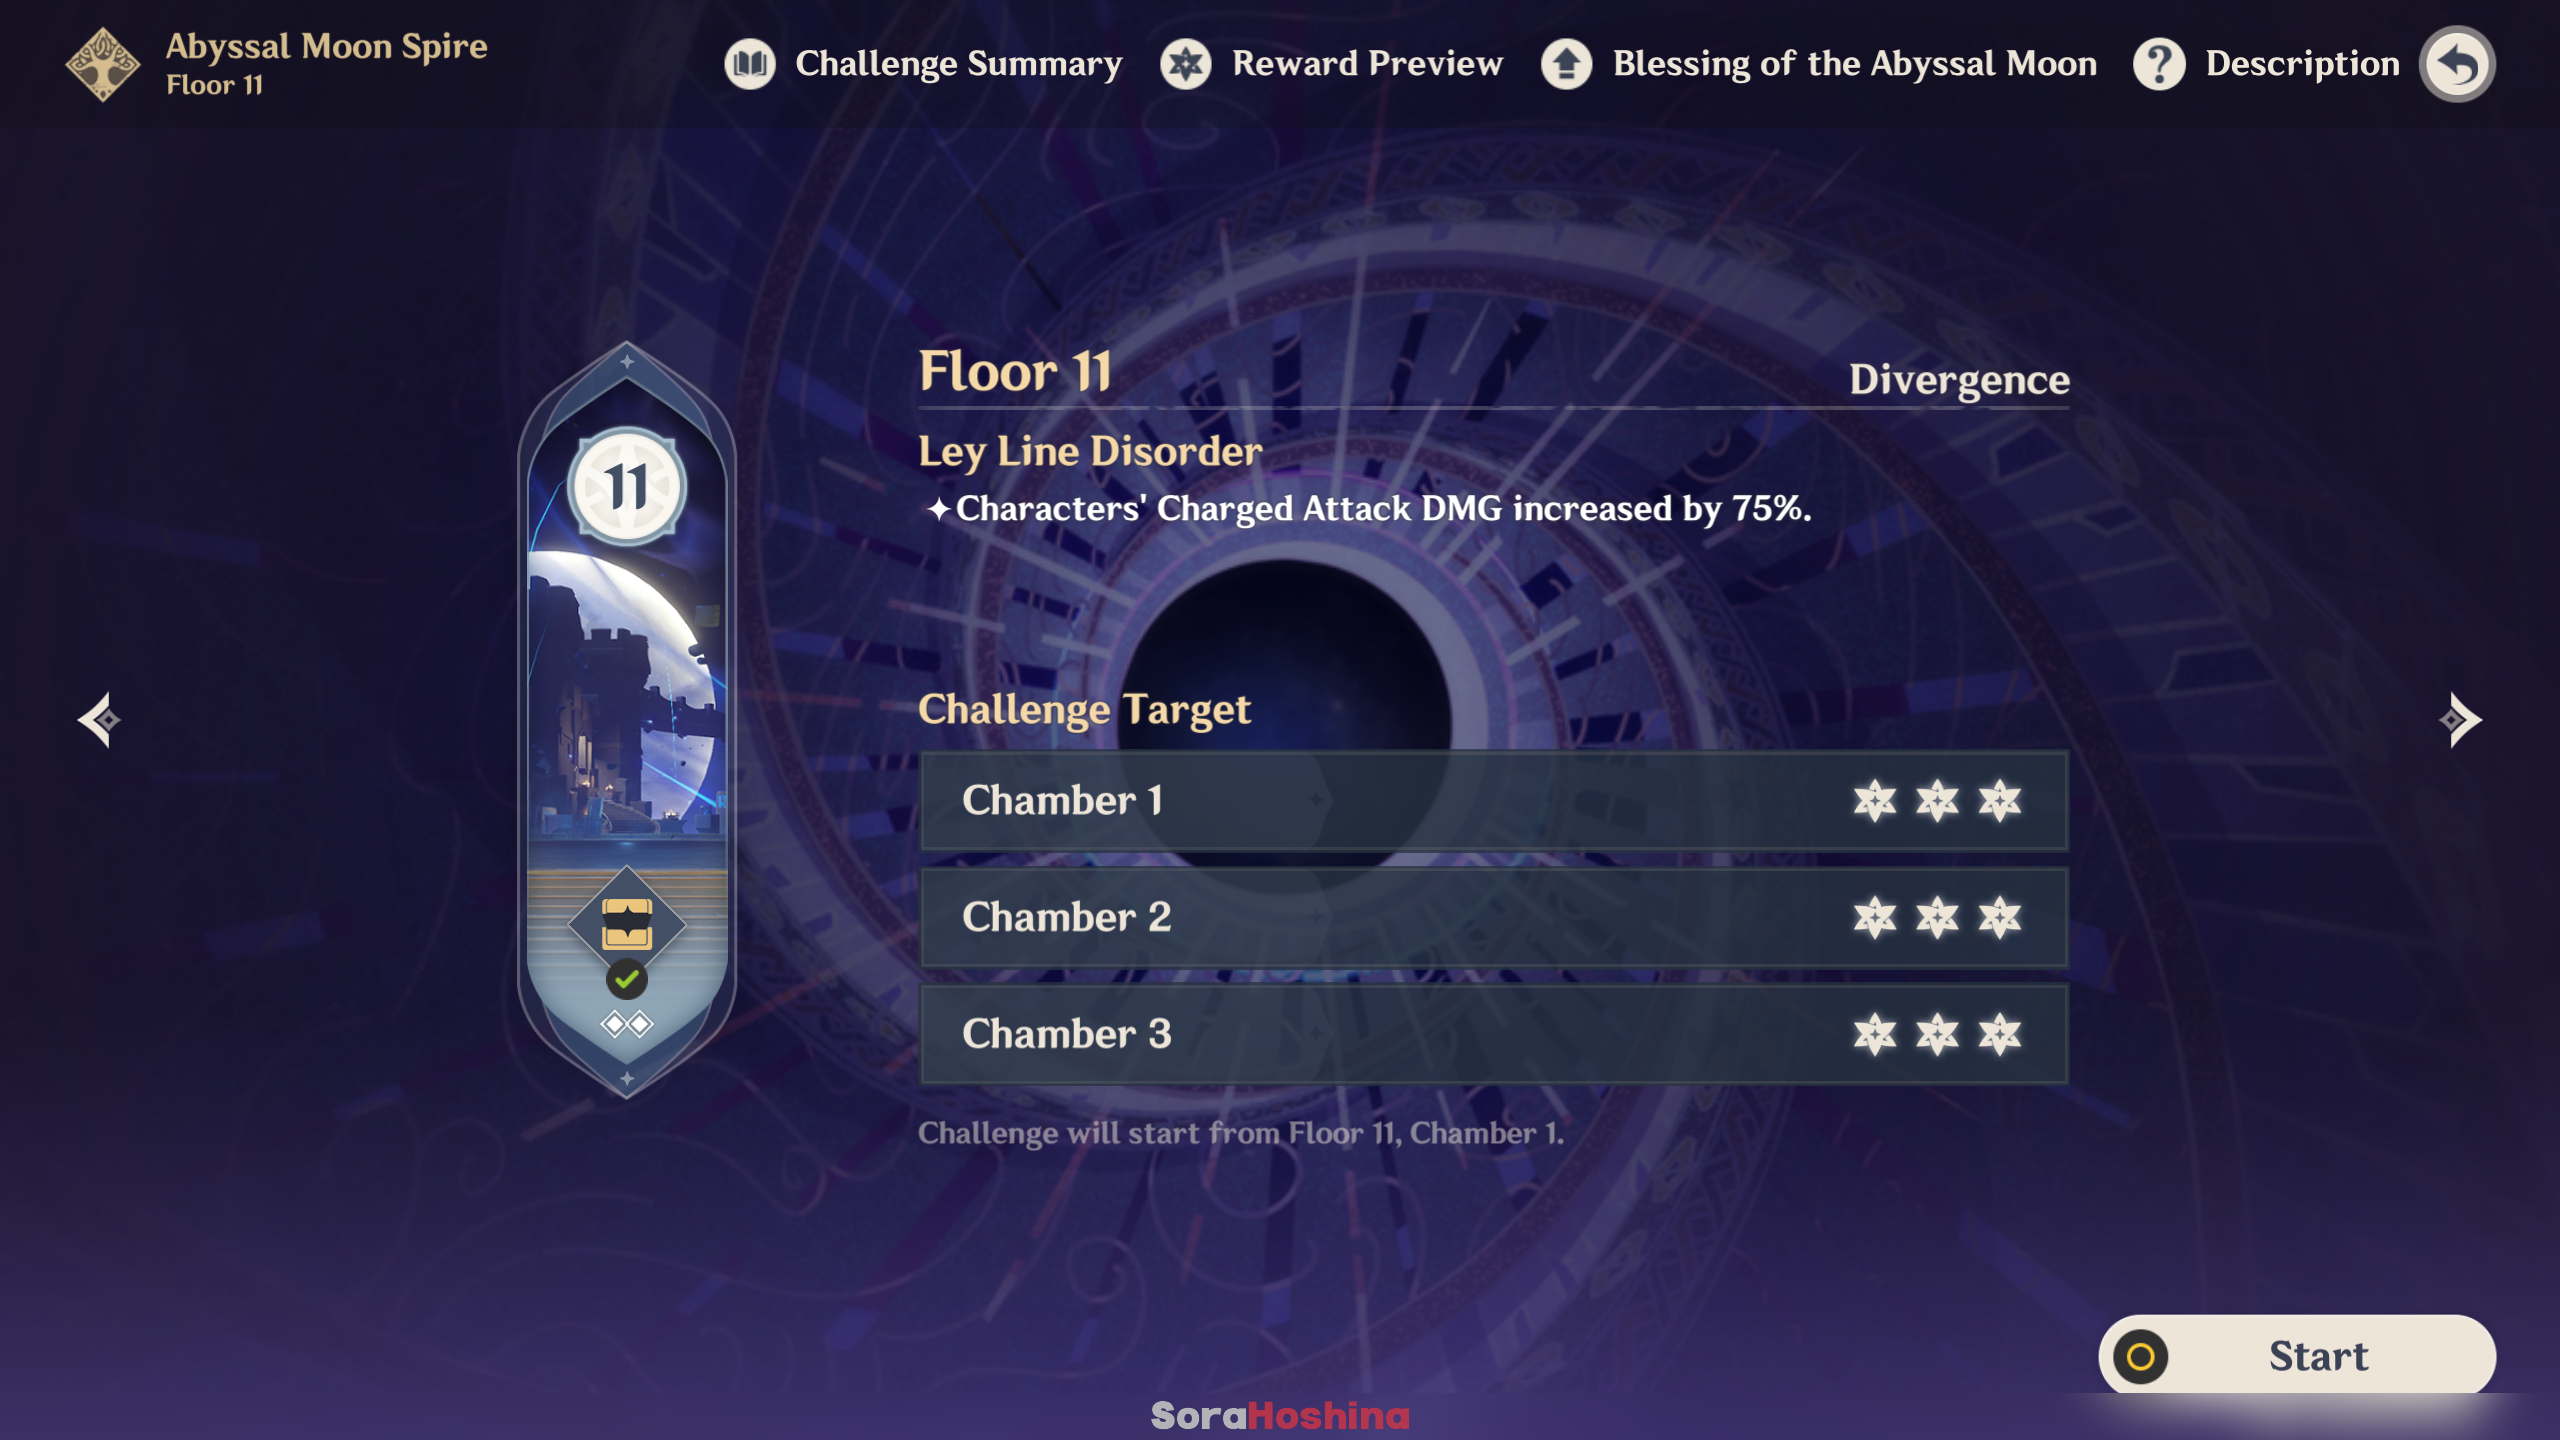
- Characters' Charged Attack DMG increased by 75%.
Team Recommendations
There are Leyline Monolith stages for Chamber 1, and some enemies spawn near each other/easy to gather while some are a bit far away. You can bring along an Anemo CC to any of the teams if you want. If you plan to bring a Bloom team, remember that the explosion from the Dendro Cores will also deal some damage and reduce the Monolith's HP.
Team Recommendations for the First Half
| The recommended elements for the First Half |  Anemo ➥ It's not really a question why this element is good. If you have an Anemo CC, you can bring them in this half to help in gathering enemies.      All of these elements are okay ➥ Aside from the Fatui Agent and Ruin enemies, other opponents don't have a really notable RES. |
| The not recommended elements for the First Half |   Pyro & Physical ➥ Pyro and Physical DPS is not recommended because there are Pyro Agent and Ruin enemies in Chamber 2. These Ruin enemies are just mobs so their Physical RES is not that high but the elite Fatui Agent has pretty high (50%) Pyro RES. |
Example:
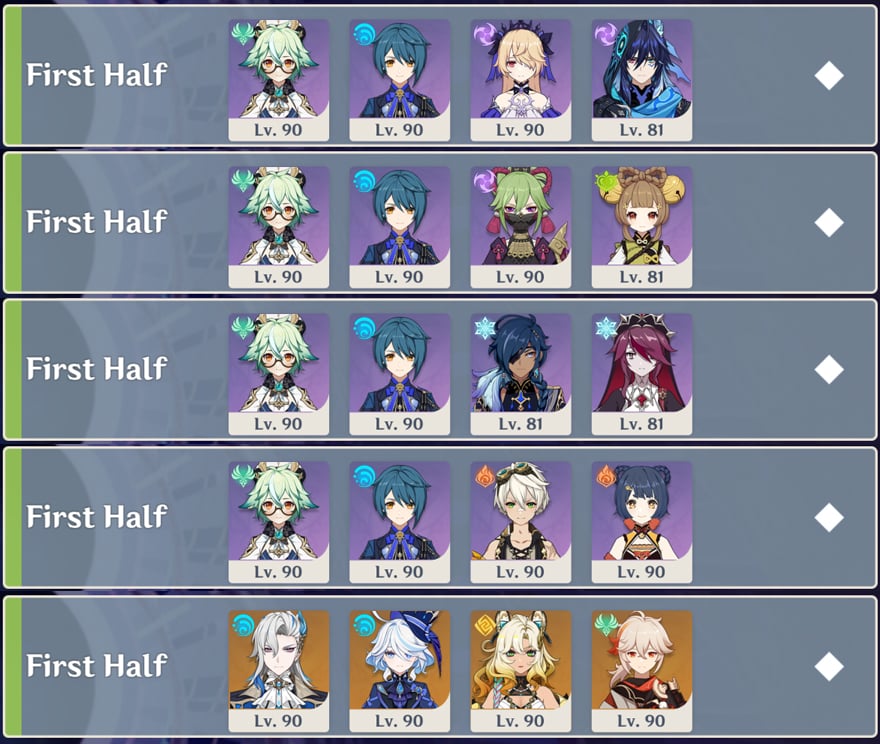
(1) Taser Team: Sucrose + Xingqiu + Fischl + Beidou
(2) Hyperbloom Team: Sucrose + Xingqiu + Kuki Shinobu + Yaoyao
(3) Freeze Team: Sucrose + Xingqiu + Rosaria + Kaeya/Diona
(4) National Team: Sucrose + Xingqiu + Bennett + Xiangling
(5) Hypercarry Team: Neuvillette + Furina + Xilonen + Kazuha
You can find more lineups in the official HoYoLAB Lineup Simulator here.
Team Recommendations for the Second Half
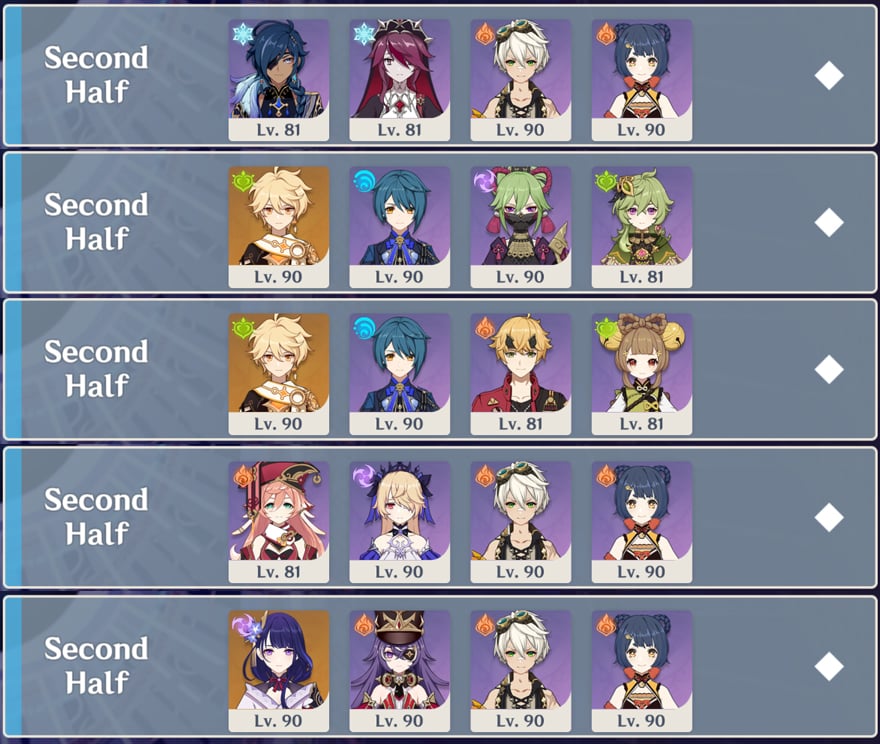
| The recommended elements for the Second Half |  Pyro ➥ There is an enemy in Chamber 2 that can die easily if you use Pyro on them (Eroding Avatar of Lava).      All of these elements are okay ➥ Aside from the Fatui Agent and Ruin enemies, other opponents don't have a really notable RES. |
| The not recommended elements for the Second Half |  Physical ➥ Physical DPS is not recommended because there are Ruin enemies in Chamber 2 and they have high RES to Physical.  Hydro ➥ There are Phantasm in the last chamber and they are completely immune to Hydro. |
Example:
(1) Melt Team: Kaeya + Rosaria + Bennett + Xiangling
(2) Hyperbloom Team: Dendro MC + Collei + Xingqiu + Kuki Shinobu
(3) Burgeon Team: Dendro MC + Xingqiu + Thoma + Yaoyao
(4) Overload Team: Yanfei/Sethos + Fischl + Bennett + Xiangling
(5) Overload Team: Raiden + Chevreuse + Bennett + Xiangling
You can find more lineups in the official HoYoLAB Lineup Simulator here.
Floor 11 Chamber 1
First Half
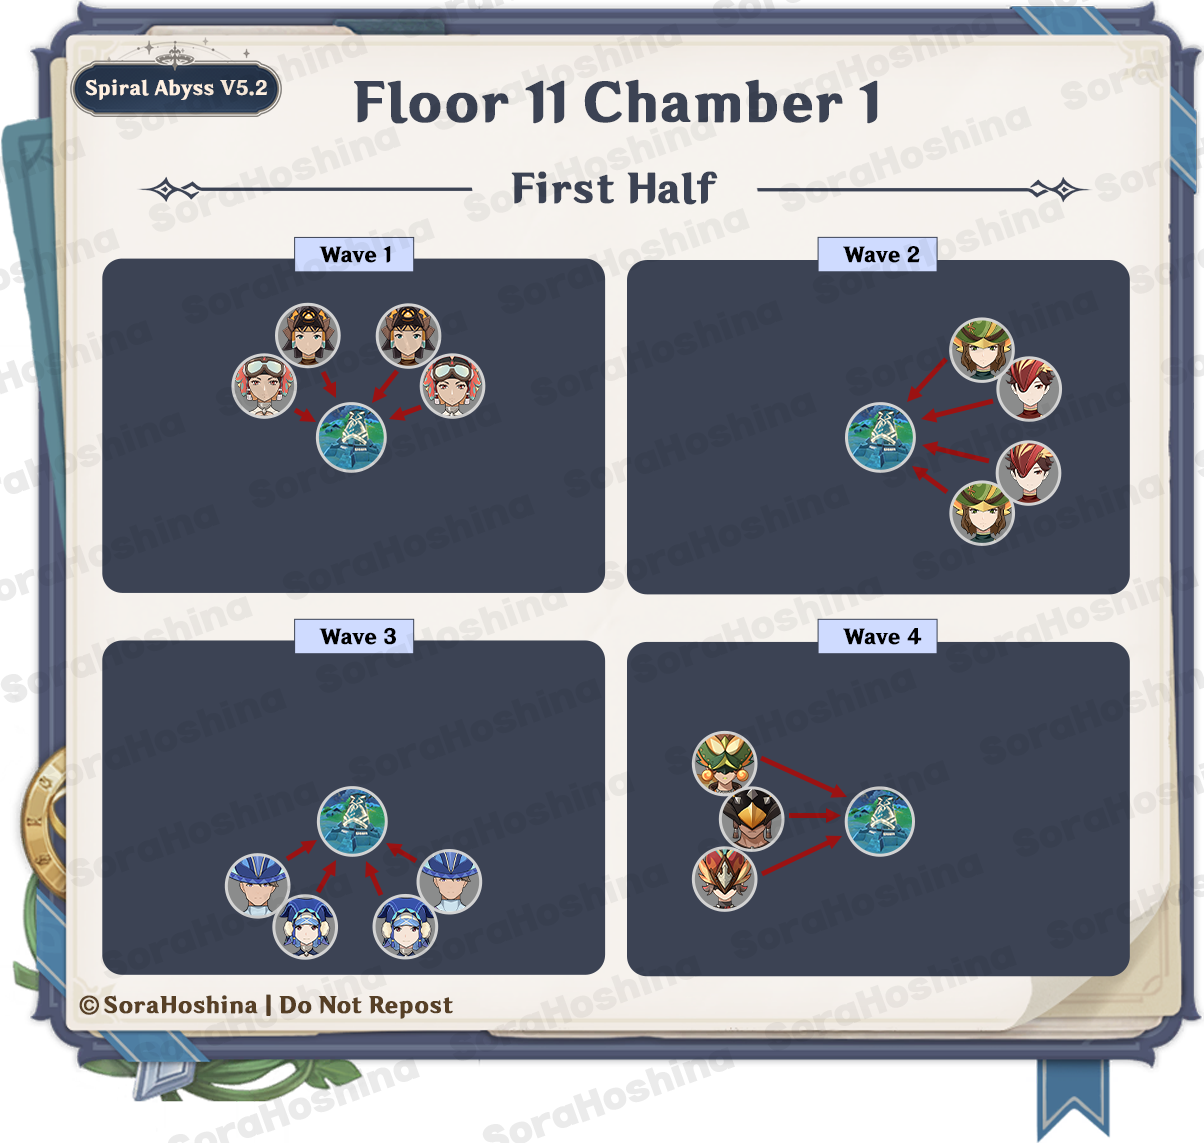
1st Wave: Forged Sand Interrogator x2 & Winged Warrior: Skysoarer x2
2nd Wave: Winged Warrior: Feathershedder x2 & Swiftstep Seeker x2
3rd Wave: Spiritspeaker Warrior: Determinator x2 & Spiritspeaker Warrior: Contemplator x2
4th Wave: Yumkasaurus Warrior: Flowing Skyfire x1, Qucusaur Warrior: Blazing Sky x1 & Teptelisaurus Warrior: Shard Striker x1
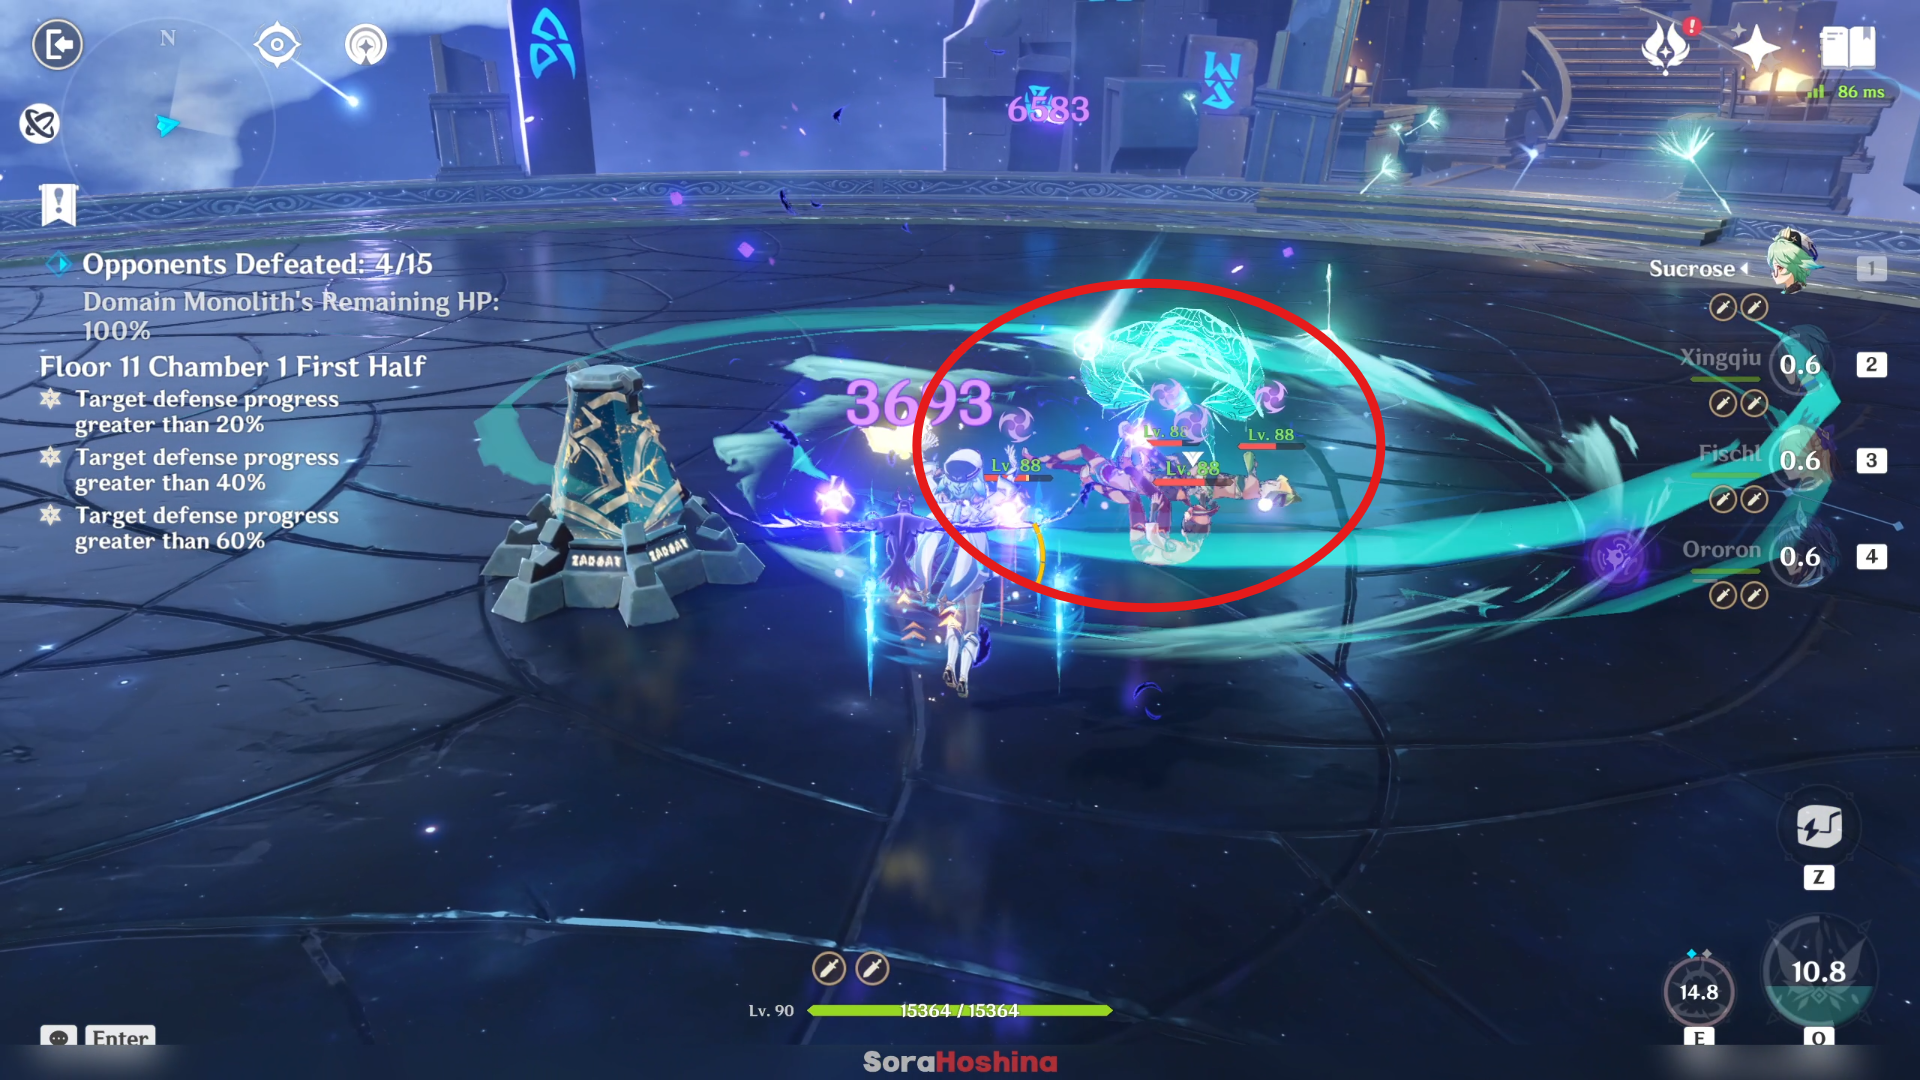
In every wave, all enemies will chase after the Monolith and almost all of them are short-ranged attacker so they will gather near the Monolith to attack it. If you bring Anemo CC, you can use that unit to gather all of the enemies in one spot easily. If you don't, then follow the group of enemies towards the Monolith and attack them there. Except for the explosion from Bloom, your attacks won't deplete the Monolith's HP.
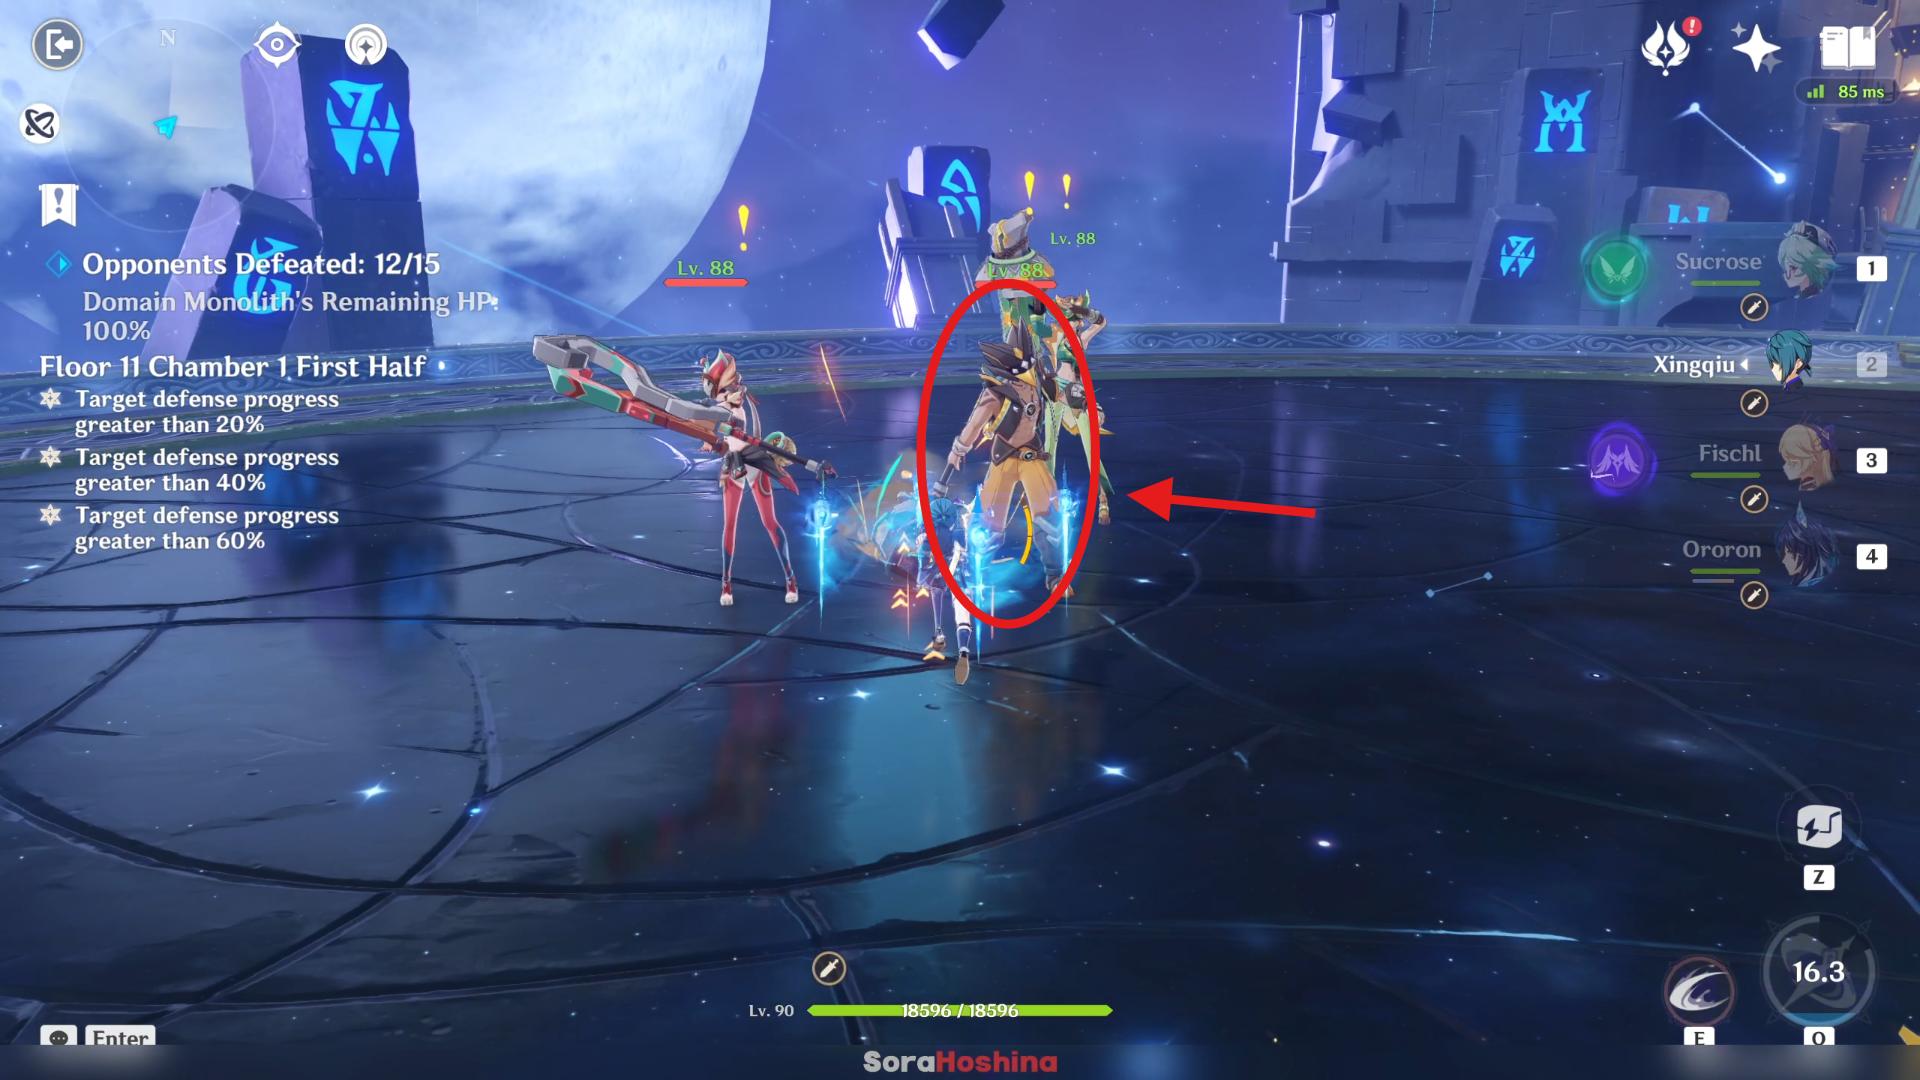
Special mention to the last wave where two of the 3 elite enemies are ranged attacker so they won't approach the Monolith (maybe they will, but it's RNG and may take time). If you bring an AoE DPS, then you may able to hit all of them at the same time. But if you bring a single-target DPS, attack the Tepetlisaur Warrior first to trigger aggro, then sprint to where the Yumkasaurus + Qucusaurus Warriors are located (if you're lucky, hopefully those 2 are near each other) and attack them.
Second Half
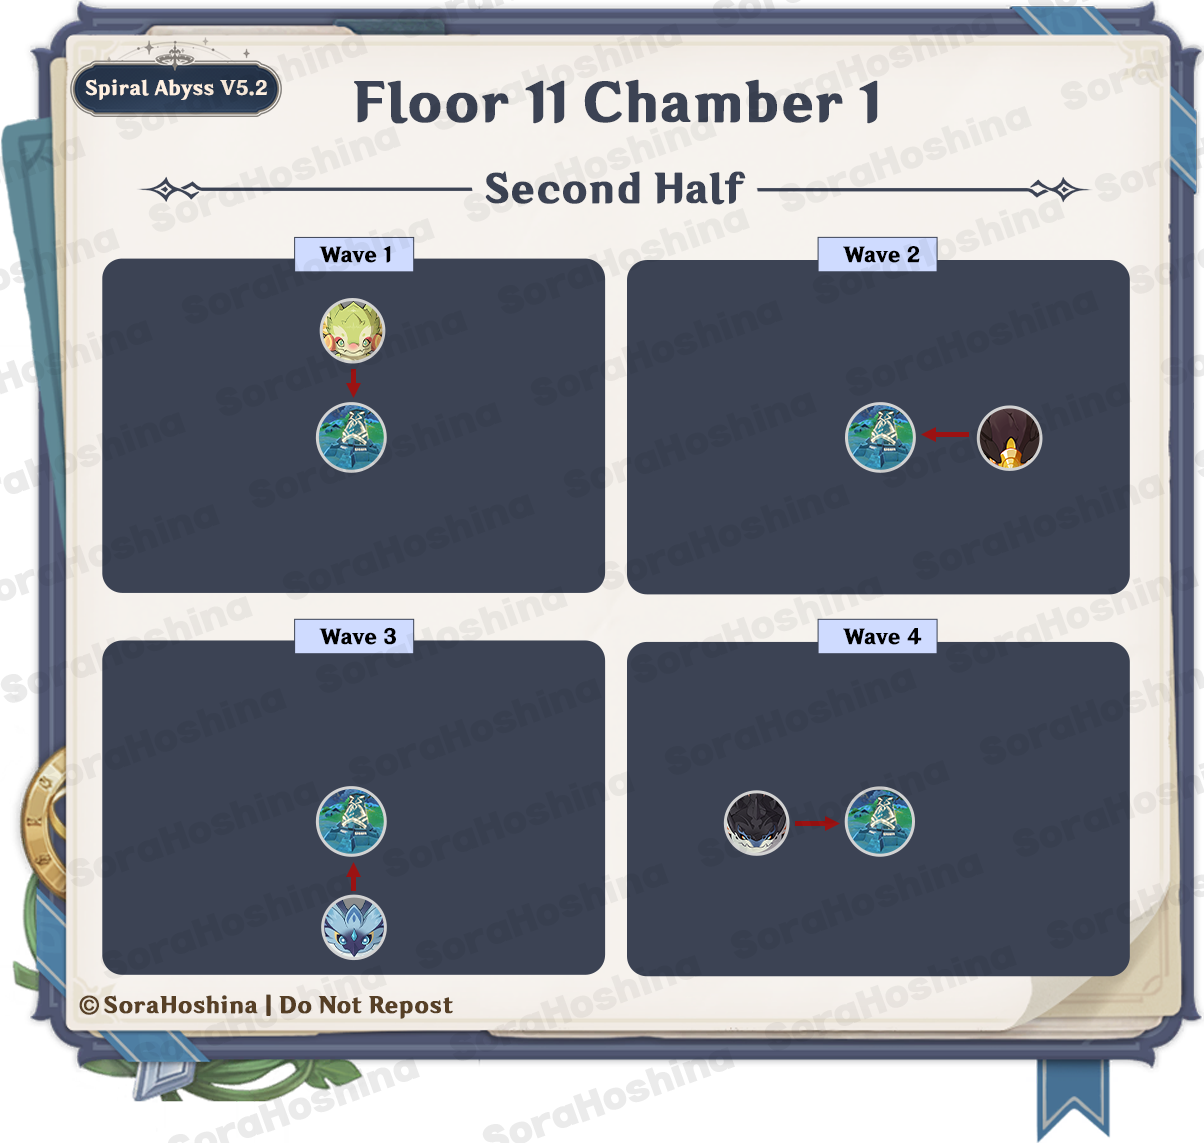
1st Wave: Yumkasaurus x1
2nd Wave: Tepetelisaurus x1
3rd Wave: Iktomisaurus x1
4th Wave: Tepetelisaurus x1
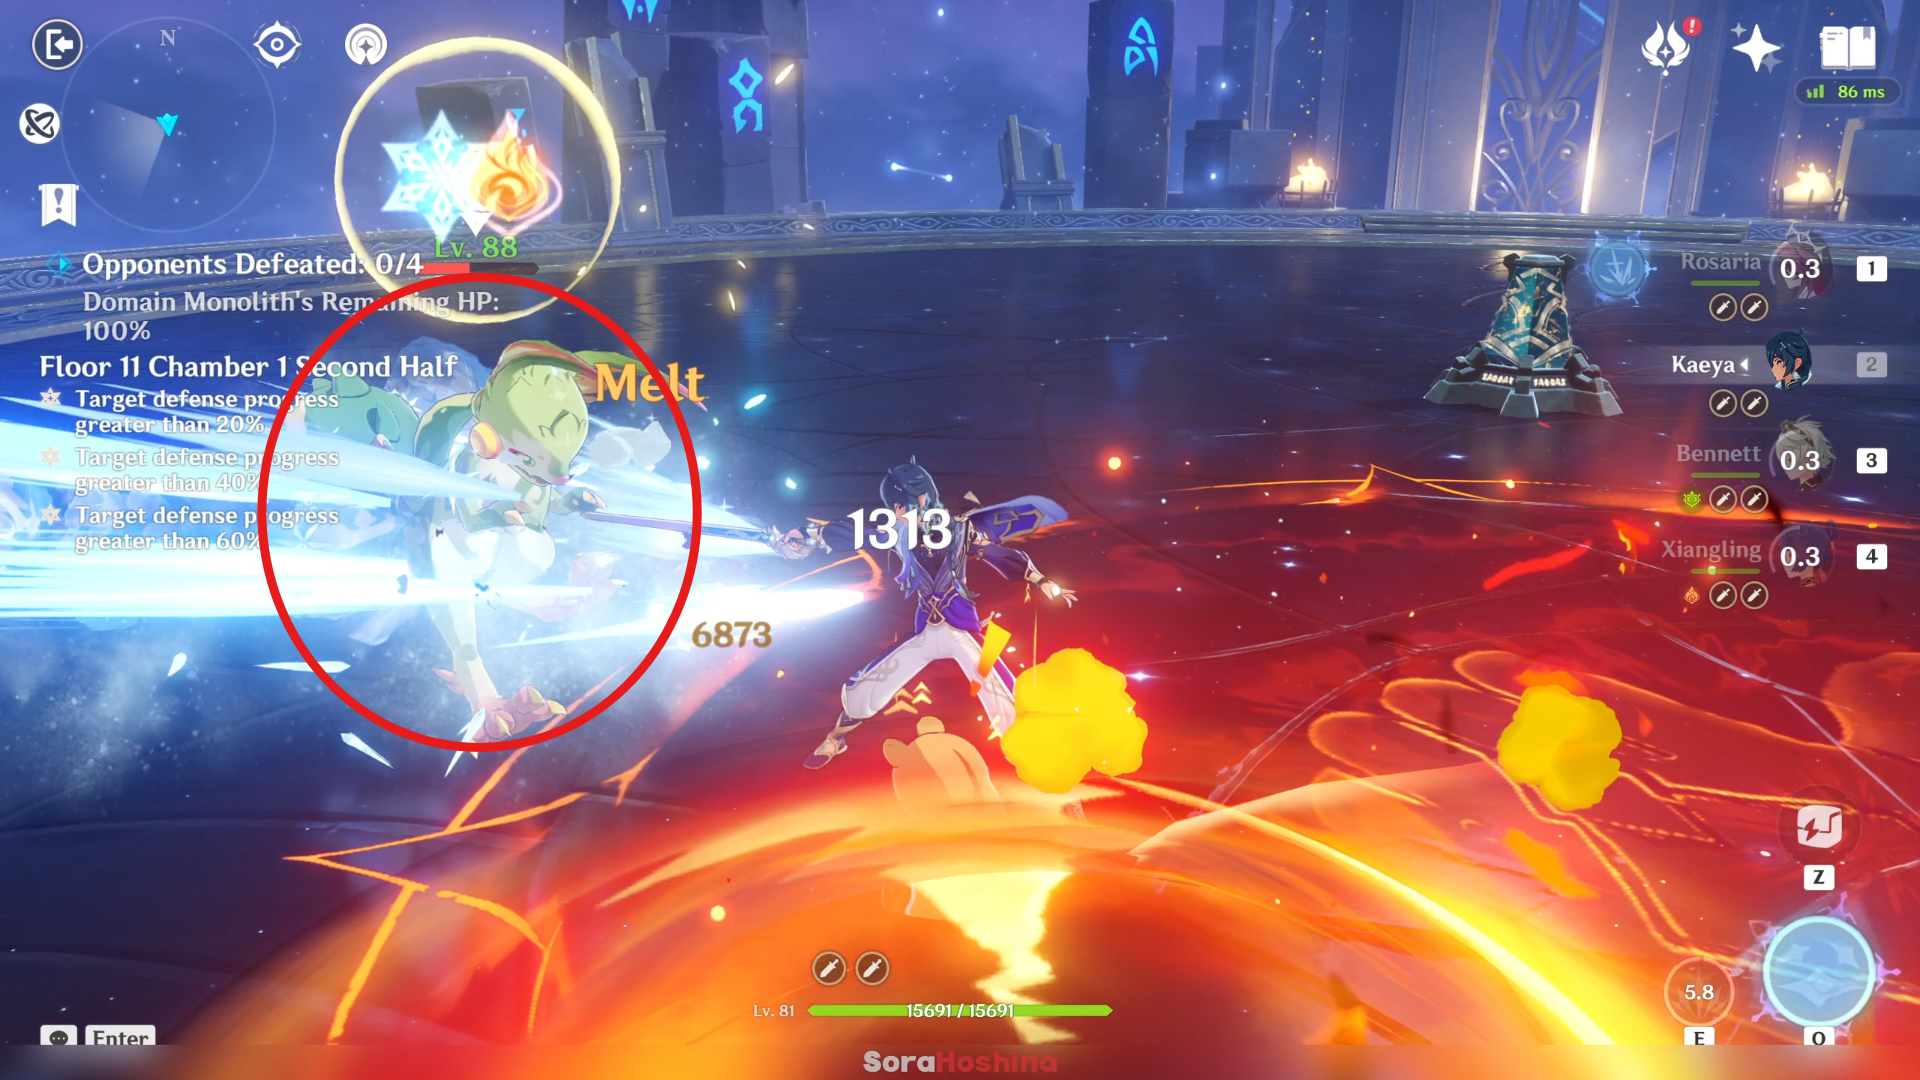
In every wave, all enemies will attack the Monolith and there's only one enemy per wave so you shouldn't have too much trouble with this half. Just focus on attacking them to trigger aggro and avoid standing near the Monolith in case it received collateral damage.
Floor 11 Chamber 2
First Half
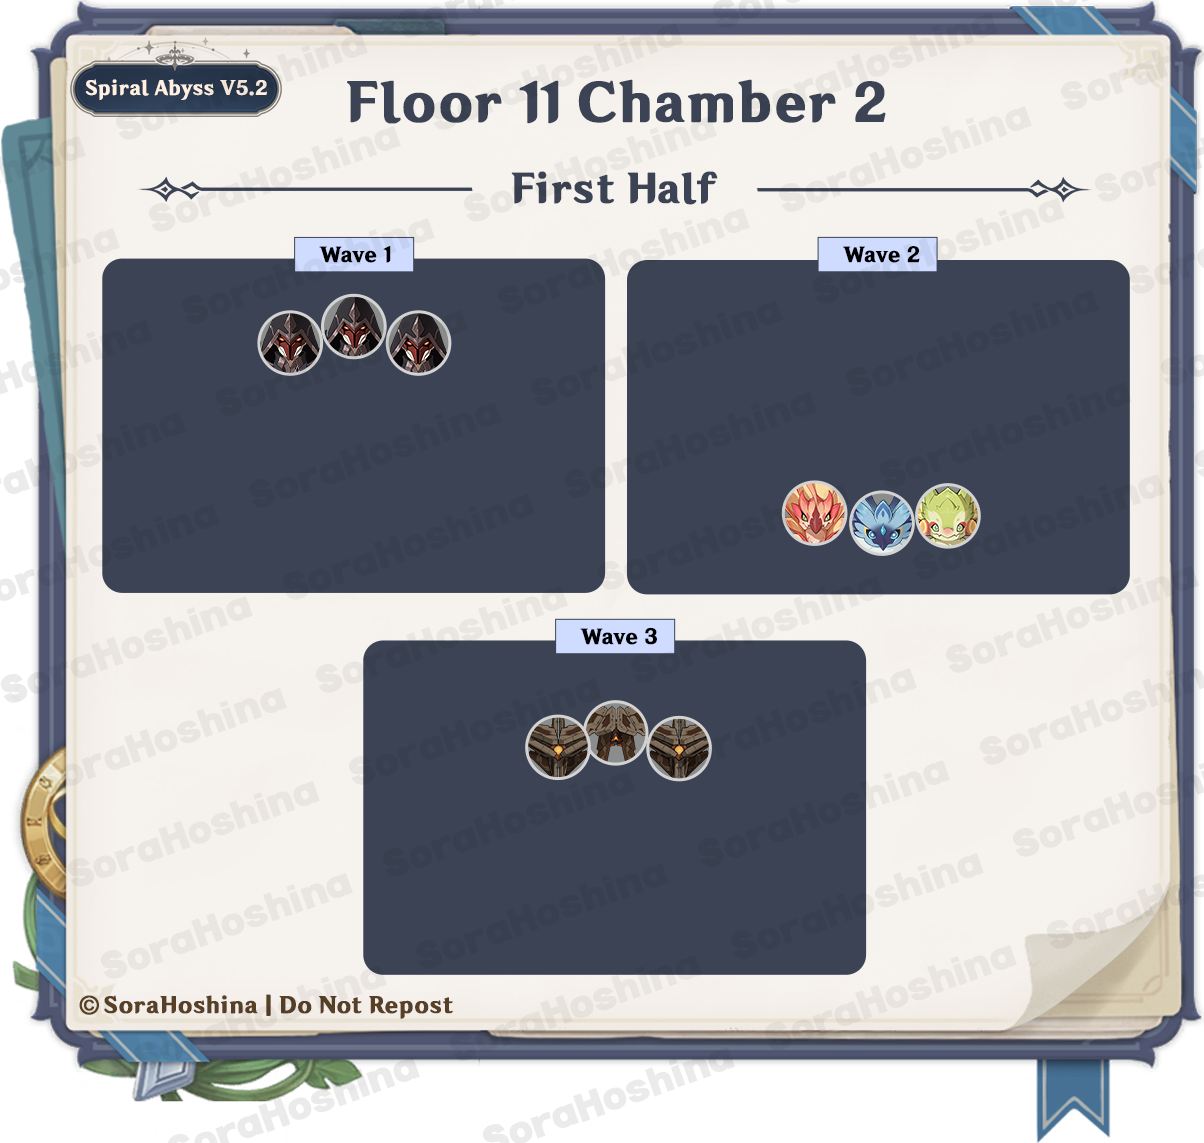
1st Wave: Pyro Agent x3
2nd Wave: Yumkasaurus x1, Qucusaurus x1 & Iktomisaurus x1
3rd Wave: Ruin Destroyer x2 & Ruin Scout x1
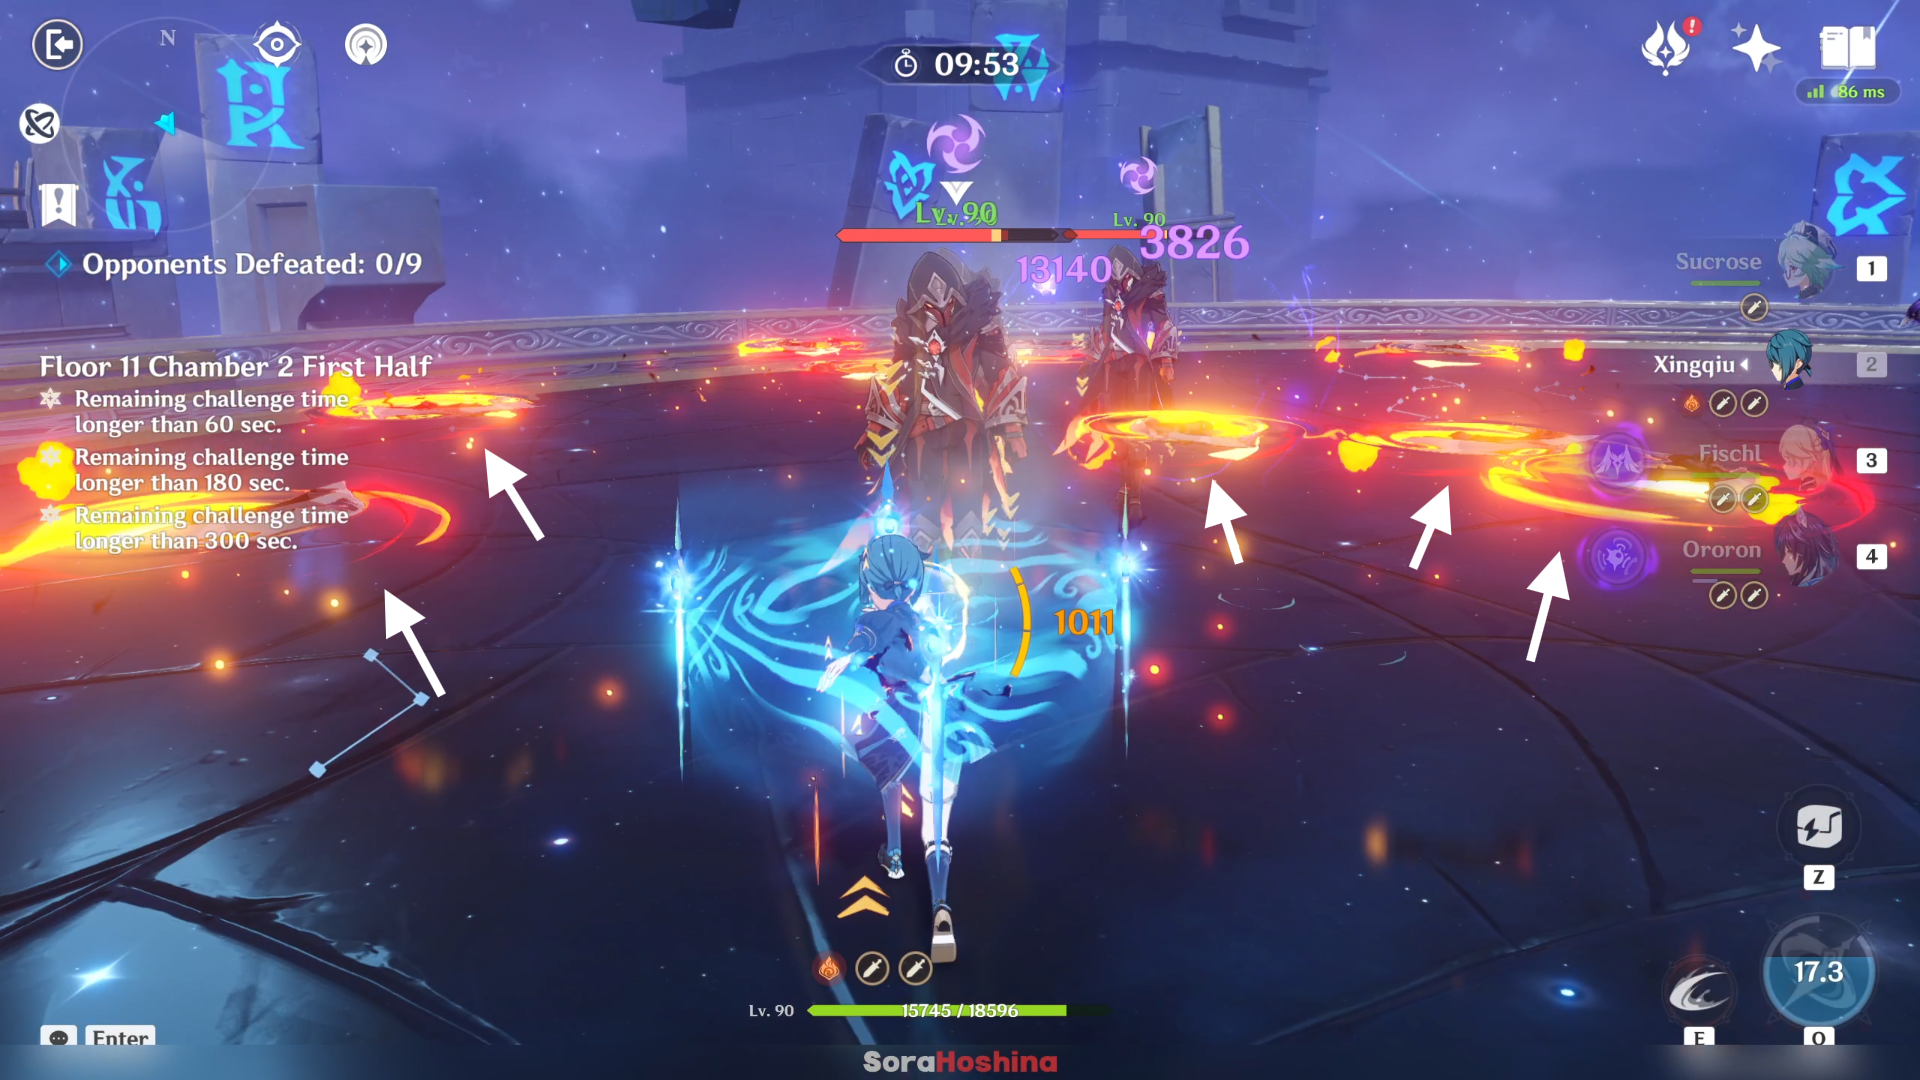
In the first wave, there are 3 Pyro Agents at the front area.
(1) Now, if you didn't bring any Anemo CC or a shielder, you might want to stay away from them at first because they will immediately summon 3 spinning blades. If you don't have a shield, you will get knocked back if you touch any of those knives, which will be often because those 3 are really near each other.
(2) But if you have Anemo CC, you can immediately go to the Agent in the middle and use Anemo vortex to stop them from summoning those knives.
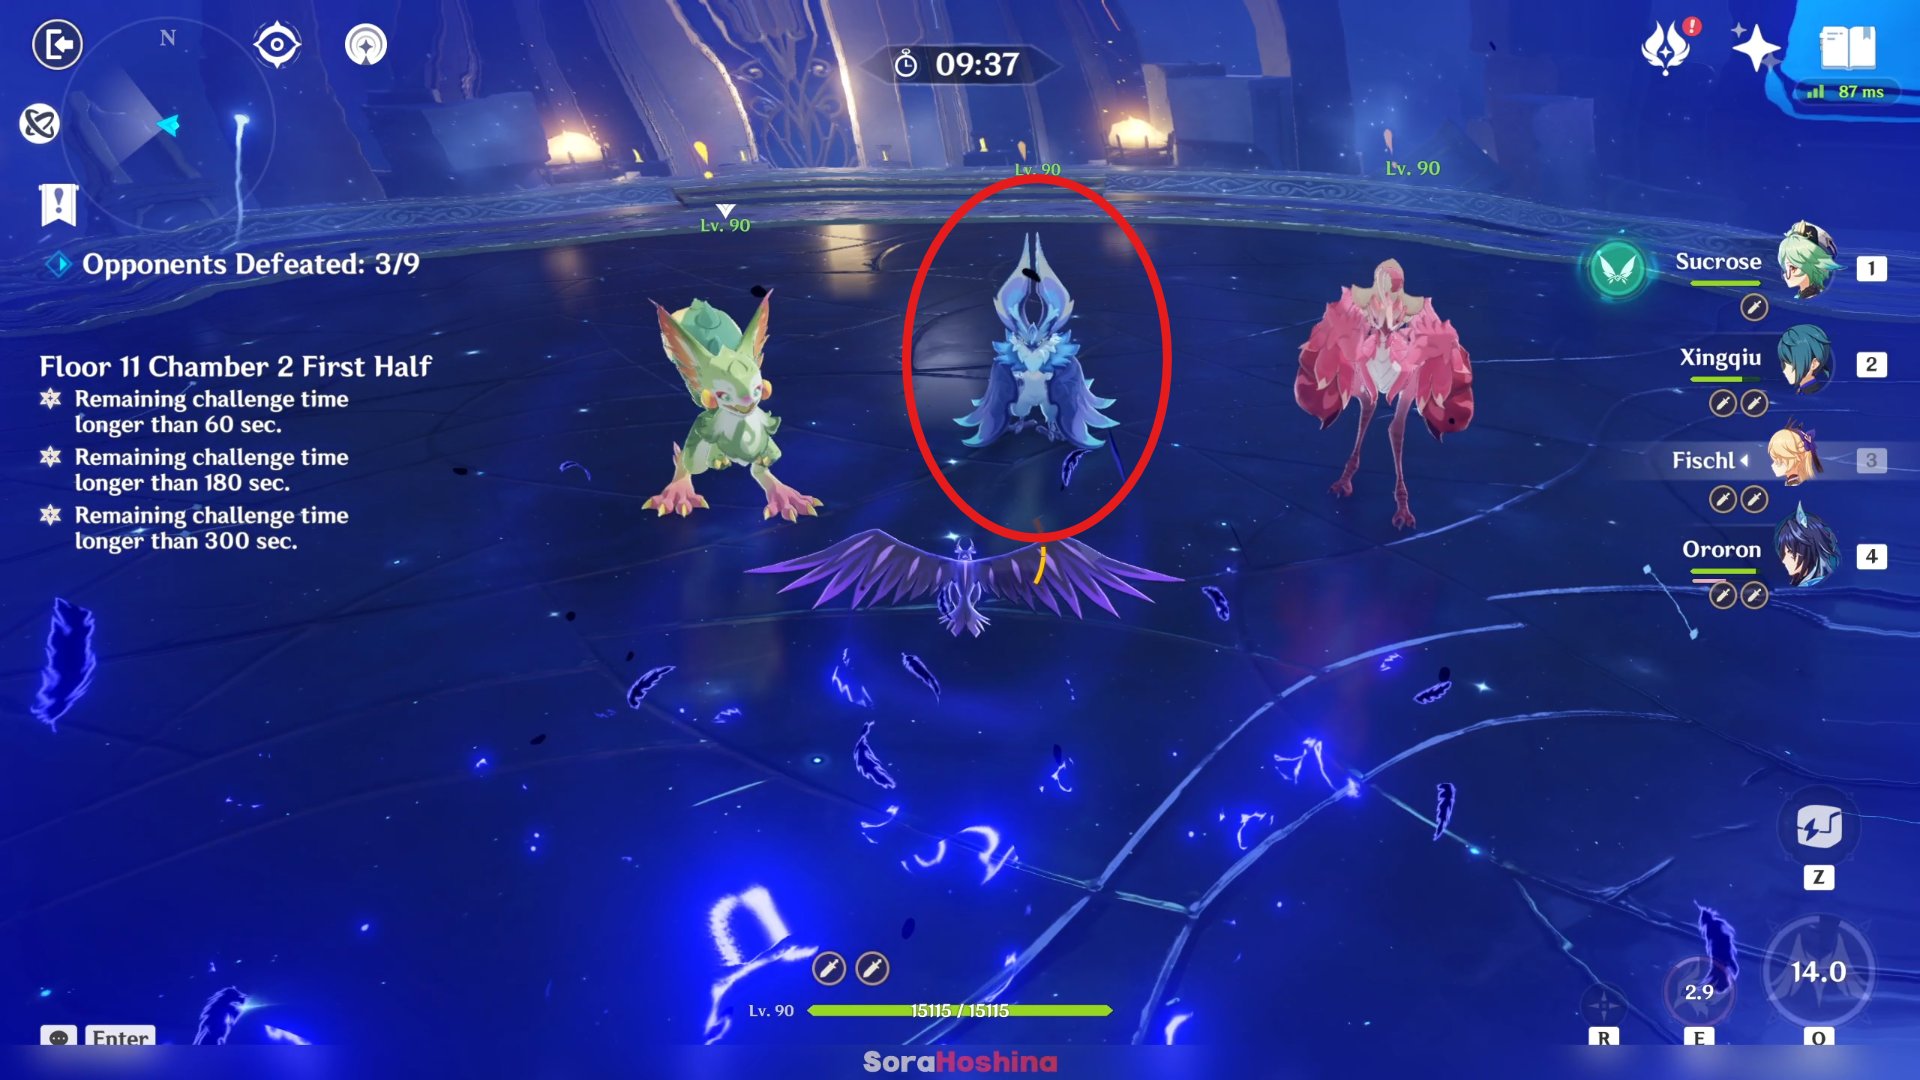
In the second wave, there are 3 Saurus at the back area. Among all 3, focus on Iktomisaurus because it deals long-ranged attack and might not chase after you. While the remaining 2 Saurus will chase after you. This way, you can gather all 3 of them at one spot even if you don't bring Anemo CC.
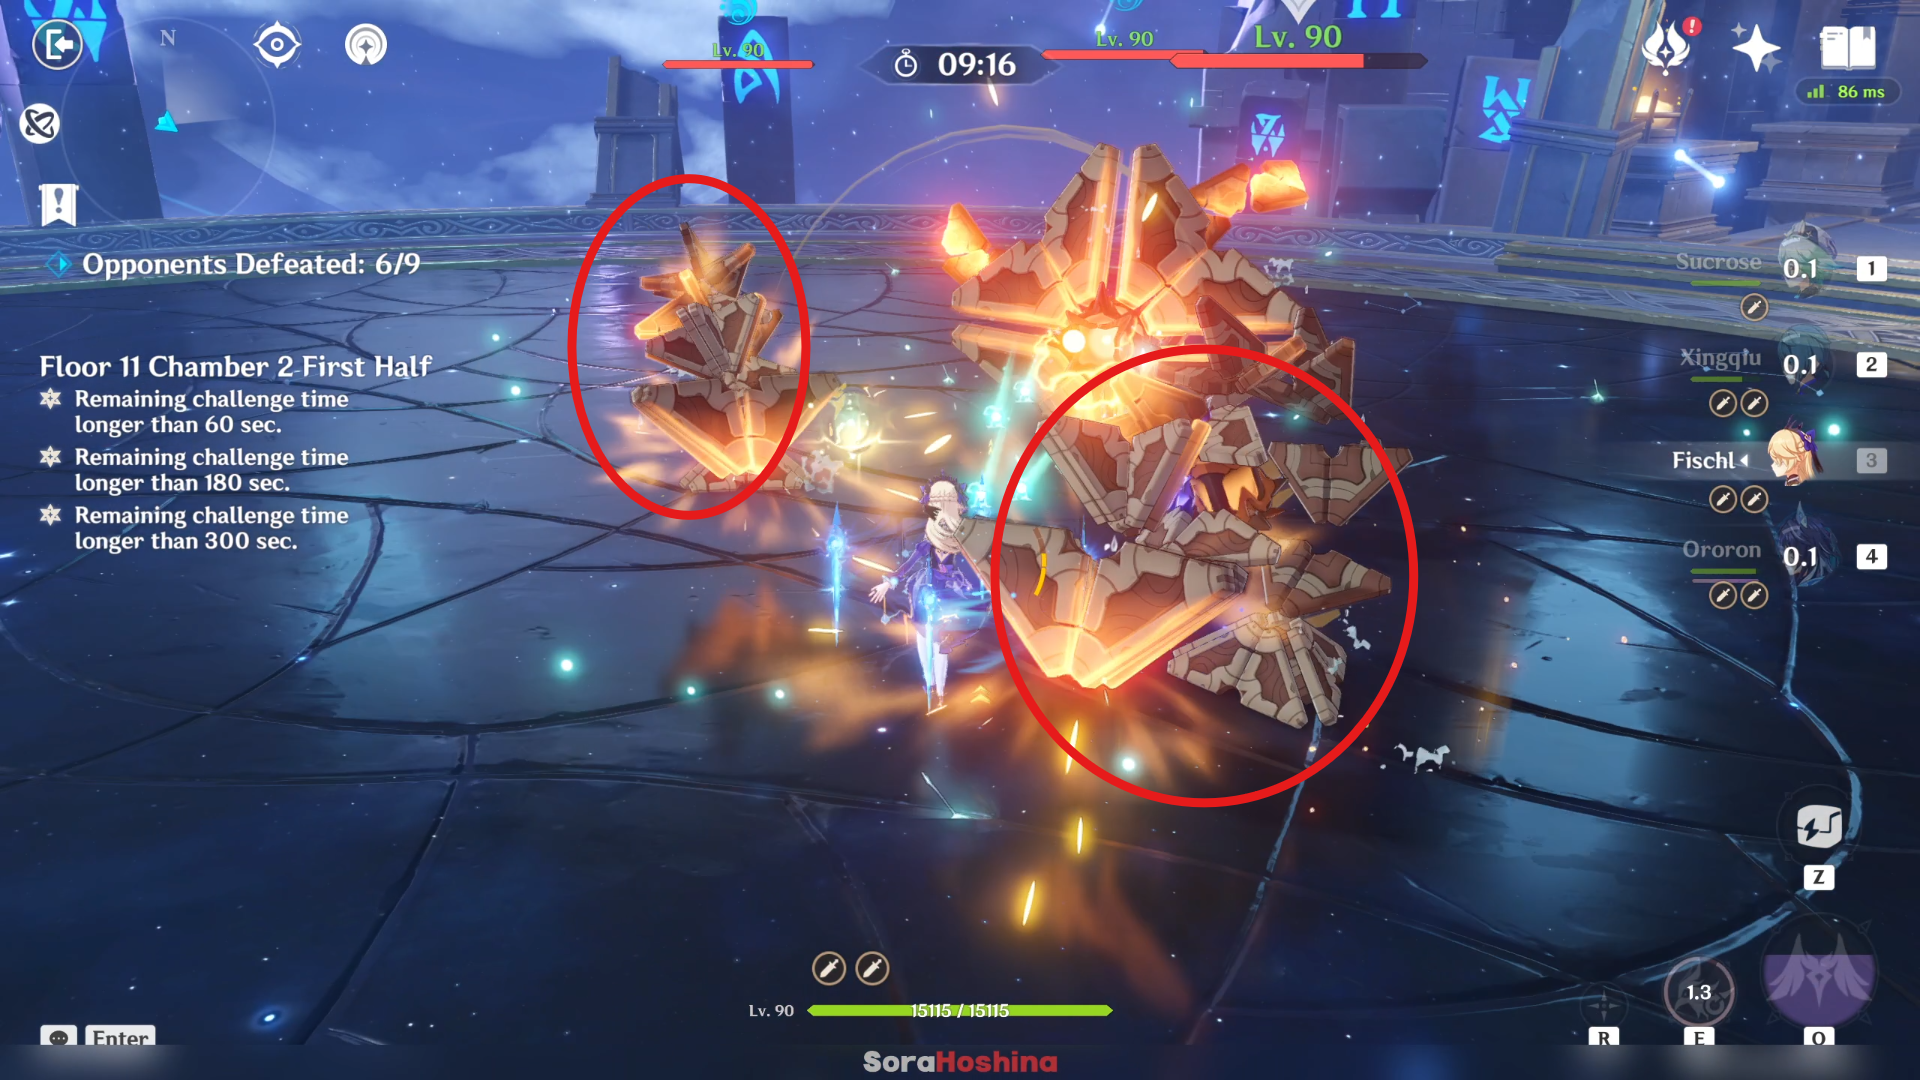
In the third wave, it's better to focus on any of the Ruin Destroyer rather than the Scout because the latter will hover towards you while the Destroyer may burrow into the ground and get far away from you. In addition, if you get too close to the Ruin Scout, they might use a skill that launches itself away from you.
Second Half
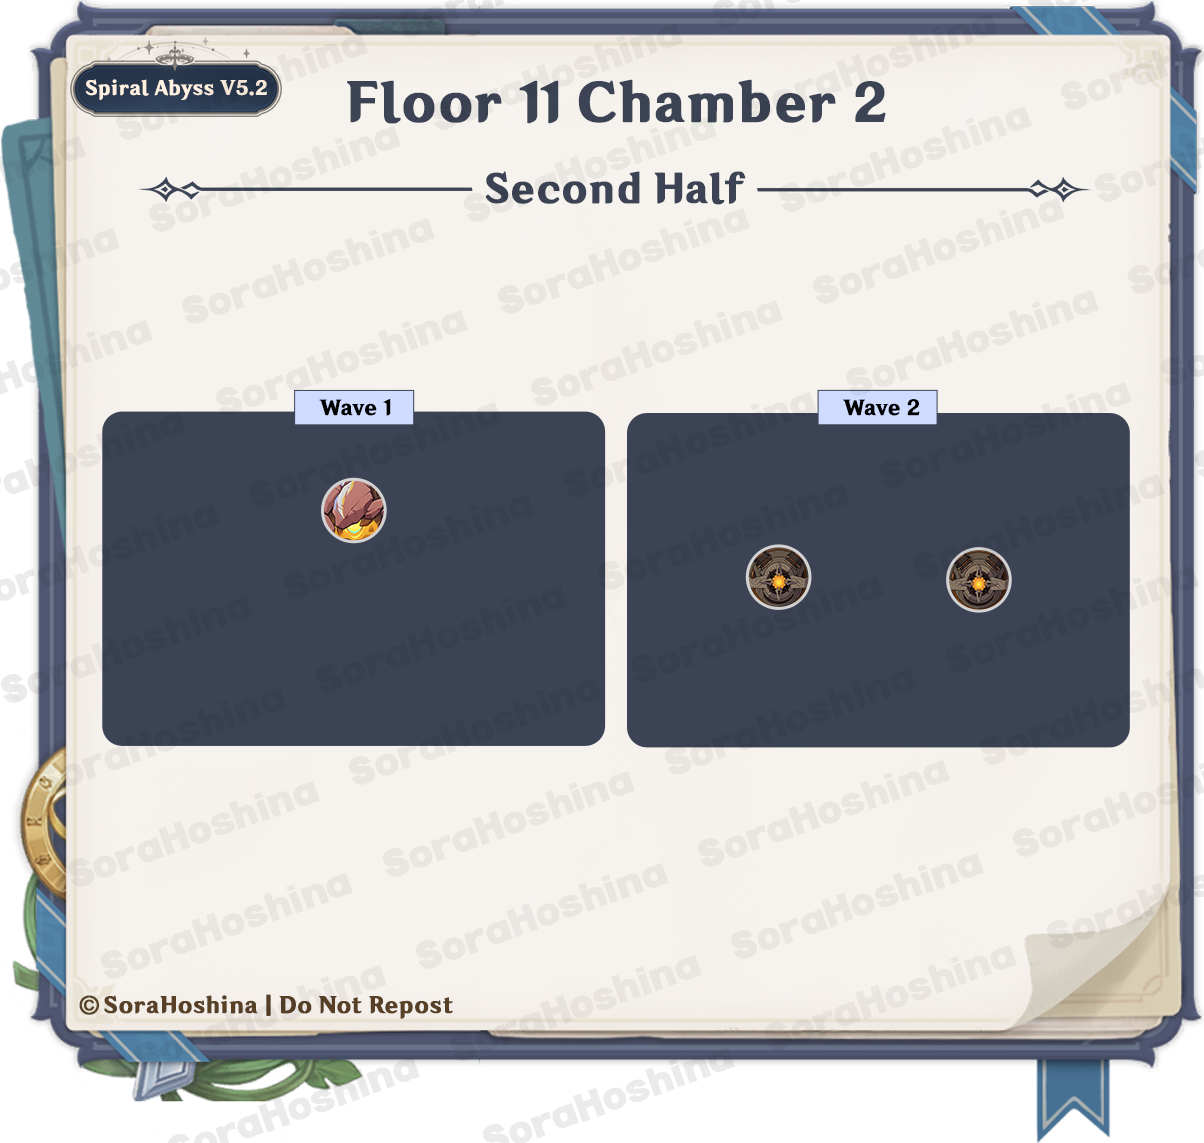
1st Wave: Eroding Avatar of Lava x1
2nd Wave: Ruin Drake: Skywatch x2
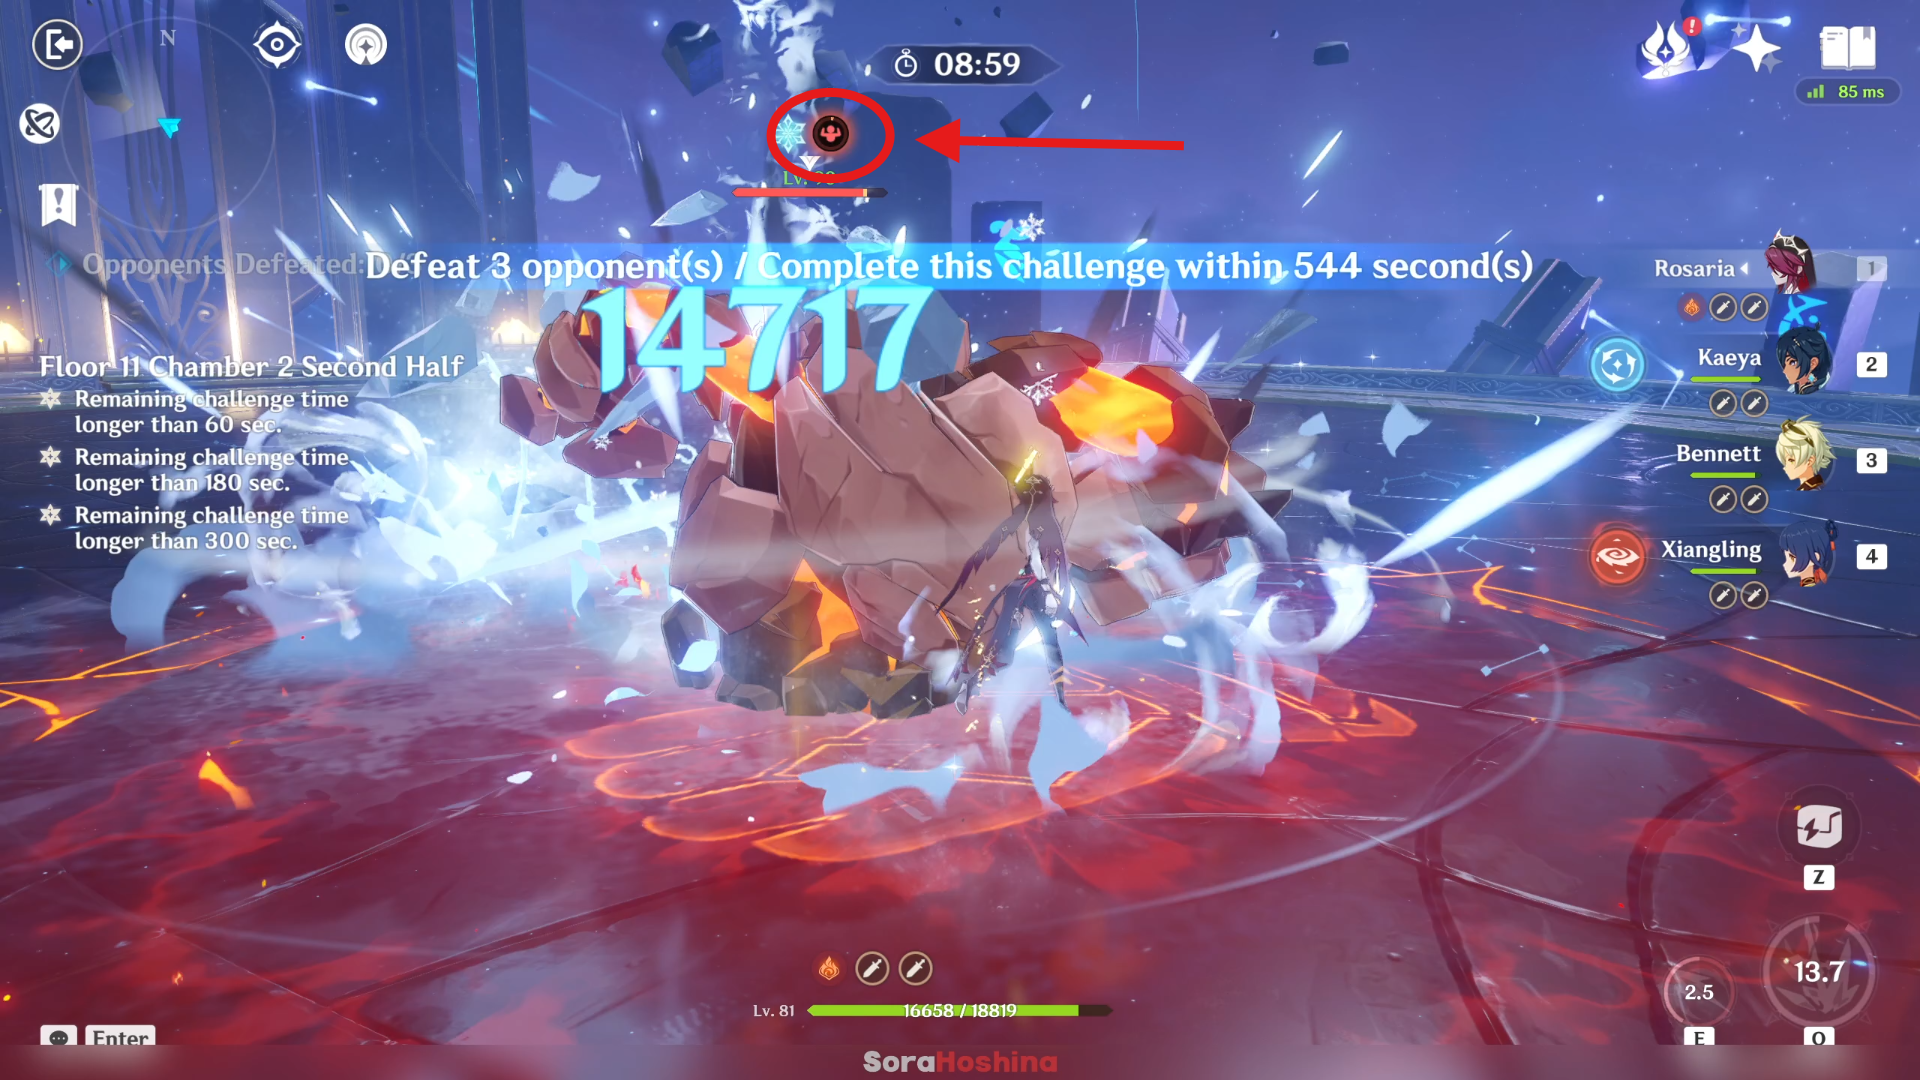
In the first wave, there 1 Avatar of Lava. Despite having Lava on its name, it's actually weak to Pyro. It doesn't have Pyro RES btw. You see those Fury bar above their HP?
When the Eroding Avatar of Lava is hit by a Pyro attack, it will gain a few percentage to fill the Fury bar. When the Fury bar reaches 20%, 40%, and 60%, it will take True Physical DMG equal to 25%, 20%, and 15% of its Max HP respectively.
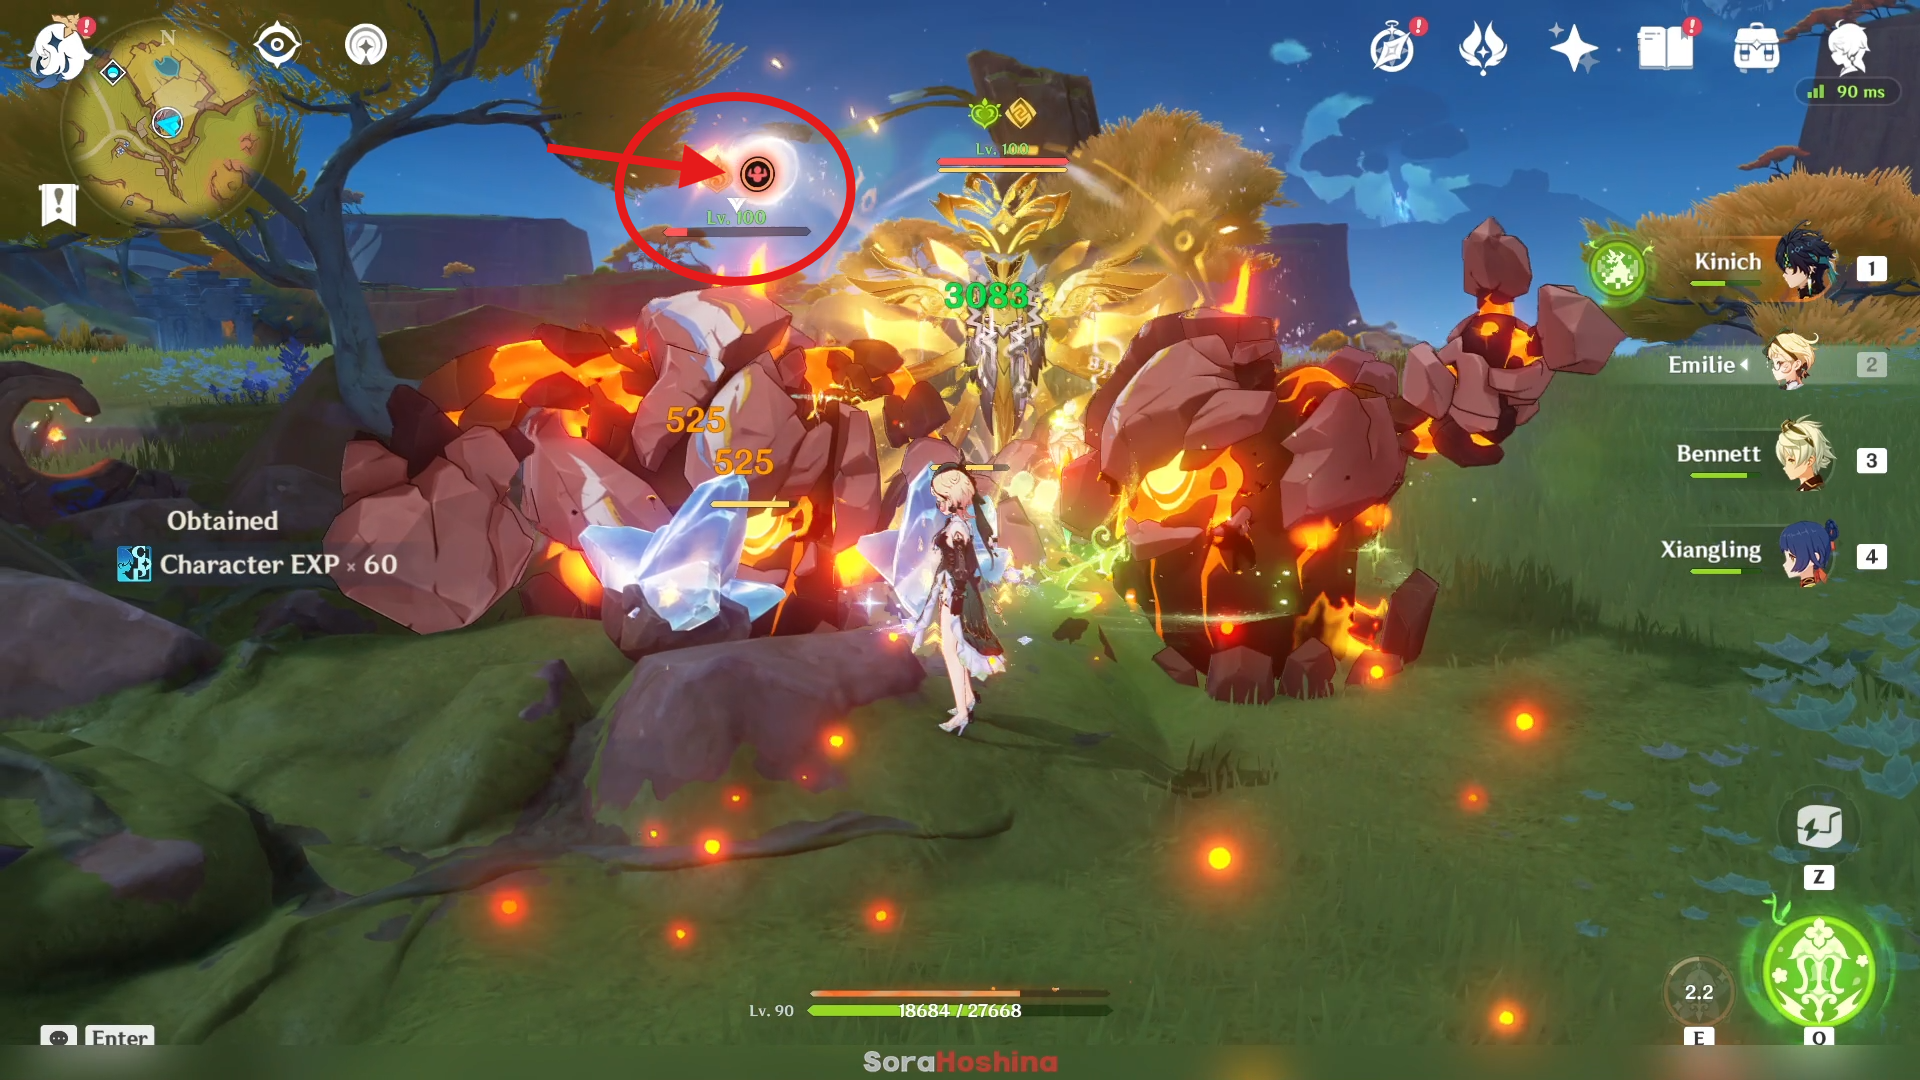
When the Fury bar is full, the Eroding Avatar of Lava is automatically defeated.
Of course, if you don't bring any Pyro character to take advantage of this is also okay, but you have to brute force a little bit.
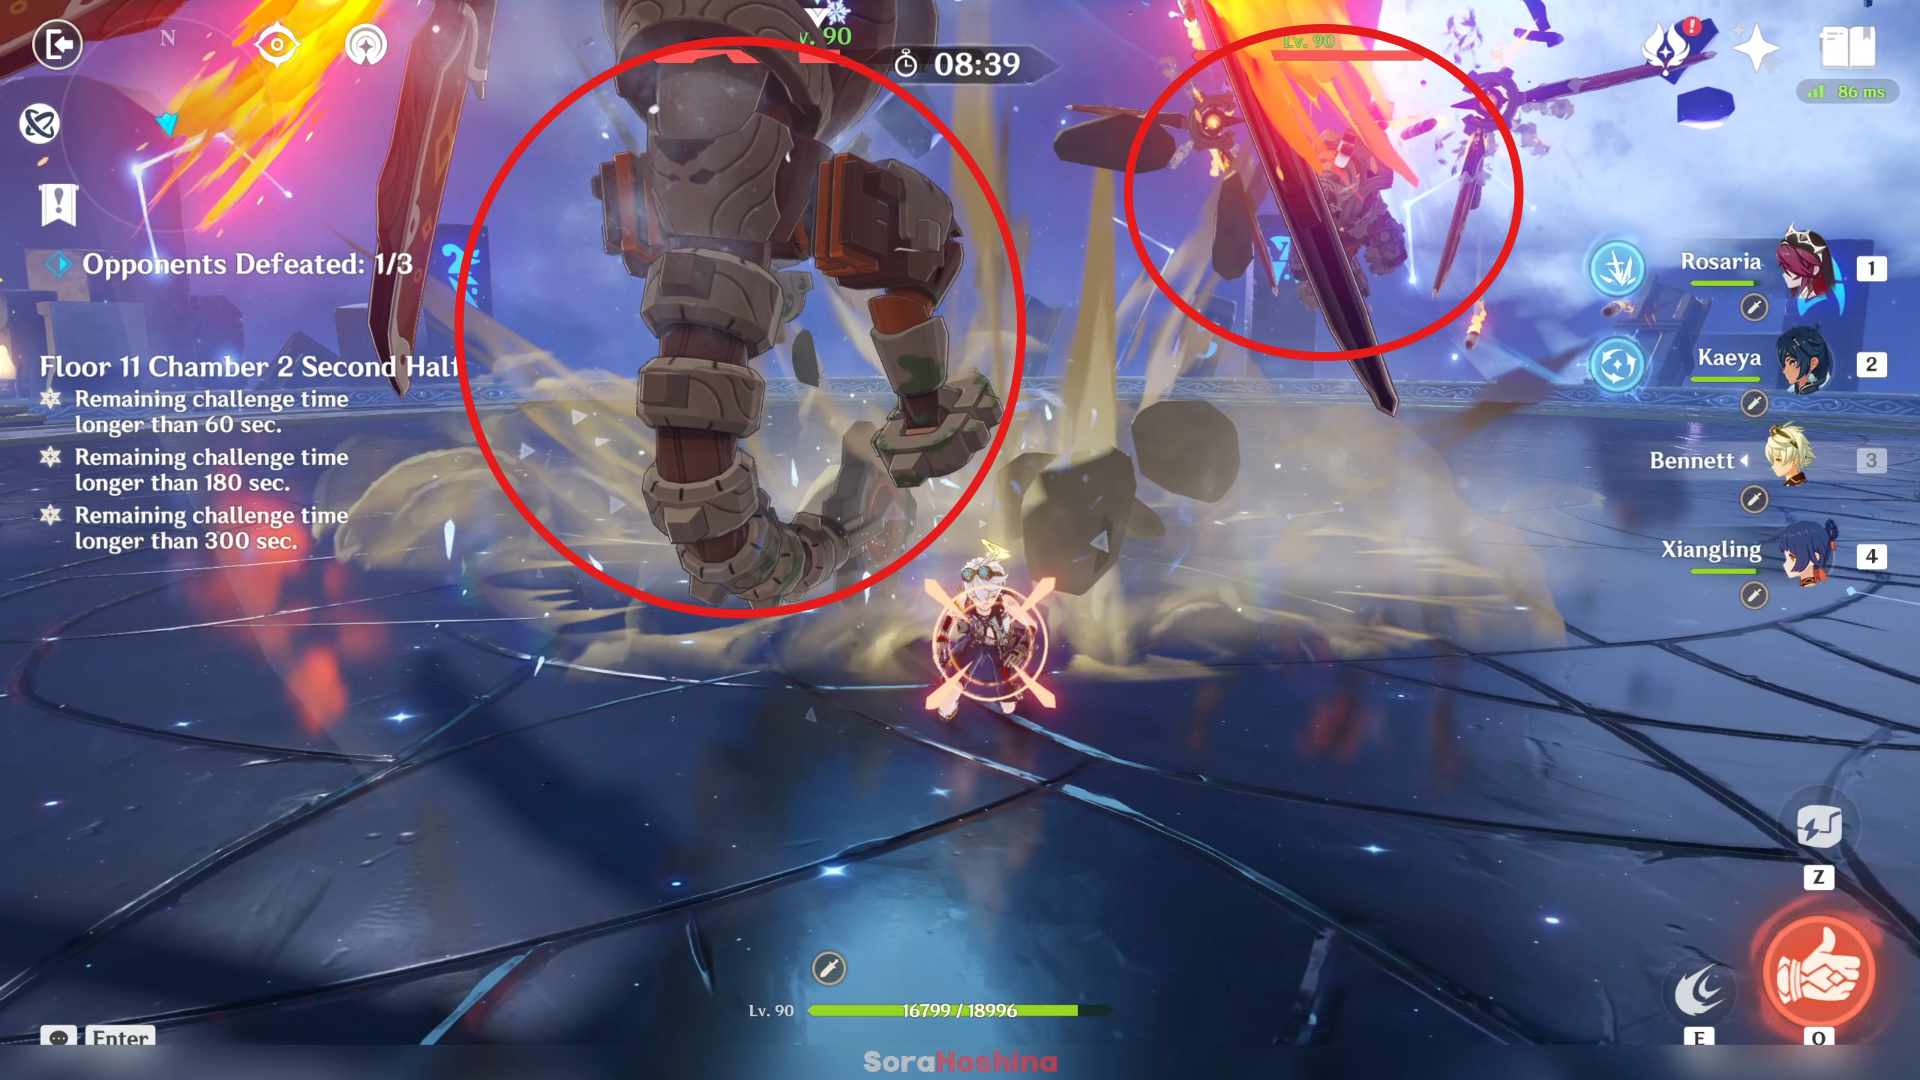
In the second wave, there are 2 hovering Ruin enemies. But these 2 won't hover too high that your melee characters can't hit. It DOES have an attack that will make it hover above your melee character so don't put your hopes up too much and get your bow character ready.
Fun Fact: Furina's Salon Members (the trio) will most-of-the-time focus on attacking the core instead of anywhere else so she can be a replacement if you don't have any built or suitable bow character. Can't 100% rely on them to hit the core though cause sometimes they don't aim for the core.
Floor 11 Chamber 3
First Half
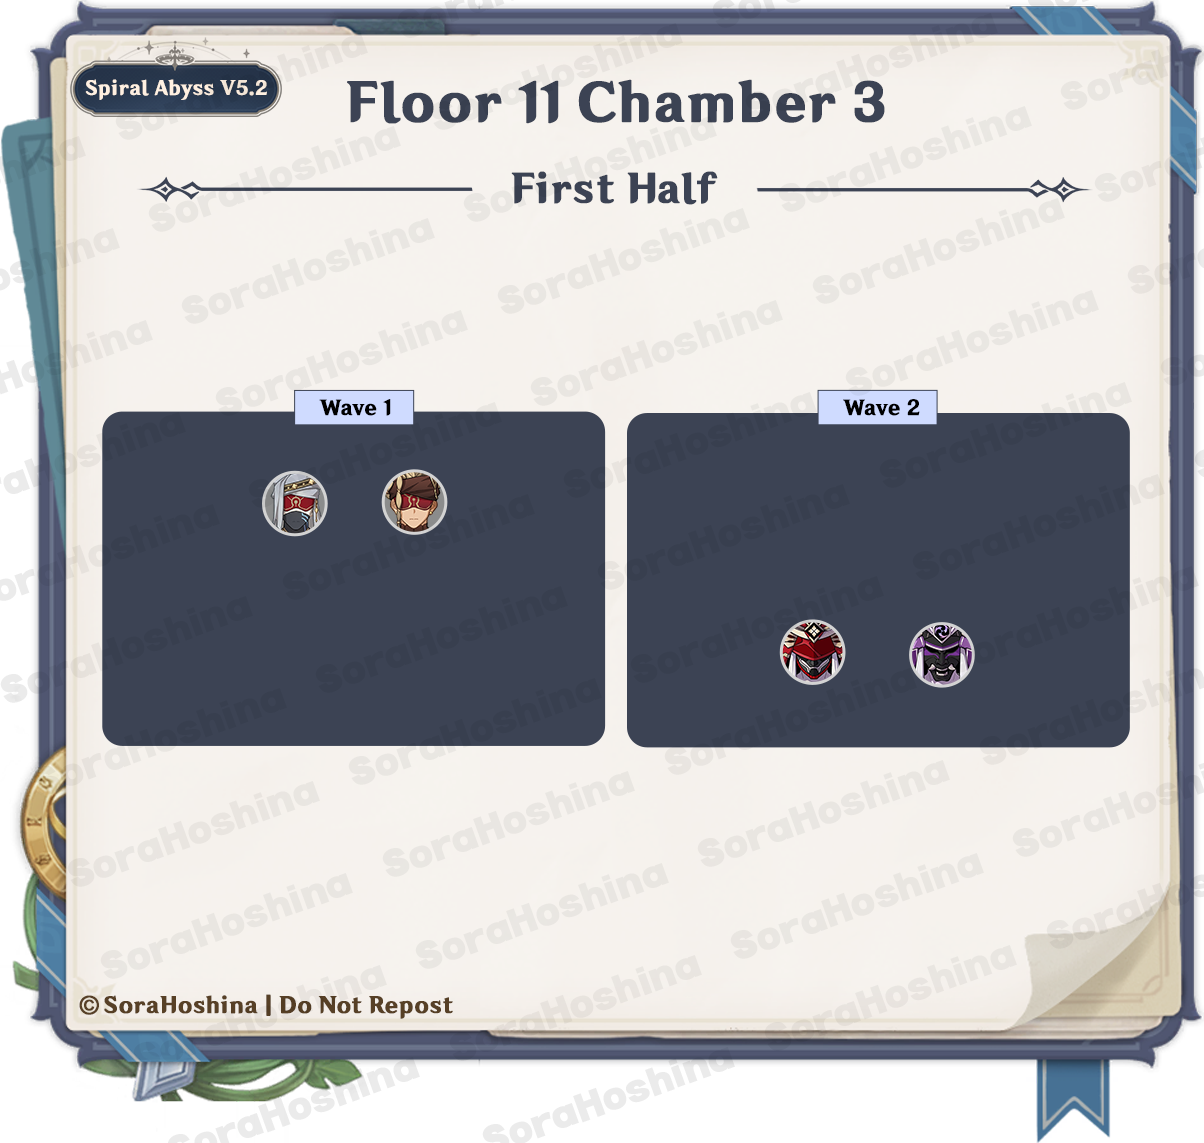
1st Wave: Eremite Sunfrost x1 & Eremite Daythunder x1
2nd Wave: Kairagi: Fiery Might x1 & Kairagi: Dancing Thunder x1
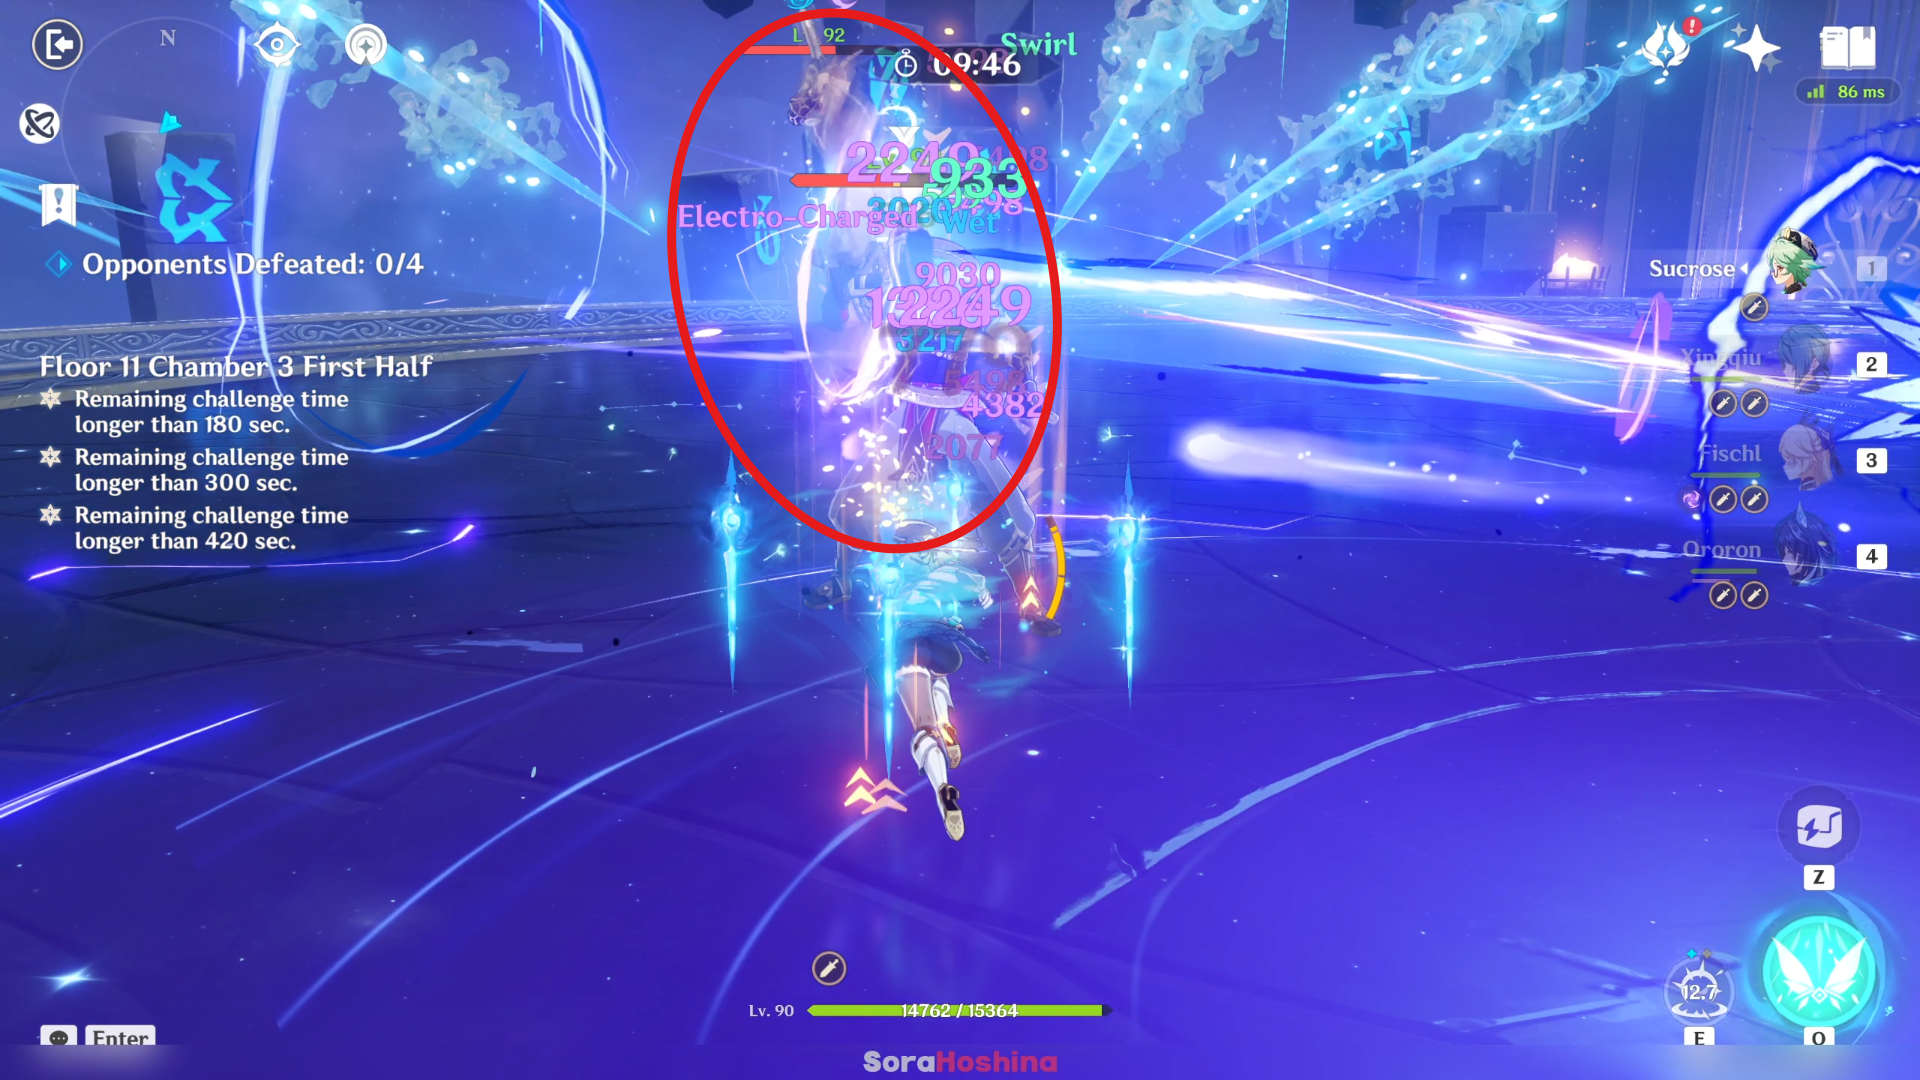
In the first wave, there are 2 Eremite at the front area. These two can trigger Superconduct reactions through their Electro x Cryo attacks. Fortunately, the Eremites here are melee attackers so they won't stray too far away from each other as they will chase after you. So all you have to do is attack both of them at the same time but also beware of their attacks.
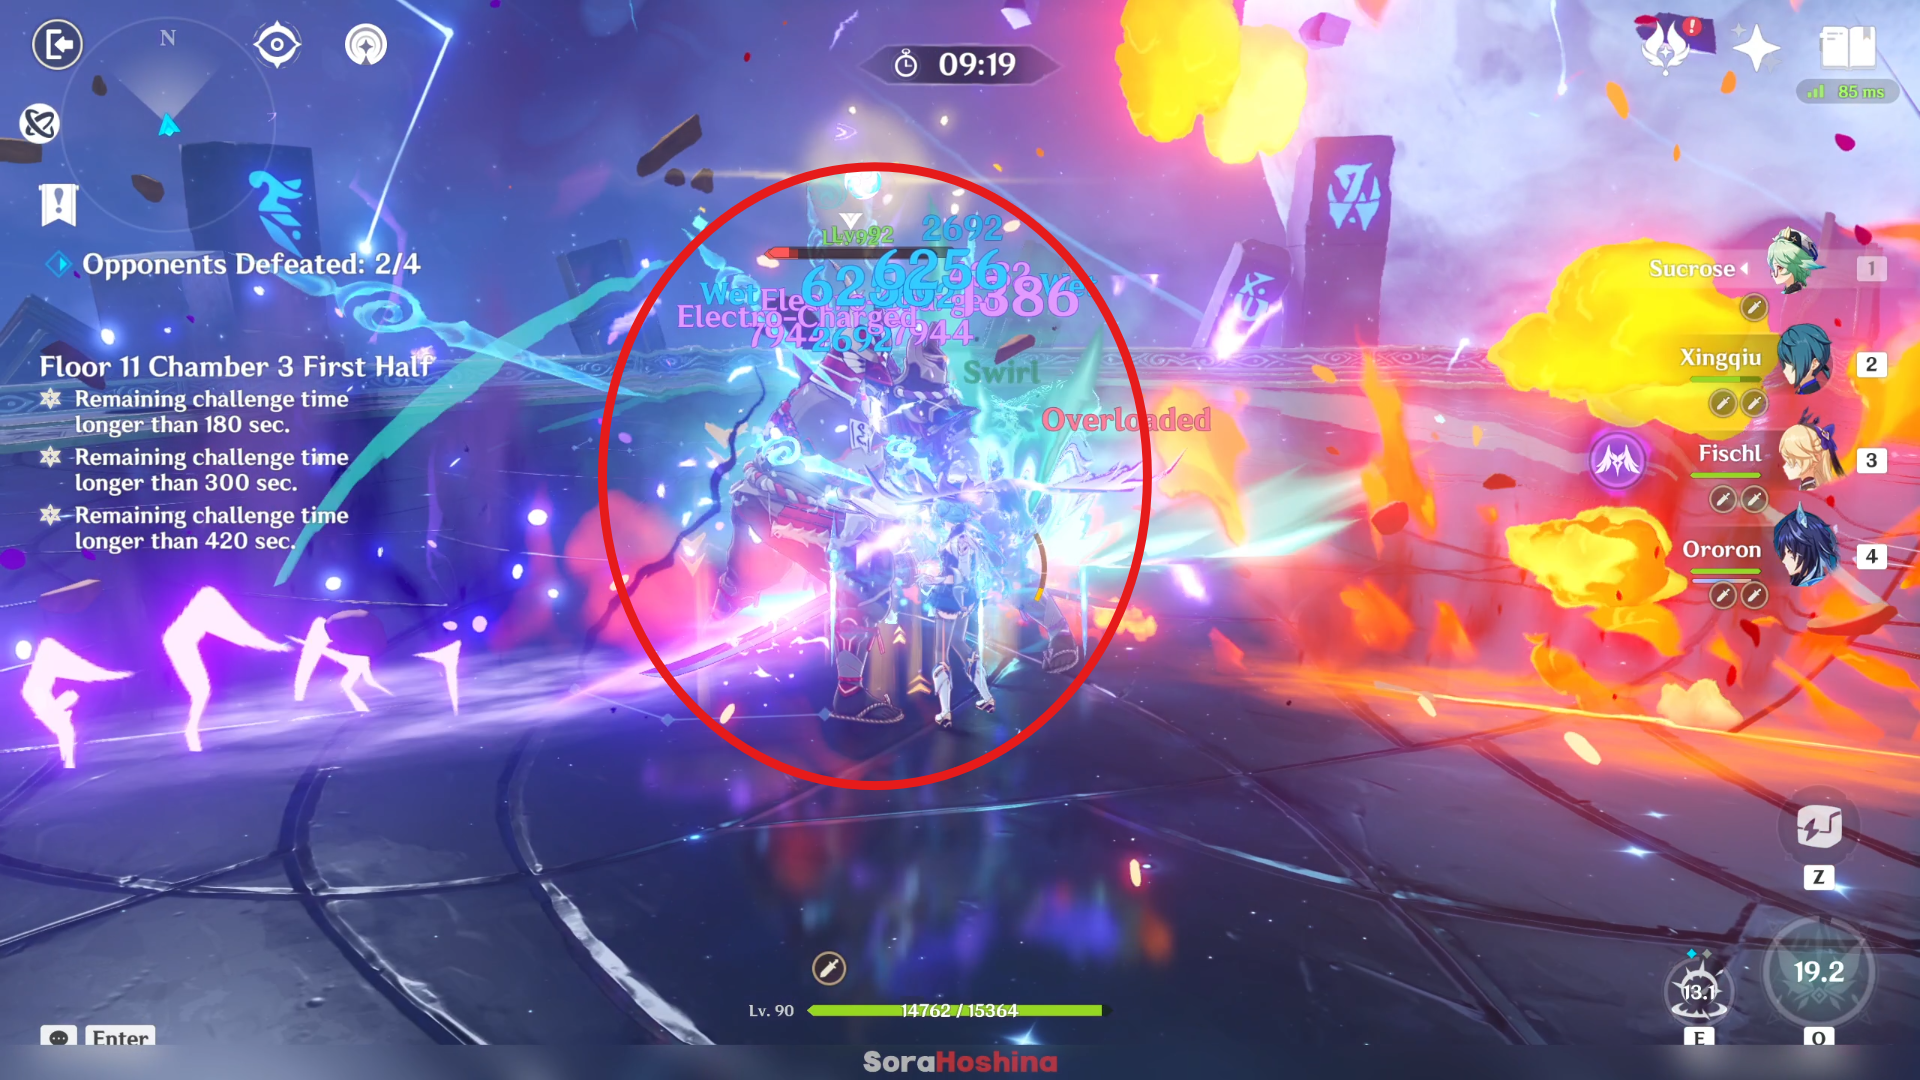
In the second wave, the two Kairagi may use a dash attack whenever they want. If you don't bring an Anemo CC and don't want them to move far away, get near the wall (make sure your back is facing the wall at the front) so if the Kairagi use a dash attack, the wall will help stop them. But if you have an Anemo CC, you can gather these 2 quite easily.
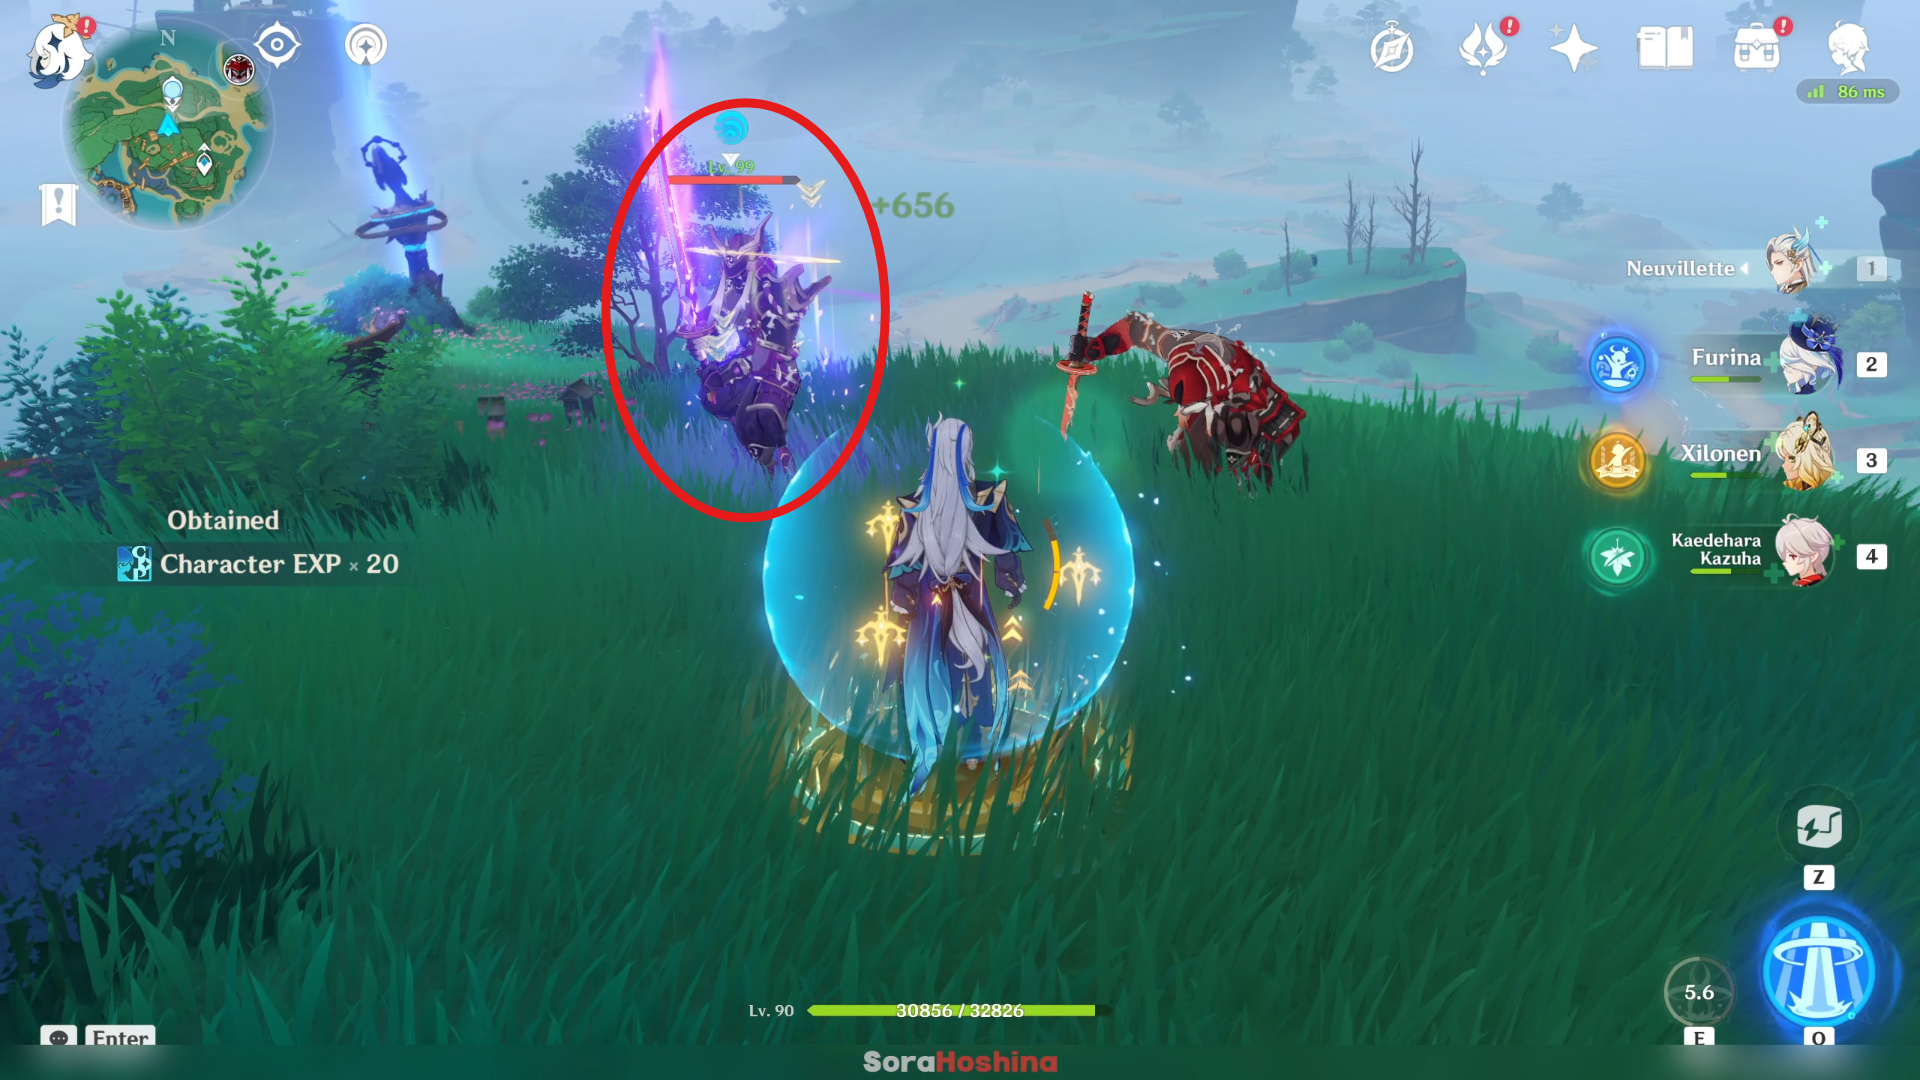
Also, you have to watch out for their ability to regenerate half of their HP and be immune to CC if one of the Kairagi dies while the other one is still alive. The best option to avoid one of them recovering half their HP is to (1) make sure you attack both of them until their HP is the same before finishing them off or (2) use DPS with high burst damage to kill both of them at the same time or (3) using Freeze team to immobilize the Kairagi, giving you a longer window to kill it before it can even heal.
Second Half
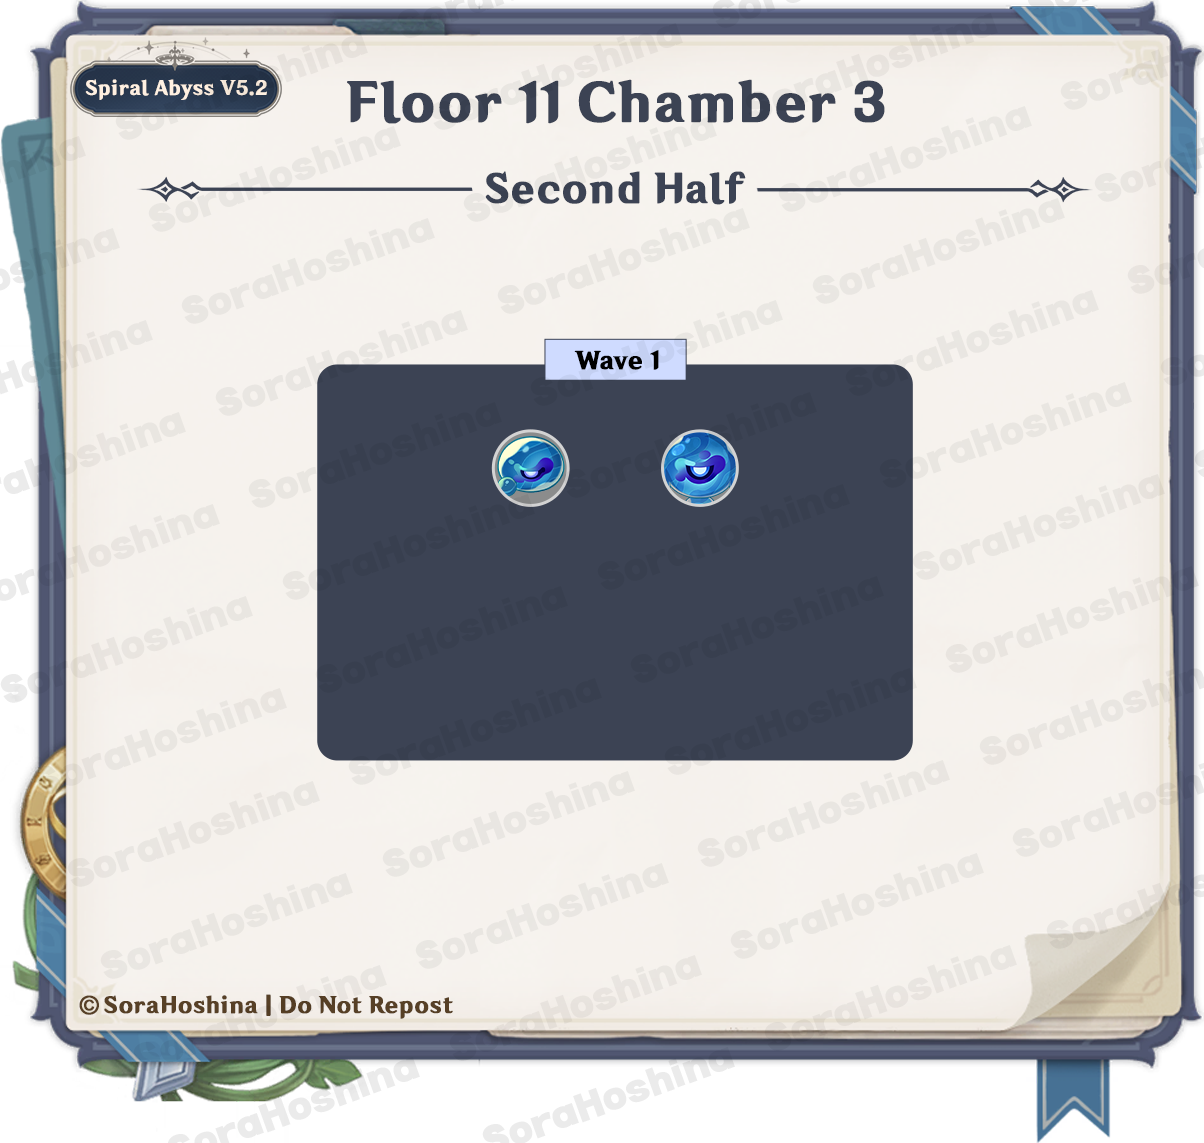
1st Wave: Veteran Tainted Water-Spouting Phantasm x1 & Veteran Tainted Water-Splitting Phantasm x1
There is only one wave here, and the 2 veteran phantasm will spawn at the front area side by side. Since both Phantasms on this floor are like the Local Legend you find in Fontaine, they will enter Enraged State from the start and will stay that way permanently. In this state, their attacks will be enhanced and become immune to being Frozen.
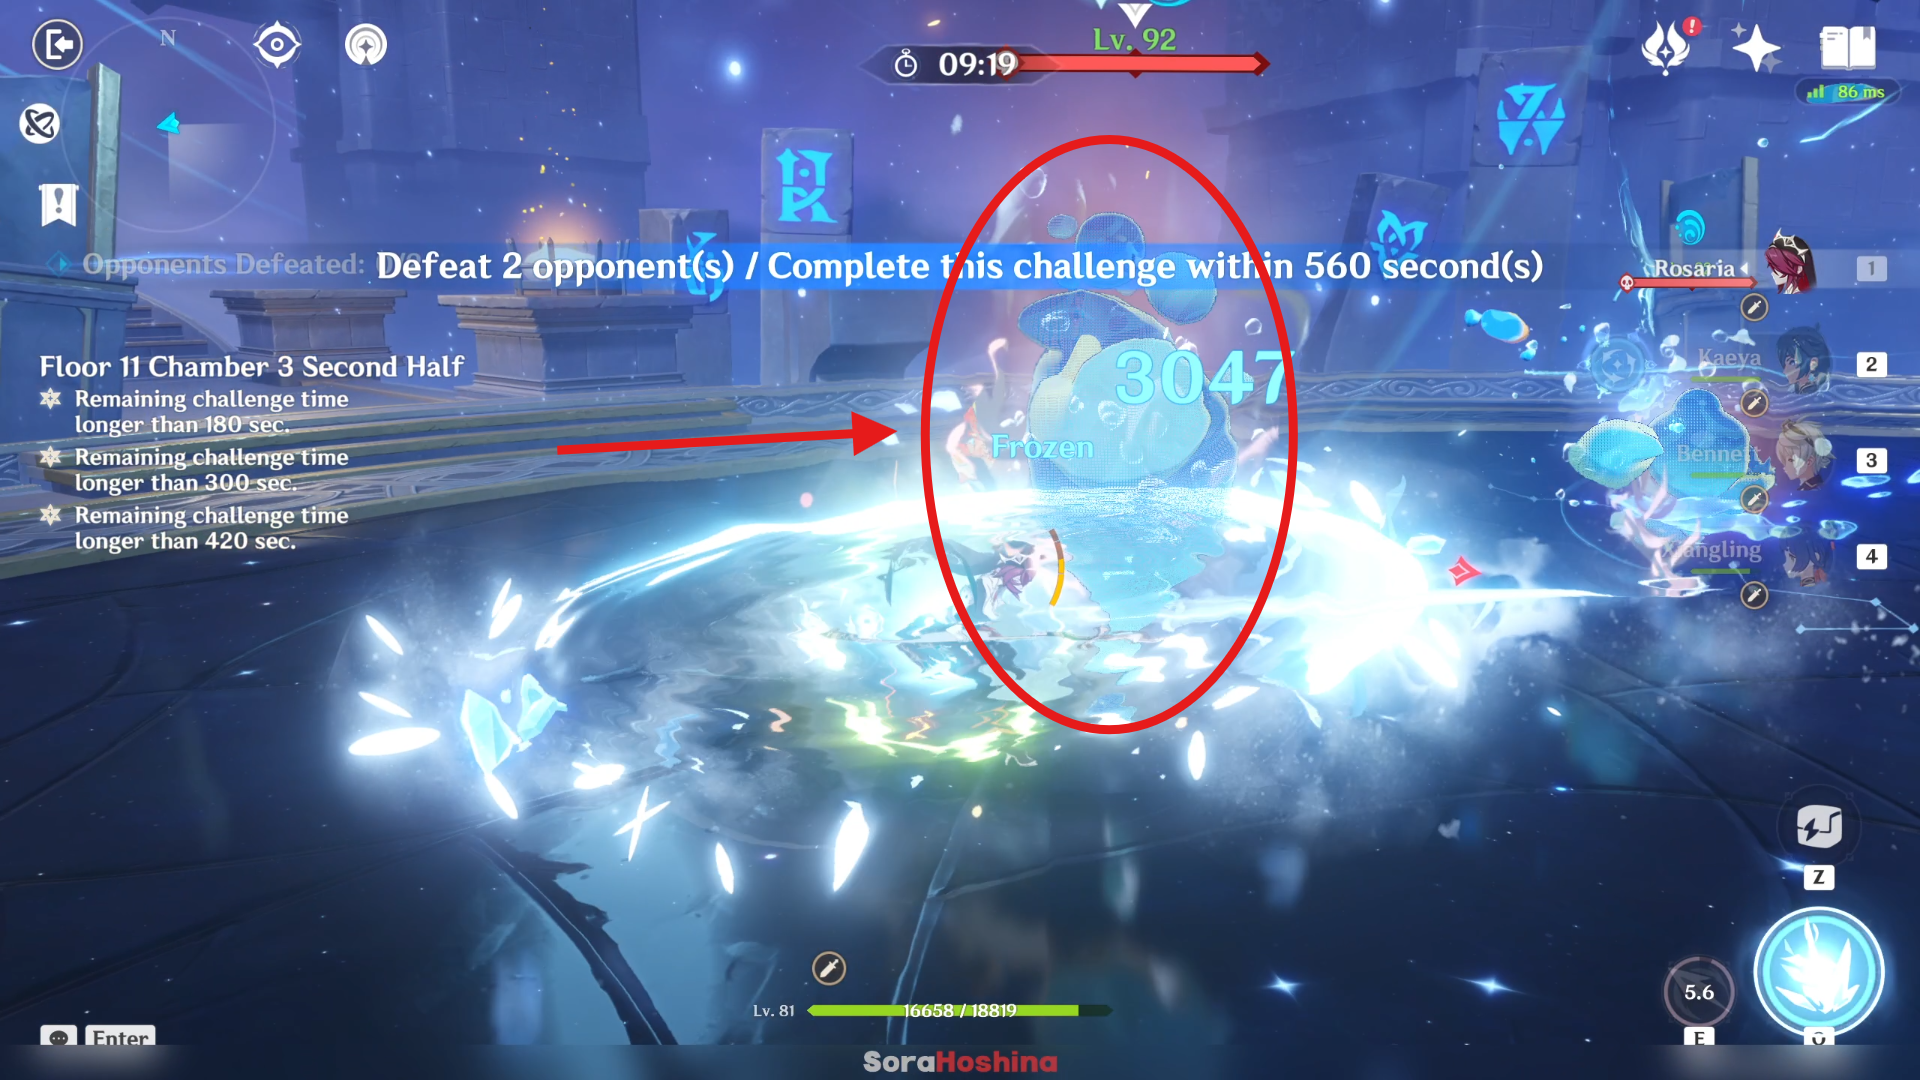
Between the two Phantasms, the Water-Spouting one (the one on your left) is a bit slower than the Water-Splitting one. So from the start of the challenge, go to the Water-Spouting at the left side and let the Water-Splitting chase after you. When the two are really close to each other, it's a matter of spamming damage to them and trying to avoid incoming attacks (unless you have a shield) to reduce the damage taken.
If one of them is defeated, it won't get revived if you didn't defeat the remaining one within a limited time so don't worry about that.


