Table of Contents
Welcome to the Warcraft Rumble Dungeon guide of the week, this time focused on the Horde faction and the Deadmines dungeon. In this guide, I’ll walk you through everything you need to know about the dungeon, and how to complete it with the Horde faction. It’s important to note that while a Horde leader is required to enter the dungeon this week, your leader’s army (deck) can be composed of minis and spells from any faction.
Of the Dungeons that I’ve played thus far, Deadmines feels a little bit on the easier side. There are less mechanics to fear, and many different strategies are valid to achieve victory. If you are a fan of the Blackrock faction and its leaders, you will want to prioritize grinding the dungeon for this week’s rewards!
Why Complete Dungeons in Warcraft Rumble?
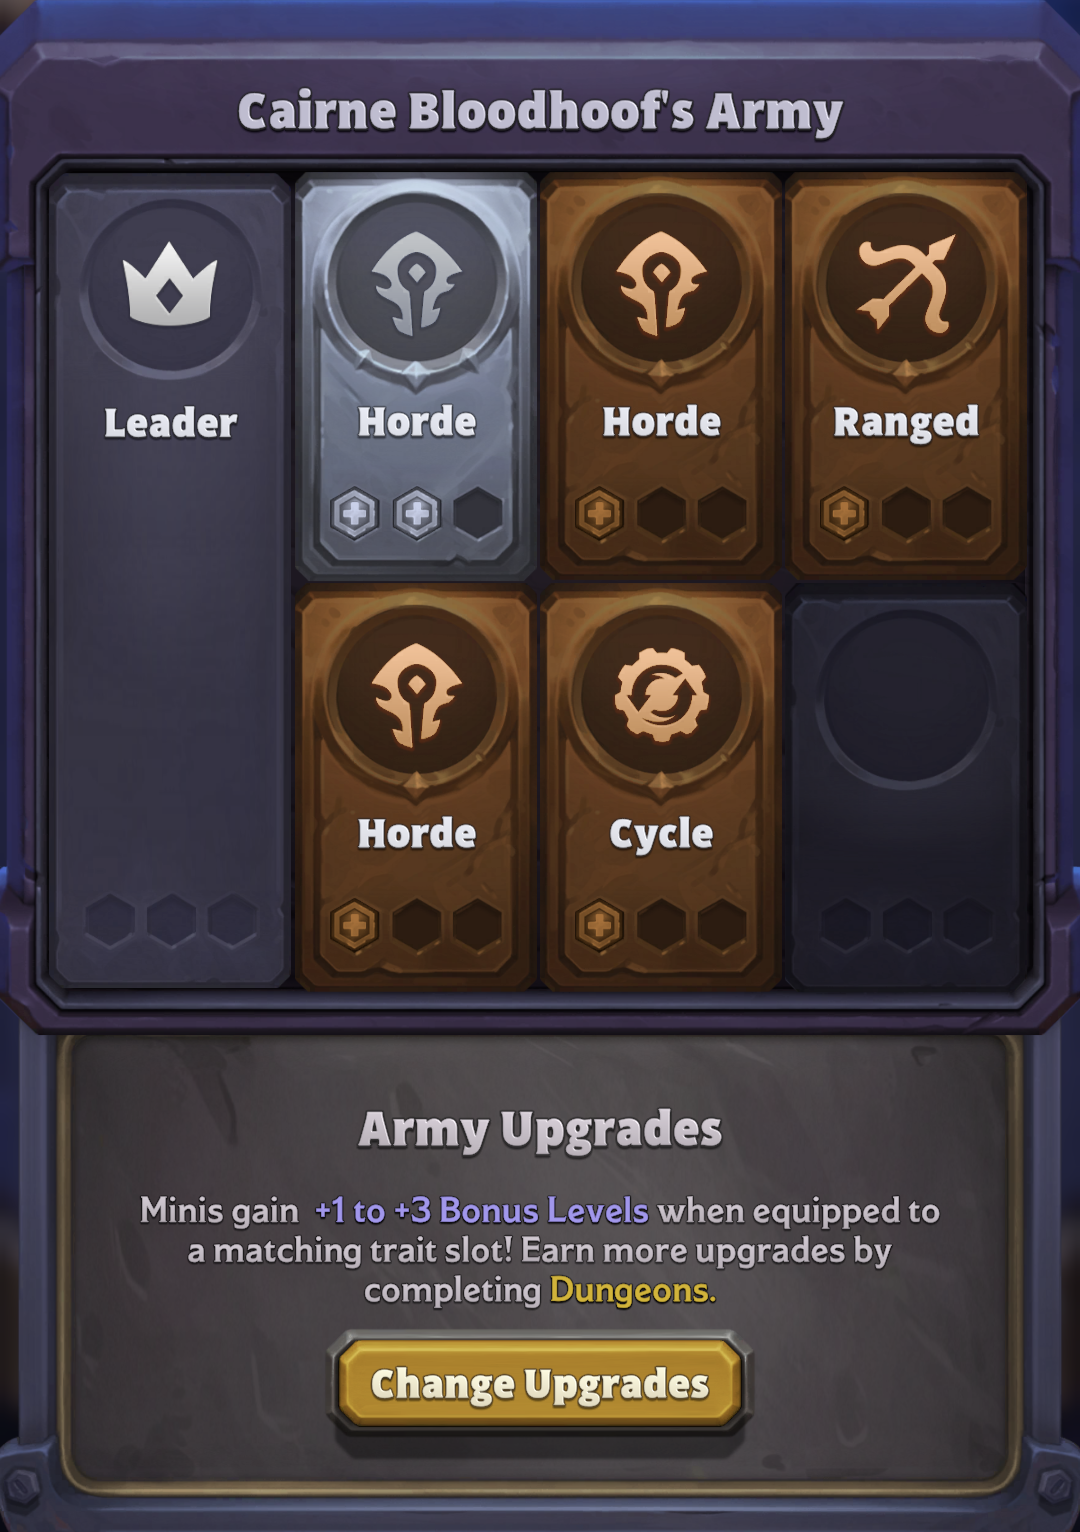
Dungeons (in addition to Arclight Surges) are a great source of Arclight Energy, which is required to upgrade the rarity and subsequently unlock new talents for your minis. In the earlier stages of the game, it is an easy currency to grind, since units only require three stars and 500 Arclight Energy for an upgrade. Completion of dungeons also allows you to upgrade your leader’s army board, allowing you to strategically position your units in your deck to gain bonus levels!
Warcraft Rumble Deadmines Dungeon Guide
We're taking a look at the new Deadmines dungeon, which can be found under your events tab in the game. This will feature levels with Mr. Smite, Cookie, and Sneed. Sneed is the most difficult boss, mainly due to the conveyor belt, which will randomly deploy multiple minions ranging from Harpies, Stonehoof Tauren, Molten Giants, and more. Dealing with this becomes challenging as you rank up the dungeon level. Let's explore some reliable ways to deal with this, allowing you to progress your account even further.
Mr. Smite
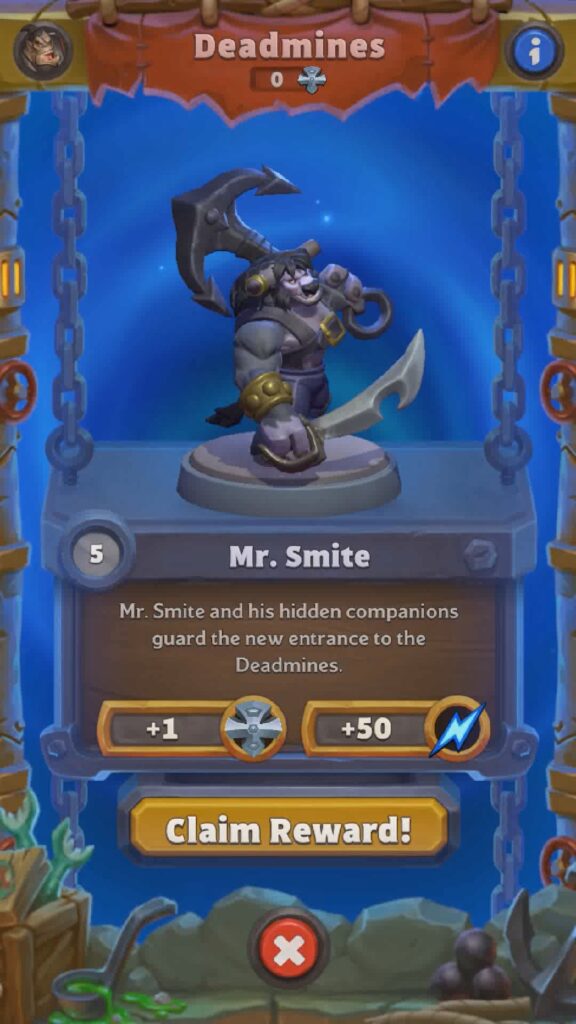
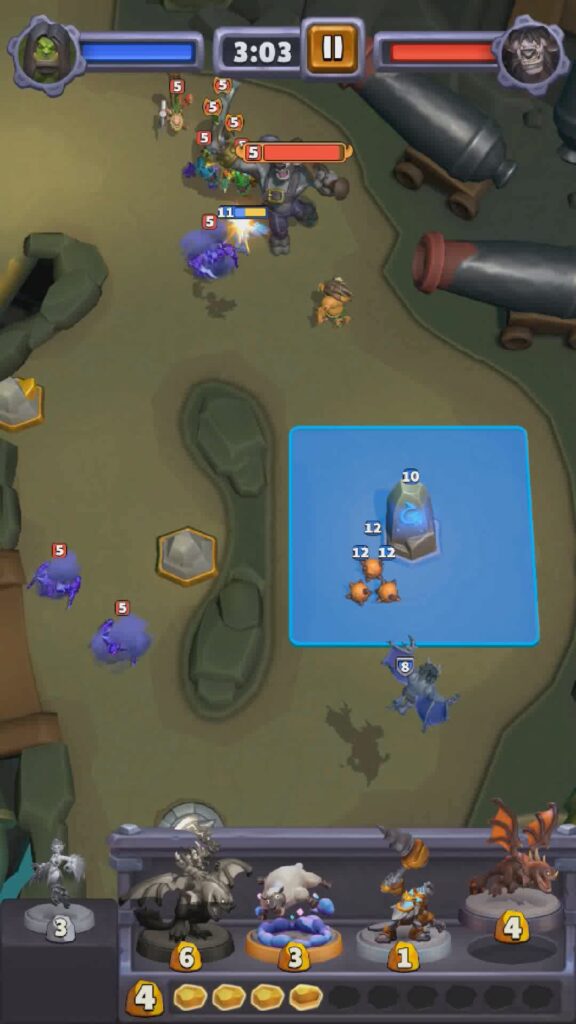
We need to get through Mr. Smite to start things off. Controlling the Middle Lane is crucial, perhaps even more so than the meeting Stone on the right lane. This is because you'll need the gold veins to keep your troop flow up. In general, range units work well on all three of these levels. A spell or safe pilot would on the stealthed minis are good.
Video Guide
Cookies
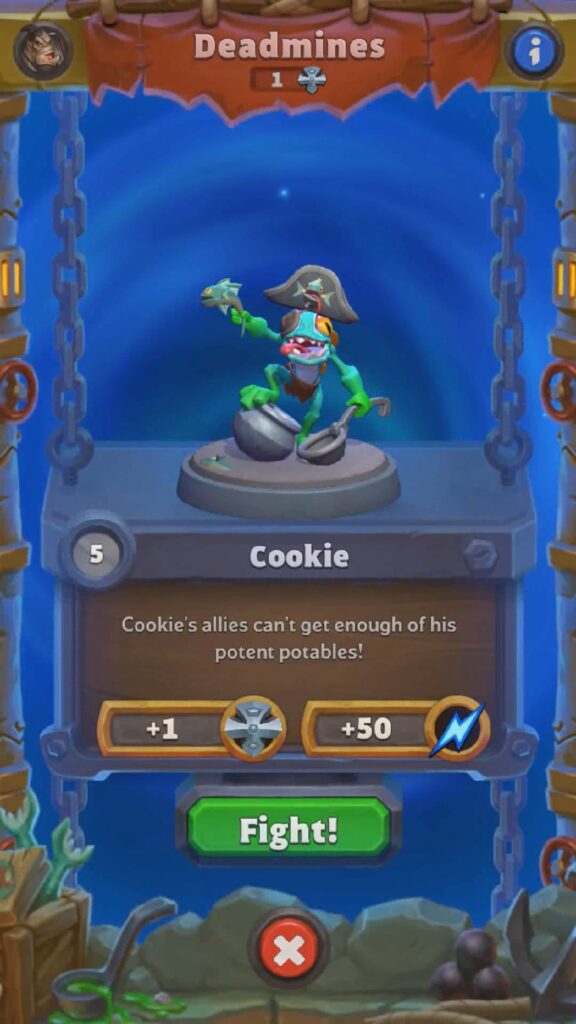
I've had the most success by taking all three towers when possible and then giving one up later in the match to make a final push down the two lanes that I still control. Doing so after the AI spends all their gold is crucial because, on this map, they tend to dump all their gold at once with a massive horde or clump of minions. You can move around them and finish the boss off before they get to your base. Alternatively, you could face them head-on, but it'll likely slow your clear speed down.
Video Guide
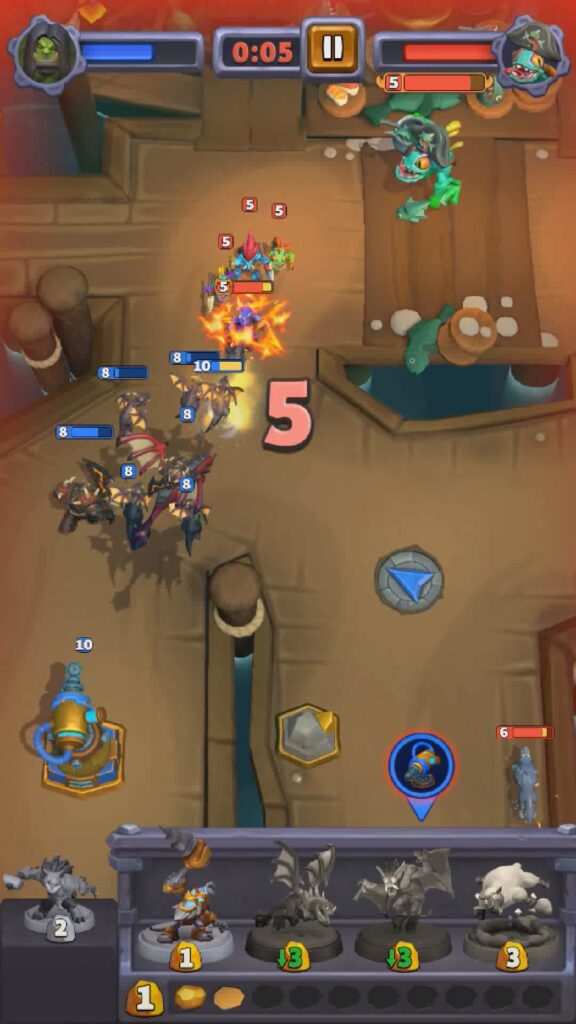
Sneed
The conveyor belt is everything for Sneed. Carefully placed whelp eggs with a well-timed Drake or even Rend can wreck the freshly spawned minions from the enemy. If you get this down, you'll make easy work of this level. If you fail to do so, you might even lose. Reserve your unbound minis for once the conveyor belts' units are cleared.
Video Guide
Horde Week
What Leaders and Decks Should I Use for Deadmines in Warcraft Rumble?
Caine Bloodhoof Deck
easy-deadmines-cairne1st stage: Place Whelp Eggs on the pipeline to counter enemy Tauren. Use Dark Iron Miner and Kobold to mine all three gold veins, try to stop enemy kobolds from accessing those! Push from the right side, taking the meetingstone helps.
2nd stage: In the beginning, take out the two chests quickly (switch the arrow direction so you can push to the middle tower. Get your living bomb ready and drop it on top of the left tower when the enemy group is passing it. This deals heavy damage to tower as well, finish capturing it with Safe Pilot or any other unit. Mine the gold on right side, but you can ignore the tower on right. Afteward place living bomb on the enemy group before they start moving, this will hurt Cookie ALOT!
3rd stage: Take the left tower first and then the right tower, and push from the right tower to the boss. Feed Dark Iron Miner to the clone machine whenever you can to avoid strong units from being cloned.
Talent for Dark Iron Miner is not required and he can be under leveled as well. For Living Bomb you can also use the Chain Reaction talent.
Grommash Hellscream
grommash-hellscream-deck-6m53xSneed
sneed-deck-47rc8Recommended Minis
Dark Iron Miner
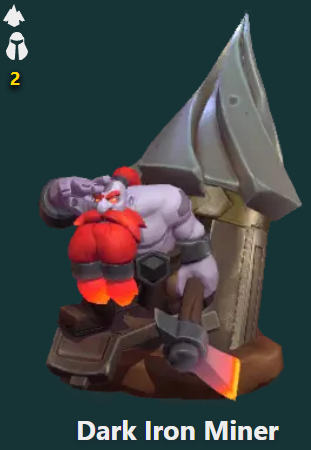
The Dark Iron Miner is somewhat redundant with the Kobold Miner. While it does shine in some PvE content, it doesn't justify a slot in PvP. If you can make space for it in your deck, it provides excellent map control, especially when the proximity mine talent is unlocked.
 | Dark Iron Armaments After Mining, gain Armored. |
 | Gold Mine BEST After Mining, drop a proximity mine. Damages nearby enemies when touched. |
 | Dwarven Ambition Gain Fury. |
Whelp Eggs
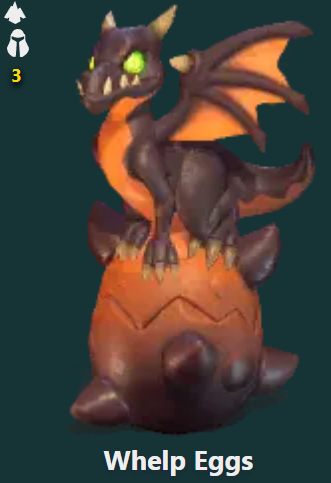
Whelp's Eggs are top-tier defensive minis that compel enemies to reconsider breaking them. Countering them demands a few steps. You could use a Blizzard spell or a combination of melee and anti-air units. Placing them near gold mines protects your Kobolds or deters enemy Kobolds. Acquiring the 'Flame Burst' talent further enhances their value as they inflict damage upon hatching. They are highly recommended in any deck and particularly effective in a Rend deck due to the cost reduction.
 | Rookery When one egg hatches, the others hatch immediately. |
 | Flame Burst BEST Damage nearby enemies when hatching. |
 | Chromatic Plating Eggs gain Taunt. |
Frostwolf Shaman
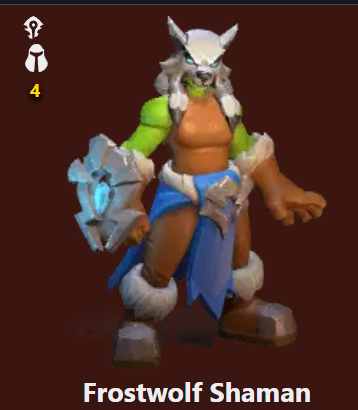
Frostwolf Shaman is an amazing mini capable of both dealing damage and healing. When you unlock its ability to buff minis with the armored trait, it becomes even more incredible. It provides great value at a cost of 4 and performs exceptionally well in Horde decks, as most of the leaders there are melee frontline units. It can be used in any deck; however, it also excels in Tyrion decks for a double healer composition.
 | Earthwall Totem Once per deploy, place a totem that partially heals a nearby tower or base. |
 | Lightning Mastery Ranged attack chains to 3 nearby targets. |
 | Earth Shield BEST Grant Armored to a nearby ally. Ability has 1 charge. |
Stonehoof Tauren
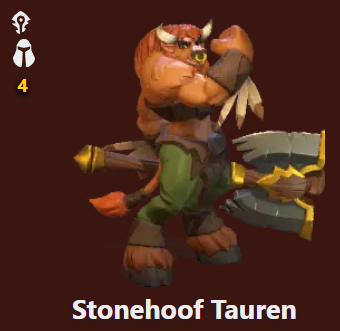
"The Stonehoof Tauren is a premium mid-cost tank that charges at other minis to swiftly close the gap. It particularly excels in Horde decks where it can be equipped in Horde bonus slots. Acquire the 'Momentum' talent to enable her to charge a second time if the initial charge connects.
| Pummel After connecting a charge, Stun the target for 3 seconds. |
| Momentum BEST After connecting a charge, immediately charge a second time if possible. |
| Provoke After connecting a charge, Taunt nearby enemies. |
Darkspear Troll
The Darkspear Troll is one of the best anti-air units in the game. It boasts excellent range and damage, often one-shotting flying units. Additionally, it is surprisingly bulky, thanks to its regeneration talent.
 | Big Bad Voodoo BEST Regenerate 10% health every second. |
 | Headhunting On kill, increase Attack and Movement speed by 10%. Stacks to 50%. |
 | Serpent Sting Gain Poison. |
S.A.F.E. Pilot
"The S.A.F.E. Pilot serves as one of your starter minions, making it easier to upgrade to uncommon—requiring one less duplicate to purchase from the G.R.I.D. It stands as a top-tier unbound unit capable of easily decimating enemy backlines. Unlock its 'Stealth and Ambush' talent to amplify its damage output. This versatile unit can be used to one-shot gold chests, backdoor towers alongside the Quilboar, or deny enemy Kobolds from acquiring gold. It performs exceptionally well and can be effectively deployed in any deck.
 | Gnomish Cloaking Device BEST Deploy from the explosion with Stealth and Ambush. |
 | Comin’ In Hot! Deploy twice as fast and Burn nearby enemies. |
 | Gnomish Muttonizer Polymorph the first blaster target. |
Black Rock Week
What Leaders and Decks Should I Use for Deadmines in Warcraft Rumble?
There are currently only two Blackrock leaders in the game: Rend Blackhand
and General Drakkisath
. I recommend clearing the dungeon with each leader until you can no longer clear it due to difficulty. I'll provide some sample decks that can handle the minions in each dungeon. Using Blackrock minions is also recommended since most bonus traits are targeted at them.
Drakkisath Deck Build
general-drakkisath-deck-6a2v4For our Drakkisath deck, we'll include two high-quality Blackrock minions: the Pyromancer and Whelp Eggs . The Pyromancer is especially useful against Cookie, where it will try to overwhelm us with the sheer number of minions. Drakk will also increase its Elemental damage, which is good.
Whelp Eggs are great defensive minions, especially useful against the Sneed stage. For the elemental slot, we'll place S.A.F.E. Pilot there. It also benefits from Drakk's elemental damage boost and can clear waves of minions.
For the rest of the slots, we'll equip Arcane Blast , Polymorph , and Quilboar . The two spells are for clearing waves, which is the most challenging aspect of the dungeon. Quilboar is a low-cost option for getting chests and activating meeting stones. The Quilboar can also distract the boss while your army is marching towards it.
Rend Blackhand Deck Build
rend-blackhand-deck-6hs35For our Rend deck, we'll include two flying Blackrock minions: the Drake and Whelp Eggs. As mentioned earlier, the Whelp Eggs are great for defense, especially against melee minions. The Drake is here for AoE damage, especially useful against Cookie and Sneed levels. For the last fixed slot, we can place the Harpies there for the flying level bonus and deployment cost discount.
For the last three slots, we'll equip Gargoyle, S.A.F.E. Pilot, and Polymorph. The Gargoyle benefits from the deployment cost discount and helps tremendously in the Cookie's level when pushing against the towers. The Pilot and Polymorph are for dealing with swarms, which can pose the most challenge in the dungeons.
Conclusion
That’s all for this week’s Warcraft Rumble Dungeon guide. Good luck in Deadmines and tackling your content!