Table of Contents
Memory Turbulence

At the start of every wave or Cycle, randomly applies a debuff for 10 time(s), selected from the following: reduce ATK by 8%, reduce DEF by 8%, reduce SPD by 8%, reduce Effect RES by 8%, or increase the received follow-up attack DMG by 20%. Each debuff can stack up to 3 time(s) and lasts for 3 turn(s). At the same time, enables 1 ally following either the Path of The Hunt or Path of Destruction to immediately take action.
Enemies Lineup
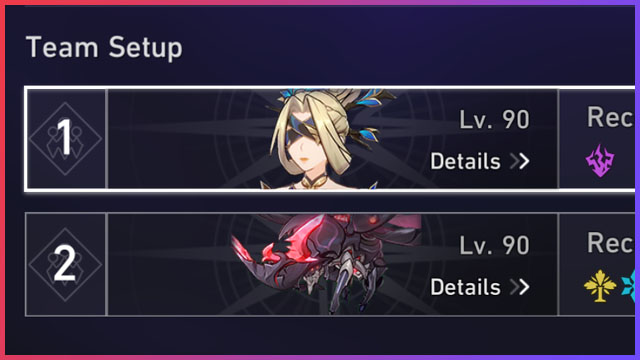
First Half

Second Half

Team Recommendations
First Half

➥ Recommended Elements: Lightning
If you have Kafka and her Nihility team, she's a good option for the first half. Other DPS like Blast (Jingliu) and AoE (Argenti) can also be used here. There are only 2 enemies in the second wave, so you may think Argenti is at a disadvantage because you want more enemies for him to hit. But the Aurumaton Gatekeeper will summon 2 Dragonfishes at a short interval so you can assume there are 4 enemies most of the time in the second wave. And the Dragonfishes have a Physical Weakness.
Second Half
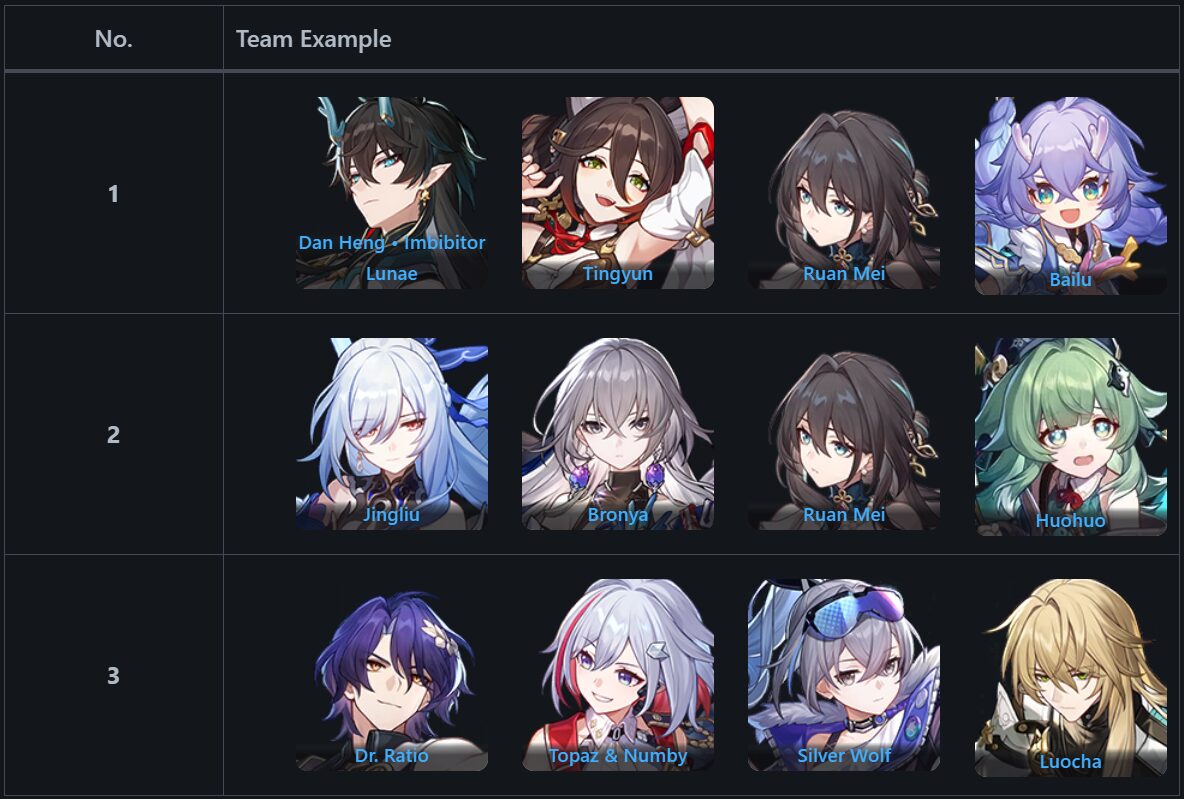
➥ Recommended Elements: Imaginary & Ice
There is only 1 enemy in the first wave but the second wave will feature a True Sting boss that often summons its goons. You can either (a) bring a Blast DPS so the Juvenile Sting will get damaged too and can explode on other bugs or (b) bring a single-target DPS to focus solely on the True Sting boss and ignore all the mobs. For the latter, make sure you bring a strong healer (especially one that can remove debuff) because you will receive lots of Wind Shear debuff.
Observation
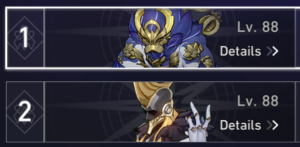
First Half: The Ascended & Aurumaton Gatekeeper

- Start the battle with a Physical or Ice attack to remove a little of the enemies' Toughness Bar. Then, focus on the enemies following this order: The Ascended > Internal Alchemist > Ballistarius.
- You should know by now that The Ascended has a skill (Black Prana’s Snare) that will inflict Prana-Siphon on your character. In simpler terms, it will reduce your team’s Max HP (the grey bar inside your health bar), which will make your characters extremely vulnerable and really squishy at that moment.

- In the second wave, the boss you should focus on differs on what team you bring. If you bring a healer, then focus on the Aurumaton Gatekeeper because your healer should be able to (hopefully) heal your teammates even when you got the Black Prana's Snare and Wind Shear debuffs. If you bring a defender, focus on the Ascended because your shield may not be able to hold on for too long against her debuffs.


- The best outcome would be the Ascended is on the verge of death when the Aurumaton Gatekeeper summoned the 2 Dragonfishes. Once the Dragonfishes are here, it's recommended to defeat them so they can explode and deal damage to other enemies + no more AoE damage coming towards you. Of course, you can also focus on the Aurumaton Gatekeeper instead of the mobs if you're confident with your DPS.
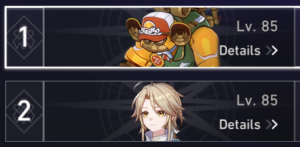
Second Half: Swarm: True Sting

- Start the battle with any of the recommended elements that the enemies' have (look at the image above). Searing Prowler can inflict Burn debuff on your characters, and you can remove them using a cleanser or they will take Fire DMG on each turn.

- One of the Skill (Combustion Slash) that can be seen in the image above deals Blast attack, so if you bring a character that can Taunt or a Preservation character in general, make sure to put them in the first or last slot so only 2 characters will get hit instead of 3 if the elite enemy targets them. This attack prioritizes the target inflicted with Burn, so you can actually control who it will attack next by removing the debuff on a certain character and letting the tanky one have the debuff so the elite enemy targets them.

- In the second wave, it's time for Swarm: True Sting (that freak). It can summon 2 Juvenile Stings that can inflict Wind Shear on your characters. At first, it might not seem much, but once the debuff is stacked, your character will take lots of damage later on. So it's best if you can defeat the Juvenile Stings to stop the debuff from stacking and also explode, dealing damage to the True Sting.
- But if you bring a single-target DPS, I recommend focusing on the boss only. Hopefully, your healer/shielder can protect your team.

- When the True Sting enters its second phase, it will summon Lesser Sting (if there are still empty spaces on the field - mine doesn't because I focus on the boss instead of the Juvenile Stings). This Lesser Sting is even more dangerous than the Juvenile Stings because it can explode and deal Blast DMG to your team + inflict Outrage to the target (you can't control them and the said character will only use Basic ATK on random enemies). So if this mob is spawned, definitely focus on this one first before others.

Sora
Articles: 233More Articles

Honkai: Star Rail Stellar Shimmer Event Guide

Honkai: Star Rail Redemption Codes – July 2024
Honkai: Star Rail Version 2.3 Tier List (July 2024)

Honkai: Star Rail Jade Character Guide

Honkai: Star Rail Boothill Character Guide

Honkai: Star Rail Xueyi Character Guide
Honkai: Star Rail Misha Character Guide

Honkai: Star Rail Gallagher Character Guide
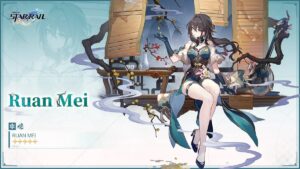
Honkai: Star Rail Ruan Mei Character Guide

Honkai: Star Rail Firefly Character Guide
Honkai: Star Rail Memory of Chaos Stage 12 Guide (V2.2 – A Song’s True Theme)
Honkai: Star Rail Memory of Chaos Stage 11 Guide (V2.2 – A Song’s True Theme)
Honkai: Star Rail Memory of Chaos Stage 10 Guide (V2.2 – A Song’s True Theme)
Honkai: Star Rail Memory of Chaos Stage 9 Guide (V2.2 – A Song’s True Theme)
Honkai: Star Rail Memory of Chaos Stage 8 Guide (V2.2 – A Song’s True Theme)
Honkai: Star Rail Memory of Chaos Stage 7 Guide (V2.2 – A Song’s True Theme)
Honkai: Star Rail Stellar Jades Calculation in Version 2.3

Honkai: Star Rail Version 2.3 Special Program Livestream Overview
Honkai: Star Rail 3 New Redemption Codes from 2.3 Livestream