Table of Contents
Memory Turbulence

All allies' Basic ATKs and Skills deal 50% increased DMG. Whenever a Skill Point is consumed. Memory Turbulence gains 1 hit(s) per action, up to a maximum of 10.
At the beginning of each Cycle, for each Hit Per Action, Memory Turbulence deals DMG to a random enemy based on the target's Max HP.
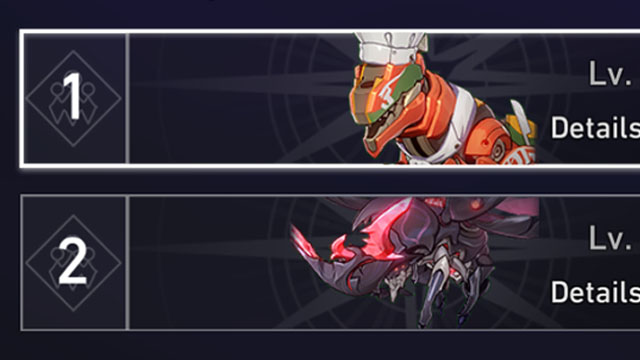
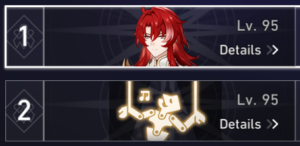
Enemies Lineup
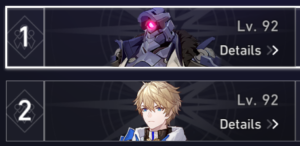
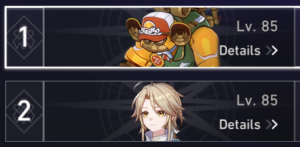
First Half

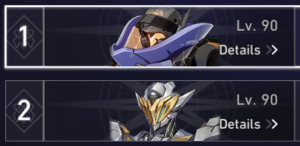
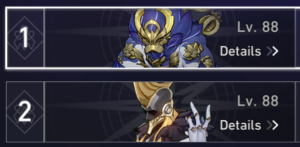
Second Half

Team Recommendations
First Half
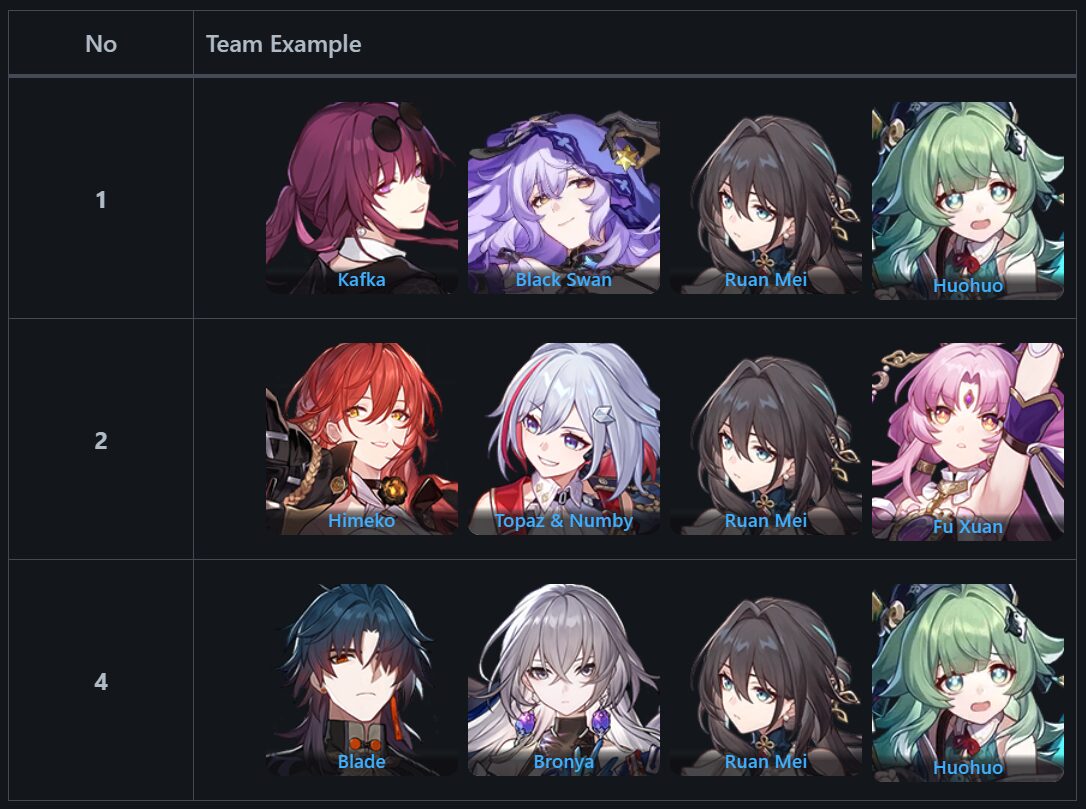
Recommended Elements: Wind, Lightning, Fire
There are many enemies in each wave so having a Destruction/Erudition/Nihility DPS is far better than using a single-target DPS. But of course, a single-target DPS can be used too as you can defeat the enemies one by one.
Second Half
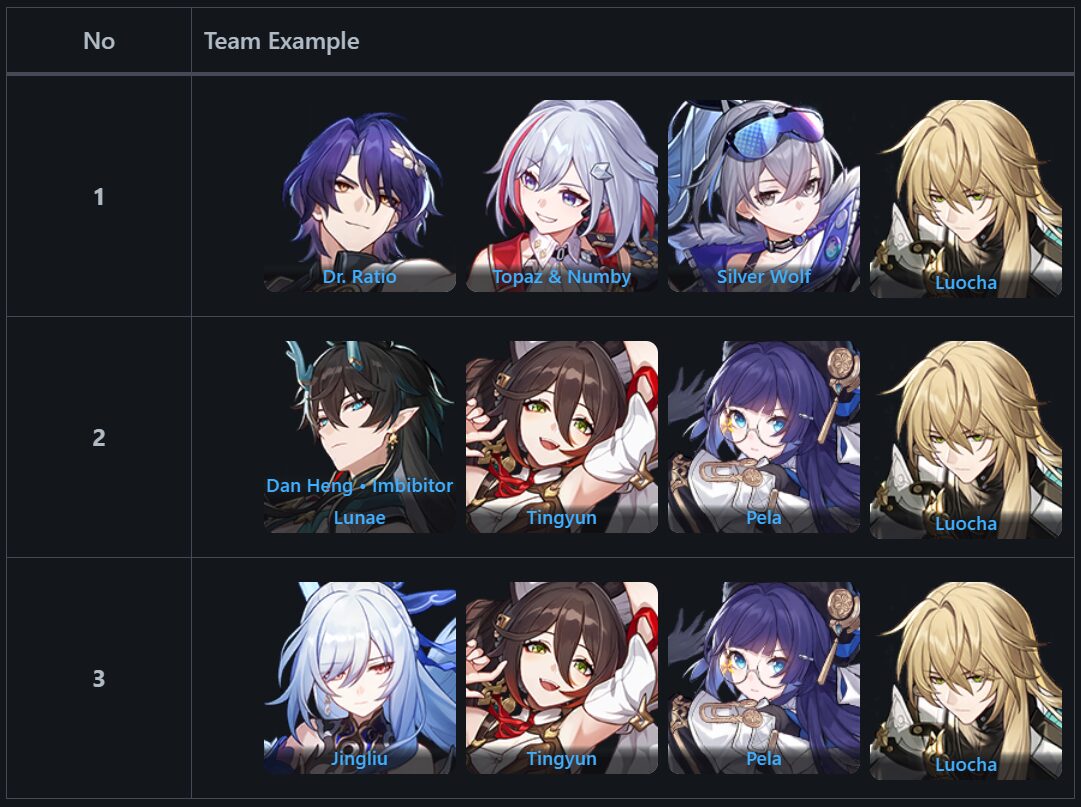
Recommended Elements: Imaginary & Ice
Aside from the two recommended elements, Quantum is also viable as it is one of the Swarm: True Sting's weakness. Since the boss can spawn many enemies at once, AoE DPS may be the first thing comes to mind, which is true, they are good in this stage. But if you have an overwhelming strong single-target DPS *cough* Dr. Ratio *cough*, they can be used as the main DPS here so you can focus on the big boss and ignore the mobs summoned.
Observation
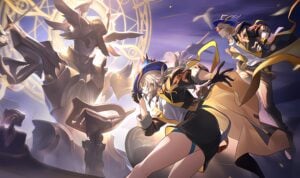
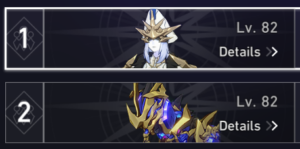
First Half: Dreamjolt Troupe's Beyond Overcooked & Decaying Shadow
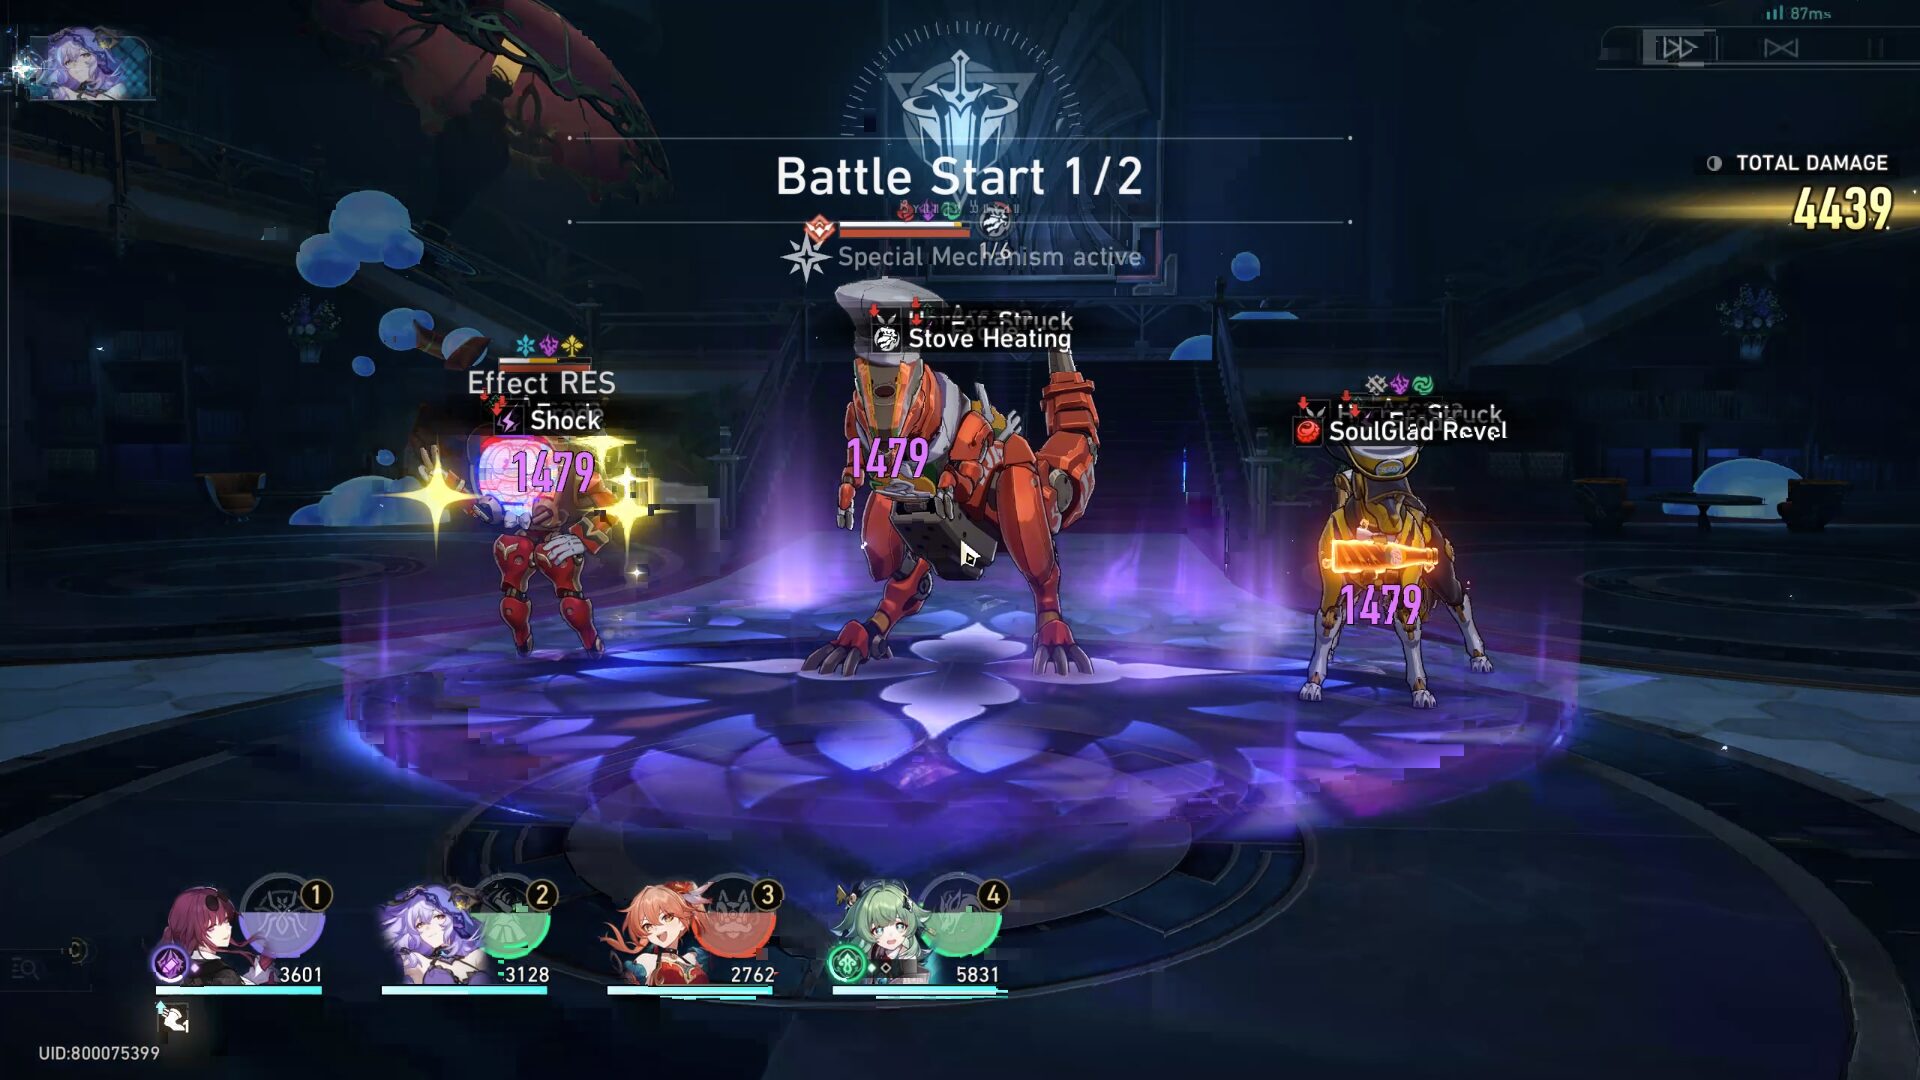
- Start the battle in the first wave with Lightning or Wind attacks to reduce enemy's Toughness Bar. We're facing new enemies from Penacony so I'm going to break them all one by one.
- First of all, the Dreamjolt Troupe's Mr. Domescreen (most left one). This television one is the least threatful one as long as you got its Channel right. It has 2 channels: Surprise Channel & Fright Channel. After being attacked, this unit will switch from the Surprise Channel status to the Fright Channel status, or vice versa.
- Surprise Channel: Regenerates Energy for a random target.
- Fright Channel: Deals minor Quantum DMG to all targets (your team) and causes all targets to lose Energy.
- Second, the Dreamjolt Troupe's Bubble Hound (the dog on the right). This one is beneficial to defeat first because upon taking fatal DMG, it will deals Physical DMG to adjacent units (the enemies) and inflicts them with Bleed. However, it will also increases their SPD.
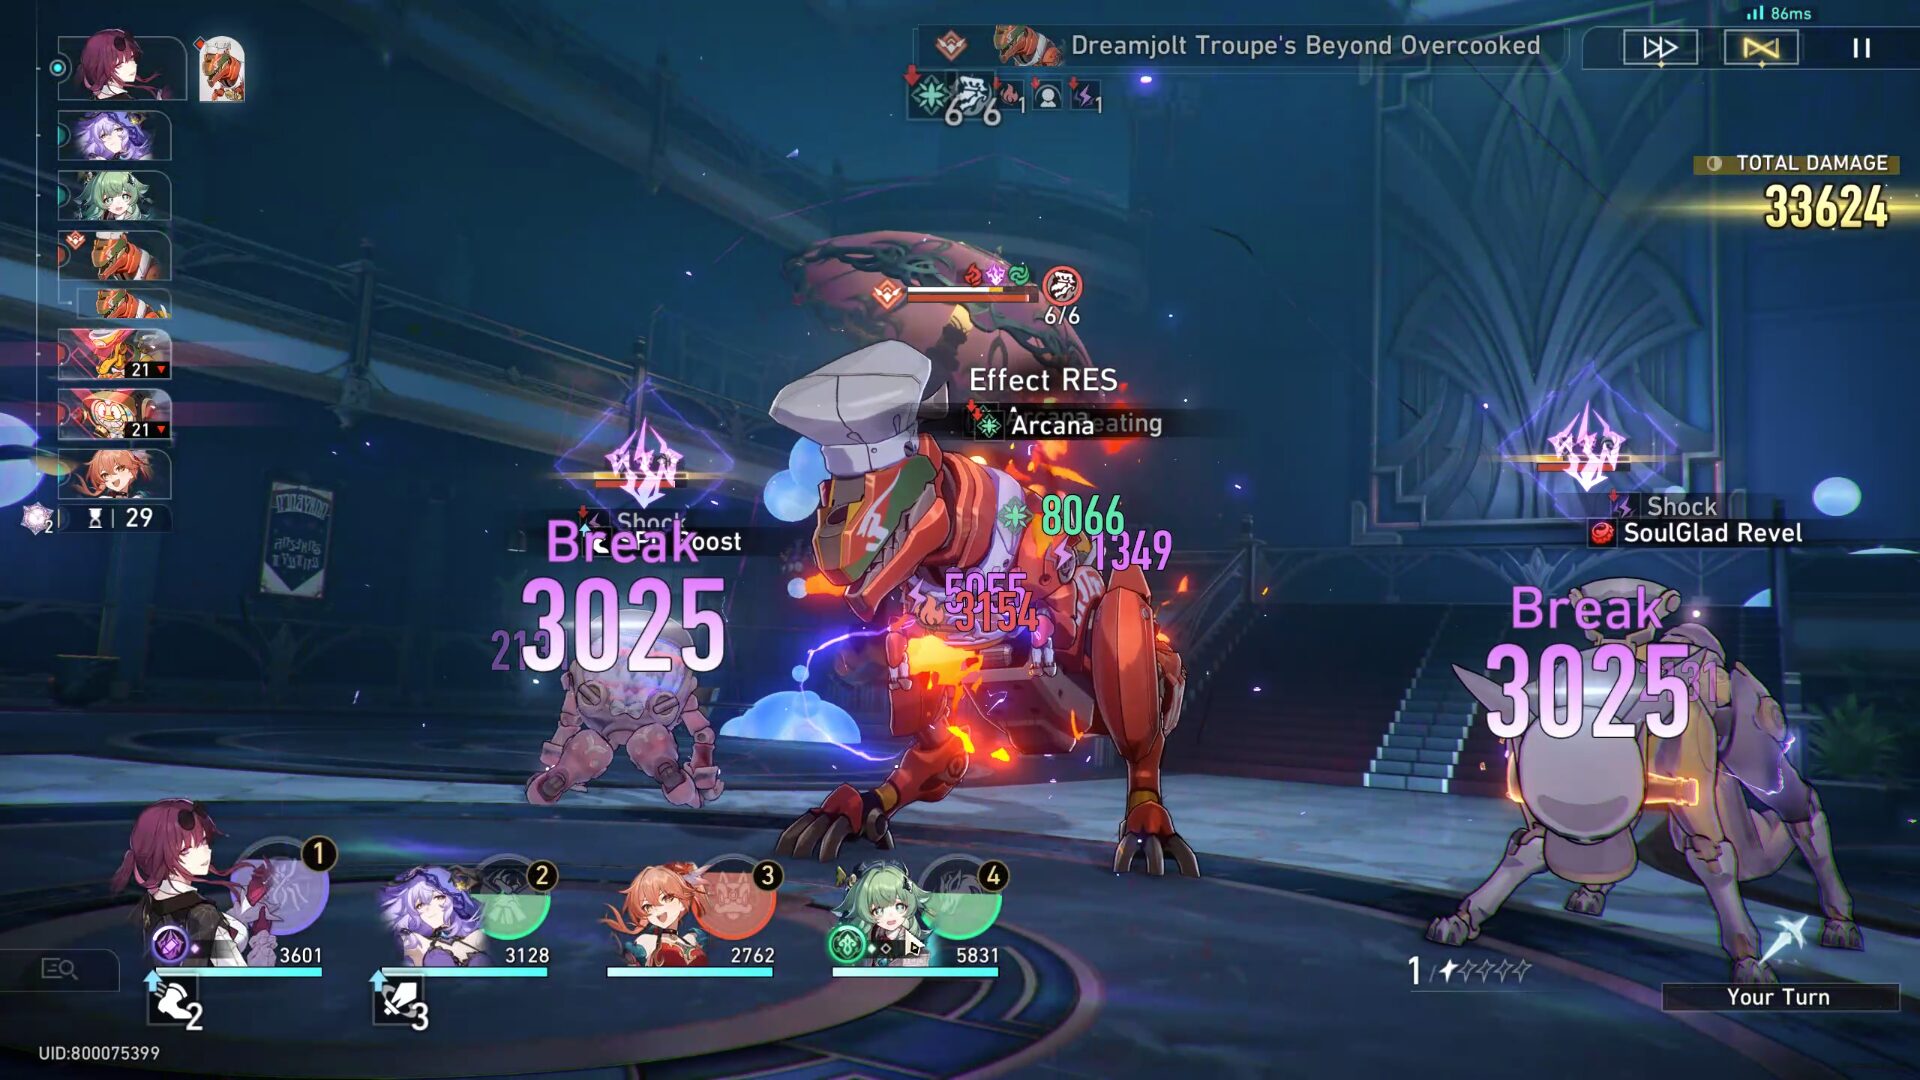
- Lastly, the Dreamjolt Troupe's Beyond Overcooked (the T-Rex). The most important skill would be where it will gain stacks once being attacked. After it gain 6 stacks, it will enter Ignite Stove (let's just say it was its second phase).
- In this form, if it gains another 6 stacks (by being hit or attacked), it will use Kitchen Mishap: Deals Fire DMG to all of its friendly units (the enemies) and decrease its own DEF.
- But if it does not gain another 6 stacks, it will use Flaming Stir-Fry: Deals Fire DMG to all targets (your team).
- All you need to do is focus all your firepower to the T-Rex instead of other enemies so it will continuously gain stacks and use Kitchen Mishap and deal damage to its own allies.
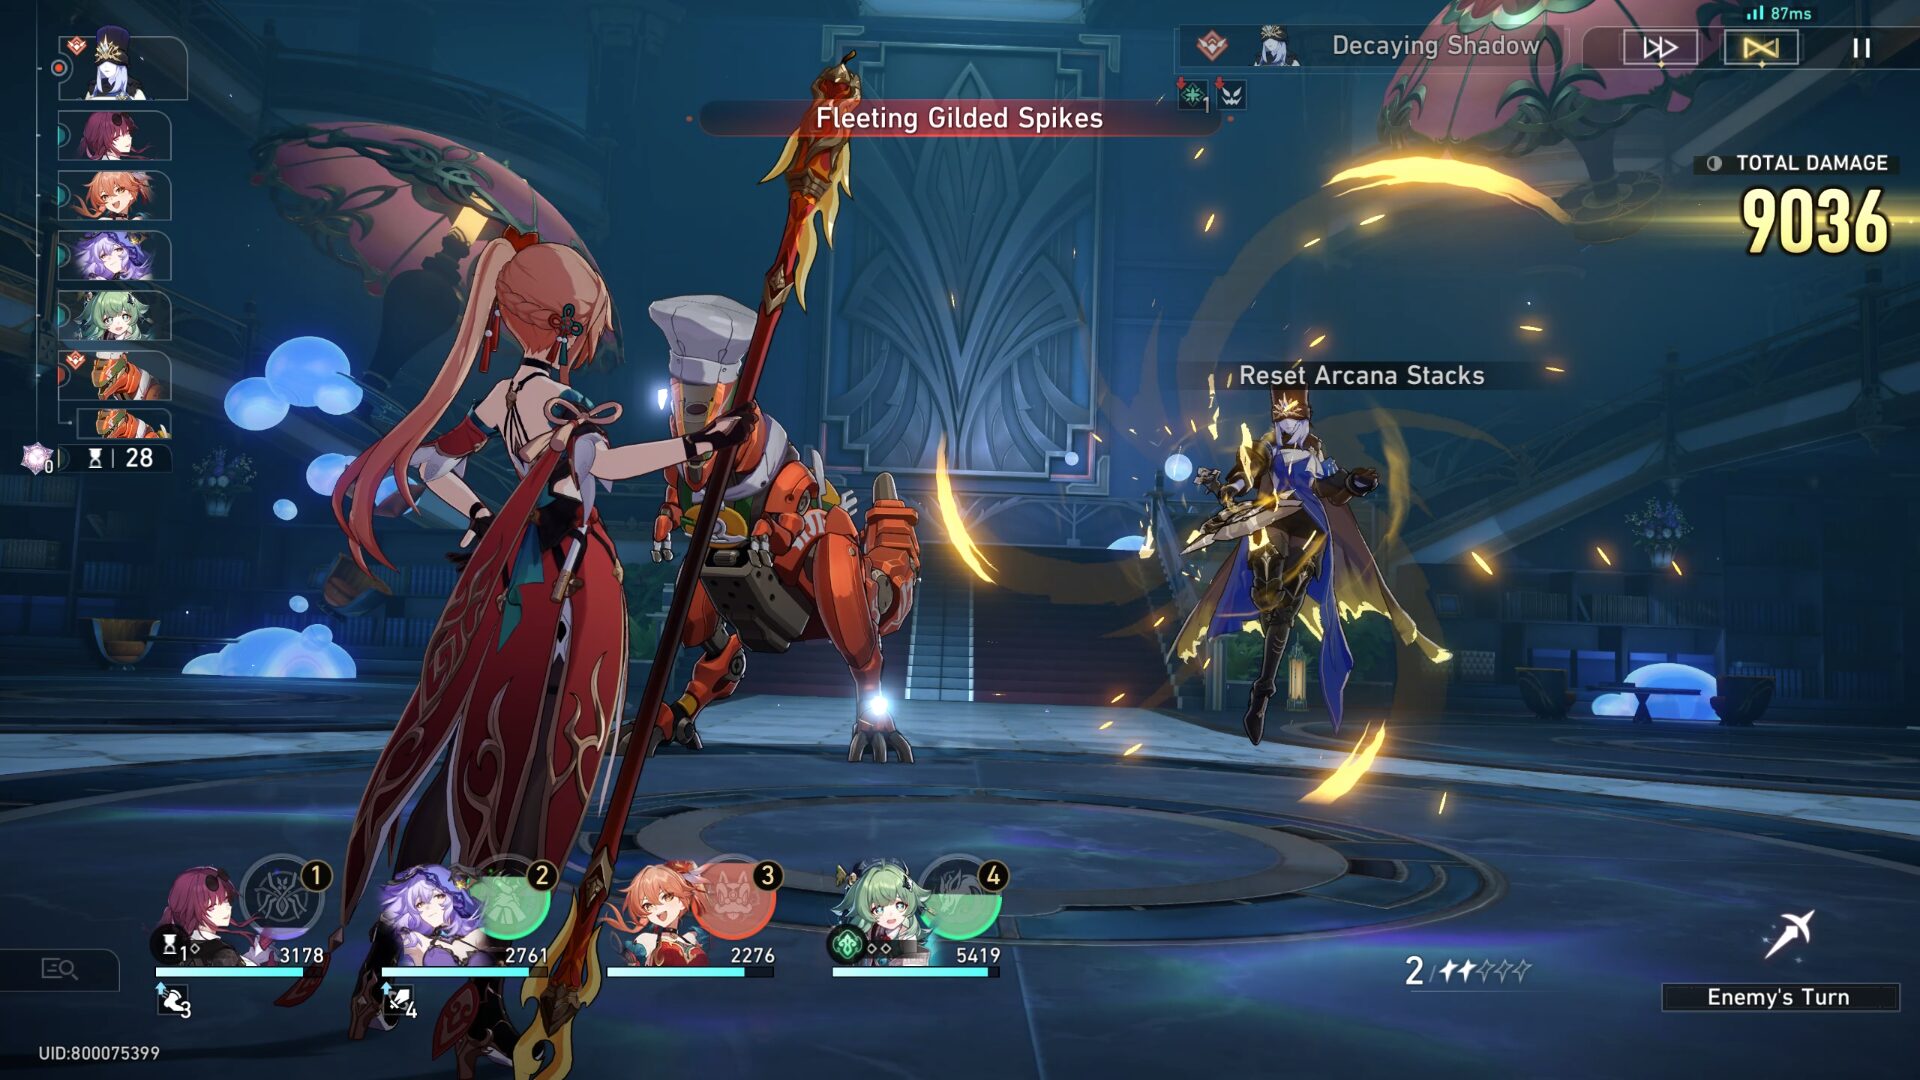
- In the second wave, focus on the T-Rex instead of the Decaying Shadow. But when she uses Binding of the Golden Age, switch your target and focus on her first.
- Whenever a Decaying Shadow uses its Binding of the Golden Age, she will have 9 Gauge Recollection on her back. Use everything in your power to decrease her stack as much as possible. During her next action, she will use the remaining Gauge Recollection she had to deal Liberation of the Golden Age. The more stack she has, the higher the damage she will deal. It will be even better if you can trigger Weakness Break so this ability will fail to activate.
Second Half: Swarm: True Sting
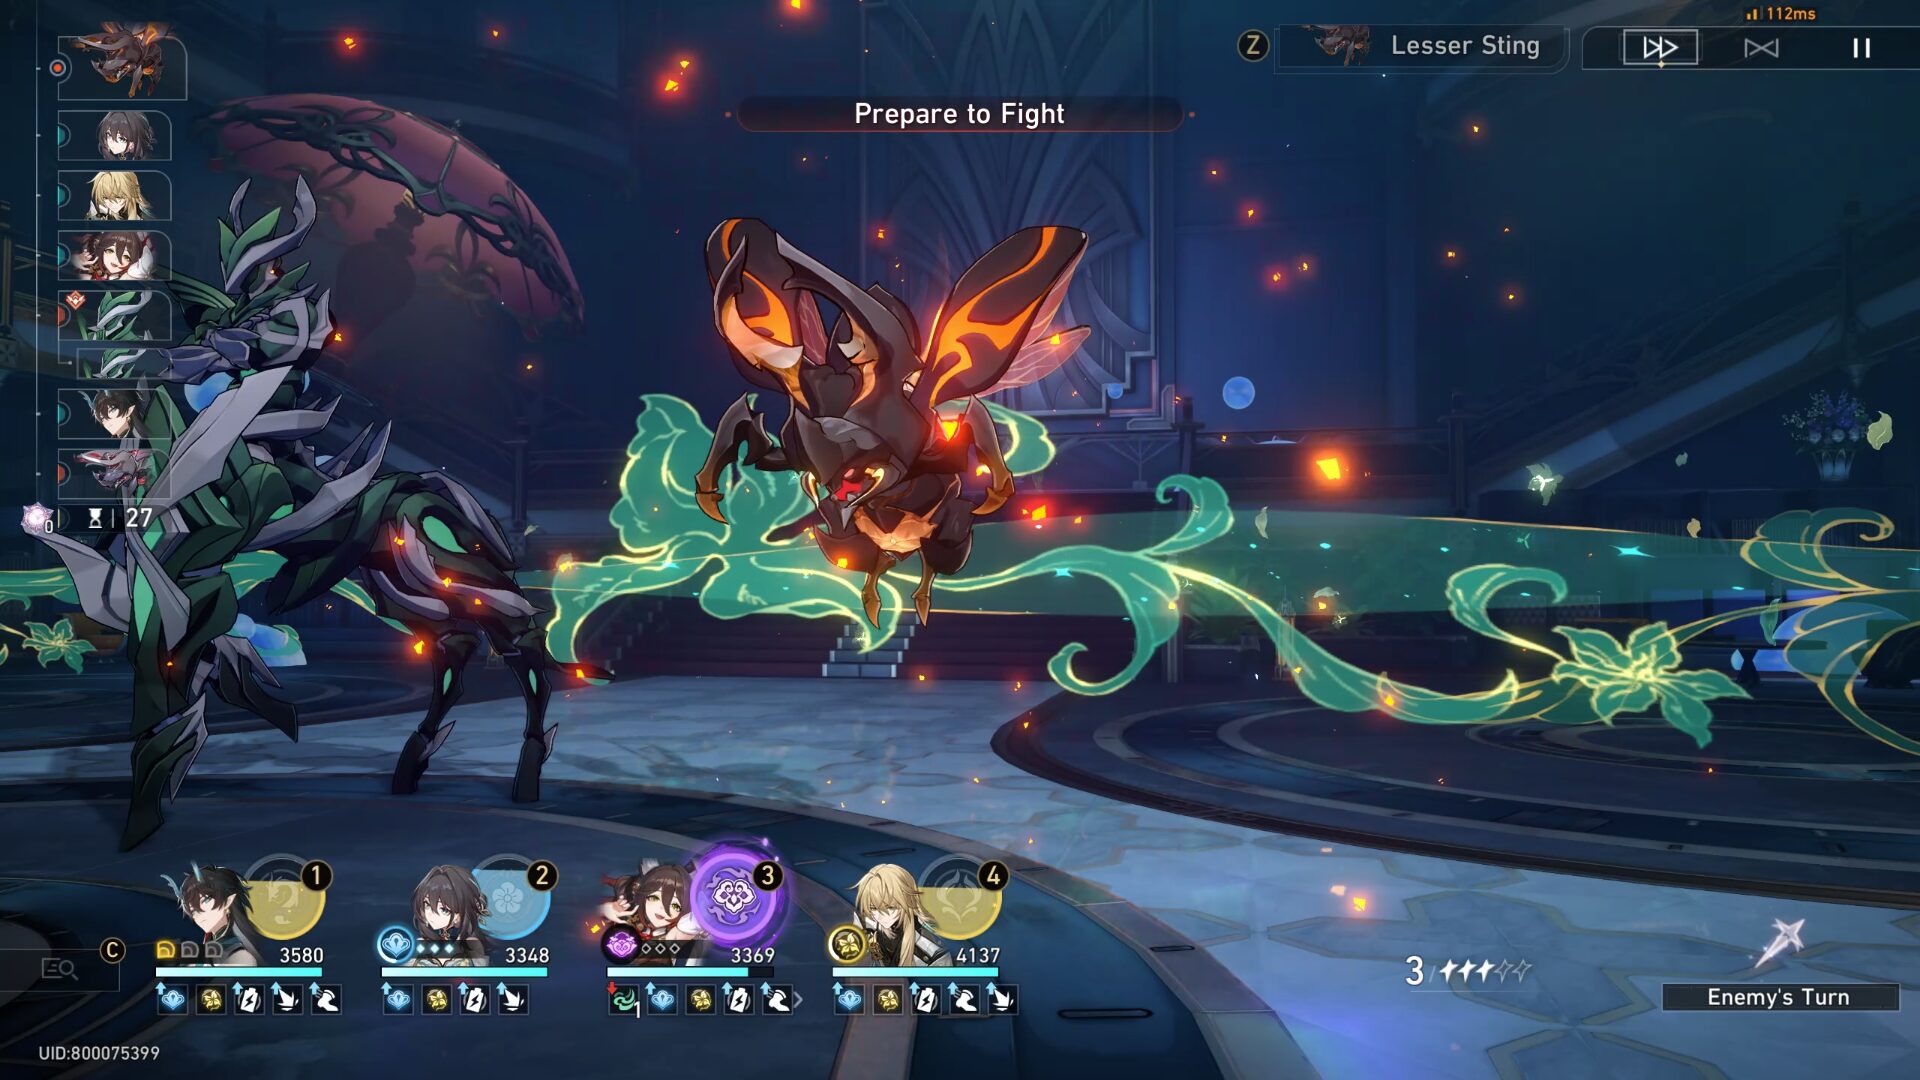
- Start the battle in the first wave with Imaginary attack to reduce the enemy's Toughness Bar. Right from the start, the Lesser Sting (the orange bug) will use Prepare to Fight where it will enters the Charge state. In its next action, it will use Bursting Detonation that deals Blast Wind DMG. Focus on the Lesser Sting first before any other enemies.
- After that, deal with the Stormbringer. It can inflict Wind Shear on your characters and result in being targeted by its Windfall Storm attacks in the next turn (Kind of its Ultimate attack). This attack is quite hurtful so unless your characters have a shield or have high HP, you can prevent it by triggering Weakness Break or cleansing the Wind Shear on your party members.
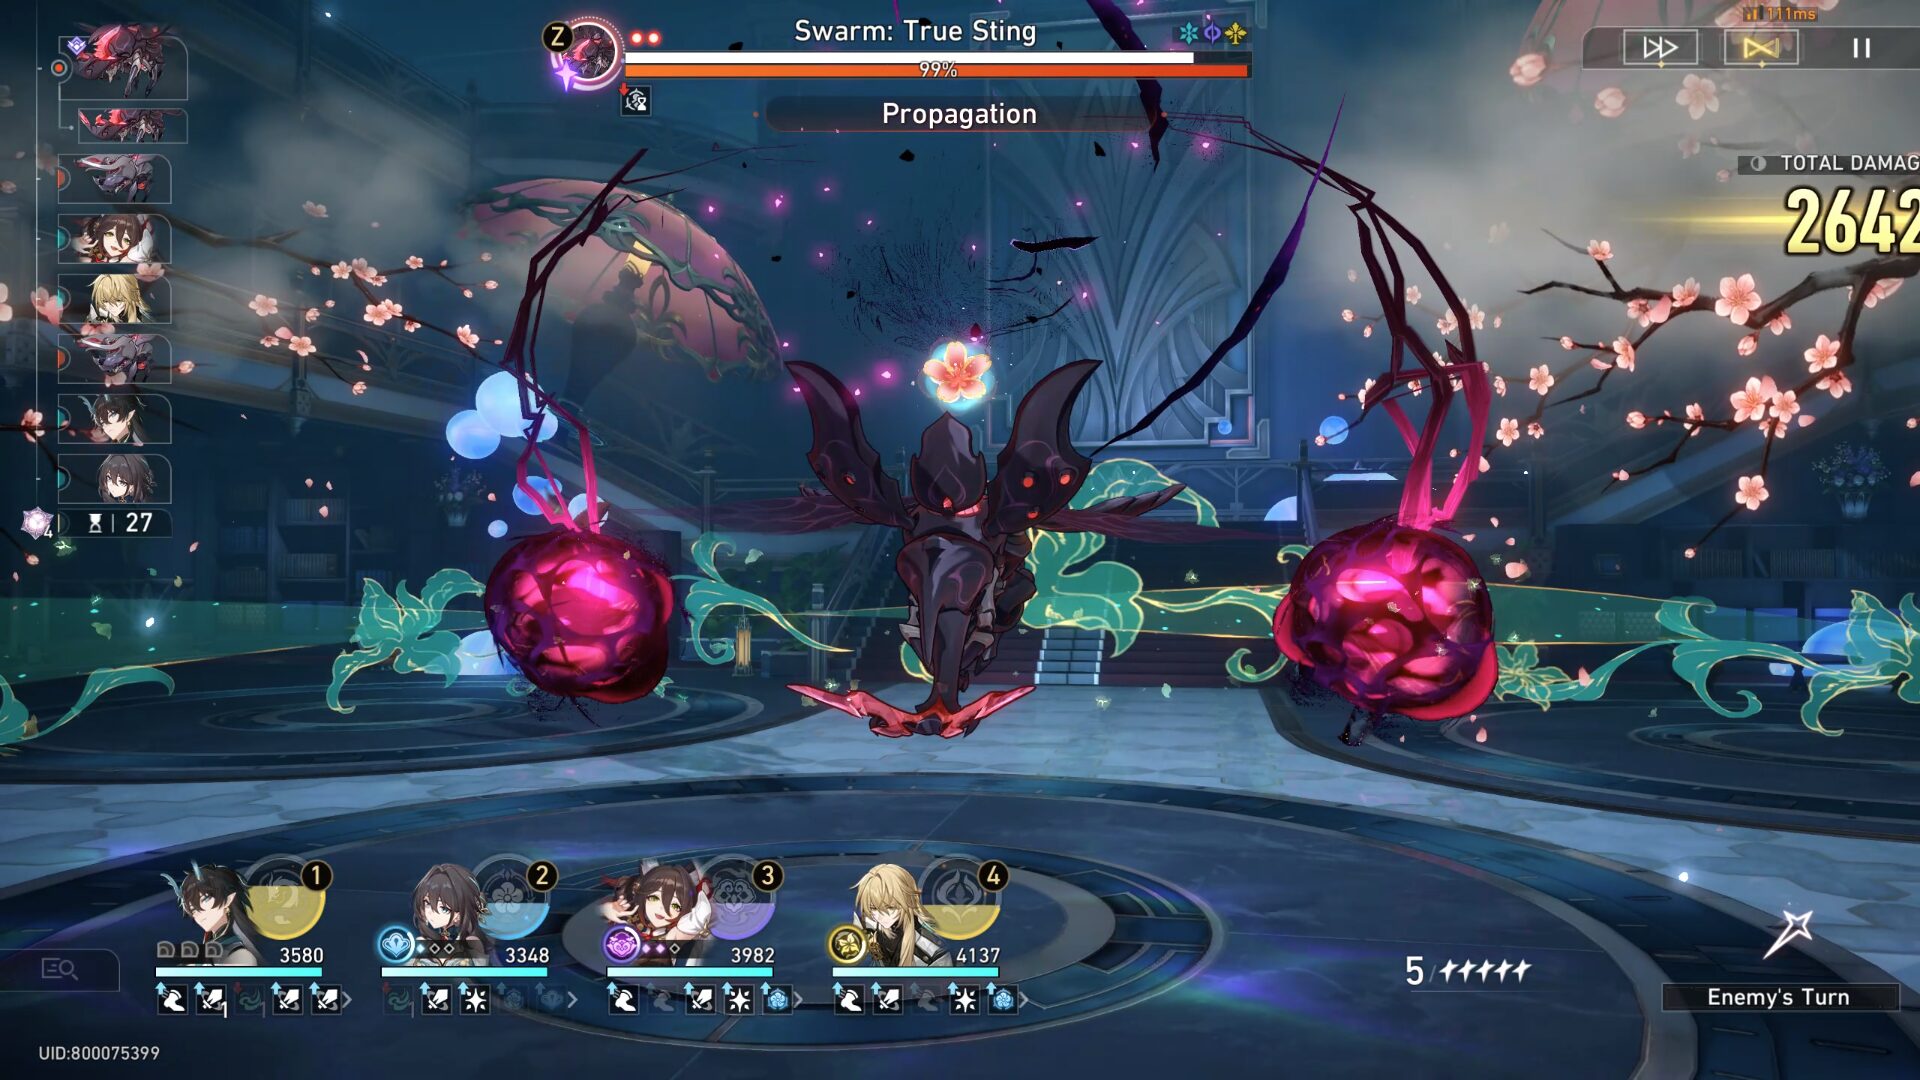
- In the second wave, it's time for Swarm: True Sting. It can summon 2 Juvenile Stings that can inflict Wind Shear on your characters. At first, it might not seem much, but once the debuff is stacked, your character will take lots of damage later on. So it's best if you can defeat the Juvenile Stings to stop the debuff from stacking and also explode, dealing damage to the True Sting. This is if you bring an AoE DPS.
- But if you bring a single-target DPS, I recommend focusing on the boss only. Hopefully, your healer/shielder can protect your team.

- When the True Sting enters its second phase, it will summon Lesser Sting. This Lesser Sting is even more dangerous than the Juvenile Stings because it can explode and deal Blast DMG to your team + inflict Outrage to the target (you can't control them and the said character will only use Basic ATK on random enemies). So if this mob is spawned, definitely focus on this one first before others - again, if you bring AoE DPS instead of single-target DPS.

Sora
Articles: 233More Articles

Honkai: Star Rail Stellar Shimmer Event Guide

Honkai: Star Rail Redemption Codes – July 2024
Honkai: Star Rail Version 2.3 Tier List (July 2024)

Honkai: Star Rail Jade Character Guide

Honkai: Star Rail Boothill Character Guide

Honkai: Star Rail Xueyi Character Guide
Honkai: Star Rail Misha Character Guide

Honkai: Star Rail Gallagher Character Guide
Honkai: Star Rail Ruan Mei Character Guide

Honkai: Star Rail Firefly Character Guide
Honkai: Star Rail Memory of Chaos Stage 12 Guide (V2.2 – A Song’s True Theme)
Honkai: Star Rail Memory of Chaos Stage 11 Guide (V2.2 – A Song’s True Theme)
Honkai: Star Rail Memory of Chaos Stage 10 Guide (V2.2 – A Song’s True Theme)
Honkai: Star Rail Memory of Chaos Stage 9 Guide (V2.2 – A Song’s True Theme)
Honkai: Star Rail Memory of Chaos Stage 8 Guide (V2.2 – A Song’s True Theme)
Honkai: Star Rail Memory of Chaos Stage 7 Guide (V2.2 – A Song’s True Theme)
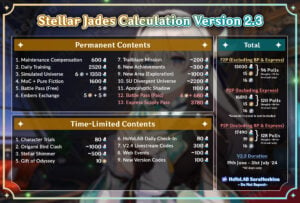
Honkai: Star Rail Stellar Jades Calculation in Version 2.3

Honkai: Star Rail Version 2.3 Special Program Livestream Overview
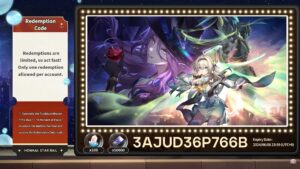
Honkai: Star Rail 3 New Redemption Codes from 2.3 Livestream