Table of Contents
- Why Complete Dungeons in Warcraft Rumble?
- What Leaders and Decks Should I Use for Gnomeregan in Warcraft Rumble?
- Grglmrgl
- Map Elements
- Unique Items
- Enemy Minis
- Ogre Mage
- Prowler
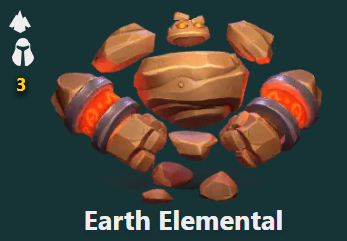
- Earth Elemental
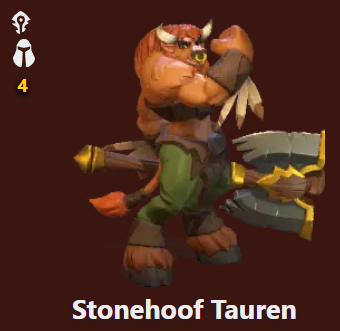
- Stonehoof Tauren
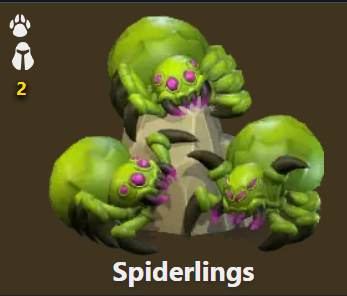
- Spiderlings
- Best Way to Clear
- Baron Aquanis
- Map Elements
- Unique Items
- Enemy Minis
- Gryphon Rider
- Bat Rider
- Gargoyle
- Dark Iron Miner
- Vultures
- Drake
- Best Way to Clear
- Aku'mai
- Map Elements
- Unique Items
- Enemy Minis
- Raptors
- Murloc Tidehunters
- Quilboar
- Defias Bandits
- Harpies
- Best Way to Clear
- Recommended Minis
- Harpies
- S.A.F.E. Pilot
- Quilboar
- Darkspear Troll
- Prowler
- Defias Bandits
- Recommended Relics
- Sample Deck Builds
- Video Guide
- Conclusion
Welcome to the Warcraft Rumble Dungeon guide of the week, this time focused on the Beast faction and the Blackfathom Deeps dungeon. In this guide, we’ll walk you through everything you need to know about the dungeon, and how to complete it with the Beast faction. It’s important to note that while an Beast leader is required to enter the dungeon this week, your leader’s army (deck) can be composed of minis and spells from any faction.
Why Complete Dungeons in Warcraft Rumble?
Dungeons (in addition to Arclight Surges) are a great source of Arclight Energy, which is required to upgrade the rarity and subsequently unlock new talents for your minis. In the earlier stages of the game, it is an easy currency to grind, since units only require three stars and 500 Arclight Energy for an upgrade.
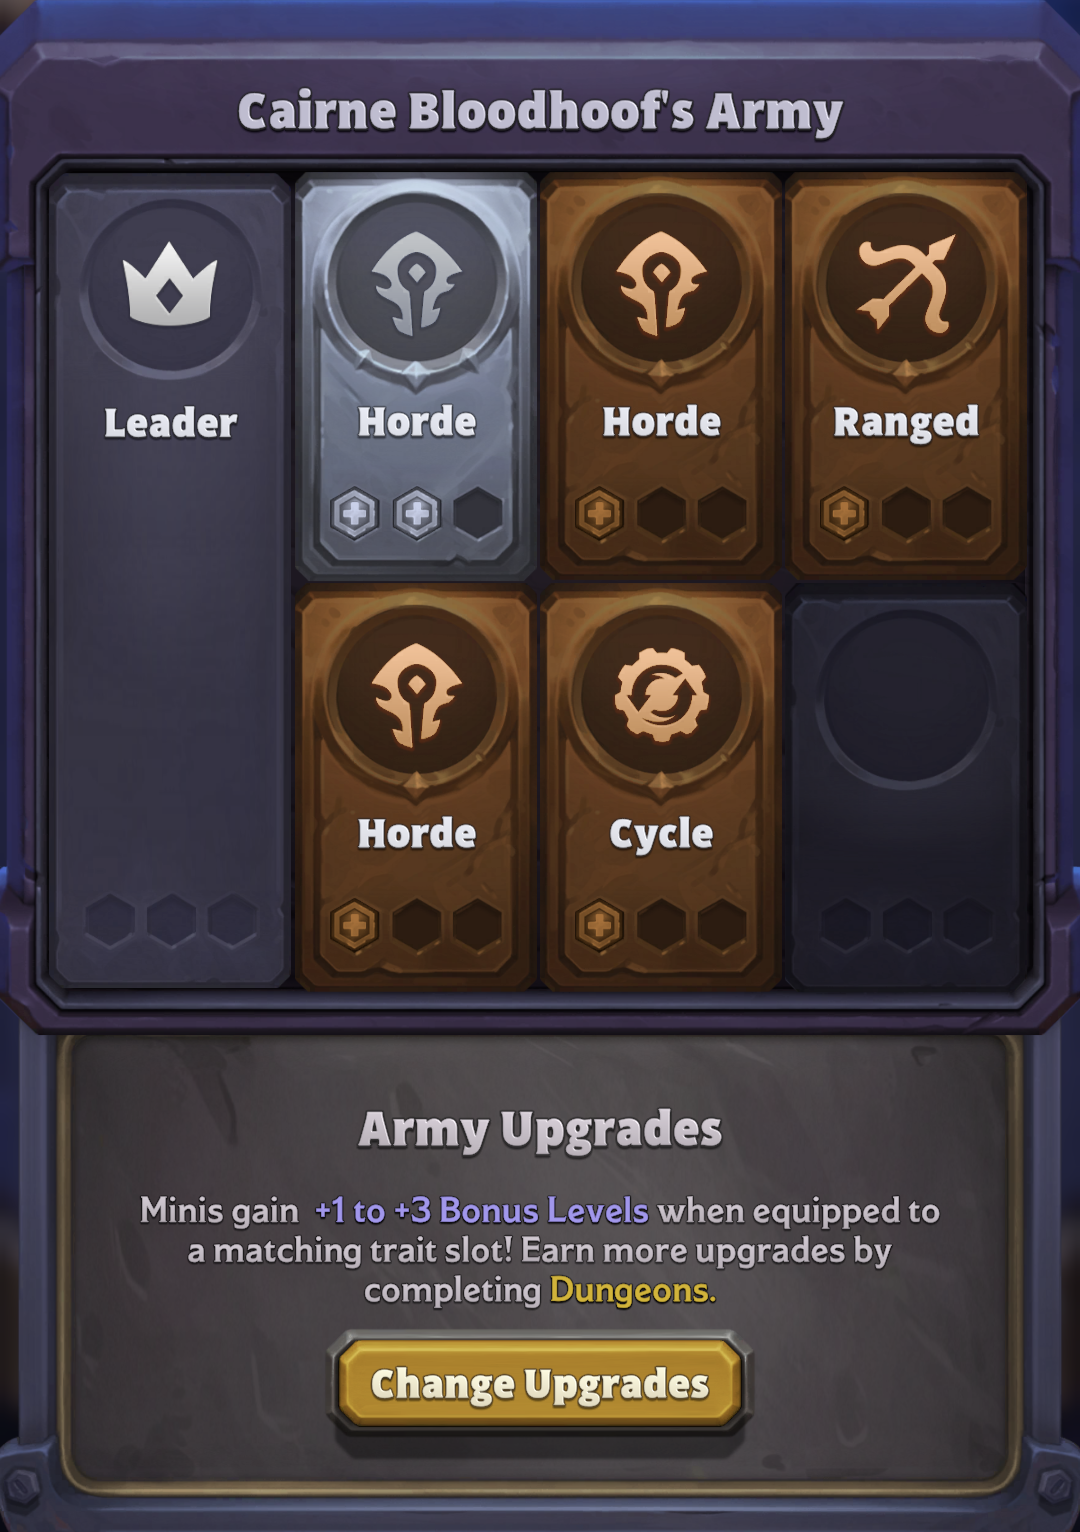
Completion of dungeons also allows you to upgrade your leader’s army board, allowing you to strategically position your units in your deck to gain bonus levels!
What Leaders and Decks Should I Use for Gnomeregan in Warcraft Rumble?
Hogger,Old Murk-Eye,Charlga RazorflankThere are currently three Beast leaders in the game: Hogger and Old Murk-Eye and Charlga Razorflank . We recommend clearing the dungeon with each leader until you can no longer clear it due to difficulty. We'll provide some sample decks that can handle
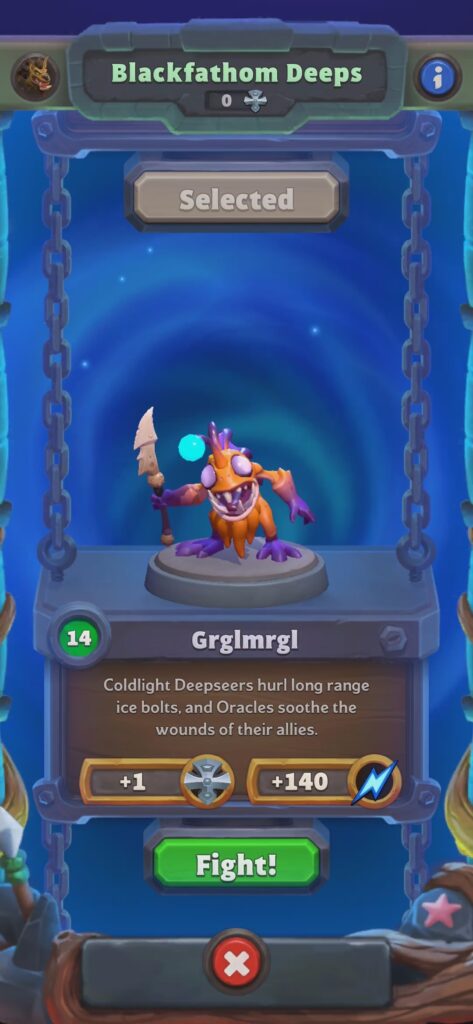
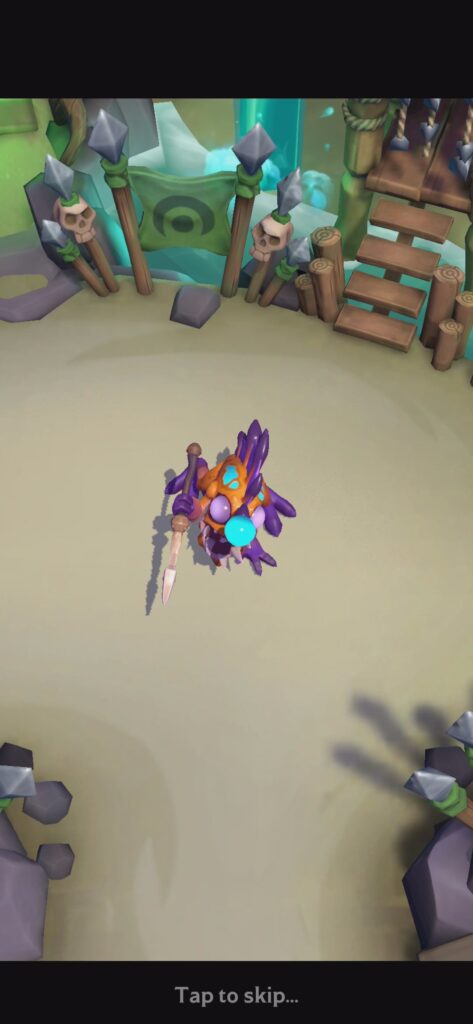
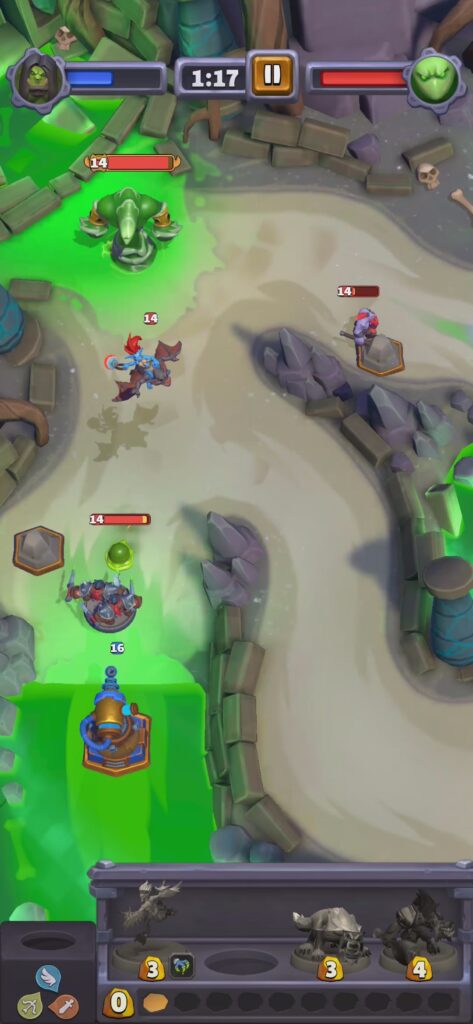
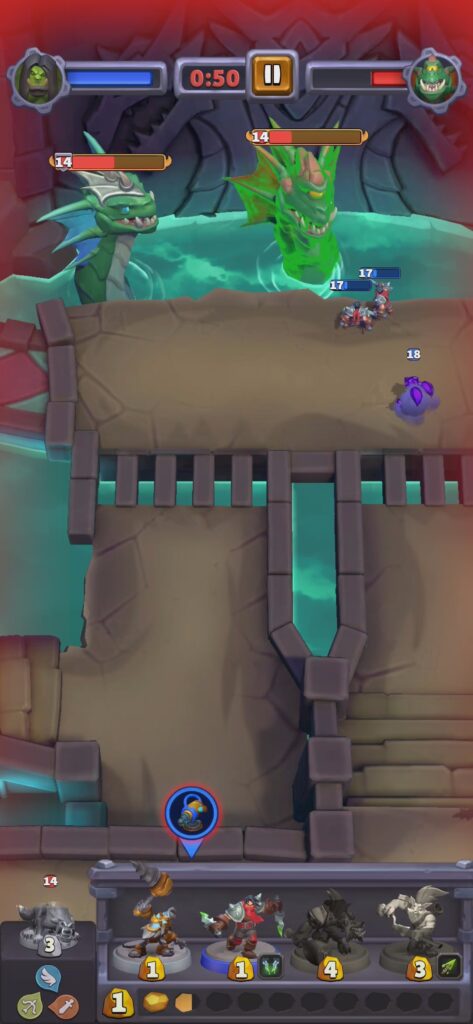
Grglmrgl
Coldlight Deepseers hurl long range ice bolts, and Oracles soothe the wounds of their allies.
Map Elements


- Gold Mines: 3
- Meeting Stones: 0
- Treasure Chests: 2
- Lanes: 2
- Enemy Towers: 2
- Ally Towers: 1
- A group of three Coldlight Deepseers periodically spawn on the right side of the map and will snipe mini from the top of the cliff.
Unique Items
none
Enemy Minis
Ogre Mage
Prowler
Earth Elemental
Stonehoof Tauren
Spiderlings
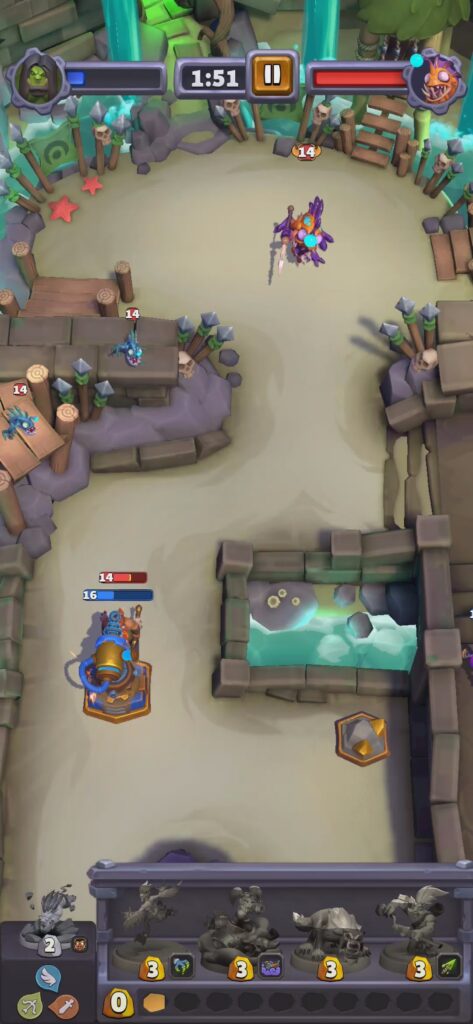
Best Way to Clear
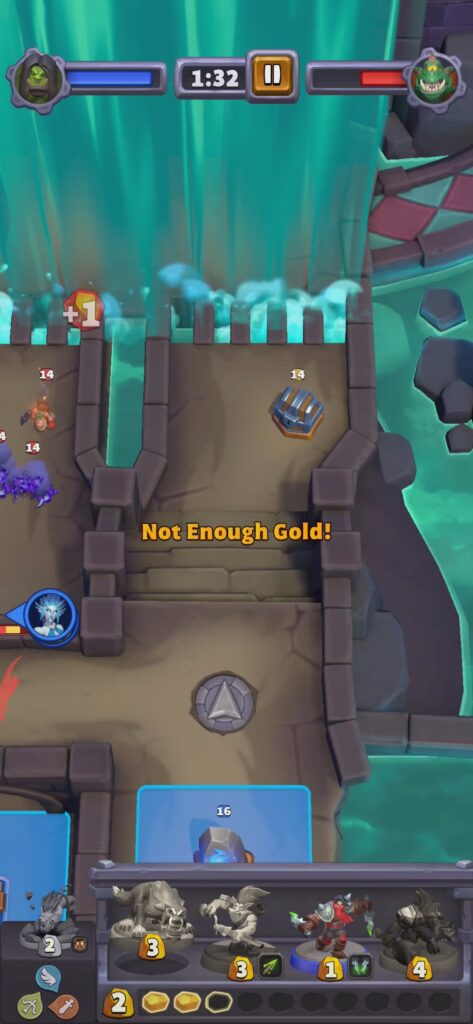
Your main objective is to secure the cliff where the Coldlight Deepseers take their position. Simply drop an unbound mini there, like the S.A.F.E. Pilot, when they arrive at their positions. Once you have control of the area, proceed to secure the gold chests on the left and right, and send a miner to one of the gold mines. I suggest the right one since it's nearer to your base. Attempt to take down one of the towers, preferably the right one, to help you deal with the Deepseers when they spawn. Once you have control of the right tower, mount a push towards the left tower to prepare to take down the boss. There are Coldlight Deepseers perched on the cliffs, so take care of them using unbound minis. When you are done with that last obstacle, it should be easy to take down the Murloc boss.
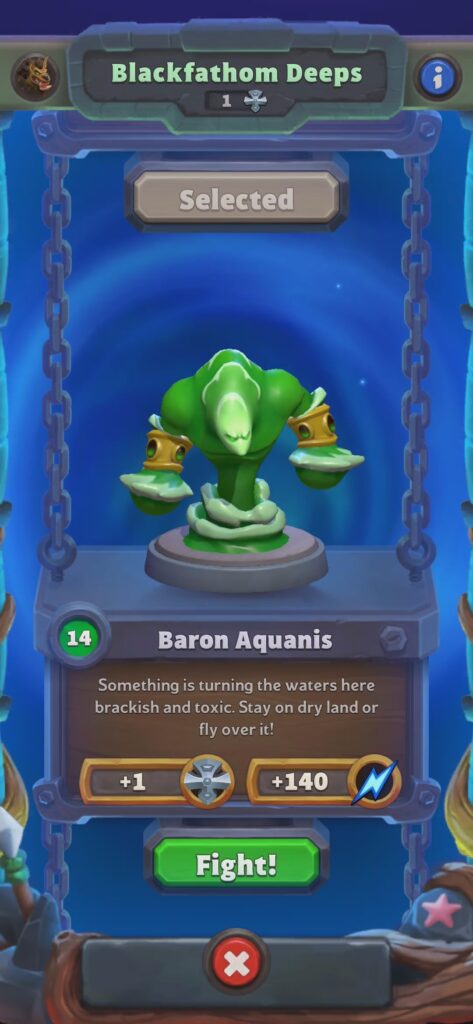
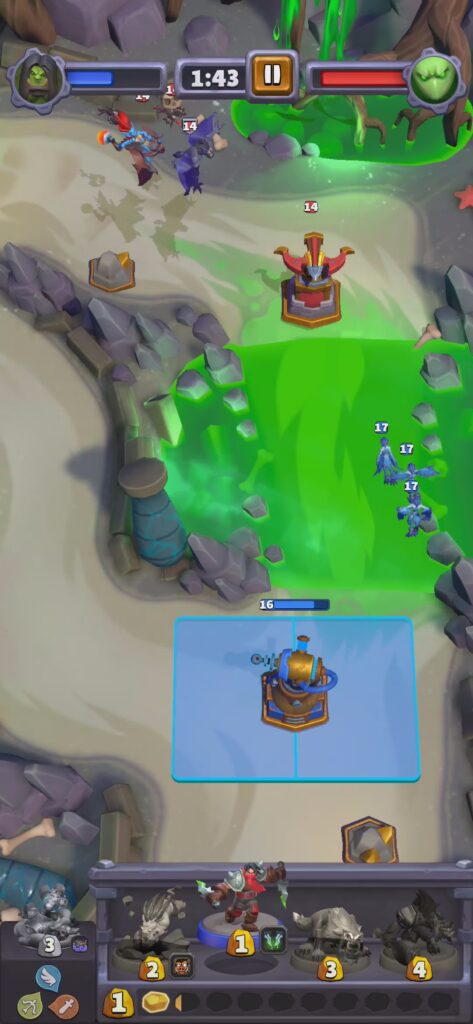
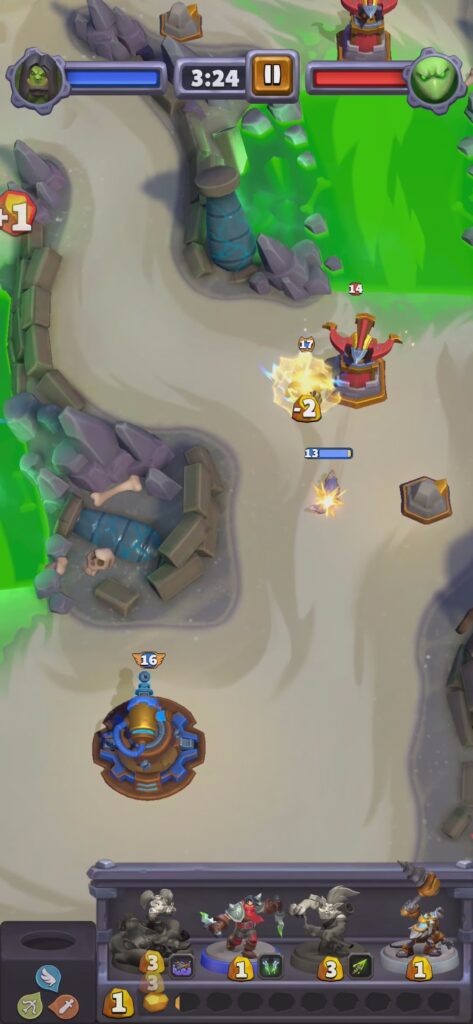
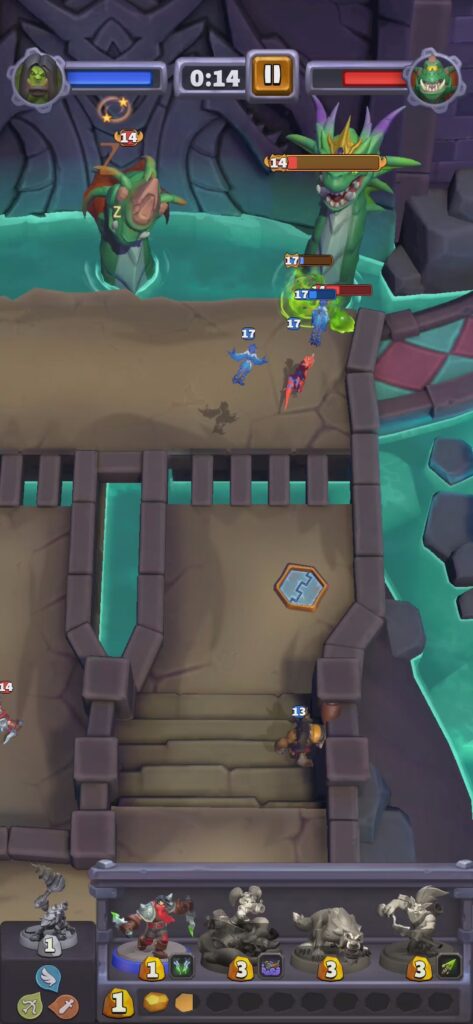
Baron Aquanis
Something is turning the waters here brackish and toxic. Stay on dry land or fly over it!
Map Elements
- Gold Mines: 3
- Meeting Stones: 0
- Treasure Chests: 0
- Lanes: 3
- Enemy Towers: 2
- Ally Towers: 1
- There are poisonous waters on the left and right lanes that will gradually damage ground units.
- Slime minis
Unique Items
none
Enemy Minis
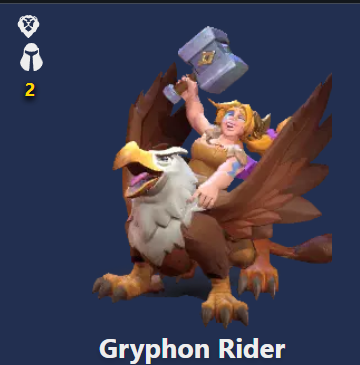
Gryphon Rider
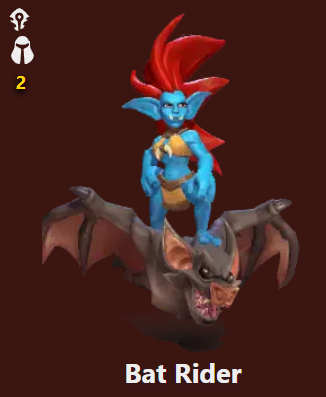
Bat Rider
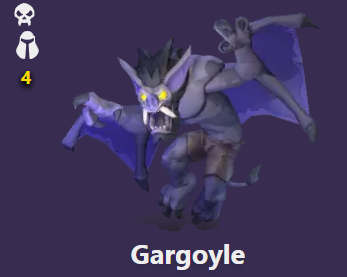
Gargoyle
Dark Iron Miner
Vultures
Drake
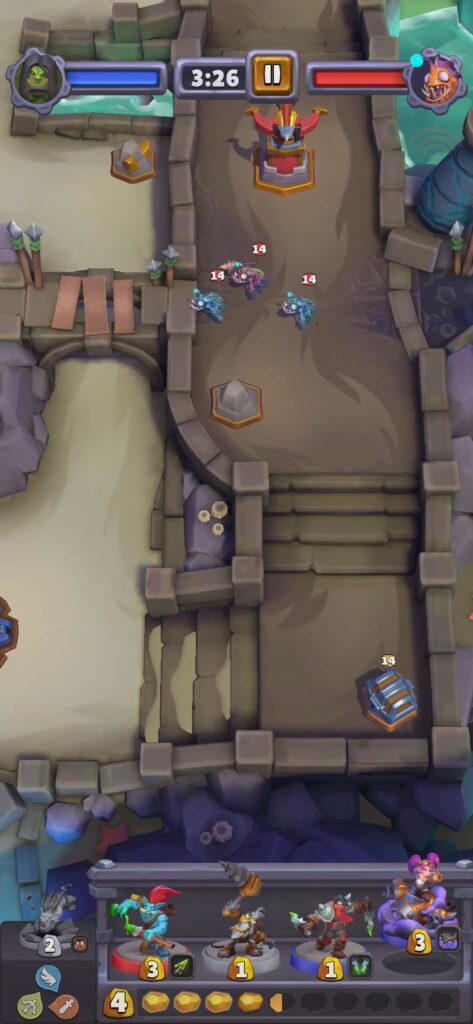
Best Way to Clear
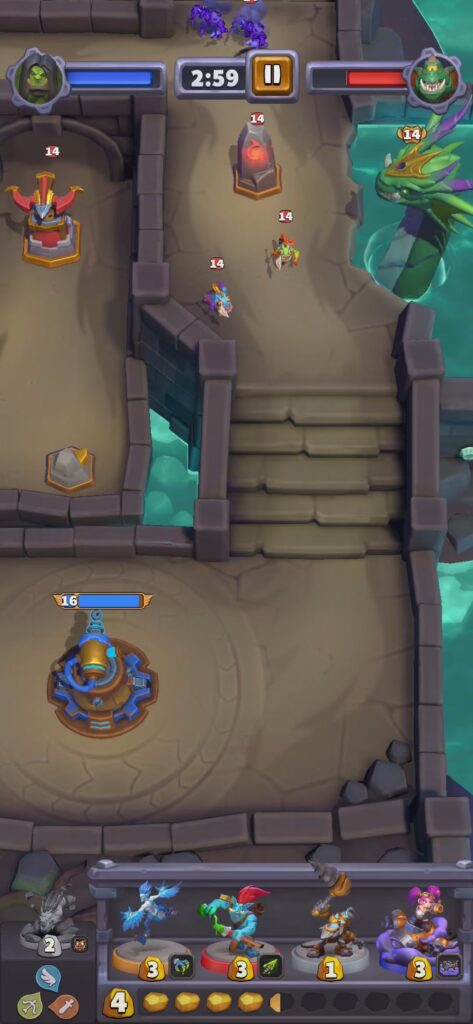
Your main goal is to secure the tower on the right side of your base. This will give you access to the gold mine near the tower. When you have secured it, send your flying minis to either the right or left tower. You can also send unbound minis directly to the towers, such as the Earth Elemental and Quilboar, then send Harpies for backup. It is important to send flying minis so they won't get damaged by the poisoned waters. Securing both will grant you access to two more gold mines. From there, it's only a matter of defending the towers from enemy pushes and mounting a counter-attack to defeat Baron Aquanis. Note that most of his minis are flying types, so DarkSpear Troll, S.A.F.E. Pilot, and Harpies are great options for your deck. The latter mini also benefits from a best army slot, so I recommend bringing Harpies along. Just make sure to distract the enemy minis first with a tank so the harpies can freely attack them.
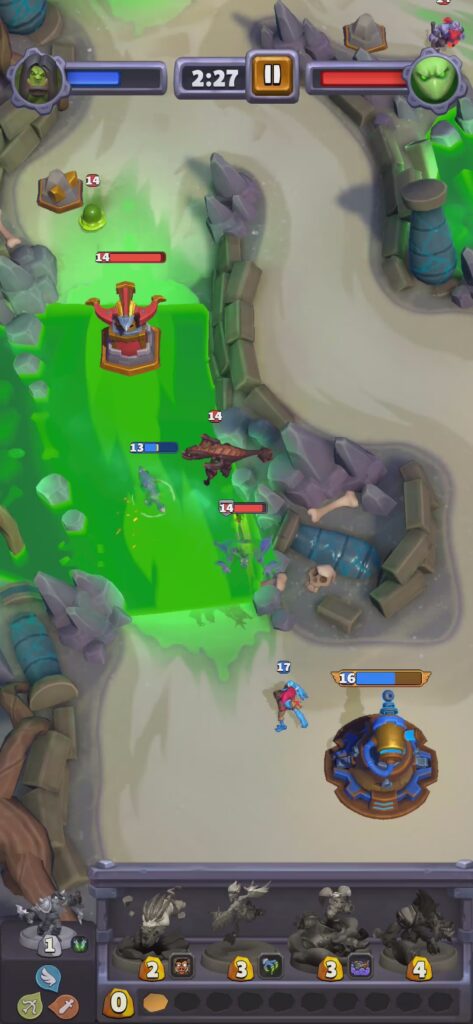
Aku'mai
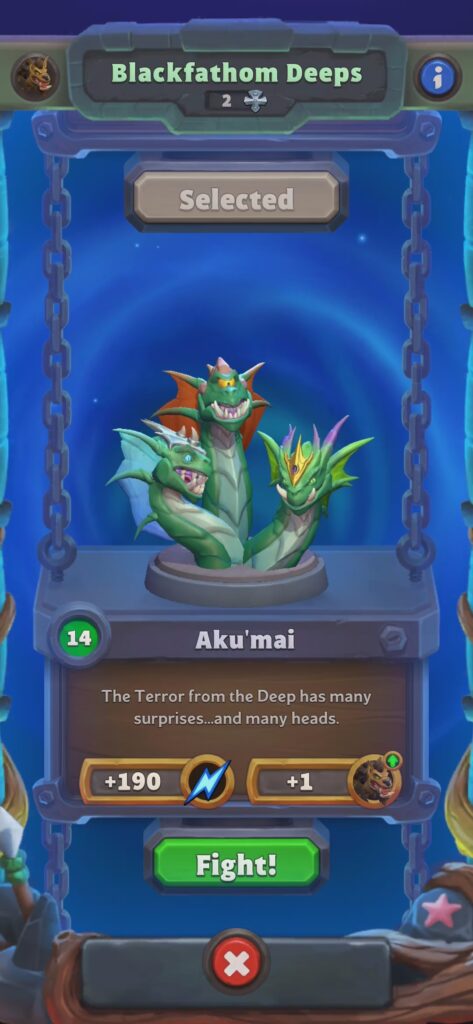
Map Elements
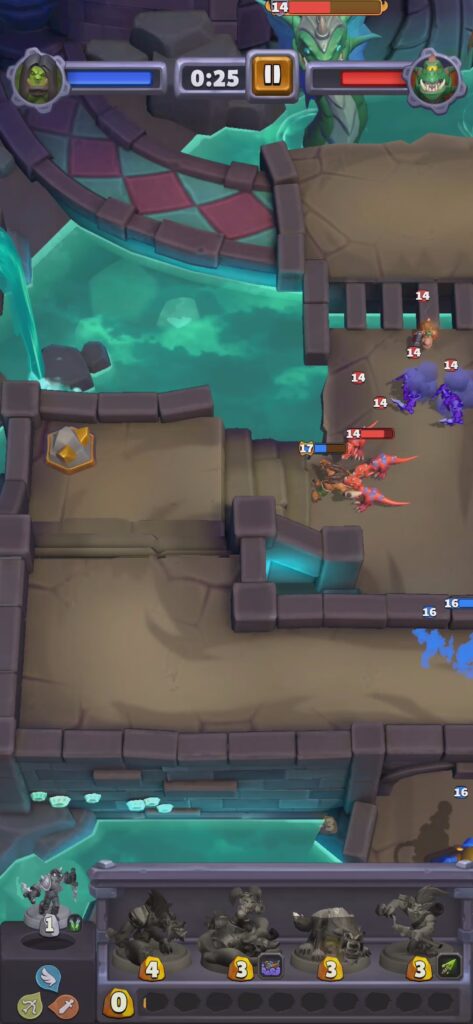
- Gold Mines: 3
- Meeting Stones: 1
- Treasure Chests: 1
- Lanes: 2
- Enemy Towers: 1
- Ally Towers: 1
- There are six heads that periodically wake up and provide buffs to nearby minis.
- There are Coldlight Seers on the left side of the map.
Unique Items
none
Enemy Minis
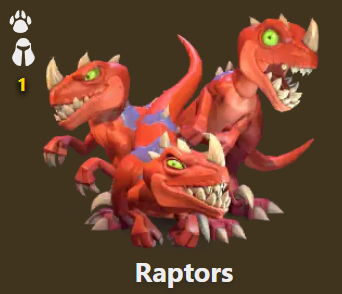
Raptors
Murloc Tidehunters
Quilboar
Defias Bandits

Harpies
Best Way to Clear
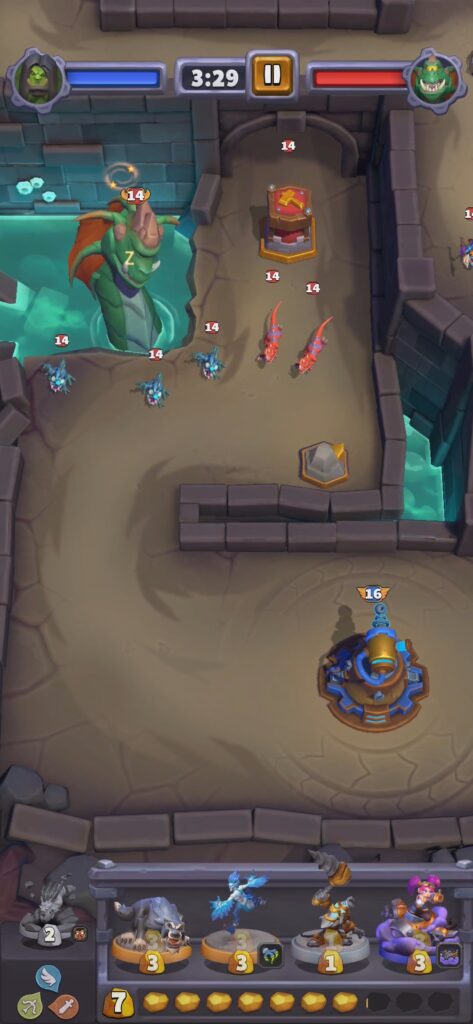
Your main goal here is to capture the tower on the left of your base to gain access to the gold mine there. Once you have captured that tower, direct your army to the right side of your base to secure the meeting stone and gain closer access to the gold chest on the north and the gold mine on the northwest. Proceed to defeat the third head on the northwest as well, and it will open up the water to reveal three more heads. I usually aim for both heads, leaving the middle one for last. Most of the minis on this map are swarming units; bait them with a tank and clear them with area-of-effect (AOE) damage.
Recommended Minis
Harpies
"Harpies excel in this dungeon due to their beastly nature, allowing them to benefit from being equipped in one of the beast slots that the beast leaders offer. They prove highly effective in the second stage, particularly on poisoned grounds. Even at moderate levels, they can single-handedly take down a tower. Moreover, they serve as a great means to damage bosses when the bosses' attention is diverted by Quilboar.
 | Infectious Swipes BEST Gain Poison. |
 | Trinket Collectors Gain the Miner trait. Cost increased by 1. |
 | Talon Dive Deal double damage on 1st attack. |
S.A.F.E. Pilot
"Never enter the dungeon without equipping the S.A.F.E. Pilot. She proves particularly useful in the first dungeon for eliminating the pesky Coldlight Seers perched on the cliffs. Crash her onto the enemy army when they overcommit. She's incredibly useful against the flying minis in stage 2 and can efficiently clean up the swarms of minis in stage 3.
 | Gnomish Cloaking Device BEST Deploy from the explosion with Stealth and Ambush. |
 | Comin’ In Hot! Deploy twice as fast and Burn nearby enemies. |
 | Gnomish Muttonizer Polymorph the first blaster target. |
Quilboar
Another remarkable beast mini is the Quilboar, an unbound beast tank capable of diverting enemy minis to expose them to back attacks from your advancing army. It can also be utilized to deal with Coldlight Seers on the cliff if you don't have the pilot available. Additionally, it's quite handy for acquiring the gold chests in both stage 1 and stage 3.
 | Bristleback Deal a small amount of damage to Melee attackers. |
 | Tunnel Vision BEST Deploy much more quickly. |
 | Bramble Burst Inflict Poison on nearby enemies when emerging. |
Darkspear Troll
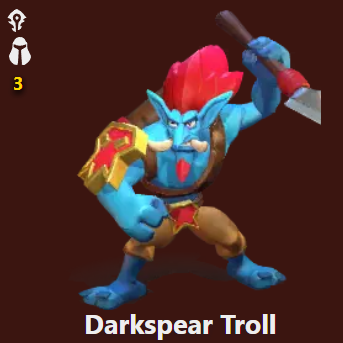
The Darkspear Troll is an excellent backline damage dealer capable of quickly chipping away at bosses' health in the blink of an eye. They are particularly useful in stage 2, where the enemy minis mainly consist of flying units.
 | Big Bad Voodoo BEST Regenerate 10% health every second. |
 | Headhunting On kill, increase Attack and Movement speed by 10%. Stacks to 50%. |
 | Serpent Sting Gain Poison. |
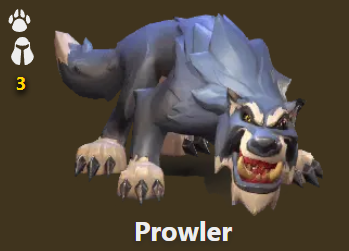
Prowler
Another excellent addition to your beast deck is the Prowler. If you have an available fast slot in your deck, consider equipping it there. It proves useful for obtaining gold chests and swiftly eliminating opponent Kobold Miners. Additionally, it can serve as an emergency vanguard if you find your ranged minis without a frontline
 | On The Prowl BEST Gain Stealth, and stun the target when attacking from Stealth. |
 | Pack Leader Grants nearby Beast allies 30% additional Damage. |
 | Predatory Instincts Deal double damage to enemies who are at more than 75% health. |
Defias Bandits
I enjoy including Defias Bandits in all my decks for their inexpensive cycling ability and the value they offer when facing single high-cost target minis. If you come across the relic that summons a random mini from a squad unit upon summoning a squad unit, these bandits will provide even more value for a mere 1 gold.
 | Deadly Poison BEST Gain Poison. |
 | Pick Lock Earn an extra +2 Gold when opening chests. |
 | Last Resort On death, Stun the target for 3 seconds. |
Recommended Relics
Incendiary Rounds - Your Ranged Minis apply Burn when dealing damage.
Broodling Whistle - Playing your Leader summons 2 Whelps.
Divine Parchment - Deploying your Leader grants a shield to nearby allies, absorbing one attack.
Patterned Shroud - Your Squad Minis gain Stealth.
Primitive Instruction - After deploying your Leader, the next Beast Mini you play costs 1 less (but no
less than 1) Gold.
Gauntlets of Determination - Your Leader gains 1 Level each time they are deployed.
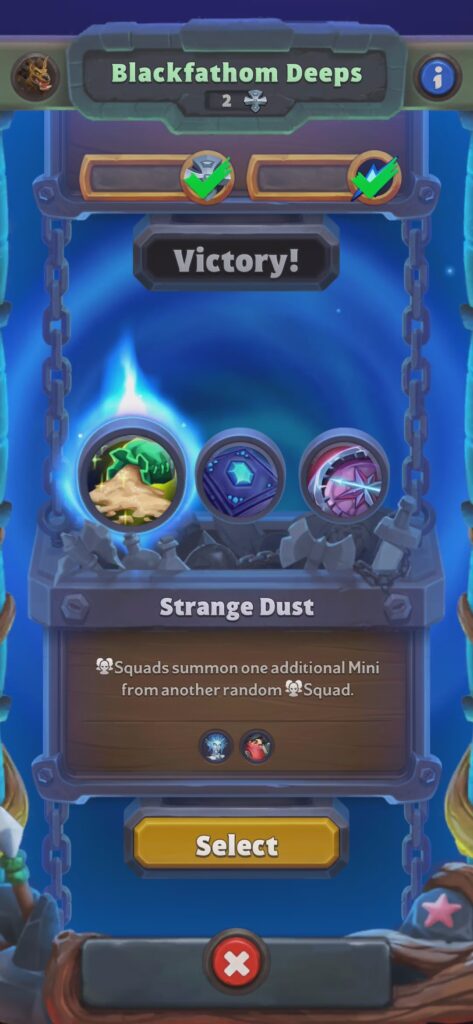
Strange Dust - Squads summon one additional Mini from another random Squad.
Frost Inscription - Your Barracks and Towers apply *Frost on hit.
Band of the Protector - Tank Minis cost 1 less (but no less than 1) Gold.
Sample Deck Builds
hogger-deck-5q1hp old-murk-eye-deck-qavurVideo Guide
Conclusion
Here you have it: a guide to Blackfathom Deeps - Beast Week Dungeon. Stay tuned to Dotgg.gg for more in-depth guides in the future.