Table of Contents

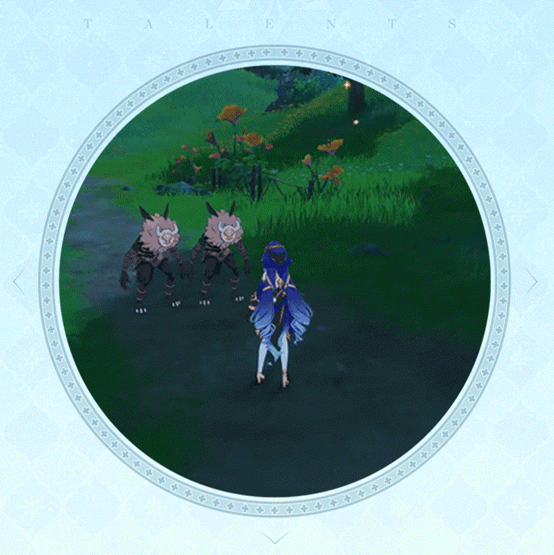
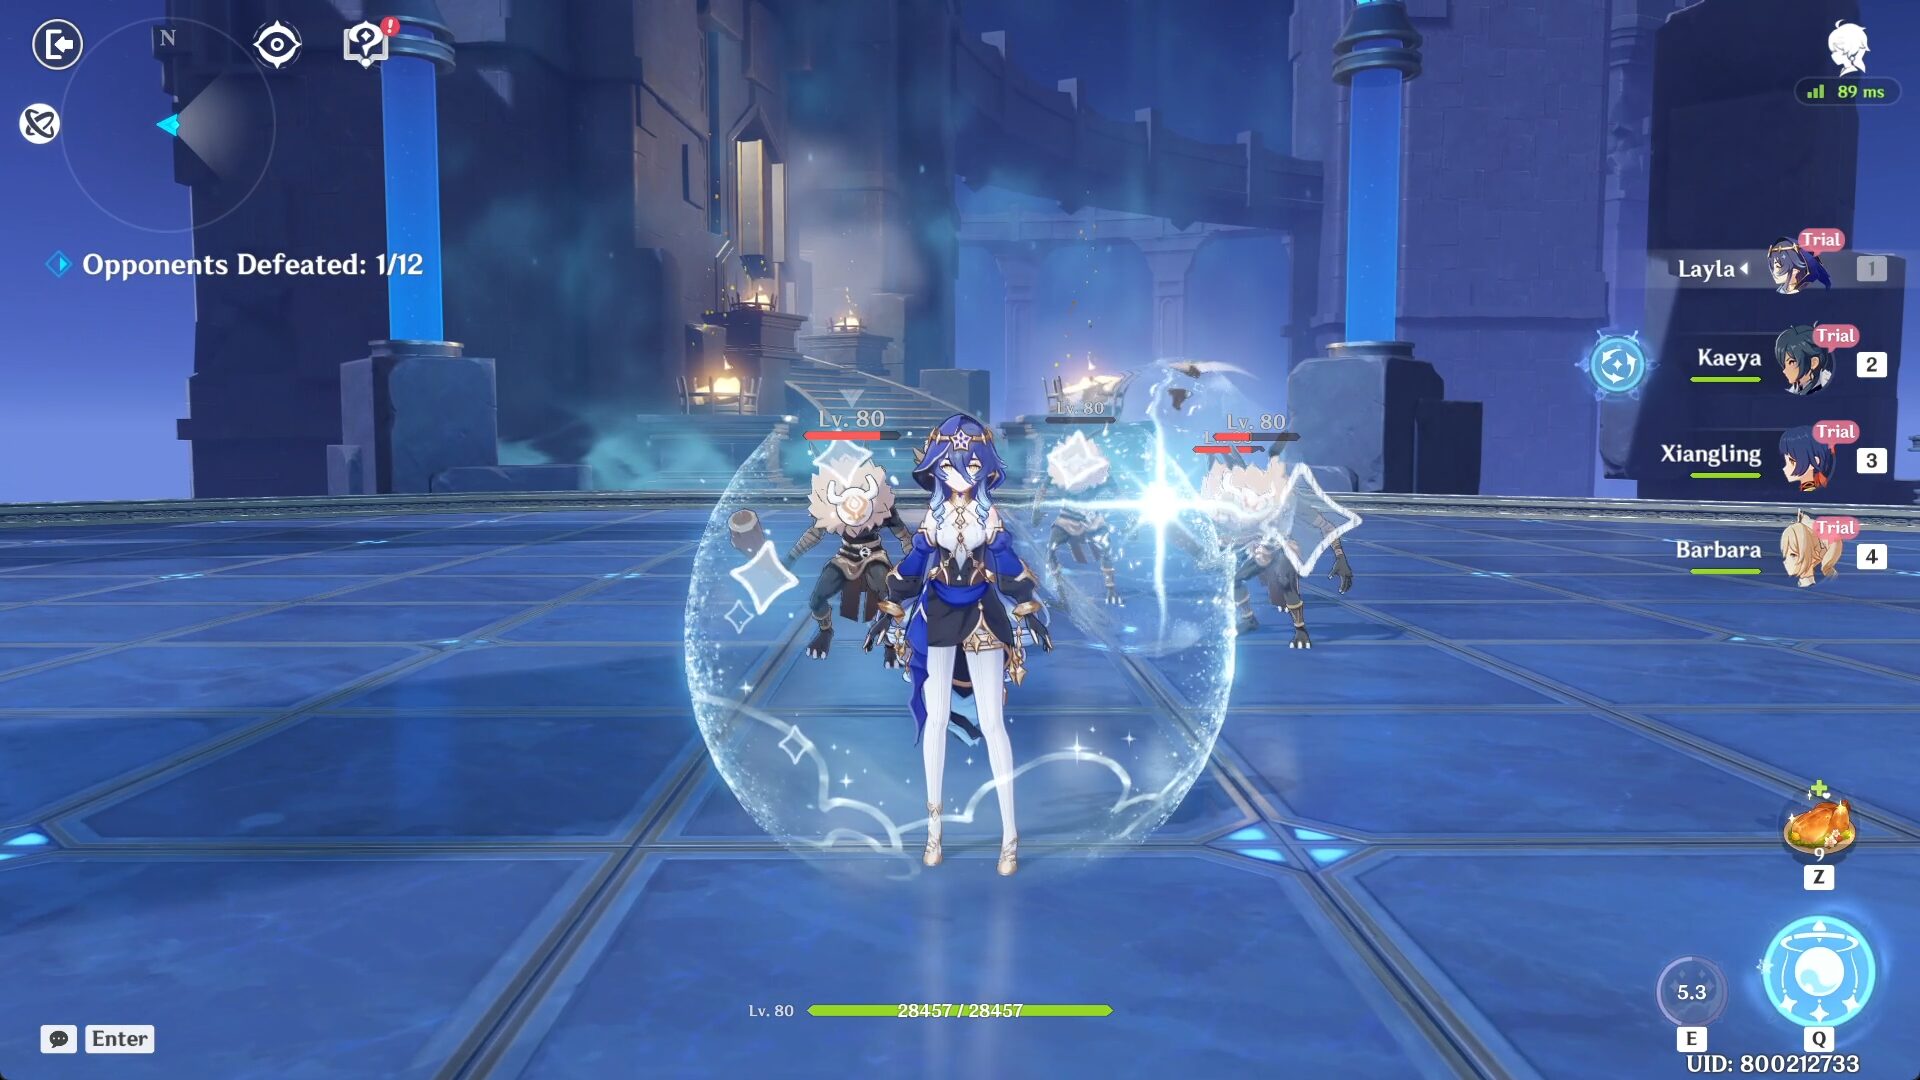
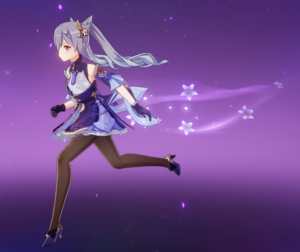
Layla is a Cryo character who can provide shields for the party and deals damage even when she is off the field.
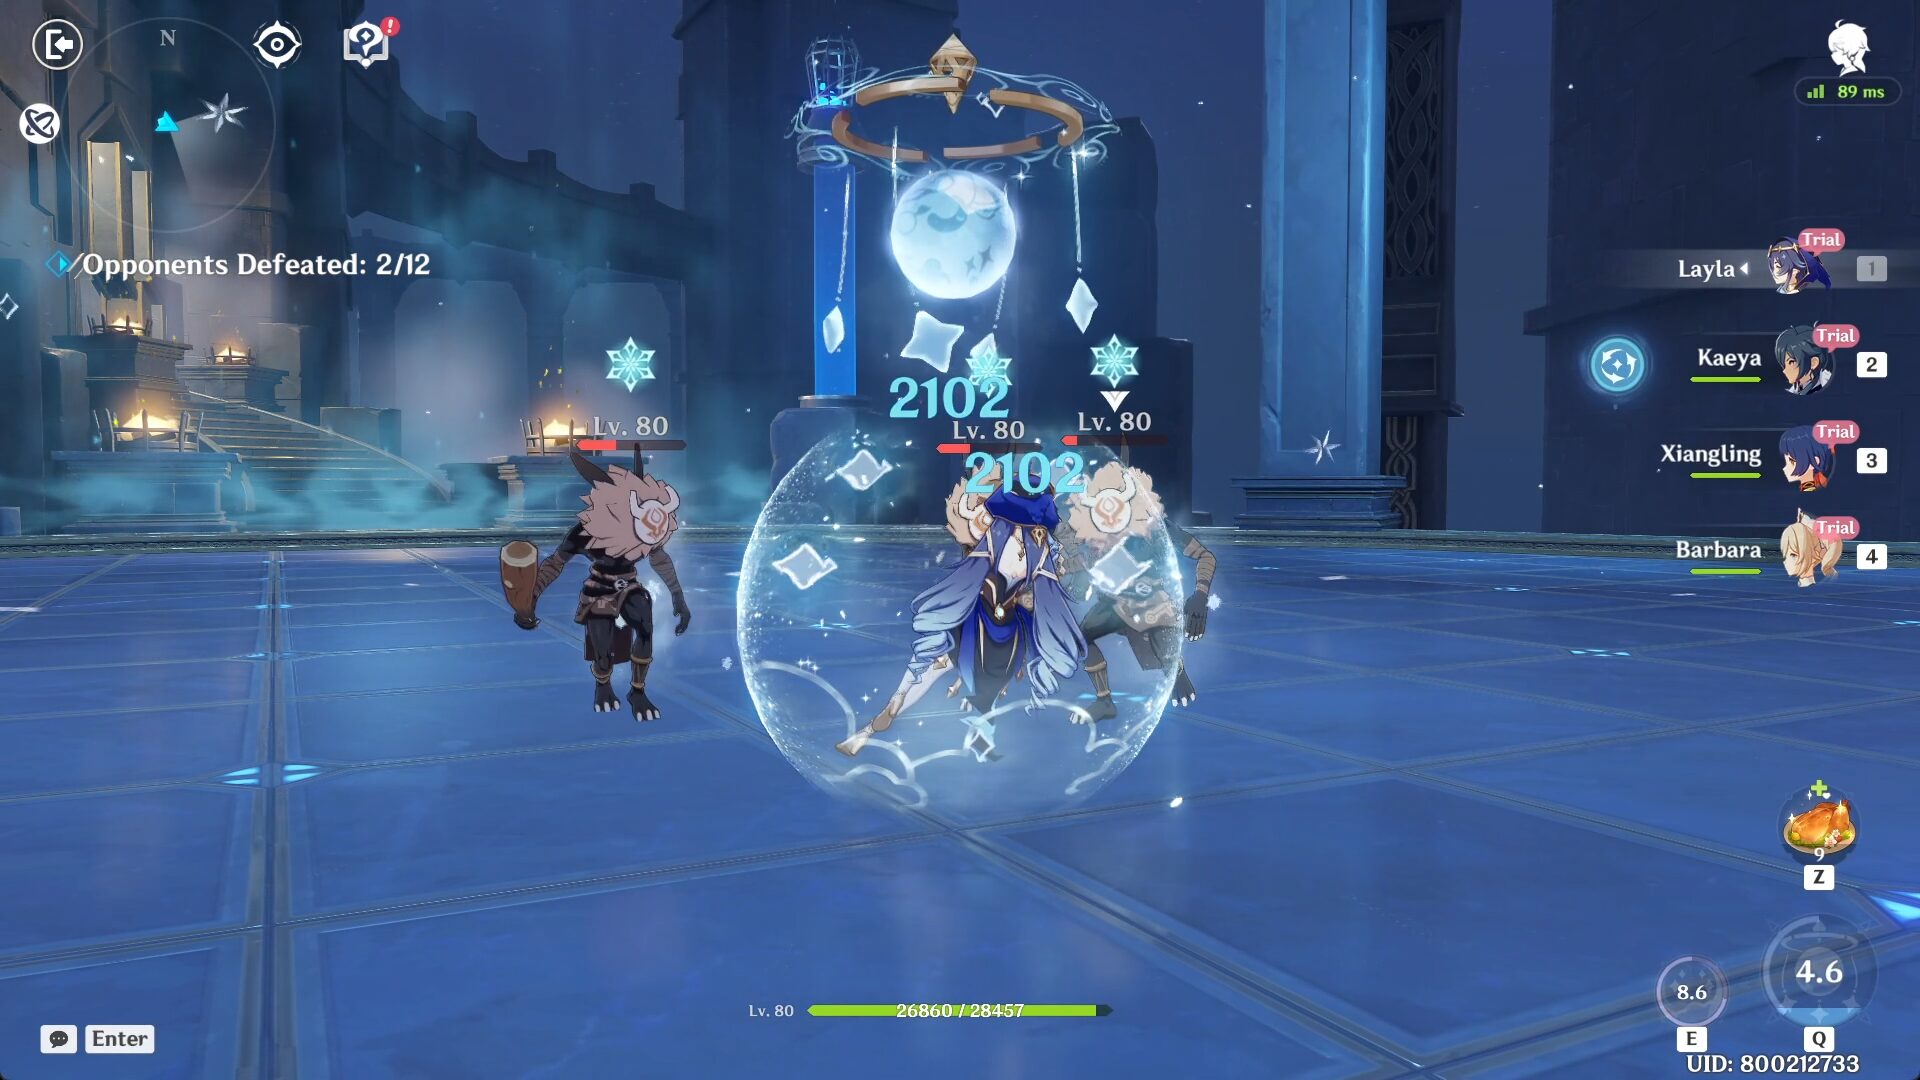
Using her Elemental Skill, she casts a shield that absorbs DMG for her party, and deals Cryo DMG to enemies through Shooting Stars while the shield is active. Her Elemental Burst releases a Celestial Dreamsphere that constantly deals Cryo DMG to opponents within its AoE.
This guide is based on the Community Character Builds by the Genshin Helper Team.
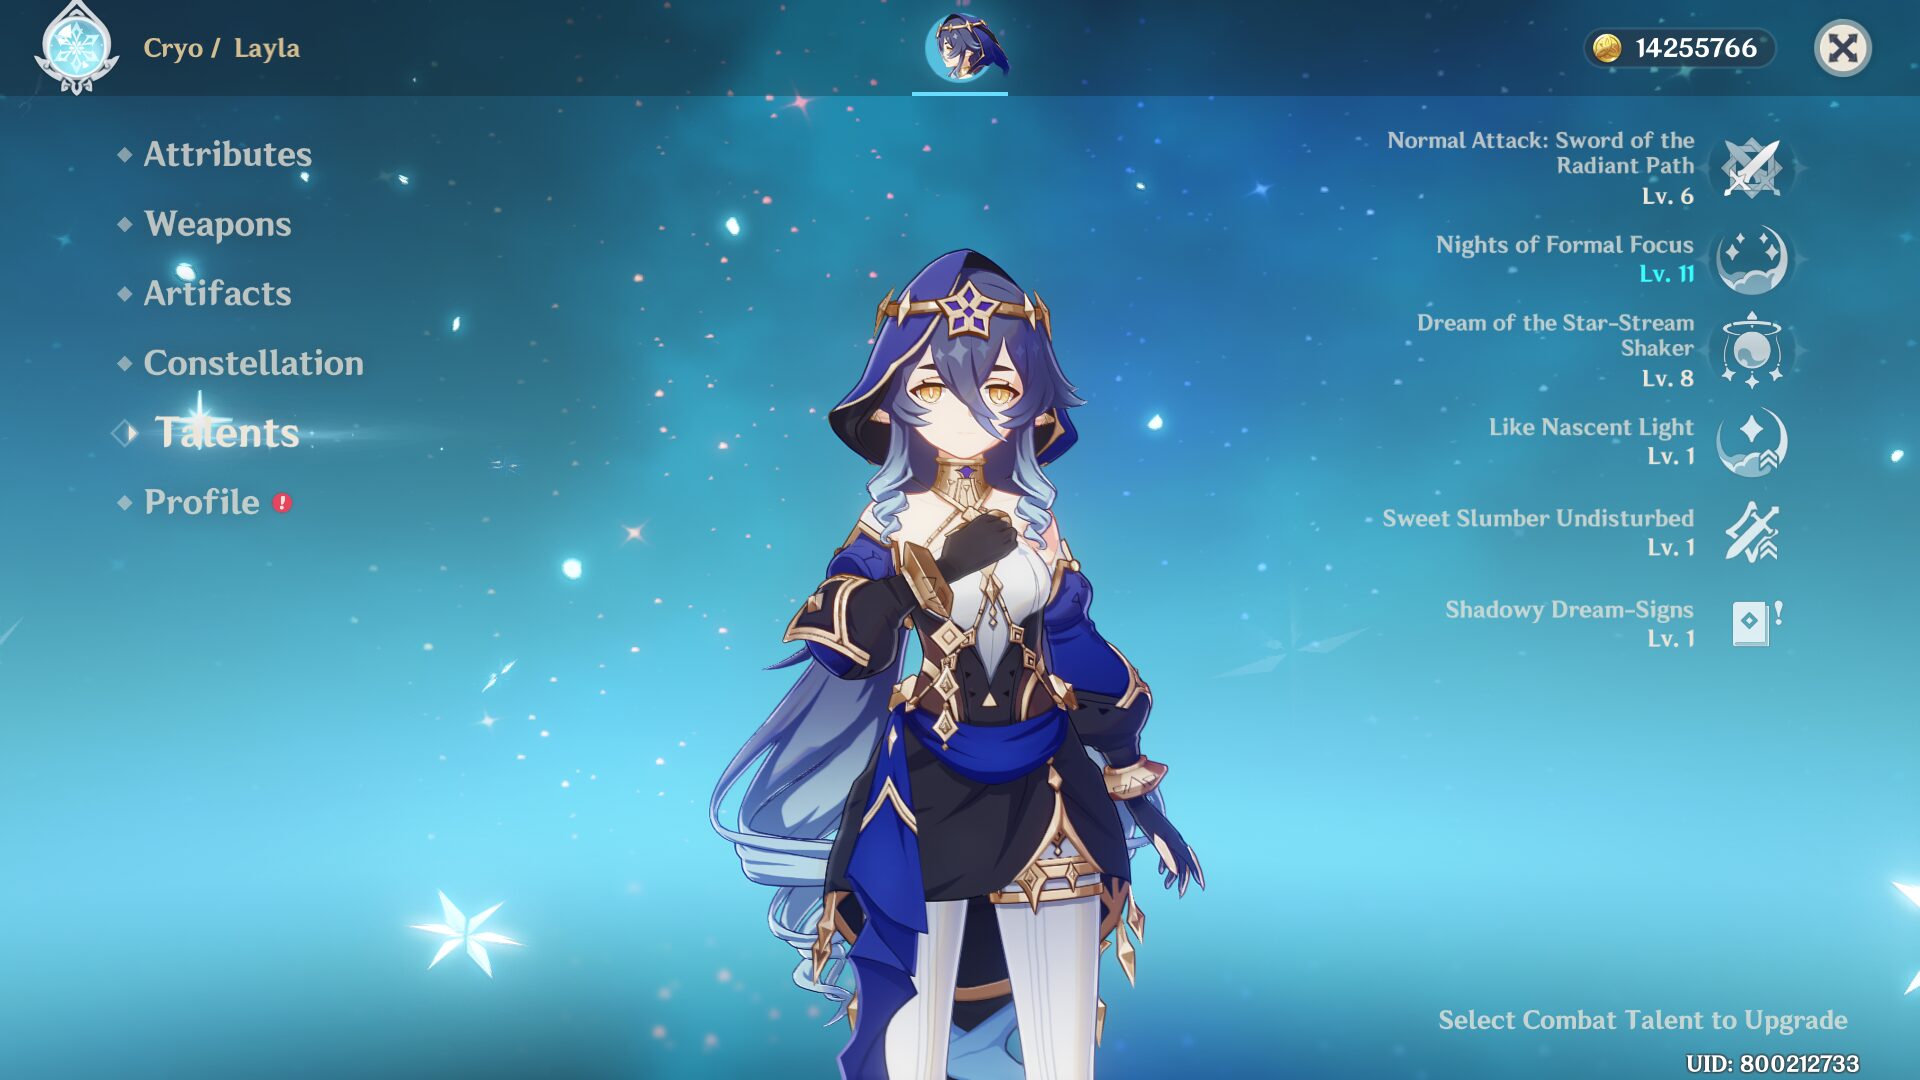
Skills Overview
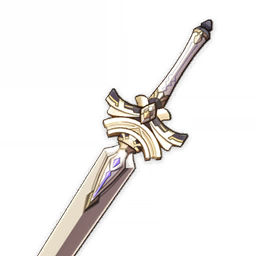
Normal Attack: Sword of the Radiant Path

Normal Attack
Performs up to 3 rapid strikes.
Charged Attack
Consumes a certain amount of Stamina to unleash 2 rapid sword strikes.
Plunging Attack
Plunges from mid-air to strike the ground below, damaging opponents along the path and dealing AoE DMG upon impact.
Elemental Skill: Nights of Formal Focus
Puts forth a shield known as the Curtain of Slumber, dealing AoE Cryo DMG.
The Curtain of Slumber's DMG Absorption is based on Layla's Max HP and absorbs Cryo DMG with 250% effectiveness. When the shield is deployed, Layla will have Cryo applied to her briefly.
Shield Duration: 12 seconds
Cooldown: 12 seconds
Night Stars and Shooting Stars
While the Curtain of Slumber is active, it will create 1 Night Star that will be attached to it every 1.5s. When a character protected by this shield uses an Elemental Skill, 2 Night Stars will be created. Night Stars can be created once every 0.3s in this way. A maximum of 4 Night Stars can be accumulated at any one time.
Once the Curtain of Slumber has accumulated 4 Night Stars and there are opponents nearby, these Night Stars will transform into homing Shooting Stars that will be fired off in sequence, dealing Cryo DMG to any opponents hit.
If the Curtain of Slumber's duration ends or it is destroyed, the Night Stars will disappear. If they are already being fired off as Shooting Stars, these Shooting Stars will last until this wave of shots ends.
New Night Stars cannot be created until the previous wave of Shooting Stars has been fired completely.
Elemental Burst: Dream of the Star-Stream Shaker

Unleashes a Celestial Dreamsphere that constantly fires Starlight Slugs at opponents within its AoE, dealing Cryo DMG.
When a Starlight Slug hits, it will generate 1 Night Star for nearby Curtains of Slumber. Each Curtain of Slumber can gain 1 Night Star this way every 0.5s.
Duration: 12 seconds
Cooldown: 12 seconds
Energy Cost: 40
Ascension 1: Like Nascent Light
While the Curtain of Slumber is active, the Deep Sleep effect will activate each time the Curtain gains 1 Night Star:
The Shield Strength of a character under the effect of the Curtain of Slumber increases by 6%.
This effect can have a maximum of 4 stacks and persists until the Curtain of Slumber disappears.
Ascension 4: Sweet Slumber Undisturbed
The DMG dealt by the Shooting Stars fired by Nights of Formal Focus is increased by 1.5% of Layla's Max HP.
Passive Talent: Shadowy Dream-Signs
When Layla crafts Character Talent Materials, she has a 10% chance to receive double the product.
TLDR / Rotation
As a support character, you know how to use them, just use Skill and Burst then swap to the next party member. But in Layla's case, there's also the Night Stars.
When you use her Skill = Curtain of Slumber will be activated. With the CoS shield, you can gain Night Stars. There are 3 ways in which Night Stars can be generated:
(1) passive accumulation (1 will be generated per 1.5s)
(2) teammate uses any Skill
(3) Starlight Slug from Burst hit an enemy
Certain character Skills count as two “uses” and generate extra Night Stars; these include Yelan’s Hold Skill, Fischl repositioning Oz, and Keqing’s double-tapped Skill. - Based on KQM Genshin
It is not recommended to modify your team’s rotation or composition just to generate more Night Stars. Just use Layla's Skill and Burst, before changing to the next party members and do their usual rotation.
Talent Priorities
Skill > Burst
Constellations
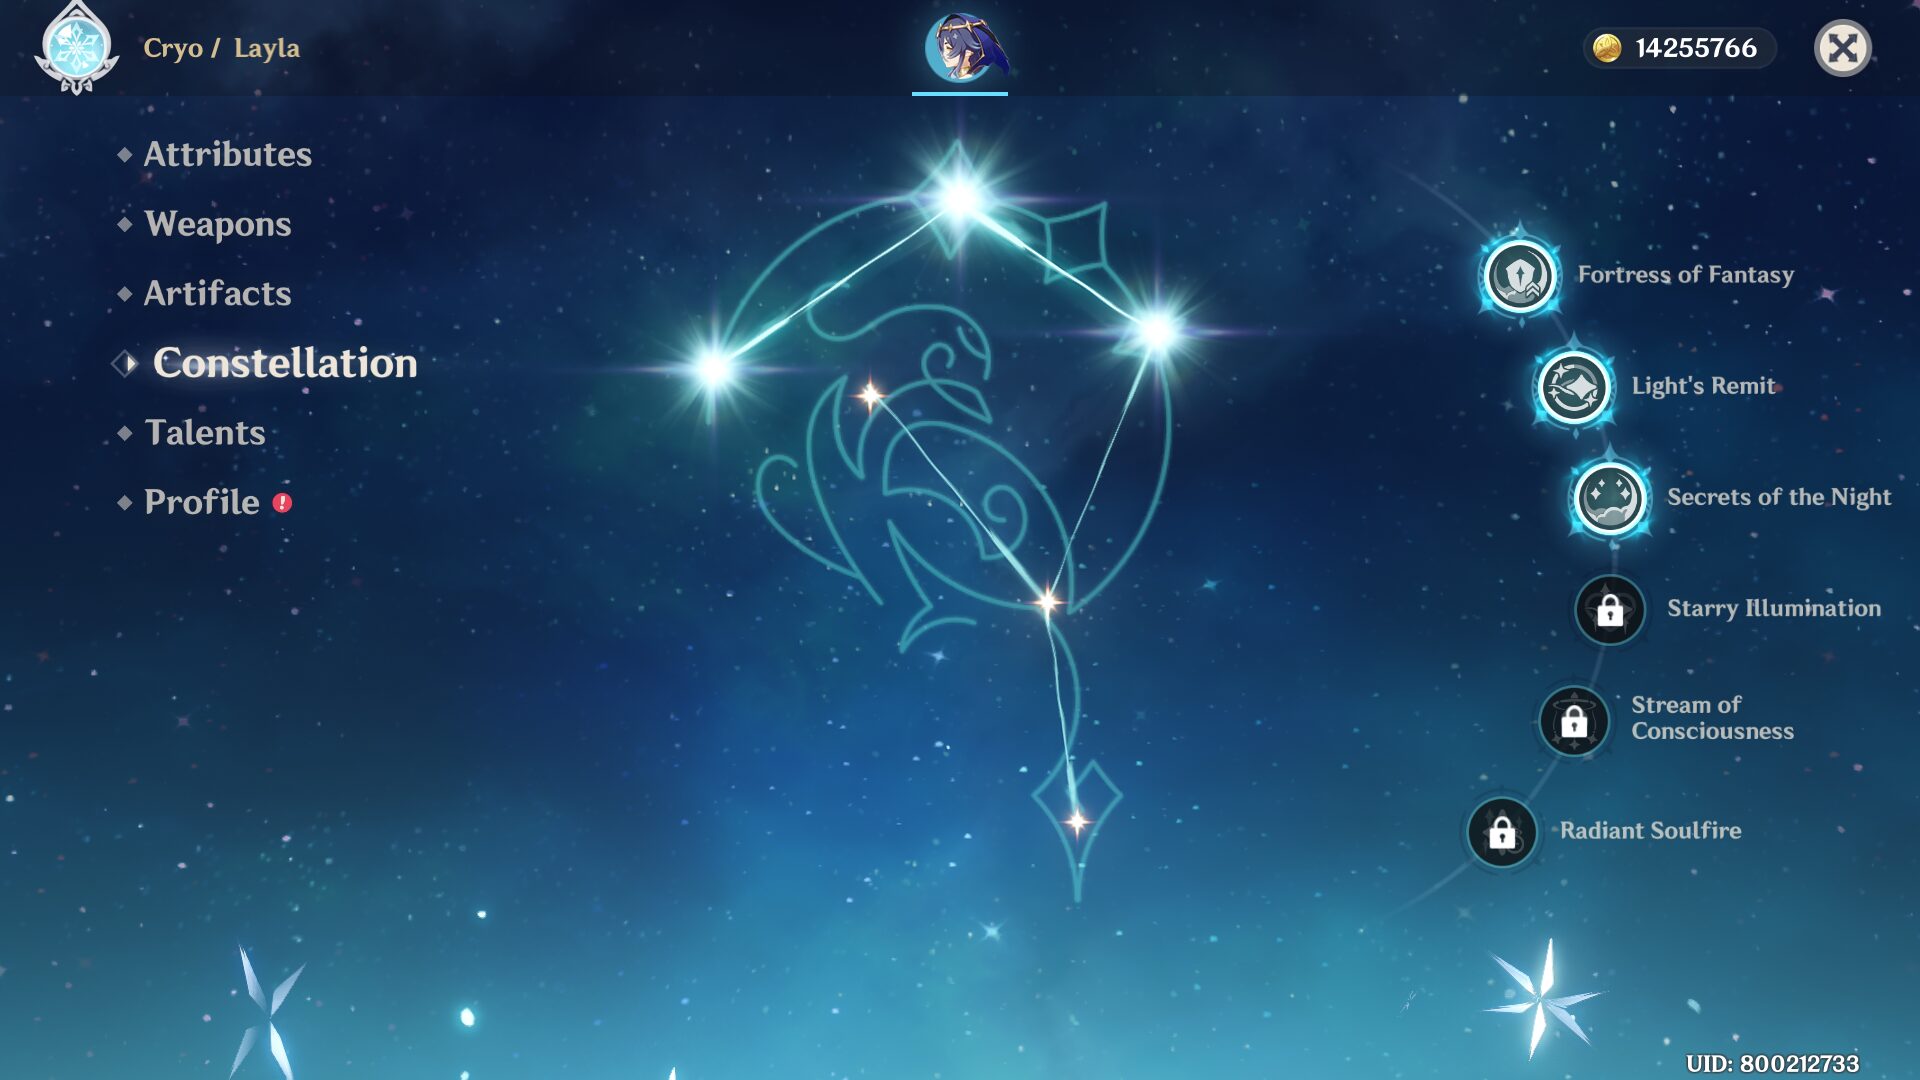
Best Constellations: C1, C2, C4 & C6
C1: Fortress of Fantasy ⭐
The Shield Absorption of the Curtain of Slumber generated by Nights of Formal Focus is increased by 20%.
Additionally, when unleashing Nights of Formal Focus, she will generate a shield for any nearby party members who are not being protected by a Curtain of Slumber. This shield will have 35% of the absorption of a Curtain of Slumber, will last for 12s, and will absorb Cryo DMG with 250% effectiveness.
C2: Light's Remit ⭐
When Shooting Stars from Nights of Formal Focus strike opponents, they will each restore 1 Energy to Layla. Each Shooting Star can restore Energy to her in this manner once.
C3: Secrets of the Night
Increases the Level of Nights of Formal Focus by 3.
Maximum upgrade level is 15.
C4: Starry Illumination ⭐
When Nights of Formal Focus starts to fire off Shooting Stars, it will grant all nearby party members the Dawn Star effect, causing their Normal and Charged Attack DMG to increase based on 5% of Layla's Max HP.
Dawn Star can last up to 3s and will be removed 0.05s after dealing Normal or Charged Attack DMG.
C5: Stream of Consciousness
Increases the Level of Dream of the Star-Stream Shaker by 3.
Maximum upgrade level is 15.
C6: Radiant Soulfire ⭐
Shooting Stars from Nights of Formal Focus deal 40% increased DMG, and Starlight Slugs from Dream of the Star-Stream Shaker deal 40% increased DMG.
Additionally, the interval between the creation of Night Stars via Nights of Formal Focus is decreased by 20%.
Role 1: Support
The goal of this build is to prioritize Layla's shield without building for personal damage.
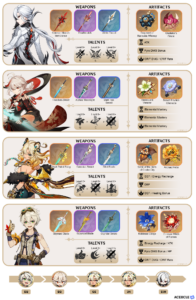
Recommended Weapons
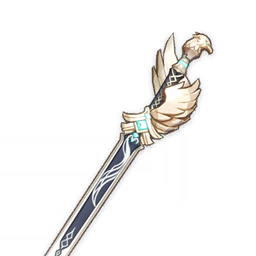
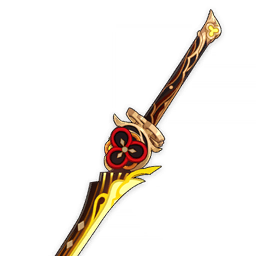
- Key of Khaj-Nisut (5⭐)
- The Dockhand's Assistant (4⭐)
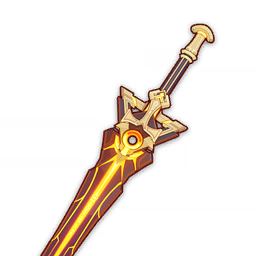
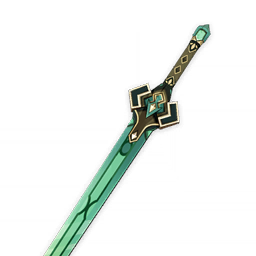
- Primordial Jade Cutter (5⭐)*
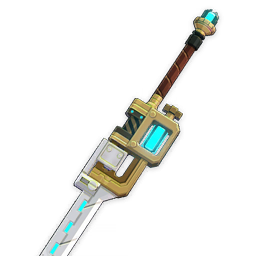
- Favonius Sword (4⭐)*
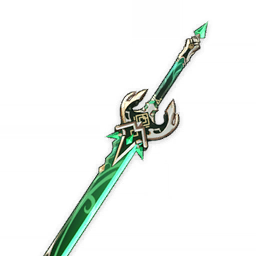
- Freedom-Sworn (5⭐)*
- Skyrider Sword (3⭐)
1) Key of Khaj-Nisut (ATK: 542 • HP: 66.2%)
HP increased by 20/25/30/35/40%. When an Elemental Skill hits opponents, you gain the Grand Hymn effect for 20s. This effect increases the equipping character's Elemental Mastery by 0.12/0.15/0.18/0.21/0.24% of their Max HP. This effect can trigger once every 0.3s. Max 3 stacks. When this effect gains 3 stacks, or when the third stack's duration is refreshed, the Elemental Mastery of all nearby party members will be increased by 0.2/0.25/0.3/0.35/0.4% of the equipping character's max HP for 20s.
2) The Dockhand's Assistant (ATK: 510 • HP: 41.3%)
When the wielder is healed or heals others, they will gain a Stoic's Symbol that lasts 30s, up to a maximum of 3 Symbols. When using their Elemental Skill or Burst, all Symbols will be consumed and the Roused effect will be granted for 10s. For each Symbol consumed, gain 40/50/60/70/80 Elemental Mastery, and 2s after the effect occurs, 2/2.5/3/3.5/4 Energy per Symbol consumed will be restored for said character. The Roused effect can be triggered once every 15s, and Symbols can be gained even when the character is not on the field.
3) Primordial Jade Cutter (ATK: 542 • Crit Rate: 44.1%)
HP increased by 20/25/30/35/40%. Additionally, provides an ATK bonus based on 1.2/1.5/1.8/2.1/2.4% of the wielder's max HP.
Note: This weapon sees more value on Layla when you're also investing into her damage to some extent.
4) Favonius Sword (ATK: 454 • Energy Recharge: 61.3%)
CRIT Hits have a 60/70/80/90/100% chance to generate a small amount of Elemental Particles, which will regenerate 6 Energy for the character. Can only occur once every 12/10.5/9/7.5/6s.
Note: Try to build some Crit Rate if using this weapon to trigger the passive consistently.

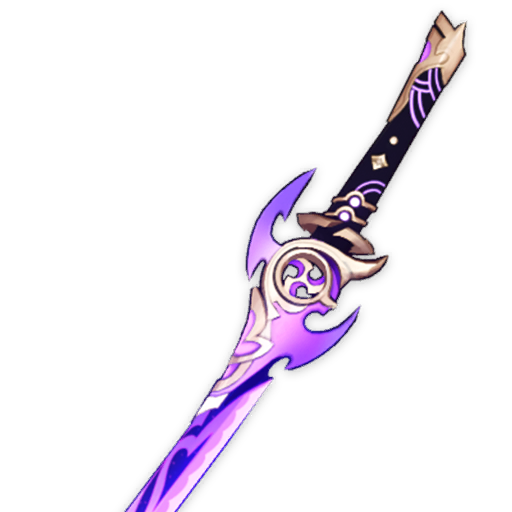
5) Freedom-Sworn (ATK: 608 • Elemental Mastery: 198-)
A part of the "Millenial Movement" that wanders amidst the winds. Increases DMG by 10/12.5/15/17.5/20%. When the character wielding this weapon triggers Elemental Reactions, they gain a Sigil of Rebellion. This effect can be triggered once every 0.5s and can be triggered even if said character is not on the field. When you possess 2 Sigils of Rebellion, all of them will be consumed and all nearby party members will obtain "Millennial Movement: Song of Resistance" for 12s. "Millennial Movement: Song of Resistance" increases Normal, Charged and Plunging Attack DMG by 16/20/24/28/32% and increases ATK by 20/25/30/35/40%. Once this effect is triggered, you will not gain Sigils of Rebellion for 20s.
Of the many effects of the "Millennial Movement," buffs of the same type will not stack.
Note: This weapon can be a good support option in teams where Layla can consistently trigger the passive.
6) Skyrider Sword (ATK: 354 • Energy Recharge: 51.7%)
Using an Elemental Burst grants a 12/15/18/21/24% increase in ATK and Movement SPD for 15s.
Recommended Artifacts
- Tenacity of the Millelith (4)*
- Vourukasha's Glow (2) + Tenacity of the Millelith (2)
- Noblesse Oblige (4)

1) Tenacity of the Millelith
2-Piece Bonus: HP +20%
4-Piece Bonus: When an Elemental Skill hits an opponent, the ATK of all nearby party members is increased by 20% and their Shield Strength is increased by 30% for 3s. This effect can be triggered once every 0.5s. This effect can still be triggered even when the character who is using this artifact set is not on the field.
Note: This set is by far the best option for Layla, it complements her kit perfectly by providing HP% along with a teamwide ATK% and Shield Strength buff.

2) Vourukasha's Glow (2) + Tenacity of the Millelith (2)

3) Noblesse Oblige (4)
2-Piece Bonus: Elemental Burst DMG +20%
4-Piece Bonus: Using an Elemental Burst increases all party members' ATK by 20% for 12s. This effect cannot stack.
Main & Sub Stats Priority
| Artifact Main Stats | Artifact Sub Stats |
|---|---|
| Sands - HP% / Energy Recharge Goblet - HP% Circlet - HP% / Crit Rate* Crit Rate is only recommended if using Favonius Sword | Energy Recharge until requirement is met HP% Crit Rate* Flat HP Crit Rate is only recommended if using Favonius Sword |
Role 2: Support And Damage
Layla's shield is very durable thanks to a good Base DMG Absorption and the number of Shield Strength modifiers she has access to. Furthermore, her personal damage scales well with Constellations (particularly 5 and 6). This build is a higher investment option than a pure Support build, choosing to sacrifice some shield durability in exchange for greater personal damage.
Recommended Weapons
- Primordial Jade Cutter (5⭐)
- Harbinger of Dawn R5 (3⭐)*
- Uraku Misugiri (5⭐)
~= Splendor of Tranquil Waters (5⭐)
~= Light of Foliar Incision (5⭐) - Mistsplitter Reforged (5⭐)
~= Wolf-Fang (4⭐)* - Key of Khaj-Nisut (5⭐)
- Favonius Sword (4⭐)*
3) Primordial Jade Cutter (ATK: 542 • Crit Rate: 44.1%)
HP increased by 20/25/30/35/40%. Additionally, provides an ATK bonus based on 1.2/1.5/1.8/2.1/2.4% of the wielder's max HP.
2) Harbinger of Dawn (ATK: 401 • Crit DMG: 46.9%)
When HP is above 90%, increases Crit Rate by 14/17.5/21/24.5/28%.
Note: Weapon ranking is assuming Layla is above 90% HP. As Layla is primarily used as an off-field character, she can usually have good uptime on the Harbinger passive. Though it's possible that good uptime may be unrealistic depending on your team, or if you're facing enemies where corrosion is present.
3) Uraku Misugiri (ATK: 542 • Crit DMG: 88.2%)
Normal Attack DMG is increased by 16/20/24/28/32% and Elemental Skill DMG is increased by 24/30/36/42/48%. After a nearby active character deals Geo DMG, the aforementioned effects increase by 100% for 15s. Additionally, the wielder's DEF is increased by 20/25/30/35/40%.
4) Mistsplitter Reforged (ATK: 674 • Crit DMG: 44.1%)
Gain a 12/15/18/21/24% Elemental DMG Bonus for all elements and receive the might of Mistsplitter's Emblem. At stack levels 1/2/3, Mistsplitter's Emblem provides a (8/16/28)/(10/20/35)/(12/24/42)/(14/28/49)/(16/32/56)% Elemental DMG Bonus for the character's Elemental Type. The character will obtain 1 stack of Mistsplitter's Emblem in each of the following scenarios: Normal Attack deals Elemental DMG (stack lasts 5s), casting Elemental Burst (stack lasts 10s); Energy is less than 100% (stack disappears when Energy is full). Each stack's duration is calculated independently.
5) Key of Khaj-Nisut (ATK: 542 • HP: 66.2%)
HP increased by 20/25/30/35/40%. When an Elemental Skill hits opponents, you gain the Grand Hymn effect for 20s. This effect increases the equipping character's Elemental Mastery by 0.12/0.15/0.18/0.21/0.24% of their Max HP. This effect can trigger once every 0.3s. Max 3 stacks. When this effect gains 3 stacks, or when the third stack's duration is refreshed, the Elemental Mastery of all nearby party members will be increased by 0.2/0.25/0.3/0.35/0.4% of the equipping character's max HP for 20s.
6) Favonius Sword (ATK: 454 • Energy Recharge: 61.3%)
CRIT Hits have a 60/70/80/90/100% chance to generate a small amount of Elemental Particles, which will regenerate 6 Energy for the character. Can only occur once every 12/10.5/9/7.5/6s.
Note: This weapon performs significantly worse than other listed options in terms of personal damage, but the extra particles for your team could be valuable.
Recommended Artifacts
- Tenacity of the Millelith (4)*
- Blizzard Strayer (4)*
- Vourukasha's Glow (2) / Tenacity of the Millelith (2) / Blizzard Strayer (2) [Choose two]
- Noblesse Oblige (4)
- Emblem of Severed Fate (4)
1) Tenacity of the Millelith
2-Piece Bonus: HP +20%
4-Piece Bonus: When an Elemental Skill hits an opponent, the ATK of all nearby party members is increased by 20% and their Shield Strength is increased by 30% for 3s. This effect can be triggered once every 0.5s. This effect can still be triggered even when the character who is using this artifact set is not on the field.
Note: This set is by far the best option for Layla, it complements her kit perfectly by providing HP% along with a teamwide ATK% and Shield Strength buff.

2) Blizzard Strayer
2-Piece Bonus: Cryo DMG Bonus +15%
4-Piece Bonus: When a character attacks an opponent affected by Cryo, their CRIT Rate is increased by 20%. If the opponent is Frozen, CRIT Rate is increased by an additional 20%.
Note: This is Layla's best set for personal damage in teams where enemies are affected by Cryo or Frozen.
3) Vourukasha's Glow (2) / Tenacity of the Millelith (2) / Blizzard Strayer (2) [Choose two]
4) Noblesse Oblige (4)
2-Piece Bonus: Elemental Burst DMG +20%
4-Piece Bonus: Using an Elemental Burst increases all party members' ATK by 20% for 12s. This effect cannot stack.

5) Emblem of Severed Fate
2-Piece Bonus: Energy Recharge +20%
4-Piece Bonus: Increases Elemental Burst DMG by 25% of Energy Recharge. A maximum of 75% bonus DMG can be obtained in this way.
Main & Sub Stats Priority
| Artifact Main Stats | Artifact Sub Stats |
|---|---|
| Sands - HP% / Energy Recharge* Goblet - Cryo DMG / HP% Circlet - Crit Rate / Crit DMG / HP% Layla's Energy Recharge requirements will generally be low enough (especially with C2 or other Cryo characters) that an ER sands is not justified | Energy Recharge until requirement is met Crit Rate / Crit DMG ~= HP% ATK% Flat HP |
Team Compositions
Freeze Team
Layla: Shielder
Ayaka / Ganyu: Main DPS
Mona: Buffer
Kazuha / Venti: VV set + Grouper
Mono Cryo Team
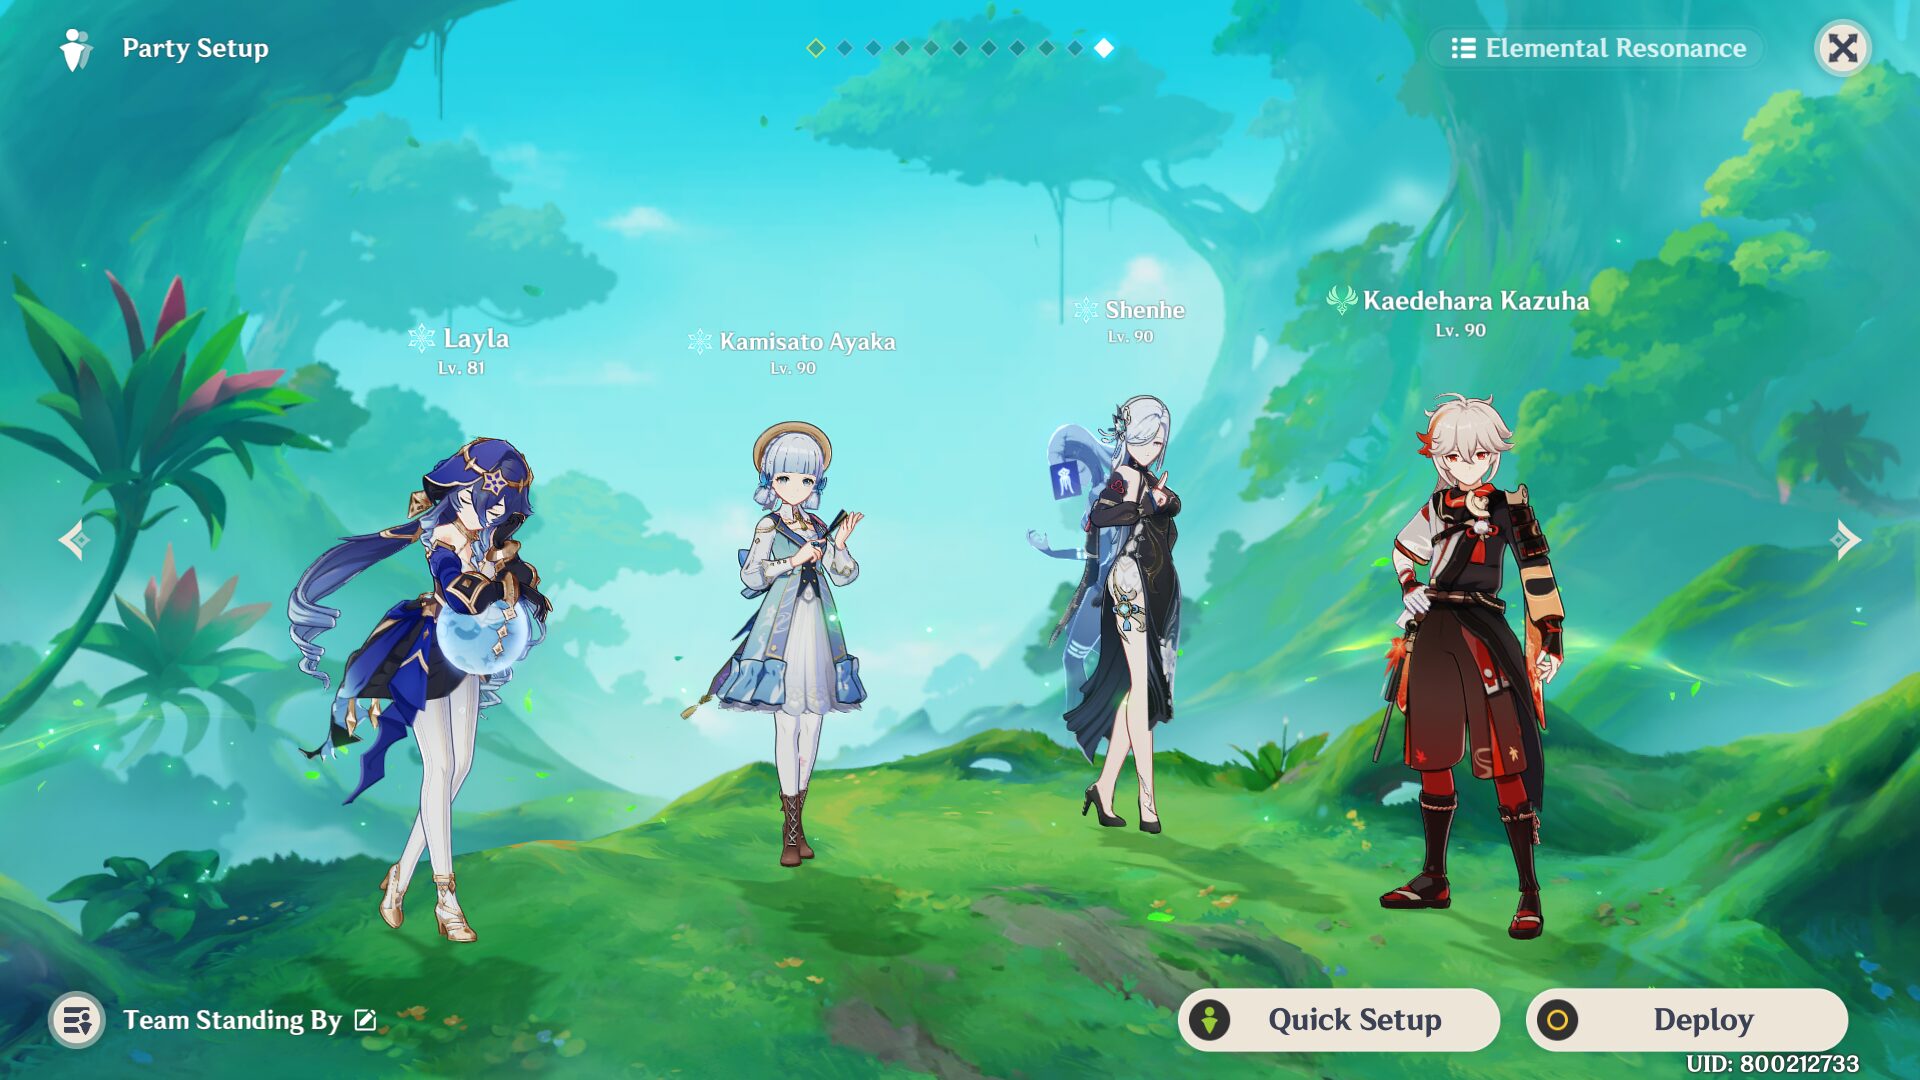
Layla: Shielder
Ayaka / Ganyu: Main DPS
Shenhe: Buffer
Kazuha / Venti: VV set + Grouper
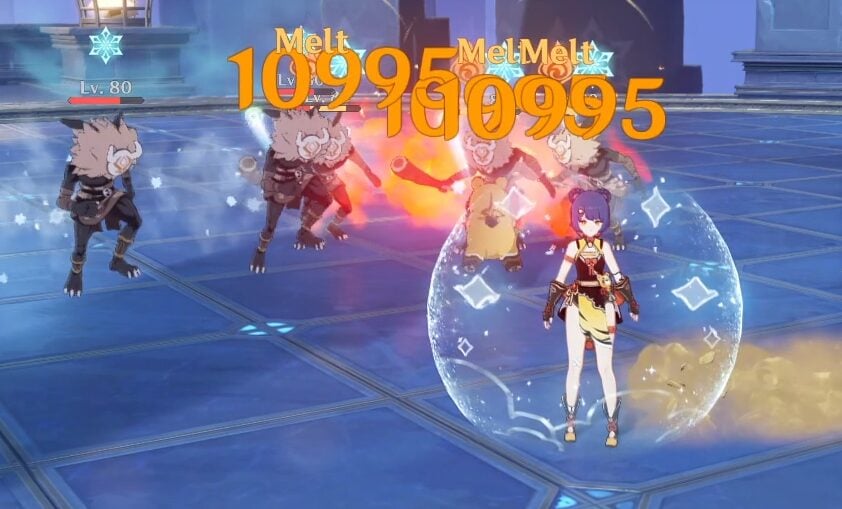
VapeMelt Team
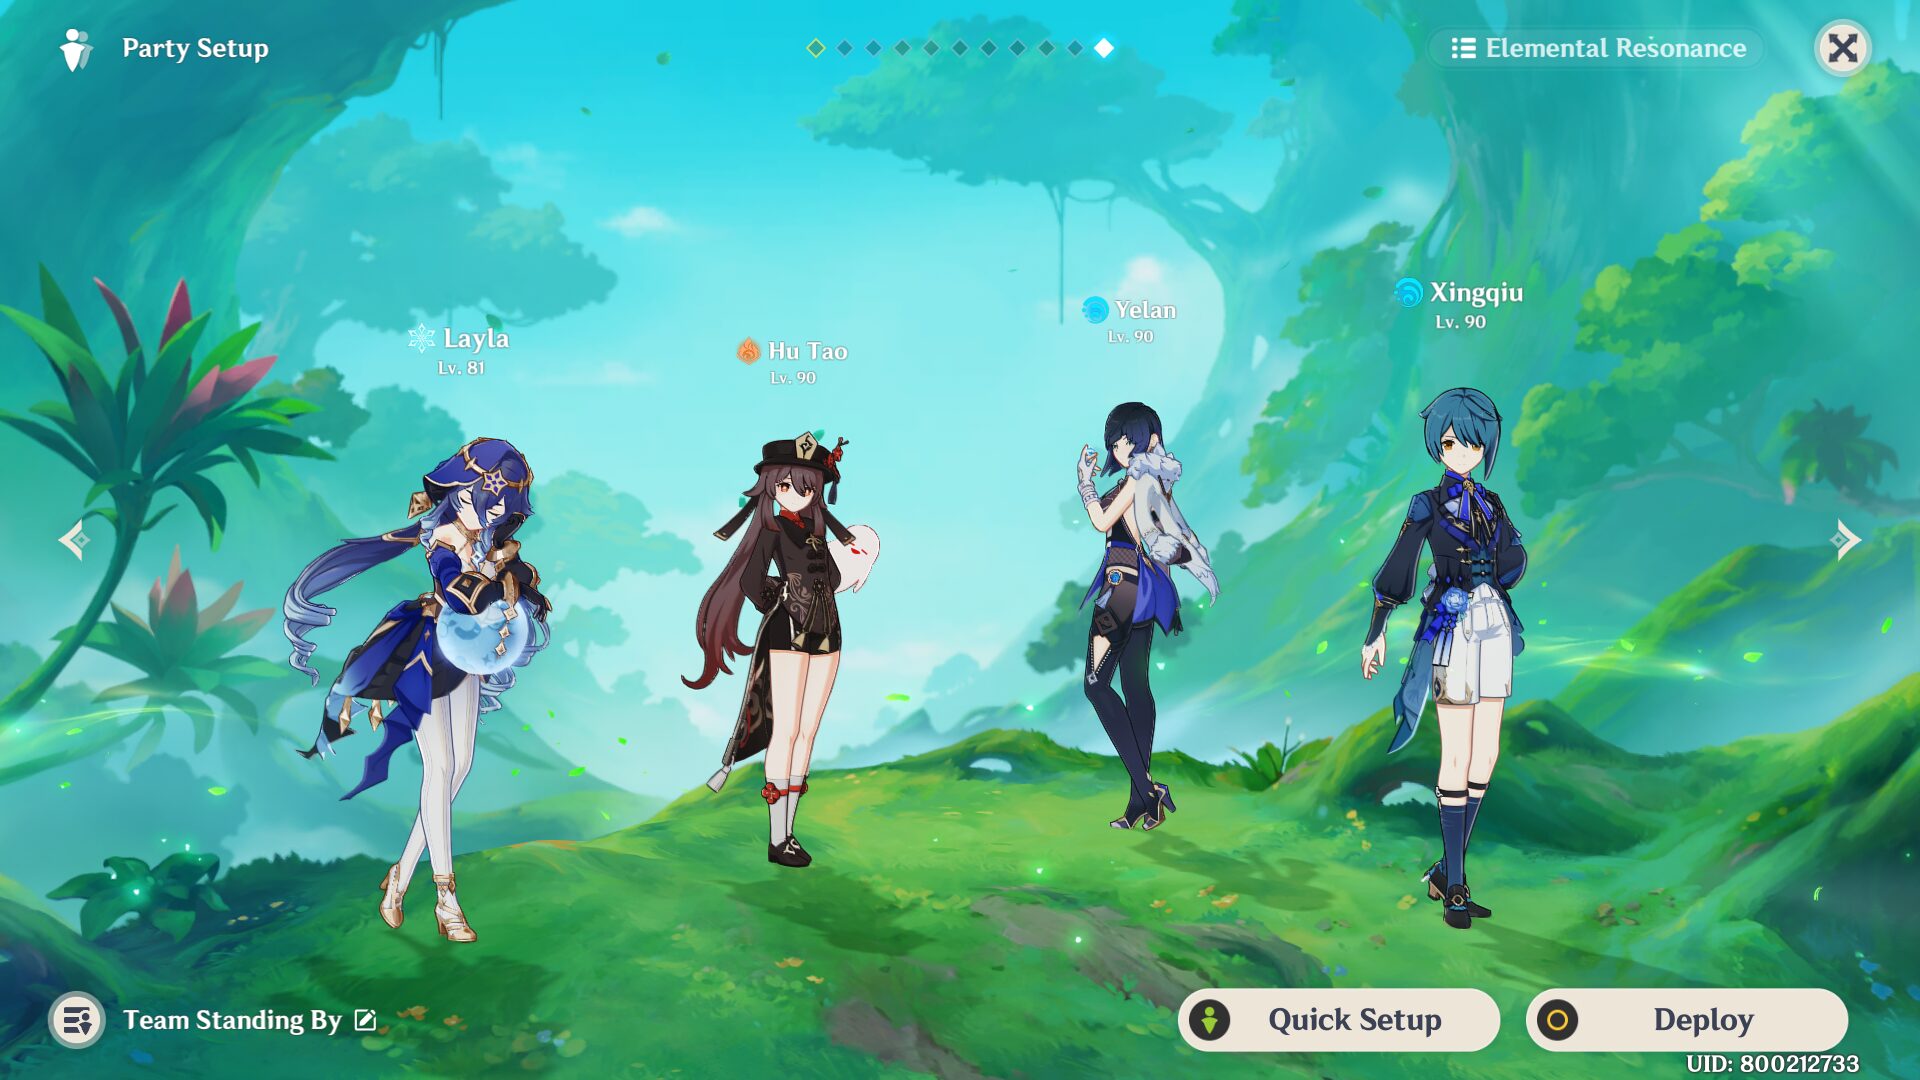
Layla: Shielder
Hu Tao: Main DPS
Yelan: Hydro off-field application
Xingqiu: Hydro off-field application

Sora
Articles: 327More Articles

Genshin Impact: Reminiscent Regimen: Thrill Event Guide

Genshin Impact: Spiral Abyss V5.1 Floor 12 Complete Guide

Genshin Impact: Spiral Abyss V5.1 Floor 11 Complete Guide

Genshin Impact: Xilonen Quick Character Guide
Xilonen Team Compositions
Genshin Impact: Talent Level-Up Materials Chart (Updated V5.1)

Genshin Impact: All New Achievements in Version 5.1
Genshin Impact: Envisaged Echoes Keqing Guide
Genshin Impact: Envisaged Echoes Zhongli Guide
Genshin Impact: Xilonen Ascension and Talent Materials

Genshin Impact Codes – October 2024

Genshin Impact: Brilliant Chrysanthemum Route & Farming Guide

Genshin Impact: Saurian Claw Succulent Route & Farming Guide
Genshin Impact: Primogems Calculation Version 5.1

Genshin Impact: Imaginarium Theater Version 5.0 October Guide

Genshin Impact 5.1 Special Program Livestream Overview
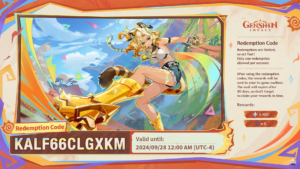
3 New Redemption Codes from 5.1 Special Program
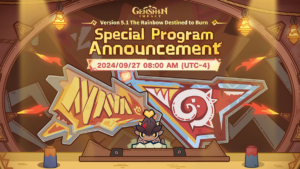
Genshin Impact 5.1 Livestream Countdown

Genshin Impact: Version 5.0 Tier List (September 2024)