Table of Contents

The Steambird reports that Fontainians have been in lively spirits lately. At Paimon's suggestion, you come to the festival venue, where you have a chance encounter with a certain acquaintance as the curtains rise on this wonderful experience...
Gameplay Overview
Event Gameplay Duration:
➥ December 21, 2023 - January 8, 2023, 03:59 (Server Time)
Eligibility:
➥ Adventure Rank 20 or above
➥ And complete Archon Quest Prologue: Act III “Song of the Dragon and Freedom”
※ Complete Archon Quest Chapter IV: Act V “Masquerade of the Guilty,” Raiden Shogun’s Story Quest “Imperatrix Umbrosa Chapter: Act II,” and Furina’s Story Quest “Animula Choragi Chapter: Act I” first to get the best experience from this event.
Event Overview:
➥ During the event, the following gameplay modes will unlock in sequence: “Thousand-Pace Interdiction Arcminute Sharpshooting Zone,” “Trick Shots, Tricky Lights,” “Xtreme Drive,” and “Into the Frame.”
➥ In the “Thousand-Pace Interdiction Arcminute Sharpshooting Zone” gameplay, Travelers must use the simulation device to use a musket to defeat opponents and complete the shooting challenge.
➥ In the “Trick Shots, Tricky Lights” gameplay, Travelers must use the studio’s Special Lighting Effects to defeat opponents and accrue points.
➥ In the “Xtreme Drive” gameplay, Travelers and their friends will race for control over Stabilization Mekaballs and higher scores.
➥ In the “Into the Frame” gameplay, Travelers will have a go at a unique film editing challenge in which they must take film clips from different angles and edit them together to complete a film.
➥ Complete the event’s various gameplay modes to obtain Theater Tickets and reach a certain amount of Theater Tickets to redeem for Ultimate Overlord’s Mega Magic Sword (Claymore) and its refinement materials as well as Primogems, Crown of Insight, Hero’s Wit, Mystic Enhancement Ore, and other rewards.
➥ Complete the event’s various gameplay modes to obtain Films for Fun. Films for Fun can be used to redeem rewards in the Event Shop such as Character Talent Materials, Weapon Ascension Materials, Mystic Enhancement Ore, and Mora.
Thousand-Pace Interdiction Arcminute Sharpshooting Zone
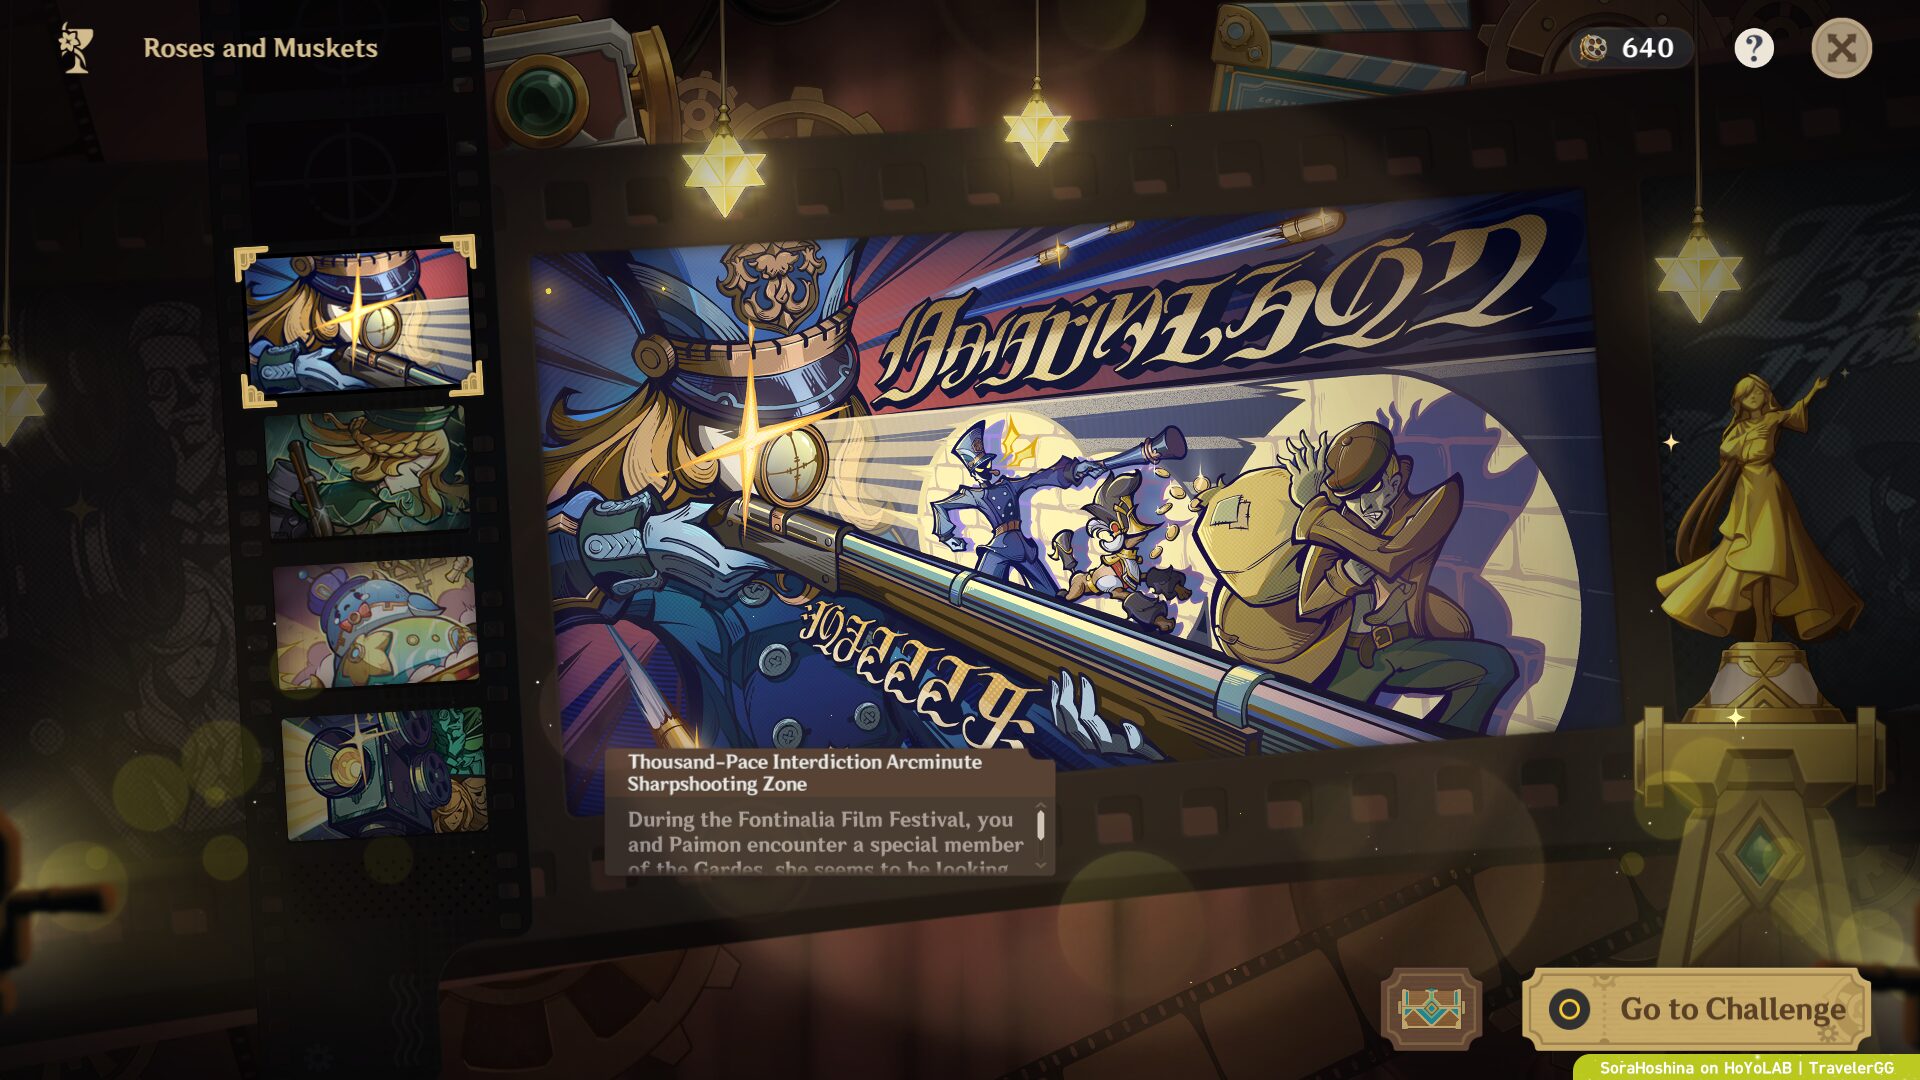
Gameplay Tutorial

In Thousand-Pace Interdiction Arcminute Sharpshooting Zone, you will use special optical lenses to aim and shoot opponents.
Press the Aim button to start aiming. Aim at your targets and press the Shoot button to fire bullets at the target your lens is aimed at. Defeat all opponents to complete the challenge.

Ammunition is limited in some scenarios. Utilize the limited ammunition to defeat all enemies.

A High-Value Target may appear in certain scenarios. Defeat all enemies while protecting this target.

Adjust Horizontal Camera Sensitivity (Aimed Shot Mode) and Vertical Camera Sensitivity (Aimed Shot Mode) under Controls in the Settings menu to improve your ability to control your simulated shots.
Stage 1: Special Defense


I had marked all the positions of all enemies in each round above. You have a total of 50 bullets, and there are 17 enemies. Normal Hilichurls take 1 bullet in the head and will die instantly, but Mitachurl requires 2 to 3 bullets in the head before they will fall down.
Tips:
- Before shooting the enemies, make sure to observe the surroundings and shoot the red Pyro barrels to create an explosion and kill a number of enemies at once.
- When an enemy is running, you can wait until they stop before you start shooting again to not waste ammo.
- Even if some enemies are hiding behind items, you can still aim for their heads.
Stage 2: Emergency Plans
In this stage, you need to focus on eliminating enemies while also protecting the balloon. You have 99 bullets here and there are 37 enemies. This time around, there are many mini-waves with 2-3 enemies with a small amount of the waves having 4-5 enemies. Since there are too many waves and little enemies in each wave, I won't mark their location as you won't have a problem spotting them, especially since the area is bright enough. Instead, I will note down lots of (obvious) tips below.
Tips:


- When there are only Hilichurls in the wave, calm down and aim for them slowly to not waste ammo. Hilichurls that are using bows will not move so you will have time to attack them easily. Hilichurls that are bare-handed will move towards the balloon so your view might be hindered, but there is a small window where they stop moving and throw a tantrum so that's the perfect time to snipe them.

- When Mitachurl starts to appear alongside Hilichurl, defeat the big guy first because their attacks deal more damage compared to Hilichurl. Remember that Mitachurls need to be shot twice to be defeated!

- The most enemies that can appear in this challenge is a wave with 5 Hilichurls, but don't panic! Your objective is to make sure the balloon's HP stays above 50%, and since their attack does not scrap lots of damage (in addition to having a cooldown), you should be able to take them down one by one.

- Use the red barrels! Use the red barrels! Use the red barrels! Important things need to be repeated thrice. With just one explosion, all enemies within the vicinity will be defeated instantly so be smart and use them.
Stage 3: Ineffectual Disguise


I had marked all the positions of all enemies in each round above. You have a total of 50 bullets, and there are 20 enemies. A new destructible is here which is a floating version of Pyro barrels. These barrels float around a fixed line so you have to time on when to shoot them so you can take a few enemies out in one bullet.
Stage 4: White Iron Duke
In this stage, you need to focus on eliminating enemies while also protecting the balloon. You have 99 bullets here and there are 41 enemies. This time around, there are many mini-waves with 2-3 enemies with a small amount of the waves having 4-5 enemies. Since there are too many waves and little enemies in each wave, I won't mark their location as you won't have a problem spotting them, especially since the area is bright enough. Instead, I will note down lots of (obvious) tips below.

- When there are multiple enemies, memorize their locations beforehand and once you shoot one of them while waiting for the cooldown to end, don't zoom out from the lens but instead, move your sight to the next target. Once the cooldown ends, immediately shoot down the next enemy.

- On some waves, there will be floating Pyro barrels. Whenever you see this item, immediately prioritize shooting this thing down instead of the enemies.
Tricky Shots, Tricky Lights
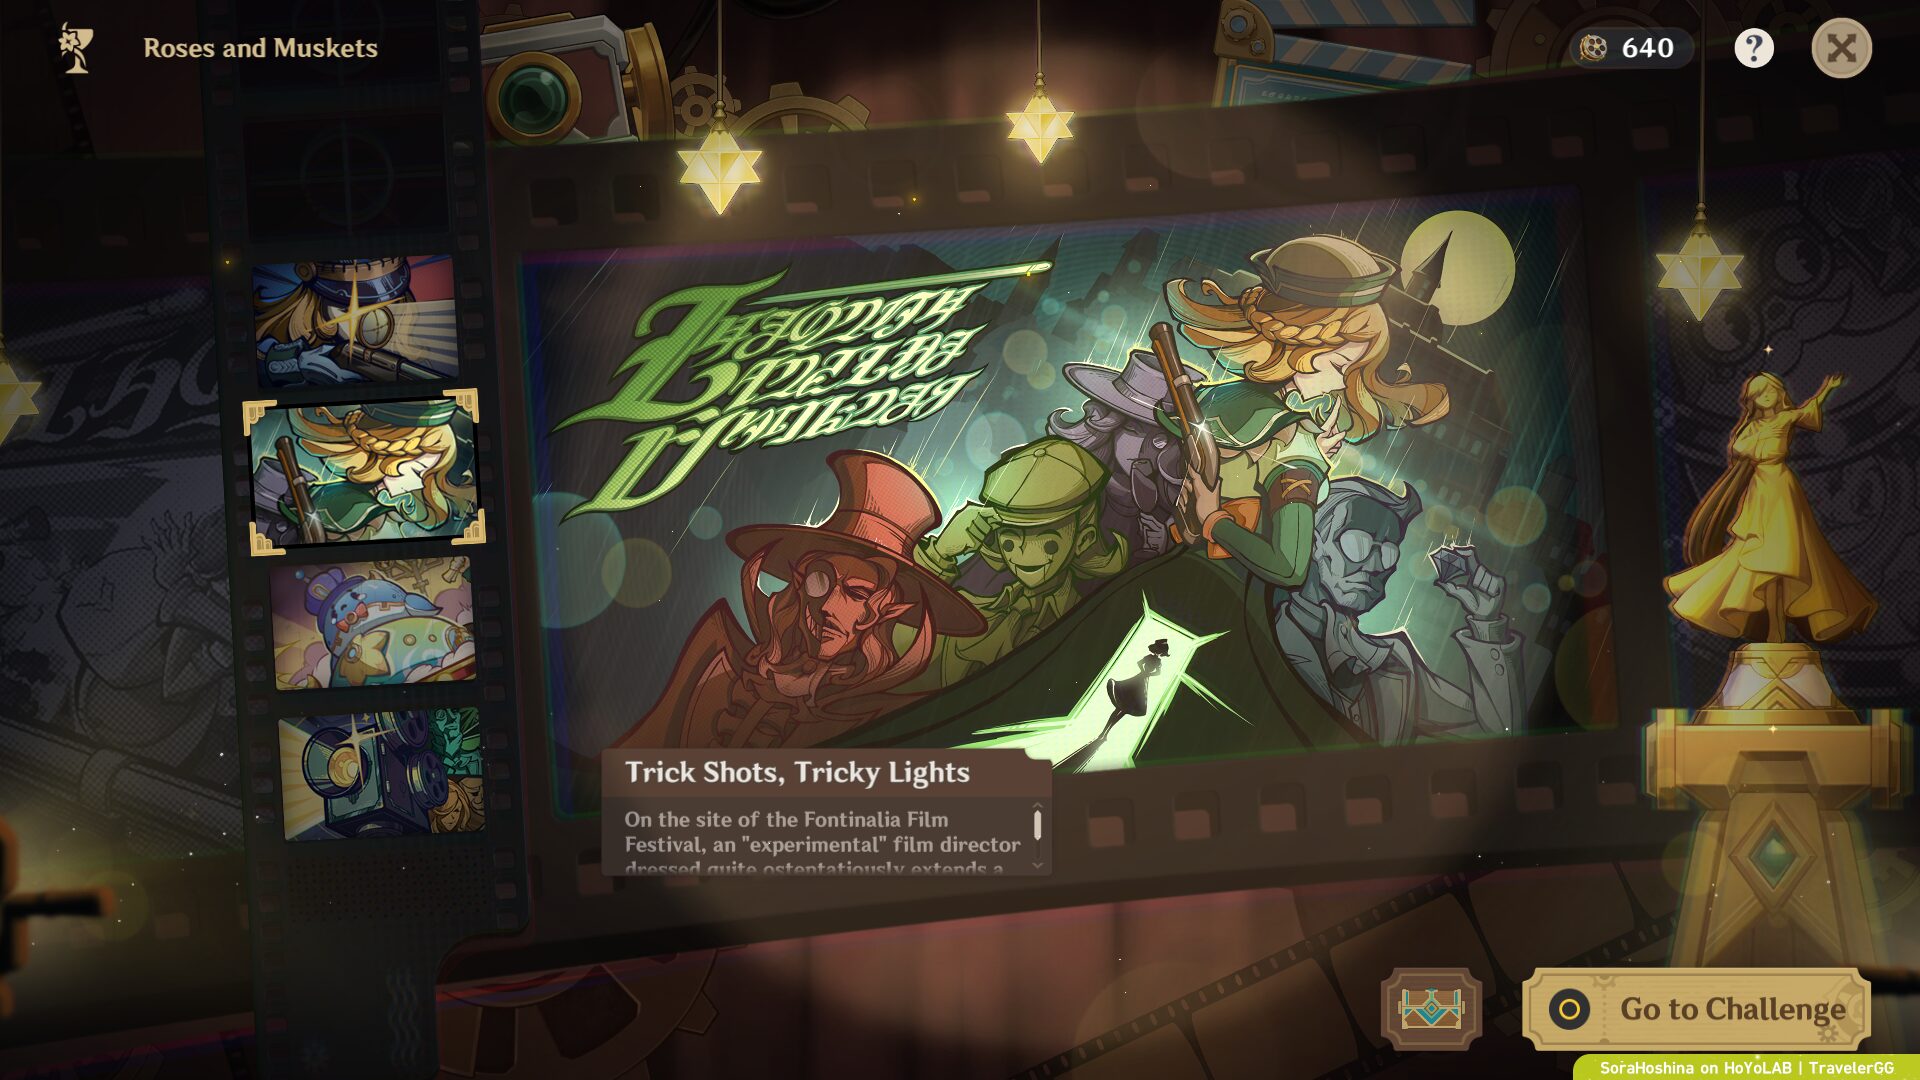
Gameplay Tutorial

In "Tricky Shots, Tricky Lights," defeat opponents that endlessly appear within the time limit to score points. Once the challenge is over, medals will be distributed based on your score. Adjust your lineup according to the Special Lighting before starting the challenge.

Defeating enemies during the challenge will accumulate progress toward Special Lighting. Once ready, use it at the right time to receive a temporary yet powerful combat buff. Use these effects well to complete the challenge efficiently.
Stage 1: A Stormy Encounter on a Stormier Night

Special Lighting (Biting Glacial Ray):
- For 12s after using, unleash a Hydro shockwave centered around your active character every 4s. Opponents hit will be dealt Hydro DMG. All Cryo DMG dealt by party members will be increased by 60%.
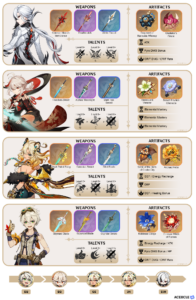
Recommended Team:
- Optimal Team: Ganyu + Furina + Kazuha + Flex
- F2P Team: Trial Ayaka + Trial Barbara + Sucrose + Cryo
Stage 2: A Furious Clash of Rage

Special Lighting (Sharp Silhouette Ray):
- For 12s after using, unleash a shockwave at the location of opponents hit by your active character's Normal Attacks, dealing True DMG to nearby opponents. 1 such shockwave can be released every 1s.
Recommended Team:
- Optimal Team: Alhaitham + Kuki Shinobu + Xingqiu + Nahida
- Optimal Team 2: Kamisato Ayato + Furina + Bennett + Xiangling
- F2P Team: Trial Yoimiya + Trial Yun Jin + Xingqiu + Flex
Stage 3: Attack of the Out-of-Position False Images

Special Lighting (Distorted Dazzling Ray):
- For 12s after using, the Elemental Burst DMG of all characters in the party is increased by 80%. When characters have less than 70% Elemental Energy, their Energy Recharge is increased by 50%.
Recommended Team:
- Optimal & F2P Team: Raiden Shogun + Xingqiu + Bennett + Xiangling
- Optimal Team 2: Alhaitham + Kuki Shinobu + Xingqiu + Nahida
Stage 4: Termination in Twilight Most Terrible

Special Lighting (Focused Arc Ray):
- For 12s after using, when a character obtains an Elemental Shard created by the Crystallize reaction, all Geo DMG dealt by characters in the party will be increased by 30%. This effect lasts for 6s and may stack up to 6 times.
Recommended Team:
- Optimal Team: Navia + Zhongli + Bennett + Fischl
- Optimal Team 2: Trial Navia + Trial Gorou + Bennet + Fischl/Xiangling
Xtreme Drive
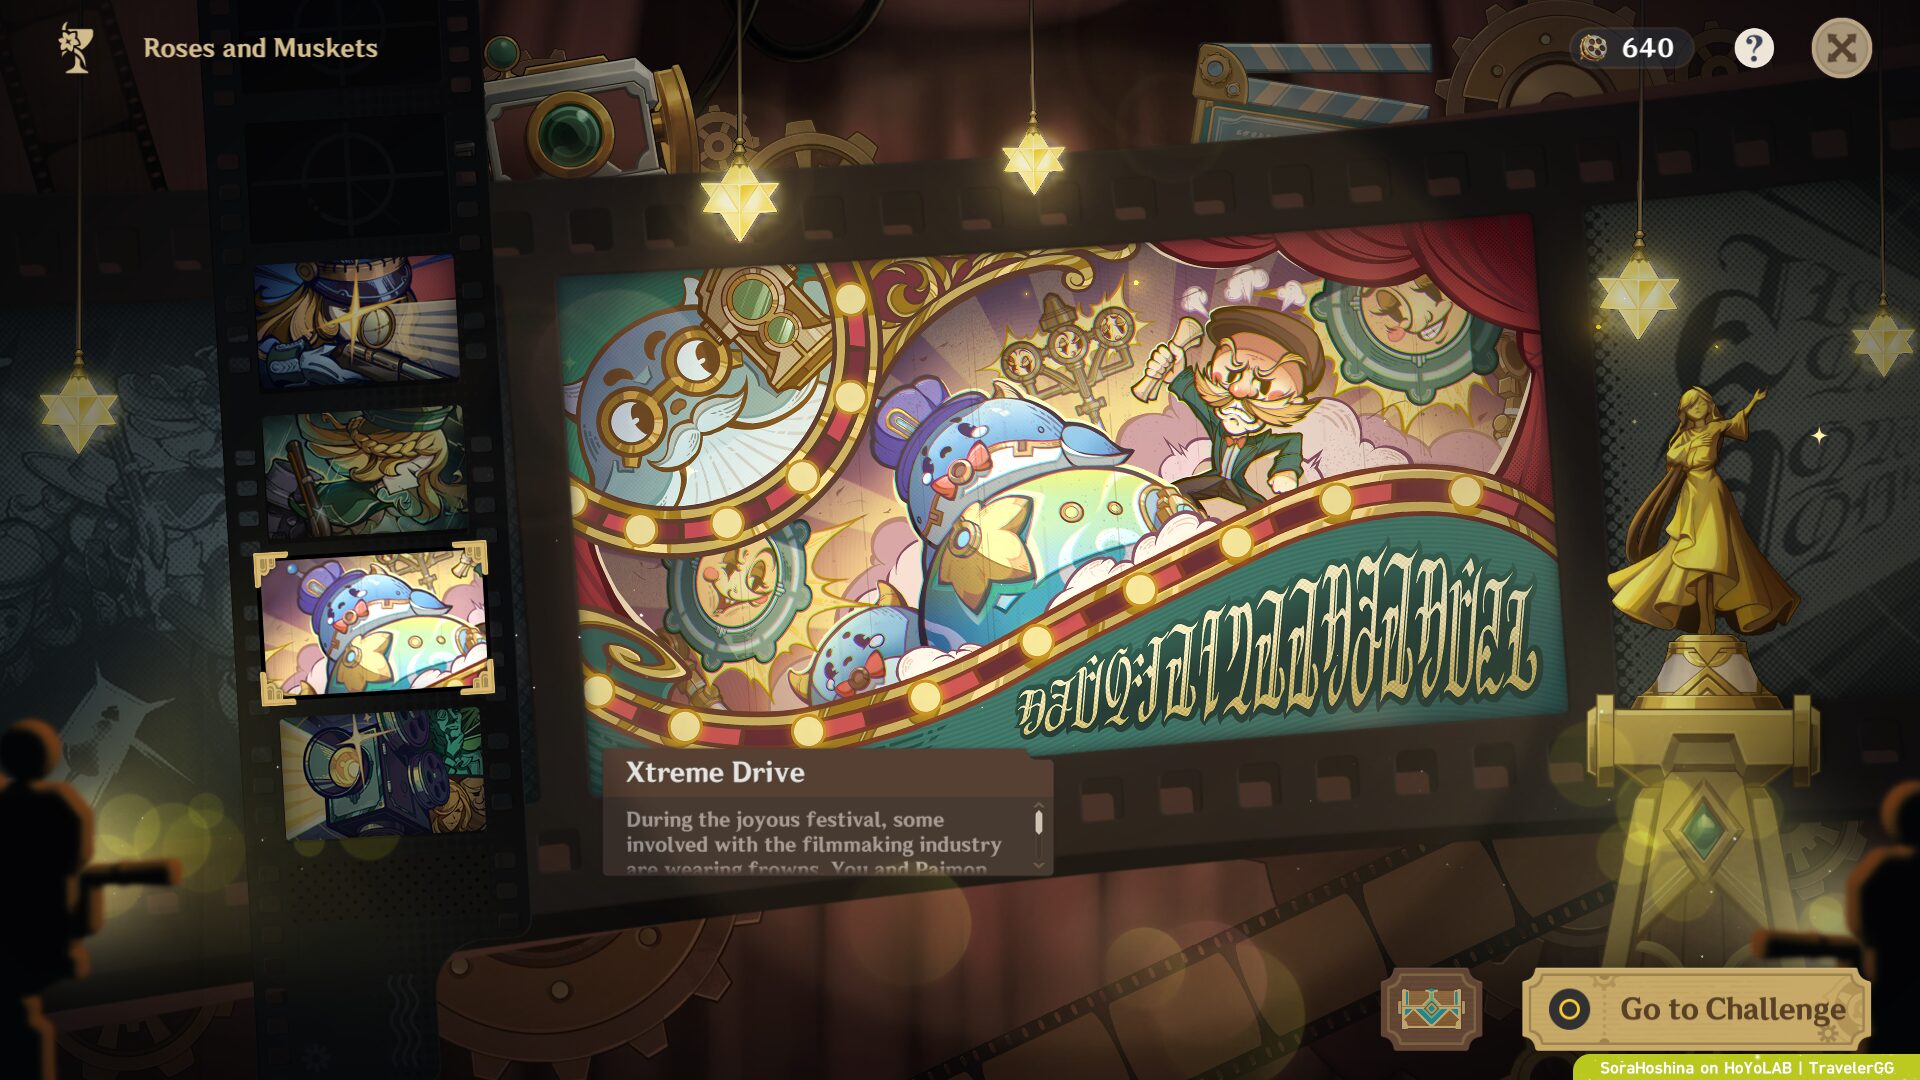
Gameplay Tutorial

Stabilization Mekaballs automatically avoid testers and move in the opposite direction of an approaching tester.

Stabilization Mekaball's movement is influenced by all testers.

Use this characteristic to send as many Stabilization Mekaballs as possible into your zone within the time limit (when you spawn in the arena, your zone is right in front of you).

In addition to the Stock Balls, Glitz Balls will also spawn. Stock Balls are worth 1 point each, and Glits Balls are worth 7 points each.

Jump Boosters can be found in the testing ground. Pick one up to perform an extreme jump that goes higher and farther. It's perfect for rapidly moving to the other side of a Stabilization Mekaball, so use it well.

The test will be carried out in one of five locations at random.
Into the Frame

Gameplay Tutorial

In Into the Frame, film several shots according to the director's requirements and compile them into a video.
Kamera positioning is key, and you should ascertain the Kamera Position Requirements beforehand.

Some shots come with Narration Requirements. Select the most suitable narration according to the story.

Once the positioning and narration of all shots are selected, you can start filming and view the results.
Your video will be rated according to how closely it adheres to the director's requirements. Do your best to satisfy all the requirements and receive higher rating to win rewards.
Stage 1: The Path of the Sun
Frame 1

- Kamera Position: Choose the top right frame with Lynette in it
- Select Narration: Choose the Narration with "Where should I swim? It all seems the same underwater."
Frame 2

- Kamera Position: Choose the bottom frame with Lynette swimming towards seagrass
- Select Narration: None
Frame 3

- Kamera Position: Choose the top left frame with a close shot-up of Lynette
- Select Narration: None
Frame 4

- Kamera Position: Choose the top left frame with Lynette's back shot
- Select Narration: Choose the Narration with "I know... Follow the sun's rays."
Stage 2: Waiting Under the Sweltering Sun
Frame 1

- Kamera Position: Choose the top right frame with the bright sun
- Select Narration: None
Frame 2

- Kamera Position: Choose the top right frame with Navia's close-up shot
- Select Narration: None
Frame 3

- Kamera Position: Choose the top left frame with both Paimon and Navia in it
- Select Narration: None
Frame 4

- Kamera Position: Choose the top left frame with Paimon's face directly in front
- Select Narration: Choose the option "It's way too sunny here."
Frame 5

- Kamera Position: Choose the bottom frame with Navia and her cool shades
- Select Narration: "Don't worry, I've already prepared! Come stand under my parasol."
Stage 3: A Transaction

You need to enter Hotel Debord and go to the second floor to access this challenge.
Frame 1

- Kamera Position: Choose the bottom frame with Riqueti looking at the samples
- Select Narration: None
Frame 2

- Kamera Position: Choose the top left frame with Riqueti looking at the chair on the opposite side of him
- Select Narration: Choose the Narration with "Hey, can you guarantee the effectiveness of these products?"
Frame 3

- Kamera Position: Choose the top right frame with Yoimiya in it
- Select Narration: None
Frame 4

- Kamera Position: Choose the bottom frame with both Yoimiya and Riqueti in it
- Select Narration: Choose the Narration with "These have been our most popular products across the years, our star merchandise! Guaranteed to provide only the biggest and the most beautiful fireworks for your satisfaction!"
Frame 5

- Kamera Position: Choose the top left frame with Riqueti in it
- Select Narration: Choose the Narration with "Done, we have a deal."
Stage 4: A FIlm in Moments
Scene 1

- Kamera Position: Choose the top left frame showing the area with zoomed-out Charlotte
- Select Narration: None
Scene 2

- Kamera Position: Choose the bottom frame with Charlotte in it
- Select Narration: Choose the Narration with "If the shot is taken from this angle..."
Scene 3

- Kamera Position: Choose the bottom frame with Charlotte looking at the camera
- Select Narration: None
Scene 4

- Kamera Position: Choose the top right frame with zoomed-out Charlotte with Fontaine scenery
- Select Narration: None
Scene 5

- Kamera Position: Choose the top left frame with Charlotte looking at the Kamera
- Select Narration: Choose the Narration with "Yes, we should be able to capture the entirety of the Court of Fontaine at its best."
Gameplay Rewards

➥ Don’t forget to manually claim your rewards from the event page. By completing all the event challenges, you will get the following rewards:


Sora
Articles: 327More Articles

Genshin Impact: Reminiscent Regimen: Thrill Event Guide

Genshin Impact: Spiral Abyss V5.1 Floor 12 Complete Guide

Genshin Impact: Spiral Abyss V5.1 Floor 11 Complete Guide

Genshin Impact: Xilonen Quick Character Guide
Xilonen Team Compositions
Genshin Impact: Talent Level-Up Materials Chart (Updated V5.1)

Genshin Impact: All New Achievements in Version 5.1

Genshin Impact: Envisaged Echoes Keqing Guide
Genshin Impact: Envisaged Echoes Zhongli Guide
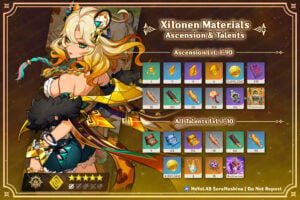
Genshin Impact: Xilonen Ascension and Talent Materials

Genshin Impact Codes – October 2024

Genshin Impact: Brilliant Chrysanthemum Route & Farming Guide

Genshin Impact: Saurian Claw Succulent Route & Farming Guide
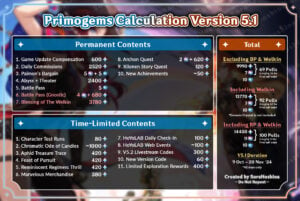
Genshin Impact: Primogems Calculation Version 5.1
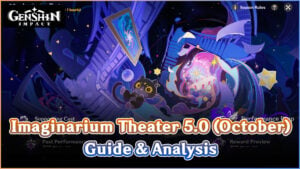
Genshin Impact: Imaginarium Theater Version 5.0 October Guide

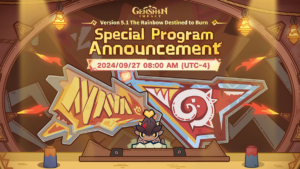
Genshin Impact 5.1 Special Program Livestream Overview
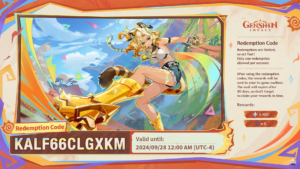
3 New Redemption Codes from 5.1 Special Program
Genshin Impact 5.1 Livestream Countdown

Genshin Impact: Version 5.0 Tier List (September 2024)