Table of Contents
- Gameplay Overview
- Gameplay Tutorial
- Vibro-Crystal Applications
- Gameplay Rewards
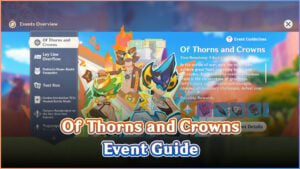
Two engineers from Fontaine have arrived at the outskirts of The Chasm to develop economically viable products on the basis of Vibro-Crystal theory, and thus have decided that they require more data on the harmonic resonance between these "Vibro-Crystals."
Connect Transmitter and Receiver Crystals to try out various harmonic responses produced and defeat your enemies with ease.
Gameplay Overview
Event Gameplay Duration:
➥ 2024/04/28 10:00:00 – 2024/05/09 03:59:59
Eligibility:
➥ Adventure Rank 28 or above
➥ And complete the Archon Quest “The Fond Farewell”
Event Overview:
➥ During the first 6 days of the “Vibro-Crystal Applications” event, one new challenge will be unlocked each day.
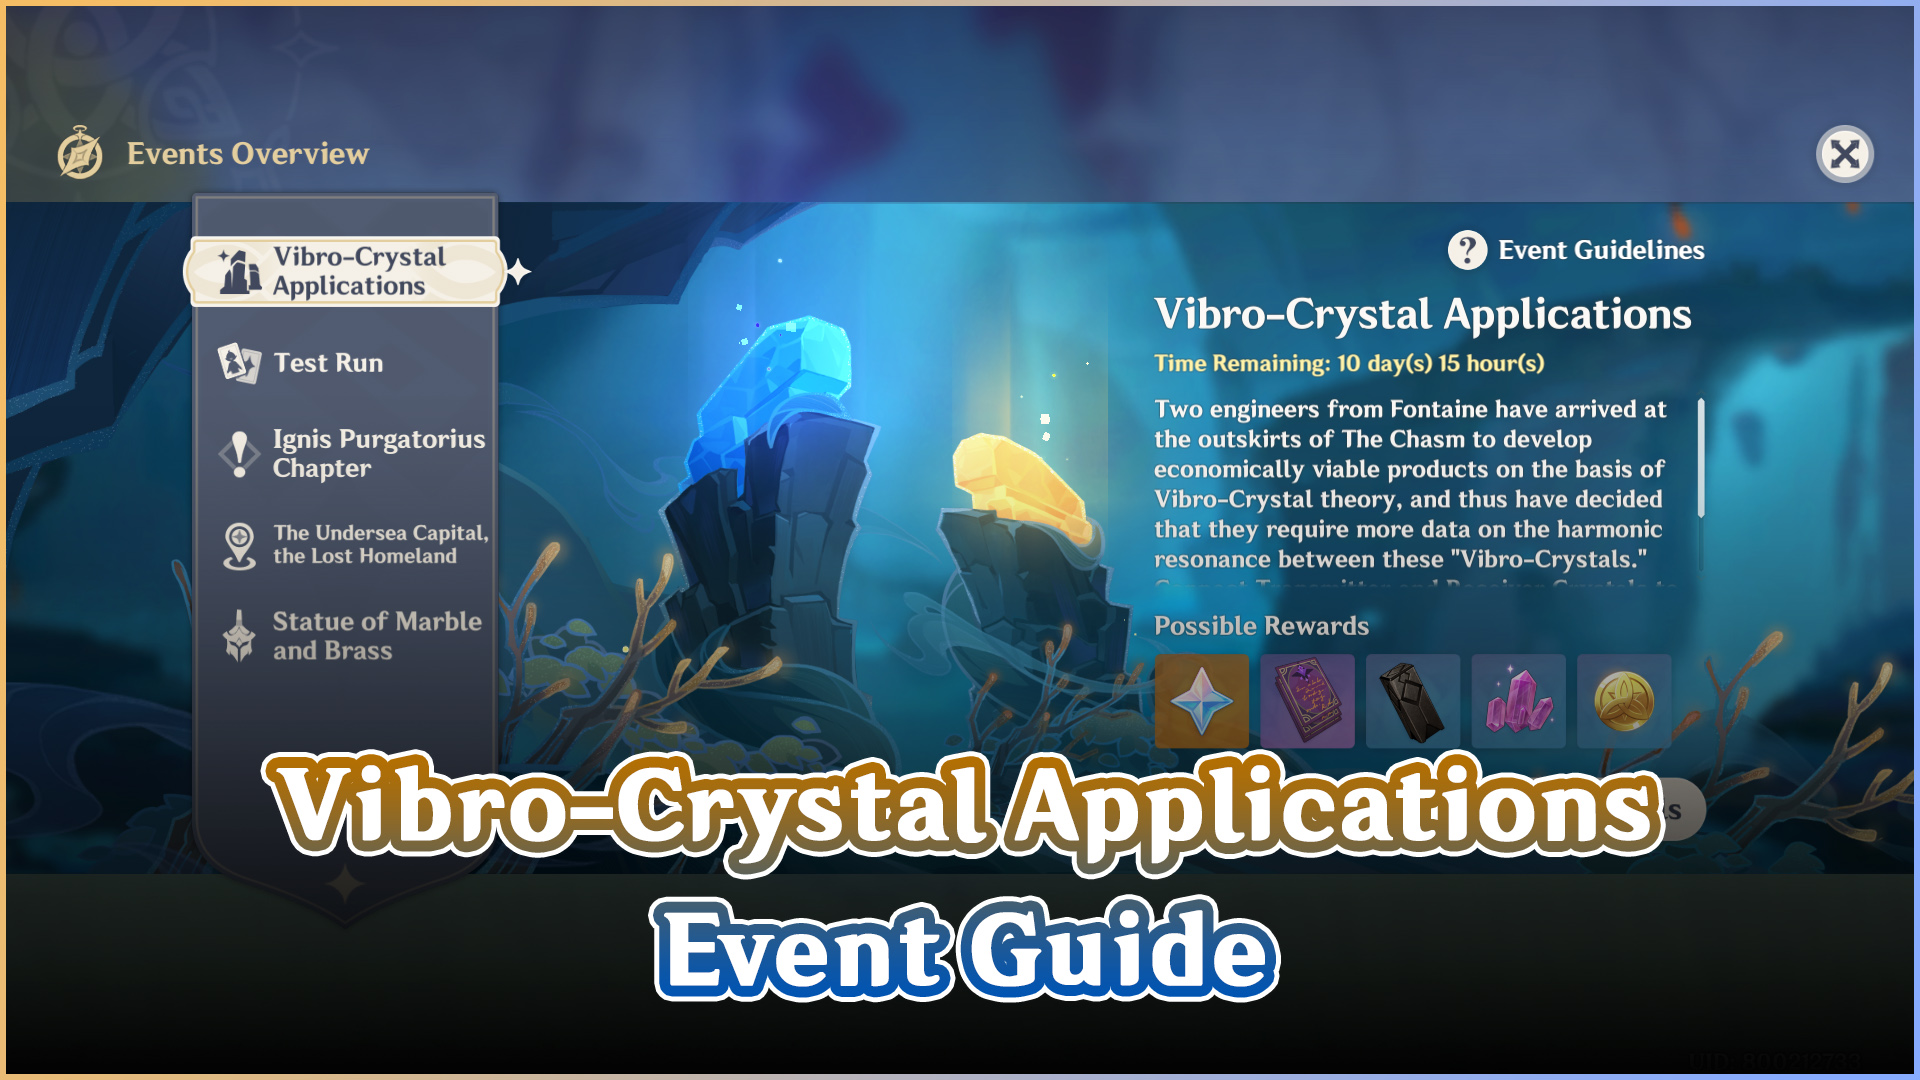
➥ During the “Vibro-Crystal Applications” event, you must split your characters into 2 parties for the challenge. Before you start combat, you may equip each party with a Vibro-Crystal Harmonics Schema. Combine Transmitter Crystals and Receiver Crystals to obtain different combat buffs.
➥ Each Transmitter Crystal can only project its radiation upon one Receiver Crystal, but each Receiver can receive transmissions from 3 Transmitters. Using different Transmitter Crystals to trigger Receivers will increase their effects.
➥ During this challenge, you must defeat opponents that constantly emerge to obtain points within the allotted time. Once the challenge ends, you will gain different insignias based on the number of points you gained.
Gameplay Tutorial
During the "Vibro-Crystal Applications" event, you must split your characters into 2 parties for the challenge. Before you start combat, you may equip each party with a Vibro-Crystal Harmonics Schema. Combine Transmitter Crystals and Receiver Crystals to obtain different combat buffs.

Each Transmitter Crystal can only project its radiation upon one Receiver Crystal, but each Receiver can receive transmissions from 3 Transmitters. Using different Transmitter Crystals to trigger Receivers will increase their effects. Check the Vibro-Crystals Harmonics description to see the extent to which these buffs may extend.
As the challenge proceeds, successfully triggering the harmonic response between Transmitter and Receiver Crystals will accrue Harmonic Points. When these points reach a certain amount, the Harmonic Strength will increase, granting characters combat buffs: all party members' CRIT DMG will be increased. However, if you do not trigger a harmonic response within a certain time period, the Harmonic Strength you have gained will fade...
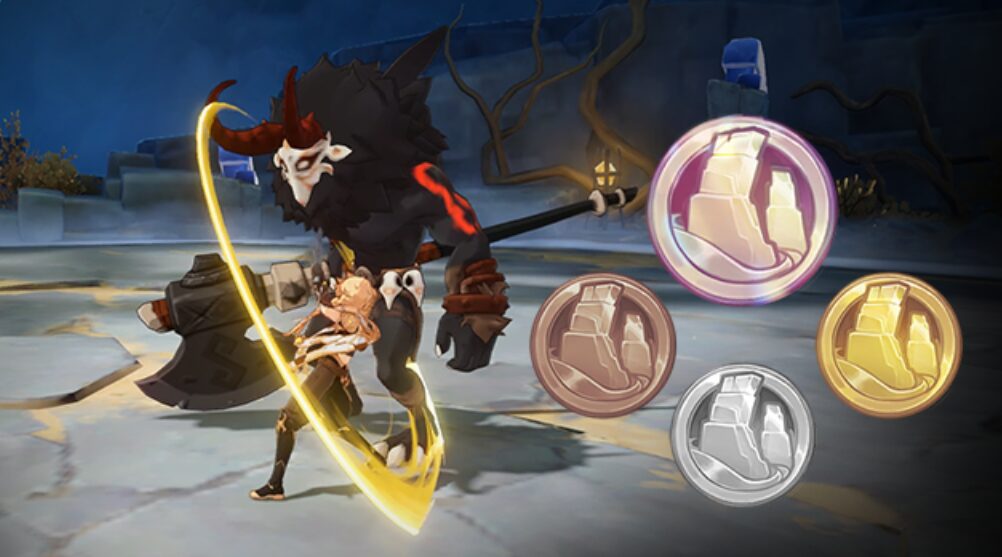
During this challenge, you must defeat opponents that constantly emerge to obtain points within the allotted time. Once the challenge ends, you will gain different insignias based on the number of points you gained.
Vibro-Crystal Applications
Stage 1: Gaseous Flow Deflection
Stage Effect

Stage Effect: After a character triggers a Swirl reaction on an opponent, the Crit Rate for the Anemo attacks of all party members is increased by 20% for 6s.
Enemies Lineup

Recommended Teams
I only include 4-star characters (excluding the trial characters) since it'll be easier to follow instead of 5-star characters. If you have a better 5-star characters than I recommended, do bring them instead.

First Half: Trial Wanderer (C0) + Trial Faruzan (C0) + Xiangling + Diona
Aside from Wanderer and Faruzan, add another 2 characters that can create elemental reactions, even better if one of them is a shielder since Wanderer is really easy to interrupt when he's hovering (using Skill).
Second Half: Trial Xiao (C0) + Bennett + Sucrose + Layla
Before Furina and Xianyun come along, Bennett is always the one who accompany Xiao in most content since he can heal and buff attack. He's the best candidate if you don't have Furina and Xianyun. Aside from that, add another Anemo character so they can help Xiao with his Energy. For the last slot, it's flexible so you can add whoever you want that works great with Xiao.
Some Things to Remember
Remember that all the trial characters are C0, so their playstyle might be teeny tiny different. For example, Faruzan C0 can only fire 1 Hurricane Arrows after using Skill unlike Faruzan C1 that can fire 2 Hurricane Arrows. Since I often forgot about this, I always try to use 2 of Faruzan's Aimed Shot after using her Skill instead of 1, which waste the time (if you notice from my video above).
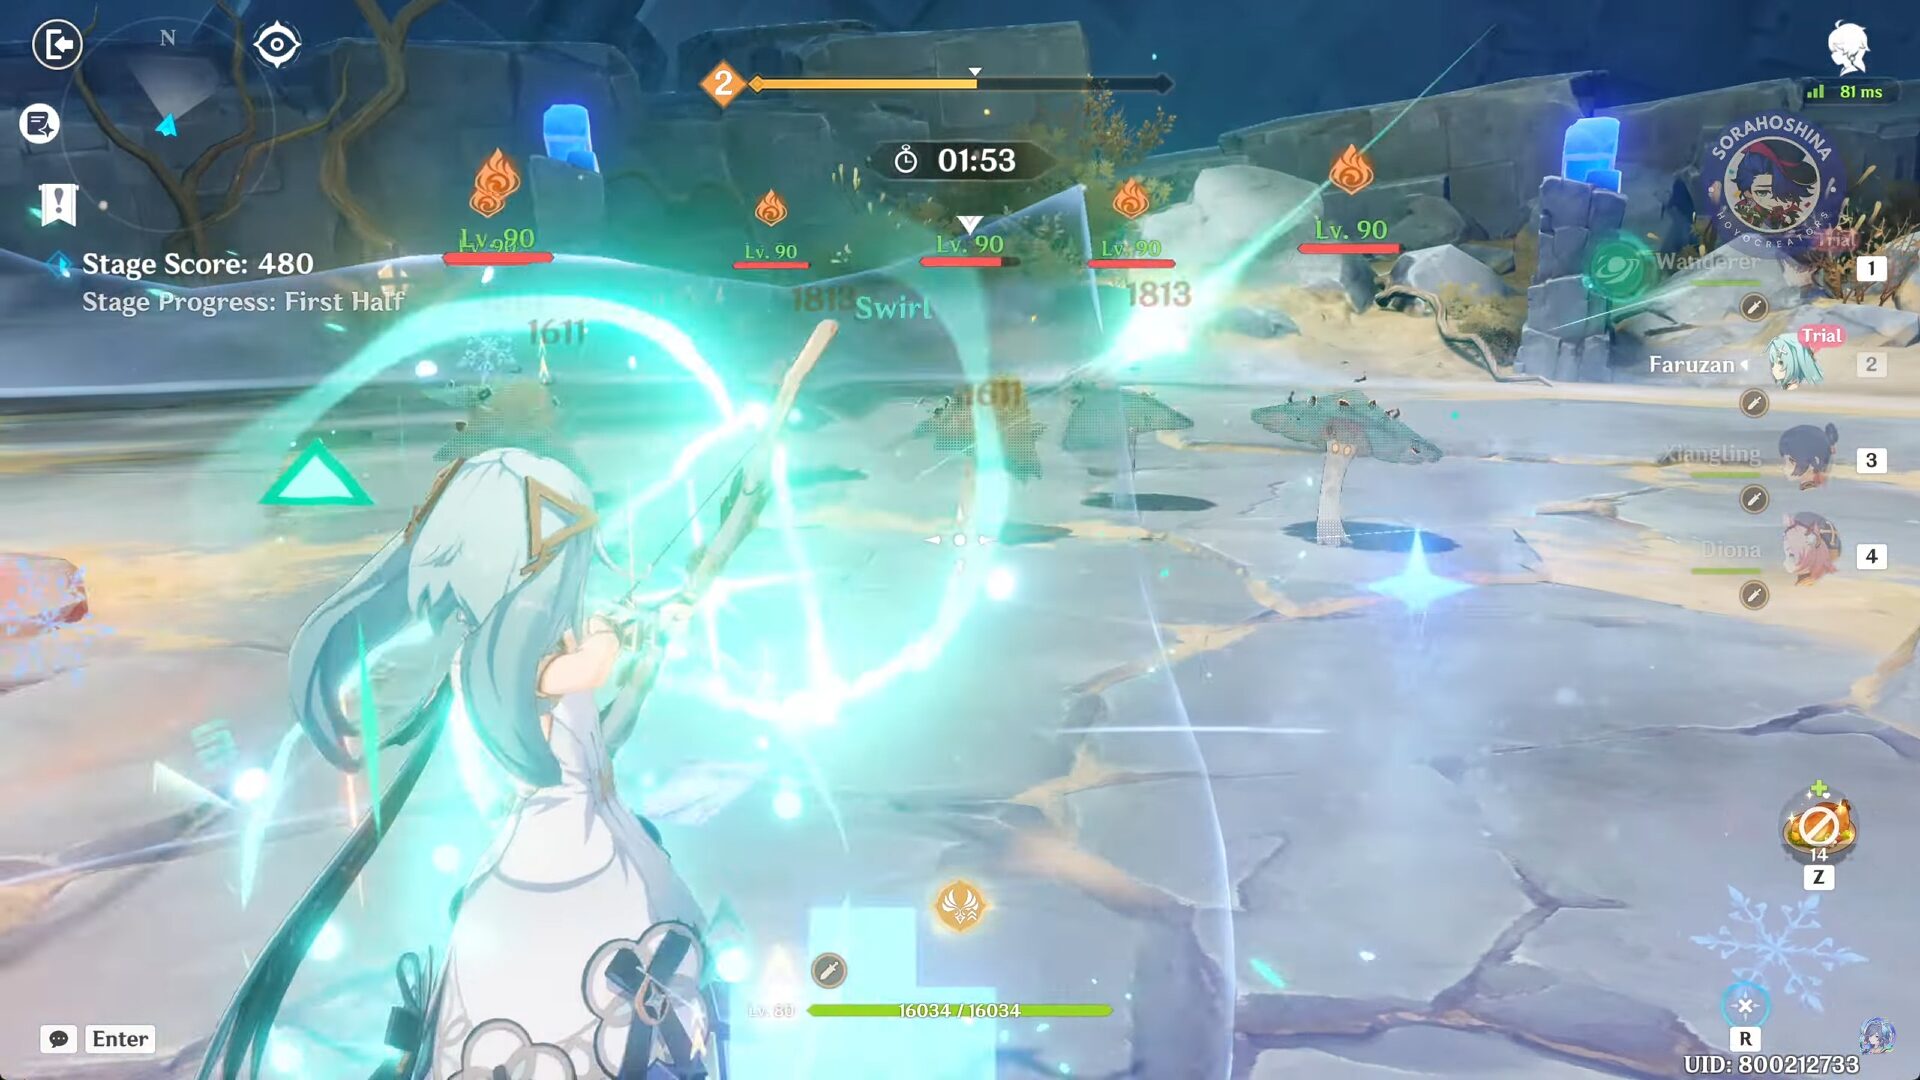
In the first half, when you face multiple enemies (the Fungi), it's best if you use Faruzan's Hurricane Arrow to gather all of them at one spot. Of course, other Anemo CC is better like Kazuha or Sucrose but that is if you bring them. If not, Faruzan it is.
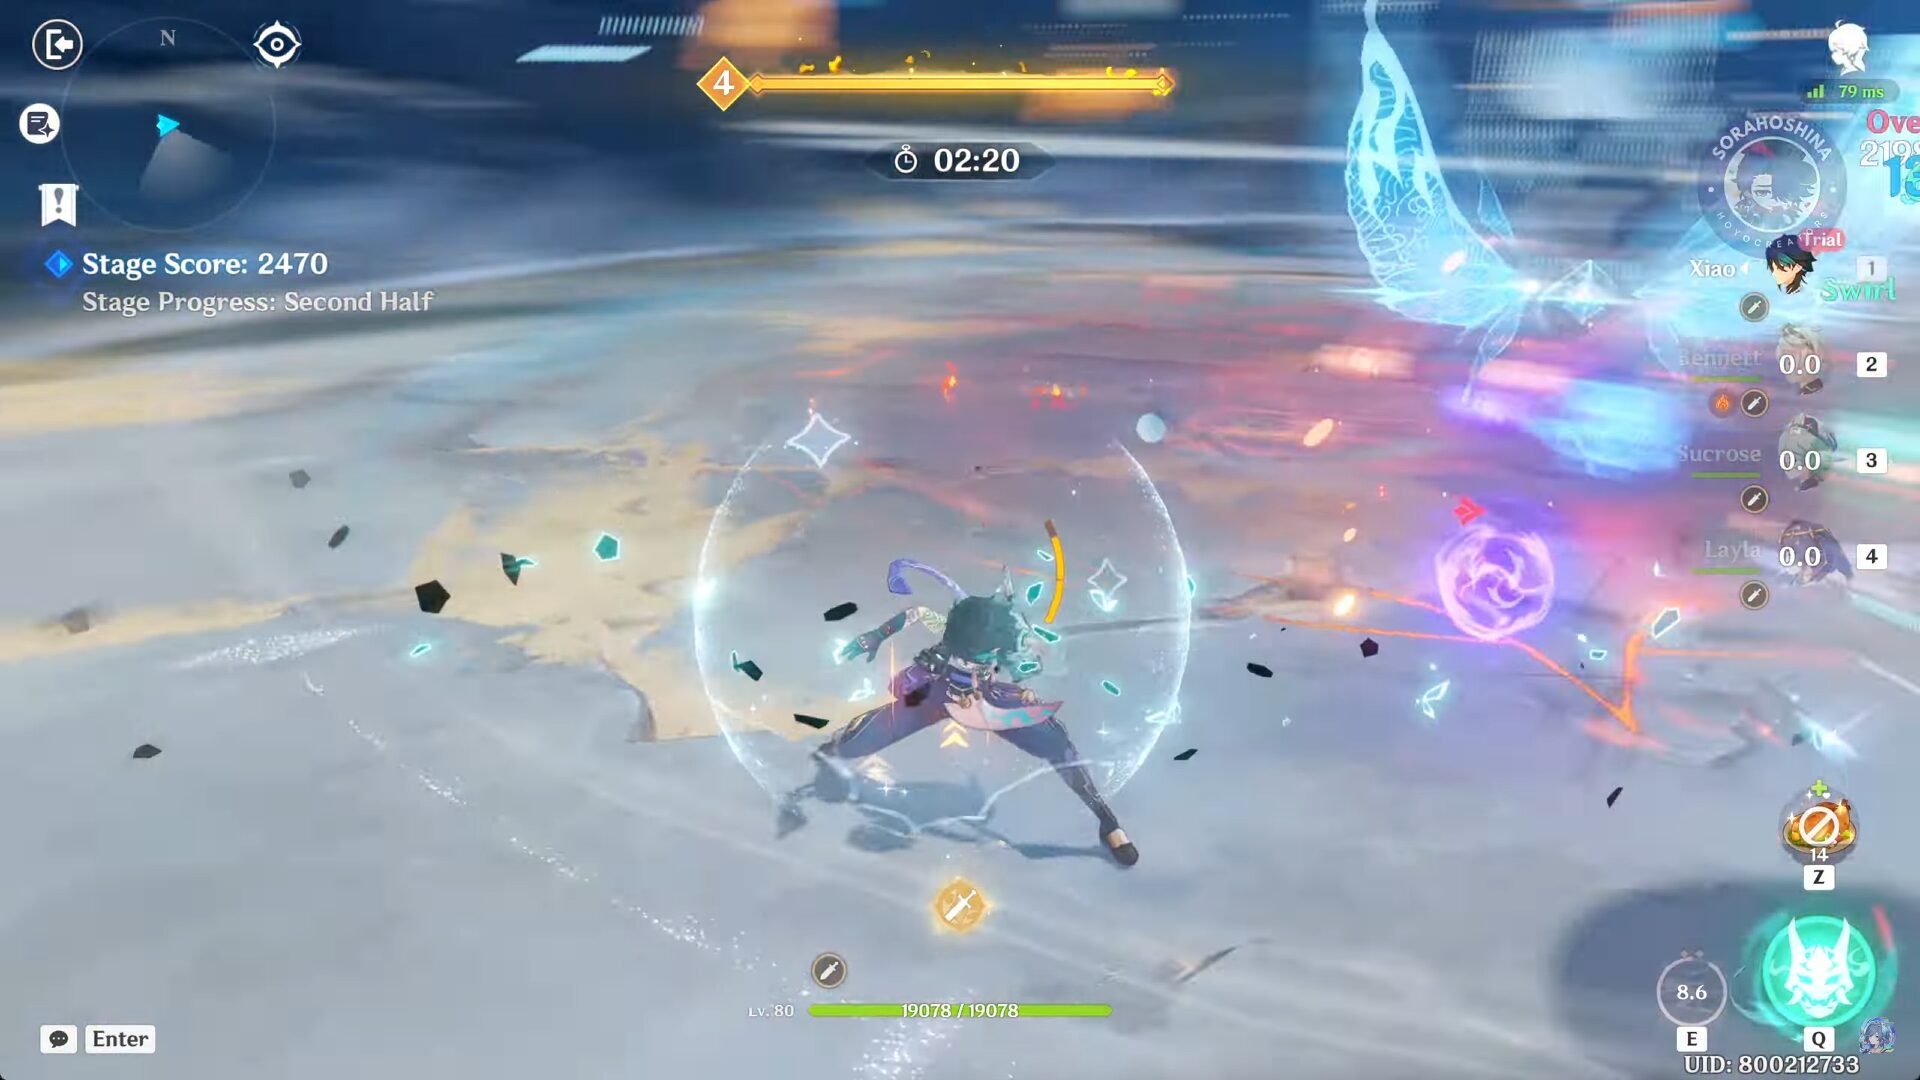
In the second half, make sure before you use Xiao's Burst, finish all of his Elemental Skill first so he can get energy from those. After all, his Elemental Burst won't give him any energy so if you forgot to do this, it will be hard to get his Burst full back up later. And after his Burst duration ends, use his Skills once again before you swap to other support characters.
Stage 2: Fertile Growth Activation Research
Stage Effect

Stage Effect: After a character triggers a Quicken, Spread, or Aggravate reaction on an opponent, they regain 4 Elemental Energy. This effect can be triggered up to once every 3s.
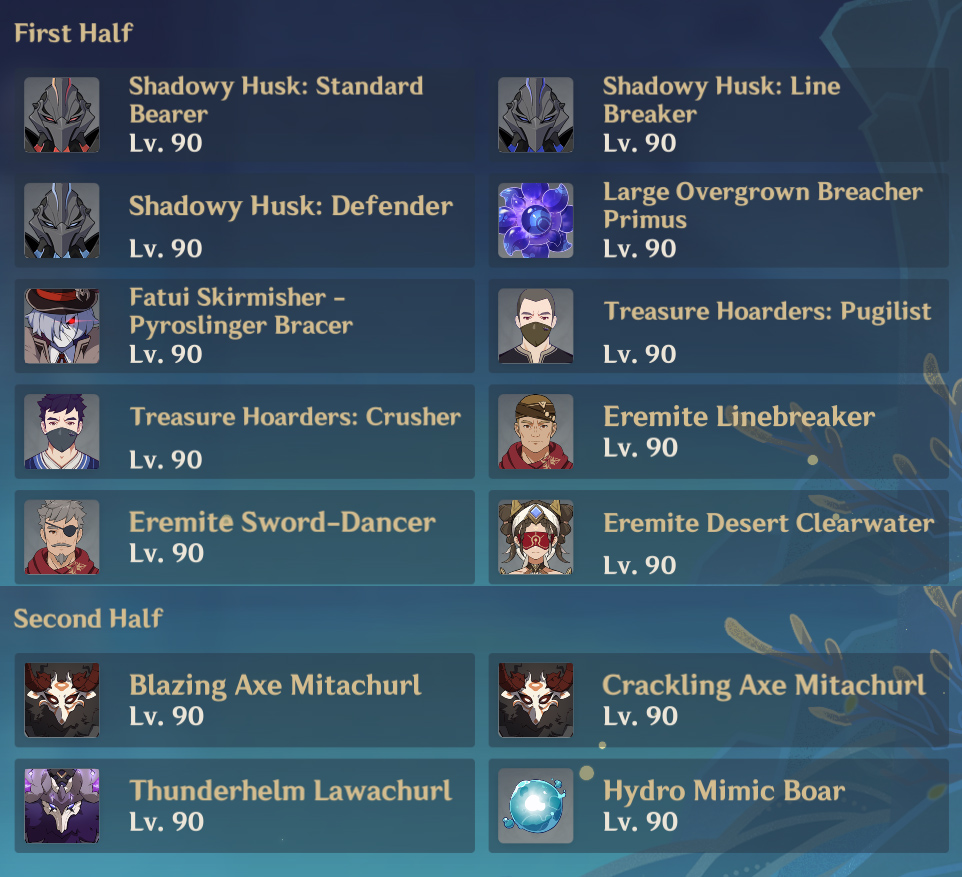
Enemies Lineup

Recommended Teams
I only include 4-star characters (excluding the trial characters) since it'll be easier to follow instead of 5-star characters. If you have better 5-star characters than I recommended, do bring them instead.
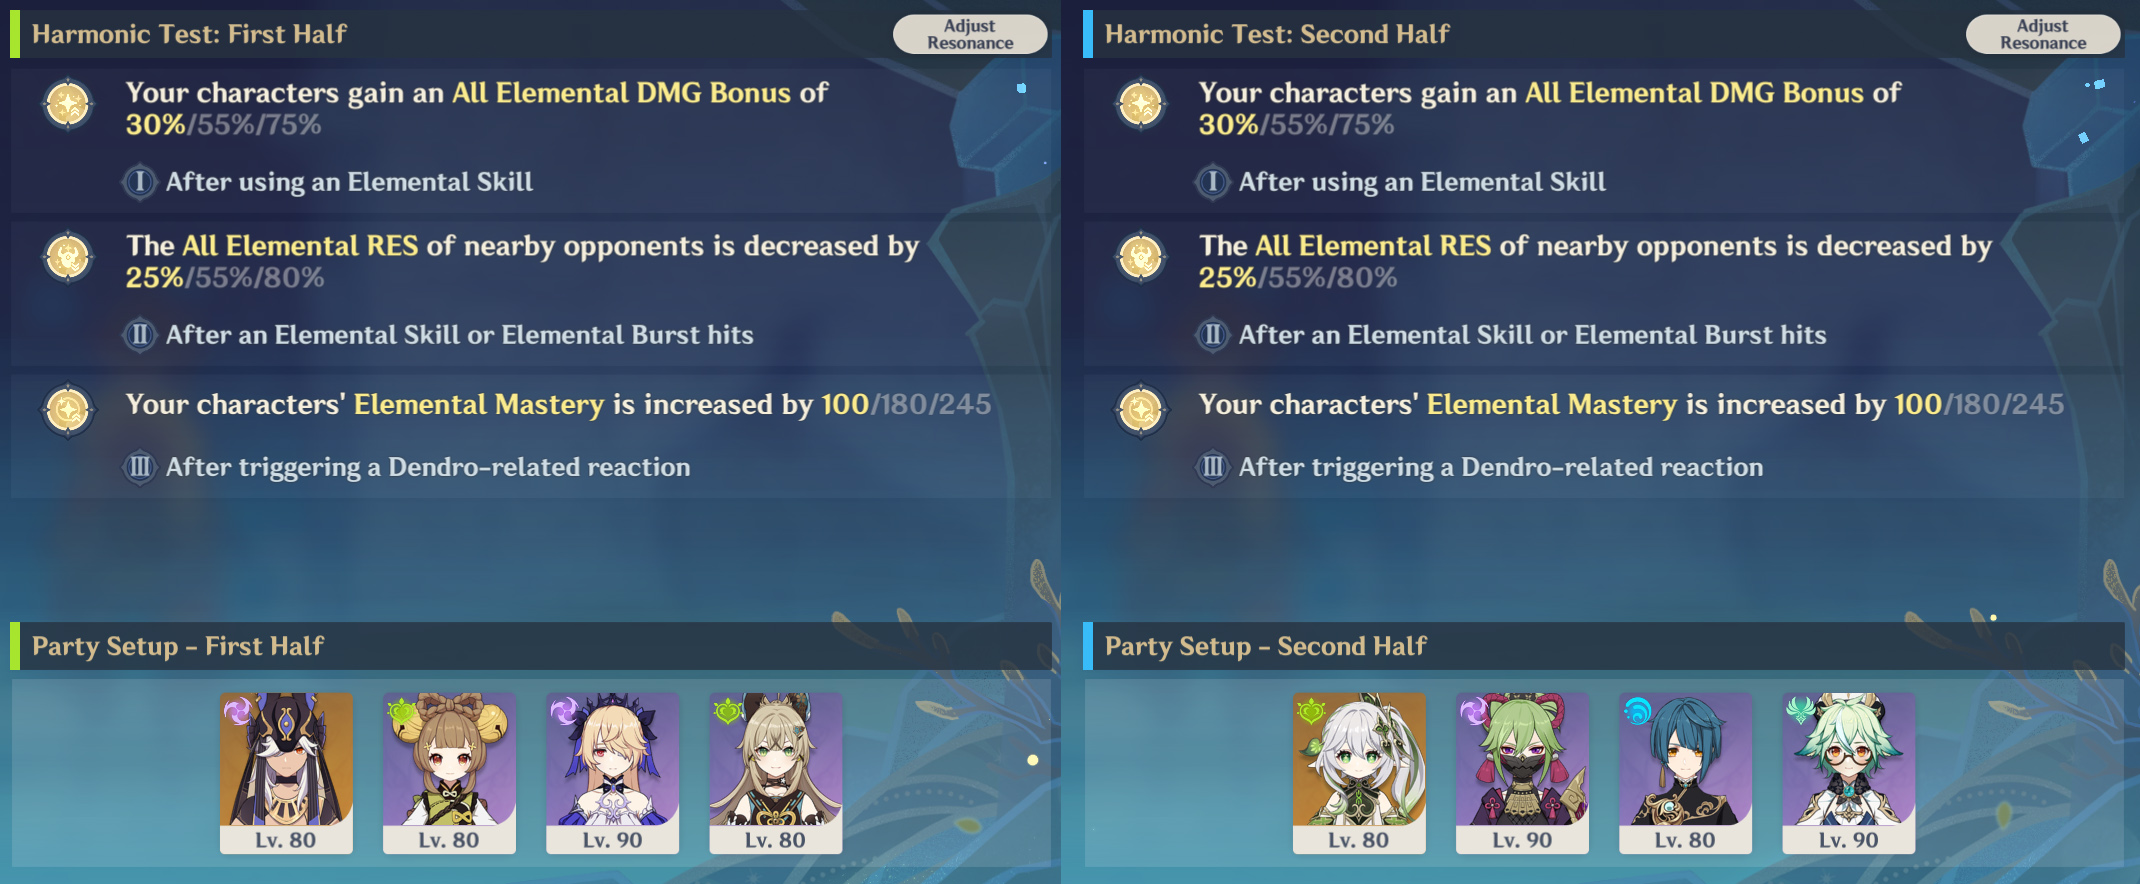
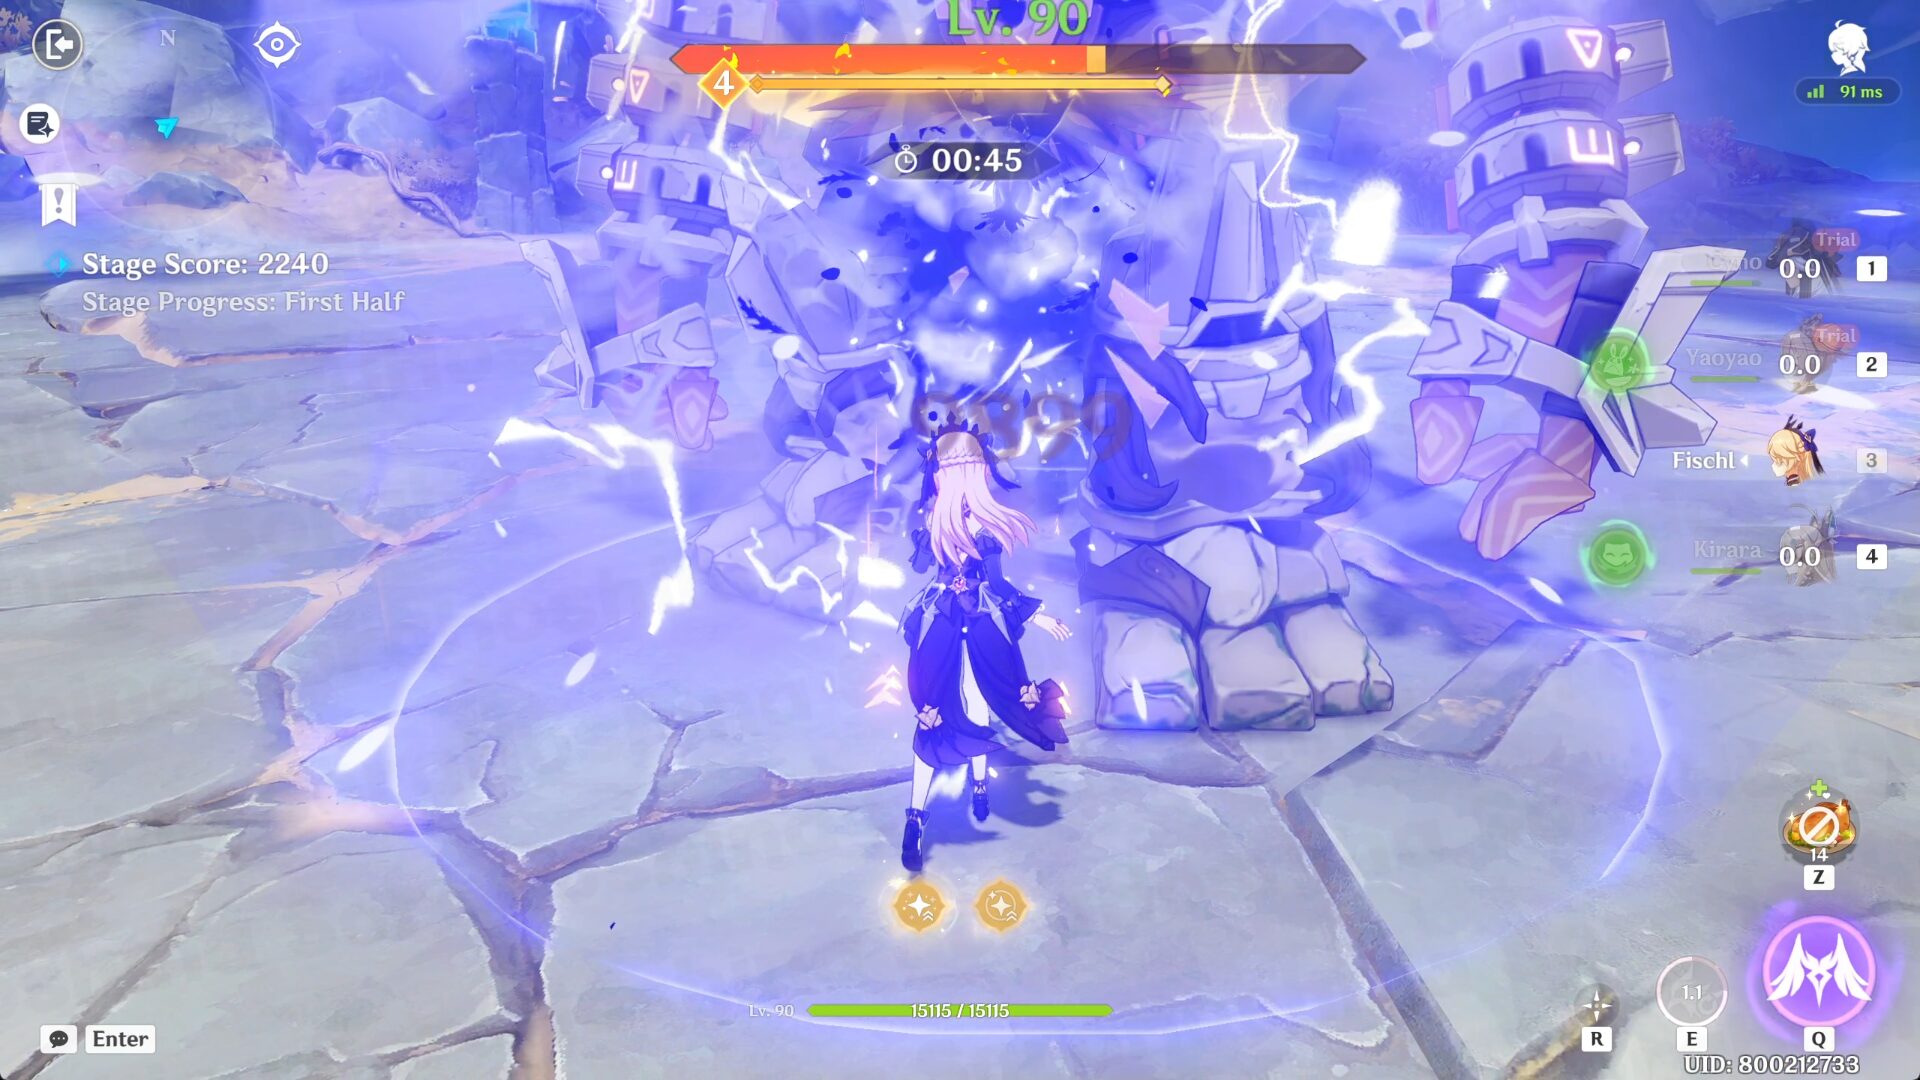
First Half: Trial Cyno + Trial Yaoyao + Fischl + Kirara/Barbara/Collei
I am tempted to put Cyno, Nahida, and Xingqiu in the same team with Kuki but then, the only trial character left is Yaoyao and I don't really want to create a team from scratch with her as the last option. So here it is. Cyno is in the Aggravate/Quicken team with the help of another 1 Electro & Dendro characters. I added Kirara because Cyno is easily interrupted even when he's using his Burst/Skill and Fischl because of her usual bestie Oz.
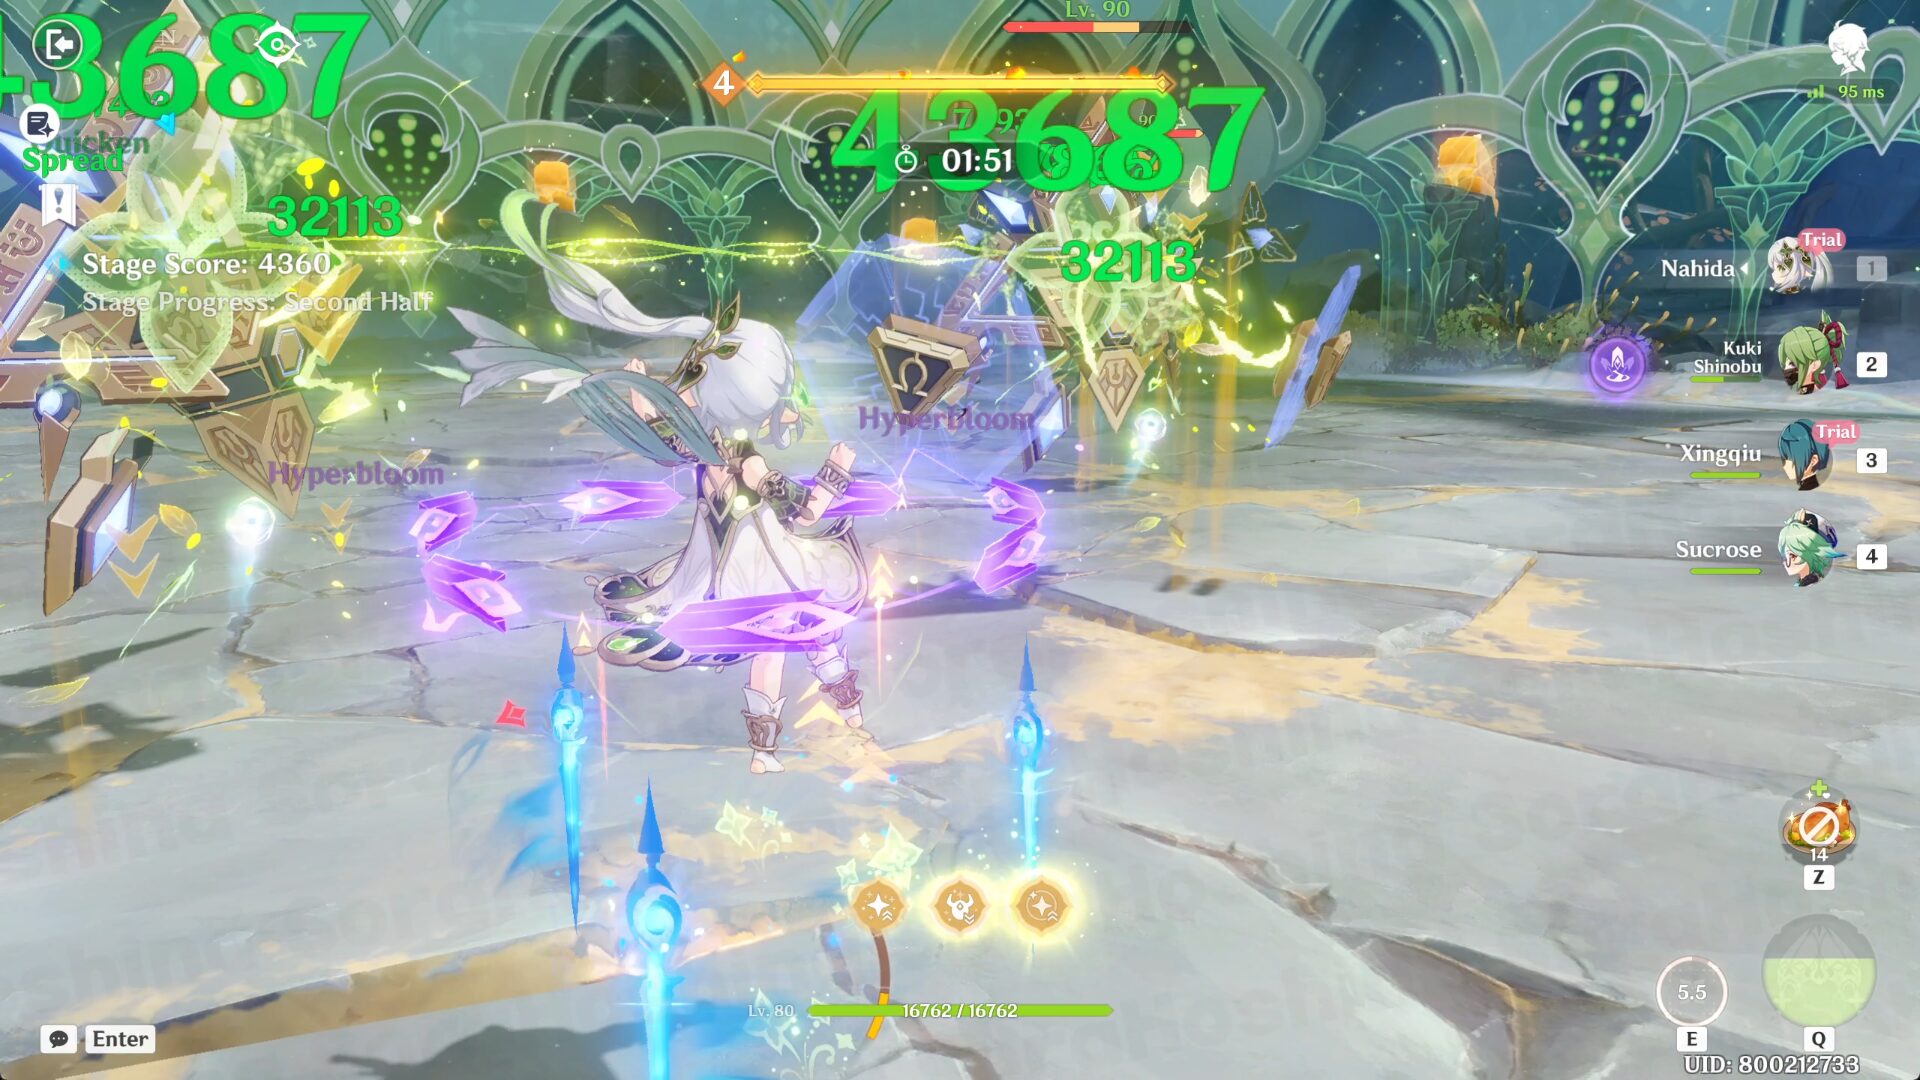
Second Half: Trial Nahida + Kuki Shinobu + Trial Xingqiu + Sucrose
The usual Hyperbloom team. Sucrose is actually flexible and you can switch her to any character that you want (maybe Bennett), especially since there's not that many enemies in the first place. The only wave that you can take advantage of in her Anemo CC is with the Primal Construct groups.
Some Things to Remember

In the first half with the Cyno team, I usually use him in the Hyperbloom team so my rotation is not that good with the Aggravate/Quicken team. But what I use here is: Fischl Skill/Burst > Yaoyao Skill > Kirara Skil & Burst > Cyno Burst, Skill, keep spamming NA until there's orange (Mortuary Rite) then use Skill again > Repeat.
In addition, since the HP of every enemy is not that high, I would always end Cyno's Burst (by switching to other characters) when I saw his Burst's cooldown is 5 seconds. This team will get 100% Energy uptime anyway so I switch to other supports to trigger the Aggravate/Quicken reactions before using Cyno's Burst again.
In the second half, it's as easy as the first half. Just make sure Xingqiu's Burst (Rain of Swords) and Kuki's Skill are always active so Nahida can trigger Hyperbloom. If you bring Sucrose, you can use her Burst when facing the 3 Primal Construct. If you don't bring any Anemo CC, make sure to go to the most left/right Primal Construct and they will naturally get near you.
Stage 3: Effect of Ecological Fluctuations
Stage Effect

Stage Effect: When a character's HP increases or decreases, their CRIT DMG increases by 40% for 6s.
Enemies Lineup
Recommended Teams
I only include 4-star characters (excluding the trial characters) since it'll be easier to follow instead of 5-star characters. If you have better 5-star characters than I recommended, do bring them instead.

First Half: Trial Neuvillette (C0) + Trial Lynette (C0) + Kuki Shinobu + Kirara
Neuvillette is DPS and Lynette gathers enemies with her taunt (Burst). Since we have C0 Neuvillette, nothing could go wrong unless you're attacked by enemies point blank and he's staggered. That's why, bring a shielder. And since I go with Kirara as the shielder, I add Kuki as a Hyperbloom trigger (not many Hyperbloom can be triggered since Kirara isn't that reliable in inflicting Dendro but no biggie, any reaction is fine with Neuvillette). In fact, this slot is flexible so add whoever you want.
Second Half: Trial Wriothesley (C0) + Trial Charlotte (C0) + Bennett + Xingqiu
The enemies on Wrio's side are (in my opinion) very easy to defeat and squishy. Wriothesley is the DPS and Charlotte is the healer. Add Bennett as another healer + buffer and Xingqiu as the sub-DPS. With these 3, you can get many strong reactions that you can mostly one-shot the mobs (depending on how your characters are built).
Some Things to Remember

In the first wave, since we have Lynnette, although she can't group enemies with CC, she does have the taunt ability from the Burst. That should be enough to gather enemies in one spot (if they can move before Neuvillette removes them from the stage altogether).

If you're playing with a PC and use a mouse that can change to a higher mouse DPI, switch to it the moment you use Neuvillette's Charged ATK so he can spin 360 degrees in an instant while blasting all those waters (an example can be seen in my video above). Although I recommend doing this only when facing the Eremite/Treasure Hoarder mobs and not during the Shadowy Husk/Breacher Primus waves.
But if you don't use a mouse like that or play on mobile/PS, whenever you use Neuvillette's Charged ATK, make sure you're on the side of the enemy wave so his attack can hit (almost) all enemies.
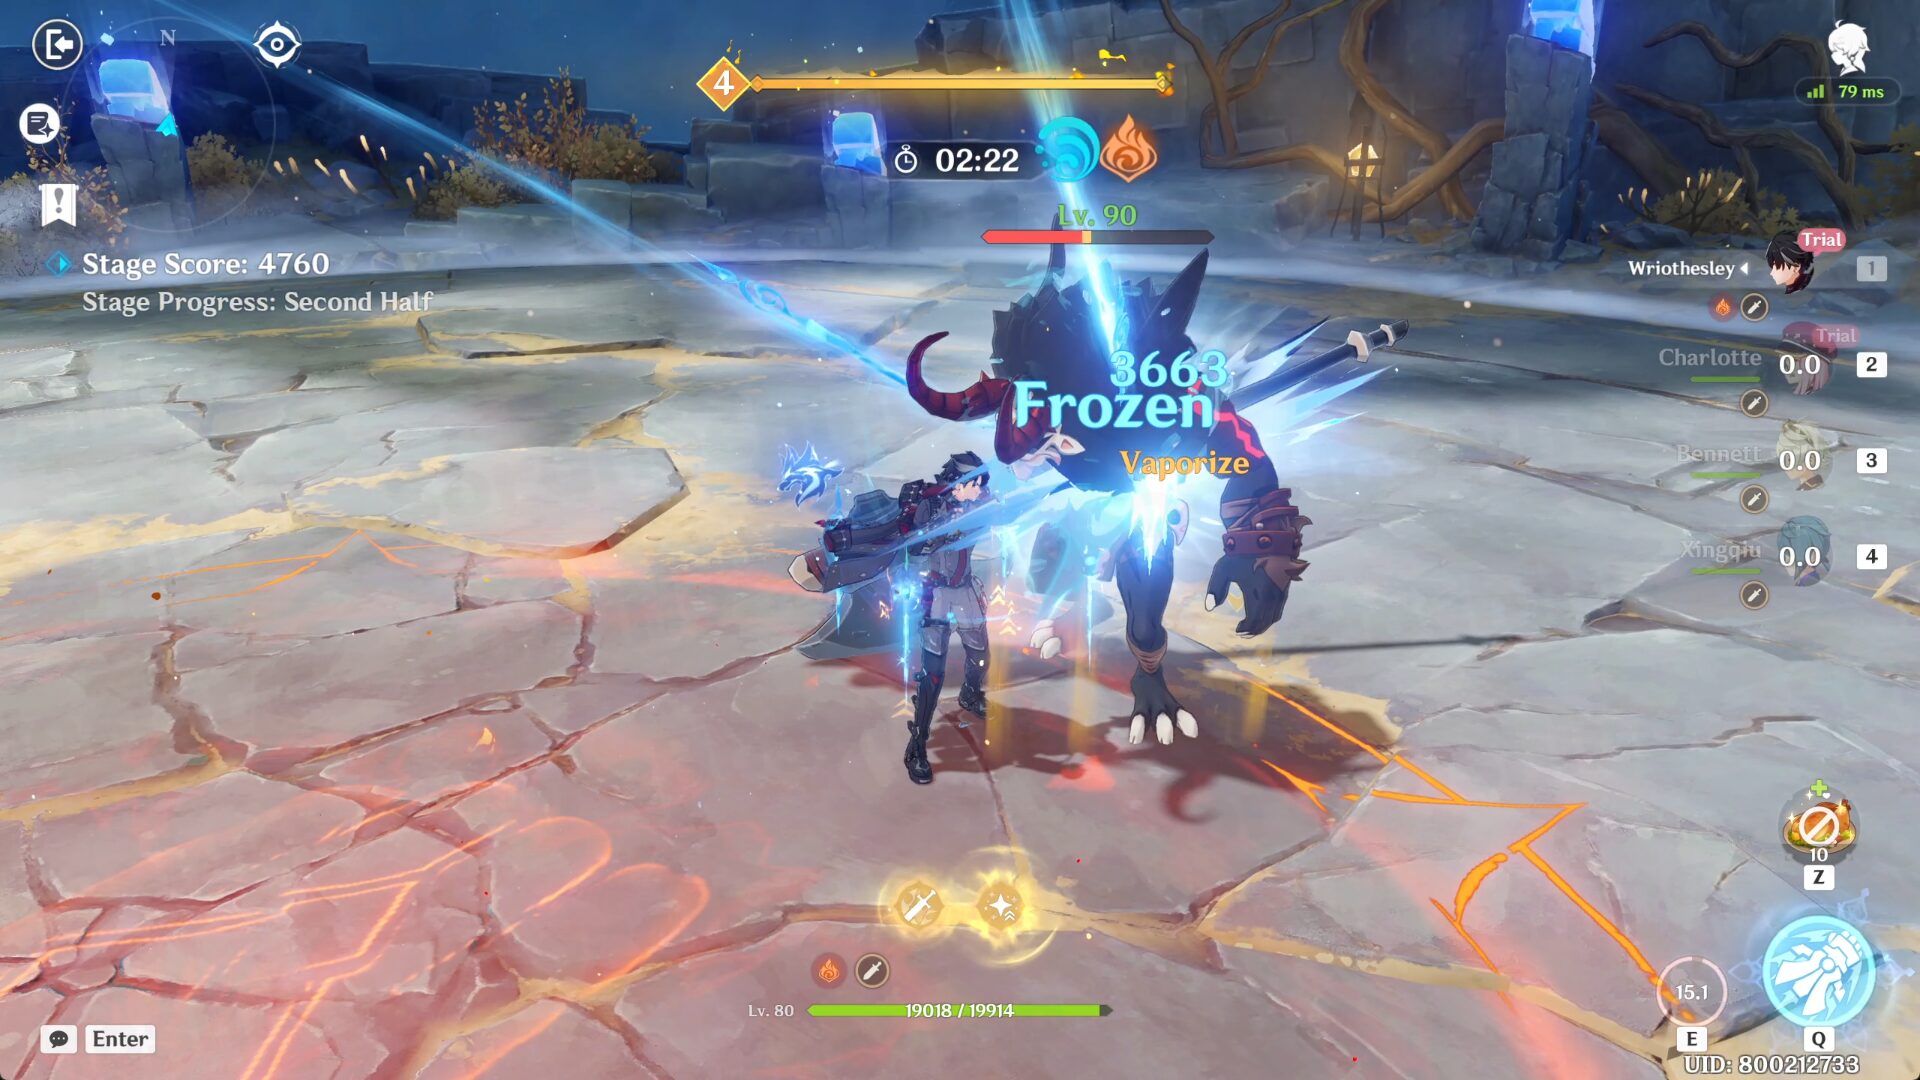
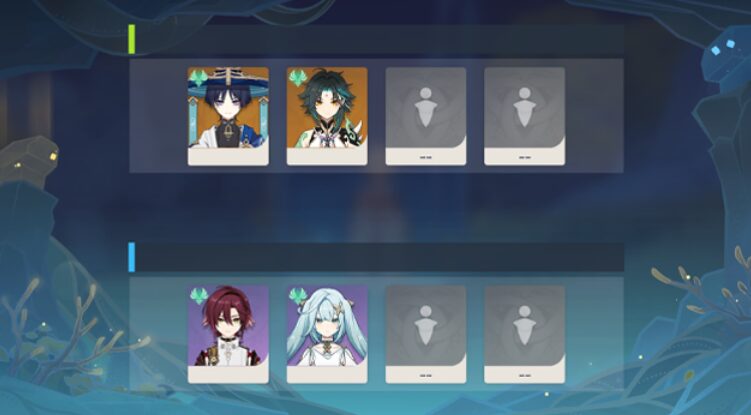
In the second wave, as I mentioned before, the enemies are pretty easy to defeat since their HP is pretty low. Use Bennett's Burst > Xingqiu's Skill and Burst > Wriothesley's Skill and spam his Normal Attacks. Use Charlotte and Wrio's Burst whenever you want. I often use Charlotte's Burst when facing the Hydro Mimic Boar so they can't move when they start spawning while Wrio's Burst is literally whenever I feel like I want to use it.
Stage 4: Probability of Wound Healing
Stage Effect
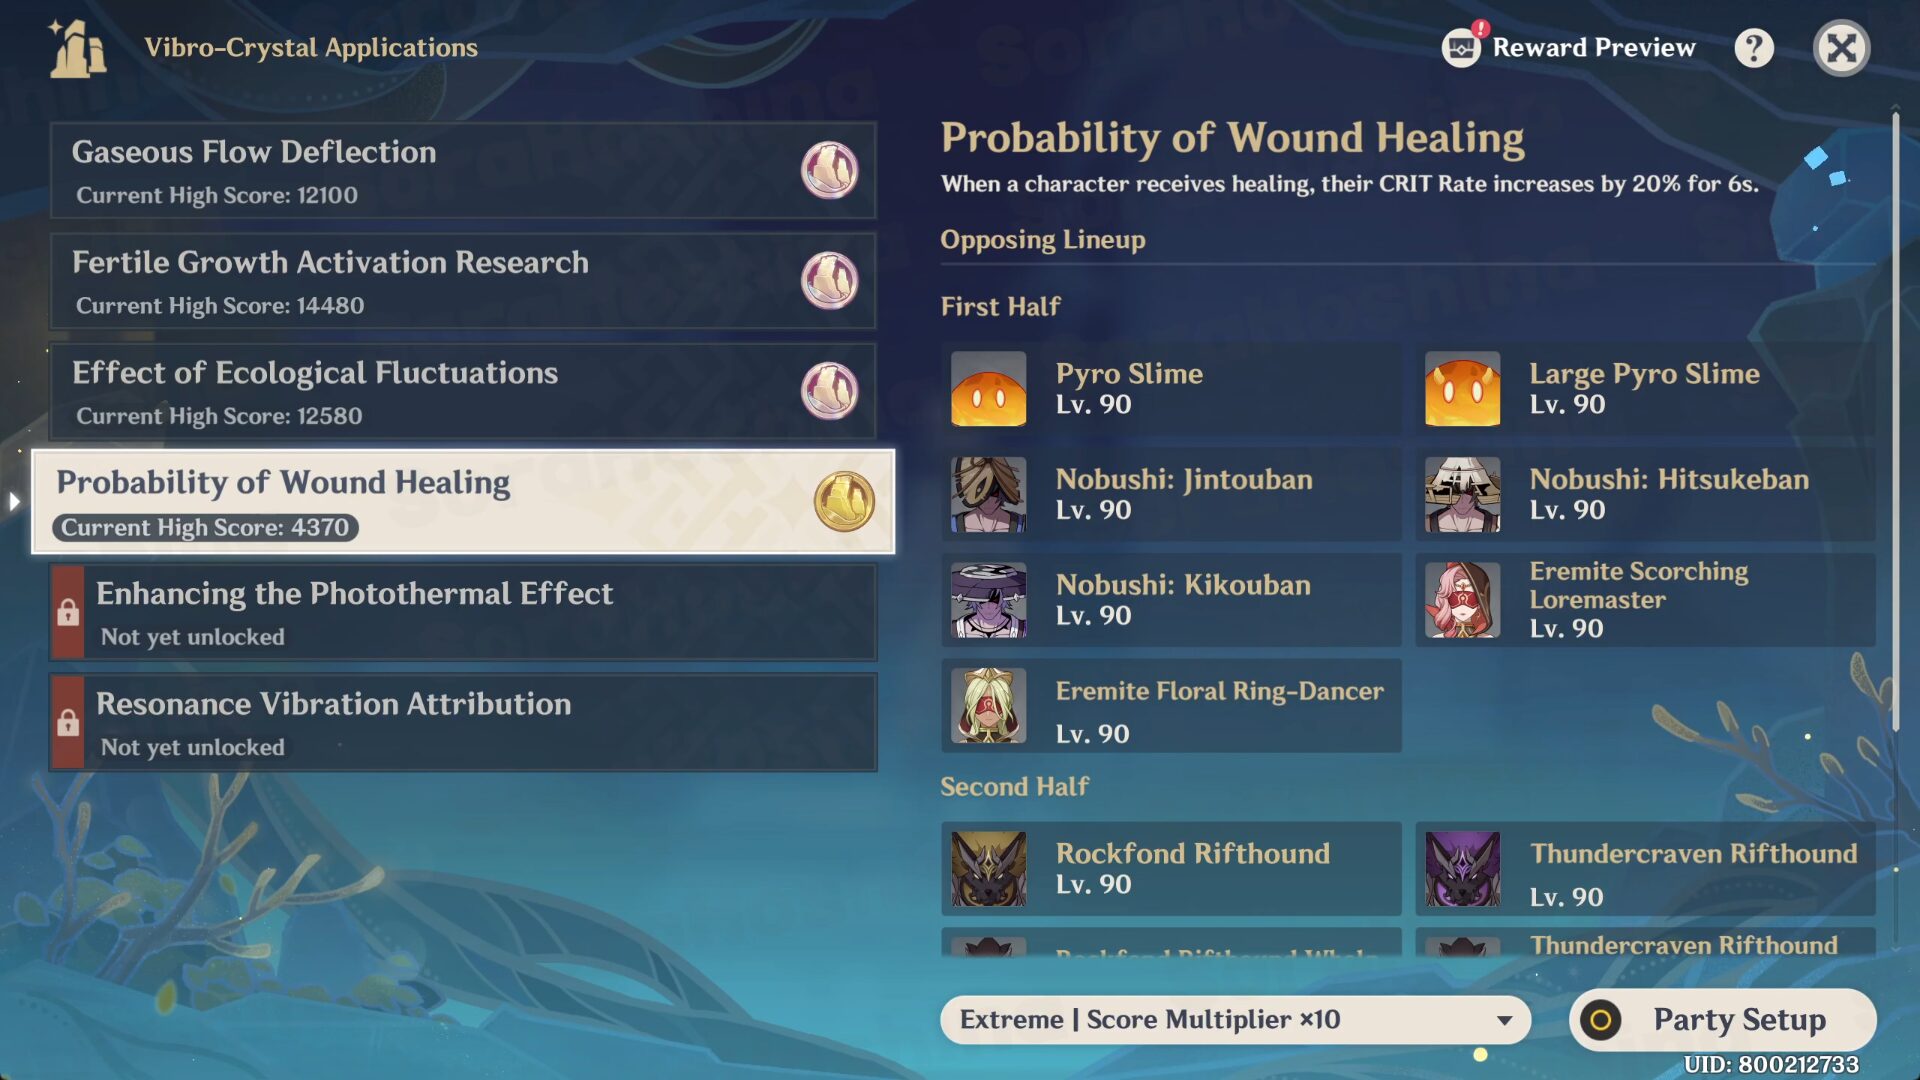
Stage Effect: When a character receives healing, their Crit Rate increases by 20% for 6s.
Enemies Lineup

Recommended Teams
I only include 4-star characters (excluding the trial characters) since it'll be easier to follow instead of 5-star characters. If you have better 5-star characters than I recommended, do bring them instead.

First Half: Trial Furina + Trial Sayu + Rosaria + Kaeya
This team makes me remember how fun Sayu's Skill could be. Since we have a Hydro character, let's add 2 Cryo characters to make a Freeze team. If your team doesn't have enough Energy to use Burst in every rotation, you can choose the Energy Recharge from the Receiver.
Second Half: Trial Baizhu + Trial Barbara + Xingqiu + Yaoyao
When one sees Dendro and Hydro, one would think of Bloom reaction and that's what I'm going for. If you have Nilou, do bring her because she's the queen of Bloom. But if you don't, bring any Hydro and Dendro characters. I recommend Xingqiu and either Collei/Kirara/Yaoyao.
Some Things to Remember

In the first half, the rotation I use is pretty simple. Furina's Skill & Burst > Sayu's Burst > Rosaria and Kaeya's Burst > Sayu's Hold Skill > Rosaria and Kaeya's Skill. As I mentioned before, if you don't have enough Energy to use their Burst in most rotations, you can choose the Energy Recharge Receiver. As you can see in the video, I don't have quite enough of Sayu's Burst for every rotation, but still get points to redeem all rewards so I'm okay with it.
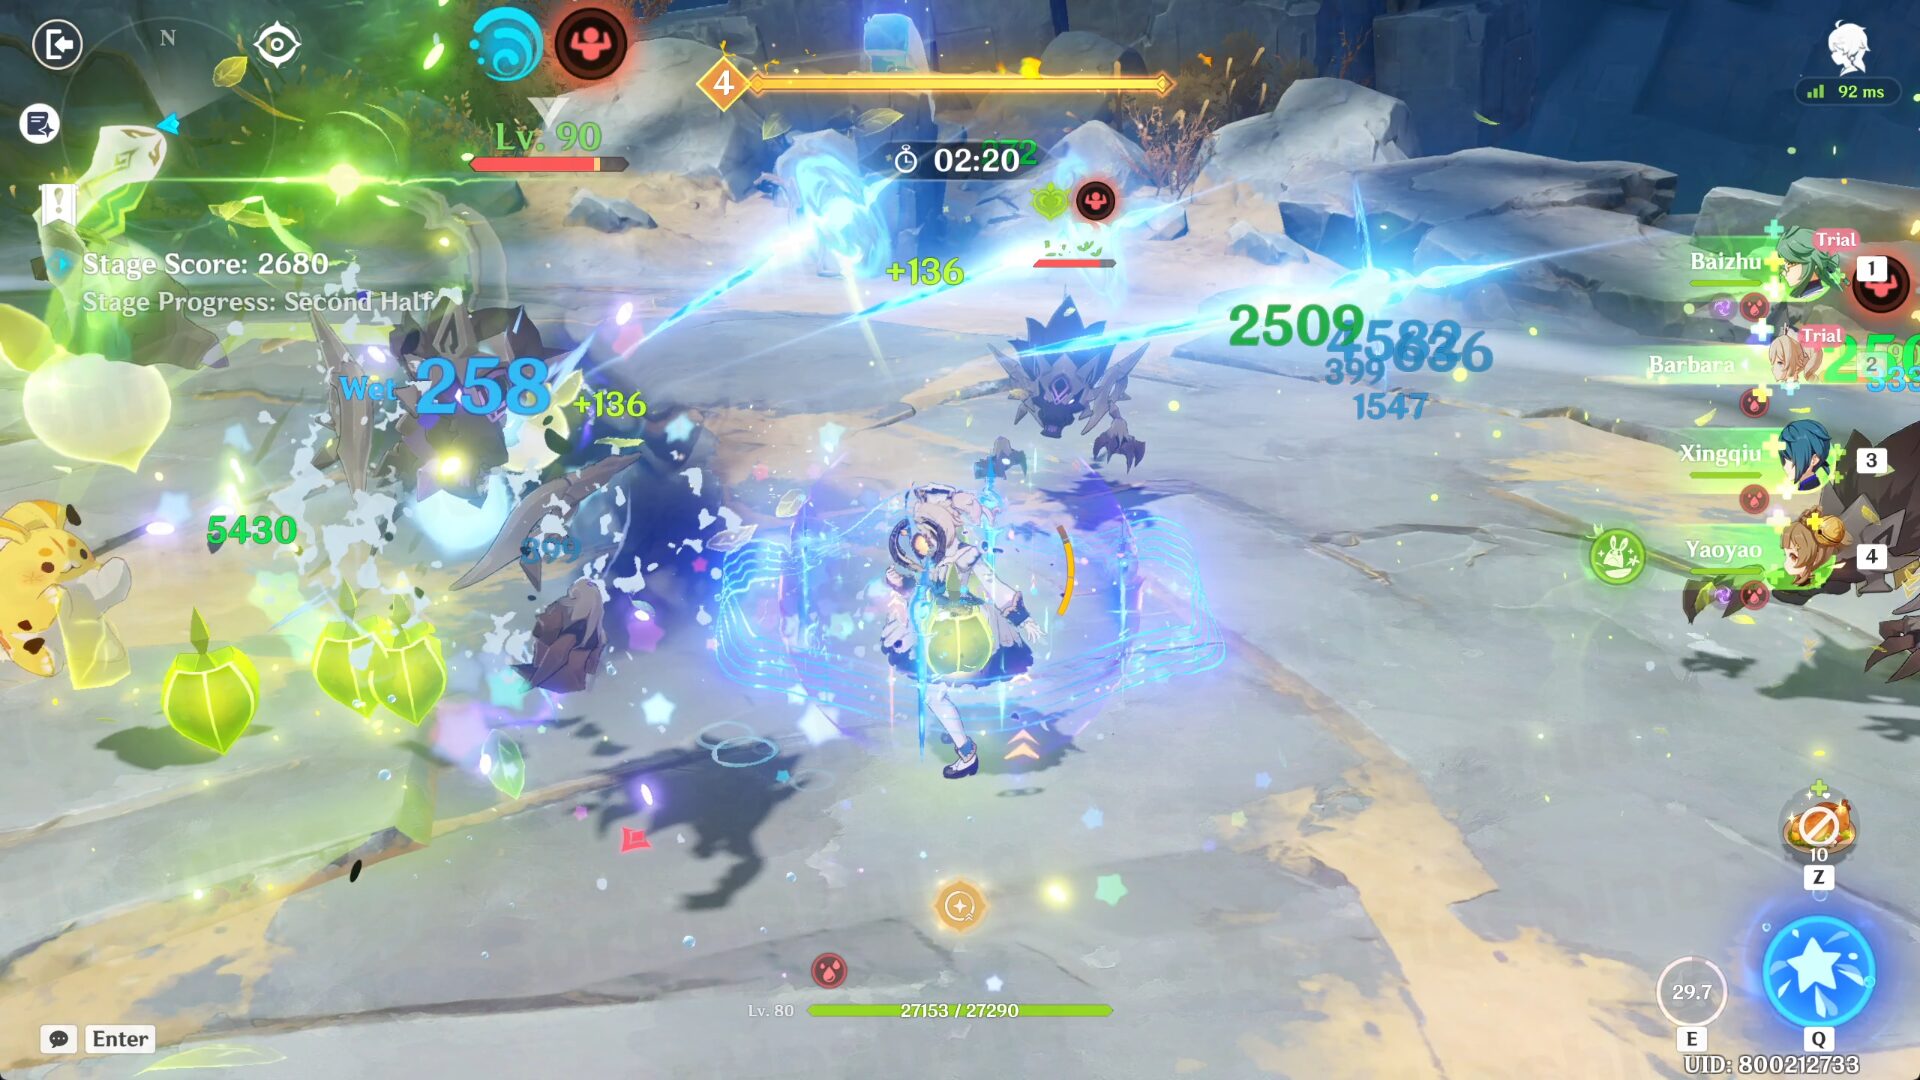
In the second half, I had quite a problem with the rotation because I always used Nilou Bloom's team instead of without her. But basically, just spam every single Burst and Skill (except Barbara's, save her Burst for critical situations) to ensure Dendro Cores keep spawning and explode on the enemies. With 2 or 3 healers in the team, your active is practically immortal and couldn't die. But if, somehow, their HP is really low, use Barbara's Burst and all will be good.
Basically, what I tried to do in the rotation was: Xingqiu's Burst and Skill > Yaoyao's Skill > Baizhu's Burst and Skill > Barbara's Skill and spam Normal Attack. Definitely don't use Baizhu as the active character because his Normal Attack is very short-ranged compared to Barbara.
Stage 5: Enhancing the Photothermal Effect
Stage Effect

Stage Effect: When a character triggers a Pyro-related reaction on an opponent, the All Elemental RES of opponents is decreased by 30% for 6s.
Enemies Lineup

Recommended Teams
I only include 4-star characters (excluding the trial characters) since it'll be easier to follow instead of 5-star characters. If you have a better 5-star character than I recommended, do bring them instead.
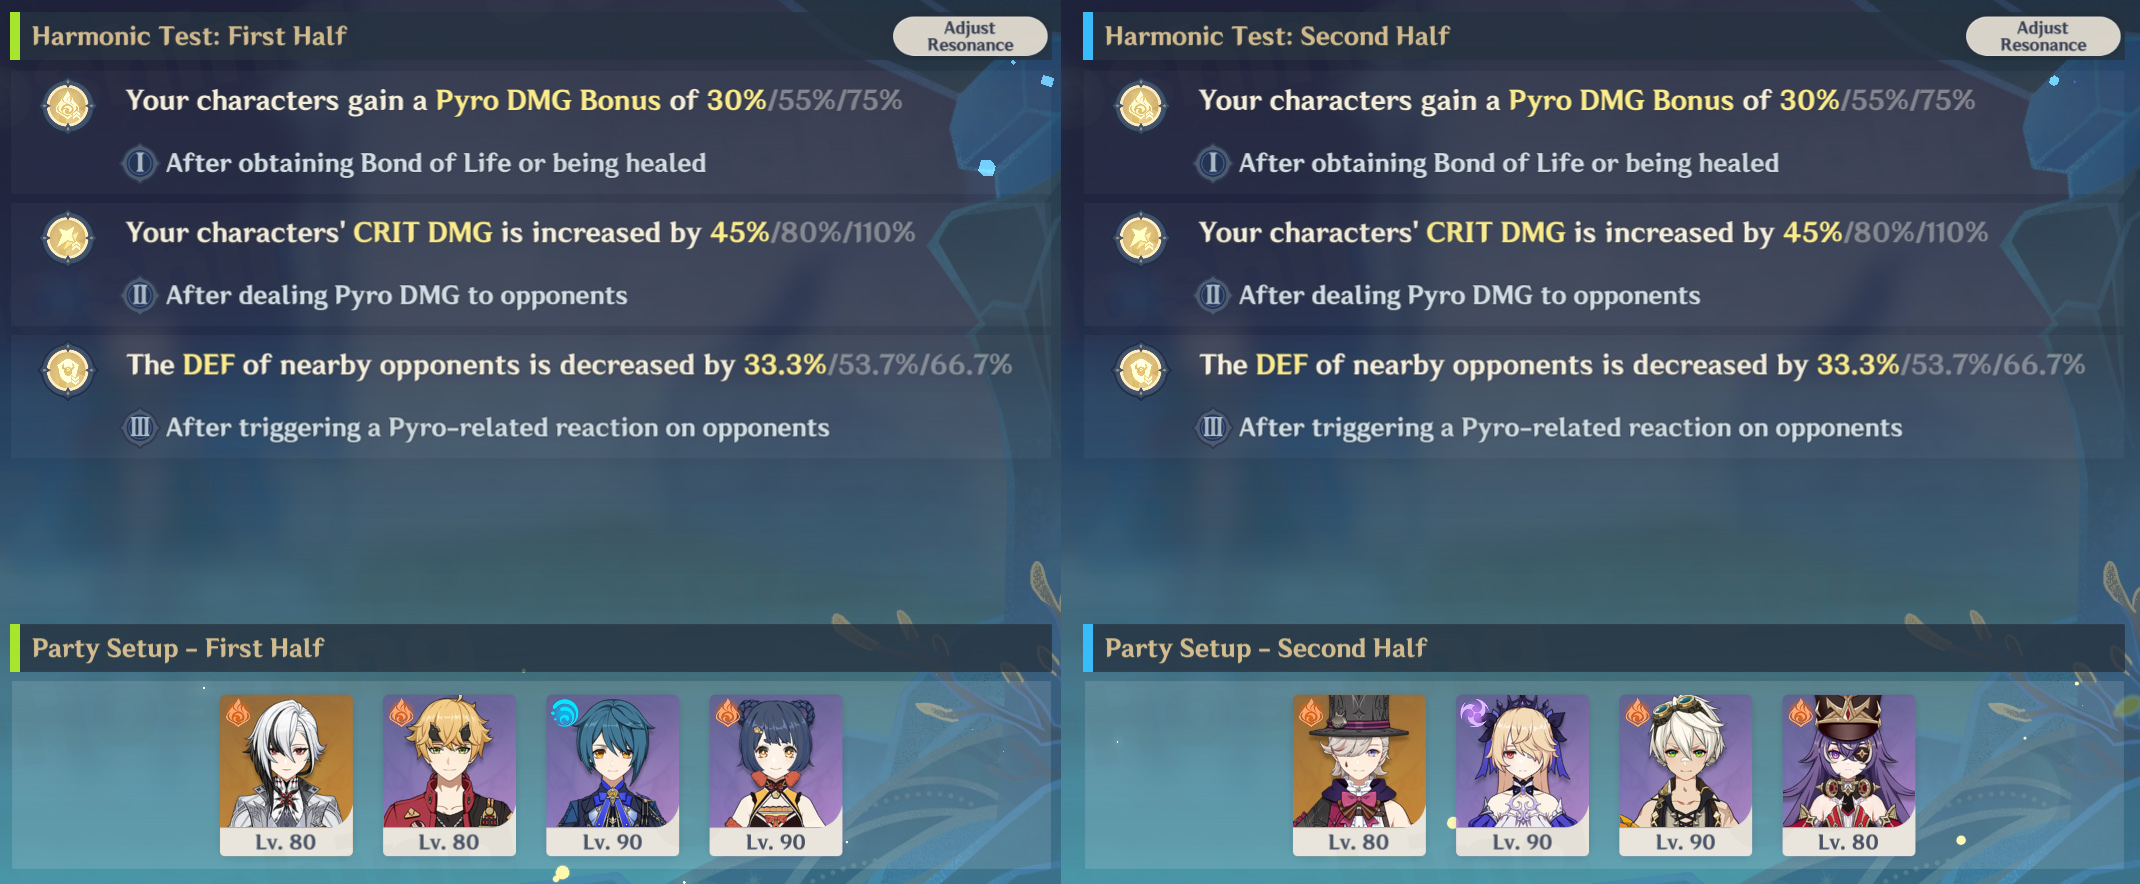
First Half: Trial Arlecchino + Trial Thoma + Xingqiu + Xiangling
Arlecchino can go with many reactions, but let's go with the basic reaction (Vaporize) with the most basic characters: Xingqiu and Xiangling. Don't worry about not having enough Energy for Xiangling. Since there are 3 Pyro characters and multiple enemies in each wave, you can practically get 100% Burst uptime for every character (which can be seen in my video above) of course, with enough Energy Recharge stat on them.
Second Half: Trial Lyney + Trial Chevreuse + Fischl + Bennett
Lyney is mostly suitable for Mono Pyro but since they give us Chevreuse, let's go with the Overload team. As long as Bennett is there, it's confirmed that both Lyney and Fischl will deal decent to huge damage.
Some Things to Remember

In the first half, there will be 3 enemies on every wave. With this information, make sure to attack the middle enemies so Xiangling's Burst will hit all enemies instead of just 1 or 2. If you don't remember Arlecchino's mechanic, it's simple: Arle's Skill > Switch to every other character and use their Burst and Skill > Switch back to Arle and use her Charged ATK > Spam her Normal Attacks until her BoL is almost finished > Arle's Burst.
The example can be seen in my video above.

In the second half, things might be a little tight since Lyney is easily staggered when using his Charged Attack but that can be covered by using his Charged Attack fast enough so his Grin-Malkin Hat can taunt enemies. The rotation here is pretty simple: Bennett's Burst and Skill > Fischl's Skill or Burst > Chevreuse's Hold Skill and Burst > Lyney's Charged ATK at least 4 times > Lyney's Burst then Skill > Repeat.
Just a reminder, once you have 5 Prop Surplus stacks, it's better to save your Elemental Skill for enemies with full HP or semi-full HP. The total damage from his Skill and stacks deals really huge damage and it will be a waste if you use them on enemies that are already on the brink of death (although I made the same mistake).
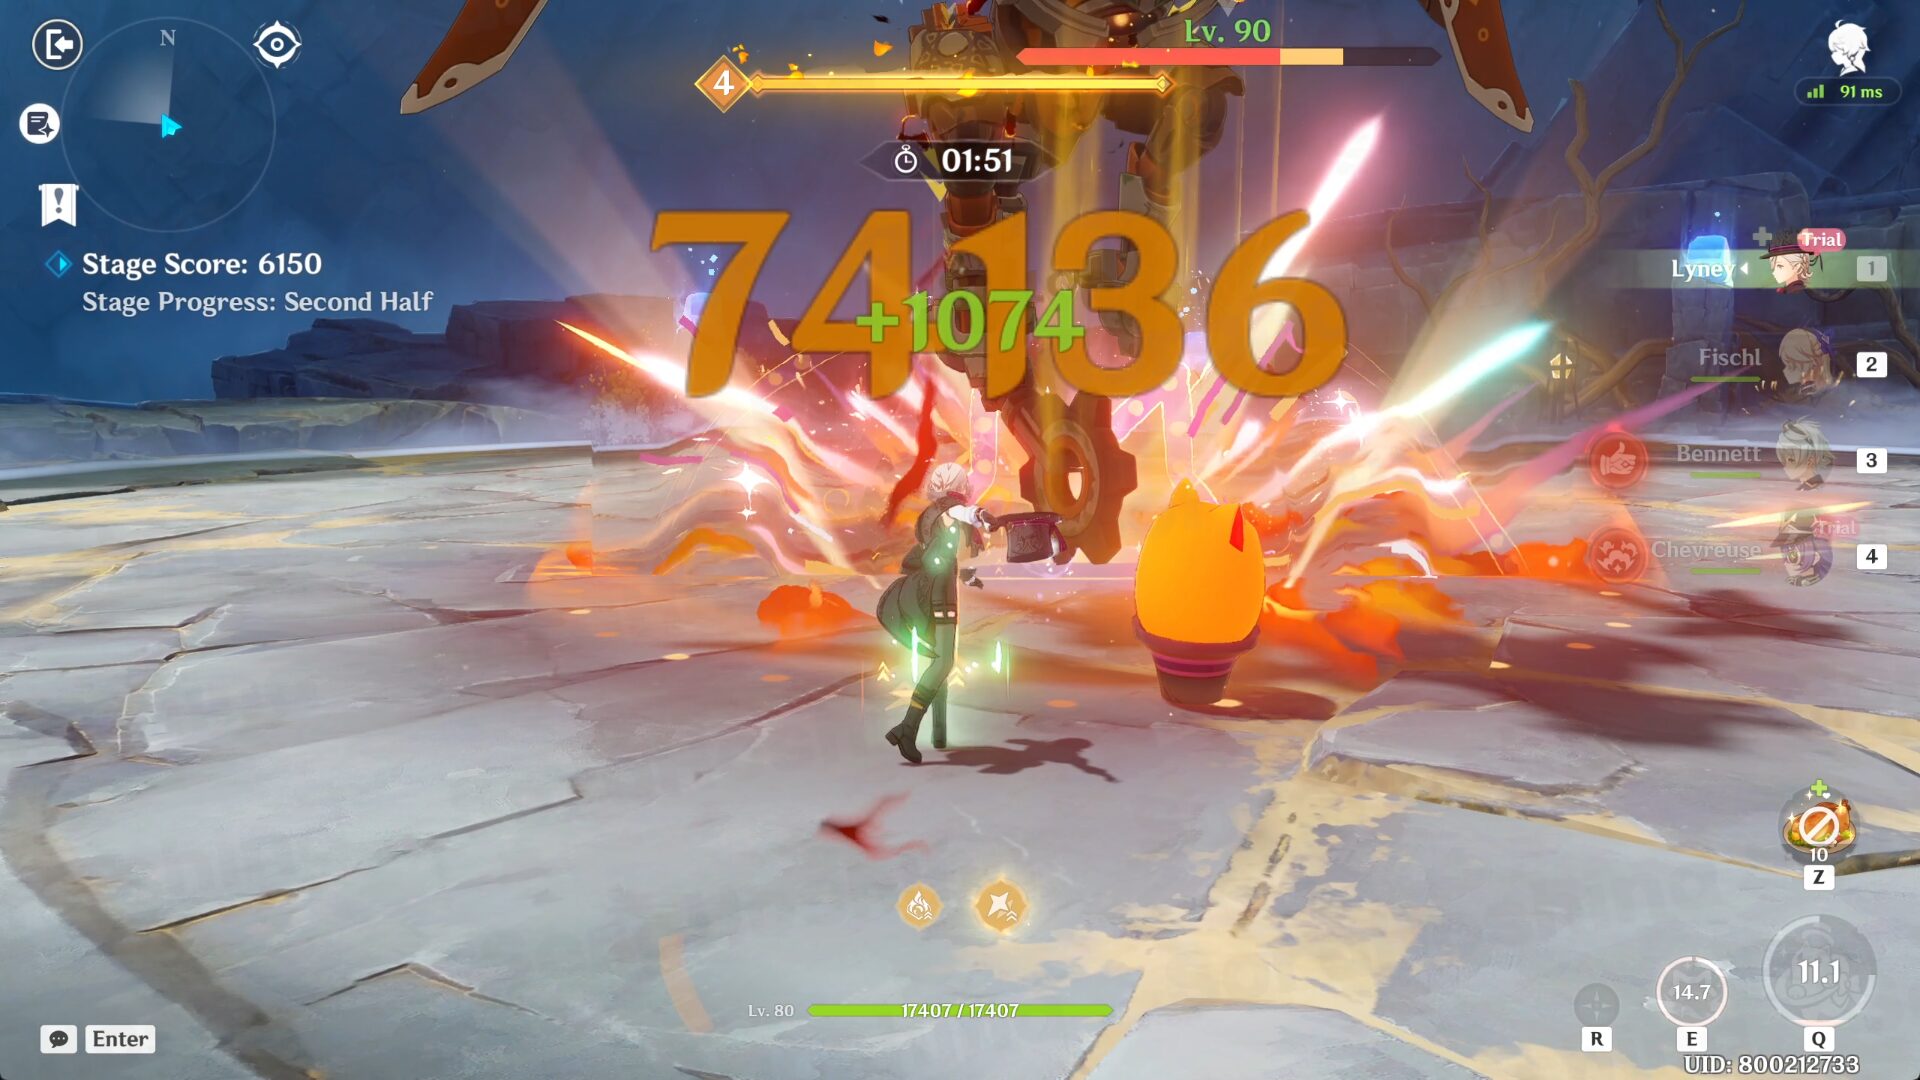
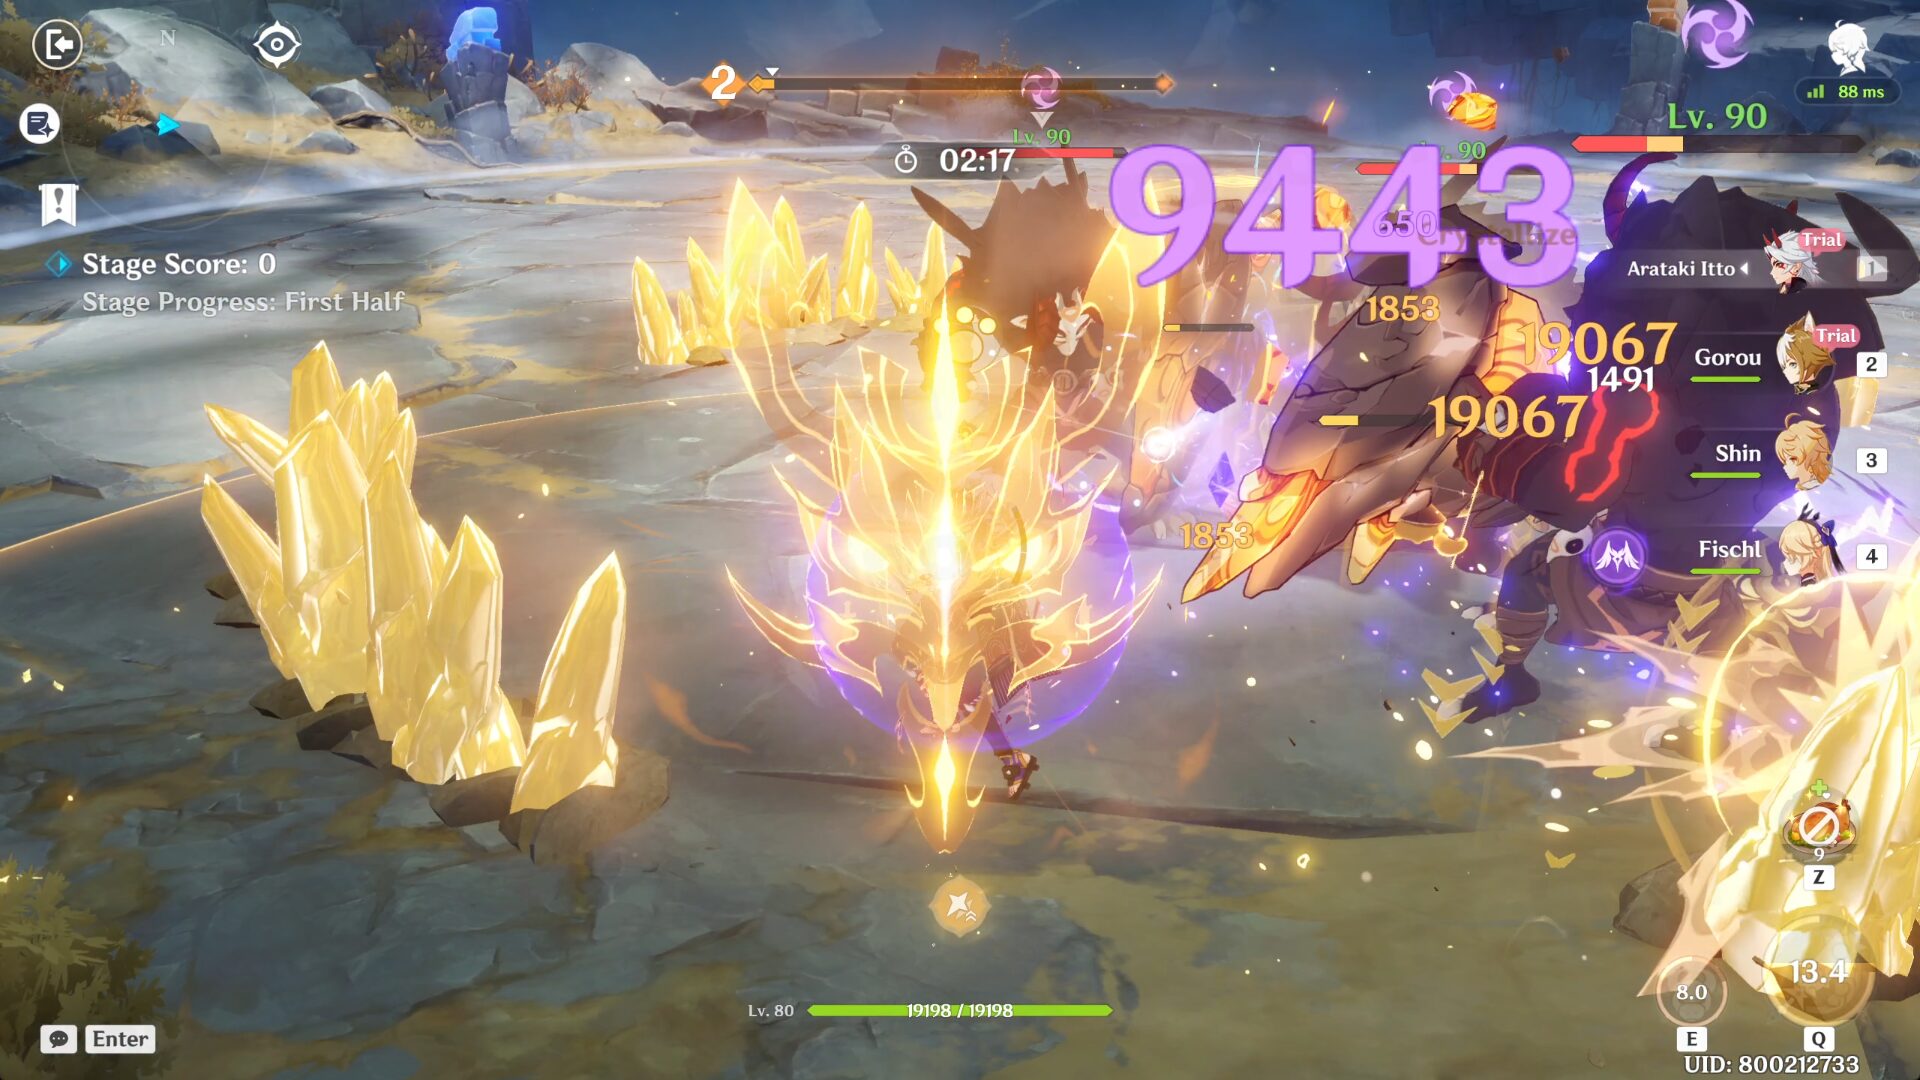
Stage 6: Resonance Vibration Attribution
Stage Effect
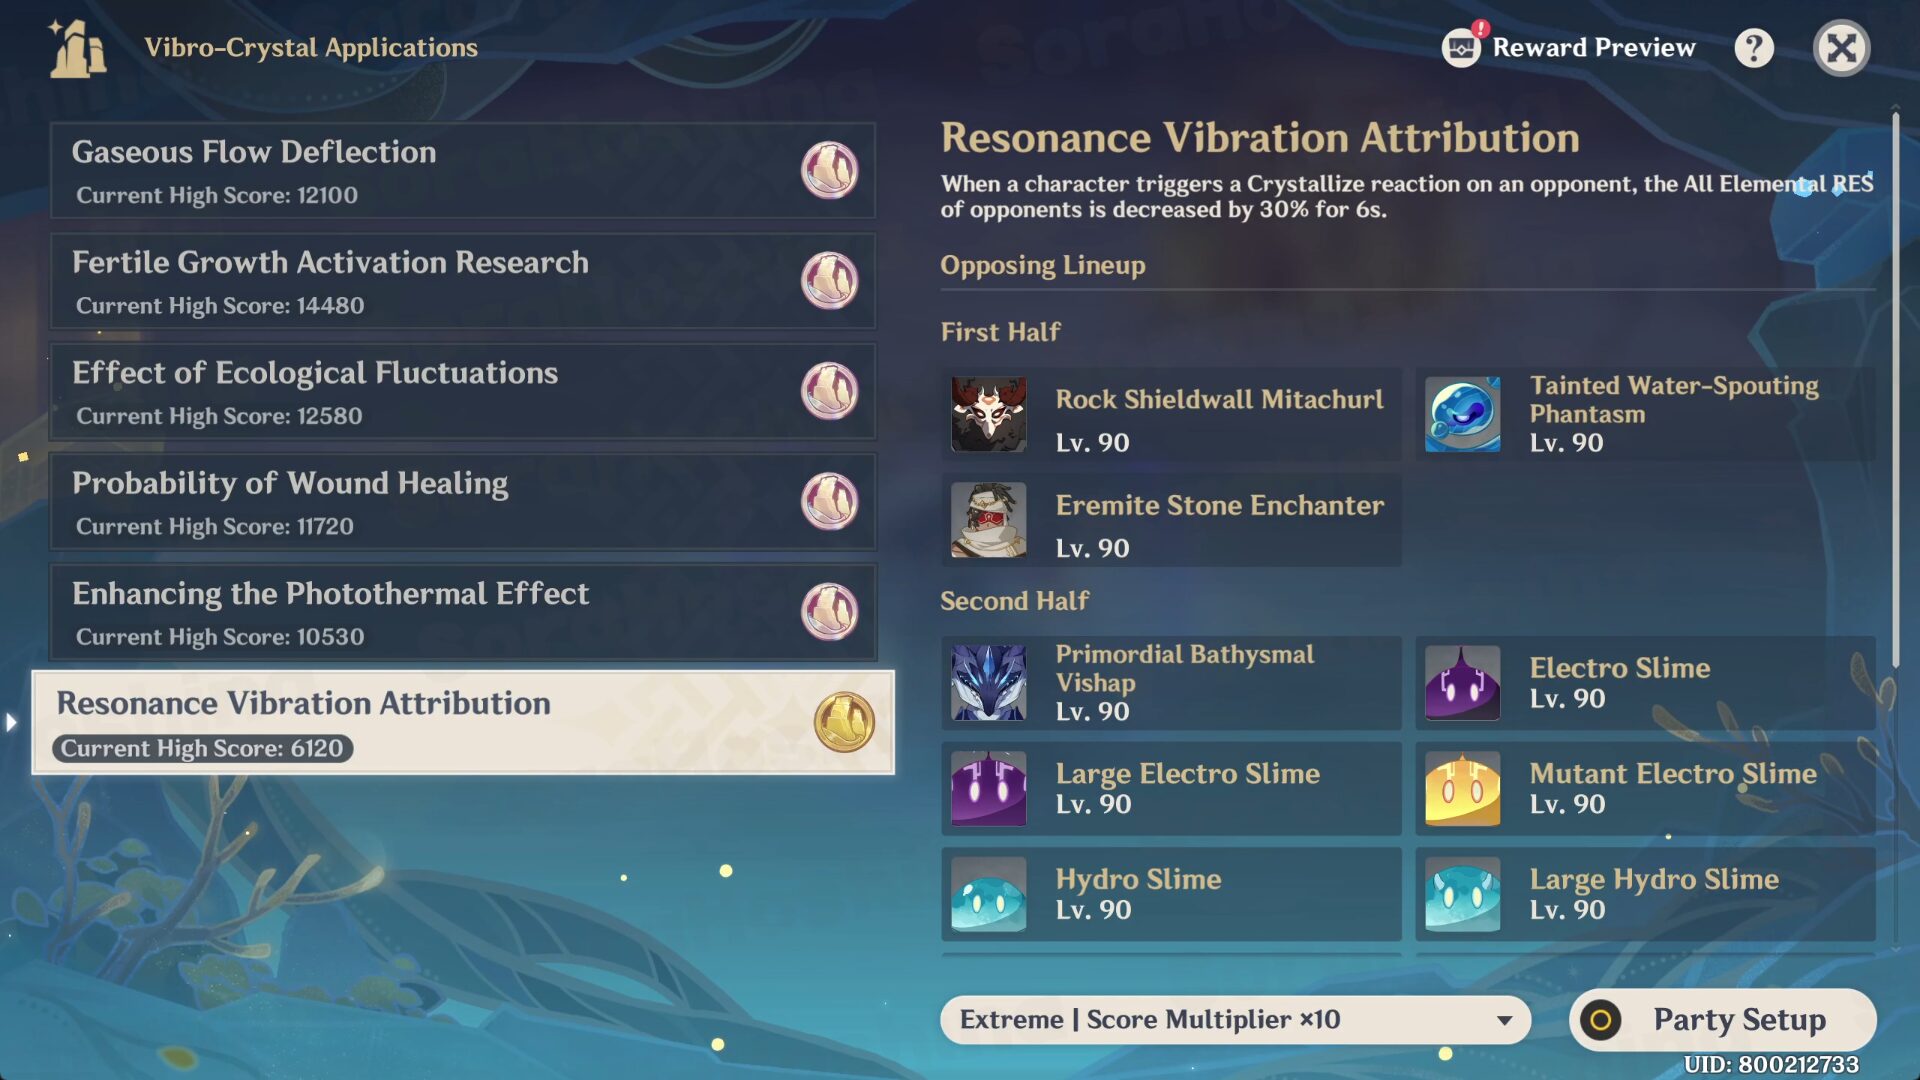
Stage Effect: When a character triggers a Crystallize reaction on an opponent, the All Elemental RES of opponents is decreased by 30% for 6s.
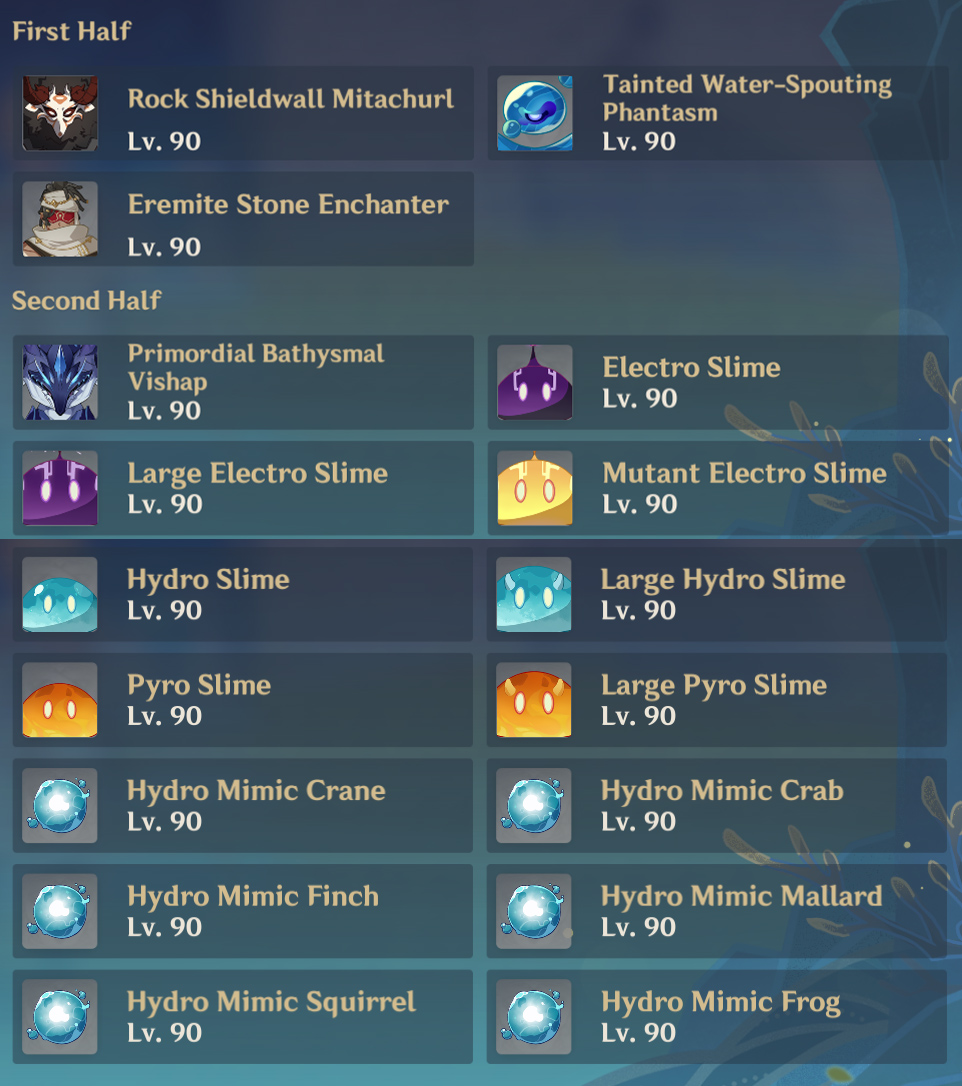
Enemies Lineup
Recommended Teams
I only include 4-star characters (excluding the trial characters) since it'll be easier to follow instead of 5-star characters. If you have a better 5-star character than I recommended, do bring them instead.
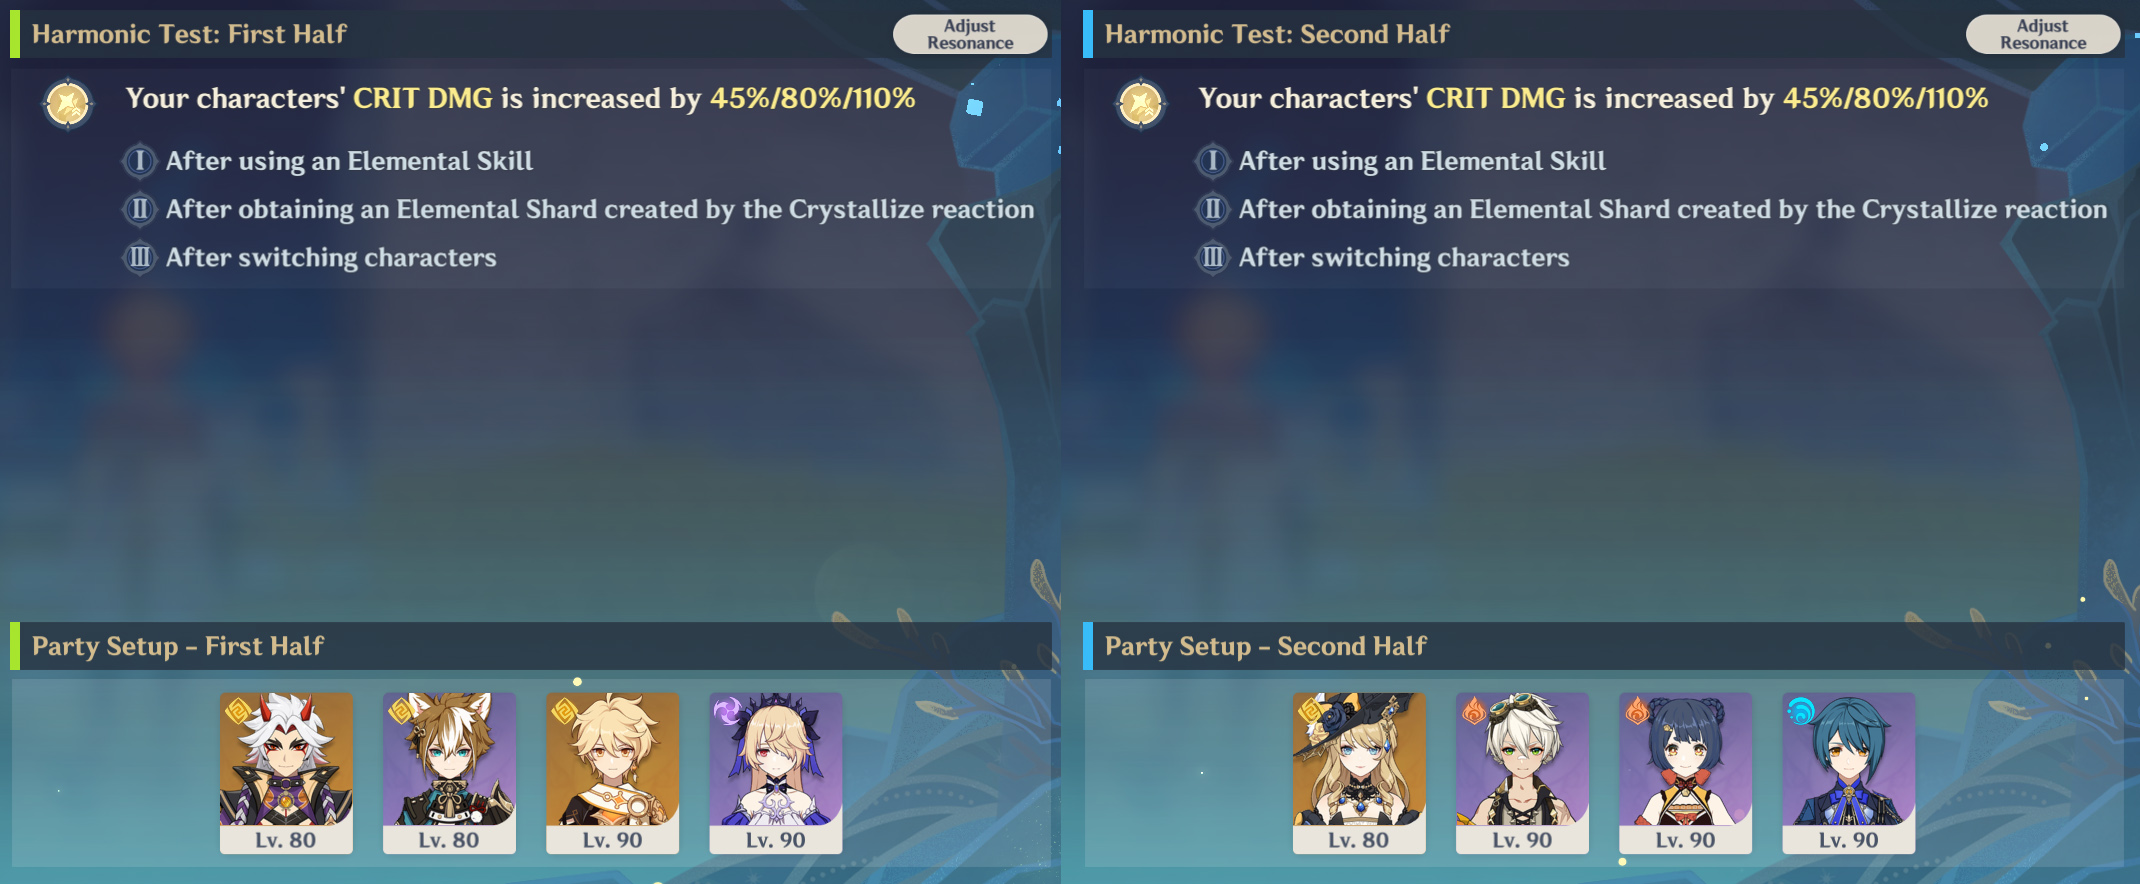
First Half: Trial Itto + Trial Gorou + Geo MC + Fischl
Geo claymore plays an important role here because the Rock Shieldwall Mitachurls have a strong Geo shield that only Geo / claymore / blunt attacks are effective against. So choose either Arataki Itto or Noelle here. I tried both and feel more comfortable with Itto so I will choose him. Then, choose Gorou and another Geo character like Geo MC / Albedo / Chiori / Zhongli. Since I mentioned choosing only a 4-star character, I picked Geo MC here (he's 5* but acted like 4* don't @ with me on this). For the last slot, choose any off-field elemental damage like Fischl so you can trigger the condition 'obtain an Elemental Shard.'
Second Half: Trial Navia + Bennett + Xiangling + Xingqiu
Navia is completely different than Itto because she wants more elements in her team, unlike Itto's Mono-Geo team. That's why bring along many characters that can deal elemental damage off-field. Of course, I would recommend the national team Bennett, Xiangling, and Xingqiu. It's actually better if you have another Geo character so they can help each other out in term of Energy but that's your choice.
Some Things to Remember
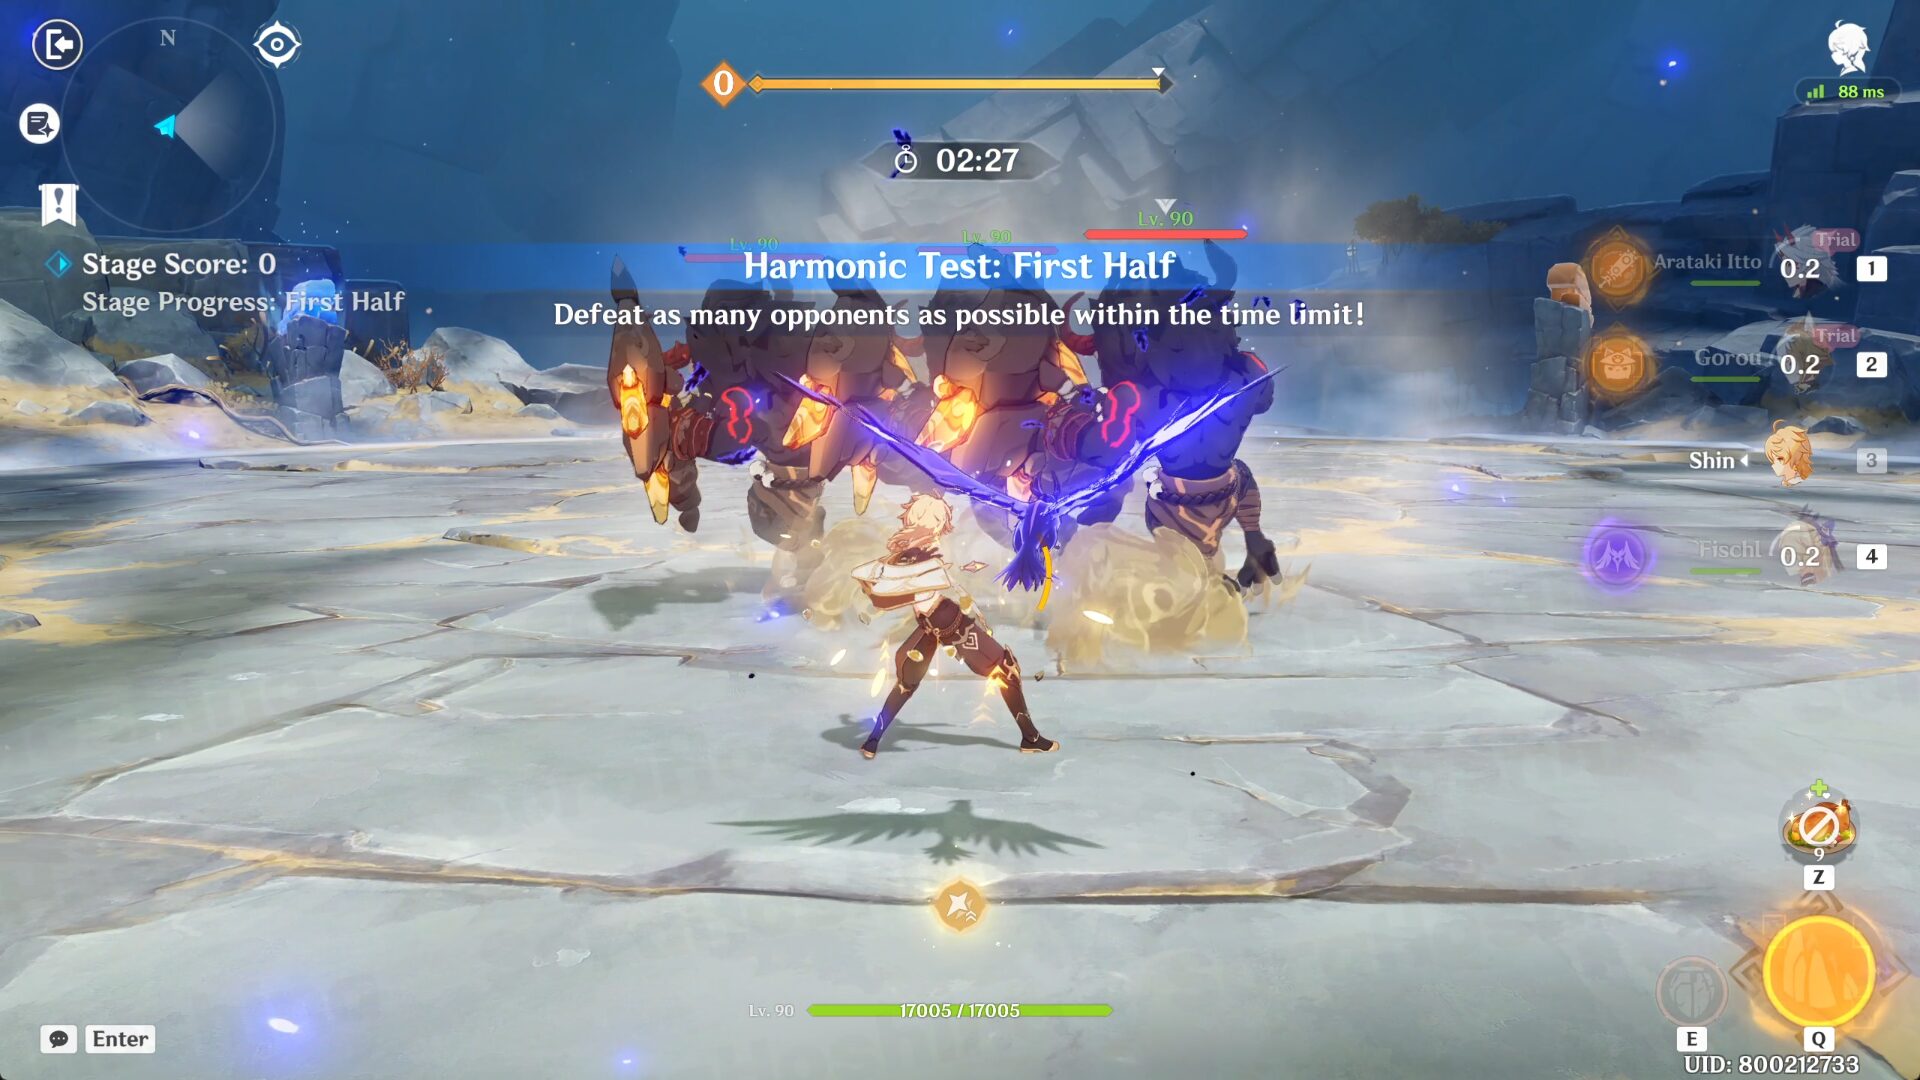
In the first half, once you start the challenge, the 3 Mitachurls will lunge after you with their Geo attacks. I recommend sprinting to the wall behind you so they can be cornered (this is another reason why I choose Geo MC, their Burst is pretty good here). At the wall, make sure your back is facing the edge so if the Mitachurl ties to lunge attack, they will hopefully be stopped by the wall.
I'm new to using Itto so my rotation is pretty bad, but at least it somehow works. If you're an expert in using him, don't follow my rotation below and go with your plan.
Fischl's Skill / Burst > Geo MC's Burst and Skill > Gorou's Burst and Skill > Itto's Burst, Normal ATK and Skill to get Superlative Superstrength, and Charged ATK to use all those stacks.
Just a reminder that my MC has random Emblem artifacts and Sacrificial Sword. He's literally there for his Burst and more Energy.
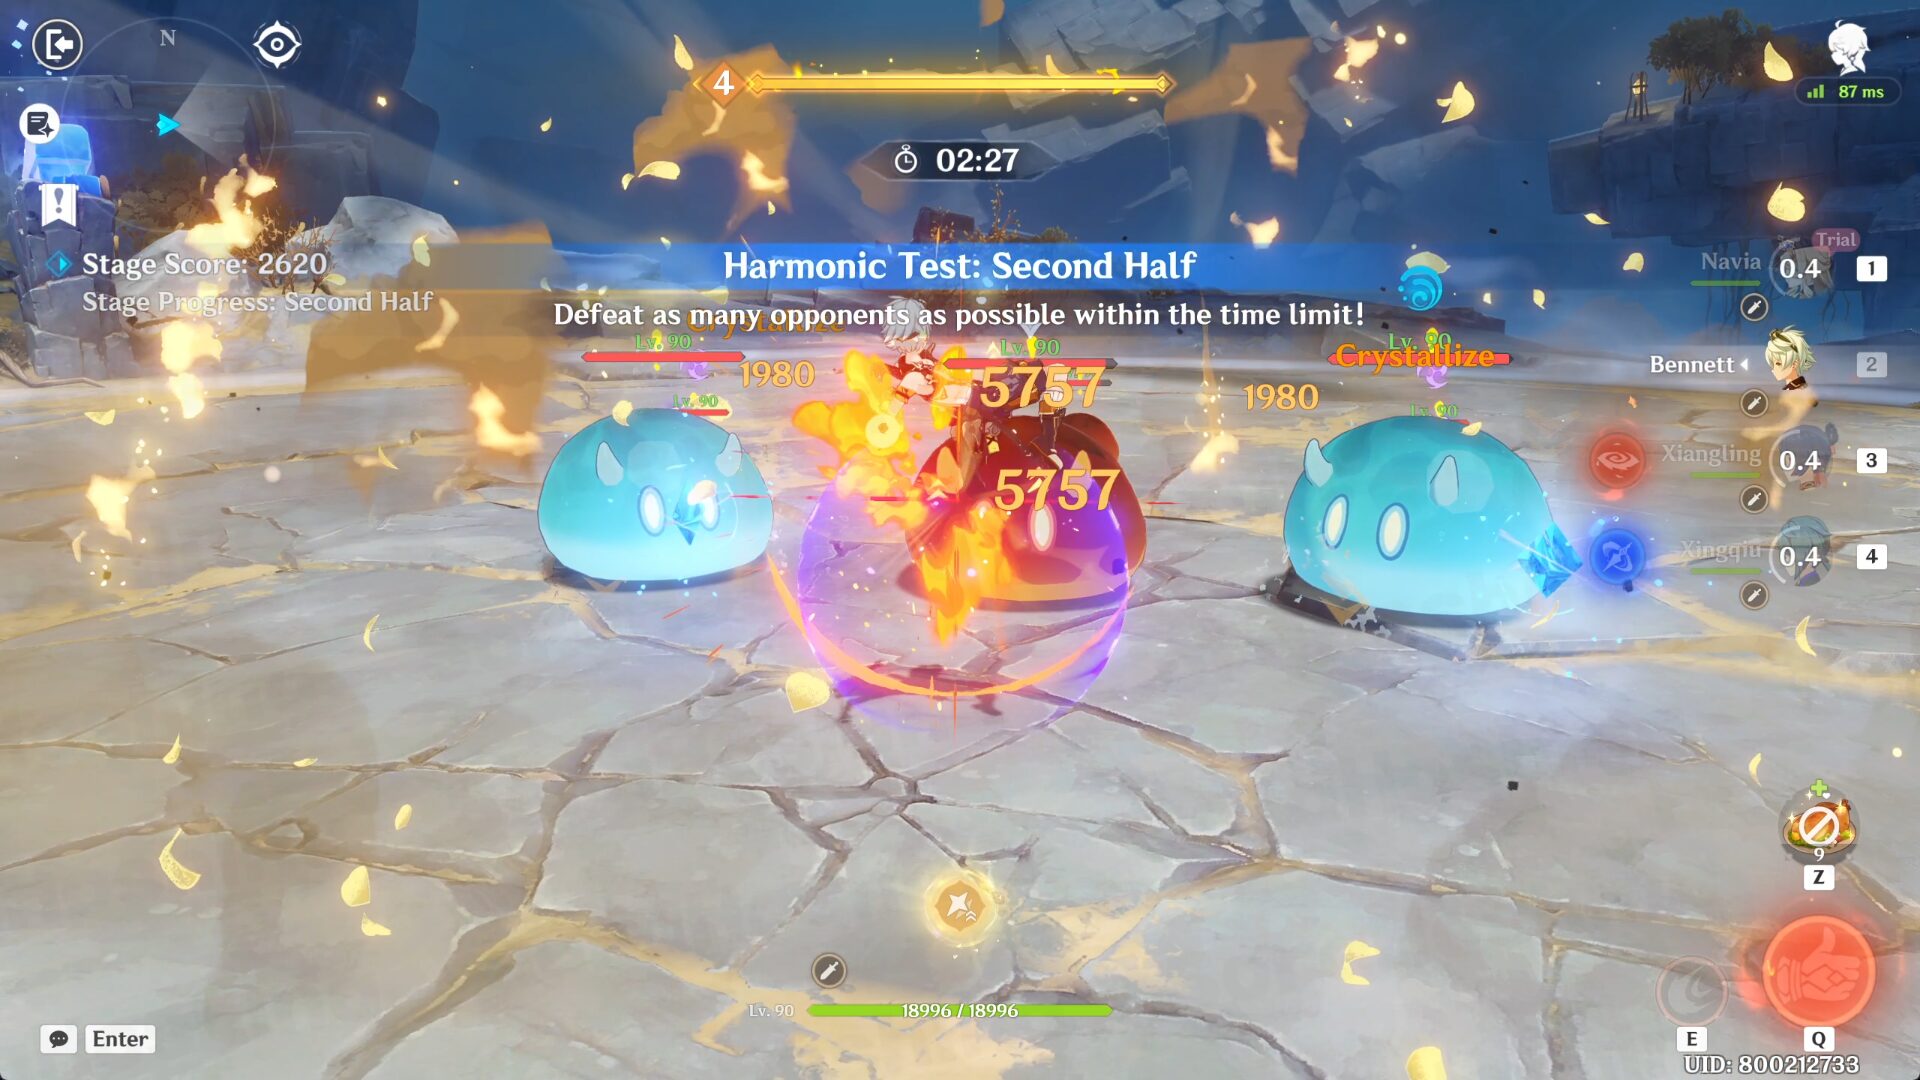
In the second half, Navia's rotation is much easier than Itto's. Once you start the battle, use Navia's Elemental Burst before switching to other characters to use their Bursts and Skill. After you get enough Crystal Shrapnel stacks, tap or hold her Elemental Skill and aim her gunbrella at any enemies in the vicinity. Since there's no second Geo character, it might be a little hard to get back her Burst for the next rotation so beware of that... or just bring along a second Geo character like Albedo or Chiori if you have them.
Gameplay Rewards

➥ Don’t forget to manually claim your rewards from the event page. By completing all the event challenges, you will get the following rewards:
- Primogem x 420
- Mora x 370000
- Hero's Wit x 12
- Lustrous Stone from Guyun x 6
- Mystic Enhancement Ore x 18
- Mist Veiled Mercury Elixir x 6
- Piece of Aerosiderite x 6
- Adventurer's Experience x 4

Sora
Articles: 327More Articles
Genshin Impact: Reminiscent Regimen: Thrill Event Guide
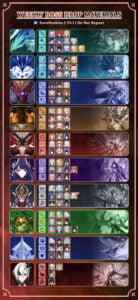
Genshin Impact: Spiral Abyss V5.1 Floor 12 Complete Guide
Genshin Impact: Spiral Abyss V5.1 Floor 11 Complete Guide
Genshin Impact: Xilonen Quick Character Guide
Xilonen Team Compositions
Genshin Impact: Talent Level-Up Materials Chart (Updated V5.1)
Genshin Impact: All New Achievements in Version 5.1
Genshin Impact: Envisaged Echoes Keqing Guide
Genshin Impact: Envisaged Echoes Zhongli Guide
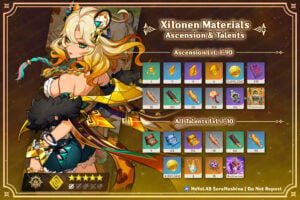
Genshin Impact: Xilonen Ascension and Talent Materials
Genshin Impact Codes – October 2024
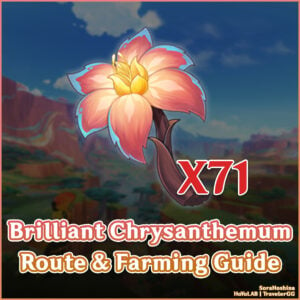
Genshin Impact: Brilliant Chrysanthemum Route & Farming Guide
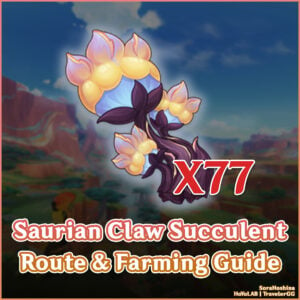
Genshin Impact: Saurian Claw Succulent Route & Farming Guide
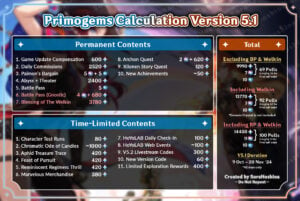
Genshin Impact: Primogems Calculation Version 5.1
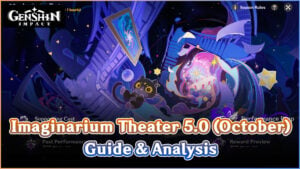
Genshin Impact: Imaginarium Theater Version 5.0 October Guide

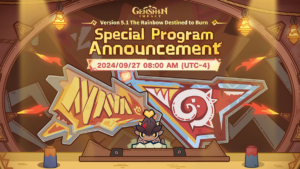
Genshin Impact 5.1 Special Program Livestream Overview
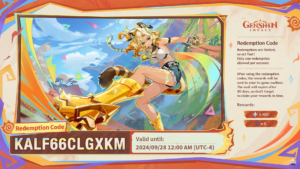
3 New Redemption Codes from 5.1 Special Program
Genshin Impact 5.1 Livestream Countdown
Genshin Impact: Version 5.0 Tier List (September 2024)