Table of Contents
Barbara is a free 4-star character, acting as a Hydro healer in the team. At higher constellations, she can even revive a character which is extremely beneficial in the end-game.
This guide is based on the Community Character Builds by the Genshin Helper Team.
Talent Priorities
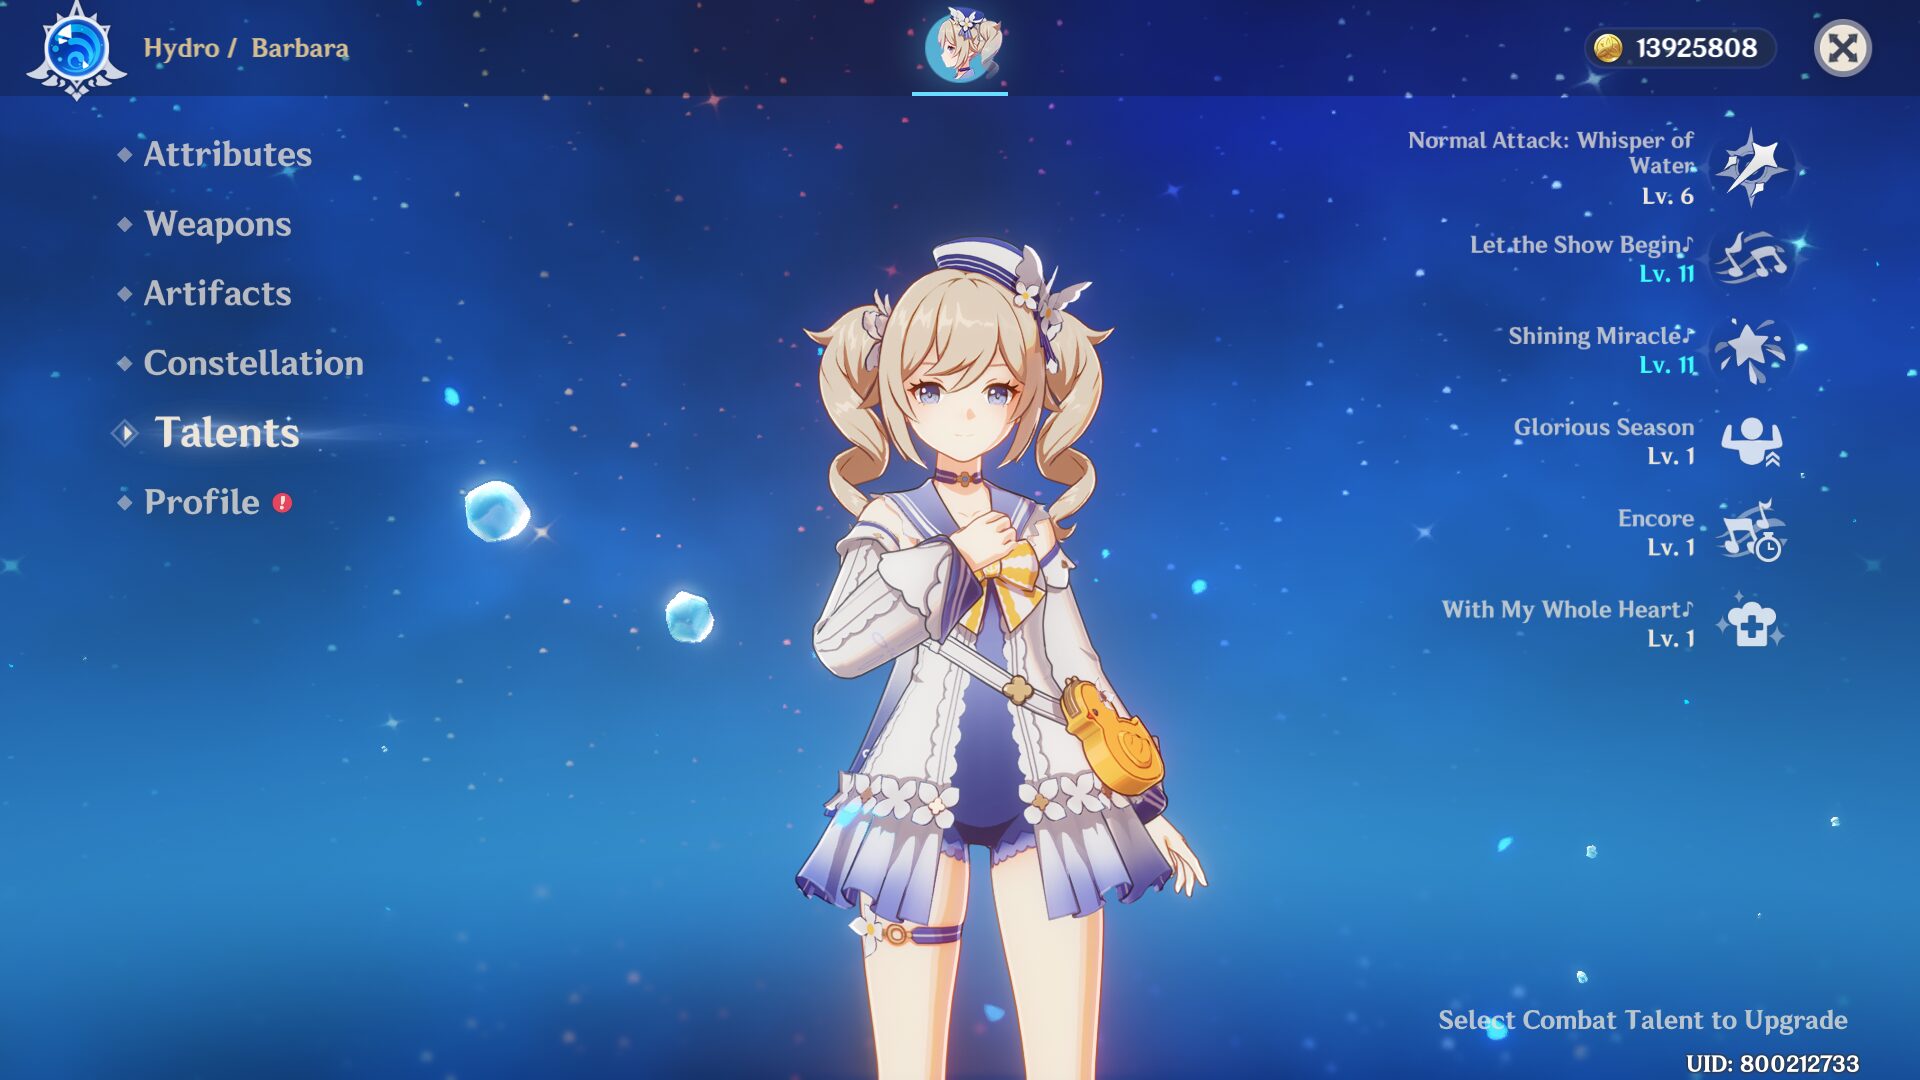
Skill > Burst
Constellations

Best Constellations: C2 & C6
C1: Gleeful Songs
Barbara regenerates 1 Energy every 10s.
C2: Vitality Burst ⭐
Decreases the CD of Let the Show Begin♪ by 15%.
During the ability's duration, your active character gains a 15% Hydro DMG Bonus.
C3: Star of Tomorrow
Increases the Level of Shining Miracle♪ by 3.
Maximum upgrade level is 15.
C4: Attentiveness Be My Power
Every opponent Barbara hits with her Charged Attack regenerates 1 Energy for her.
A maximum of 5 energy can be regenerated in this manner with any one Charged Attack.
C5: The Purest Companionship
Increases the Level of Let the Show Begin♪ by 3.
Maximum upgrade level is 15.
C6: Dedicating Everything to You ⭐
When Barbara is in the party but not on the field, and one of your own party members falls:
Automatically revives the fallen character.
Fully restores the revived character's HP to 100%.
This effect can only occur once every 15 mins.
Role 1: Support
Use Elemental Skill and/or Elemental Burst and immediately switch. Building ER is NOT recommended for Support Barbara as her burst should be used as a last resort and should not be expected to be cast every rotation. This is further compounded by the fact that Barbara has no particle generation.
Barbara's skill gives you a pulse of healing every 5 seconds, every pulse will imbue you with a Hydro status, which means it can be used for status-cleansing (Pyro in specific, while other elements may take more pulses).
Take note that Hydro reacting with Cryo status will freeze you in place, her skill should be used in consideration of the environment
Recommended Weapons
- Thrilling Tales of Dragon Slayers (3✩)
- Everlasting Moonglow (5✩)*
- Prototype Amber (4✩)
- Favonius Codex (4✩)
1) Thrilling Tales of Dragon Slayers (ATK: 401 • HP: 35.2%)
When switching characters, the new character taking the field has their ATK increased by 24/30/36/42/48% for 10s. This effect can only occur once every 20s.

2) Everlasting Moonglow (ATK: 608 • HP: 49.6%)
Healing Bonus increased by 10/12.5/15/17.5/20%, Normal Attack DMG is increased by 1/1.5/2.0/2.5/3.0% of the Max HP of the character equipping this weapon. For 12s after using an Elemental Burst, Normal Attacks that hit opponents will restore 0.6 Energy. Energy can be restored this way once every 0.1s
Note: For Electro-Charged teams, this weapon will provide the highest personal damage for Barbara. However, Thrilling Tales of Dragon Slayers will still provide the highest team damage due to its 48 ATK% buff.
3) Prototype Amber (ATK: 510 • HP: 41.3%)
Using an Elemental Burst regenerates 4/4.5/5/5.5/6 Energy every 2s for 6s. Additionally, all party members will regenerate 4/4.5/5/5.5/6% HP every 2s for this duration.
4) Favonius Codex (ATK: 510 • Energy Recharge: 45.9%)
CRIT Hits have a 60/70/80/90/100% chance to generate a small amount of Elemental Particles, which will regenerate 6 Energy for the character. Can only occur once every 12/10.5/9/7.5/6s.
Recommended Artifacts
- Ocean-Hued Clam (4)
- Maiden Beloved (4)
- +15% Healing Bonus (2) set / +20% HP (2) set [Choose Two]
- Instructor (4)*

1) Ocean-Hued Clam
2-Piece Bonus: Healing Bonus +15%.
4-Piece Bonus: When the character equipping this artifact set heals a character in the party, a Sea-Dyed Foam will appear for 3 seconds, accumulating the amount of HP recovered from healing (including overflow healing).
At the end of the duration, the Sea-Dyed Foam will explode, dealing DMG to nearby opponents based on 90% of the accumulated healing.
(This DMG is calculated similarly to Reactions such as Electro-Charged, and Superconduct, but it is not affected by Elemental Mastery, Character Levels, or Reaction DMG Bonuses).
Only one Sea-Dyed Foam can be produced every 3.5 seconds.
Each Sea-Dyed Foam can accumulate up to 30,000 HP (including overflow healing).
There can be no more than one Sea-Dyed Foam active at any given time.
This effect can still be triggered even when the character who is using this artifact set is not on the field.
Note: This set is often the best option for support Barbara, as it provides healing bonus along with some personal damage through Clam procs.

2) Maiden Beloved
2-Piece Bonus: Character Healing Effectiveness +15%
4-Piece Bonus: Using an Elemental Skill or Burst increases healing received by all party members by 20% for 10s.

3) +15% Healing Bonus (2) set / +20% HP (2) set

4) Instructor
2-Piece Bonus: Increases Elemental Mastery by 80
4-Piece Bonus: After causing an elemental reaction, increases all party members' Elemental Mastery by 120 for 8s
Note: The Hydro application from Elemental Skill can be used to trigger an elemental reaction and provide a teamwide Elemental Mastery buff.
| Artifact Main Stats | Artifact Sub Stats |
|---|---|
| Sands - HP% Goblet - HP% Circlet - Healing Bonus | HP% Flat FP |
Role 2: Bloom DPS
This build is specifically for Bloom teams where Barbara is the character intended to trigger the majority of Blooms.
Recommended Weapons
- A Thousand Floating Dreams (5✩)
- Sacrificial Fragments (4✩)
- Magic Guide (3✩)

1) A Thousand Floating Dreams (ATK: 542 • Elemental Mastery: 265)
Party members other than the equipping character will provide the equipping character with buffs based on whether their Elemental Type is the same as the latter or not. If their Elemental Types are the same, increase Elemental Mastery by 32/40/48/56/64. If not, increase the equipping character's DMG Bonus from their Elemental Type by 10/14/18/22/26%. Each of the aforementioned effects can have up to 3 stacks. Additionally, all nearby party members other than the equipping character will have their Elemental Mastery increased by 40/42/44/46/48. Multiple such effects from multiple such weapons can stack.
2) Sacrificial Fragments (ATK: 454 • Elemental Mastery: 221)
After damaging an opponent with an Elemental Skill, the skill has a 40/50/60/70/80% chance to end its own CD. Can only occur once every 30/26/22/19/16s.
3) Magic Guide (ATK: 354 • Elemental Mastery: 187)
Increases DMG against opponents affected by Hydro or Electro by 12/15/18/21/24%.
Recommended Artifacts
- Flower of Paradise Lost (4)
- Gilded Dreams (4)
- +80 EM set (2) +80 EM set (2)
- Ocean-Hued Clam (4)*

1) Flower of Paradise Lost
2-Piece Bonus: Elemental Mastery +80
4-Piece Bonus: The equipping character's Bloom, Hyperbloom, and Burgeon reaction DMG are increased by 40%. Additionally, after the equipping character triggers Bloom, Hyperbloom, or Burgeon, they will gain another 25% bonus to the effect mentioned prior. Each stack of this lasts 10s. Max 4 stacks simultaneously. This effect can only be triggered once per second. The character who equips this can still trigger its effects when not on the field.

2) Gilded Dreams
2-Piece Bonus: Elemental Mastery +80
4-Piece Bonus: Within 8s of triggering an Elemental Reaction, the character equipping this will obtain buffs based on the Elemental Type of the other party members, ATK is increased by 14% for each party member whose Elemental Type is the same as the equipping character, and Elemental Mastery is increased by 50 for every party member with a different Elemental Type. Each of the aforementioned buffs will count up to 3 characters. This effect can be triggered once every 8s. The character who equips this can still trigger its effects when not on the field.
3) +80 EM set (2) +80 EM set (2)
4) Ocean-Hued Clam
2-Piece Bonus: Healing Bonus +15%.
4-Piece Bonus: When the character equipping this artifact set heals a character in the party, a Sea-Dyed Foam will appear for 3 seconds, accumulating the amount of HP recovered from healing (including overflow healing).
At the end of the duration, the Sea-Dyed Foam will explode, dealing DMG to nearby opponents based on 90% of the accumulated healing.
(This DMG is calculated similarly to Reactions such as Electro-Charged, and Superconduct, but it is not affected by Elemental Mastery, Character Levels, or Reaction DMG Bonuses).
Only one Sea-Dyed Foam can be produced every 3.5 seconds.
Each Sea-Dyed Foam can accumulate up to 30,000 HP (including overflow healing).
There can be no more than one Sea-Dyed Foam active at any given time.
This effect can still be triggered even when the character who is using this artifact set is not on the field.
Note: This set can do more damage than other options in certain situations, while also increasing Barbara's healing to deal with Bloom self-damage.
| Artifact Main Stats | Artifact Sub Stats |
|---|---|
| Sands - Elemental Mastery Goblet - Elemental Mastery Circlet - Elemental Mastery | Elemental Mastery Energy Recharge |
Team Compositions
Any Other Teams
Barbara: Healer
Anyone as Main DPS
Anyone as Sub-DPS
Anyone as Support
Electro-Charged (Taser) Team
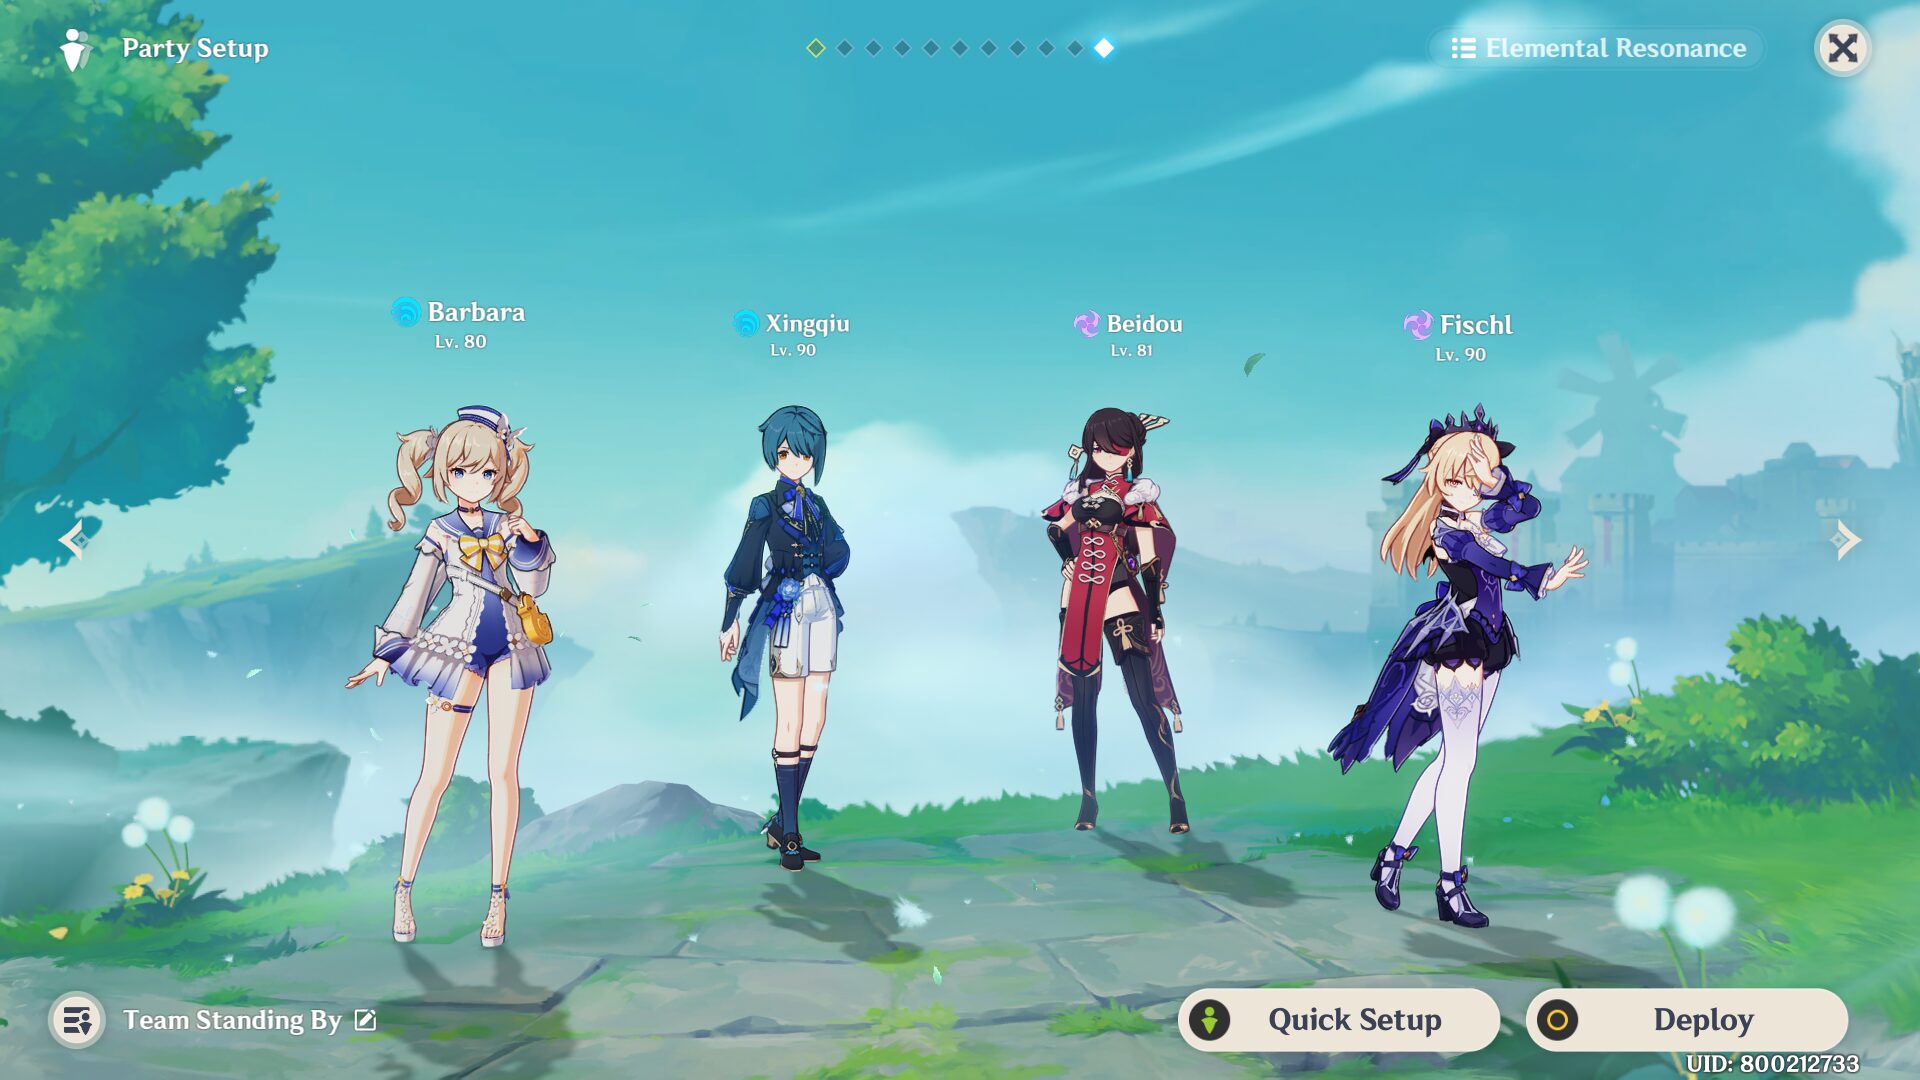
Barbara: Healer + Driver
Xingqiu: Off-field DPS + Hydro application
Beidou: Electro application
Fischl: Off-field DPS + Electro application
Bounty / Bloom Team
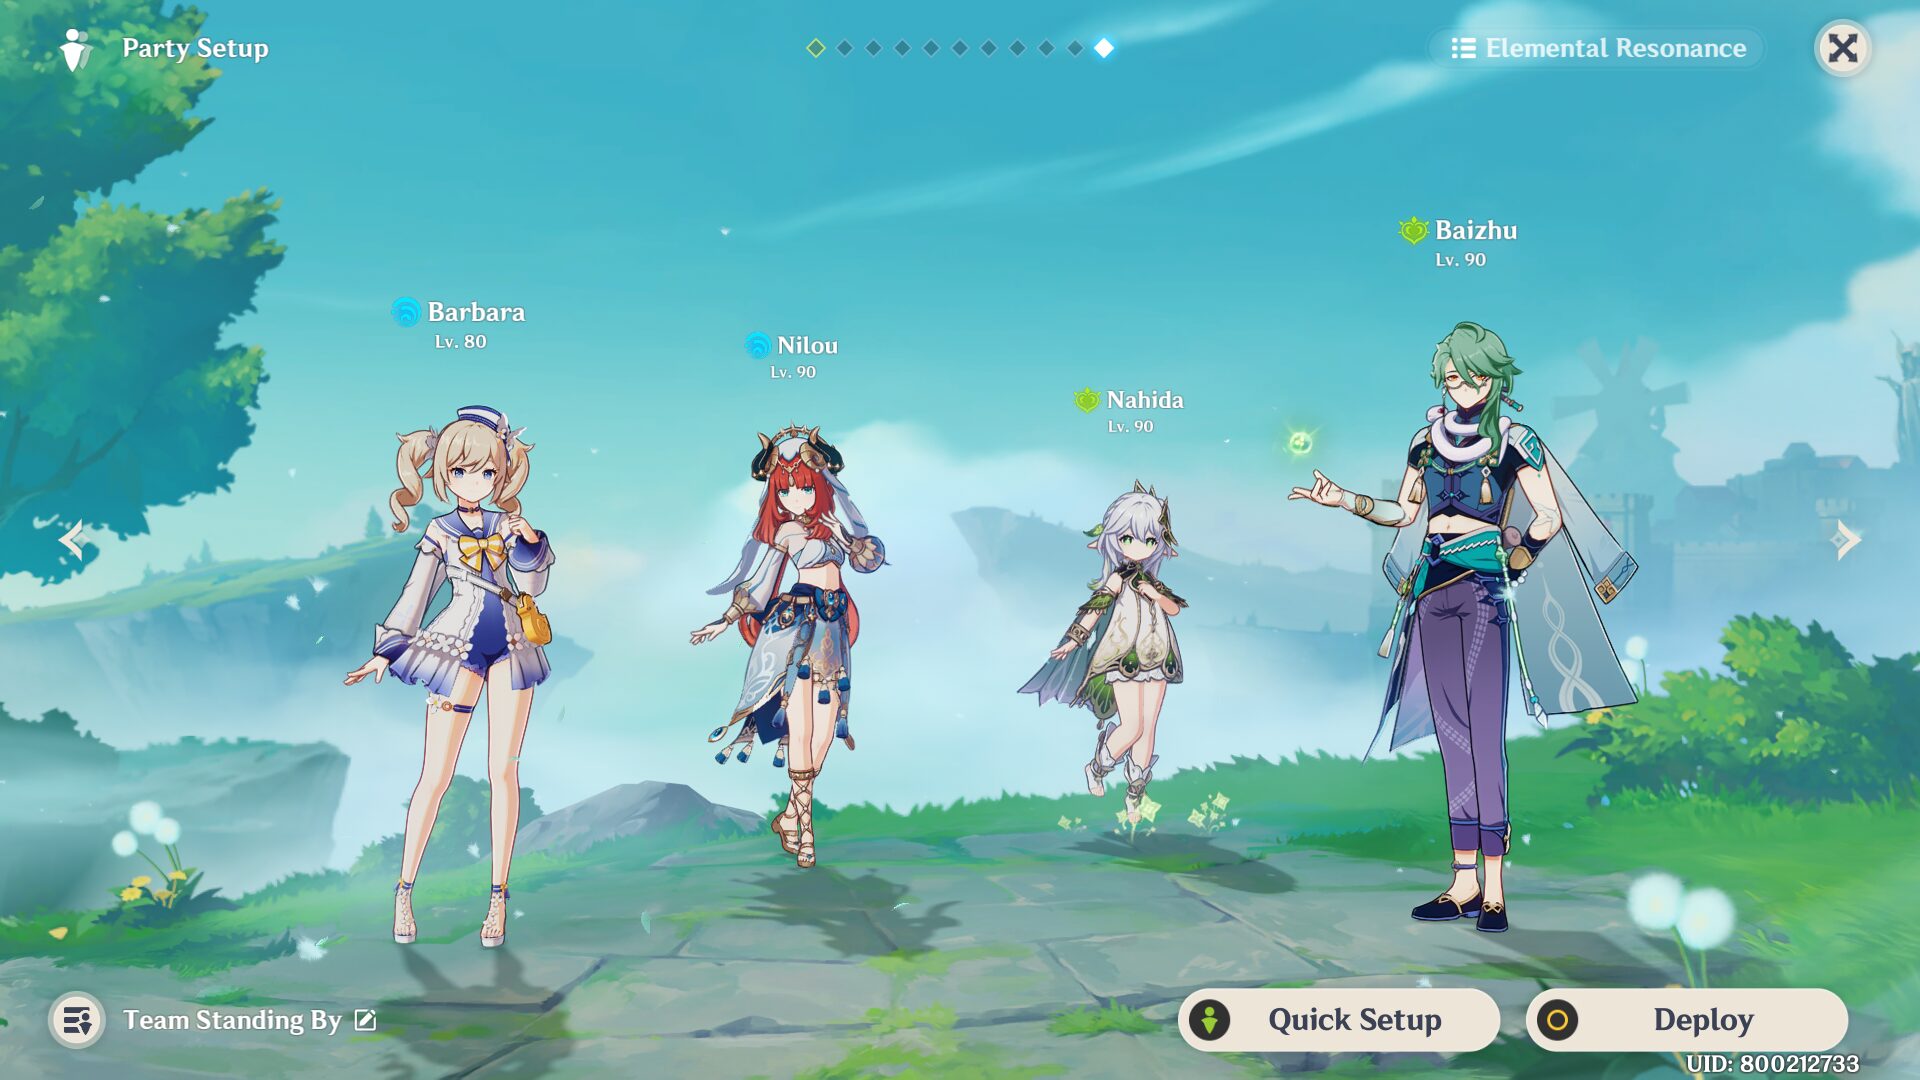
Barbara: Bloom triggers
Nilou: Bounty Bloom master
Nahida: Dendro application
Baizhu / Kokomi / Yaoyao: Healer

Sora
Articles: 233More Articles

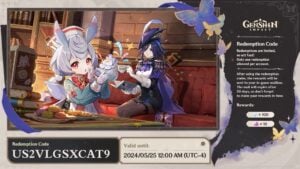
Genshin Impact Codes – July 2024
Sigewinne Team Compositions

Genshin Impact: Version 4.7 Tier List (July 2024)

Genshin Impact: Sigewinne Quick Character Guide
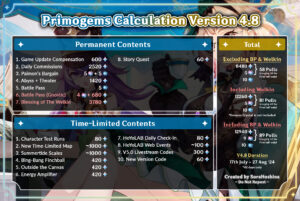
Genshin Impact: Primogems Calculation Version 4.8
Arlecchino Team Compositions

Baizhu Team Compositions
Wanderer Team Compositions
Alhaitham Team Compositions

Genshin Impact: Spiral Abyss V4.7 Floor 12 Complete Guide

Genshin Impact: Spiral Abyss V4.7 Floor 11 Complete Guide
Genshin Impact: Thoma Quick Character Guide

Genshin Impact: Sethos Quick Character Guide
Genshin Impact: Alhaitham Quick Character Guide

Genshin Impact: Clorinde Quick Character Guide
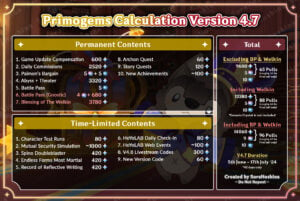
Genshin Impact: Primogems Calculation Version 4.7

Genshin Impact 4.7 Special Program Livestream Overview
3 New Redemption Codes from 4.7 Special Program
Genshin Impact 4.7 Livestream Countdown
