Table of Contents

The last floor is here with lots of bosses as opponents! There are a lot of bosses in 4.5 Abyss and some mobs for you to face. Continue reading this guide for the full analysis of Floor 12 in the Spiral Abyss.
Blessing of the Abyssal Moon
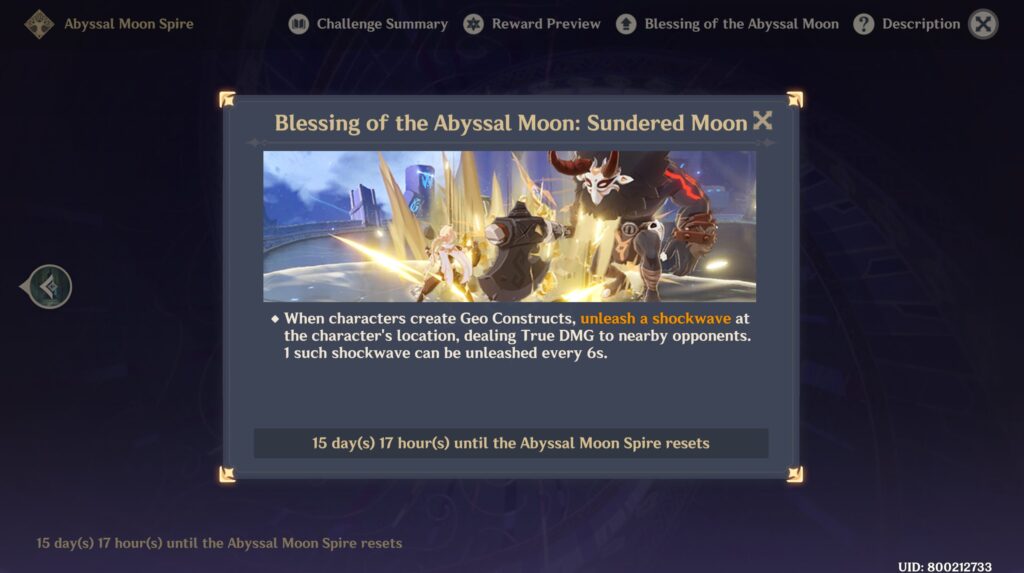
Reminder: Blessing of the Abyssal Moon will change every refresh cycle and may not be updated here. But the enemies list and strategy will remain the same.
When characters create Geo Constructs, a shockwave is unleashed at the character's location, dealing True DMG to nearby opponents. Such a shockwave can only be unleashed once every 6s.
Team Recommendations
Ley Line Disorder:
For this floor only, the Let Line flow will be normal.
General Tips:
If the floor is too hard for you, don’t forget that changing teams is an option. Although you need to start from Chamber 1, at least you don’t have to worry about stars for the Chamber you already completed.
- In the First Half, there are quite a lot of mobs here with the exception of chamber 3. So both AoE and single-target DPS are good here. But, I recommend bringing a single-target DPS with an Anemo CC. In terms of elements, most elements are good except:
- Cryo because Coppelia in the 3rd chamber has high Cryo RES.
- Physical because the Black Serpent Knight in the 2nd chamber has high Physical RES.
- Aside from the mentioned elements above, try not to bring a shielder but a healer instead. This is because the Black Serpent enemies in the 2nd chamber can get a buff if they attack shielded characters. Yes, those buffs are at the cost of reducing their health, but it's not worth fighting their buff states. For example:
- Crystallize Team: Navia + Chiori/Albedo + Bennett + Xiangling
- Hypercarry Team: Neuvillette + Furina + Jean/Baizhu + Kazuha
- Hyperbloom Team: Neuvillette + Nahida + Yae Miko + Baizhu
- Freeze Team: Neuvillette + Furina + Kazuha + Charlotte
- National Team: Tartaglia/Raiden + Bennett + Xiangling + Kazuha
- In the Second Half, all of your enemies are a single boss on each floor so I highly recommend using a single-target DPS. Some of the not recommended elements are:
- Dendro is not recommended here because Jadeplume boss in chamber 1 has high resistance to it.
- Physical because the PMA in chamber 2 has high resistance to Physical damage.
- Freeze reaction because all bosses can't be frozen.
- Now that we'd gotten over the not-recommended elements, time for the recommended one. It's Geo. The only reason is because I think that's the best one to bring when facing the Local Legend Meka in the last chamber Since it has a Geo shield, you can use Geo attacks to destroy that. Of course, it's not only Geo, other Blunt attacks can also be used like claymore attacks, and plunging attacks (except bow and catalyst). If you bring a claymore character to the party, all elements except Dendro and Physical are good for this half. For example:
- Aggravate Team: Tighnari + Yae Miko + Nahida + Zhongli
- Crystallize Team: Navia + Chiori/Albedo + Bennett + Xiangling
- Hypercarry Team: Wanderer/Xiao + Faruzan + Bennett + Zhongli
- Hyperbloom Team: Alhaitham + Xingqiu + Kuki Shinobu + Nahida
- Hypercarry Team: Itto + Chiori + Gorou + Zhongli
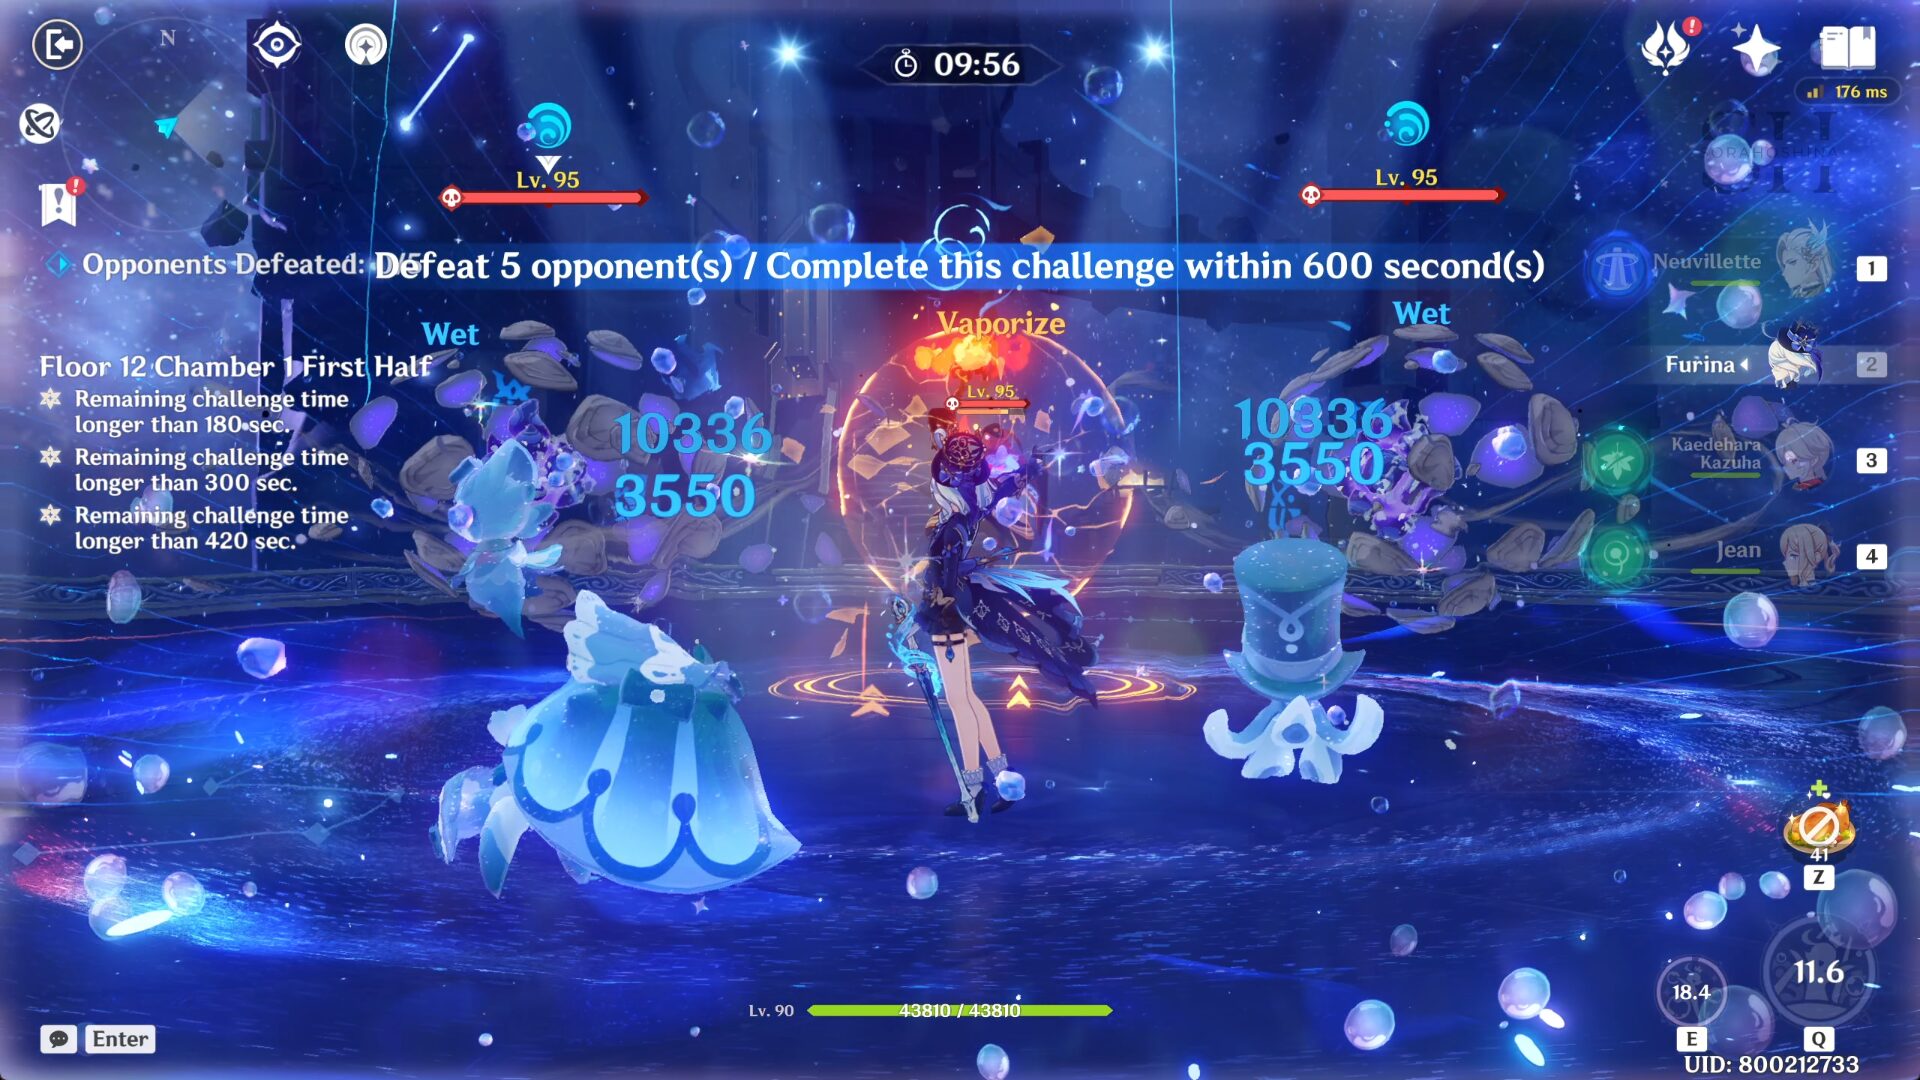
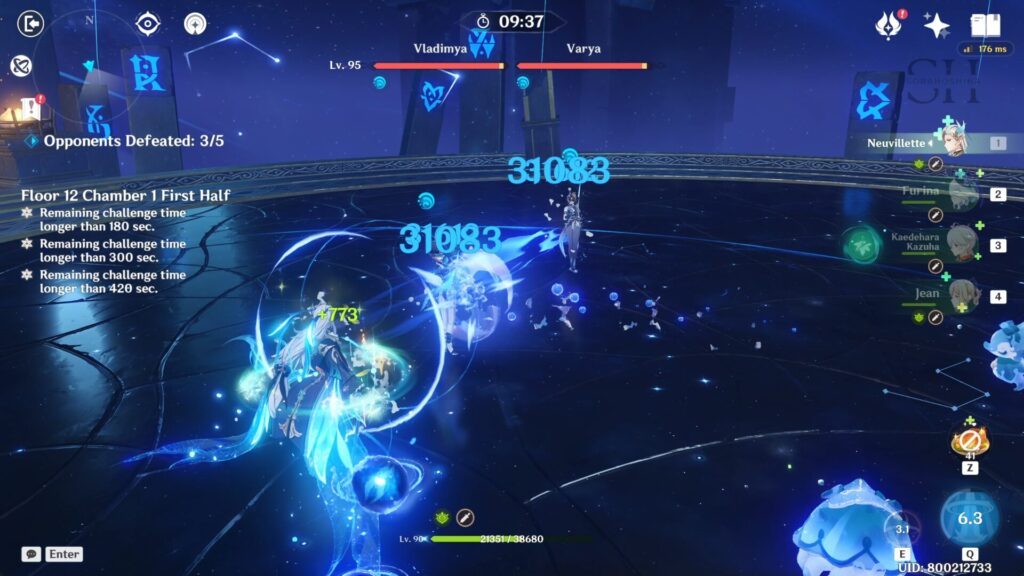
Floor 12 Chamber 1
First Half
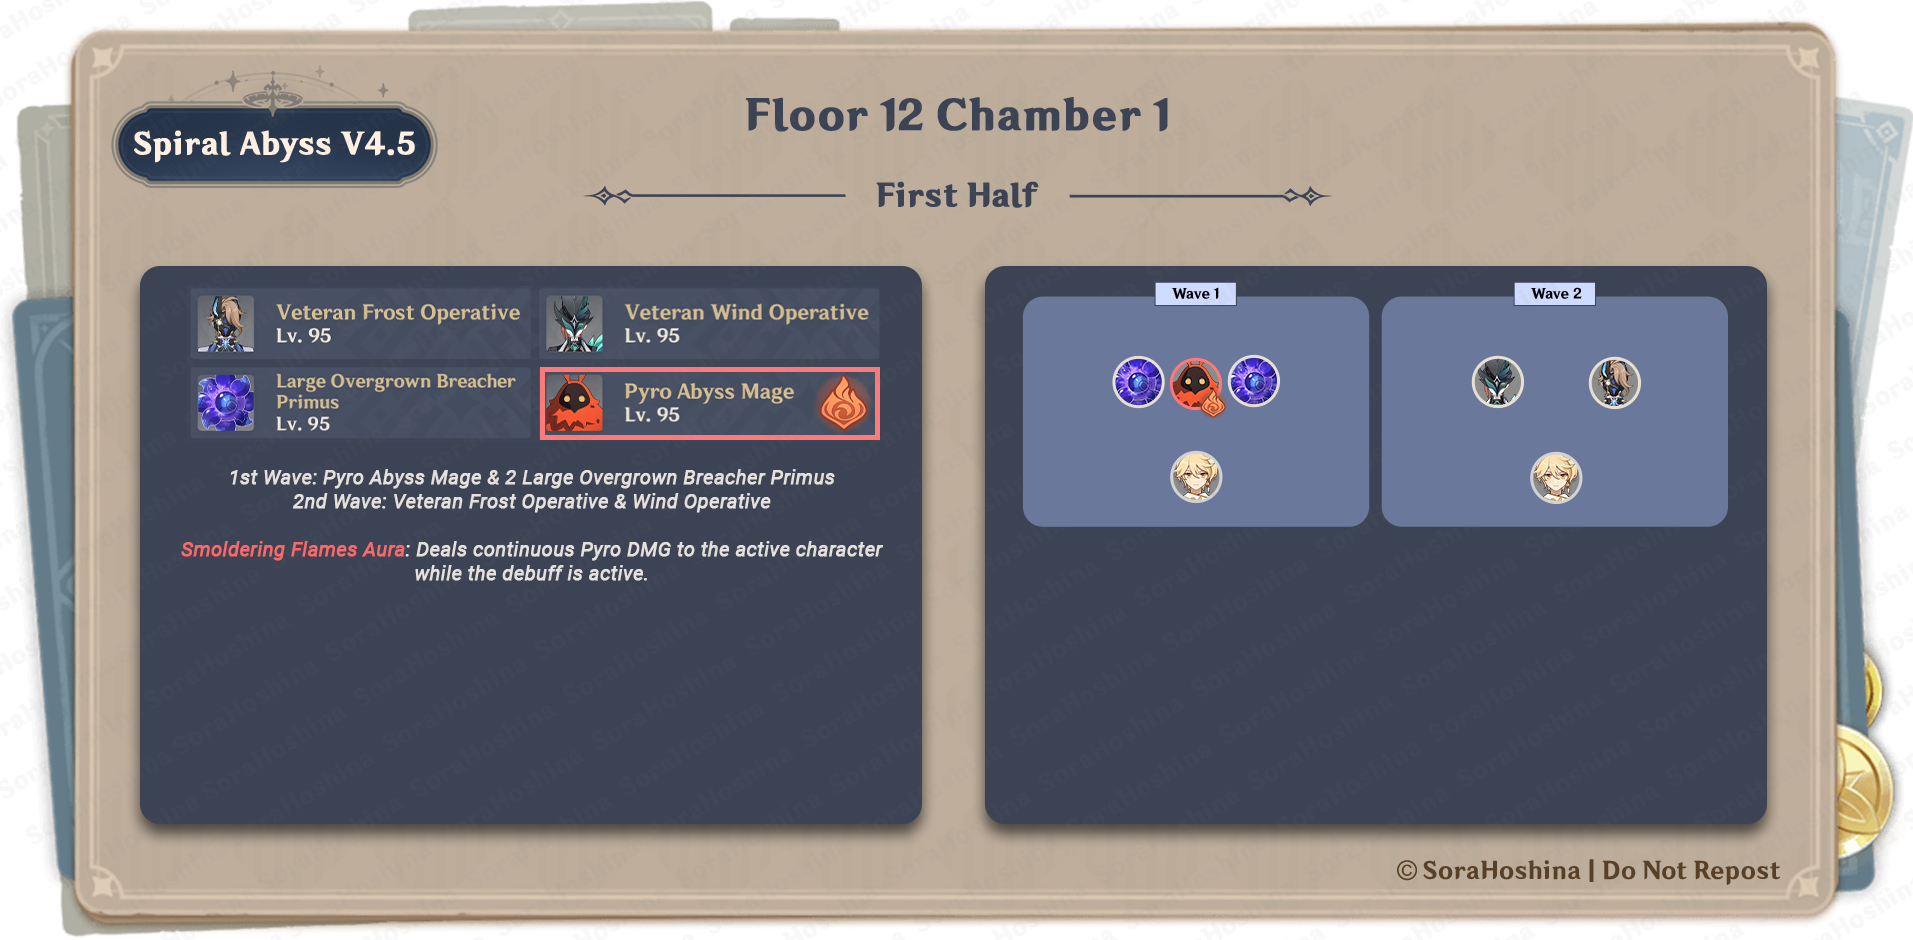
1st Wave: Pyro Abyss Mage & 2 Large Overgrown Breacher Primus
2nd Wave: Veteran Frost Operative & Wind Operative
Smoldering Flames Aura: Deals continuous Pyro DMG to the active character while the debuff is active.
- In the first wave, all enemies spawn in the front area. Between all the enemies, the priority would be:
- Destroying the Pyro shield that the Mage has first.
- Then, whenever the Dendro Primus enter a stressed state, they will gain a Dendro shield and fire waves of Lushmissiles at the player, each missile dealing quite a huge Dendro DMG. When they have this shield, it's highly recommended to remove that shield ASAP so your characters won't die (unless they have a Zhongli-level shield).
- The best way to remove that shield is: (1) A single Arkhe attack, (2) using Electro attacks, (3) using Hydro attacks, or (4) using Pyro attacks.
- These Primus have high Dendro RES so beware of that when you bring Dendro DPS here. Now after all enemies don't have any shield or some sort, focus on defeating all of them at the same time.
- In the second wave, the Operatives spawn at the front area. Go to the Wind Operative on your left rather than the Frost one. This is because the Frost Operative often uses Blinkchase skill (not an official name) that will let her thrust forward in your direction. This way, you can gather both of them at the same spot. Wind Operative also has a teleport skill but she doesn't use it much often. It's all up to RNG, I suppose.
- You need to keep watch of their attack and make sure you avoid their Hunt Down skill because it will attach a Bond of Life to the characters they hit.
- When using the skill, the Operative will sacrifice 5% of her Max HP (or 25% of current HP if HP percentage is under 20%) to initiate Hunt Down: Locks onto the player (can be seen by the red arrow on top of you).
- If the player is hit by this attack, they will receive a Life Bond equal to 16% of the Operative's ATK. As long as this Life Bond is active, they will also be affected by a Corrosion status which drains 0.4% Max HP + 72 every second.
- If the Hunt Down attack hits a character affected by this Life Bond, it will deal 250% of its original DMG.
- This Life Bond is stackable.
- This Life Bond lasts for 10 minutes if not cleared.
- Bond of Life will absorb the healing effects that a character receives. This will prevent them from recovering HP. After this character is healed for an amount equal to the Bond of Life, the Bond can then be cleared. When a character is granted another Bond of Life, the healing required to clear the Bond of Life will also stack. It's best if you have a cleanser like Jean or Bennett to remove those debuffs immediately and heal your characters.
- The problem is not only your characters will have a hard time healing, but the second time the same character gets hit with another Hunt Down skill, it will deal more DMG to said character. Since there are 2 Operatives here, it's important to watch both of them so they can't stack the Bond of Life.
Second Half
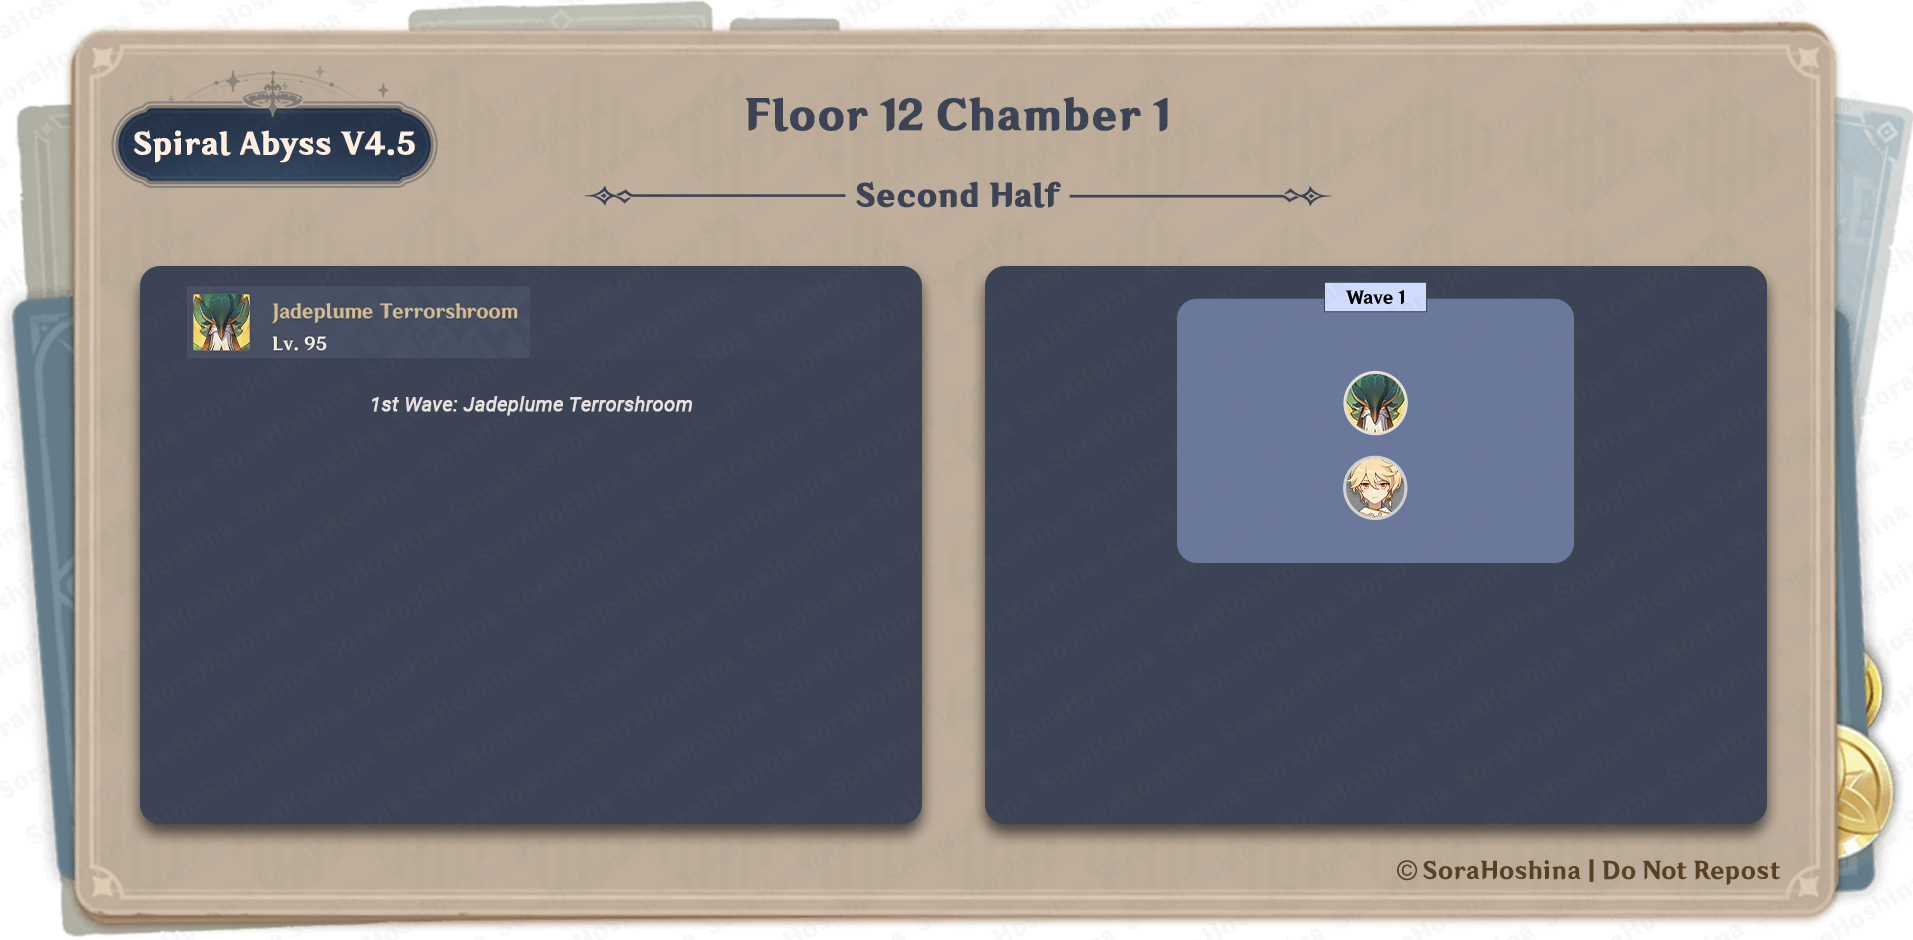
1st Wave: Jadeplume Terrorshroom
- The first and only wave is with Jadeplume Terrorshroom. First of all, when the challenge starts, make sure you are in range within Jadeplume's attack range (if you bring melee DPS). This is because most of their attacks are short range and you can dodge to avoid taking any damage. Of course, if you bring a shielder/healer, you can end the fight faster by brute force attacking Jadeplume.
- There are 3 states of Jadeplume: Normal, Activated, and Scorched:
- The Normal state is the one you're dealing with in its default form.
- The Activated state is when the Fury bar under its HP is filled by Electro attacks from your character. When Jadeplume is in Activated form, it has different attack modes but will eventually be paralyzed from exhaustion for 15 seconds.
- The last state is the Scorched state when Jadeplume is affected by Burning (Dendro+Pyro). It's not really a big deal except for its skill that can summon a maximum of 4 Fungi, which will make you lose precious time in the challenge.
- Both states are decent so you can choose which one you think is the best for your team. For the Activated state, make sure to precisely avoid any incoming attacks from Jadeplume because those hit like a truck. Instead, wait until it's paralyzed before you can spam your attacks.
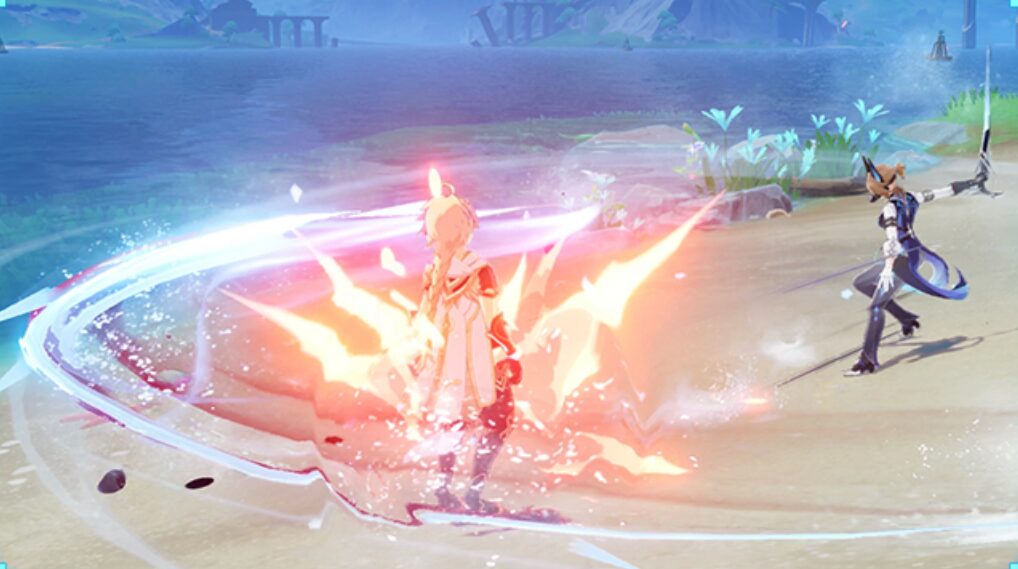
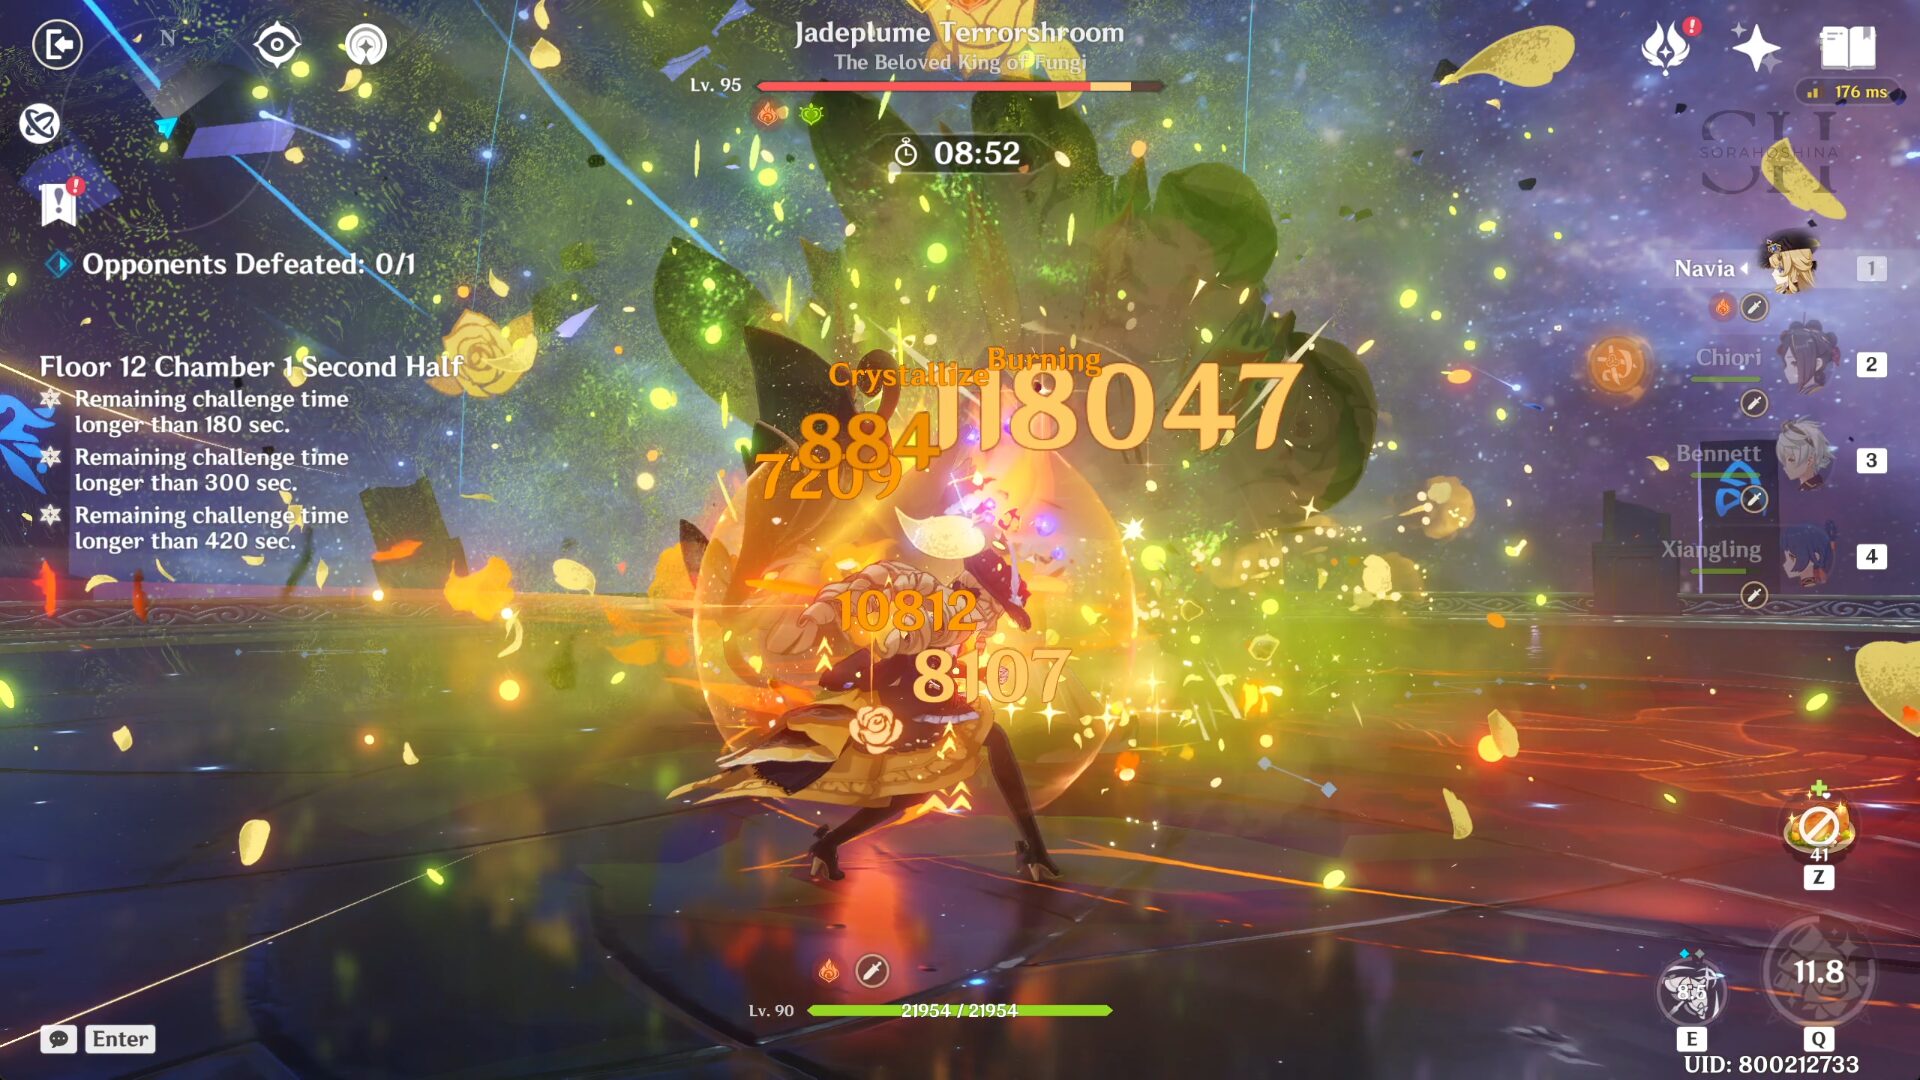
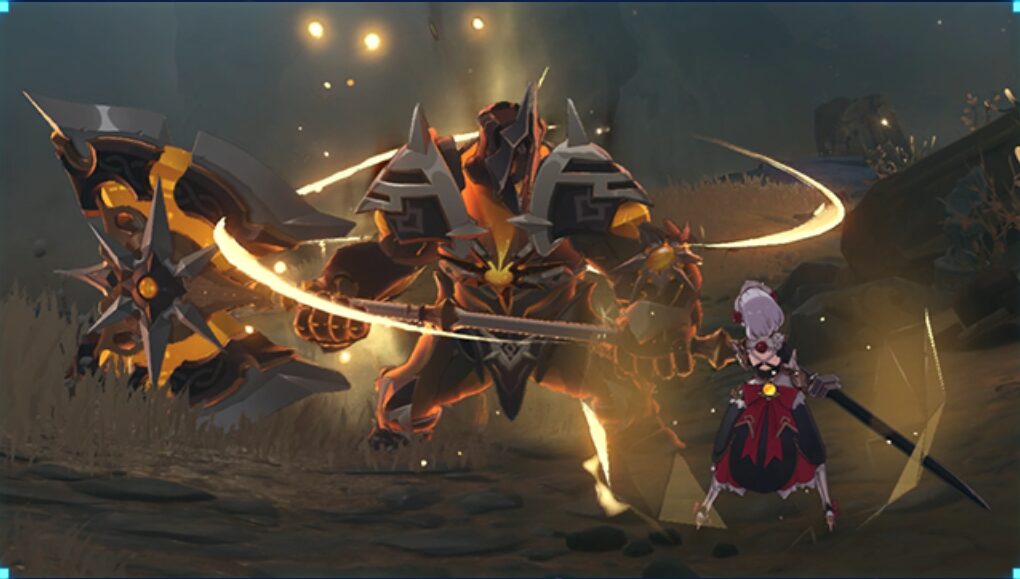
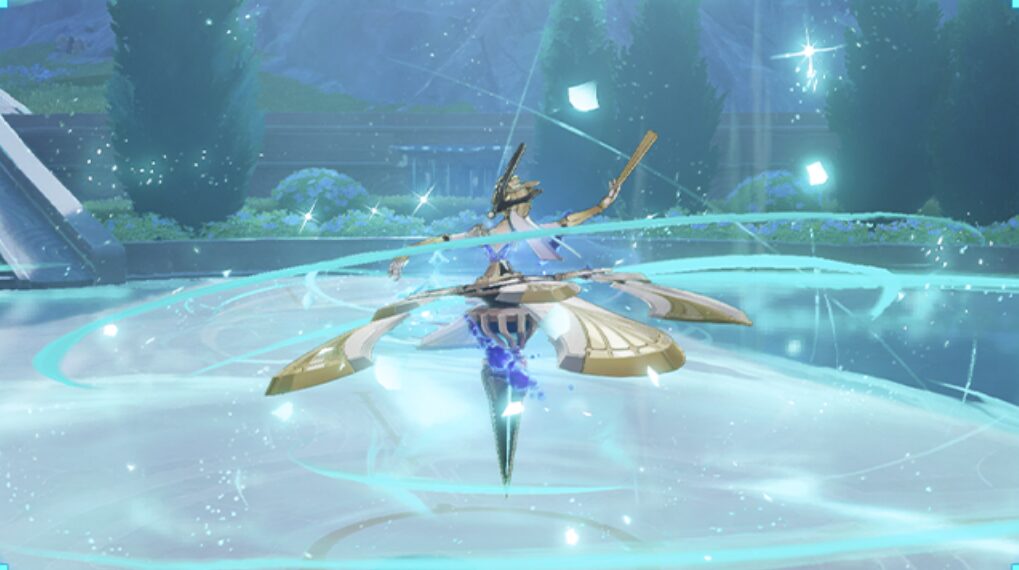
- For the Scorched state and the Fungi spores, you can destroy the spores with Electro/Hydro/Pyro within 3 seconds before they can spawn, which will stop the Fungi from spawning. Any of the mentioned elemental AoE attacks are great here. Even Bennett's Skill will do like in the image above.
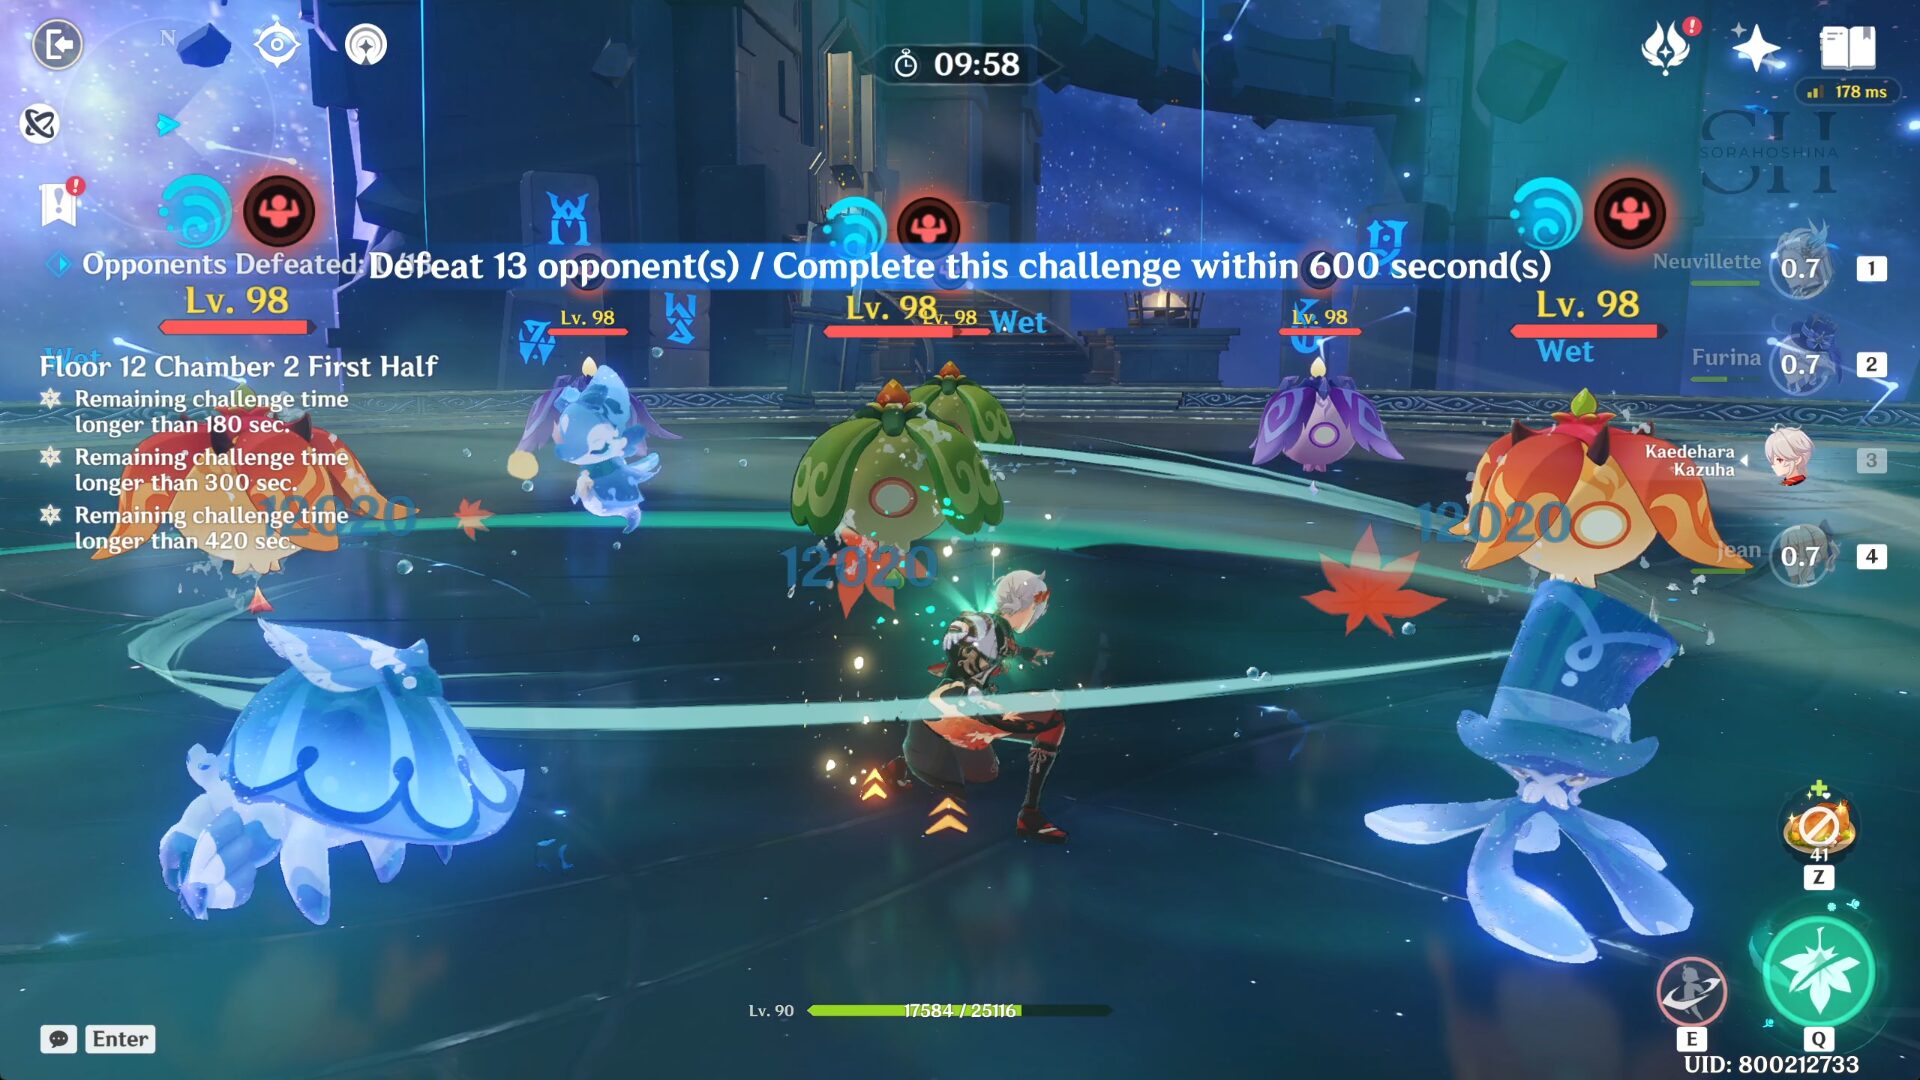
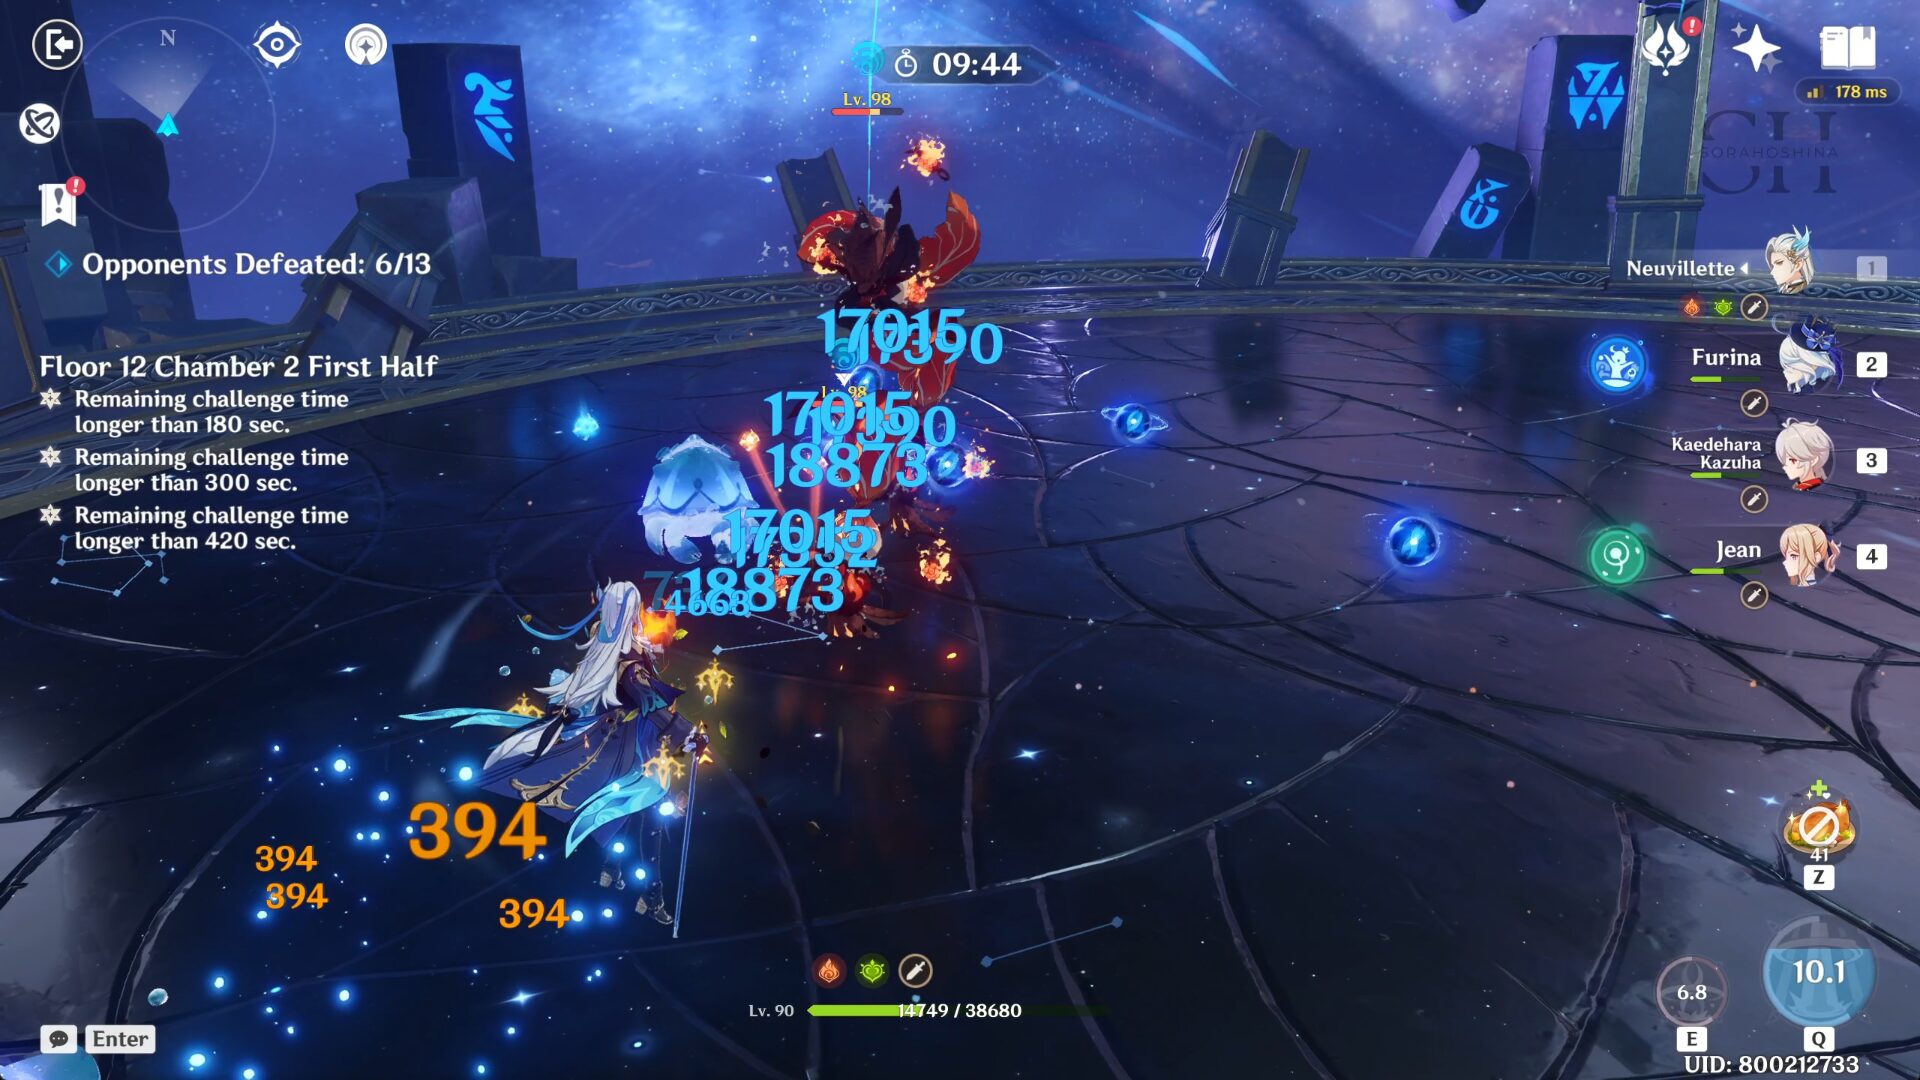
Floor 12 Chamber 2
First Half
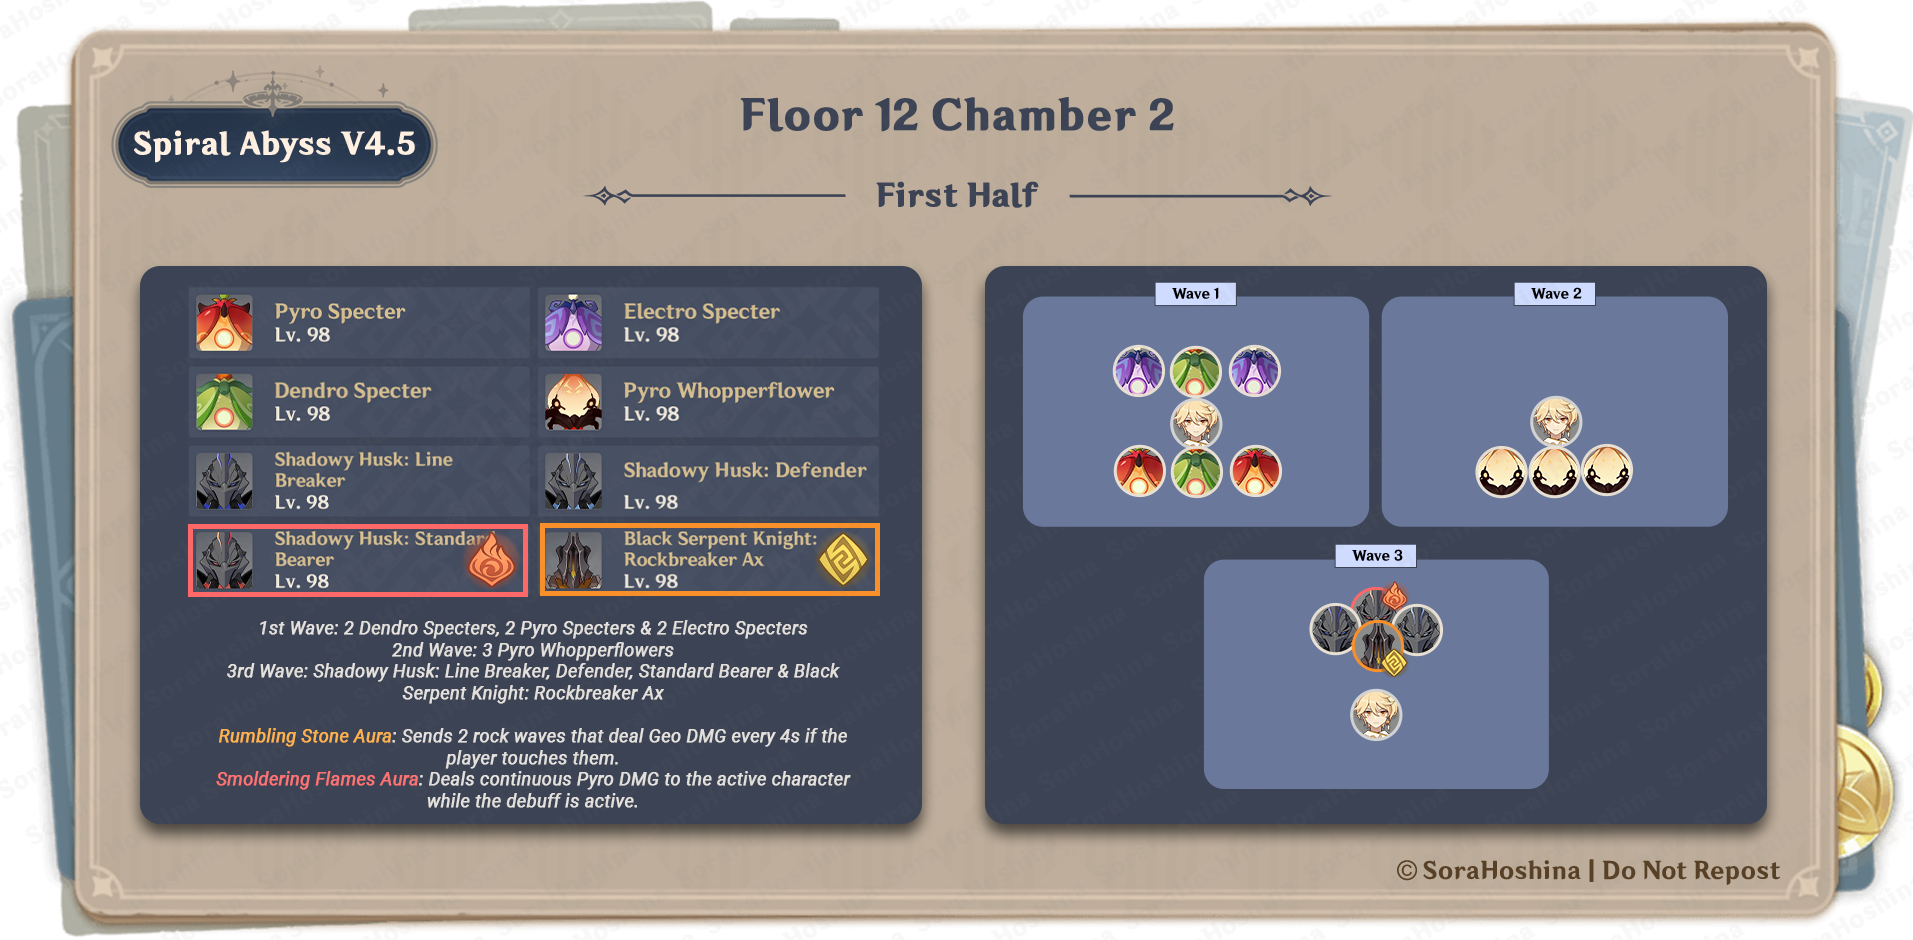
1st Wave: 2 Dendro Specters, 2 Pyro Specters & 2 Electro Specters
2nd Wave: 3 Pyro Whopperflowers
3rd Wave: Shadowy Husk: Line Breaker, Defender, Standard Bearer & Black Serpent Knight: Rockbreaker Ax
Rumbling Stone Aura: Sends 2 rock waves that deal Geo DMG every 4s if the player touches them.
Smoldering Flames Aura: Deals continuous Pyro DMG to the active character while the debuff is active.
- In the first wave, there are 6 Specters surrounding you in the middle arena. Bringing AoE DPS can almost attack all of them at the same time. Of course, it will be great if you bring an Anemo CC to gather all of them and prevent them from teleporting or hovering away from you. Focus on the Specters at the back area, and if possible, lure the Specters at the front area towards the back to get ready for the next wave.
- Remember that Specters are immune to their own elements so make sure to bring at least one element that is different from all of them to effectively create reactions that can hurt them (Hydro).
- In the second wave, 3 Whopperflowers will pop out at the back area. Now that you're in the back area, you can immediately attack them.
- Another option you can do is to go to the front area so the whoppers will burrow underground and appear at the front area (to get ready for the next wave).
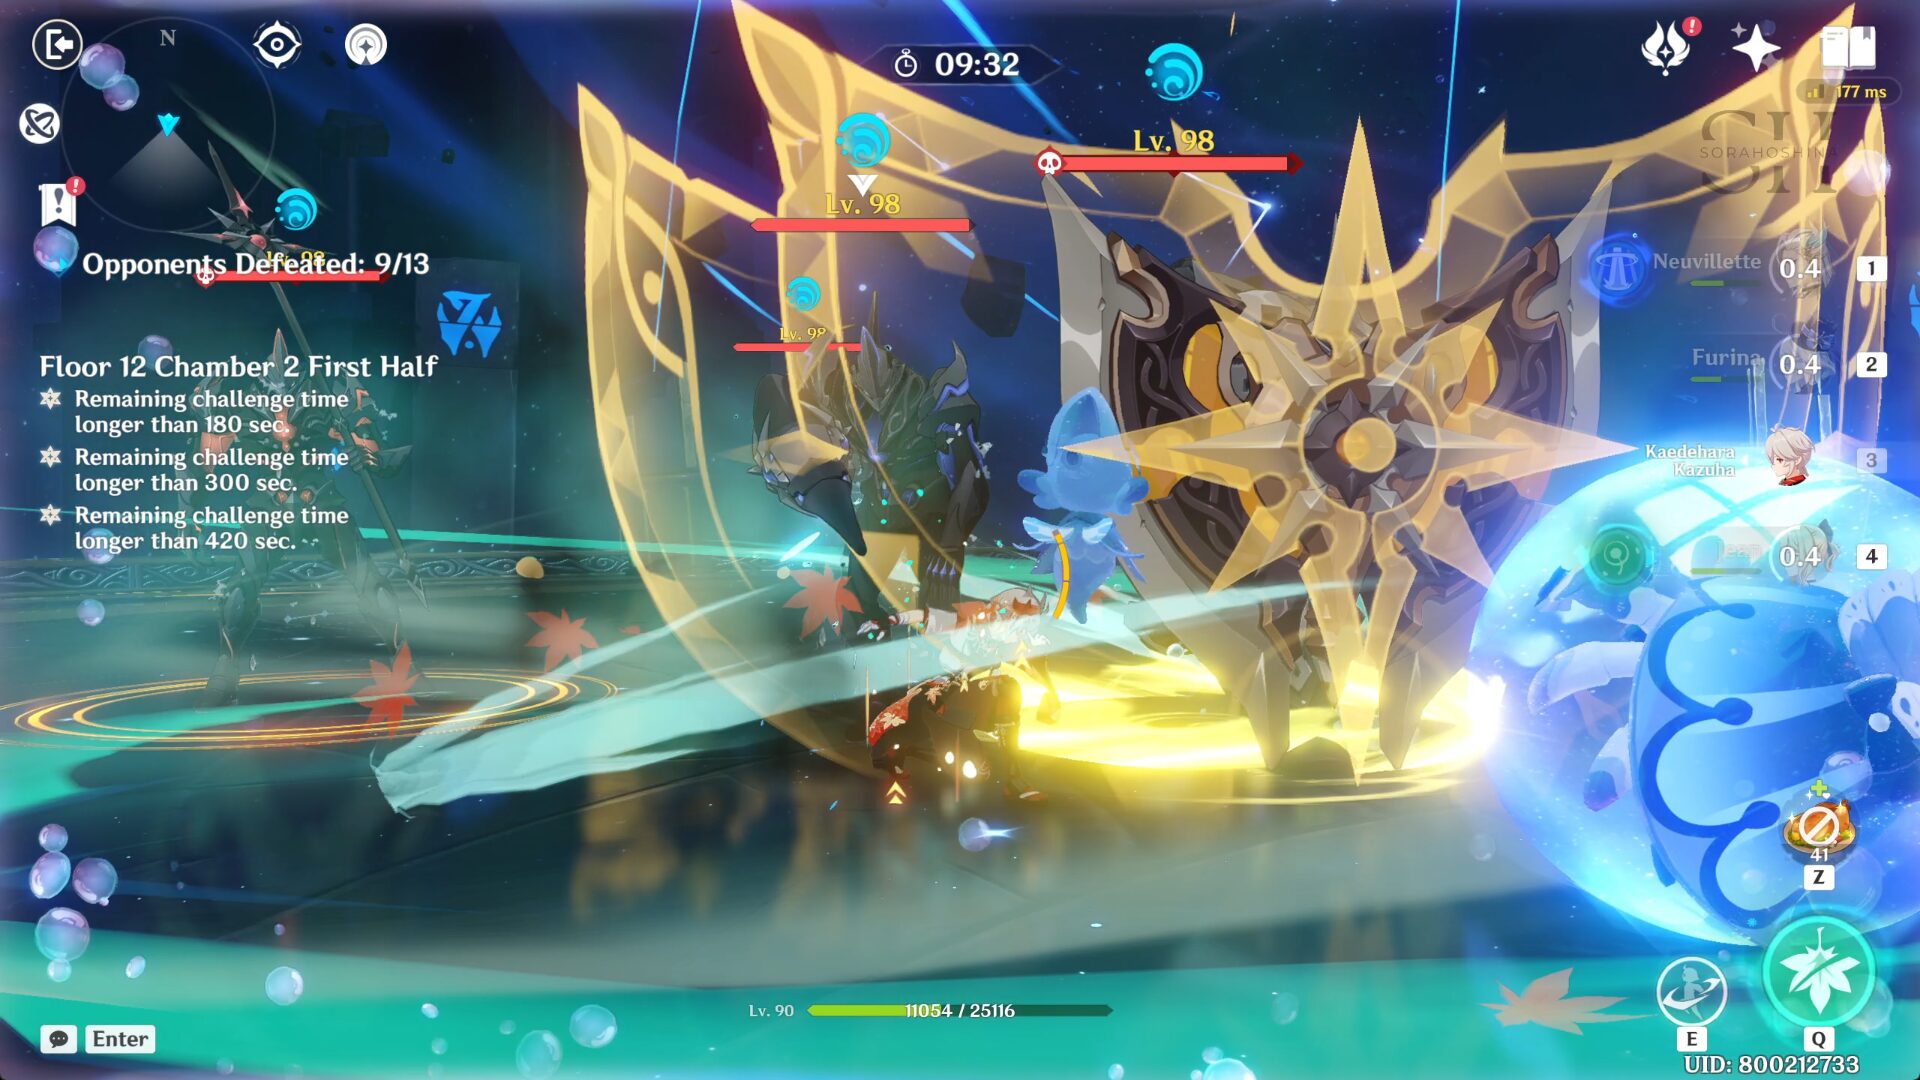
- In the third wave, the enemies spawn near each other at the front of the arena. Immediately run to the front and focus on the Line Breaker first (the blue one). This is because they have a skill that charges ahead, leading them to be far away from the group. Since all four enemies mostly group together (if not for the fact that Line Breaker keeps running away), the collateral damage should be able to chip away everyone's health there, especially the tanky Rockbreaker Ax with the highest HP.
- After you take care of the blue one, focus on the big boss Rockbreaker Ax here because (once again) it has the highest HP and will often try to protect its chicks. All these strategies is not really needed if you bring Anemo CC along since the slim ones can be gathered easily using the Anemo Vortex.
- I don't recommend bringing a shielder or Physical character because once any Shadowy Husk and Black Serpent attack your shielded characters, they will gain a buff for themselves and for nearby Husks at the cost of losing some of their health. They also have resistance against Physical attacks.
- Line Breaker (Hydro one): Heal themselves and nearby Husks.
- Standard Bearer (Pyro one): Generate a Pyro shield for themselves and nearby Husks.
- Defender (Cryo one): Their bow will act as a shield that blocks attacks from the front.
- Rockbreaker Ax: Enter a state that increases its ATK by 20% and all resistance is increased by 50%.
Second Half
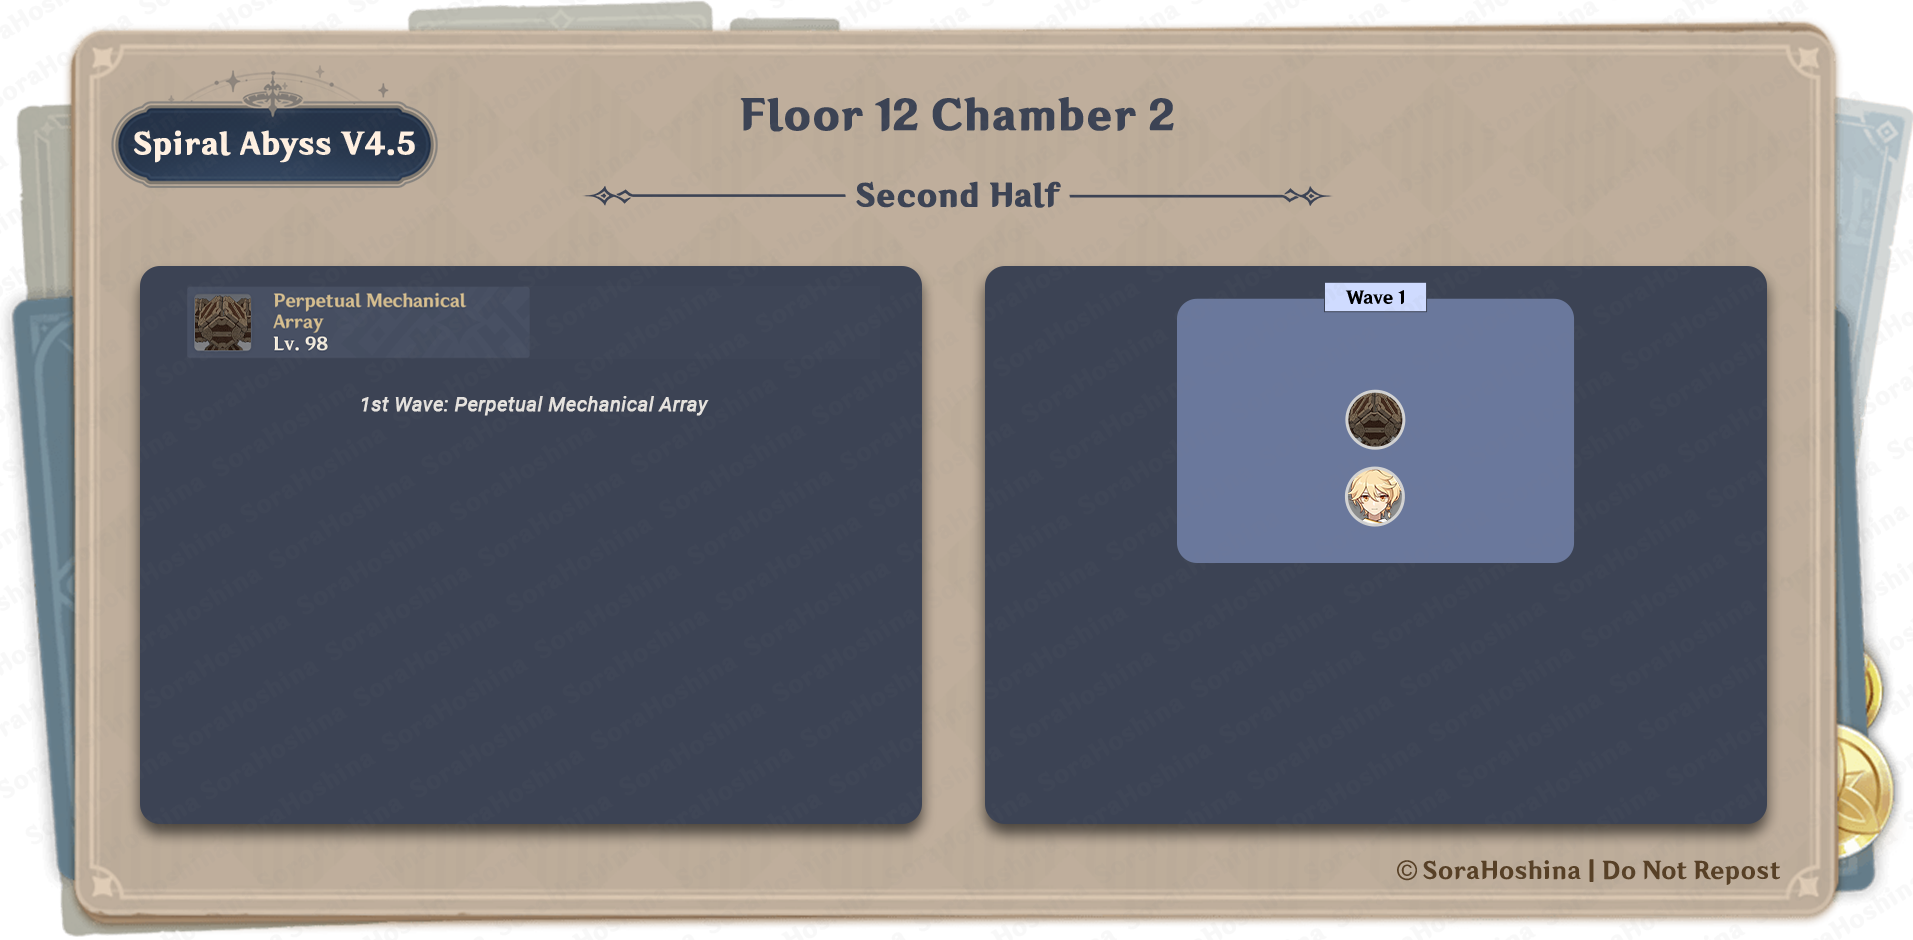
1st Wave: Perpetual Mechanical Array
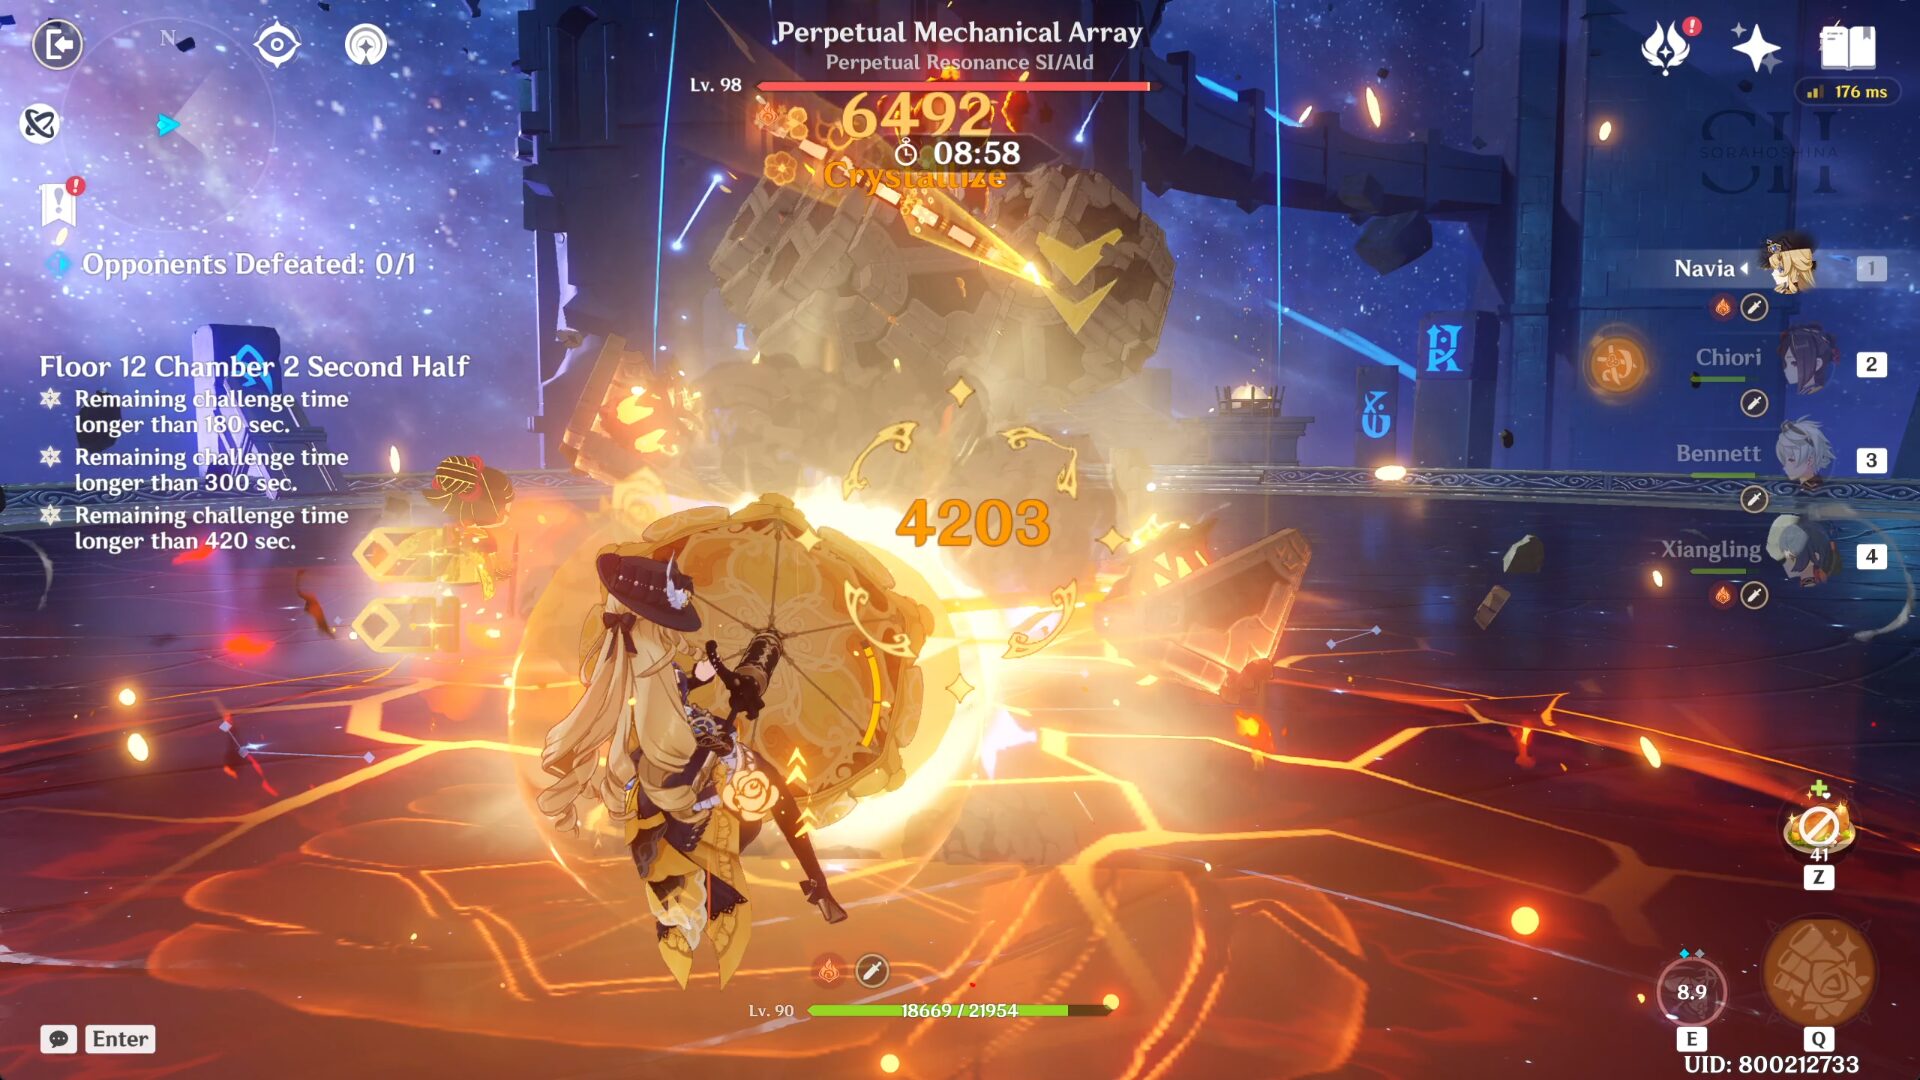
- There is only one wave here and it's the PMA boss. Your best bet is a single-target Elemental DPS to obliterate this one. Remember that this cube has a 70% Physical Resistance.
- Most of its attacks are really easy to dodge, so I believe you can handle it just fine. The problem is when the boss' HP reaches below 50% (around 35-40% HP), it will enter Defensive Mode and summon four Ruin Sentinels: Scout, Defender, Destroyer, and Cruiser.
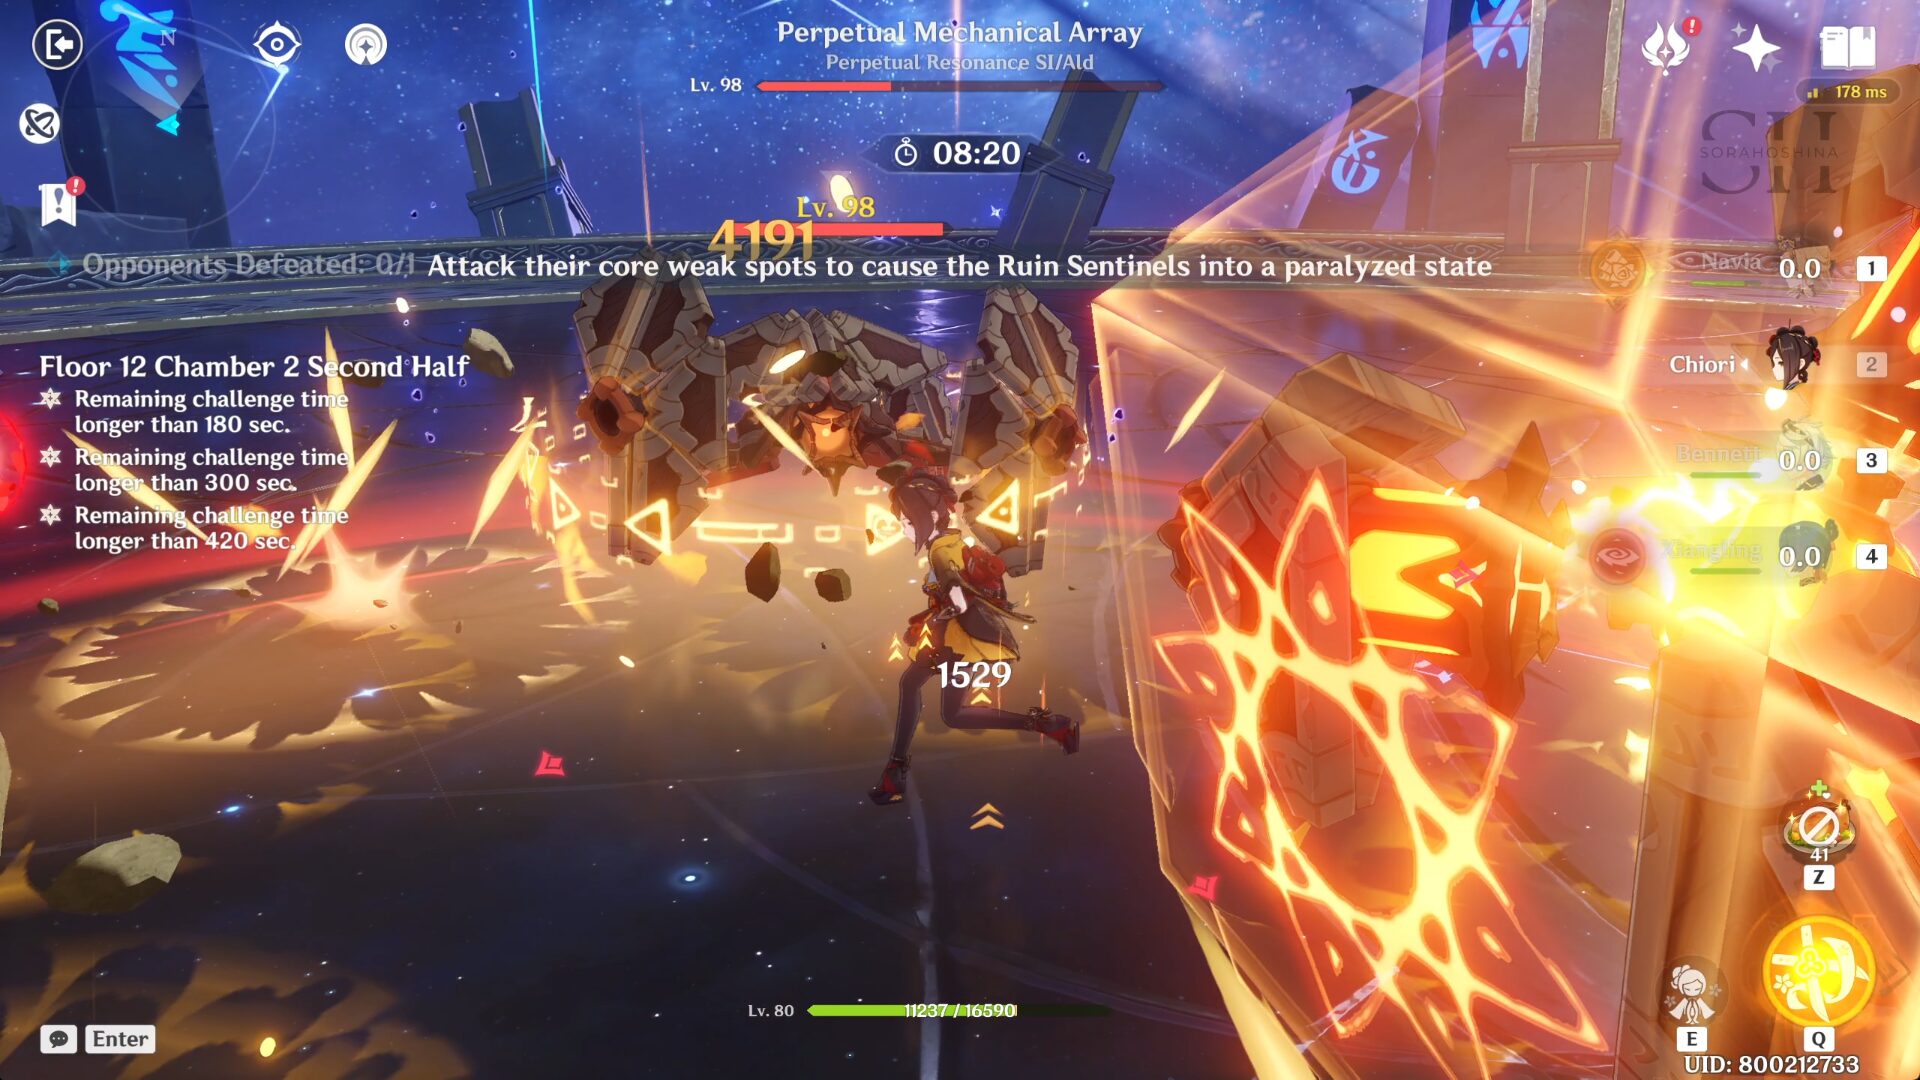
- Attack only the highlighted Sentinel (even better if you can bait the highlighted Sentinel to get near the boss)! Do not attack any other because it will be a very waste of your time.
- Once you defeat the highlighted Sentinel, the big boss will be paralyzed for around ~20 seconds and all resistance will be lowered by 50%. This is the perfect time to use all your Skills and Bursts. When the boss recovers from the paralyzed state, it will become invincible for a few seconds before resetting its state and using its normal attack patterns again.
Floor 12 Chamber 3
First Half
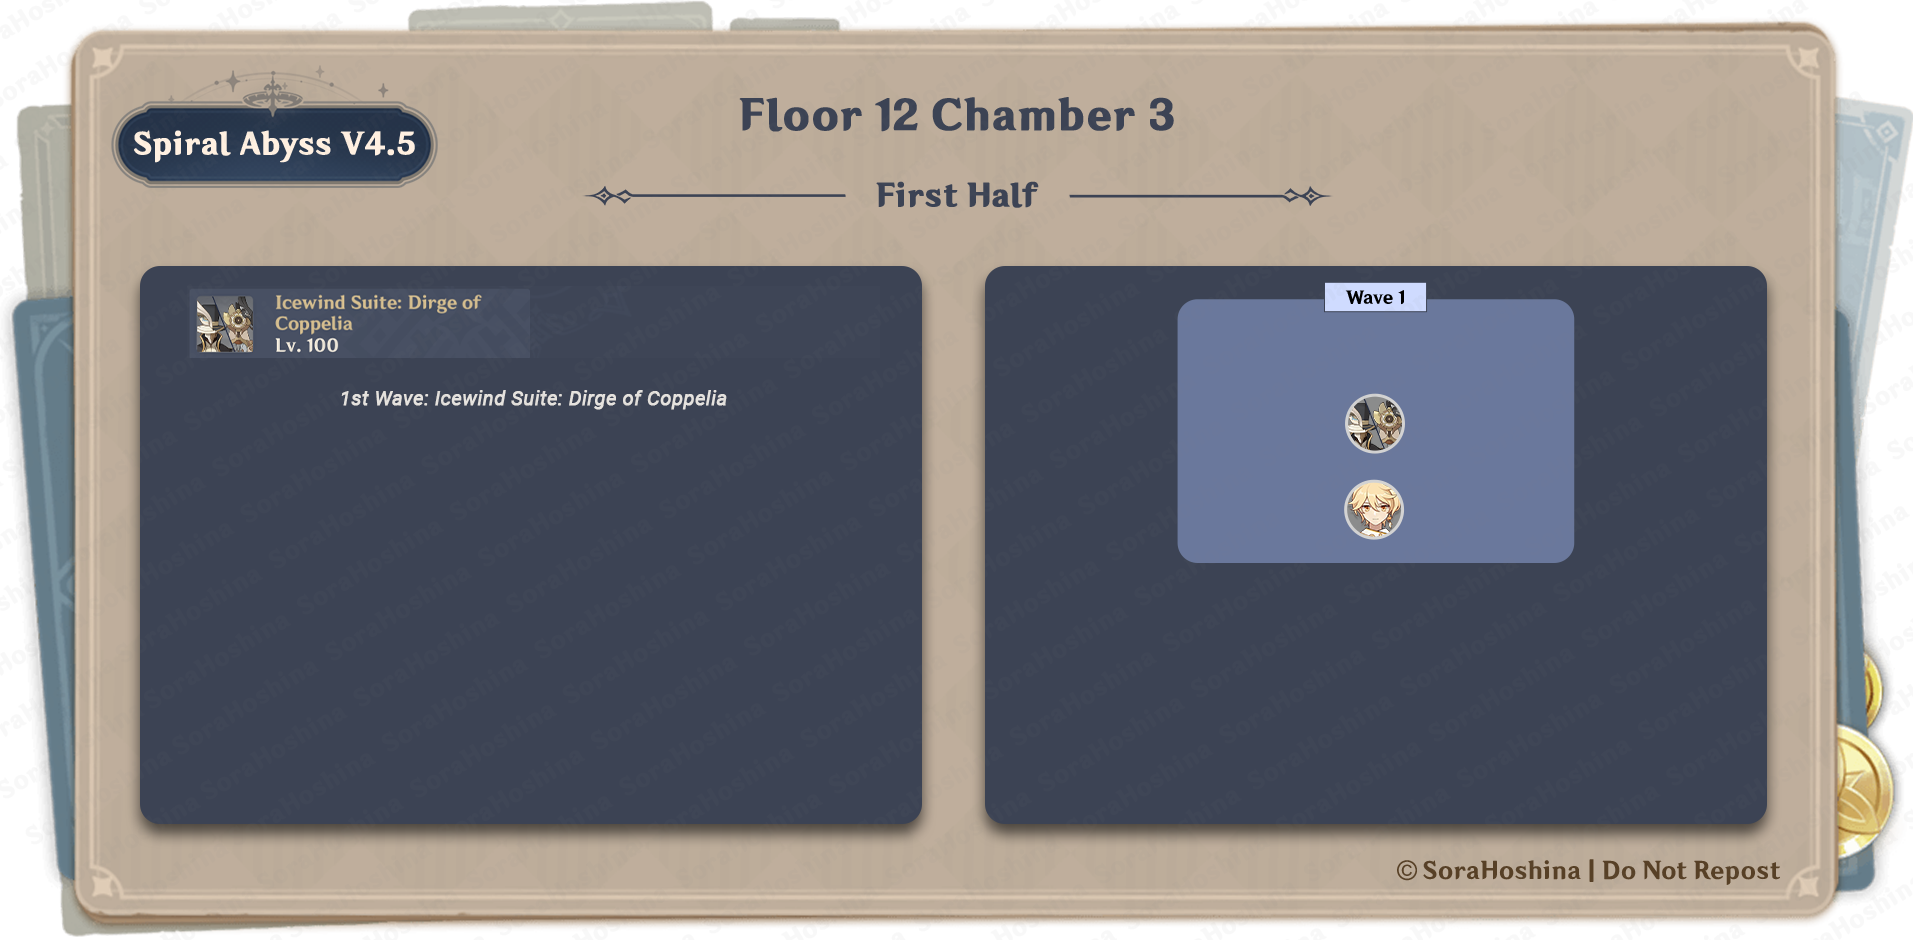
1st Wave: Icewind Suite: Dirge of Coppelia
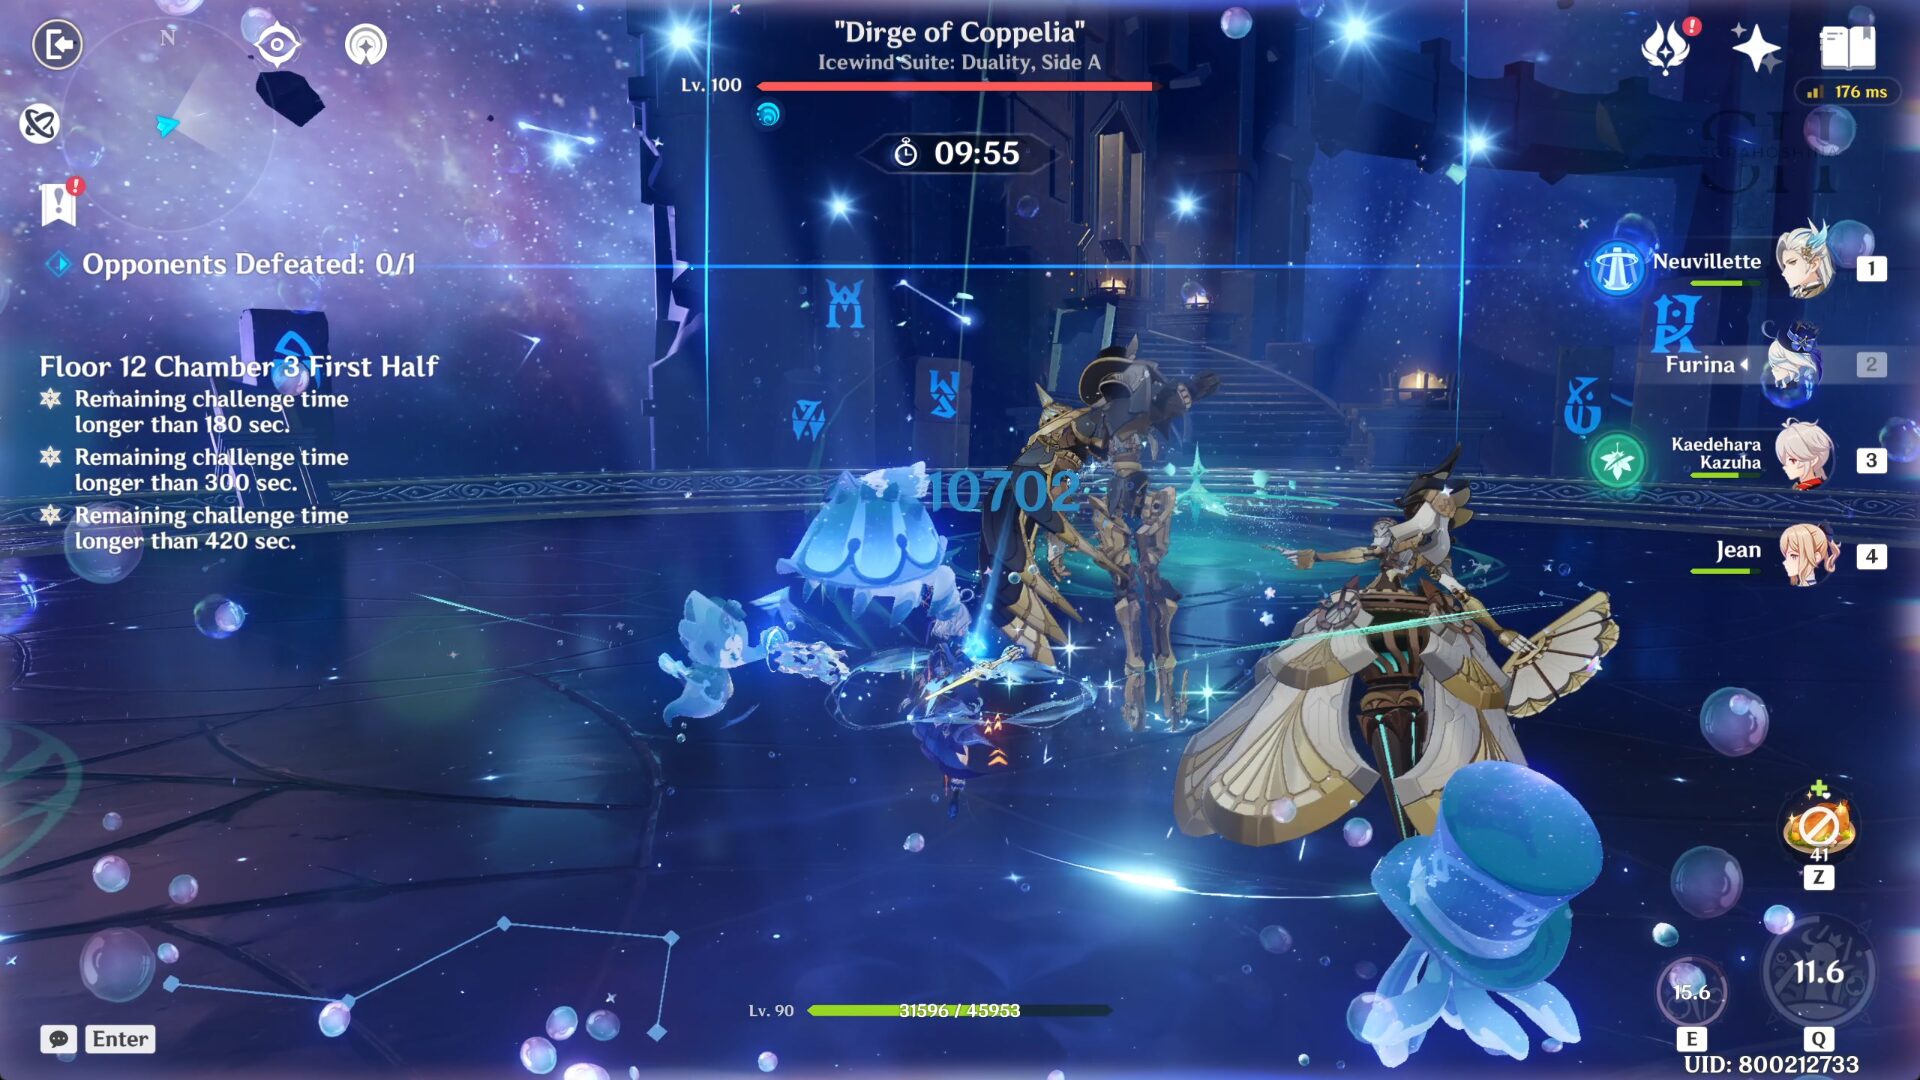
- There is only one wave here and it’s the boss 'Icewind Suite'. The one you will be facing is Coppelia, the female counterpart that deals mostly Cryo DMG. Coppelia is an Ousia-type and can be paralyzed by 3 Pneuma attacks like Furina, Lyney, and Neuvillette (but only during its Climax).
- All of its attacks are a combination of Anemo and Cryo DMG, and you should be able to avoid them like usual in the open world or tank them with a shield. The one you need to focus on is the Coppelia's Climax which will be triggered at the beginning of the fight.
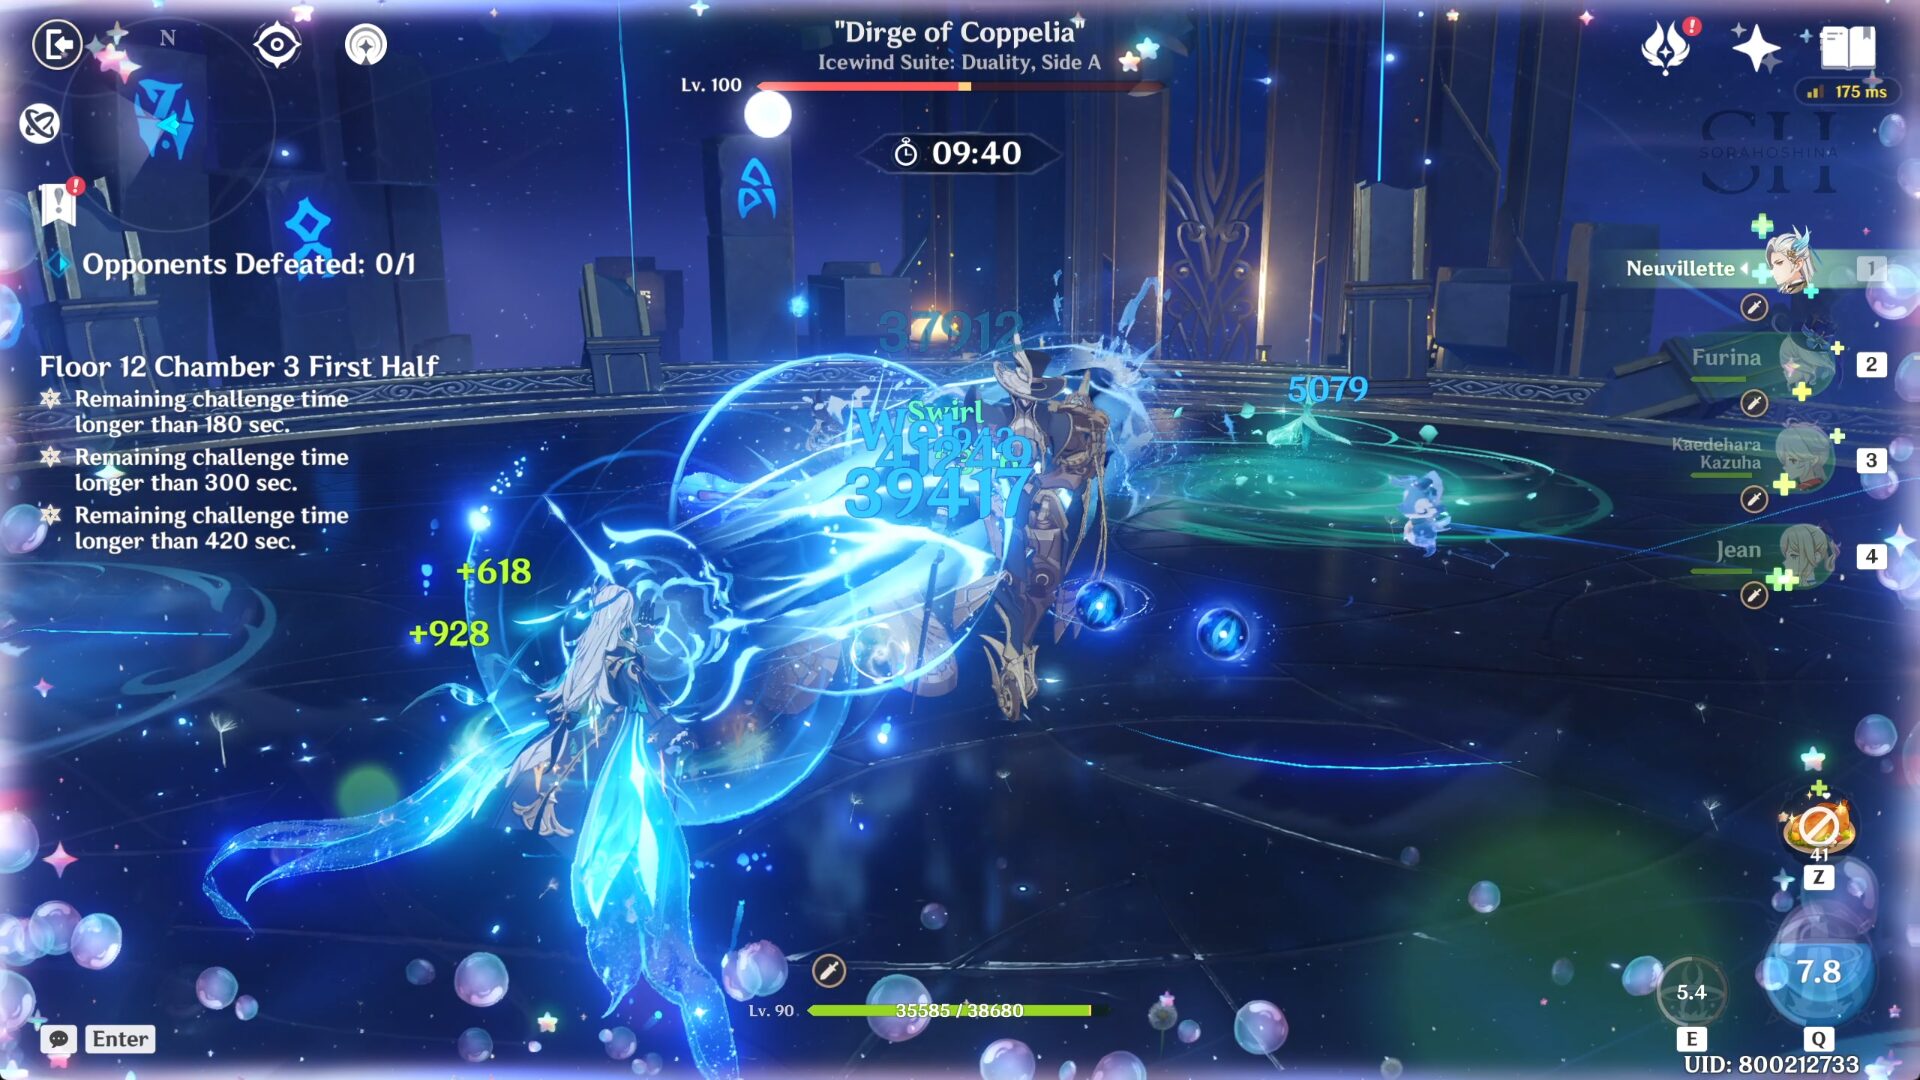
- Coppelia and Coppelius will move to the center of the arena and initiate Climax: Create 3 Whirlwinds of Dirge that will periodically unleash blasts, dealing Anemo DMG (+Cryo DMG if it's infused with Coppelius's ice blades). Those Frosthearts can't be destroyed so ignore it and focus on the Coppelia.
- During the Climax, both of them will have 25% RES to all DMG. You can remove the climax move and paralyze the duo by hitting Coppelia when her core is exposed 3 times with Pneuma Attacks. Additionally, when hit by the Pneuma attack for the first/second time, the pulses of wind released by Coppelia will have a much smaller AoE and have their DMG reduced to 60% ATK.
Second Half
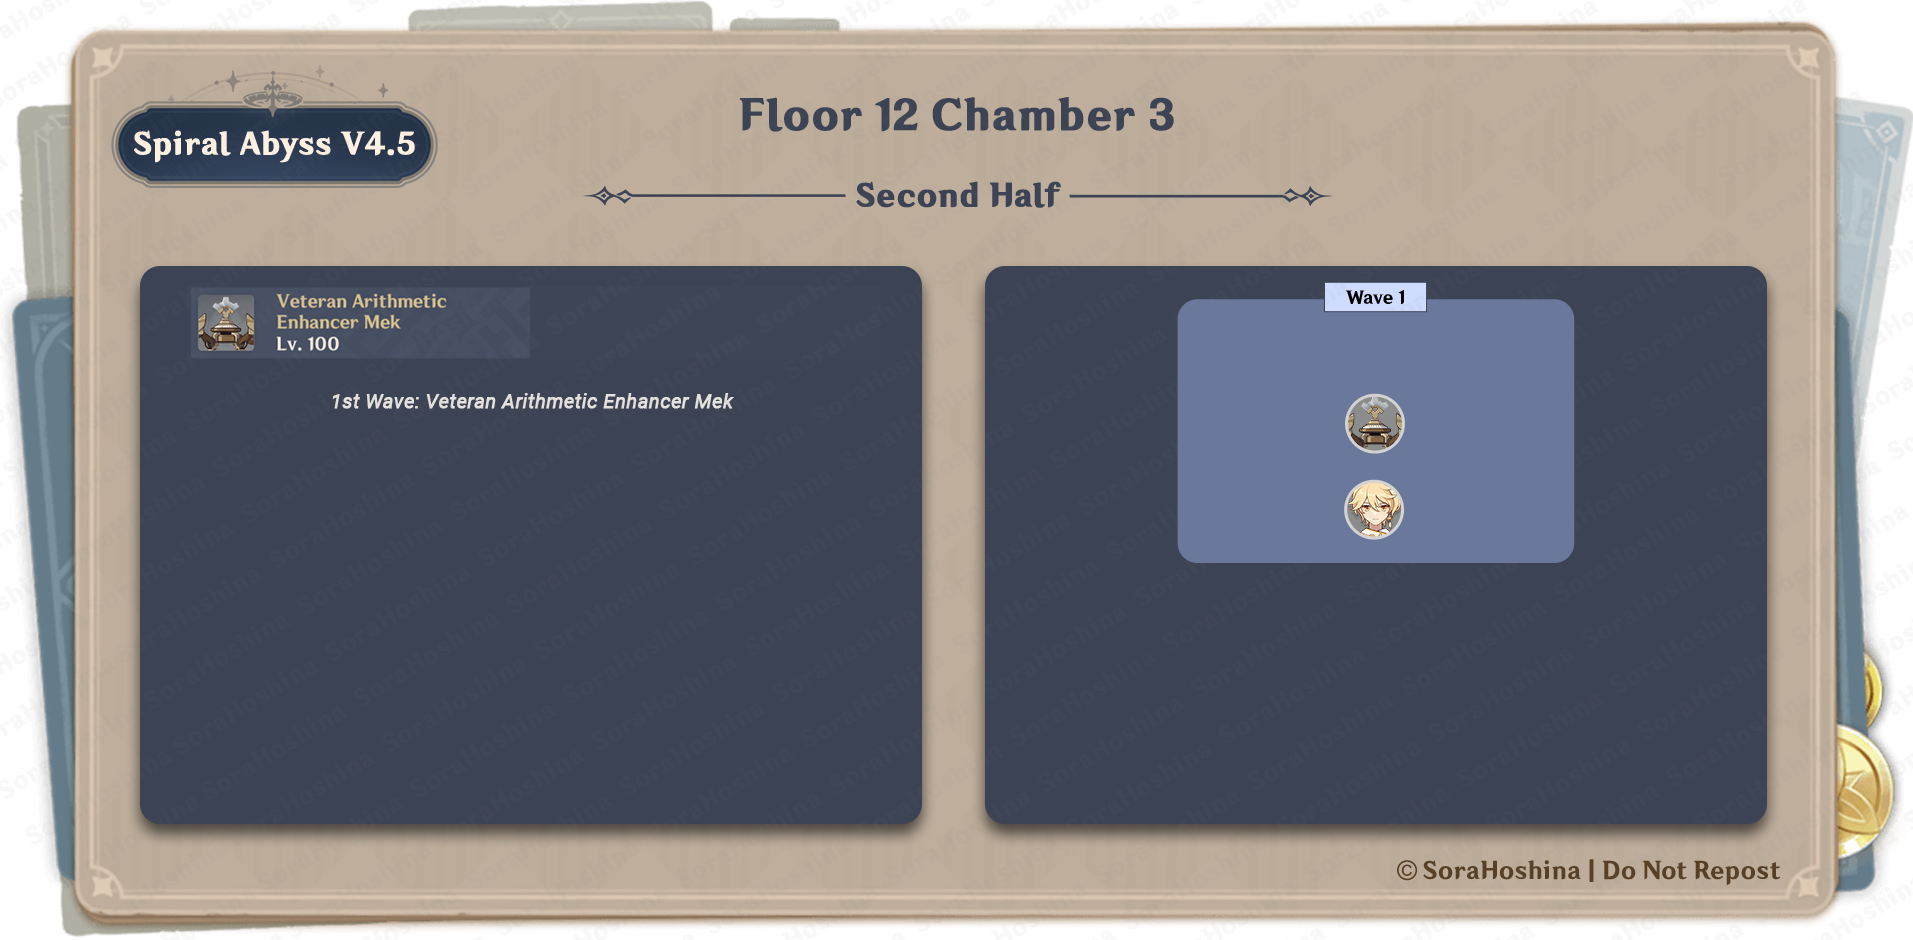
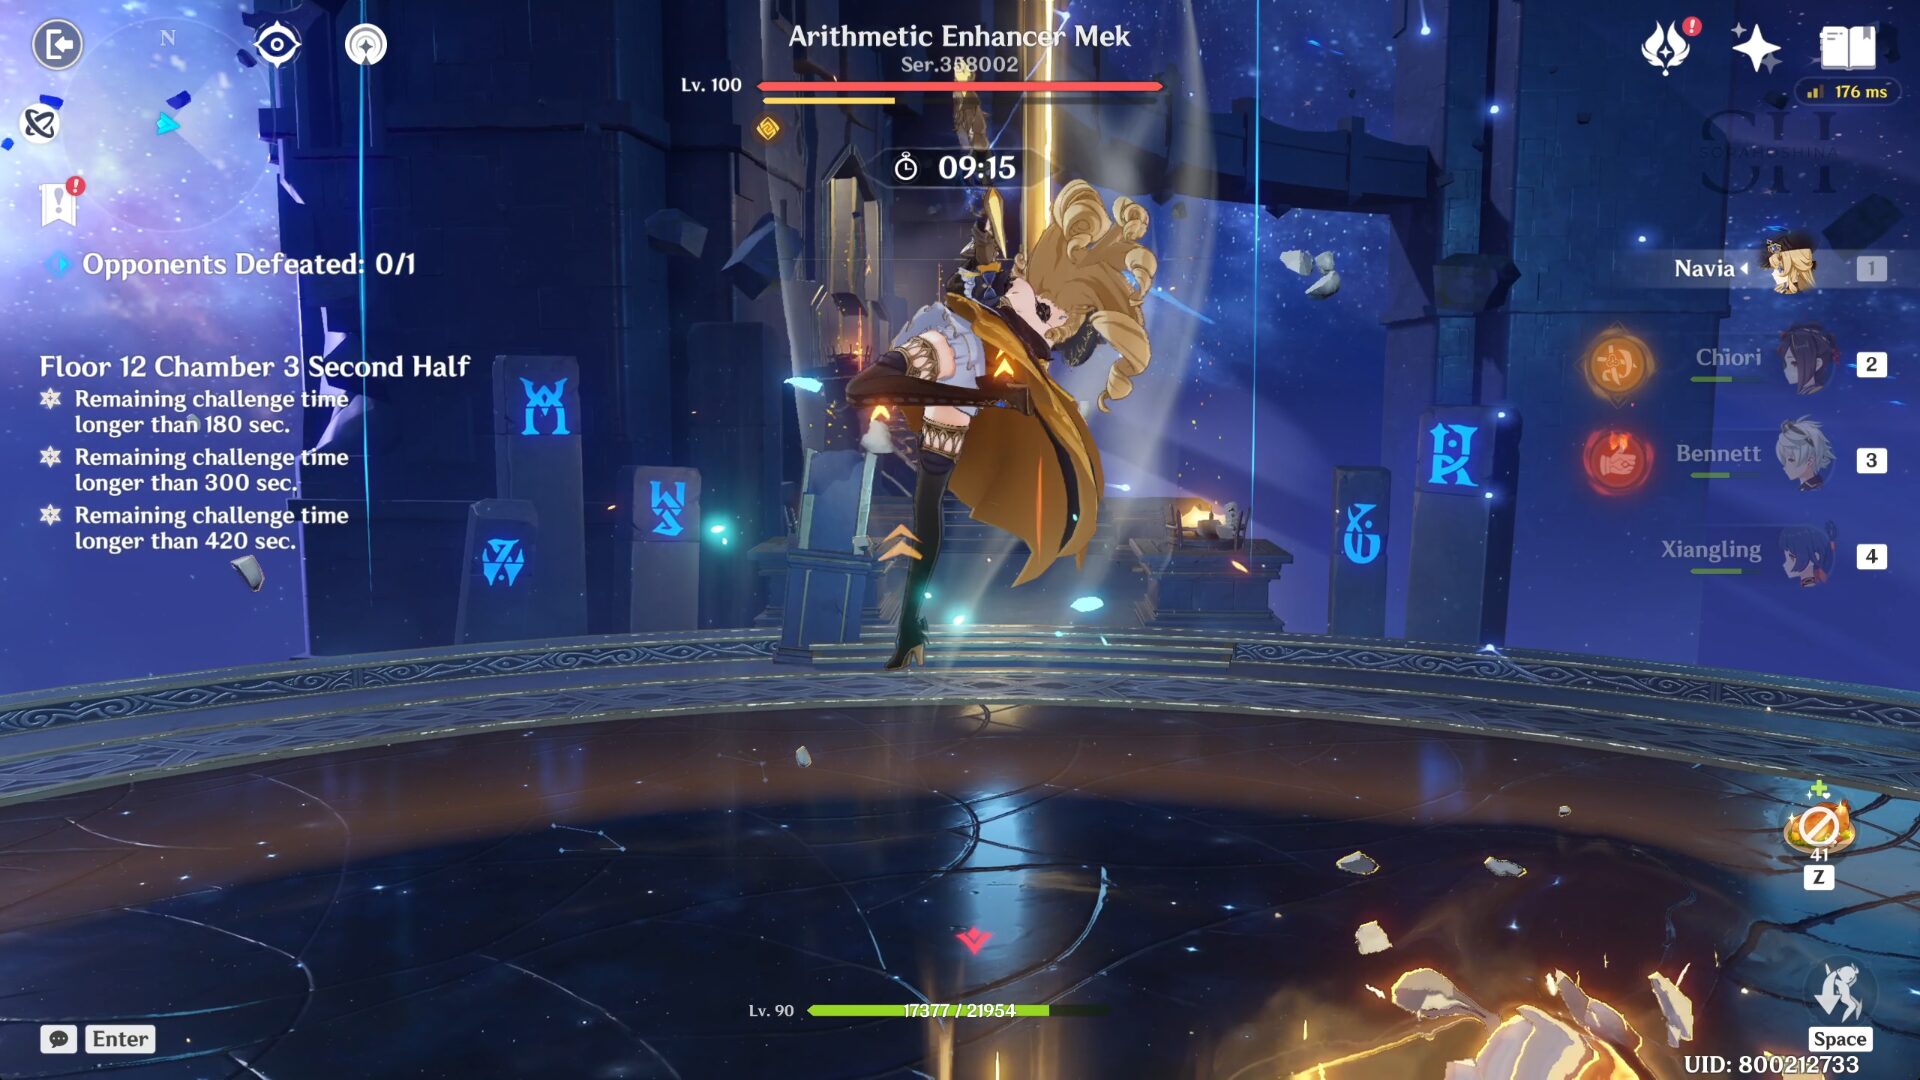
1st Wave: Veteran Arithmetic Enhancer Mek
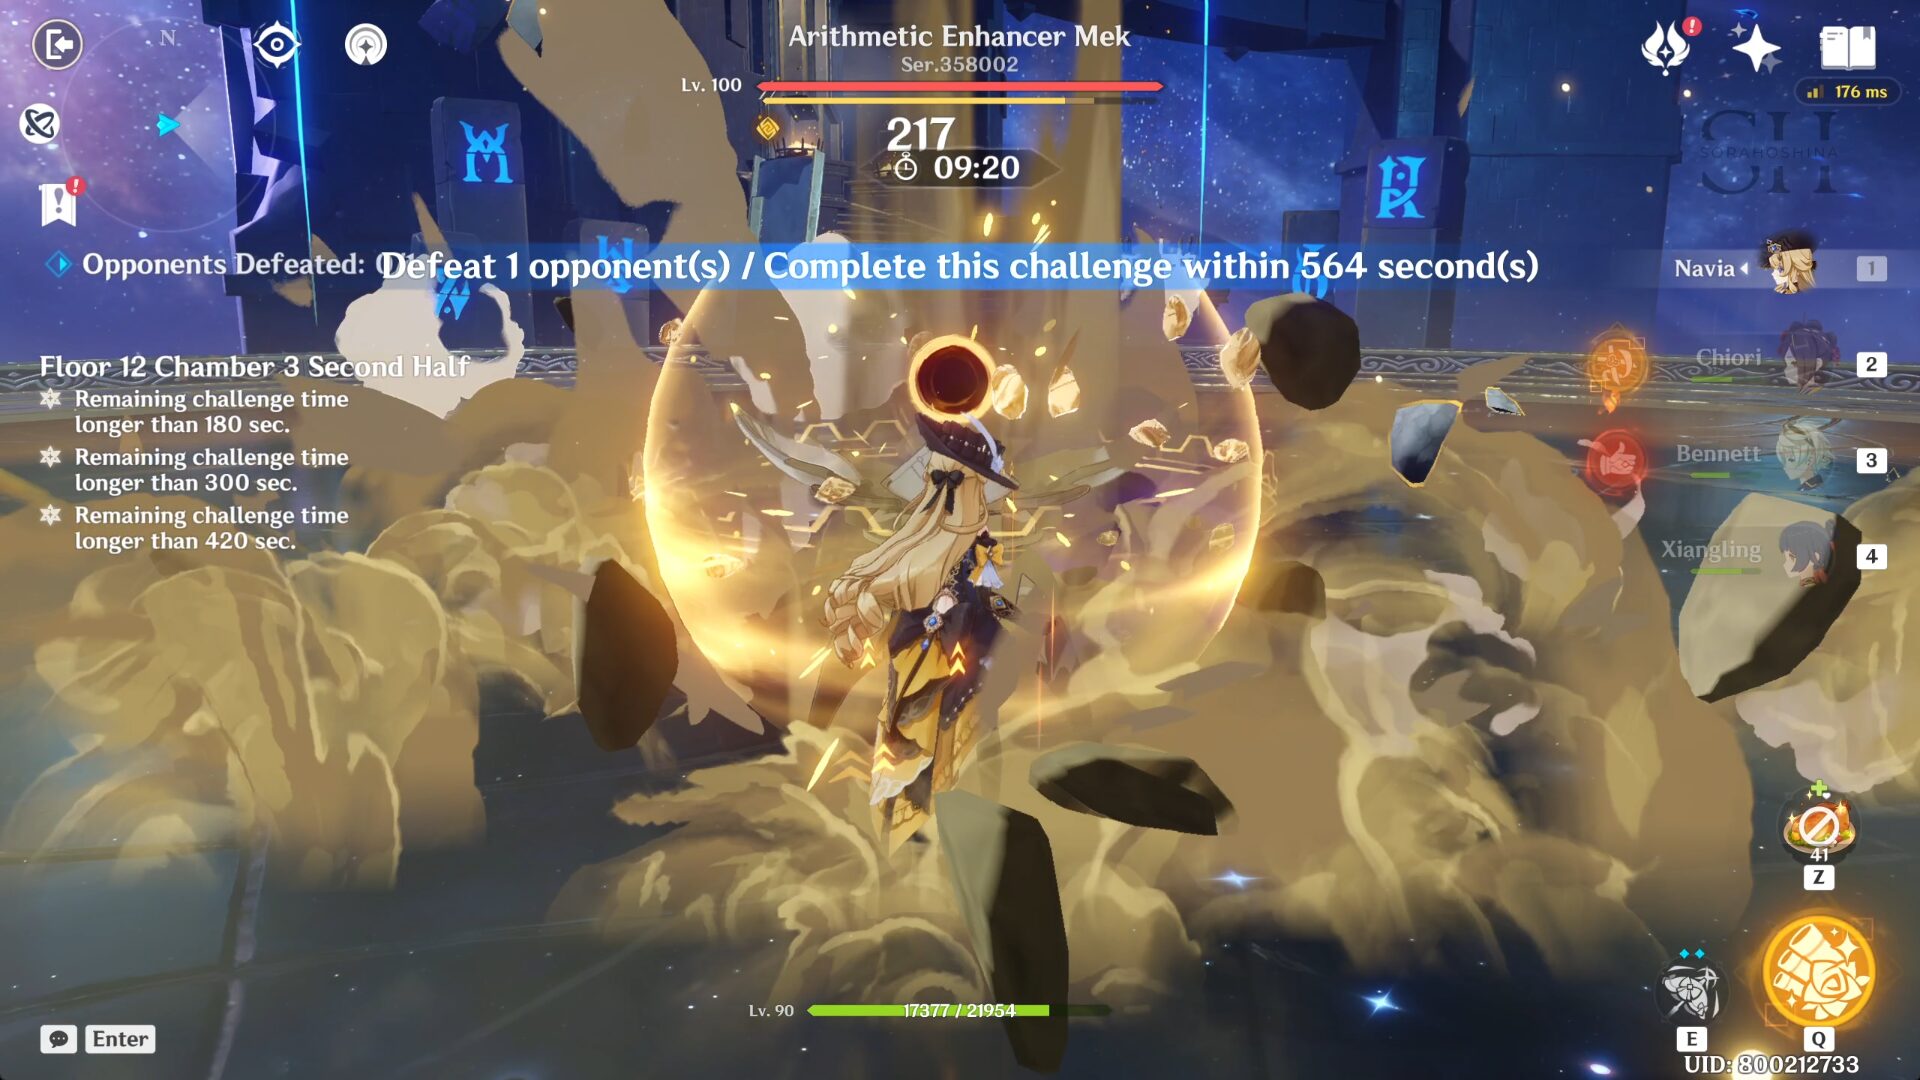
- There is only one enemy in one wave; Veteran Arithmetic Enhancer Mek. It's the first time this veteran enemy has entered the ring. You might have fought this enemy as Local Legend in Fontaine, and their skills are the same.
- This enemy is Ousia-type. Hitting it with the Pneuma while it is not shielded will cause it to lose Arkhe and become stunned for a short period of time.
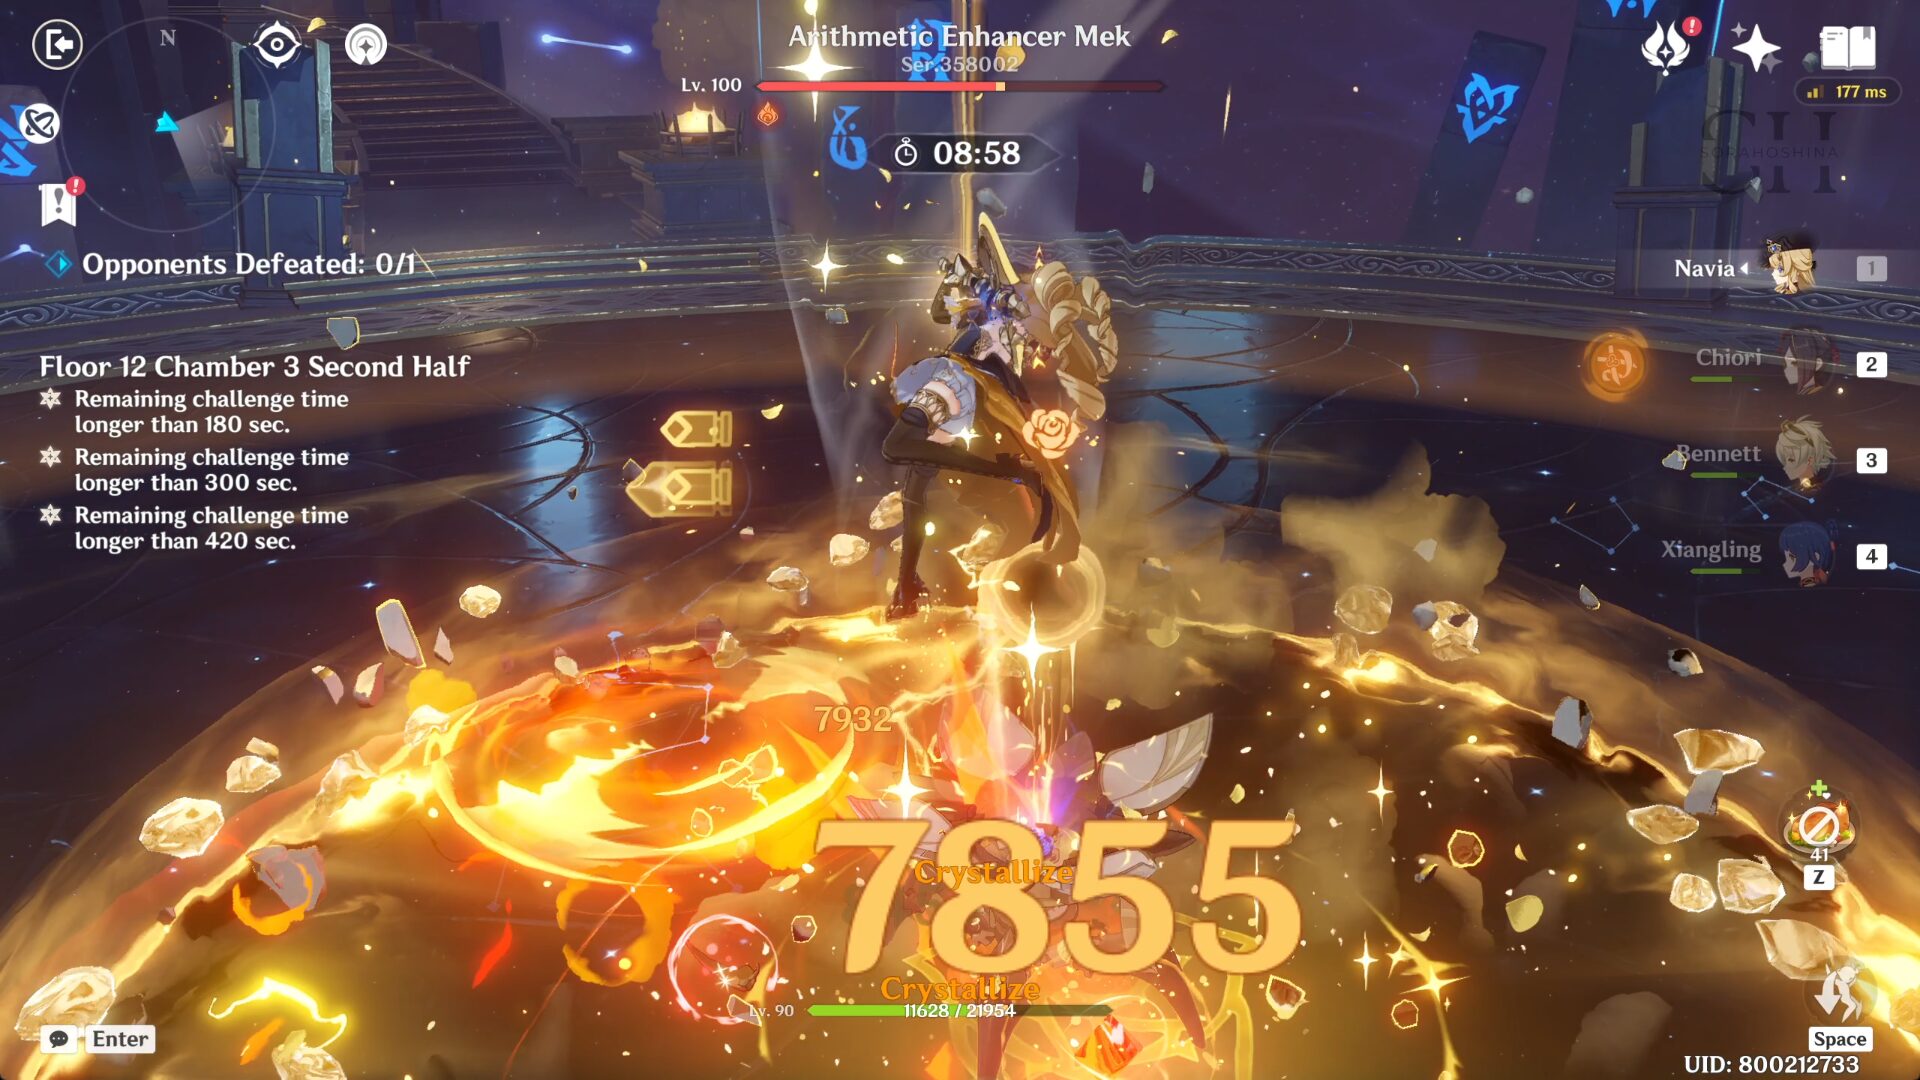
- The Meka has a Geo shield that grants it a 200% increase to all RES while active and protects it from being paralyzed caused by Pneuma attacks. The shield is weakest against Blunt Attacks (Claymore attacks, Plunging attacks, and most Geo DMG). When destroyed, the shield will be regenerated after some time.
- This enemy will have a Gravity Reduction Field around it while Arkhe is available, which greatly boosts the jumping height of characters within.
- The worst attack it has is Gravity Ripple (not its official name) where it periodically sends out a shockwave that expands outwards and can be jumped over, dealing Geo DMG on hit. This attack cannot be dodged using sprint i-frames. For this one, jumping is really recommended unless you have a sturdy shield because it can deal some big damage.
- For other attacks, I believe you can dodge it just fine. Focus on removing that Geo shield, and once it's gone, brute force it as fast as possible before it creates another shield.

SoraHoshina
Articles: 173More Articles

Genshin Impact: Vibro-Crystal Applications Event Guide

Genshin Impact: All New Fontaine World Quests in Version 4.6

Genshin Impact: Where His Life Lies Quest Guide

Genshin Impact Codes – April 2024

Genshin Impact: All 8 Lost Grimoire and Bookshelves Location

Genshin Impact: All New Achievements in Version 4.6
Genshin Impact: All 55 Hydroculus in Fontaine V4.6
Genshin Impact: Autoharmonic Music Box All Score Locations
Genshin Impact: Challenger: Series IX Achievement Guide

Genshin Impact: Latecoming Homecoming Quest Guide

Genshin Impact: Canticles of Harmony Chain Quest Guide

Genshin Impact: Version 4.5 Tier List (April 2024)

Genshin Impact: Barbara Quick Character Guide
Genshin Impact: Xingqiu Quick Character Guide

Genshin Impact: Primogems Calculation for Version 4.6

Genshin Impact: Version 4.6 Special Program Livestream Overview
Genshin Impact: 3 New Redemption Codes from 4.6 Special Program

Genshin Impact: Version 4.6 Livestream Countdown

Genshin Impact: Yanfei Quick Character Guide